Outdoor DIY Console Table
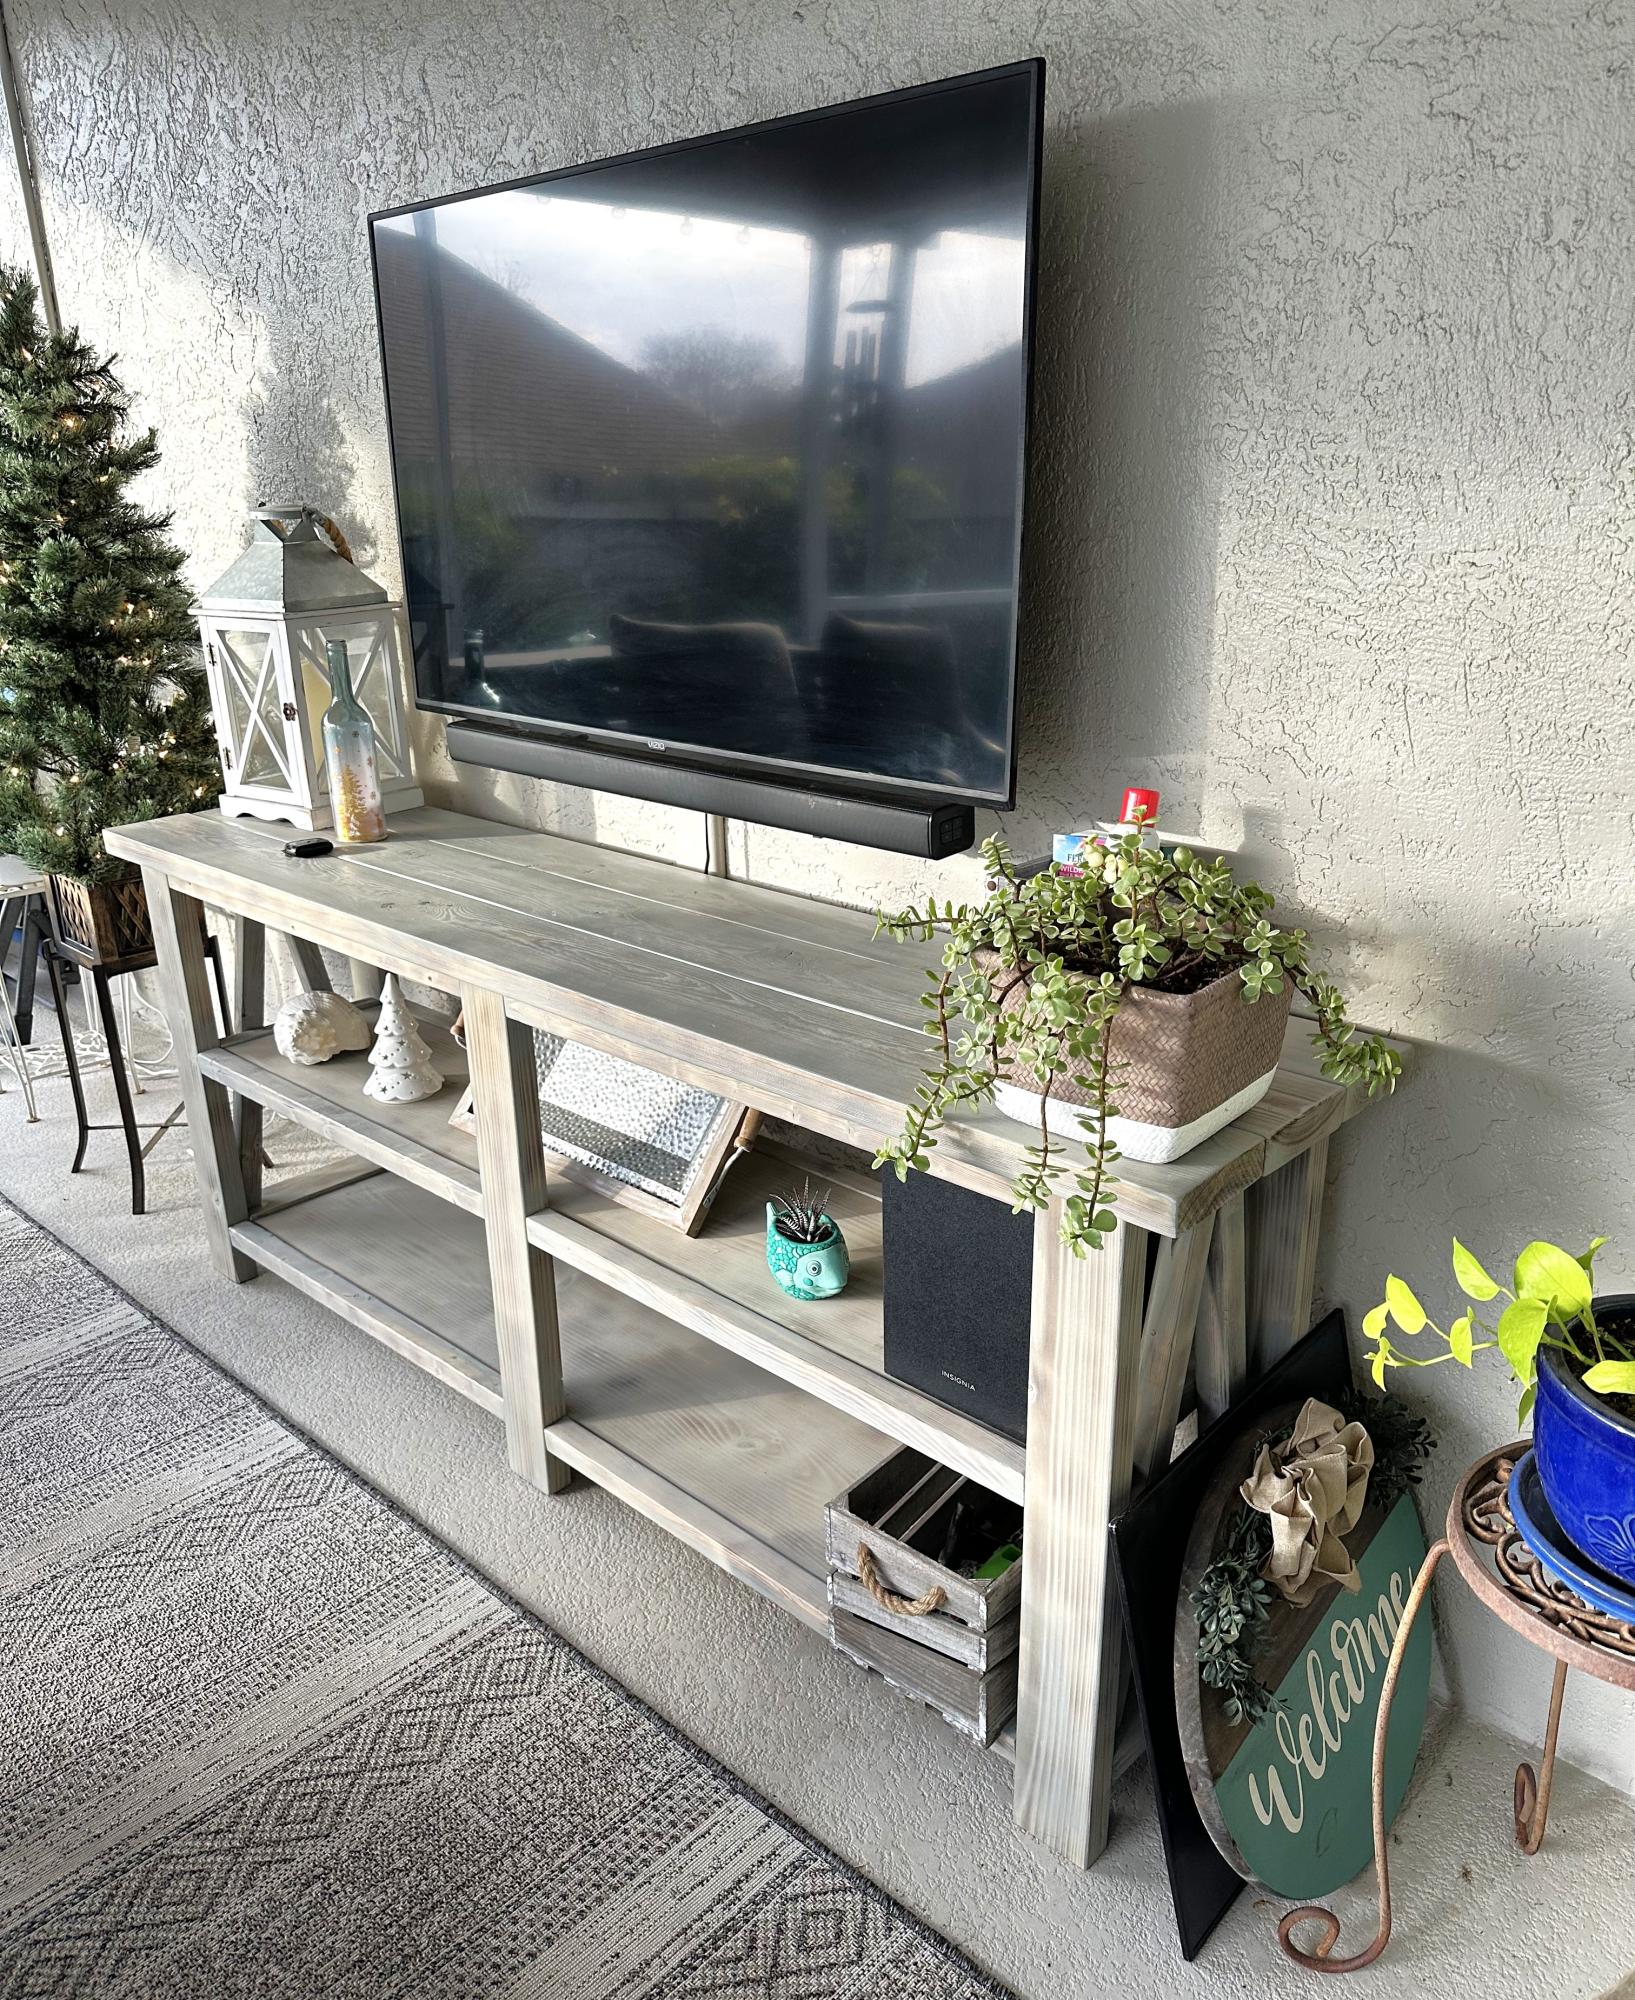
DIY Outdoor Console Table
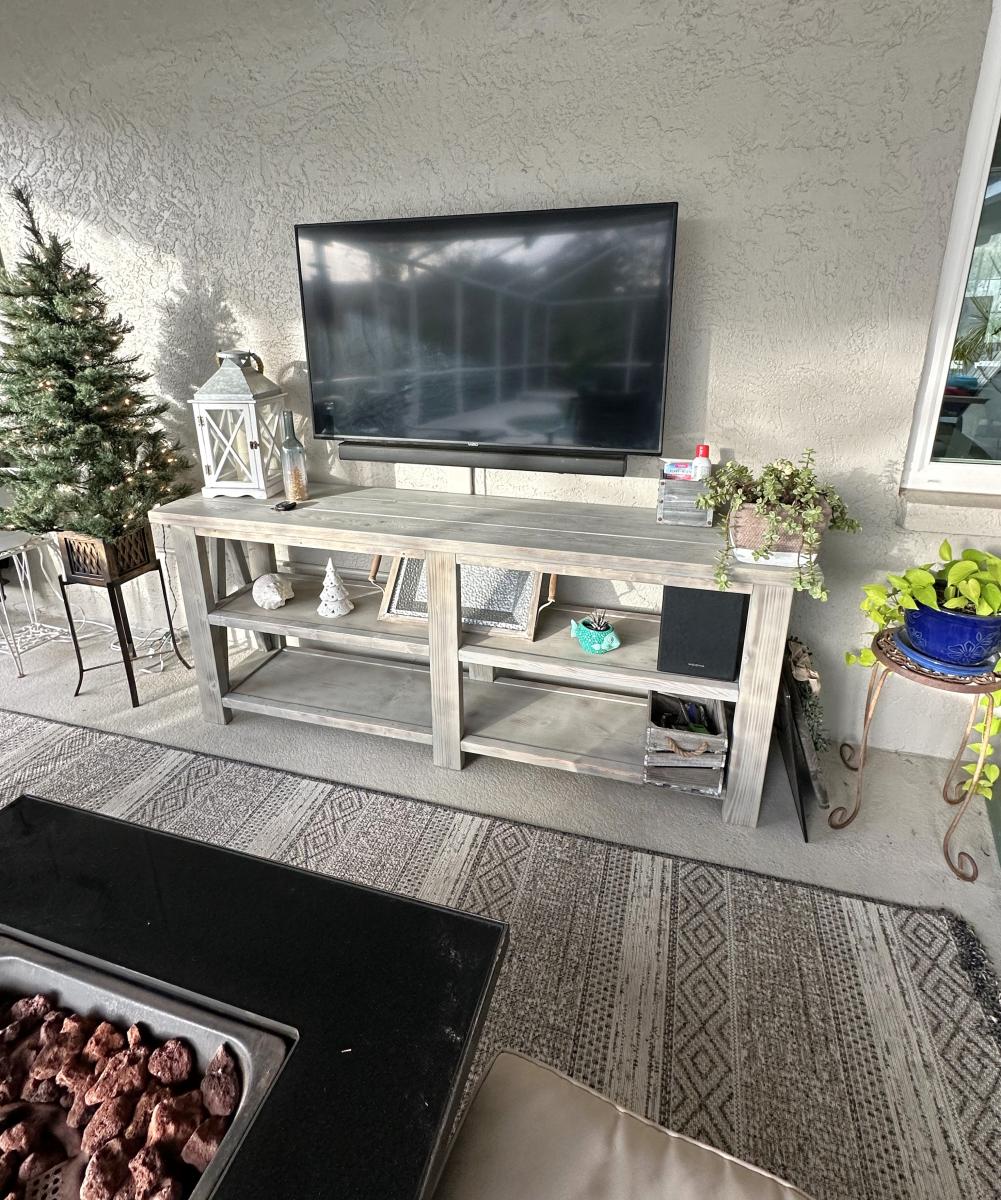

DIY Outdoor Console Table

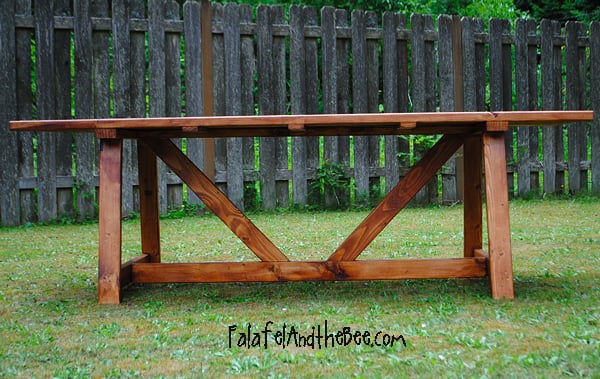
I have seen these like most other people for outrageous prices. This was pretty simple to make but I thought it would be a good idea to add the hinges. I think with the hinges, it is not as stable as my 2 year old seems to "wobble" it side to side pretty good. If I had the space, I would make one without the hinges or learn more about hinges and maybe how to make it more stable. I am thinking adding some more stability to the base of it as in Ana's plan and hopefully that will take care of the wiggling.
I made this coffee table from Ana's Rustic Bench plans in The Handbuilt Home. I needed something fairly small for my living room and this worked perfectly. I used pine and stained it with Minwax Early American. I finished it with 3 coats of Minwax Polyurethane.
Mon, 04/07/2014 - 18:34
This is lovely!!! Thanks for getting the book and doing a project from it, love how this bench turned out!
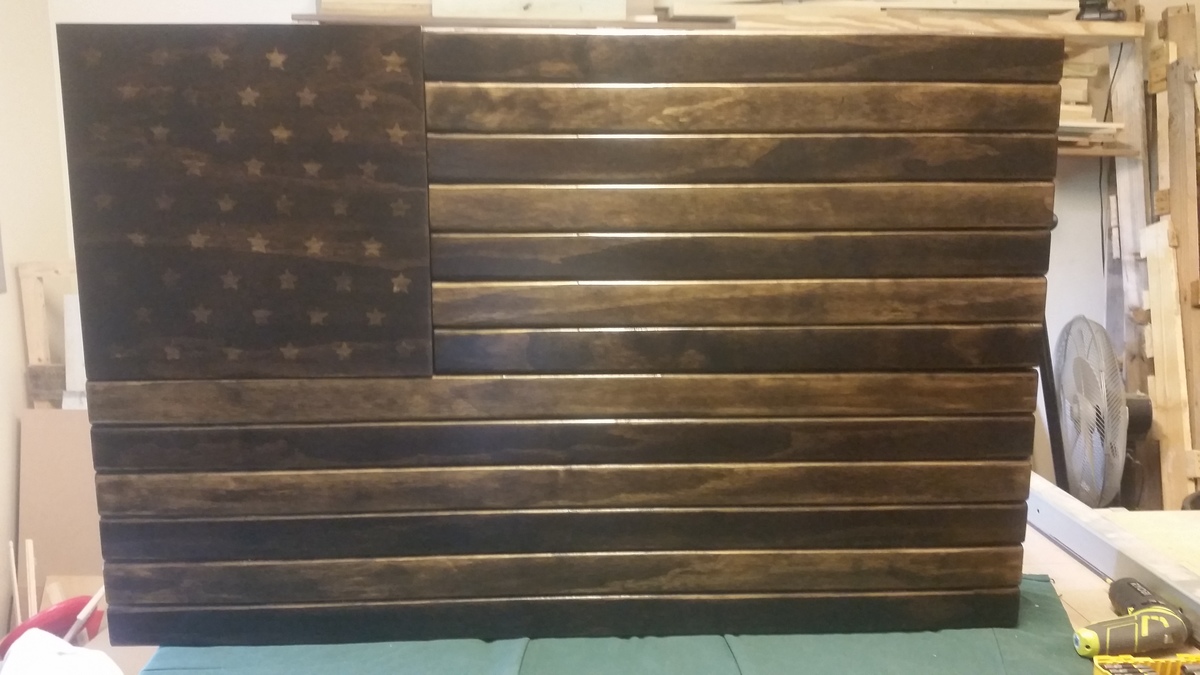
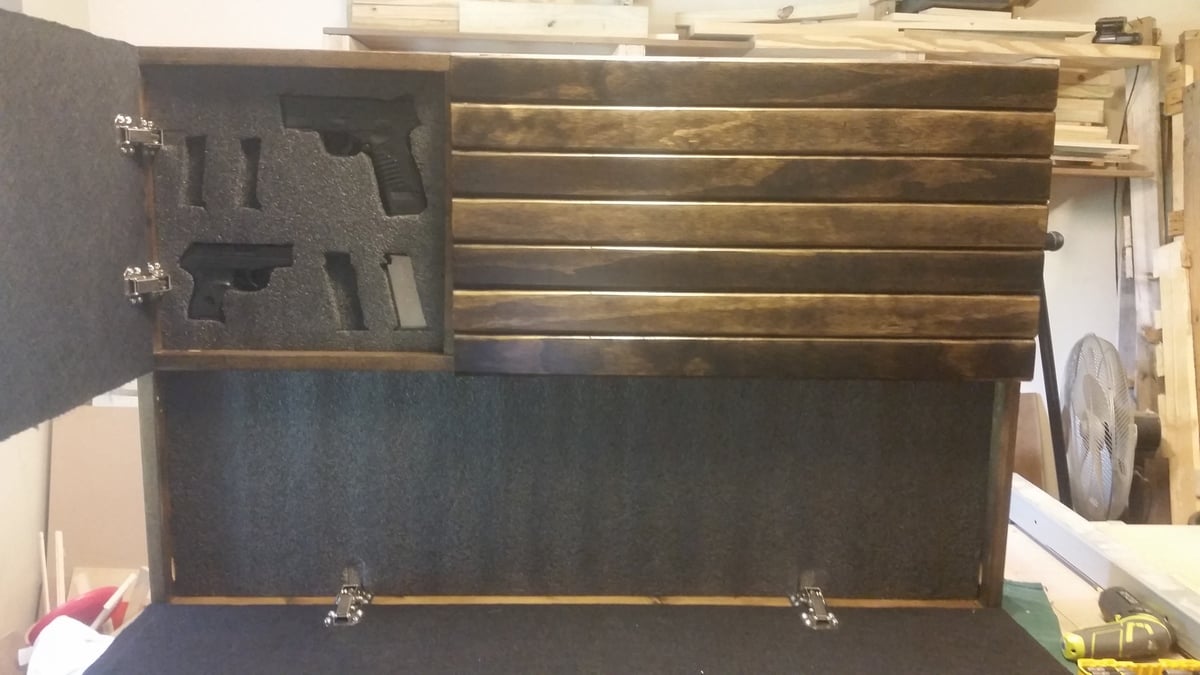
I threw some plans together for this. Going to make another one and tweak it a little but overall I'm happy with the way it turned out. I used dark walnut stain and 4 coats of poly.
Fri, 12/25/2020 - 07:20
looks amazing i would love to see some plans for that
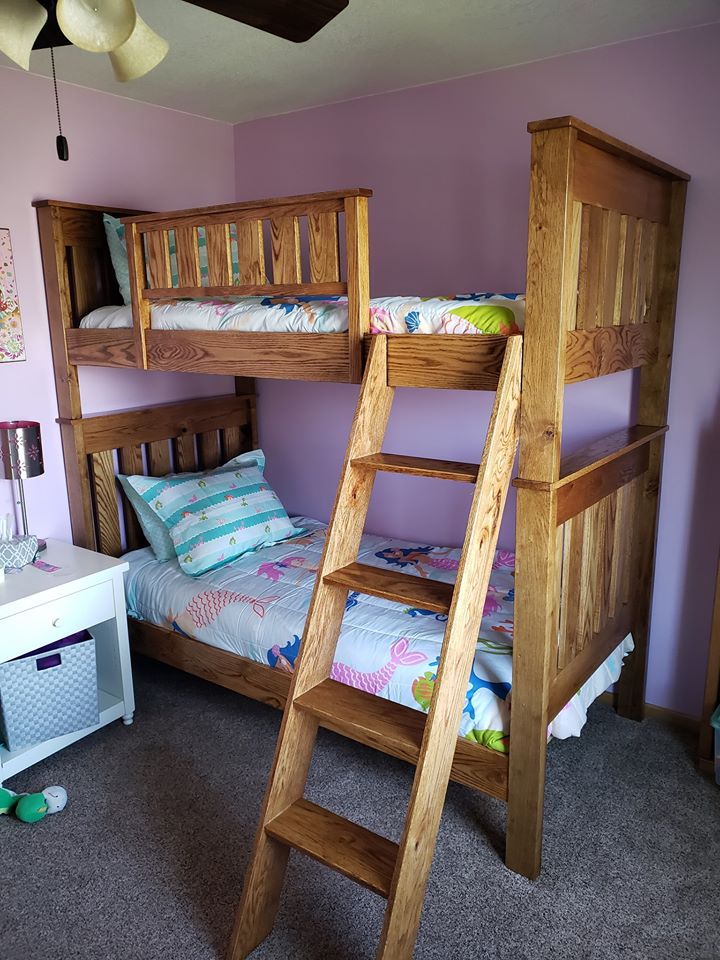
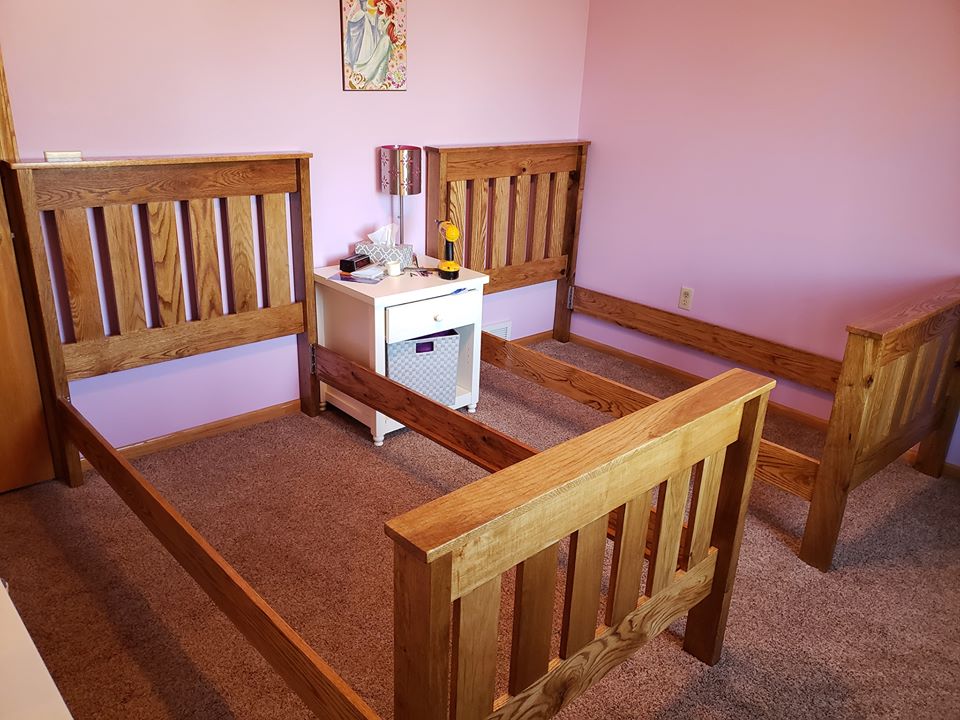
I used the Simple Bunk Bed plans as a rough guide for the sizing of this twin over twin bunk bed plans. Bed is made out of solid oak that I sourced locally for free and planed down the oak slabs. There are a number of variations, but the sizing helped tremendously in putting my plans together.
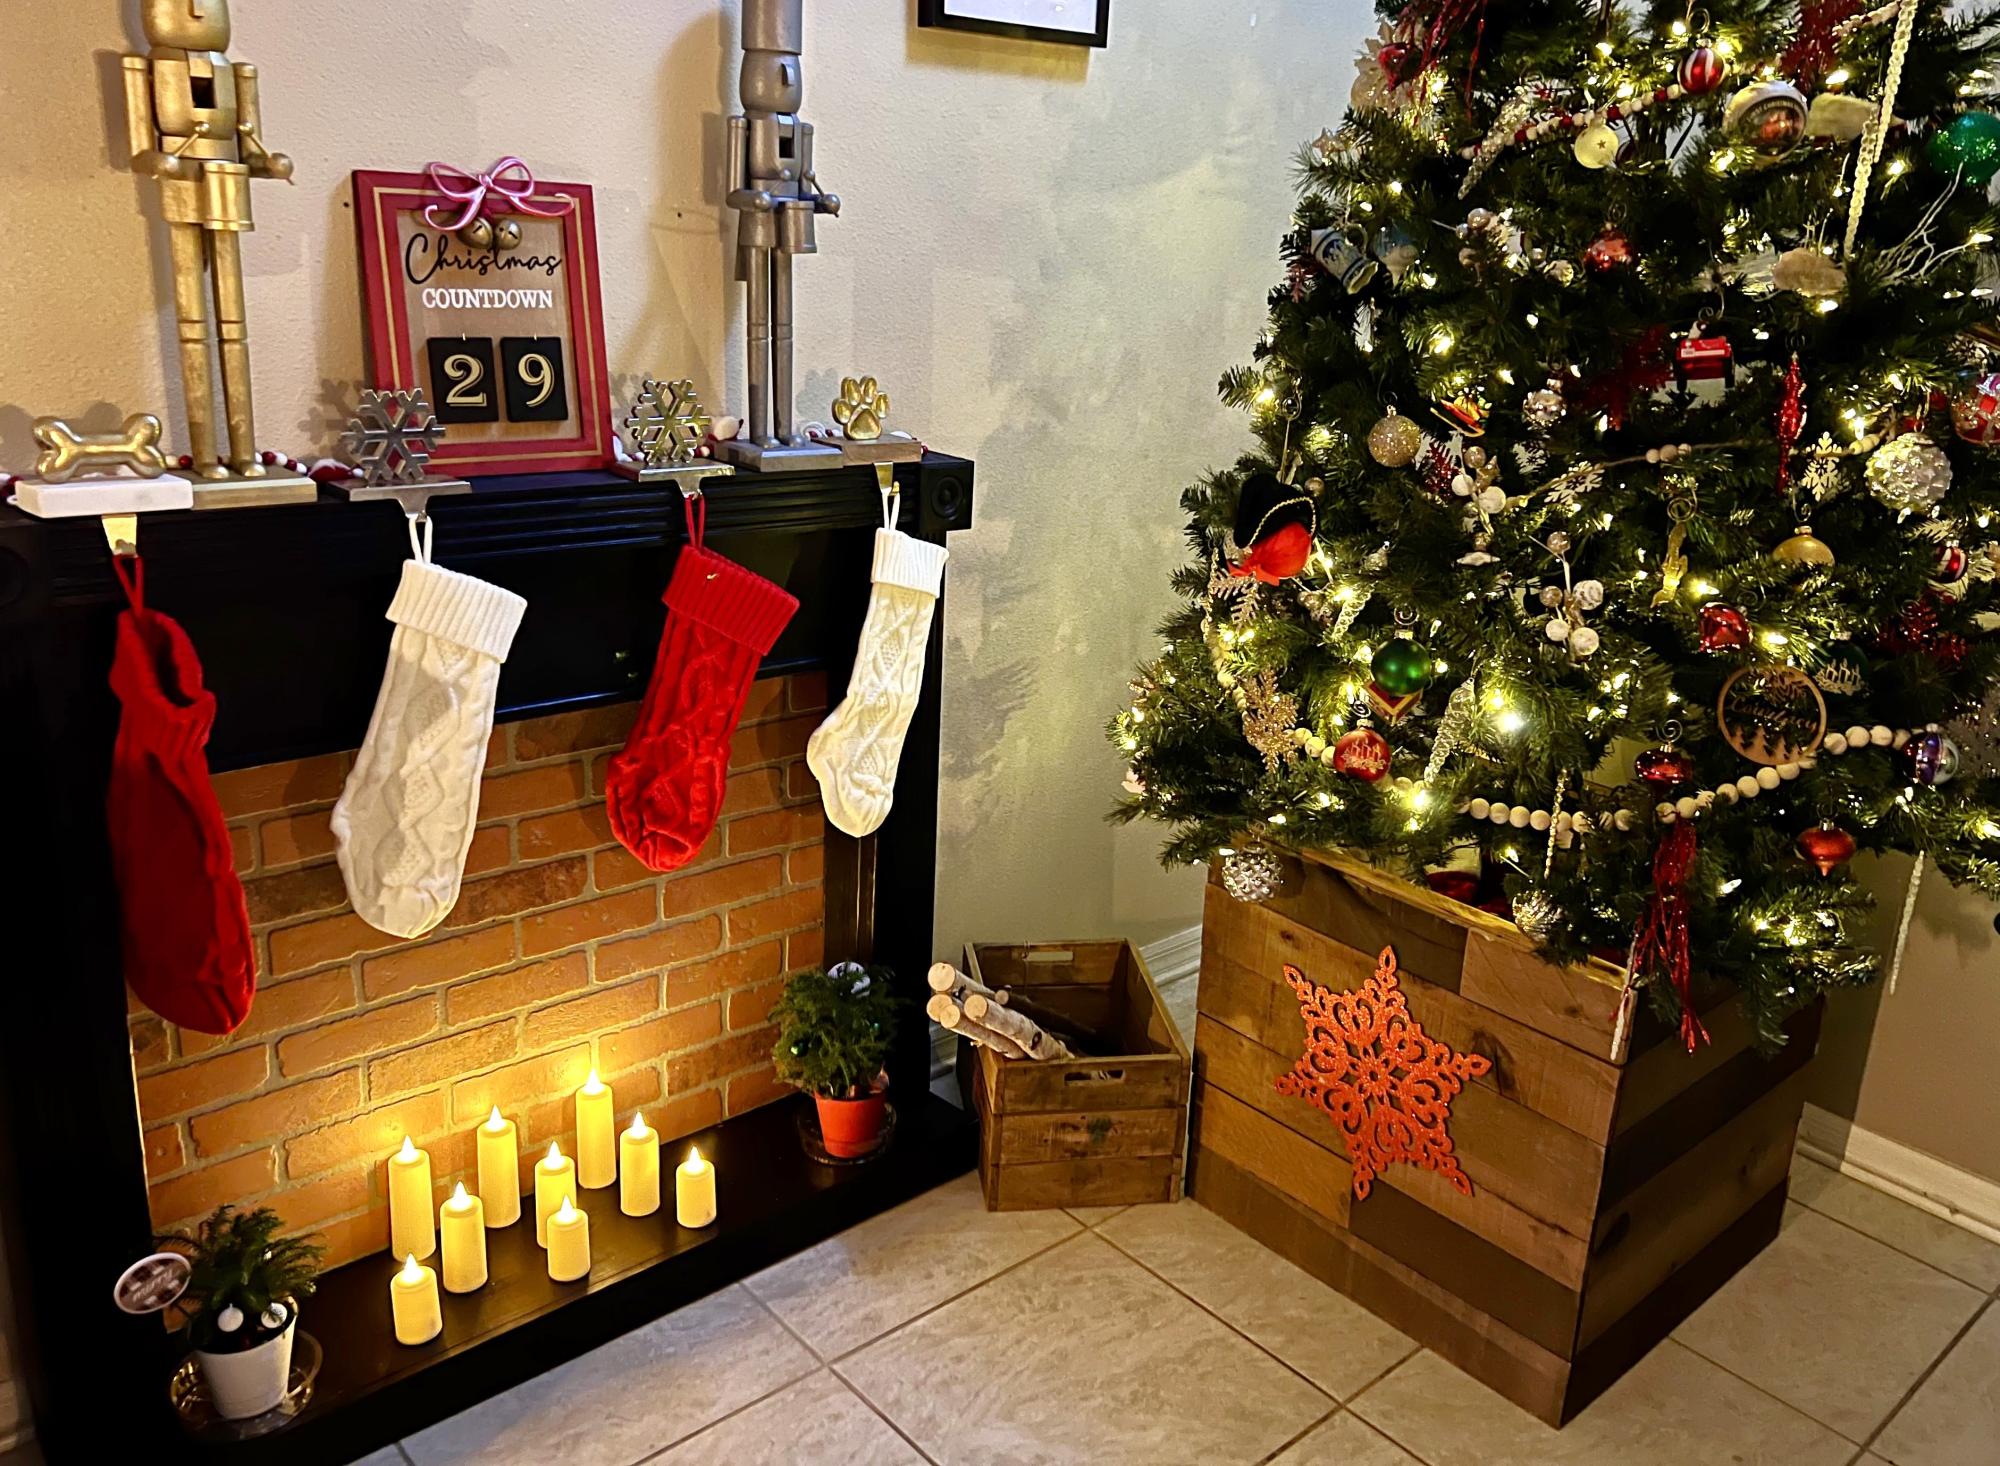
Fireplace! Live in Florida and wife wanted a fireplace next to Christmas tree. Ana plans are the best.
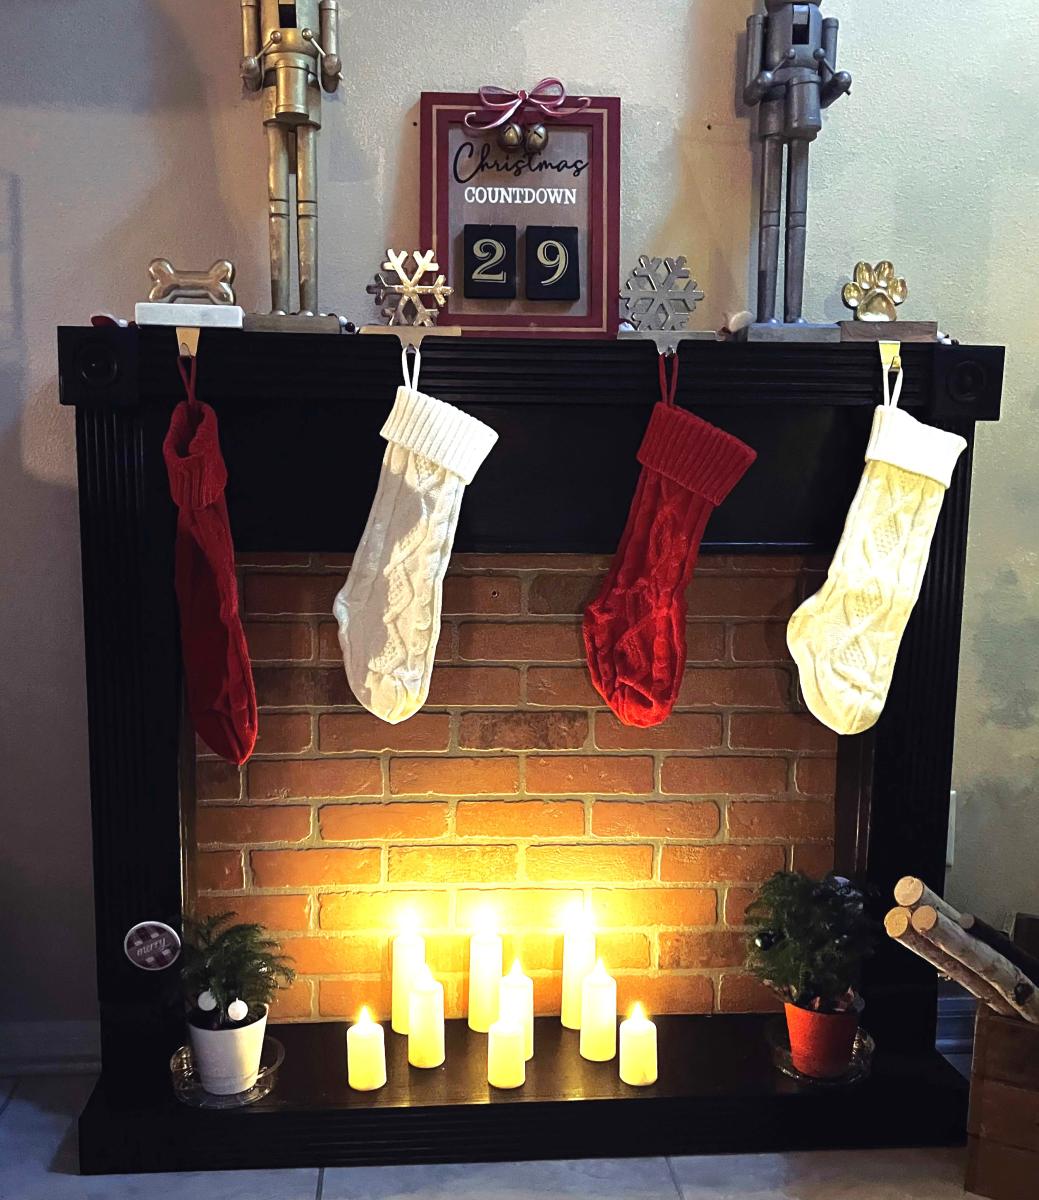
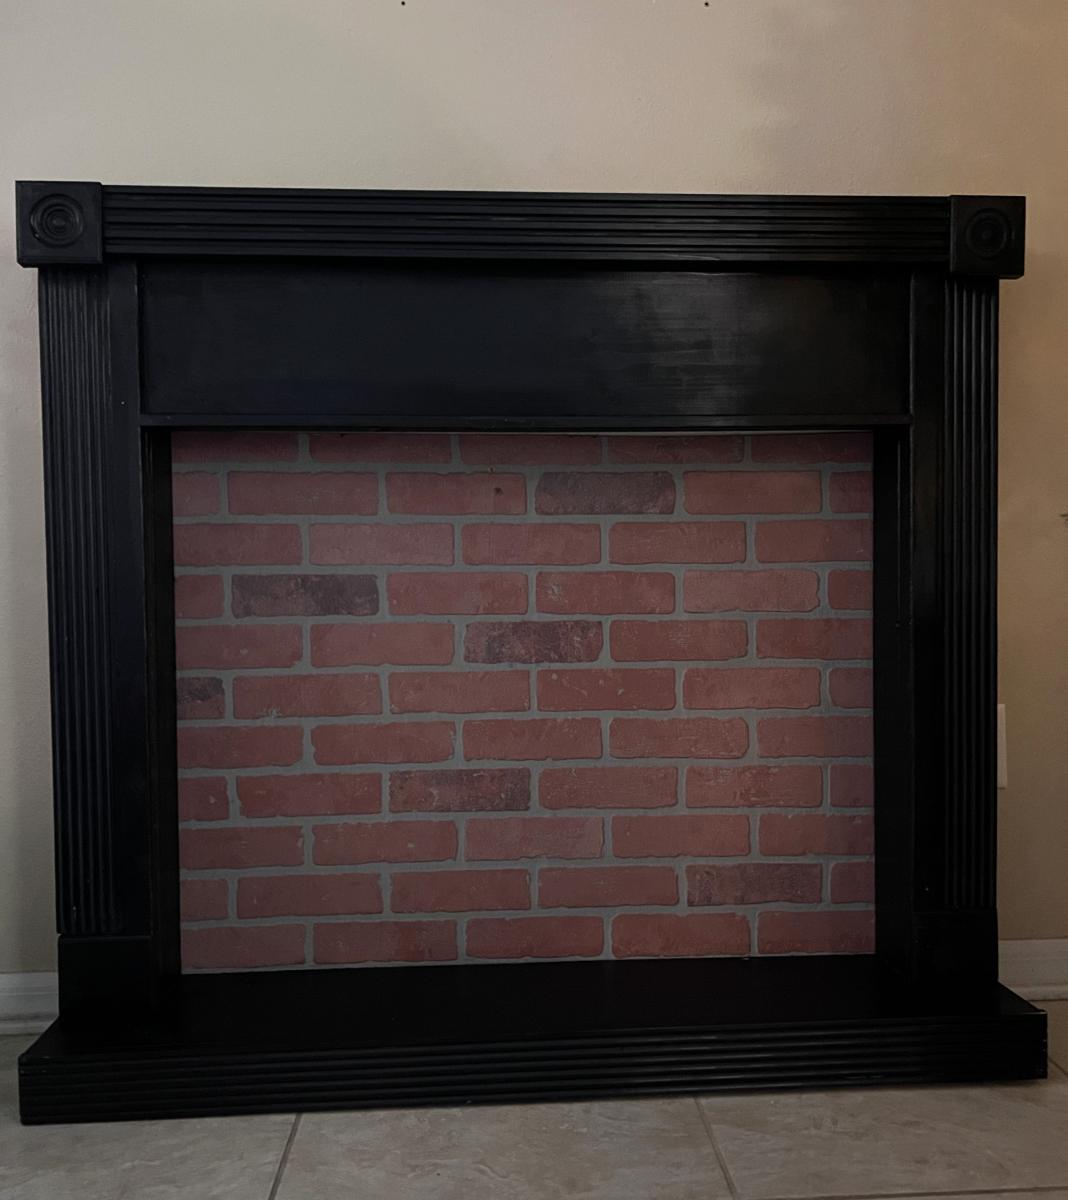
This is my second large wood project...and both from this blog! The plans were fabulously easy. This was the first time I used my miter saw, and it was a great way to break it in.
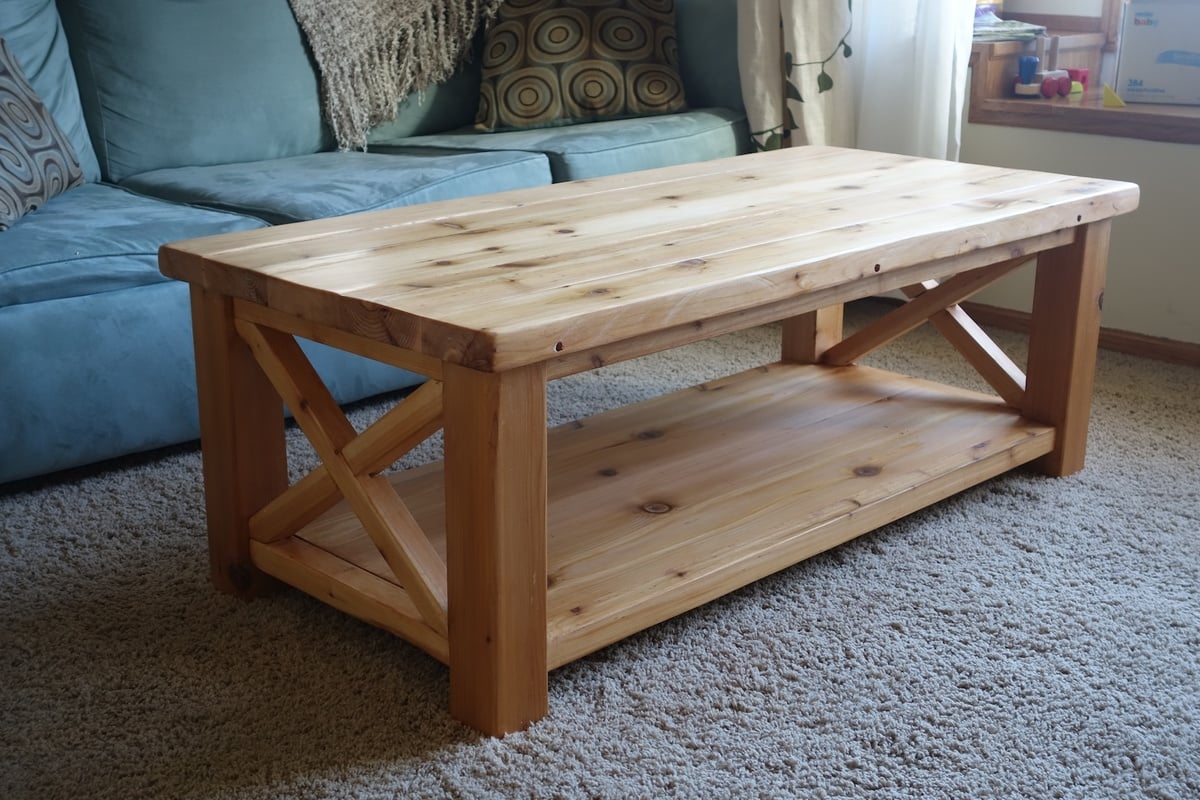
This is my first real piece of furniture I've built. We decided to build it in Western Red Cedar because our local home improvement store had a good selection of it. It was pricier than pine, but it holds stain really well and is really beautiful.
I modified the plan and bought a 4x4 for the legs, then I cut that down to 3" x 3" exactly with my table saw. That way it doesn't look like a standard cut of wood, but something more custom. As a result I had to put corner notches in my bottom piece so that it would fit in with the legs. That was tricky to do, but would have been easier if I had a jigsaw
I made a few measuring errors and had to correct it by trimming down the table top so there was only an inch overhang on the edges. So this is actually a few inches less deep than the plan called for, but it worked out ok I think.
With the X's I laid them on top of the legs and traced a line to cut rather than trying to cut an exact miter. I also traced it so that I'd cut a bit off of the top and side of the corner so that it fits in nice and snug on both edges.
I also traced the intersection lines. Then I set my table saw (don't have a circular saw) to 1/2 an inch and just cut out several notches in between the intersection lines so the to X pieces could overlap each other. A "halved joint" I believe it's called.
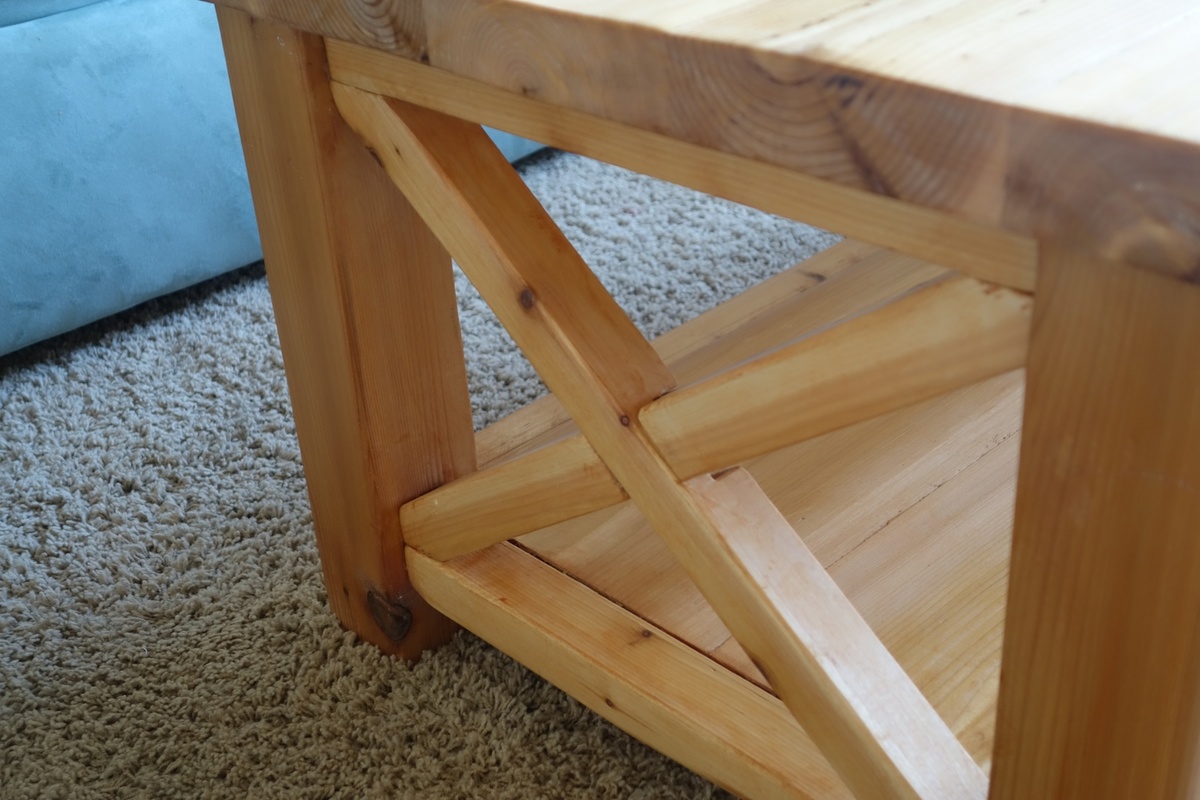
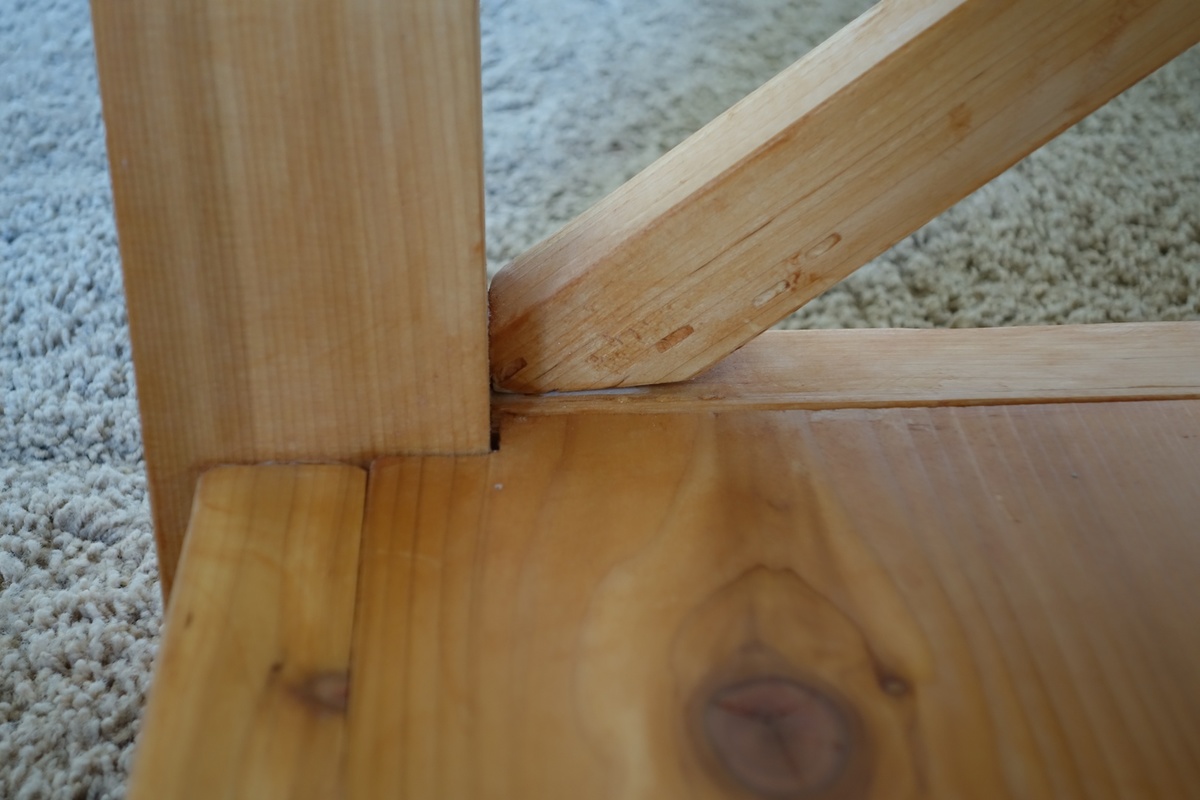
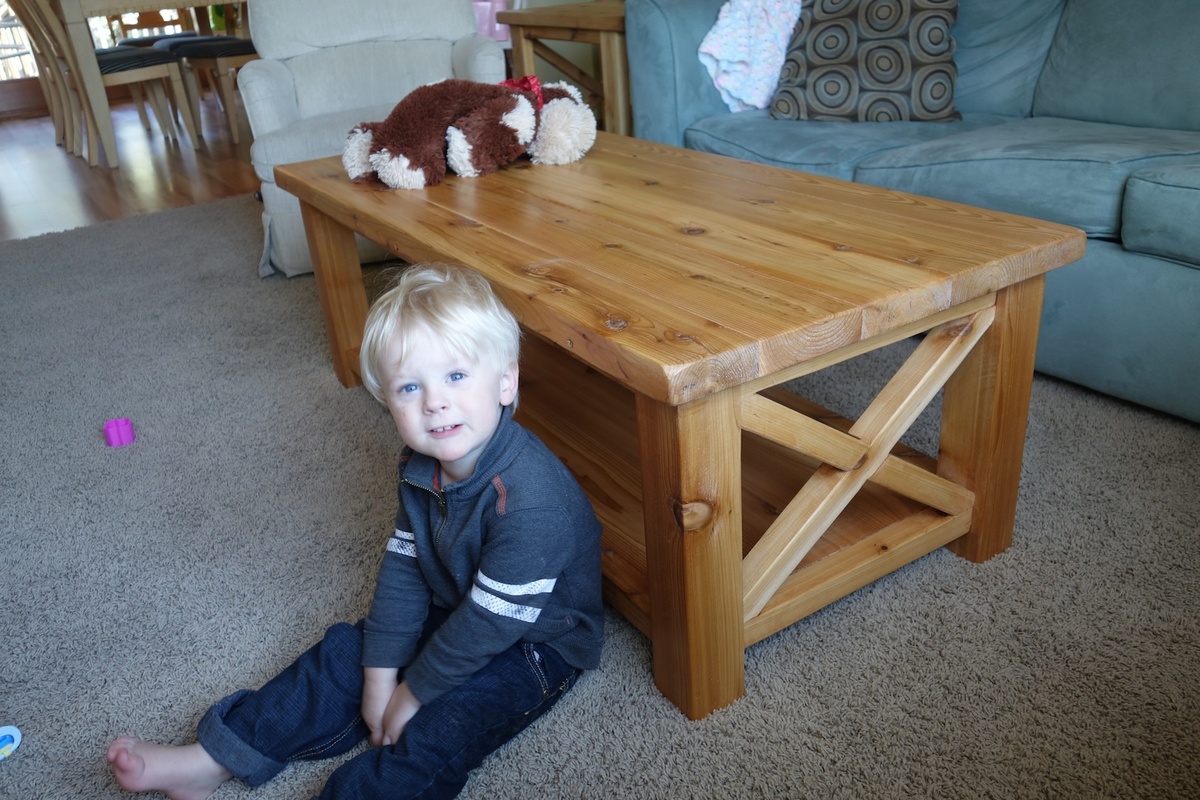
I absolutely loved this project! My first advanced' leveled project! I was afraid it would be to big for my room so I went 10" smaller in the width only. It surprisingly turned out well proportioned! Thanks Ana! I feel like a women with power!!
https://www.ana-white.com/woodworking-projects/house-bed-frame-modern-t…
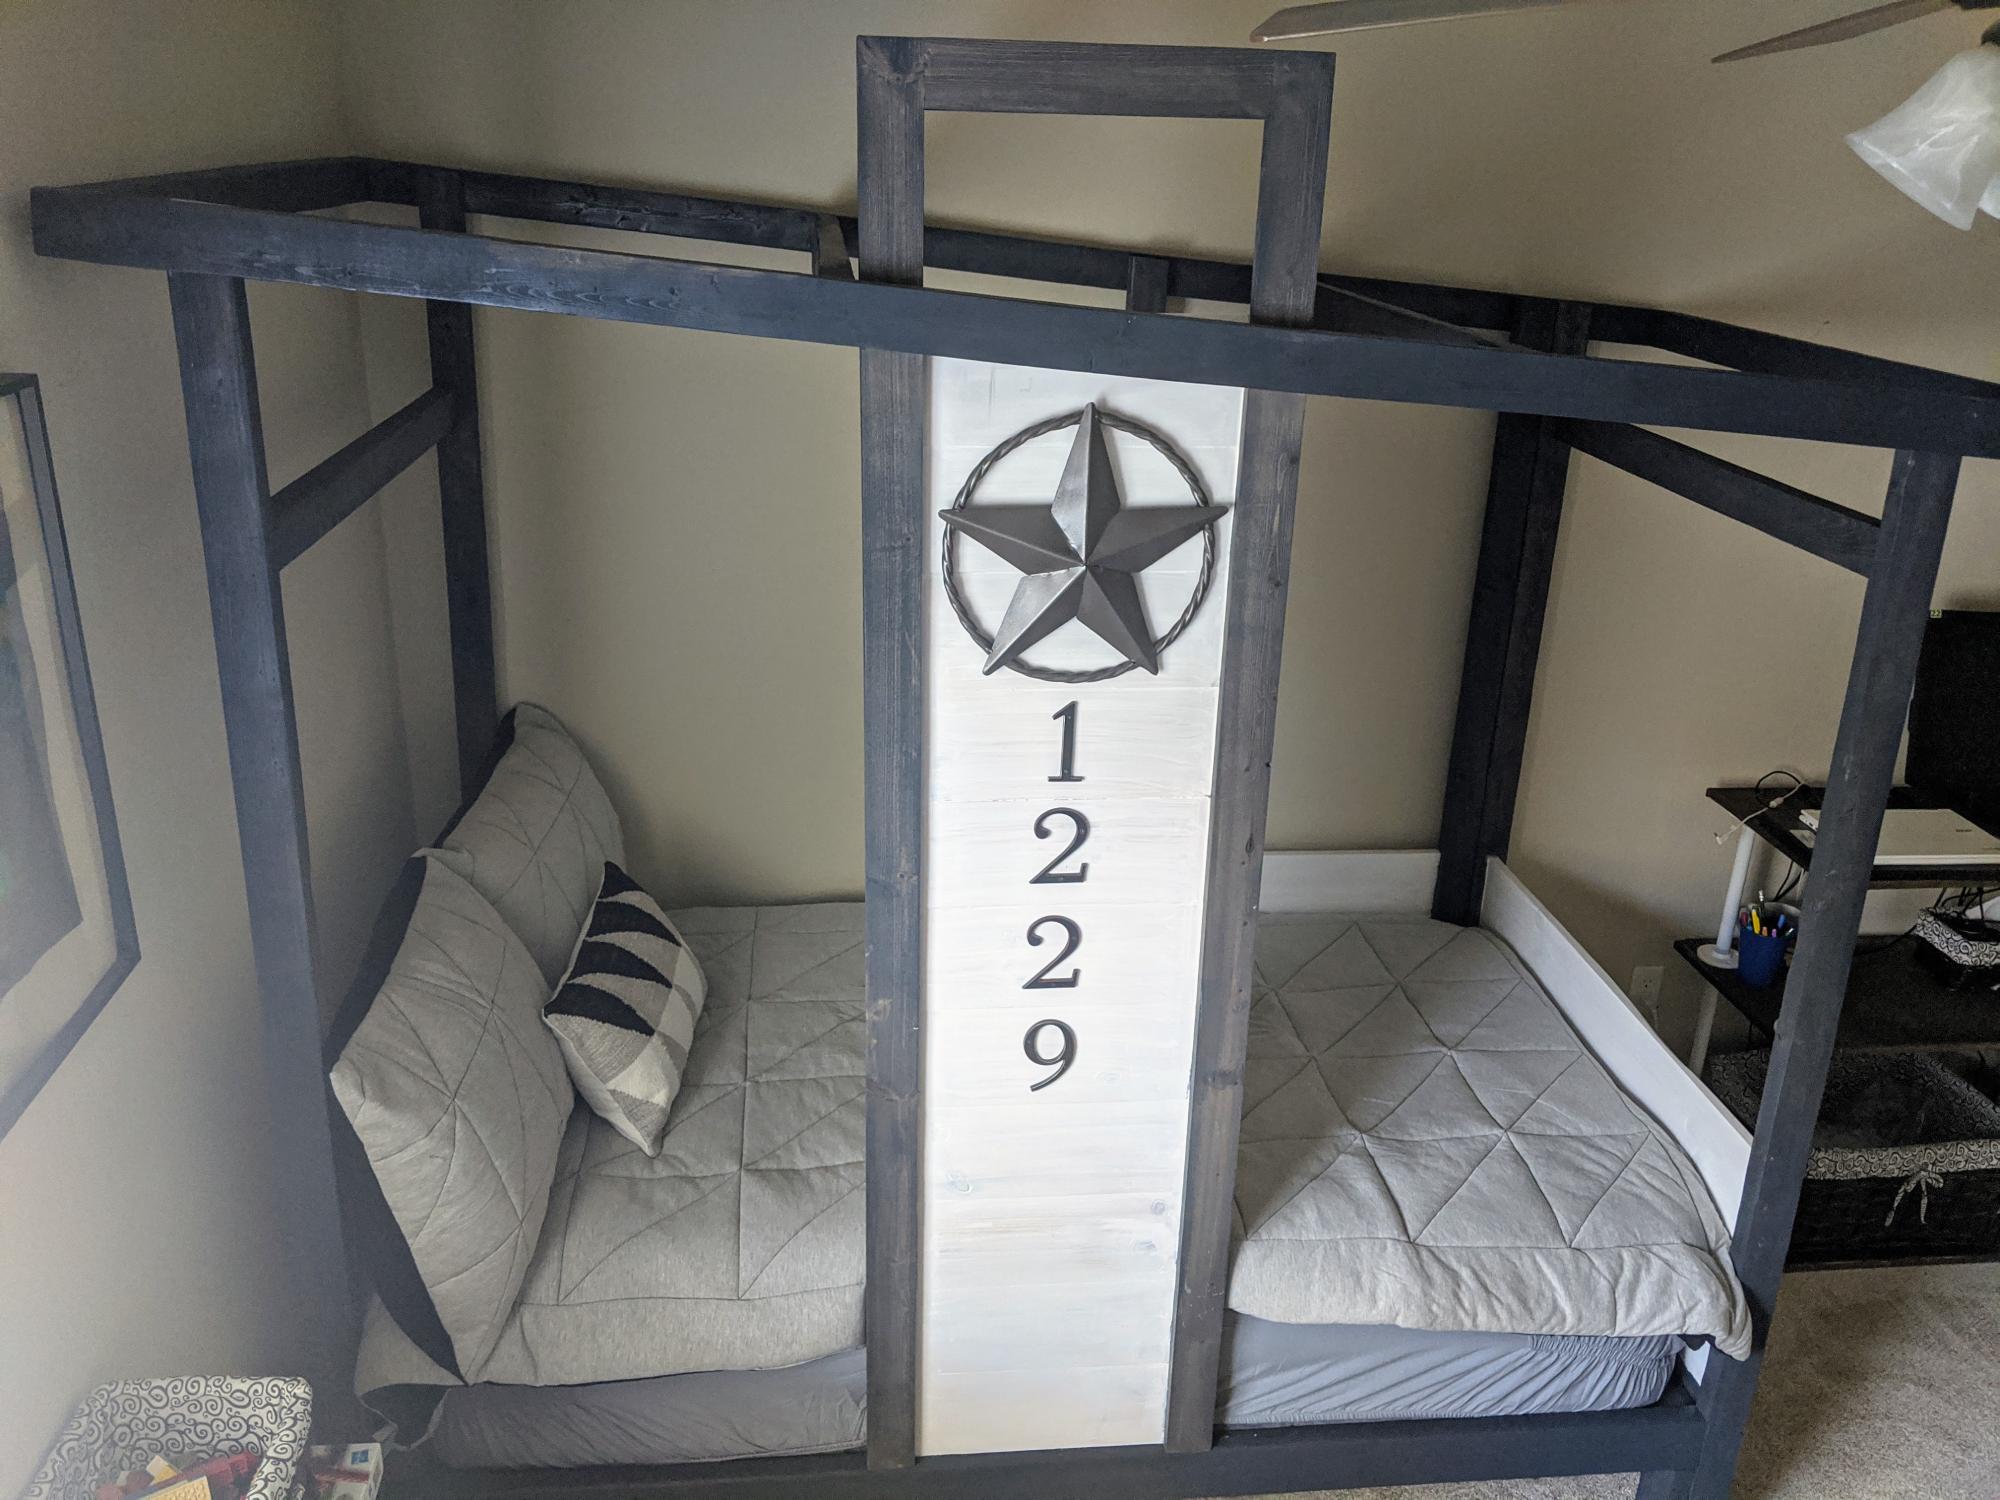
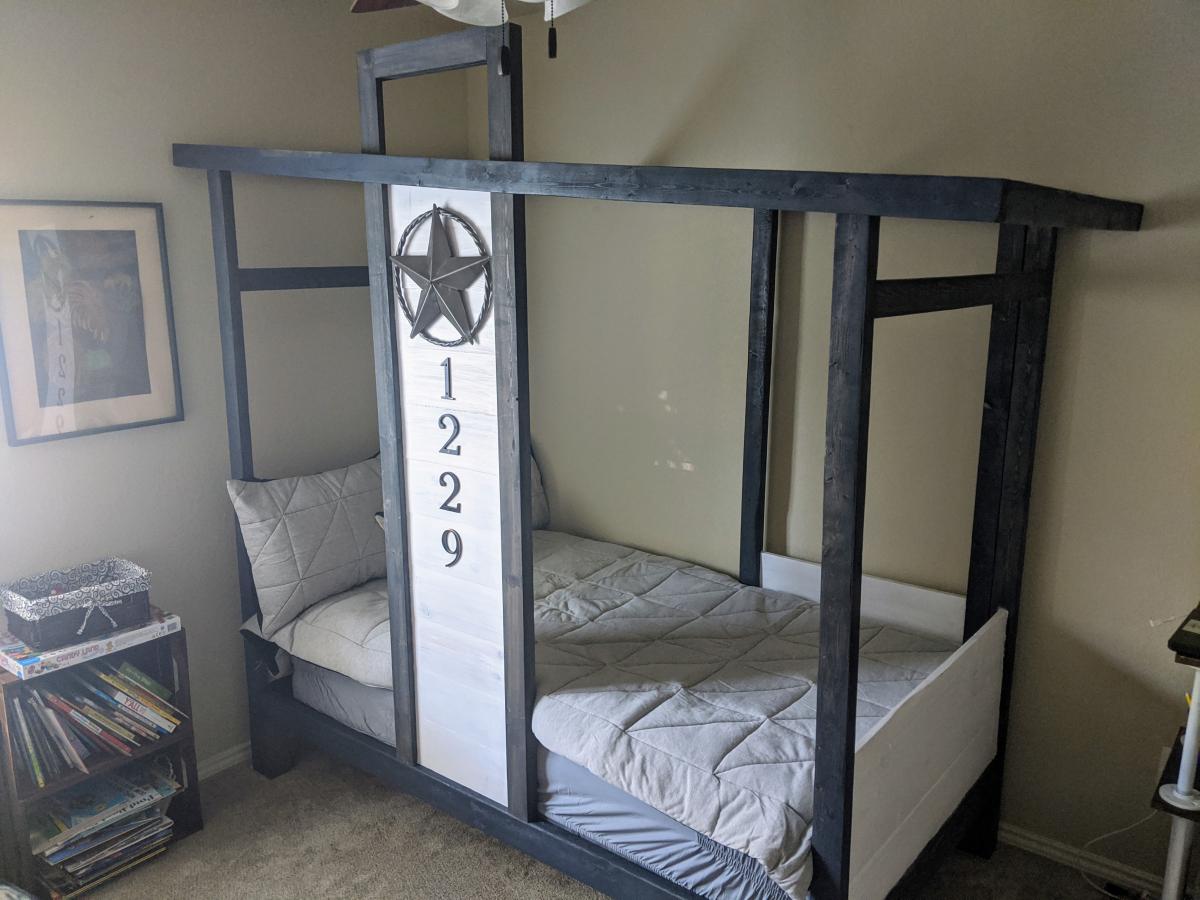
As a high school teacher, I noticed Ana-White’s post for a contest to build a tiny house-shaped bed heading in to spring break; I entered and was selected. COVID-19 directed my teaching in a very different way and actually slowed down my woodworking while I have finished the project. Inspired by the Ana-White’s writings of making beautiful furniture with typical tools, this project is a perfect example of being able to build without the need for high-end shop machines. I followed the plans almost to the letter while keeping my mind open to slight improvement especially around the process of transportability. As a teacher, I emphasize that every writing is ready for editing and revision; with experience in woodworking, I approach building in a similar manner. My finished project below pictured below has some minor revisions planned for disassembly and reassembly in a minimal number of parts using only a screwdriver.
@anawhitediy
https://www.facebook.com/knockoffwood
Smart and stylish woodworking plans to make your home awesome.
#anawhite
smart.bio/anawhitediy
@SawDustDonLawler
https://www.facebook.com/HHH-Wood
@EduDonLawler
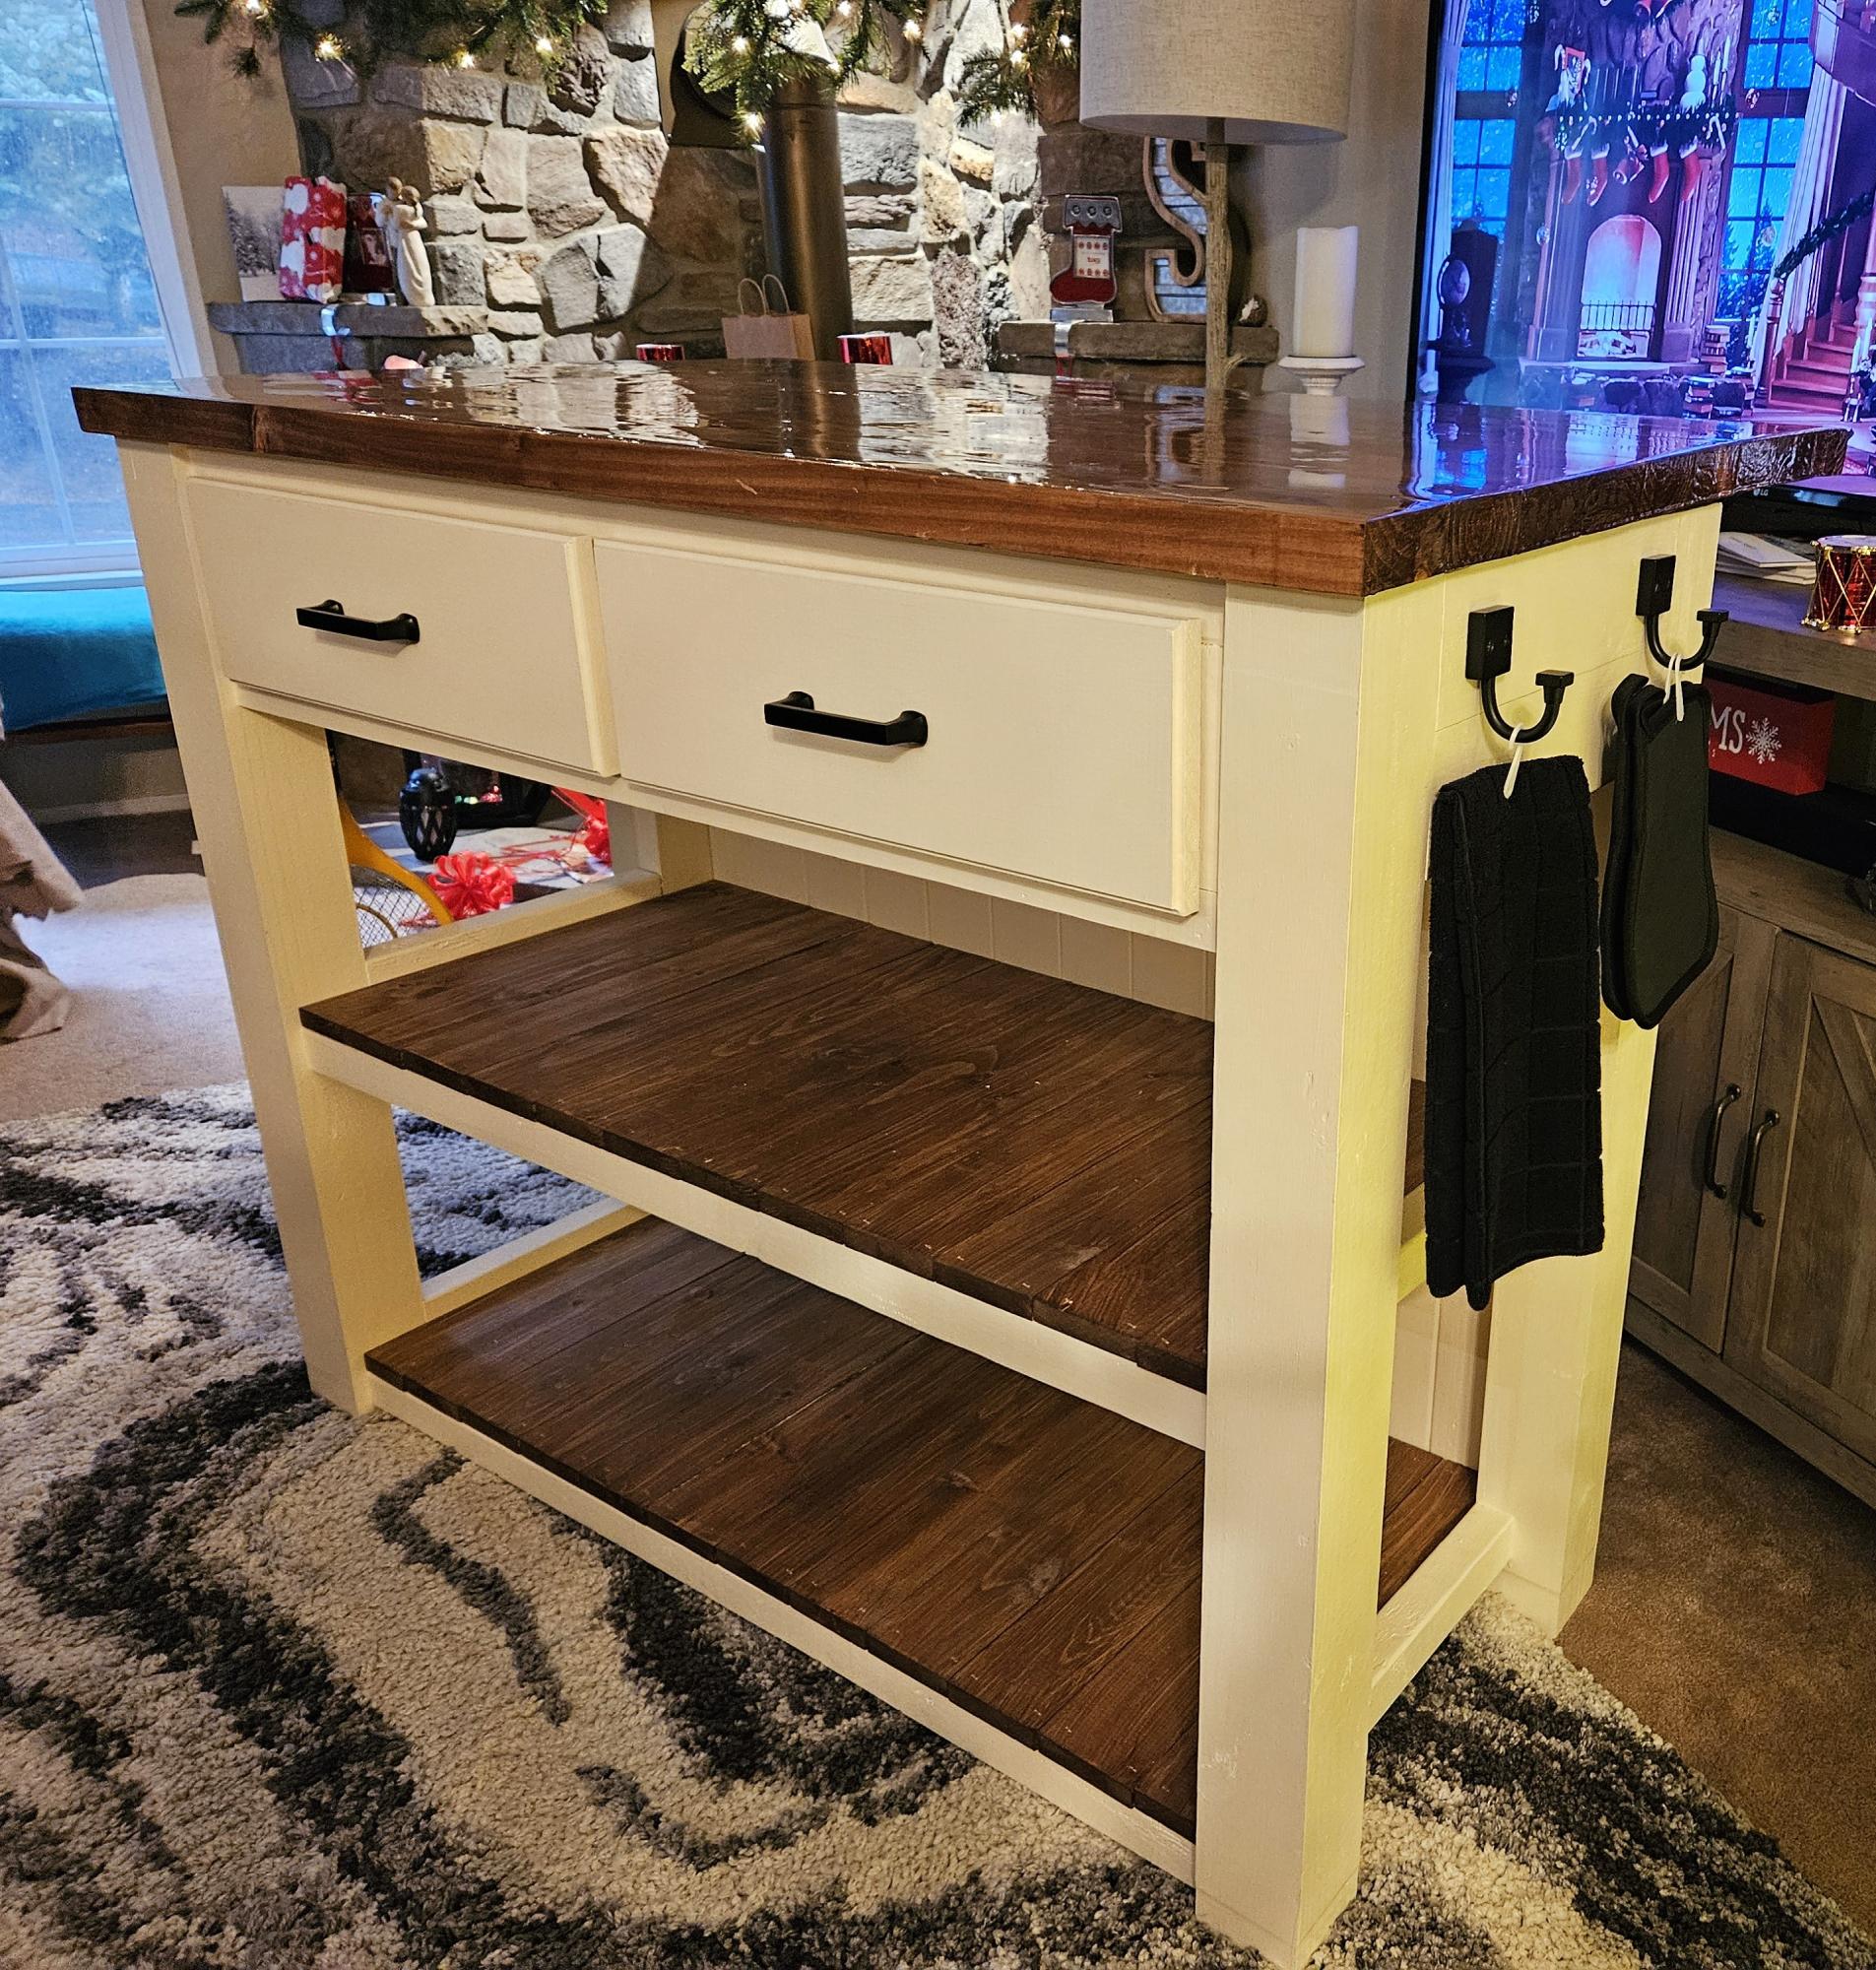
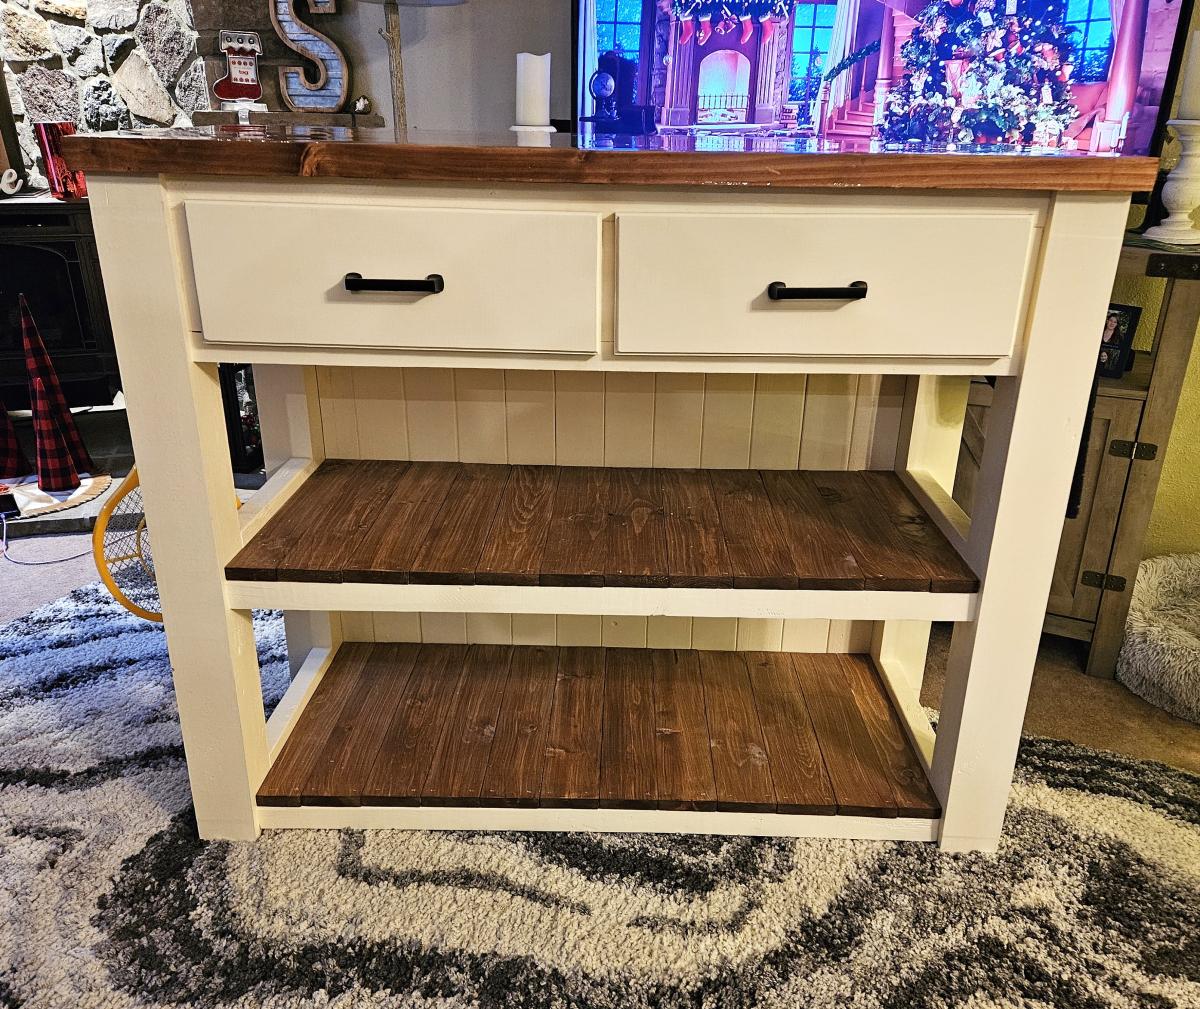
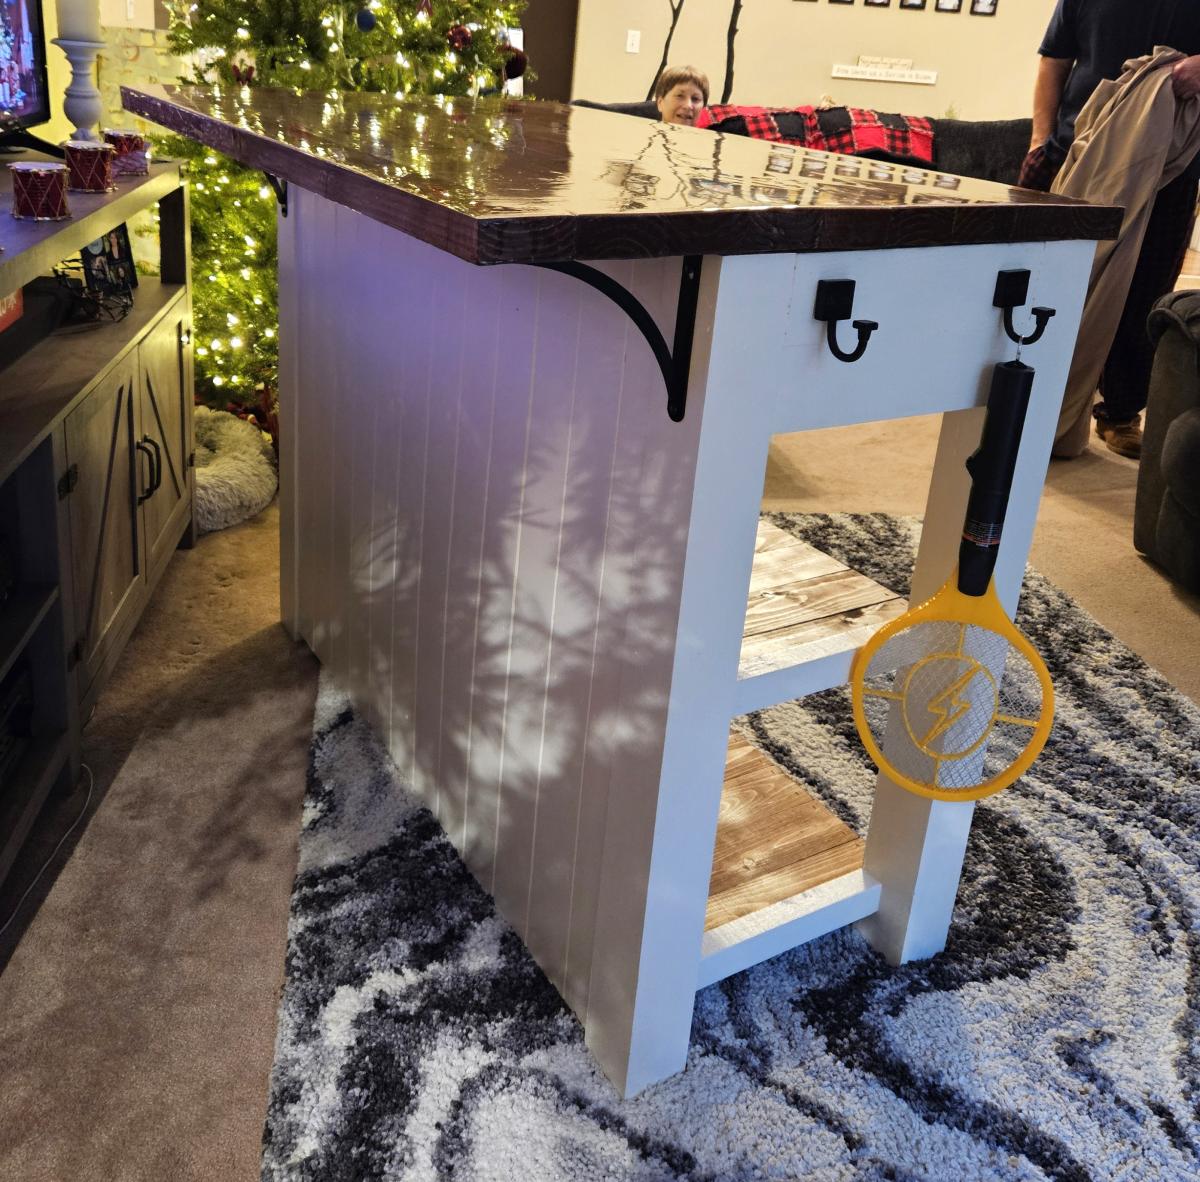
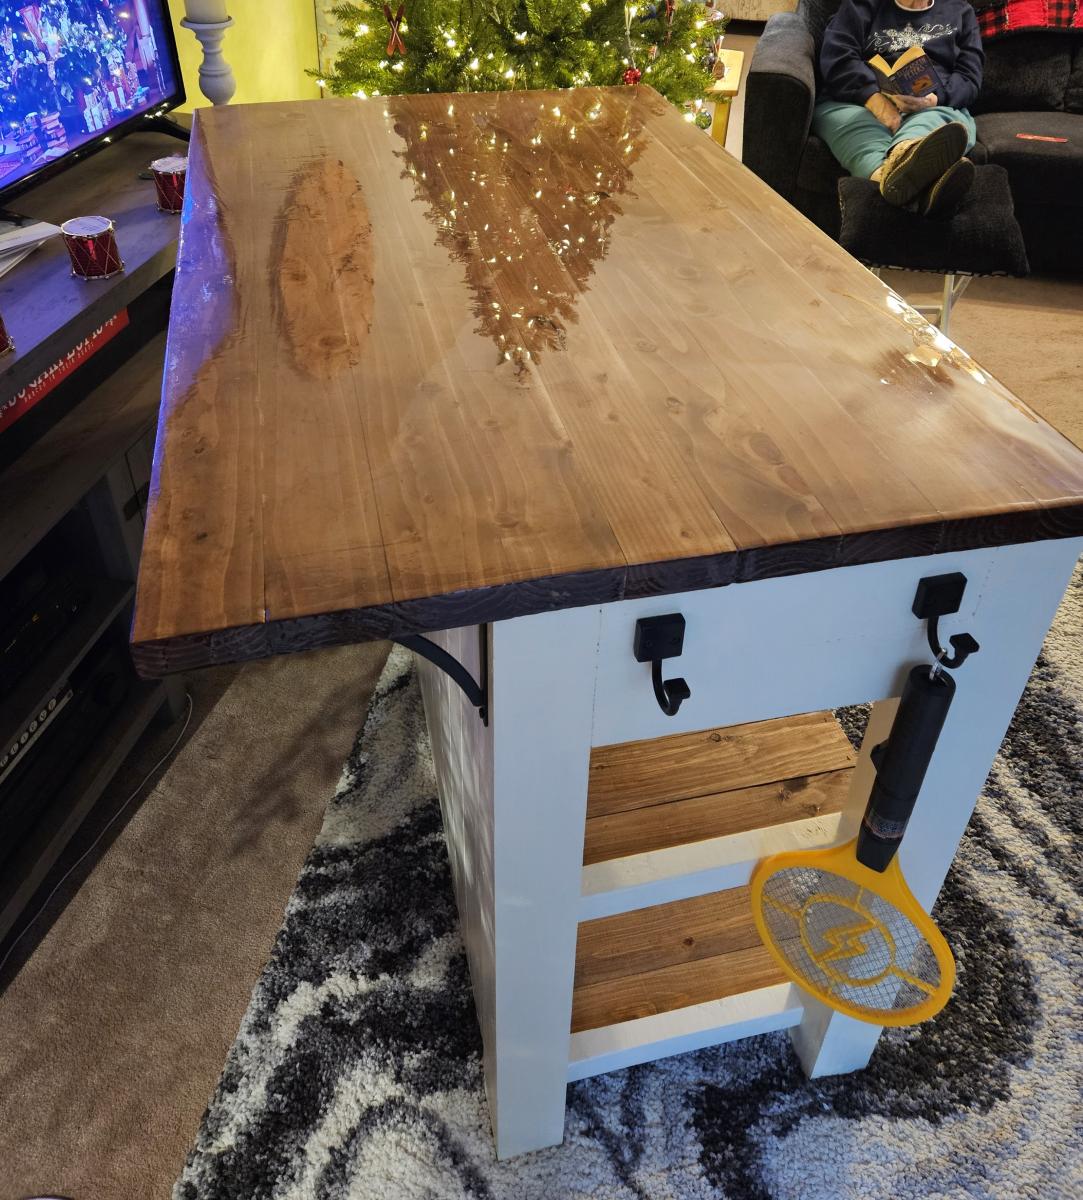
Our daughter lives in a small attic apartment that doesn't have much counter space or cupboard space in the kitchen. So my husband and I designed and build her a kitchen island for more usable space and a place on the back she can put stools and she can use it as an eating bar as well. It took us almost 2 weeks because we were trying to build it in the garage below her apartment when she wasn't home. Her reaction was perfection! It turned out so great!!!
Rob and Jen Smith

This project was very much needed in my house! My daughter loves playing dress up and is obsessed with all things pink and princess-y. It has been driving me crazy that she doesn't play dress up as much as she wants to, though, and the reason why is because we didn't have a good way to store/display her things. Up until we built this it all stayed in this storage bin, but since you had to pull it out in order to even see it, she never played with it. So once I saw this plan I knew it had to be ours. I'm so glad we did it! It turned out beautifully!
My husband built it (his second woodworking project), and, like his last project, he did a great job. No complaints or issues at all. I primed (although I doubt that was necessary) and painted it. I actually did all of the painting other than the letters before he built it, and that turned out nicely. My only complaint was the letters. I bought some stencils from Hobby Lobbby and used a smaller brush to paint them on. For one thing I wish I had of been more careful and paid more attention to how straight the letters were. For another, although you can't tell unless you're up close, there are spots where the paint pooled up under the stencil. My husband sanded it down as much as he could without messing it up, but it's still there a little. I'm no painting expert so I'm not sure how to go about doing this without having that happen. Even with those things, though, I'm so happy with it, and my daughter has been happily playing dress up all week!
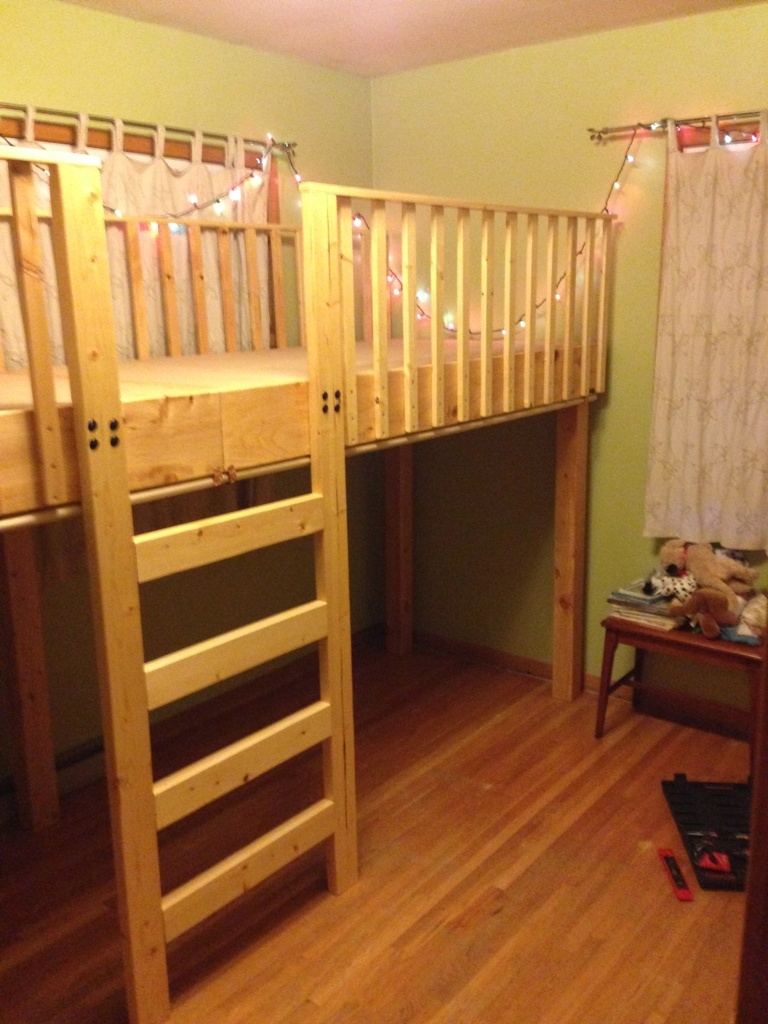
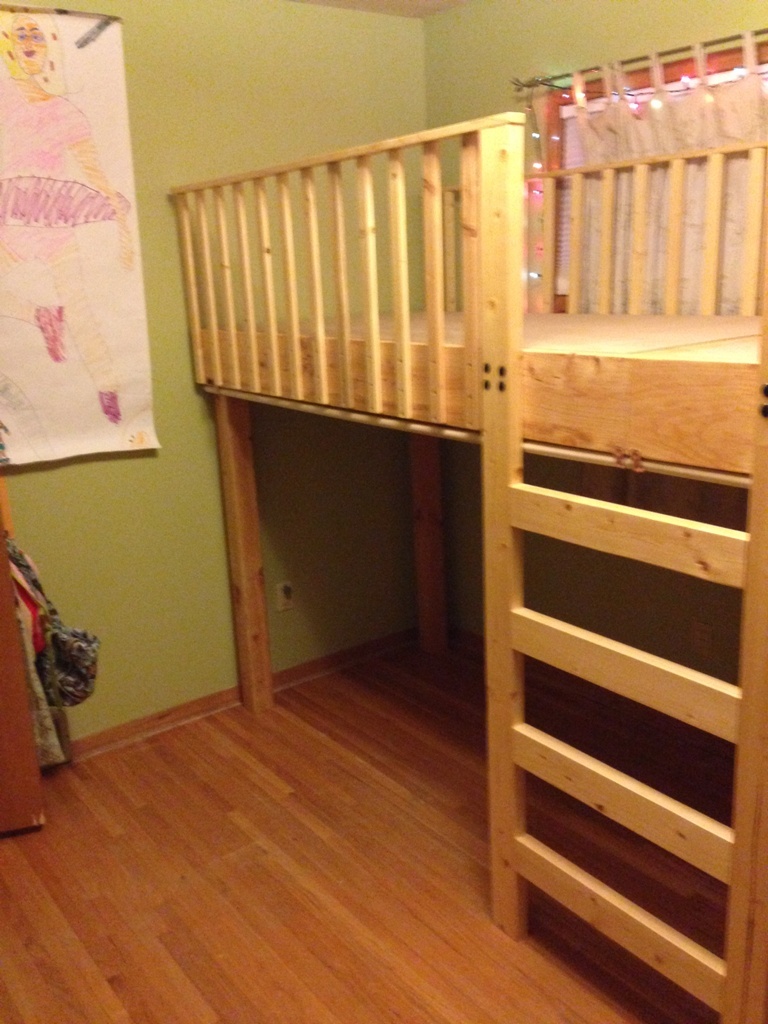
My sister asked me to look into building a double loft bed for my two nieces, since the younger was outgrowing her bed and found a plan for one from "The Hand Made Home". http://www.thehandmadehome.net/2011/08/how-to-build-a-loft/
I didn't love how their plan had a rope ladder and no center support in back, so I changed that up. Took around 50 hours work time total, but was a lot of fun and both of my nieces totally loved it, so it was well worth the time and energy! :-)
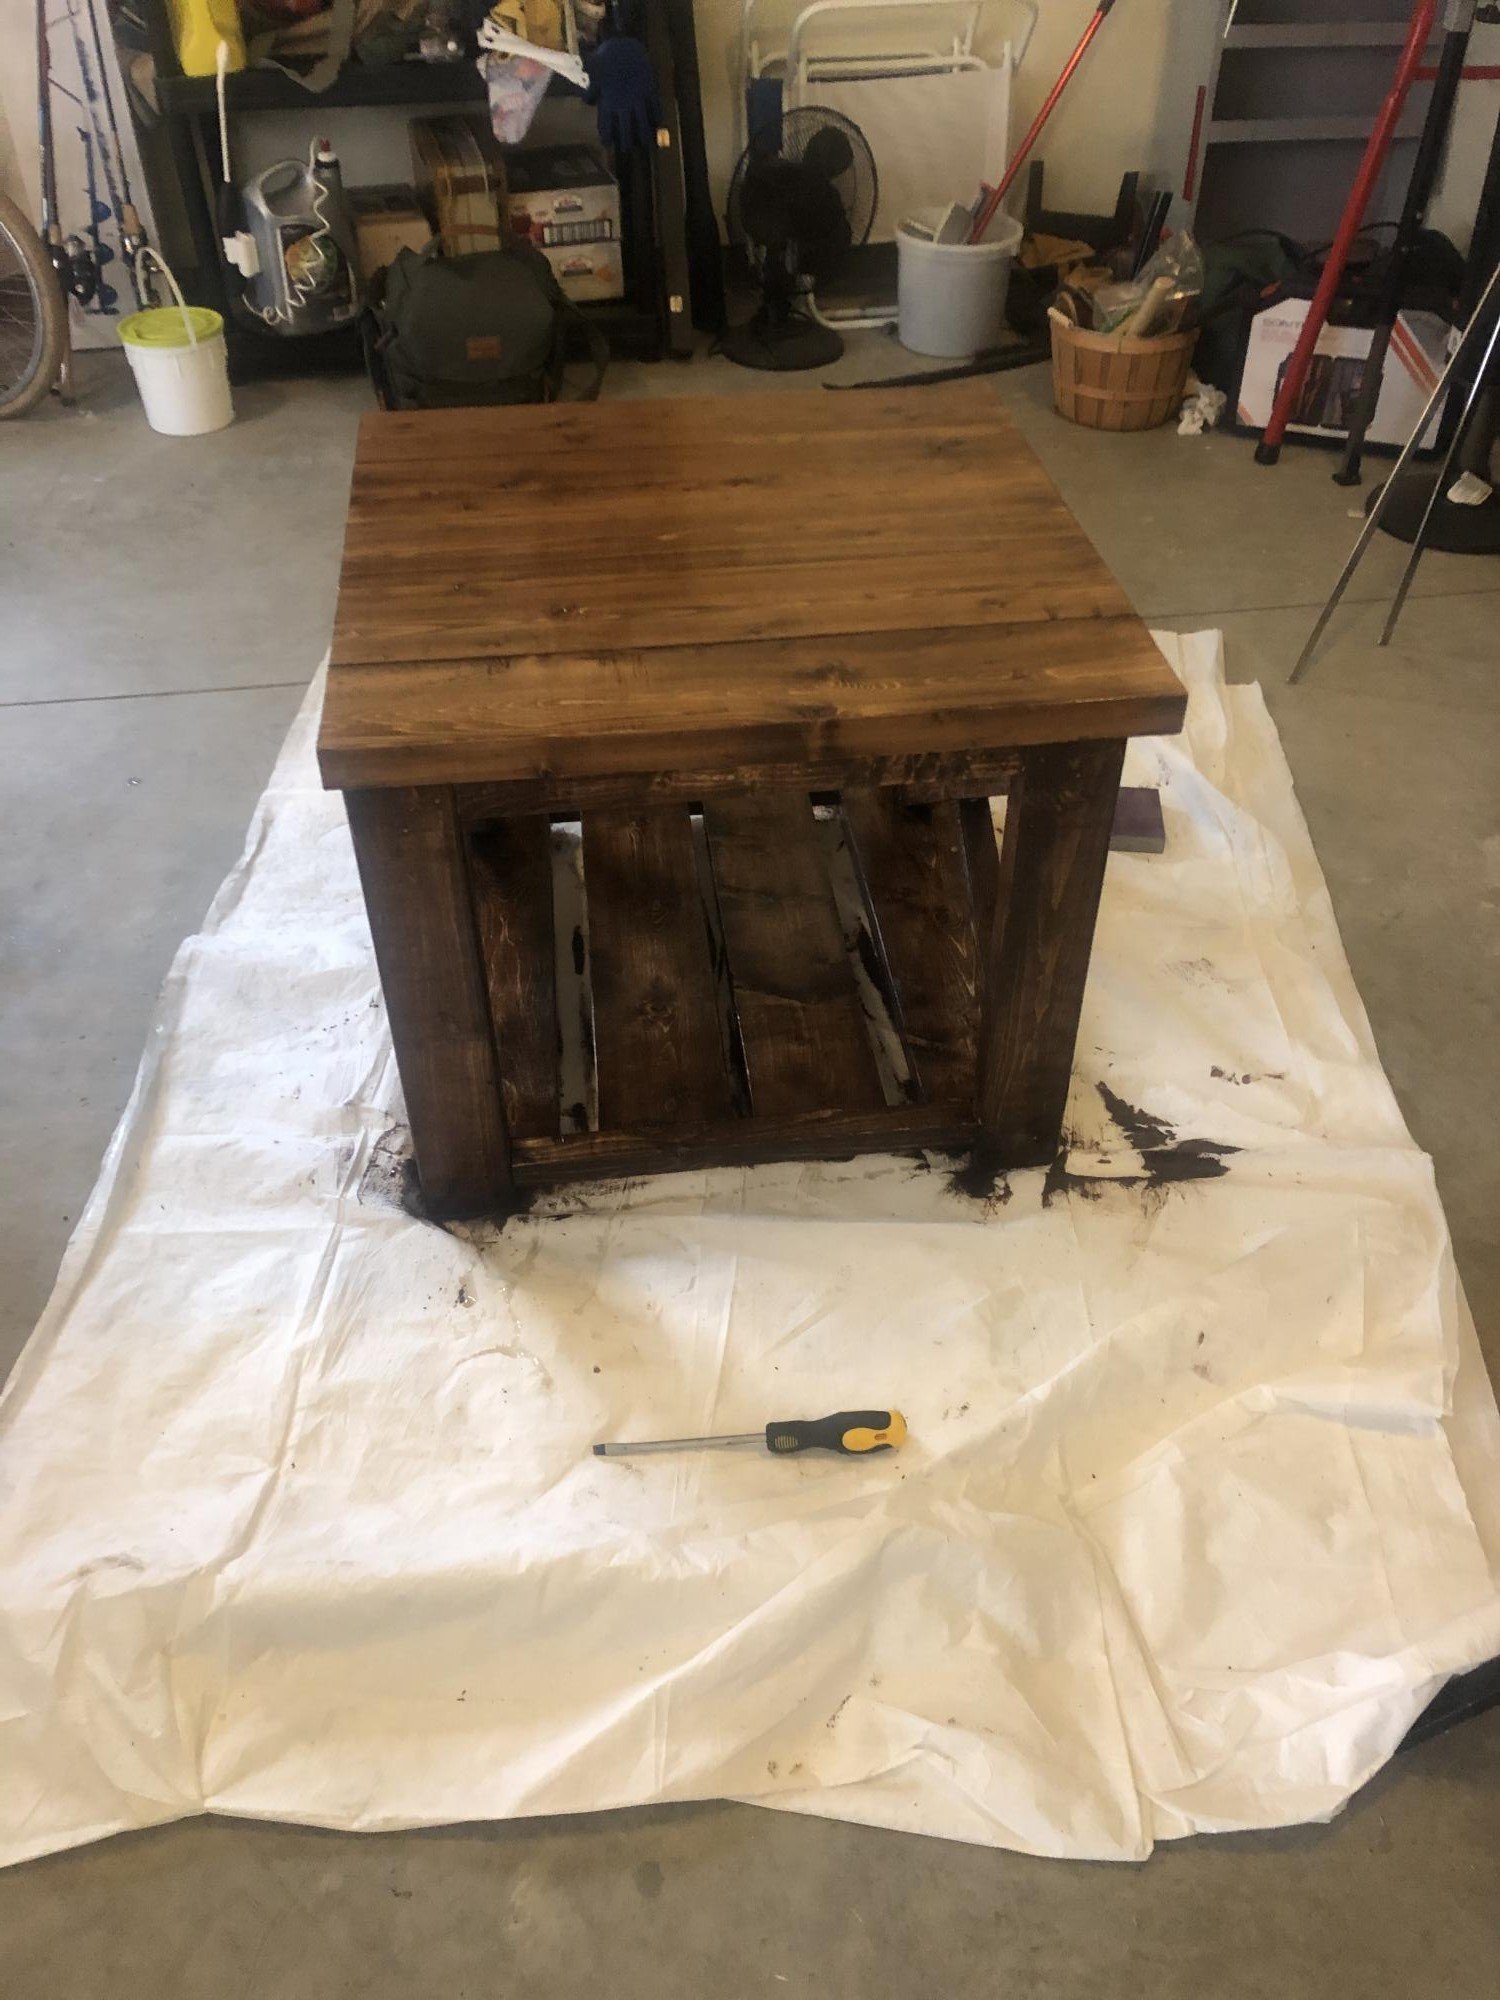
Doing the whole set of rustic coffee/end tables 1st one done! Thanks for the plan!
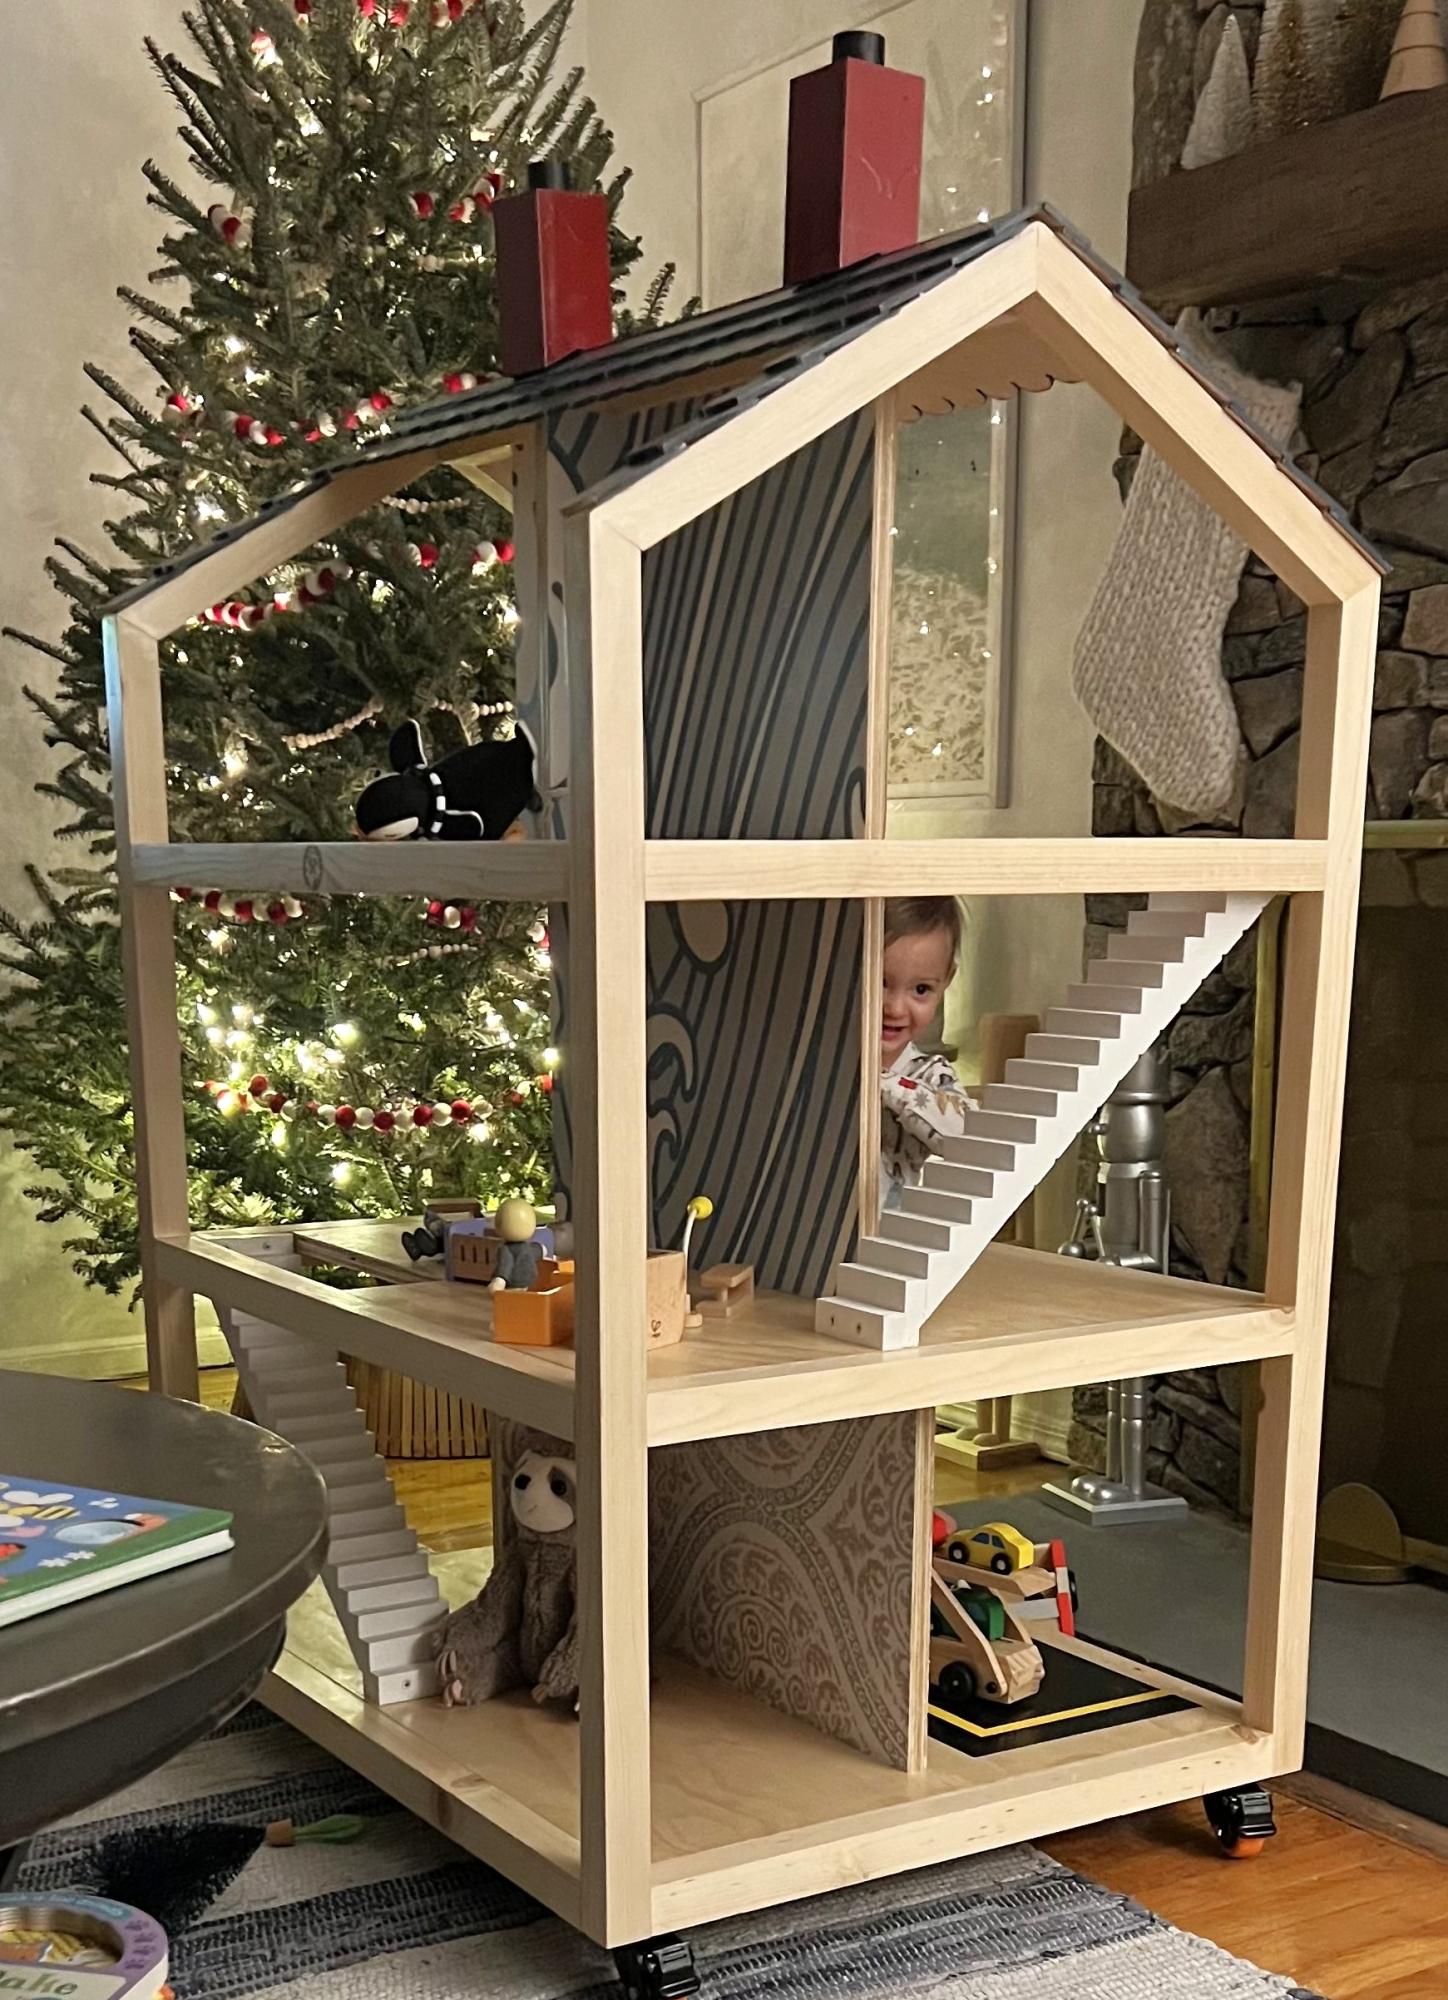
Made this for my granddaughter Kellan.
Daniel Richards
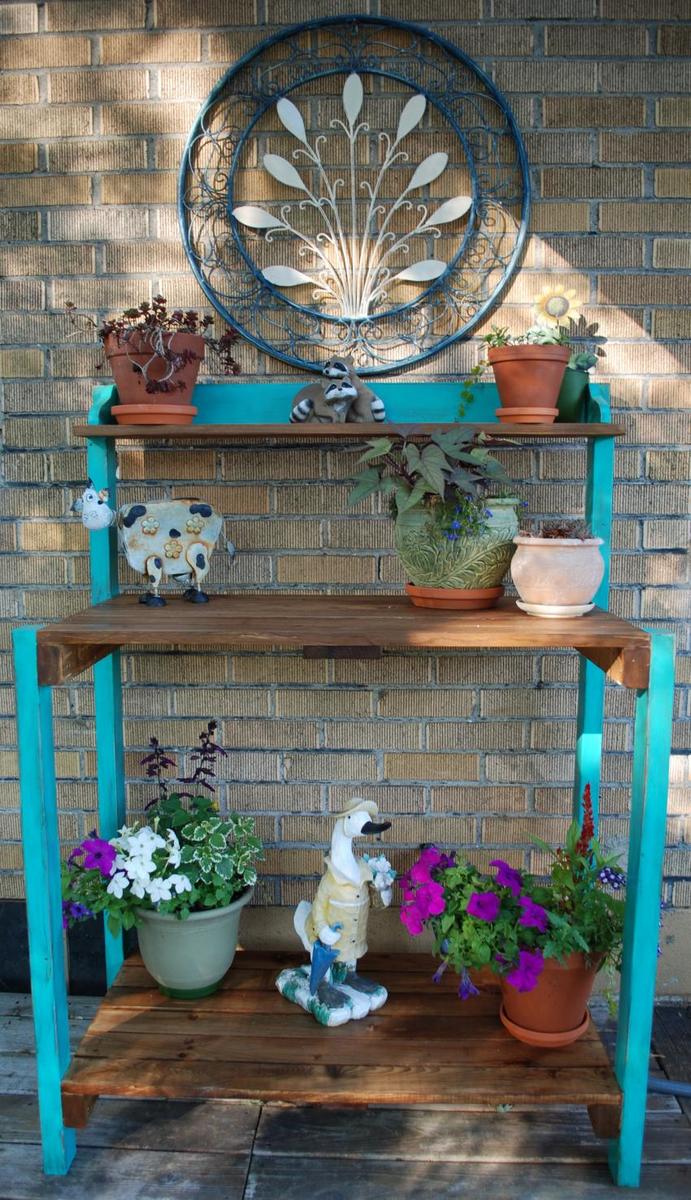
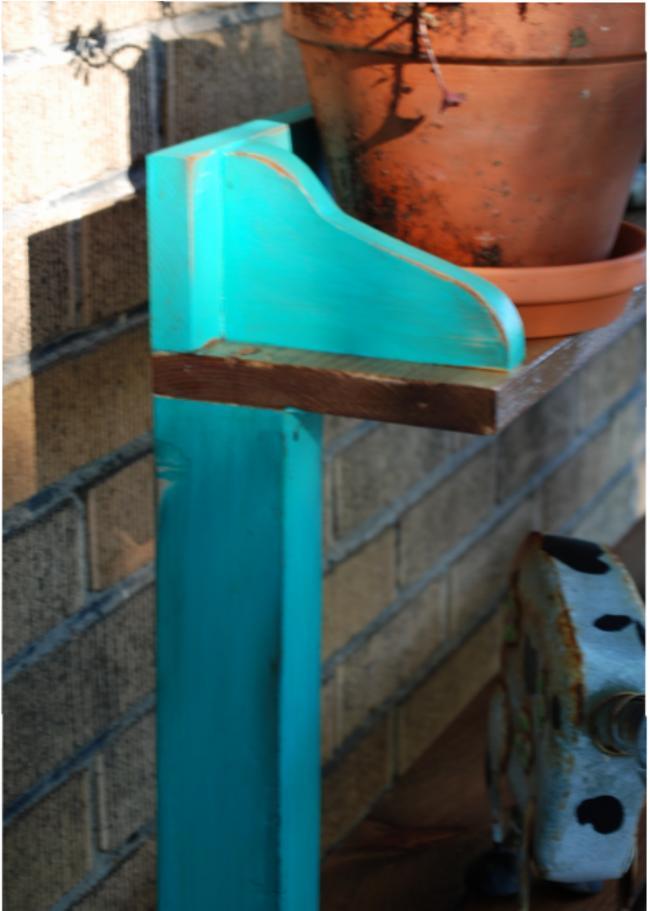
This is a very simple weekend project, it took longer to put the finish on than to build it. It is made out of spruce and pine shelves. The finish is done with homemade vinegar steel wool stain for the shelves and paint for the legs. We distressed the legs by sanding and wiping stain in some areas. Finished with 3 coats of exterior poly.
Sun, 07/29/2012 - 15:37
I love the potting bench that you want to build from the Southern Living magazine.
How can I get my hands on those plans?
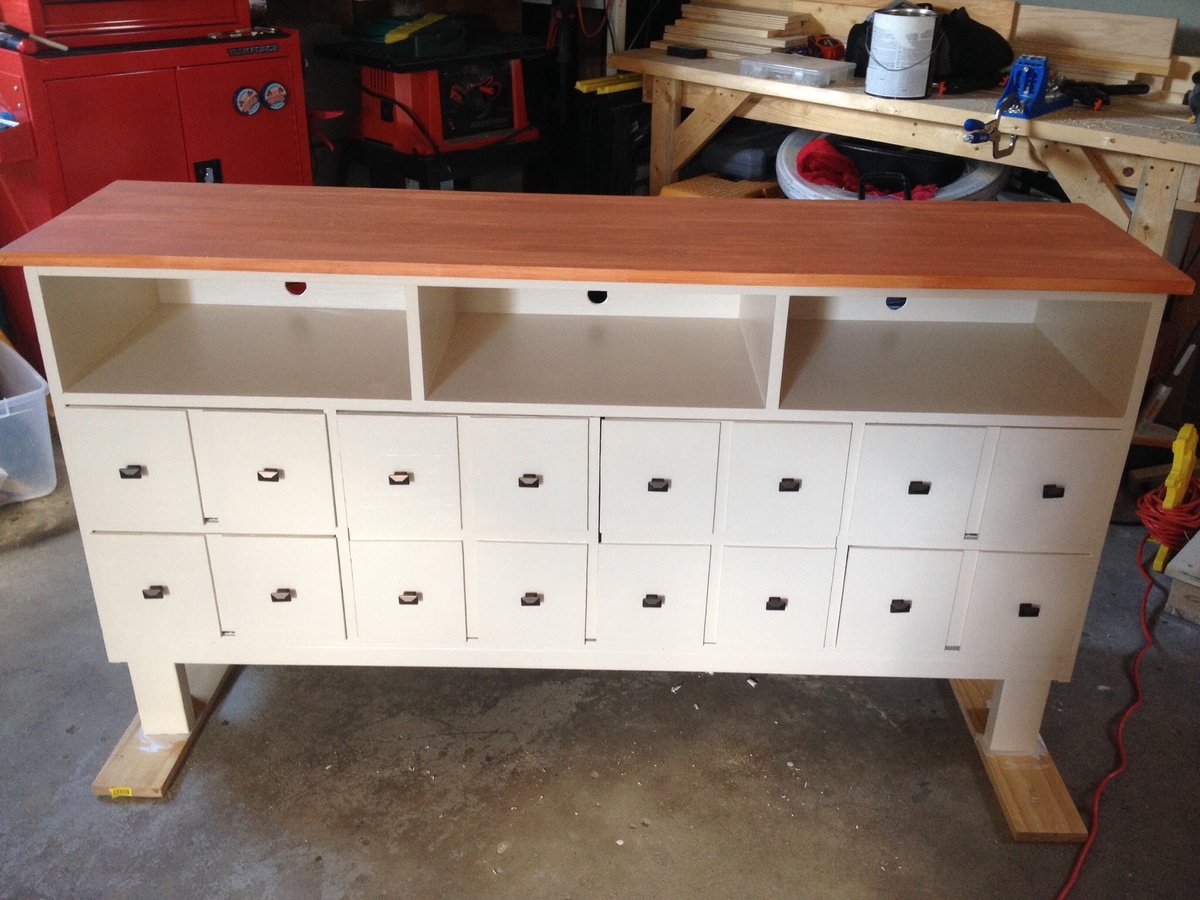
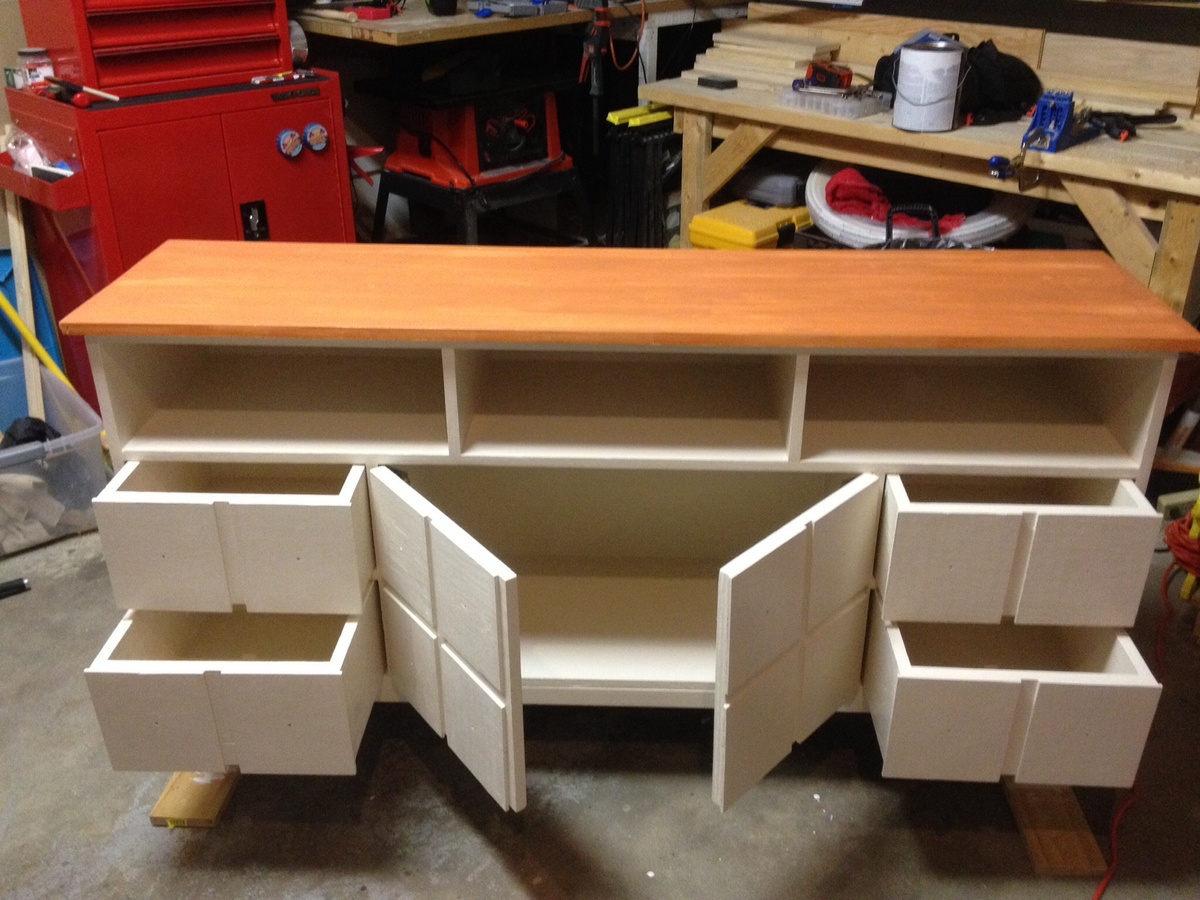
Built straight off the plans except I added drawer slides.
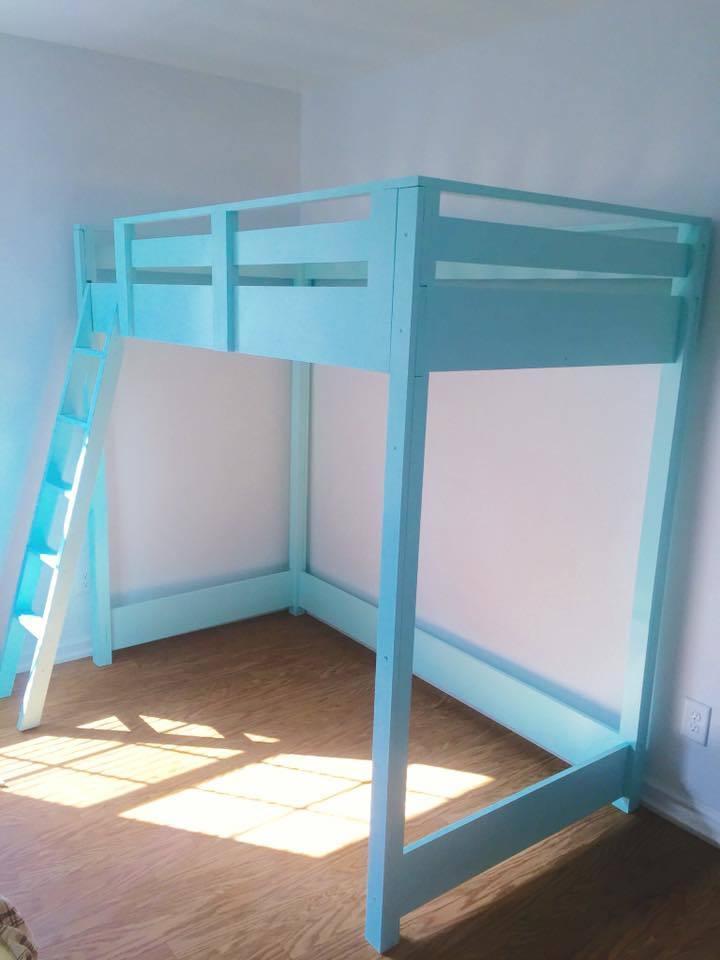
Those angles on the ladder are challenging. This is our first time building any furniture. Thak you Ana W
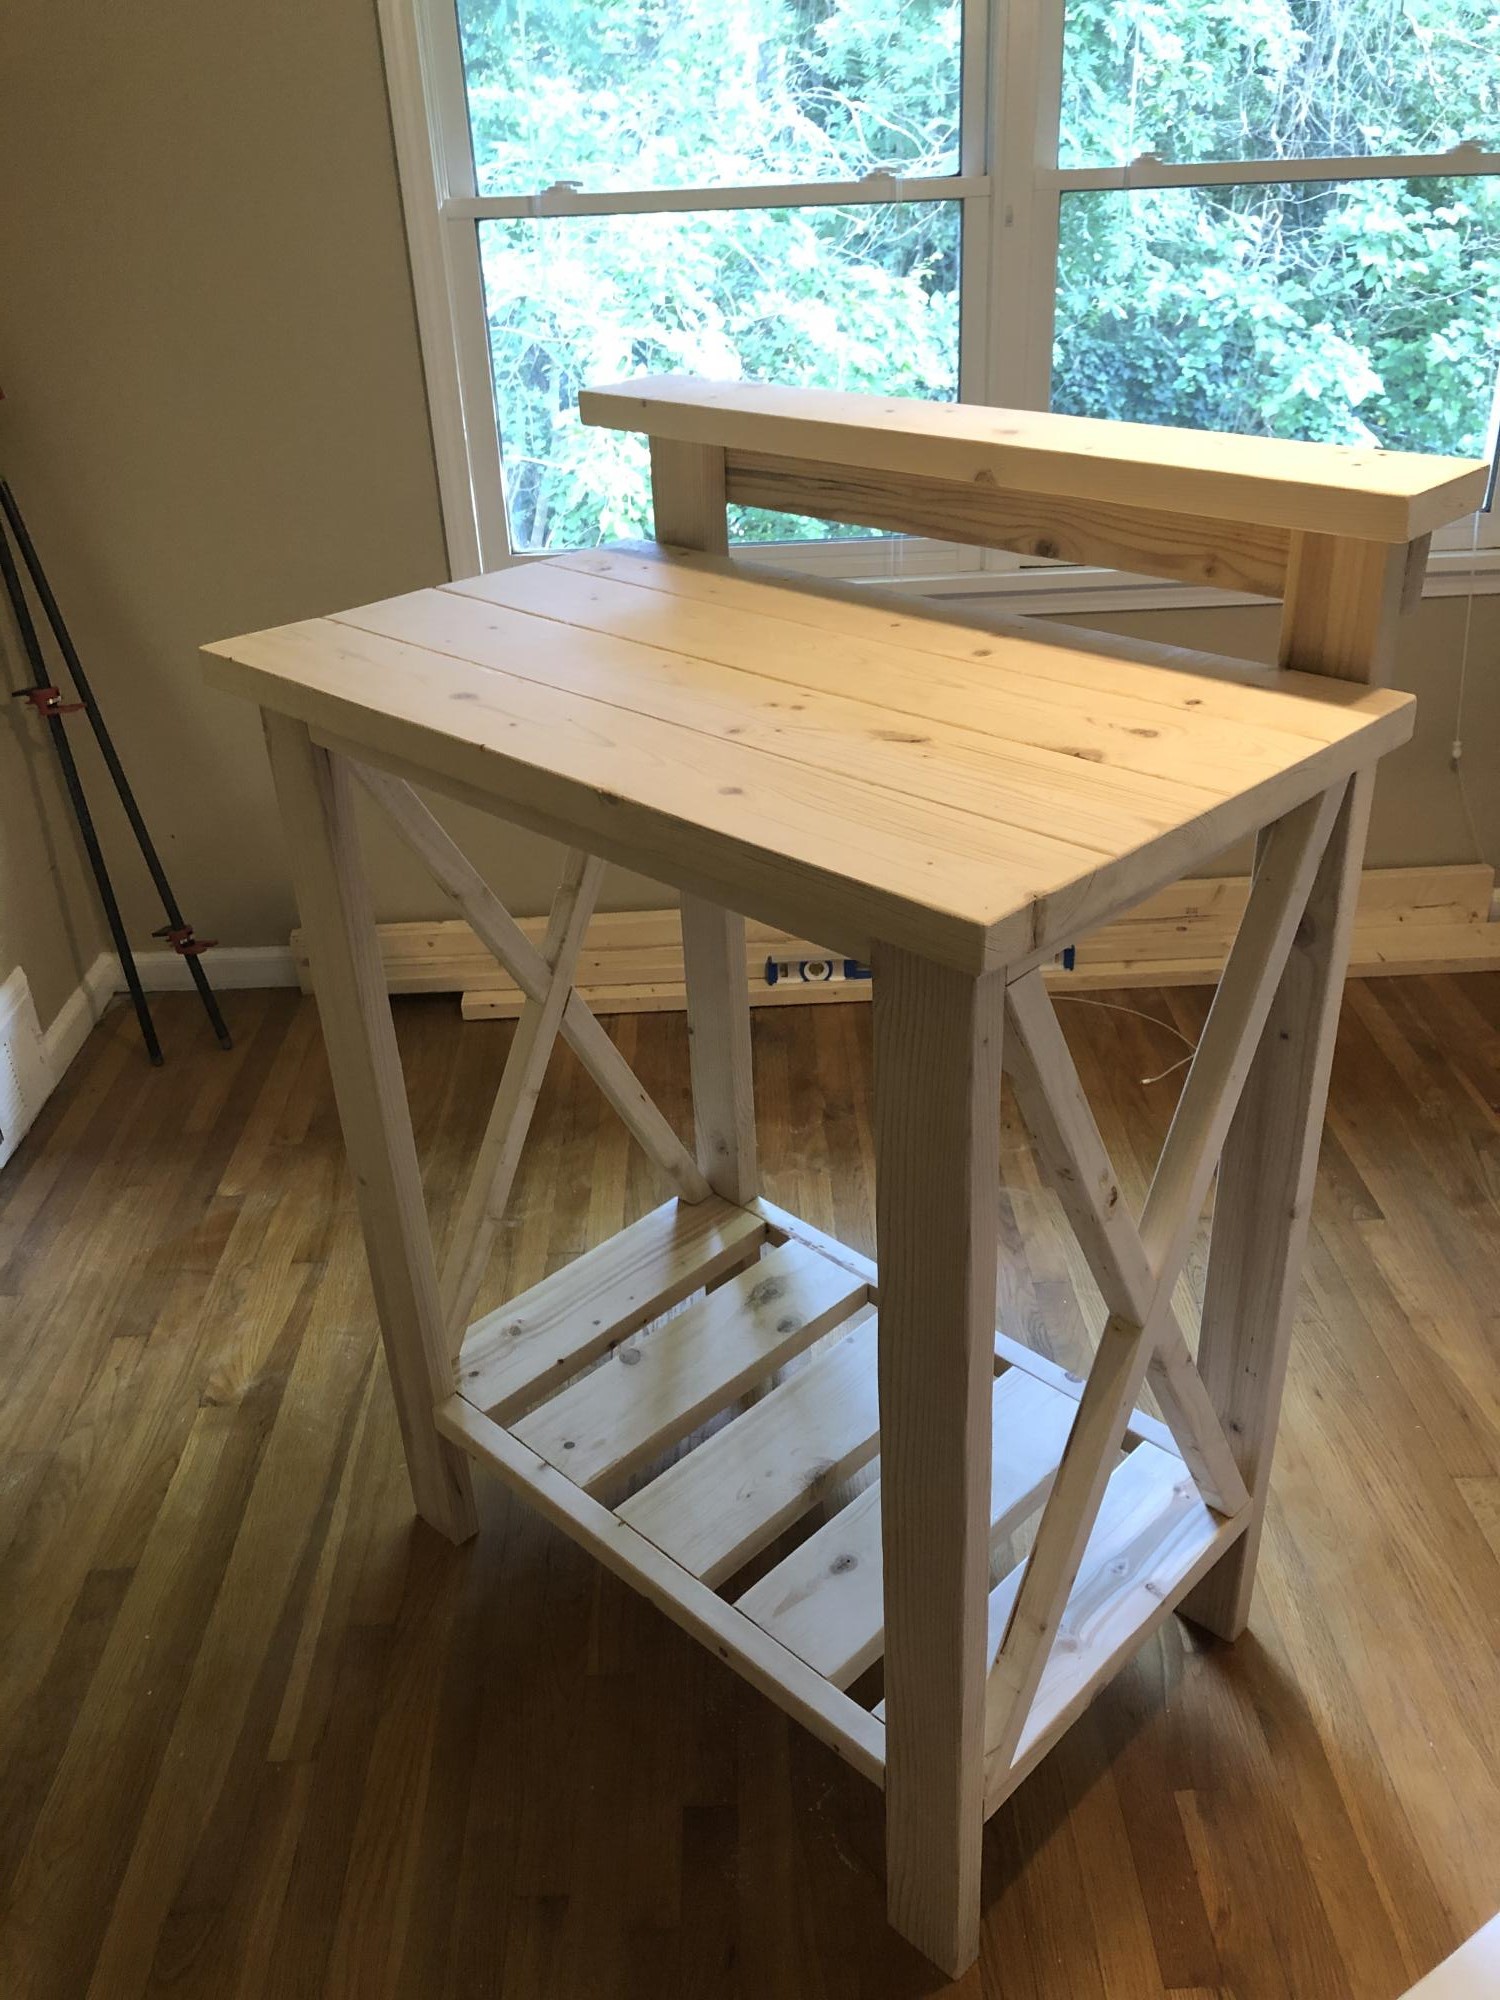
Hello! I used the plans for the Farmhouse Potting Bench and modified them to make a standup desk. This has been awesome for making a simple but effective desk during the quarantine.
Tue, 07/14/2020 - 07:10
This is great! I was thinking of modifying the potting bench plans as well, to build a kitchen unit. My stove recently bit the dust, and seeing as I never use the oven anyway, I'm hoping to build a convection plate cooking unit to put in the old stove's place. I'll probably pop some doors onto it and have closed storage underneath.
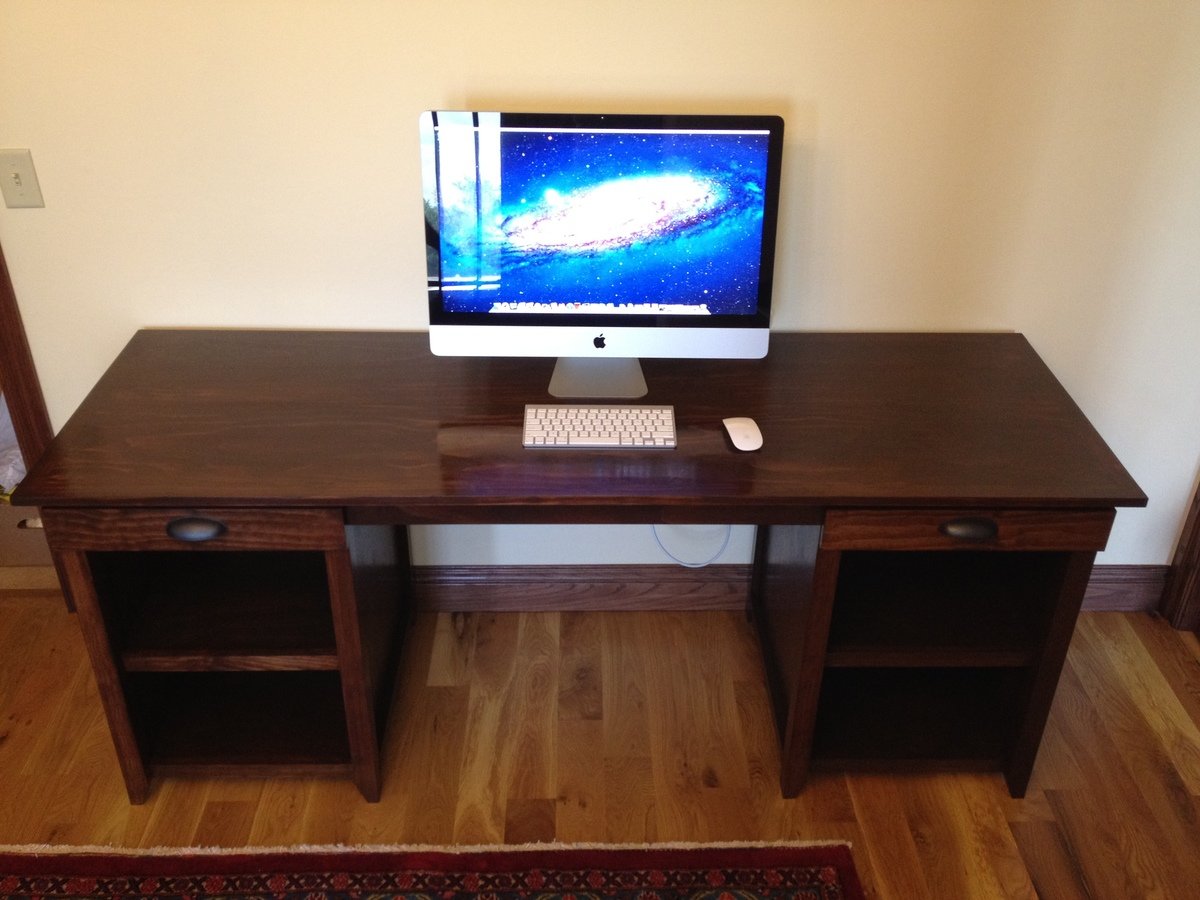
We made some alterations to Shanty2Chic's design. Rather than one side open we made two cabinets with drawers. It made it a little longer and deeper than expected but we are still happy with the desk.
We have a six month old baby, so we build during naps and when we can convince grandma to watch her.
Sun, 07/01/2012 - 16:21
Wow, this looks amazing! Looks better than what you would see at a furniture store, and the finish is so beautiful! Awesome job.
Wed, 08/22/2012 - 20:44
Ji,
If you are finishing soft woods, especially pine, it is woth the few dollars it costs to but some pre-finish wood conditioner. The conditioner will help eliminate the irregularities in stain color on soft woods. It doesn't really cost too much and it really does help eliminate blotches, streaking and helps get a more consistent color.

This was my first project! I love this site. My husband and I needed a work space we could share. I loved the width of the craft table so I extended it to the full 8ft of plywood available and added a support shelf. Voila! Table for two!


