Storage Leg Desk
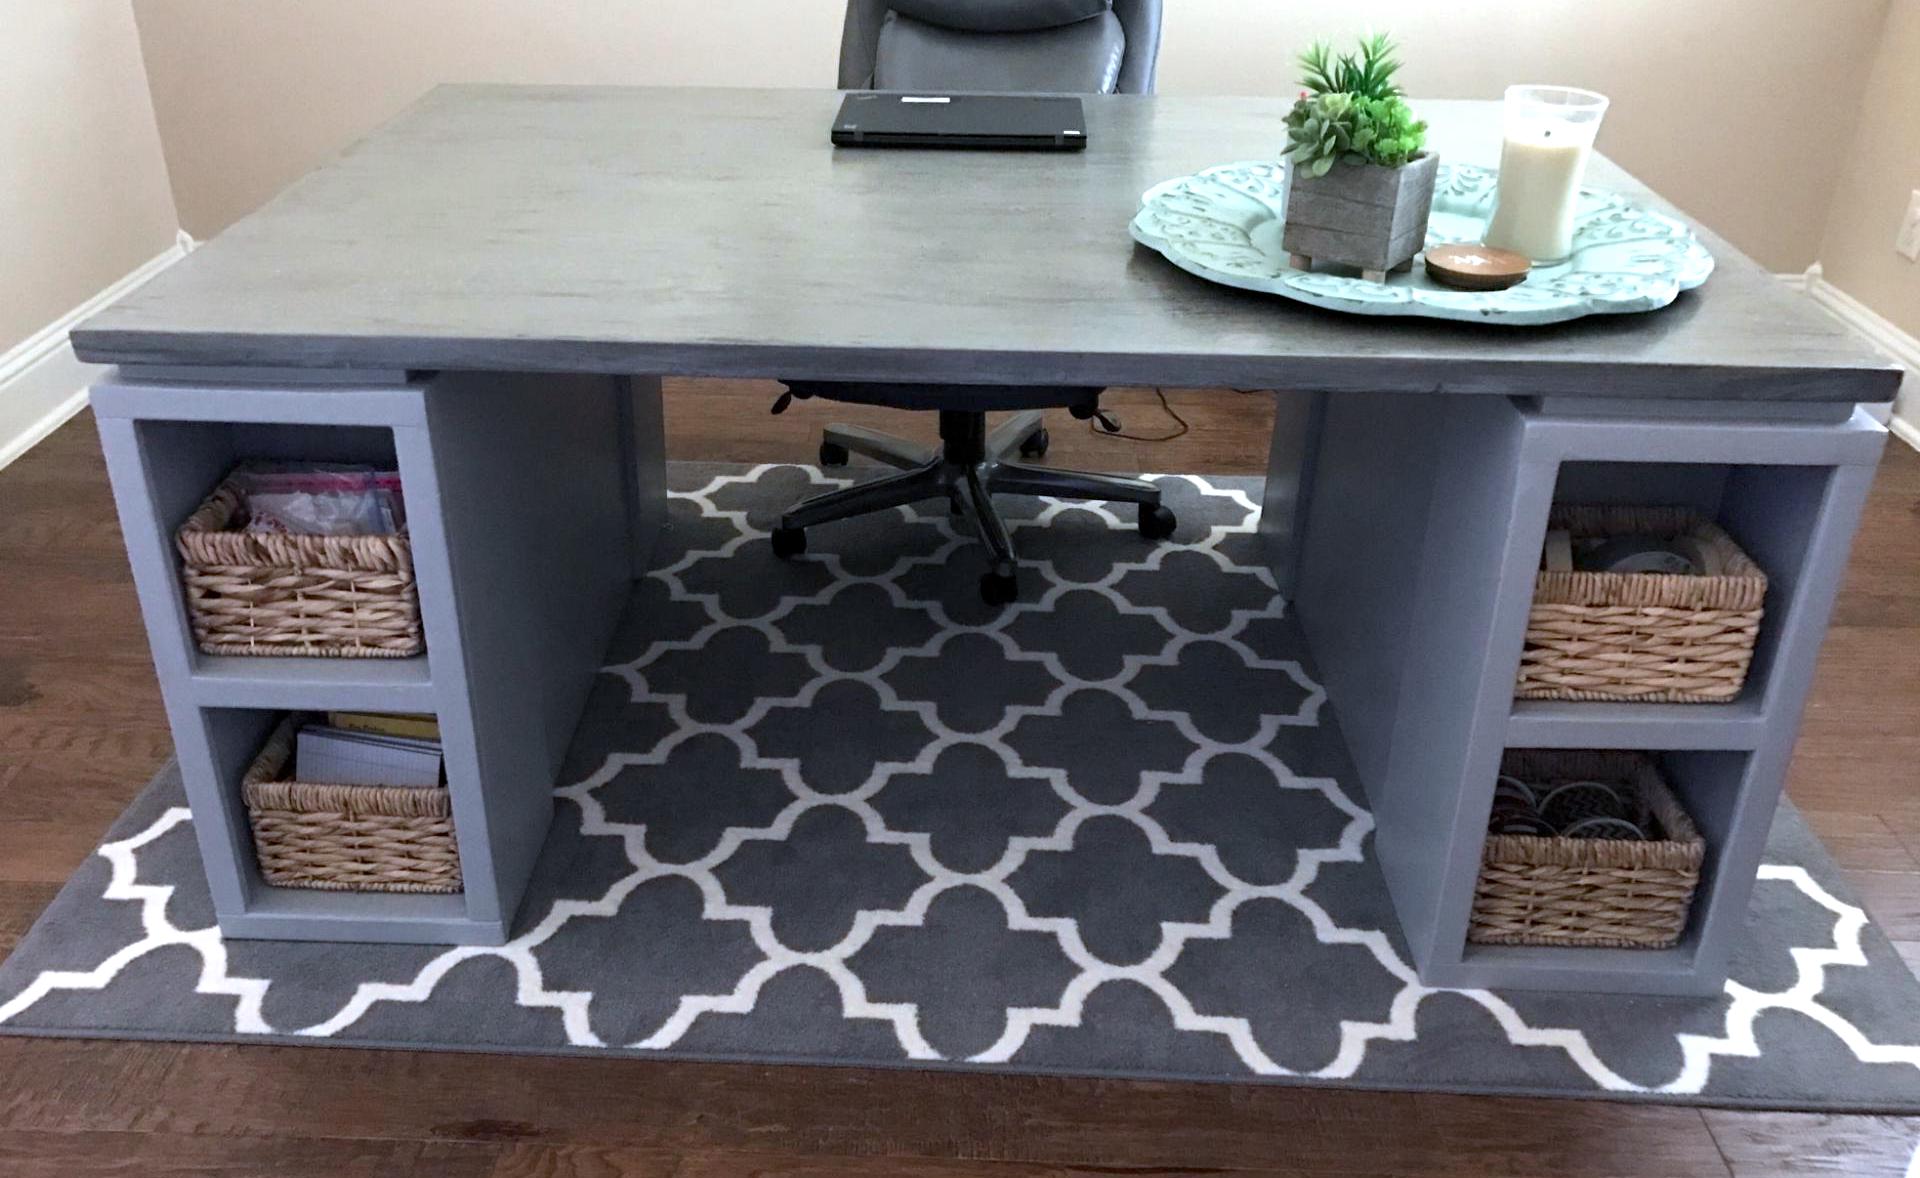
I made this for a friend! She has cubbies on all four corners.

I made this for a friend! She has cubbies on all four corners.

I love your plans and love making things for my family this is for my sister's flea market store!
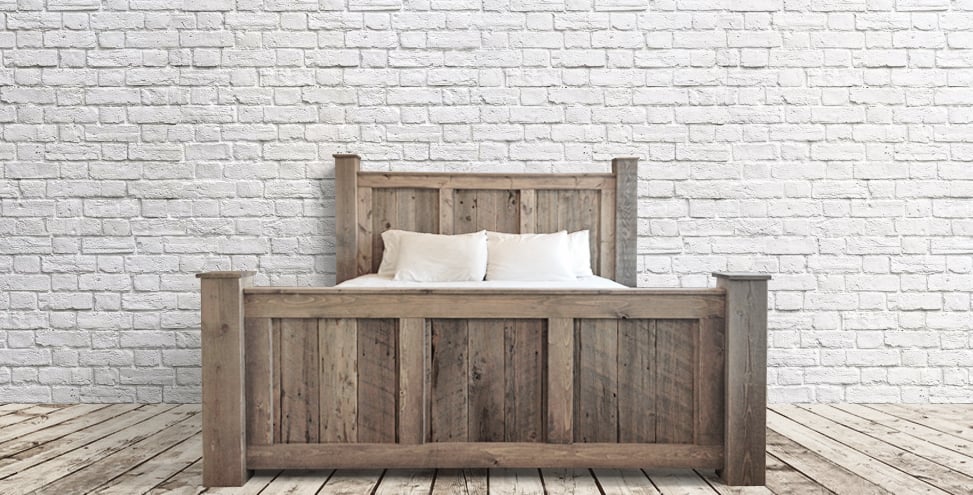
My wife is always annoyed with me. I make something for our home, and a few months later I decide I dont like it and want something better! I sold our 5th bed set months ago (Farmhouse Bed made through Ana White) and have been sleeping on the floor for the last few months.. Figured it was time to create something I wouldnt sell! Took some plan ideas from the Farmhouse King Bed Plans and came up with something a little more extravagent.
Hopefully I dont sell this one.
In reply to Whoa! by Ana White Admin
Wed, 01/14/2015 - 18:49
Thank you very much!
Wed, 01/14/2015 - 21:37
Awesome!!! This is so cool!! Thanks for posting!
In reply to Awesome!!! This is so cool!! by Ana White
Thu, 01/15/2015 - 05:03
Thanks Ana!
Thu, 01/15/2015 - 03:34
Very nice, would love the plans for it as it is awesome! :0) I need a new bed as well upgrading from queen to a king. :0)
Thu, 01/15/2015 - 05:06
Thanks thewoodbuilder, its super easy and you could probably figure it out just by looking at it. =)
I extended the legs 2" past top of footboard, and 4" past top of headboard with caps on top. And layed 1x4 vertically over top of the 1x6 planks, and horizontally across the top of both foot and head board.
Cheers!
Justin
In reply to Stain technique by tbednarick
Fri, 01/23/2015 - 13:50
Lol, actually its one that Ana wrote a small tutorial on! im not sure where her Finish tutorials are on this new site but im sure you can find it somewhere.
Fri, 01/23/2015 - 15:05
I found the tutorial at http://ana-white.com/2013/05/vintage-graybrown-stain-pine. Thanks for mentioning it.
In reply to Thanks! by tbednarick
Sat, 01/24/2015 - 13:06
great! be sure to mix that weathered oak well!
Wed, 01/21/2015 - 20:47
This bed is gorgeous!!!! If you don't mind I have a couple of questions... For your stain combo of Weathered Oak and Special Walnut do you layer the weathered oak, wipe it off then apply special walnut? Or do you mix the two stains? Your footboard looks taller than the plan calls for , did you make it higher , if so by how much? And what dimensions are your footboard posts? This seriously is an amazing build. Great job!
In reply to Awesome! by tracygator
Fri, 01/23/2015 - 14:04
Thank you! I don't mind at all. =)
The stains I do seperataely. I start with weathered oak and let sit for 15min, wipe off. Than do special walnut right after for 15min than wipe off. I repeat this until I like my color. From the farmhouse plans I really only took the planking idea and how to attach planking section to legs. The foot board is higher by 11" while the headboard posts are higher by 10".
The posts are reclaimed fir 6x6's. Thank again very much tracygator! Its a super easy design! if you have any other questions just let me know. =)
Cheers,
Justin
Sun, 03/01/2015 - 08:13
Okay.......how much do ya want for the bed? ........
Ha! Seriously, it's beautiful and a source of inspiration,
Sat, 05/23/2015 - 20:13
Do you have any other pictures of the side rails? I'm curious how you did them? Specifically, how did you mount them to the head and footboard?
My first project of this size. I think it turned out great! Did a gray weathered stain and drybrushed bright white over the base. Sanded the top 60, 120, 220, 320, and just for fun I finished it with 1000 grit. Stained dark walnut, finished with three coats of poly, sanding 320 in between coats. Love this table!!!!
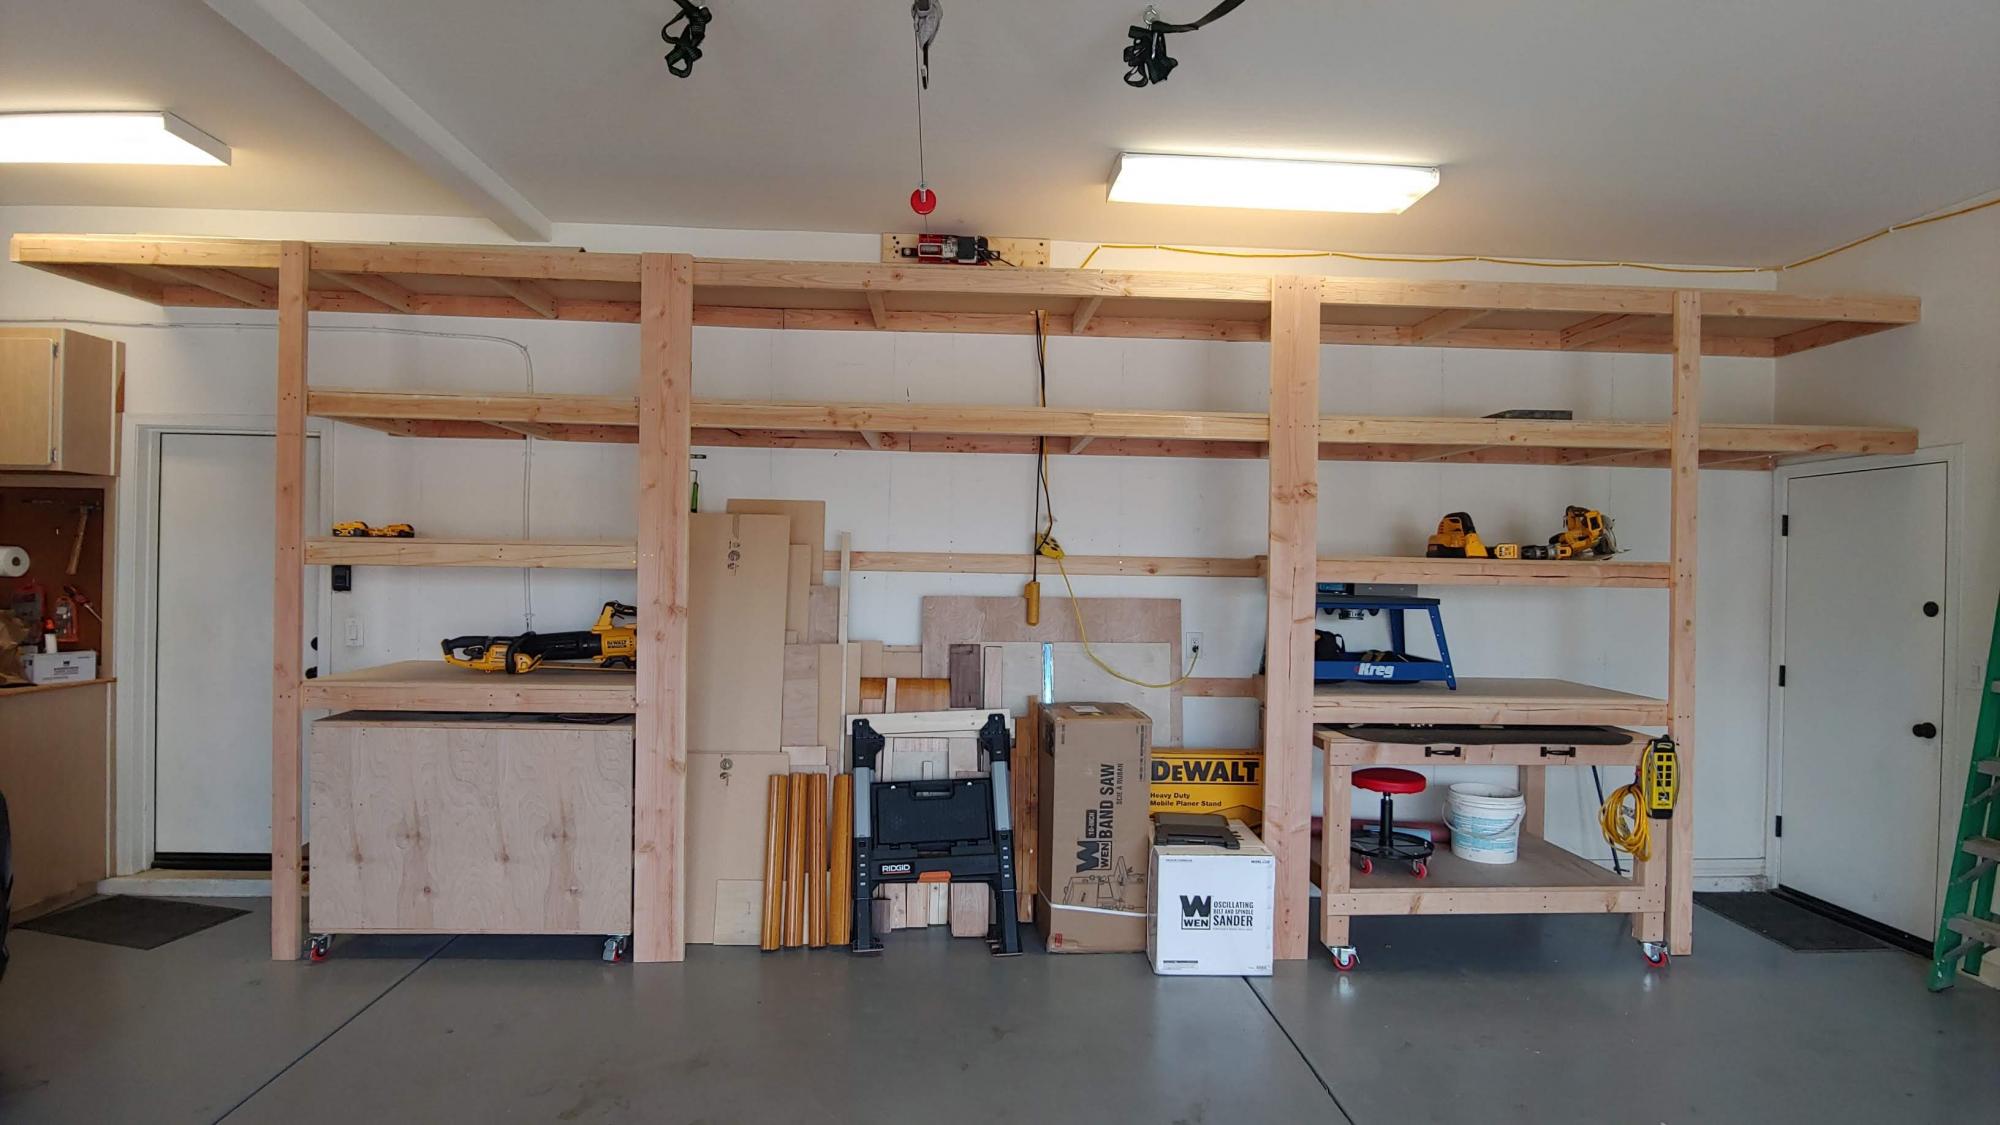
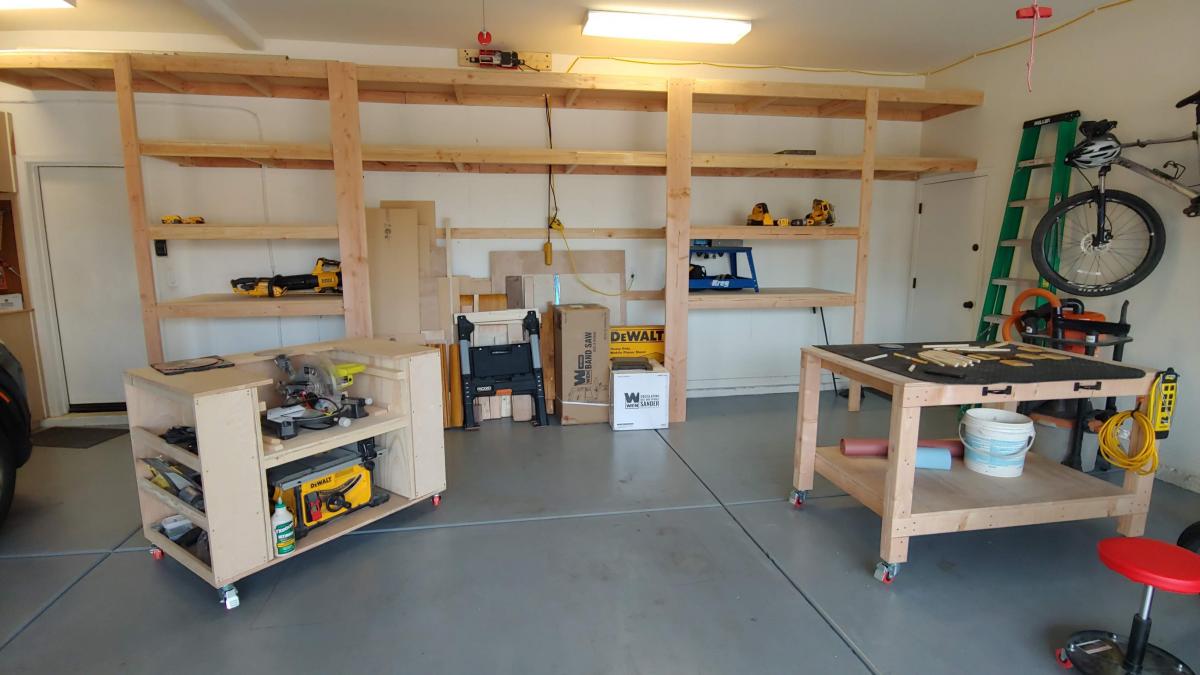
Garage shelving fit to allow workbenches to slide under when not in use.

The well-laid out plans from this site made it a pleasure to build. I used pine for everything and stained with Rust-Oleum Early American. Also, I did three coats of Minwax Clear Satin Polycrylic. My wife and I decided to use 8 hooks because we have two young children who could not reach the top row of hooks.


Mon, 03/11/2013 - 13:42
This is awesome. There is something very fulfilling to have something this nice in your house that you made. Congrats
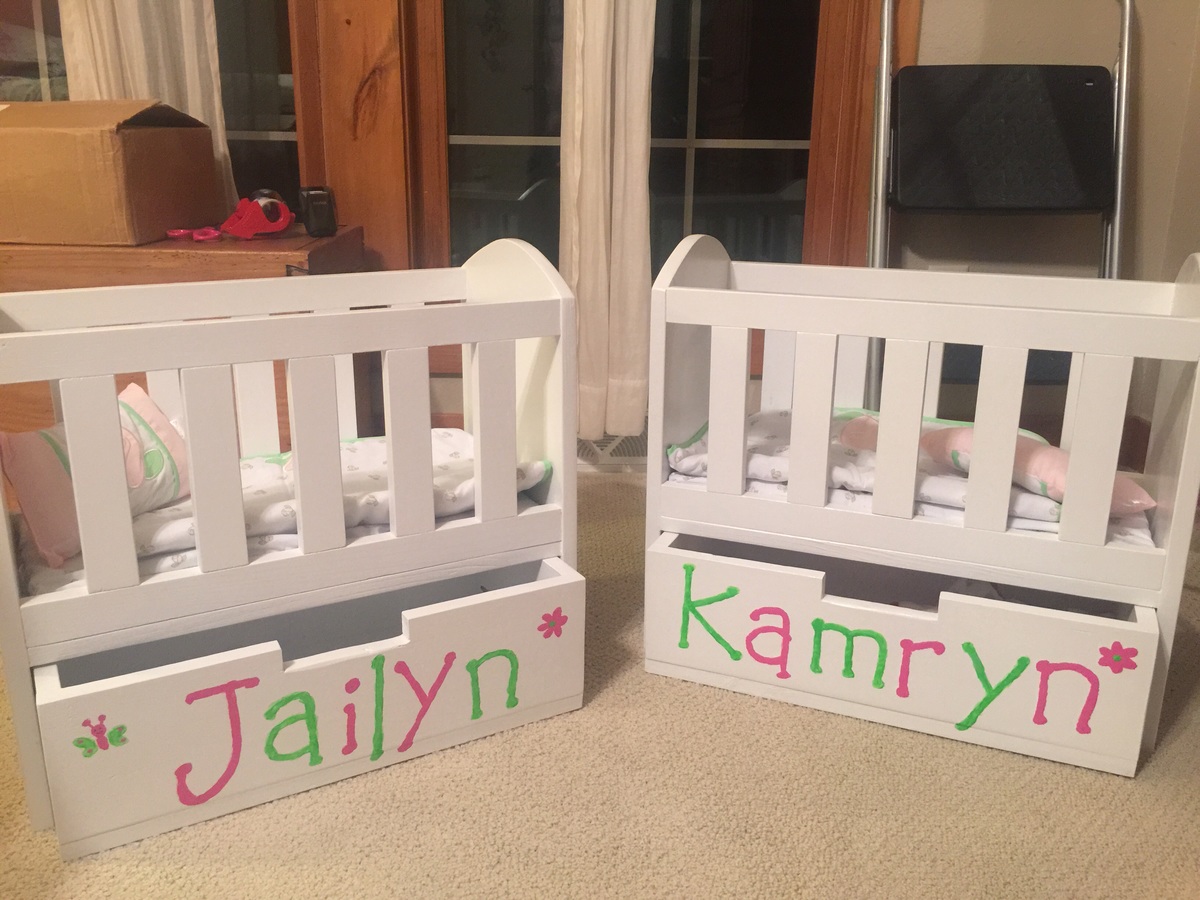
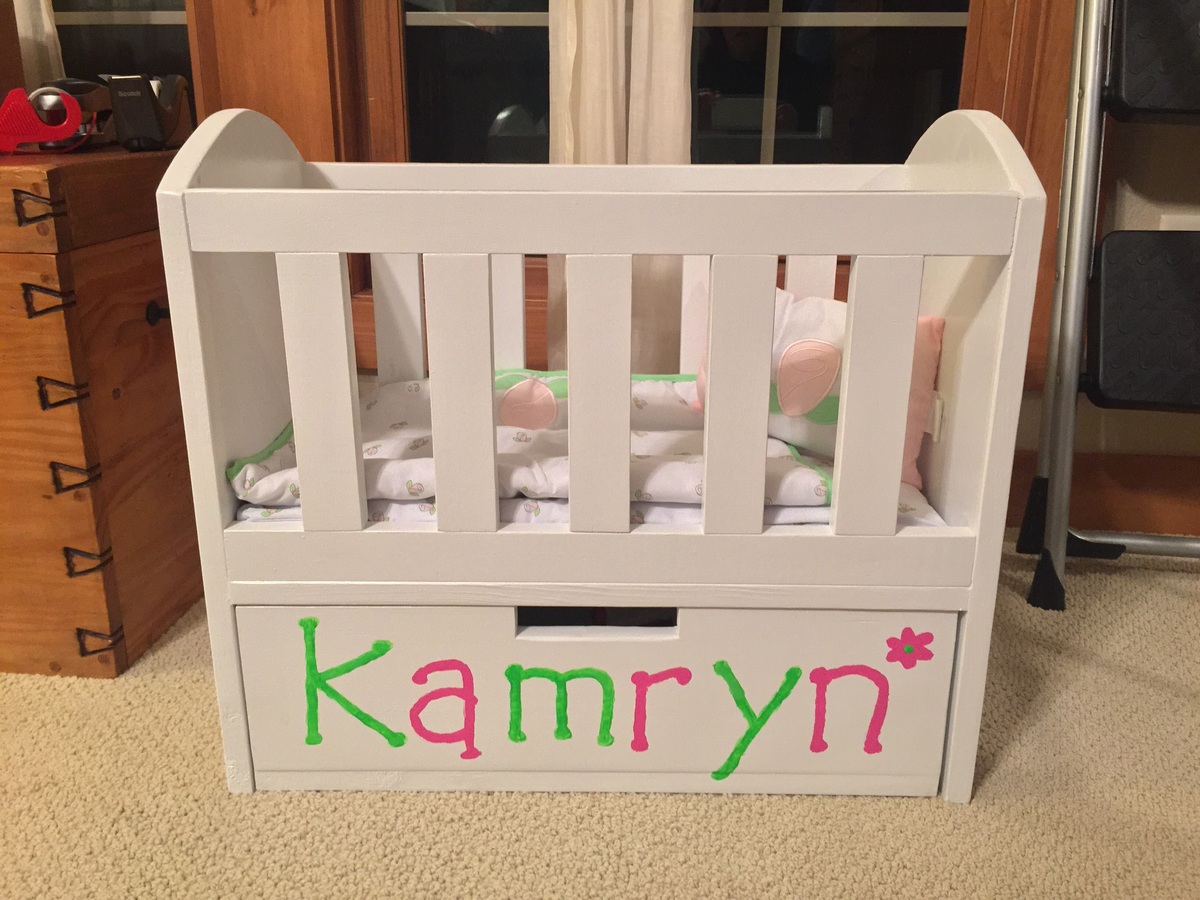
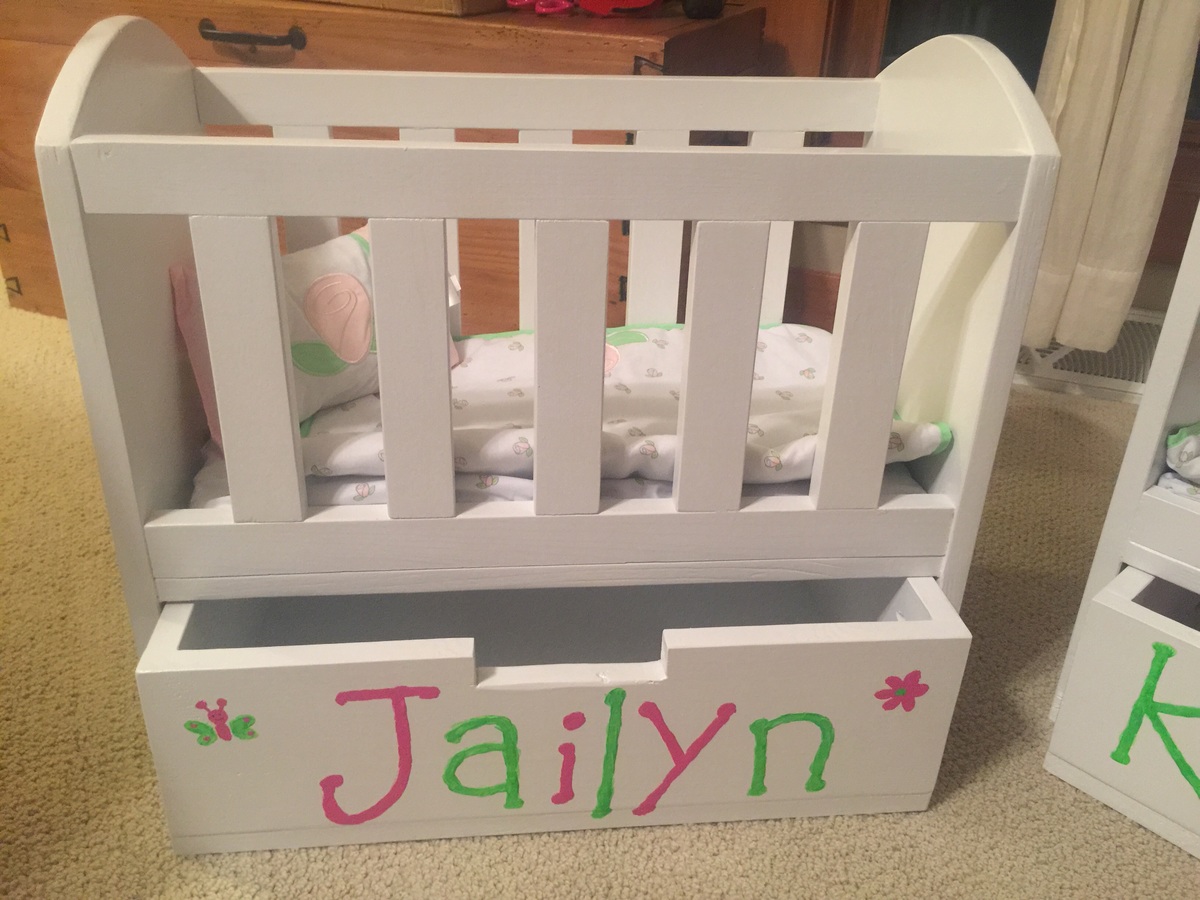
My husband made these for our 5 year old daughter and our 1 year old granddaughter. They turned out adorable! Our first project with a kreg jig, best tool ever! It took a few weekends, but we are also building a house. The longest time was spend waiting for paint to dry!
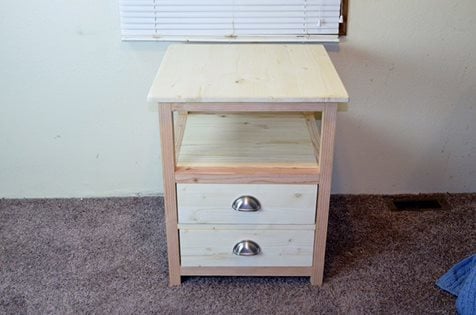
This is the end Table I built from Anna's plans. If you wanna watch how I built this table. go to https://youtu.be/qaFfvO2nfm0
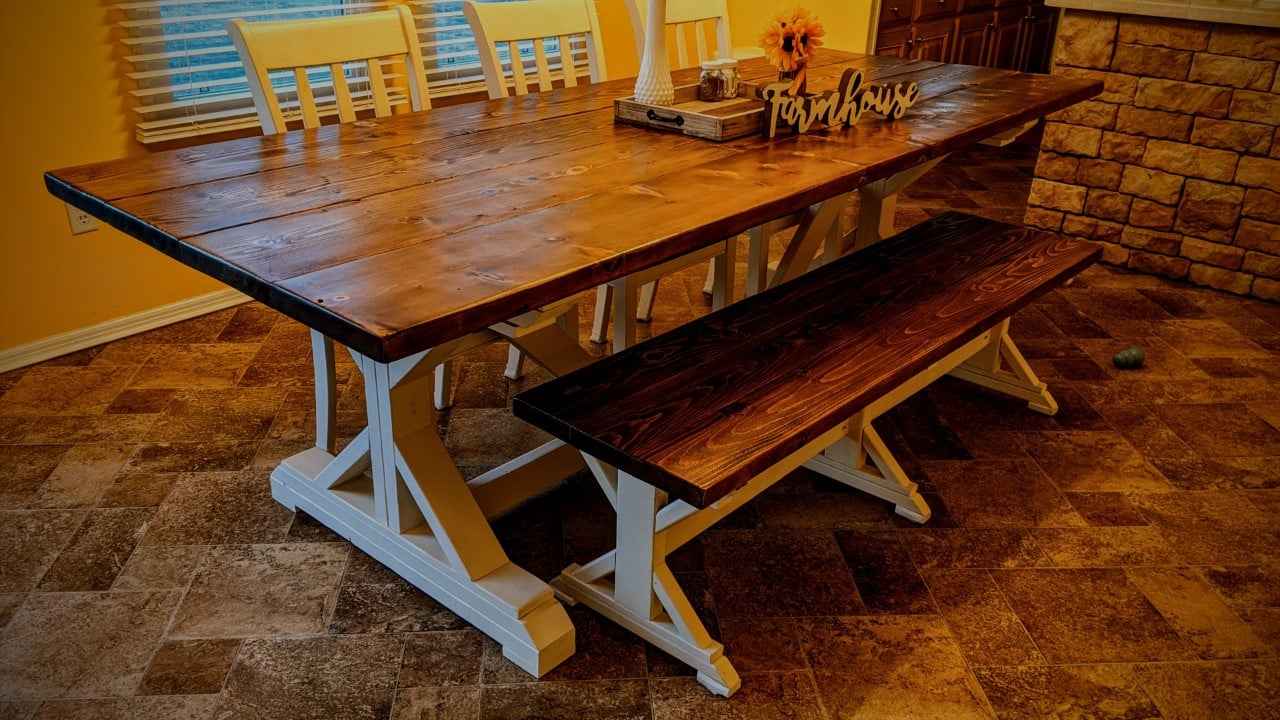
Thank you for the easy to follow plans! This table is a wonderful addition to our home!
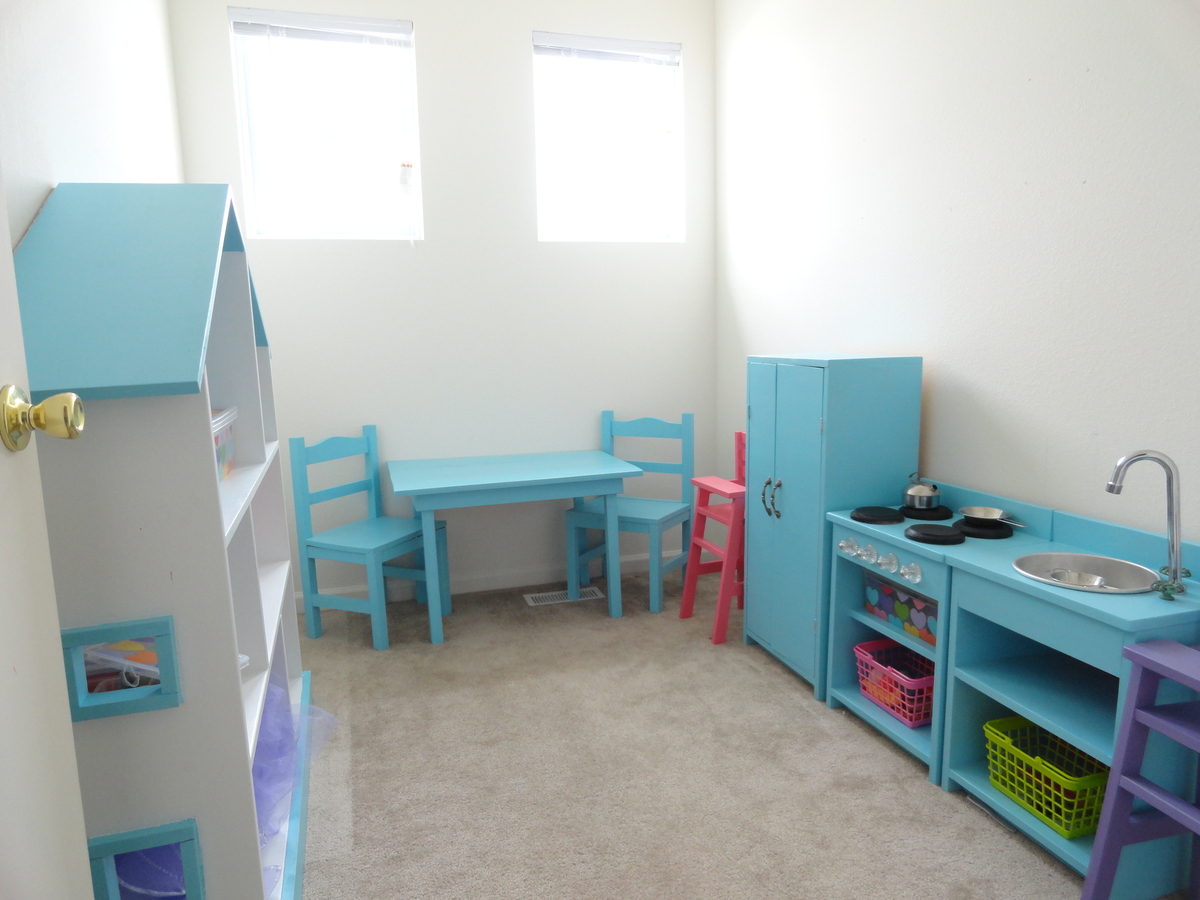
I built the kitchen as a Christmas present. I still need to put the oven door on but still love how it all came out. I just started a blog and as I was posting my latest blog post I realized how obsessed I am with all of your plans!! Thanks so much :) I'm not sure how long it took to build because I only get to work in the garage an hour or two a few nights a week.
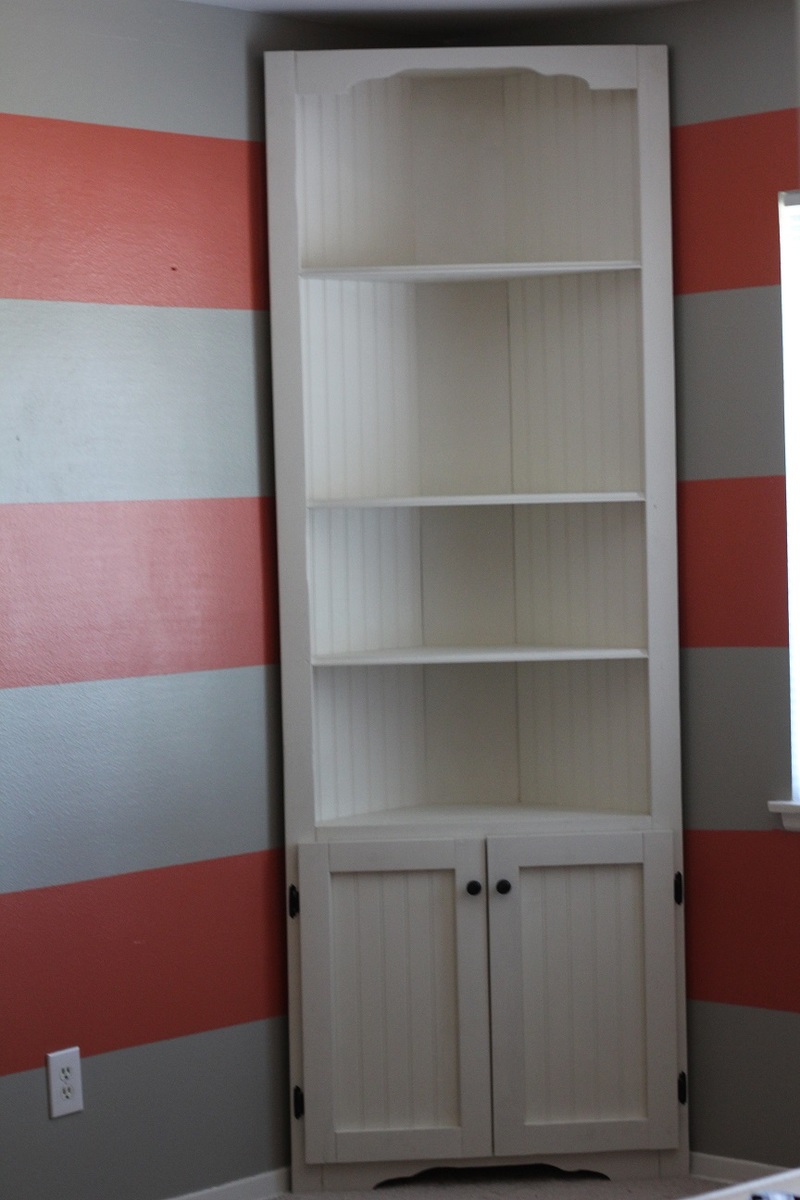
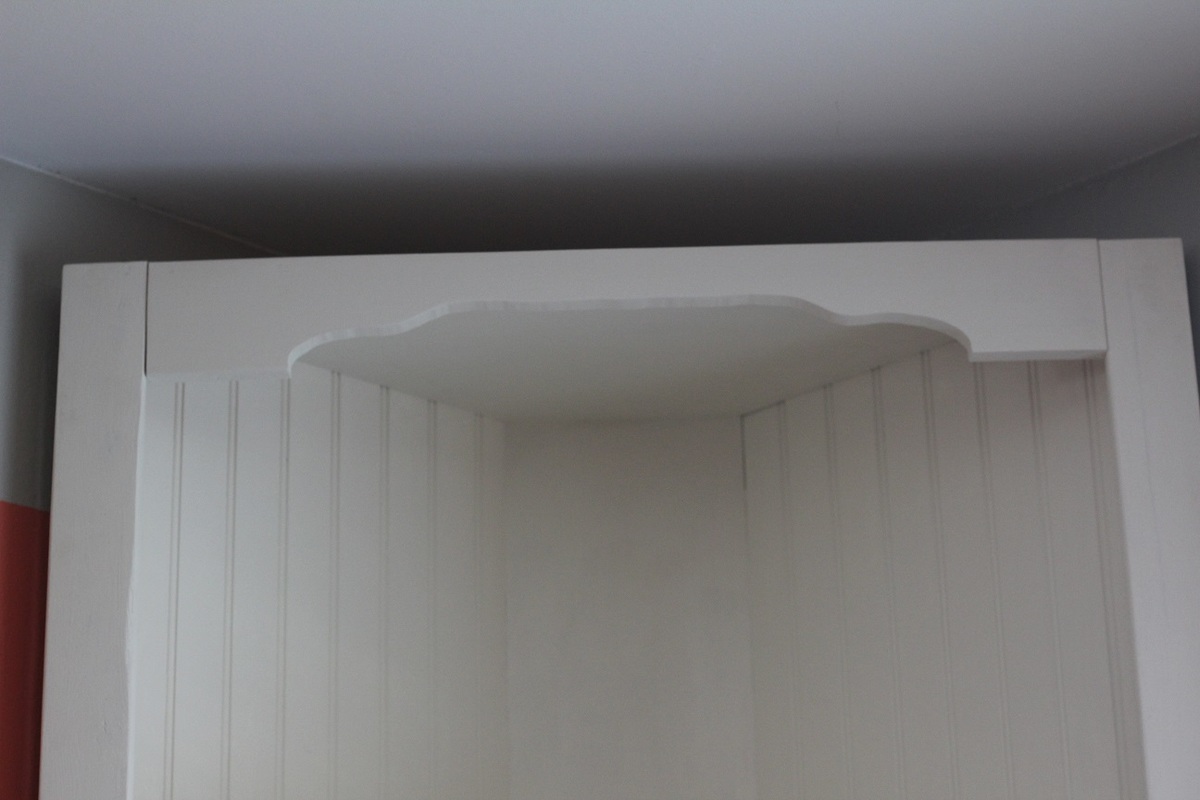
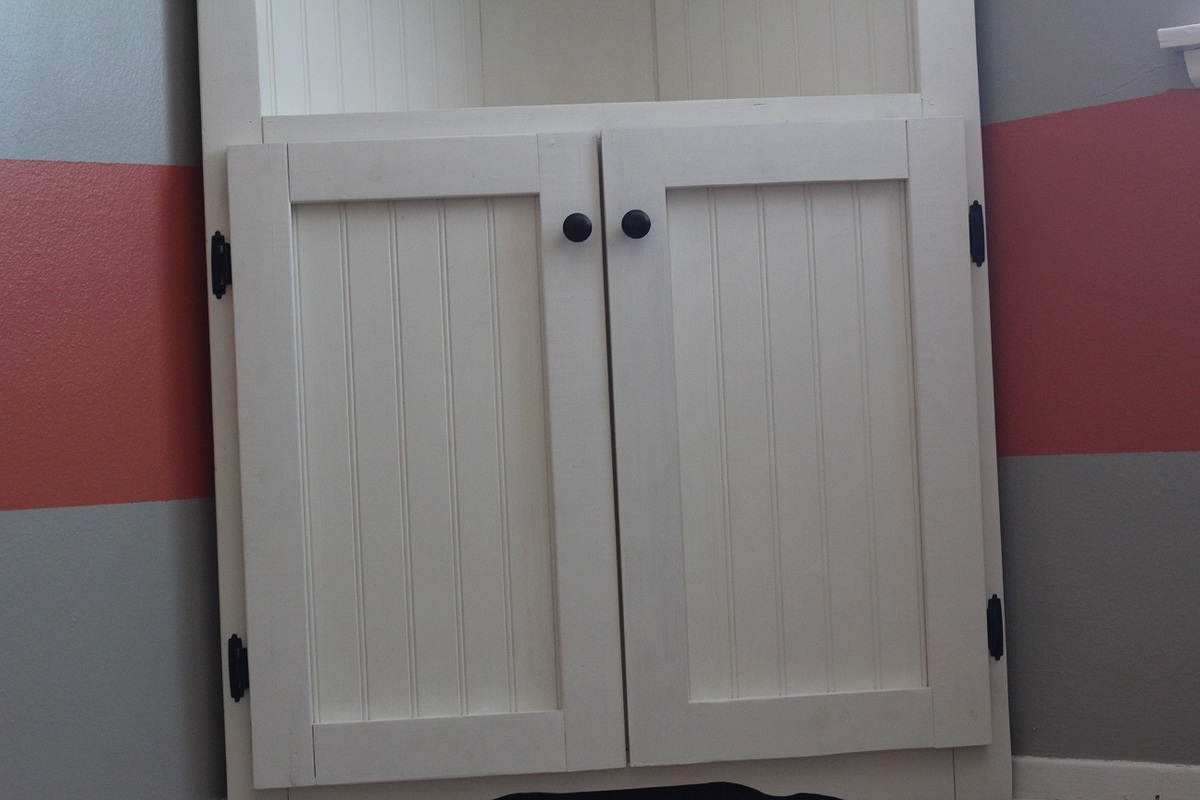
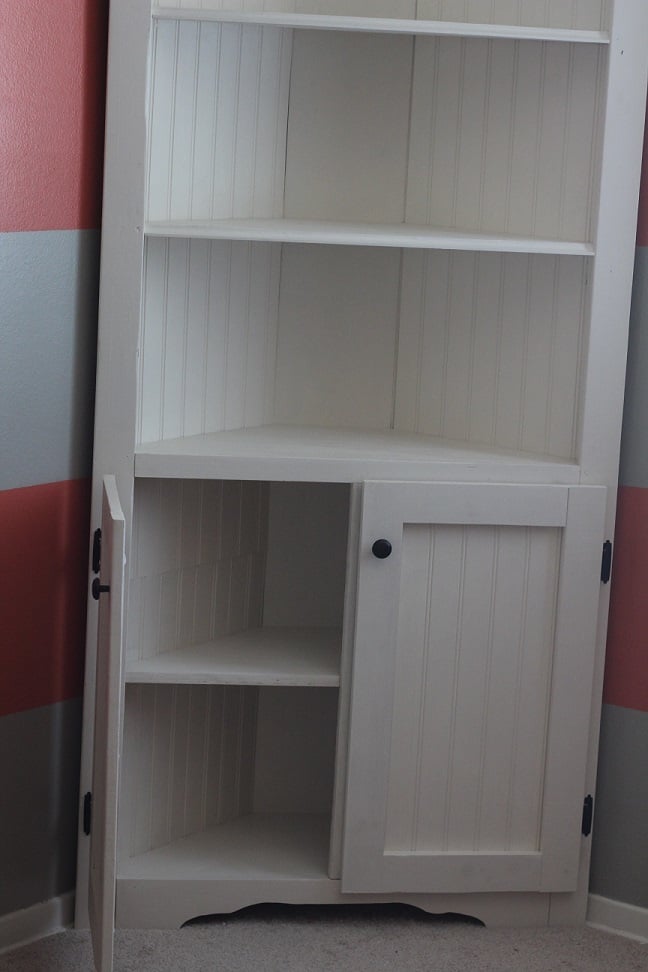
Made this corner cabinet for my office to shelve all my music books and camera gear. It has tidied up things perfectly! No more cluttery bookshelves taking up valuable floor space! This was a super easy build- used leftover bead board I had sitting around and some extra moulding for the edges of the shelves. I hand routered the top and footer, giving it a nice little detail. Love it!
In reply to Very Pretty! by Ana White Admin
Thu, 06/04/2015 - 09:54
Thanks! It really has helped with organization in my office. Cheap build, too.
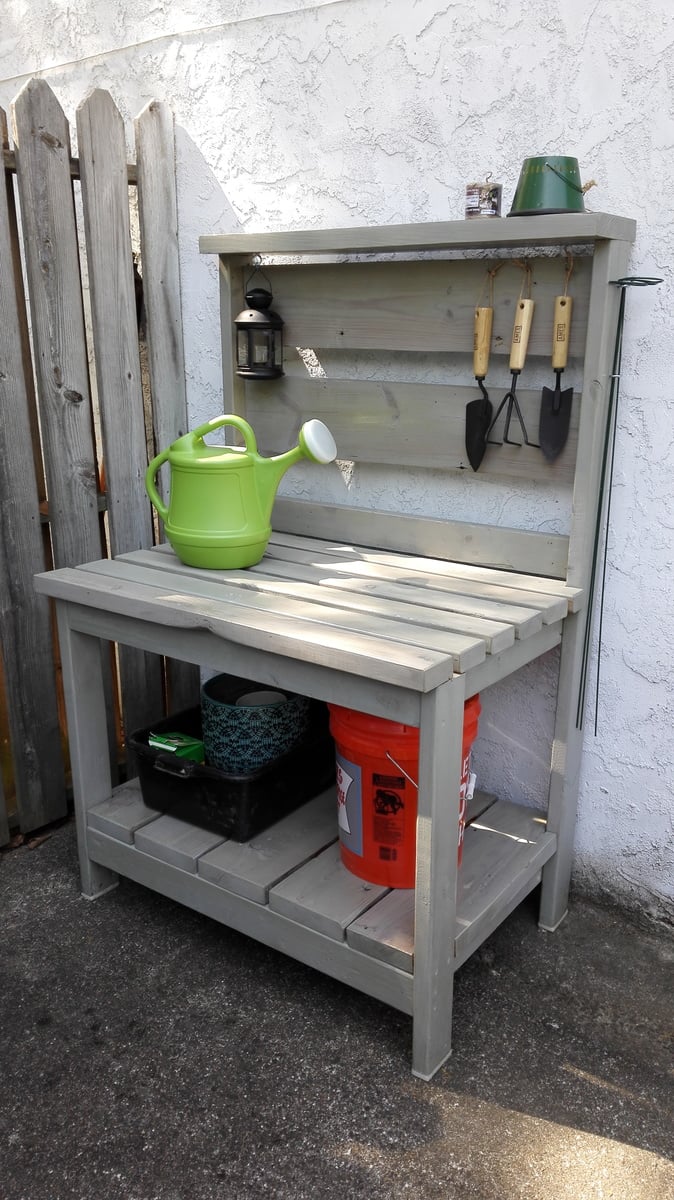
Thanks for your video, Ana!
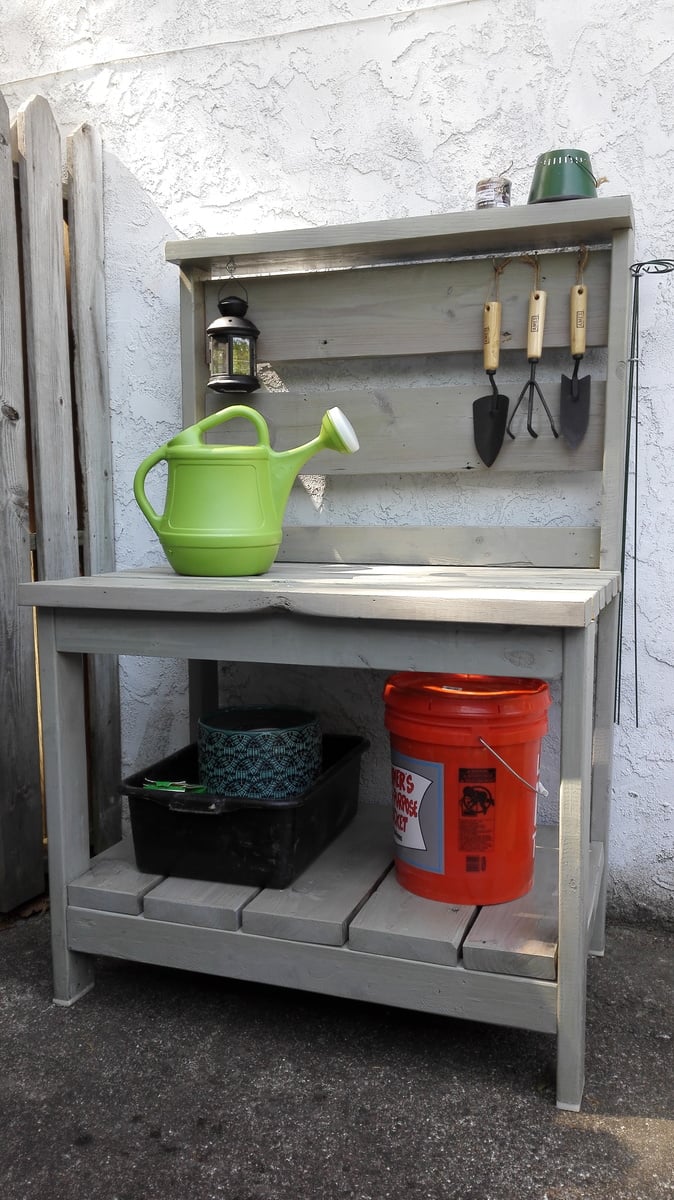
I had a bunch of salvage wood boards and wanted to offer my wife the space she'd always wanted for gardening for our wedding anniversary.
Your plans inspired me to build her this bench, adapting the design to the materials I had.
She loved it!!
Elodie :-)
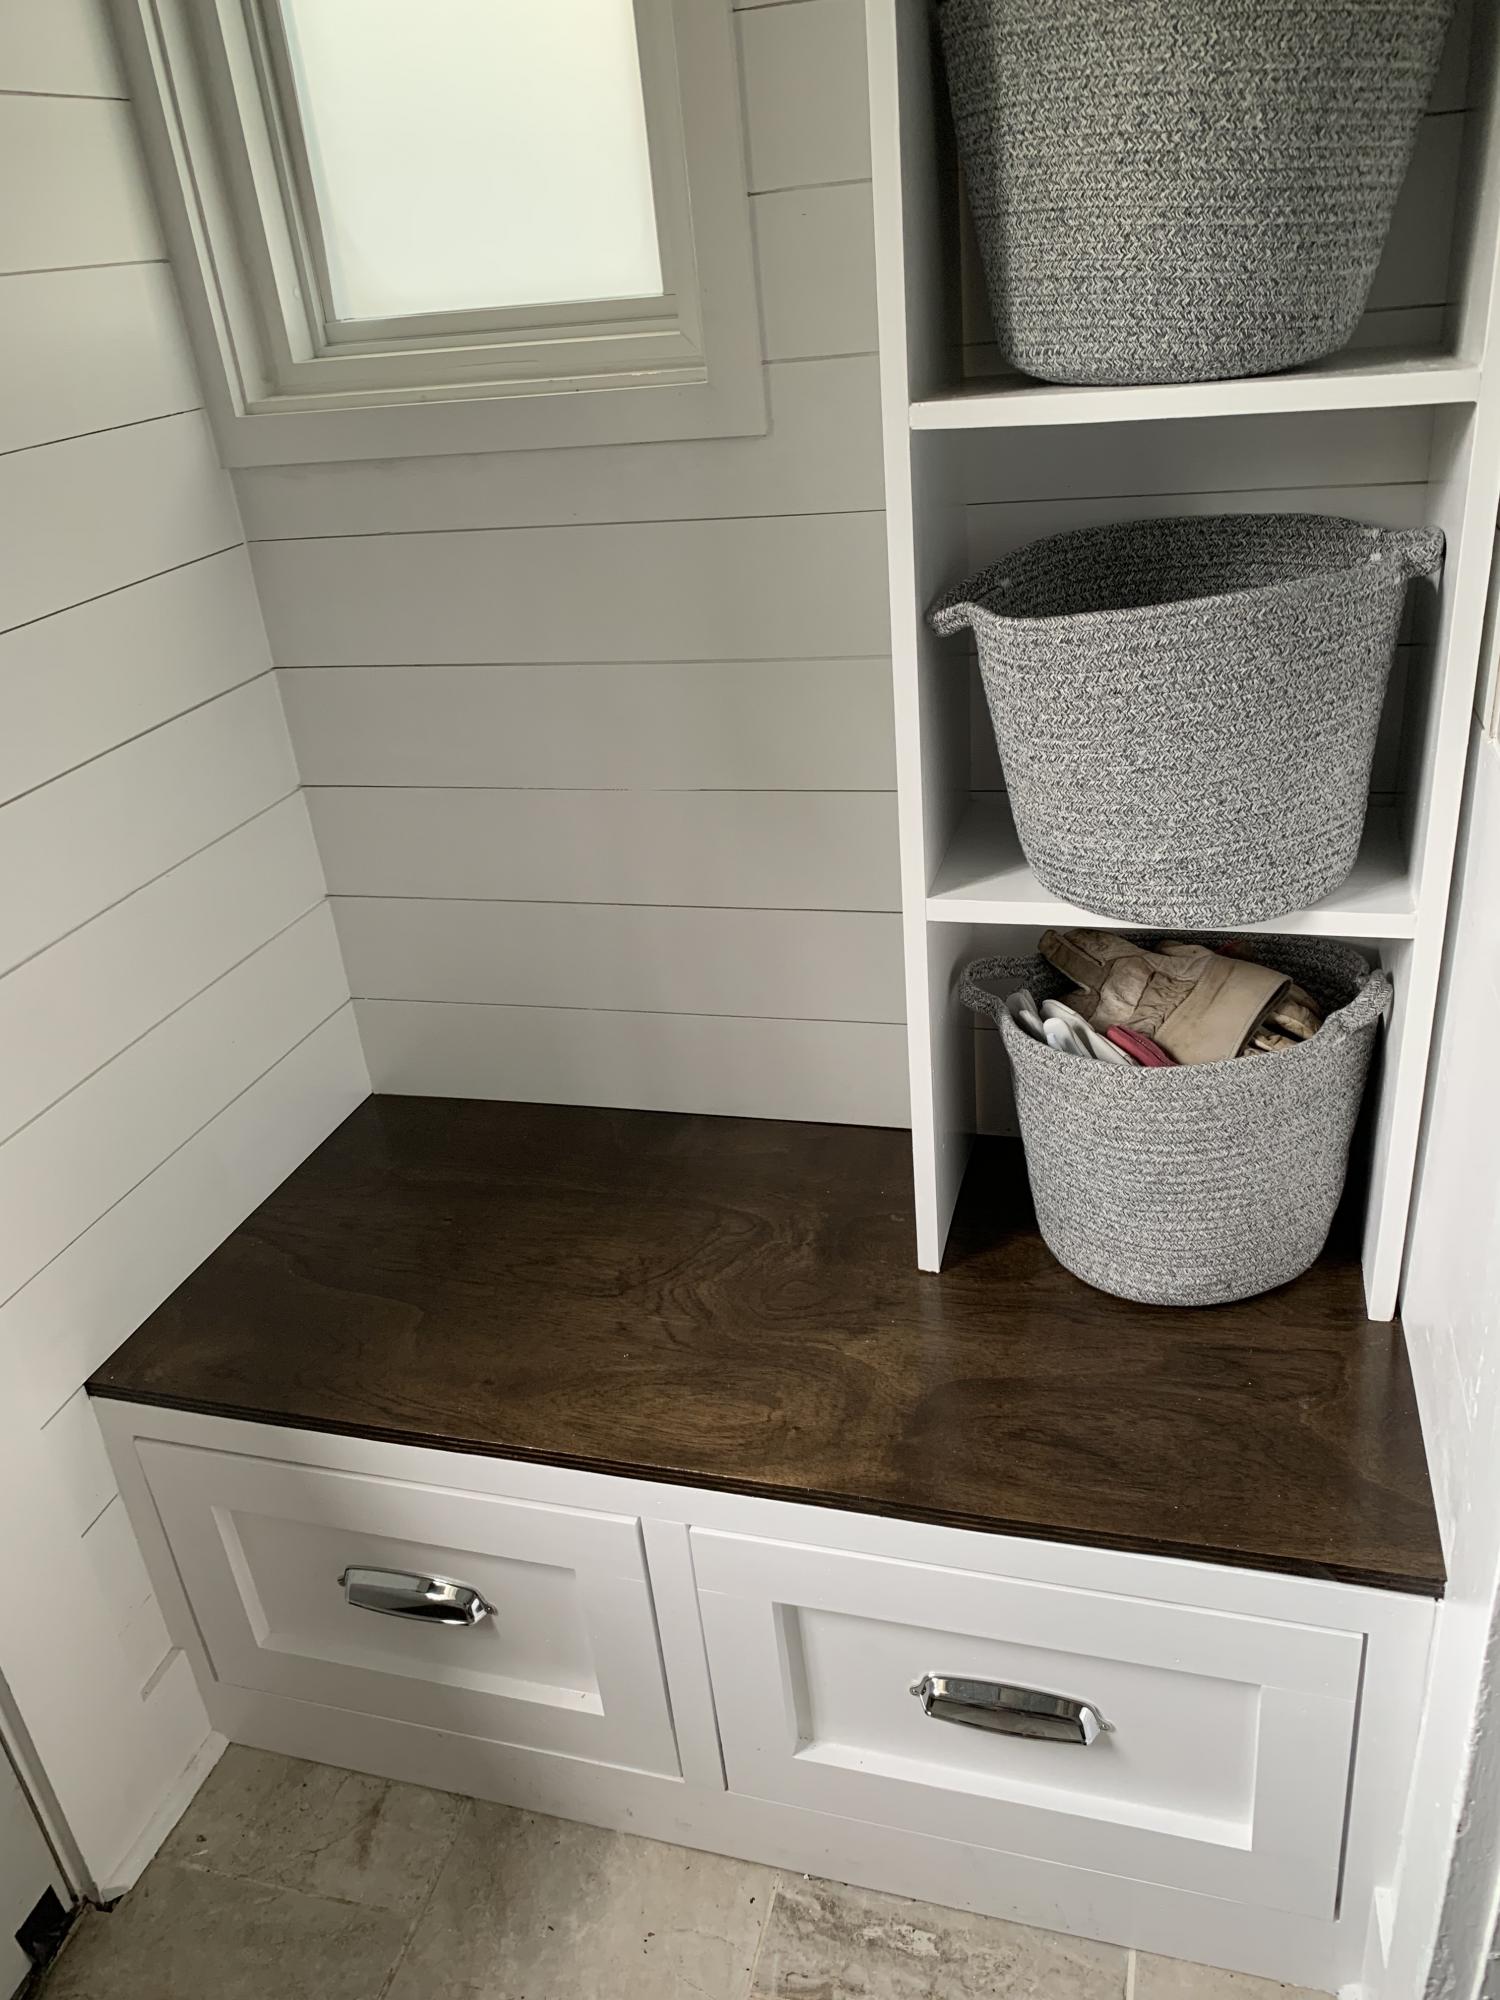
I cannot thank you enough for the great plans for this mudroom bench! Being my very first woodworking project, I couldn't be happier with the result. Having a home built in 1927 means I have to use every inch of space for multiple things. I attempted to store tools and shoes in an Ikea cabinet which meant I never saw the cute little window. After weeks of planning, I finally got up the nerve to start building and wow!
In fact, having successfully built my mudroom out, I proceeded to rip out my pantry to the studs and redo it, too. Keep the great plans coming!
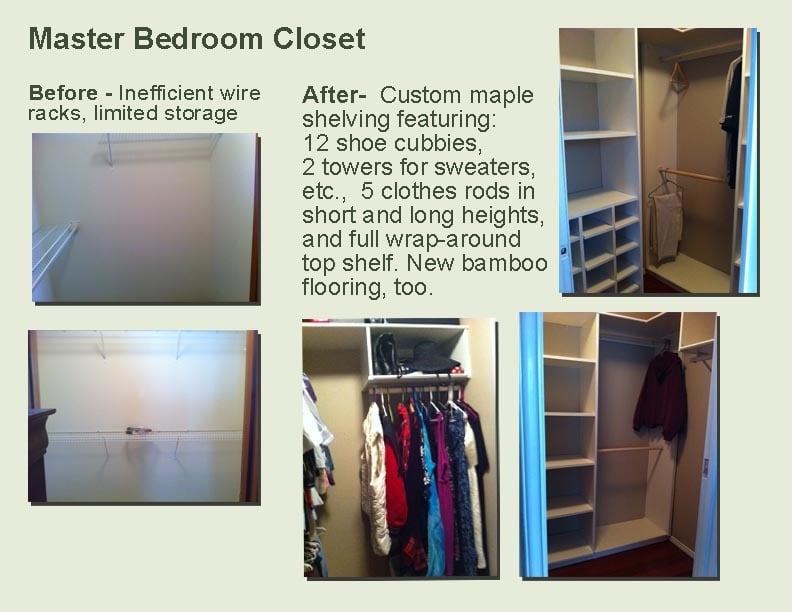
I've been drooling over those custom closet organizers for years, but they were either too expensive, not well made or some combination of not right for us. So seeing Ana's master closet plan really sent my imagination soaring. My challenge. My master closet is a small walk-in 5'x7' so I did have to do some adjusting. I love having a place for shoes and sweaters. One of my favorite parts is the continuous top shelf that connects all the parts together forming a big 'U'. I used my Kreg jig to connect each of those pieces. Anyway, thanks Ana White for the inspiration.
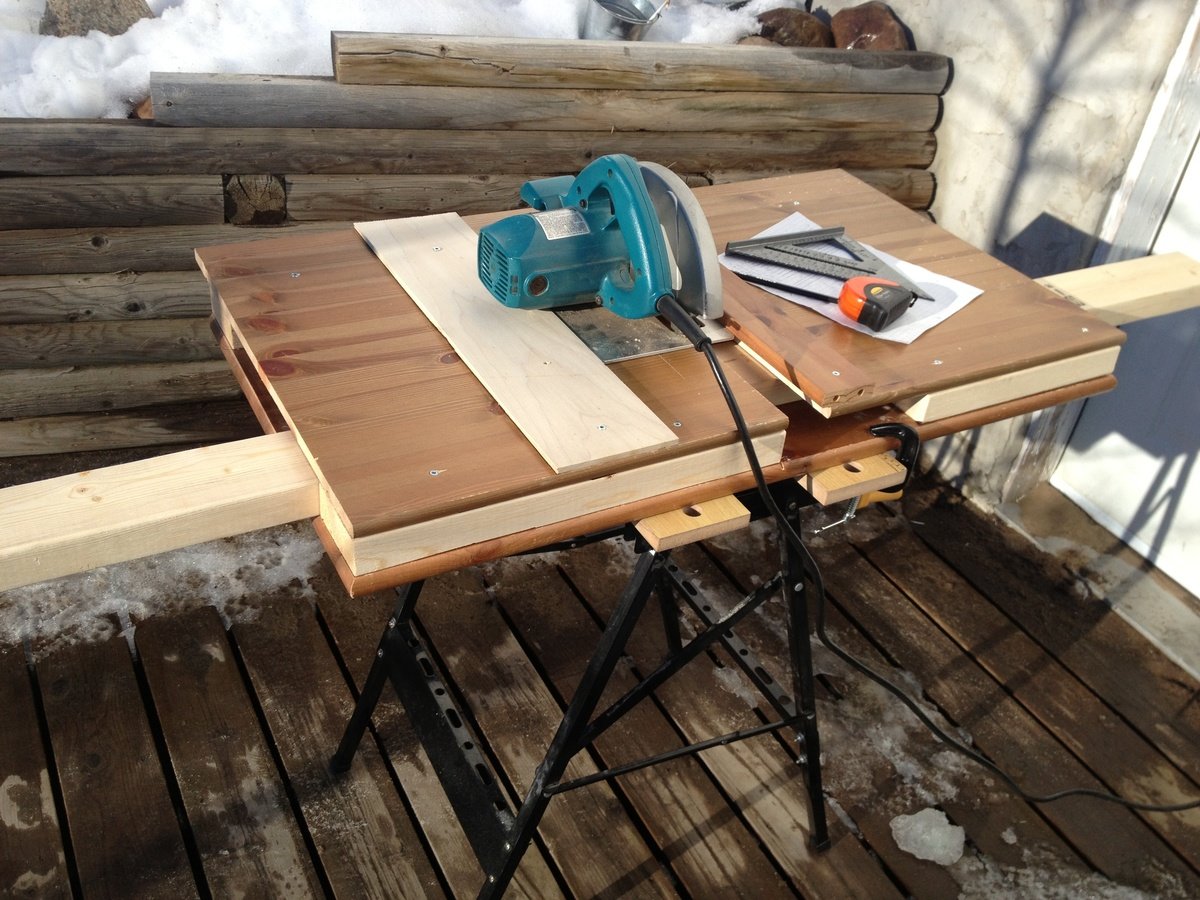
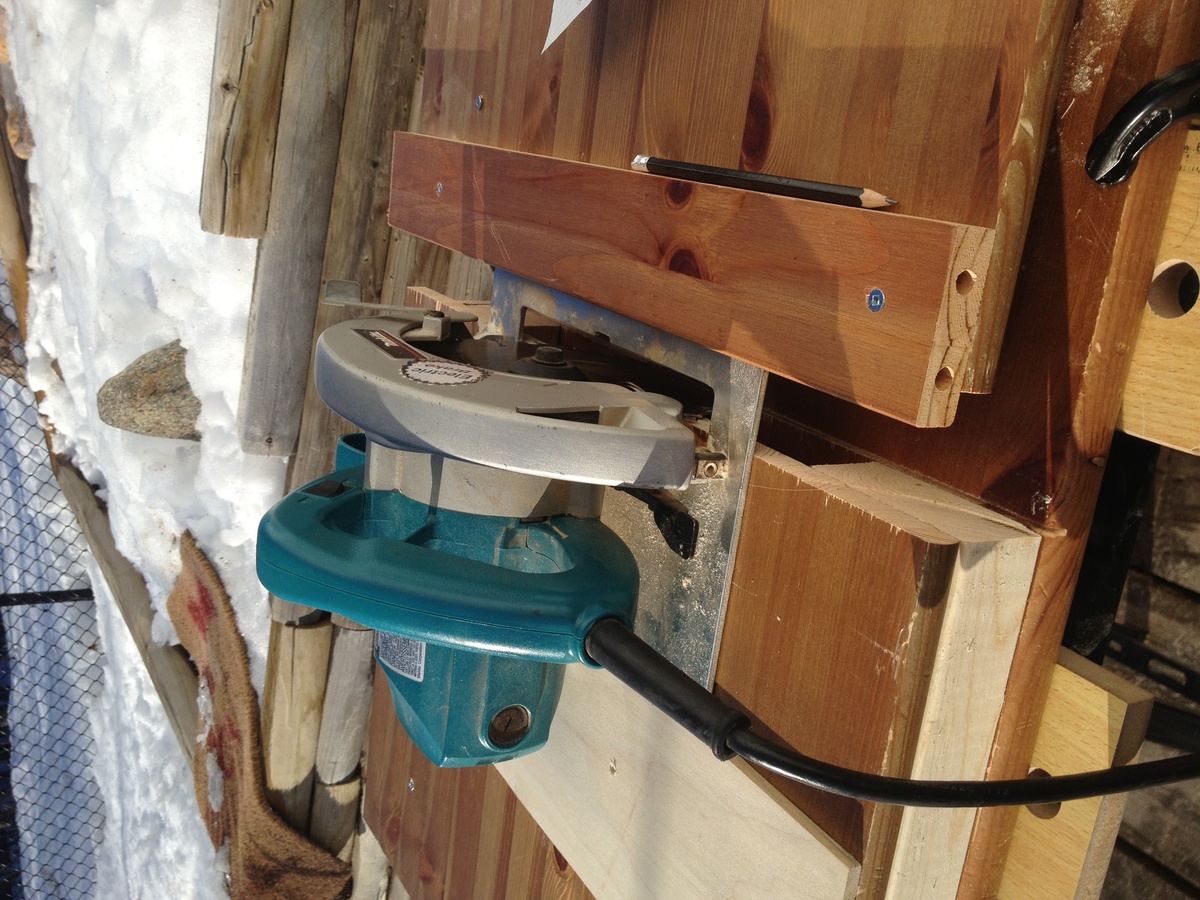
Until now I've been doing the majority of my project cuts with my $30 jigsaw. Yes, it took about ten times as long as yes it was not quite as accurate so I ended up putting more time into sanding to clean things up after but I just didn't feel comfortable using the circular saw.
Well, I've got a list a mile long of things I'd like to build so it's time to put on my big girl panties and get comfortable with the circular saw. So...I read a ton of tips and tricks online and saw a number of different guides.
Taking a little from a few different pictures of guides and using the scrap wood from an old dresser, I put this together. I clamp it to the top of my work table and go to town. I love it and now feel comfortable using the circular saw. I'm sure it's helped me make more accurate, straighter cuts than I would otherwise have made too.
Fri, 01/23/2015 - 07:12
By using this jig, you are losing the full potential of your blade depth. A speed square would work just as well as this system and provide you with a full blade depth worth of cuts. I've seen systems like this before but really only useful for ripping long lengths of plywood/MDF/etc and not for cross cuts. I'm not trying to knock the way you do wood work, simply providing others with an alternative and easier way.
Fri, 01/23/2015 - 12:39
You're absolutely right that by using this I'm limiting the depth of my cuts to some degree. I have used the speed square as well and it's definitely a great tool that I'll use more in the future. The jig just offers me a little control until I grow more comfortable with the circular saw. Just an option for other newbies like me who might be apprehensive about using the circular saw.
A friend asked me to make a headboard for him as he couldn't find anything online or in store that he really liked.
I was up for the challenge and always love working with wood to make new and exciting things so, challenge accepted.
This was my first attempt at a headboard and I think it turned out pretty nice.
Knotty pine face with a cedar frame.
Looking forward to my next project!
I love this bench. It is so solid. I have now built three of them for around our yard/porch. If you have the necessary tools and skills (intermediate level) you can build it in an afternoon. I built it in 4 hours with lots of breaks. My cost estimate includes paint and screws.
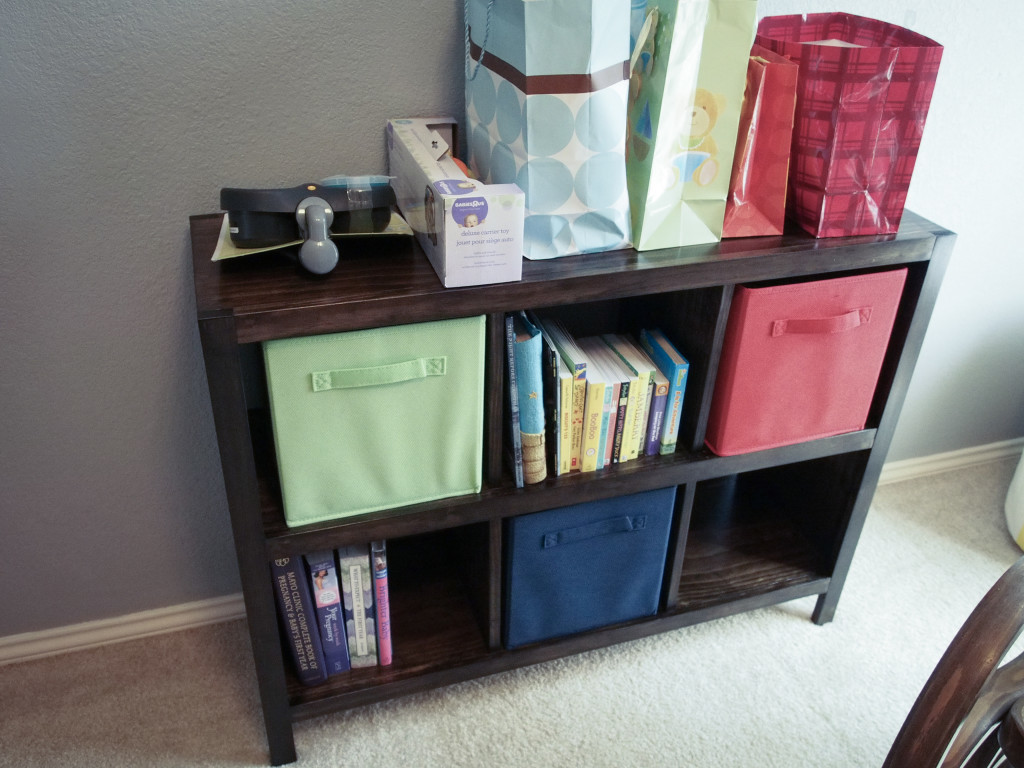
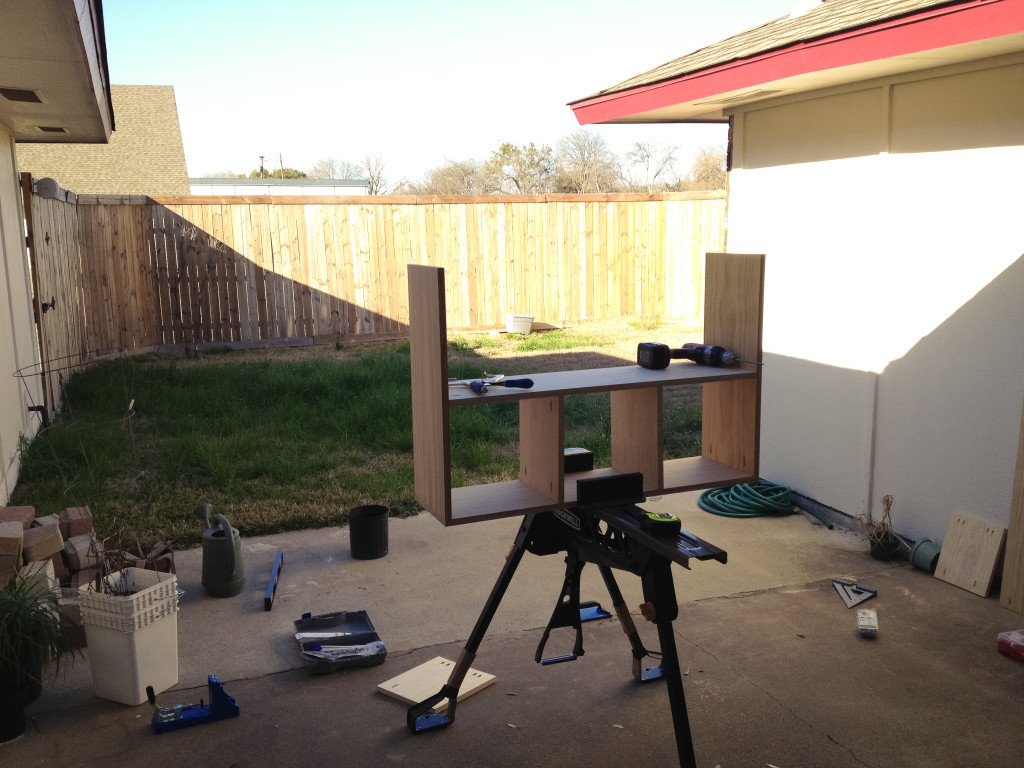
This was my very first wood working project since working around my grandfather's shop 20 years ago as a child. I had to buy a few tools to get it done (circular saw, Kreg Jig), but it was a great learning experience!
I made a rookie move of wiping up excess wood glue, which didn't take the stain at all. I had to remove that glue with a Dremel tool and spot restain. Since then, I've been told to let the glue drops dry next time and just chisel off after they are dry.
Since this was my first project, I had to buy EVERYTHING I needed, so my costs were a little higher. Now that I have some groundwork laid, the next projects will be a snap.
I also highly recommend the Rockwell Jawhorse product, it made working with the Kreg Jig super easy!

I followed the No Sew Cayden Nailhead Bar Height Stool but added 2 more inches to the height. I also left off the foam and leather to have a more Rustic look. I used a burn tool found at Hobby Lobby to burn the logo that was traced on to bar stool tops. It an easy build and the stools came out to less that $40 a piece. These took me a few weeks to completely finish but I had 6 of them built within a day. The burning and the staining took the longest but these are easy enough to build in a weekend.

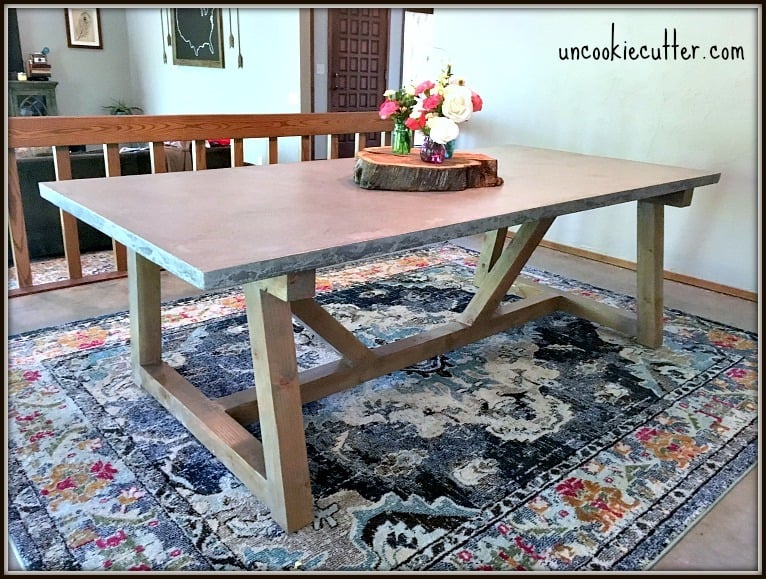
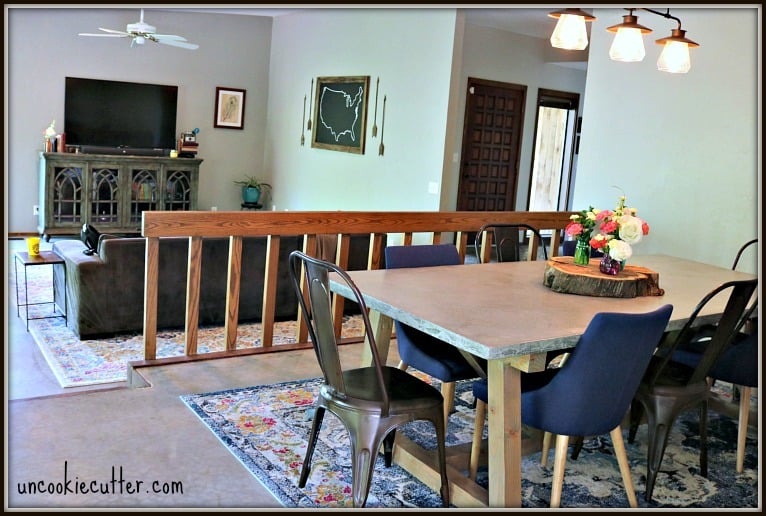
I used the plans for the 4x4 truss beam table to make this version with a concrete top.
