Patio Sectional and Coffee Table
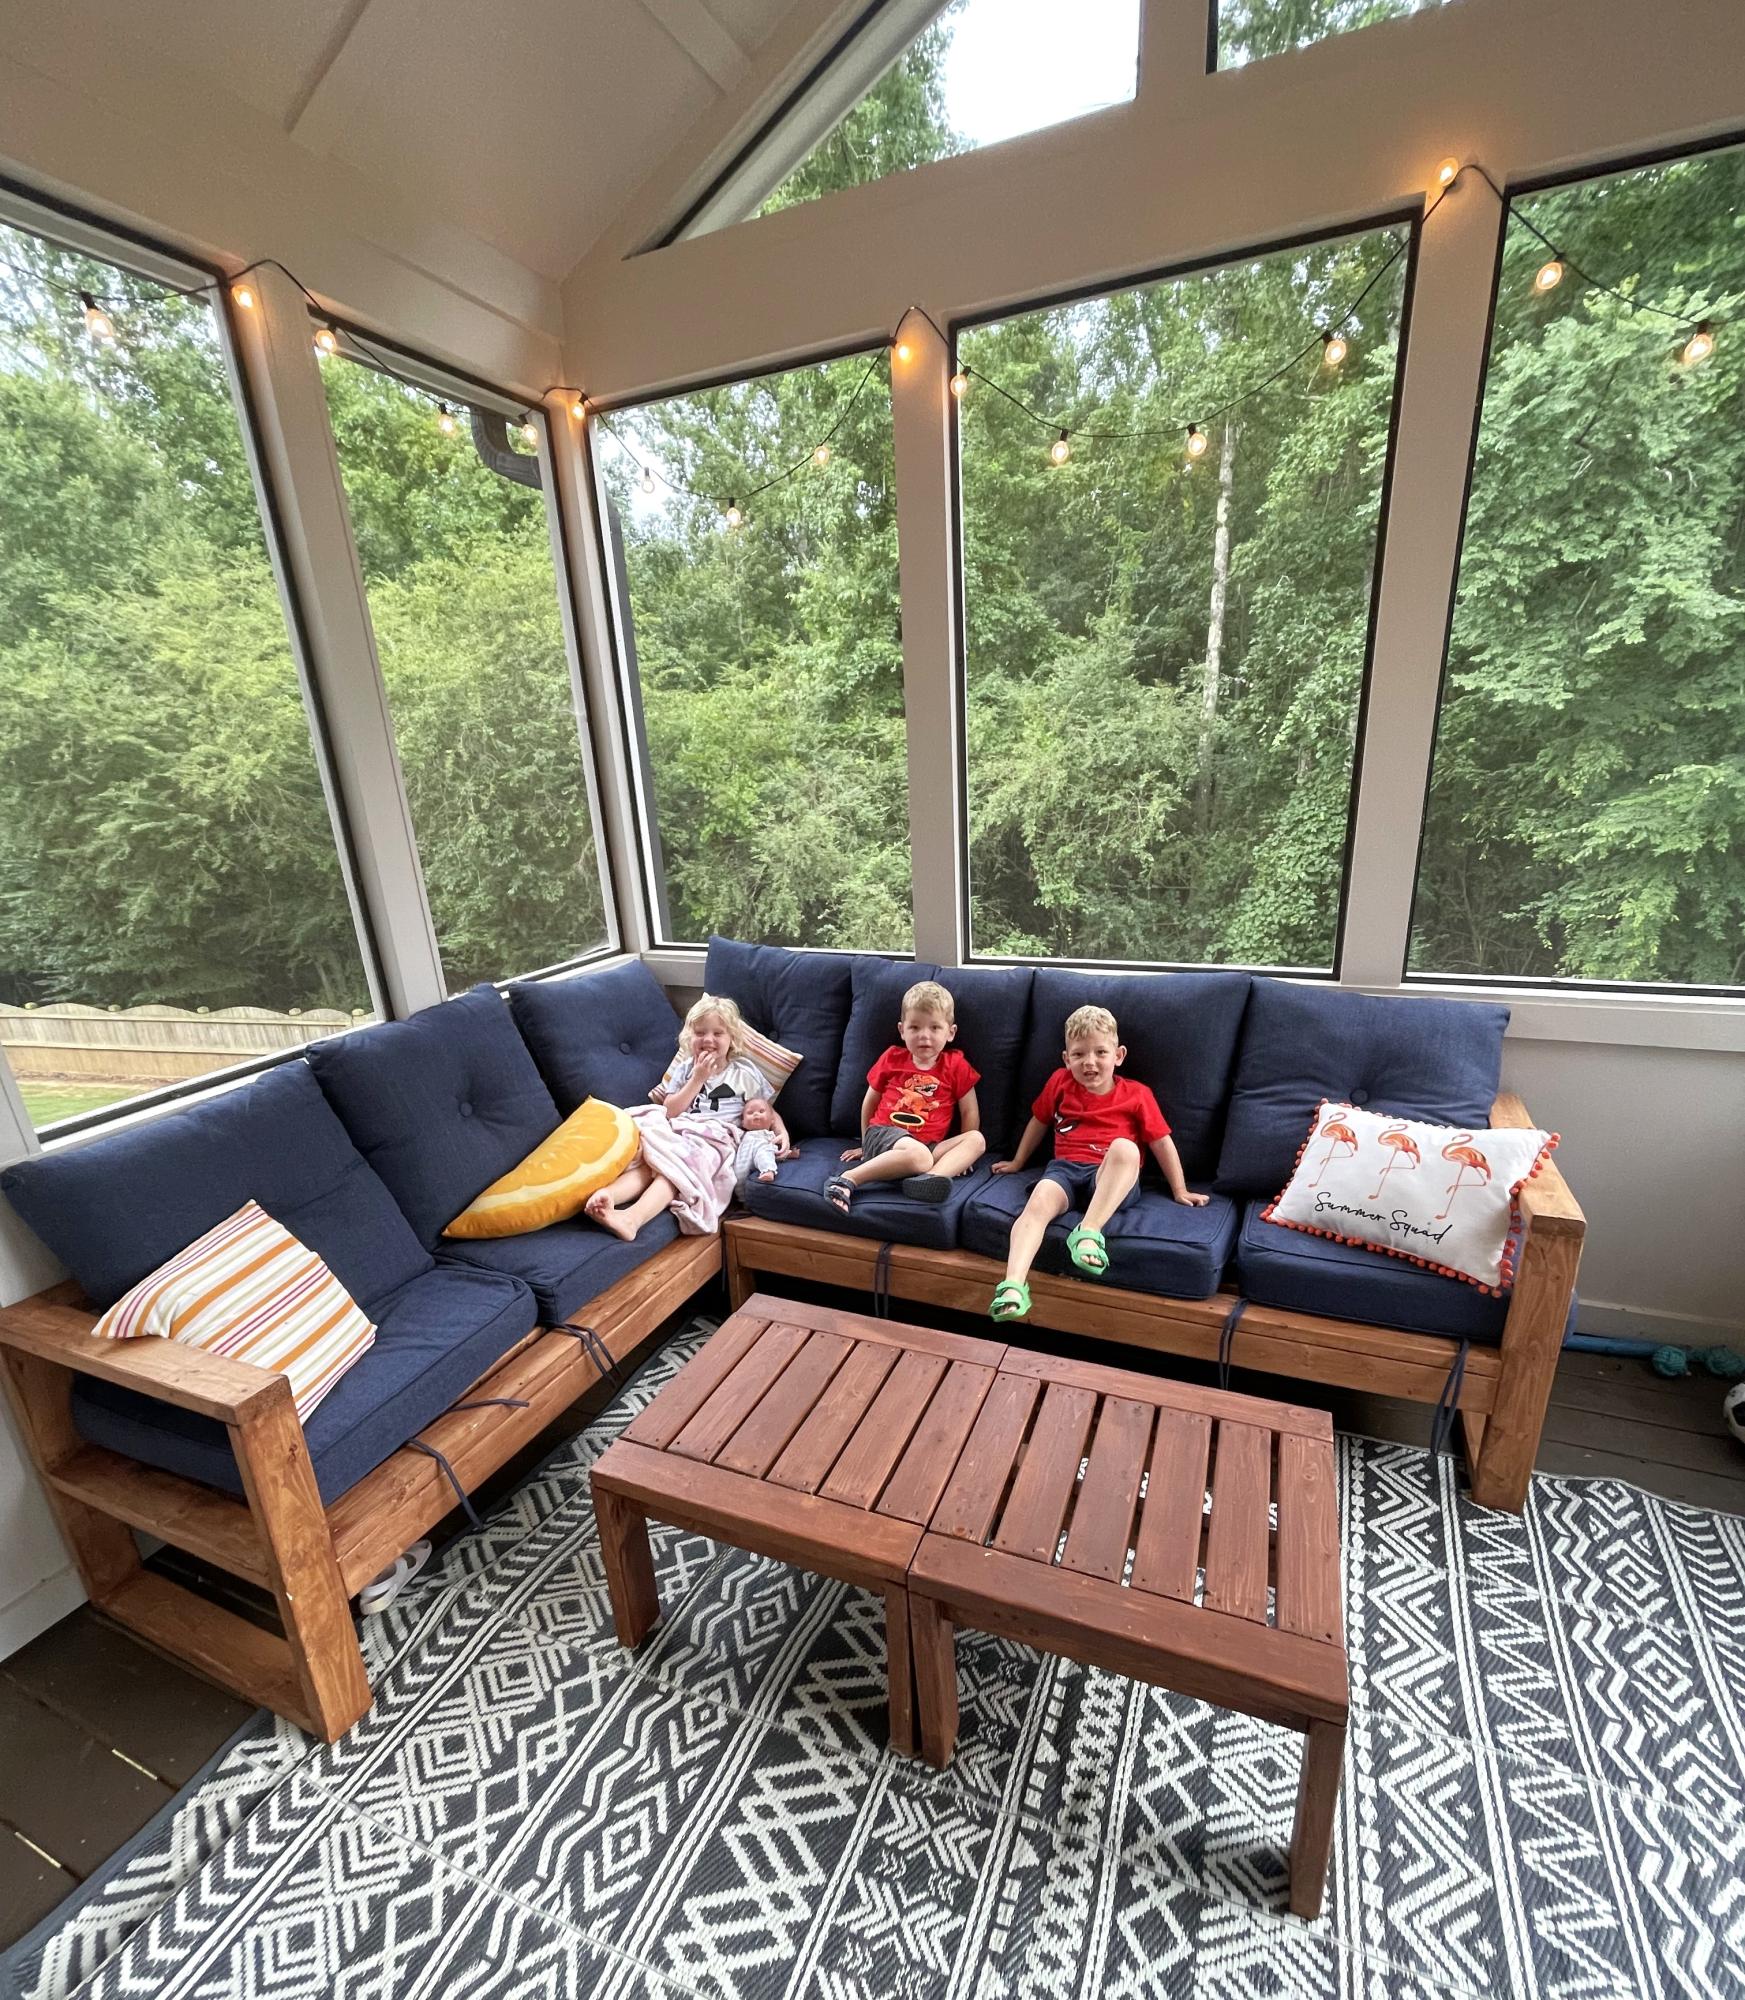
Patio sectional for the triplets!
Chris Harden

Patio sectional for the triplets!
Chris Harden
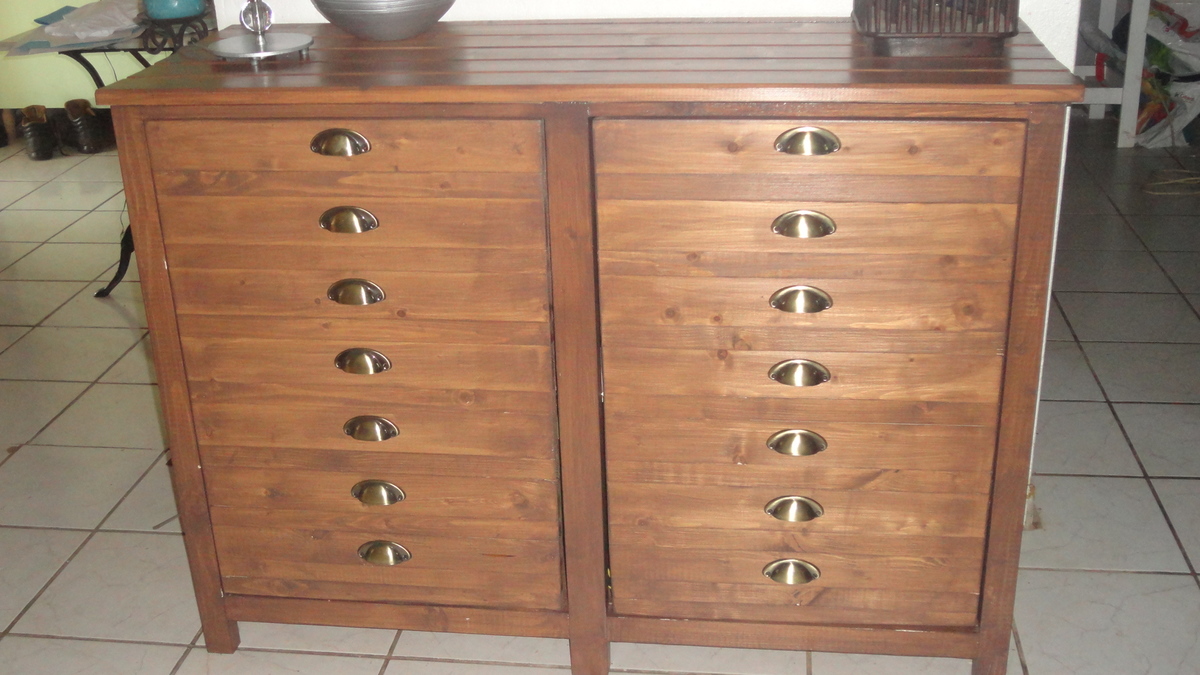
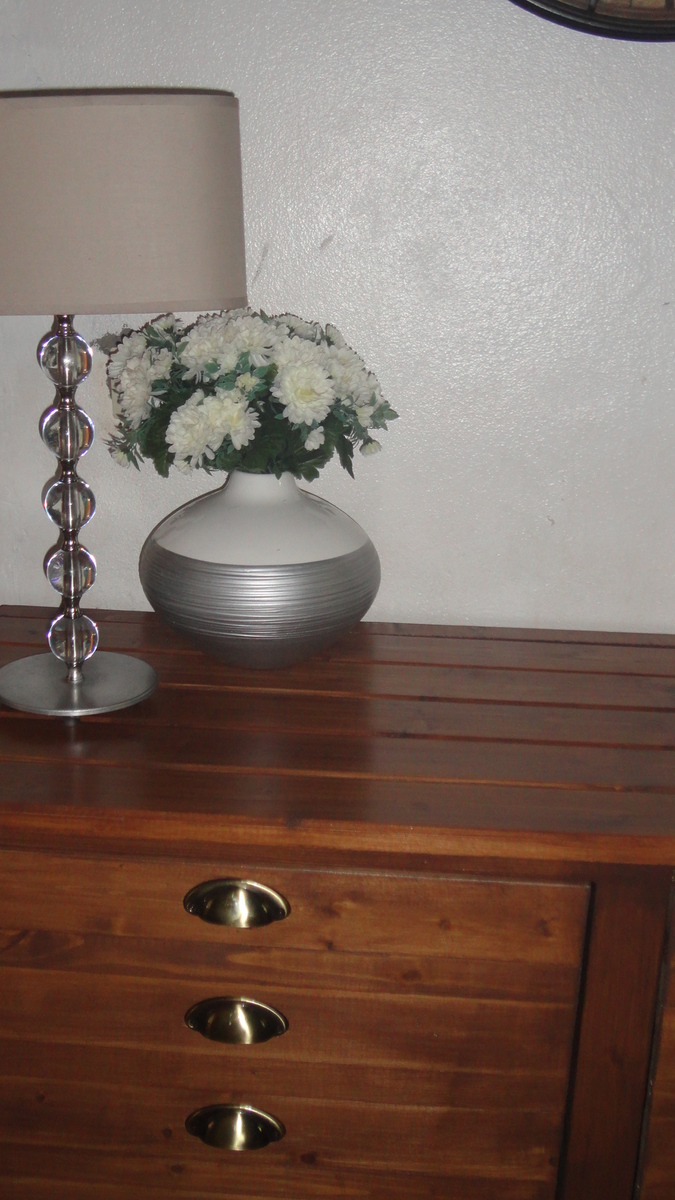
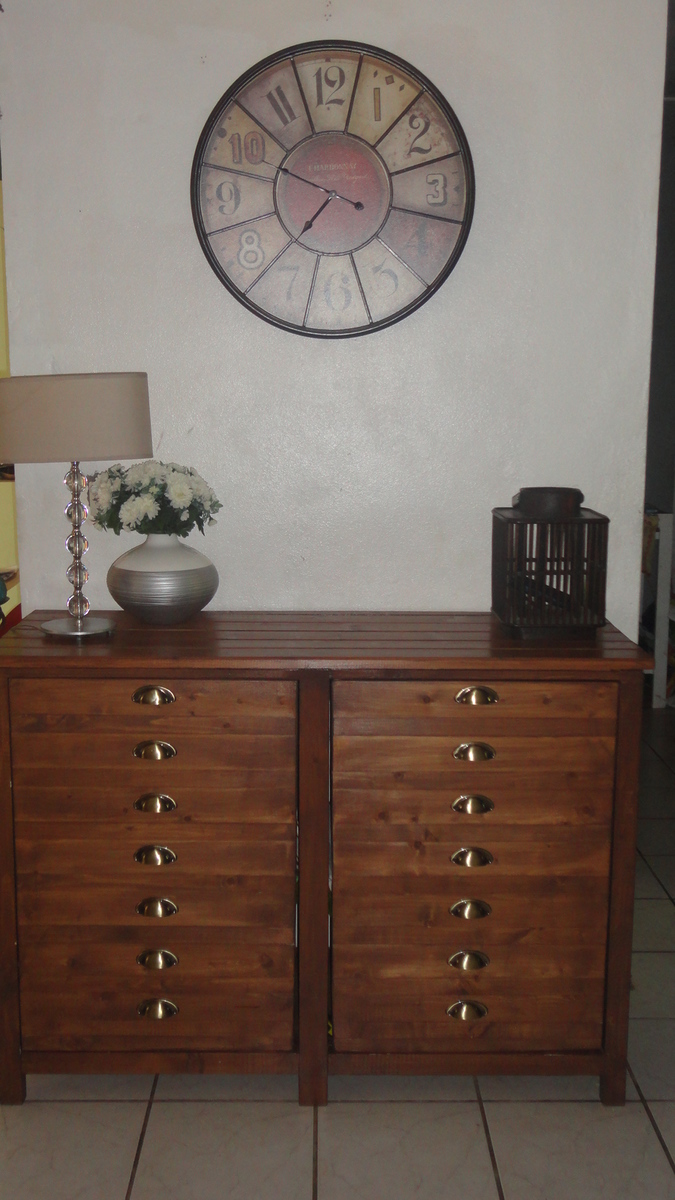
I built this console for my living room. I love the style and the color of the console of shanty2chic and I wanted the same.
Thanks for the plan and inspiration.
Sun, 09/01/2013 - 06:46
You did a great job! Any tips or hints about steps that you may have done differently from the plan, or found challenging or got you stuck?
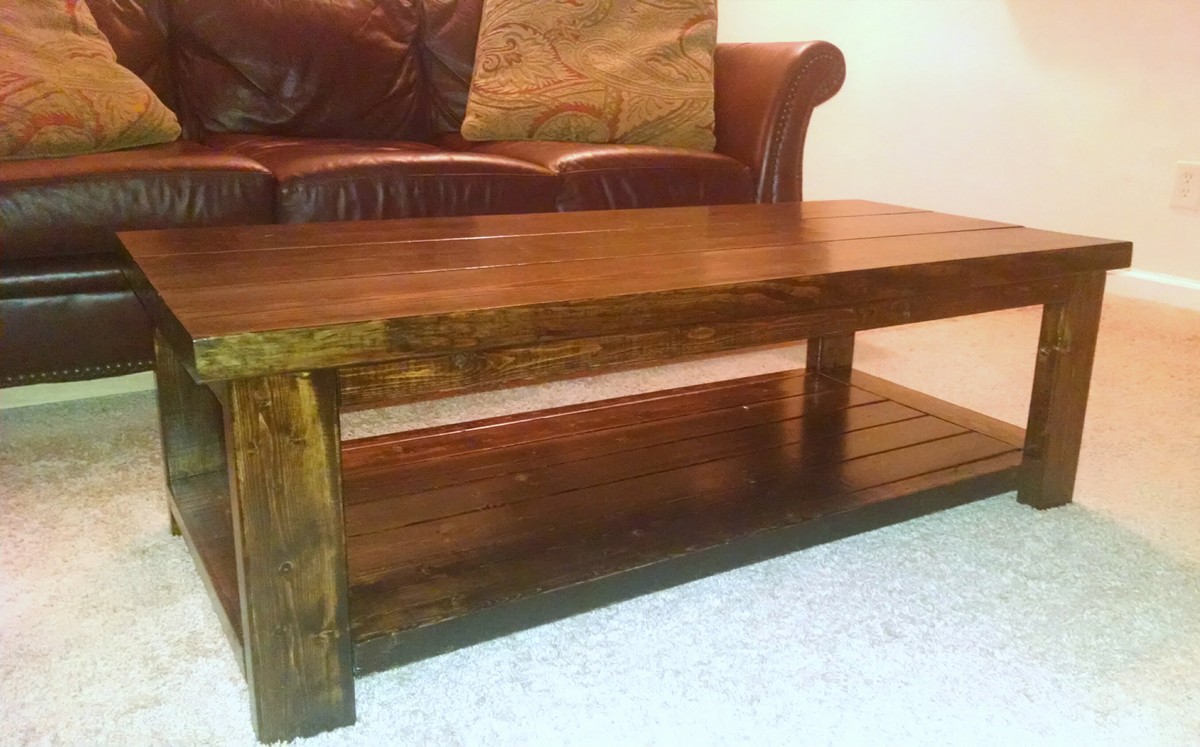
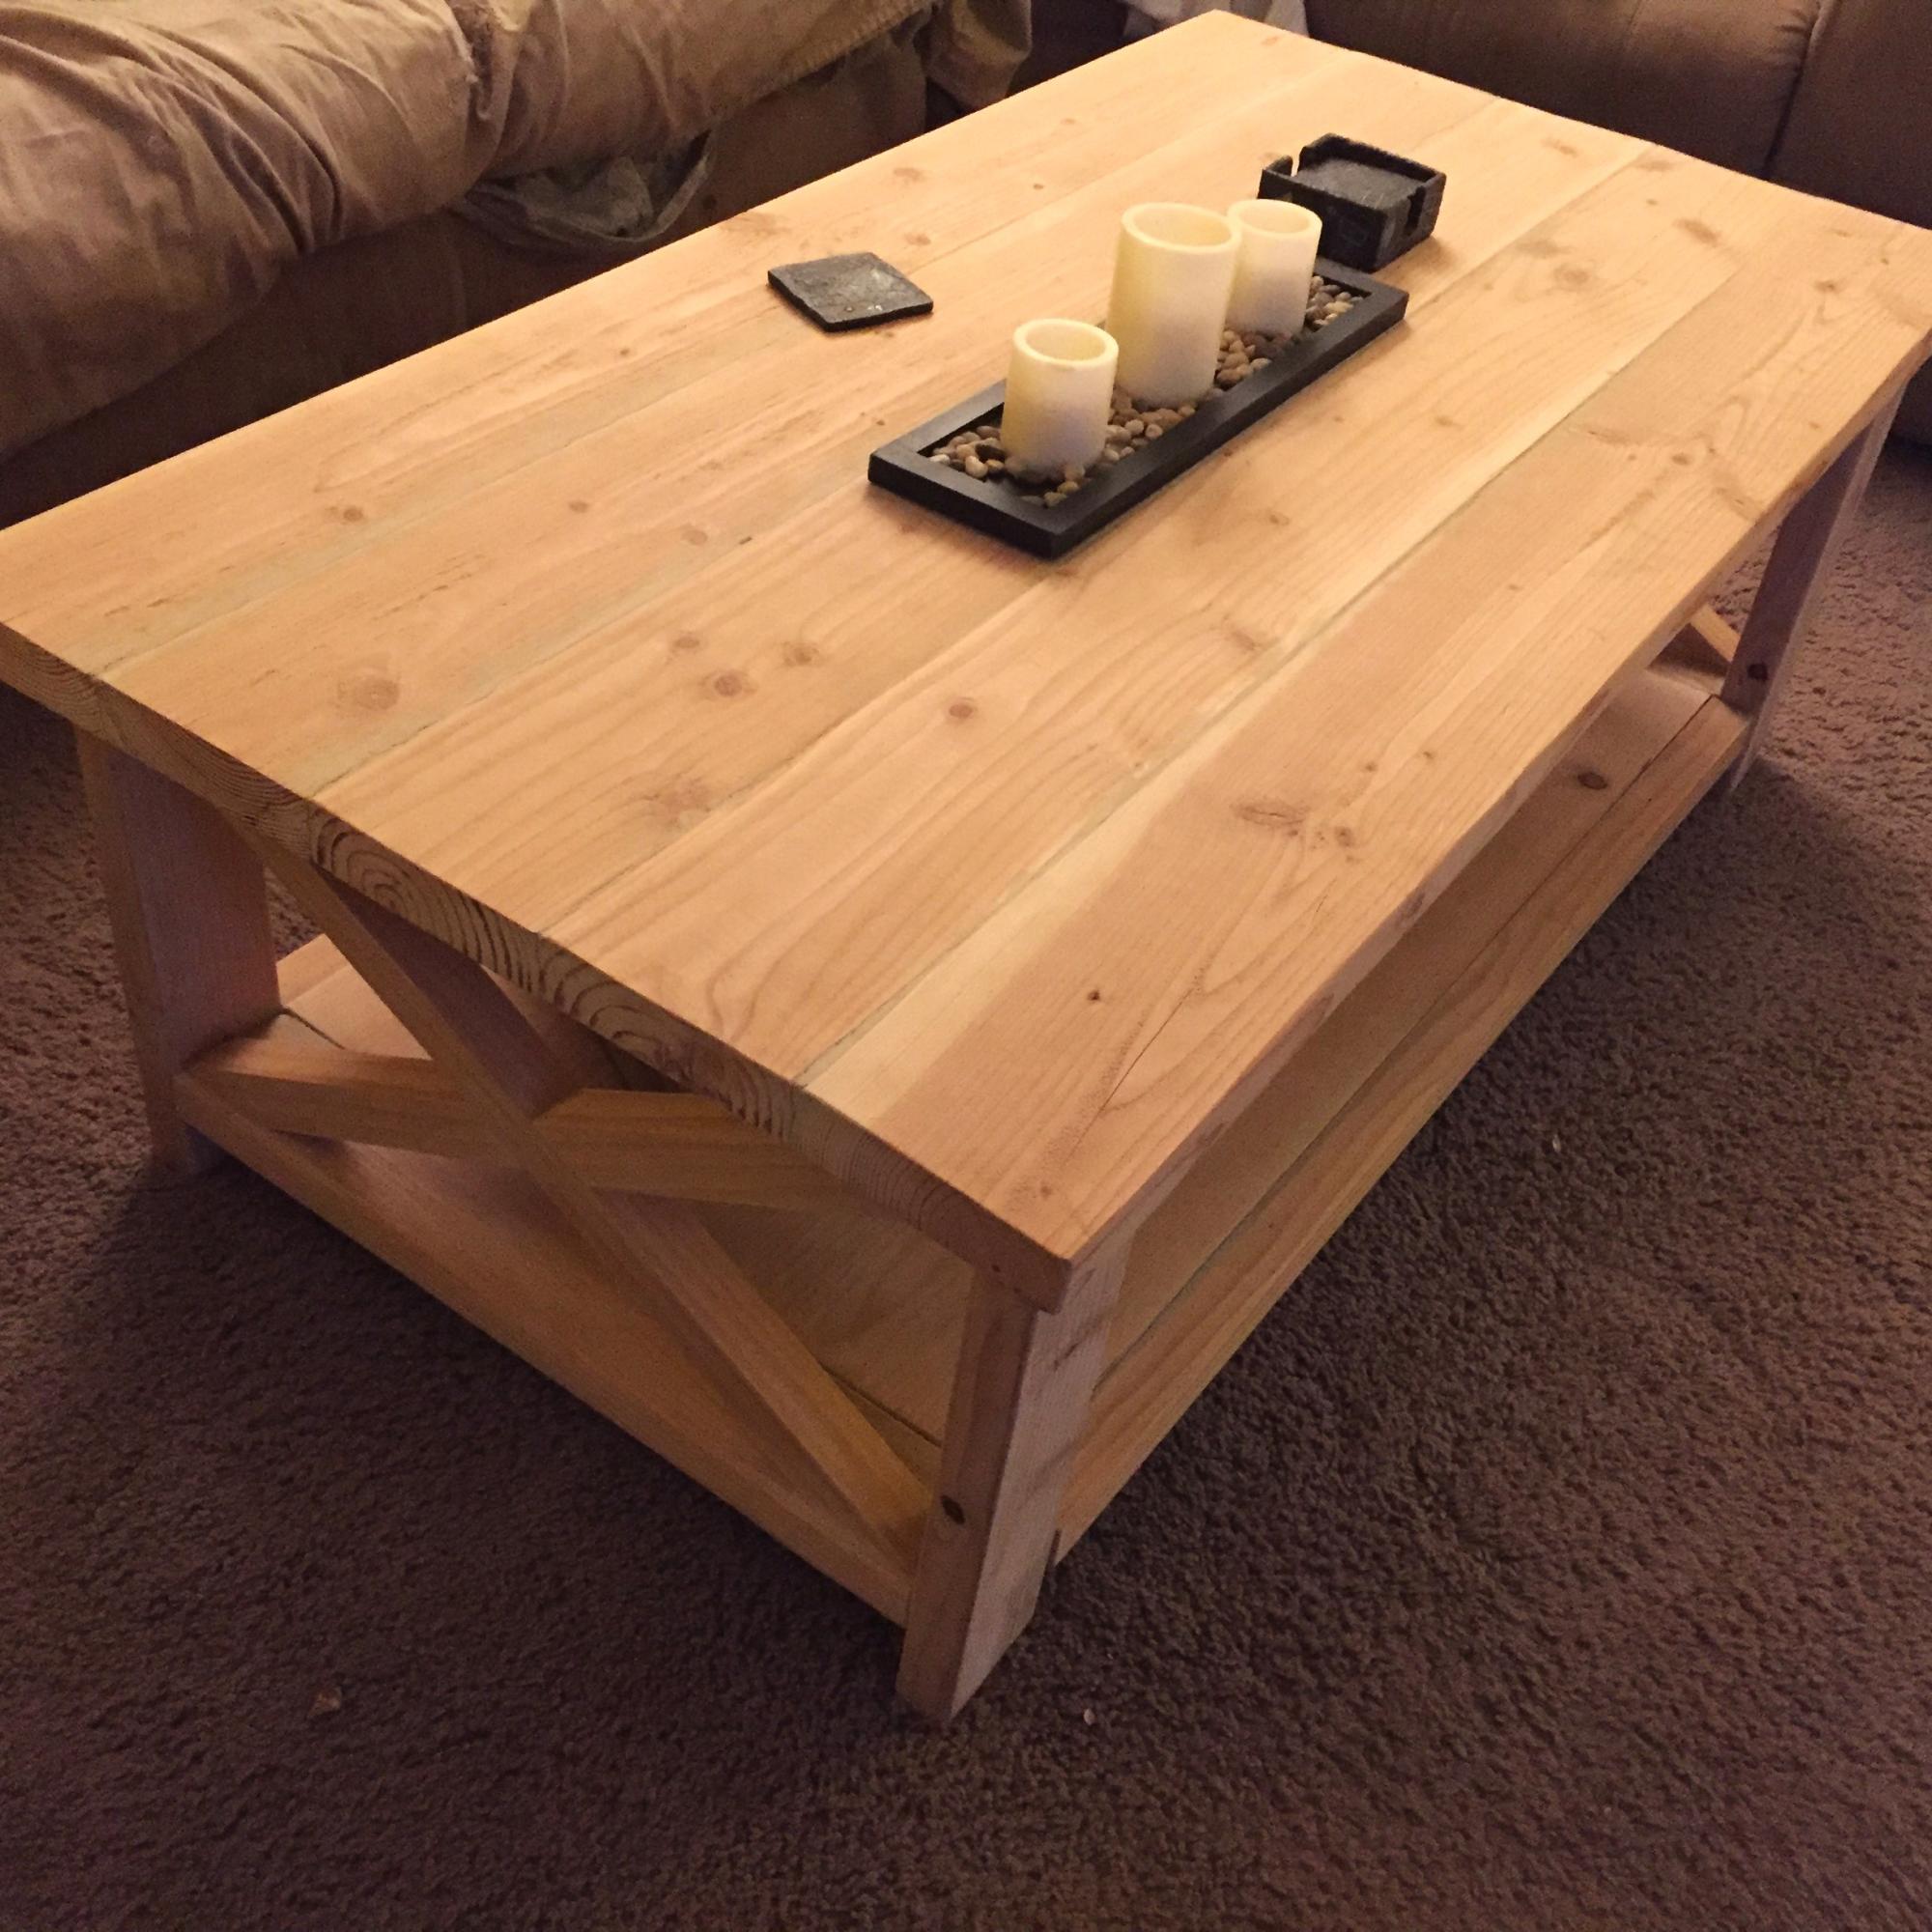
This is my variation of the Rustic X Coffee Table. I was going for a more classic to modern look and I prefer dark stain. This was my first furniture building project and I'm very happy with the results.
I changed the top to be three 2x8's (1.5" x 7.25") and the bottom shelf is five 2x4's (1.5" x 3.5") and adjusted lengths accordingly. I also shortened the legs to 14" so it's a good height for use as a foot rest from the couch.
I was originally going to change the X's on the ends to 3 vertical 2x2's, but we have our first baby on the way and the way the spacing worked out was asking for a head to get stuck. So I decided to leave it open.
The table top and the bottom shelf were biscuit joined instead of doing tons of pocket holes. I recommend that if you have access to a biscuit/plate joiner (I borrowed a friend's) . The rest of the frame was done using pocket holes from the Kreg jig.
I recommend buying Kreg Jig R3 instead of the Mini. You get way more for your money. I also recommend using the Kreg pocket hole screws, some of which come with the R3 kit. They make driving much easier and you don't have to worry about stripping the square heads.
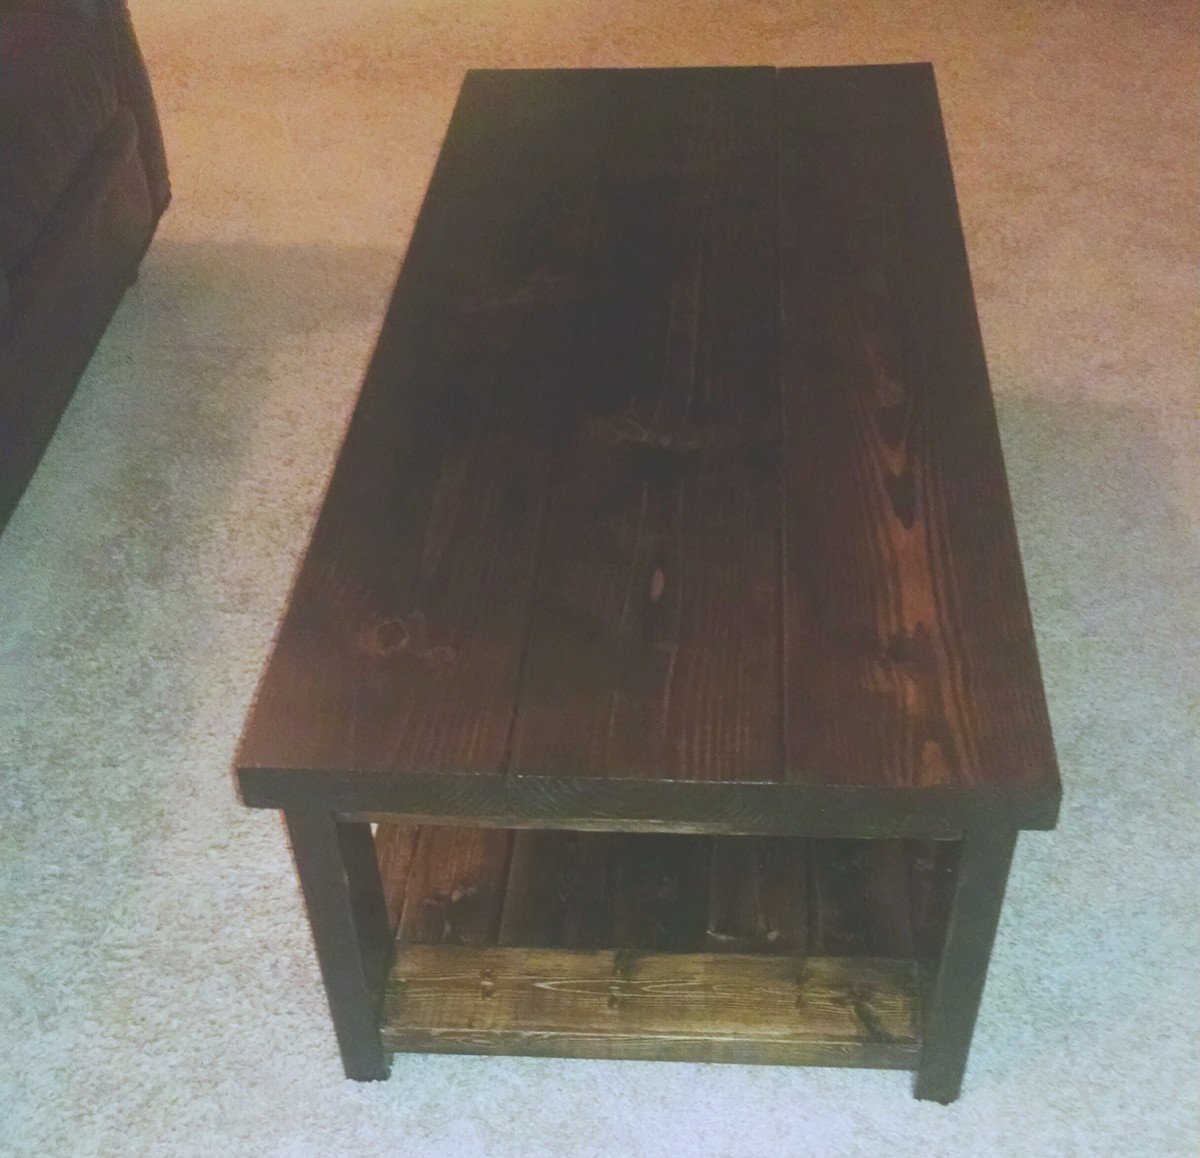
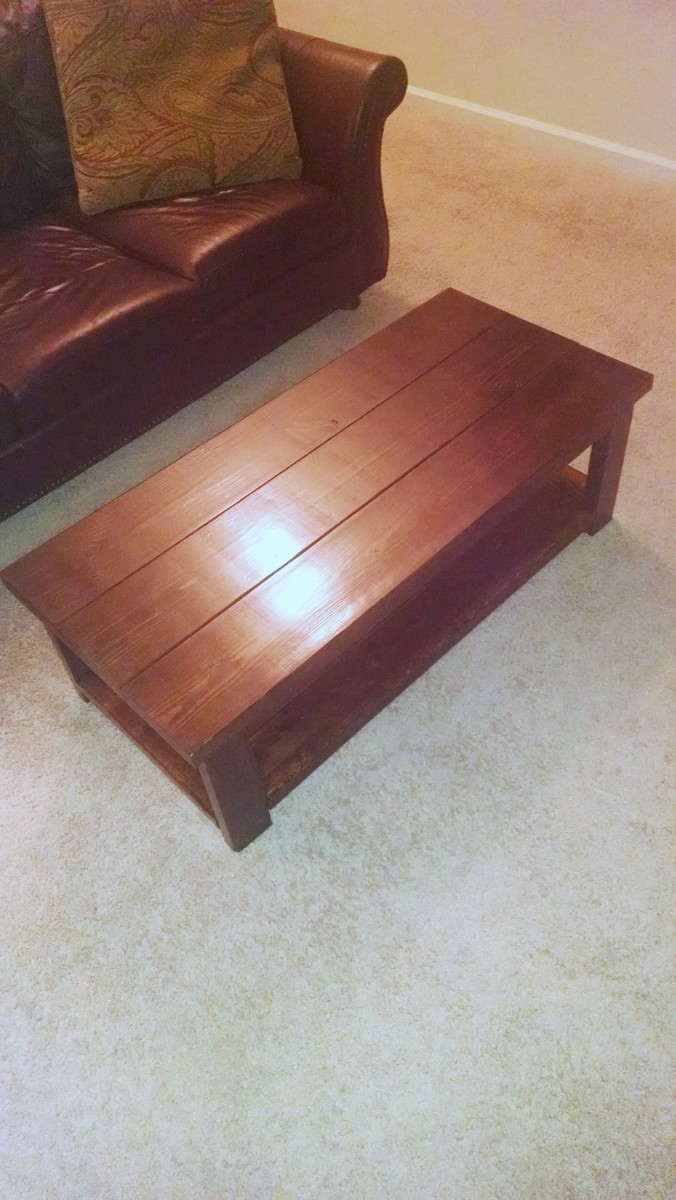
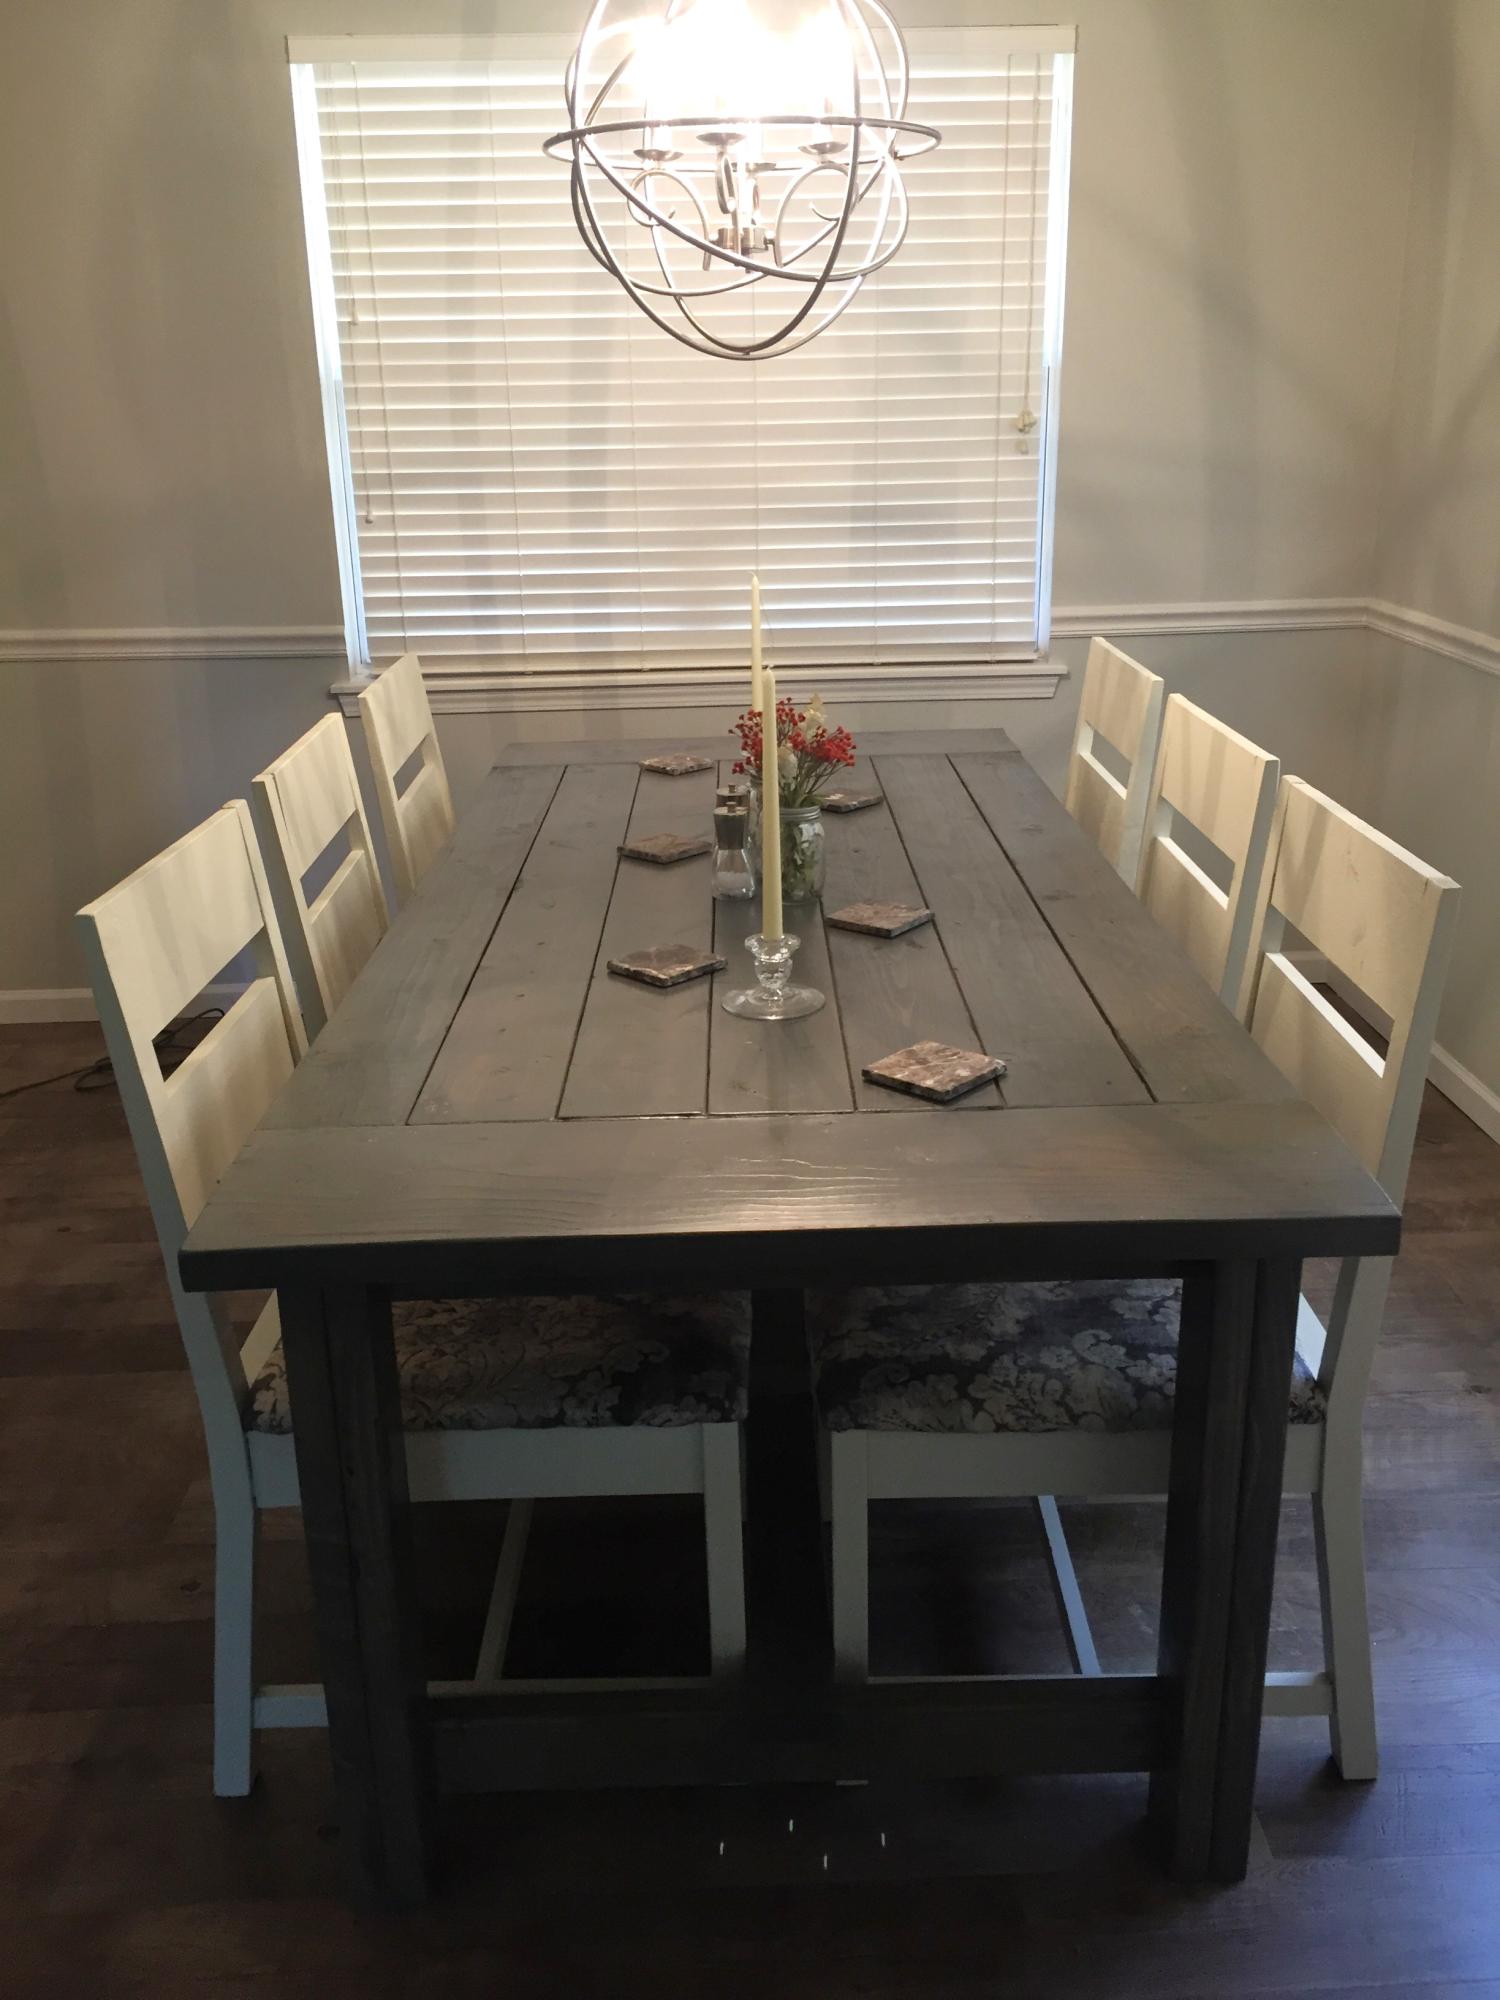
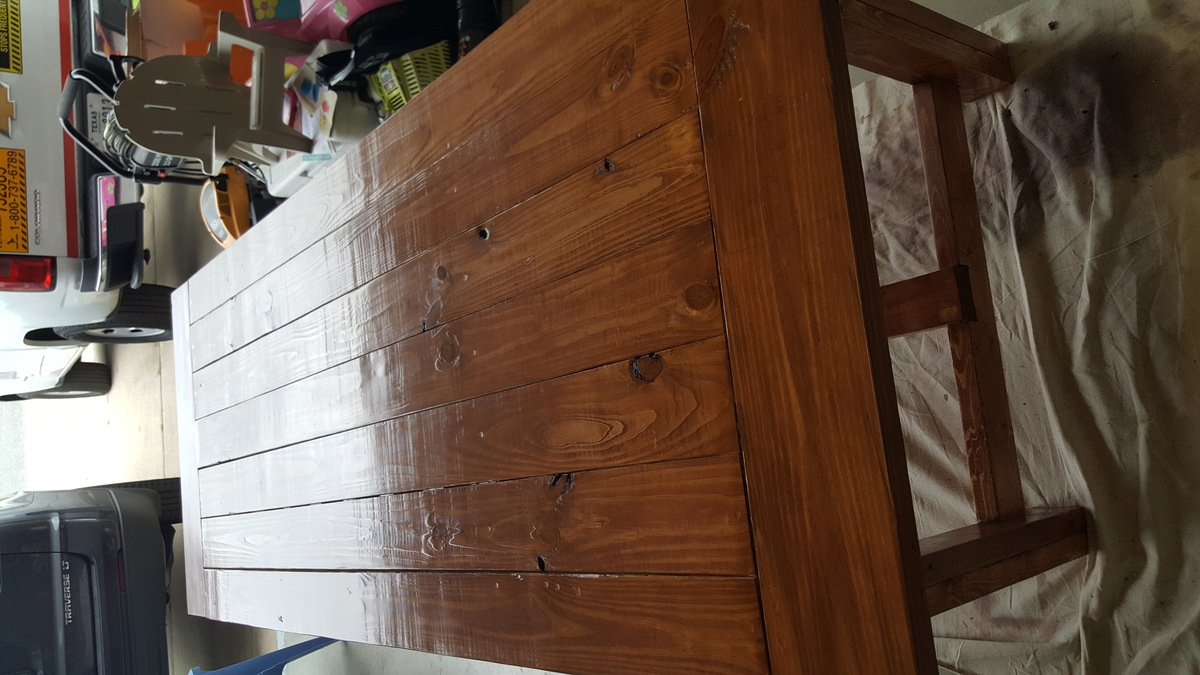
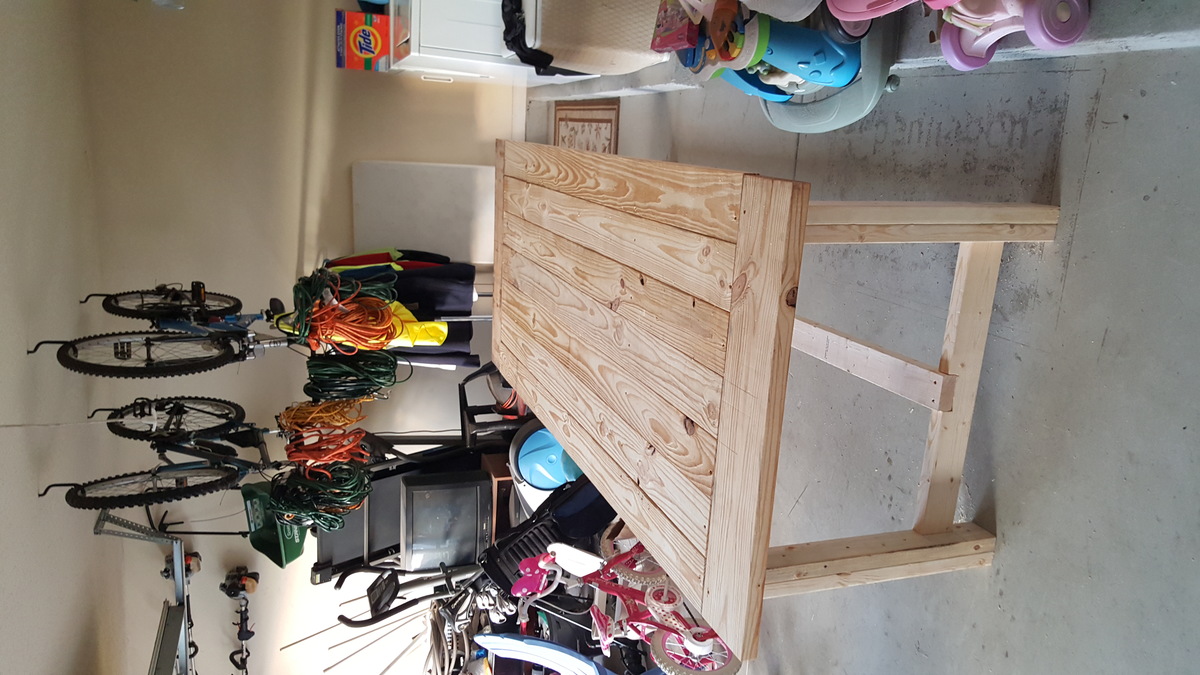
Seven foot farmhouse table with weathered grey stain. Instead of using the pocket hole method we screwed the boards together and put stainable wood filler over the screw holes. The chairs were made from ana white plans as well.
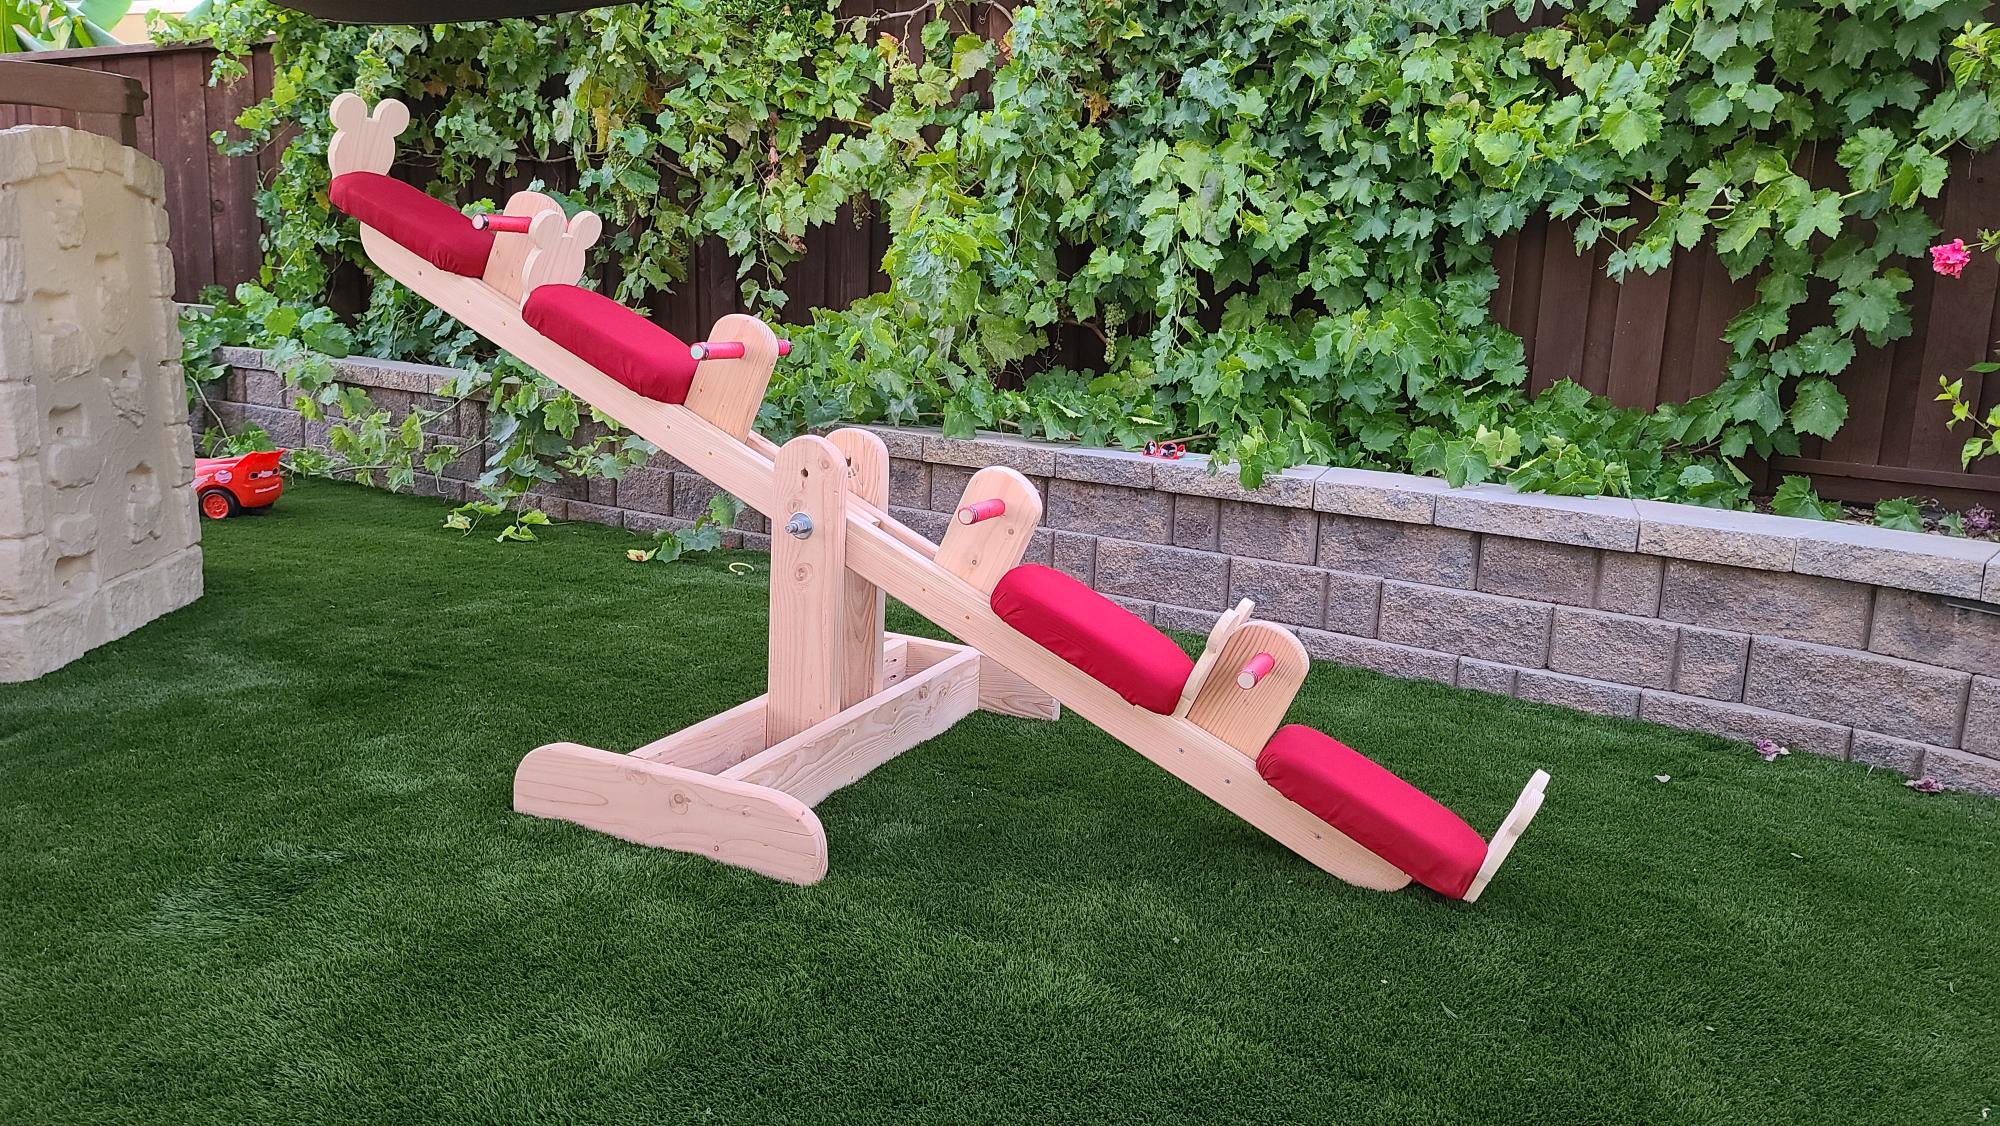
The kids need more things to do at home with shelter in place so I decided to build them a seesaw inspired by Ana White's seesaw plan.
I modified it a bit..
- added Mickey Mouse-shaped backrests (cut out the shape with a scroll saw)
- built it with four seats instead of two
- upholstered seating with thick 2" foam padding
- installed tennis racquet overgrip tape over the handle bars
- rounded many of the corners
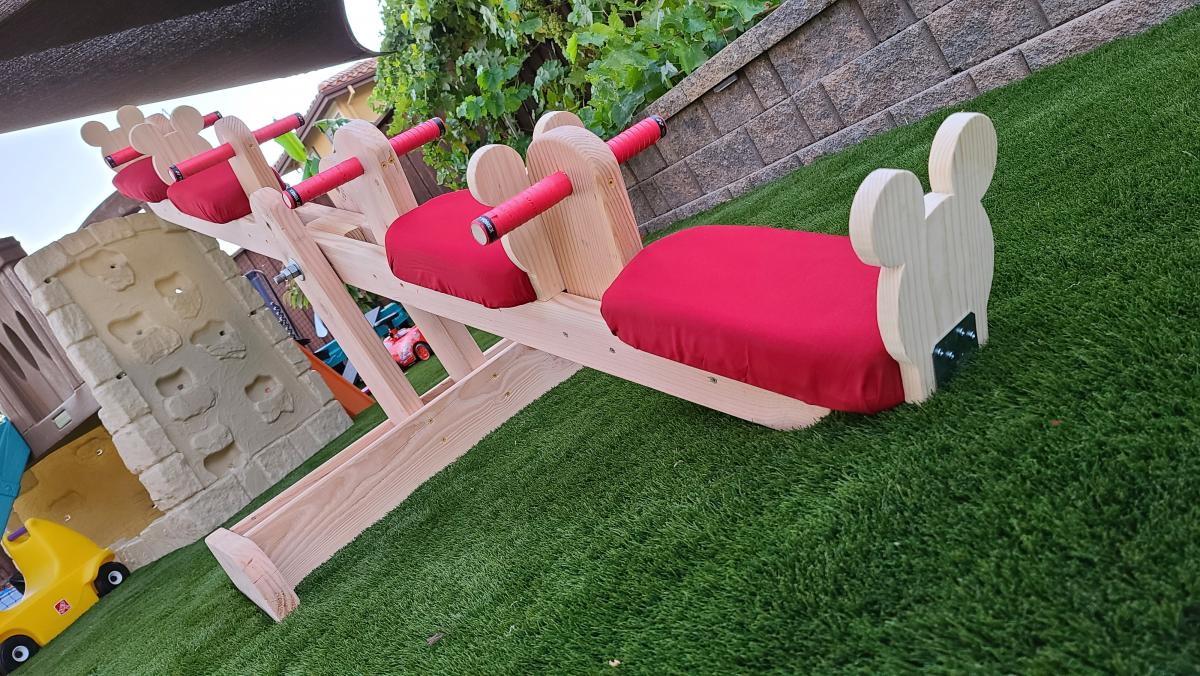
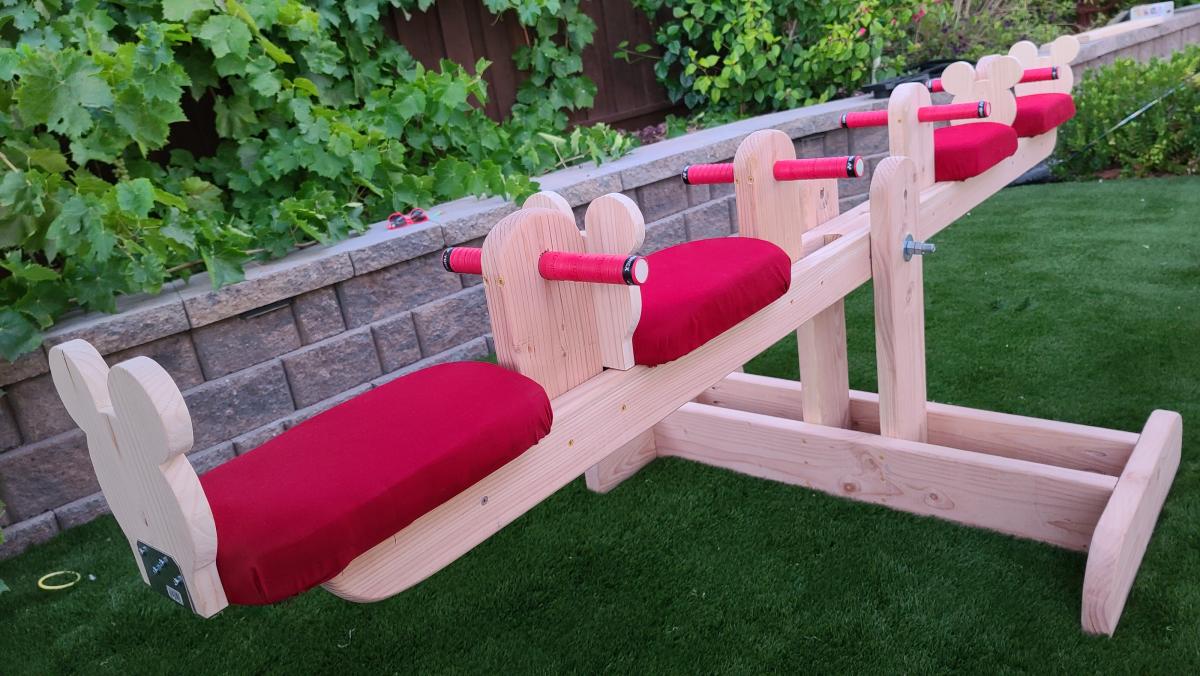
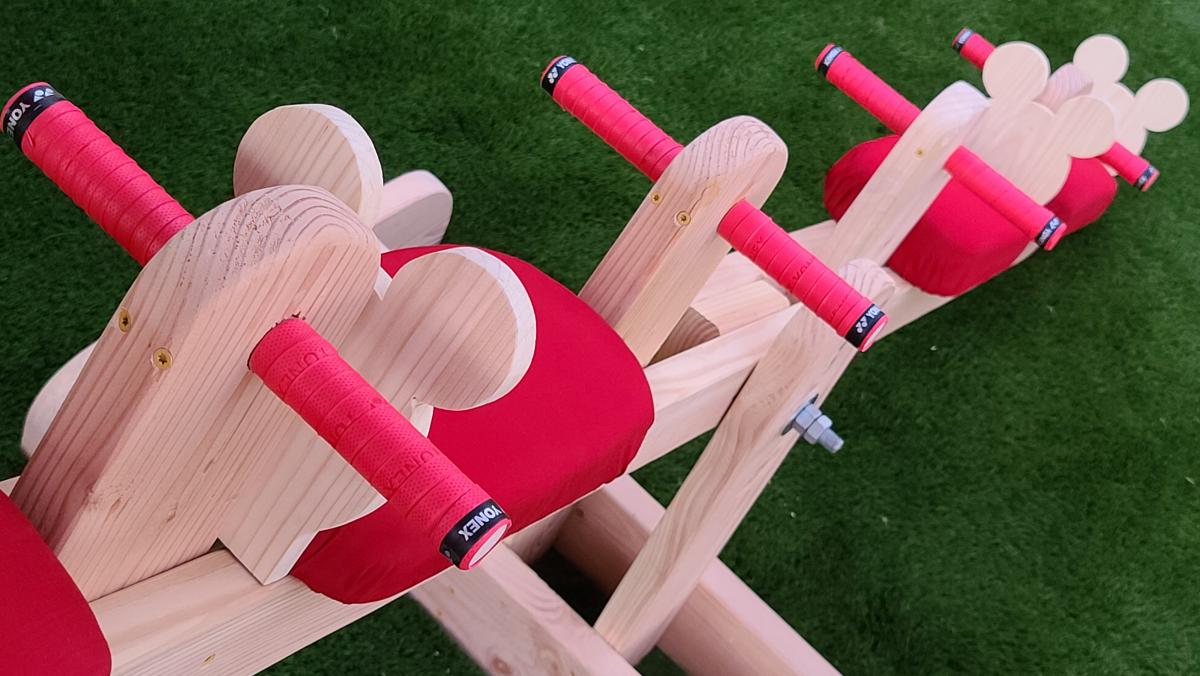
This was my first project.
Reader build
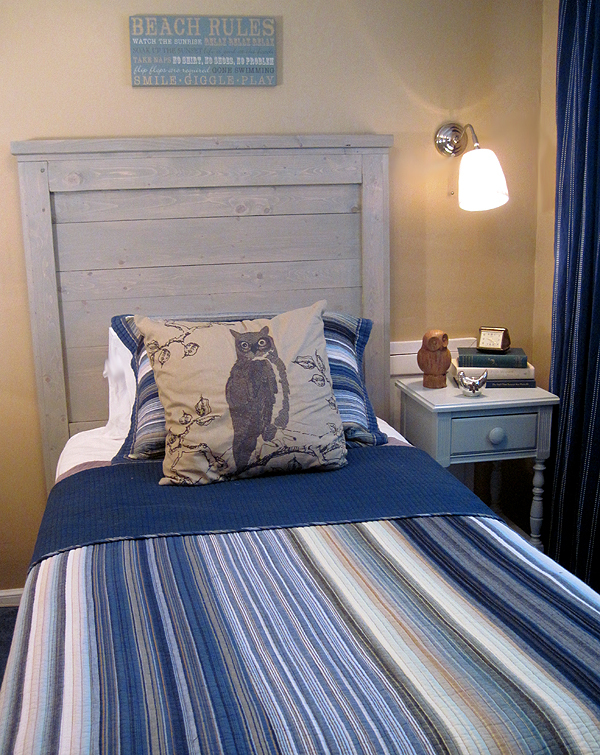
A fun project we did with my 12 y/o niece and husband. It was fun and fairly easy. We distressed the wood by using a copper brushalong the grain and used nails to make holes. We chose rustoleum sunbleached stain hoping to create and washed out gray driftwood look. It took about an hour to put together. The next day I sanded and stained , left it dry for the rest of the day then sealed it with polycrylic spray. The hardest part was getting up 2 flights of stairs, solid wood, it was heavy. The headboard was a little tall we thought. Plans are originally for Full so as bed gets more narrow the height becomes more noticeable. I thought about cutting down the legs a bit but after we got it in the room we thought it looked fanastic. We love love love it.
Wed, 10/24/2012 - 12:42
So beautiful! I love the height - what a nice project! Love the finish too!
This was a great first project. My son was outgrowing his toddler bed and needed something new, and he wanted a bunk bed.
The bed is made exactly per the instructions for the Side Street Bunk Bed (http://ana-white.com/2012/03/plans/side-street-bunk-beds). The headboard and footboard are very heavy- get some help carrying them in the house. It has a coat of primer and 3 coats of black and red.
Assembly took about a day and a half, and the painting took another 2 days for the 3 coats. I didn't sand this down at all- and gives it a "rugged" look. The 3 coats of paint help to soften the feel so no worry of splinters. I have the ladder built, but just not installed yet.
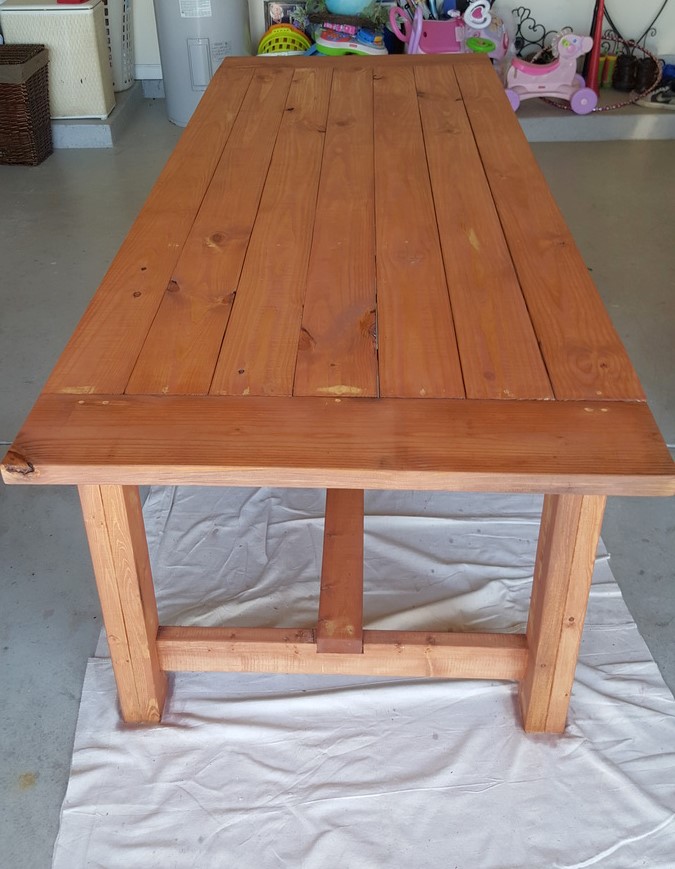
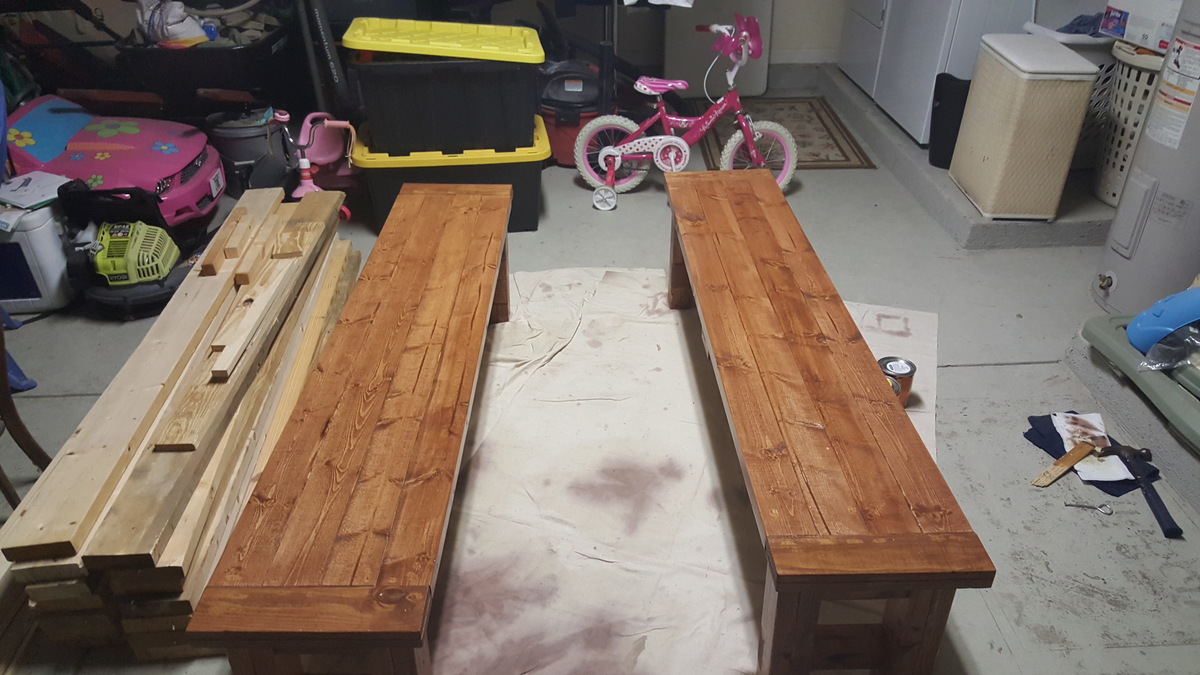
I built this farmhouse table and benchs from Ana's plan and my sister in law fell in love the moment I delivered it to her home. Plans were straight foward and easy to fallow. Thanks Ana!!
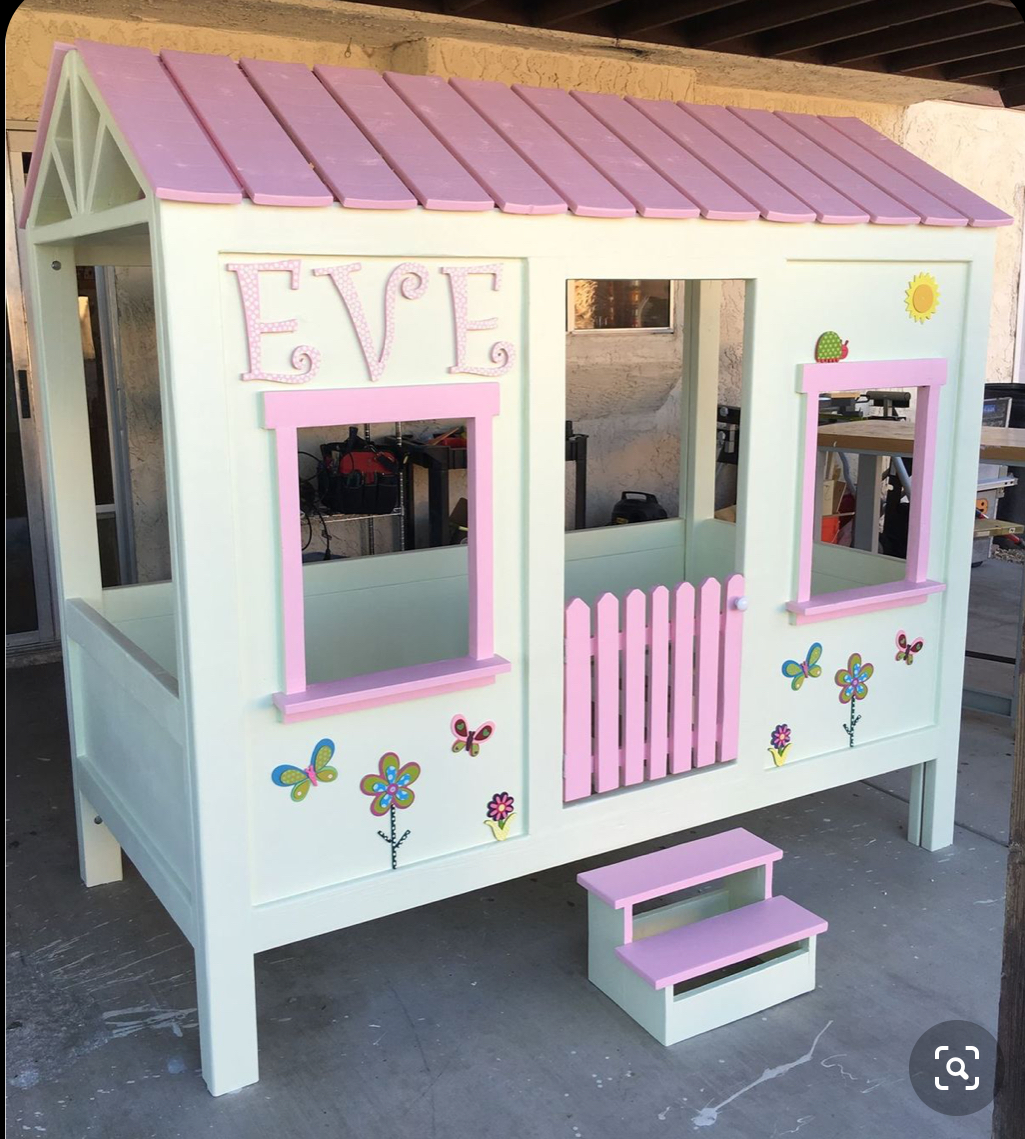
I made this cabin bed for my granddaughter and she loves it💜
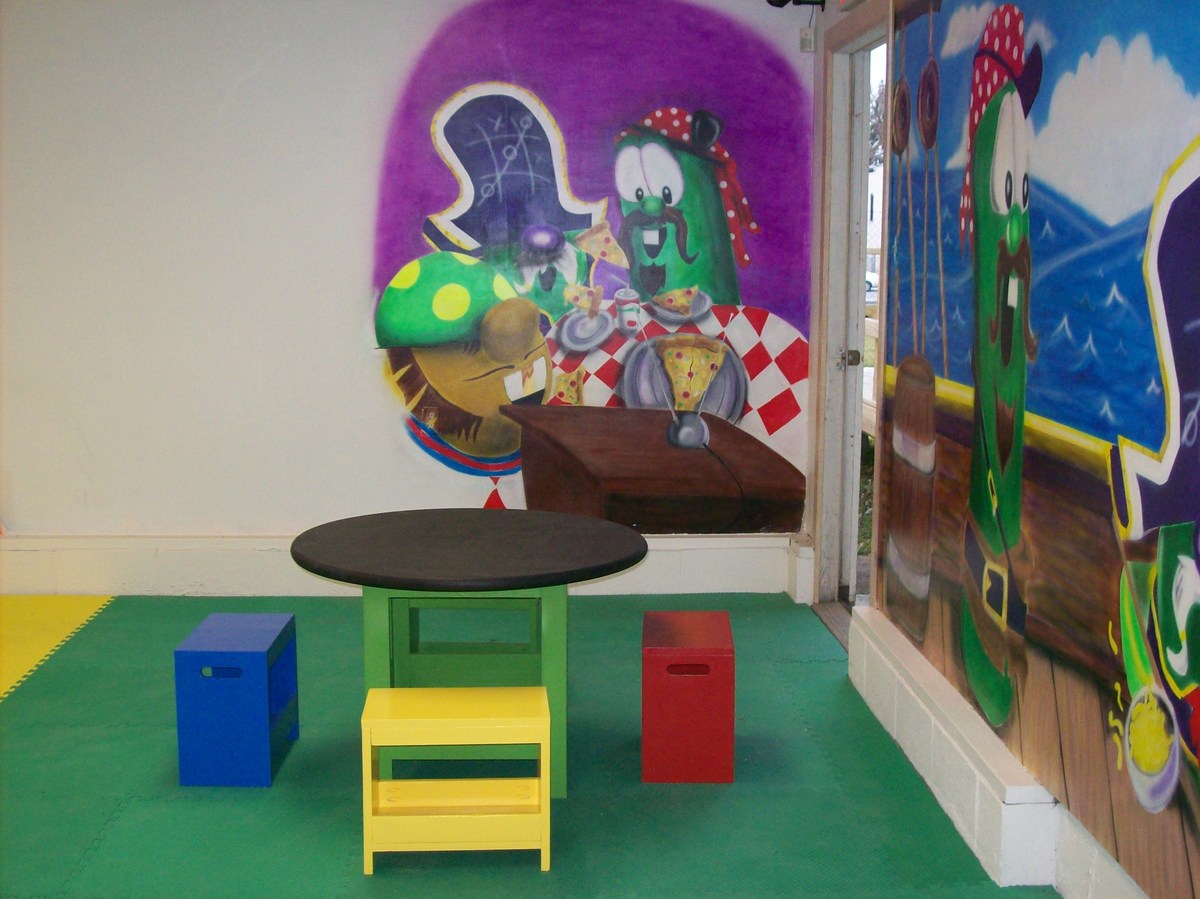
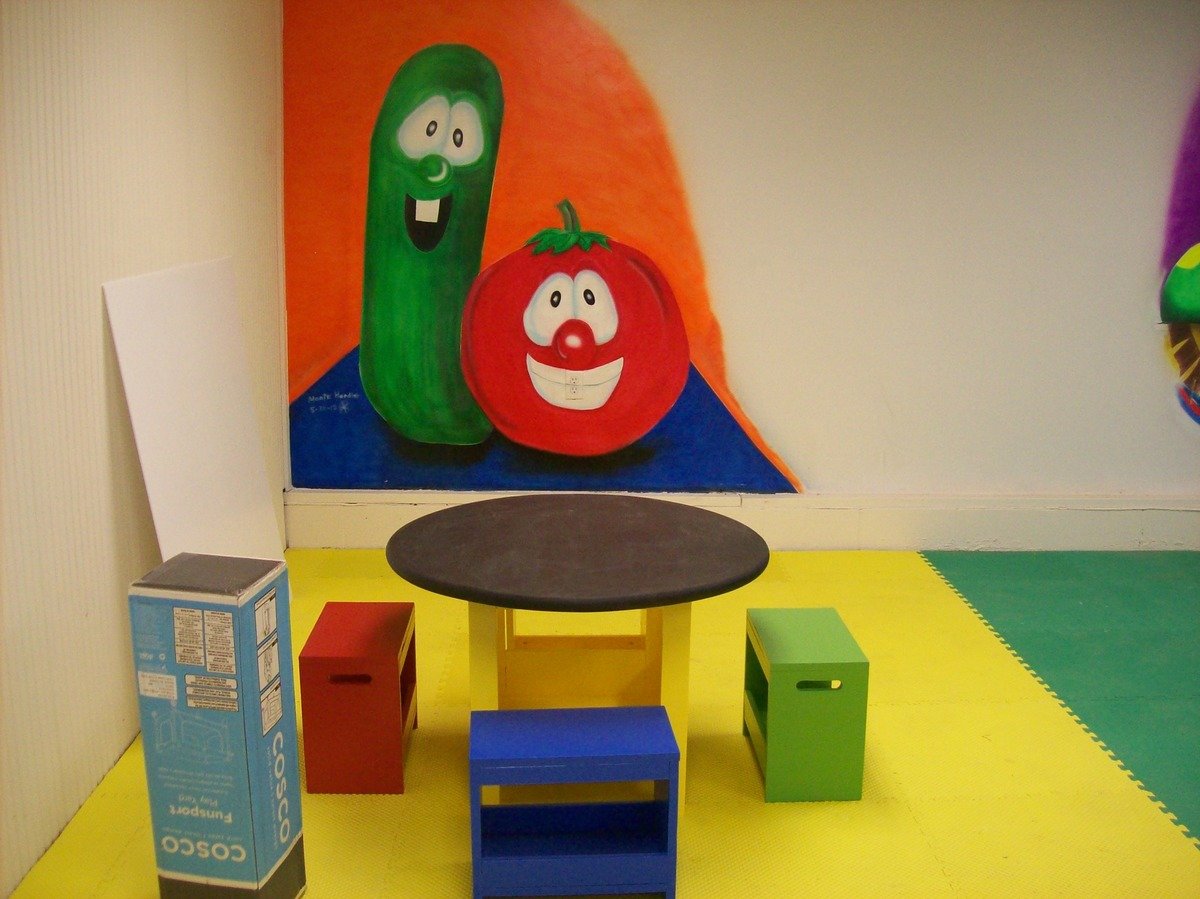
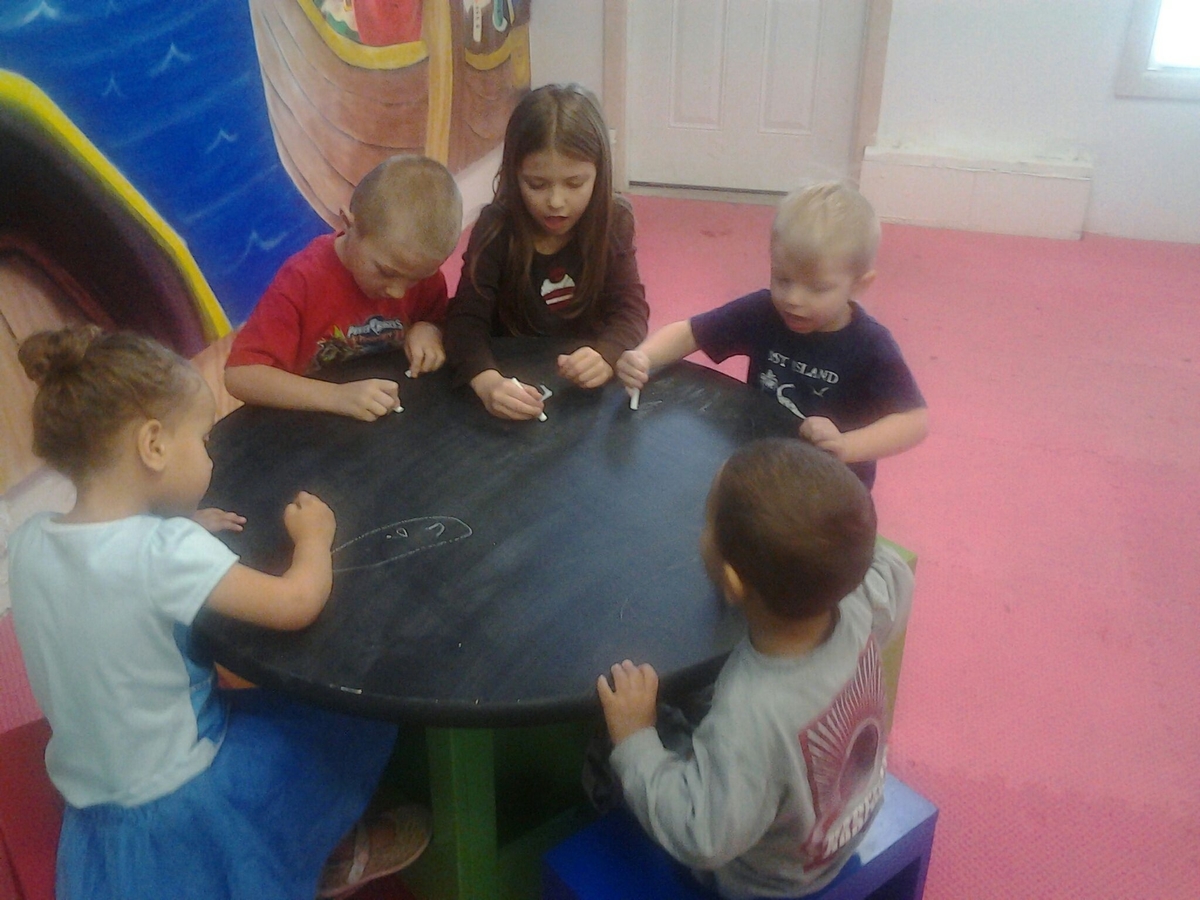
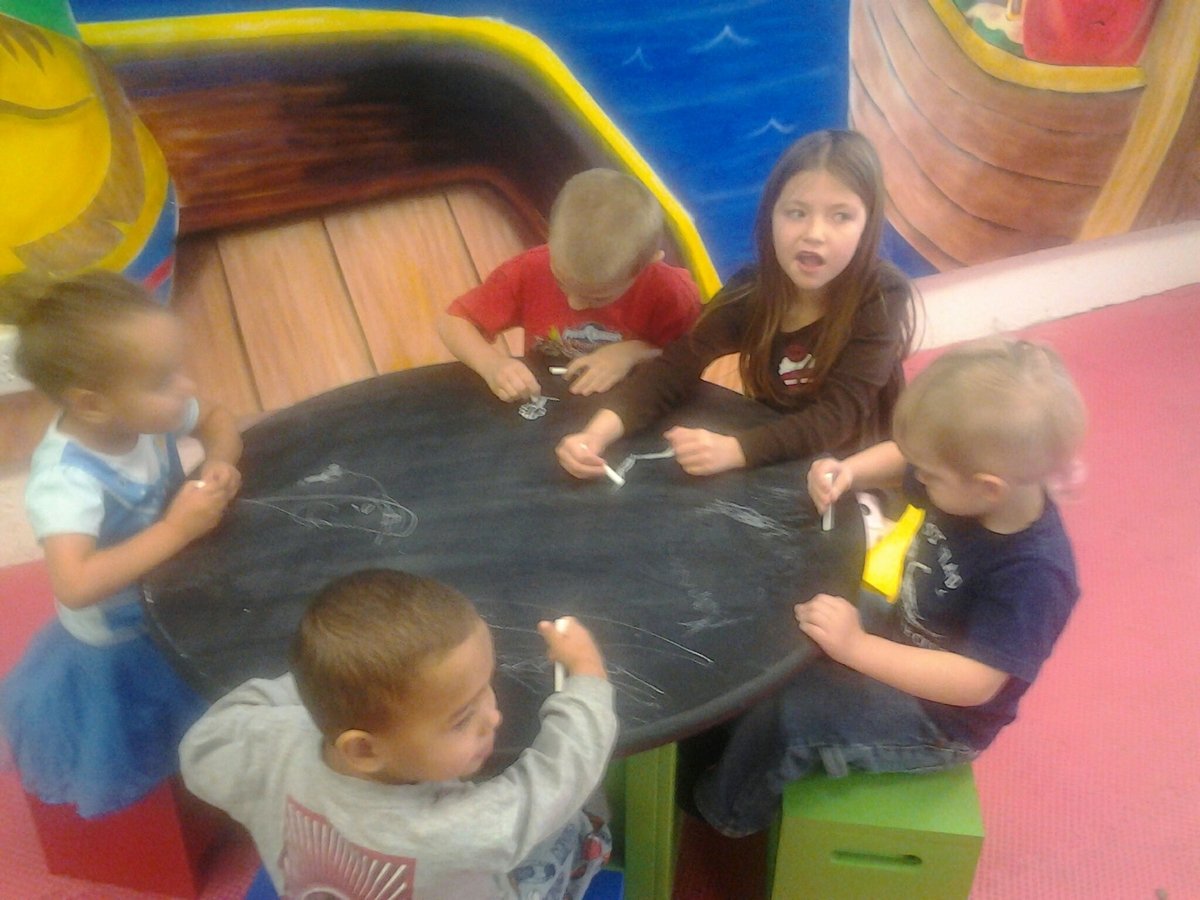
We built three of these for a women and children's shelter. We had friends help us with various aspects of the project. The colors are definitely more vibrant in person. Table tops are painted with chalkboard paint. Because we built three, it took three weeks with some down time here and there. Haven't sat down and figured cost but I know other bragposts have included them if you are curious.
Wed, 10/24/2012 - 20:49
This is beauitful I love the colors! The children are going to love them too! Keep doing God's work!
Mon, 02/25/2013 - 20:57
It is amazing that you built these for a women and children's shelter. You are truly using your talents for good. :) Thank you for the inspiration.
In reply to What a Blessing! by yurra-bazain
Wed, 02/27/2013 - 17:47
Thank you for the sweet comment. God gives us gifts that I feel we should bless others with. Heading over to check out your blog! :)
Fri, 06/28/2013 - 22:27
Hi! I absolutely love the colors you used (and the chalkboard paint is pretty awesome as well). I did have a question. I saw your question about the type of material to keep costs down. The 1 in material in my town is way more expensive than 3/4 in quality Purebond plywood. Do you think the plywood would hold up? This would be much more cost effective and leave some change to do a couple of extra small projects. Thank you in advance for your help!
Tue, 07/23/2013 - 05:12
MrsPowers, I am just now seeing your comment, my apologies! I don't see why the plywood wouldn't hold up, but unfortunately, I am not the one to ask. I am still quite the novice! I had asked about material for the top because I originally didn't want to buy the pre-made round tops. However, time got away from us, so we ended up just biting the bullet and buying them after all. If you are on Facebook, you will probably get a question answered quicker there. Ana's wall name on Facebook is Knockoff Wood. Best wishes on your future projects and sorry I couldn't be of more help!
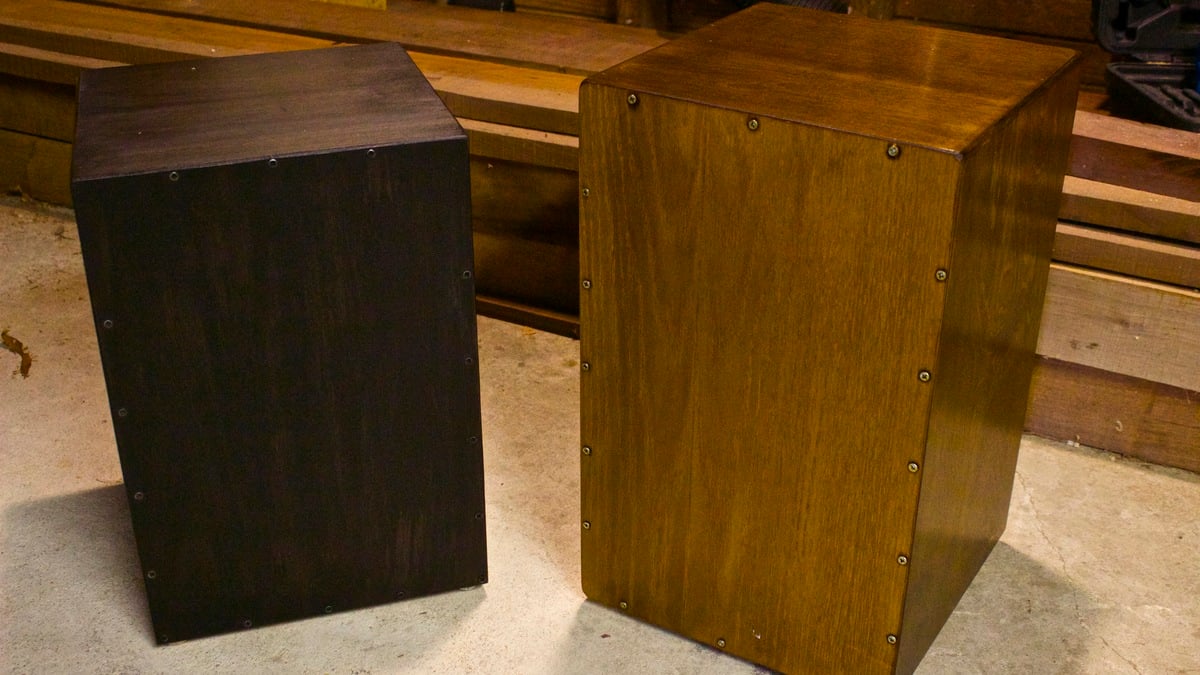
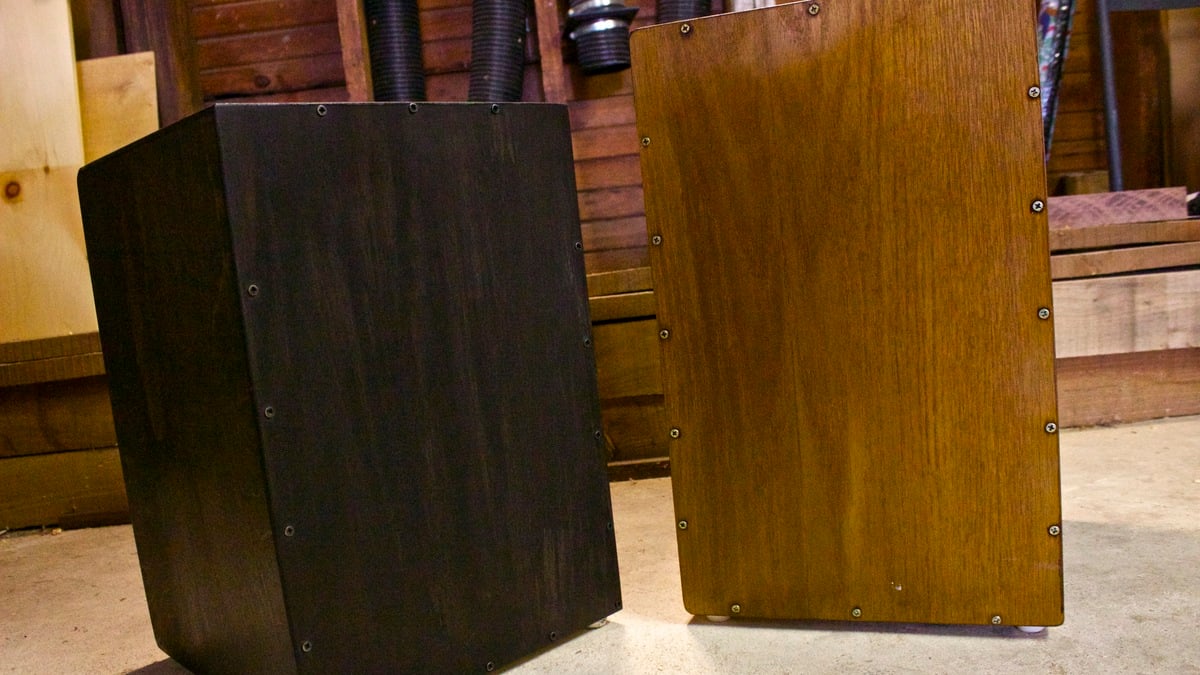
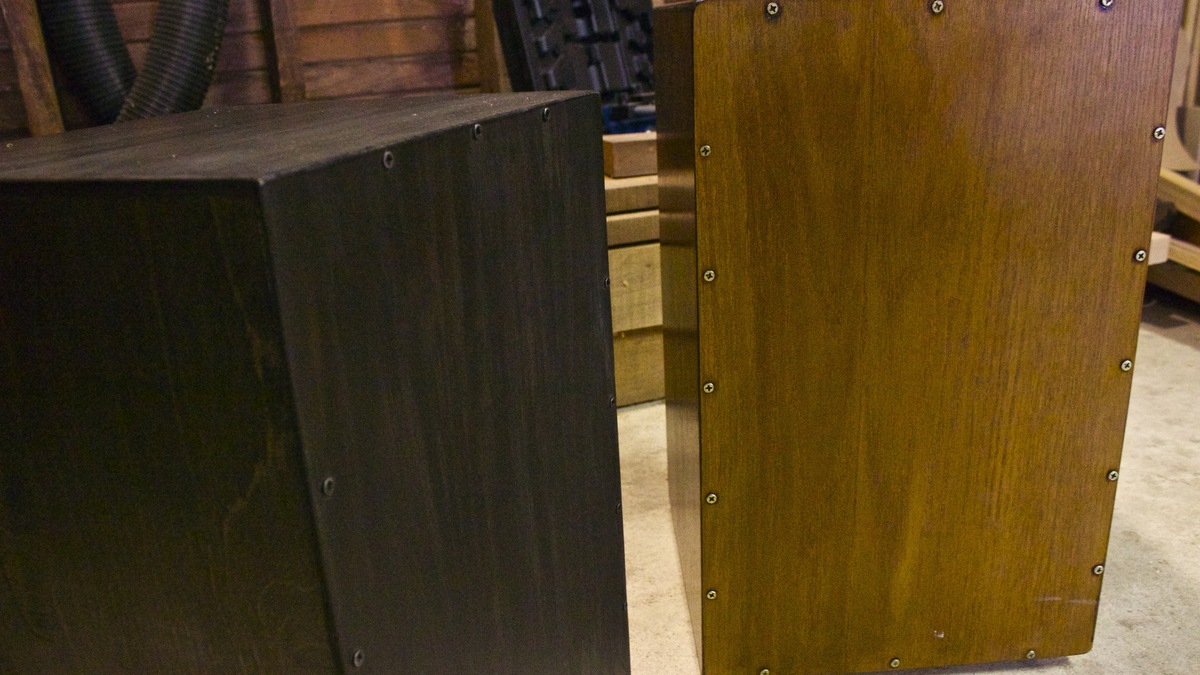
I went to Guitar Center to buy a Cajon drum and they wanted $200 for them. No way was I going to spend that. I hope you like the video!
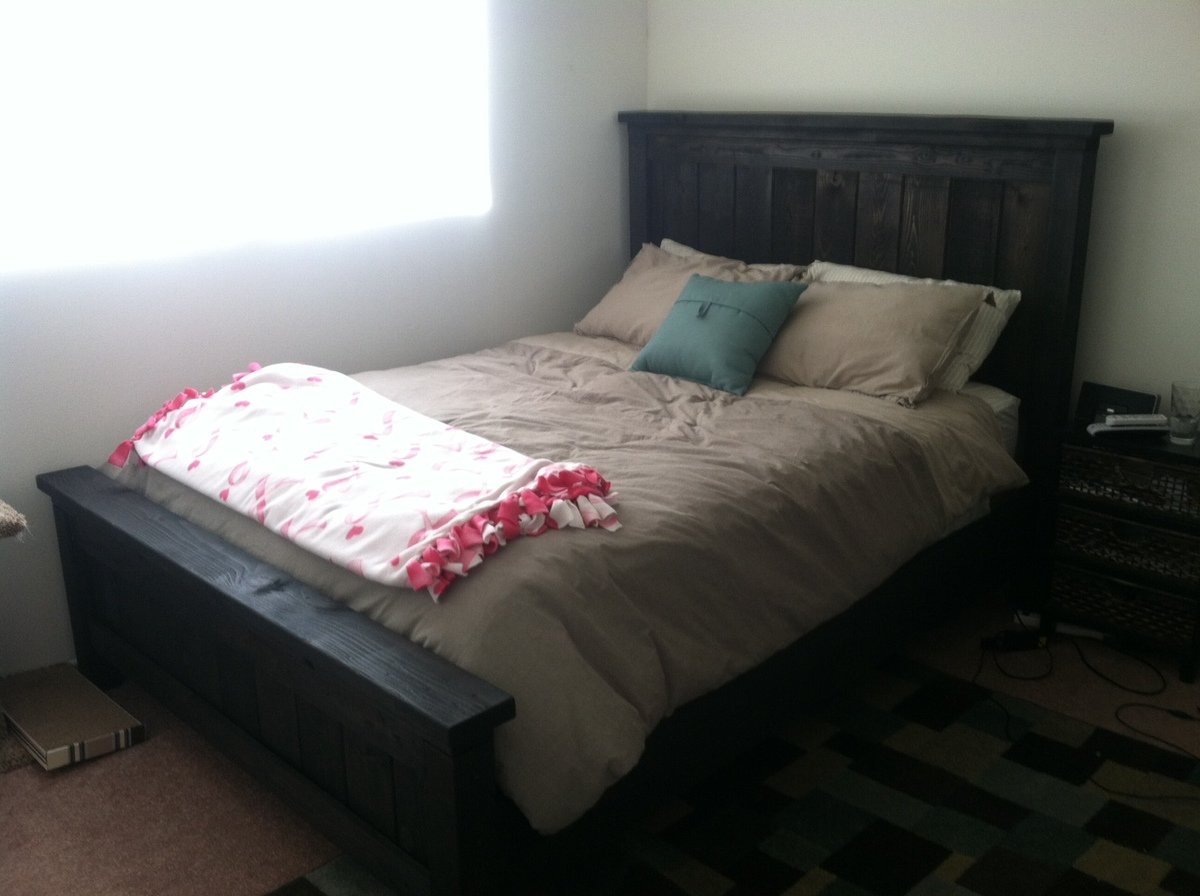
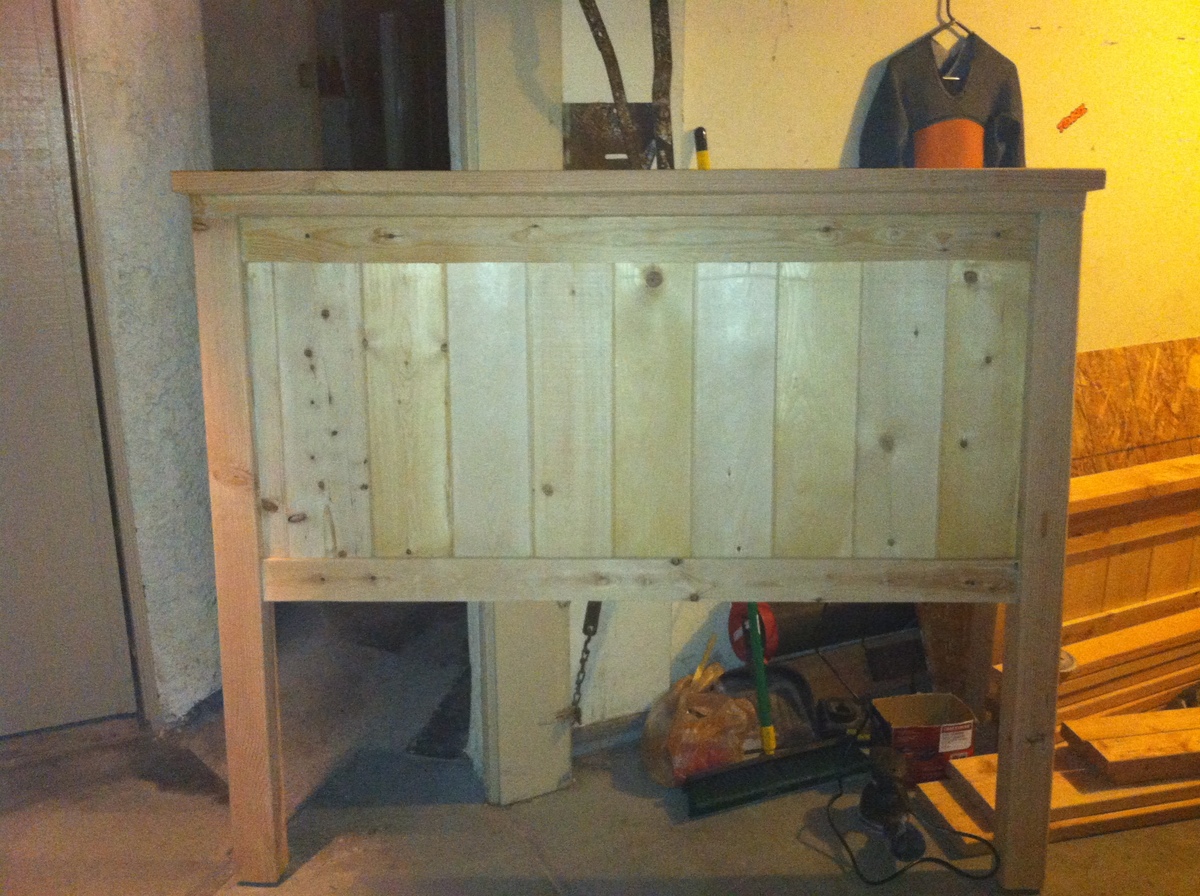
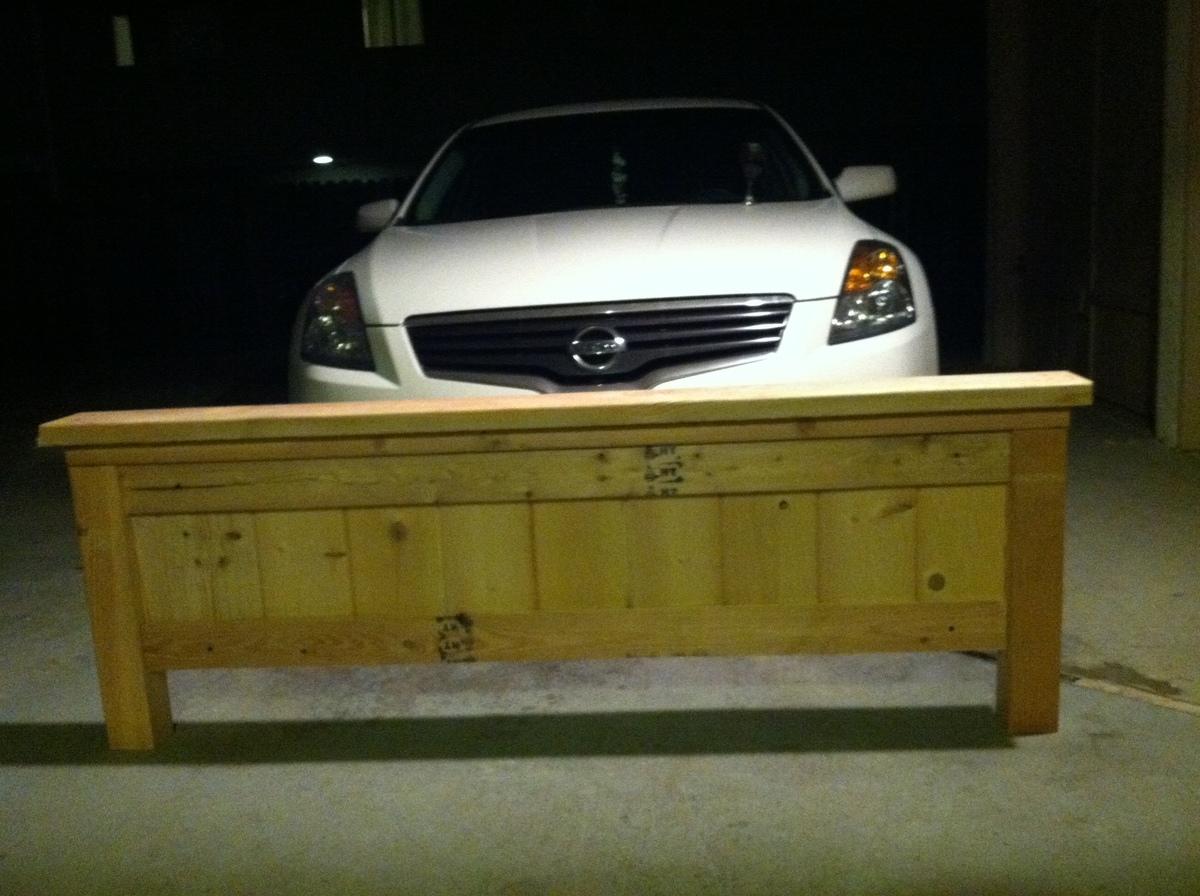
Farmhouse Queen bed. My first project! I used one coat of an Ebony stain. Modified the bed frame a bit. Bought some detachable brackets for easy take down and put together. Also used tounge and groove in the middle of the headboard and foot board.
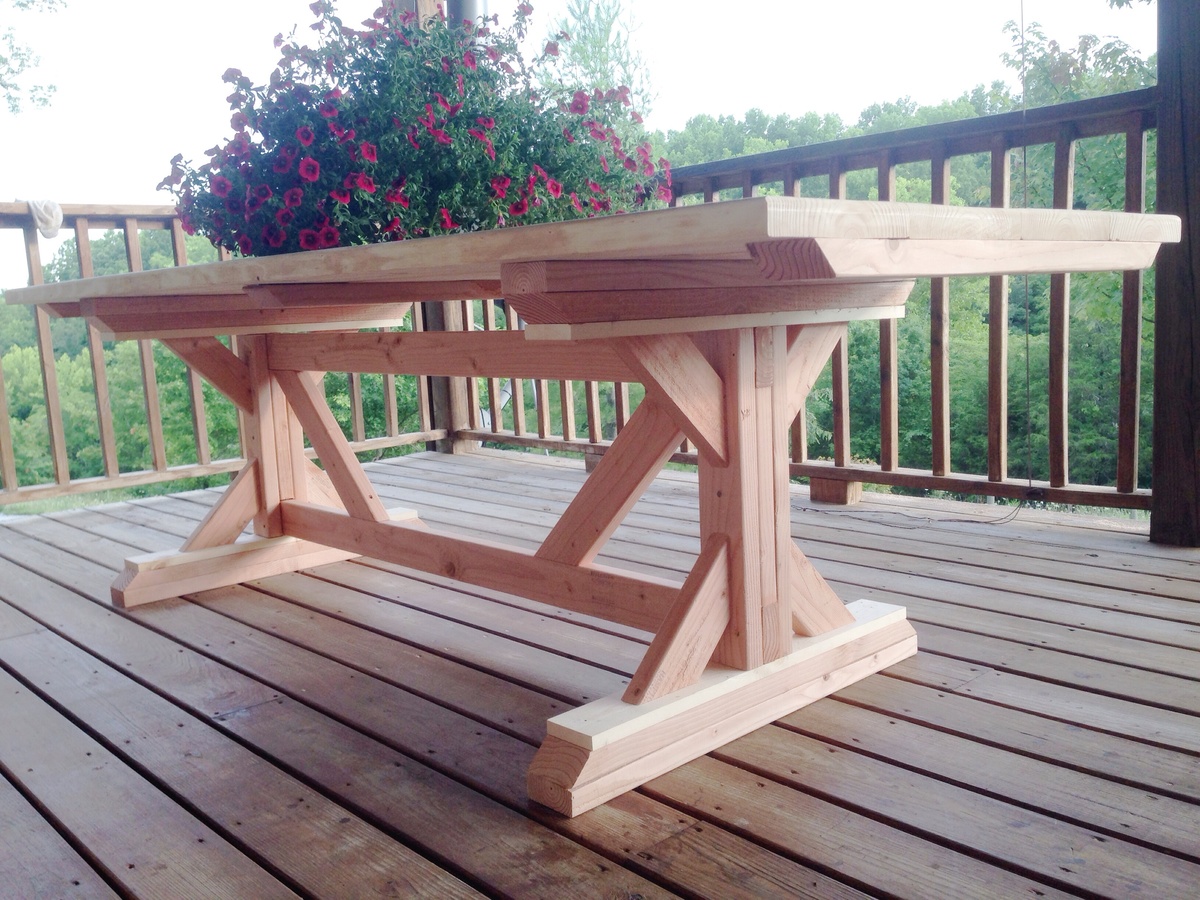
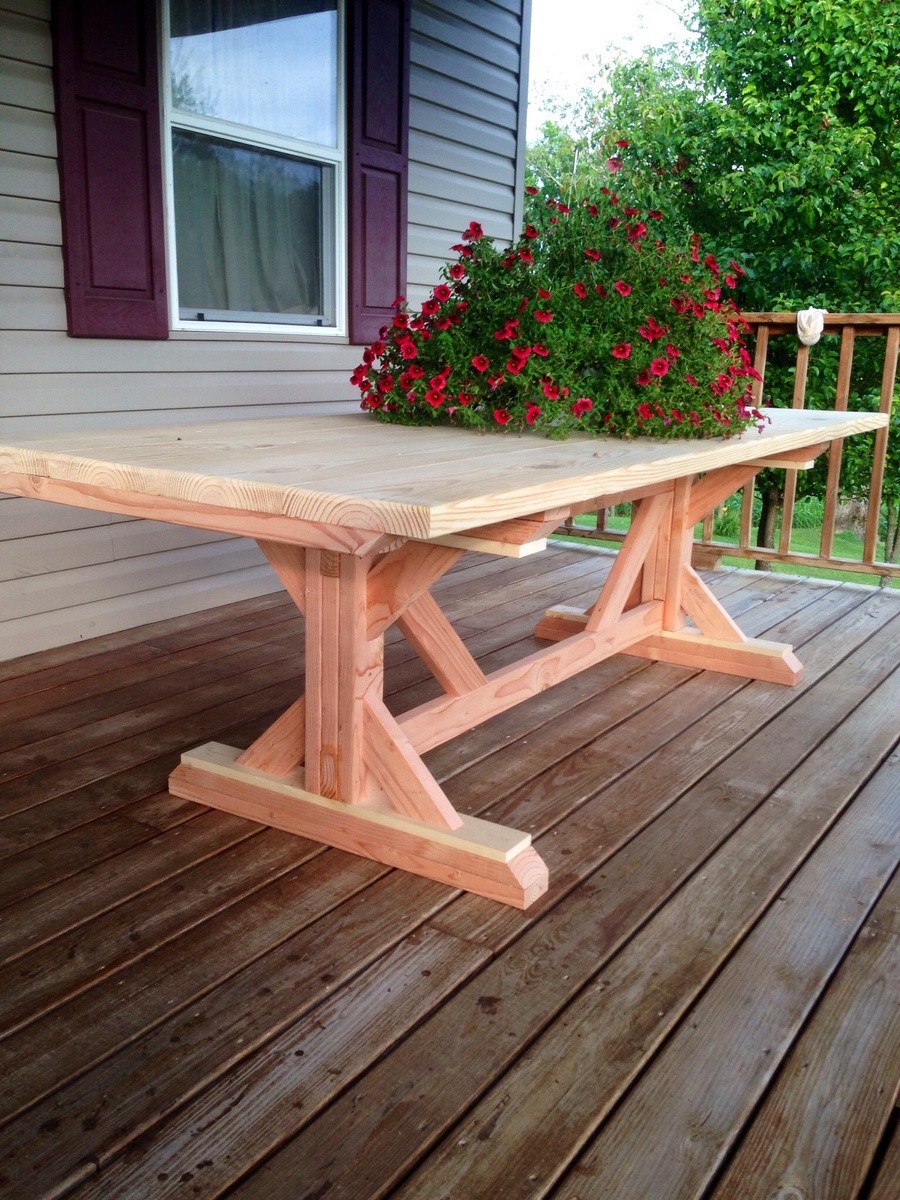
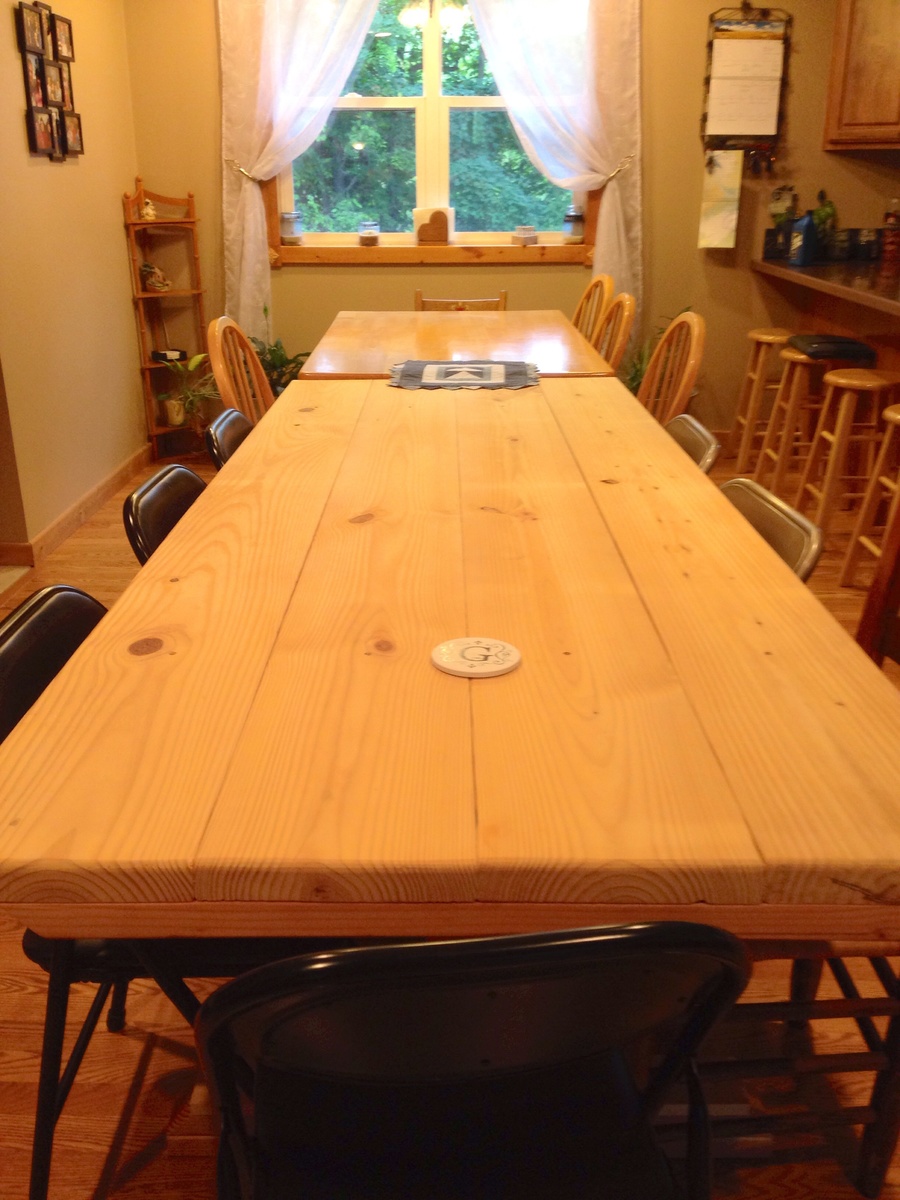
I followed the plans pretty closely. As you can see, I added an extra 2X4 inside the uprights. This gave me room to mortise the 2X4s that run under the table top. Very sturdy and useful. The third pic shows when we used this table for a birthday party. Matched up exactly with our dining room table! It only took one extra 2x4 to make the alterations.
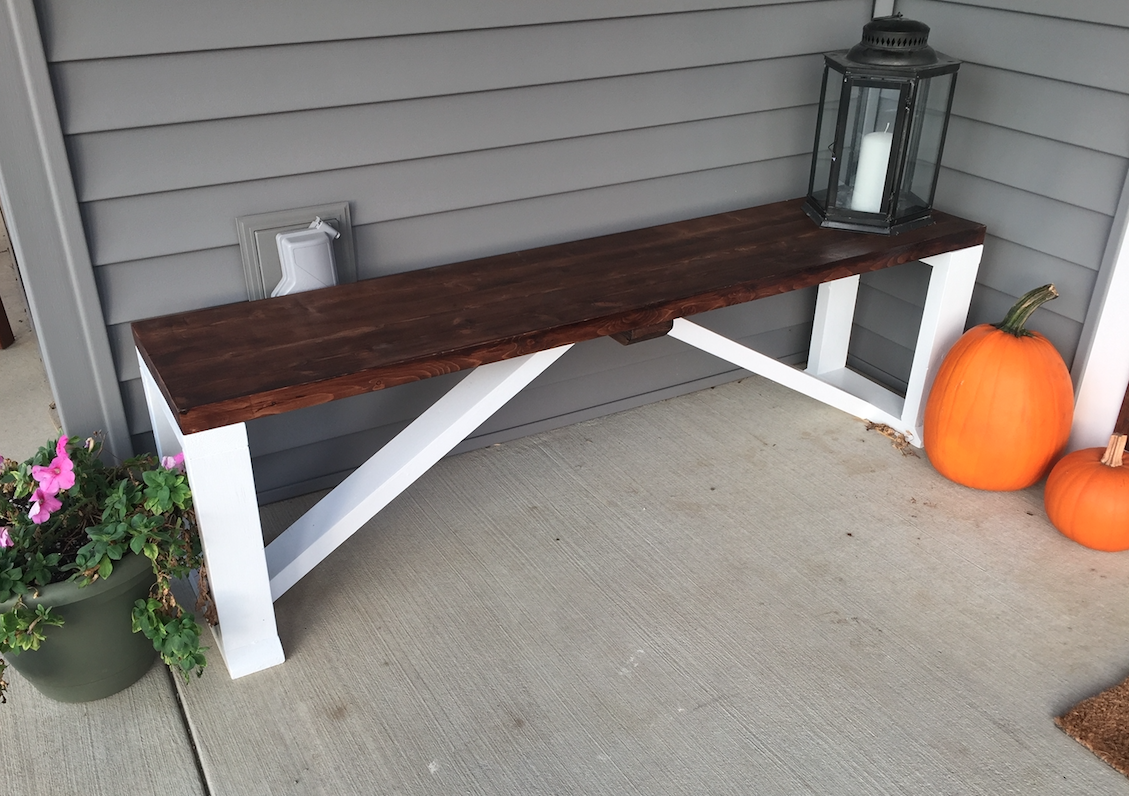
My wife has been asking me for quite some time to build her a bench for the front porch. I finally found some time to make one. I looked at a lot of different benches on Pinterest, YouTube and other websites and I presented the options to her, and she liked this design the best. She only had one request and that was for the top to match the front door and the frame to be white. I have a step-by-step video of how I made the Farmhouse Bench (Click Here) to see the video.
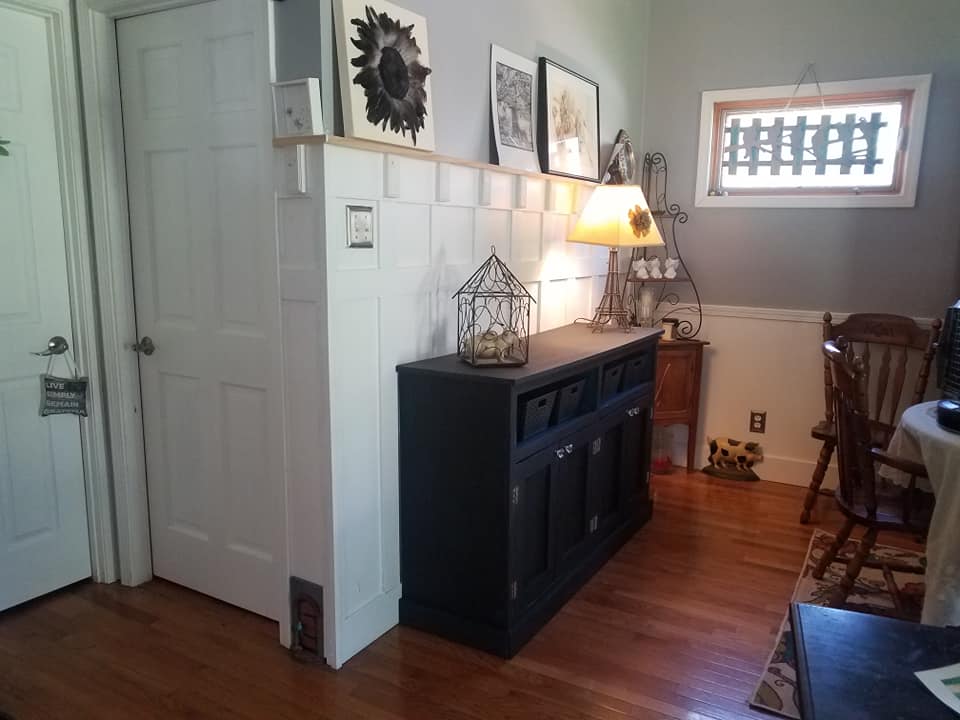
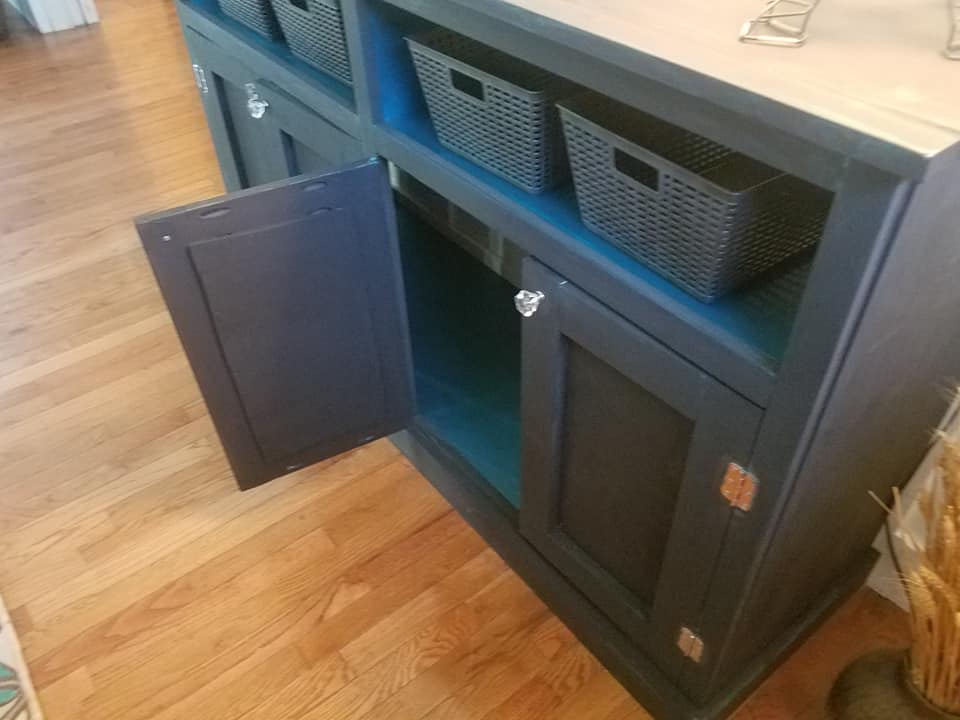
As the news of COVID was getting scarier and scarier in early March, I knew that I would need something to do to keep myself busy since I live alone and wasn't going to be able to get out and do anything. I had been wanting something different in my dining area so I headed to the local Home Depot and picked up the supplies. I learned a lot on this build as it was filled with many firsts but mainly just building something like this by myself! My husband built things for us on occasion over the years and I learned a few things from watching him but I had never done it myself. He passed away 5 years ago (too young, just before he would have turned 50) and I needed a confidences booster. As I built it, I shared my accomplishments on Facebook (also building my confidence) and now it's pretty much done - just a couple things left: put a sealer on it to protect it, find the right baskets and attach the back. I have had trouble finding the right baskets and made do with painted, plastic baskets from the local DollarTree. I wanted to wait until I was done sealing it before I attached the back. Anyway, I could not be more proud of myself - although my sister-in-law said I'd make a great husband some day LOL! Thank you Ana for sharing all your know-how and helping boost my confidence! I can't wait to try the next project!
Thu, 02/11/2021 - 14:38
Is there a plan that you used? Or that you based it off of? What are the measurements? I want to build something that looks pretty much the same for my house!
Wed, 08/04/2021 - 08:55
This is from Ana White's Entry Way Console plan - same measurements as plan
The table top is modified from Ana's farmhouse table, the base is modified from the storage table and the chairs are modified from the extra tall bar stool. This project took me the weekend to complete, because of those darn chairs!!!
In reply to Gorgeous by patrickhosey
Sun, 11/04/2012 - 06:52
For the ladder I used straight 2x2s and 2x3's. I like the look of the straight back. I didn't want pocket holes on either side, so I used 3" screws through the legs into the 2x3s. I used a scrap 2x3 as a spacer.