Community Brag Posts

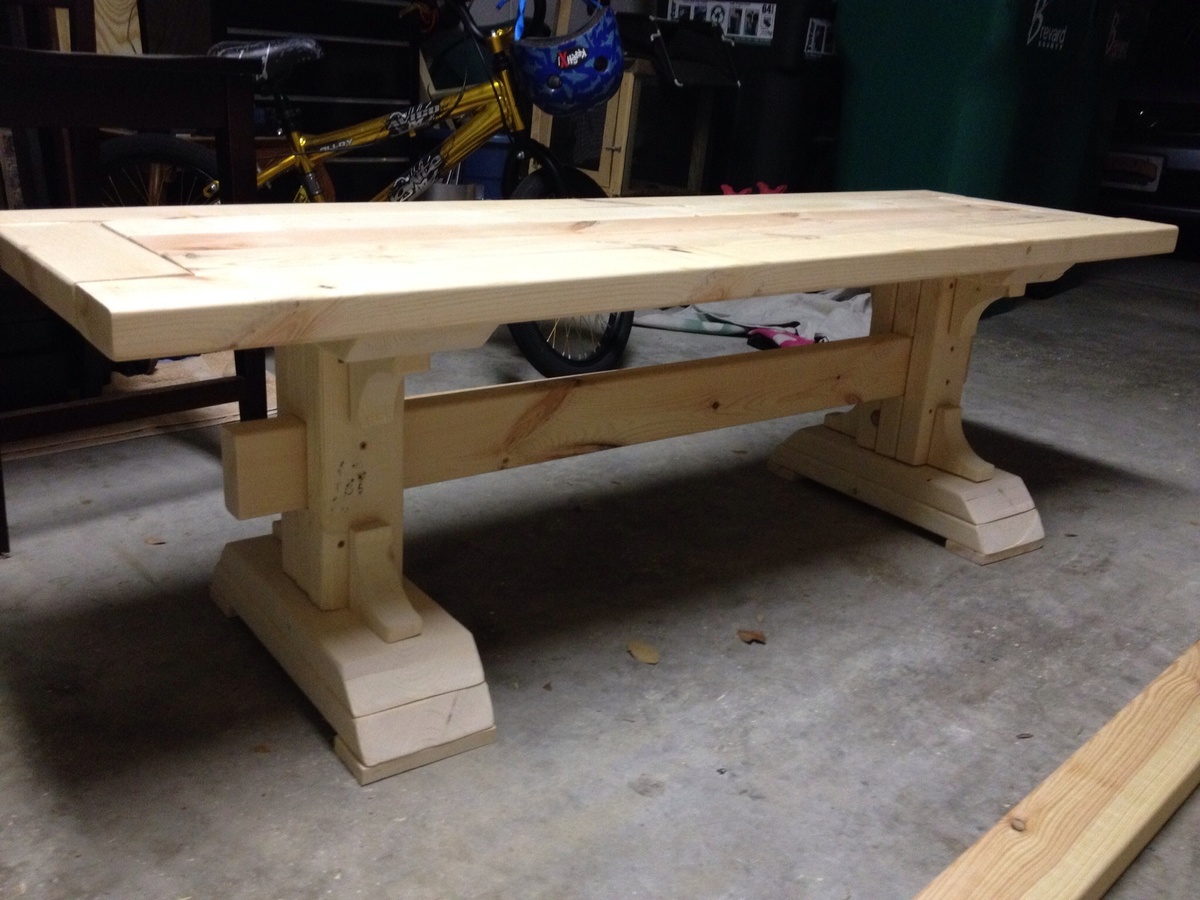
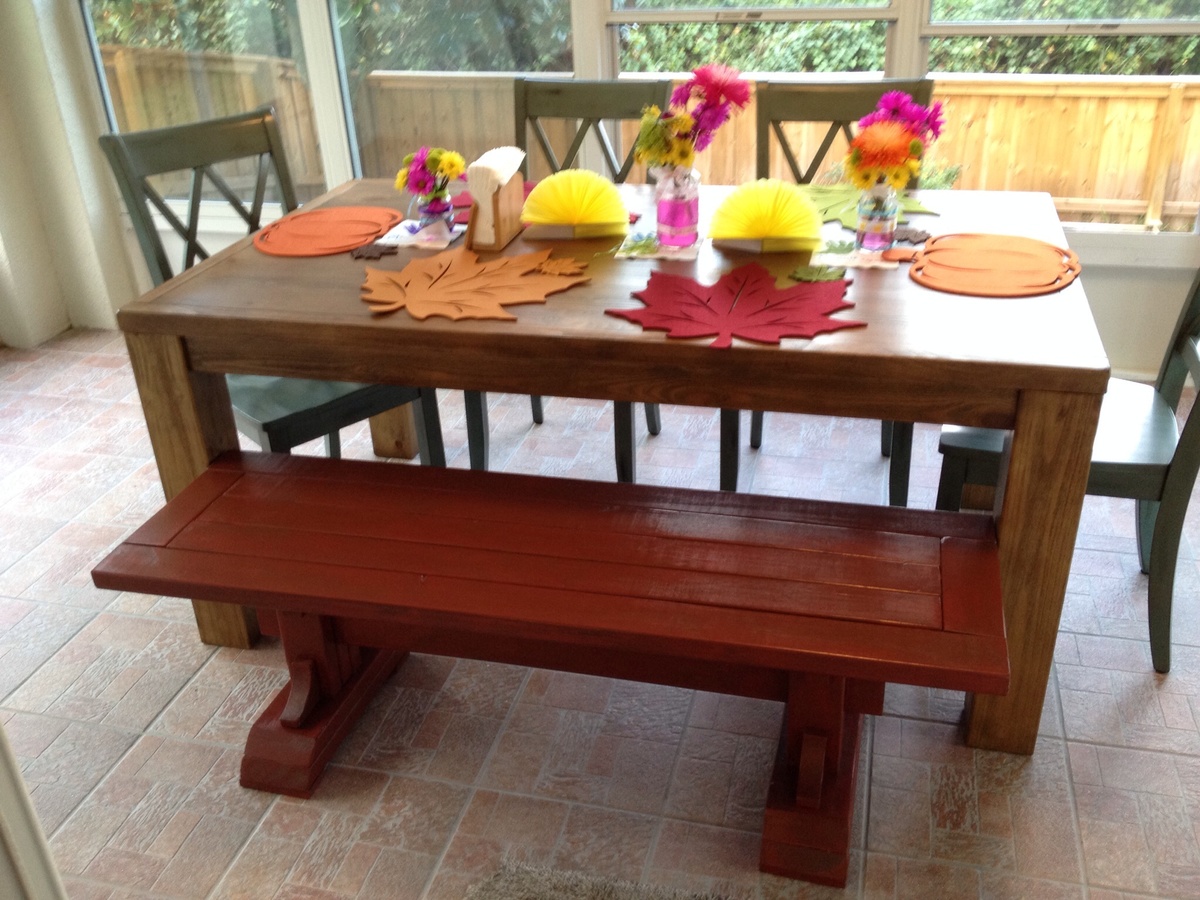
First build modified pedestal bench

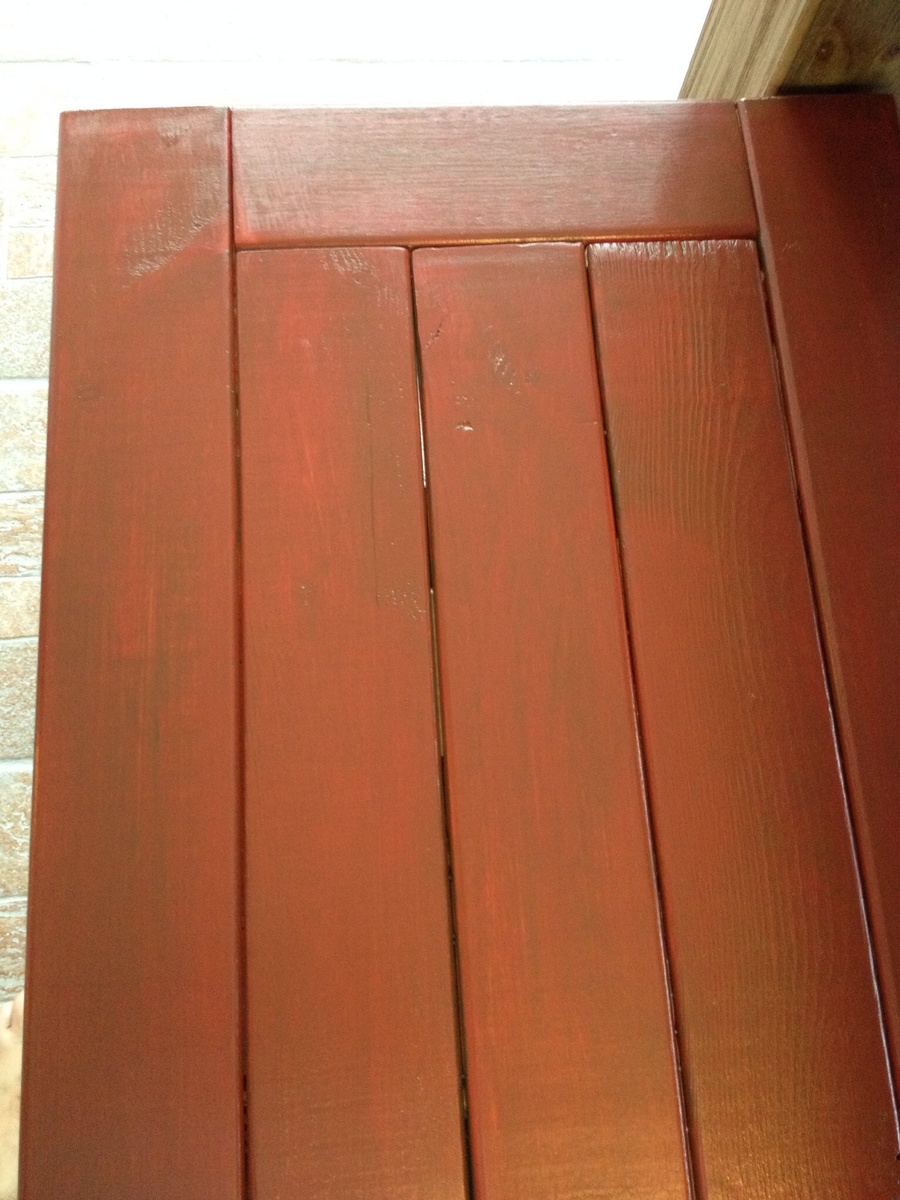
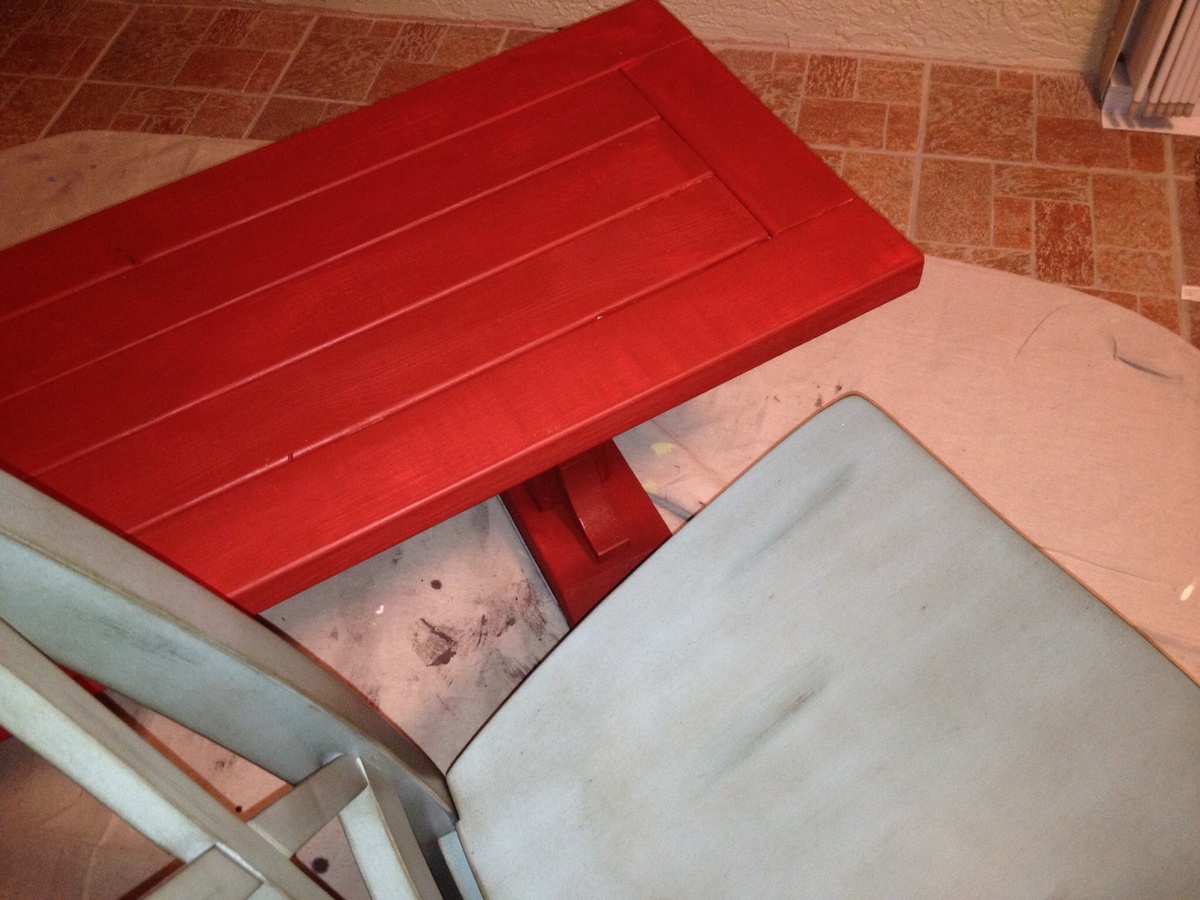
We wanted a bench to go with our new table, but couldn't find one we liked, so we decided to make this our first project. Finished it with paint and an over glaze to match the finish on the chairs. Couldn't be happier with the results!

Built from Plan(s)
Estimated Cost
$50
Estimated Time Investment
Afternoon Project (3-6 Hours)
Finish Used
Paint with an over glaze, sealed with poly acrylic
Recommended Skill Level
Starter Project

Smaller Dog Crate with a drawer!

Submitted by Anonymous (not verified) on Wed, 01/06/2016 - 12:28

You may remember my green stratton day beds that I built a long time ago- finally I have another project to post- I am soo happy I found Ana White's website. We just got back from a 2.5 week vacation in Israel and my dogs were staying with my sister. She told me they had been sleeping in the same kennel together instead of separately. Their kennels are too small so I decided to build them one using wood I already had. But since they are small dogs, I decided to size it down- but I wanted it end table height- so I built a smaller kennel- 20"H x 19"W x 28"D. but... I added a drawer to the top to bring it to the right height. You can read all about it on my blog- link below.

Built from Plan(s)
Estimated Time Investment
Weekend Project (10-20 Hours)
Finish Used
provincial wood stain.
Recommended Skill Level
Intermediate

Comments

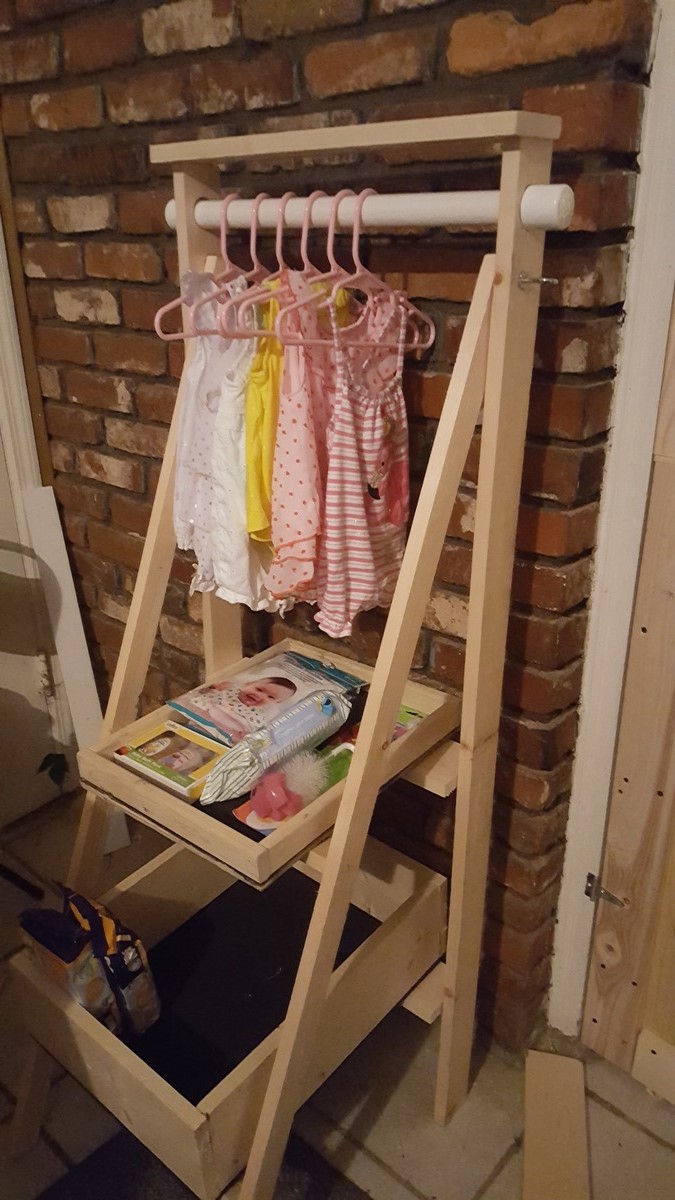
Baby Valet for a baby on the go

Submitted by blasiansky on Sat, 04/20/2019 - 09:34

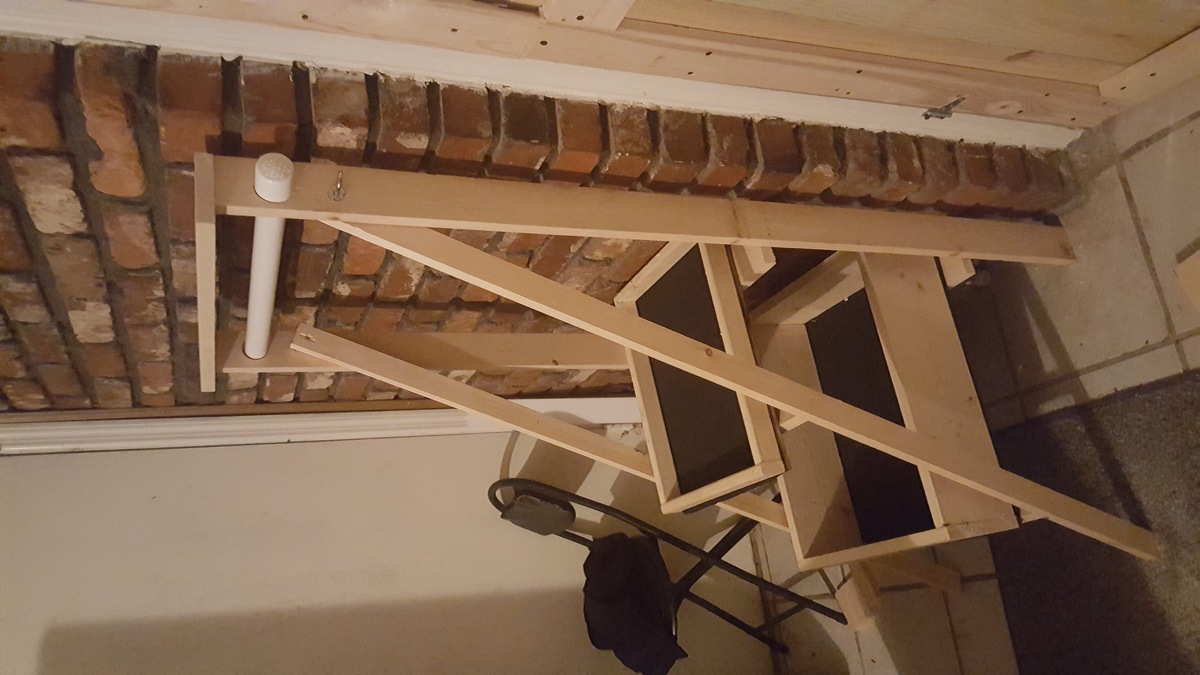
Made it for a friend who will be on the go with her new baby.  I included screw hooks to either hang bags or separate. Tray & box are removable also. Bottoms are chalkboard paint. She wanted to paint it so i will stop here.

Built from Plan(s)
Estimated Cost
$25
Estimated Time Investment
An Hour or Two (0-2 Hours)
Recommended Skill Level
Beginner

Modified Dollhouse

Submitted by Anonymous (not verified) on Fri, 02/24/2023 - 07:06

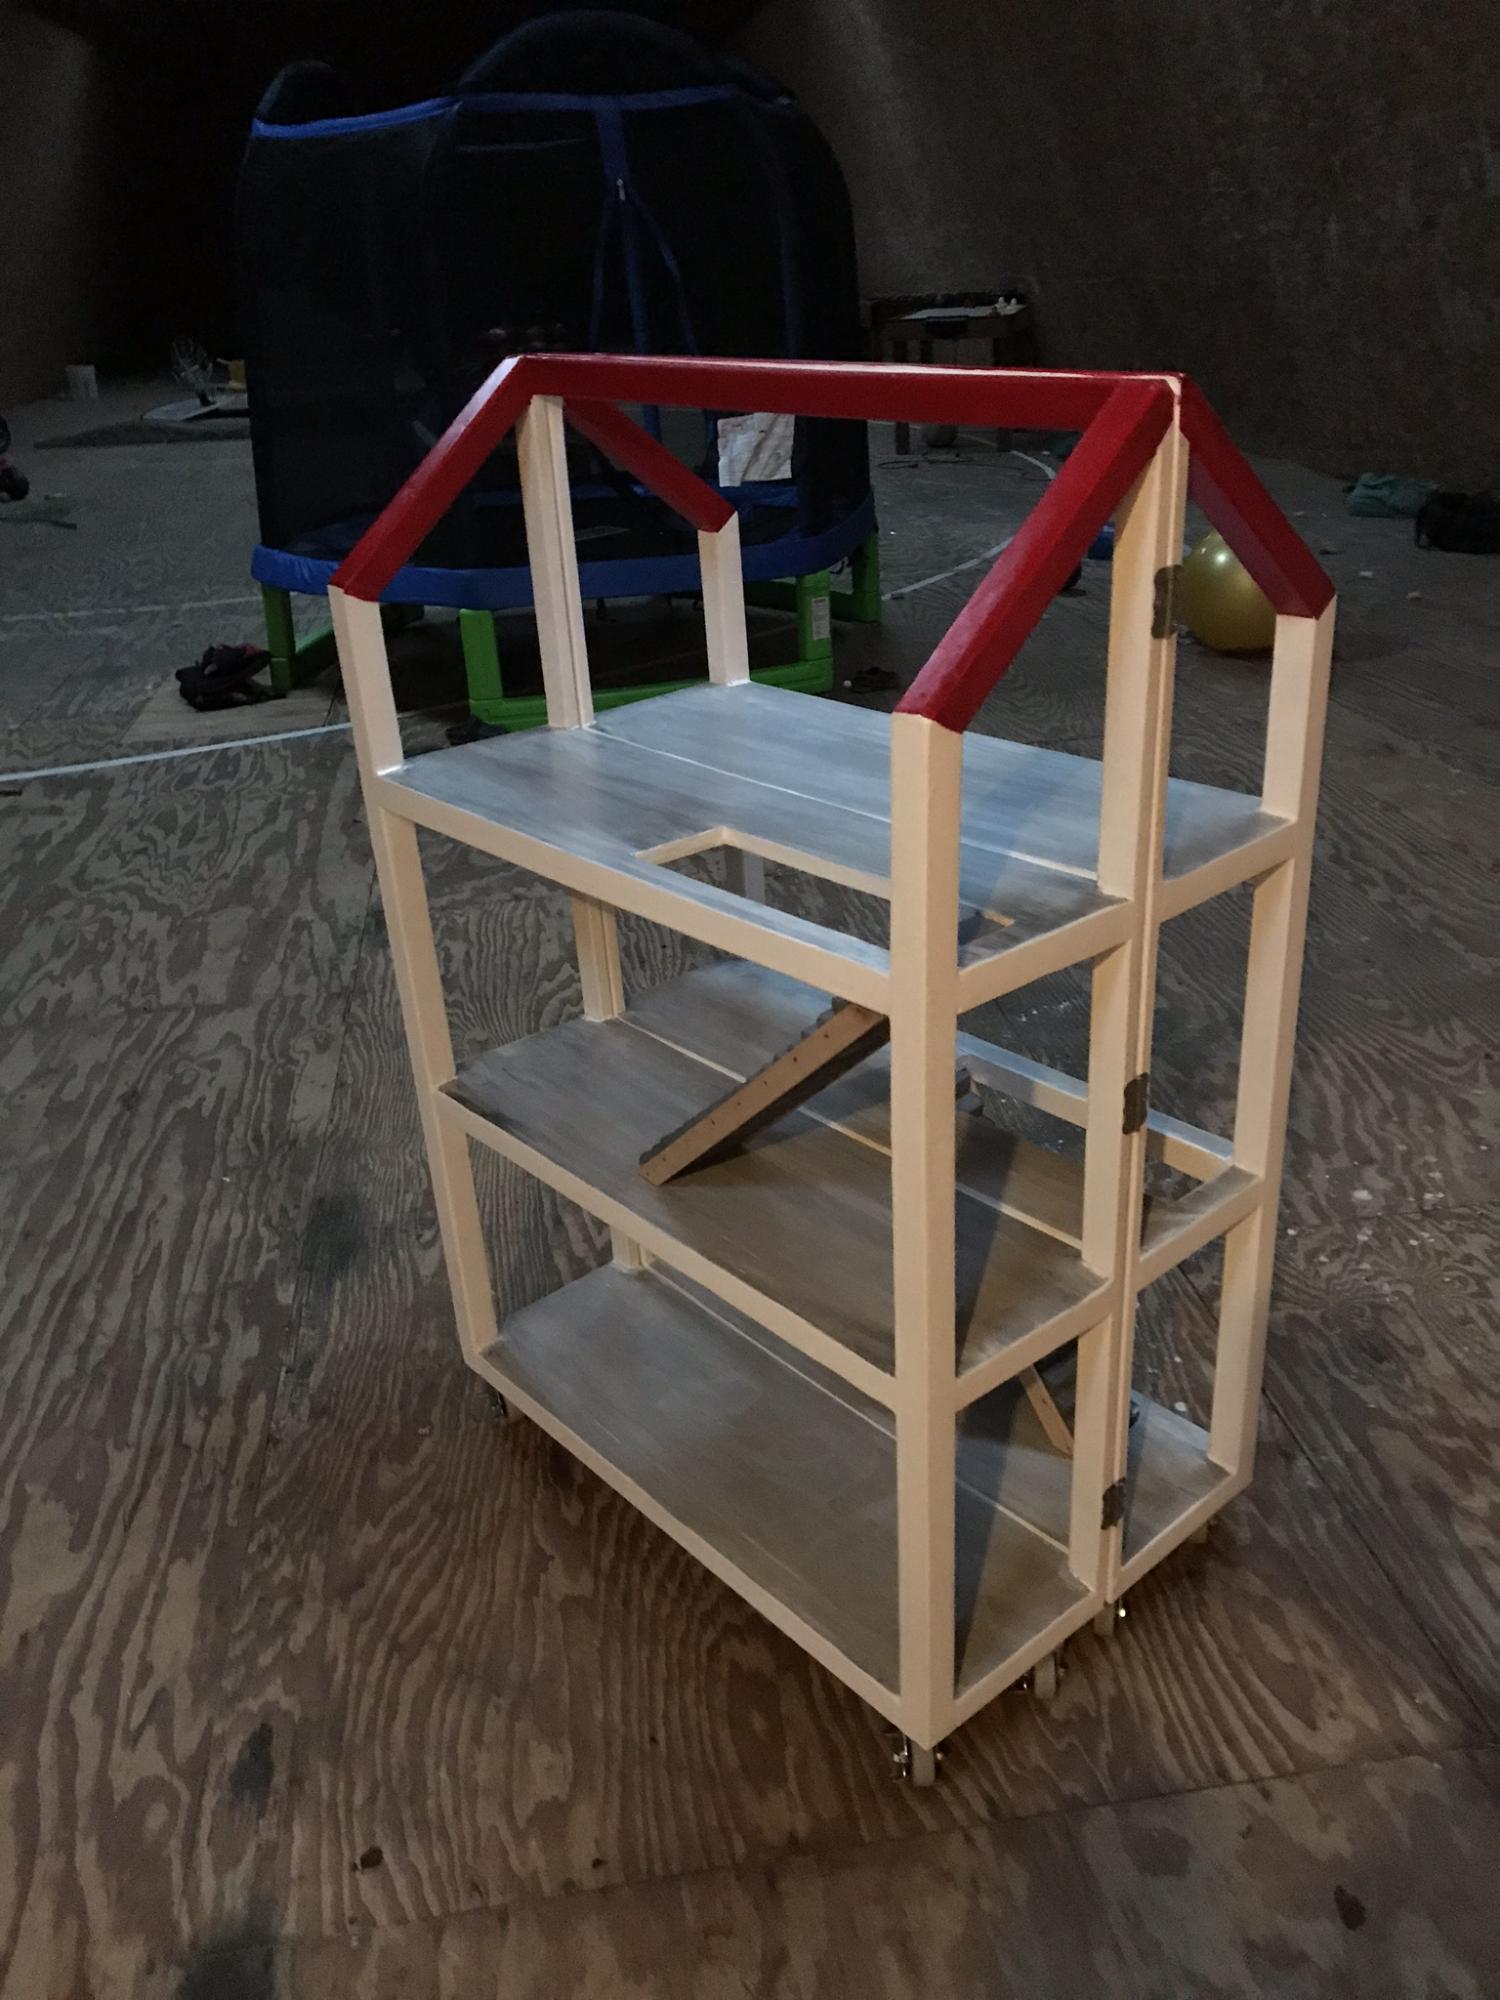
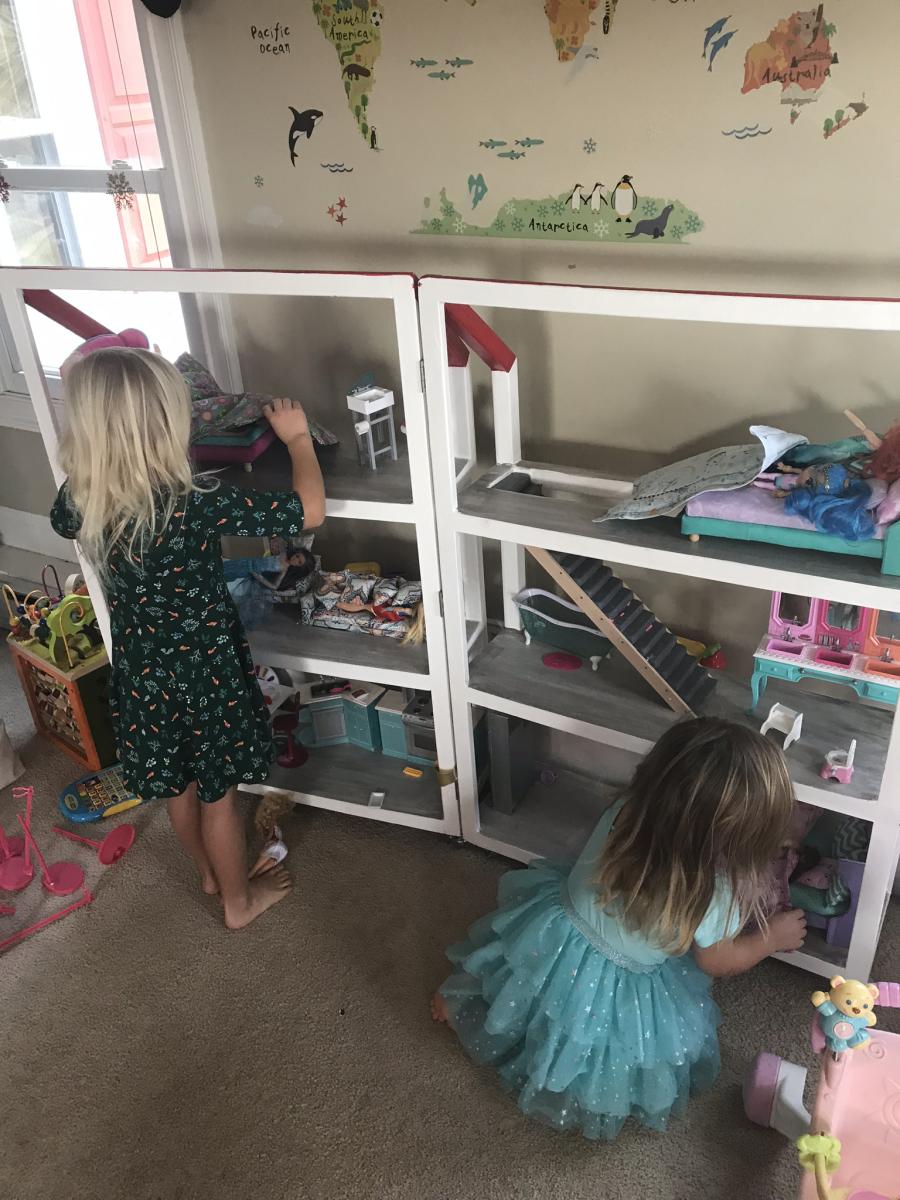
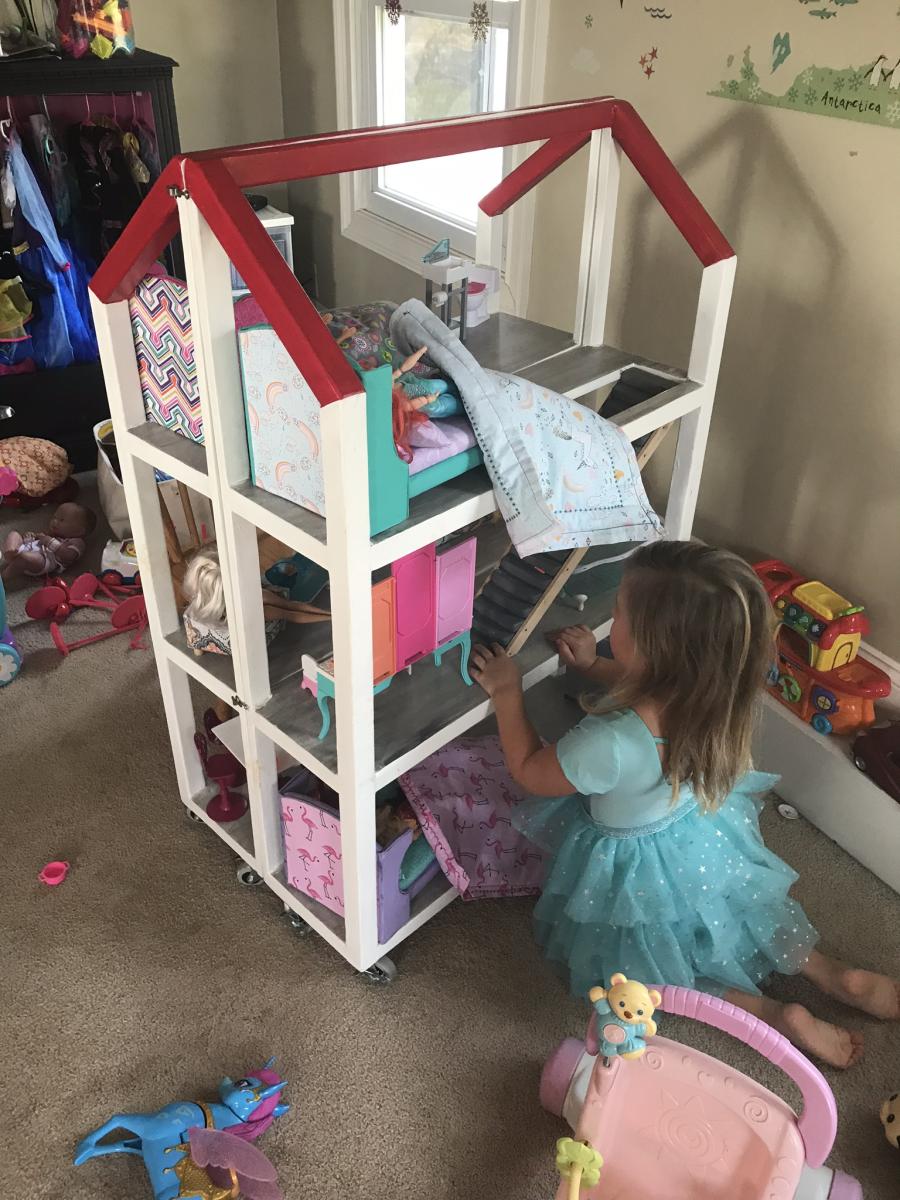
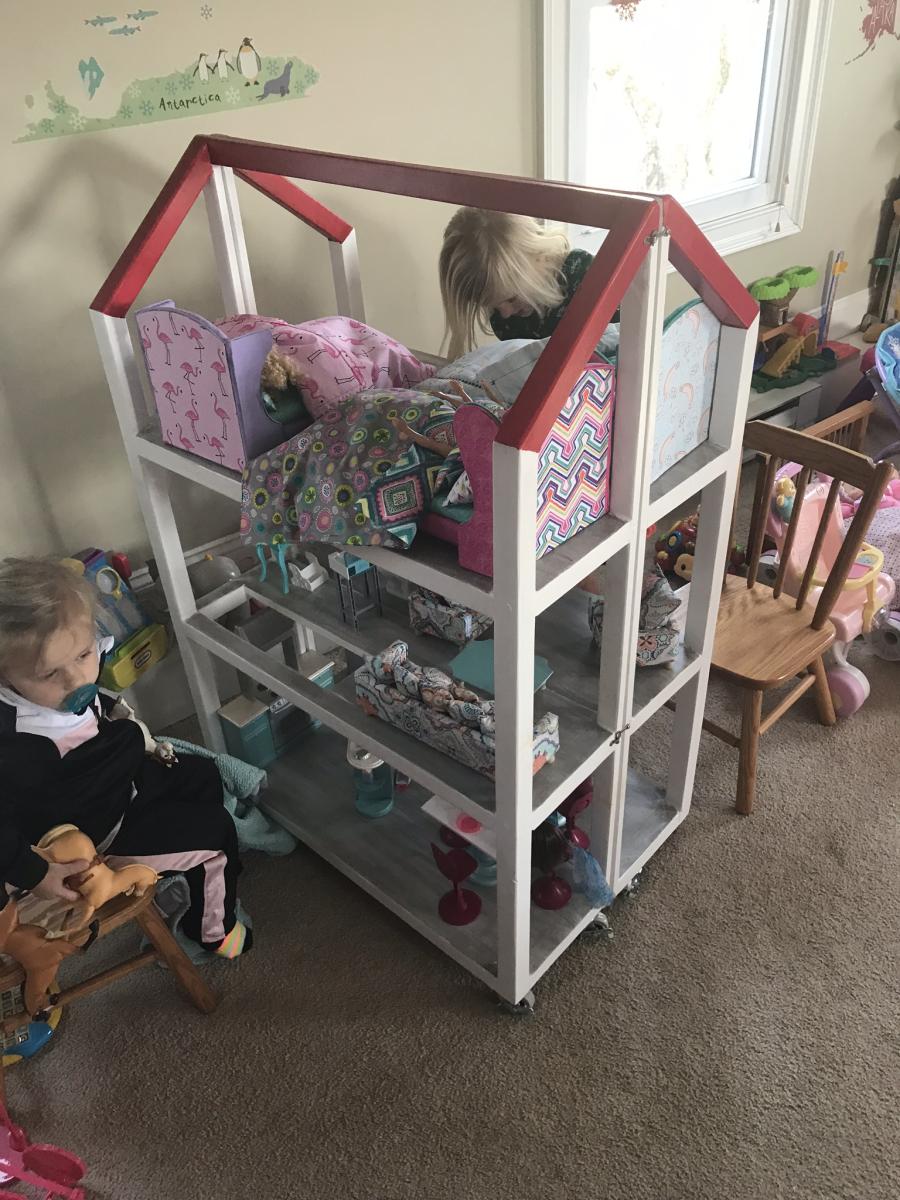
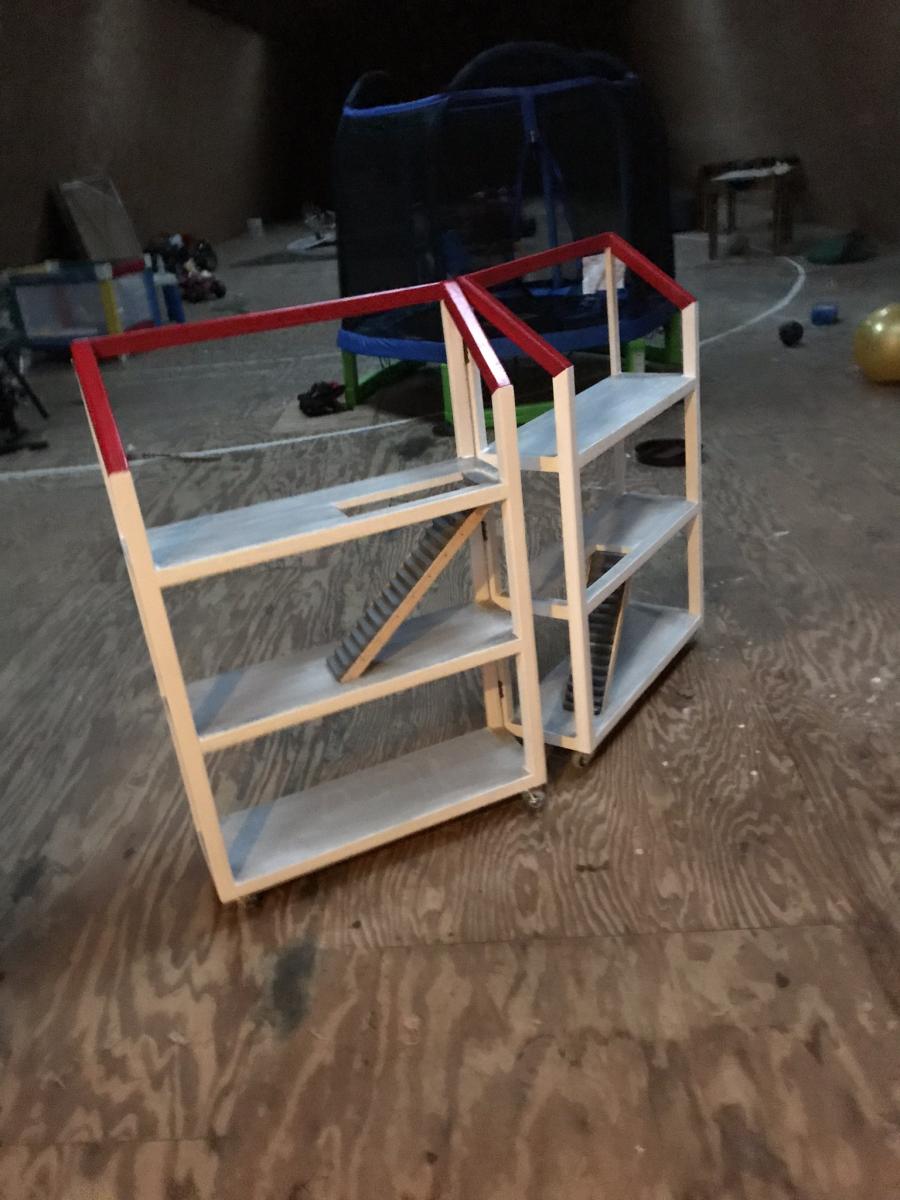
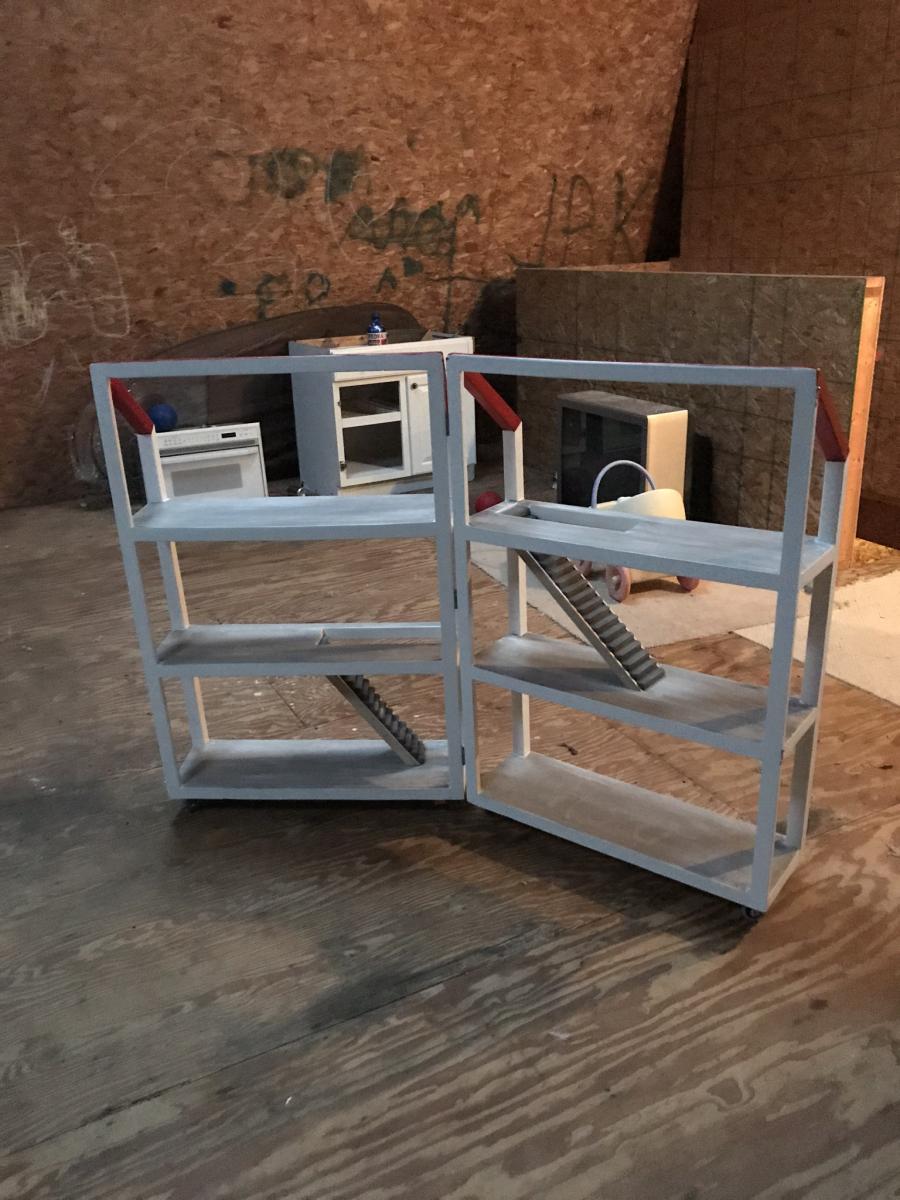
A few years ago for Christmas, I modified the dream dollhouse plans by splitting it in half, putting it on wheels, adding hinges and a hook and eye catch to lock it closed. My nieces were able to move it themselves, play side by side, or be on their own side of the house. And if they want, they can separate the two pieces and use them individually or as bookcases down the road. Also, I painted it to match their home. 5 years later the dollhouse has withstood the test of 3 rambunctious girls and they still love it.

Comments

Little Step Stool

Submitted by loniwolfe on Fri, 11/04/2011 - 11:30

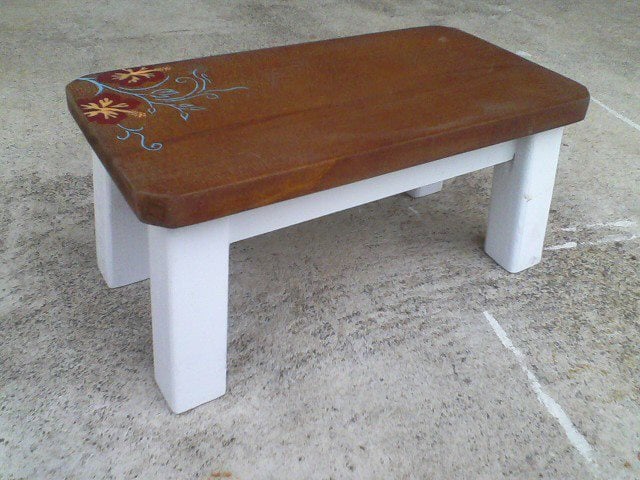
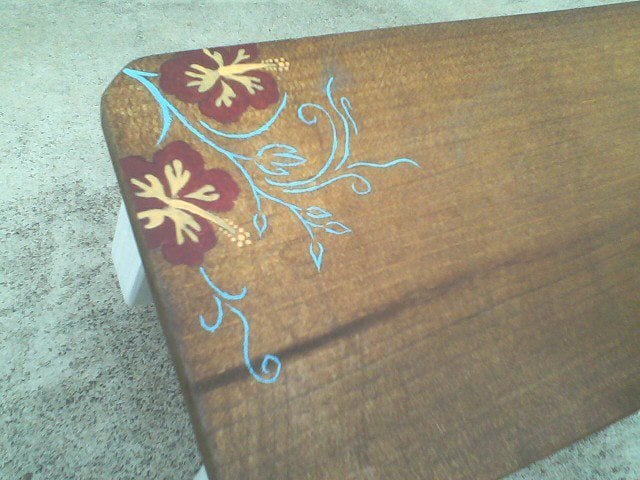
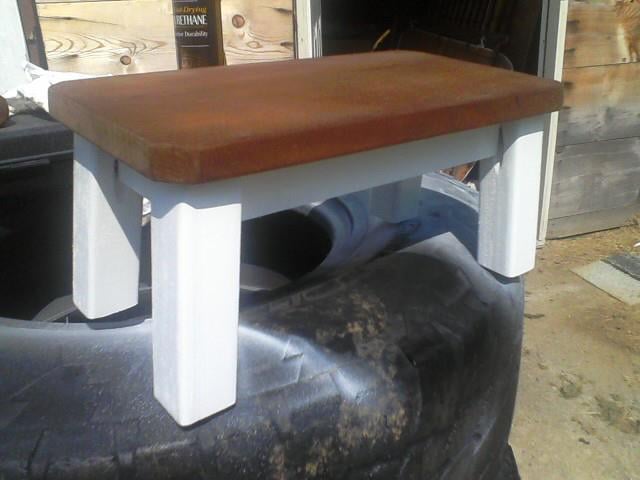
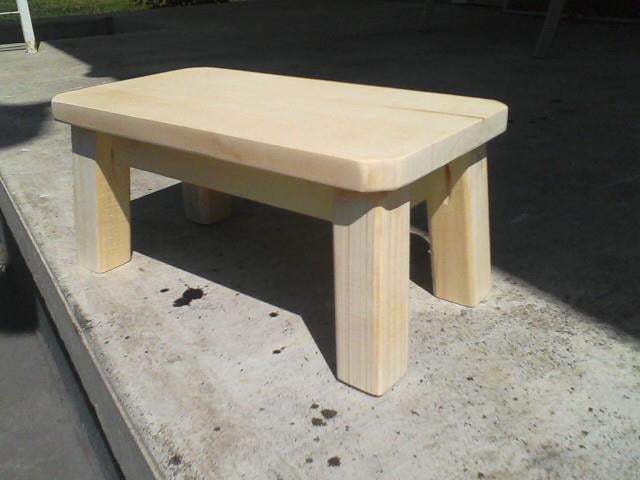
Maddie needed a little extra boost to comfortably reach the bathroom sink. She loves this stool!

I modifyed the Simplest Stool to be oober short, and painted the design using leftover wall paint samples

Built from Plan(s)
Estimated Cost
$0, used scraps and leftover stain and paints
Estimated Time Investment
An Hour or Two (0-2 Hours)
Finish Used
Minwax Spray Stain (Color was either Early American or Gunstock), White Spray Paint, Minwax Spray Clear Coat, and wall paint samples for design.
Recommended Skill Level
Starter Project

Comments

sgilly

Fri, 11/04/2011 - 12:08

It's so tiny, but just perfect! I'll be this is kept and loved, and used for your daughter's children!

loniwolfe

Fri, 11/04/2011 - 12:32

Thanks! Thats what I'm hoping! That's also why I'm debating on whether or not I'm going to paint her name across the top like originally.

sgilly

Fri, 11/04/2011 - 15:56

Some time ago we found a small piece of furniture that had been made by my grandfather. How'd we know? He'd carved his name along with "for Betty" on the bottom of the piece. It wasn't a particularly pretty piece of furniture and we wondered why it had been kept as long as it was - until we found the engraving (that's really too nice a word, primitive carving is more like it!). If in doubt about putting her name on it, just put it underneath. Someone will find it years from now and know how much love went into making it!

DIY Star Wars TIE Fighter Bookshelf

To bring a bit of order to my son's growing book collection, I built him a TIE fighter bookshelf. (By him I mean me, because he doesn't really care about TIE fighters. Chewbacca? Yes.) I was able to make use of some scrap lumber I already owned. Paint was the only item I purchased for the project.

Estimated Cost
$7. The only item I needed to purchase was the paint.
Estimated Time Investment
Day Project (6-9 Hours)
Finish Used
Gray and Black satin paint
Recommended Skill Level
Beginner

Comments

Chartreuse Moving Double Pull Out Trash Can

Submitted by pjfessier on Thu, 05/02/2019 - 17:25

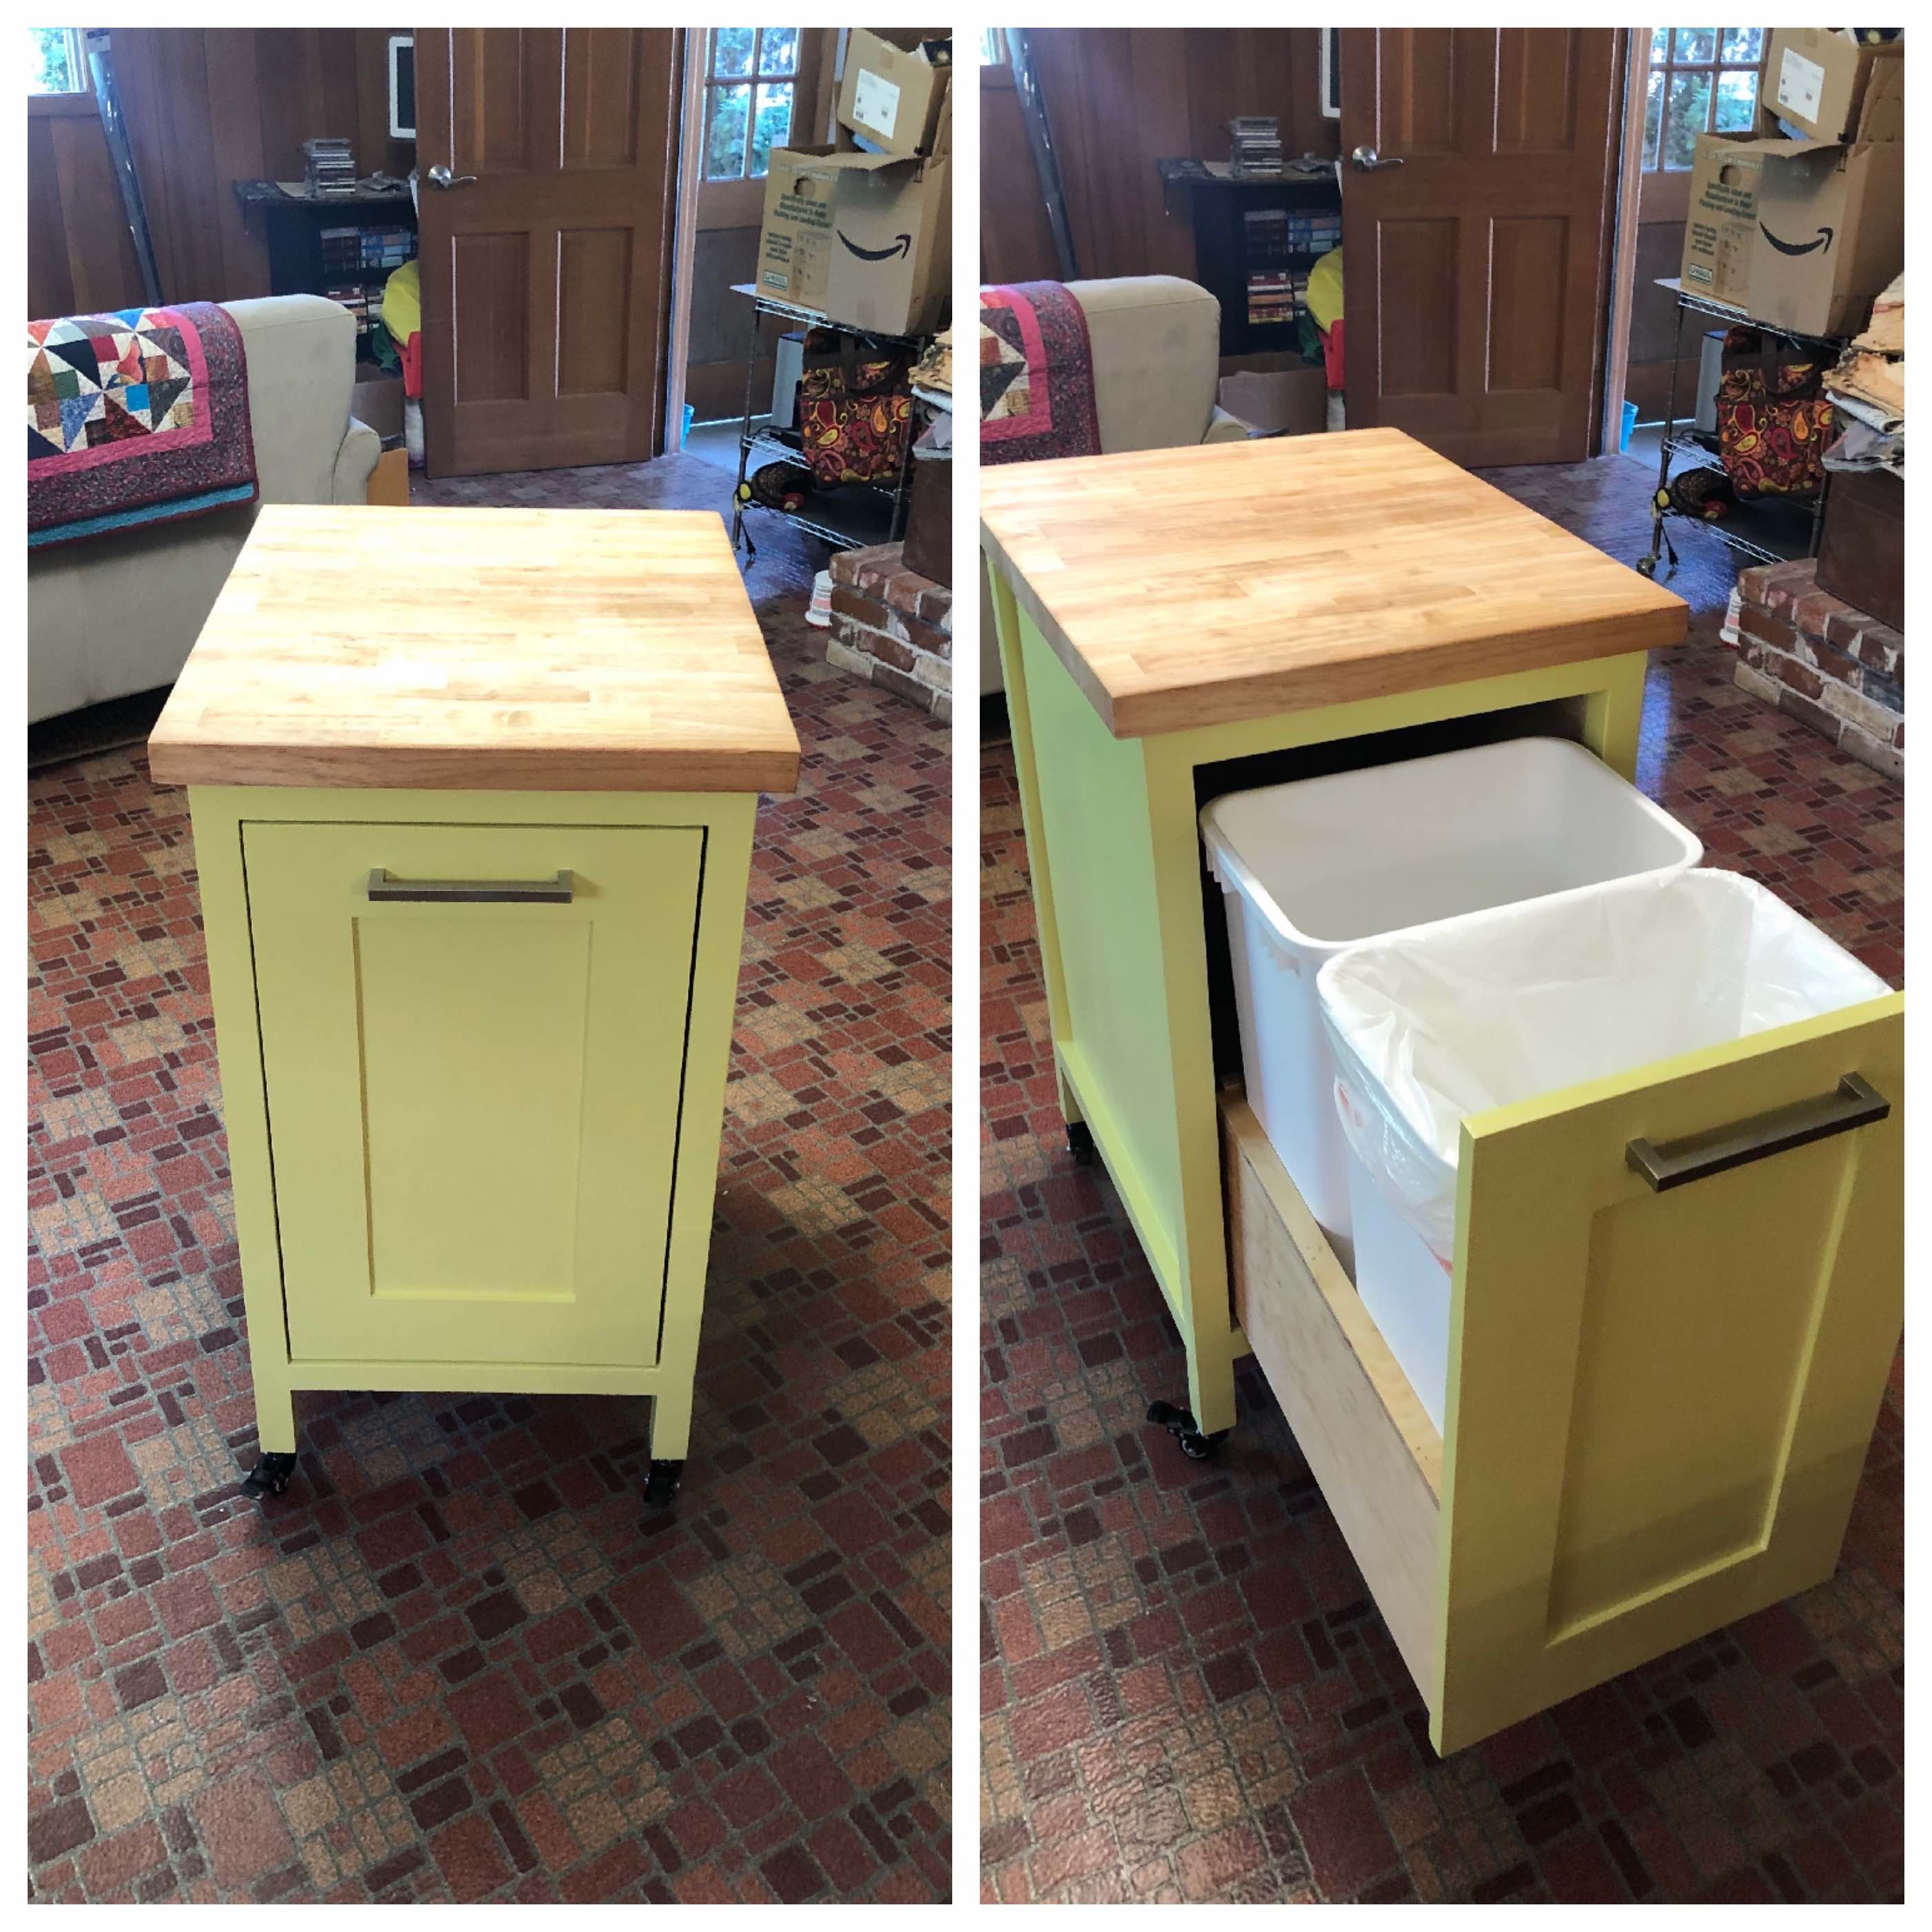
I replaced all of the drawers in our 1960's kitchen with custom built new drawers that have full extension slides.  I can't afford a complete remodel, but the new drawers allow the kitchen to function much better. The old drawers had wood slides that would allow you to pull them out about 2/3 of the way. Any more than that and the whole drawer would slide out and go crashing to the floor. 

I had wanted to build a cabinet like this, but I couldn't figure out how to pull it off. I'm an amateur with basic tools working out of my garage. I found Ana's plan and combined it with my experience making drawers to make this cabinet. I use Blum soft close slides and the cabinet is working great so far. 

The butcher block top is left over from countertops I put in the kitchen. The project basically started with me wanting to put that last bit to good use. It's 1 1/2 in thick acacia. I wish I'd have gone for maple but the acacia is okay. 

I don't know if you can see it in the photo, but it has locking casters on the feet so that we can move it around when we need to clean the kitchen floor, but it doesn't move when you pull on the drawer. I guess it can also double as a little island when we have dinner parties. 
Estimated Cost
$100.00 I'm really not sure. The slides and paint were pretty expensive. Of course I didn't use all the paint so if something else needs to be chartreuse I have more. The wood was poplar and some high quality plywood. It's 3/4 ply on the slides but only 1/4 on the back. The drawer is made with left over baltic birch 1/2 in ply that I had left over from my other drawer projects. I guess you could consider the varnish and nail free too as I already had those. Building the drawer is really a whole separate project that takes as long as the cabinet. And the Shaker door is also its own little project.
Estimated Time Investment
Week Long Project (20 Hours or More)
Recommended Skill Level
Beginner

Comments

Laundry Cart/Storage

We used Ana's Laundry Basket Dresser plan and modified it slightly to fit our needs and our space. We made spaces for two laundry baskets, plus a shelf for laundry supplies and a bigger top for ironing/folding. We also attached casters to the bottom so we can wheel it around wherever we want!

See more pictures on our website strawbridgestuff.com

Built from Plan(s)
Estimated Cost
$20
Estimated Time Investment
Afternoon Project (3-6 Hours)
Finish Used
Semi-gloss white spray paint
Recommended Skill Level
Beginner

Comments

cathryn j (not verified)

Fri, 11/11/2011 - 09:31

I have been eying this plan and you have given me a great idea on how to modify the dresser plan to fit my area. Looks great!

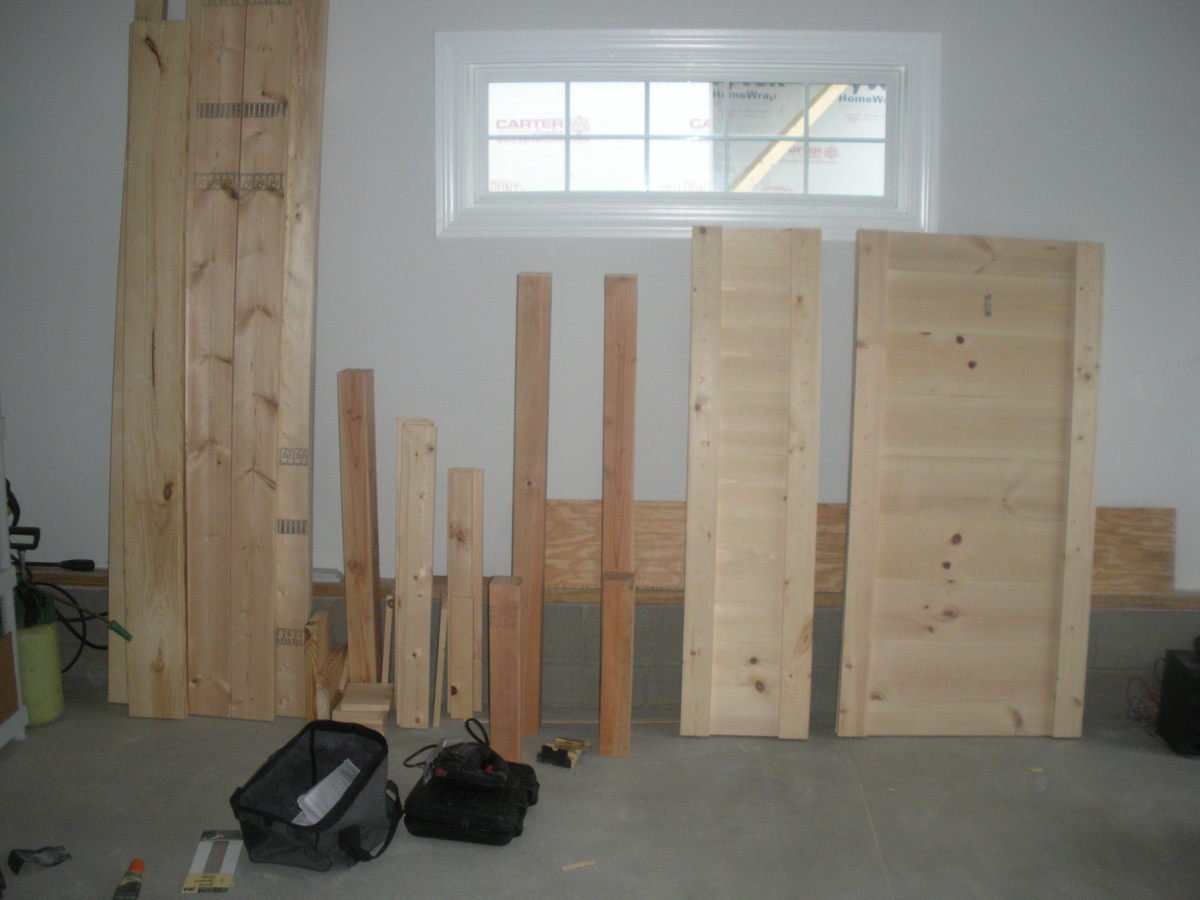
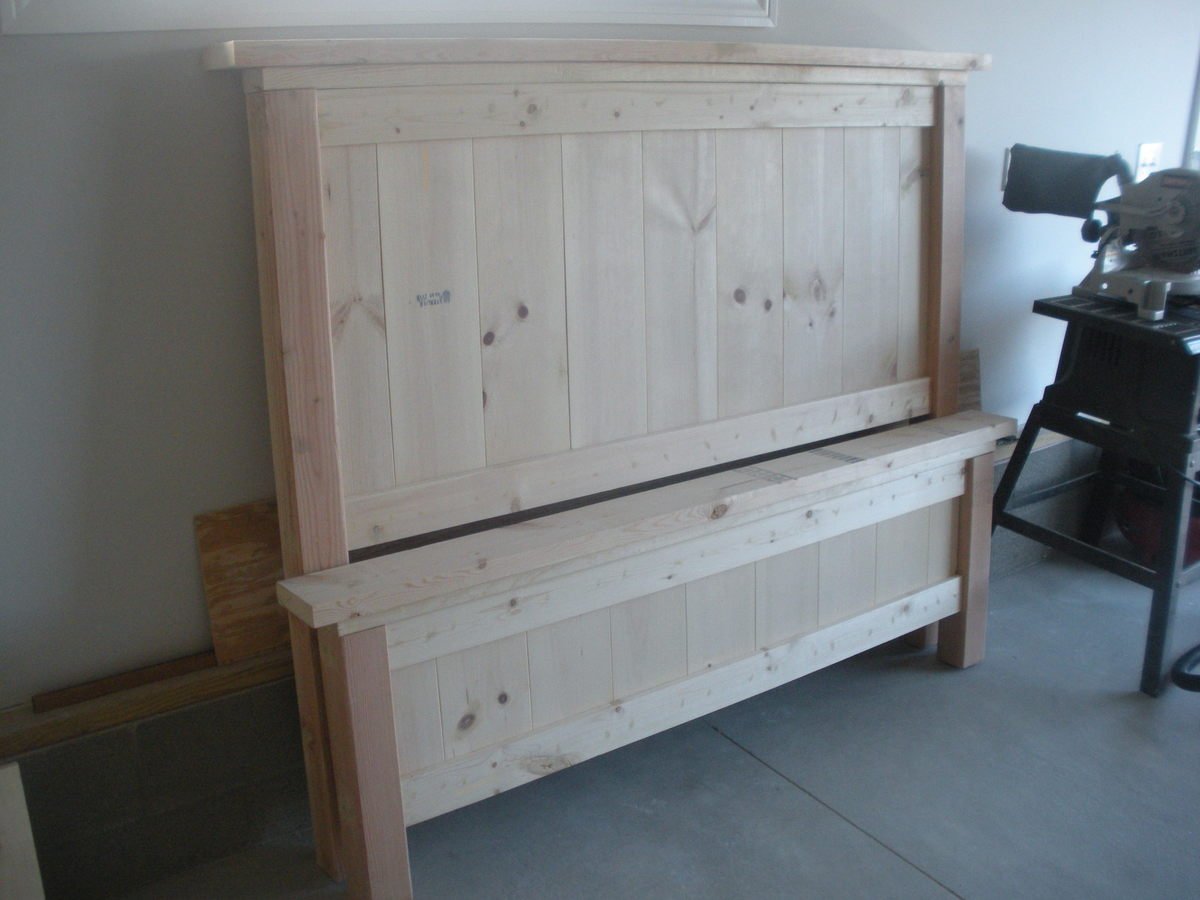
Queen Farmhouse Bed - First of many

Submitted by bclute on Sat, 10/26/2013 - 11:41

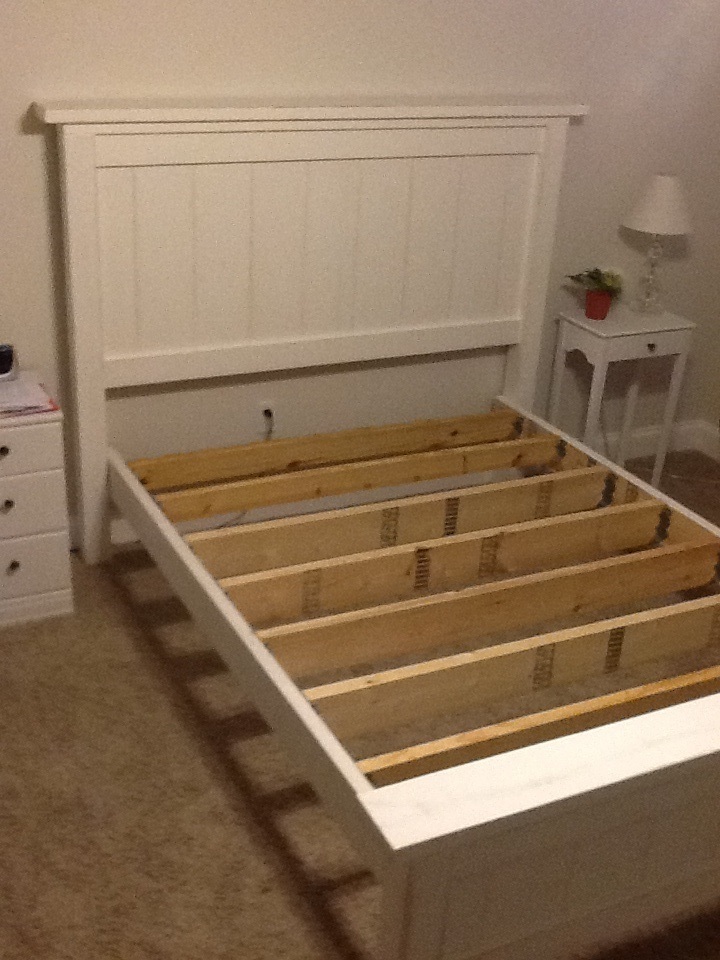
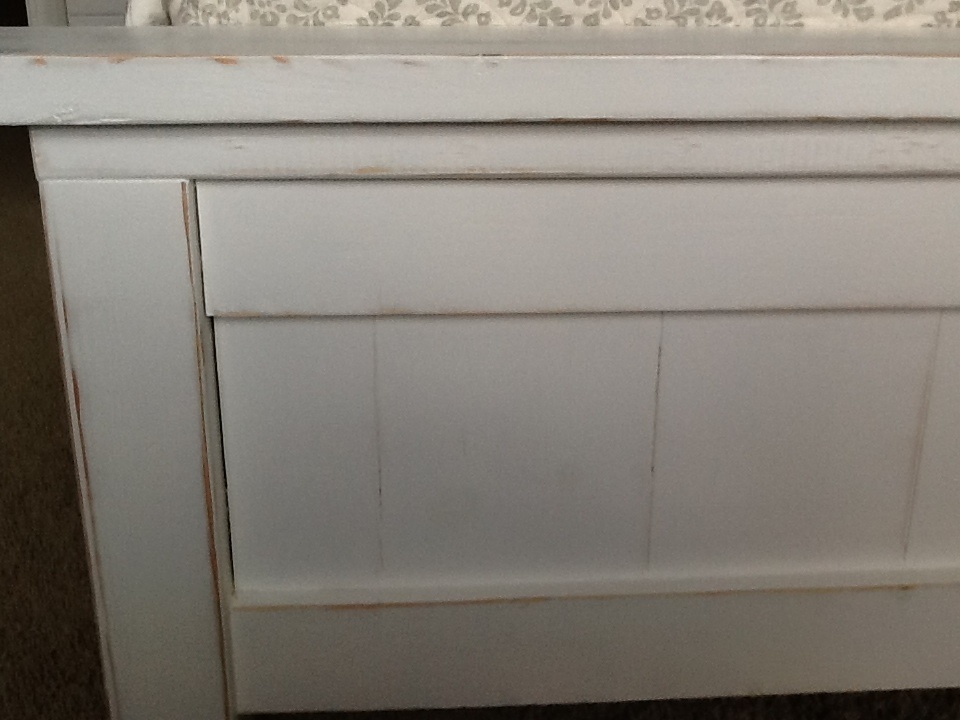
This was my first project, and I am happy with the way it turned out. My inspiration came from the bed on the home page. It took many trips to blue and orange stores but now I have the tools I need for the next project. The cost of the project was a little higher than most of the brag posts, because I didn't use any scrap wood and had to buy a sander. If I built it again I could do it for about $100. Same with the time, this project took a lot longer than most because I put 4 coats of paint and did a lot of thinking/planning/football game breaks.

I followed the plans for about 90% of the project. The only modifications I made were on the side rails. I used a smaller board because my mattress has two pads and it was very thick. I went with the smaller side rail so I was able to still keep the storage space under the bed. Also I used joist hangers for the frame. If I were to do it over I would do the same thing, but use more 2x4's instead of the 2x6's. This would have given me even more storage space under the bed.

All in all, very happy with the project and can't wait to use the leftovers to build a twin version and brave the farmhouse table. Thanks Ana!

Estimated Cost
$175 - $200
Estimated Time Investment
Week Long Project (20 Hours or More)
Finish Used
I overdid the paint, and in the end didn't need to. I painted two coats of primer, two coats of semi gloss Valspar Allen Roth Great White Way. I hated the finish, because it was too shiny and you could see every brush stroke and mistake. I ended up sanding over the finish and distressing it and it made it ten times better. Distressed with orbital sander, hand sander and screw driver between the joints.
Recommended Skill Level
Beginner

Comments

Clubhouse Bed Build

Submitted by Mrthe2th on Sun, 01/10/2016 - 00:03

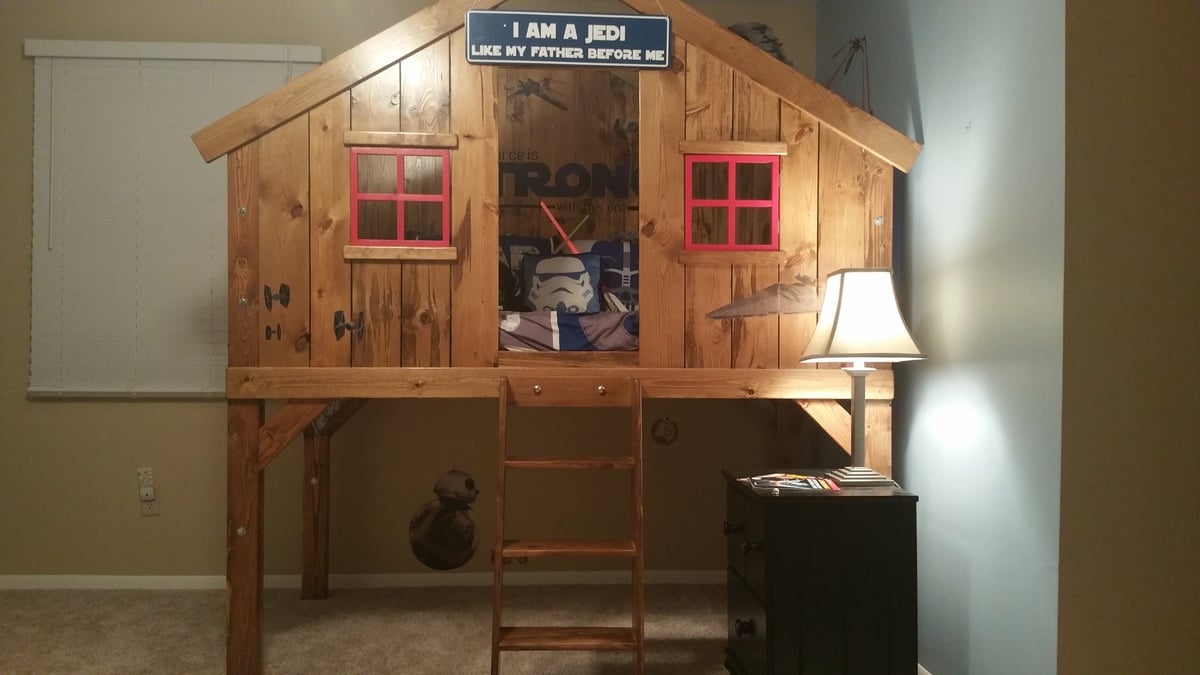
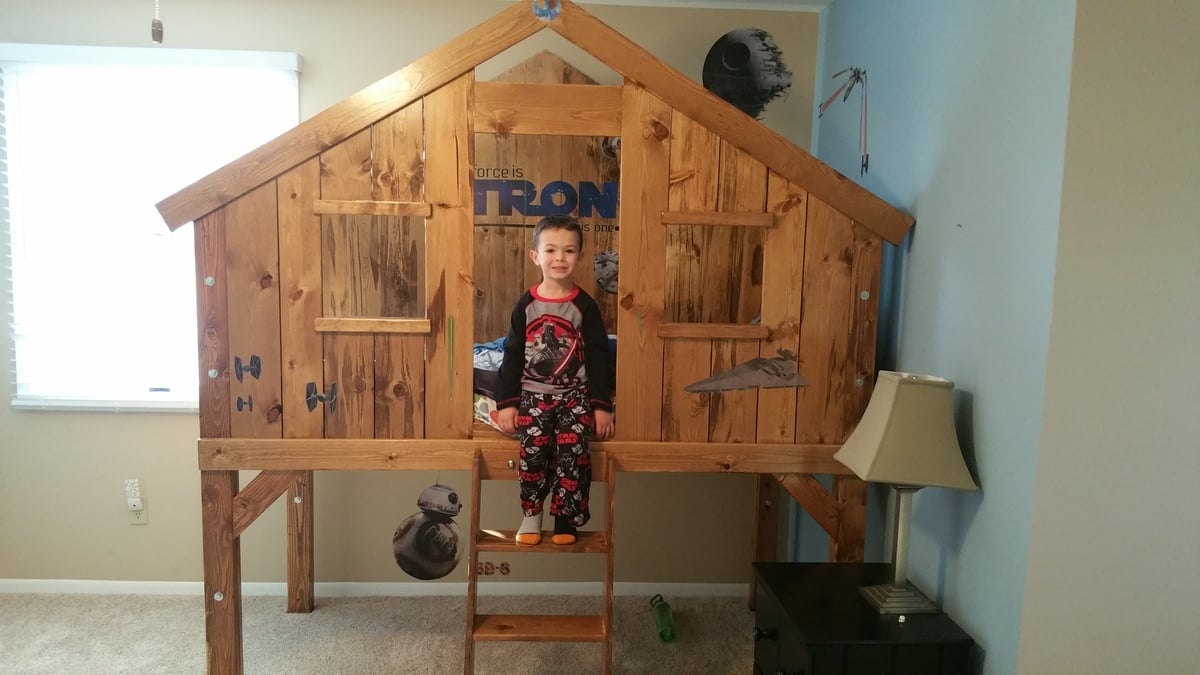
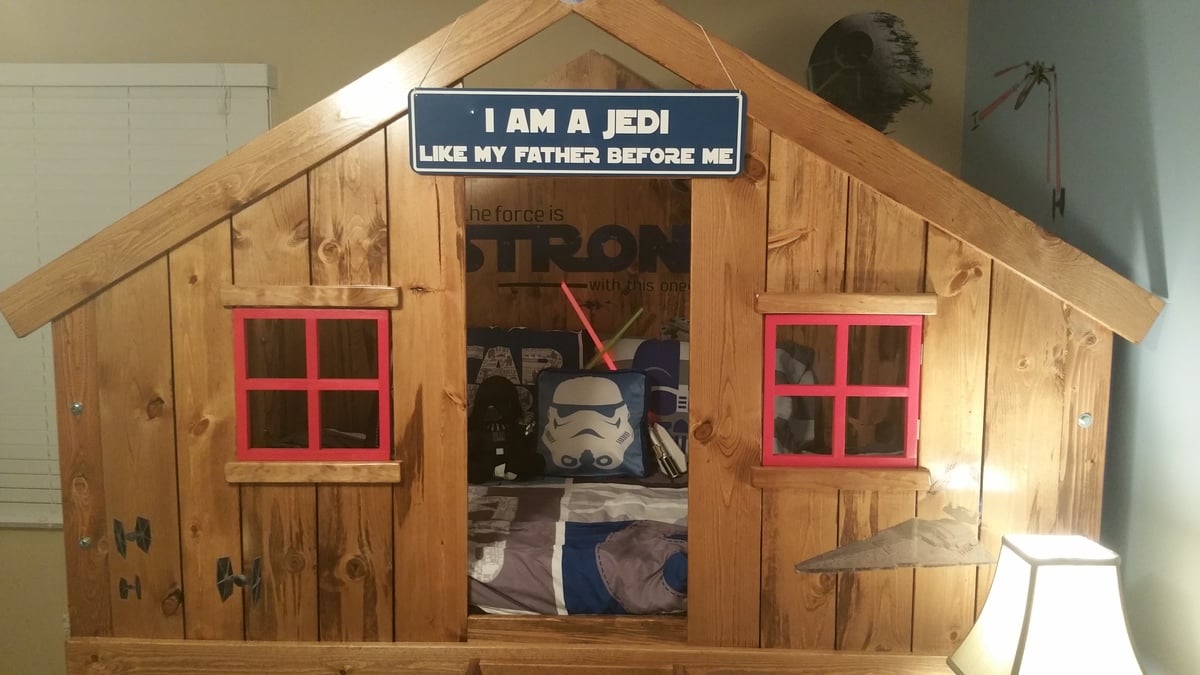
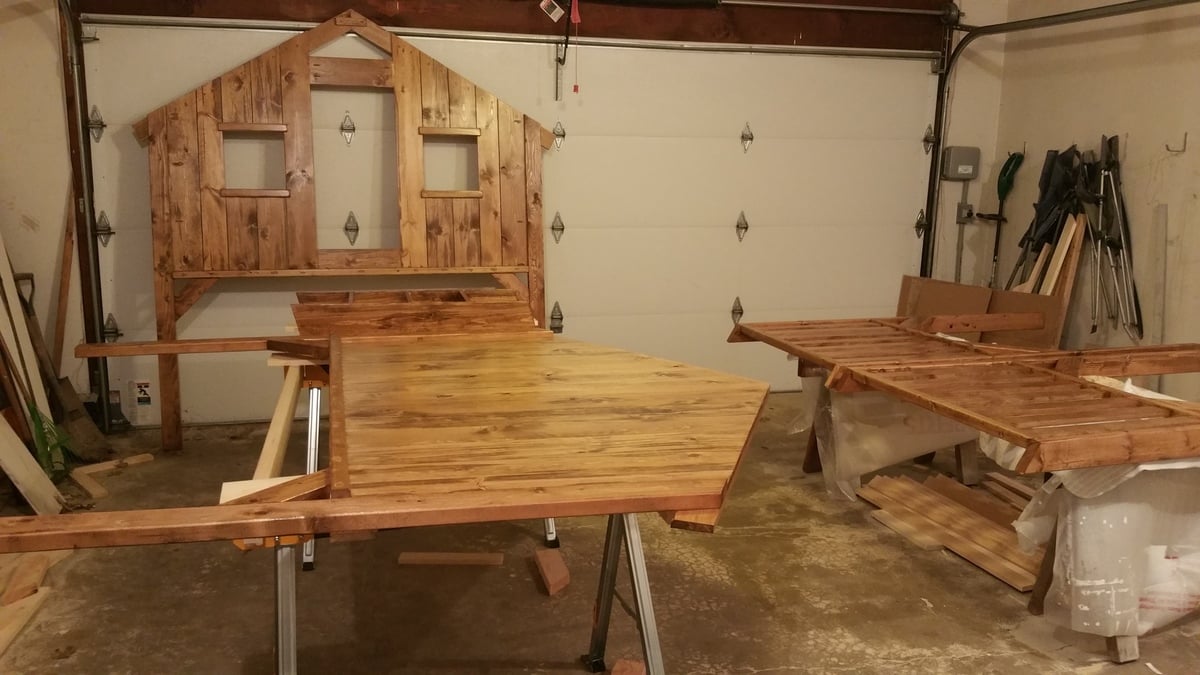
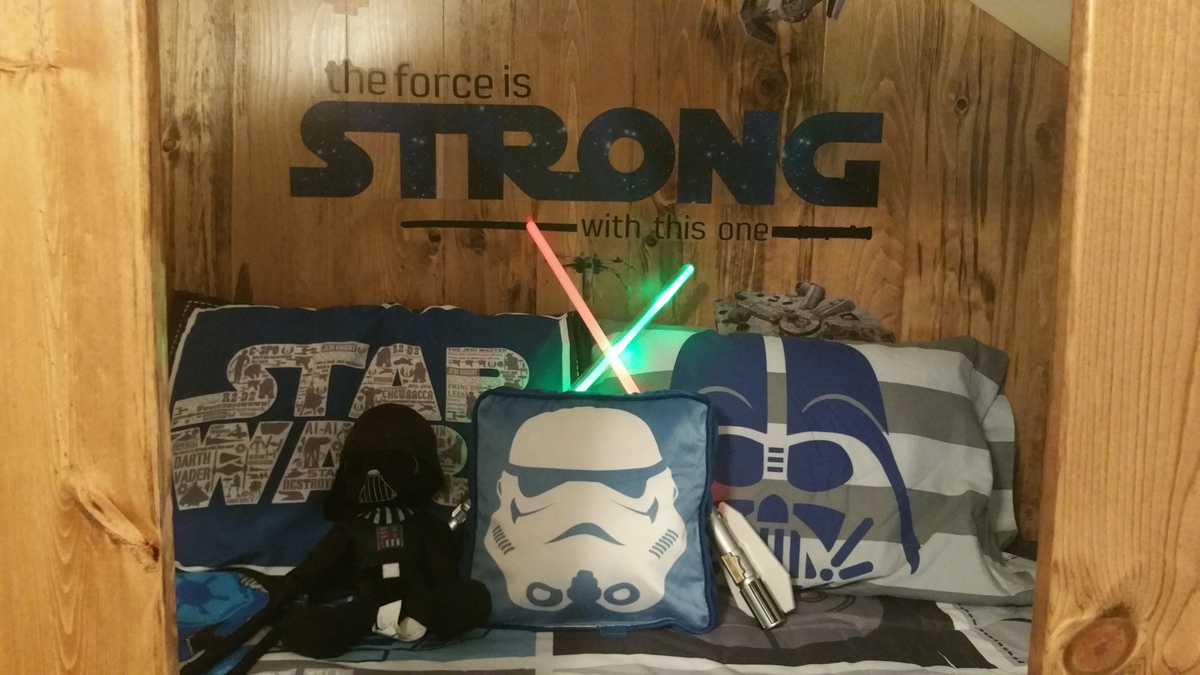
I originally got the idea to build a bed for my son when I needed to get something new for him and went looking online for beds for sale on Craigslist. I found a bed that looked like a barn and that made me search for plans to build one since why overpay for something you can build yourself?! I found Ana’s plan and knew immediately it was the one. I started at Thanksgiving and had it finished for Christmas. I can’t thank Ana and Jamie from That’s My Letter enough for such great plans. They were so detailed but easy to follow. I do all my own rehab work on my house and I am a weekend warrior carpenter so this was a really fun build. My son is about to turn 5 and is a huge Star Wars fan and so am I. I knew this had to be my theme so I bought him a bunch of stickers and a sign (couldn't help myself on this one, had to do the Jedi like my father sign) to decorate the bed on Christmas day. He was excited to get the stickers but he didn’t know I built this for him. I hid it in the garage the whole time and he never found out. So when we went to his room to see if for the first time he went nuts. My 2 year old daughter loved it too and they play in it together all the time. I had a few issues during the build with some measurements but was able to make it work. In the end I love it and so do the kids, especially my son! The window grilles take it to another level so I recommend them if you build this. I even sanded a lot of the edges around the windows and in the doorway to give it a more “weathered” look. I already have my next project chosen from Ana’s plans. I will hopefully be posting the results of the X desk build in the near future. Thank you Ana for all the plans, I will most definitely be showing this off and giving you credit every time. Chris

Built from Plan(s)
Estimated Cost
Not sure, haven't done the math yet. Probably in the neighborhood of $400-$500 but I acquired some new tools too.
Estimated Time Investment
Week Long Project (20 Hours or More)
Finish Used
Thanks to nleonard85 for the idea to use Minwax Early American. Applied with a brush and rag. St. Louis Cardinal Red for the window grilles
Recommended Skill Level
Beginner

Simple Modern Bed

Submitted by sarah0406 on Mon, 05/13/2019 - 11:04

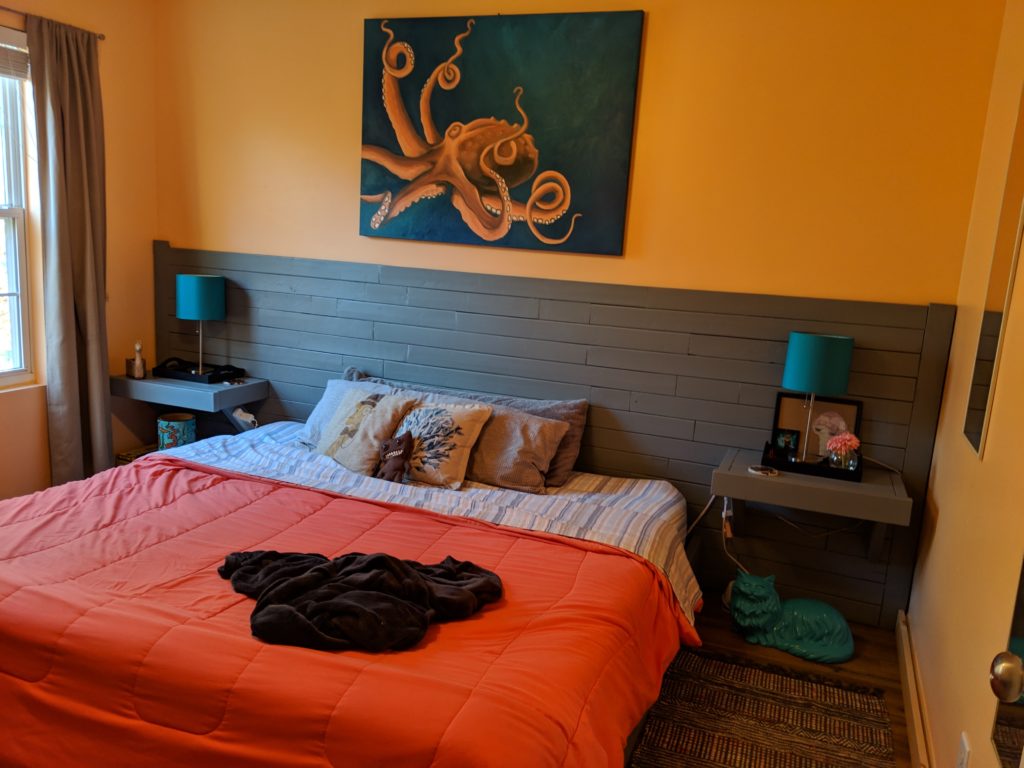
We used repurposed wood from a previous home reno project along with new lumber to build a king-sized bed frame and wall-length headboard - based off of the "2x4 Simple Modern Bed" plans from More Like Home. We are VERY much beginners so this was an incredible learning experience, but the end result looks pretty good, in my opinion!

Built from Plan(s)
Estimated Time Investment
Day Project (6-9 Hours)
Recommended Skill Level
Beginner

Farmhouse Toybox

Submitted by Anonymous (not verified) on Fri, 03/10/2023 - 05:56

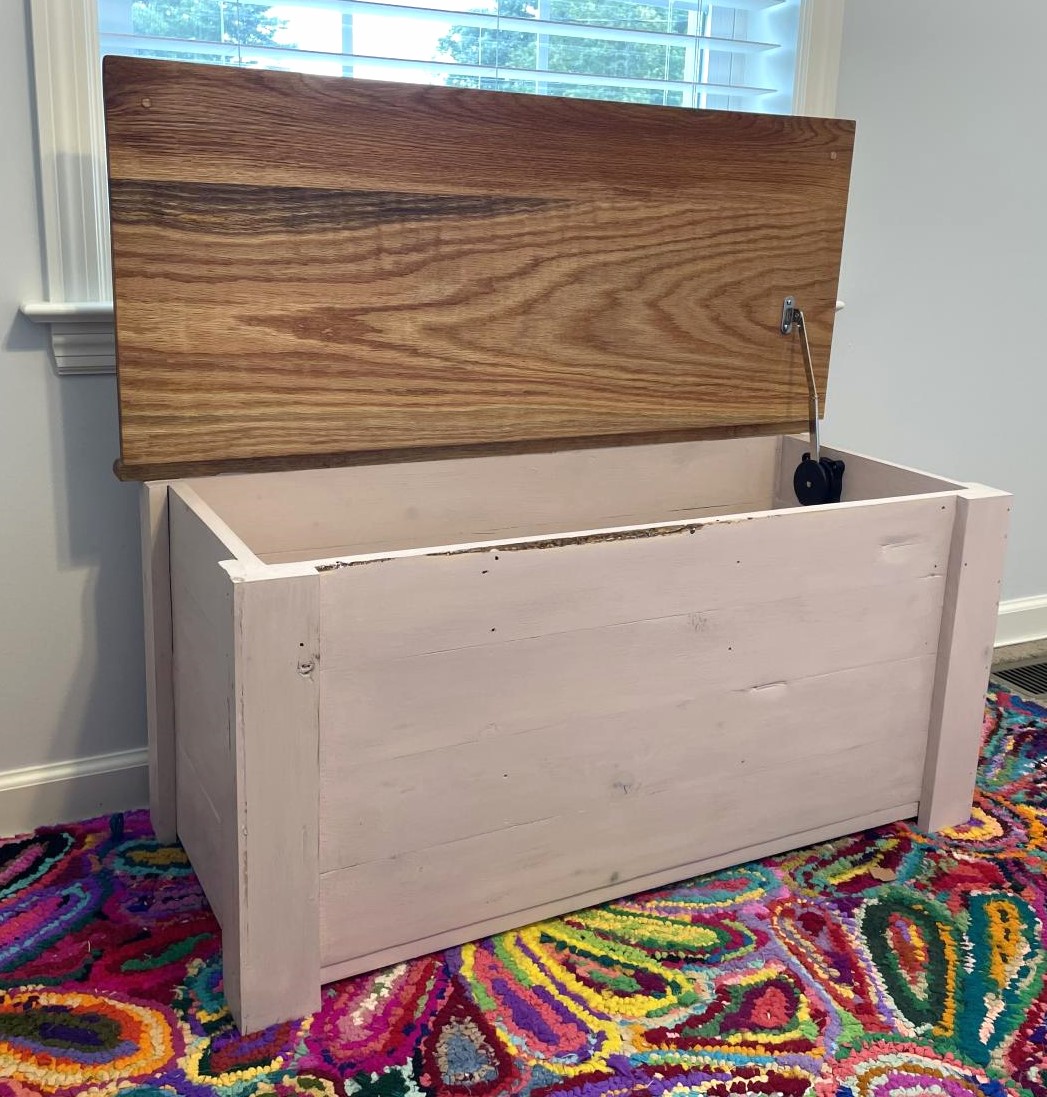
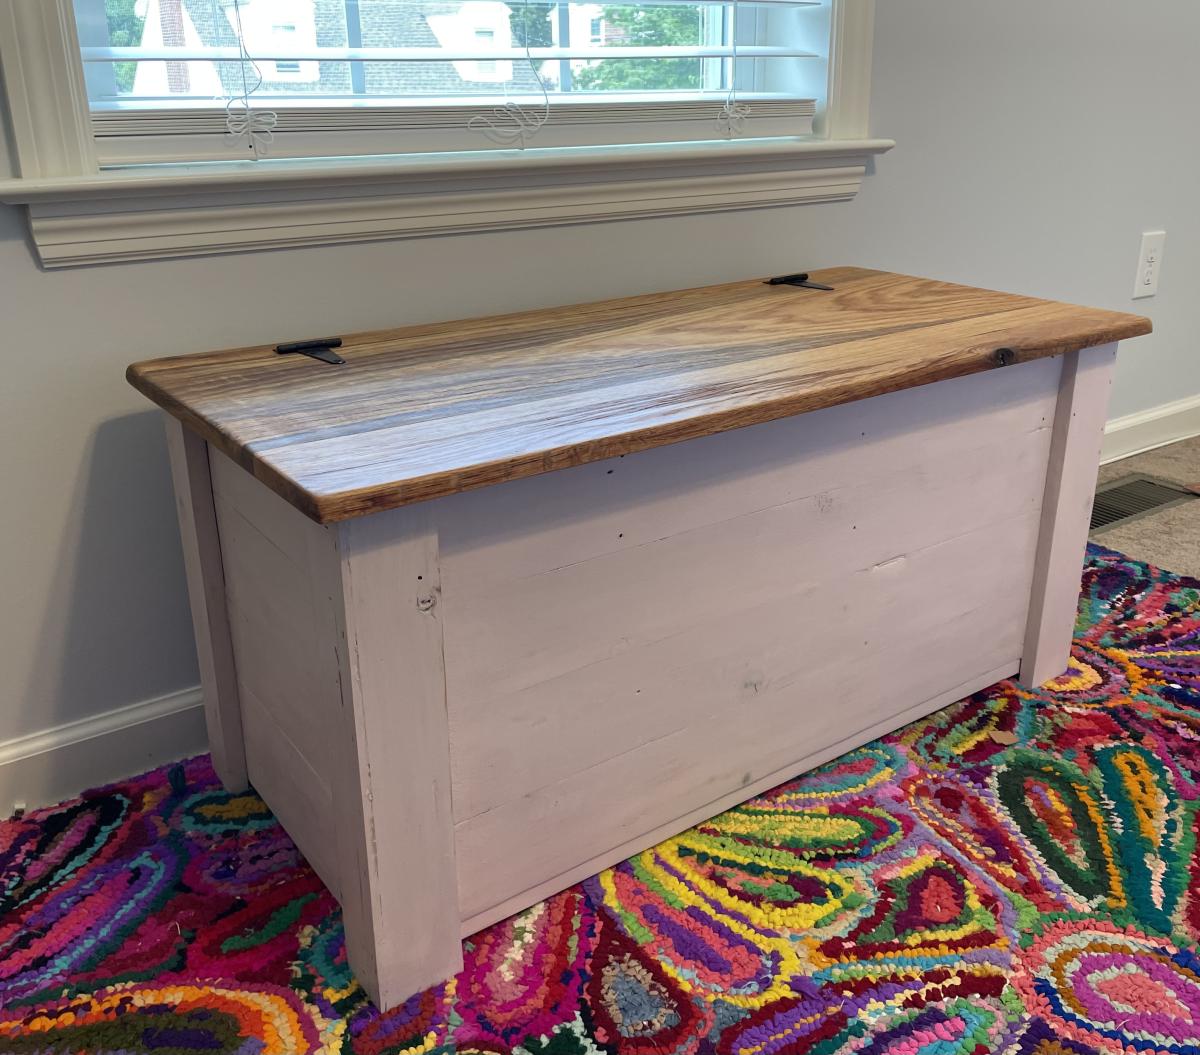
I've wanted to build a toybox for our daughter as soon as she was born, and Ana's plan was my favorite. It took a couple of years to finally get the supplies and start building it, and I was able to build it last year. I used recycled wood (I believe it's pine) I had and used a couple of nice pieces of oak for the top. I ran into a few snags with the box itself, with the wood splitting easily in some spots (used a lot of wood filler!), but was able to get it looking the way I wanted keeping a distressed look . I rounded out the corners of the top by hand with a rasp plane and sandpaper. The box was lightly painted with Annie Sloan Chalk Pain (Antoinette/Pink) and finished with Annie Sloan Clear Wax. The top was finished with three coats of linseed oil (24 hours between coats). The slow closing hinge was found on Amazon after a long time spent searching; I ended up using just one which works great. I'm very happy with the end product and my 3-year old daughter loves it! I was very pleased with how simple the plan was to follow, thank you Ana!

Built from Plan(s)

Comments

BABY/DOG GATE

Well with a new addition to family it was time to start baby proofing the house. With some help from the wife we decided to build a dual purpose door to keep babies out and dogs in. After looking all over the internet this is what we found. I hope you like it. sorry about the photo being so dark..

Estimated Cost
$60
Estimated Time Investment
Afternoon Project (3-6 Hours)
Finish Used
antique white paint and kona stain.
Recommended Skill Level
Starter Project

Play Kitchen

Submitted by Anonymous (not verified) on Wed, 01/13/2016 - 13:35

I made this set for my grandchild!  Love the plans!  I modified the stove to include a range-top microwave, and included doors for the kitchen sink.

Estimated Time Investment
Week Long Project (20 Hours or More)
Finish Used
Dark gray, black, and white paint.
Recommended Skill Level
Beginner

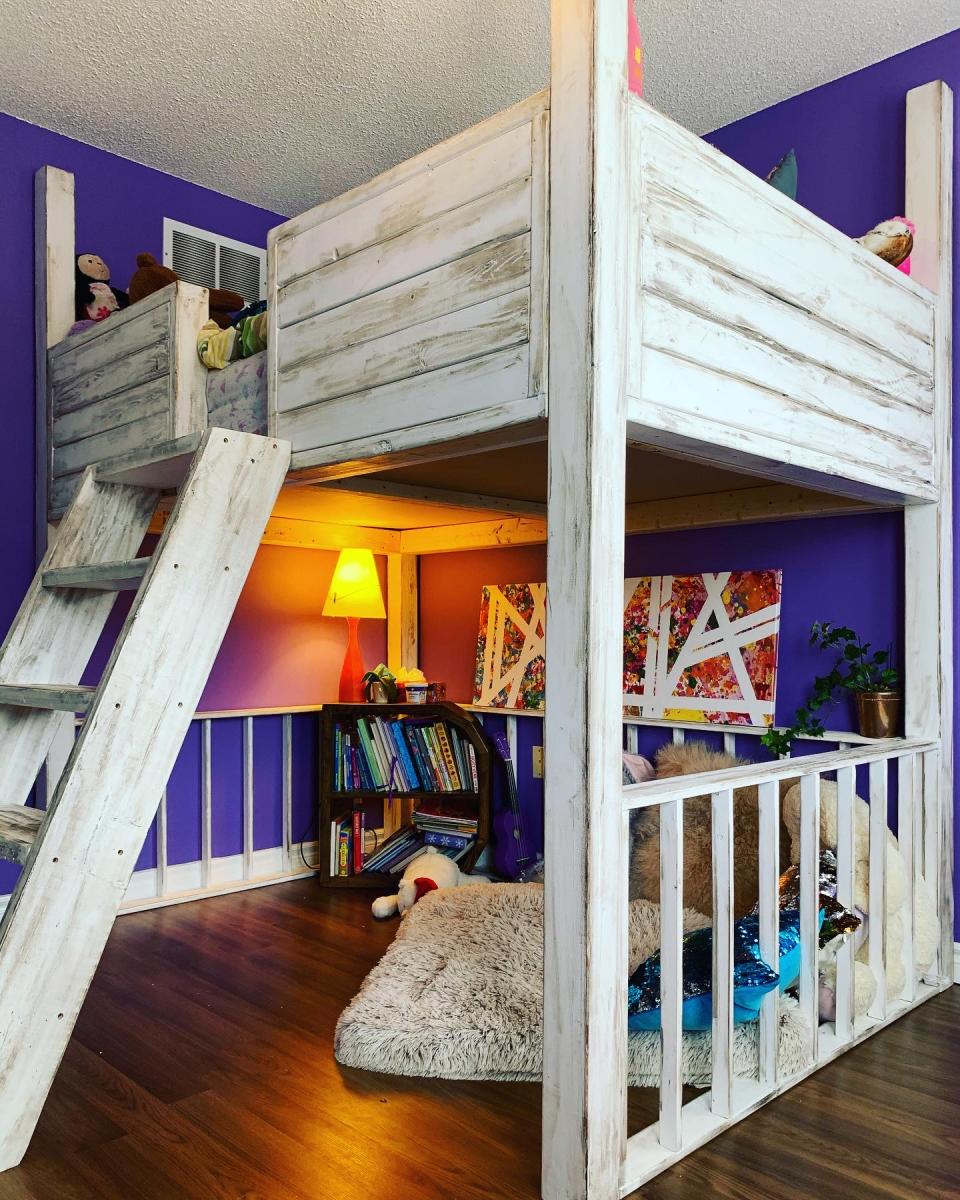
Loft Beds

Submitted by Anonymous (not verified) on Fri, 03/17/2023 - 15:08

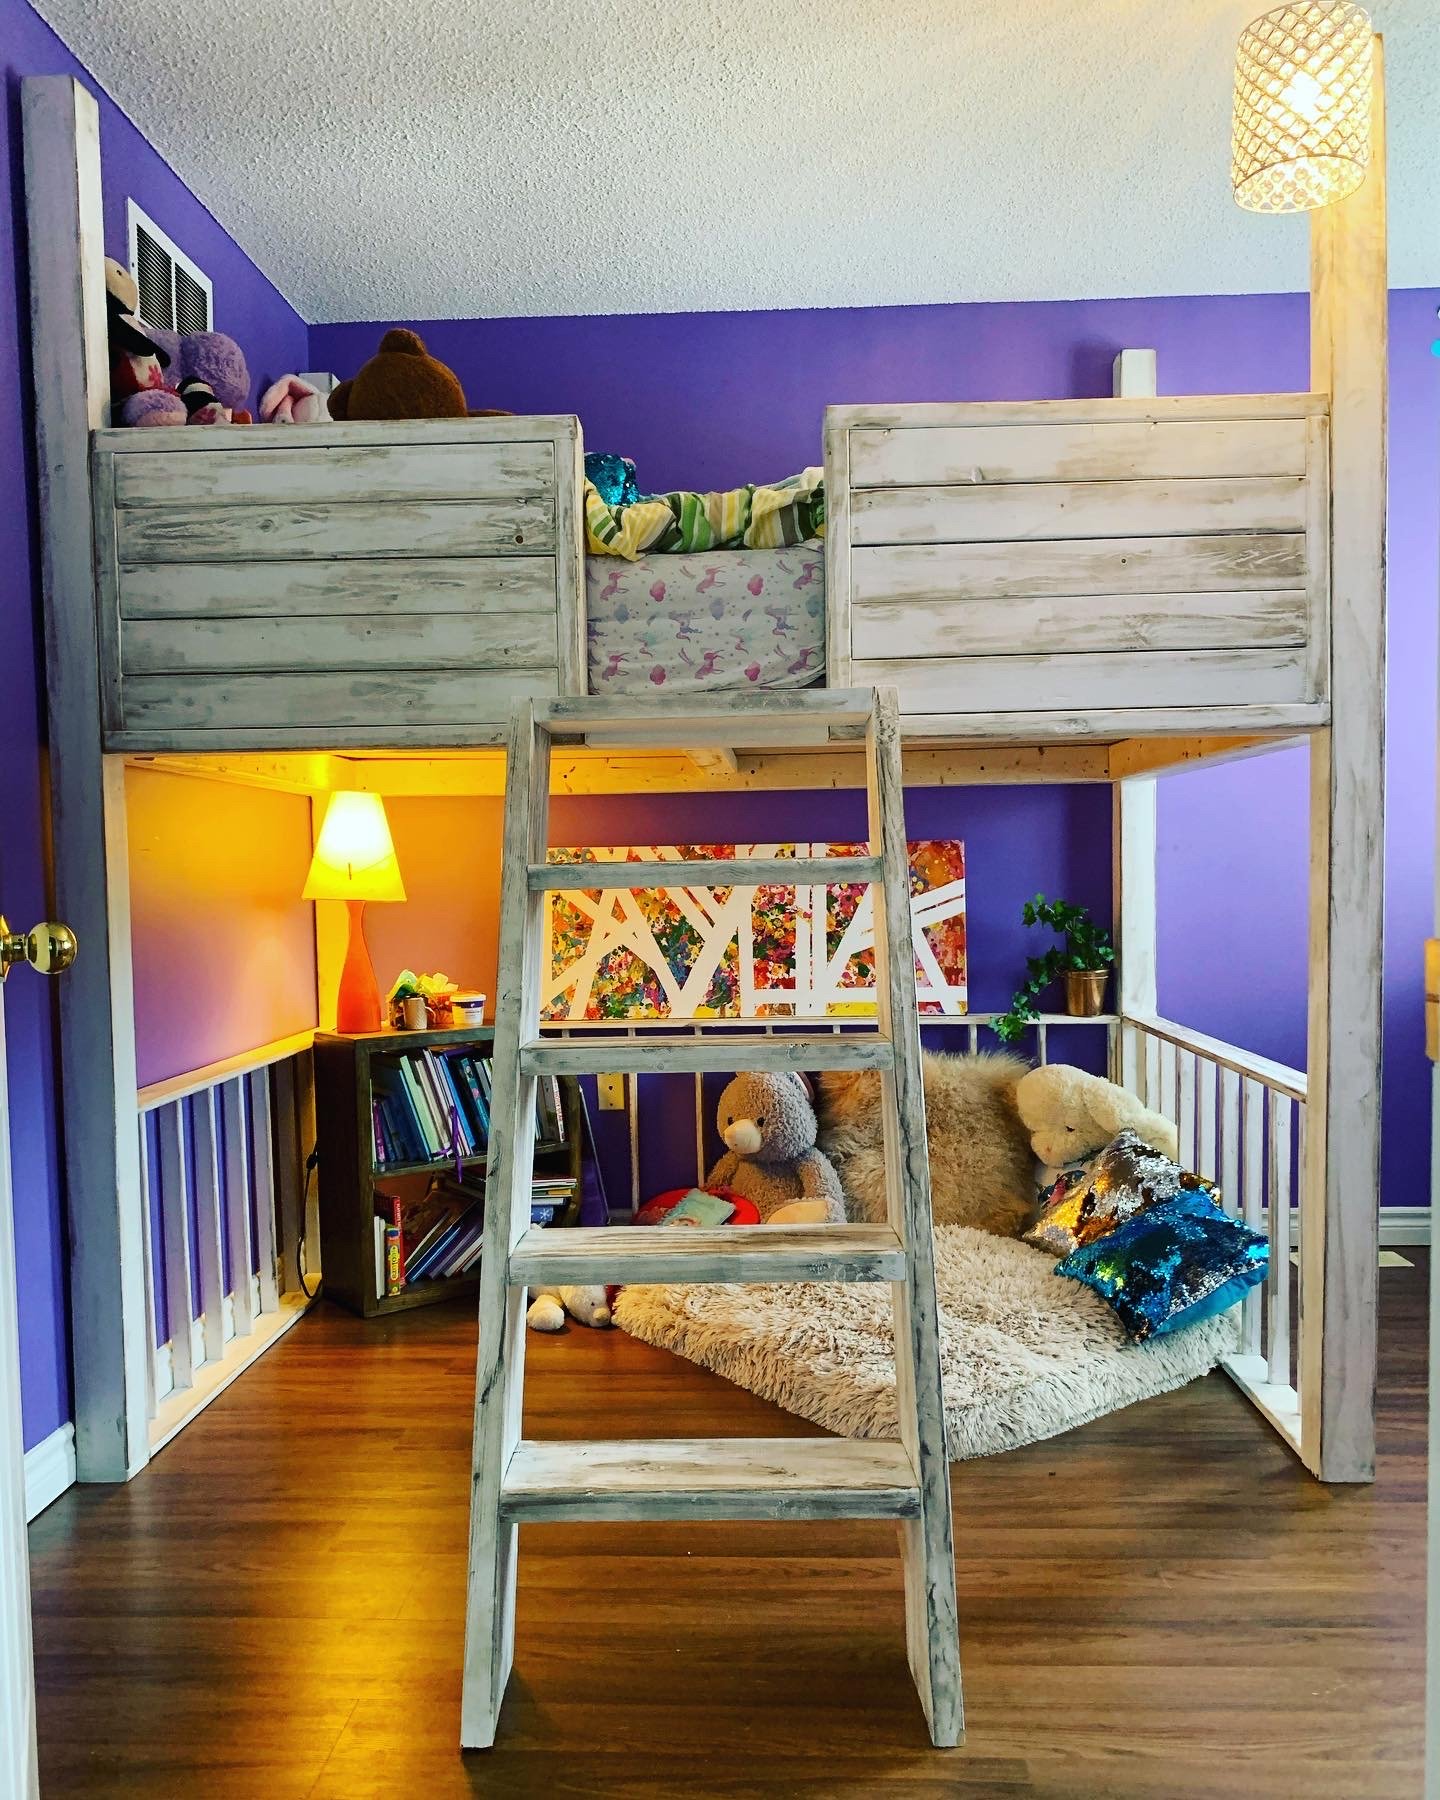
I found these on a Pinterest post. I made them for my girls and they absolutely love them! A place to sleep and play. All the kids that come over ask their parents for one.
A little bedroom oasis for my little ladies. ☺️
Comments

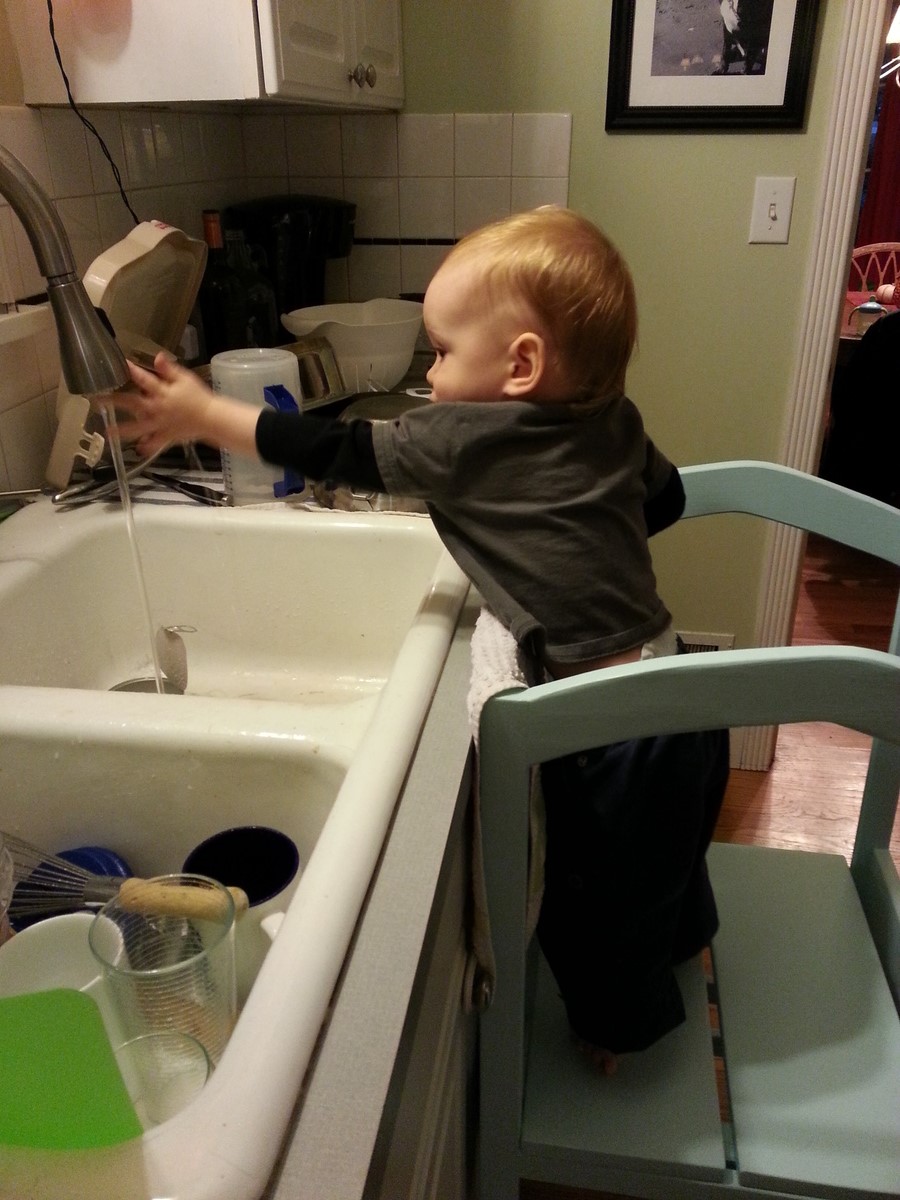
learning tower

Submitted by clamoss on Wed, 10/30/2013 - 23:02

Thanks for the plans. I'm a novice at best, but this was an easy, well designed project. Our boy is going to get a ton of mileage out of this!
Recommended Skill Level
Beginner

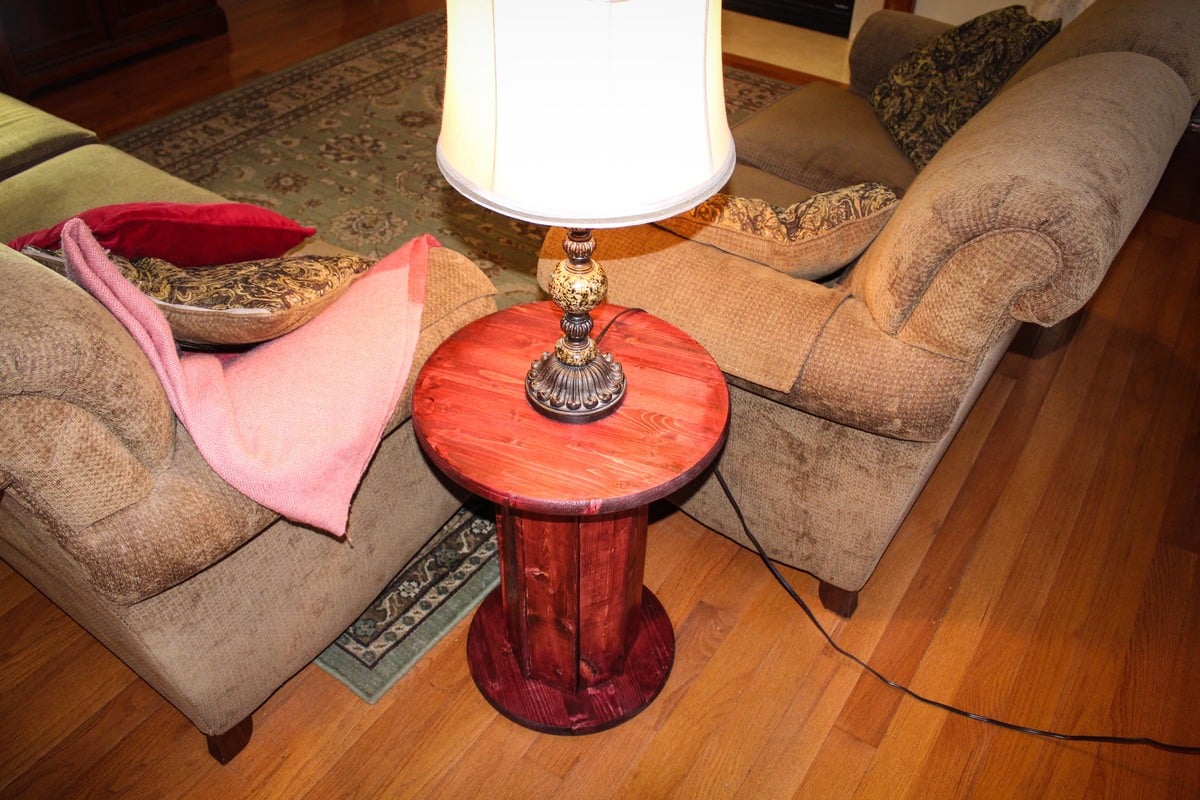
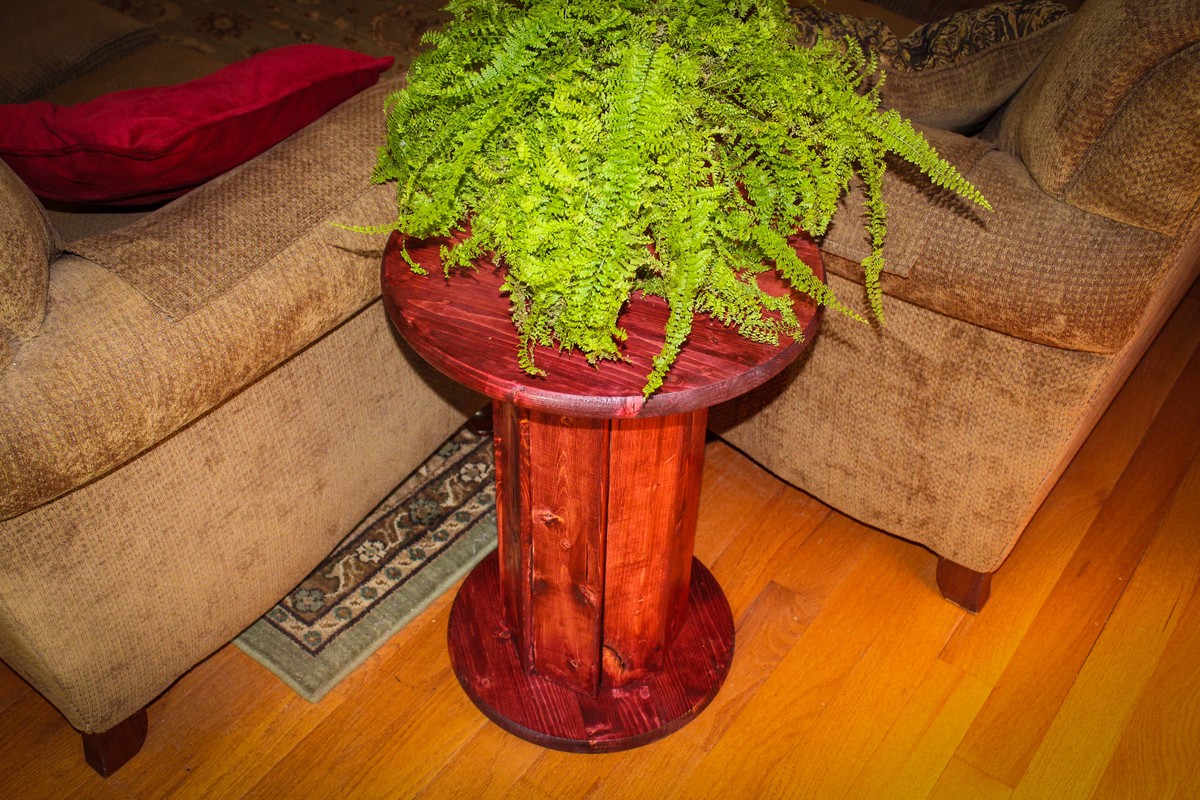
Plant Stand or Side Table

Submitted by mtairymd on Sun, 01/17/2016 - 11:08

This project was made with two 2x4s and two solid wood round discs. Although it’s hard to see in the photos, the pillar has a unique shape due to the v-notched 2x4s. This design is very sturdy and should hold about anything you would like to place on it.  See Link for full build Instructions:

http://www.instructables.com/id/Side-Table-or-Plant-Stand-Made-From-2x4…

Estimated Cost
$20
Estimated Time Investment
Afternoon Project (3-6 Hours)
Finish Used
Stain
Recommended Skill Level
Beginner

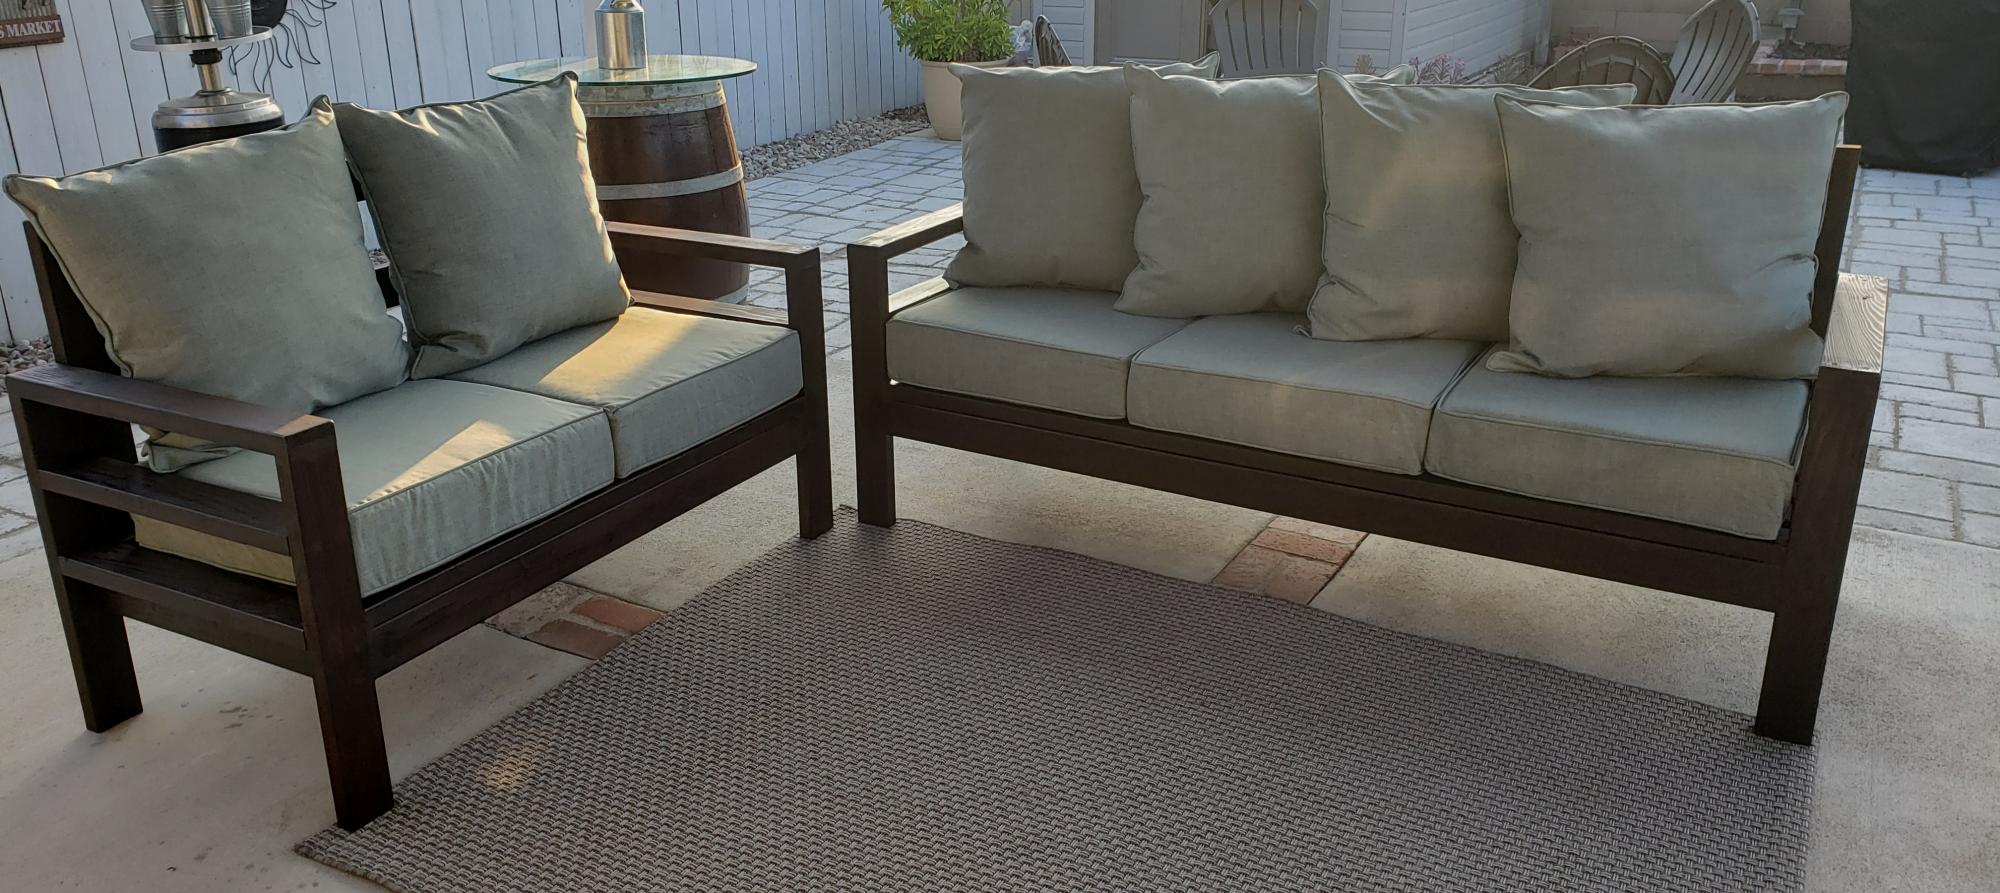
3 Seat And Loveseat 2X4 Outdoor Couches

Submitted by jerryo on Mon, 06/03/2019 - 19:39

Used Redwood and Kona colored stain. This is my first wood project and Ana really inspired me in being able to complete this. Thank You Ana all the way from California! The Love Seat was easy to modify from the original 3 seat plan.

Estimated Time Investment
Weekend Project (10-20 Hours)
Finish Used
Rustoleum Kona
Recommended Skill Level
Beginner

Comments

jerryo

Thu, 06/06/2019 - 11:40

hard to believe, we found them on the Big Lots website...$40 a set back and cushion. We looked everywhere for an affordable option. These look great and are really comfortable..!thanks for the compliment : )

Jerry