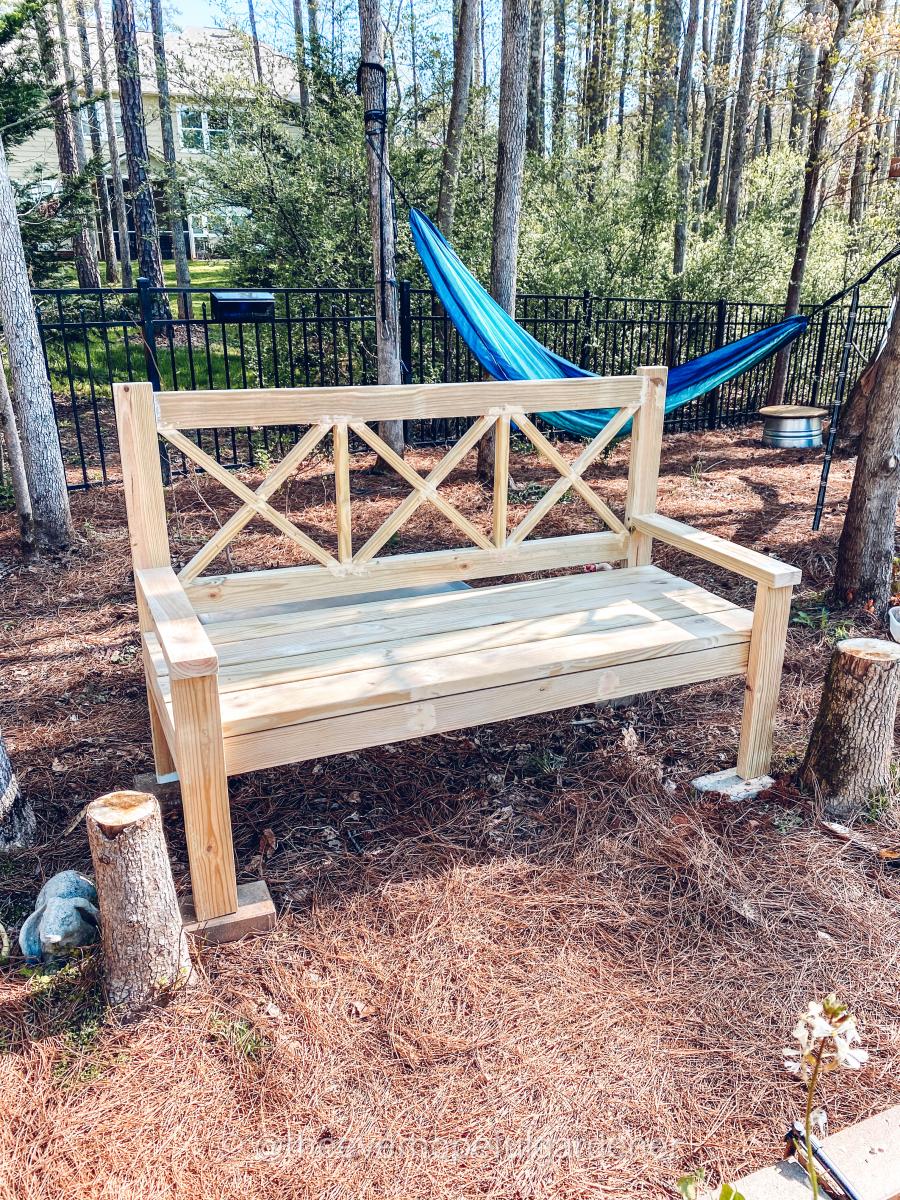
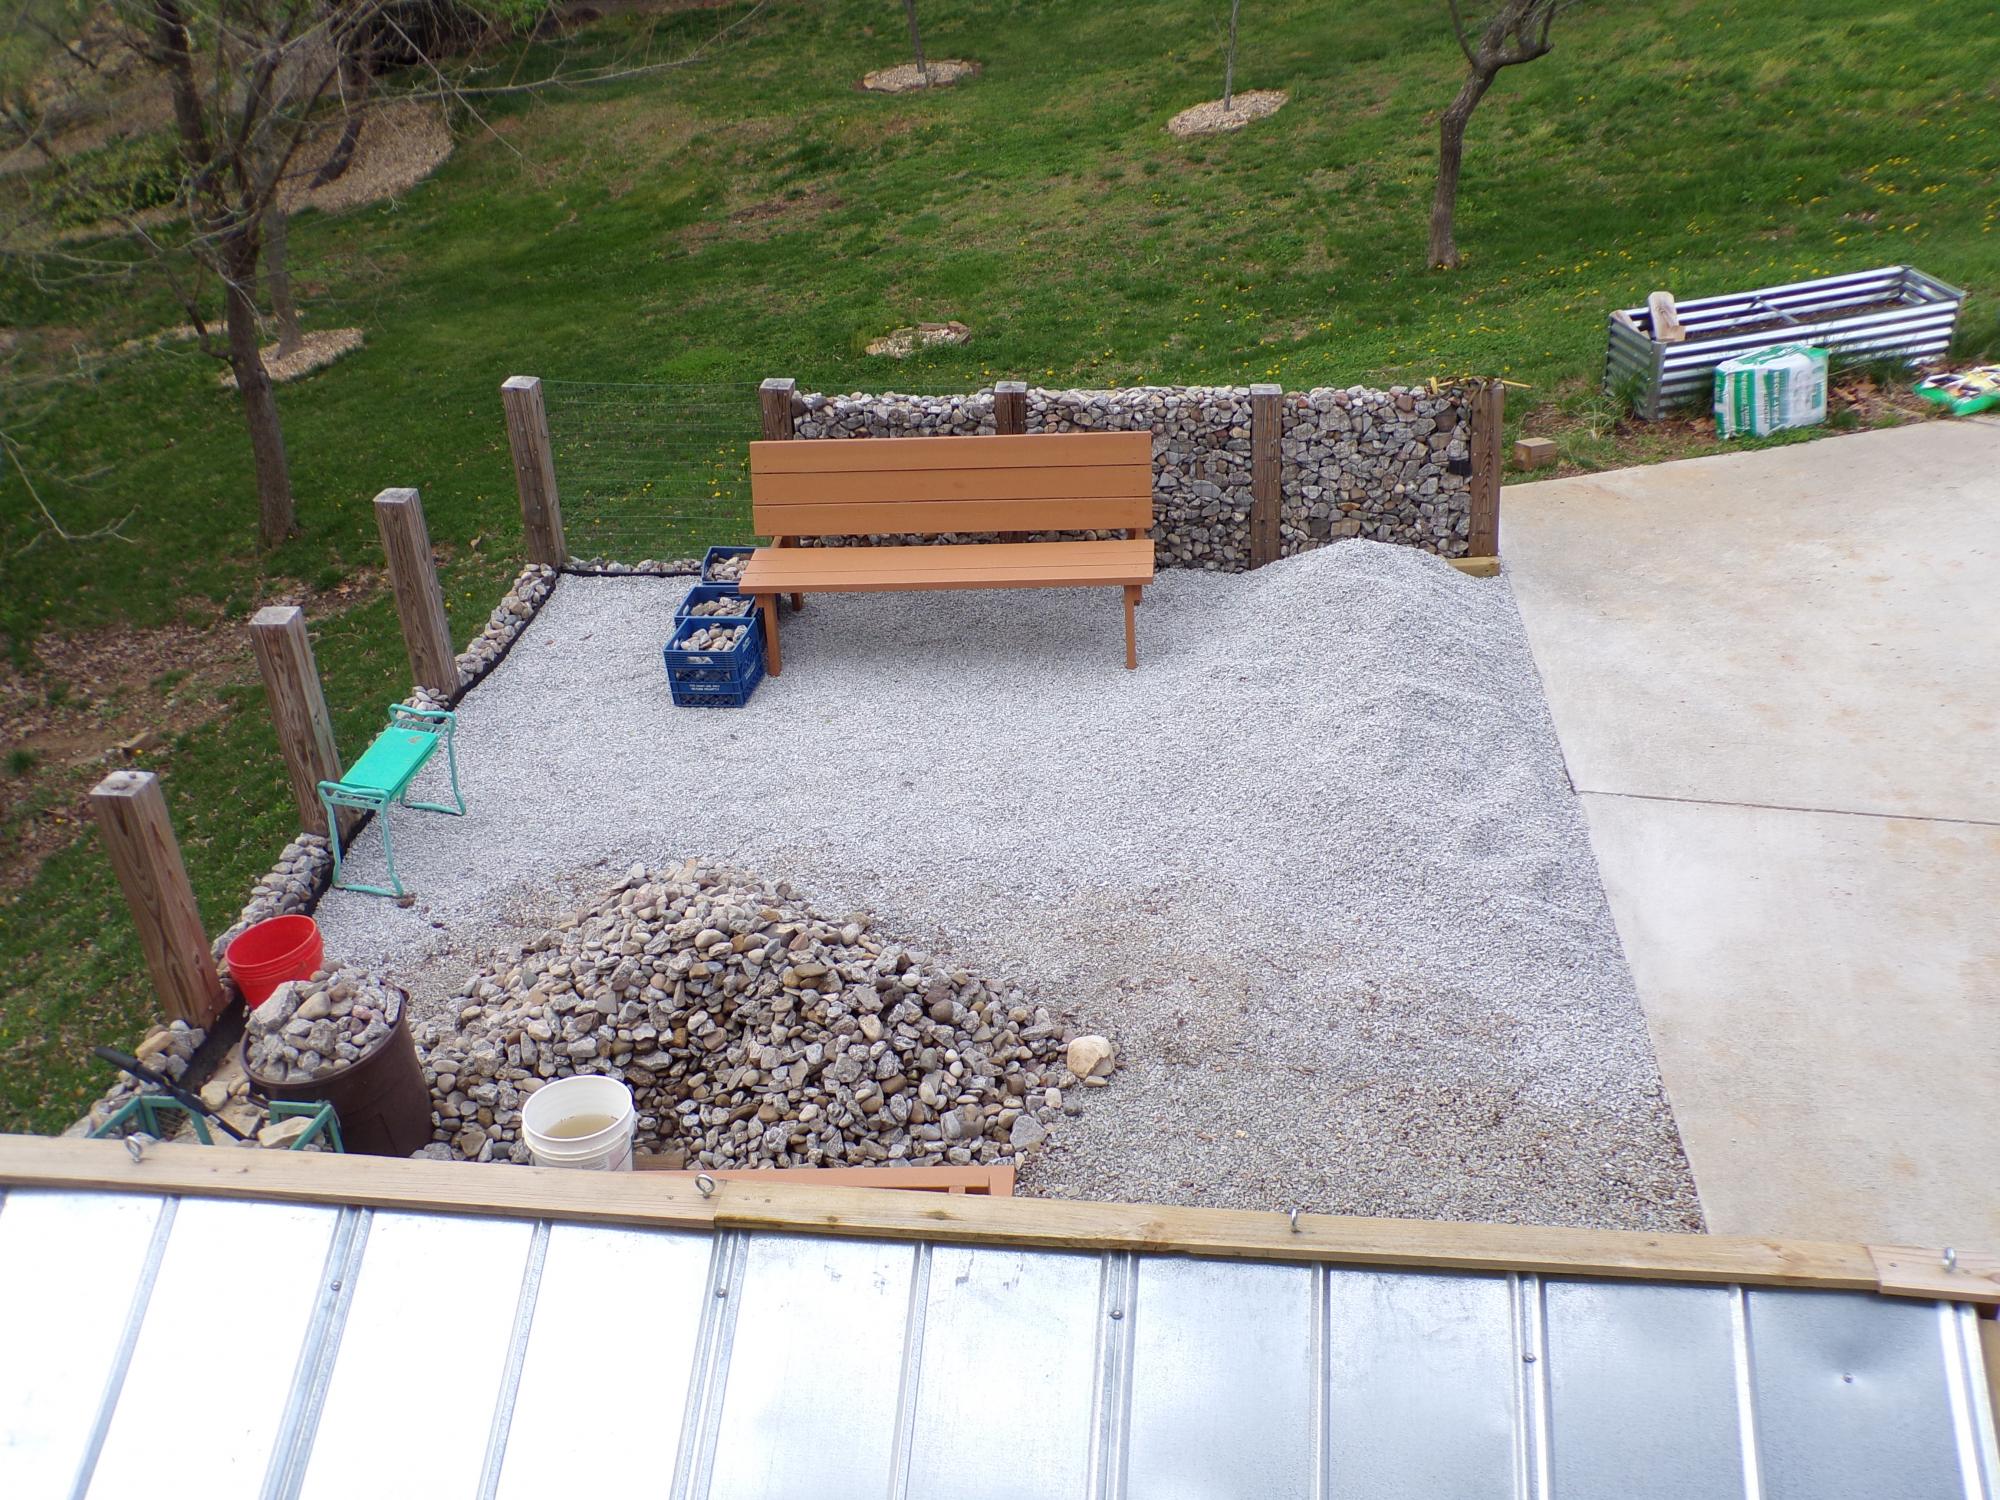
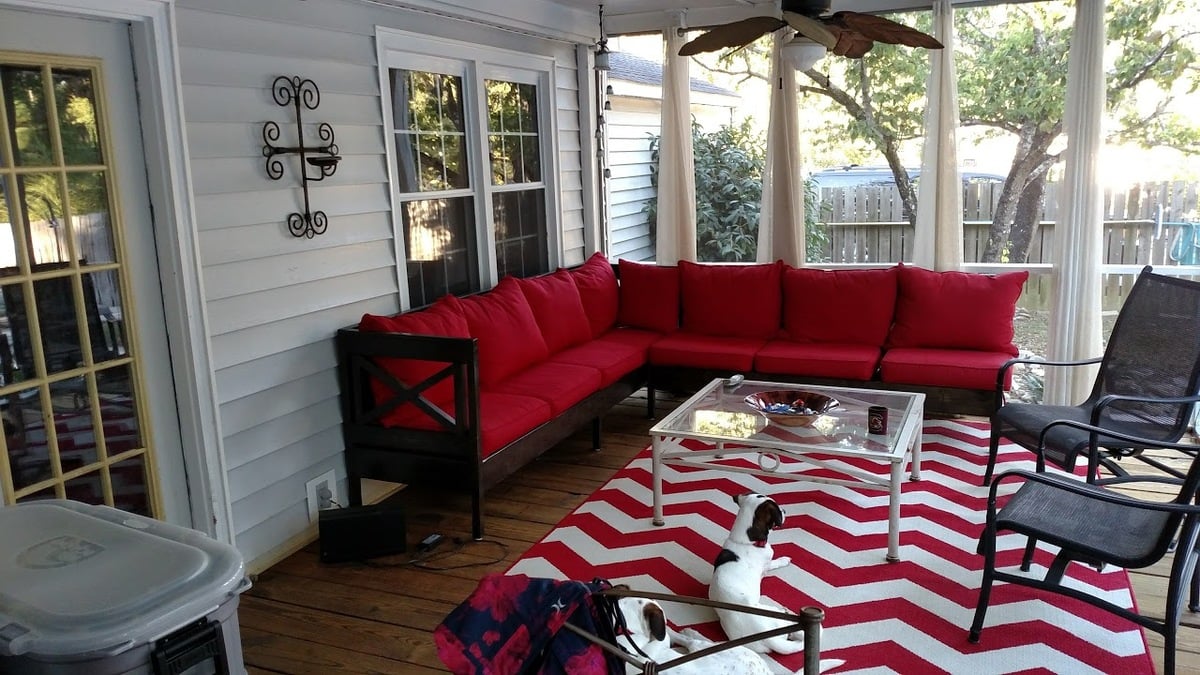
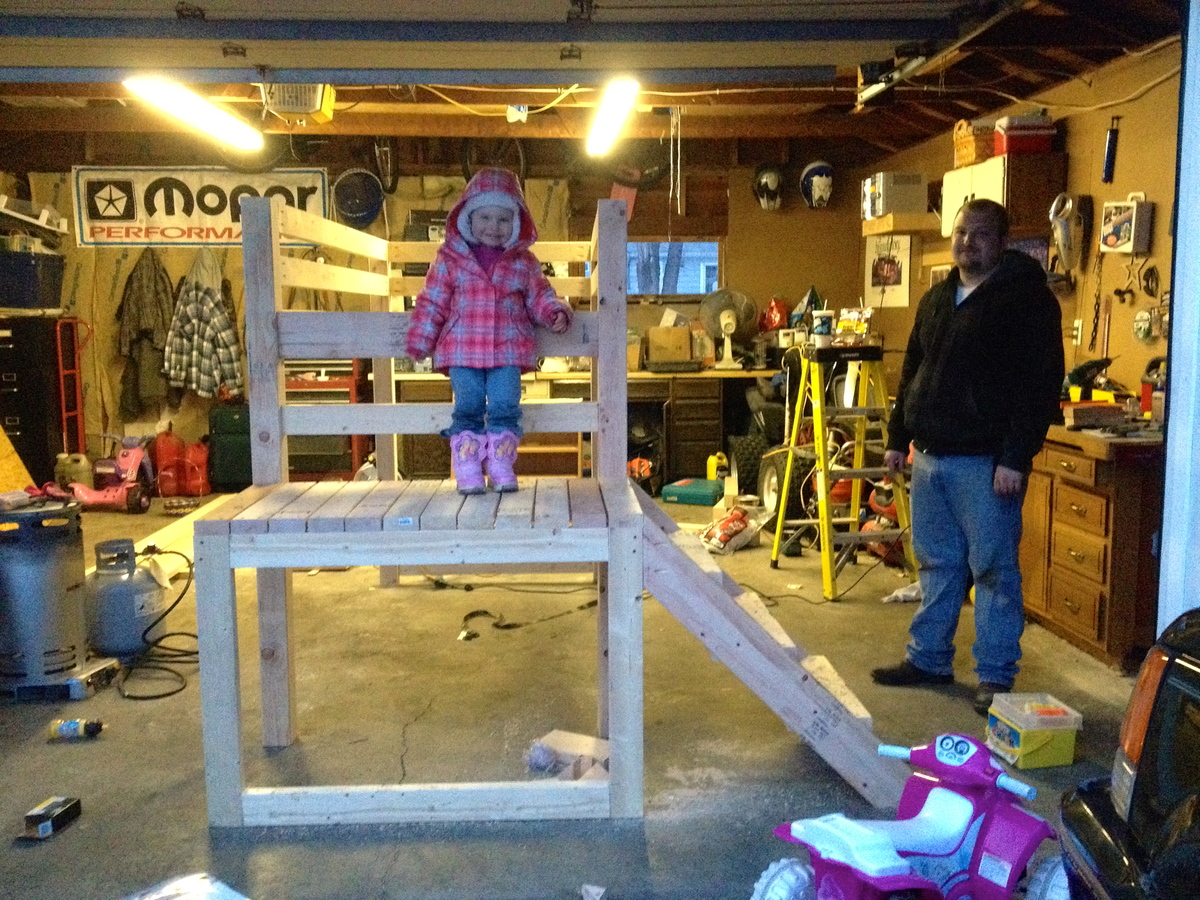
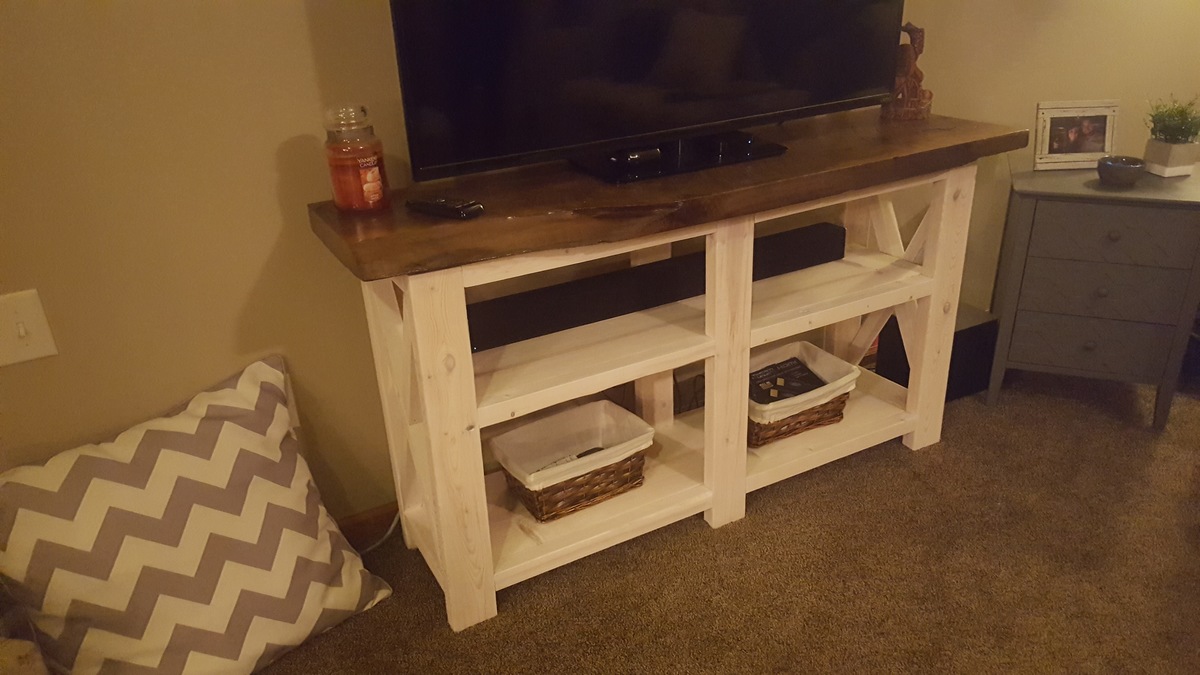
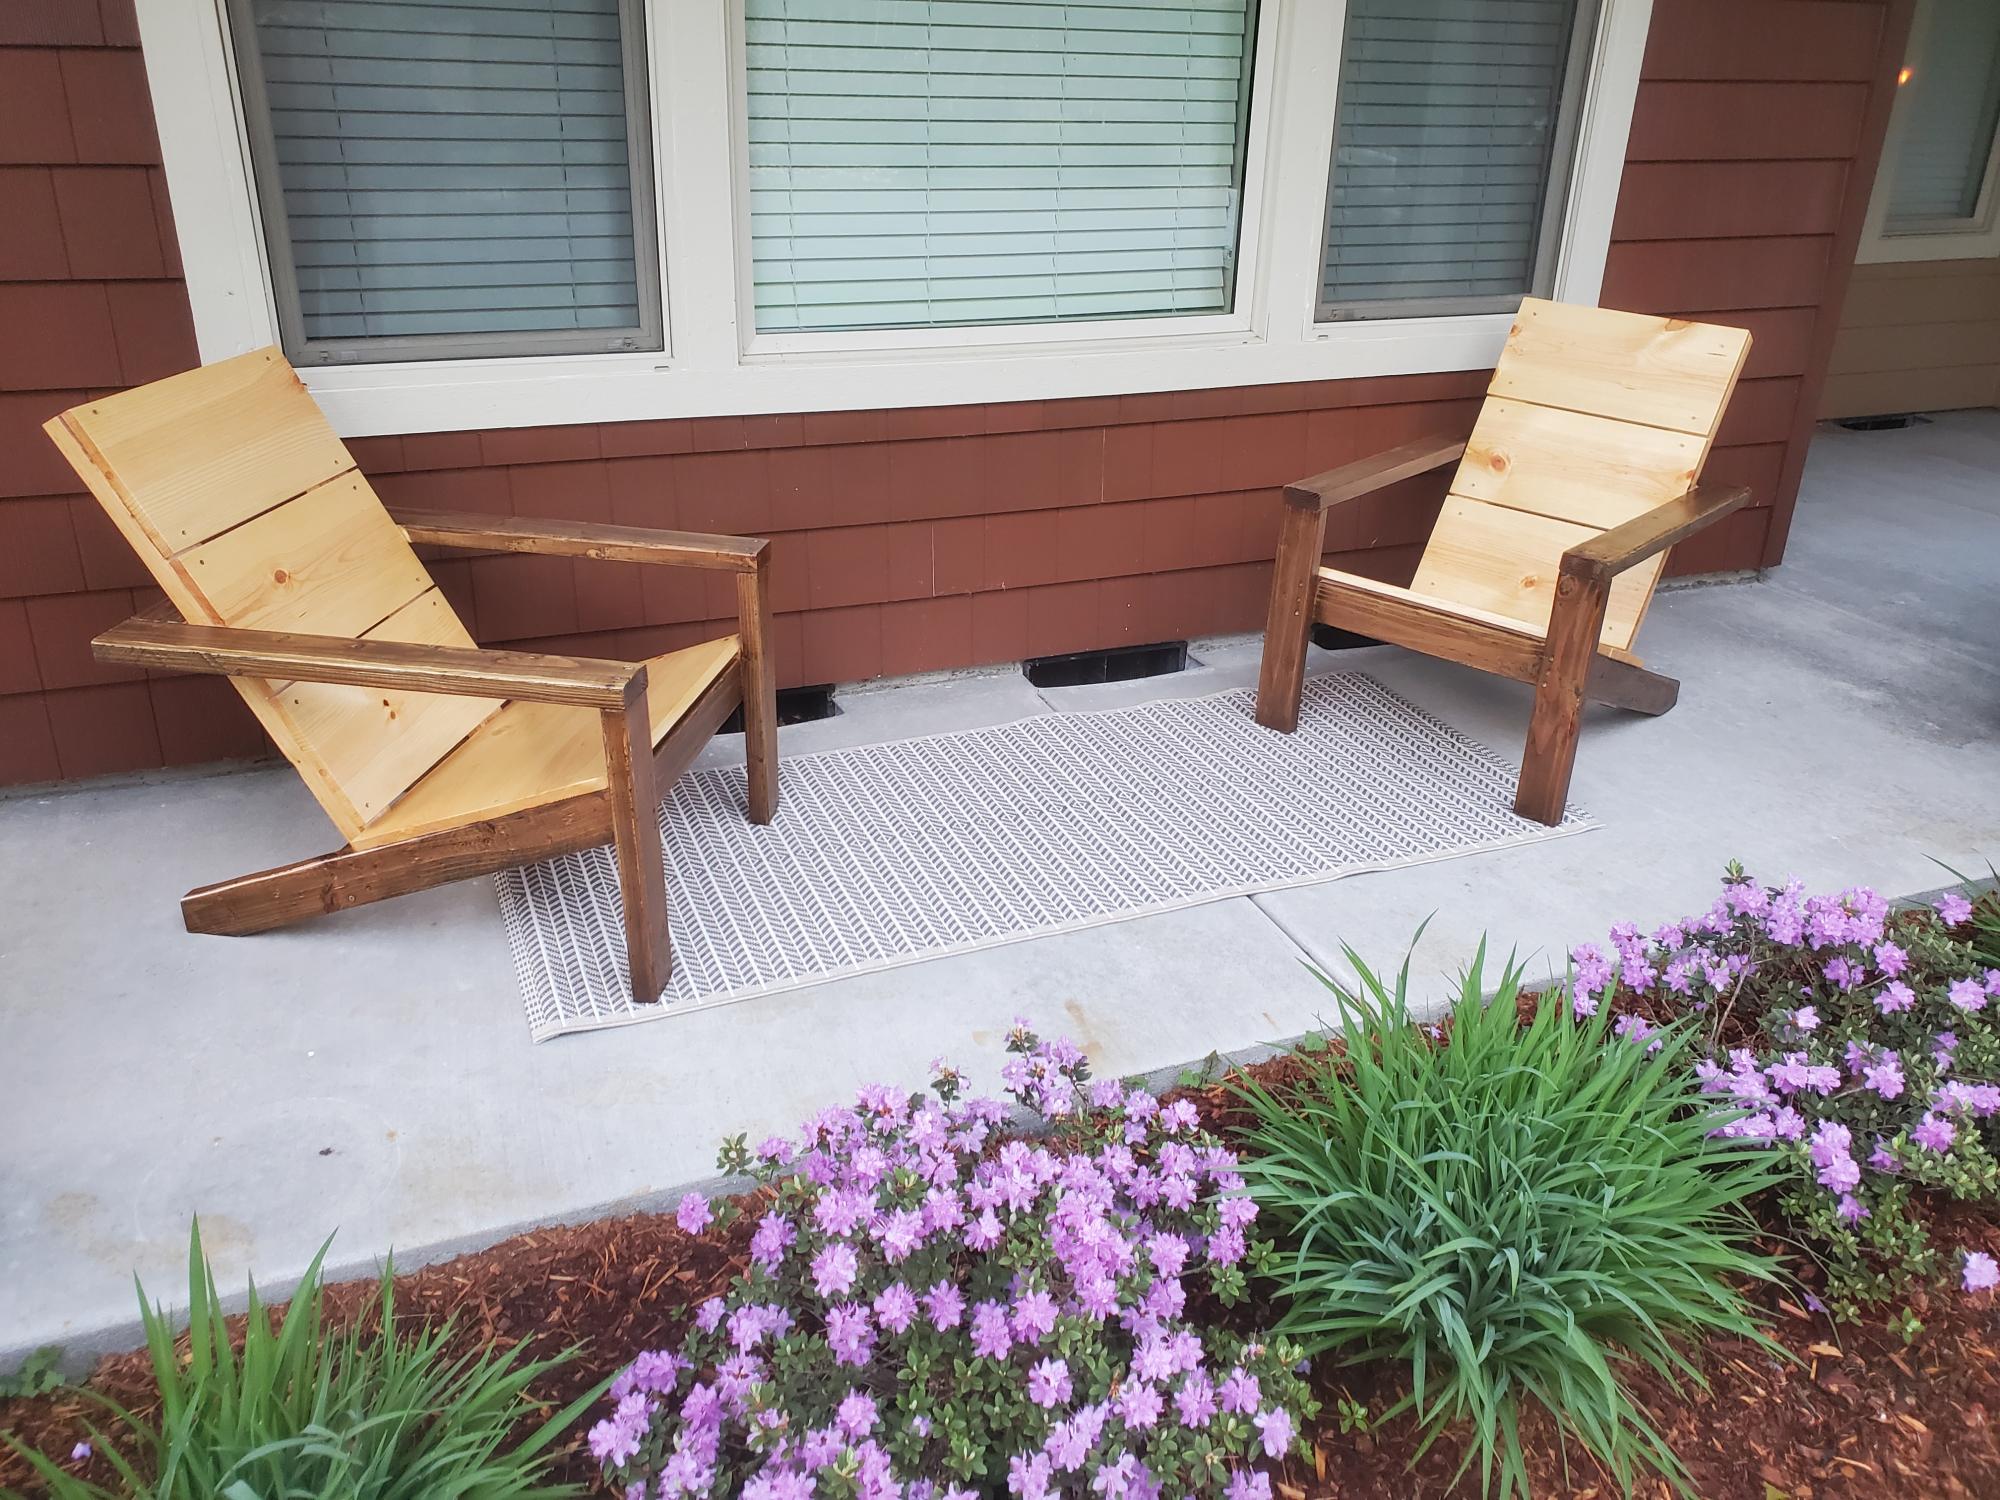
Large Garden Bench with X back
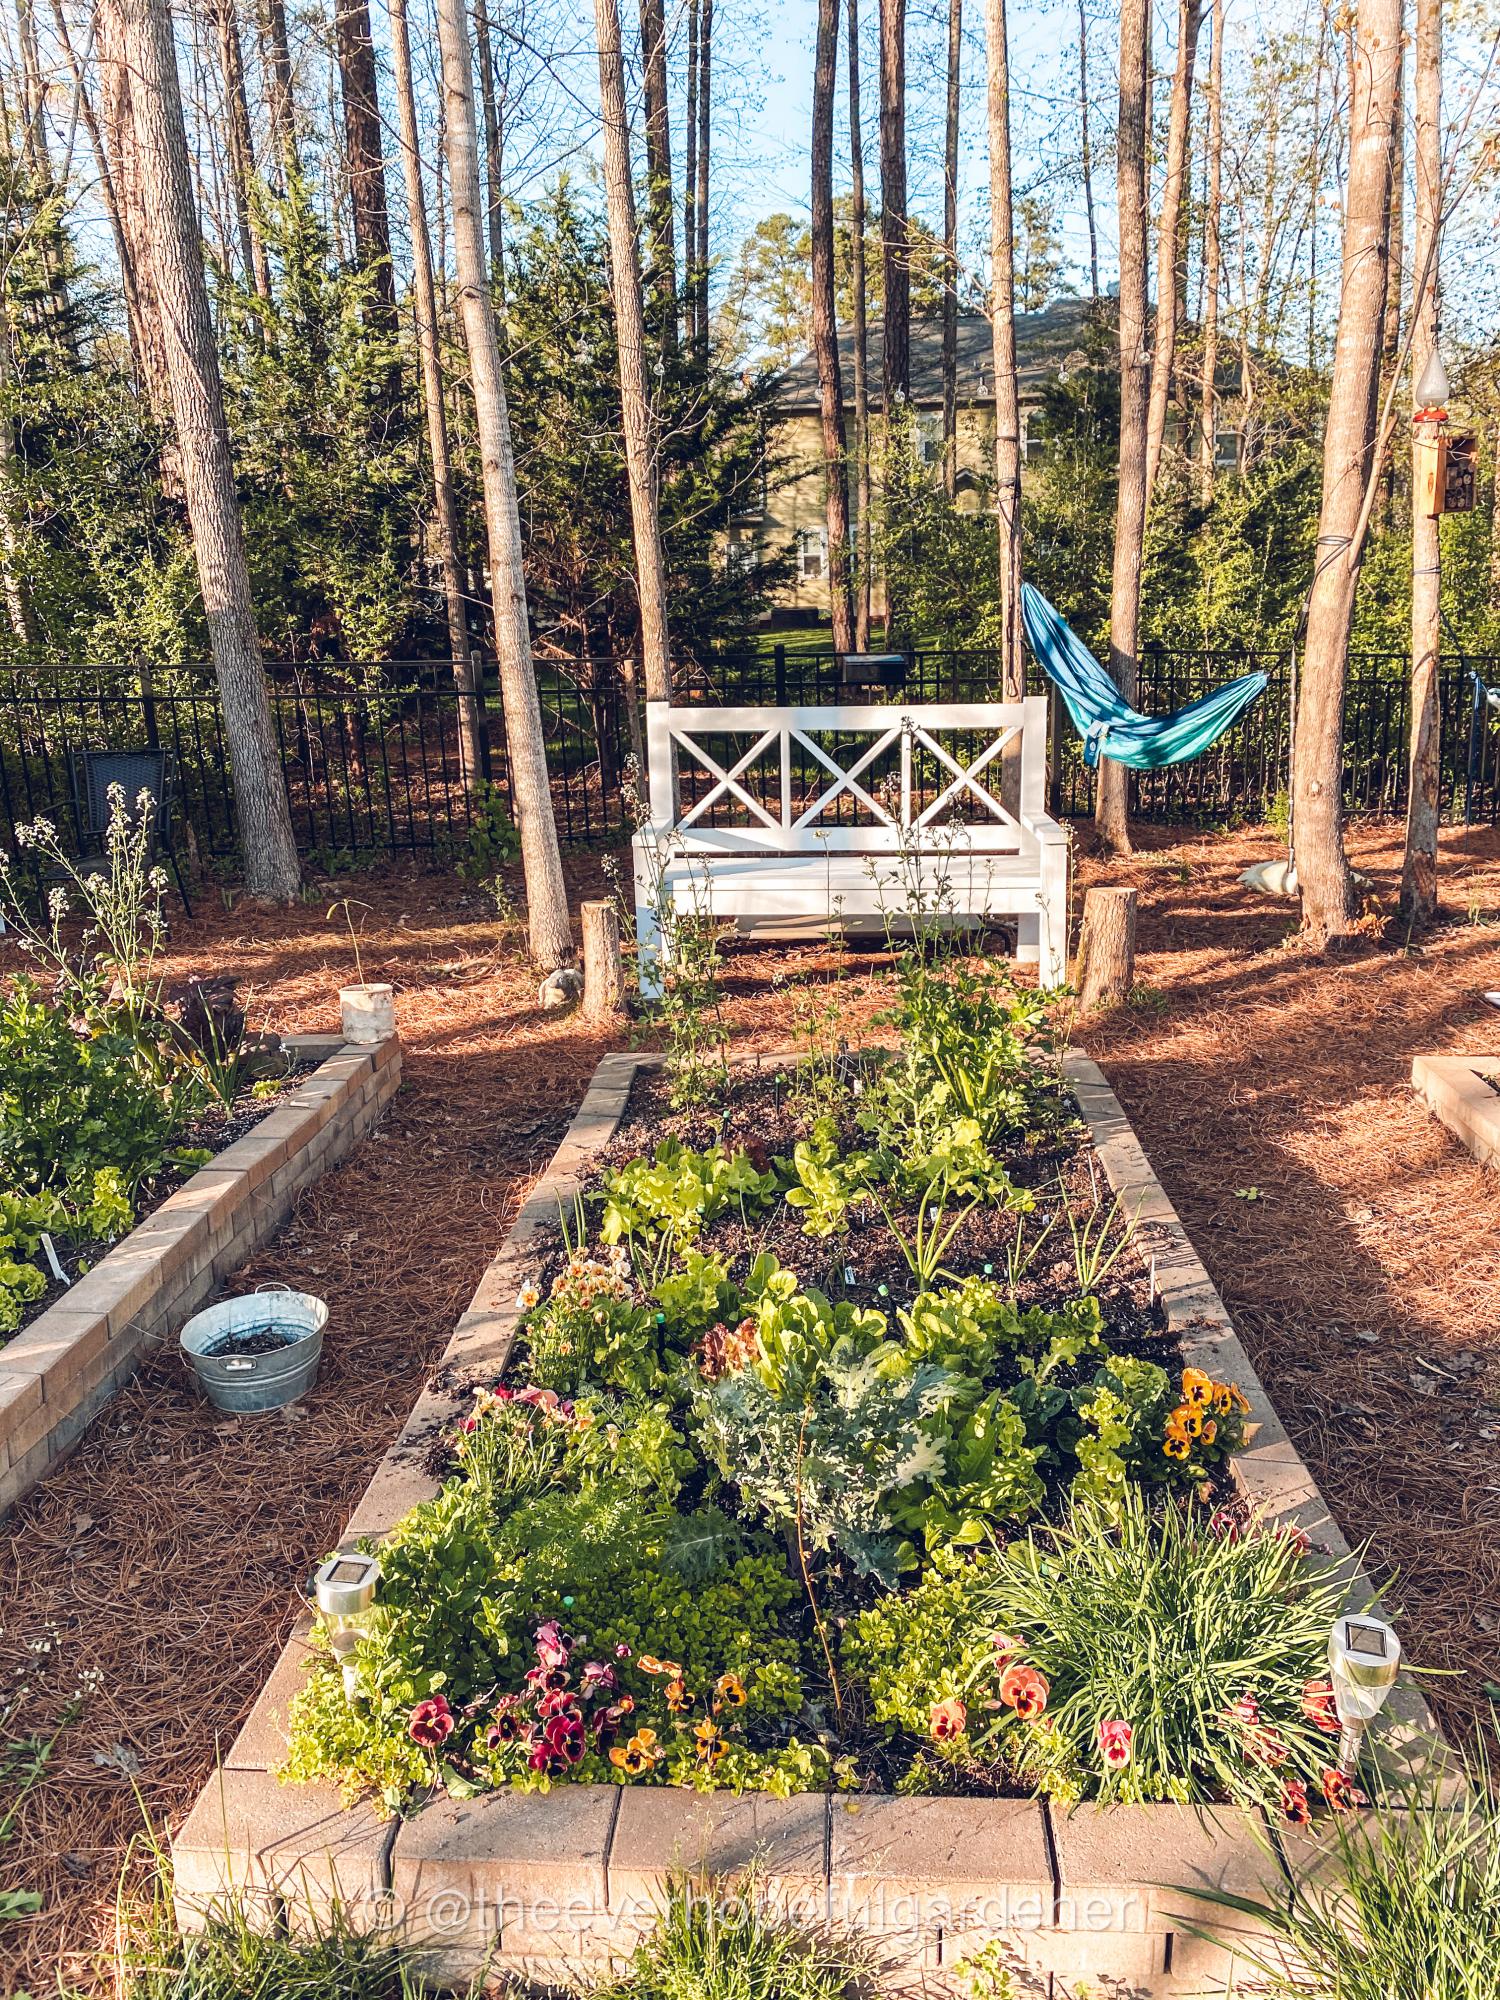
I love this bench. It is so solid. I have now built three of them for around our yard/porch. If you have the necessary tools and skills (intermediate level) you can build it in an afternoon. I built it in 4 hours with lots of breaks. My cost estimate includes paint and screws.
Built from Plan(s)
Estimated Cost
$145.00
Estimated Time Investment
Afternoon Project (3-6 Hours)
Finish Used
Valspar Satin Season Flex exterior paint and primer in Gravity
Recommended Skill Level
Intermediate


Comments
Ana White Admin
Mon, 04/05/2021 - 10:16
Great builds!
Looks great, thank you for sharing!