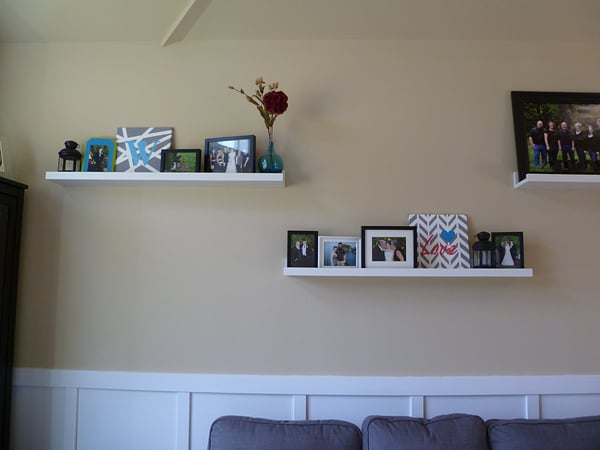
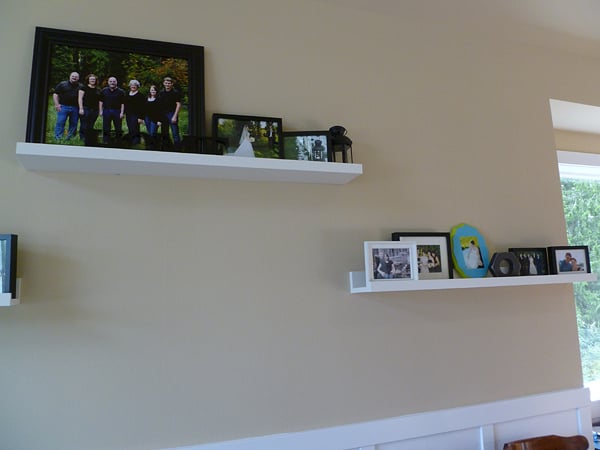
DIY Planter Stands
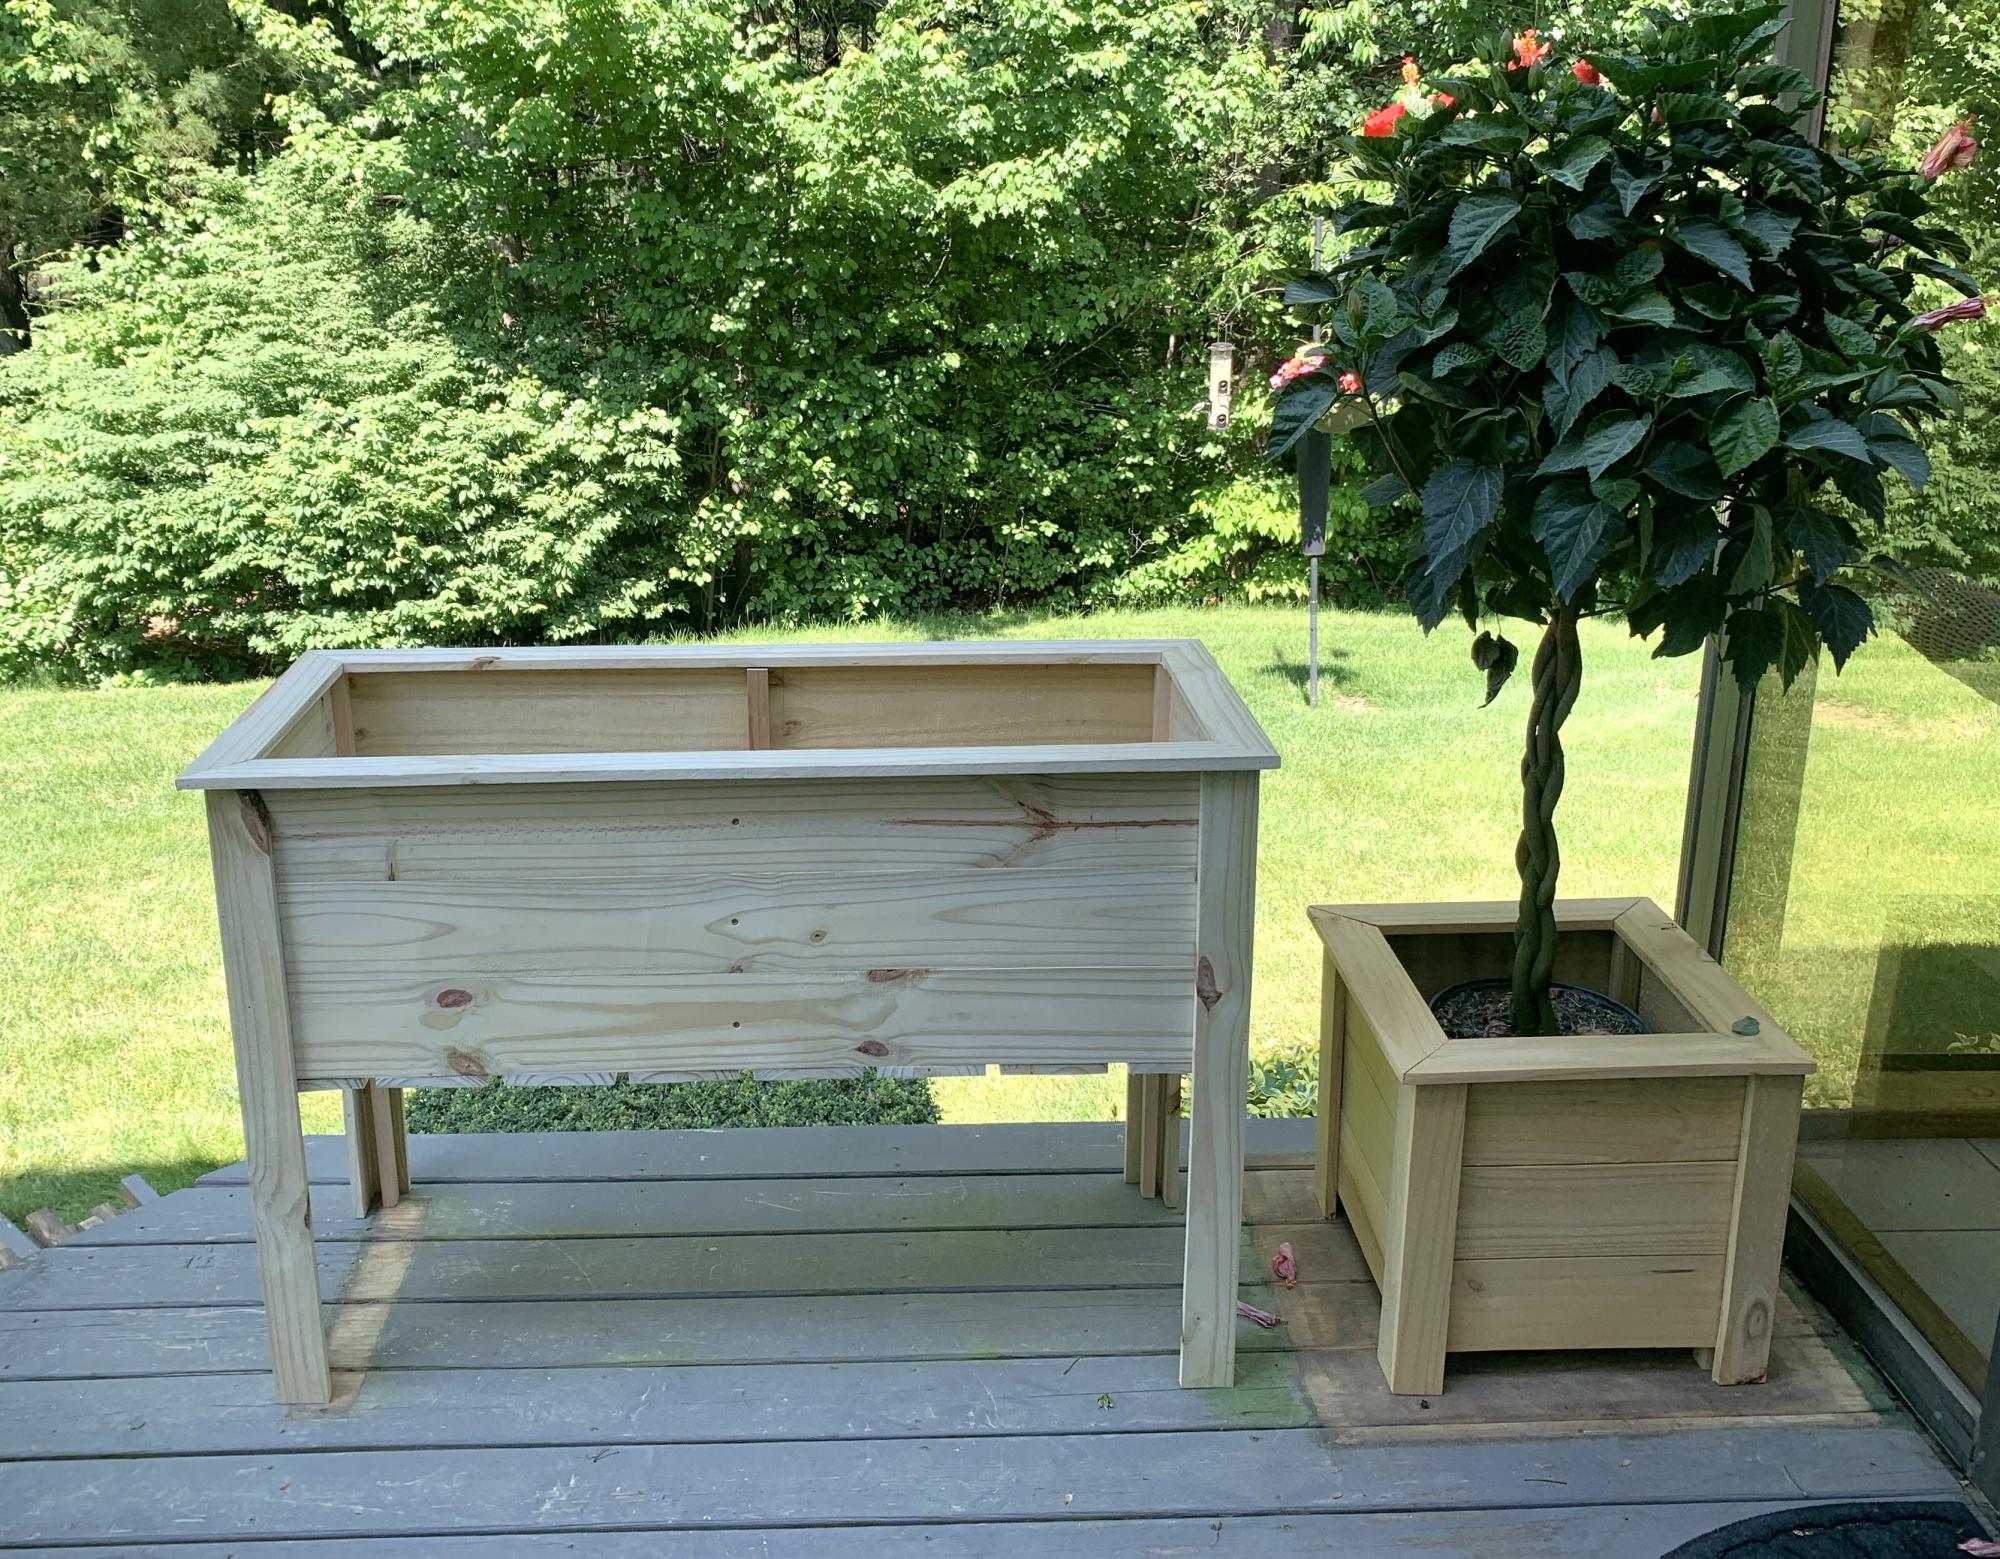
Just began to build items after creating a workshop in my basement. Started with small planters and just built the large stand up planter pictured here. Ready to plant the Tomatoes!
Jim

Just began to build items after creating a workshop in my basement. Started with small planters and just built the large stand up planter pictured here. Ready to plant the Tomatoes!
Jim
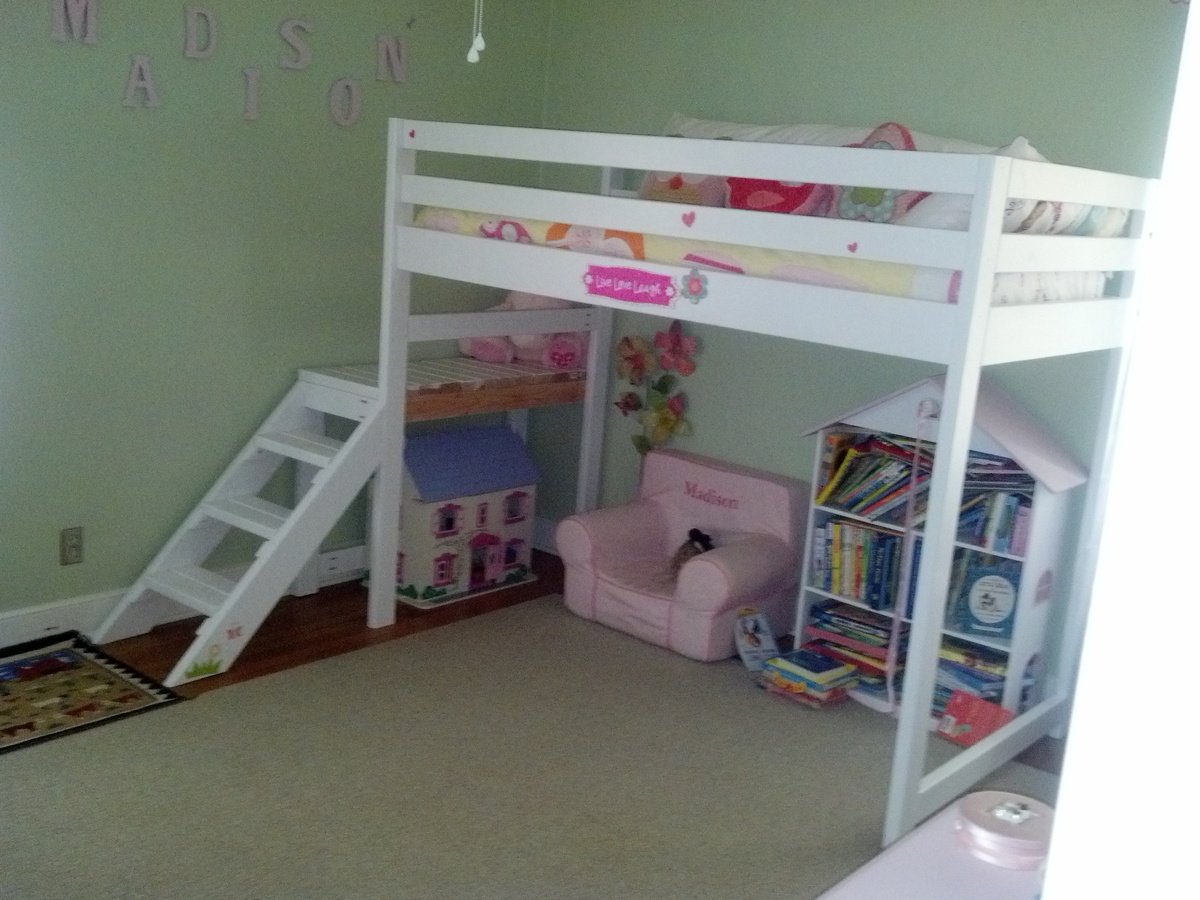
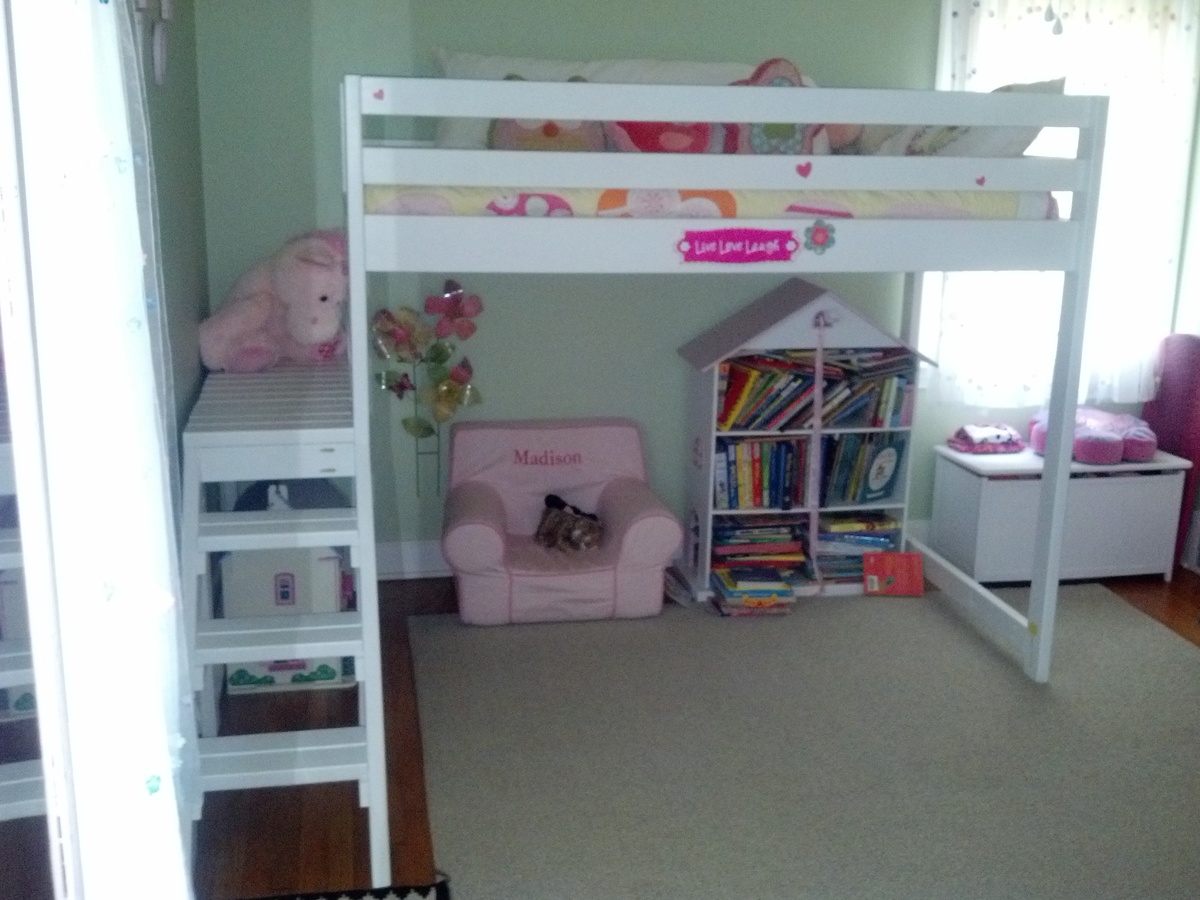
This was a fun project and my daughter loves her bed. She is the envy of all of her friends.
Great quick project, but painting on the other hand was very time consuming. This bed has one cost of latex Kills and 3 costs of Sherwin Williams interior eggshell.
To make the bed fit between the wall and window i had to shrink the stair width.
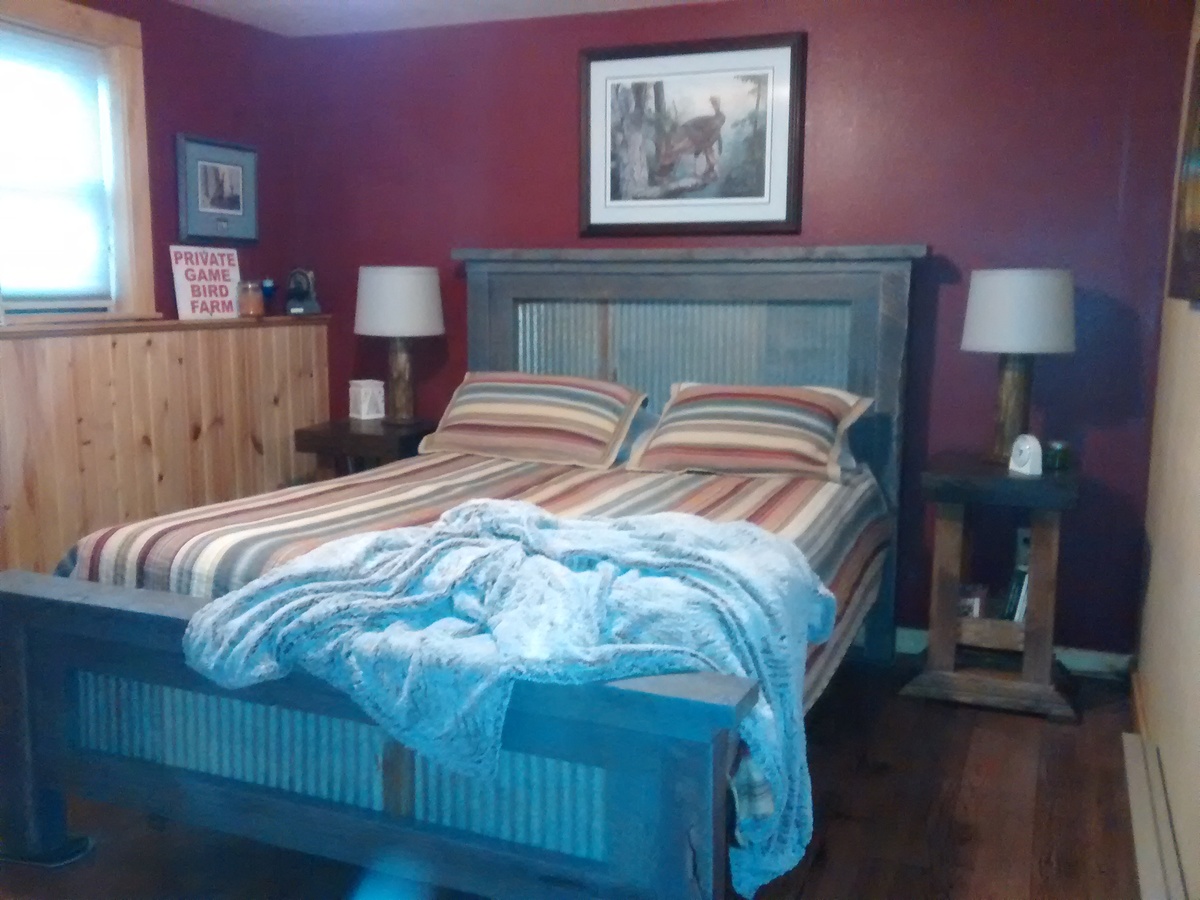
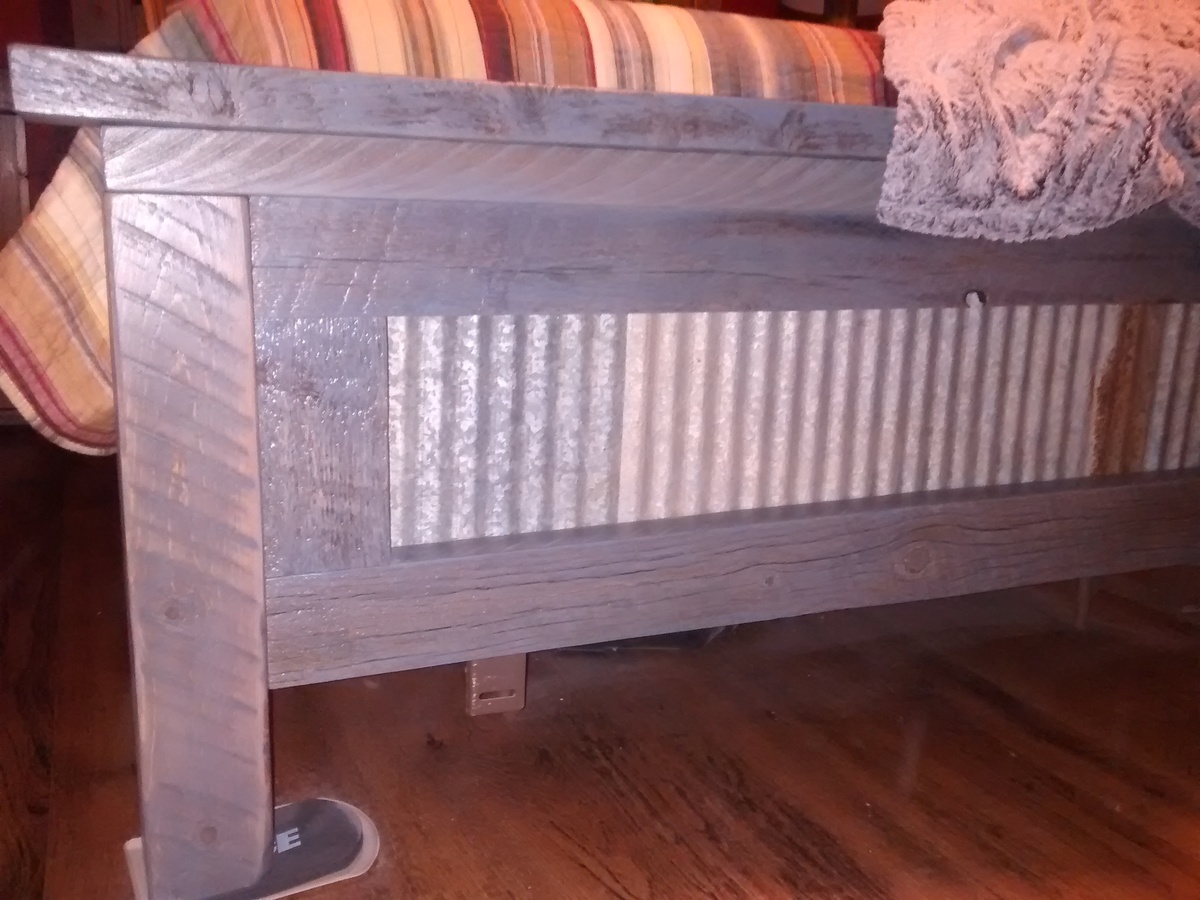
Made the bed from wood that I got from the place I work. It was weathered and rotting. I was able to work around the rot. I had to play with the finish to get it all of the bed pieces to match. The bed is really heavy because the wood was full 2" material. The smaller picture shows the actual color of the bed more accurately.
I love the workbench console plans so made them smaller to work as nightstands.
Decided to try and make lamps out of some firewood. They worked for what I wanted.
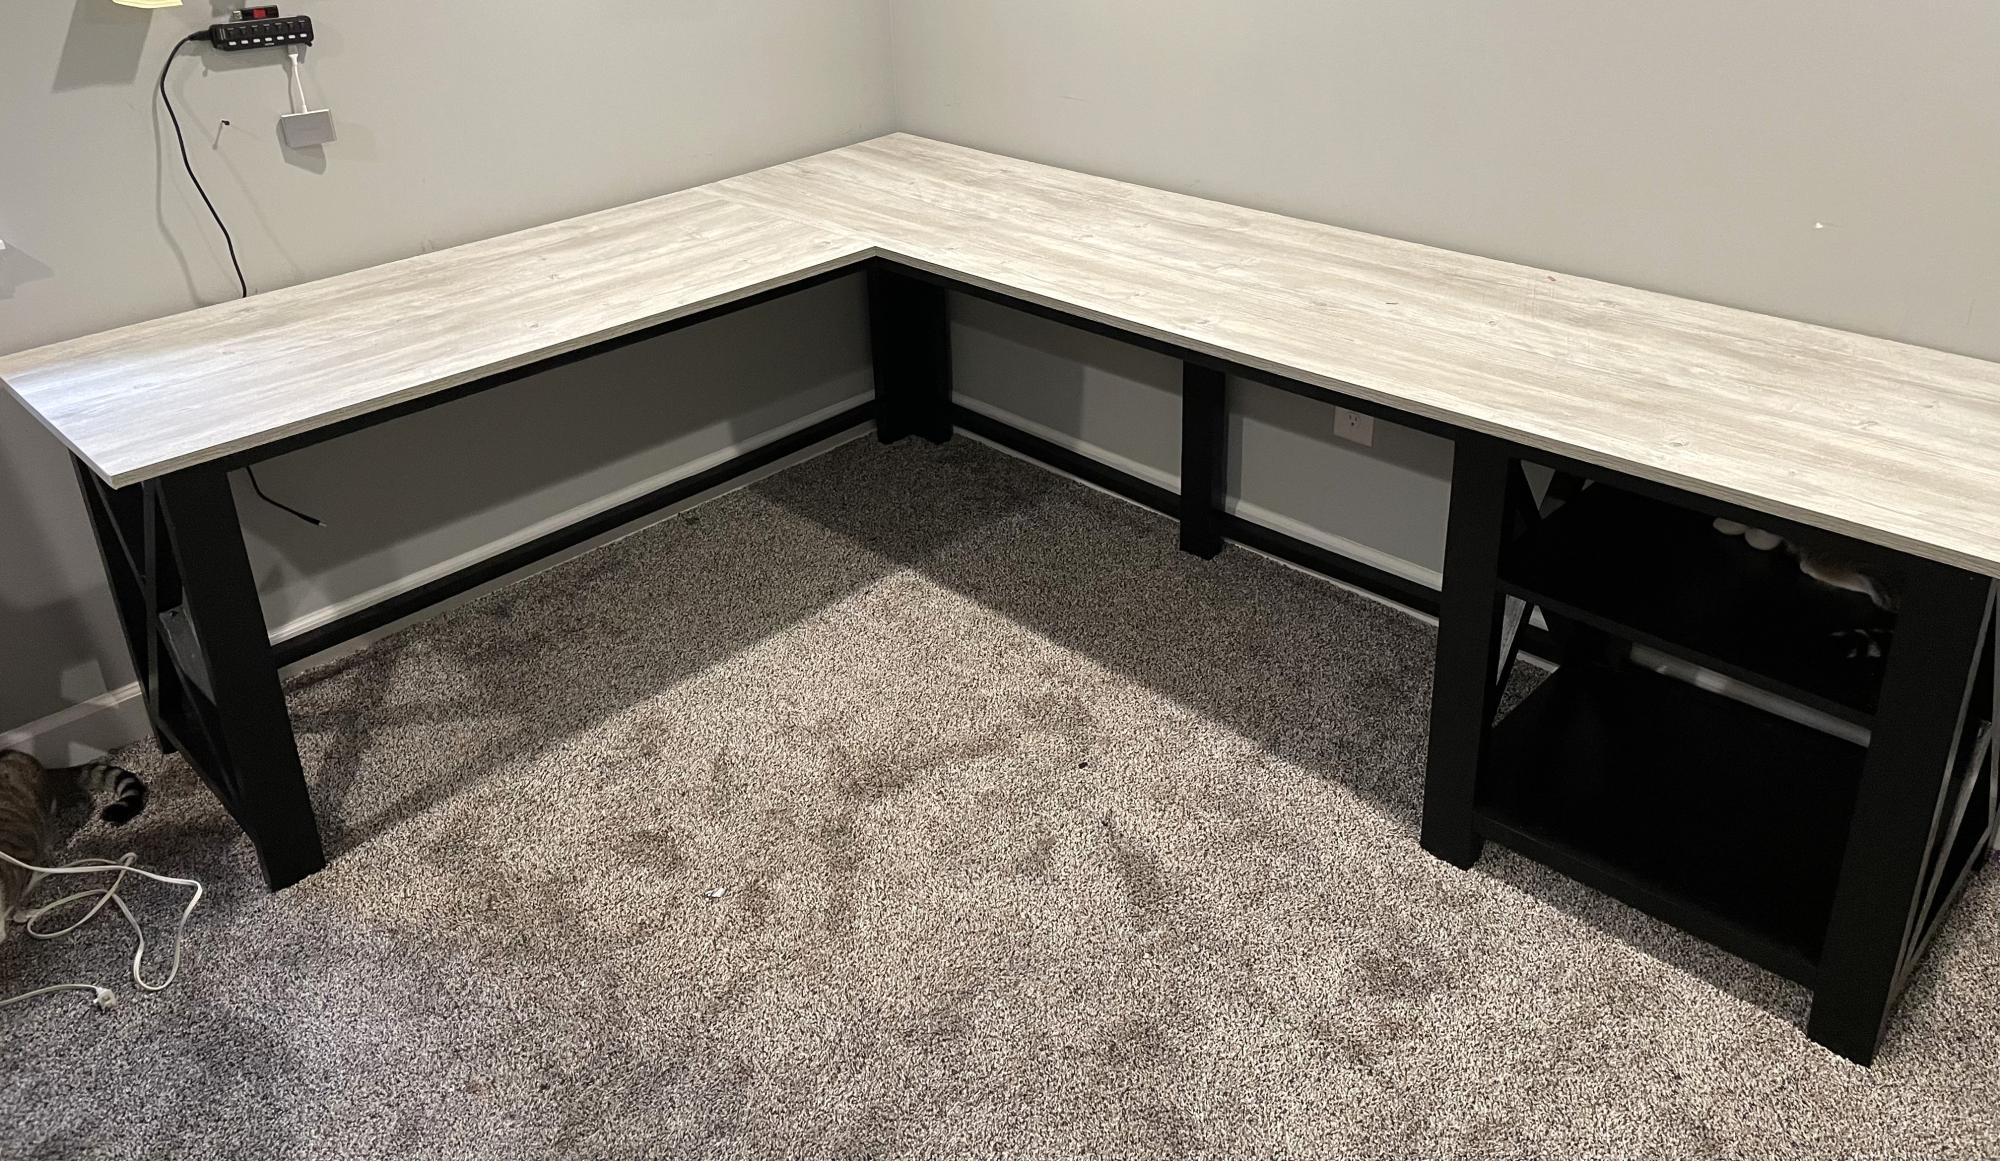
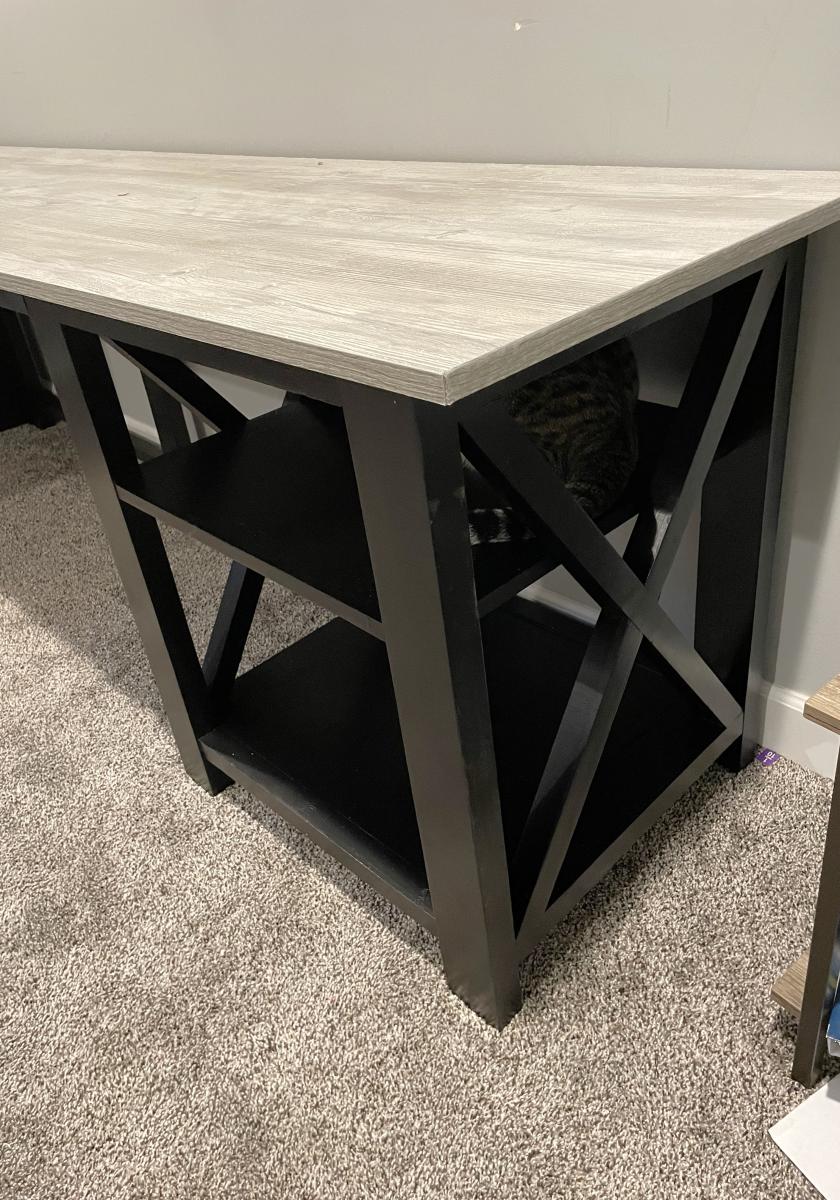
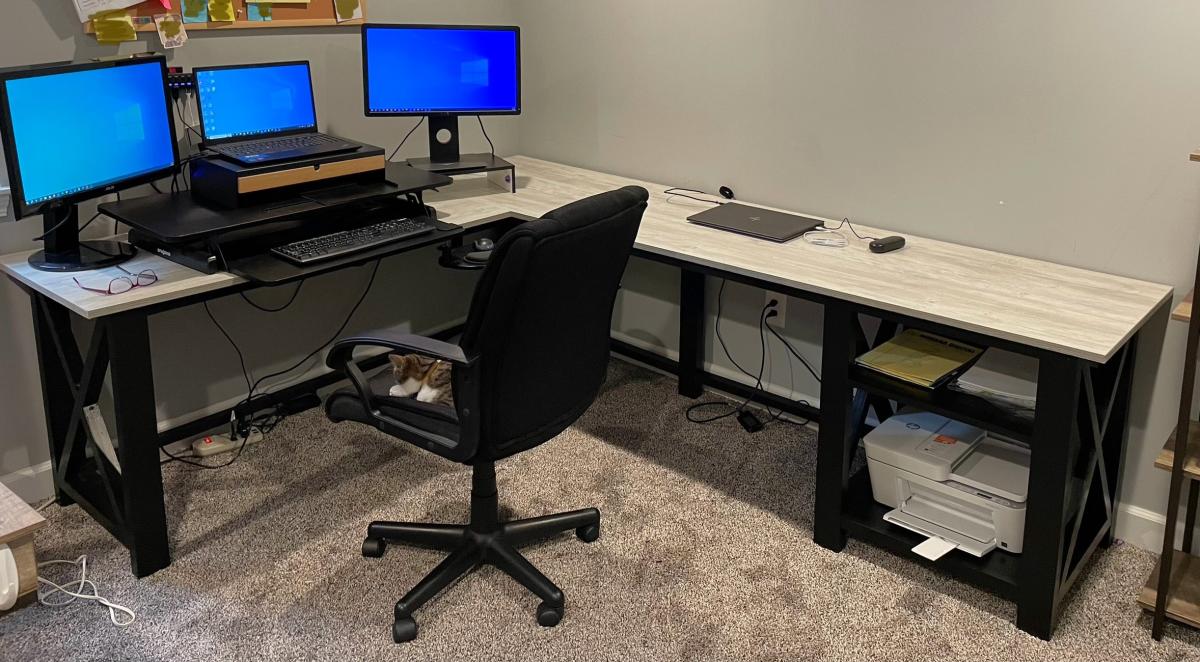
I needed a larger desk to accommodate my multiple monitor set up. I used this plan and extended it around the corner. Its final size is 7’x8’x2”. I used a pre finished melamine top. I adjusted the shelf to hold my printer and paper supply above it. Overall pretty straightforward project.
Michele B.
I built this key locker from a jewelry armoire plan I found on TheDesignconfidential and the link is http://www.thedesignconfidential.com/2012/09/key-locker-aka-small-jewel…
It is a wonderful and simple design. Easy to build. Cost me abut $17 since I went for the S4S poplar wood for the frame and door. I used scrap hardwood flooring for the door face. The key is from Hobby Lobby at $2. All the rest including the knob, hinges, hooks, etc were gathering dust in my garage.

Fri, 09/28/2012 - 08:07
Ana the stool the locker is sitting on is one of my very first projects I got from your site. It definitely is the most useful and used.
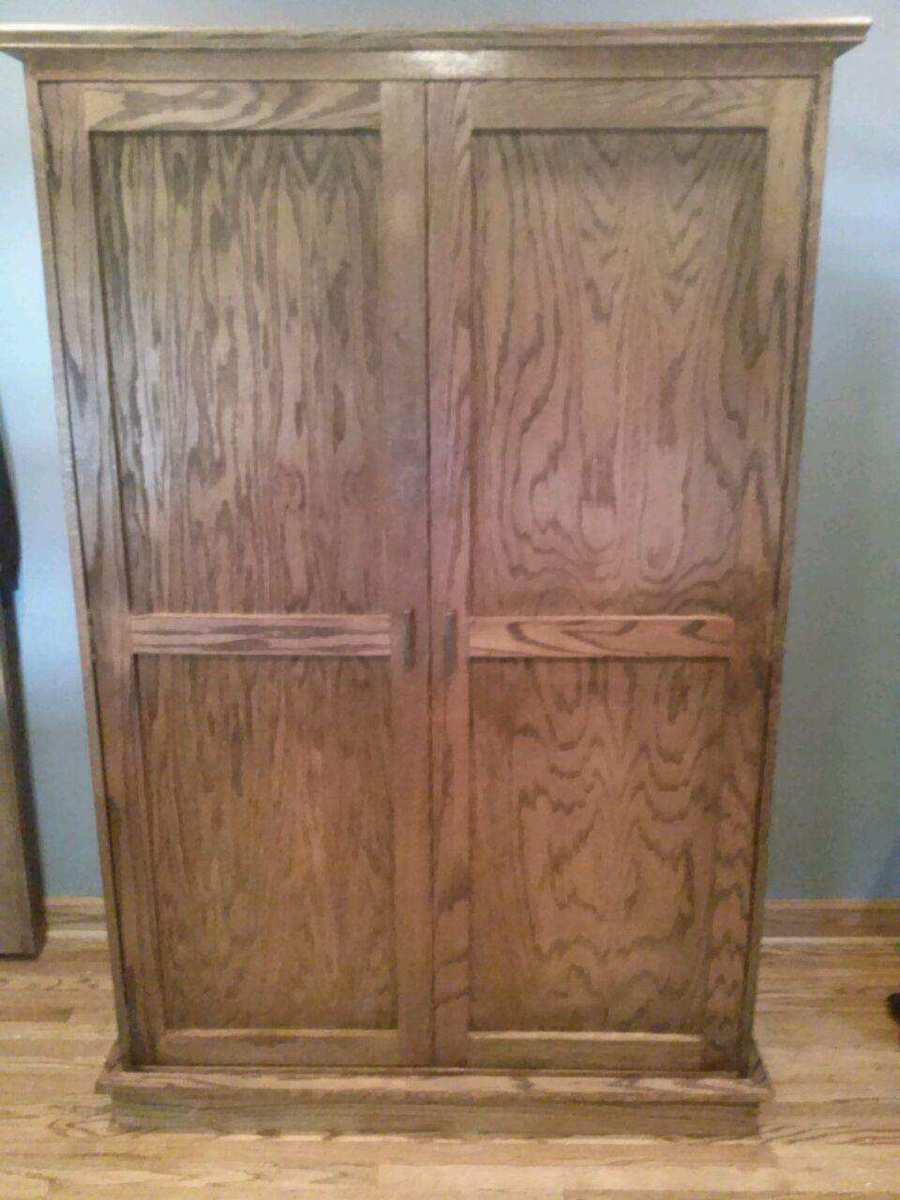
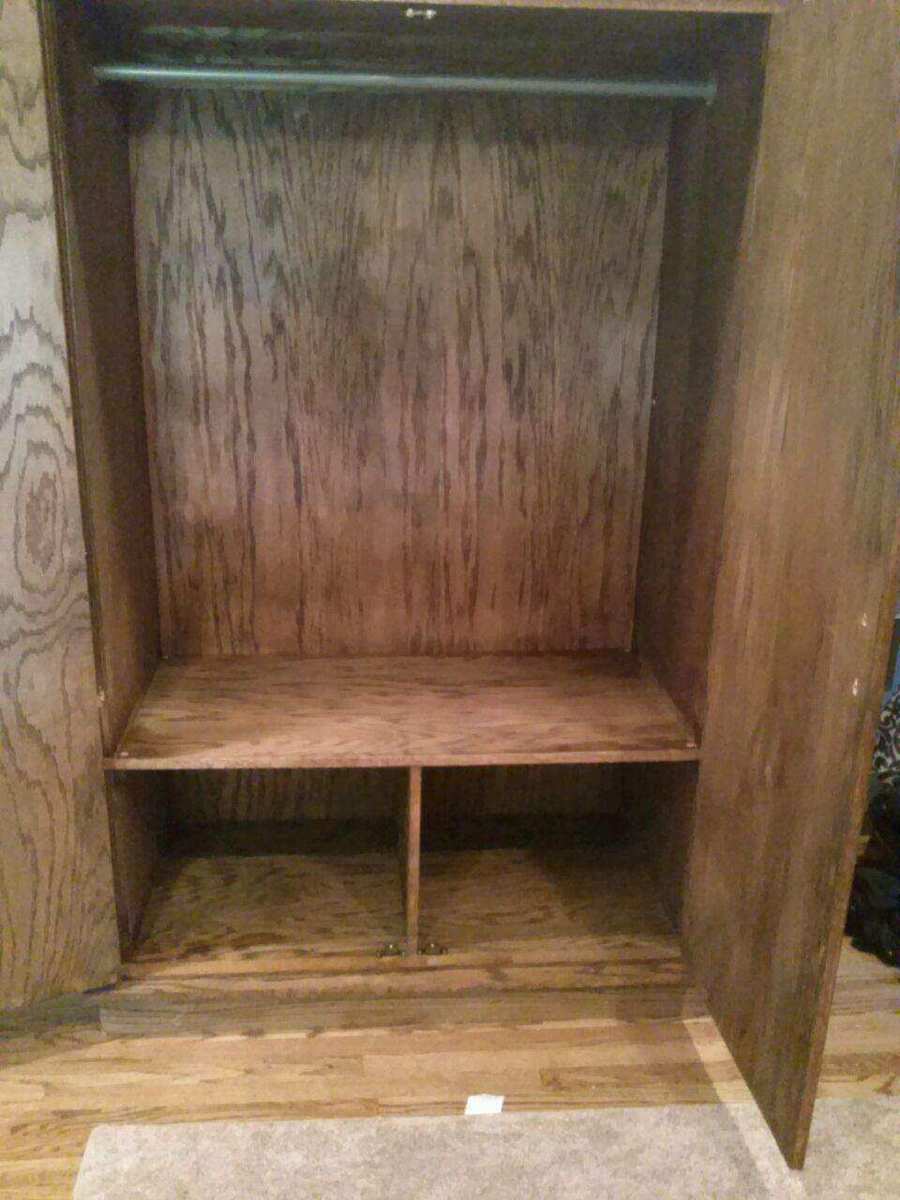
I modified the plans to make a larger armoire to hand pants and store board games.
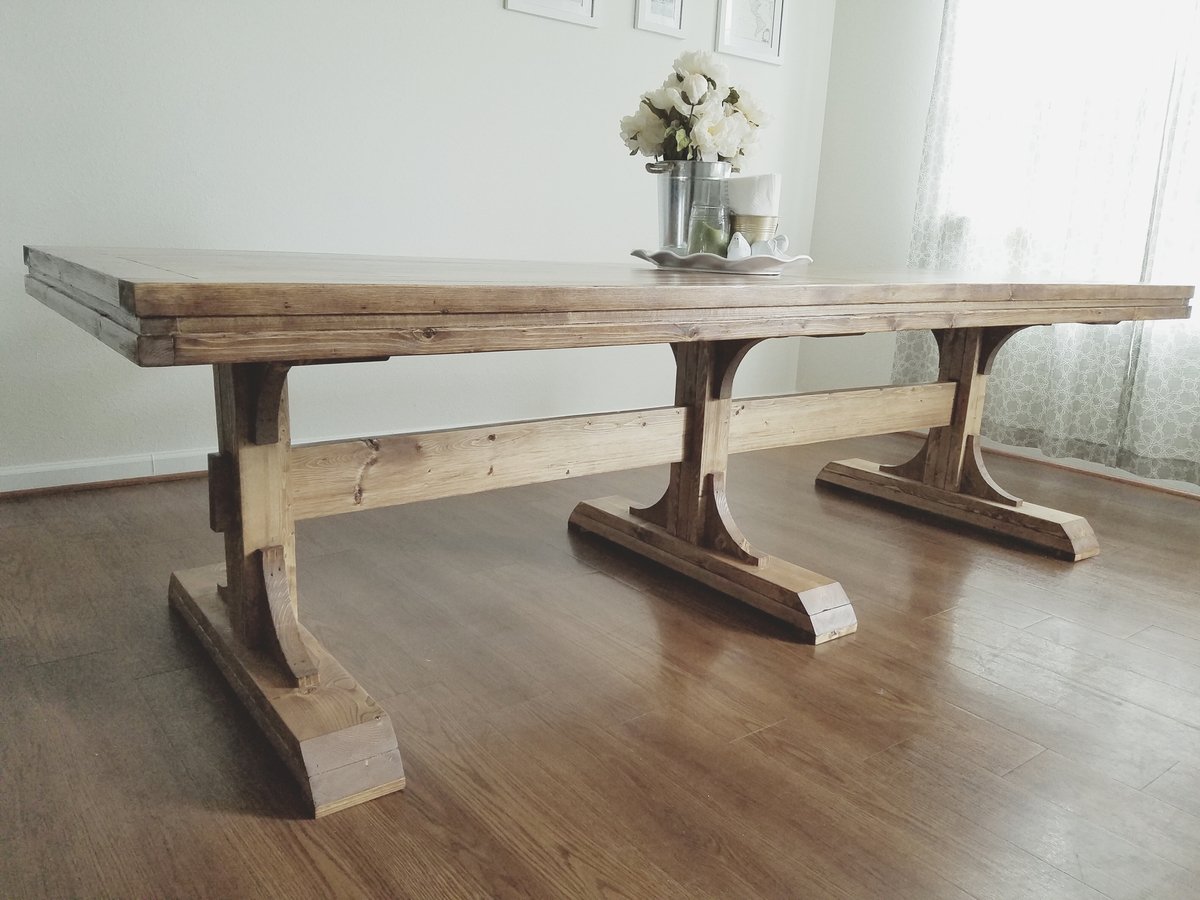
Love love how this turned out! Great plans. We've been wanting to build this for years now. Works great for us...we are a military family and move every 3 years so being given able to break this down into pieces easily makes it easy on our moves! Thank you for the plans!
benches are next!
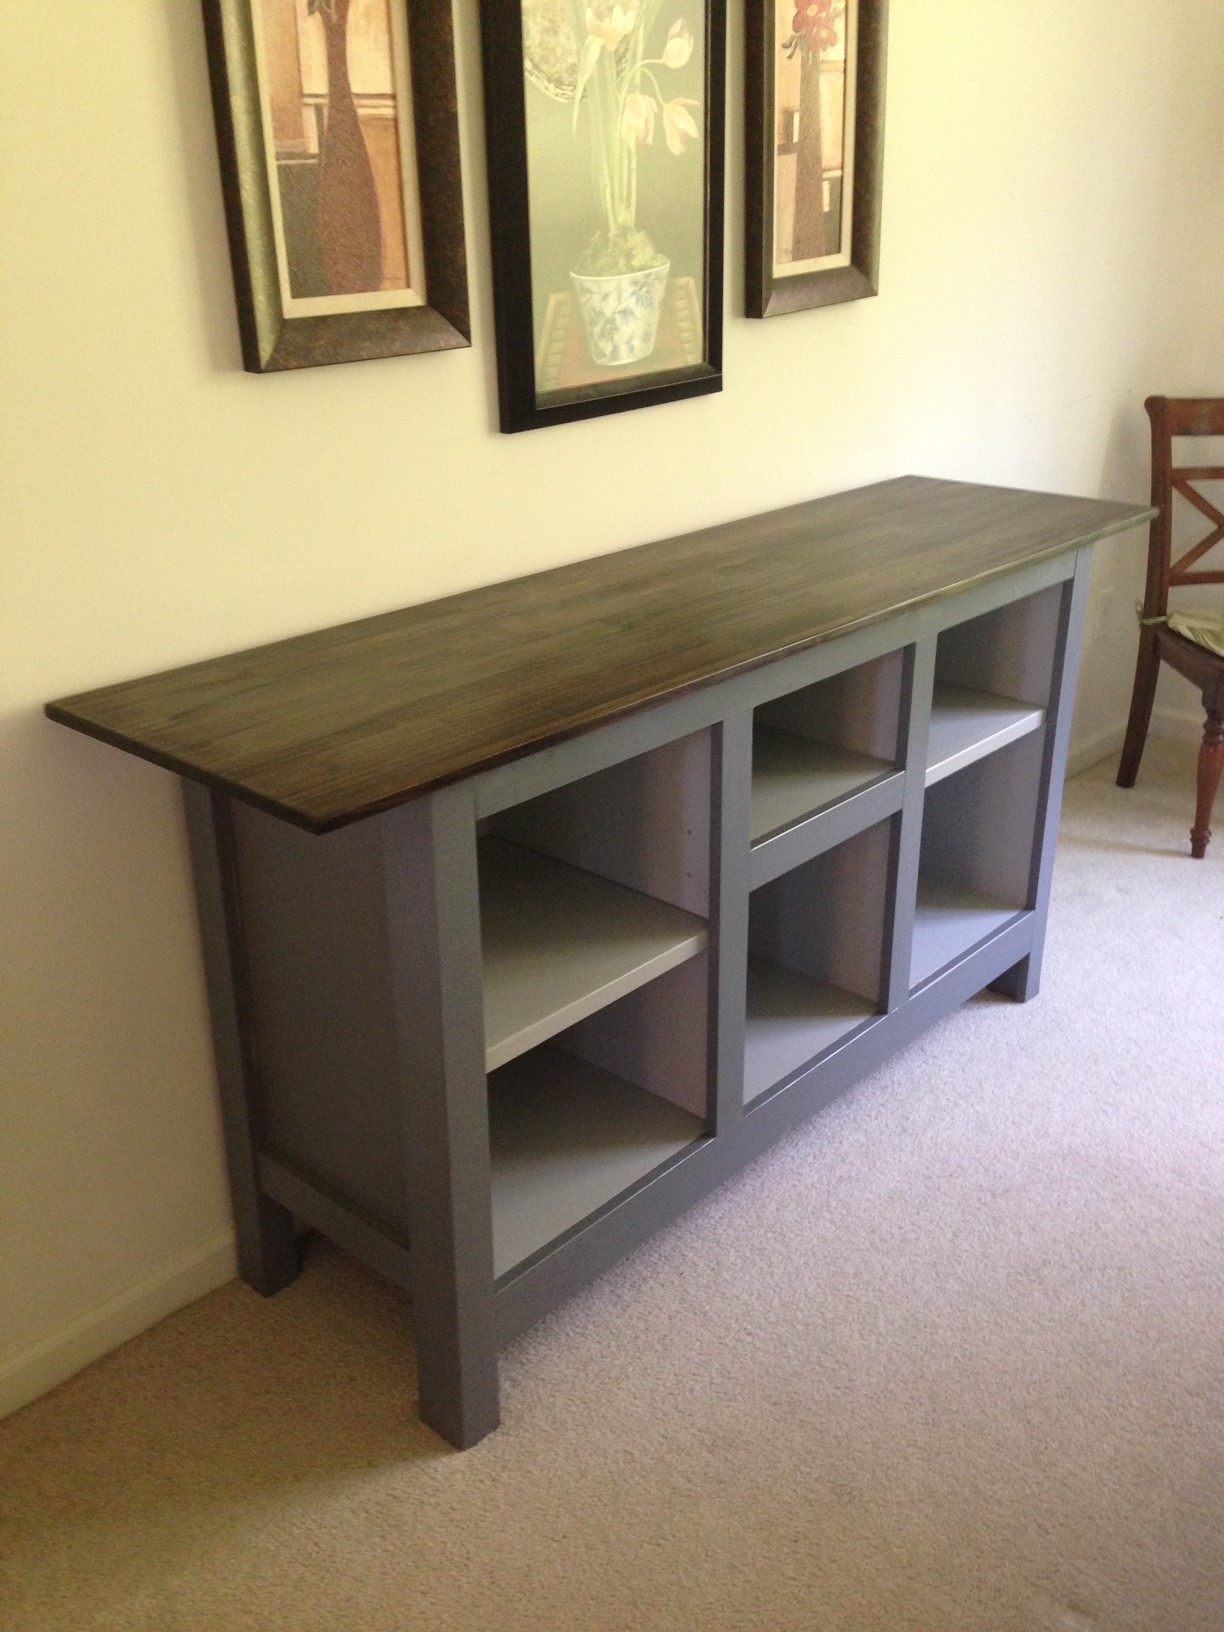
Modified this to use plywood sides shelves with glued up pine top and poplar legs.

I made nine of these for my daughter’s wedding and gave them to friends who helped afterwards! They all love them!


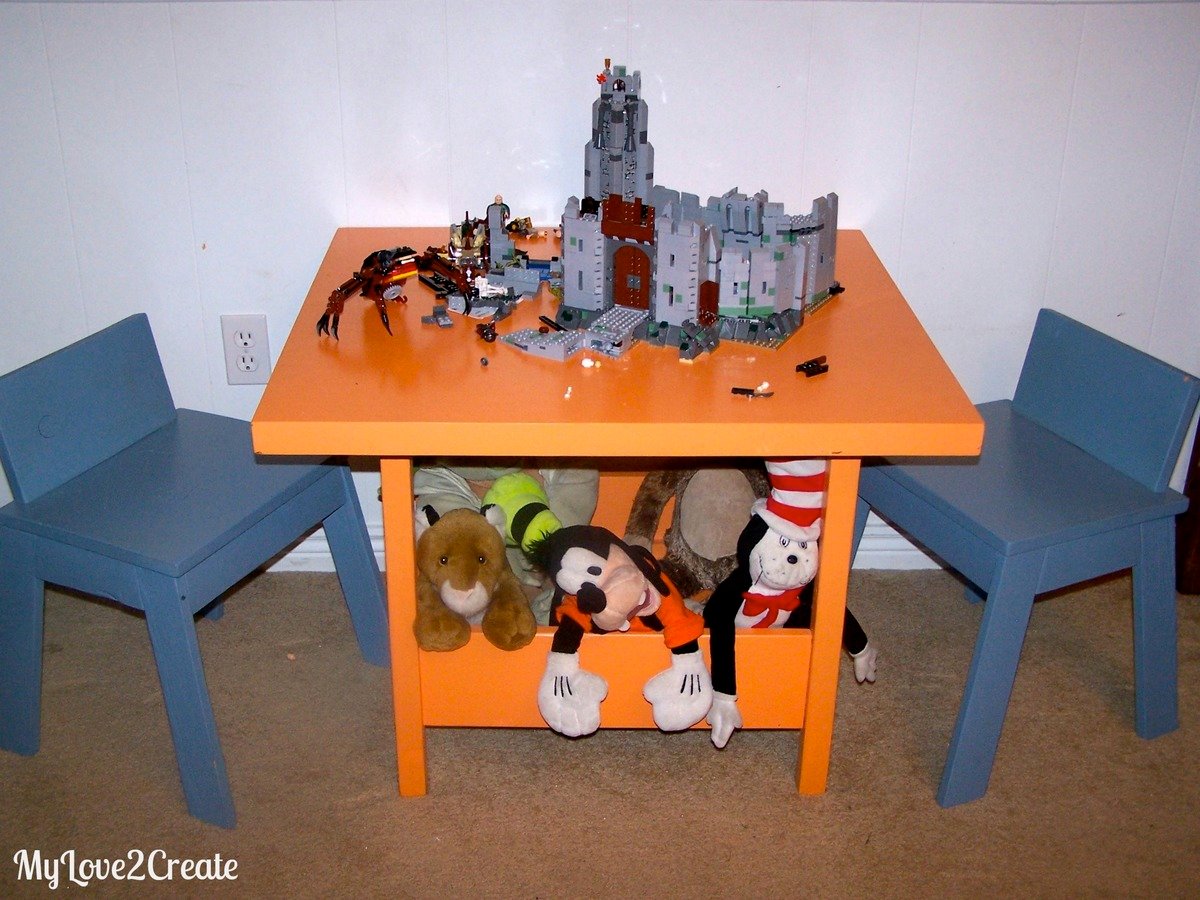
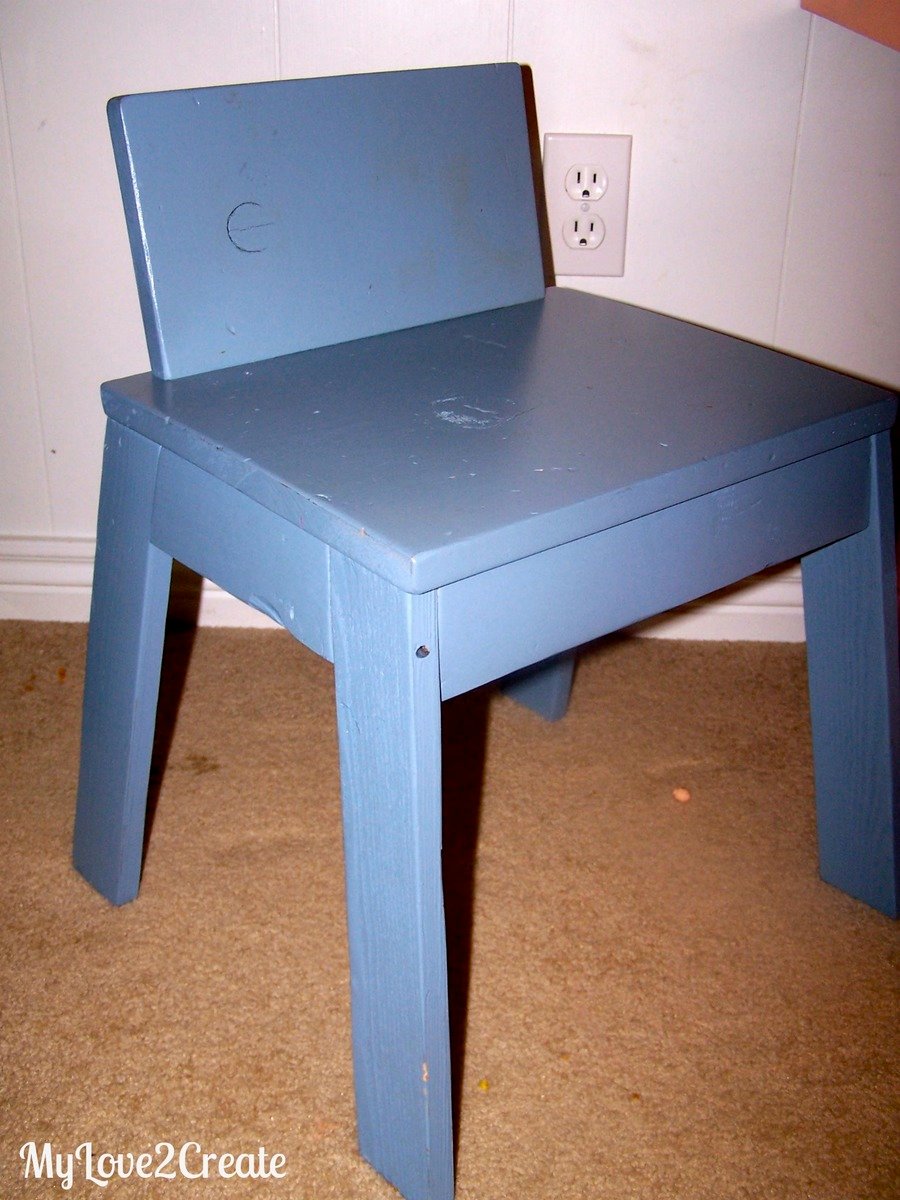
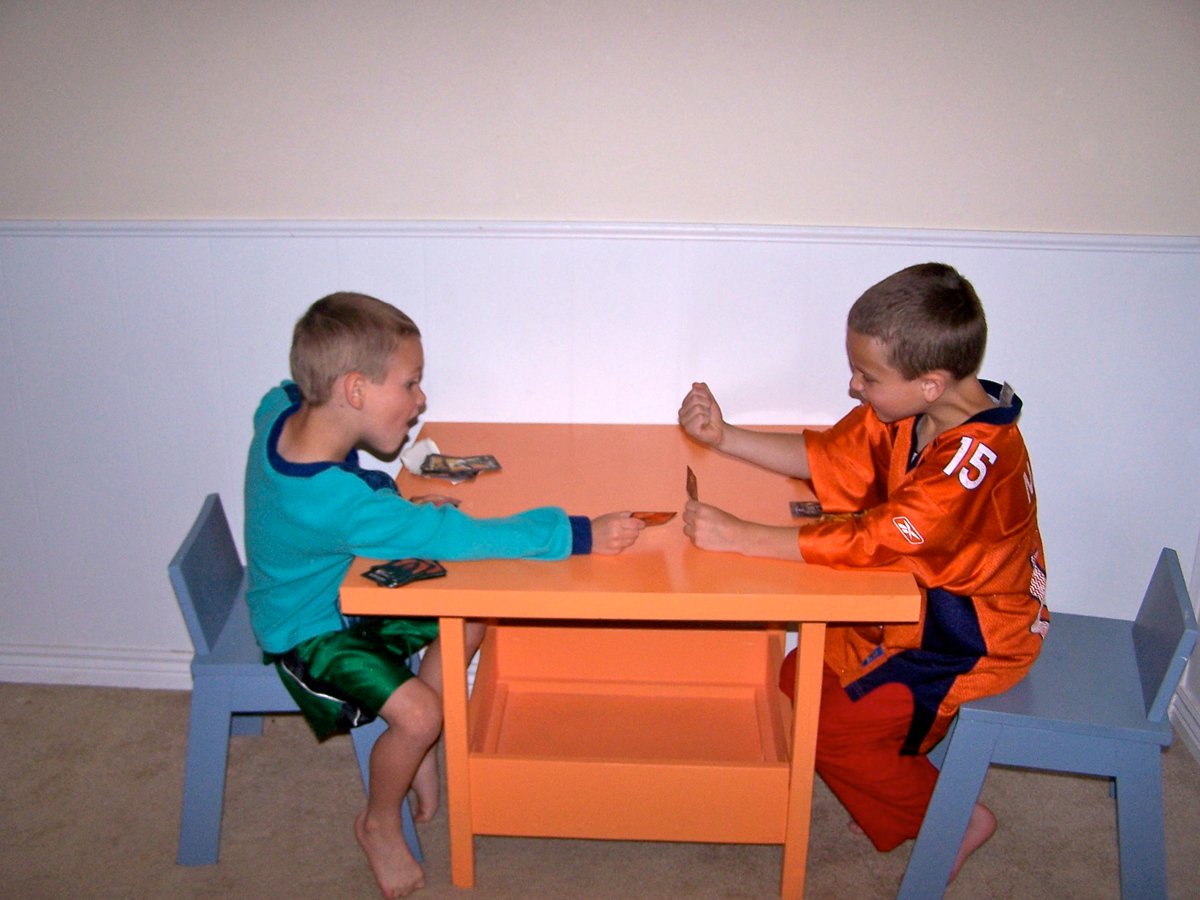
I made this for my boys and they LOVE it! I opted for a square top, since the flower would not have gone over well...Plus I found a square top for $1 at the Restore and who can pass that up, and the legs were free. The rest of the wood was from the Home Depot Cull bin or furring strips. The chairs didn't get rounded (no jig saw) and I didn't add a hole (not a big enough drill bit). But my boys love them and use them all the time!
Thanks Ana for such great plans!
Check out more at http://mylove2create.blogspot.com/2012/10/diy-kids-table-and-chairs.html
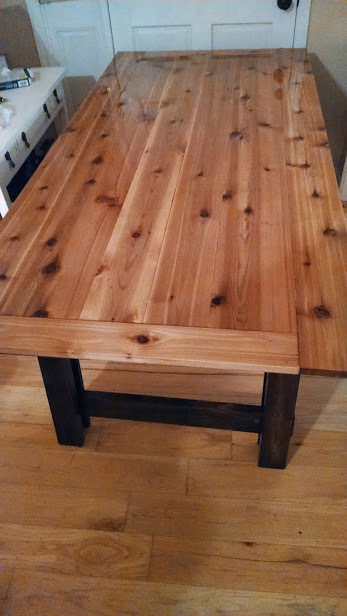
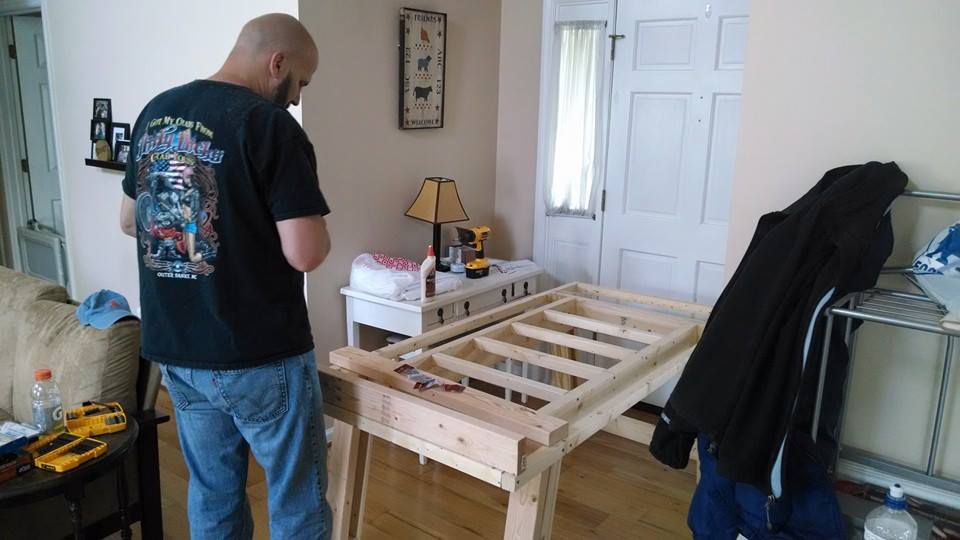
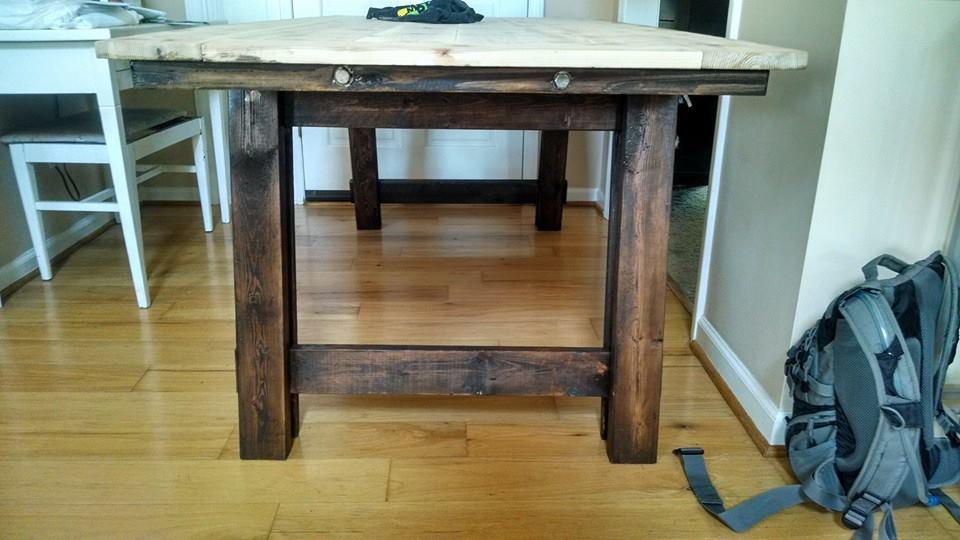
As a Christmas present, SNC promised LFS a new table, her choice of plans. It's July, and we just ate our first meal at the finished table! We'd looked at a few of the plans around the site, but really liked the angled legs of the Benchright Farmhouse Table, and SNC thought the metal accents would get in some manliness!
We didn't quite read all the comments before we began so we faced the issue of plan directions v. cut list not matching up, which we didn't learn until 10 steps further down the build/assembly. We had a hard time finding non-rounded off edges for the 1x2s, as well. If we'd realized the impact those edges have further down the project, we might have been pickier at the lumber store. Using the Kreg Jig came in super handy on the legs & frames. We picked up a DeWalt kit that had extra long driving bits and just used regular Phillips head screws sometimes.
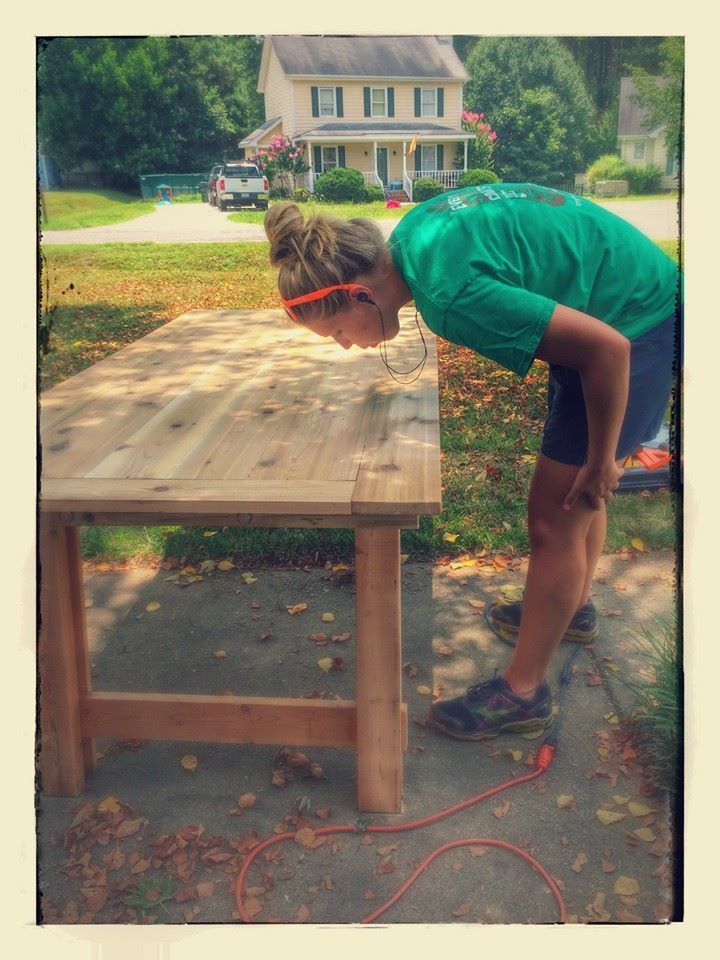
Since we live in NC, surrounded by hundreds of old tobacco barns, LFS wanted to use reclaimed lumber for the table top. After boards that were too thin, warped, short and generally insufficient for our basic skills and tools, we went to a specialty lumber yard and got gorgeous cedar instead.
We weren't loving the sagging of the end frame 2x4s, so we hid them a bit by making the table top breadboard sandwiched between the end 1x6 cedar boards. We used 1x6 and 1x8 boards for the tabletop.
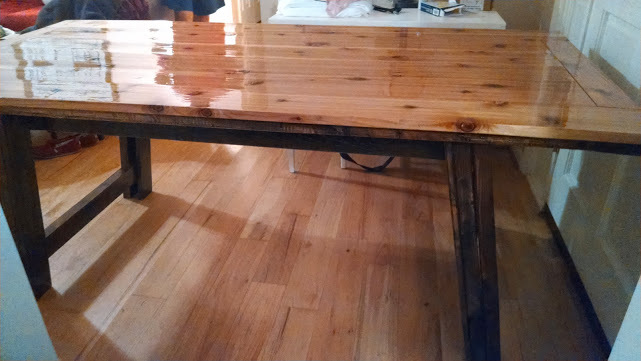
For the stain, LFS further perused the site and went with a Minwax Pecan stain, layered with a Rustoleum Espresso that got wiped off every few minutes to let the pecan have a chance of peeking through on the legs/base. While we both liked the cedar, the light/dark contrast was too contemporary for our taste, so we used the Pecan on the top as well. The table got 3 layers of Minwax Helmsphar, lightly sanded with 220 grit sandpaper between layers.
The aforementioned first meal had guests at the table and comfortably sat 6 adults who all sang it's praises :) Fun awesome (and sometimes awesomely frustrating!) build, super happy the Christmas present monkey is off our backs, but even more glad to eat dinner at it now.
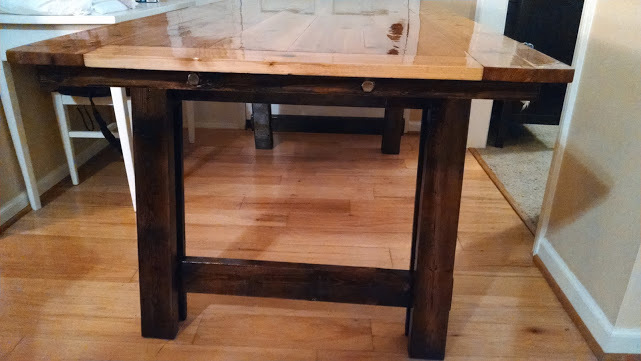
This rustic console was inspired by Ana Whites console, but I made some minor modifications to make it my own. This is one of my favorite pieces to make. I had some scraps laying around and decided to make this piece.
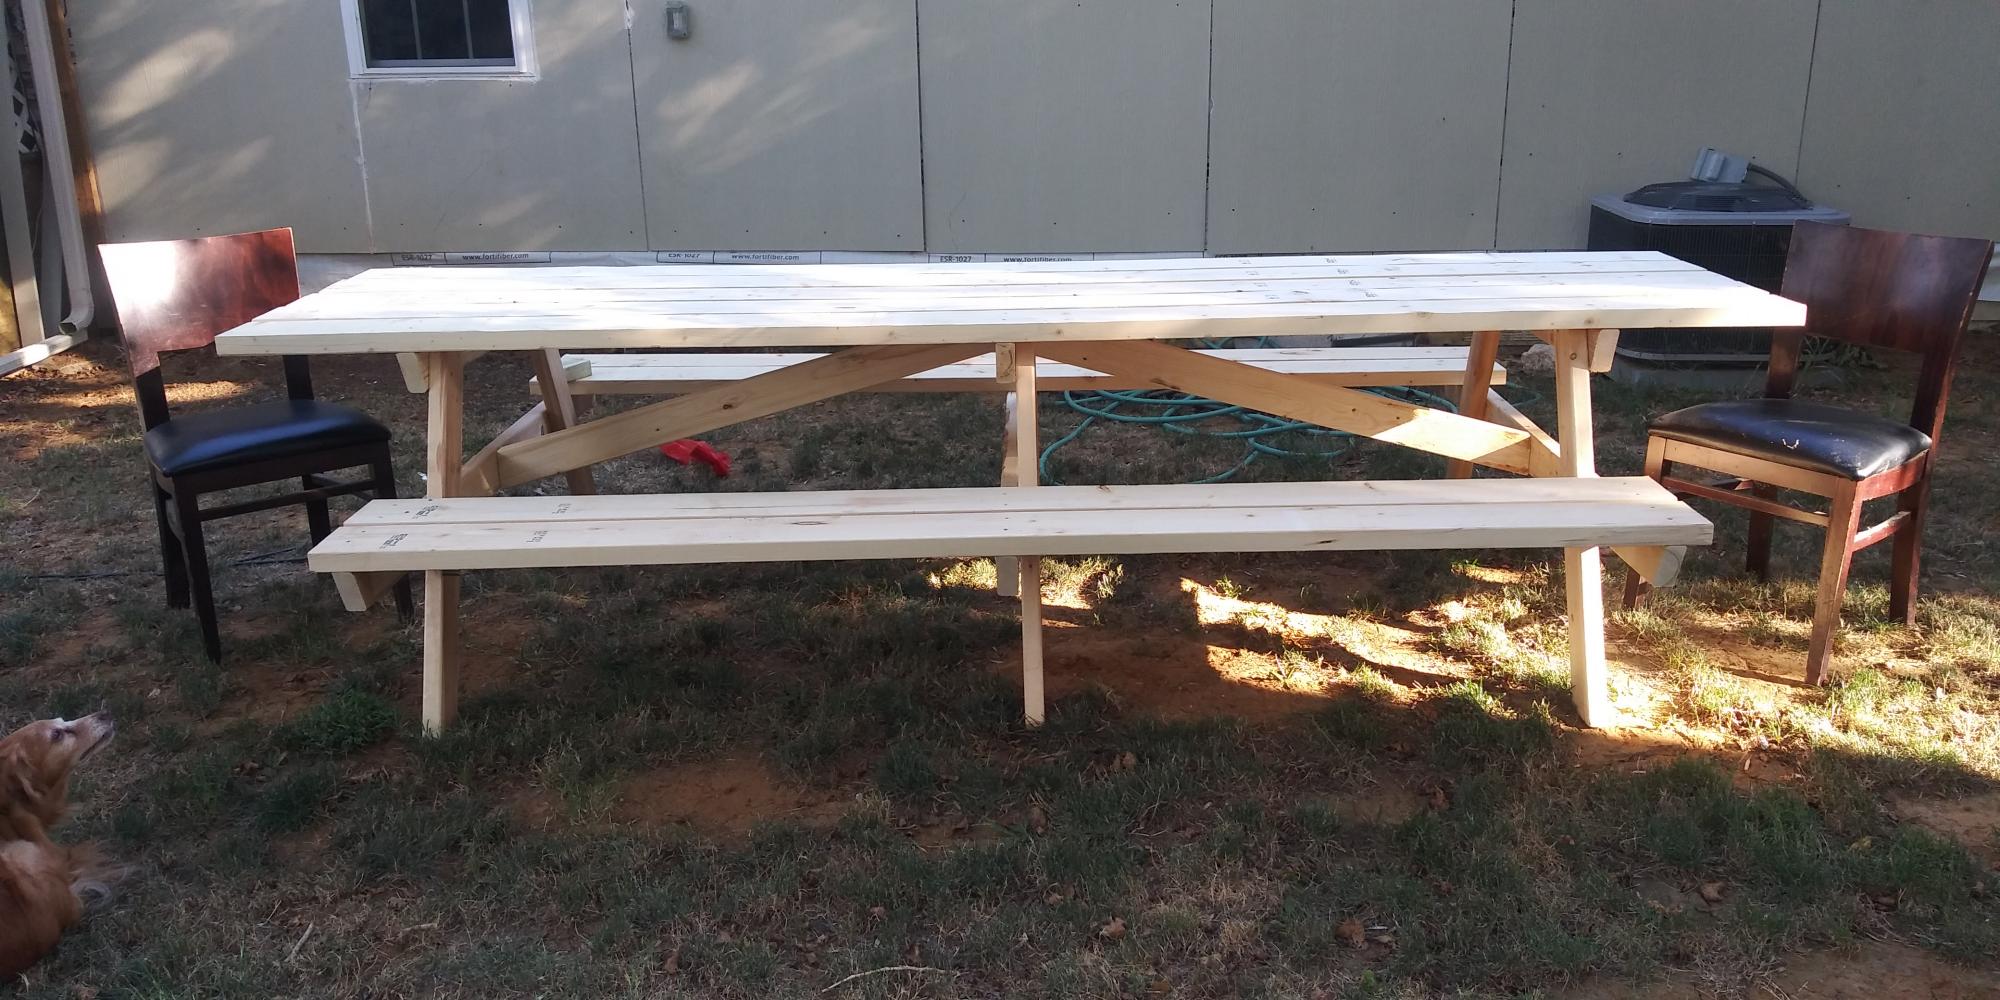
The 8' picnic table plans are great for a family of 8 or less, therefor the only changes that I made to the original plans was to use 10' boards for the table top. I centered the the table boards on top to allow for an extra chair on each end for more seating spaces.
Another alternative with the 10' table top boards would be to slide all of the excess footage to one end of the picnic table to make room for someone in a wheelchair. The original plans are great and turn out just like you would like but don't be afraid to modify your work!
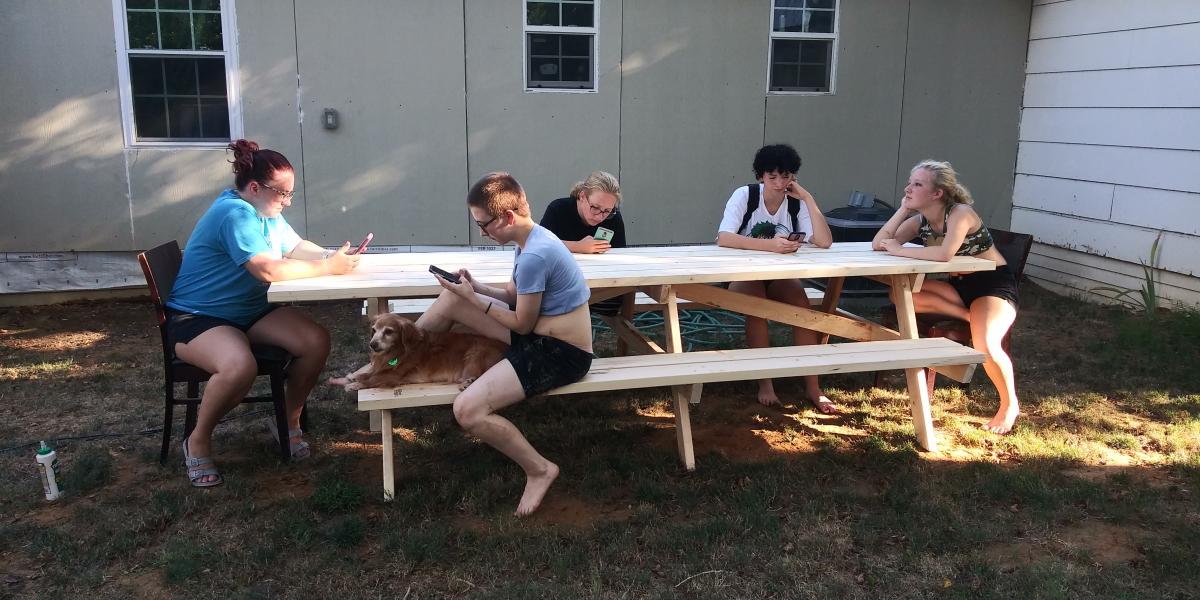
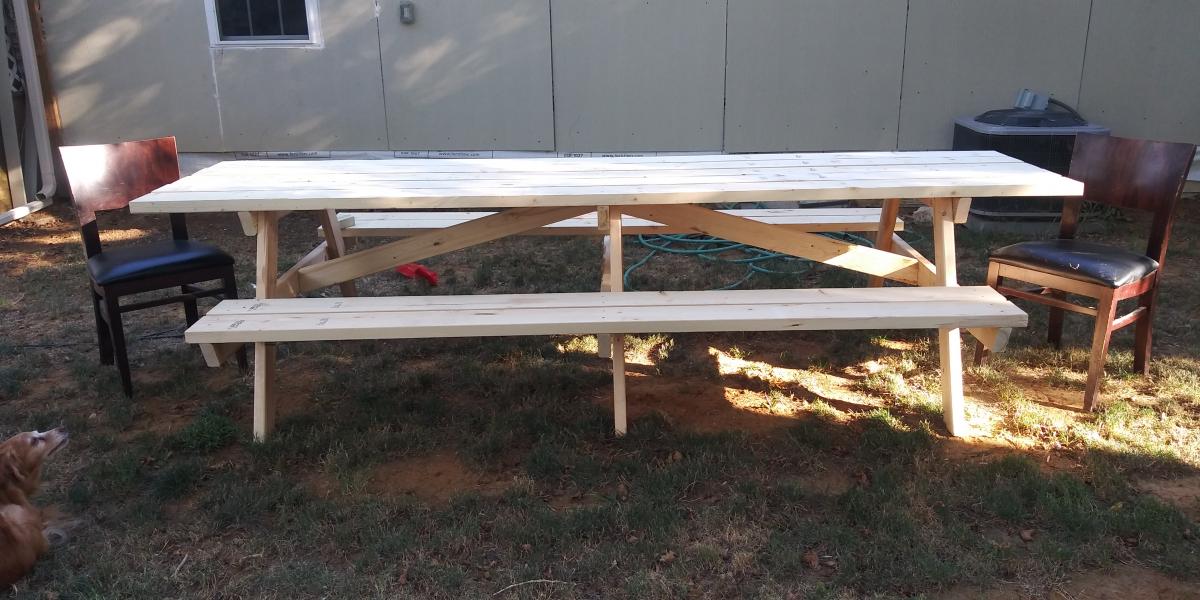
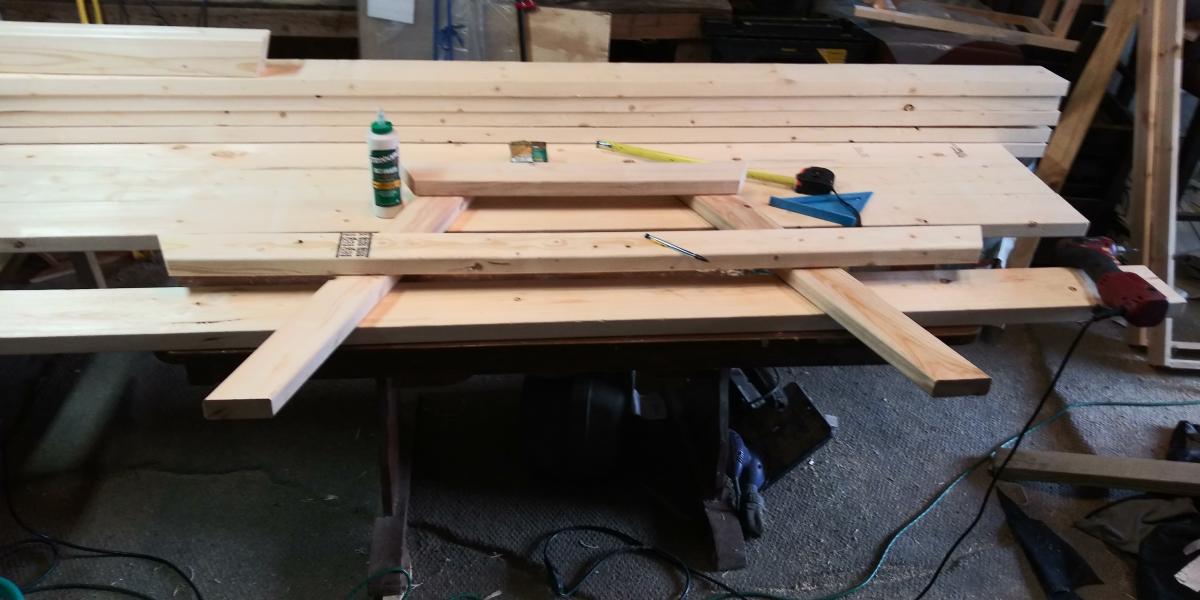
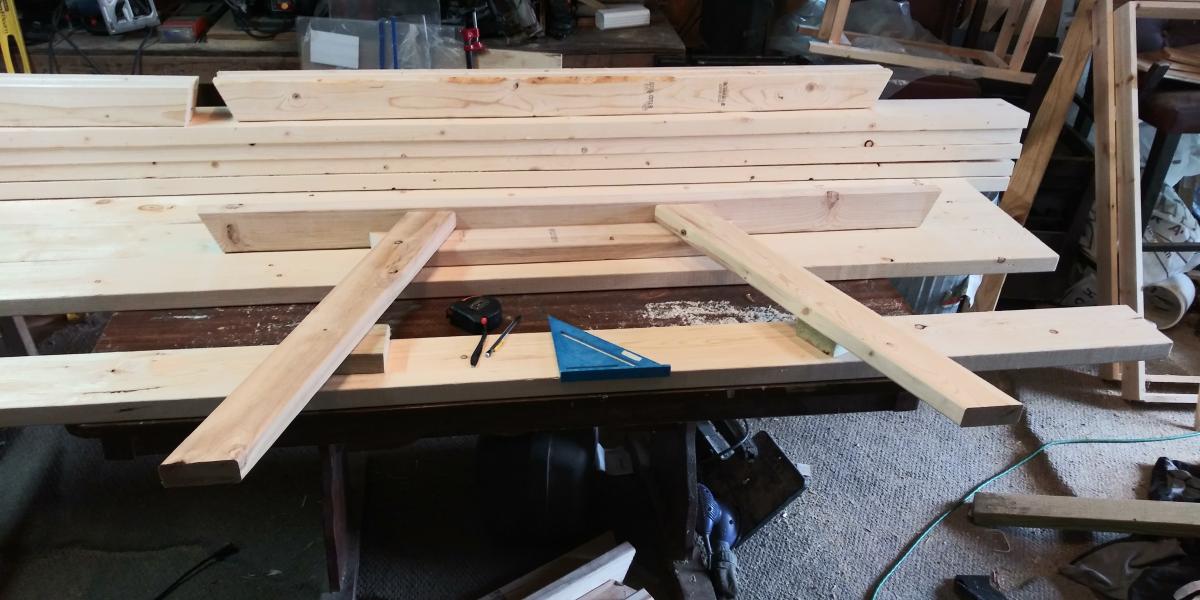
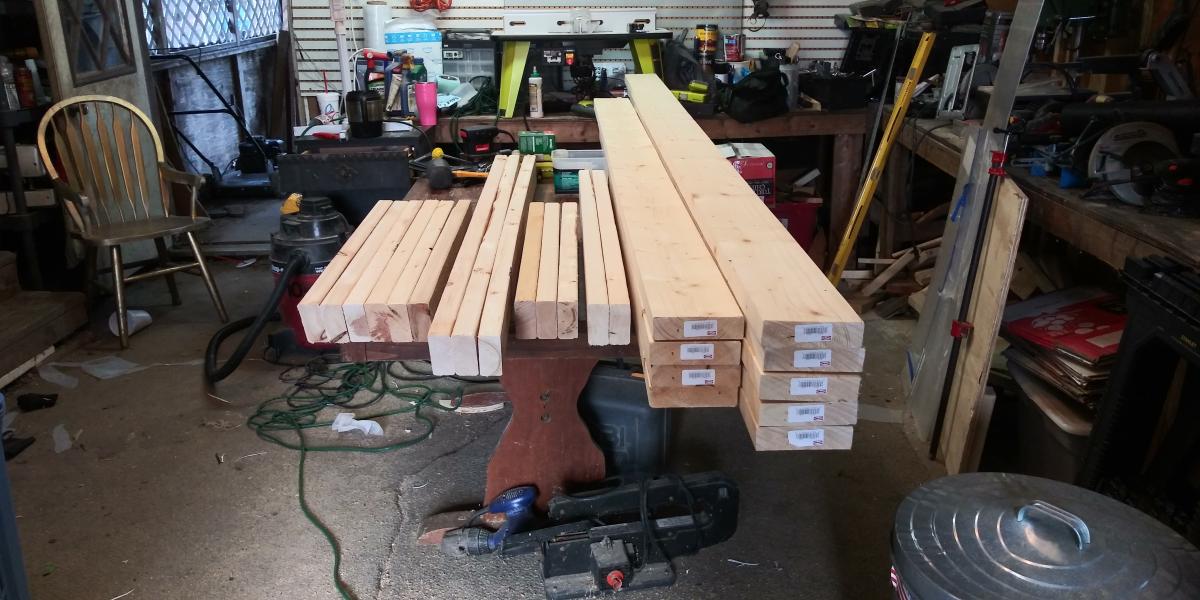
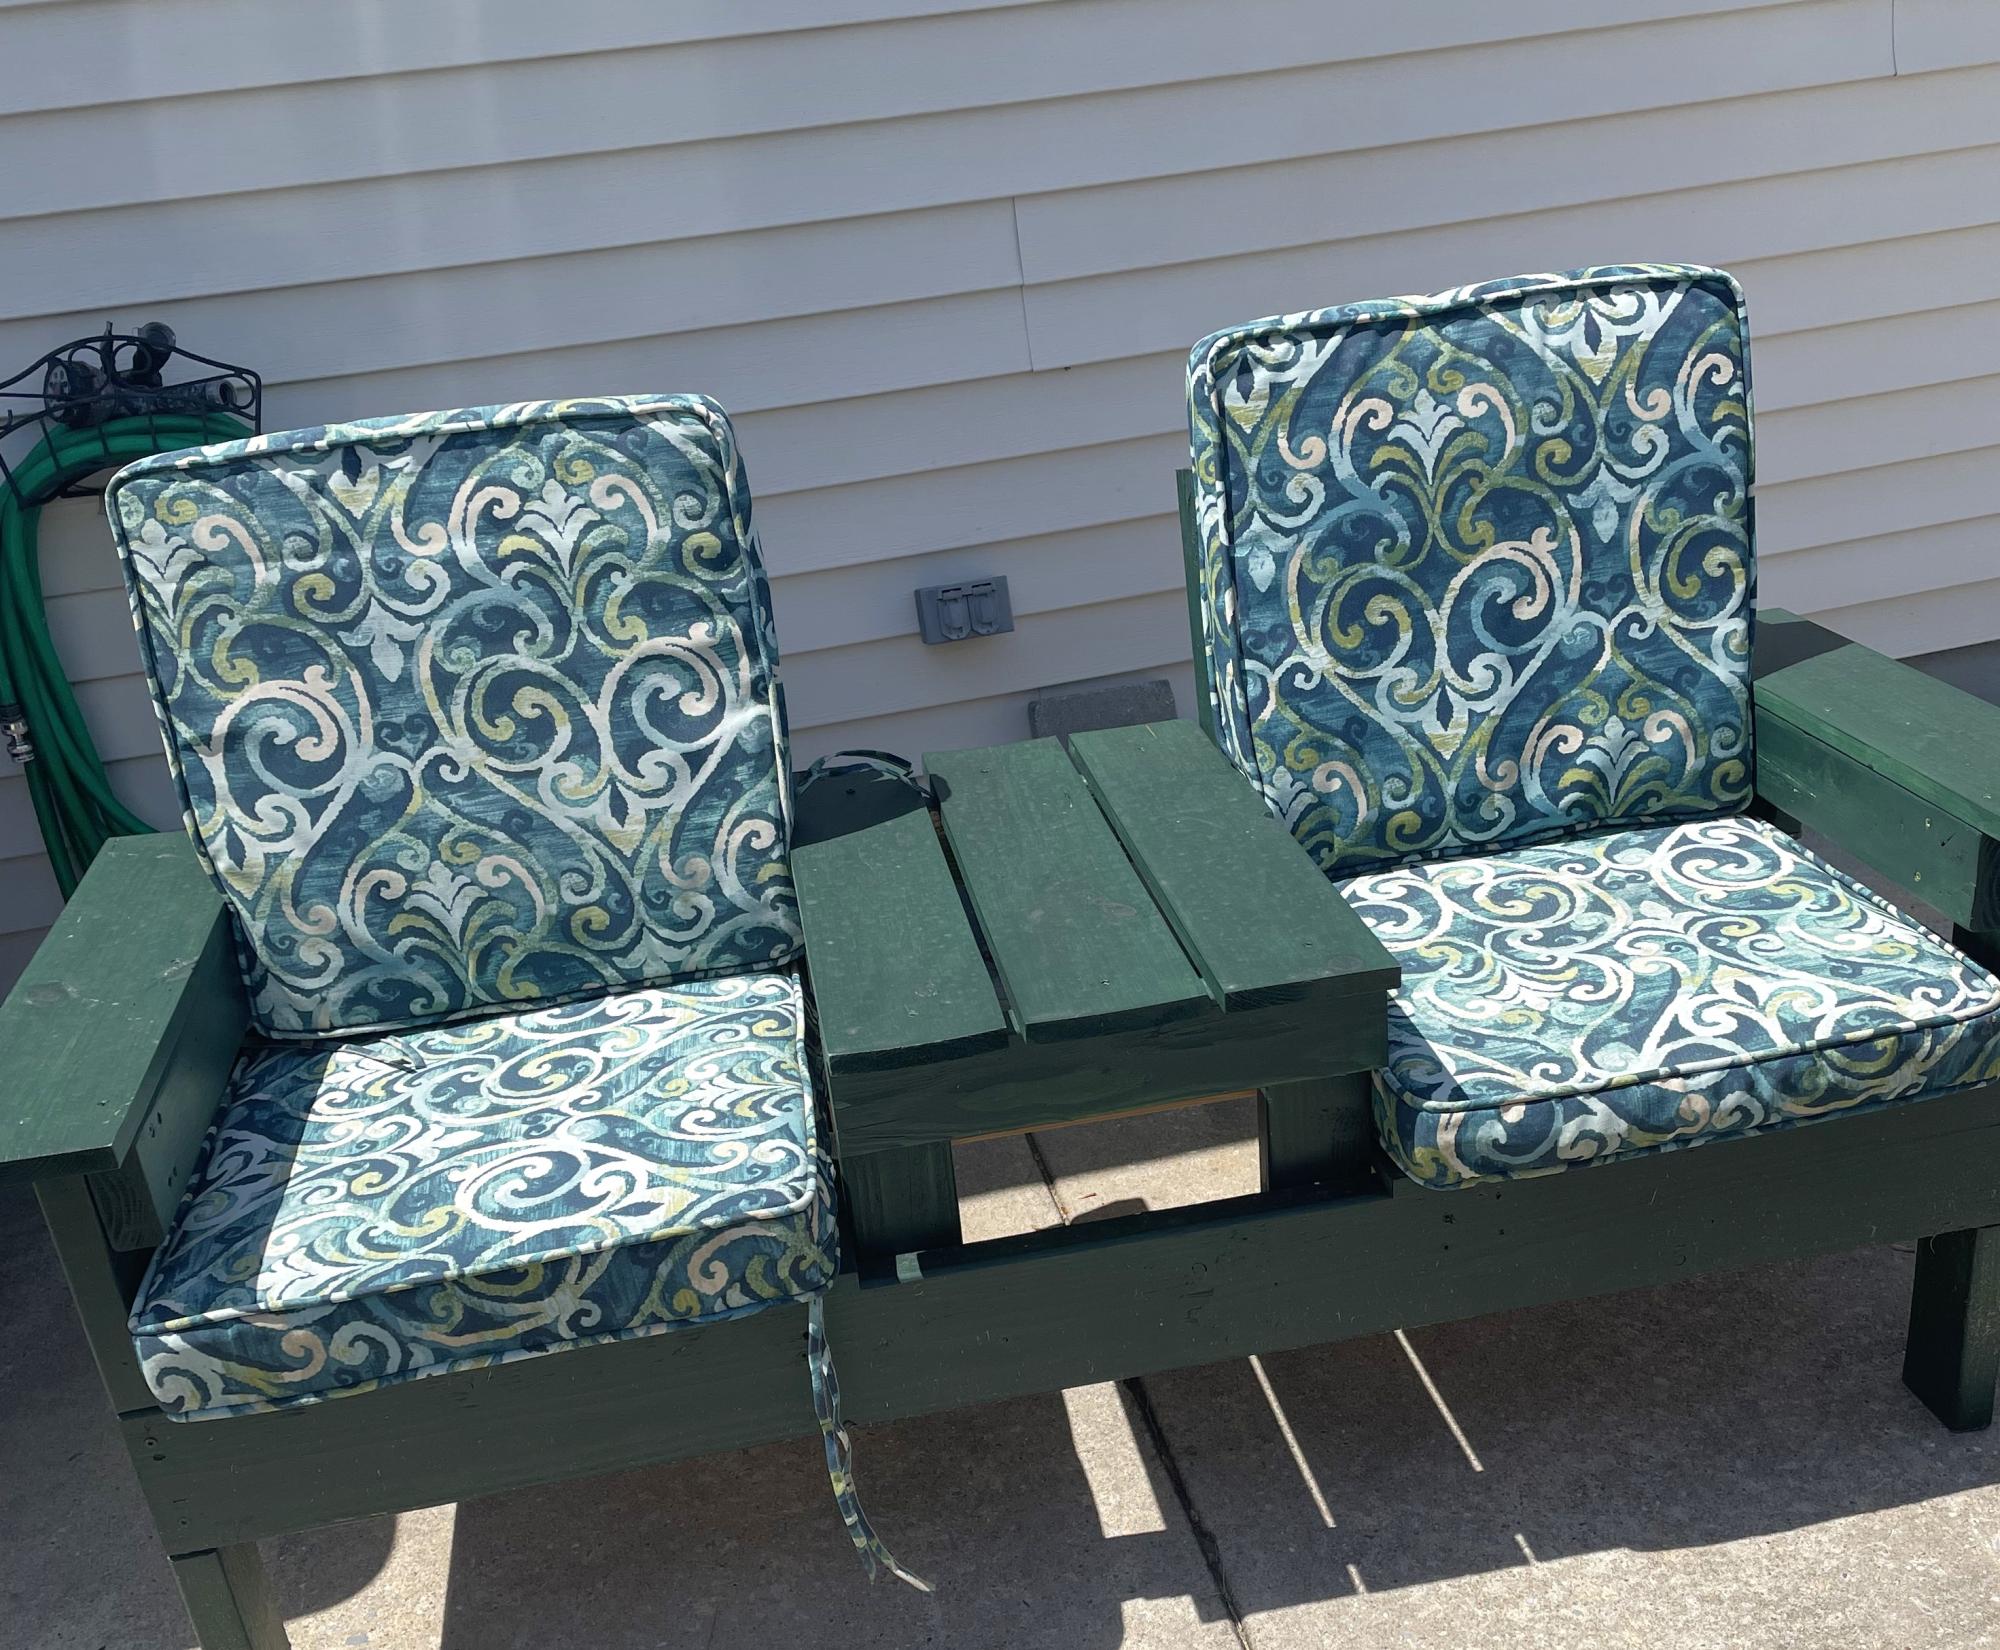
My wife found these plans and asked me to build it for her. The finished project t is being very much used and enjoyed.
Jim Agigian
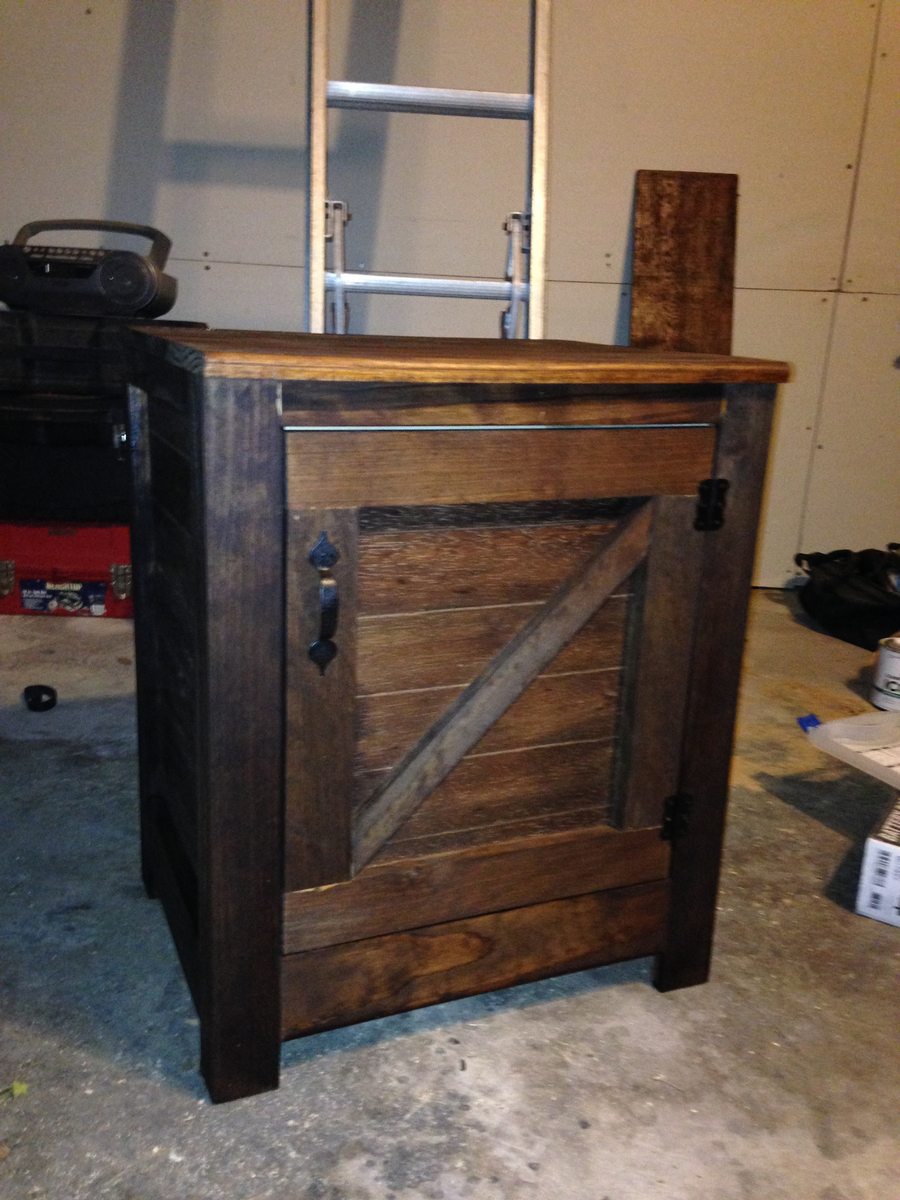
This was my first build. I wasn't able to find wainscoting so I ended up making my own by gouging a piece of plywood with a screwdriver.
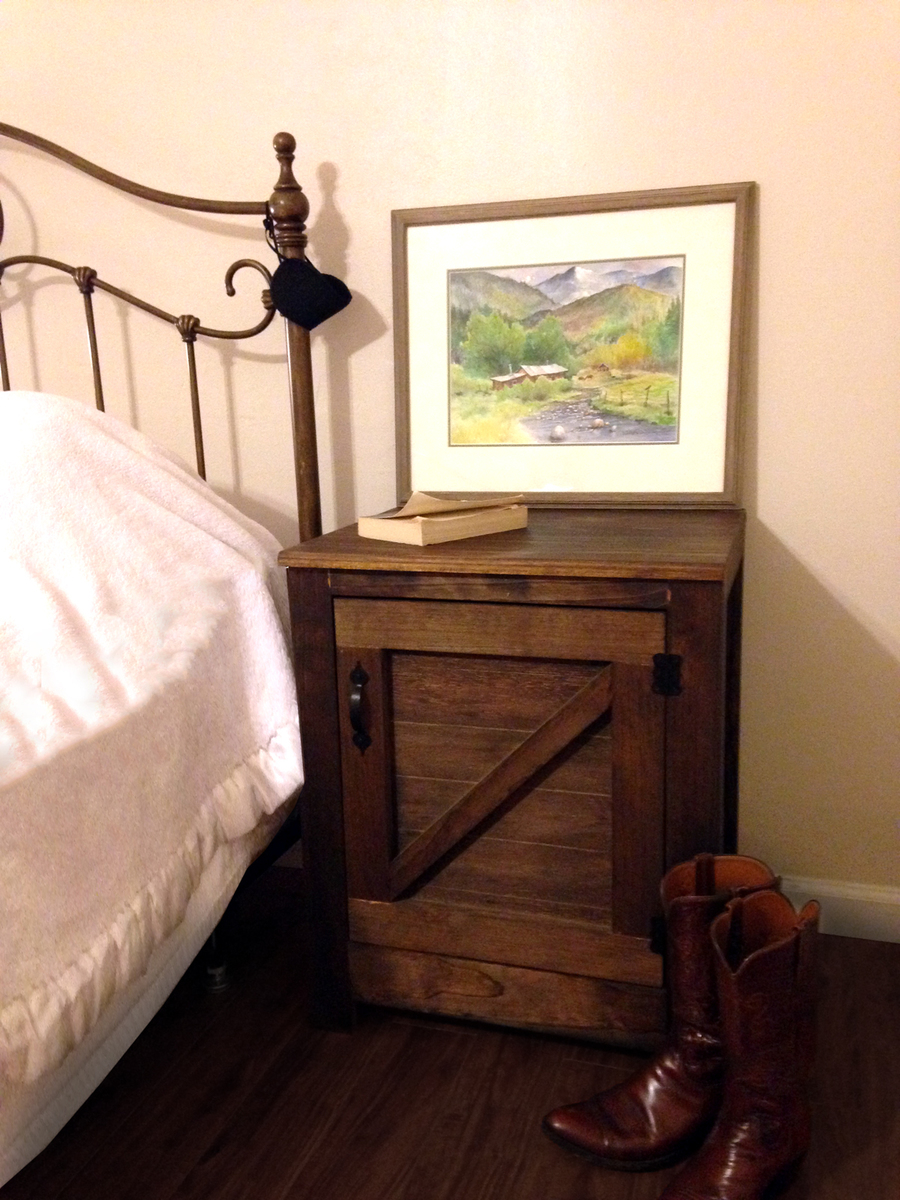
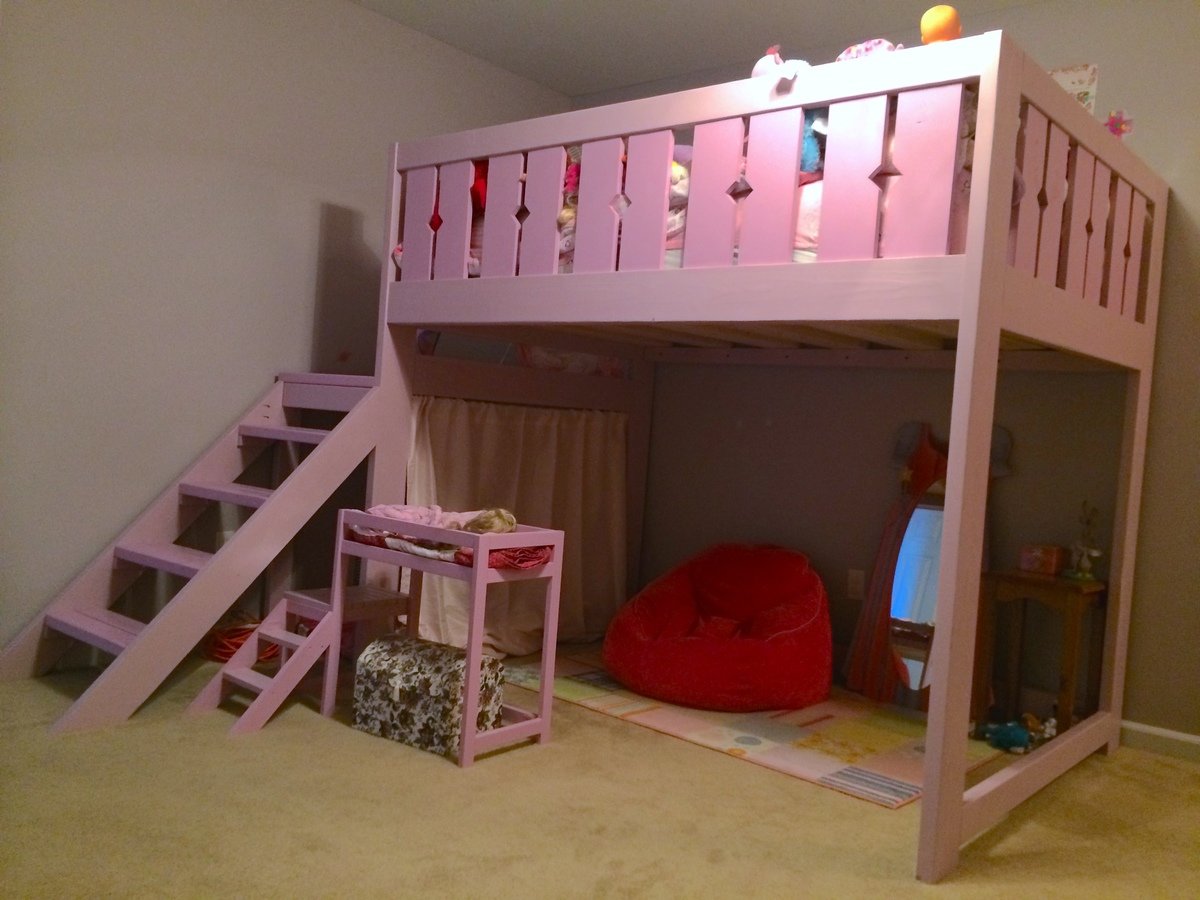
We built two of these beds for our daughters and modified the plan for their full size mattresses. Also modified the rails for a different look. Of course their dolls needed matching beds as well :)
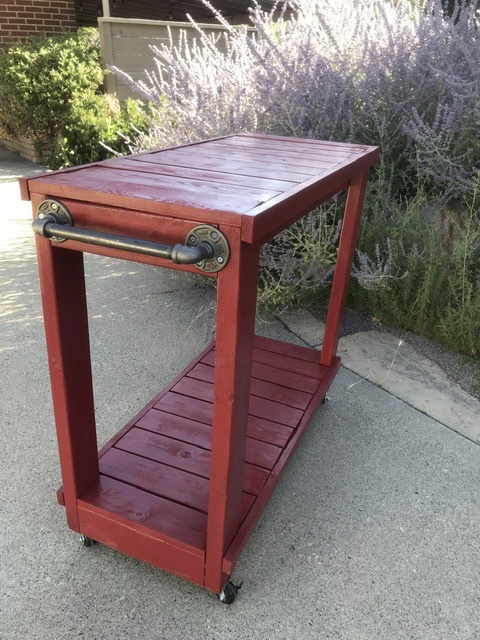
Fun and easy build. Took ~4h all in.
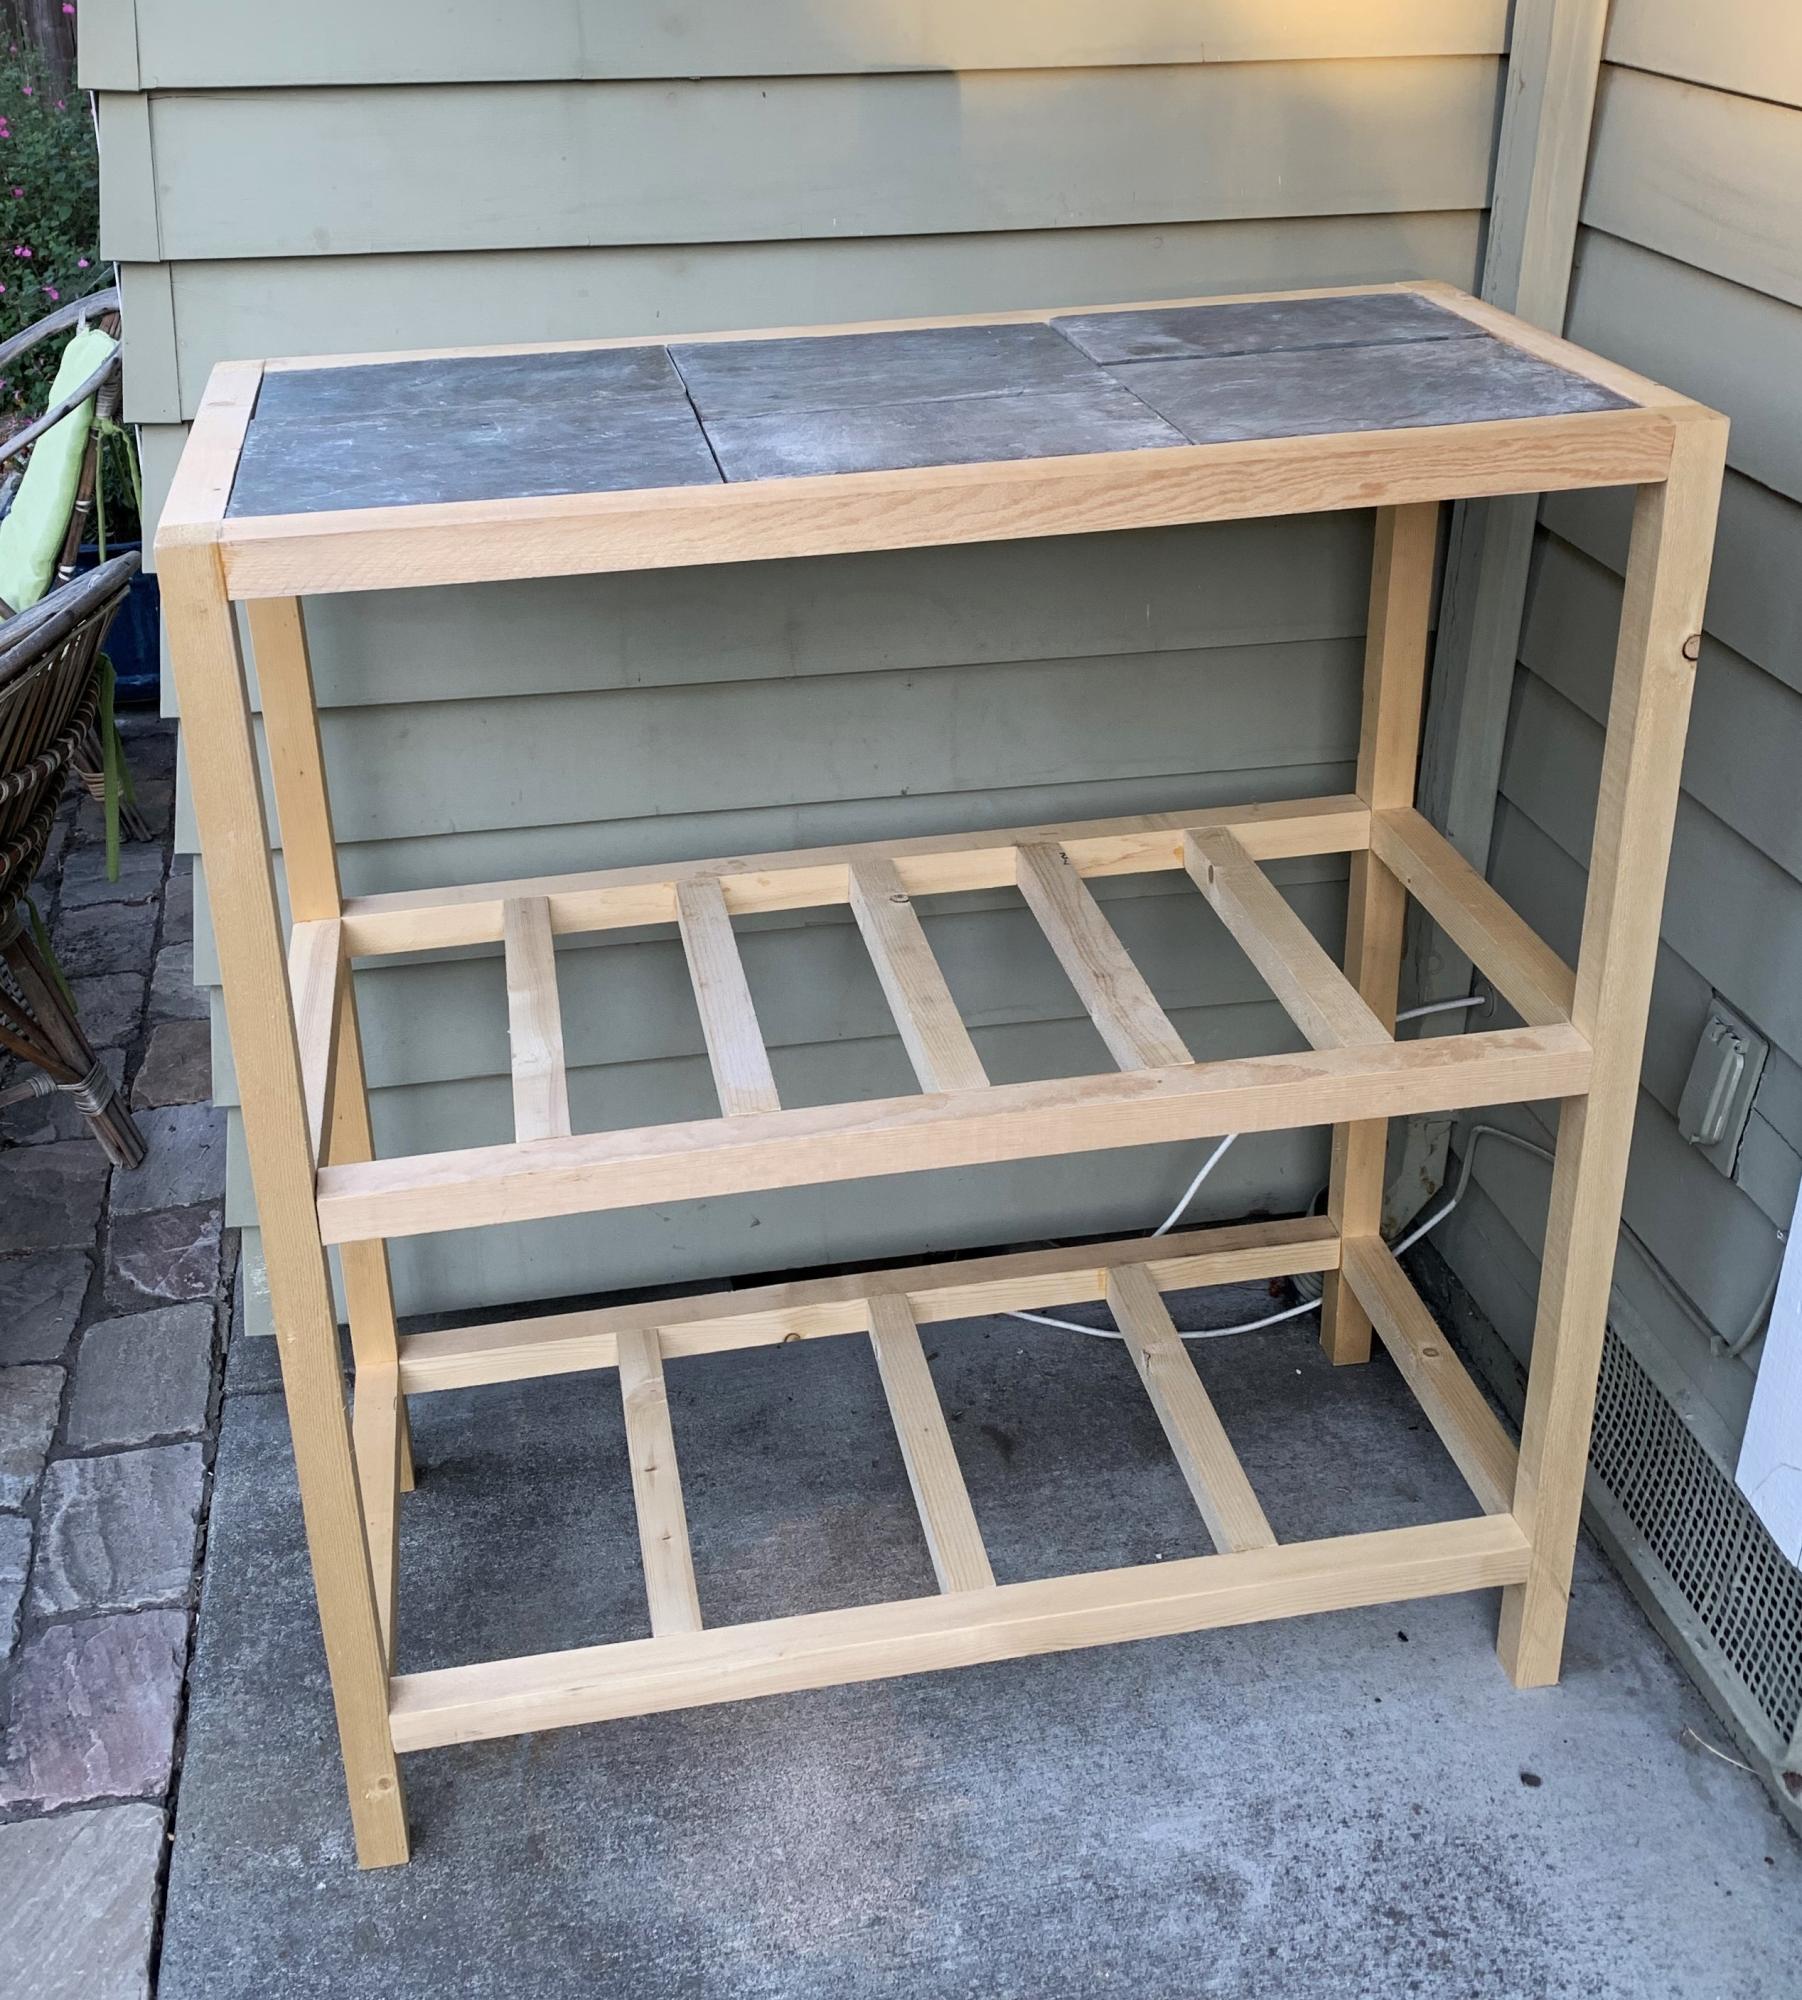
I needed to make a table or bar to fit some slate pieces I salvaged from my grandparents' house. Your plans were easy to adapt, and I had a lot of fun building this project.
Carrie
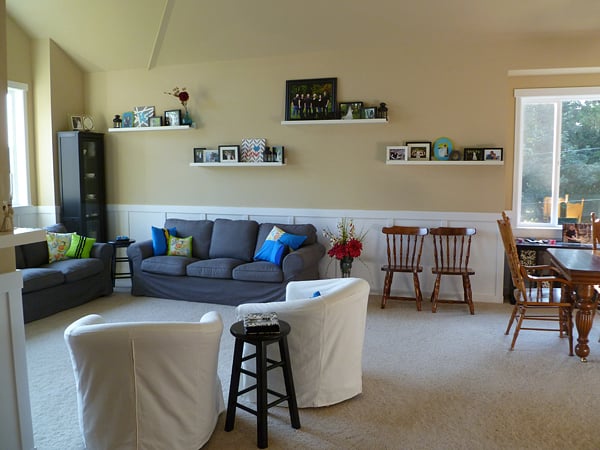
I went with a 1x6 on the bottom so that I would be able to display more than just pictures. So far they are working great and I love them.
I used the kreg jig, filled the holes with wood filler and then painted them white.
