Outdoor Sectional
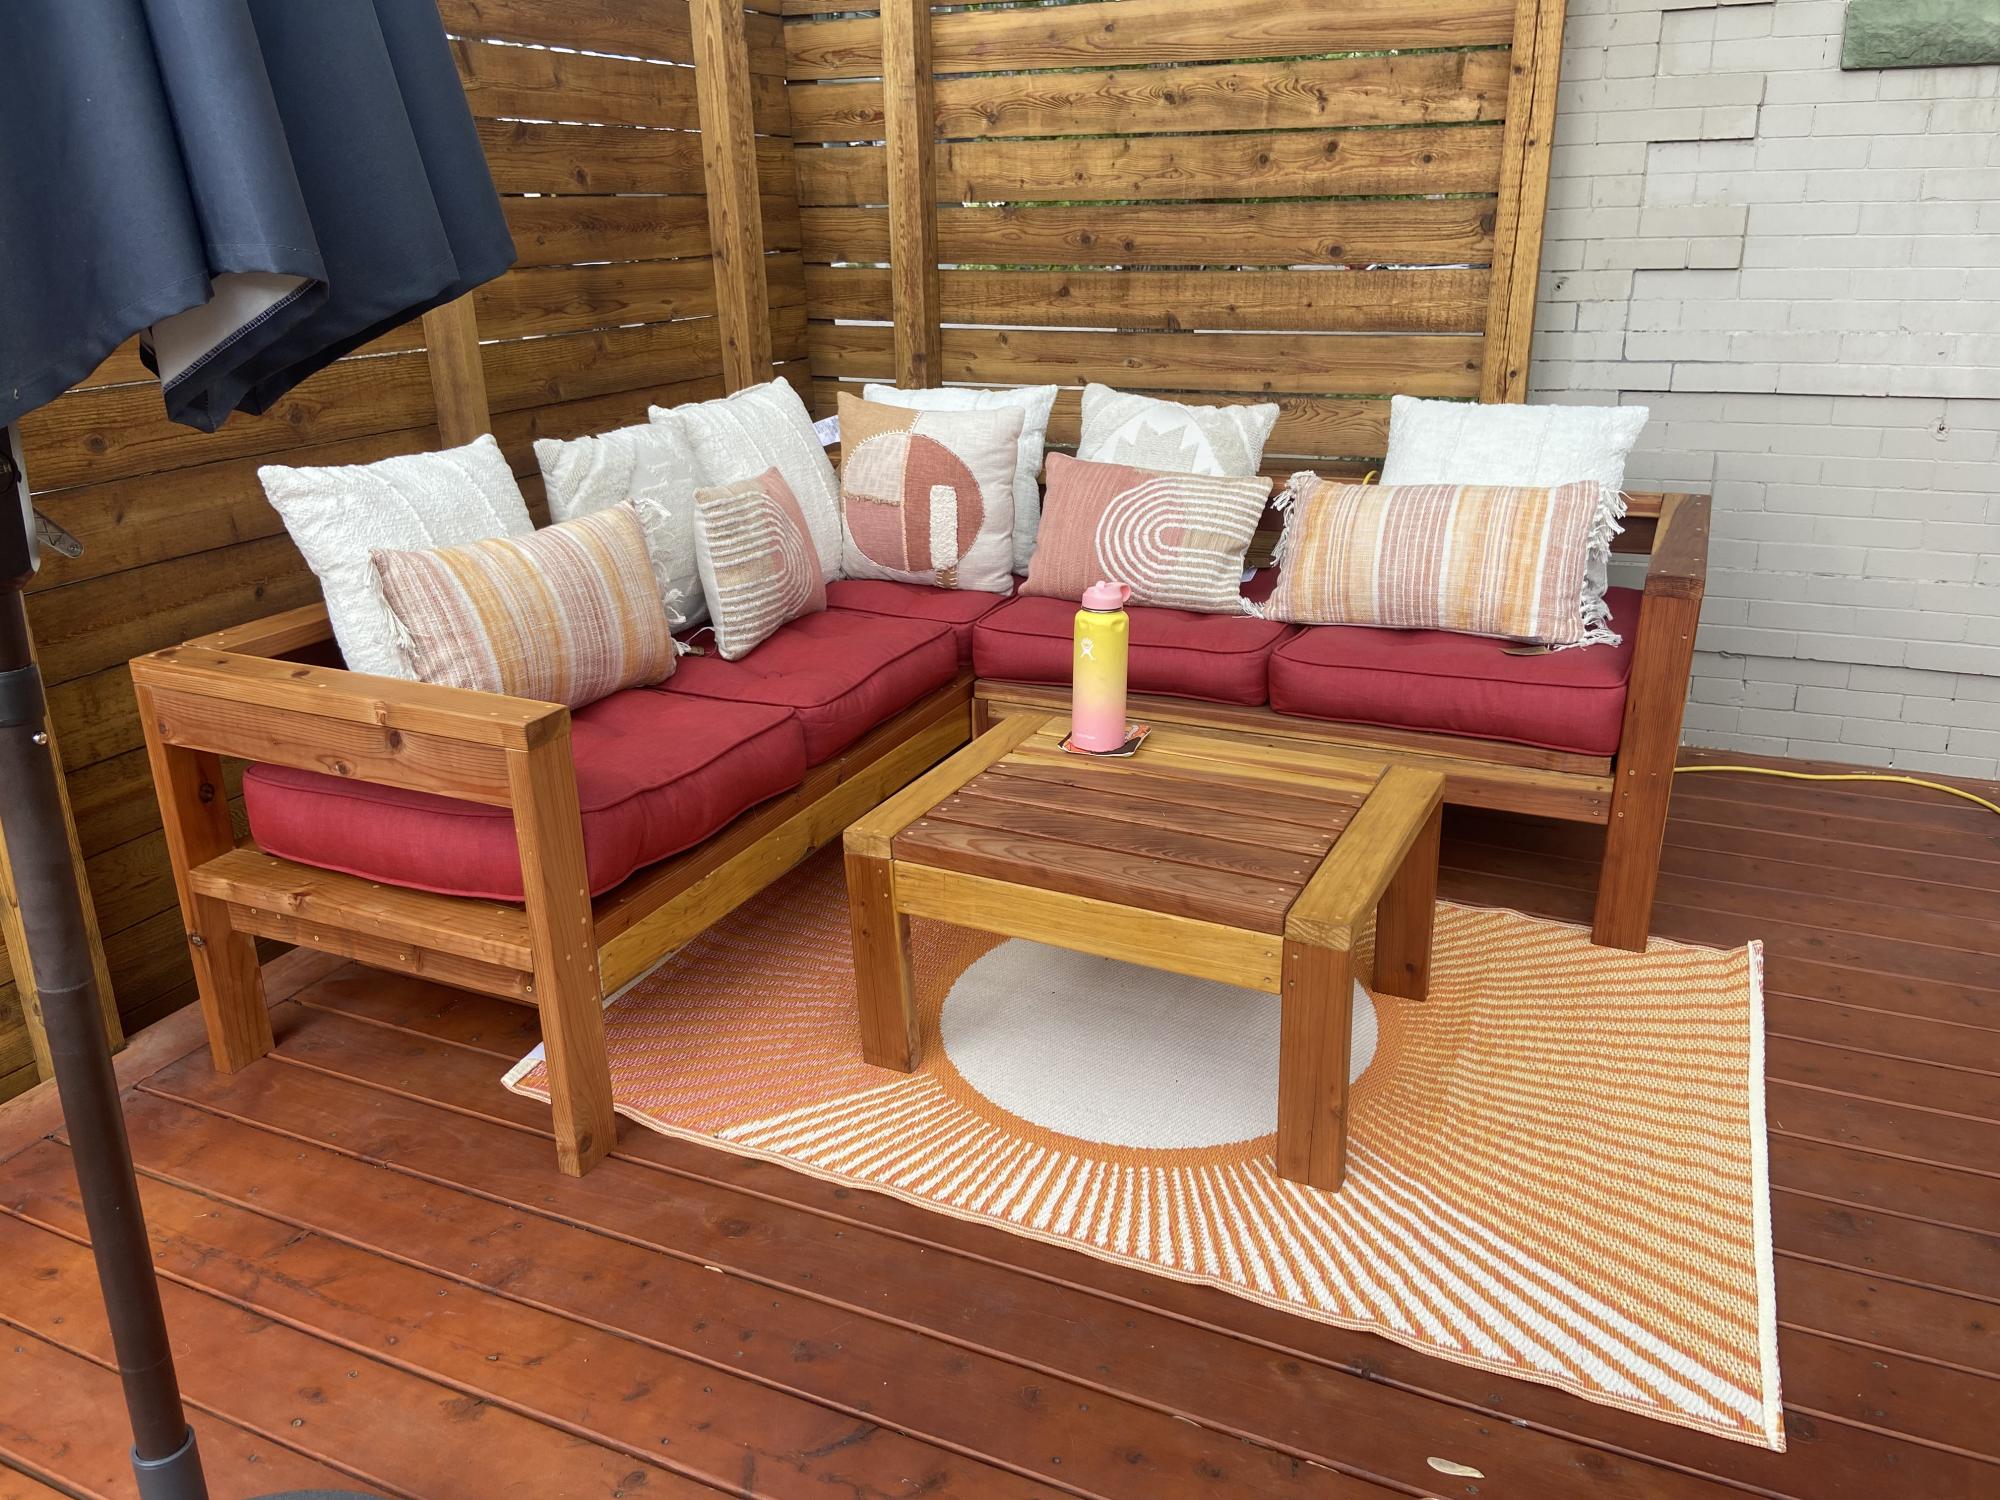
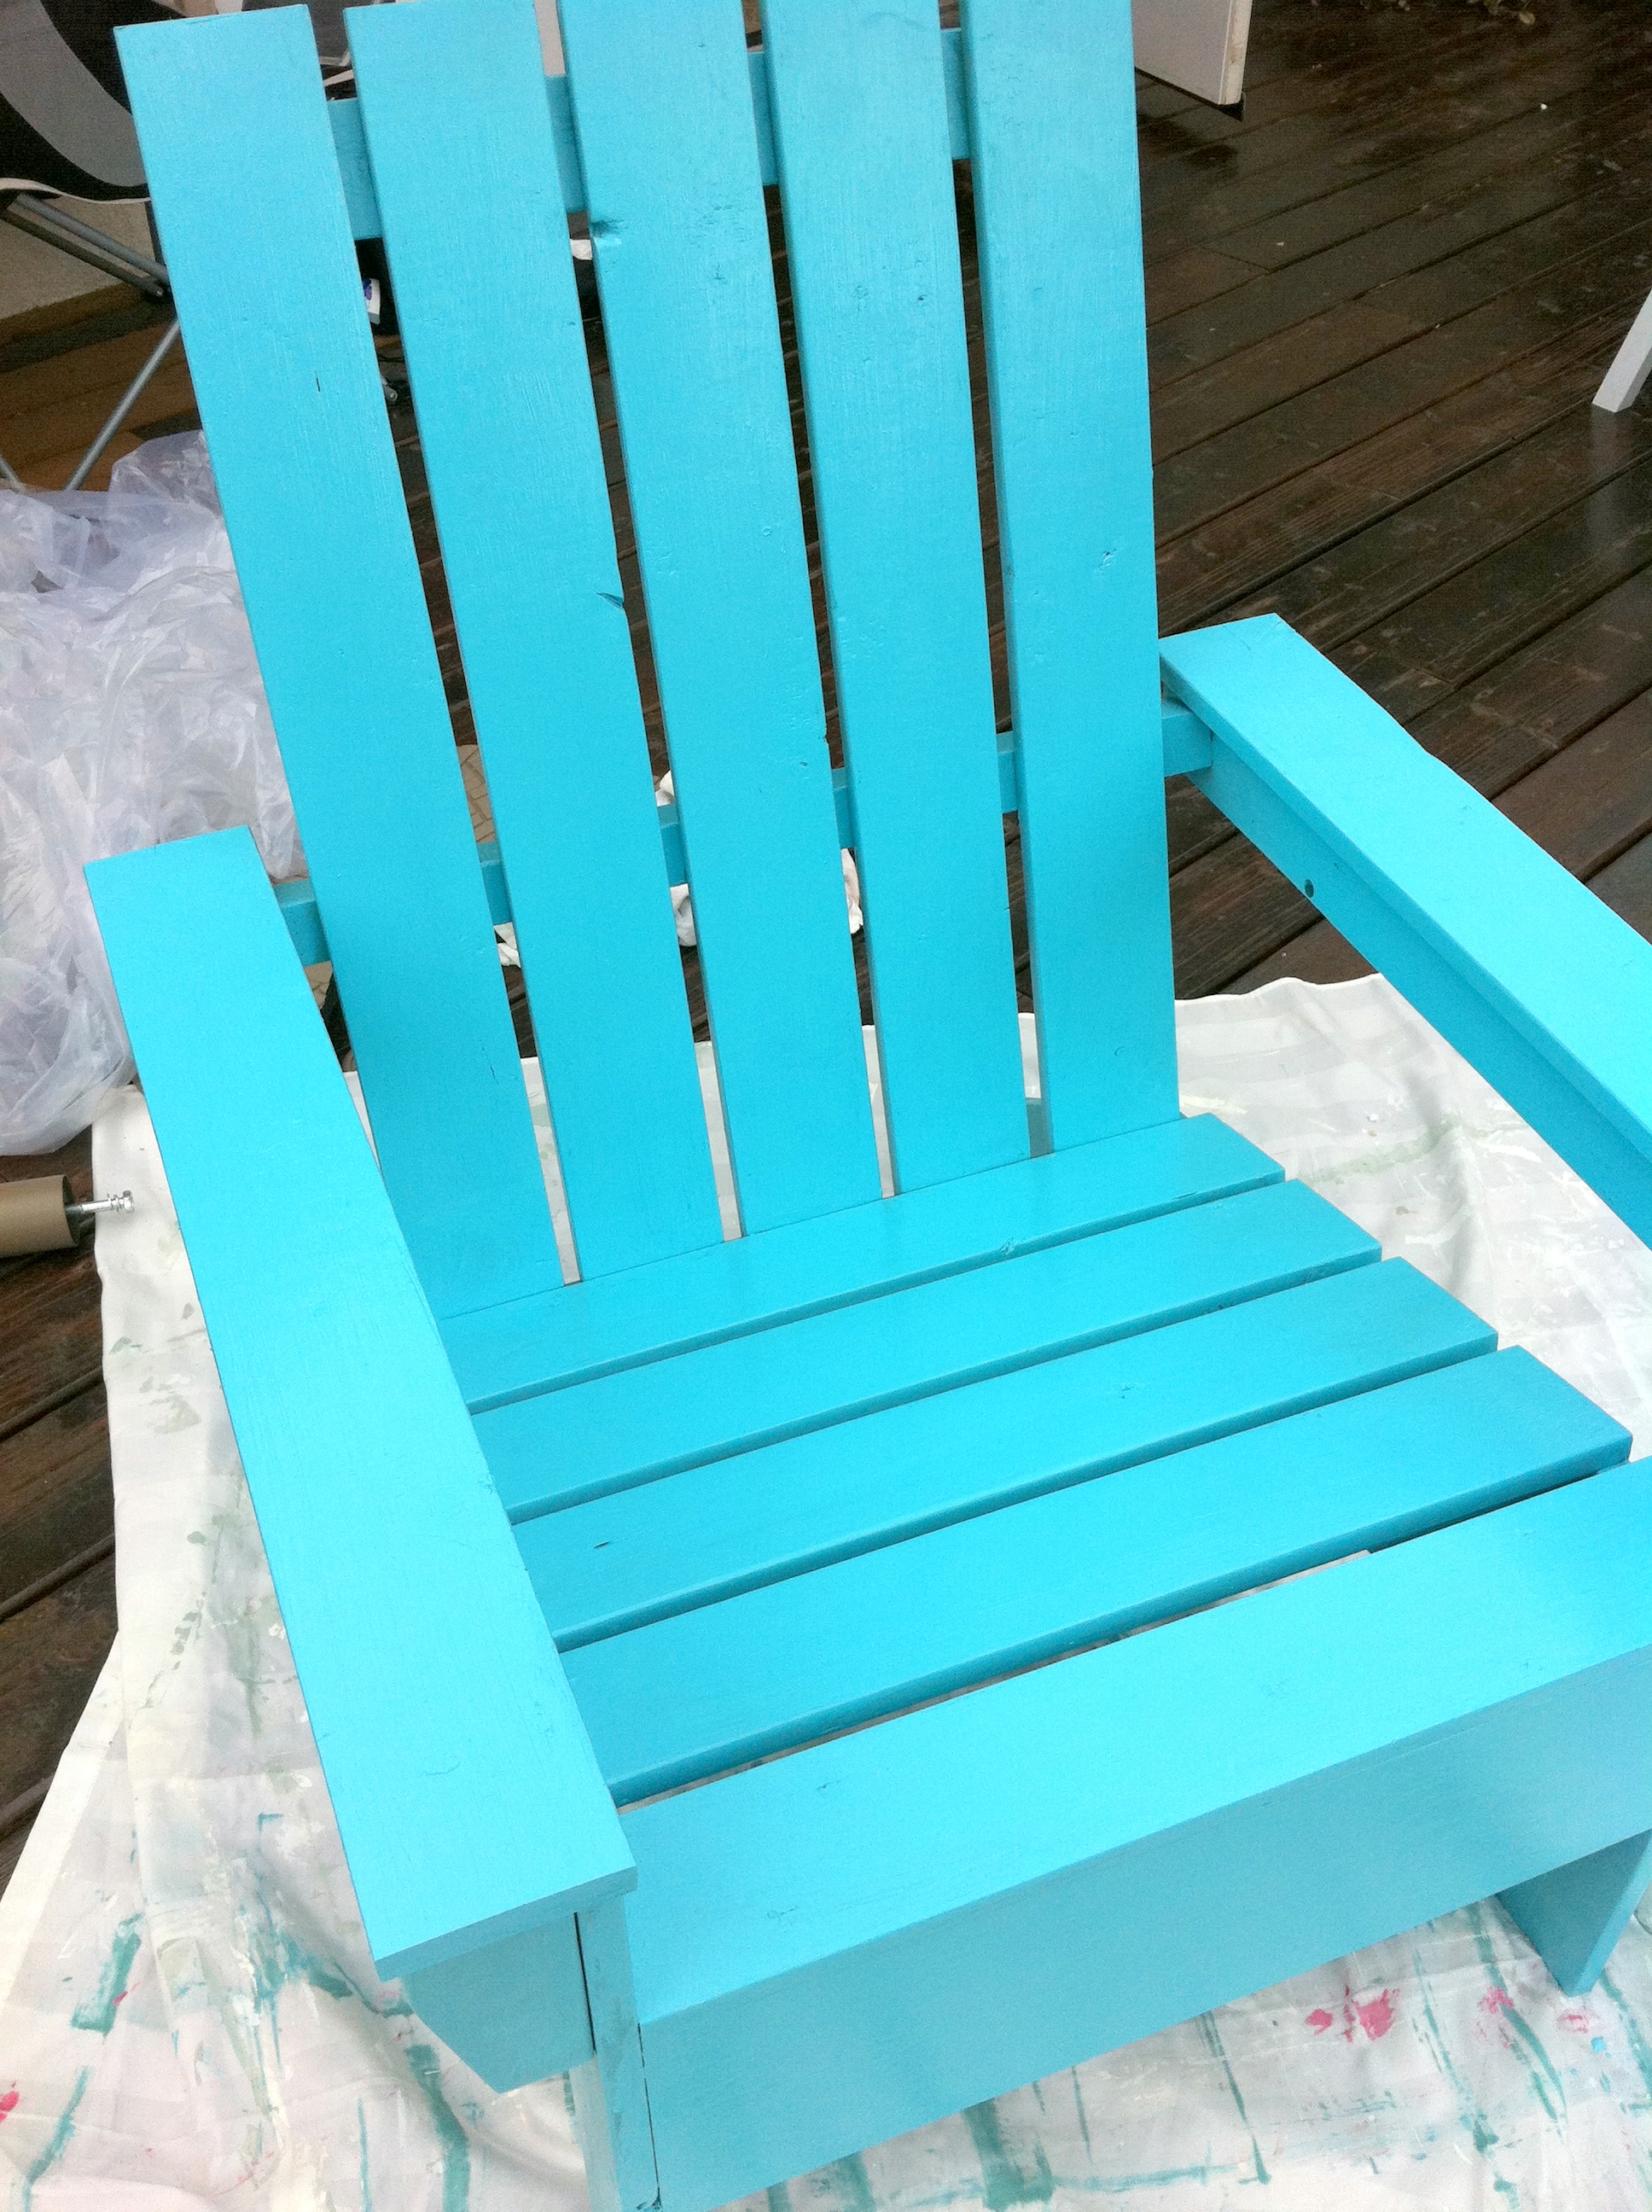
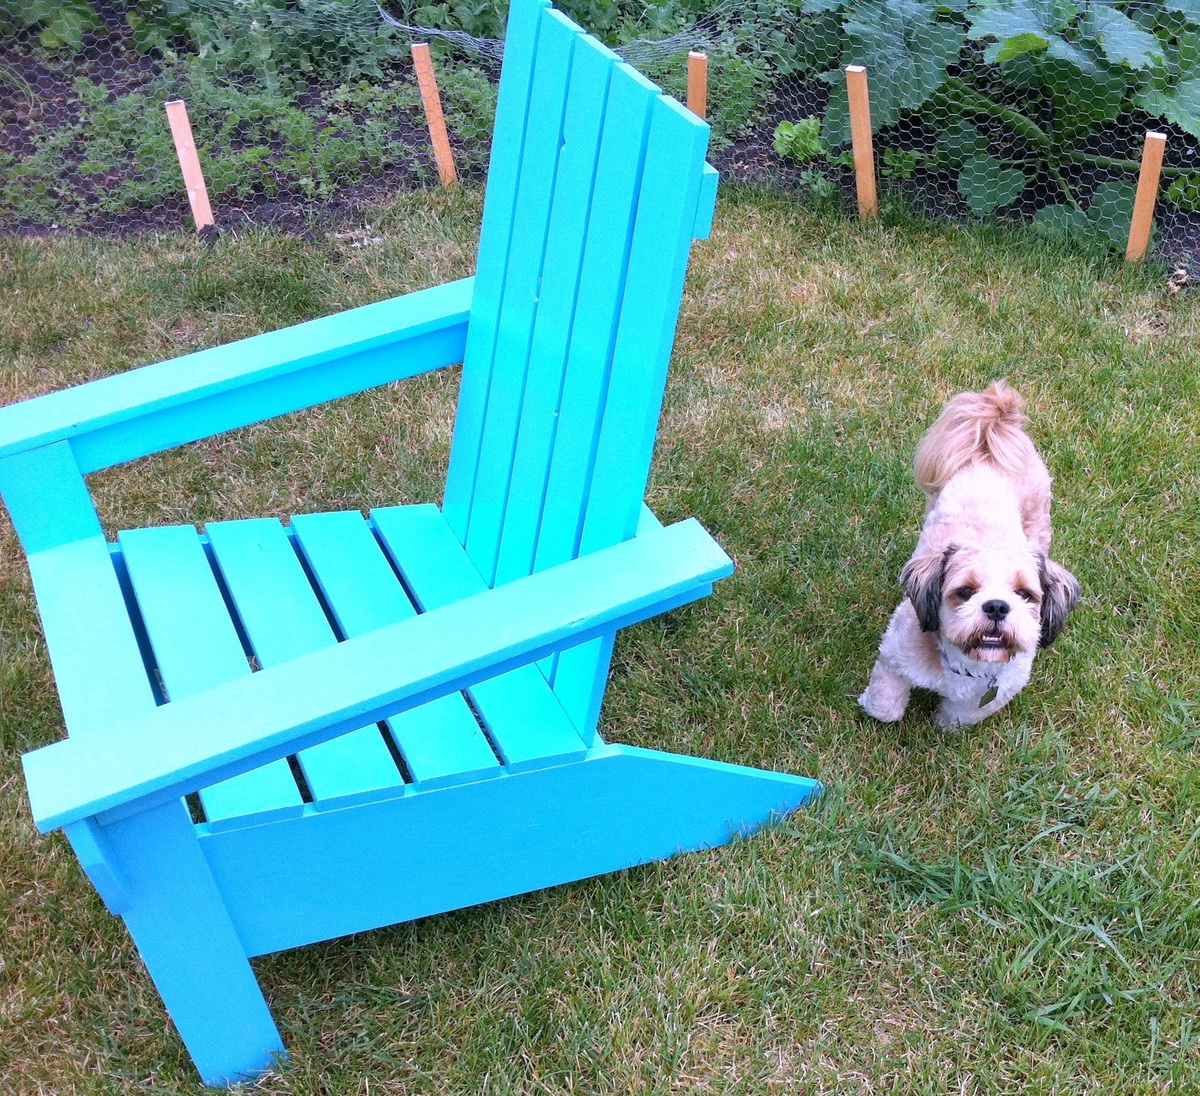
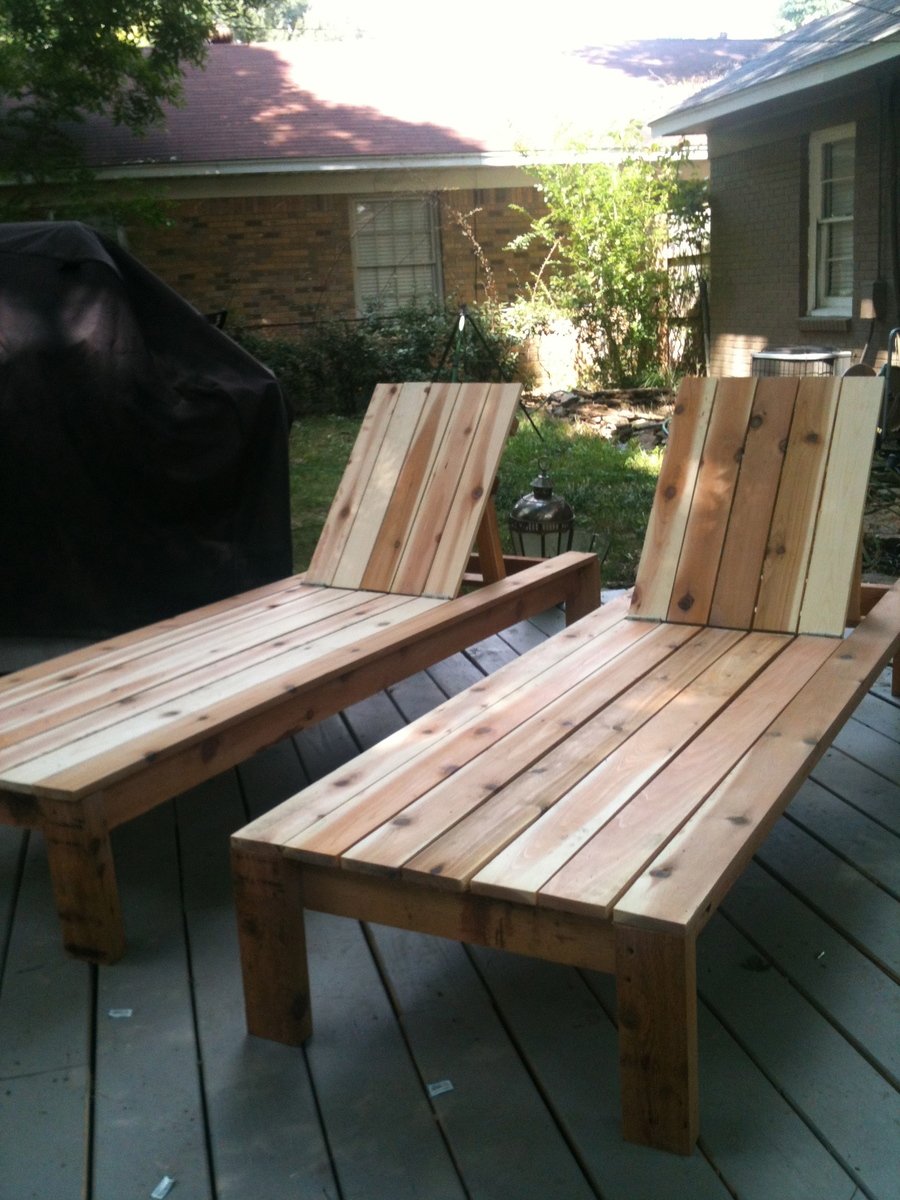
I built the two piece sectional + table and adjusted the sizing so the lengths of the sectionals pieces are the same.
Turned out amazing. So much fun building this and I can’t wait for my next project!
Built from Plan(s)
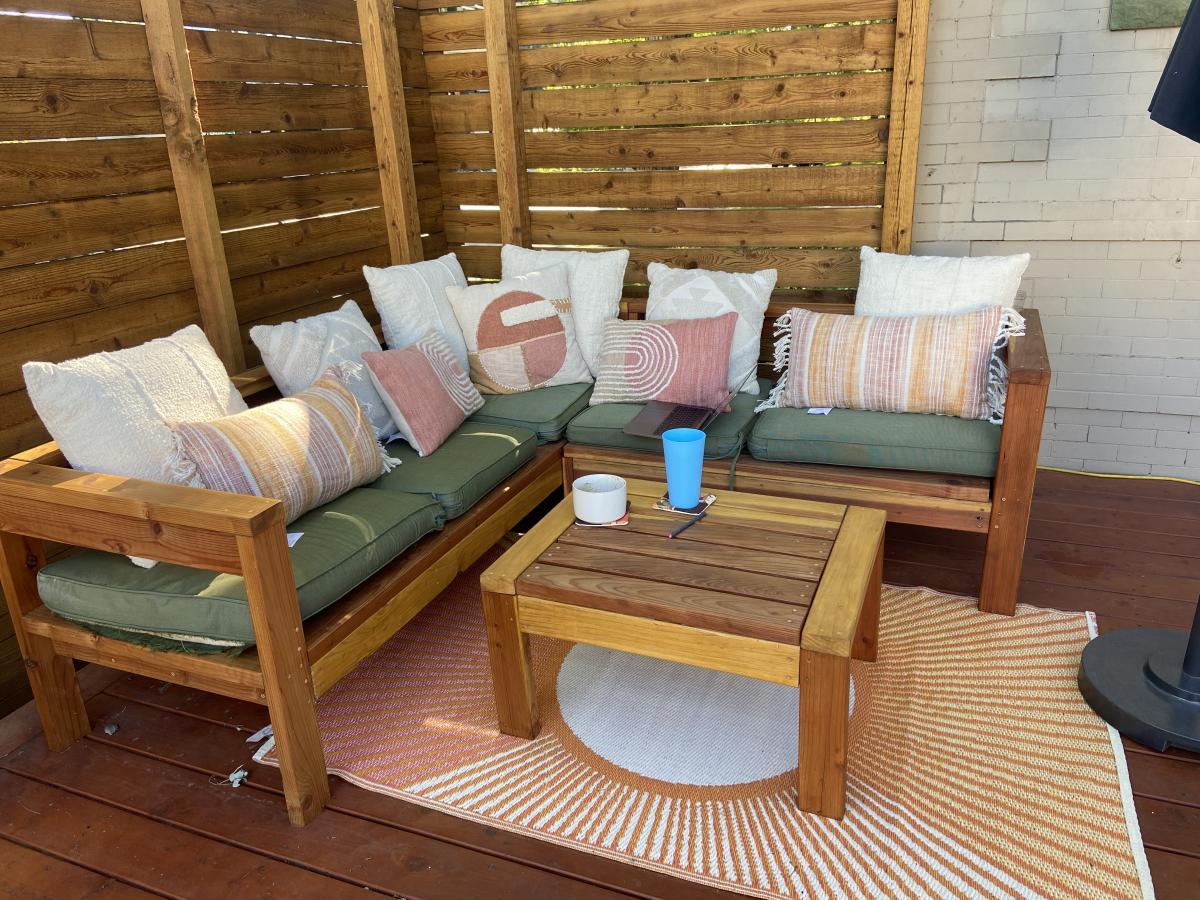
I built the two piece sectional + table and adjusted the sizing so the lengths of the sectionals pieces are the same.
Turned out amazing. So much fun building this and I can’t wait for my next project!
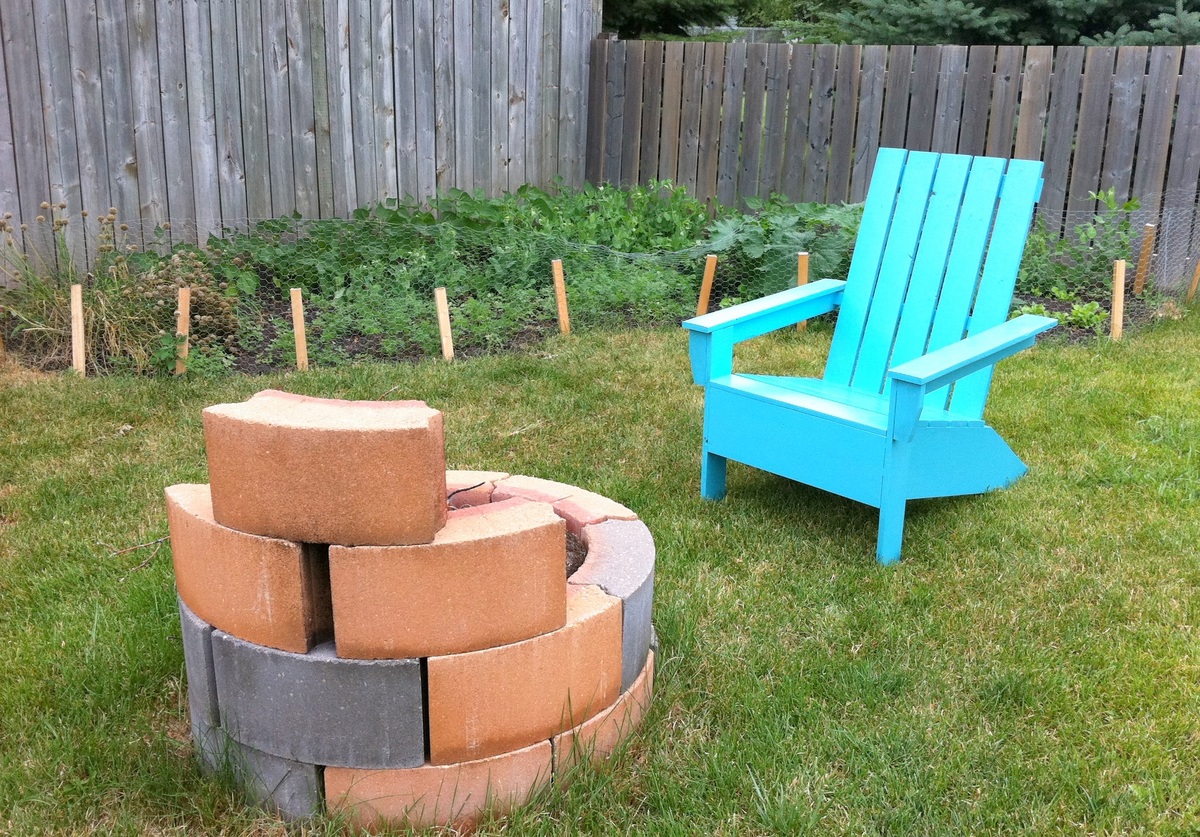
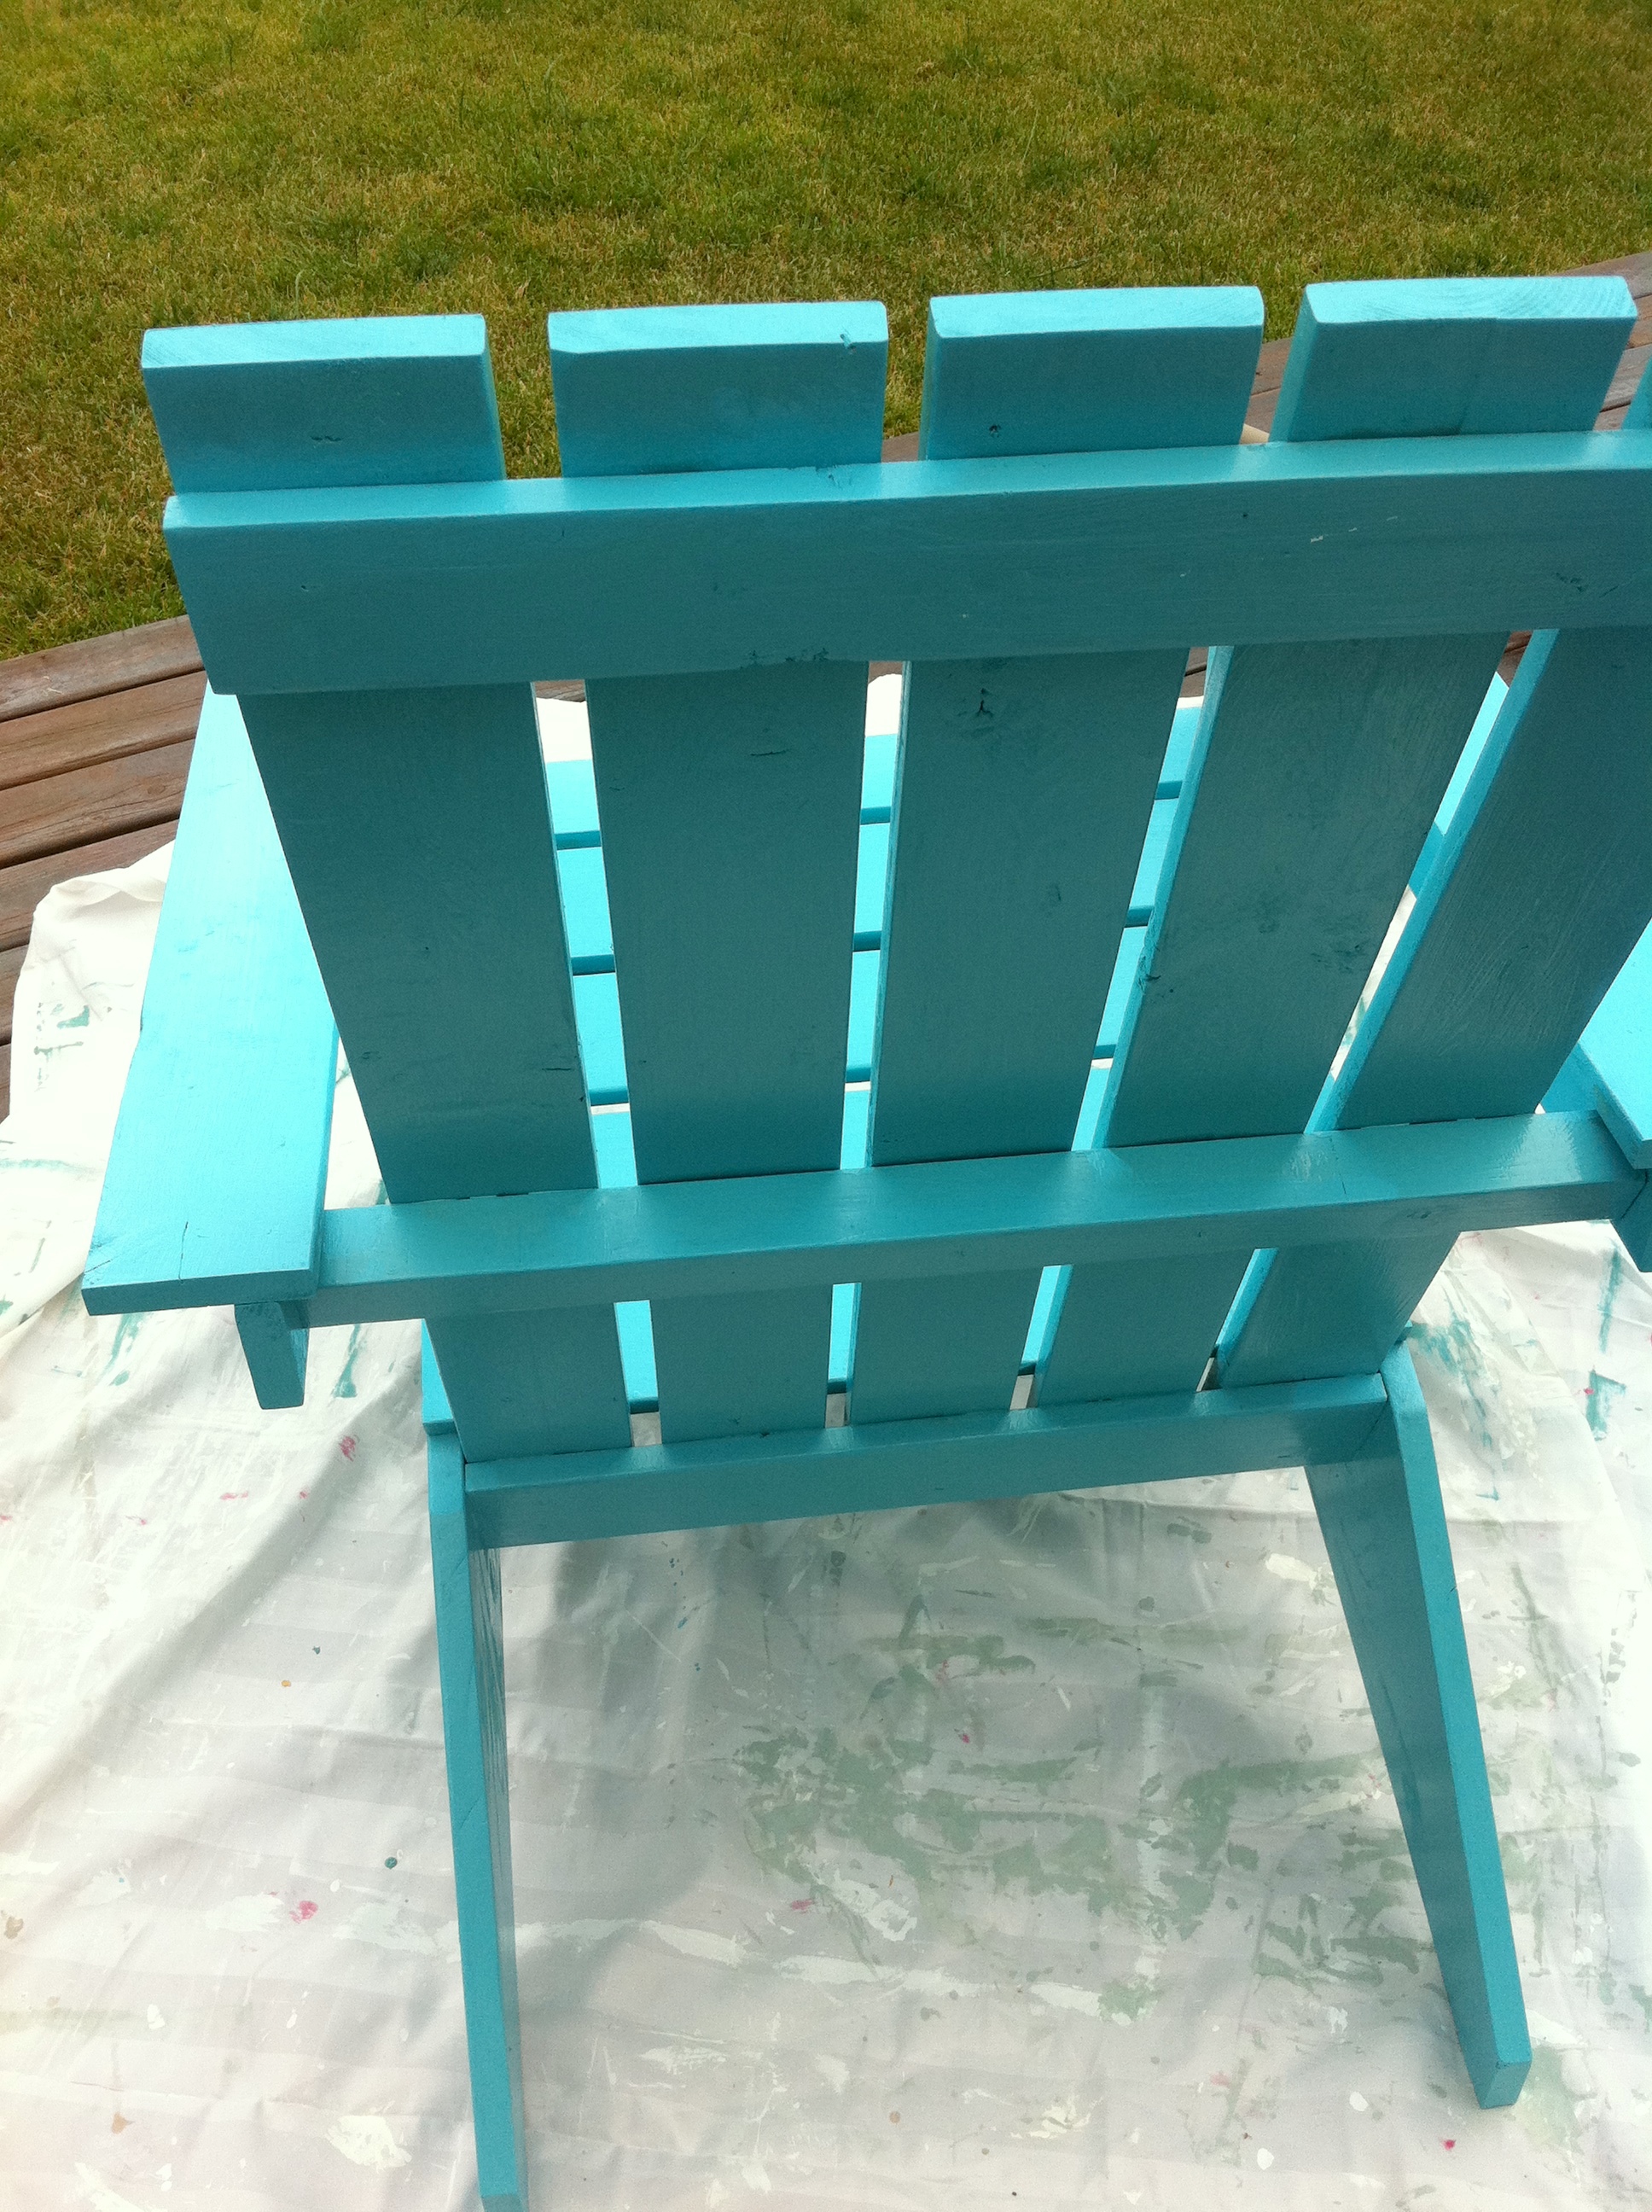
I still need to build a matching chair so we have a pair of adirondack chairs for around the fire pit. More pics of the build at my blog.

This bed was made as a Christmas present for my parents. At the time, there were no plans for a king-sized bed so I modified the queen plans to fit their mattress. I added a 5th leg to support the center of the bed and also added some plywood sheets underneath to better support the mattress.
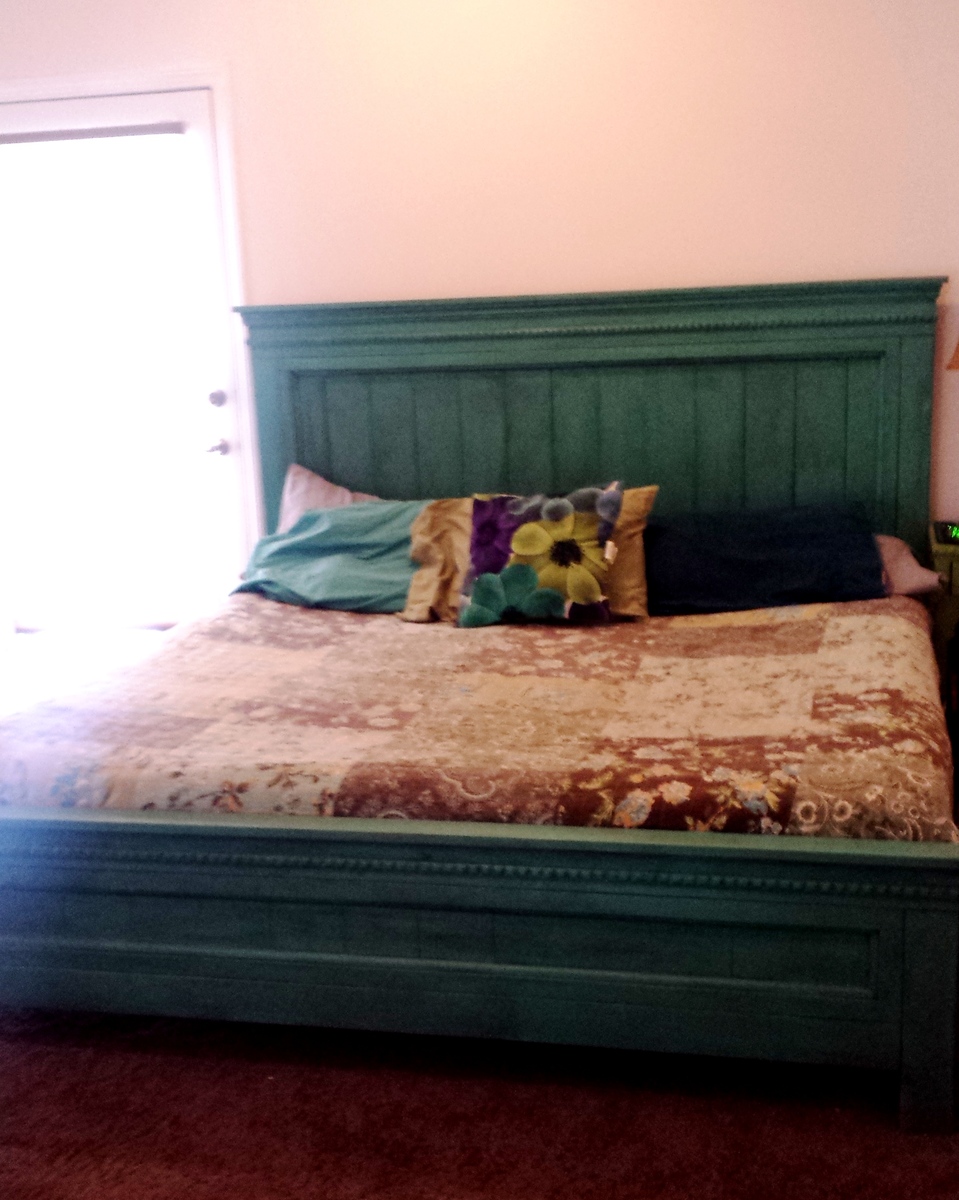
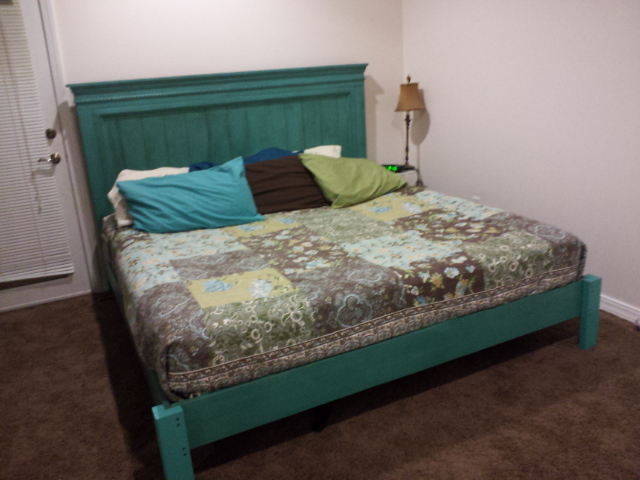
Project was a bit difficult but extremely rewarding when completed!! I followed Ana White's advice......"take a break and always finish your project!!!"
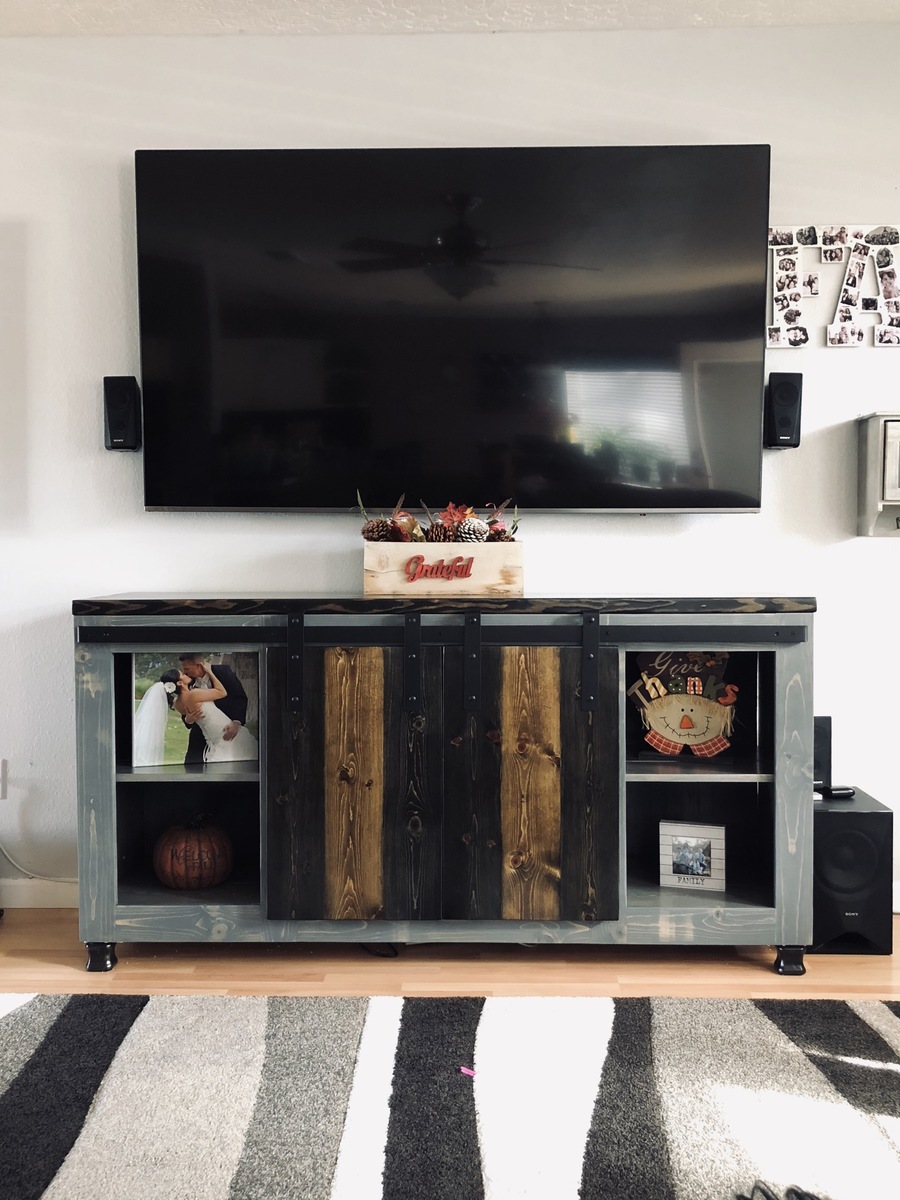
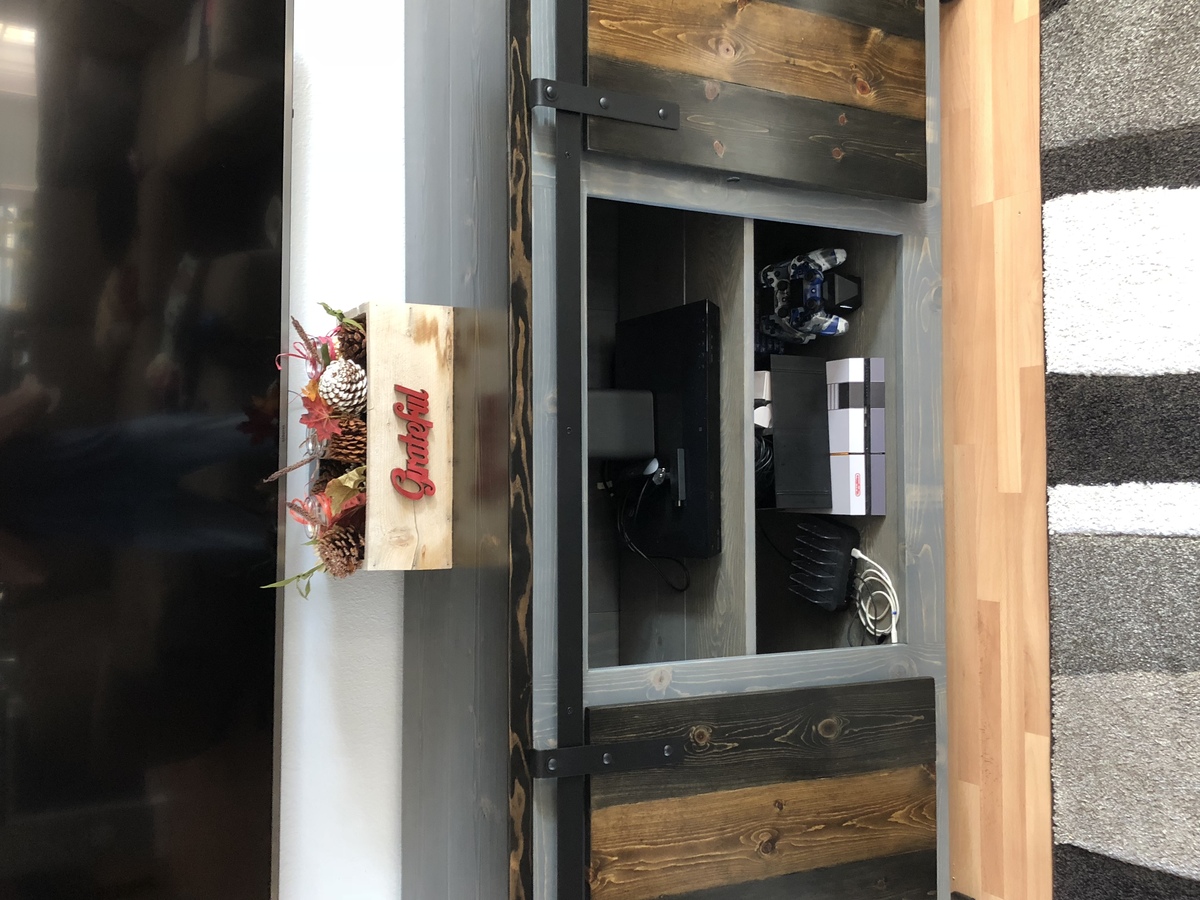
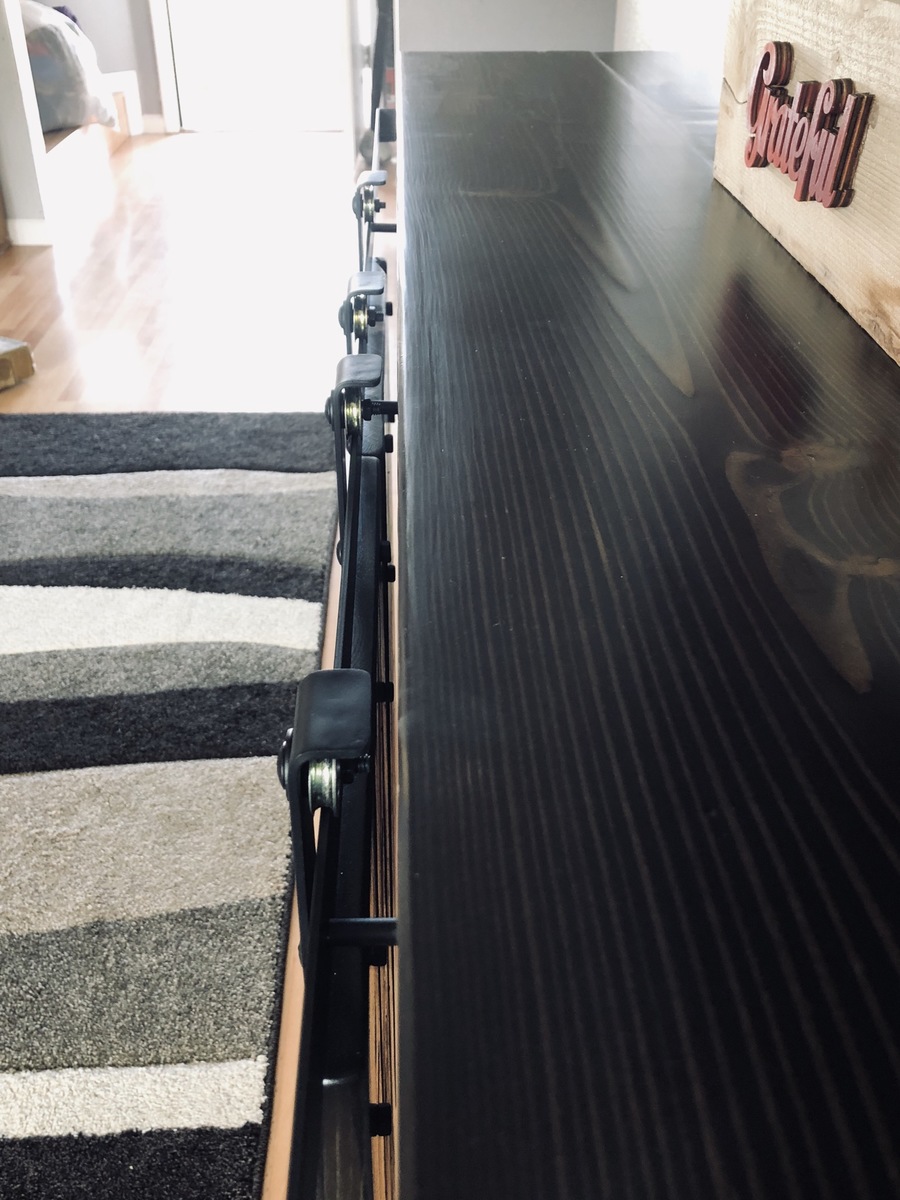
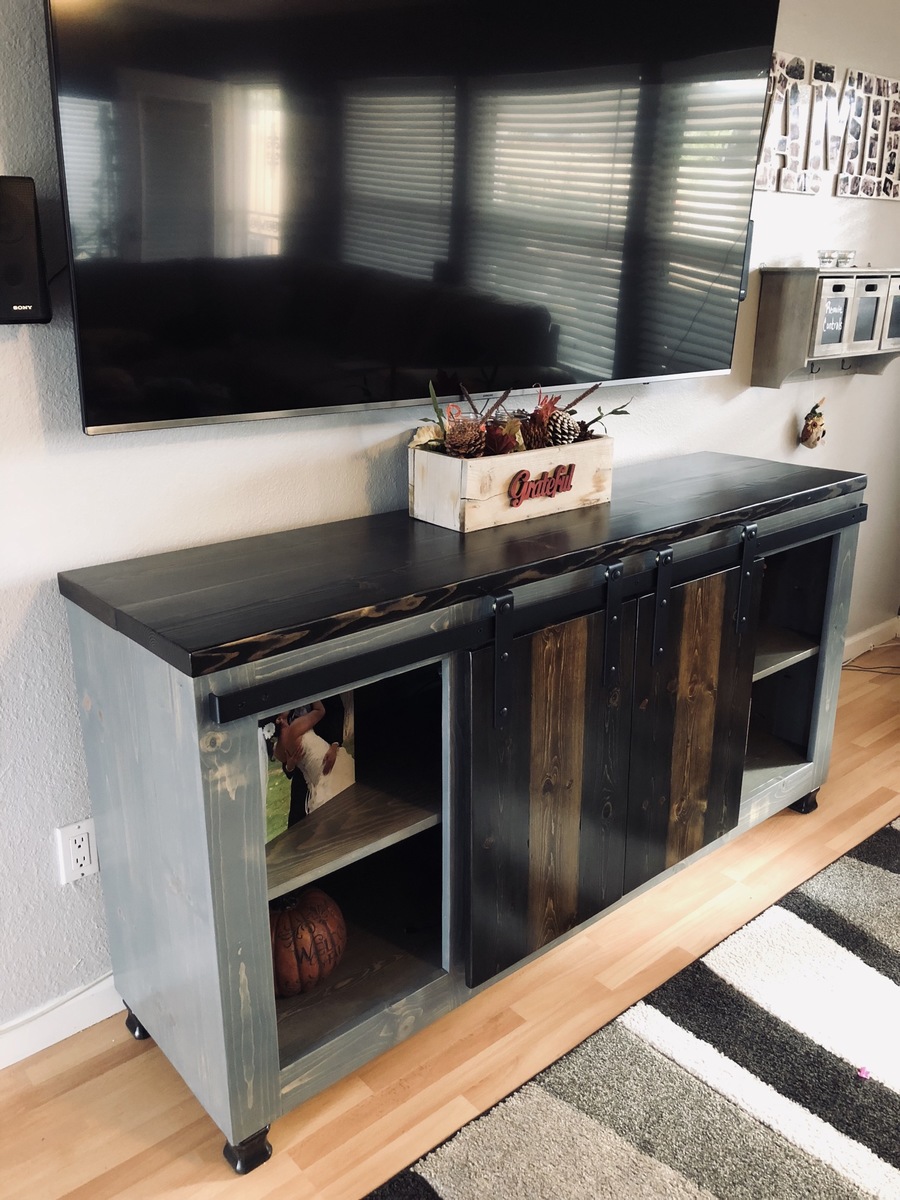
This was a super fun build for me! I have been wanting to do it for a long time, but was a little intimidated with the hardware. I bypassed the expensive kits you see online and built my own from aluminum flat bar, carriage bolts, and sliding door pulleys. I am very pleased with the overall project and wish I would have done it sooner! Shortened down to 6', and I opted to make 3 "openings, with the middle being the same as the outers, doubled, to insure the doors matched up.


Wed, 10/10/2018 - 11:11
This looks awesome! Your DIY barn door hardware turned out really well! Thanks for sharing a photo!

In reply to This looks awesome! Your DIY by Ana White
Thu, 10/11/2018 - 10:41
Thanks Ana! I appreciate that! Thank you for all you do on your site, I absolutley love it.
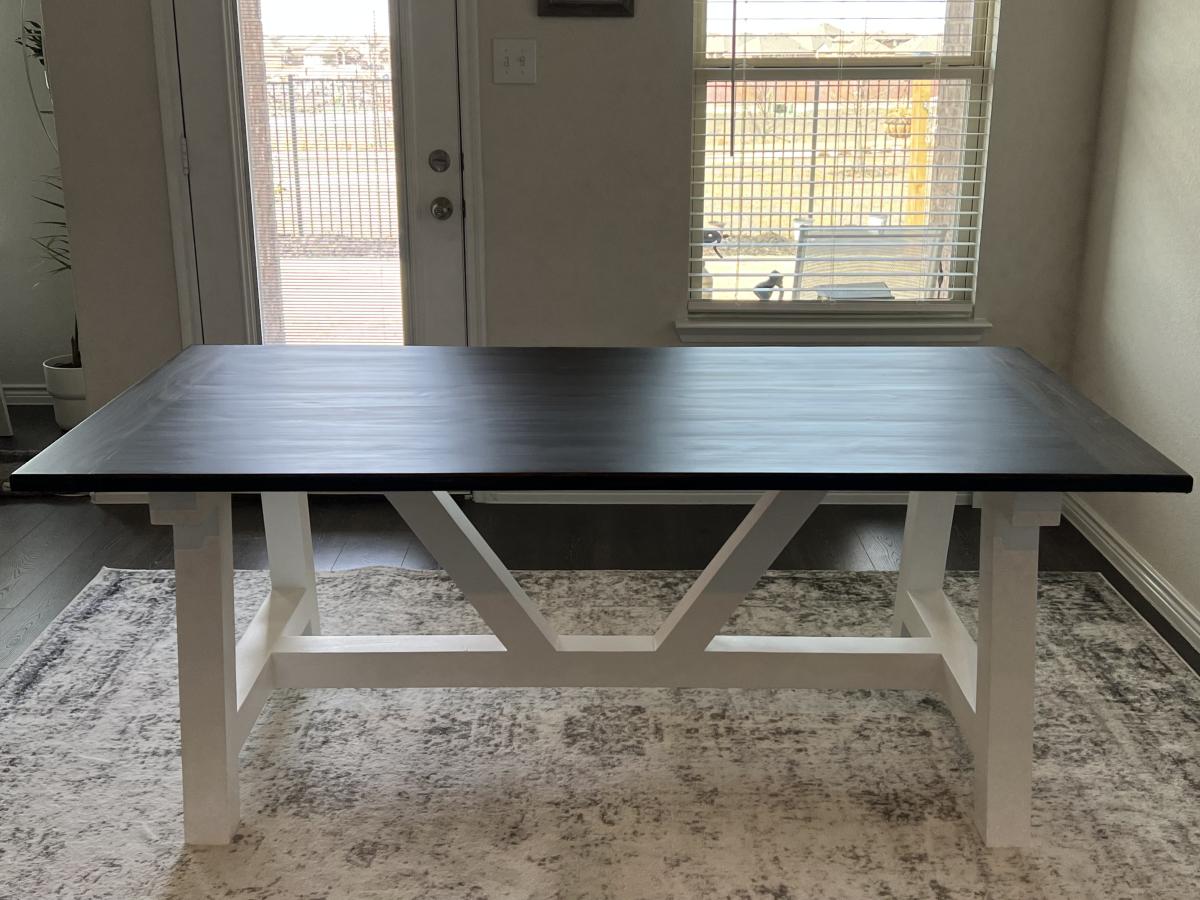
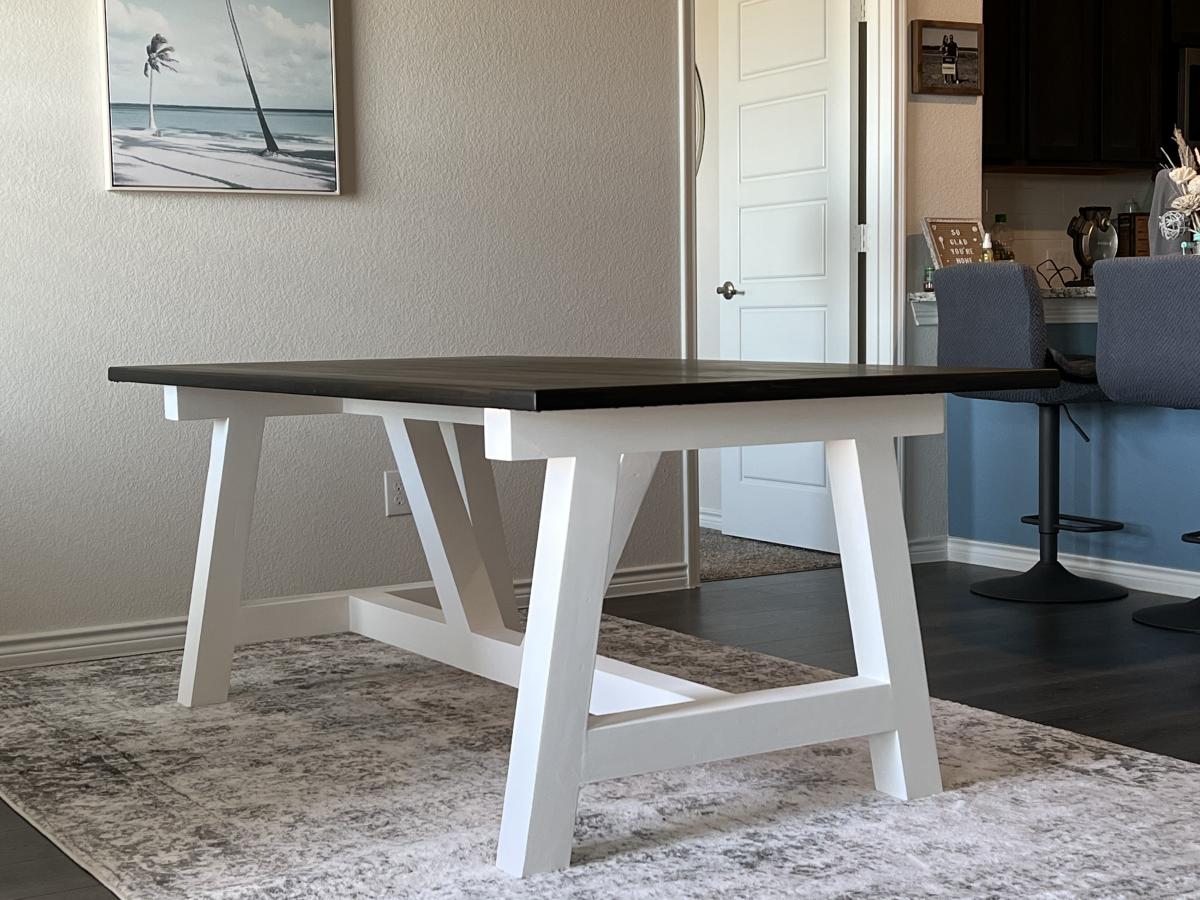
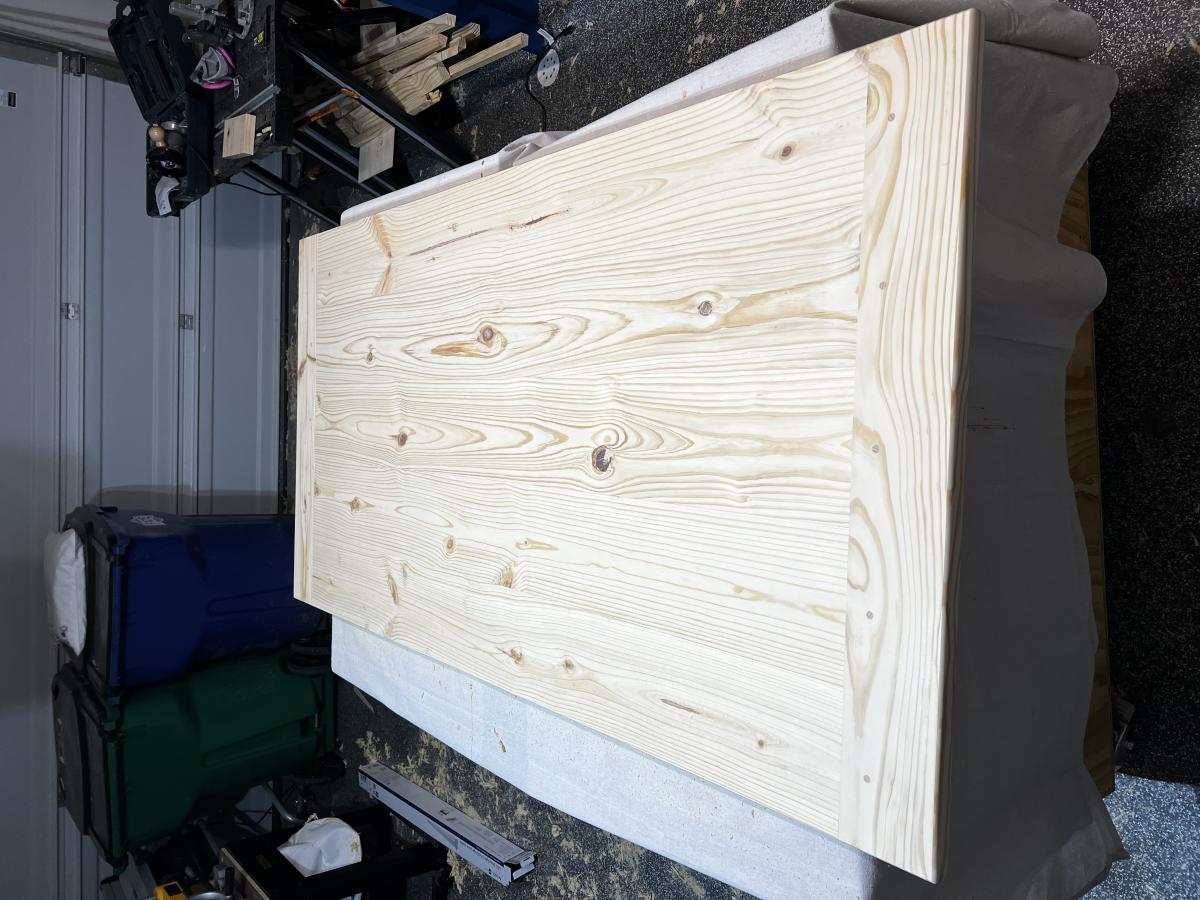
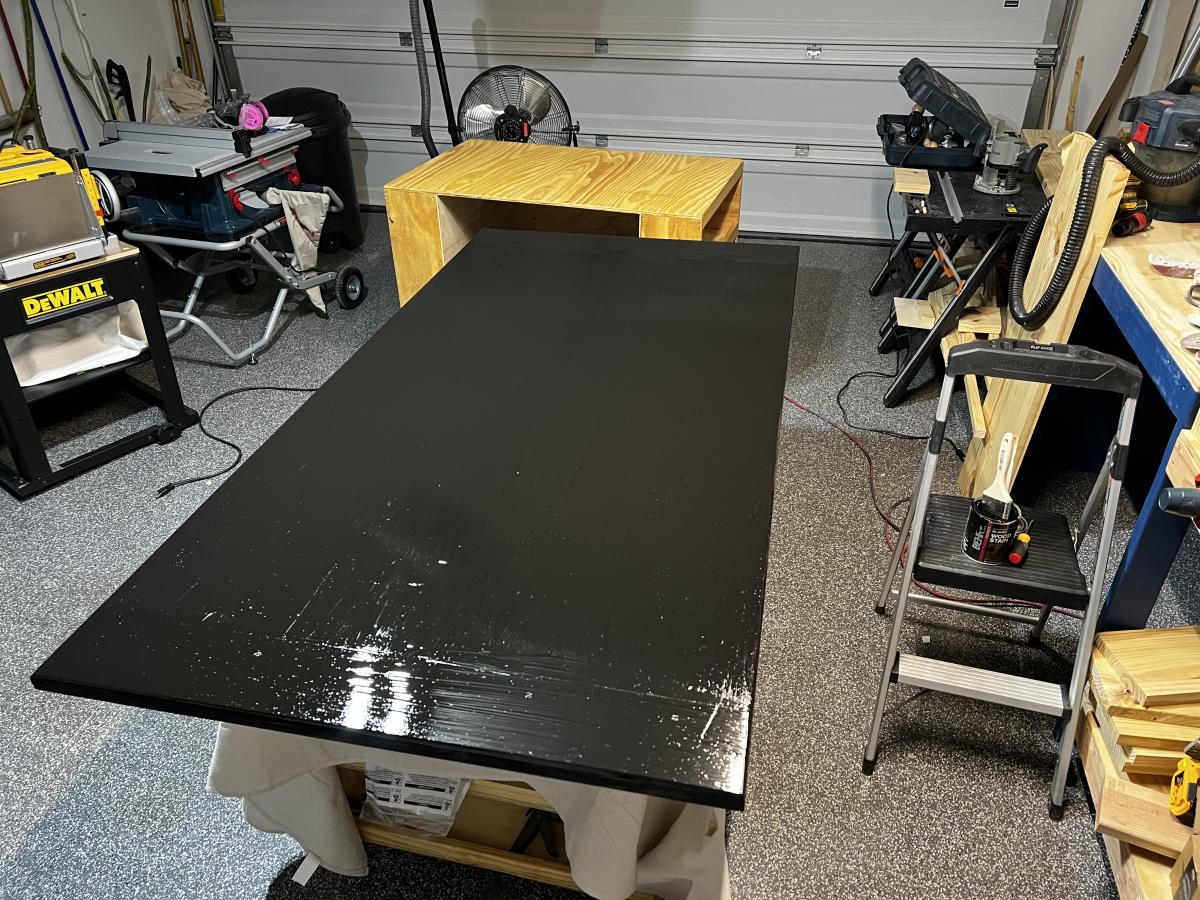
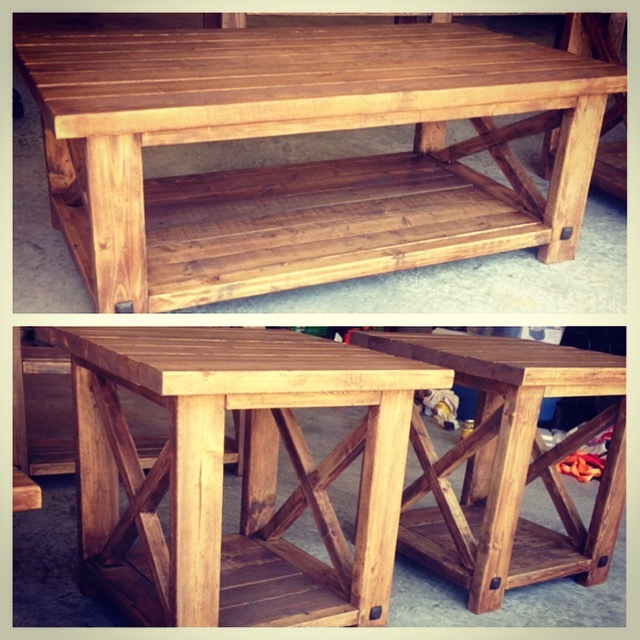
Built this from the plans and customized so it was a finer finish. No pocket holes, went with dowels and glue. Some screws in base for added strength.
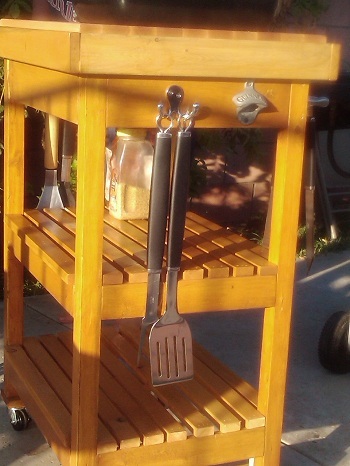
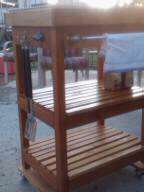
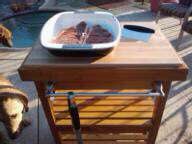
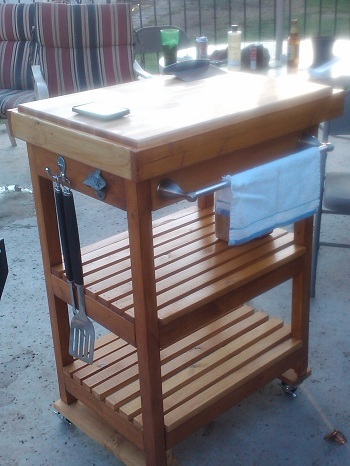
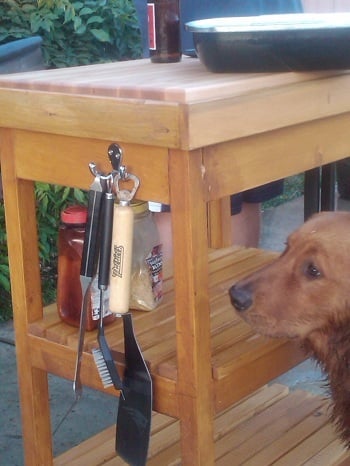
This started out as the Outdoor Multipurpose Cart....and after my hubbies evergrowing wishlist, it quickly become THE GRILL TROLLEY EXTRAVAGANZA!!!! I added the bulk and the height which he wanted, a John Boos butcher block 24x18, which is removable. Funny thing is, I also sampled Ana's Farmhouse frame to cradle the butcher block! I didn't want to put any holes in the 100 clam butcher block so it has it's own little bedframe. It's totally waterproofed and stained since it's new home will be beside the pool. I used all Kreg joints, so you could sit on this it's so sturdy. I also added 2.5 inch locking casters for the bottom. There's a stainless steel bathroom towel rack which doubles as a handle, lots of hooks for his BBQ paraphenelia, and the most important addition...The Guinness bottle opener. Totally hubby customized. And the best thing> I did it myself, setting it aside whenever a problem arose, but always coming back to it. This was originally a Papa's day present


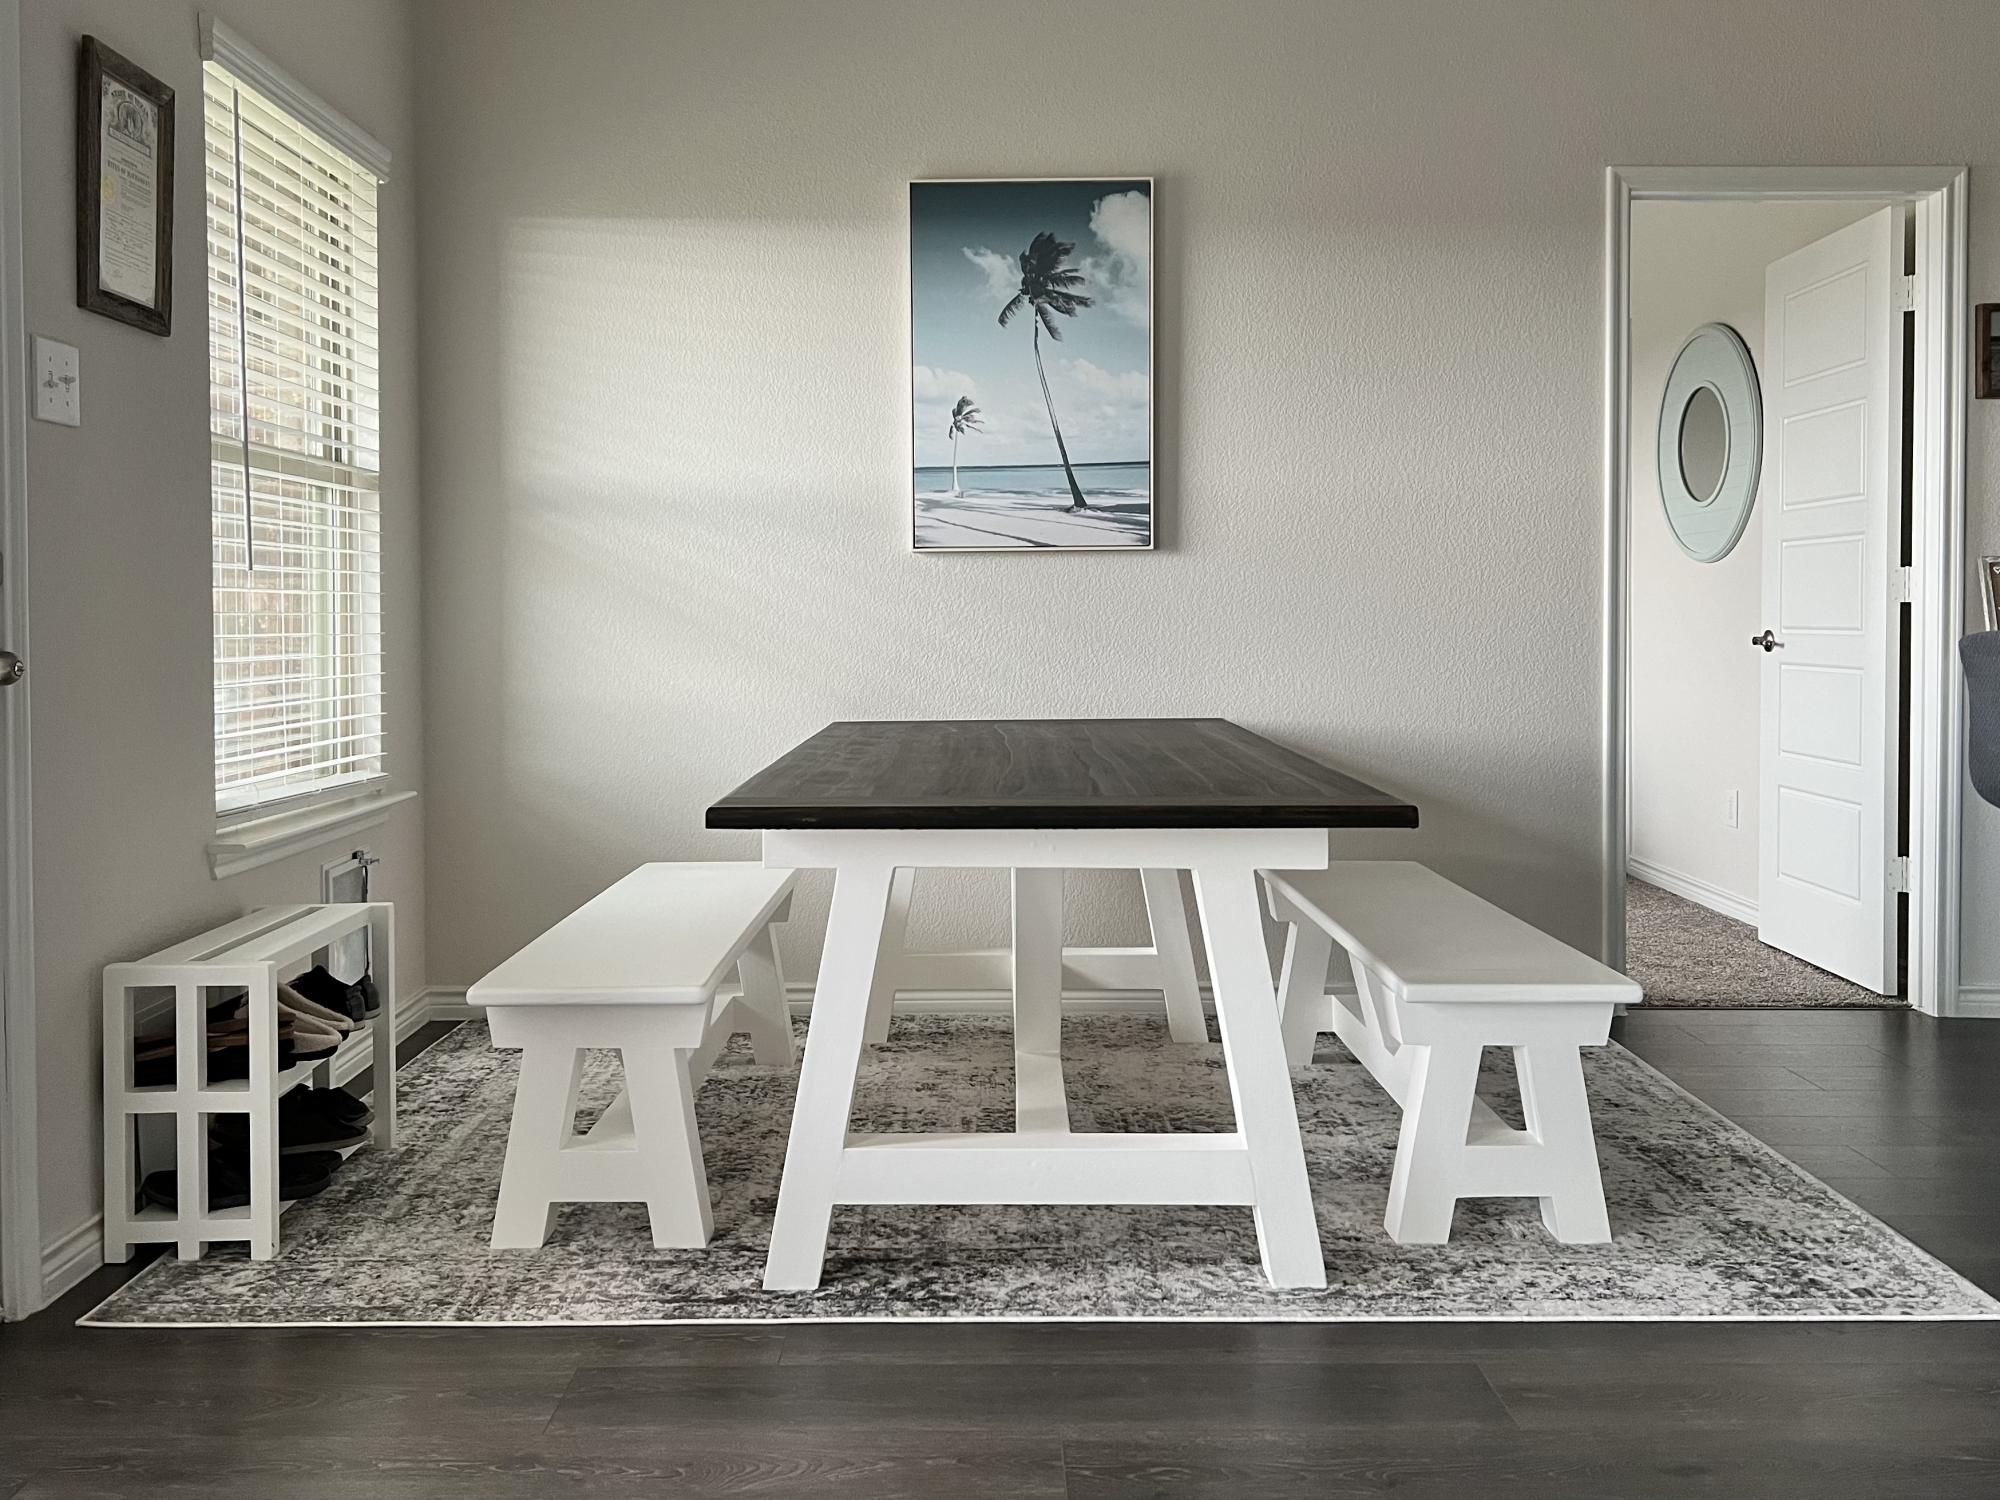
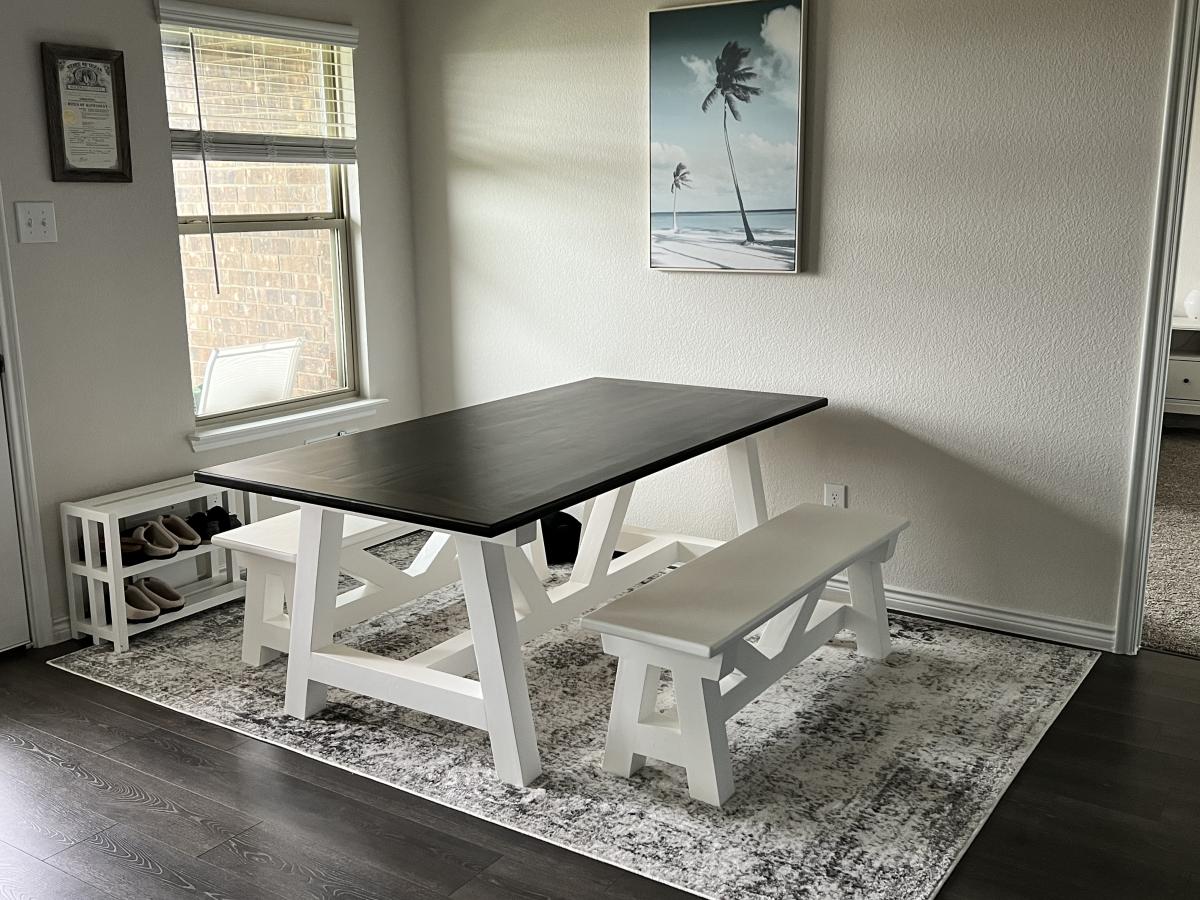
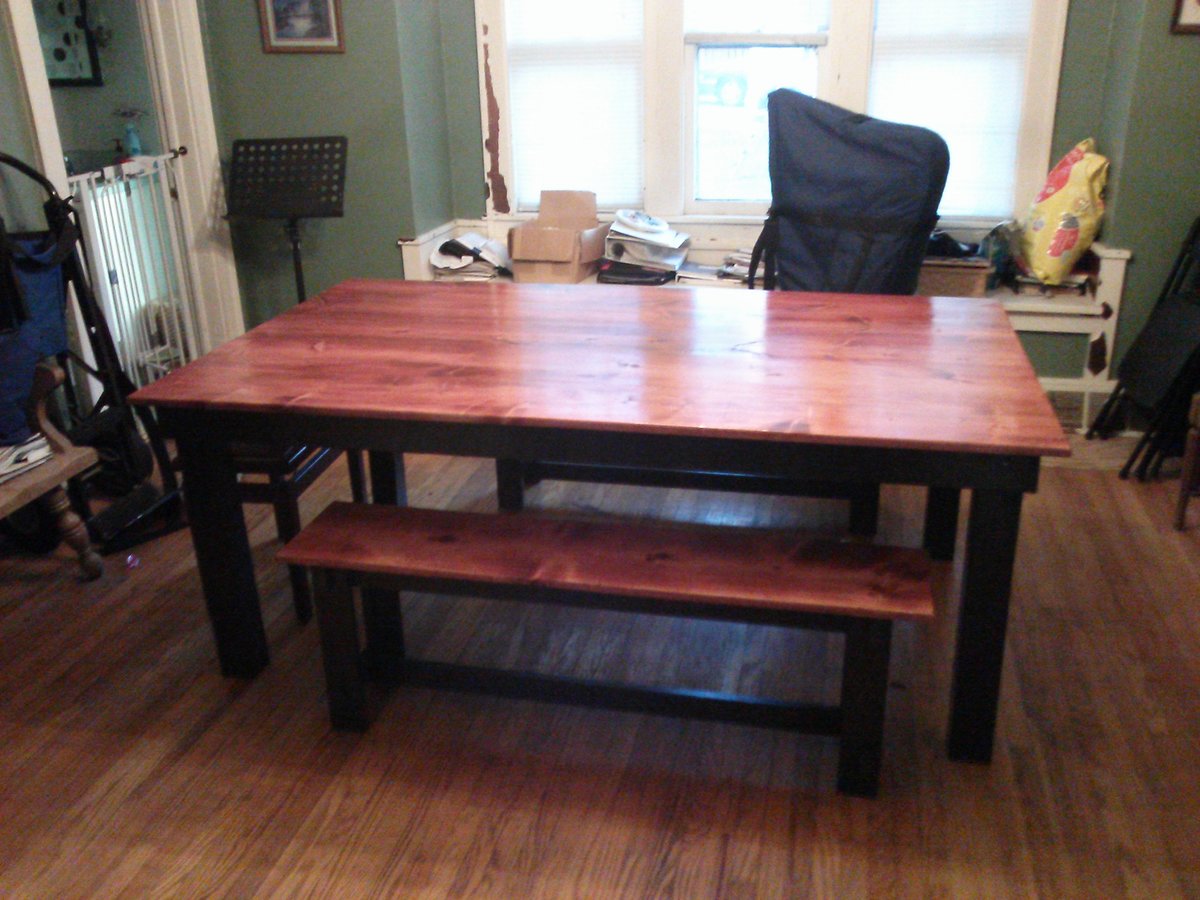
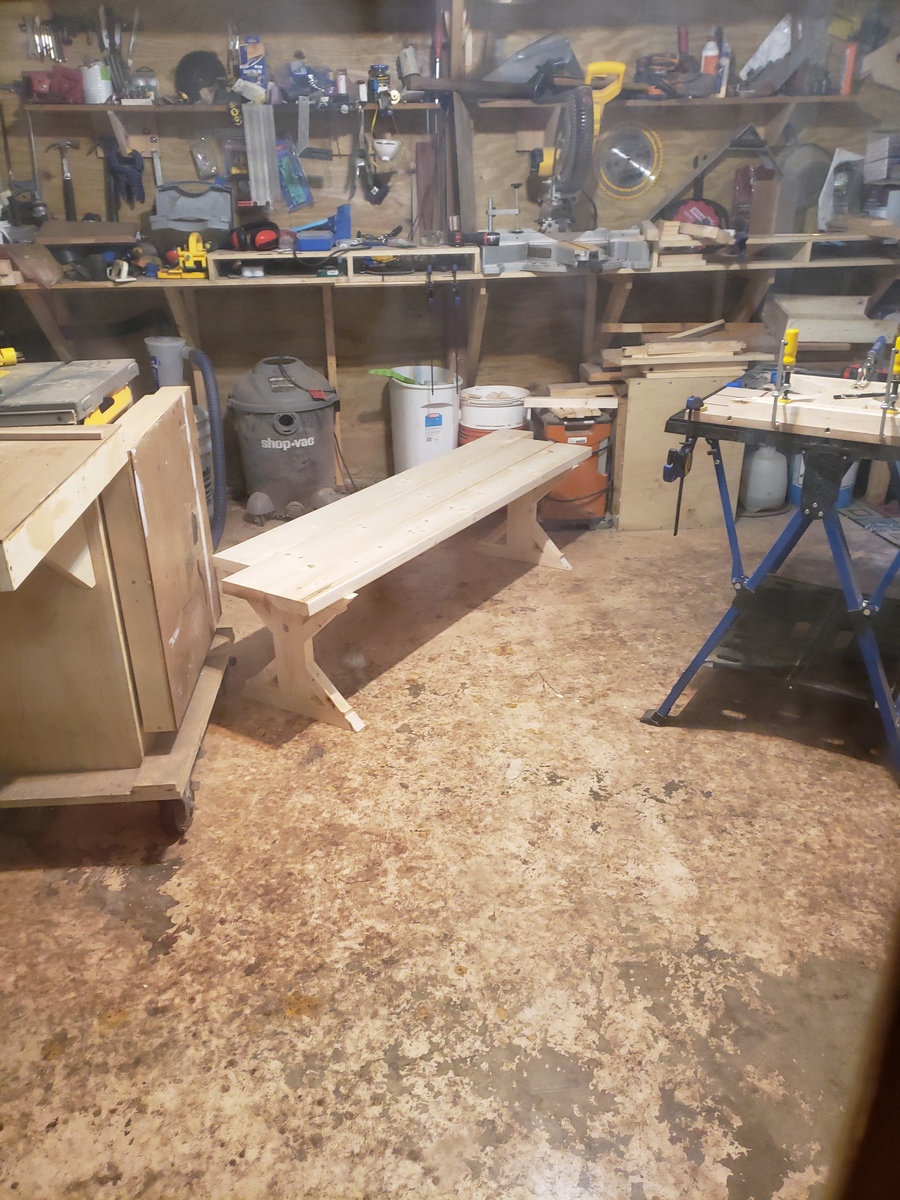
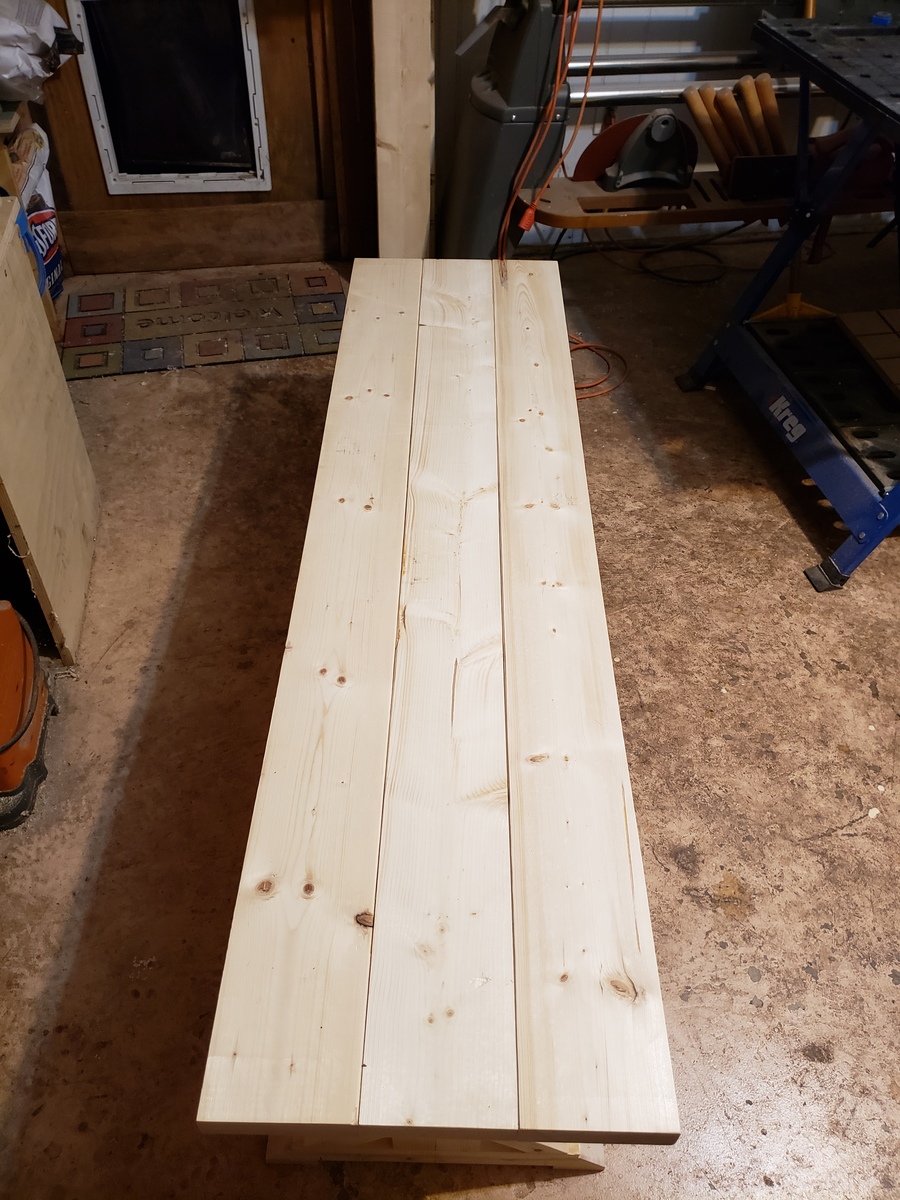
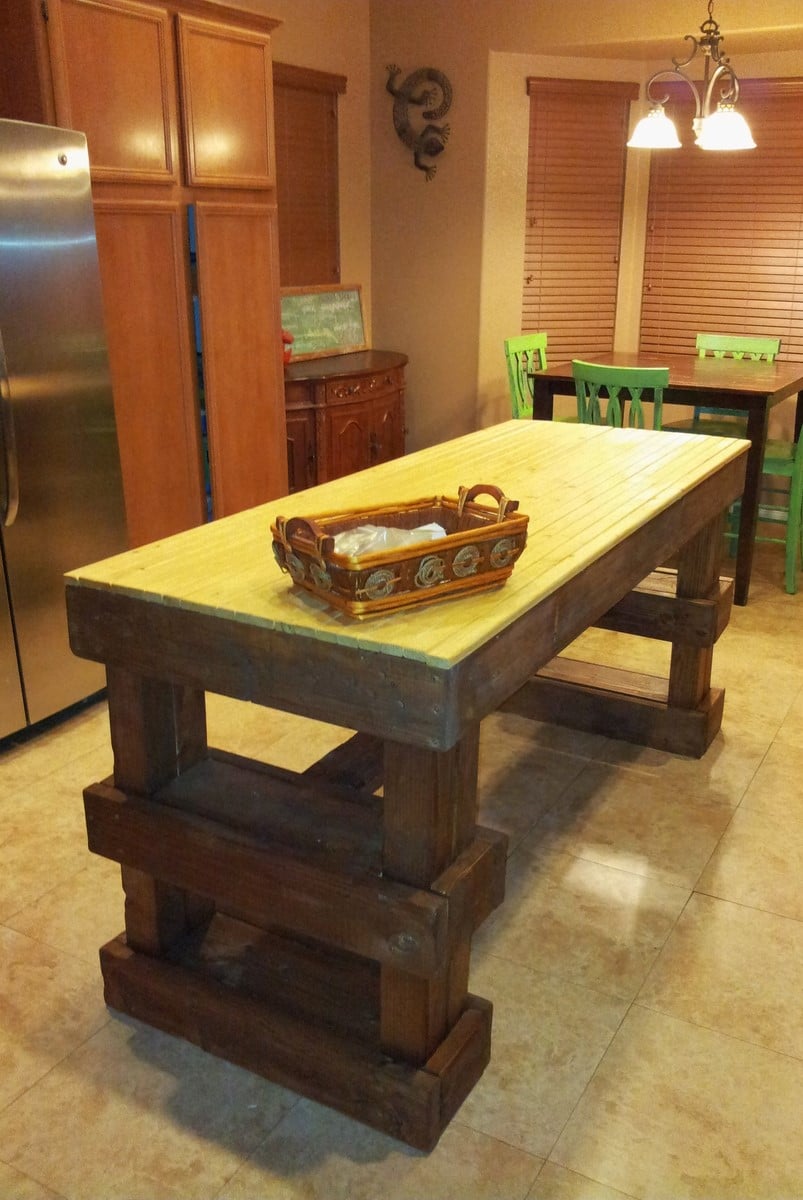
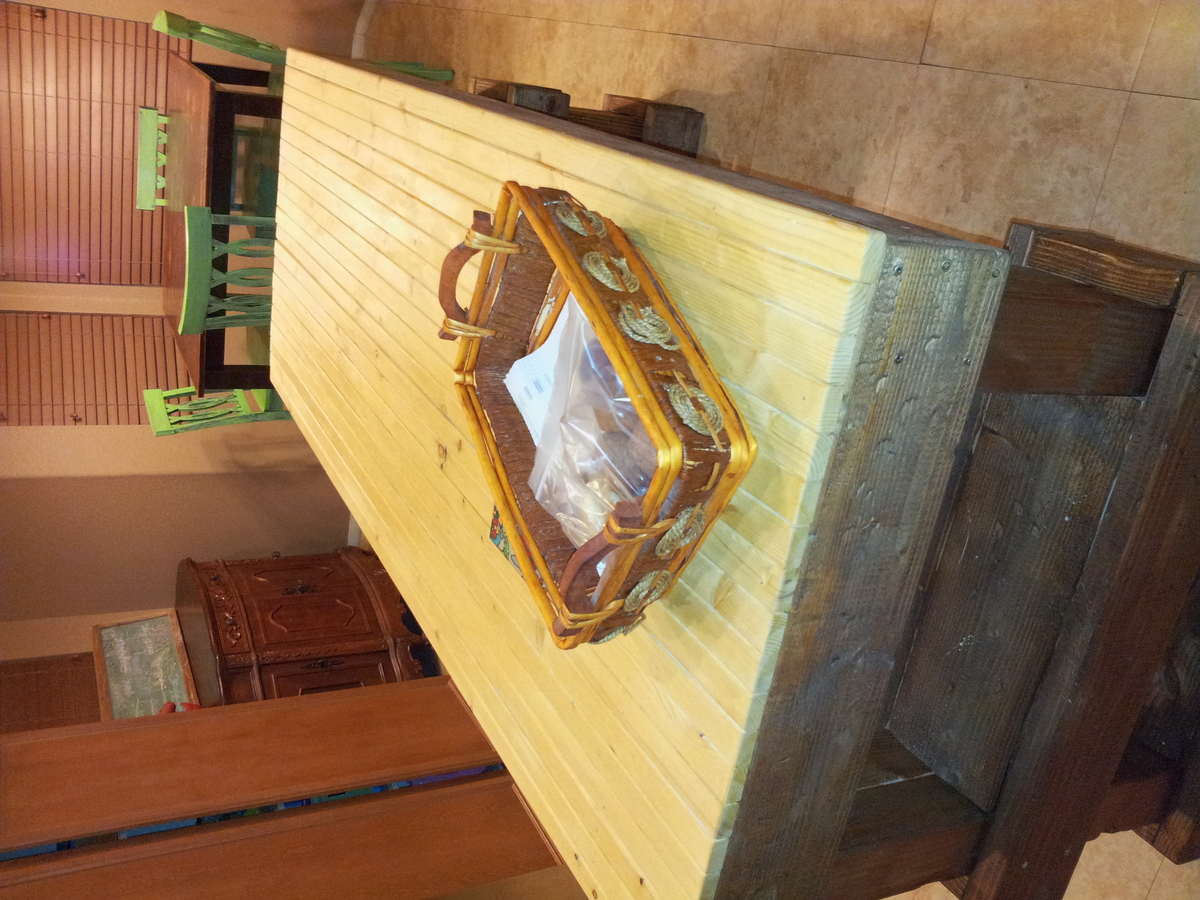
This was totally my first real build. Like most others I modified the plans to fit in my mother-in-law's dining room. I used 4x4s for the legs and built two benches to go with it.
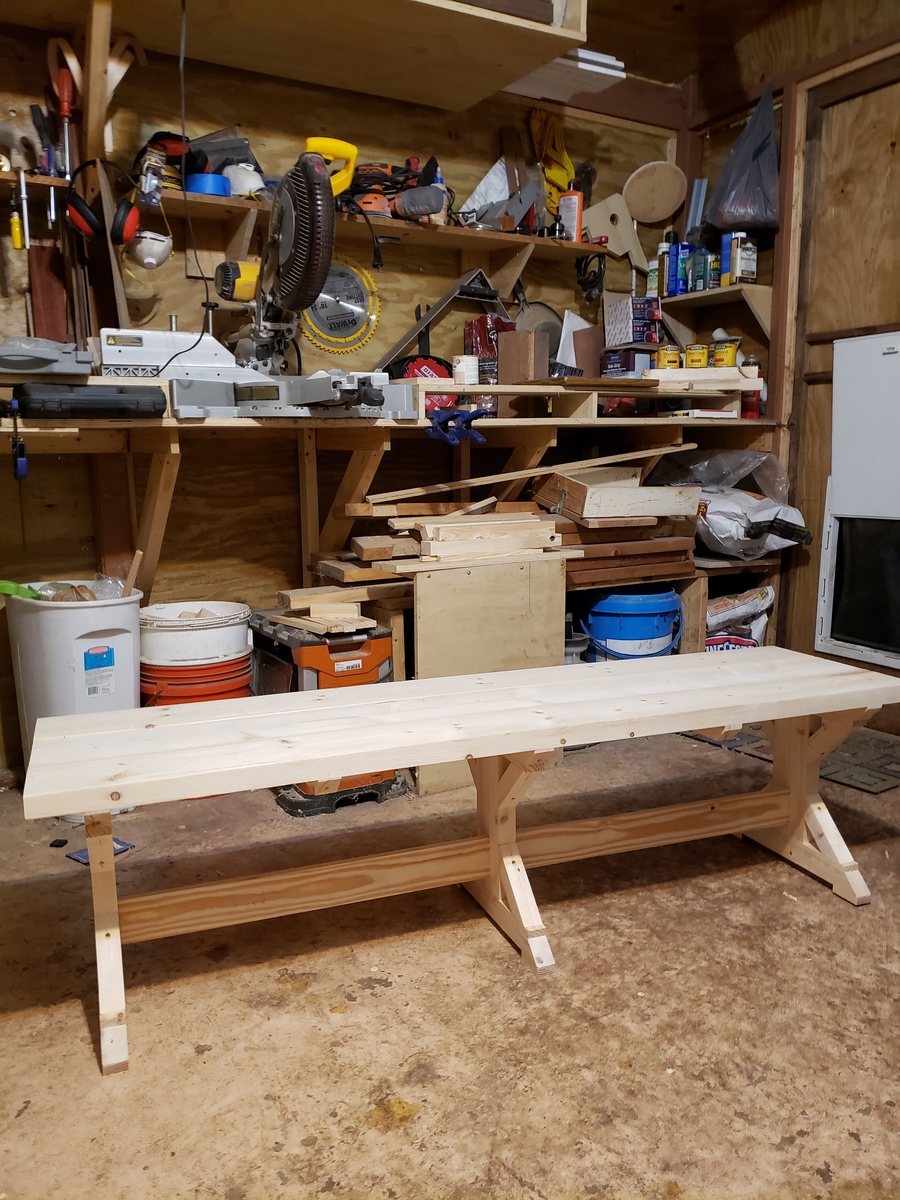
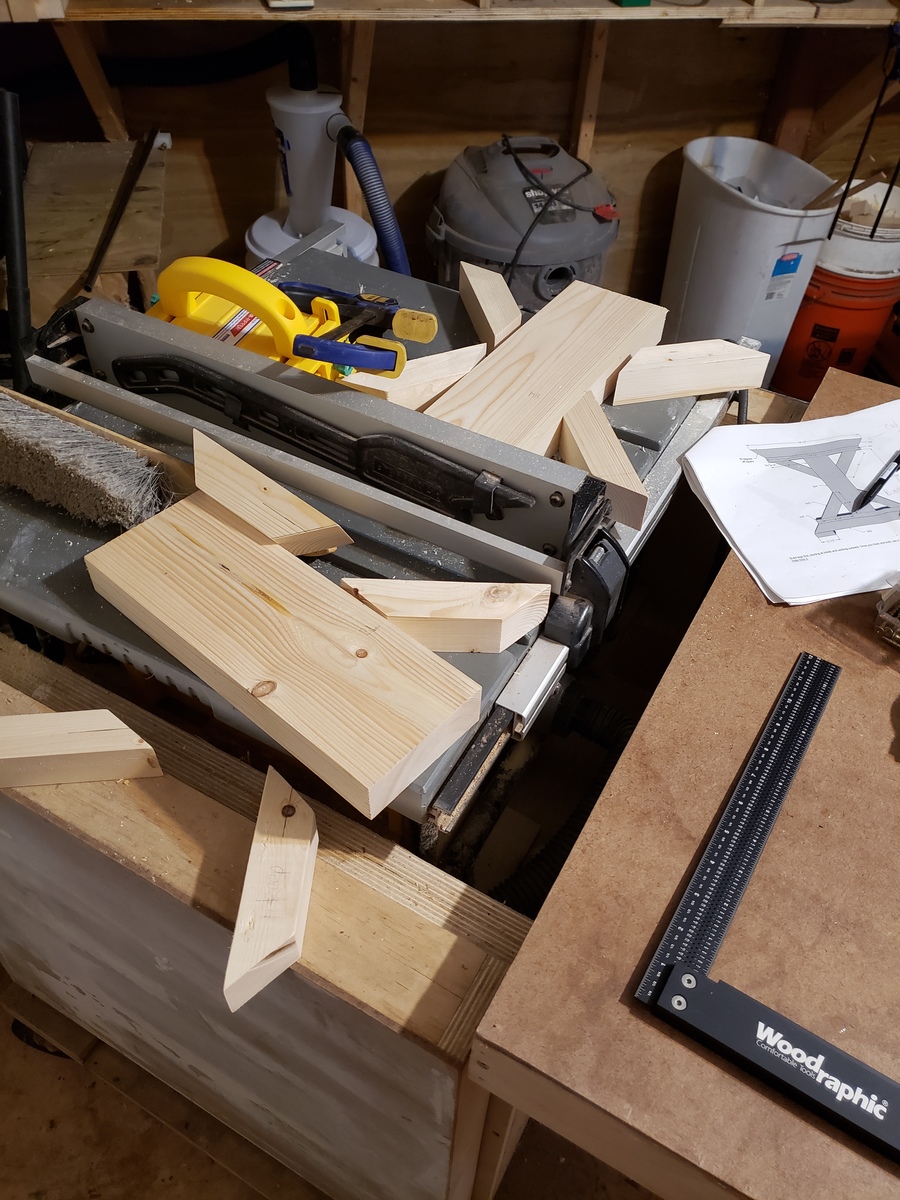
This was my first real project from start to finish. We bought rough lumber from The Home Depot. Between having a toddler, tweenager and a life it took about a month of sporadic work but it was a great bonding project for my husband and I. Guess the overachiever in me should have seen that one coming, I wanted have the full experience of jointing our own wood. I learned a lot and had a lot of fun working with the table saw, miter saw, jointer, and kreg jig, all of which my husband already owned. I did not use any glue on this project simply because I wanted to avoid the mess. The best part about this project was the easy measurements..I'm not too good with the confusion. It made it so much easier when cutting, specifically the 45degree angles.

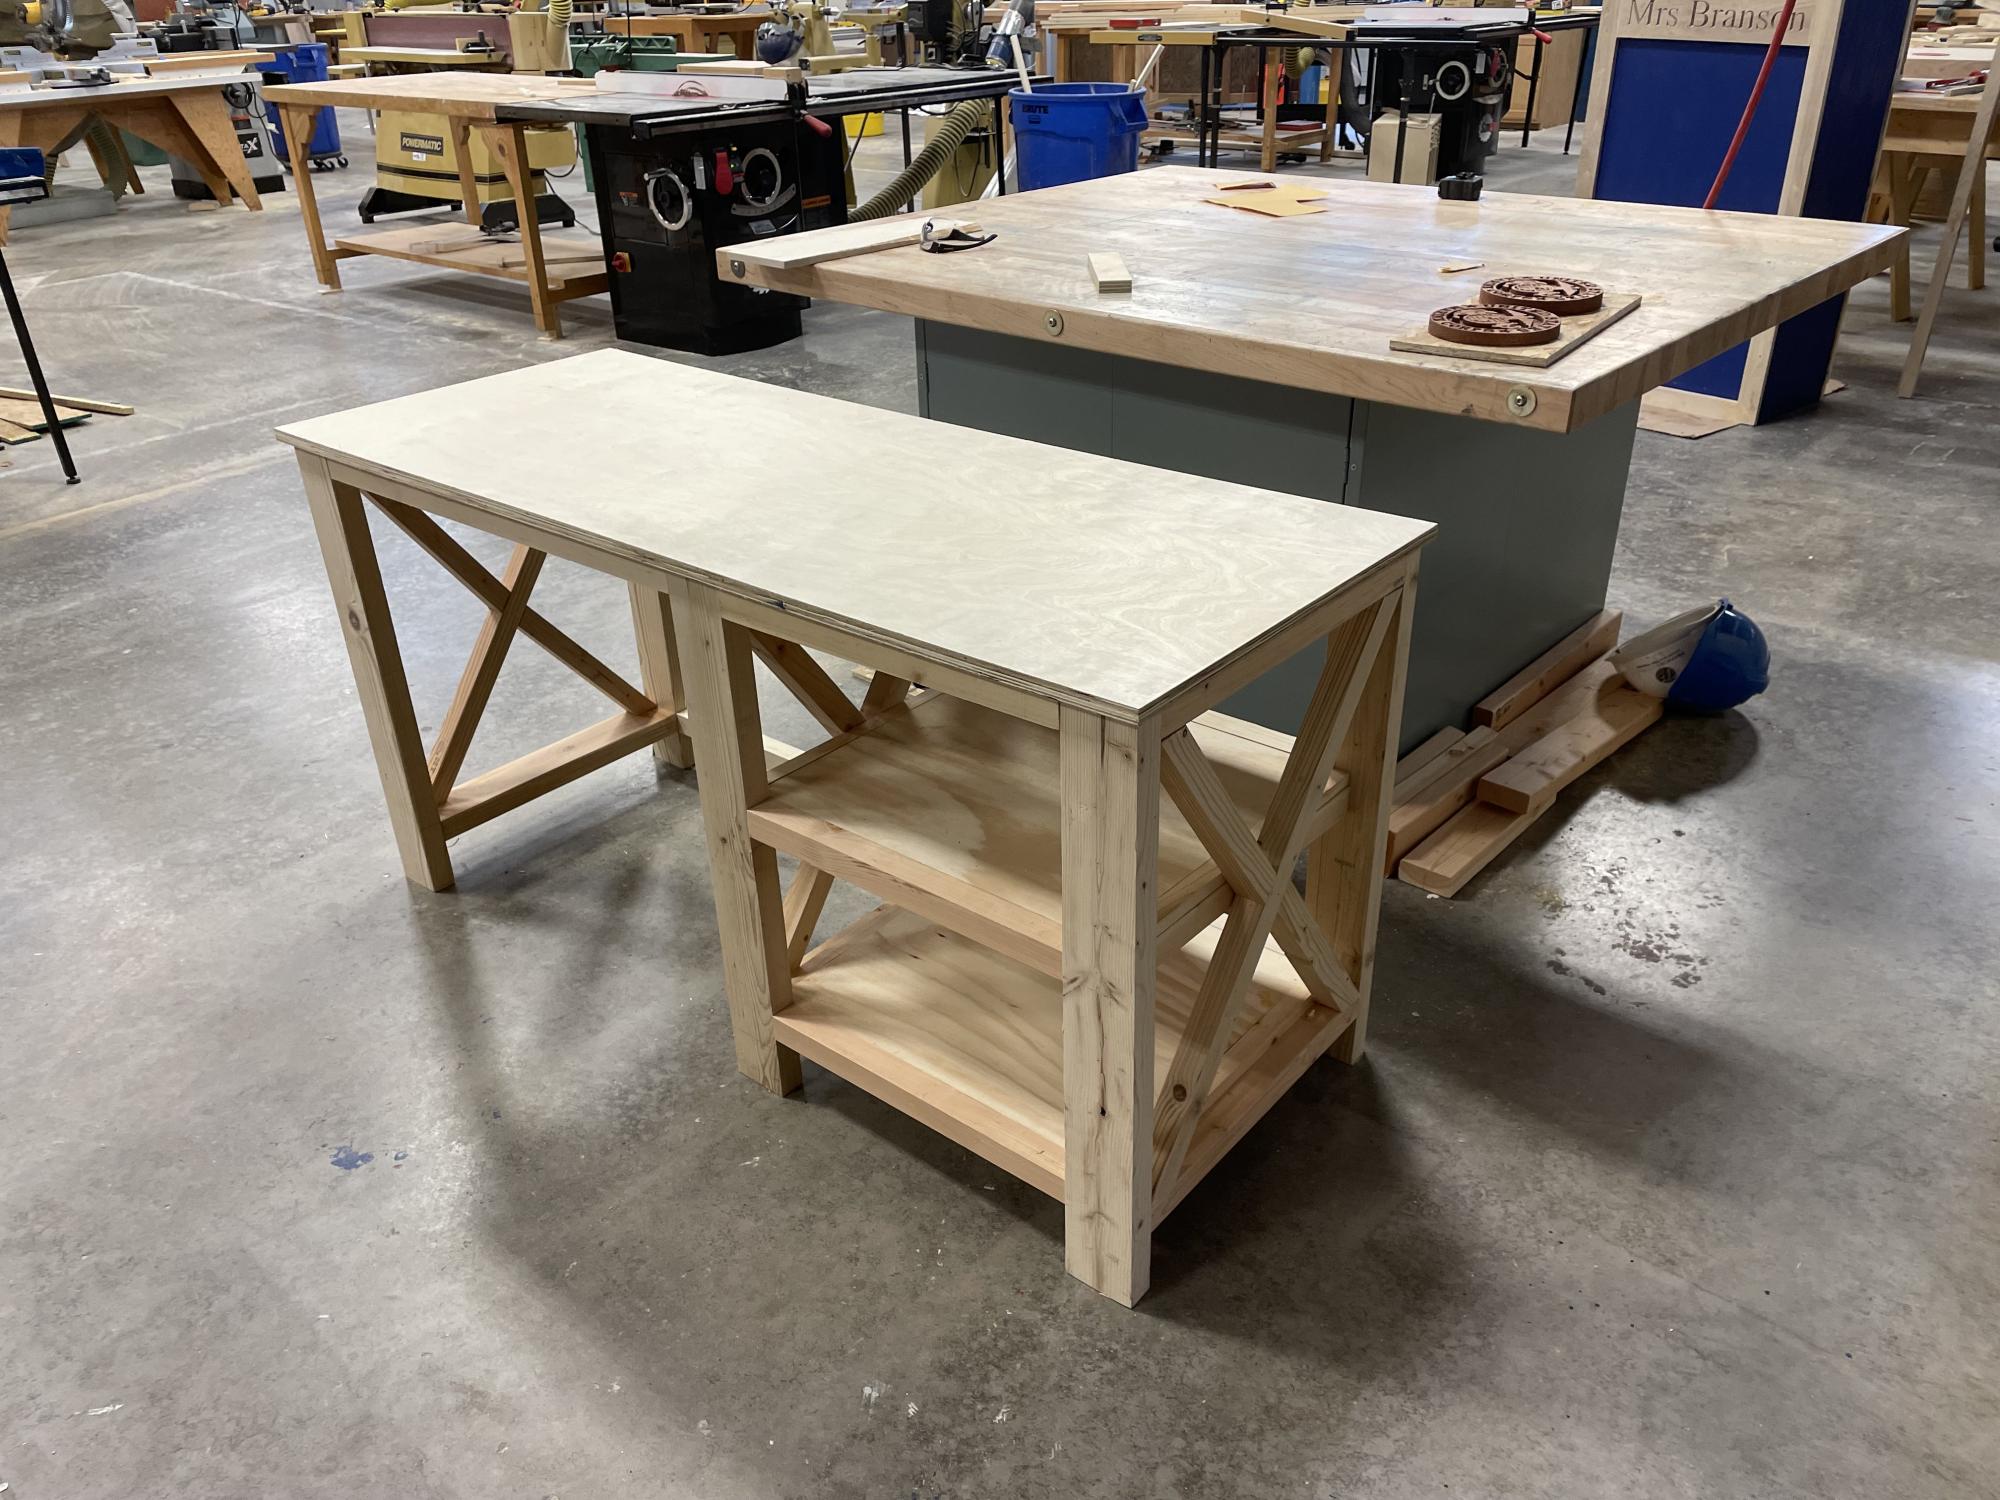
I'm a student at a local votech. Built this for a neighbor.

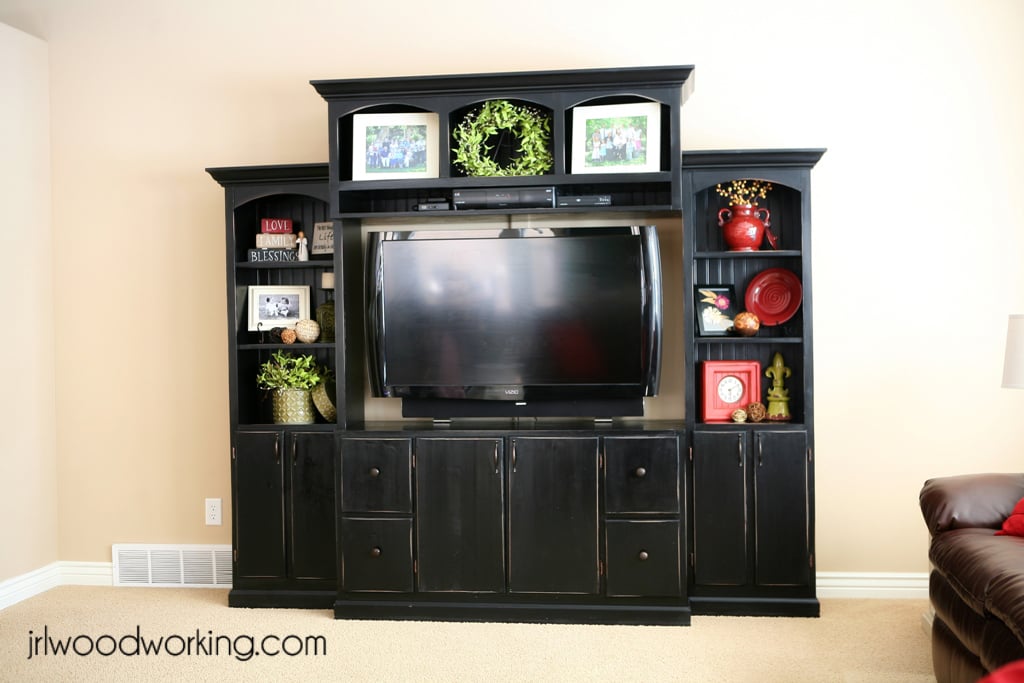
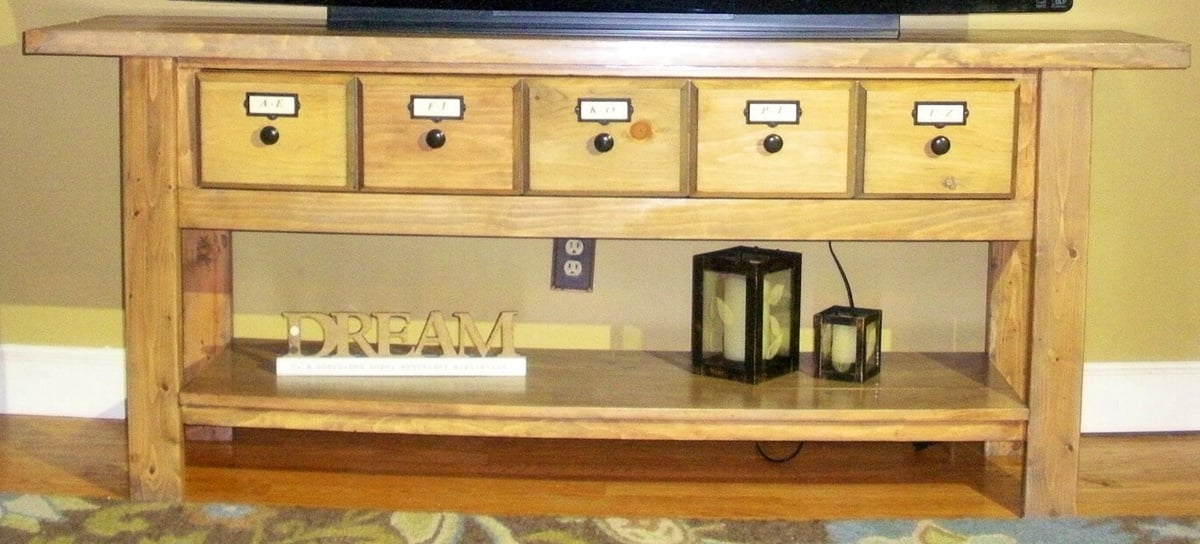
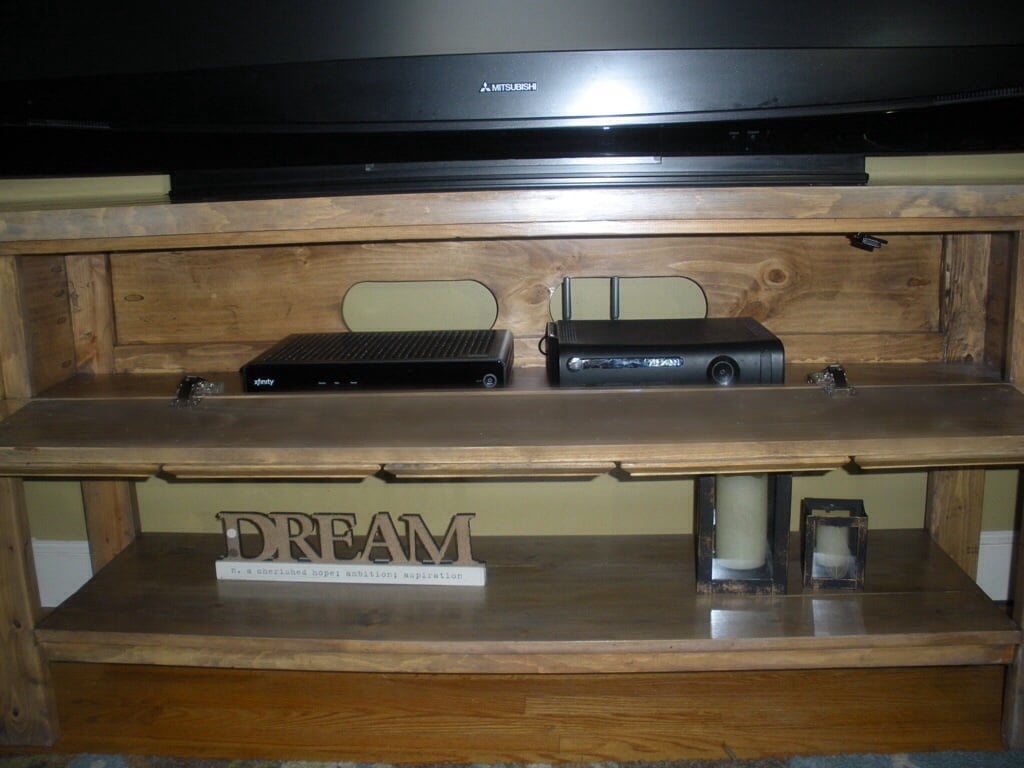
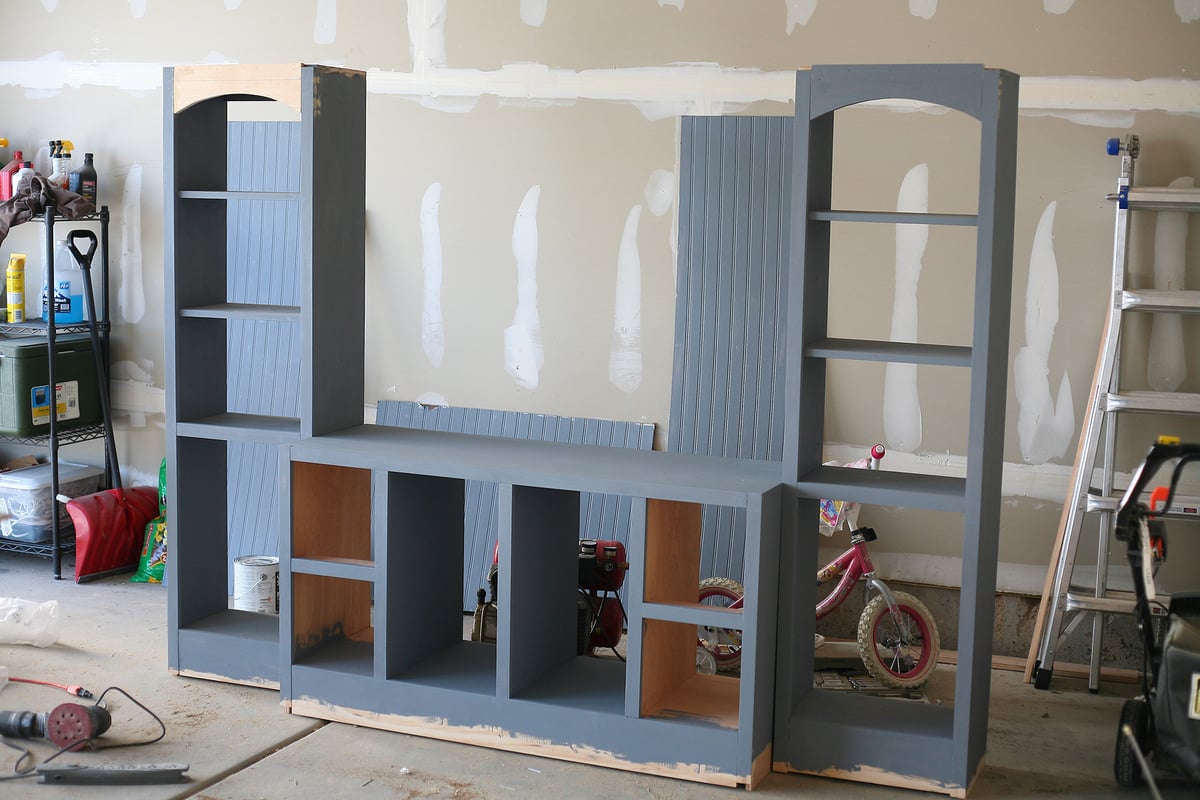
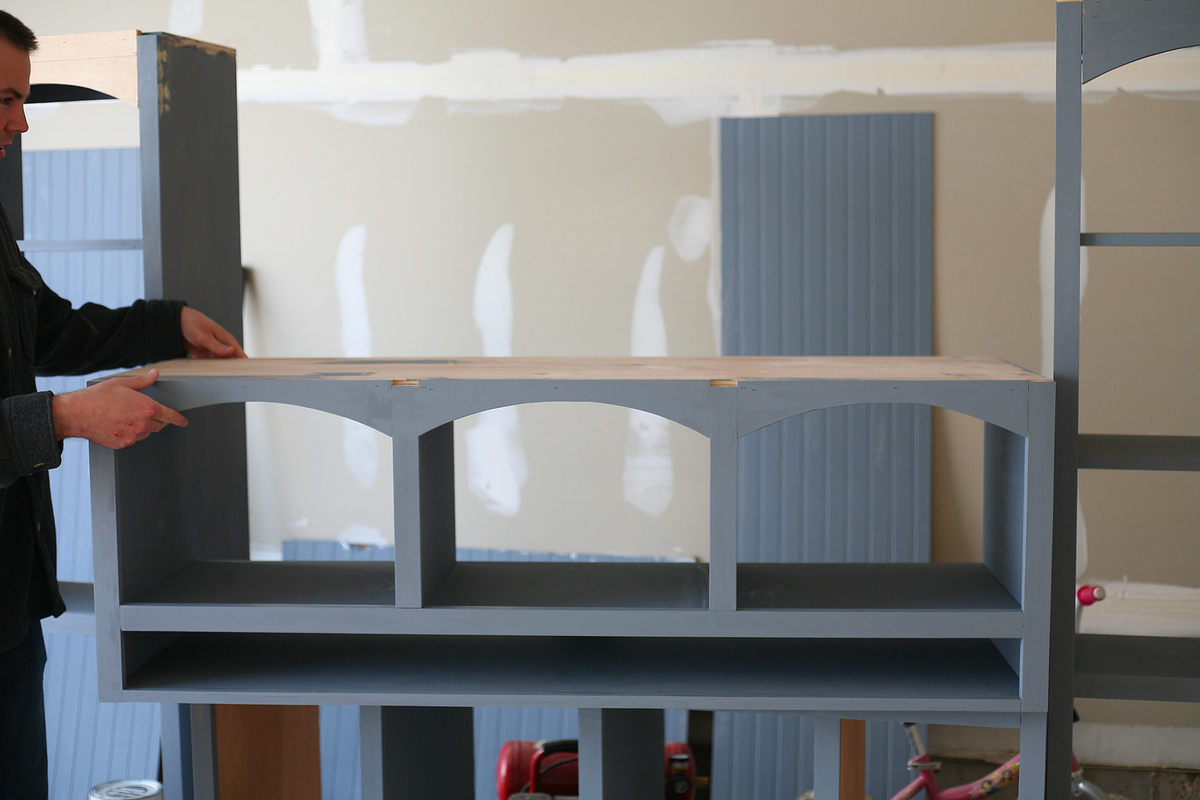
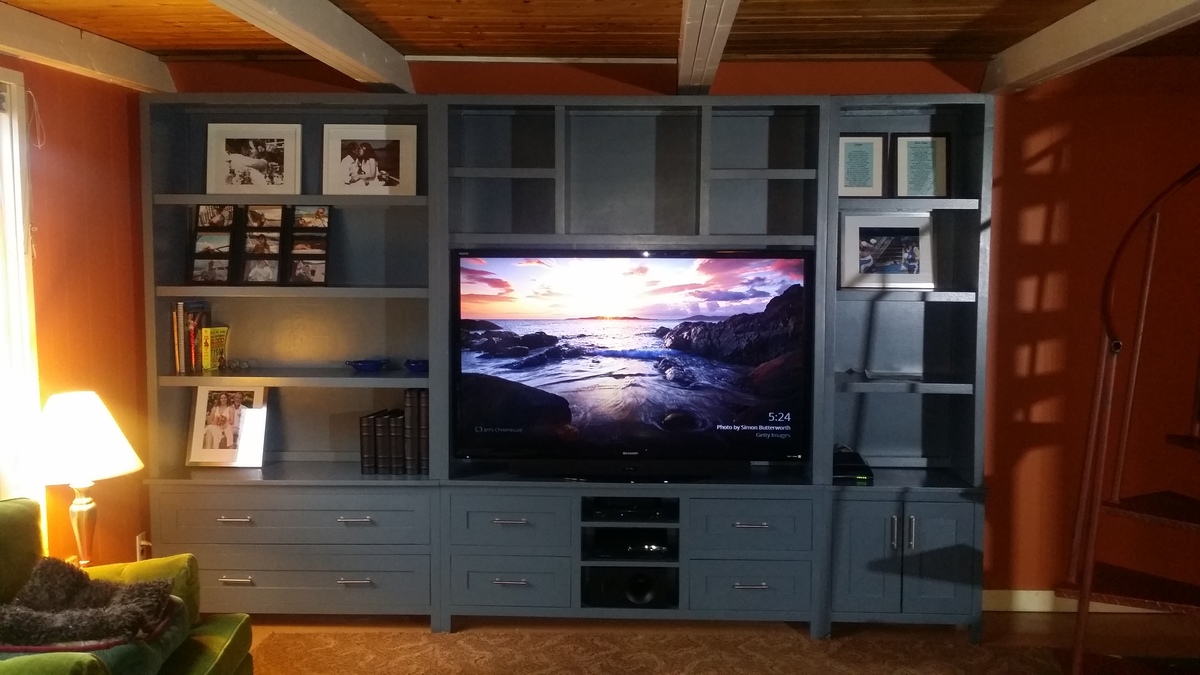
We purchased our first LCD TV, which meant we needed a new entertainment center to put it on. We looked at quite a few furniture stores and couldn't believe the price tag on the big centers. I wanted more than just a TV stand, so I convinced my husband to help me build an entertainment center ourselves. I looked at a lot of different entertainment centers, even a few on this site, and then I drew up a picture of what I was envisioning, tweeking things here and there (I have three little kids so I needed to make sure the center piece was high enough to keep little fingers off my expensive TV, and I also knew I wanted all Satellite Receivers and DVD players out of reach), and we went to work figuring out dimensions. We designed the TV opening around the exact dimensions of our new TV (it's a 46" tv, if that helps you imagine the opening size) and then figured out the rest of the dimensions after that. Once we had the dimensions figured out, my husband went to work calculating what materials we would need. Then we got to work. We built the center in four different pieces (two side shelf units, the middle bottom stand, and the middle top piece). We spent every night for the next week working in the garage to build the entertainment center, and it turned out absolutely beautiful! And the best part? The price, of course. In total, we spent $546.00. That includes wood, trim pieces, paint, primer, hardware (knobs and hinges). Not too bad for a beautiful entertainment center made of real hardwood!


In reply to Wow! This is absolutely by Lori E (not verified)
Mon, 08/08/2011 - 12:14
Thanks!
Thu, 07/28/2011 - 09:38
This is beautiful! Do you have any tips on cutting and getting the crown moulding to fit right?
In reply to This is beautiful! Do you by Diana (not verified)
Thu, 07/28/2011 - 16:17
I was worried the crown and bottom moulding would be tricky, but it wasn't too bad. To make sure it all lined up perfectly, we screwed together all the pieces (the top center piece to the two side shelving pieces and then both the side shelving pieces to the bottom center piece) first. We had it all put together just as it would be in the house and THEN we measured and cut the crown and base moulding. I had painted all the moulding first and then just touched it up after we put it on the entertainment center. I think we wouldn't have been able to get it to line up perfect if we hadn't screwed it together first, screwing it together get it a nice snug fit.
Mon, 08/08/2011 - 07:16
If I didn't actually see the building process of the entertainment center, I wouldn't have believe you built it yourself!
In reply to Beautiful! by kaytrishjr
Mon, 08/08/2011 - 12:13
I wouldn't believe it either, if I hadn't been the one spending so many hours in the garage building and painting! Thank you! :)
Wed, 08/10/2011 - 13:59
This is exactly what I need! Happen to have the dimensions? I know I could modify it to fit our TV but I'm really wondering how deep your side bookcases are. Thanks!!
Wed, 08/10/2011 - 14:16
Thank you! The dimensions are as follows:
Side Bookcases:
19.5" Wide
12" Deep
72" Tall
Center Piece:
54" Wide
19" Deep
84" Tall
Hope that helps!
Wed, 08/10/2011 - 14:35
I appreciate your quick response and help!! We're in the process of planning this one right now! :)
In reply to Fabulous!!! by sdking1981
Thu, 01/03/2013 - 10:23
We finally got cracking and put together formal plans to build this piece. Go to our website to see them, here's the link:
http://www.jrlwoodworking.com/2012/12/furniture-plans-custom-entertainm…
Good luck! Let us know if you build it!
Wed, 08/31/2011 - 23:53
Wow! Your entertainment center is beautiful and seems wonderfully functional! Just wondering what the height is of the ledge for the TV in the center console. We have little ones too and need TV and componenets to be out of reach! Also, would you mind sharing which plans you used as inspirations for each part? I think it is the Basic Collection for the bookcases and the Tommy for the center? Is that correct?
In reply to Height of TV Ledge by Guest (not verified)
Wed, 01/18/2012 - 14:19
Hi, sorry for the slow reply! I am not 100% sure (I can't find my tape measure!) but I think the TV ledge is either 30 or 36 inches high. I wanted it high enough that it wouldn't be hard to watch the TV while sitting, but enough that it would be hard for little fingers to touch the TV.
Mon, 11/21/2011 - 16:24
Hey Kristen,
Your entertainment center looks beautiful!
Did you use Pine wood for the entire project or did you use plywood for the top of the side book cases and the top part of the Media center. Did the paint cover up all the knots?
In reply to Wonderful/Question by azca33 (not verified)
Wed, 01/18/2012 - 10:59
Thank you! We used plywood on part of it, mostly for the center pieces. If I were going to do it again, we would have used plywood more because it was knot free and much straighter. The paint did a good job covering up the knots, and I am overall really happy with it!
In reply to Wonderful/Question by azca33 (not verified)
Wed, 01/18/2012 - 11:00
Thank you! We used plywood on part of it, mostly for the center pieces. If I were going to do it again, we would have used plywood more because it was knot free and much straighter. The paint did a good job covering up the knots, and I am overall really happy with it!
Sun, 01/01/2012 - 16:27
My husband was sure we wouldn't be able to tackle building an entertainment center until we saw your photos. We are excited to take on this project. Yours turned out beautifully! Can you fill us in on the finishing that took place after this blog ends: doors, etc.?
In reply to Doors, etc. by JennieB (not verified)
Wed, 01/18/2012 - 14:22
Thank you, we love it! And we loved building it ourselves and saving a ton of money while we were at it. Sorry for the slow reply on this as well. We cut and measured the doors, gave them a simple finish by routering the edges, and hung them. For the drawers, we build a basic box, added the runners, and then finish nailed the drawer front onto the box. They work perfectly! I distressed all the edges once everything was completely finished and hung.
Wed, 01/18/2012 - 06:52
What is the style/ color of knobs and pulls you used on this project. I am in process of building this. ALso, what is the cherry stain? Did you use that on the distressed parts of the center??
Thanks for your help!
Chris
In reply to Entertainment Center/ Apothecary Center by Chris Manitz (not verified)
Wed, 01/18/2012 - 14:27
Congrats on building the entertainment center! You will love it! I ended up using brushed bronze knobs and hinges (similar to this: http://www.handlesets.com/rusticware-950-1-1-4-modern-mushroom-knob-fro…). They turned out perfect with the black paint. They stand out enough, but not too much to distract. As far as the stain, I just used a Minwax Cherry gel stain. I would wipe it on the areas I had distressed (around the drawers, cabinet doors, edges, etc.) then let it sit for awhile and then I wiped it back off. It gave the distressed areas enough color to not look raw, but it still stands out. I hope that answered your questions!
In reply to Plans by Jeff (not verified)
Thu, 01/03/2013 - 18:35
Okay, the plans are now posted here:
http://www.jrlwoodworking.com/2012/12/furniture-plans-custom-entertainm…
Hope that helps you out!
In reply to Plans by Jeff (not verified)
Thu, 01/03/2013 - 10:23
We finally got cracking and put together formal plans to build this piece. Go to our website to see them, here's the link:
http://www.jrlwoodworking.com/2012/12/furniture-plans-custom-entertainm…
Good luck! Let us know if you build it!
In reply to entertainment center by Brandi Vancott (not verified)
Thu, 03/01/2012 - 18:56
No, sorry, there are no official plans for this. I just drew a picture of what I wanted and my husband calculated everything out from the picture. The general dimensions are listed above, though, if that's any help!
In reply to Love this by Carey (not verified)
Tue, 02/25/2014 - 13:36
Yes, you can find the plans at http://www.jrlwoodworking.com. Best of luck!
Fri, 03/02/2012 - 16:40
You guys did a beautiful job! I am so glad to see someone built almost the exact unit I was picturing. :) Ana's inspiration strikes again!!! I didn't see one, so wanted to ask if you blogged this elsewhere so I can read more details about the process. Thanks!
In reply to You guys did a beautiful job! by Cheramie (not verified)
Thu, 01/03/2013 - 10:24
We finally got cracking and put together formal plans to build this piece. Go to our website to see them, here's the link:
http://www.jrlwoodworking.com/2012/12/furniture-plans-custom-entertainm…
Good luck! Let us know if you build it!
Mon, 12/31/2012 - 13:40
Okay, I finally posted (actually, my husband did) plans for our entertainment center. They can be found on our woodworking blog here: http://www.jrlwoodworking.com/2012/12/furniture-plans-custom-entertainm…
Please take a look at them and let me know if you have any questions. Hopefully this will help other to build their own similar projects.
Sat, 03/16/2013 - 15:53
I love the the shelf above the TV. If you make that shelf about 6 inches tall, you would have enough room for a center channel speaker, or for an XBox Kinect.
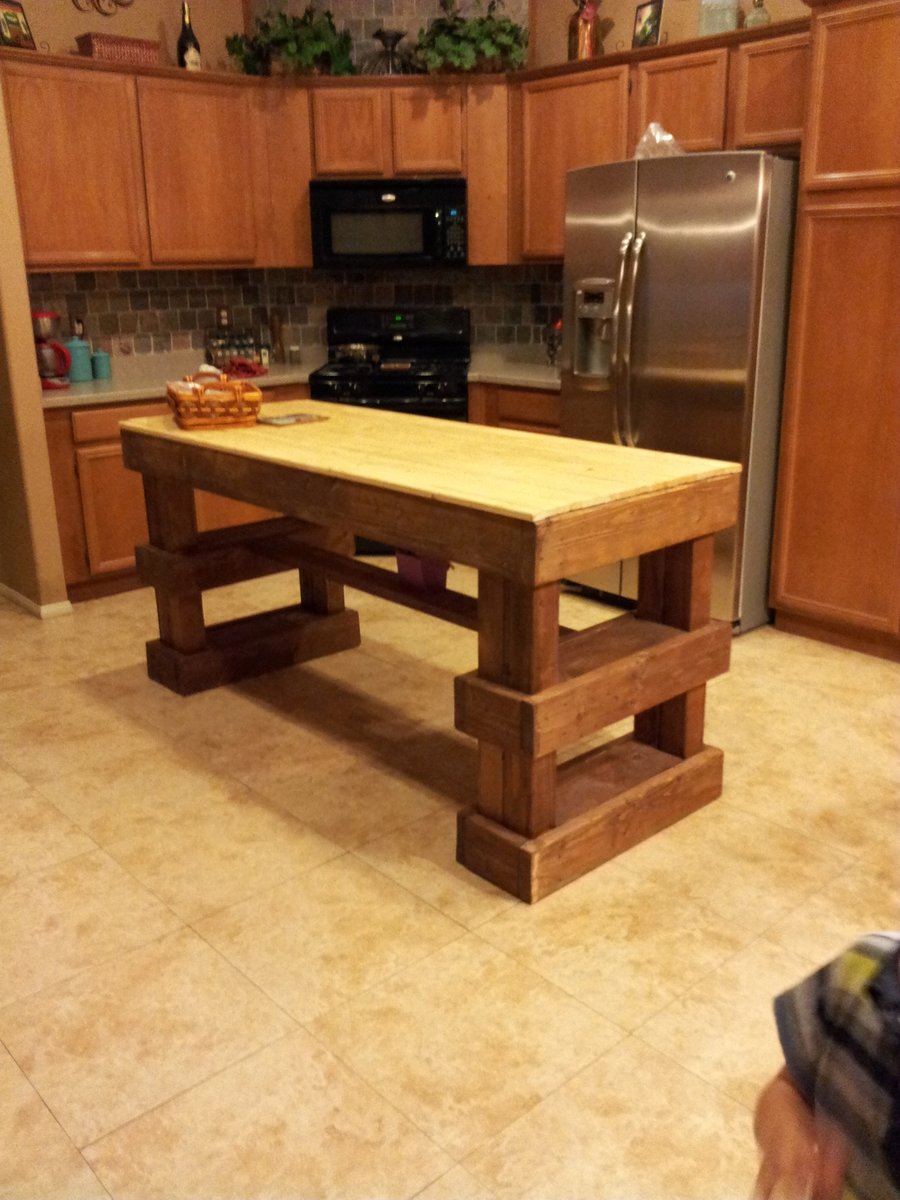
I wanted a Super Rustic and Super Chunky Island with out the Super High price tag. So I turned to pintrest for inspiration. I switched up a few things , but the end result was EXACTLY what I was looking for. Score!!!!

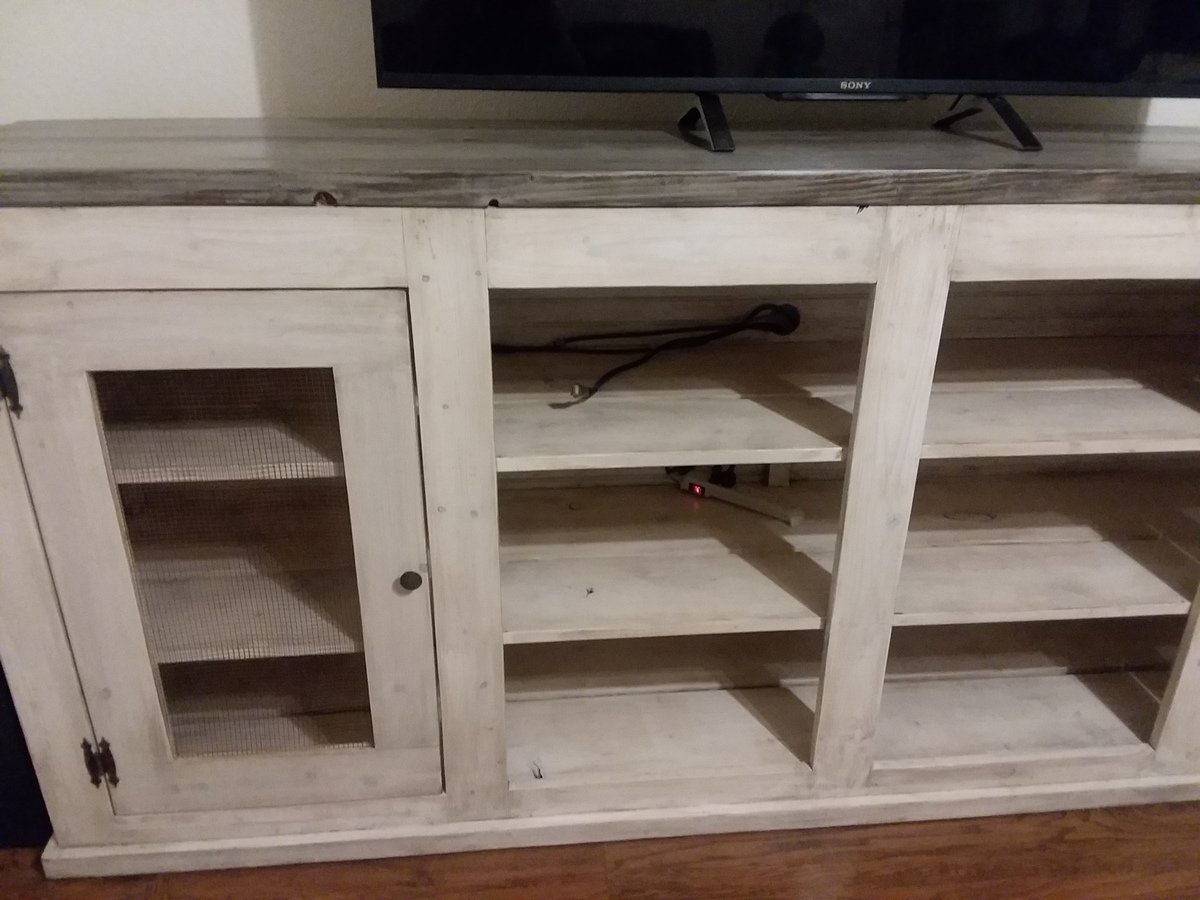
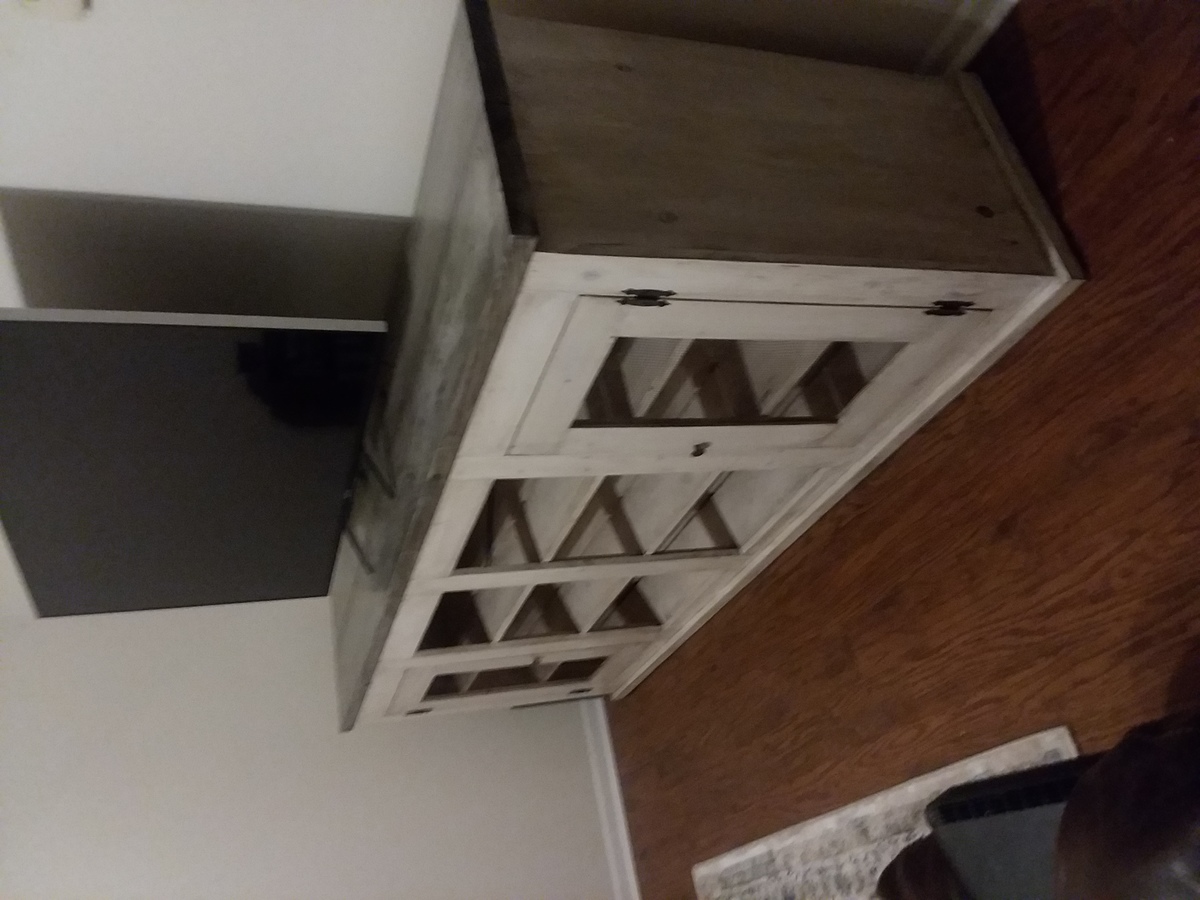
I went with inset doors with chicken wire instead of the sliding barn doors, and I added an additional shelf.
Thanks for these plans! Worked perfectly. One day build.
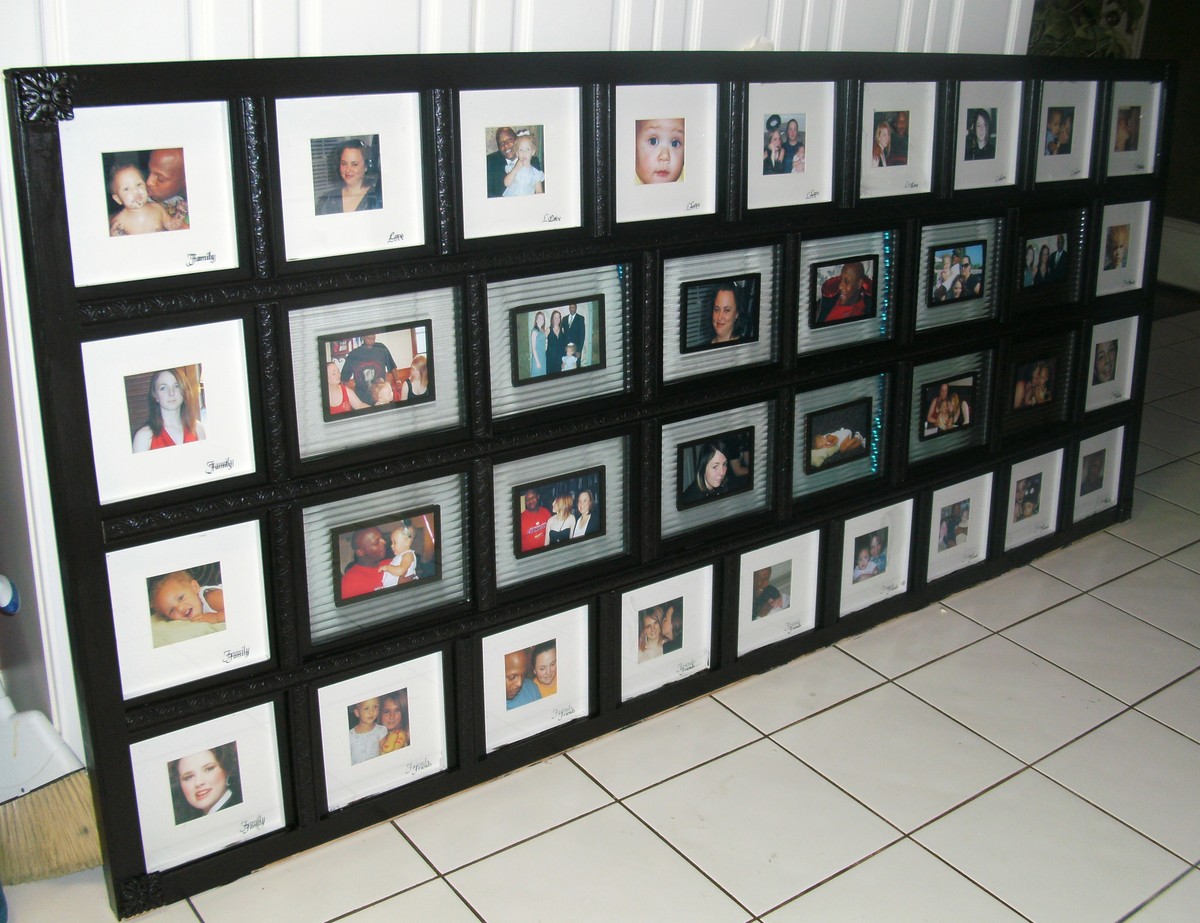
I constructed this generous sized king-size headboard (tagged "Sweet Dreams") from a large number of beautiful deep discounted photo frames (pretty matting, exotic glass, all black purchased from Kroger for $1 each on a clearance rack) and featuring favorite photos of my daughter (for whom the headboard gift was intended) and her husband and children. For little more cost in wood for the framing and rope lighting to provide a soft glow through the channeled glass that surrounded each photo in the center frames made this the perfect gift. When it was hung on the wall with legs for support and mounted on a "french cleat". I coupled the headboard with two beautiful black nightstands I bought from a yardsale and painted to match the headboard. Then we placed wrought iron candlelabras over each nightstand and VOILA! It is a beautiful beadroom! Total cost: approximately $60 Best footnote, the photos can be changed out to keep the headboard fresh and current. (Do know...this is VERY heavy and must be handled with great care because of all the glass in the frames.)

Mon, 08/01/2011 - 08:36
What a great idea. Would love to see a photo of all the projects combined for the full effect!
Tue, 08/02/2011 - 16:12
could you add some close ups and different angles please i really would like to see how this was done.
Wed, 10/17/2012 - 14:35
Unfortunately Luis, I do not have other photos of the headboard...none of the "construction process" nor other angles of the finished piece. The basic process was first knowing the average width of a king sized headbard, then acquiring the inexpensive photo frames and laying out the configuration you like best. Then I took 1"x1" 8 or 10 ft long pieces of unfinished wood and built a "frame" of horizontal pieces..first laying the wood on the floor, then putting the frames in their planned final arrangement by using cut pieces of 1x1 to put vertically between the individual frames to get the spacing correct. Then I put the end 1x1 pieces on to complete the 4 sided "frame". NOTE: I worked with the framing wood "face down" so that once the entire configuration was determined and all wood pieces were cut and in place, they could be joined together. I used glue and small metal plates that spanned the tiny joints and screws that made the joints more "permanent". Once all joints were finished, I used tiny wood screen moulding and glued it in place on two of the four sides of each opening (toward the back, precisely placed so that each photo frame fit flush with the face of the front of the frame). Then I painted the wood frame black (front, back, sides, top, bottom, etc). Once dry, I glued each frame in place in each opening. NOTE: Each frame, accessible from the back,allows for photos to be inserted and changed out. Finally I glued tiny wood medallion wood embellishments in each of the four corners and applied narrow wood trim that appears "carved" and three dimentional (using glue and tiny finishing nails) to the primary vertical and horizontal frame pieces. Then I carefully applied a final 2 coats of black paint. Lastly, on the back side, I took rope lighting "holders" that screw in place and mapped the hidden rope lighting and installed the rope lighting...out of view of the front view but where the soft light could illuminate the headboard. The final puzzle was how to put the headboard in place. First I built a wood rectangle the width of the headboard and the heigth I wanted the overall headboard to be and glued and screwed the base together...and painted it too. Then I made a "french cleat" that is simply a 2x4 cut at an angle so that when one piece is permanently attached to the back of the headboard with screws. Attach the other half to the wall, screwing it into the wall. Then 2 people can lift the heavy headboard onto the wall cleat. The base should rest on the floor and the cleat holds it to the wall. NOTE: You can google "french cleat" an look at photos and note instructions to see how to do this part. Hope all this helps. I will be glad to answer any other questions. Good luck.
I used 2 x4 x8 cedar instead of the the 1x4x8
I followed the basic plans but adapted it to fit in my cabin. The whole unit is 82" high by 126" wide. I also put in more drawers and made the fronts in a shaker style. I used 2x4's that I ripped down to 2x2's and 3/4 inch birch plywood. I trimmed out the birch with 1" pine boards. I sanded the whole unit, primed with an oil primer and painted 2 coats of latex from General Paint in Grayling. I don't know how many hours I put into it. A lot. Probably around 80. Mostly by myself. My husband helped with getting the 4x8 sheets of plywood through the table saw and occaisonally when I needed a 3rd hand to pursuade some wood to do my bidding. I love how it turned out. Tons of much needed storage in my cabin.
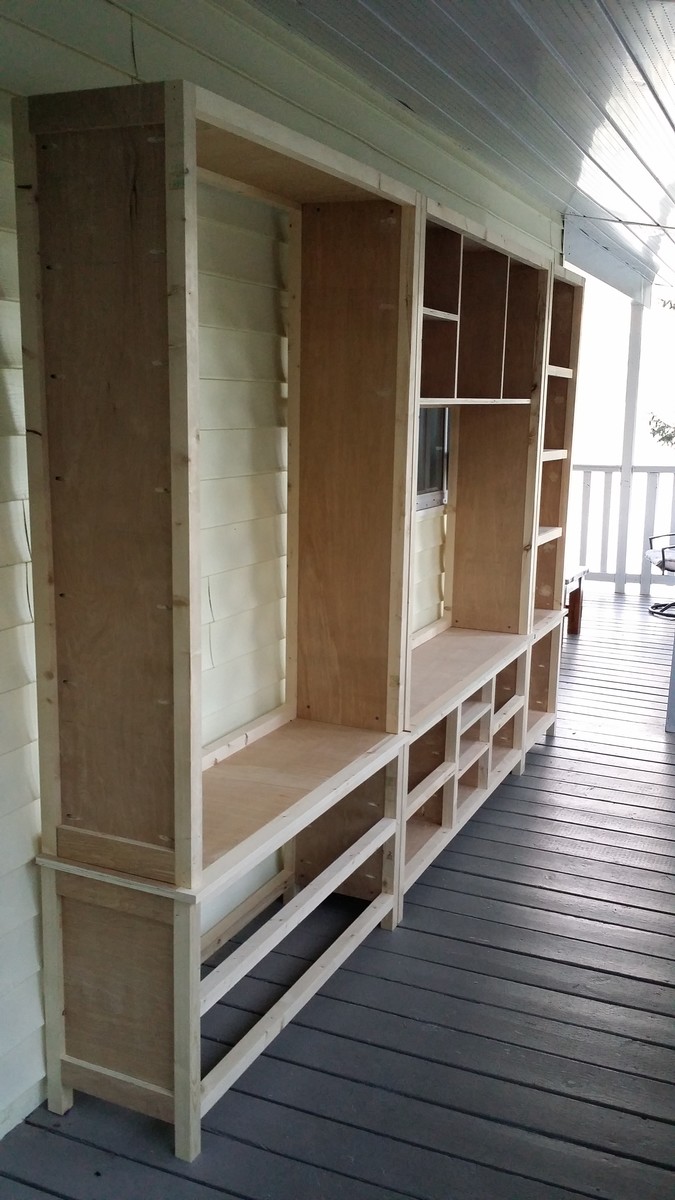
Mon, 10/12/2015 - 12:08
That looks fantastic, love all of the storage! Thanks for sharing!
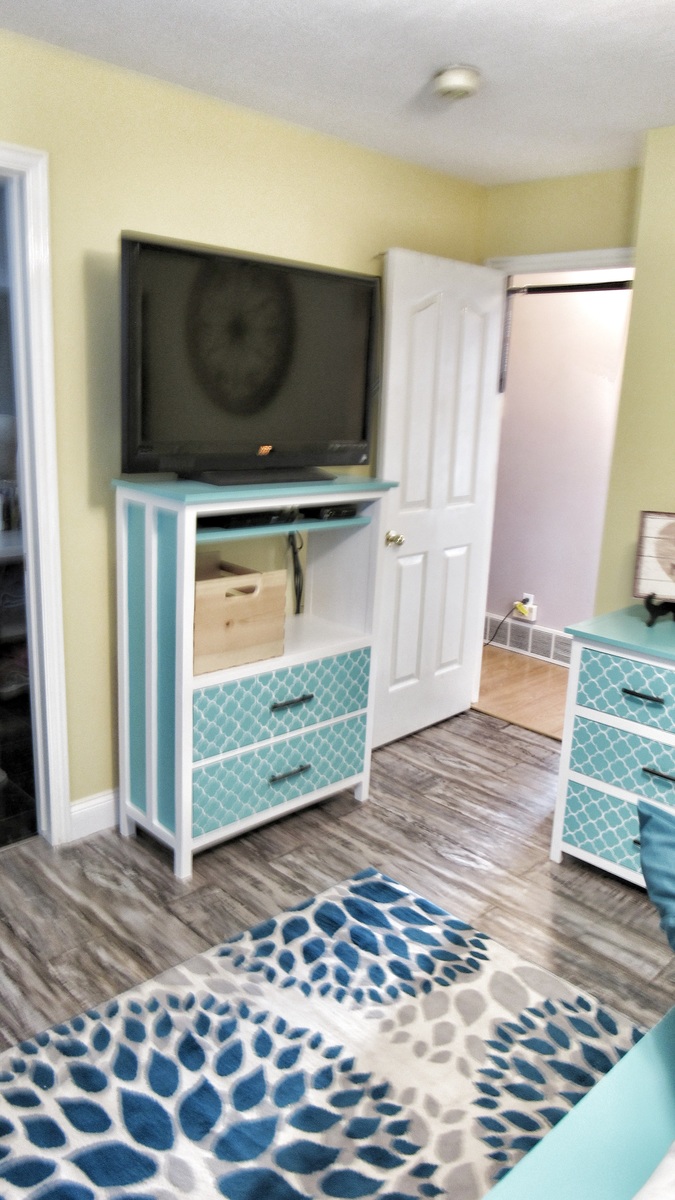
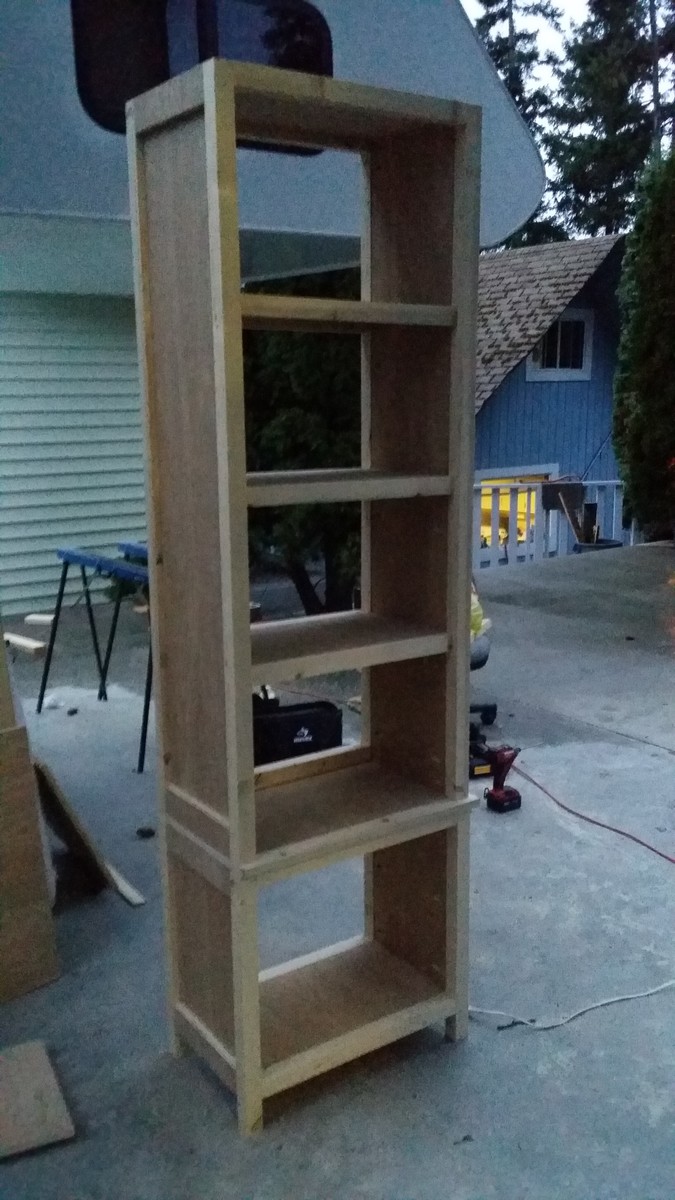
Modified the plans to have sides like the wide cabin dresser, and took out top two drawers for media center
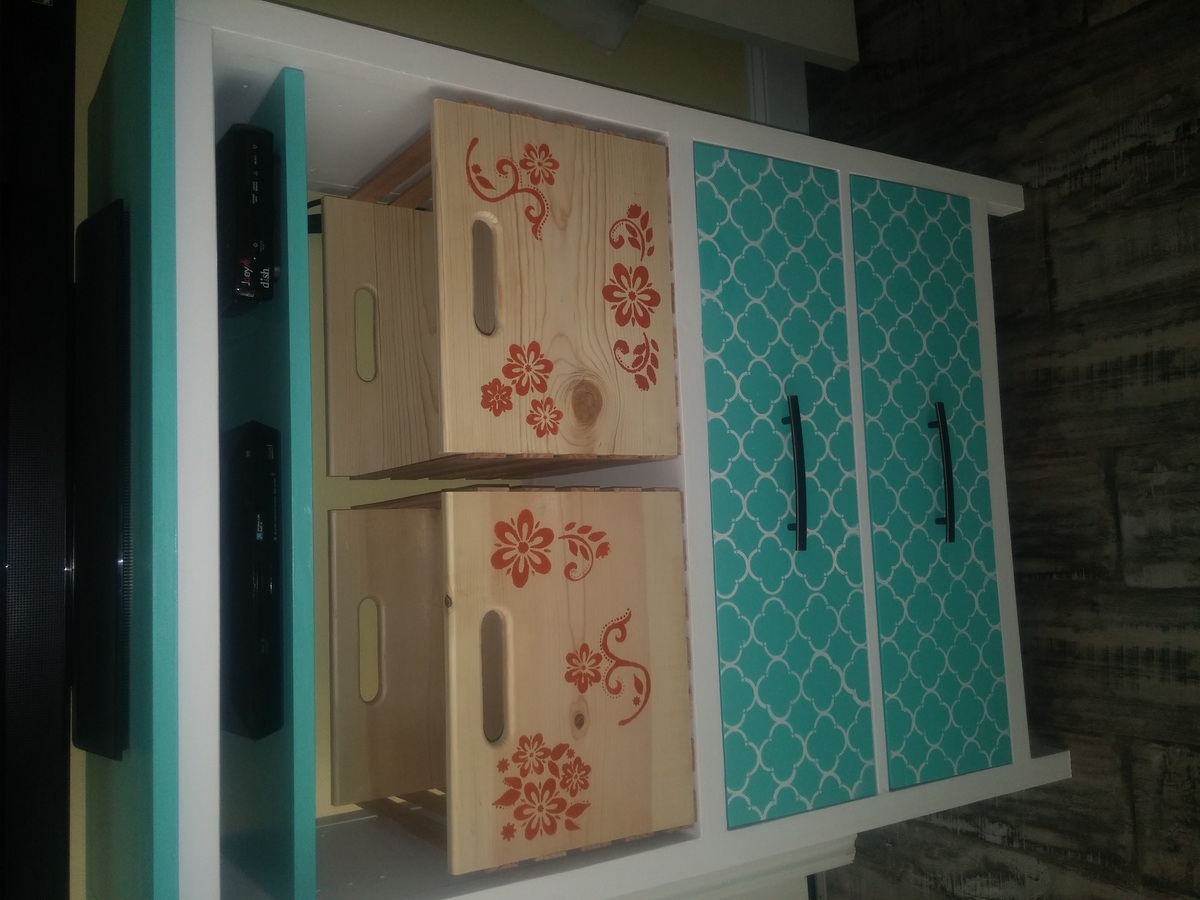
Wed, 11/14/2018 - 05:54
Thanks, the stenciling about killed me... Stupid OCD... lol

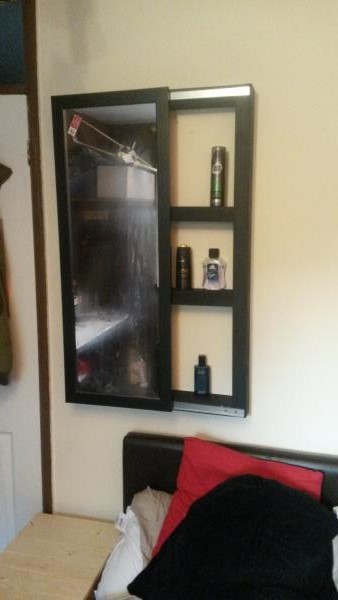
I made this for my Mom as a birthday gift. I adjusted the dimensions a bit to accommodate the window, gave it a shabby chic look, and then added some decorative hardware. Very happy with the result!
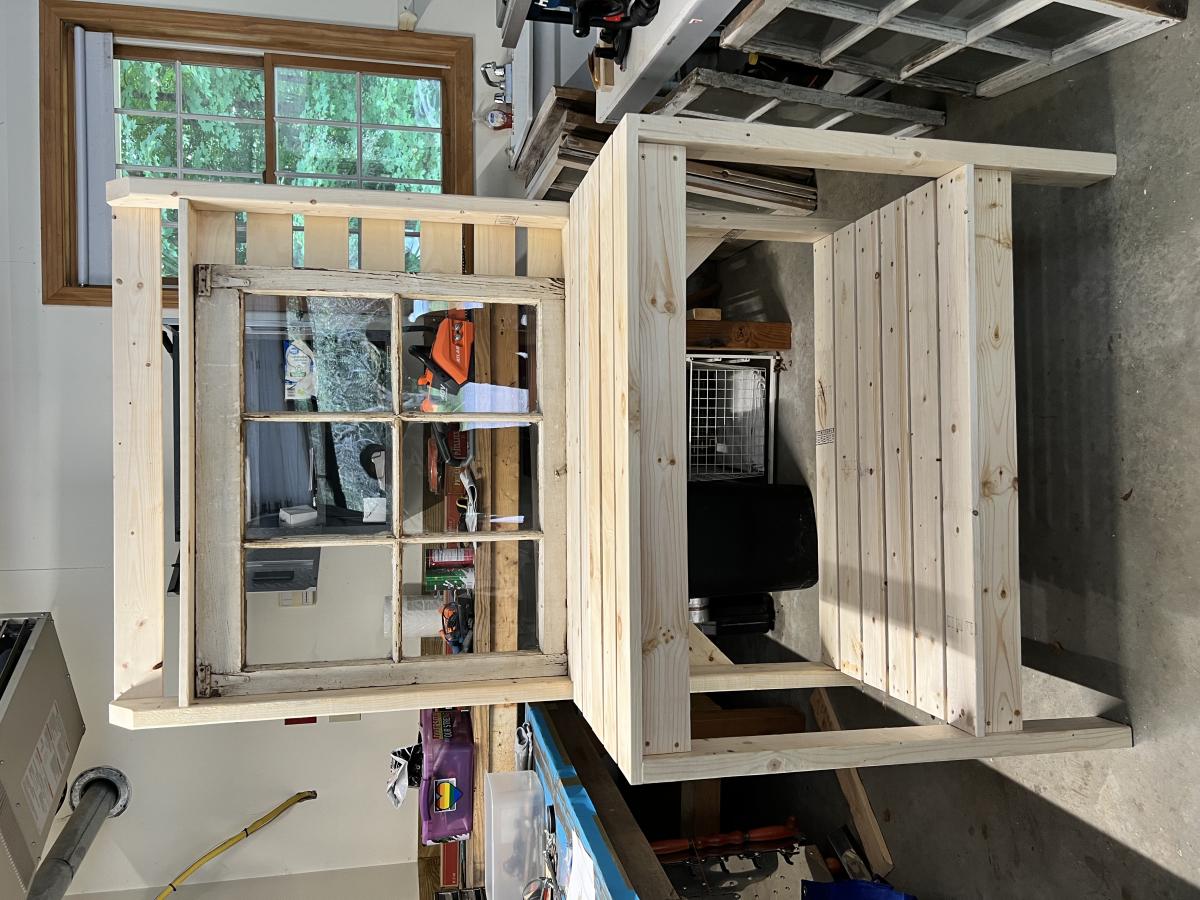
Mon, 07/25/2022 - 21:43
The end result is fantastic. I am sure your mother is thrilled! Thanks for sharing:)


Comments
Ana White Admin
Wed, 06/08/2022 - 14:01
AWESOME!
Thank you for sharing, it looks amazing!