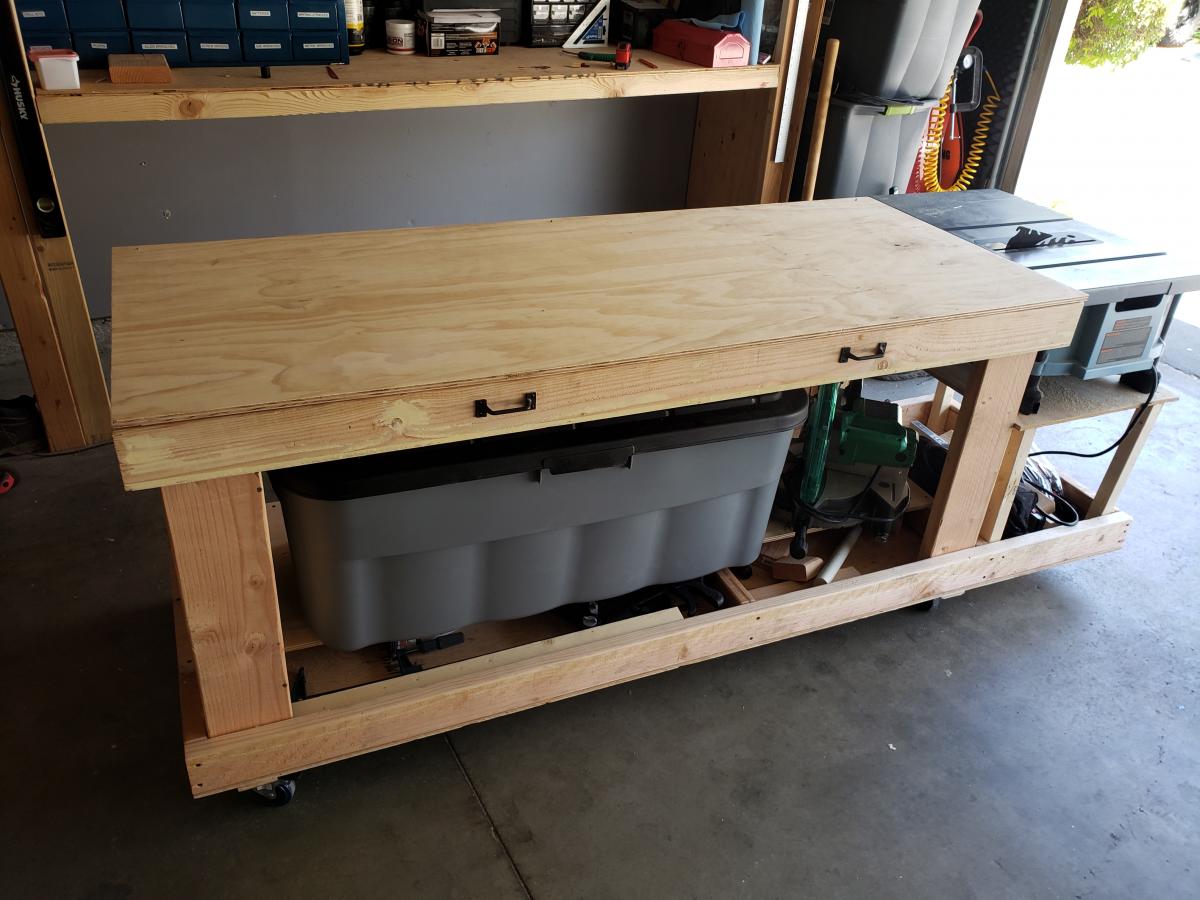
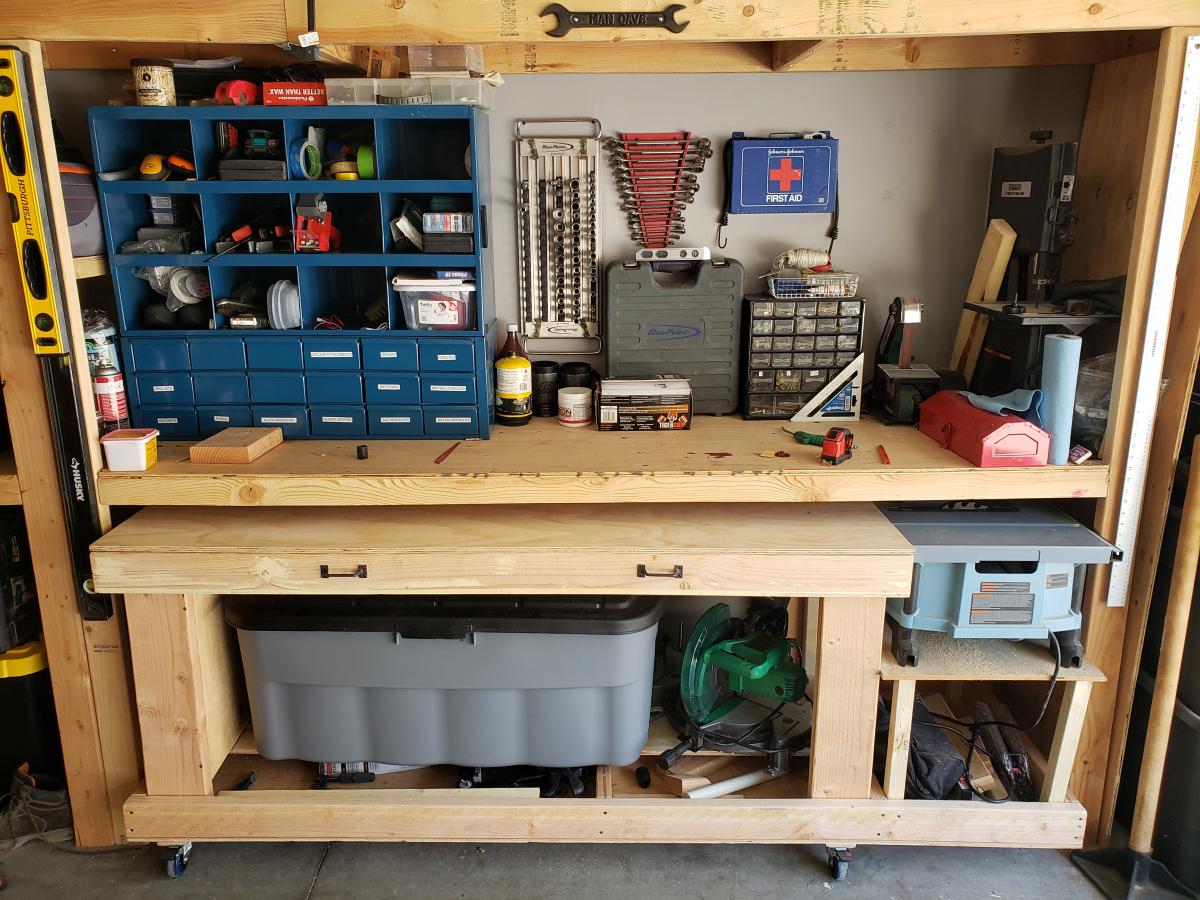
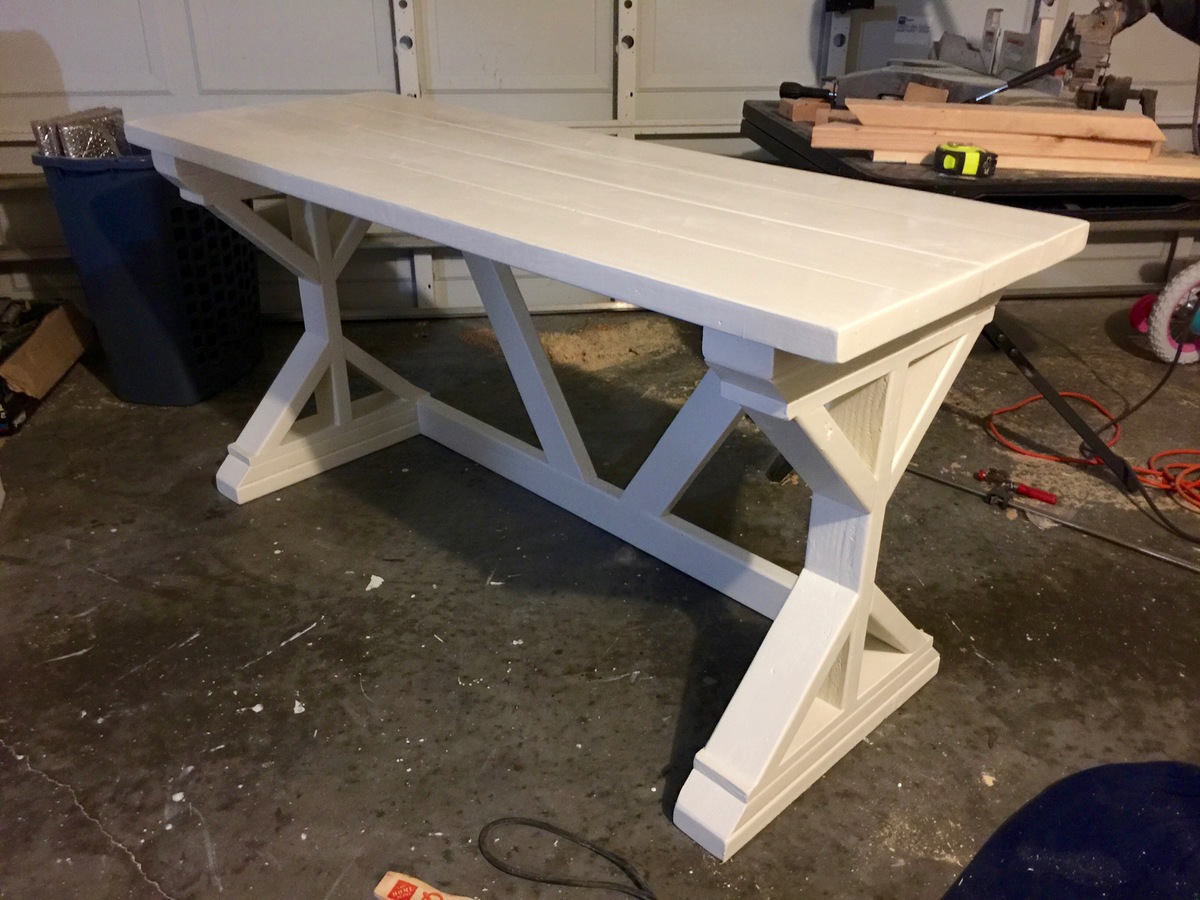
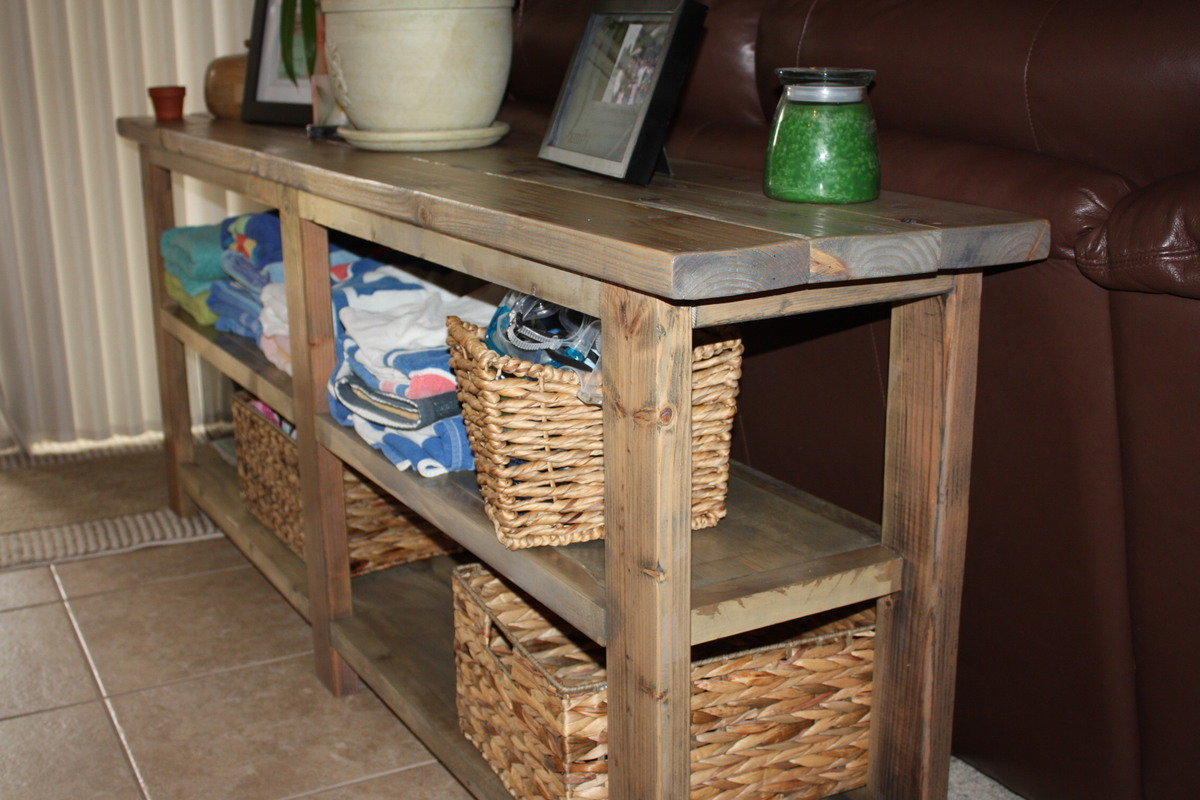
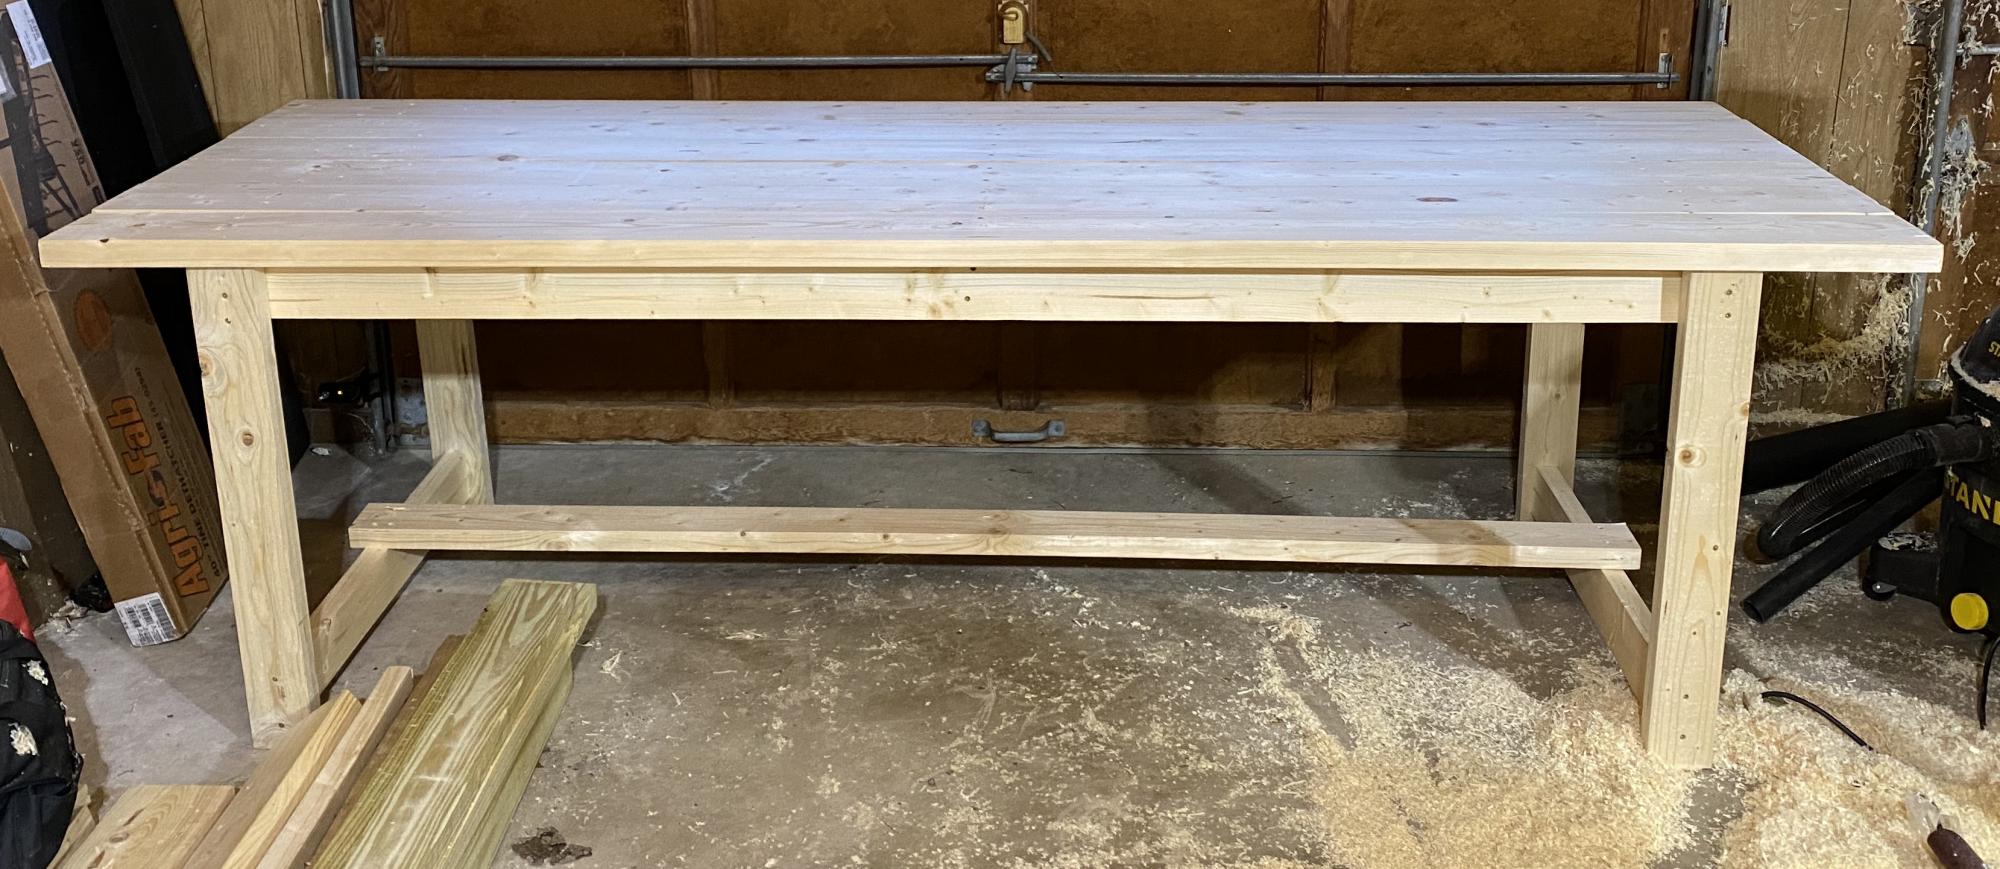
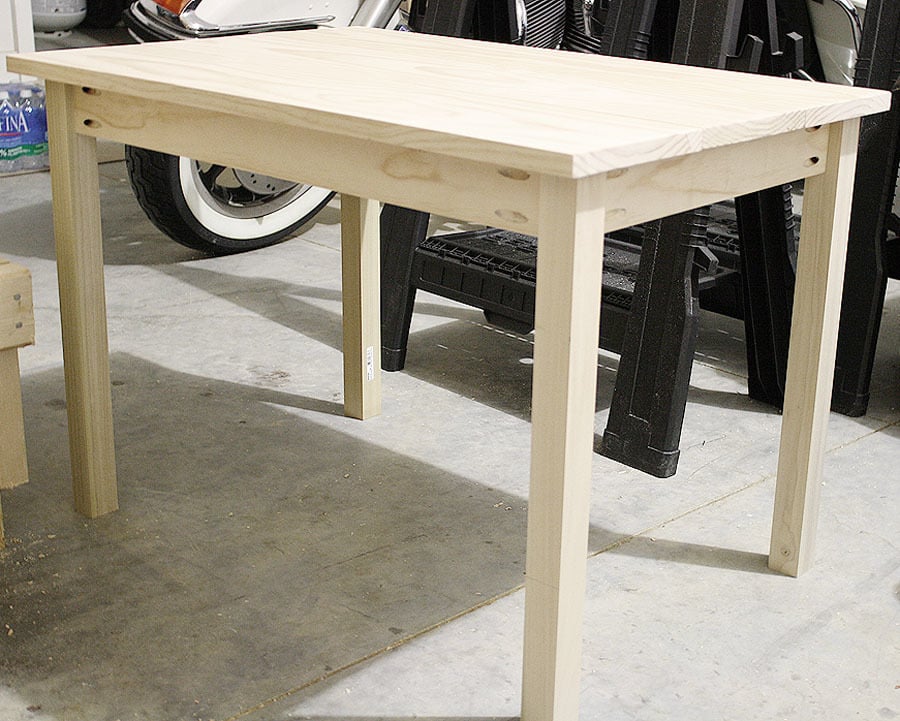
Sturdy Work Bench
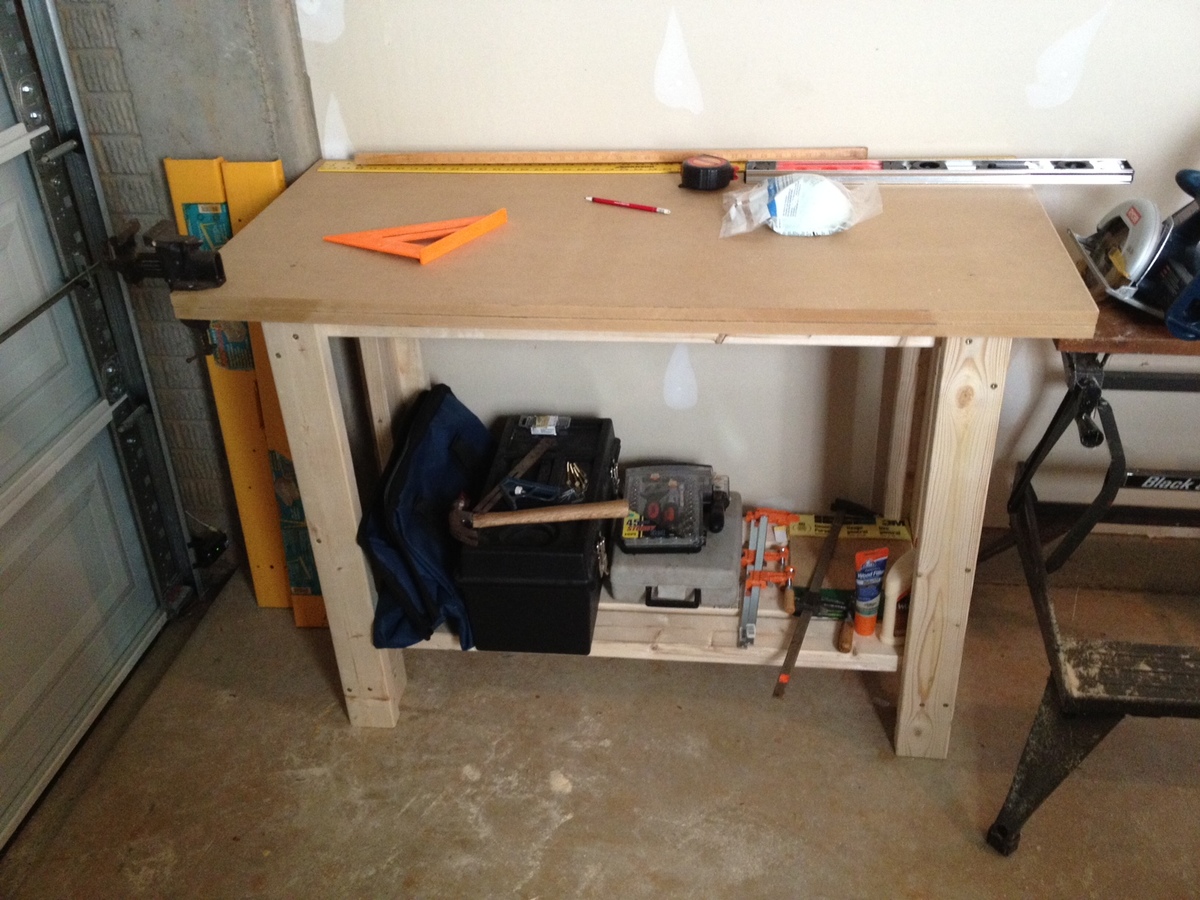
I built this using the sturdy workbench plans. I hesitate to call it a brag, as it is my first project, and I used some 2x4s from Home Depot. Premium... Yeah right!
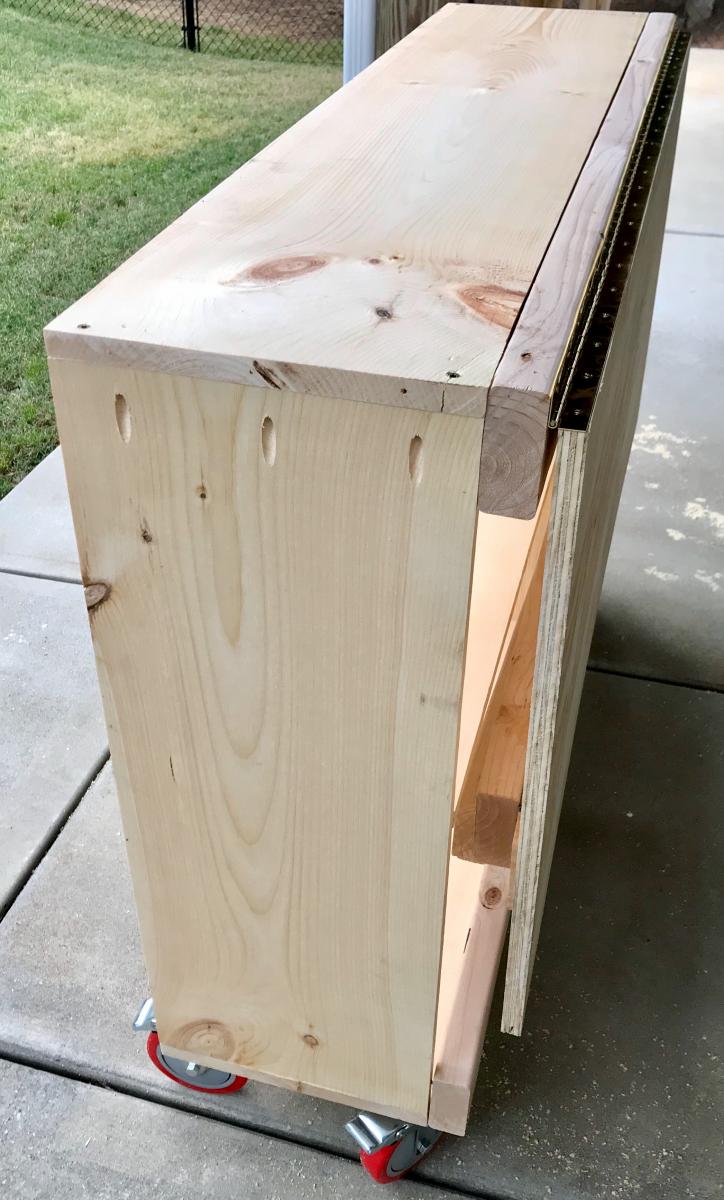
Despite my crooked cuts and warped wood, the sum of the parts is actually pretty sturdy!
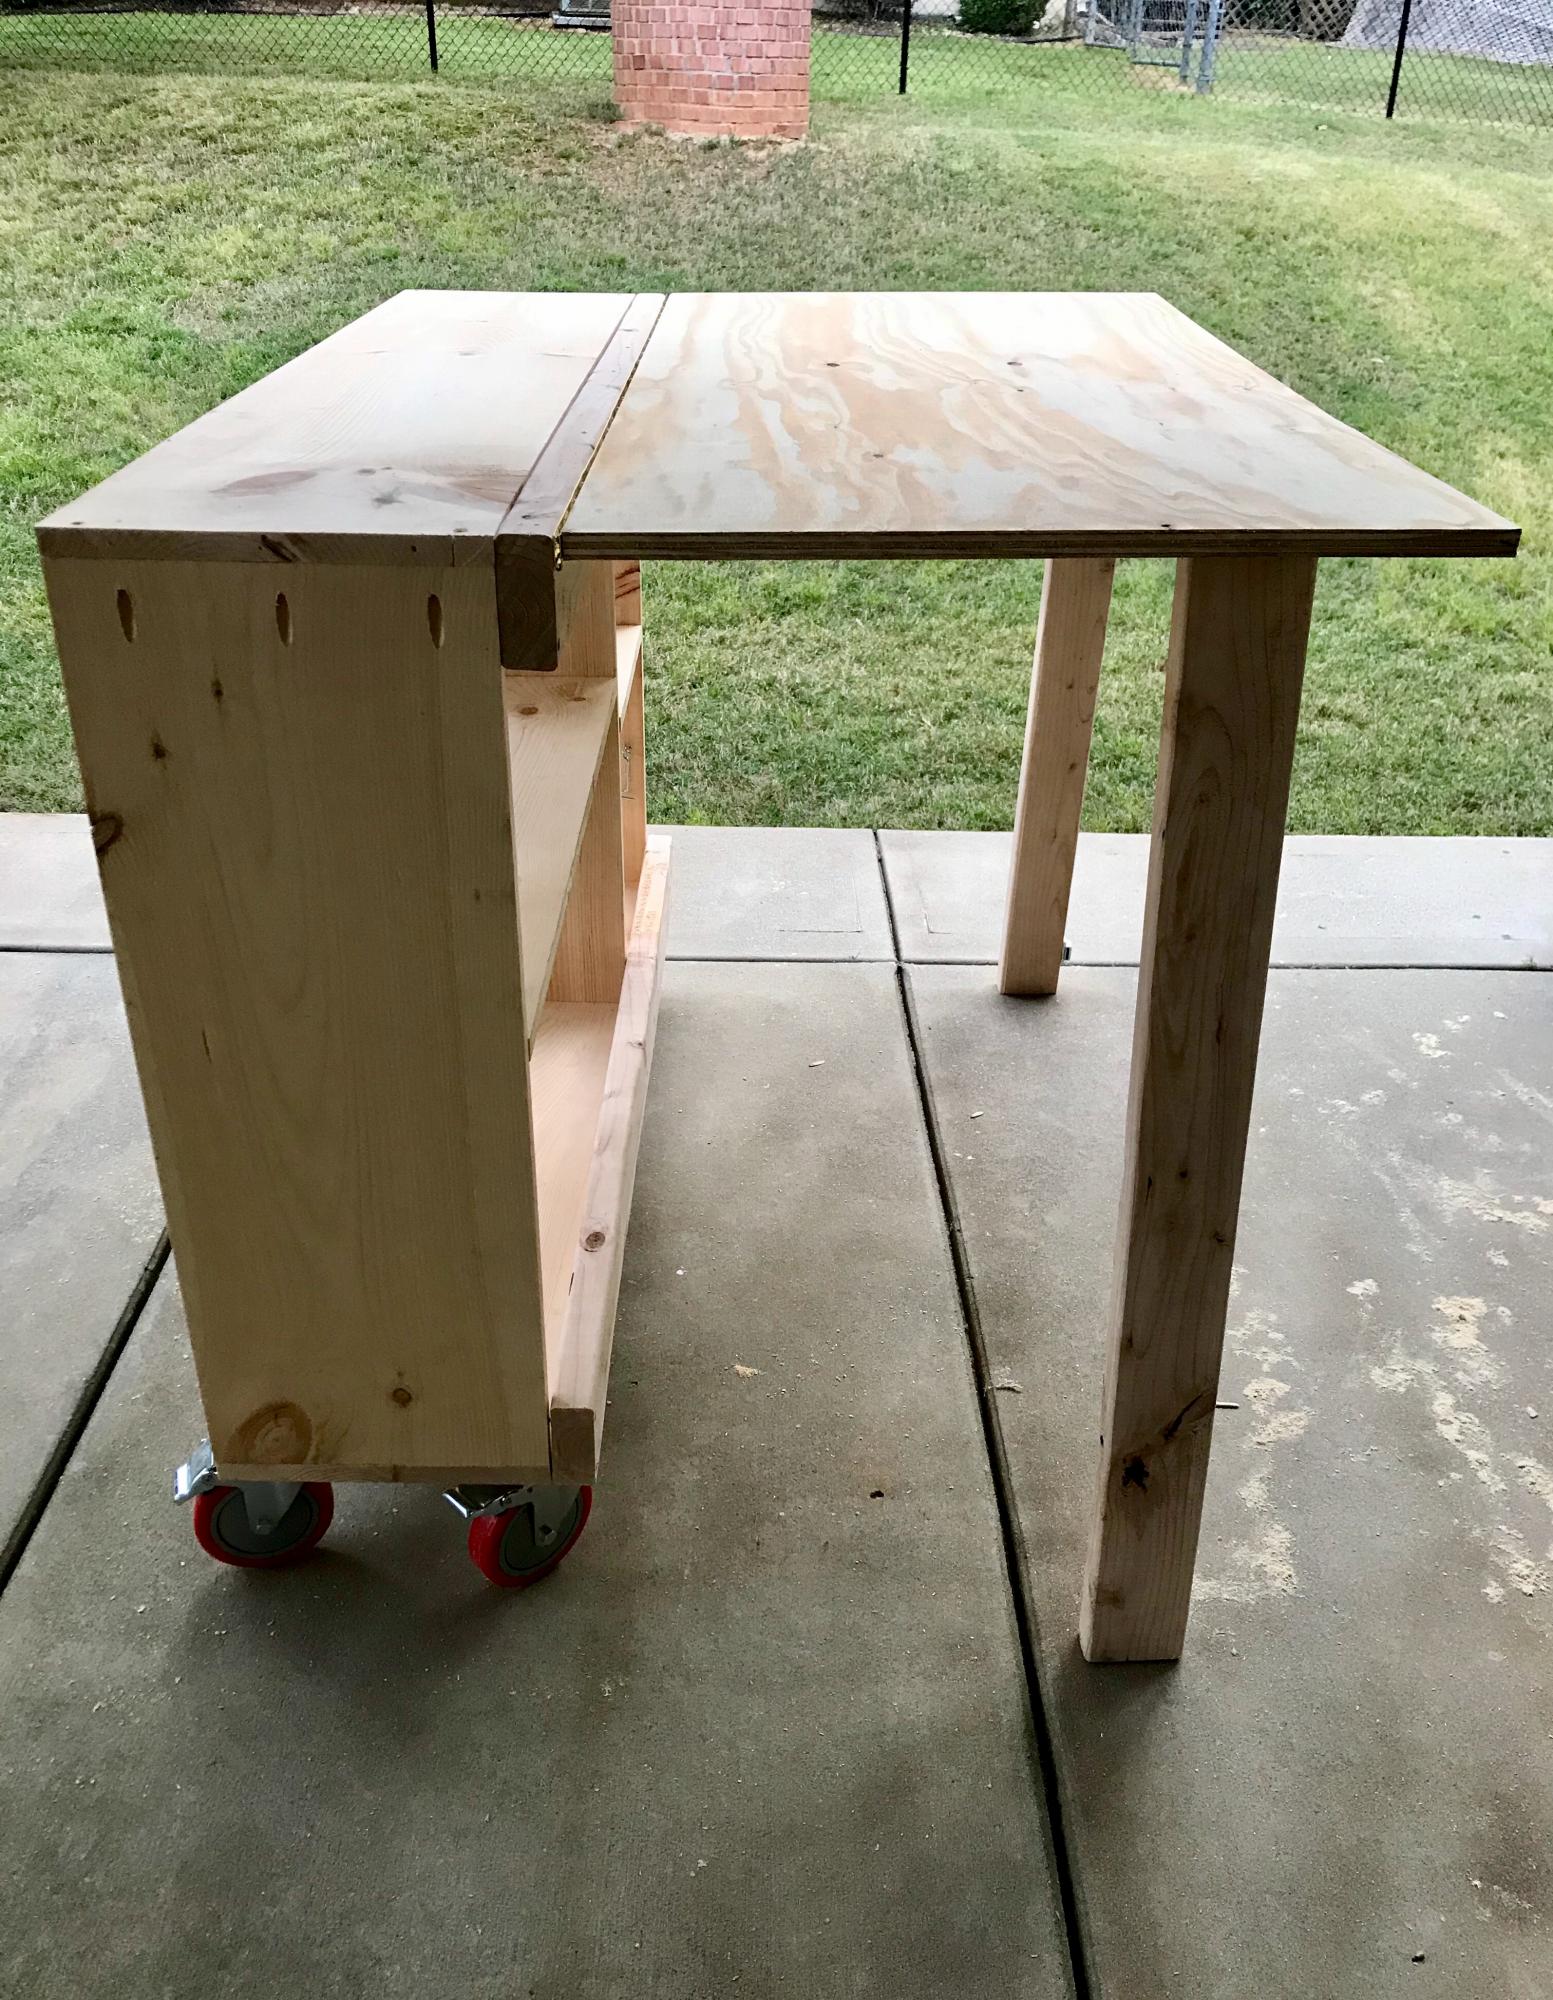
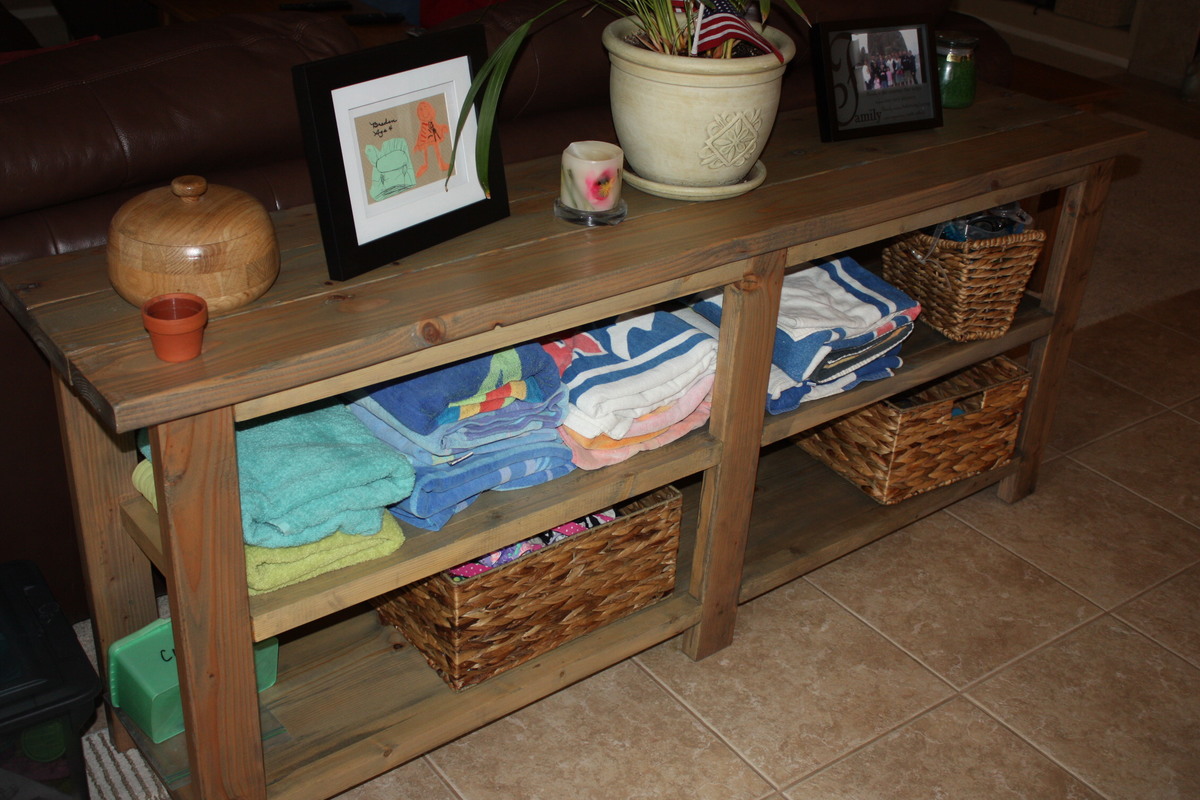
I did modify it a bit. As I'm 6'2", I made the legs approximately 35" and used 2 3/4" Sheets of 24x48 MDF as the top. This gave me a total height of about 36 1/2" of height, which is pretty comfortable.
I would have preferred more workspace, but I'm limited to a portion of my one car garage, so 24x48 will have to do!
Finally, though this was definitely an hour or two worth of project, it took my about 2 weeks to complete, working in increments as small as 15 minutes, sue to having a 4 month old son!
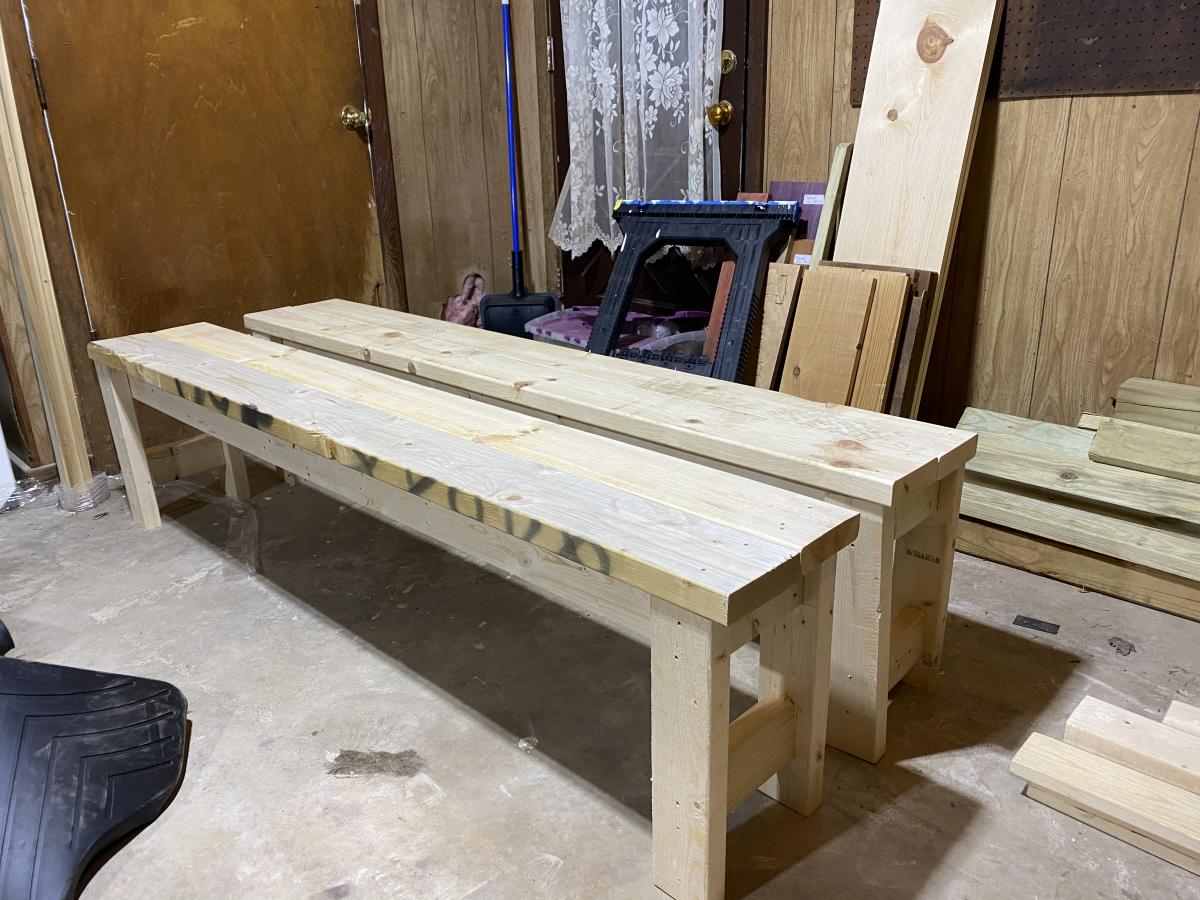
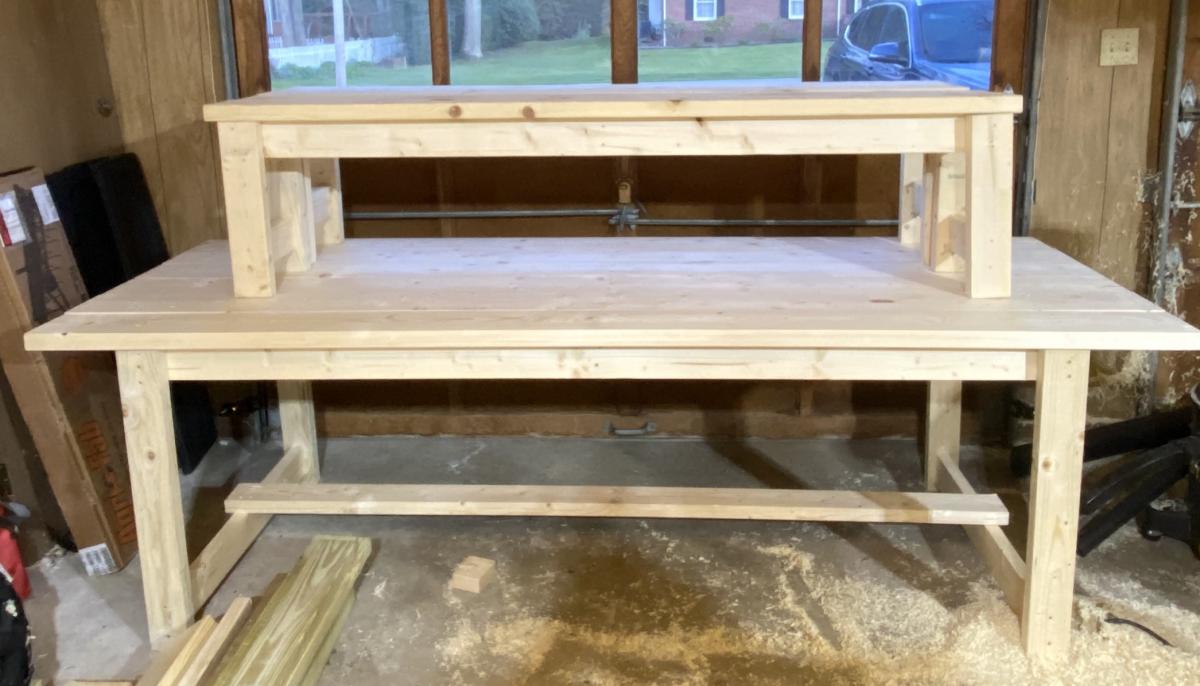
Now to decide what to build next!


Comments
HurlBuilt
Mon, 07/16/2012 - 17:17
Starter up!
Great Job! You have to start somewhere. Have fun building