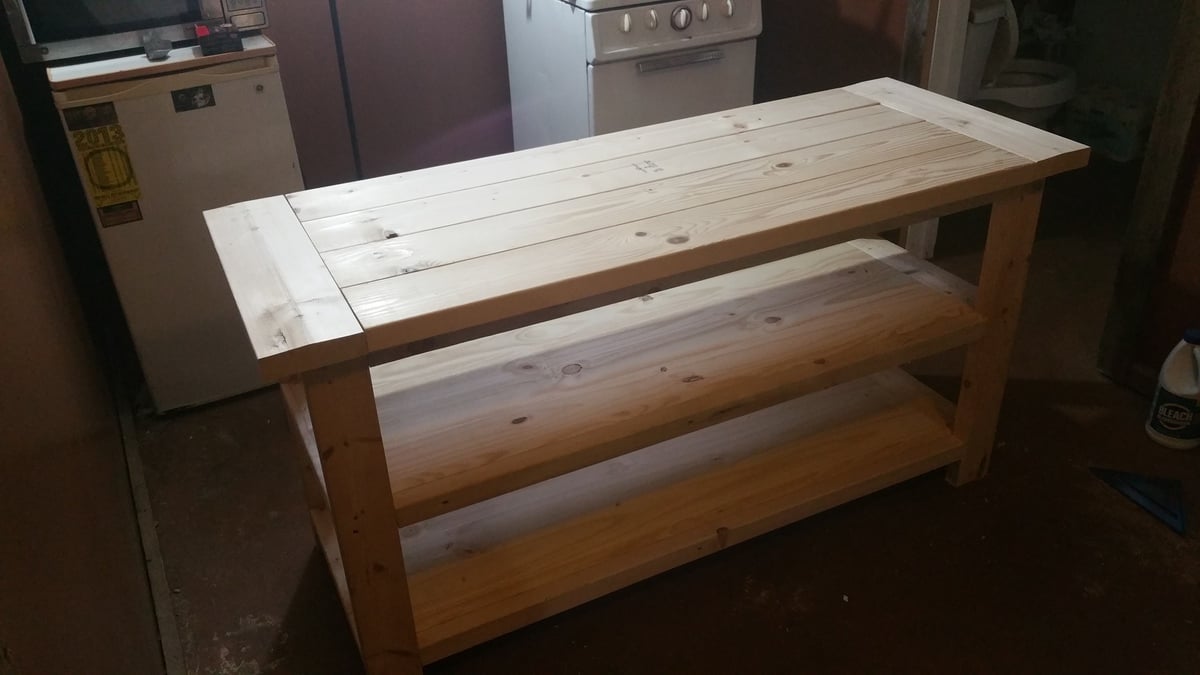
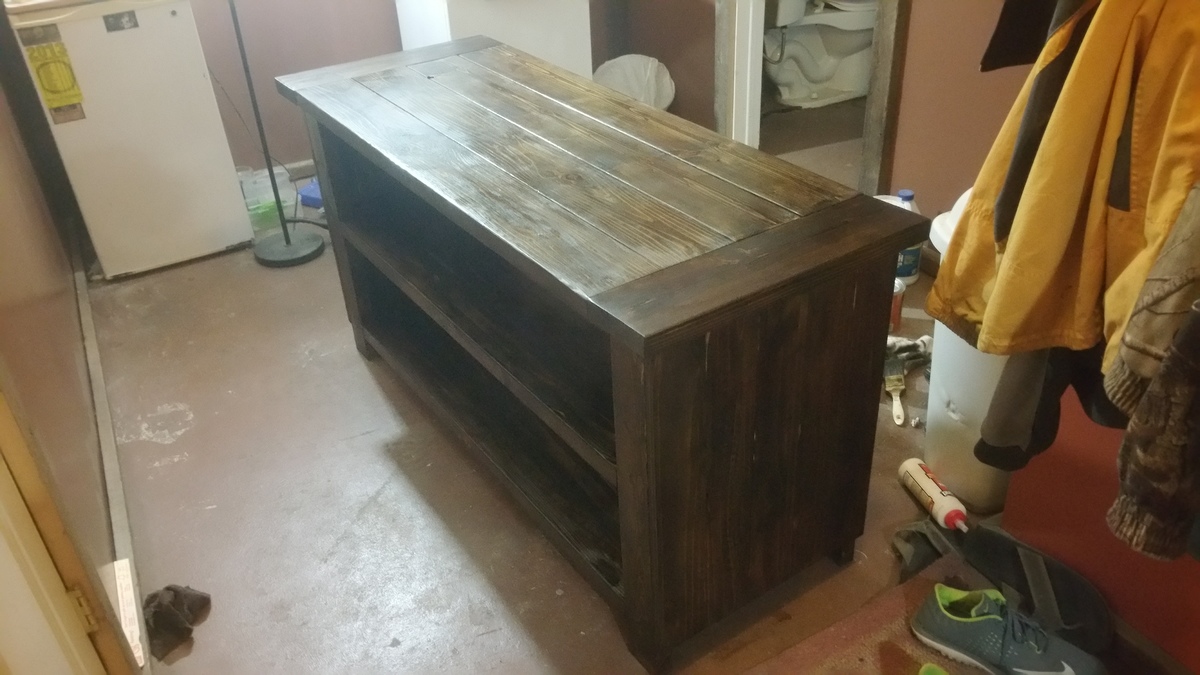
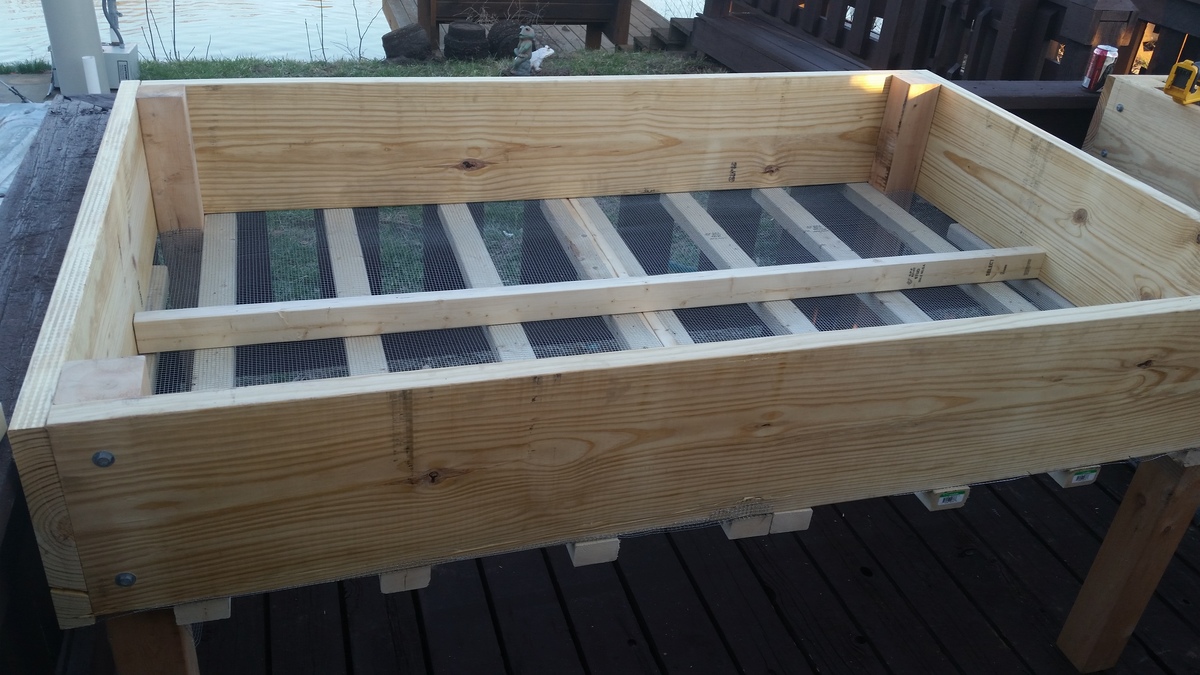
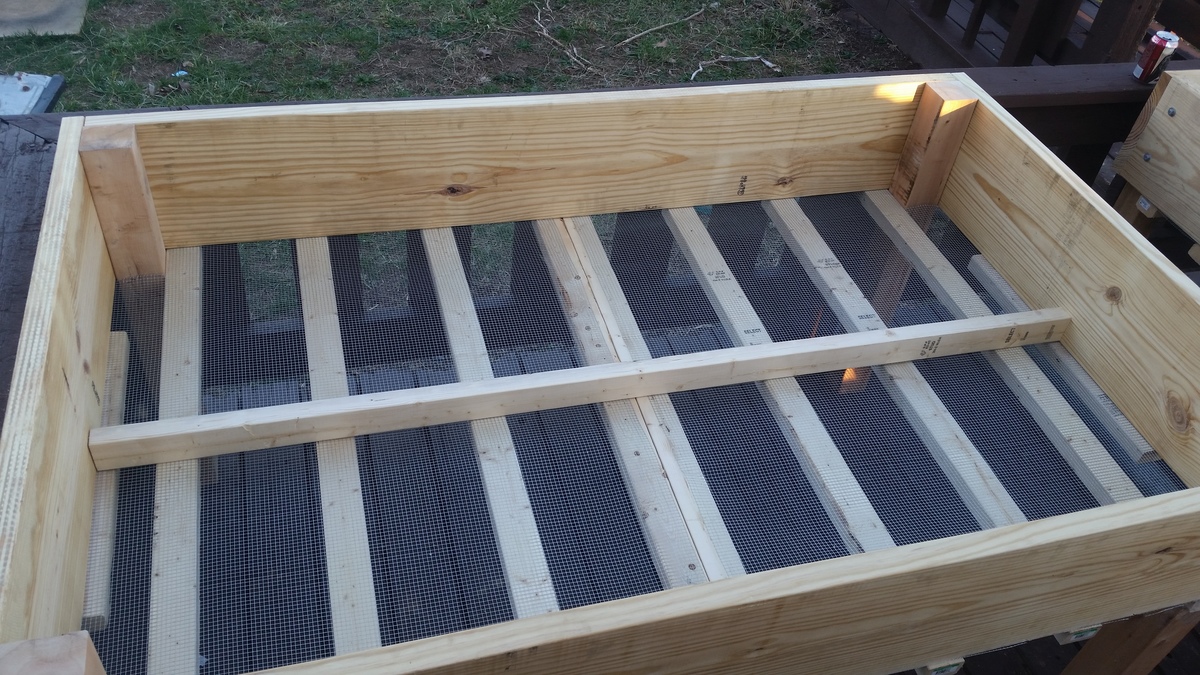
Poplar and birch expanded dog crate
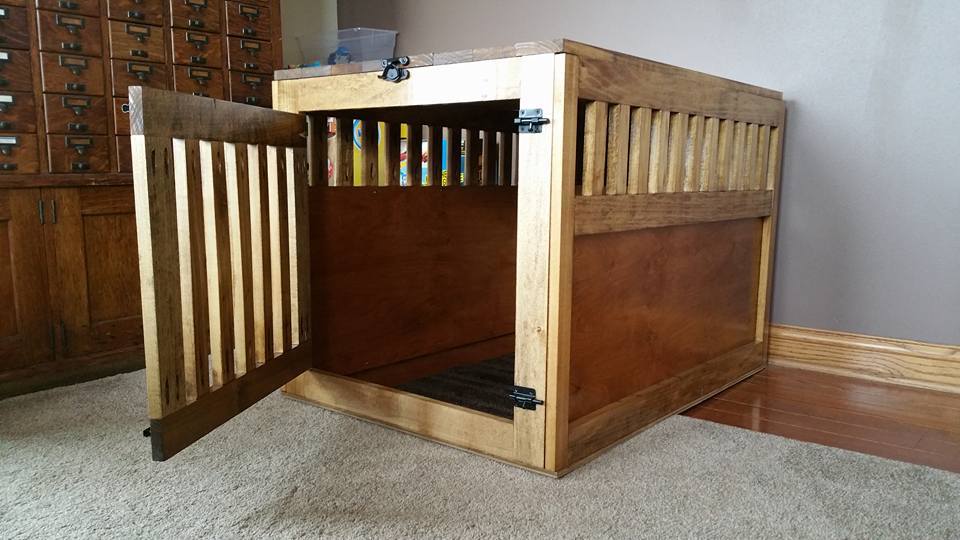
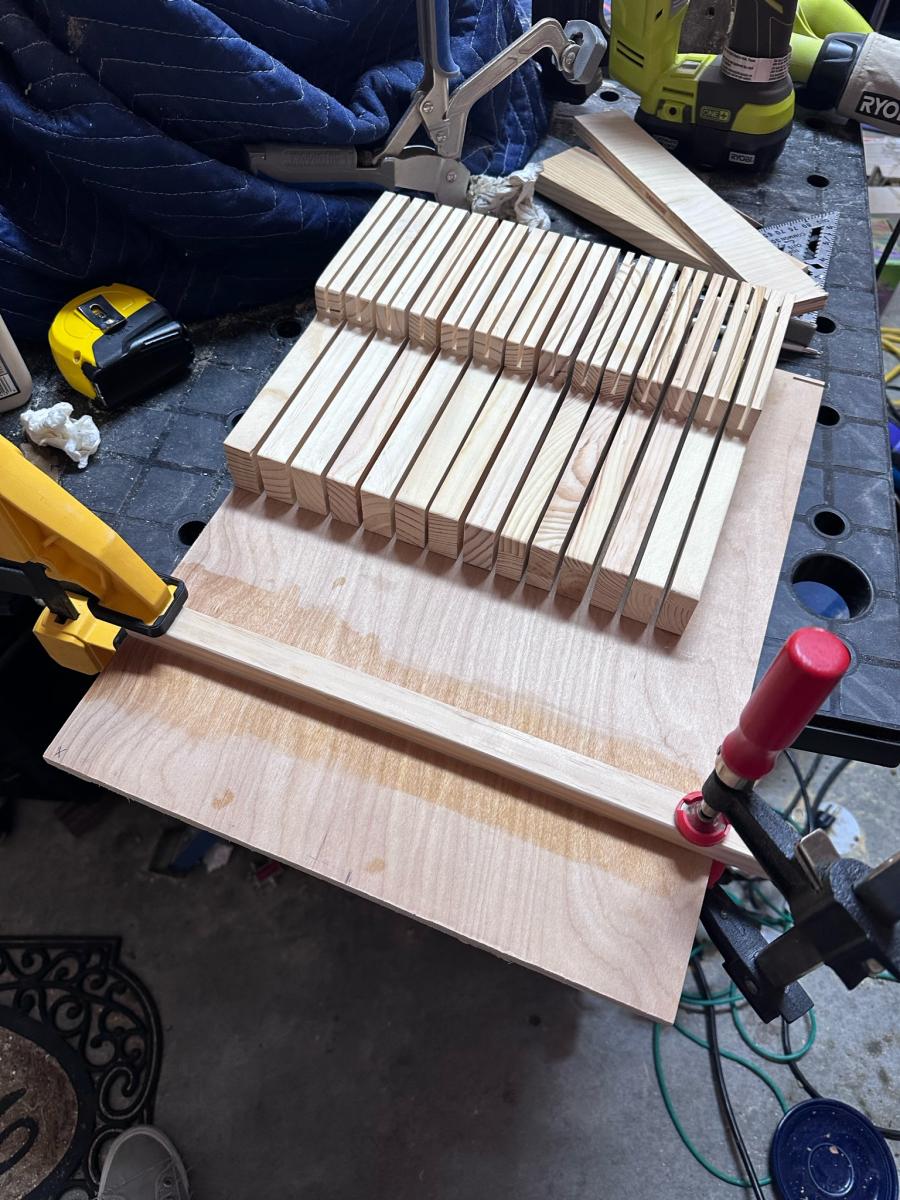
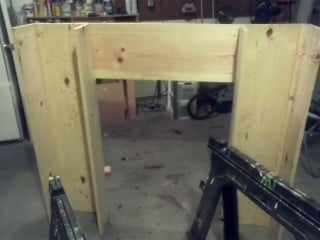
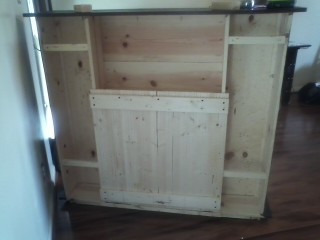
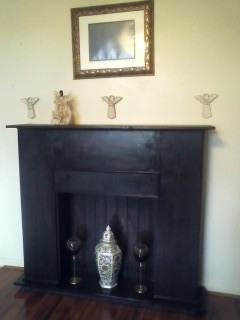
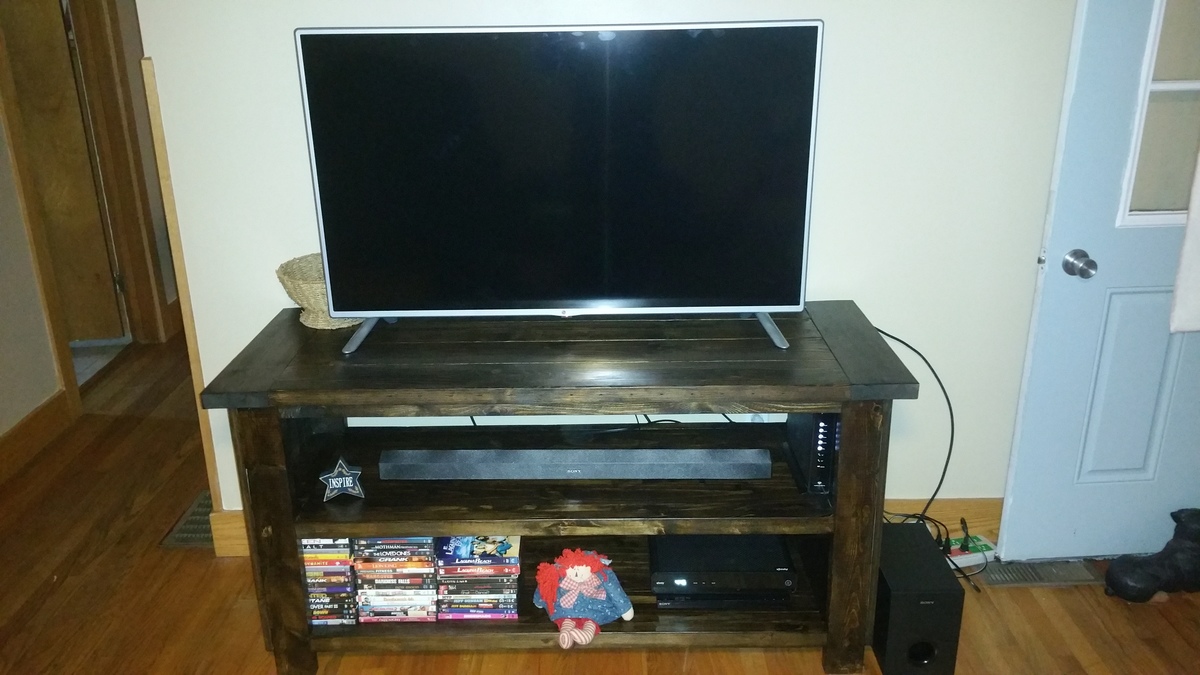
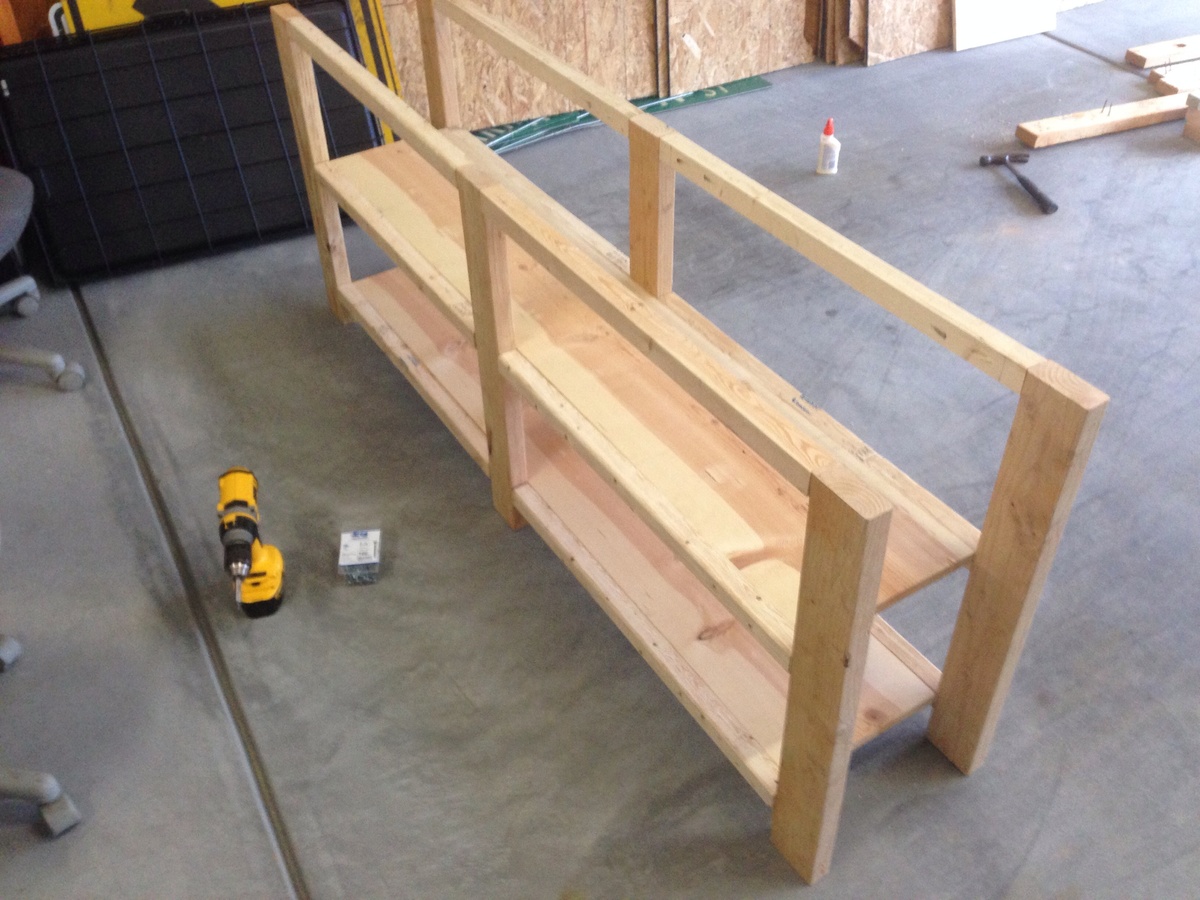
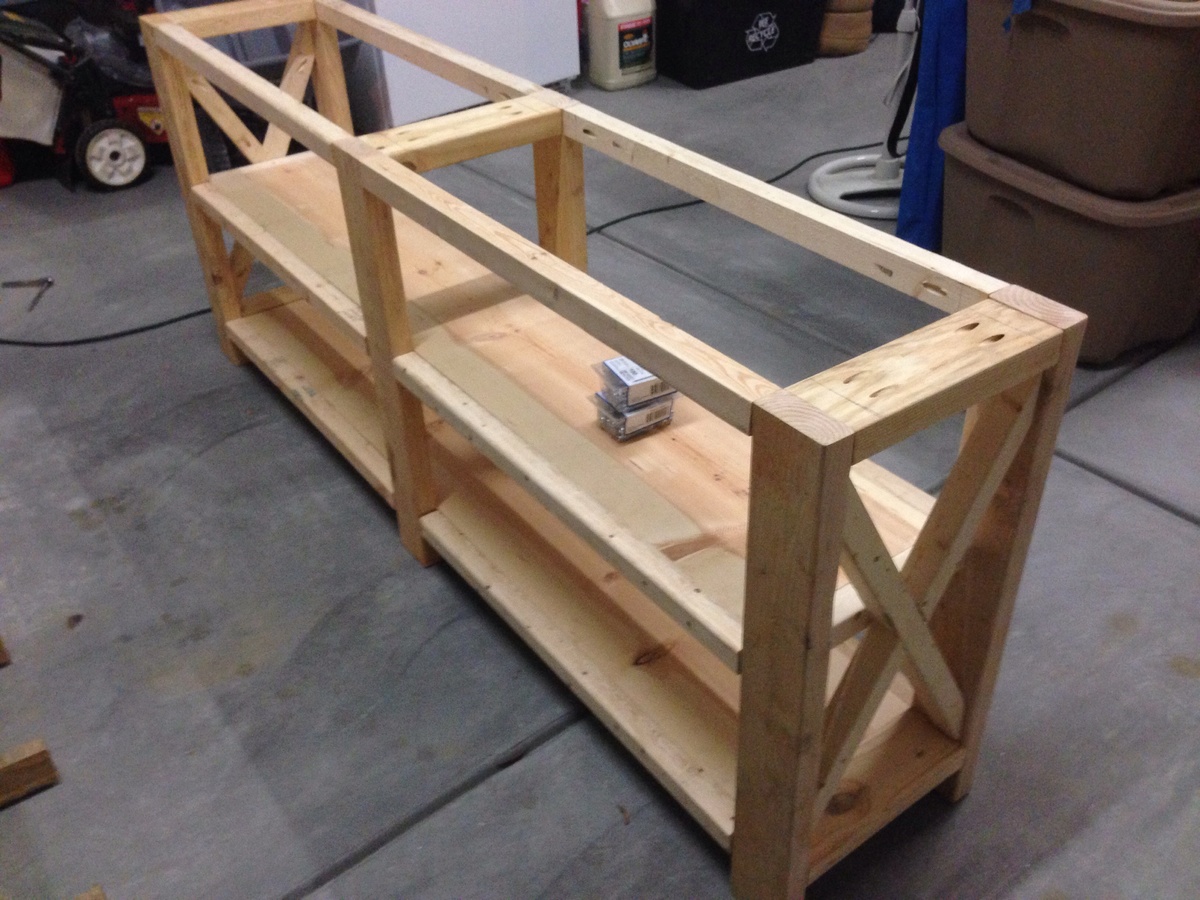
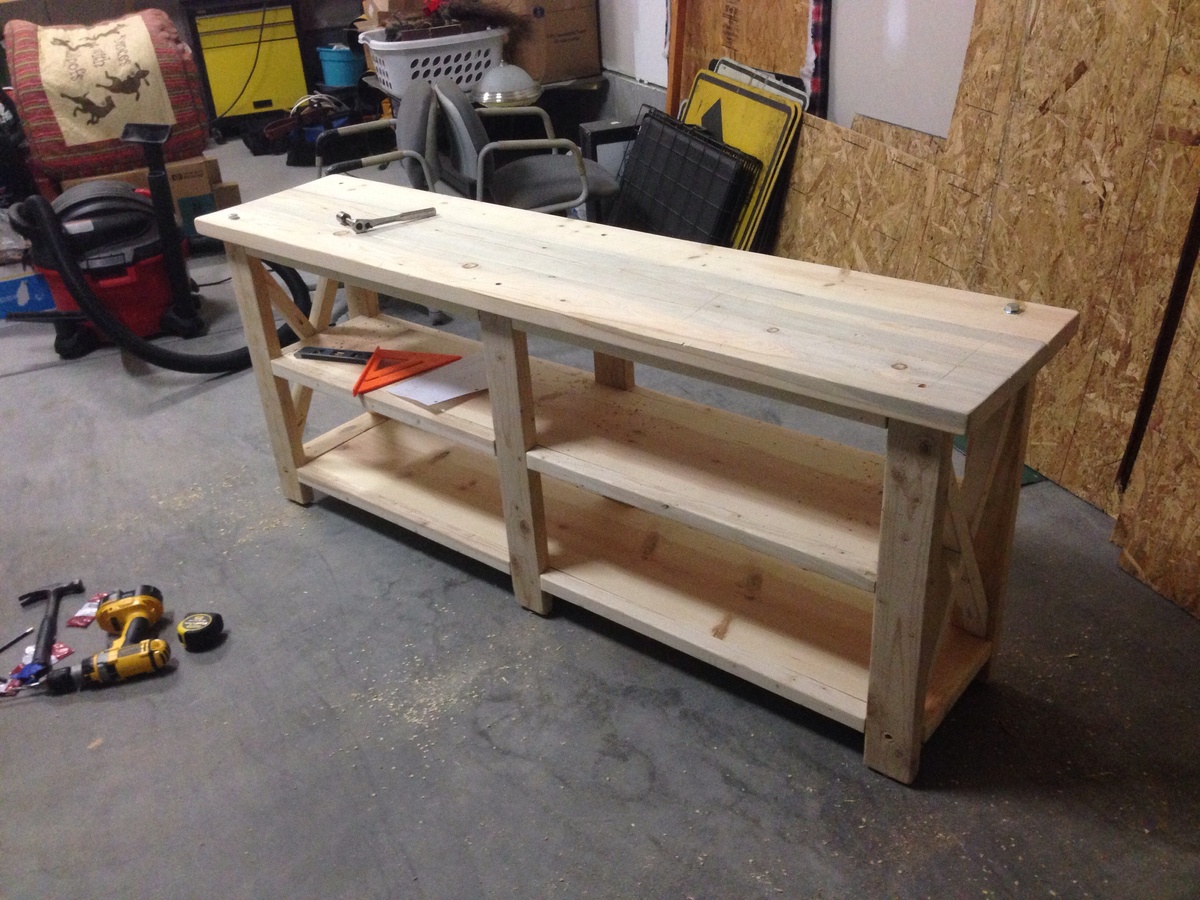
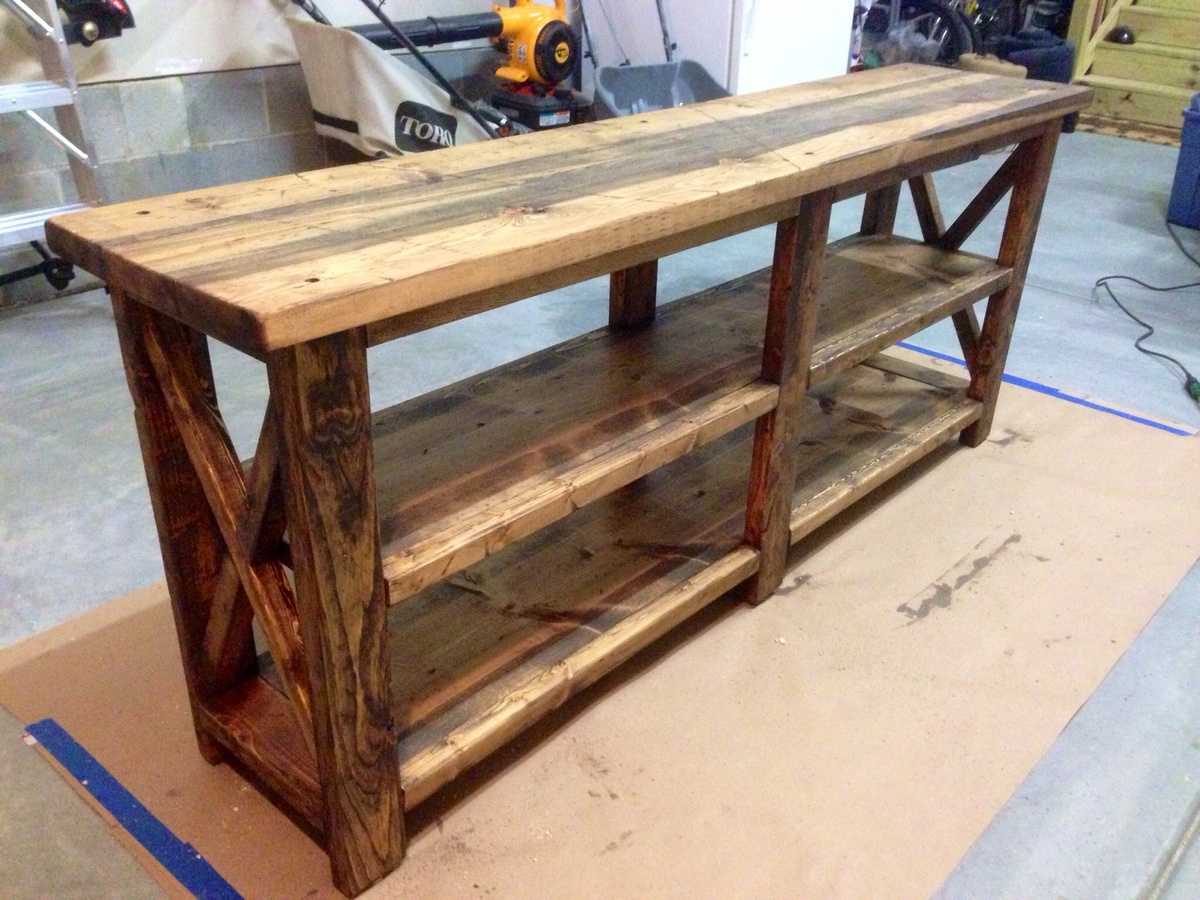
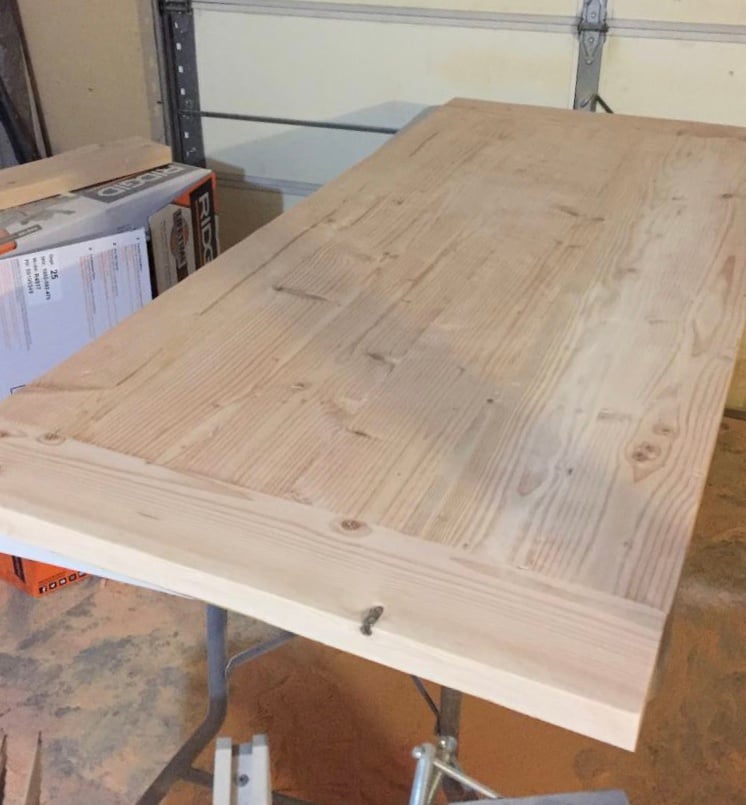
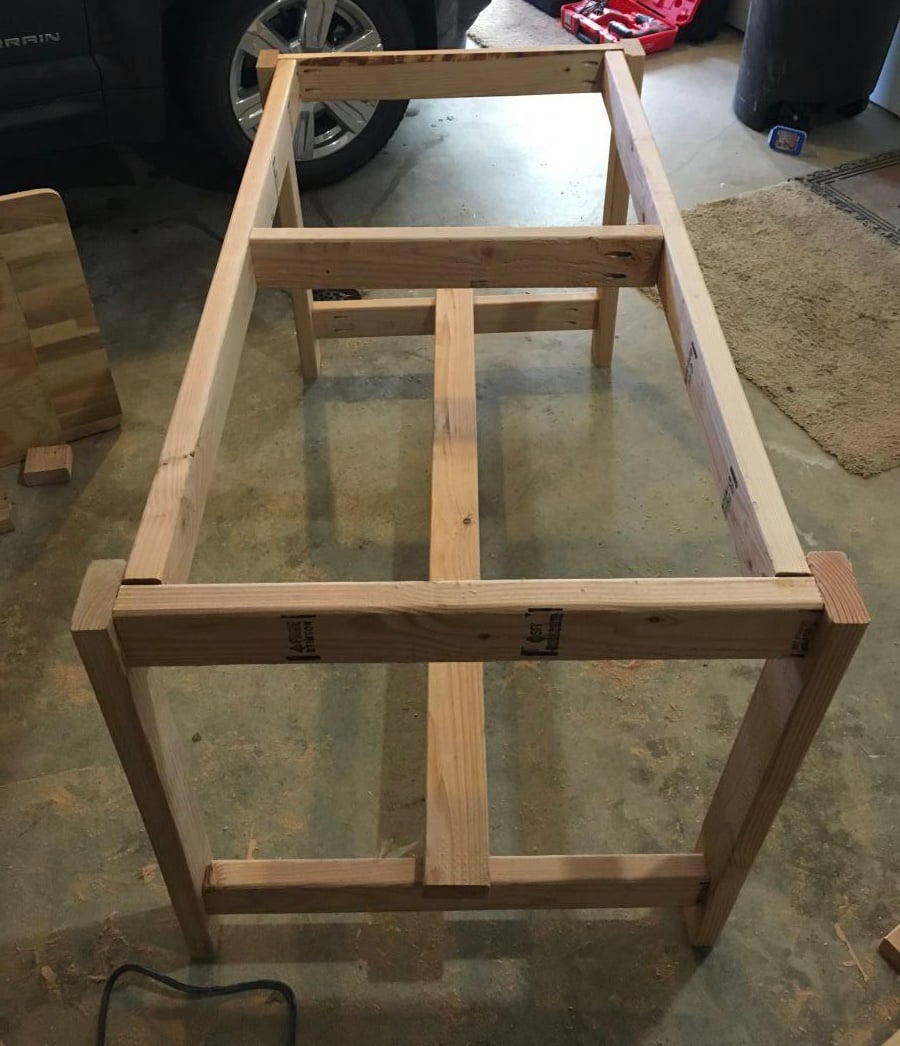
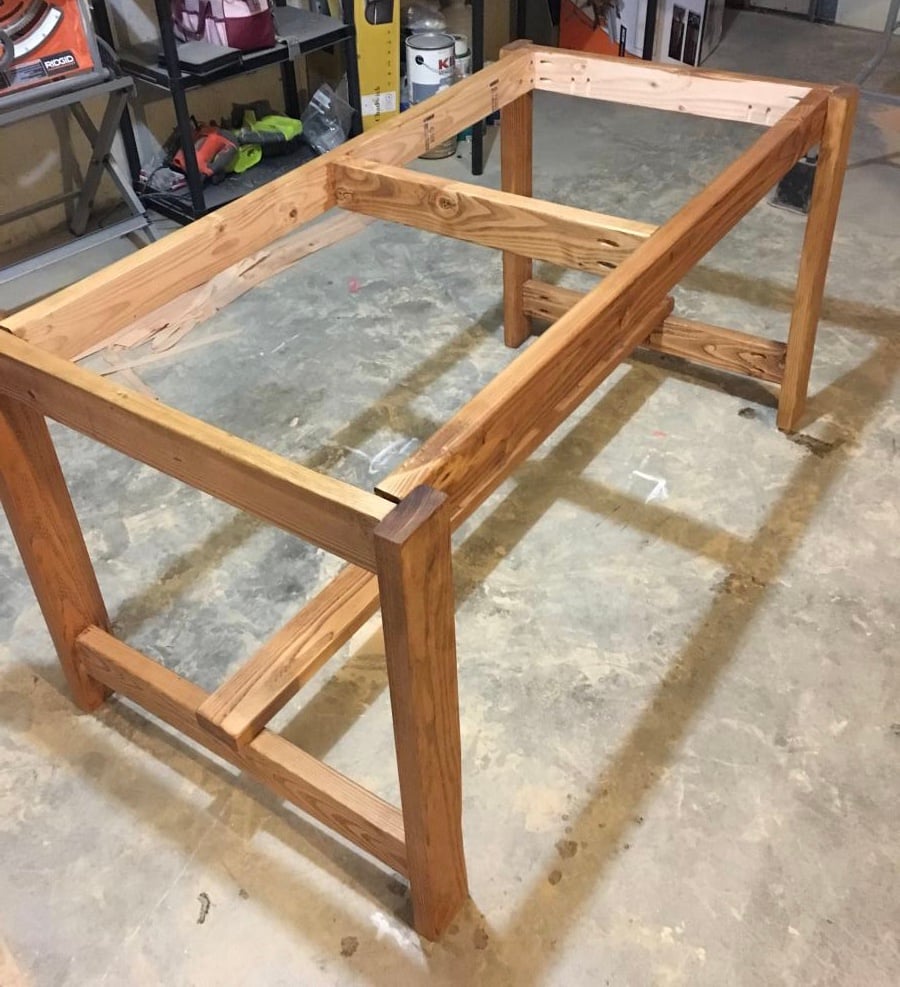
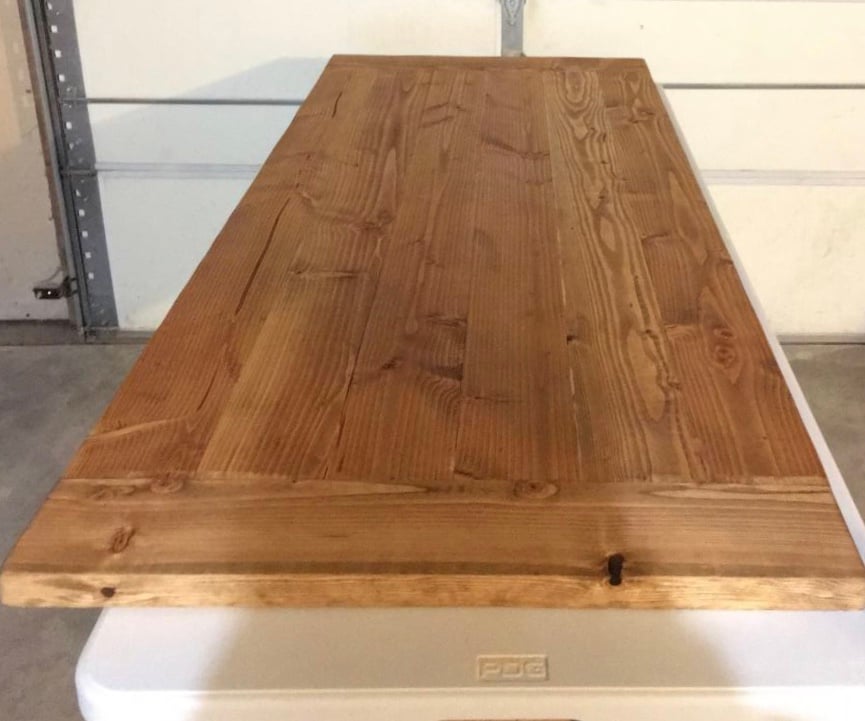
I saw this plan on pinterest and really liked the way it looked. I bought the wood, but let it sit for a year because it wasn't a priority. Well, we were getting a new dog and he needed a little more room due to hip surgery. So, I expanded the crate dimension and got to work. I added 6 inches to the width, and 4 to the length but turns out I was about an inch shy all the way around to fit a plastic liner tray. Next one will be better. I used birch plywood on the side panels and the bottom panel, but used 4 inch wide board to create a slatted top rather than a solid top. I put hinges on the top with a window latch style lock, and put 2 slider style gate locks on the door. the color was from using medium walnut Danish oil, finished with 3 coats of gloss poly. During the project, I took time to teach my 9 yr old daughter how to use various tools, from the drill to the power miter saw. It was a great bonding time for us, and for a worthwhile reason- the new dog.