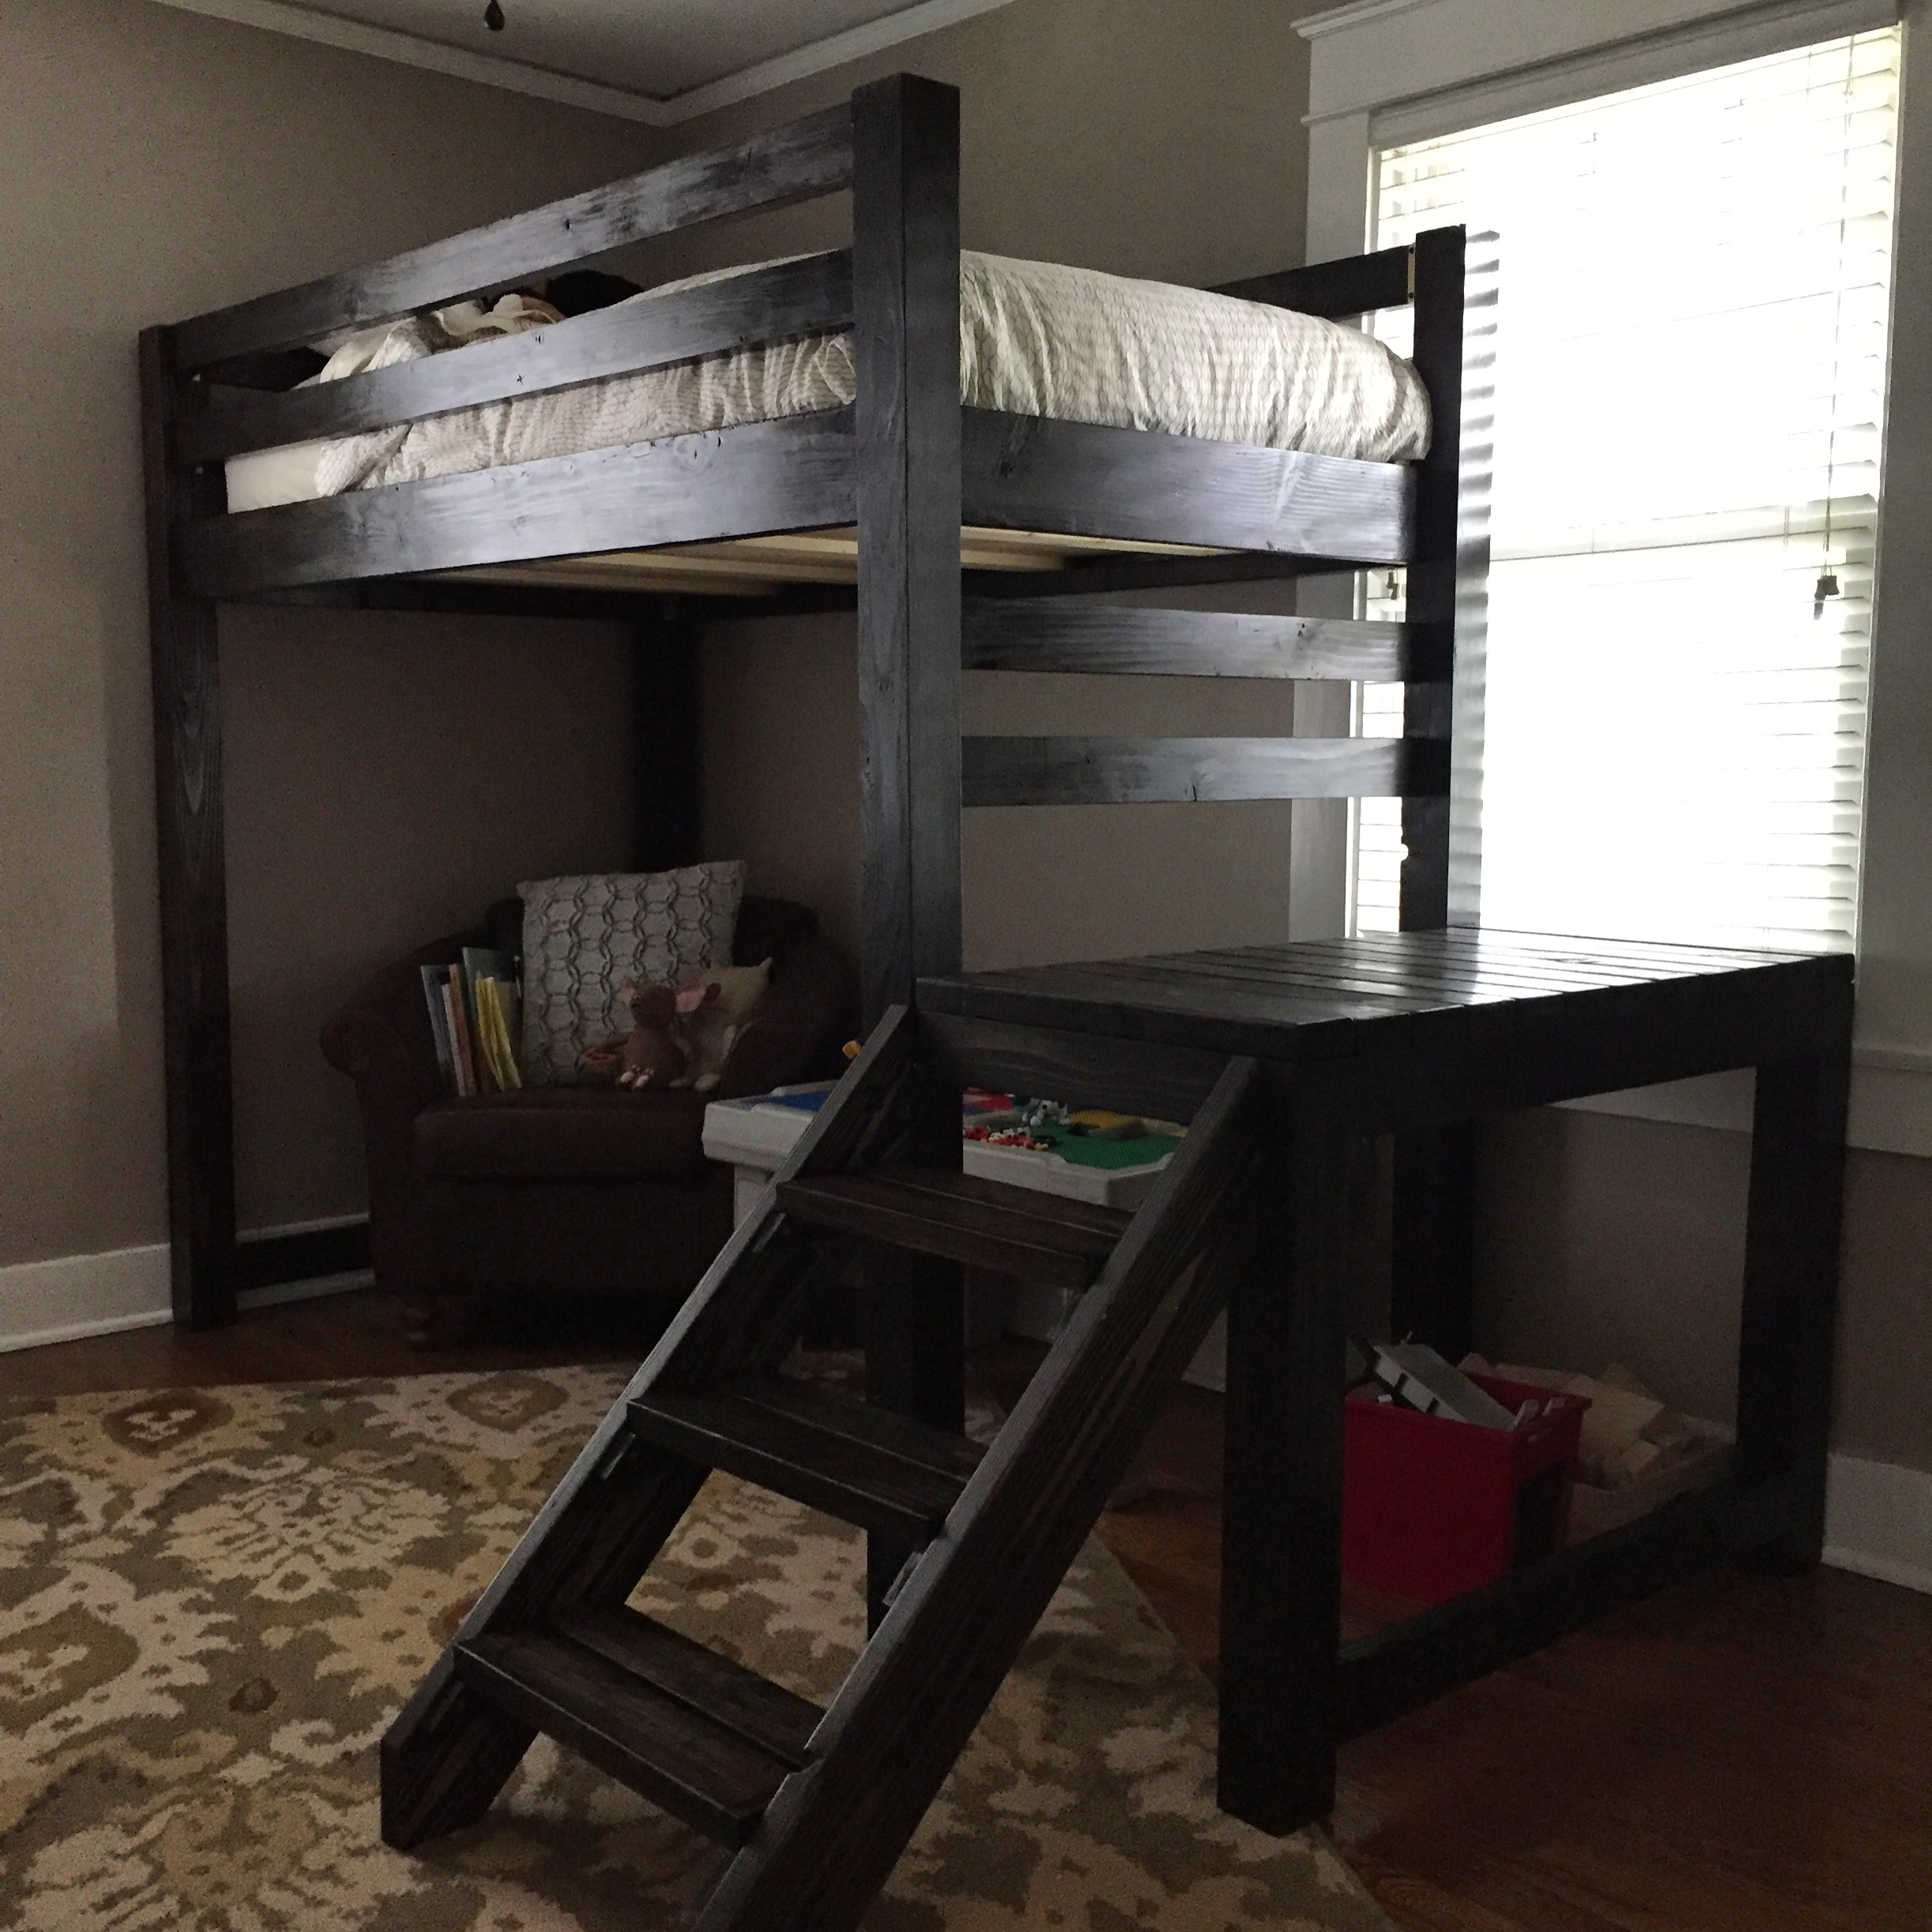
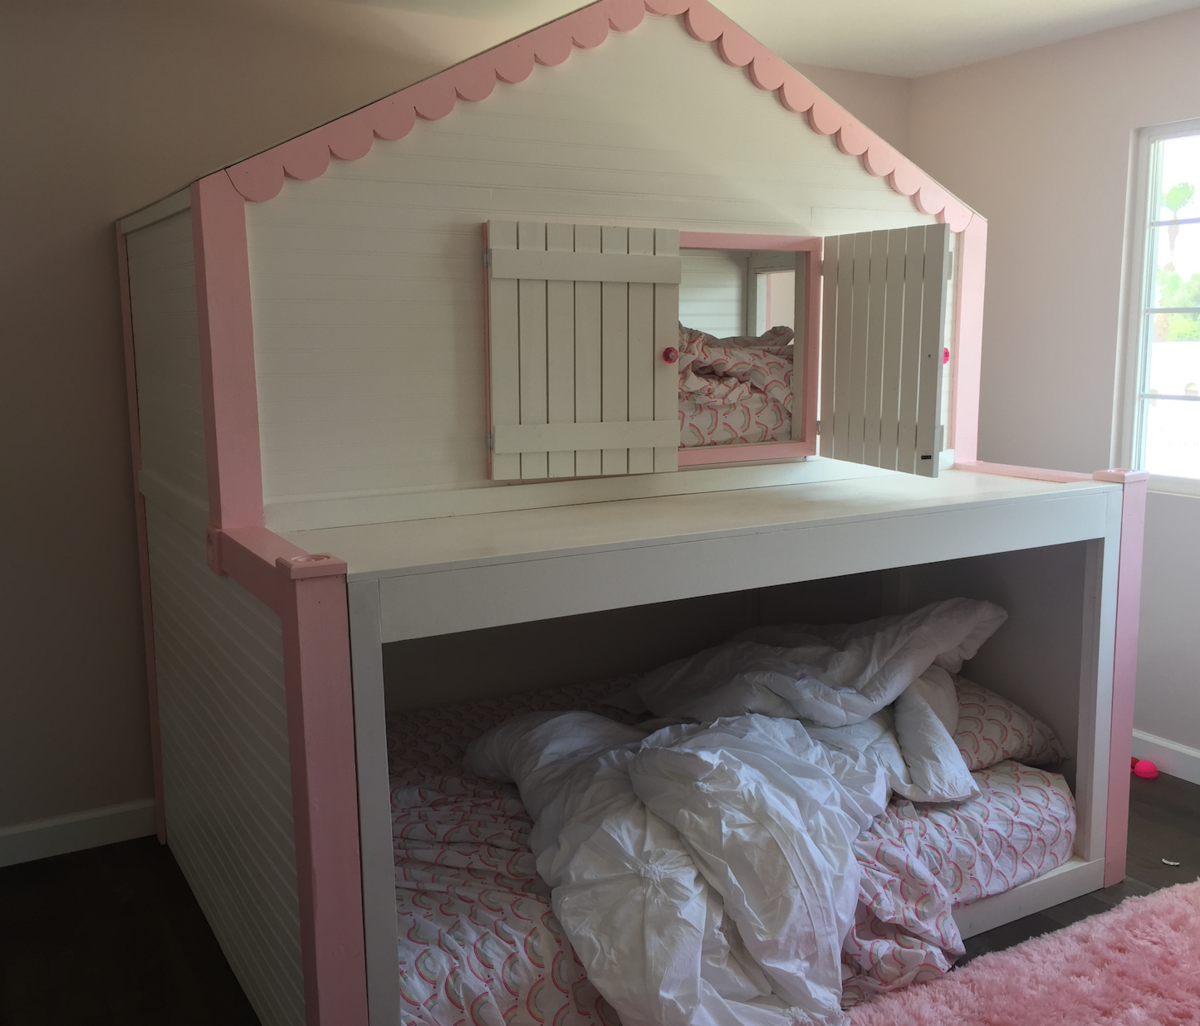
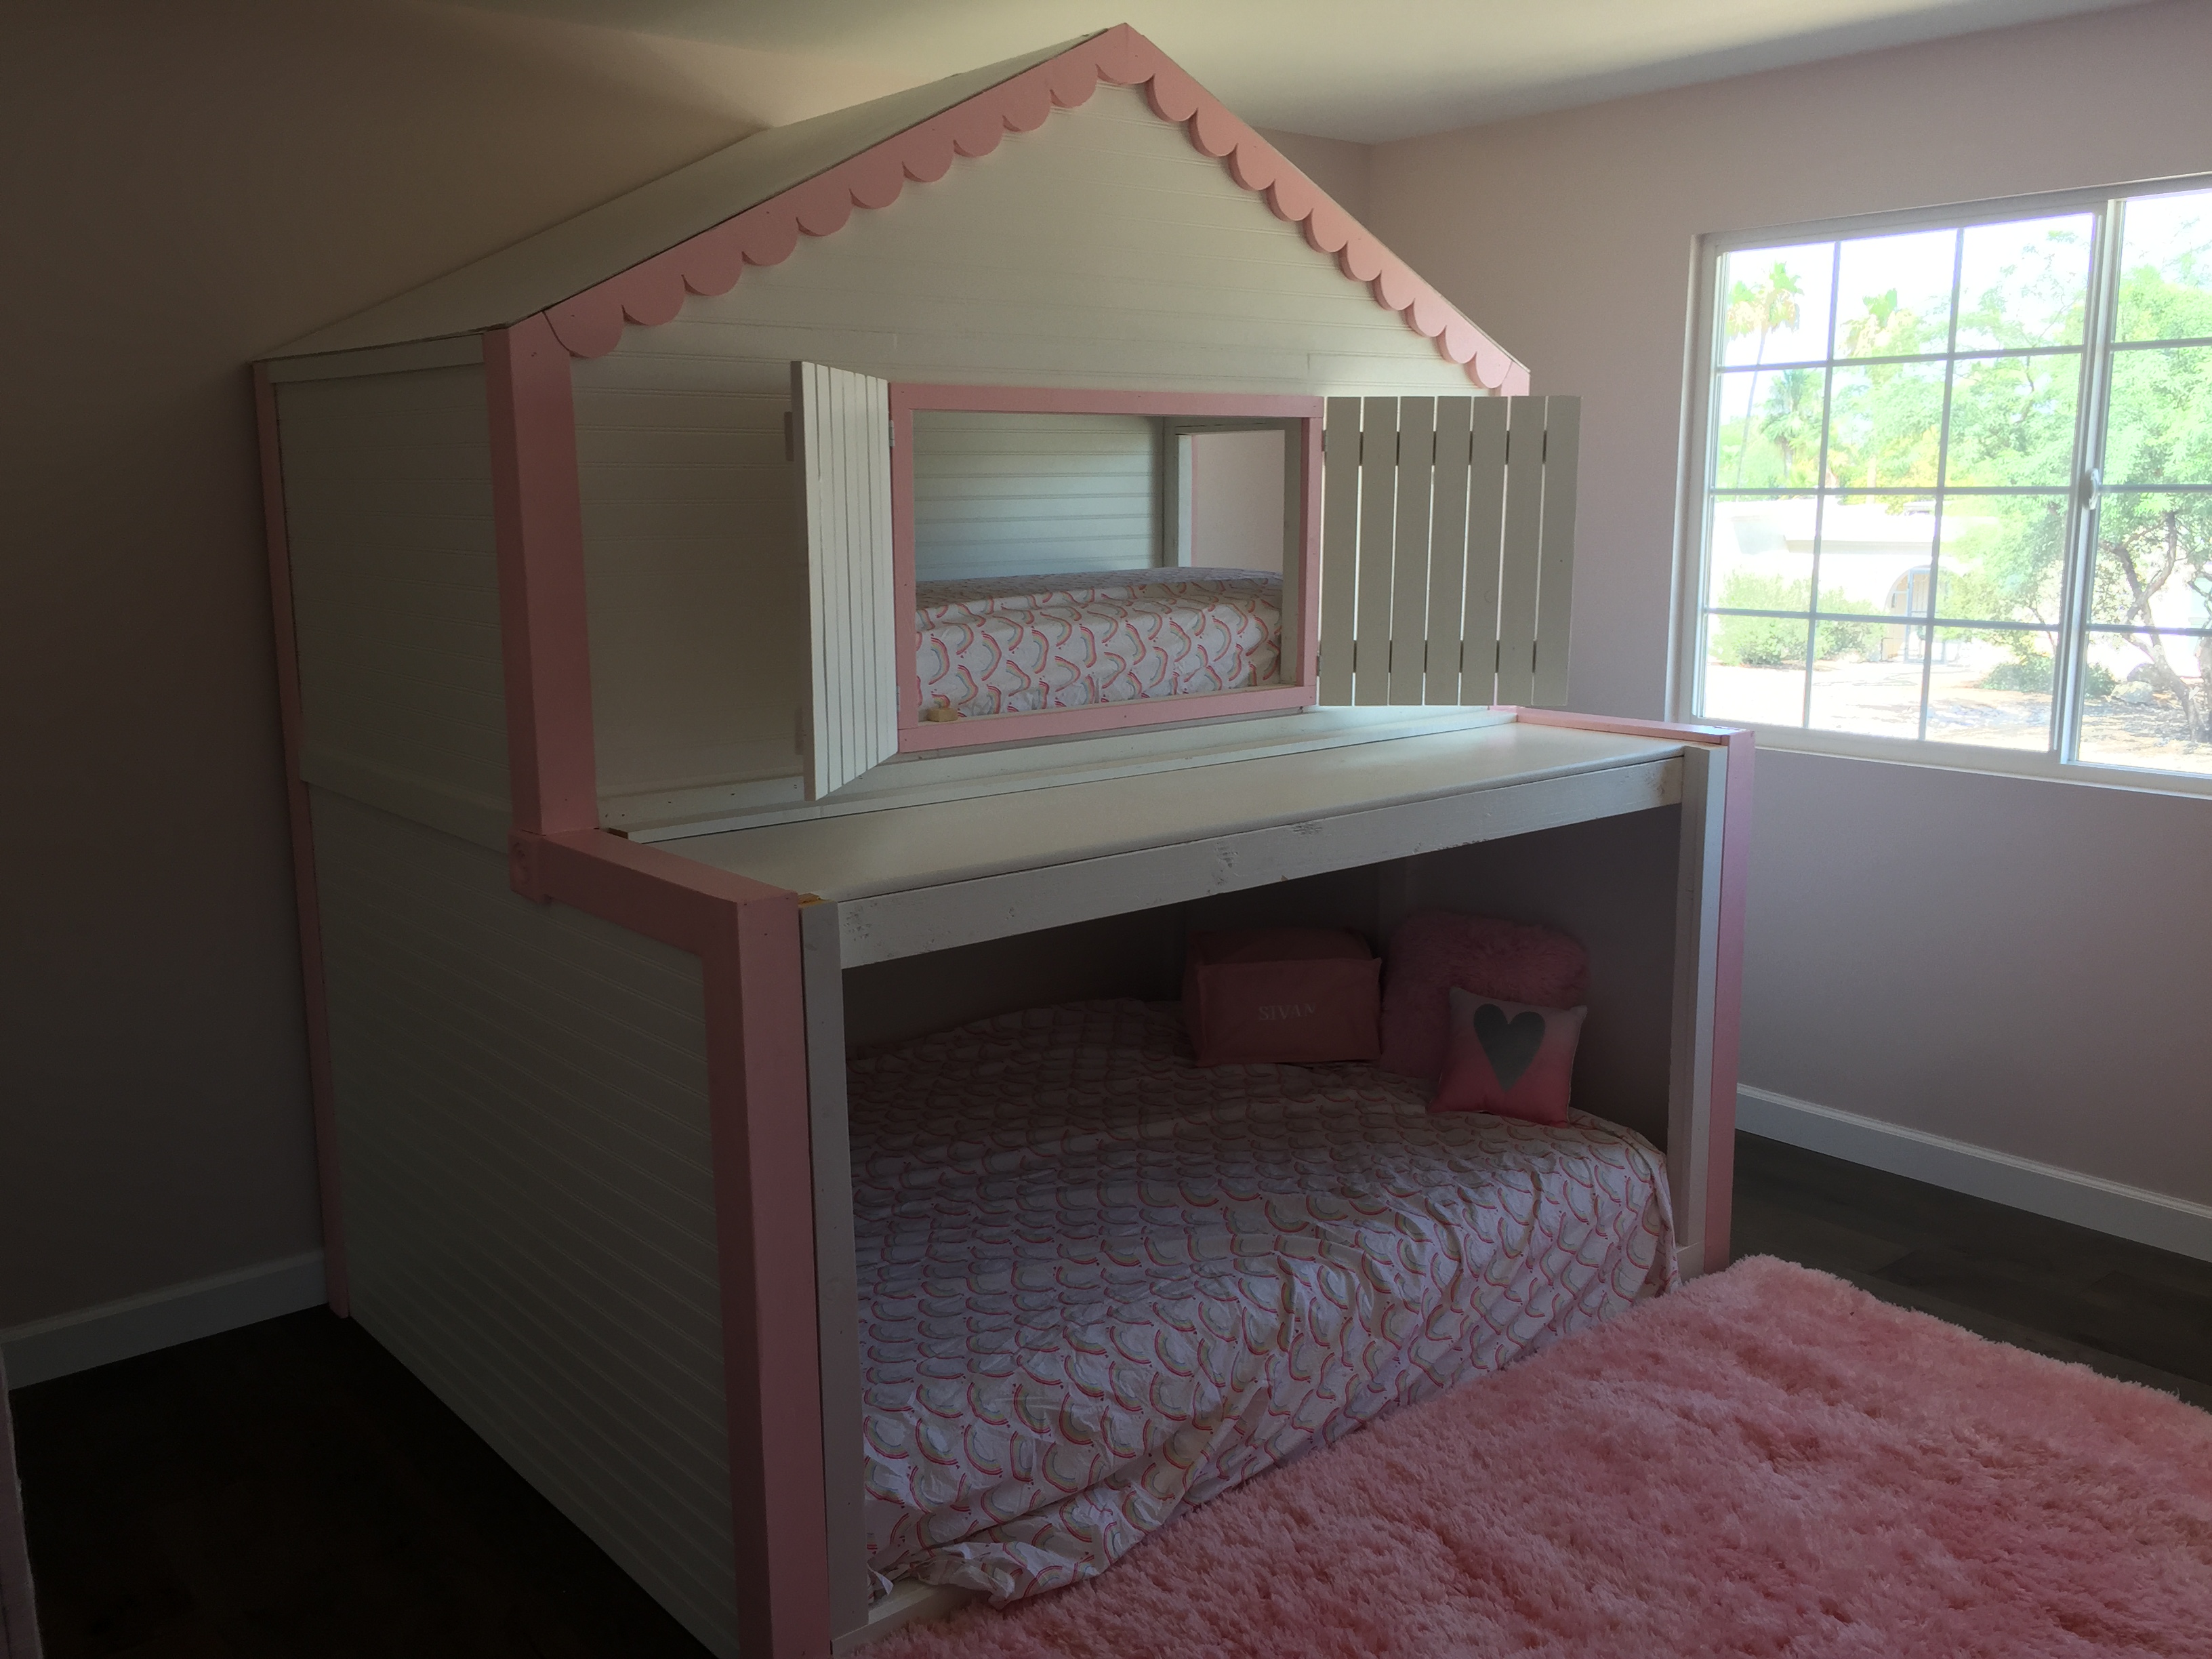
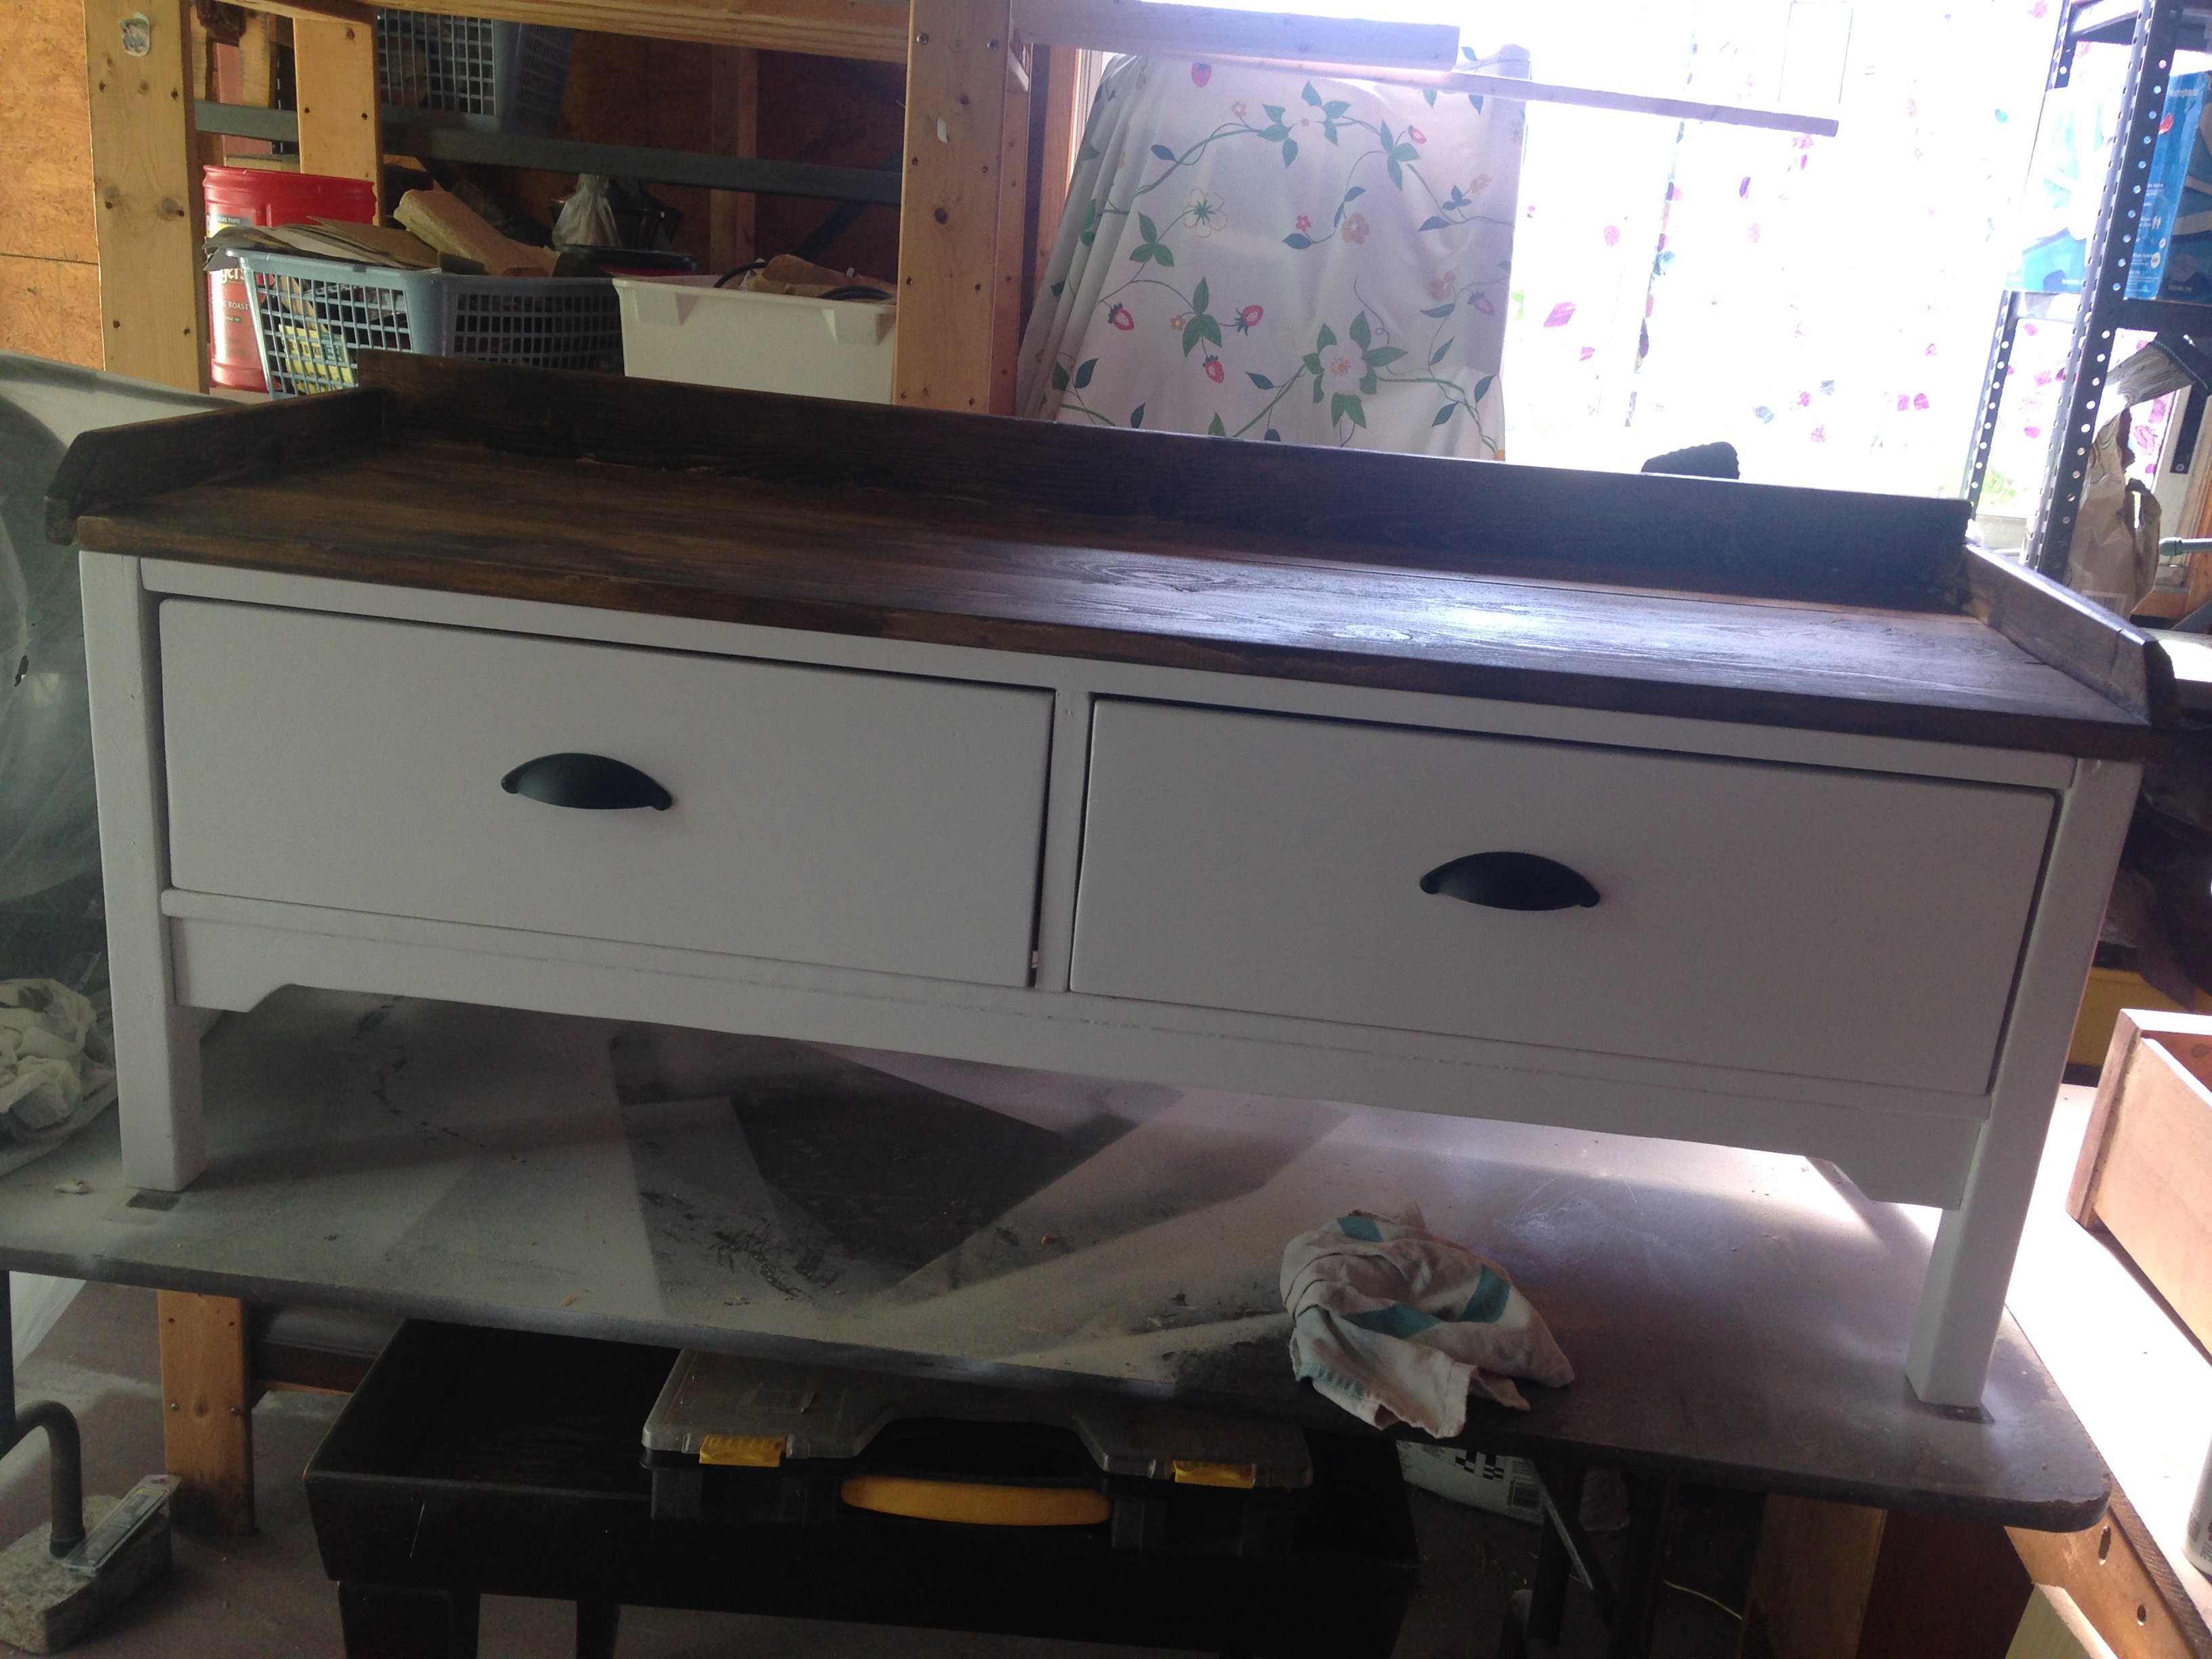
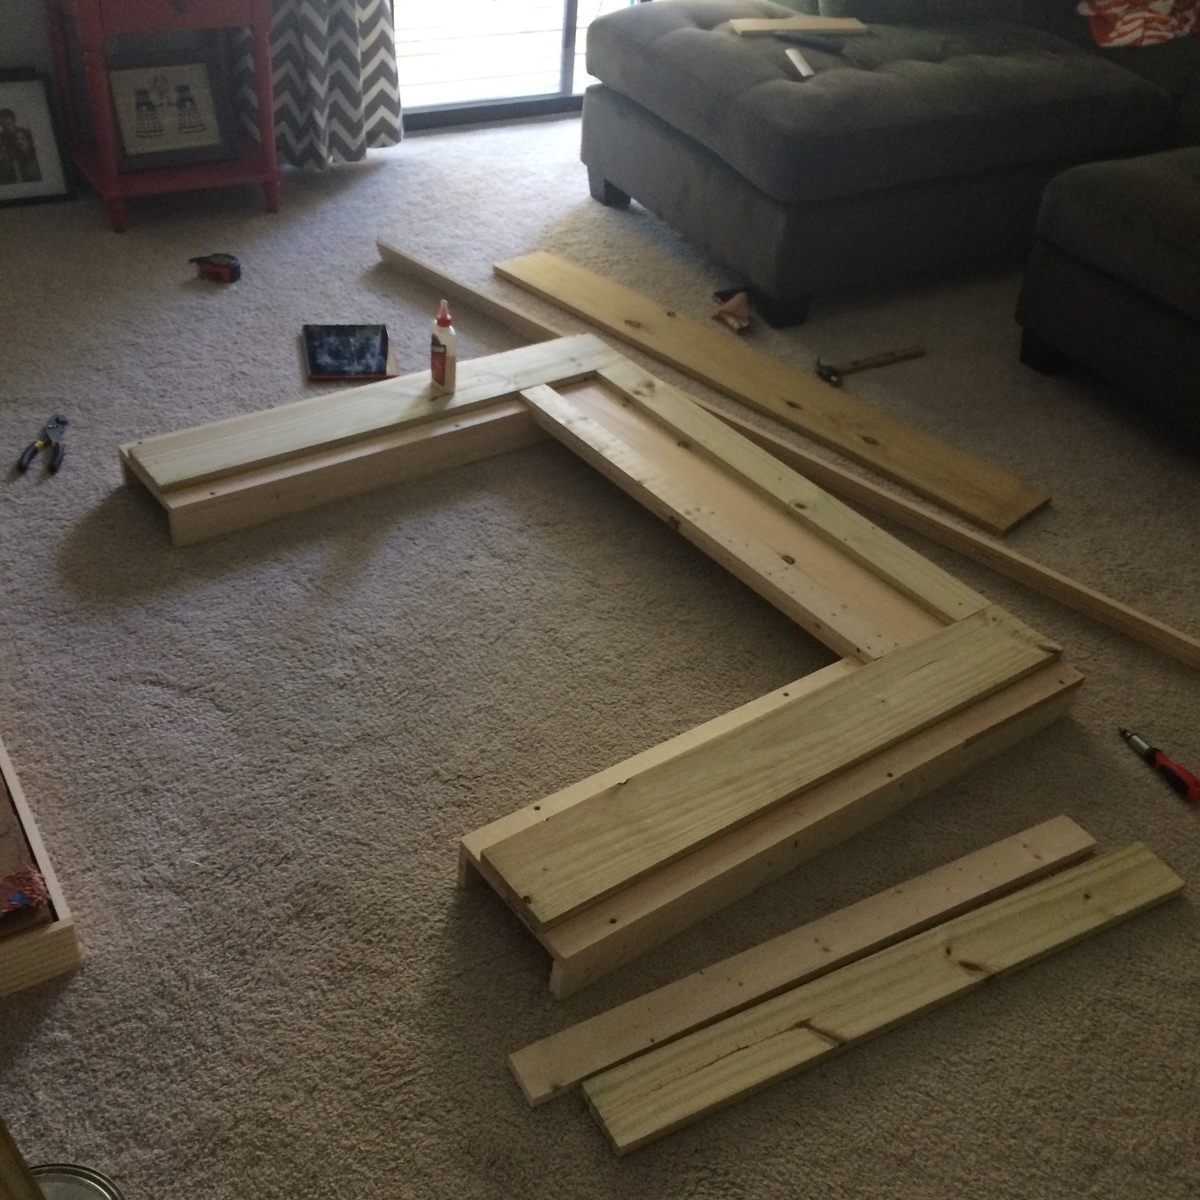
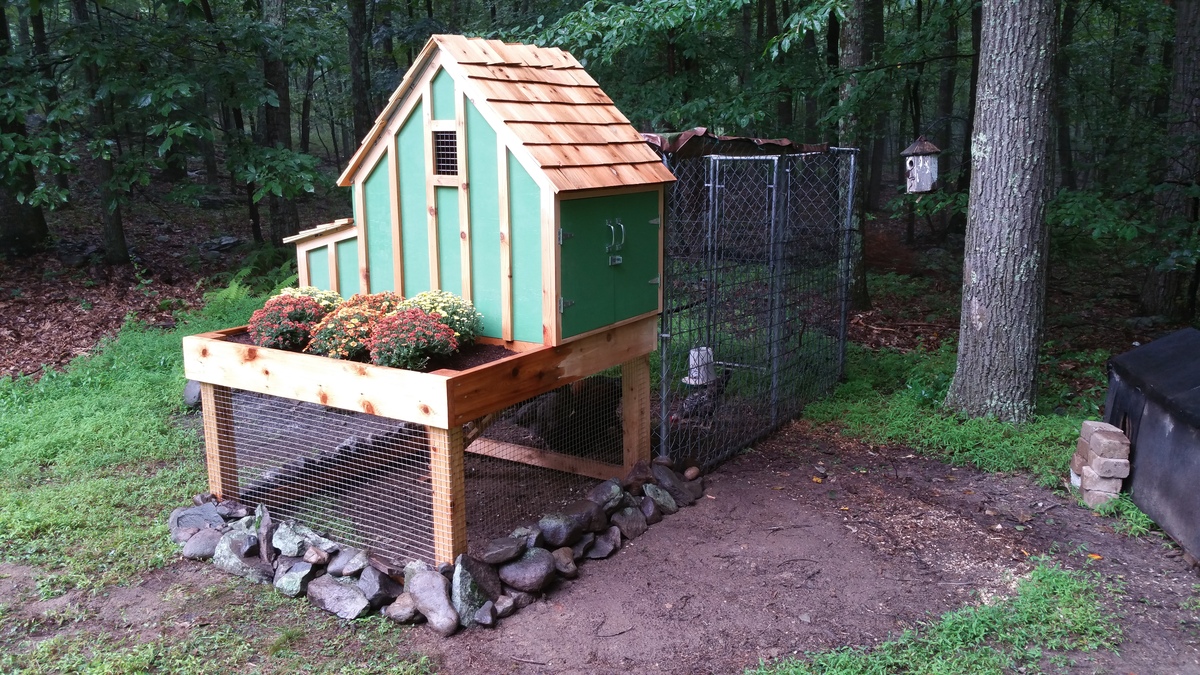
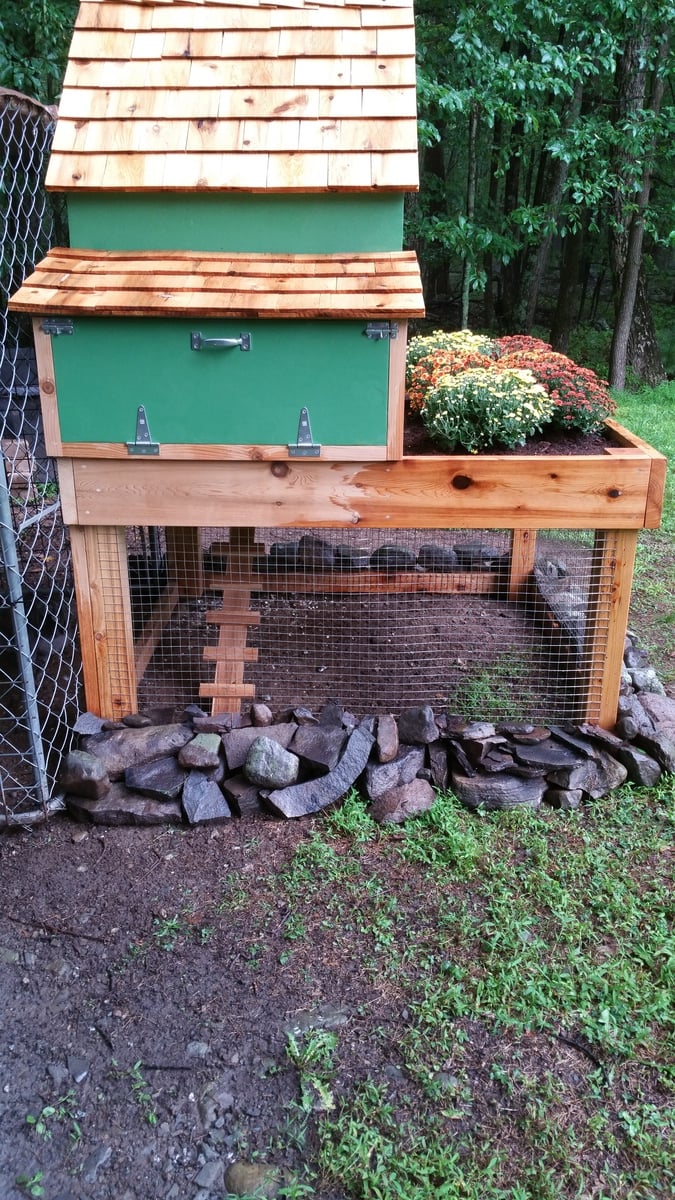
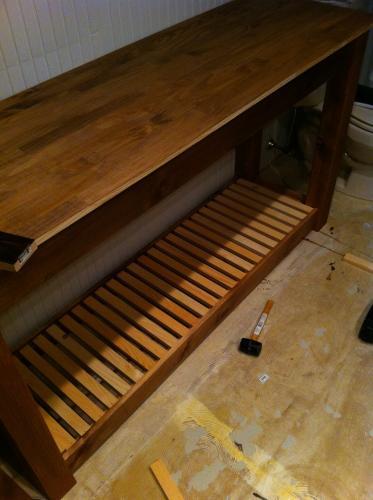
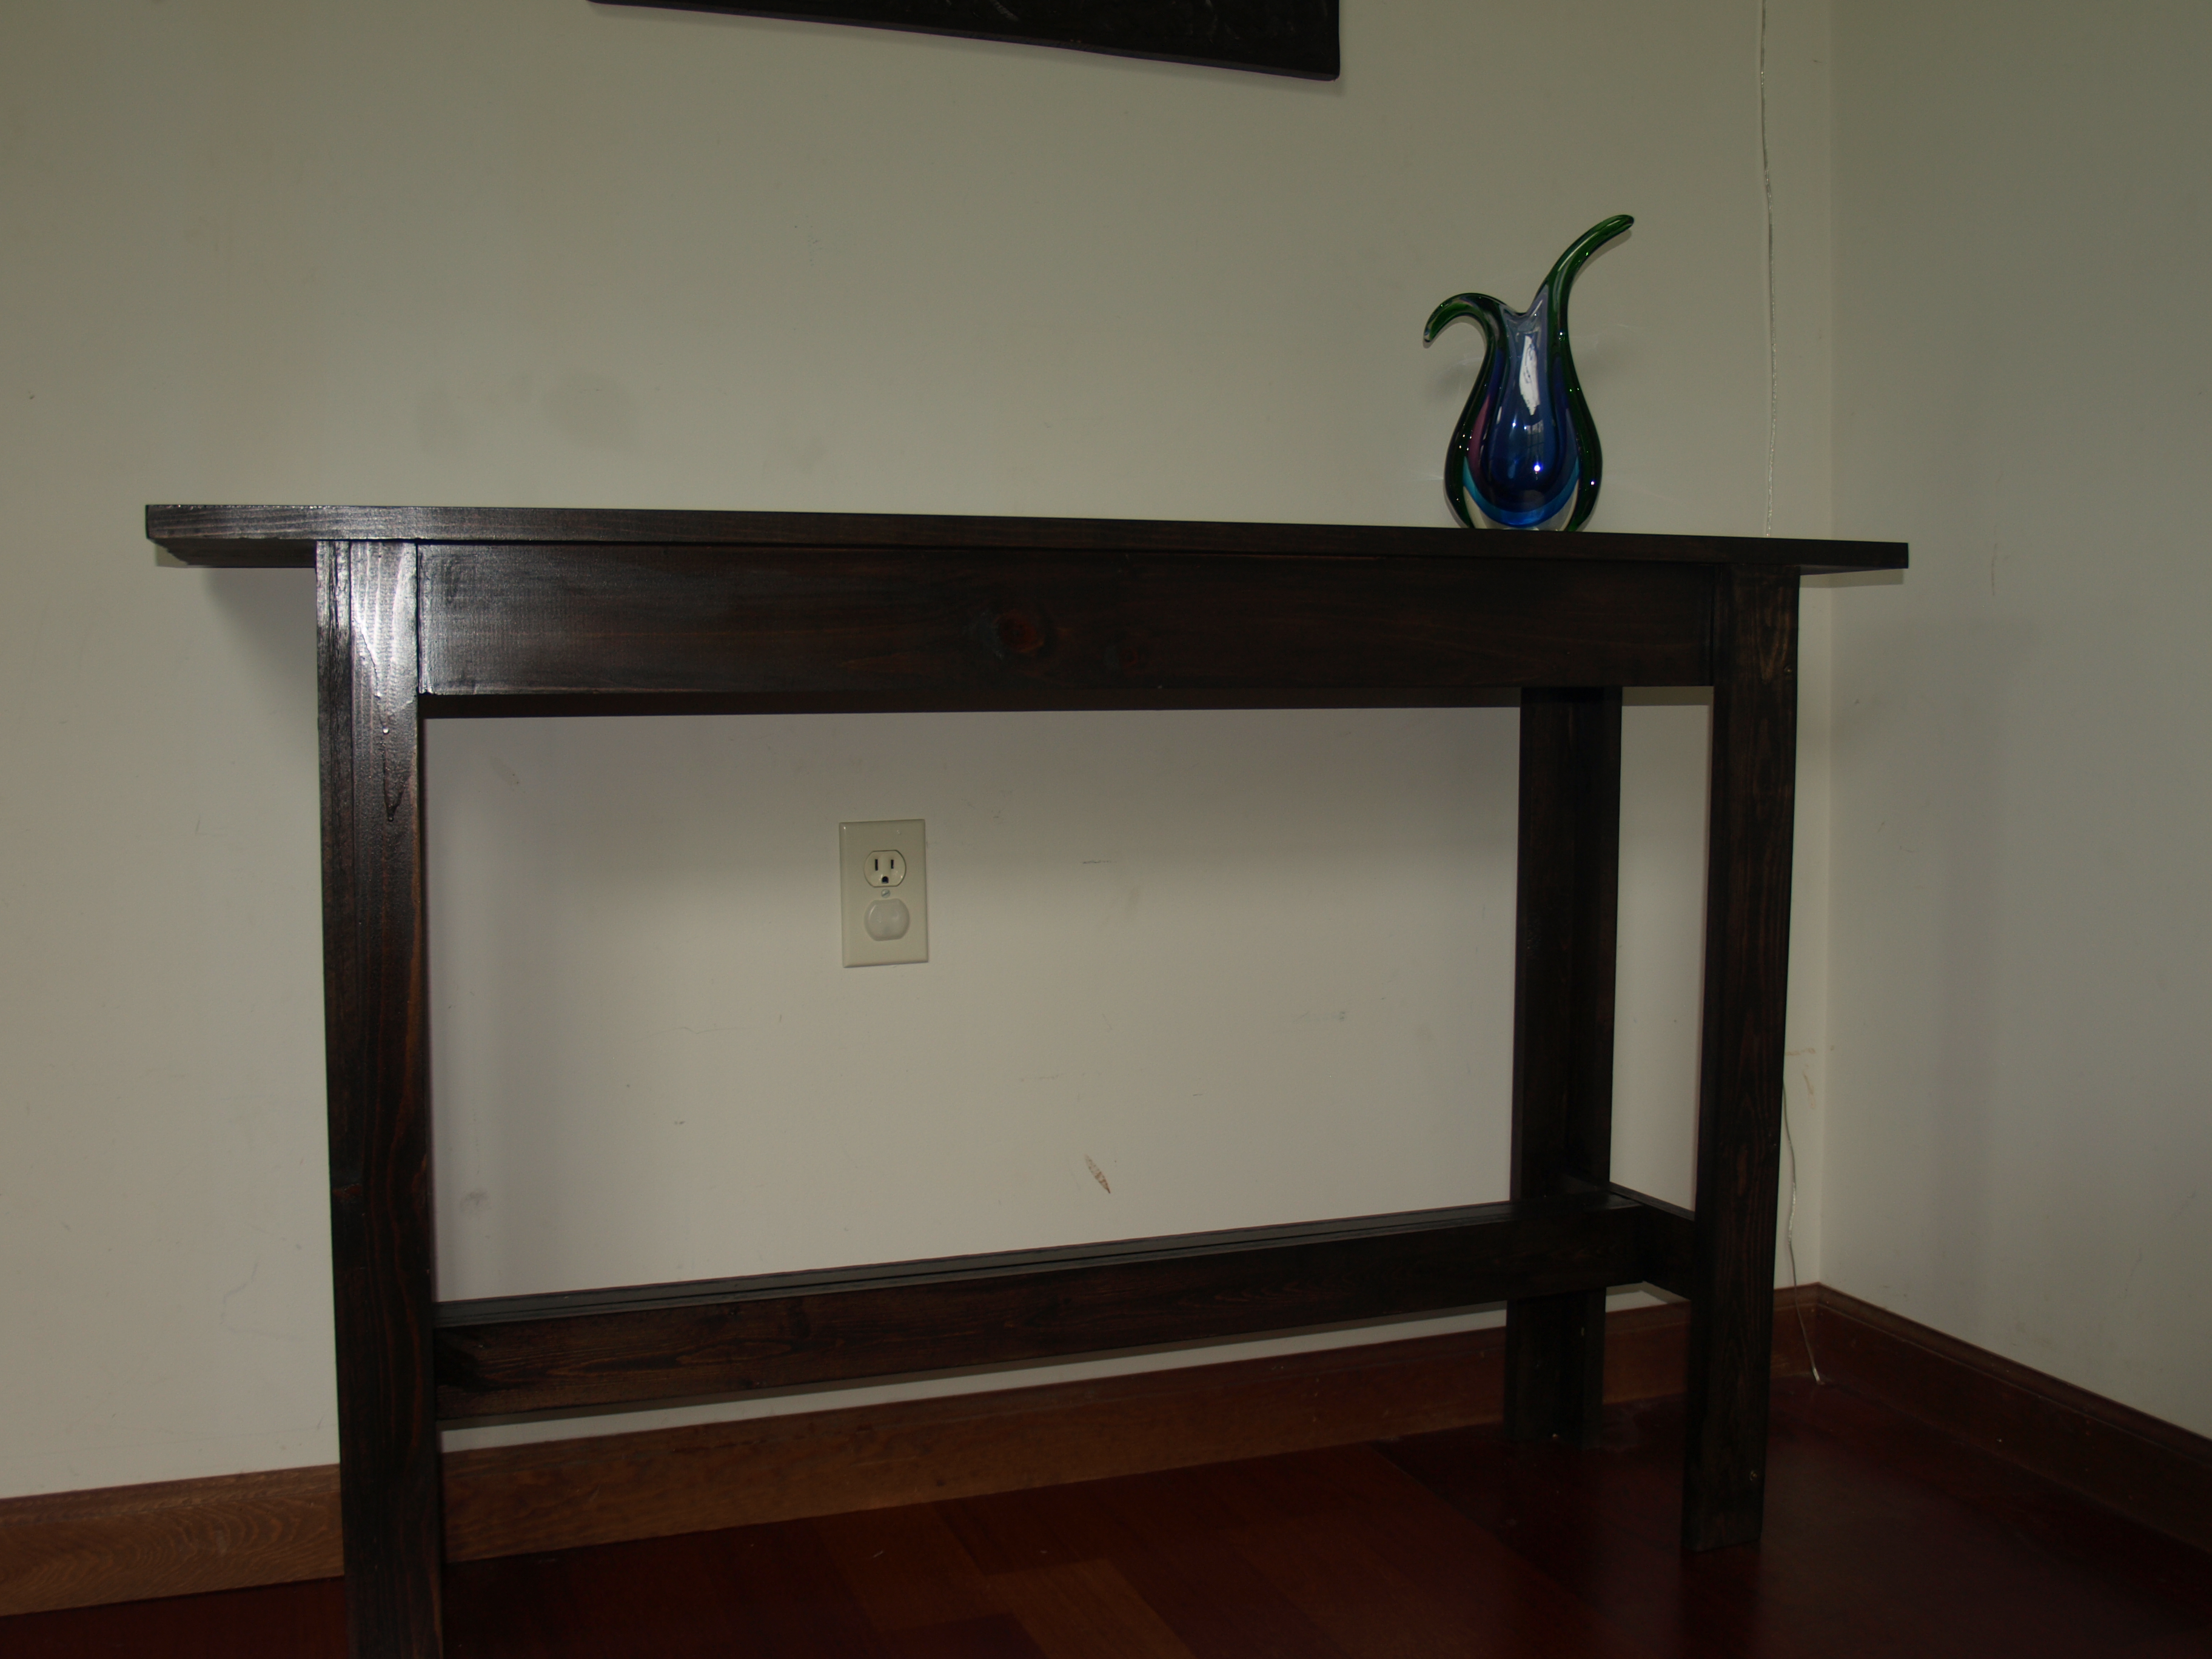
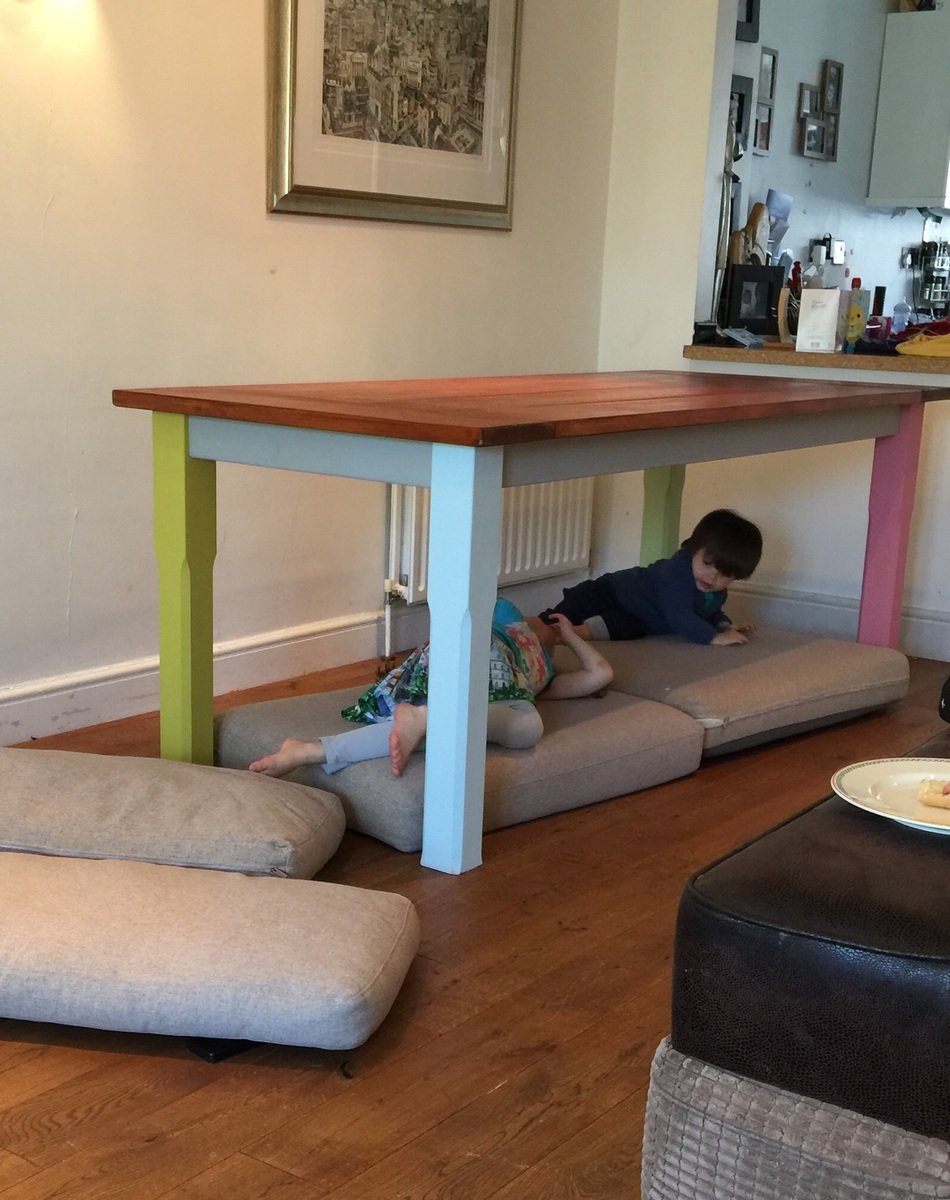
My first dining table!!
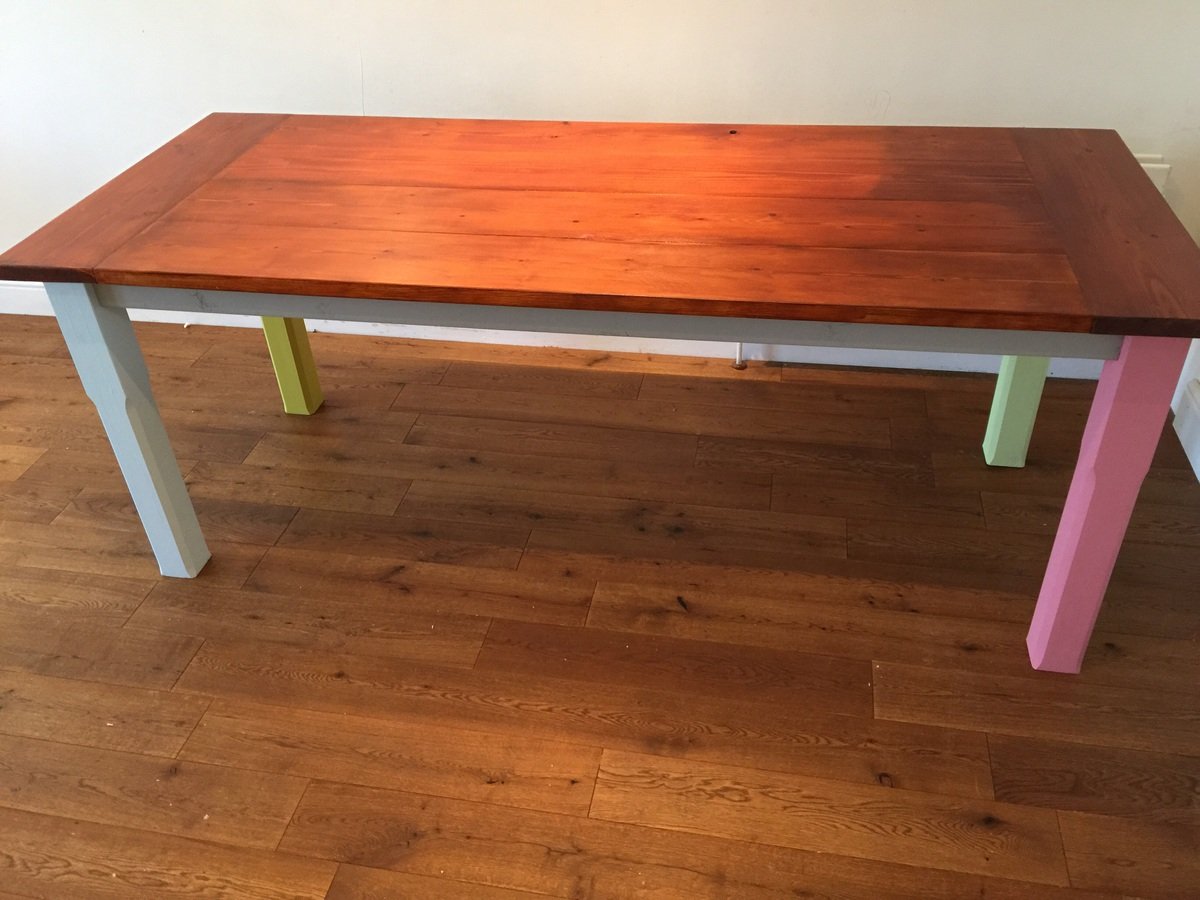
My first attempt at a country farmhouse style dining table, my children managed to also use it as a playhouse within minutes!!
Built from Plan(s)
Estimated Cost
Approx £200-£250 timber seems to be a lot more expensive here in the UK compared to the U.S.
Estimated Time Investment
Weekend Project (10-20 Hours)
Finish Used
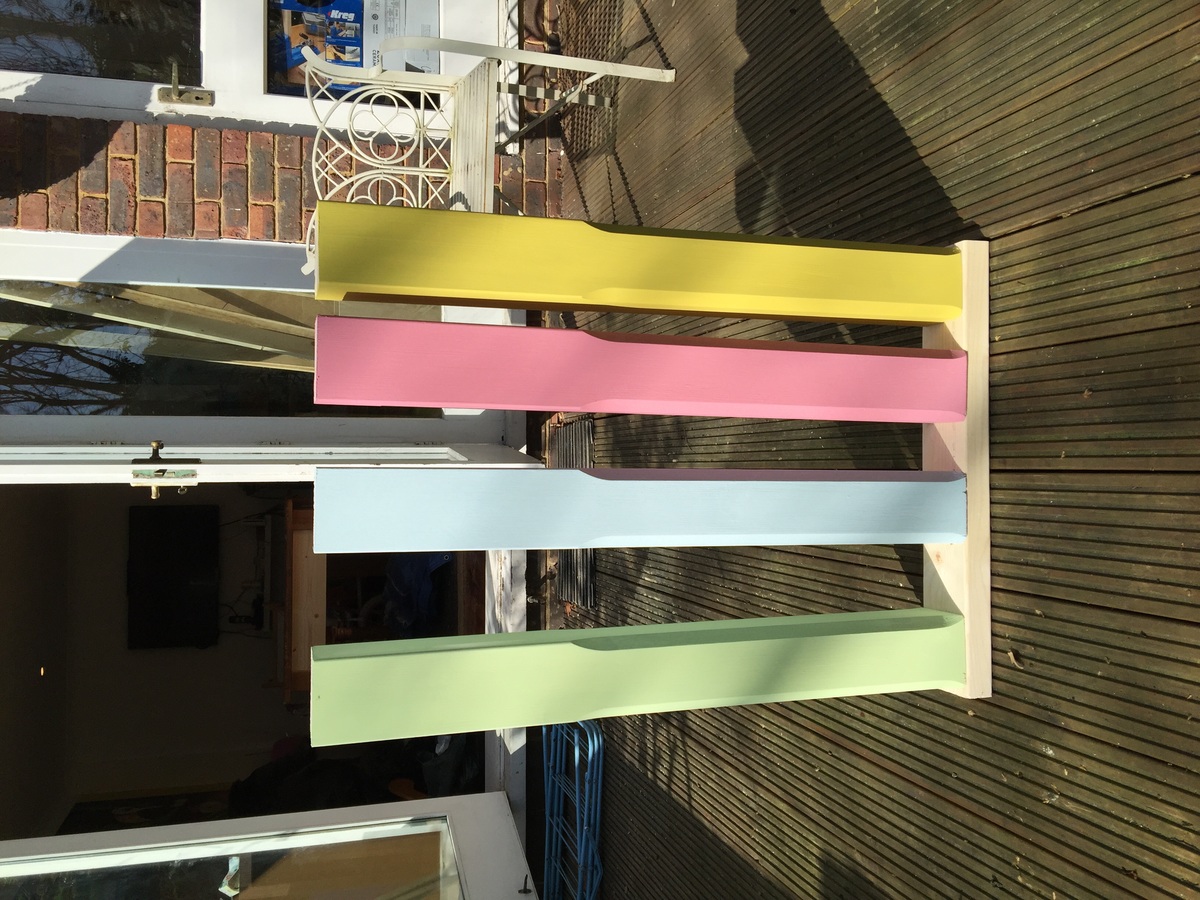
Chalk paint for the legs and a mahogany stain for the top.
Recommended Skill Level
Intermediate