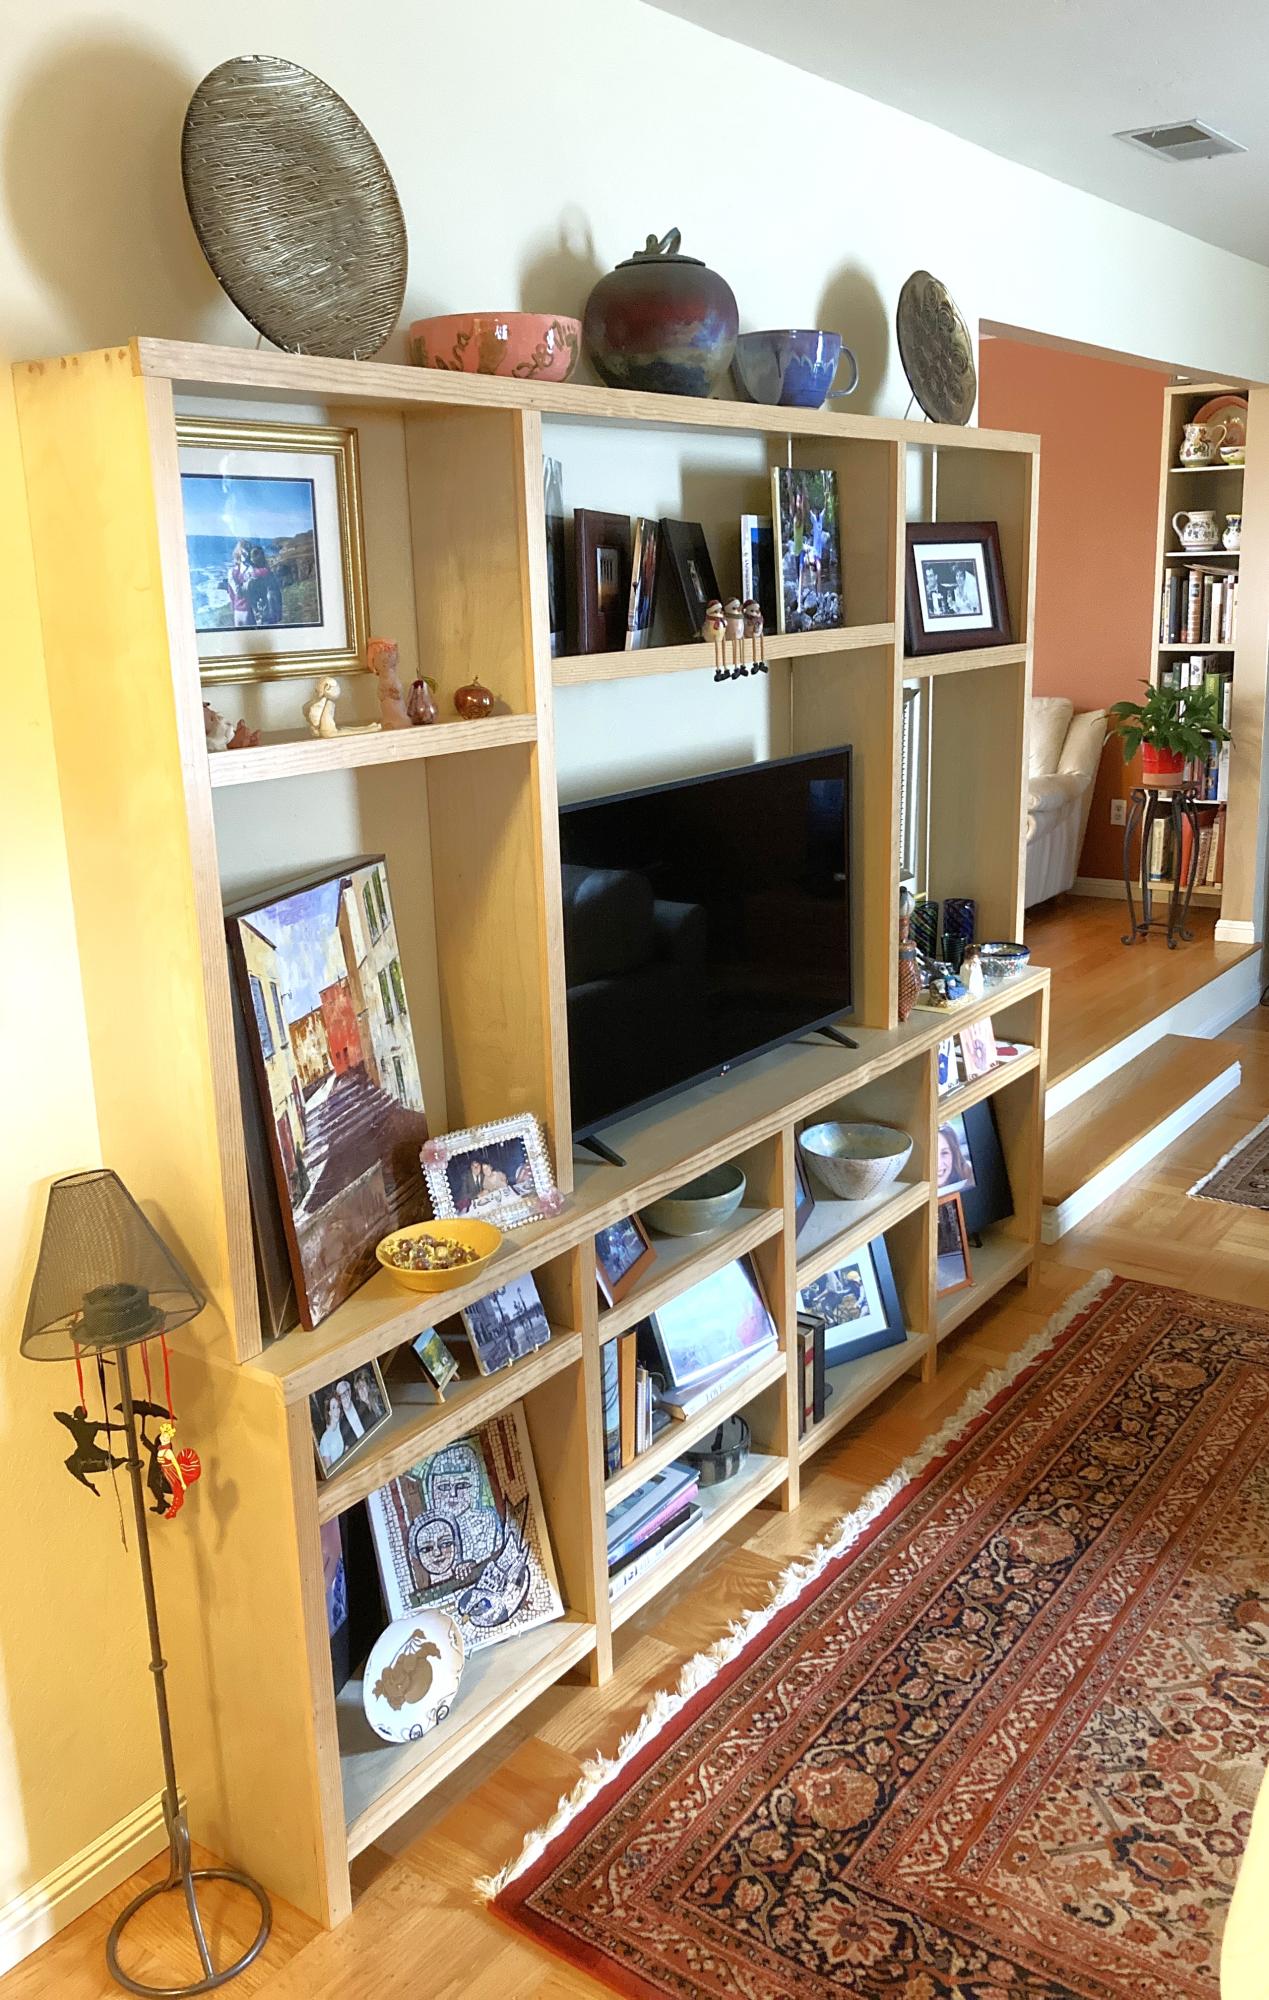
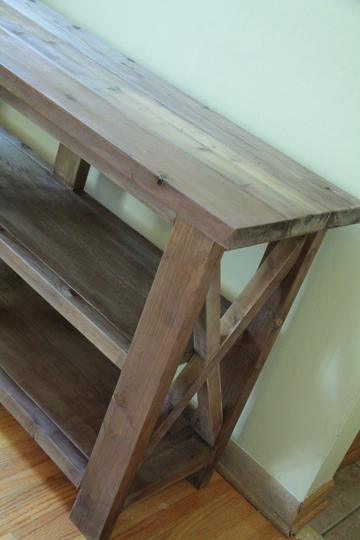
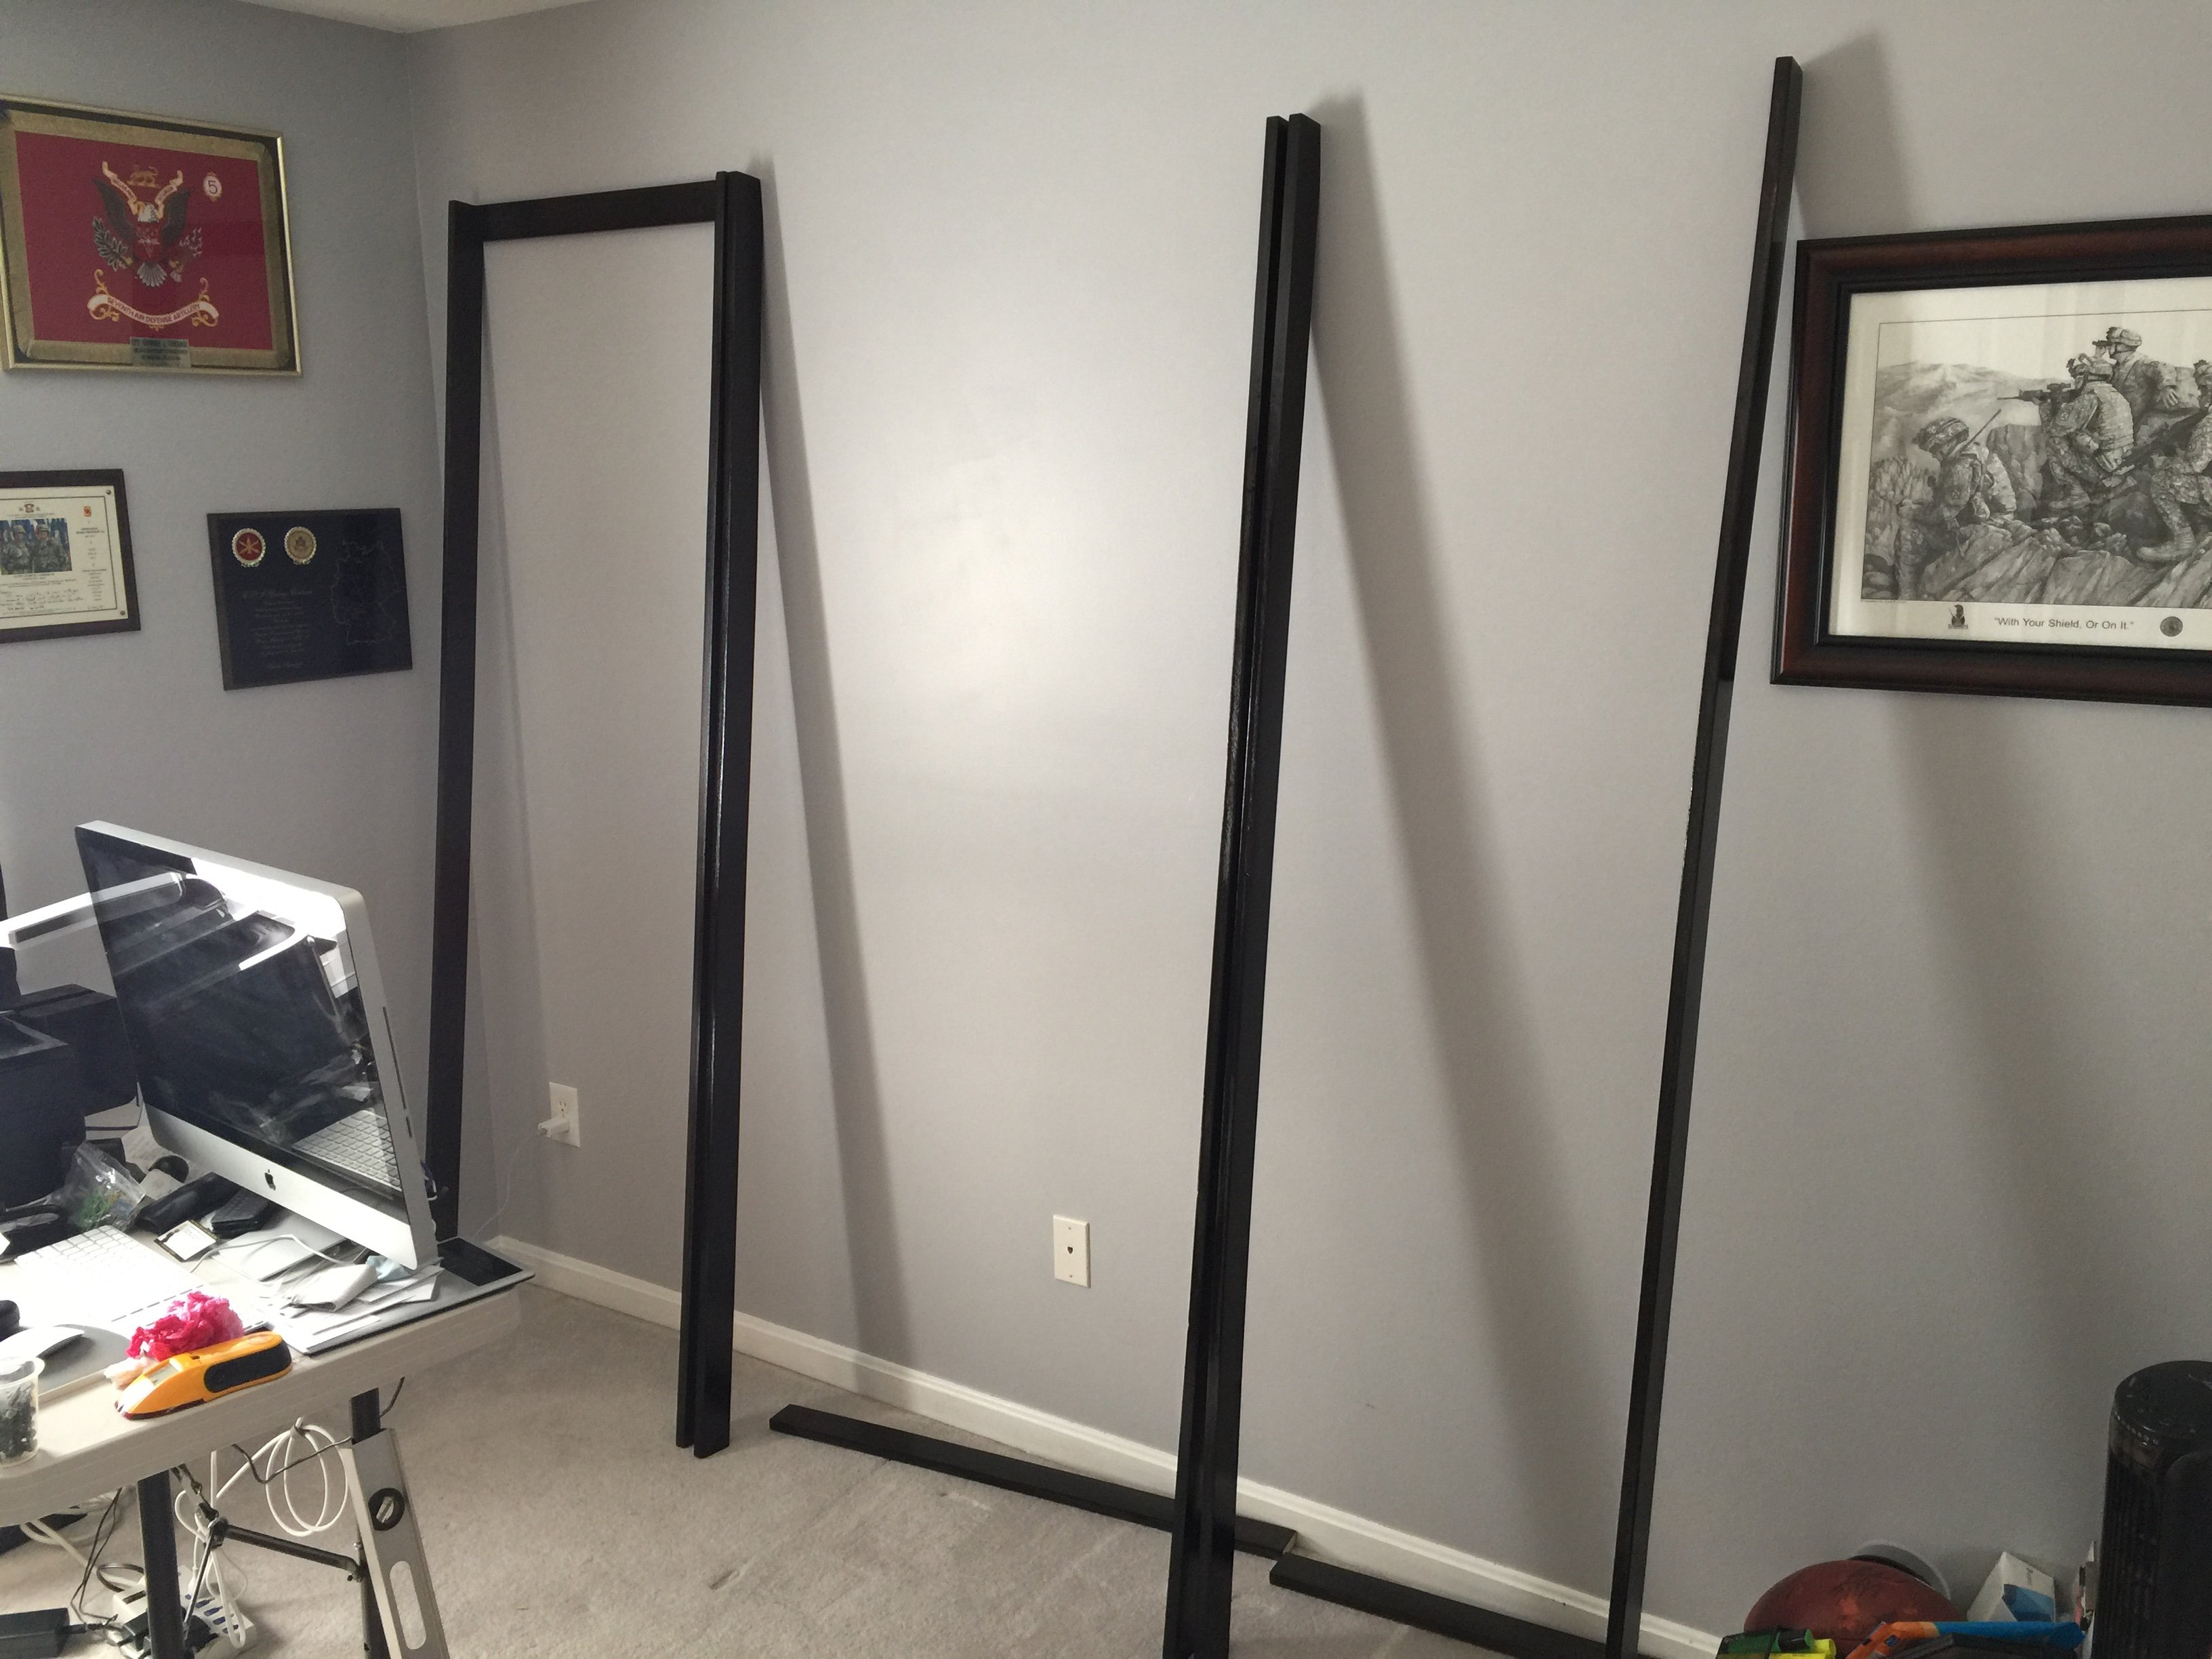
Leaning wall desk/bookshelf
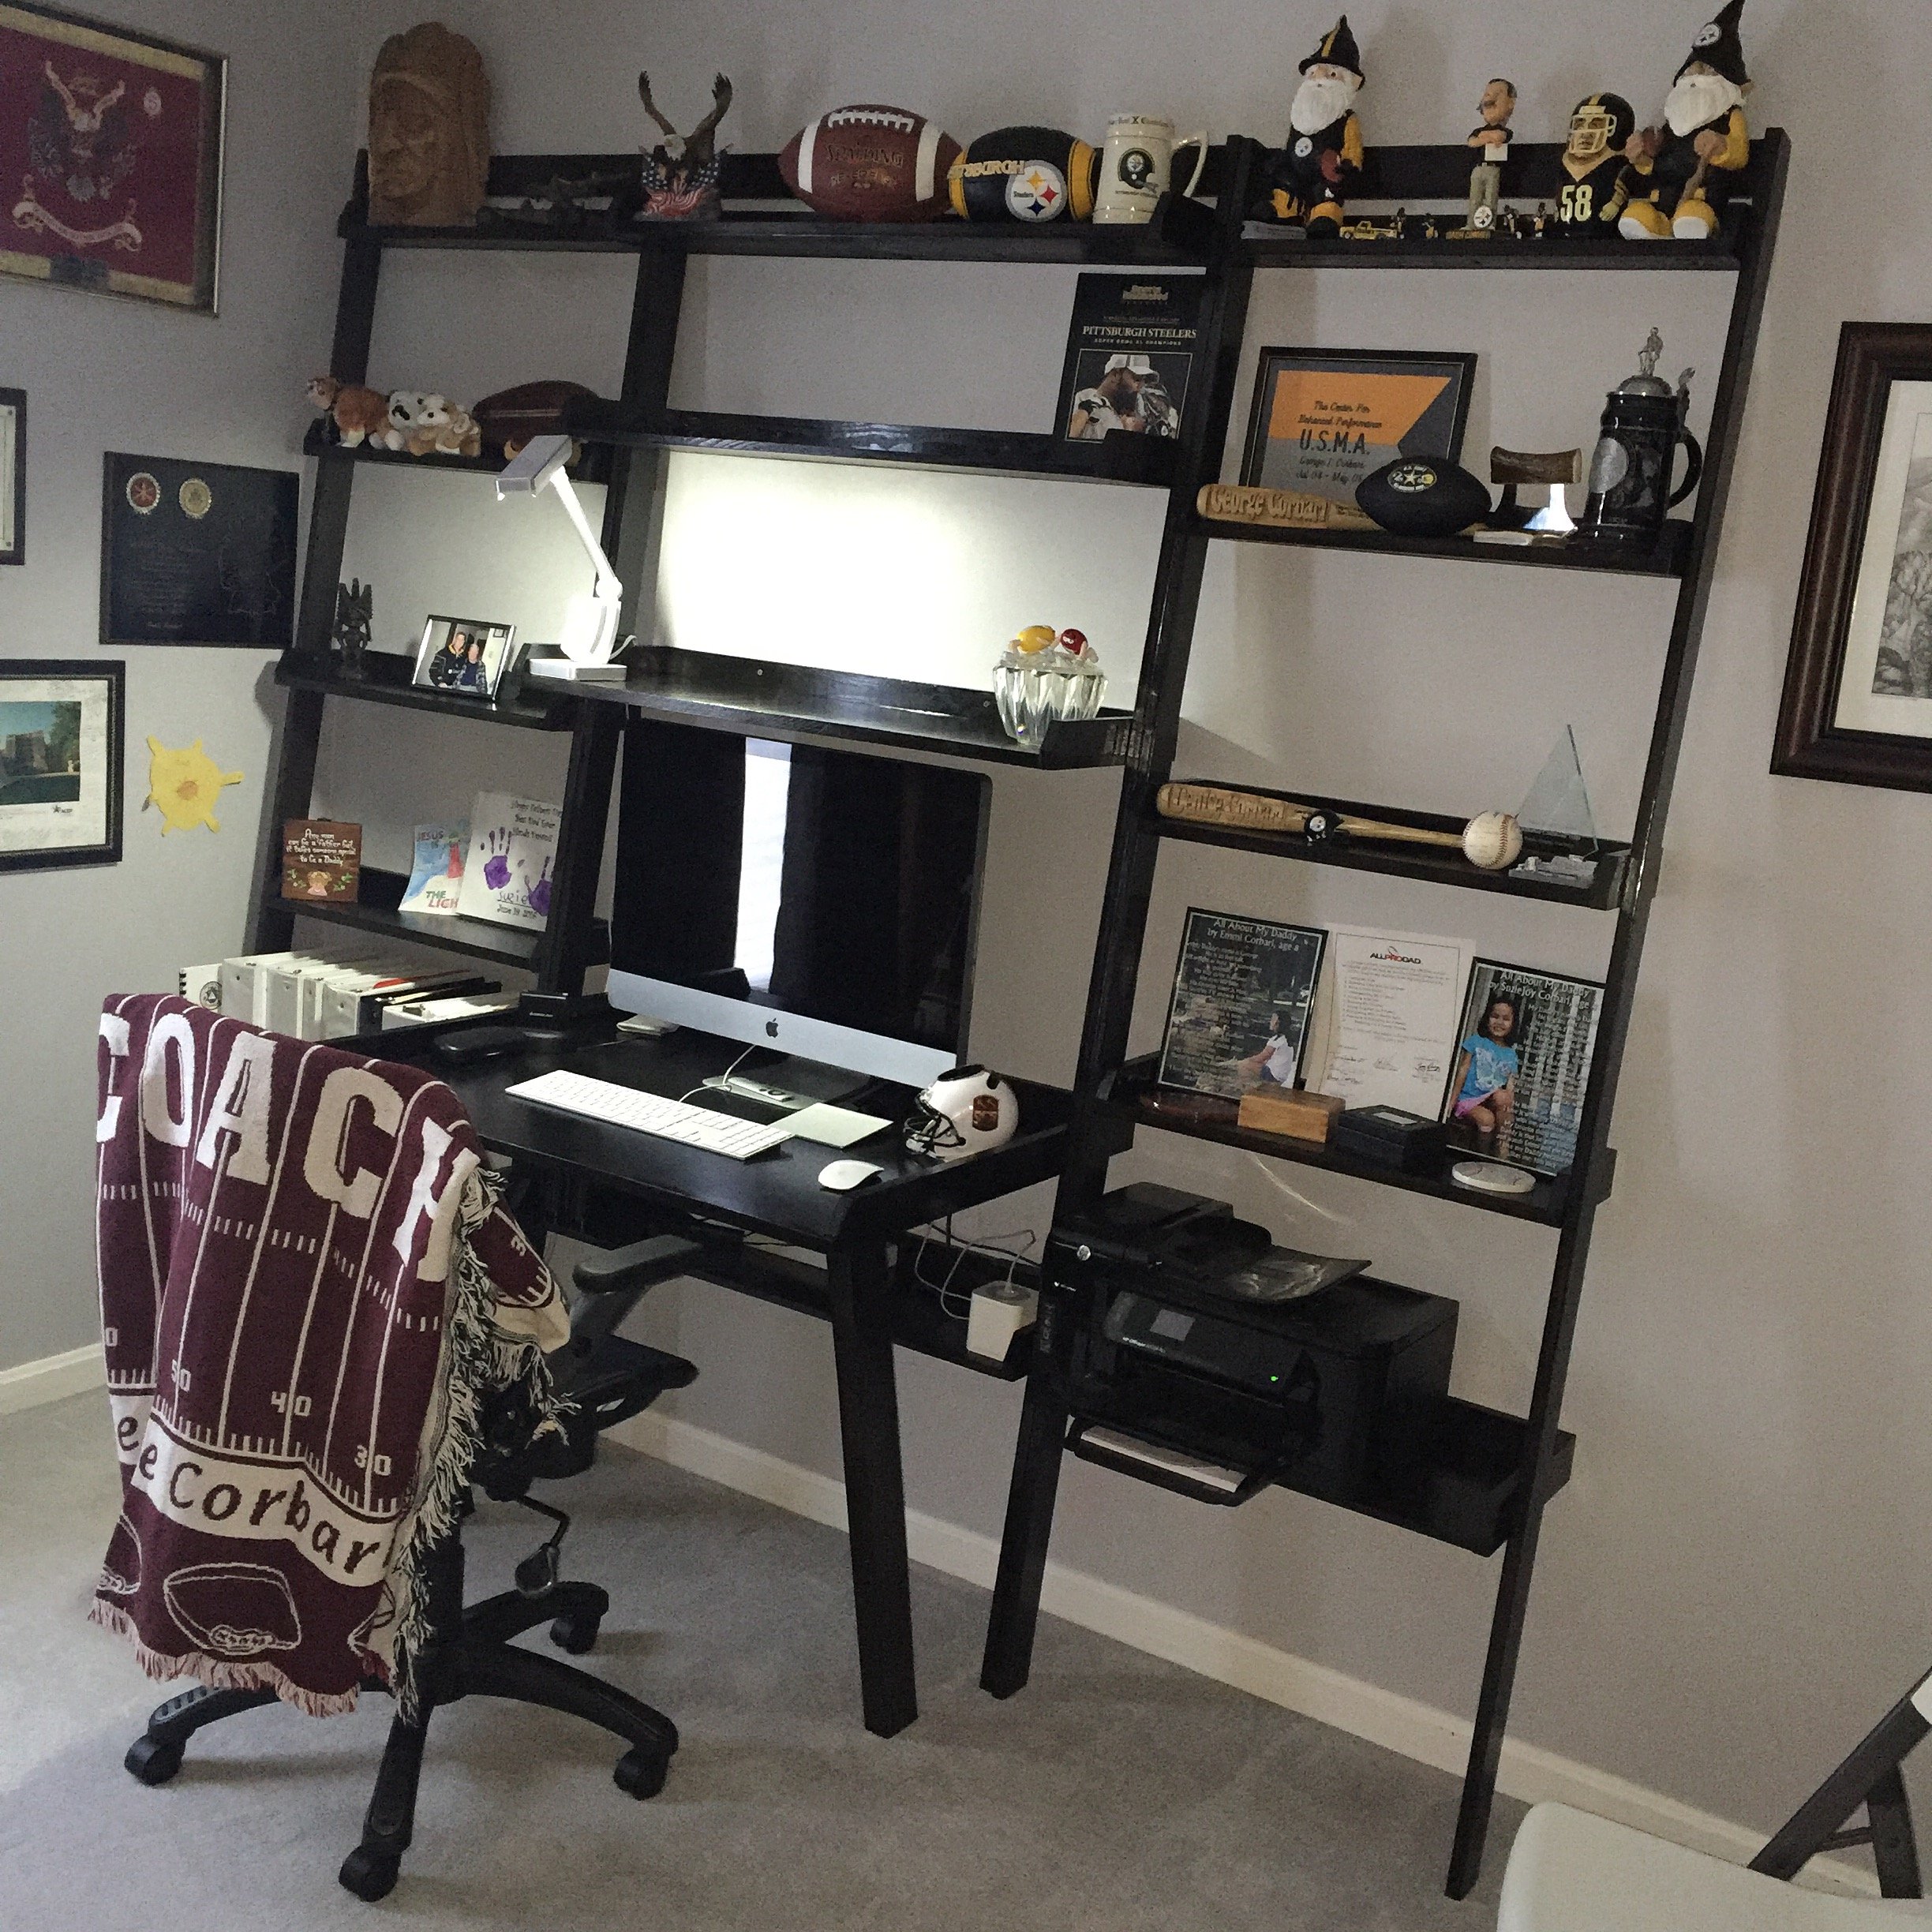
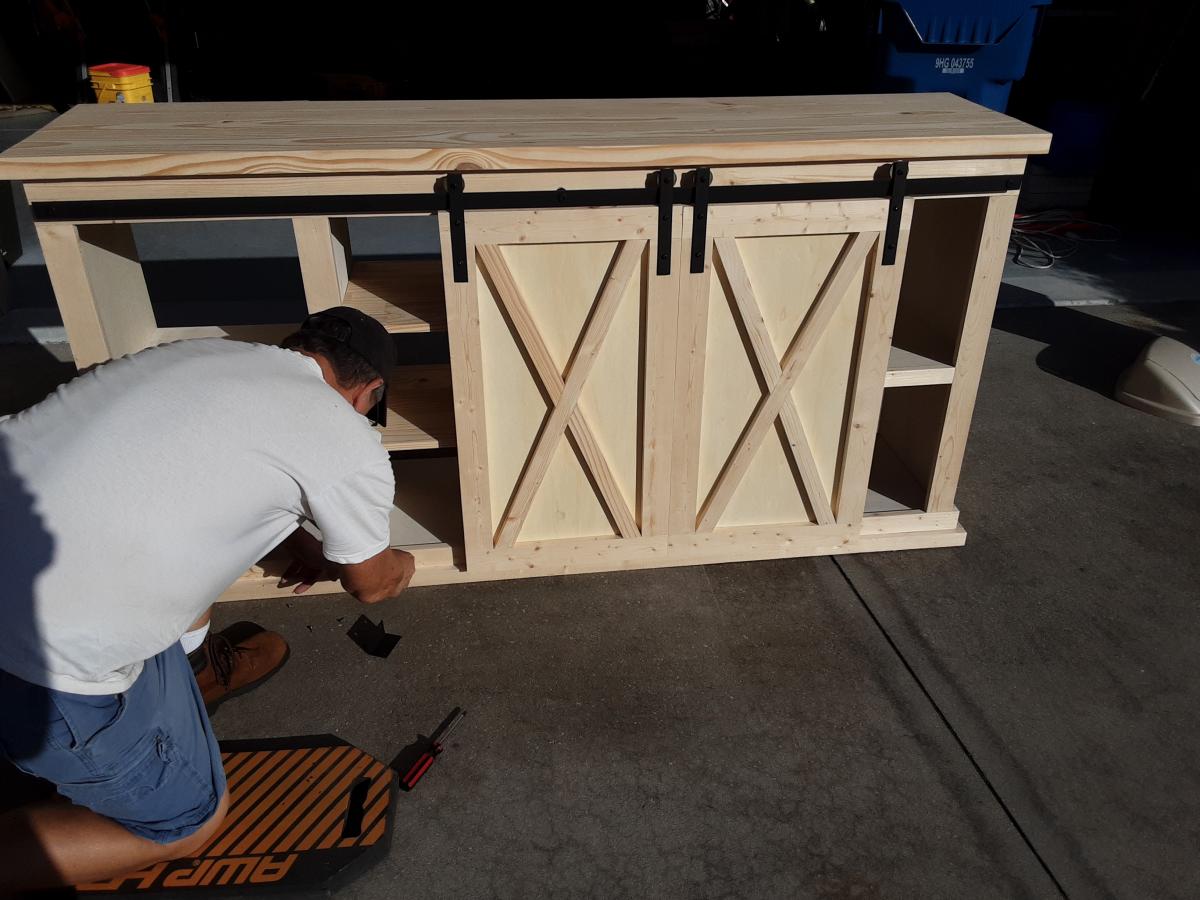
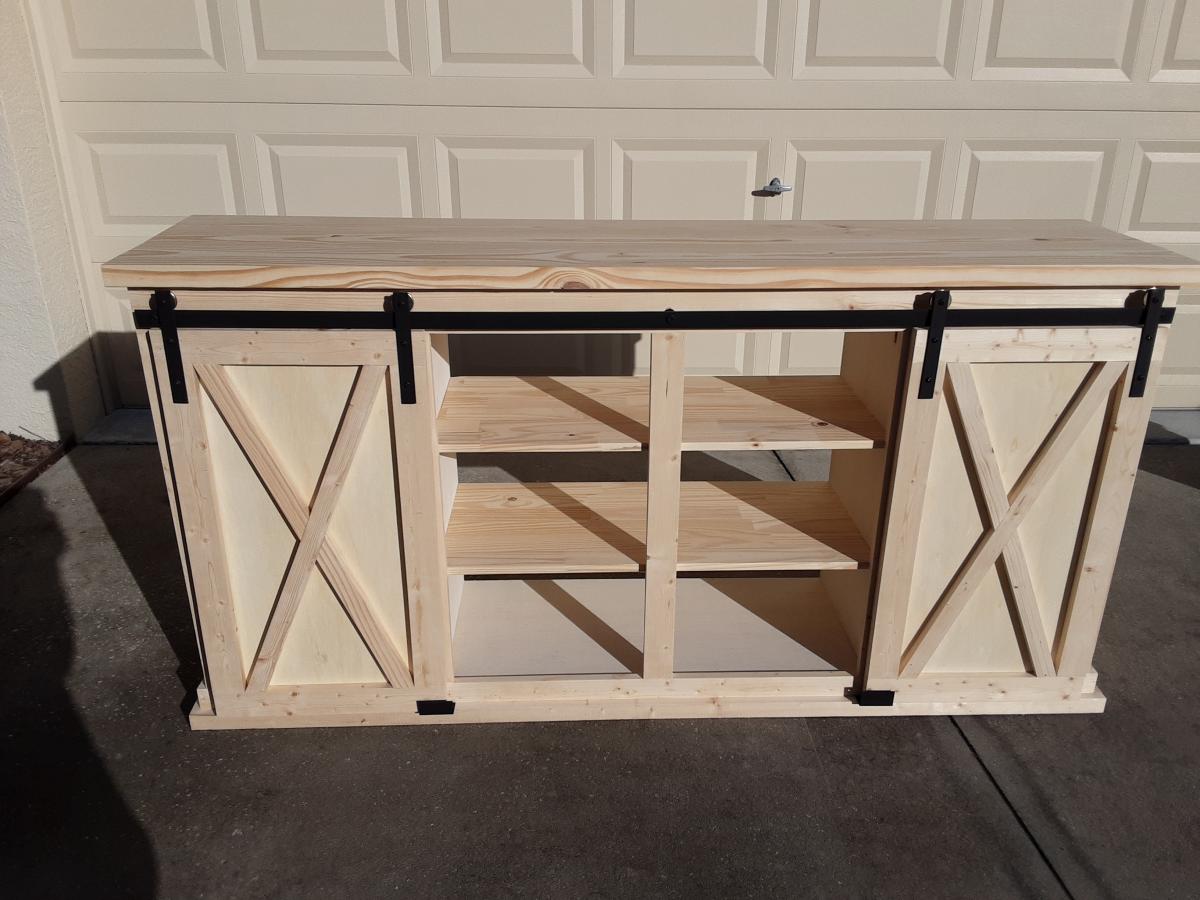
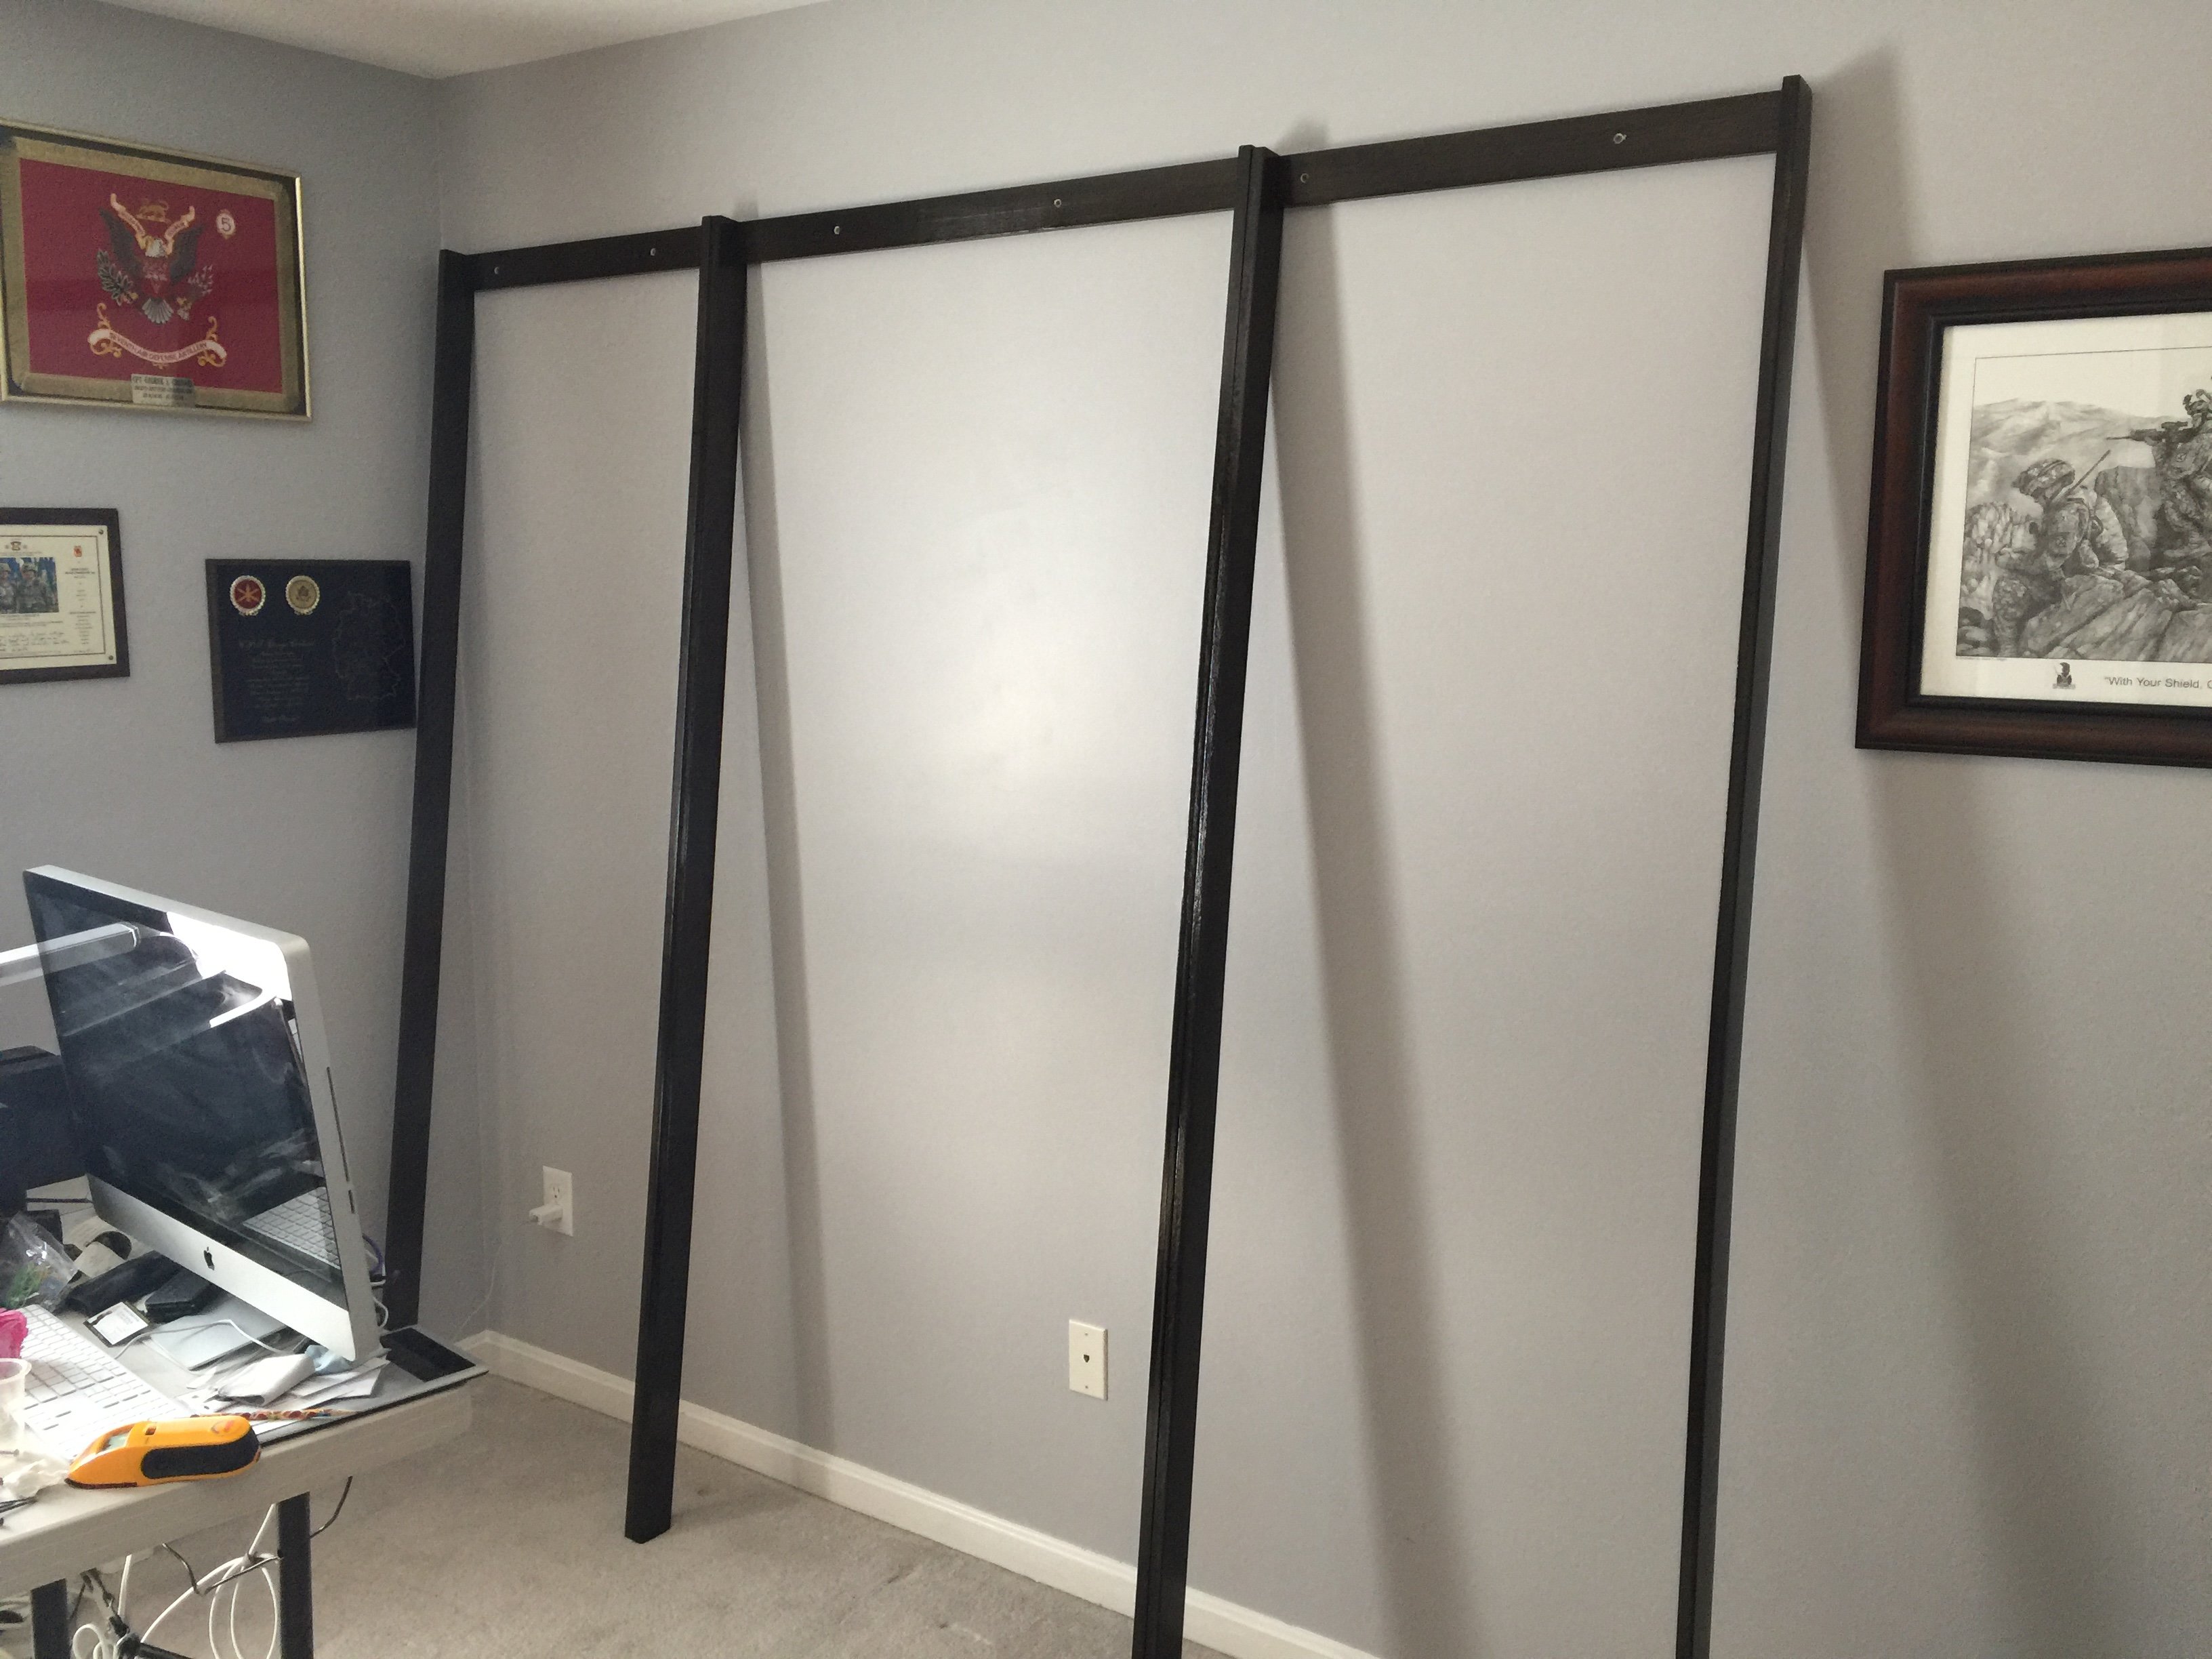
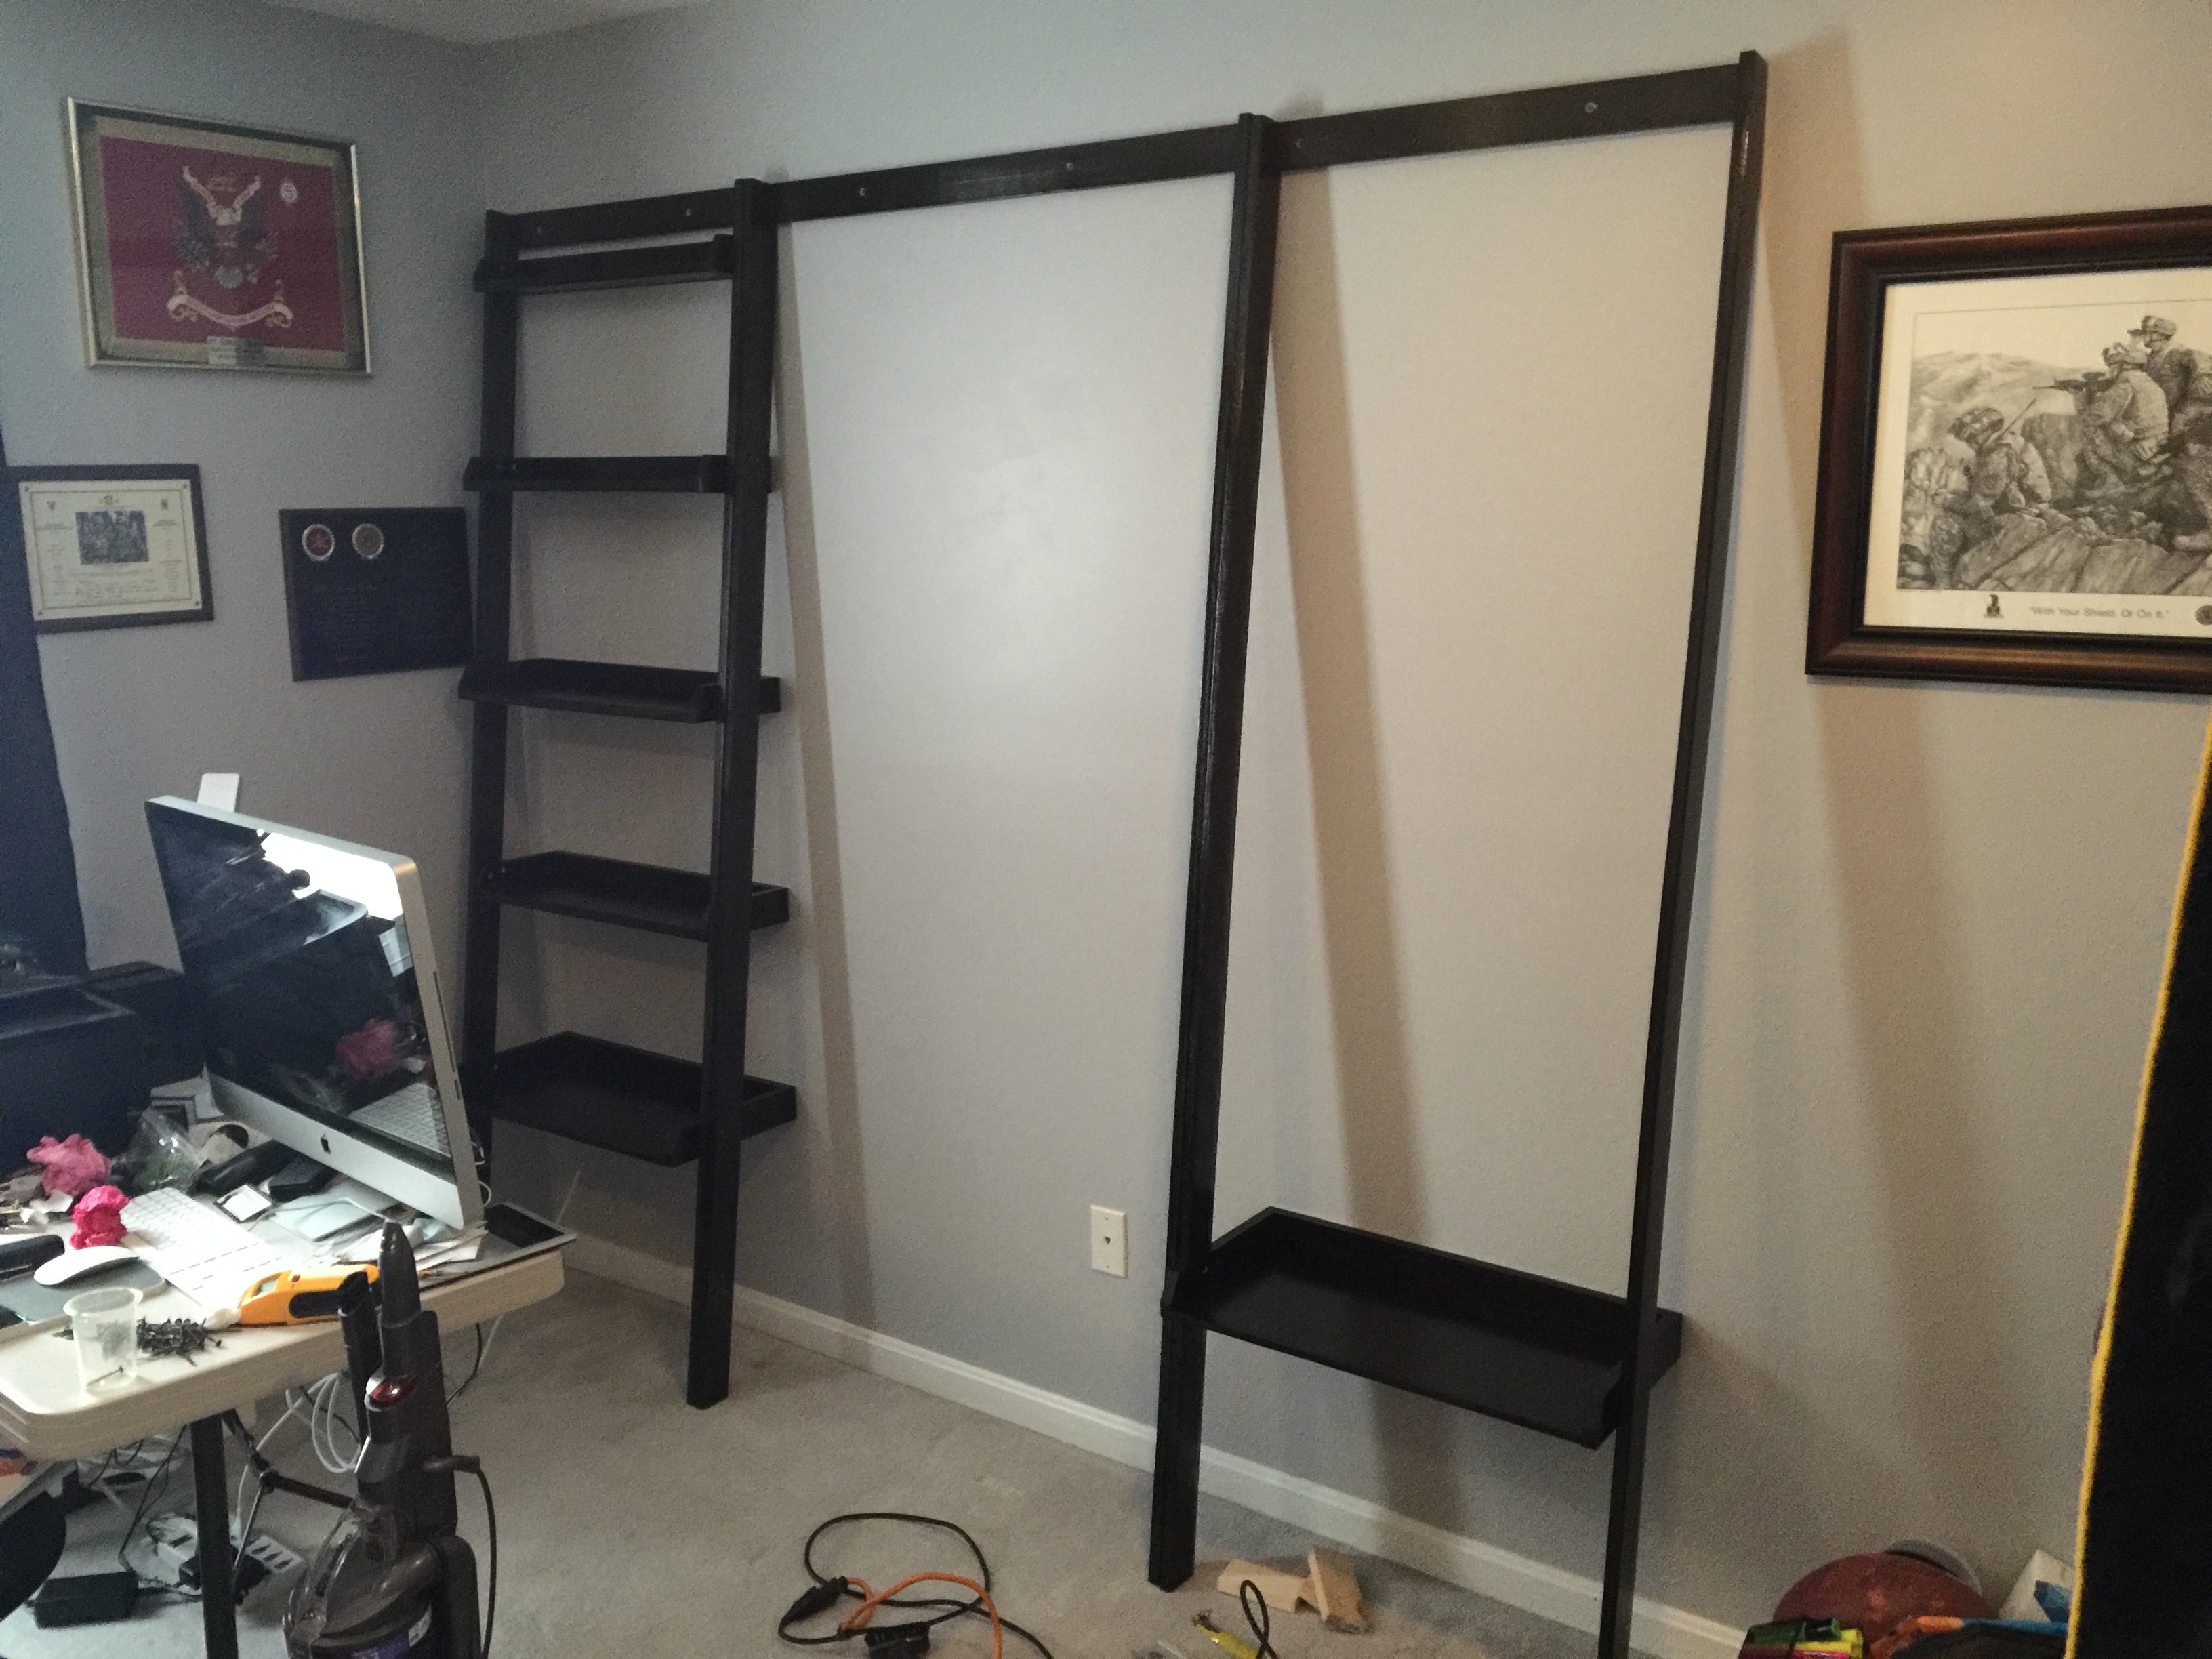
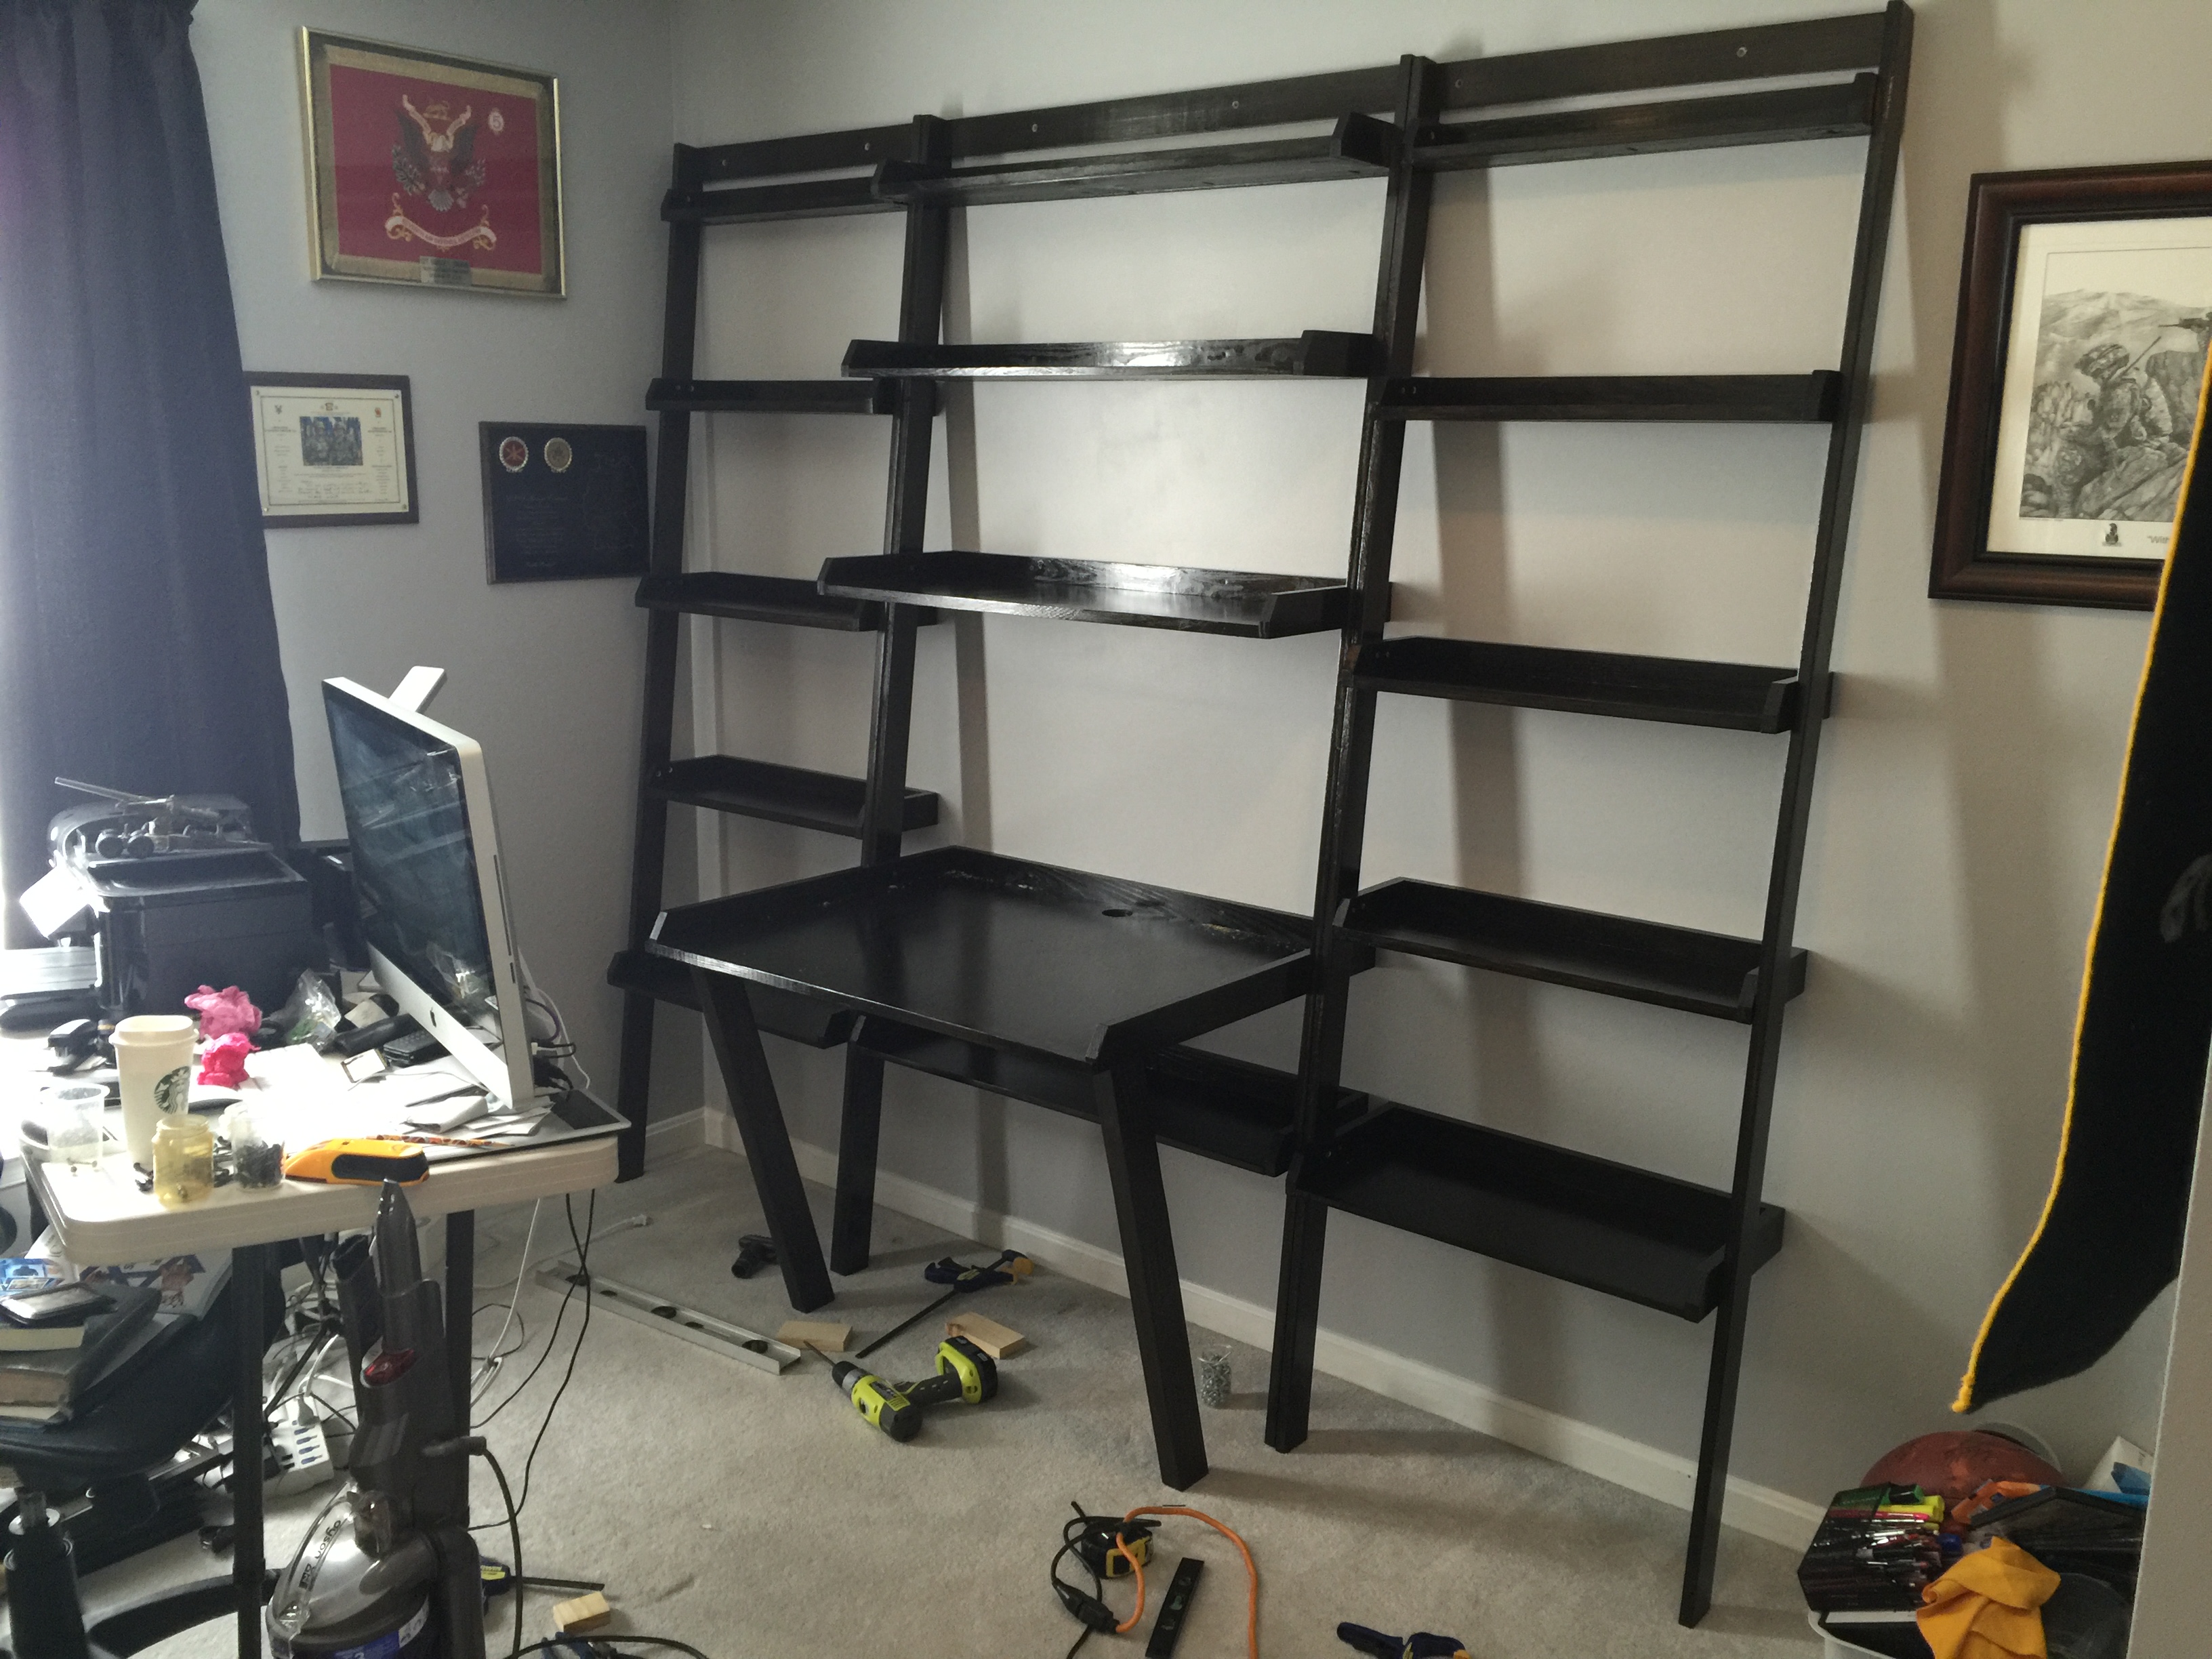
Using only scraps from all my other projects, I modified Ana's plans to create this workspace in the house we just moved into. I changed the dimensions of the shelves to take advantage of the materials I had on hand. Additionally, though I have a lot of different things on the shelves in this picture, I'll be using the shelves more for books and reference materials, so I needed standard shelf sizes. Though this is a simple design, cutting some of the angles and installing the shelves was a bit tricky, therefore I think this is more of an intermedite project. I also added 2x4 legs to support my Mac. Can't have that tumbling to the ground!

Built from Plan(s)
Estimated Cost
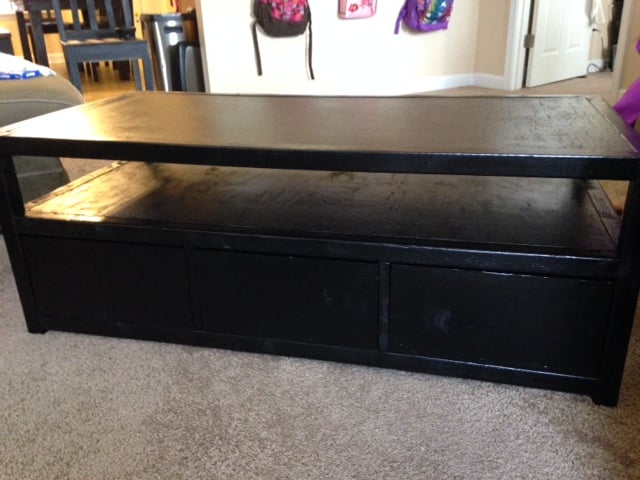
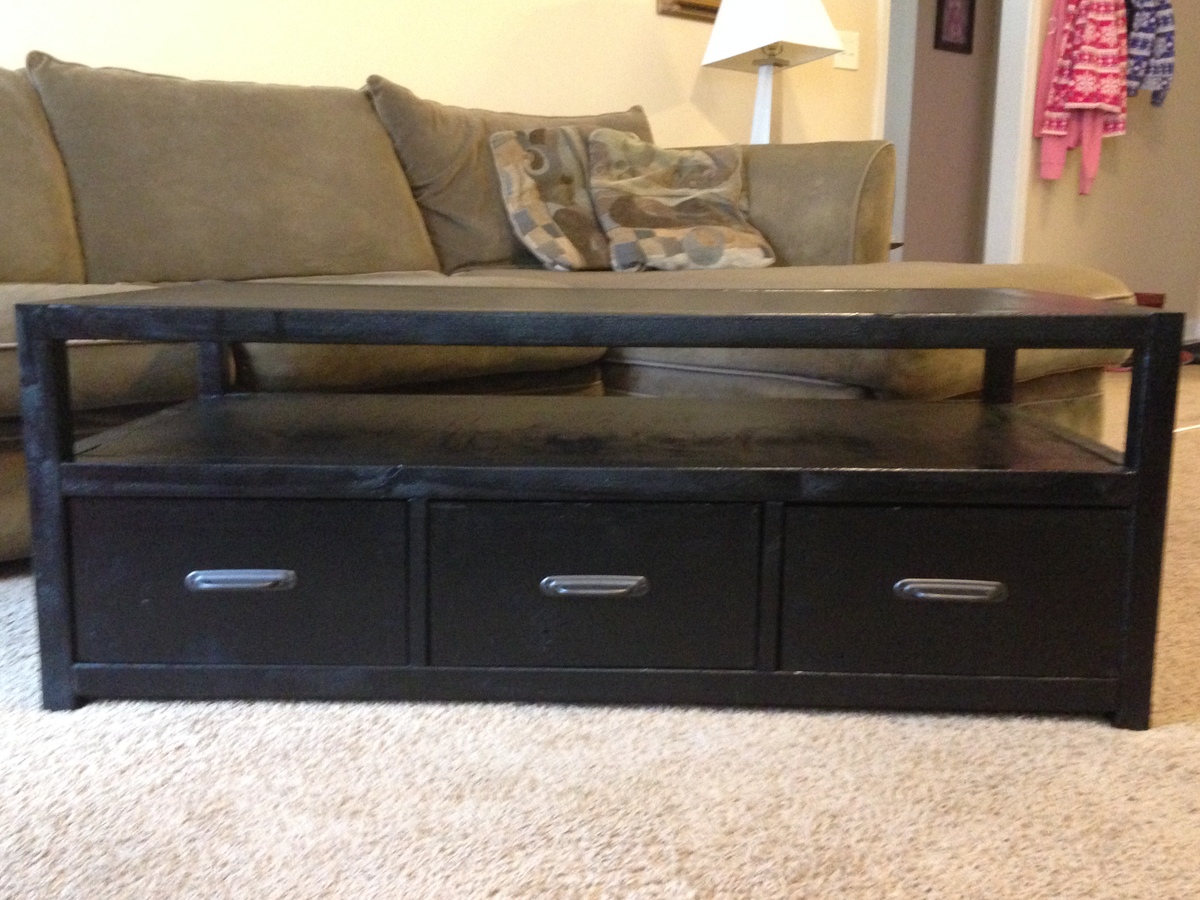
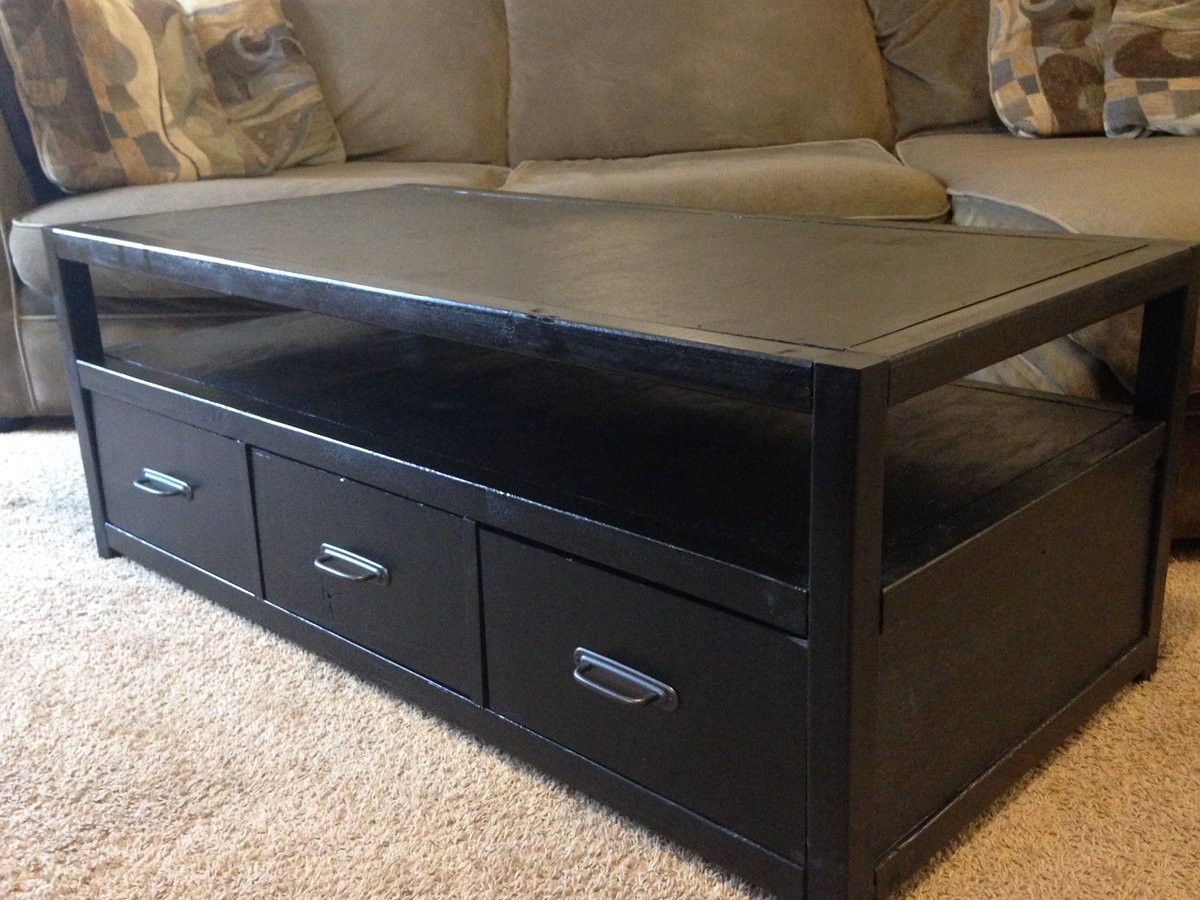
I used all scraps and left over lumber from other projects to make this. My actual cost was $25.
Estimated Time Investment
Week Long Project (20 Hours or More)
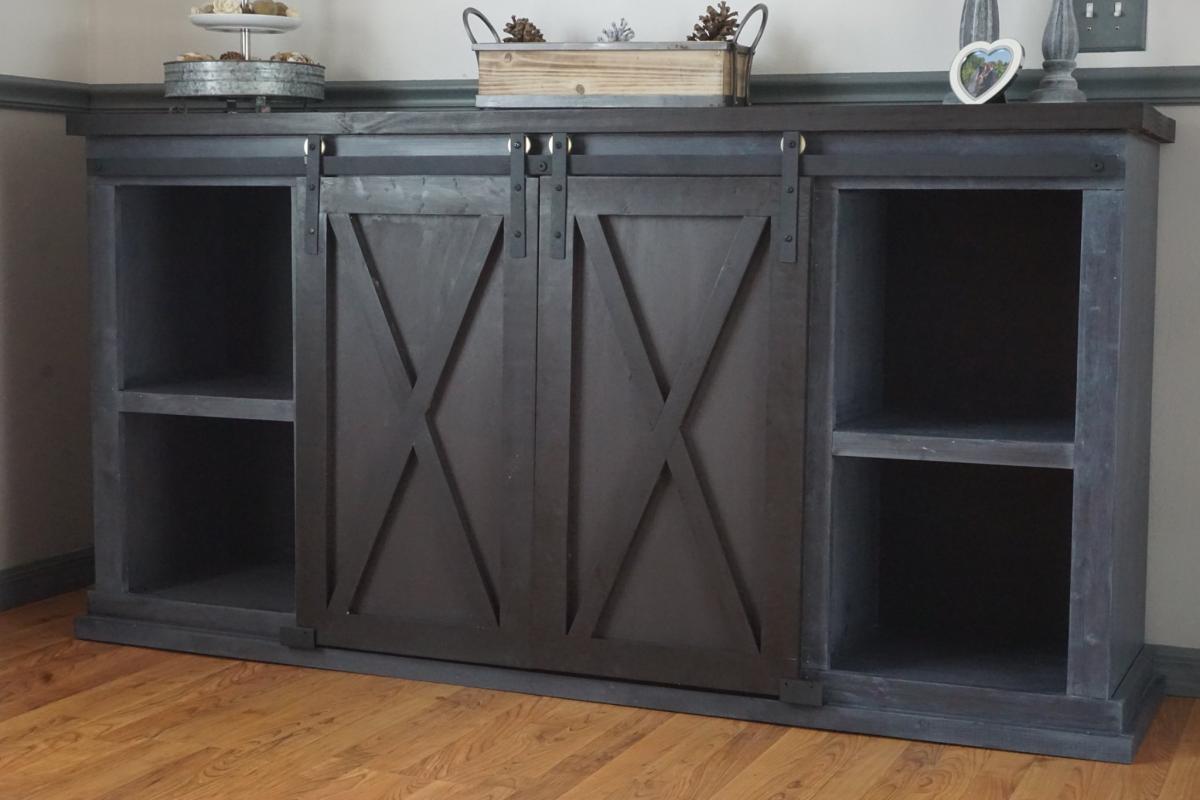
Finish Used
I used an all-in-one Verathane stain+finish (ebony). I put on 3 coats, sanded with a fine grit sponge and put on one additional coat.
Recommended Skill Level
Intermediate