Community Brag Posts

Chicken Coop

Submitted by Anonymous (not verified) on Mon, 10/04/2021 - 15:53

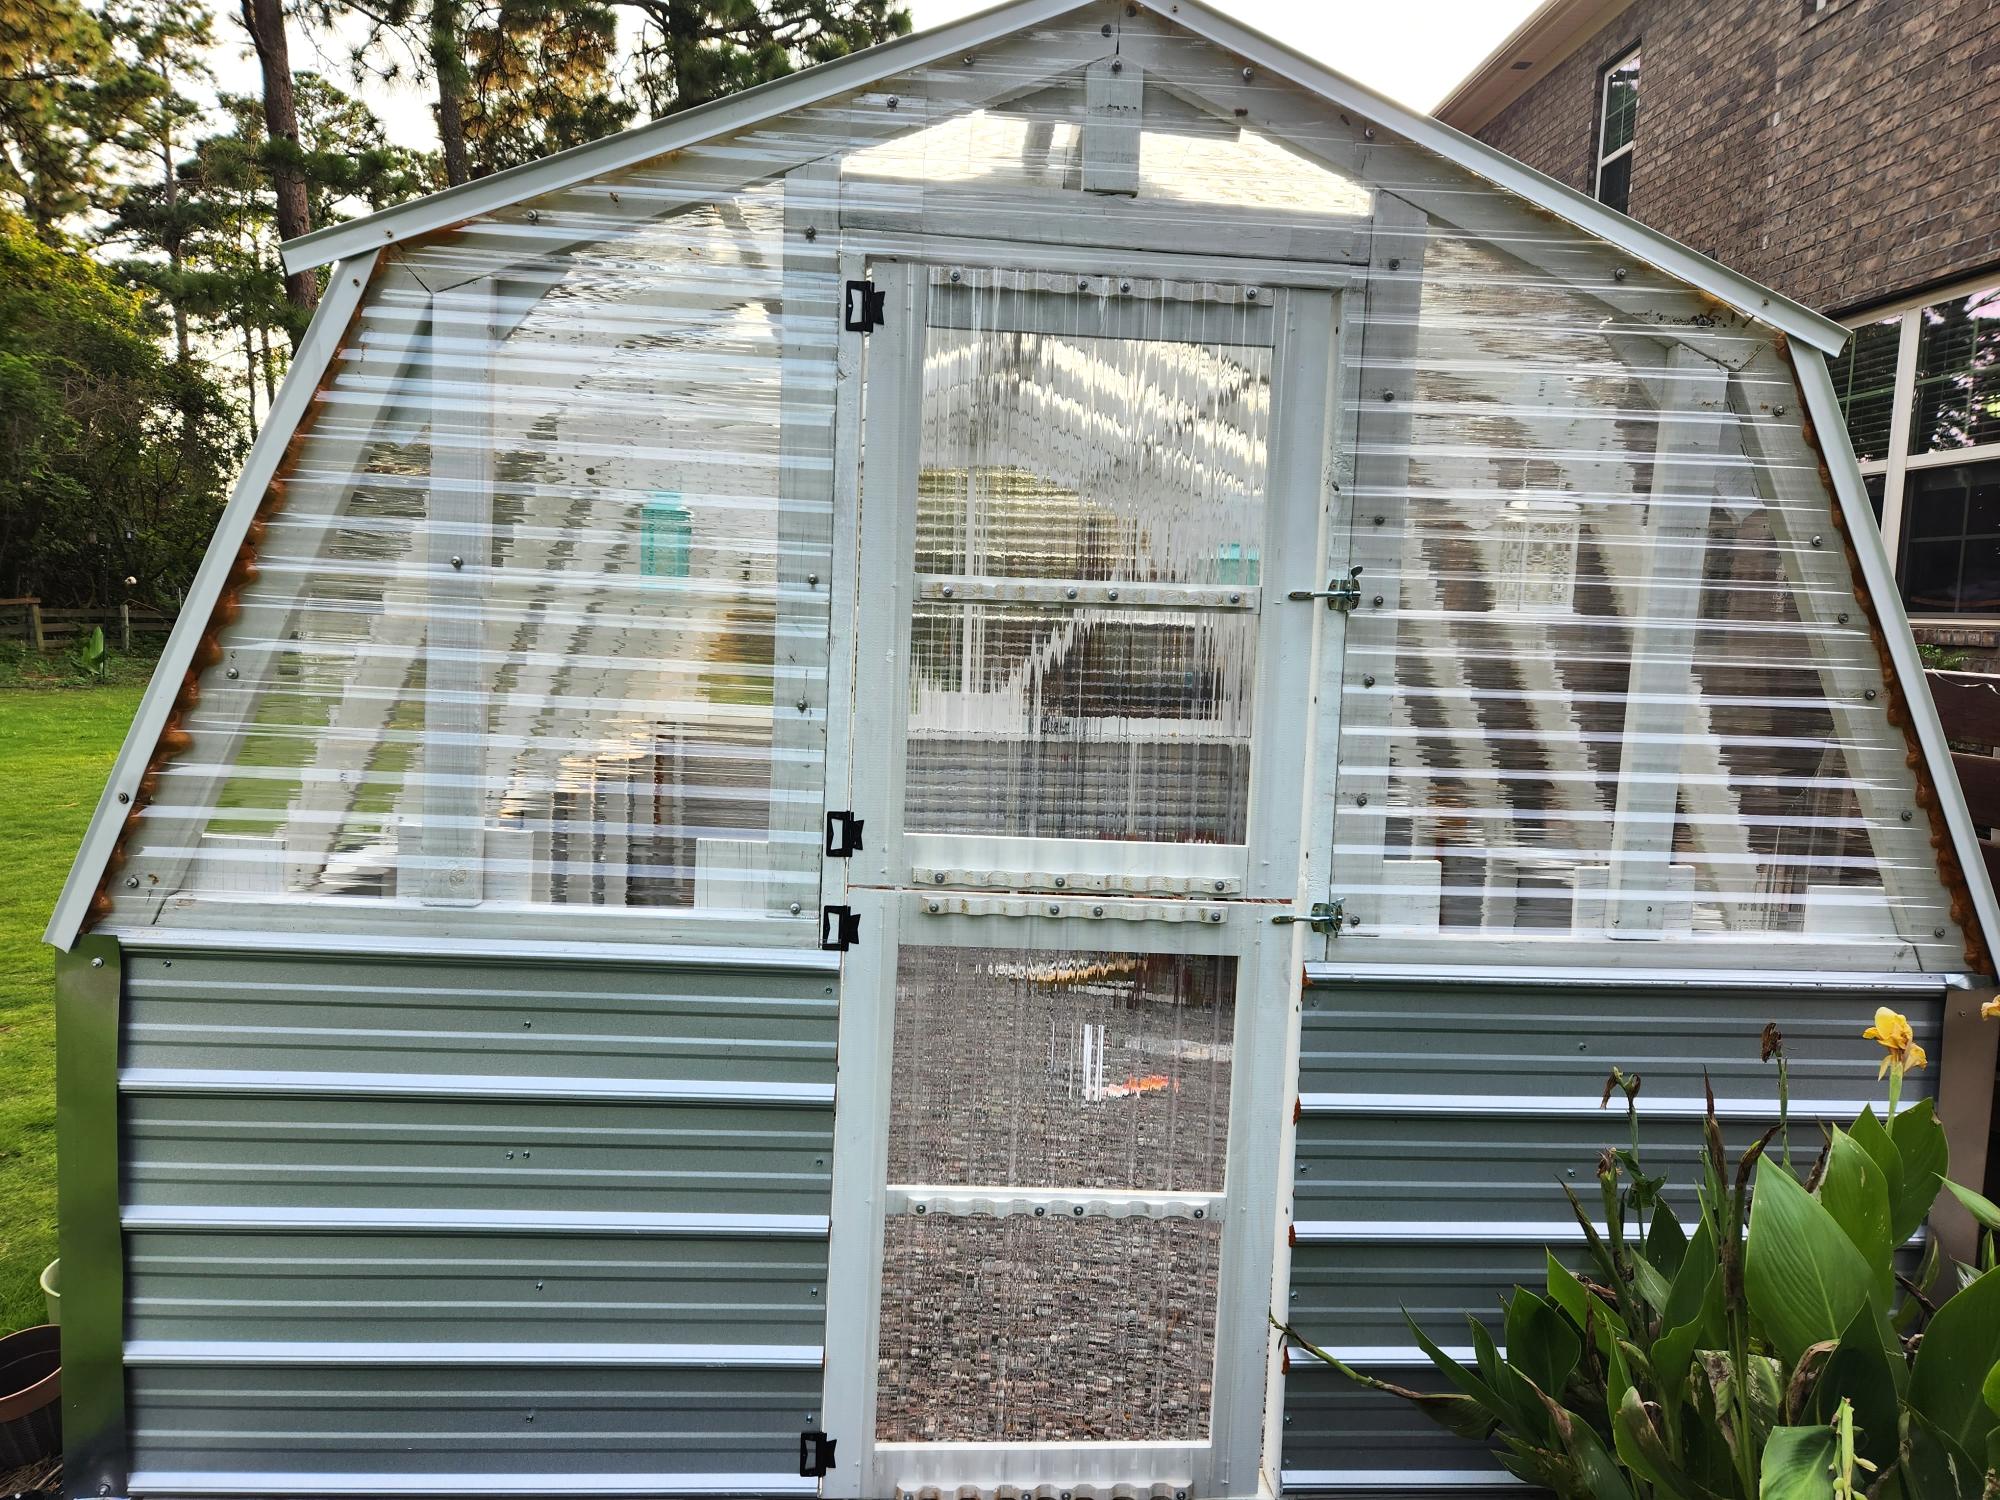
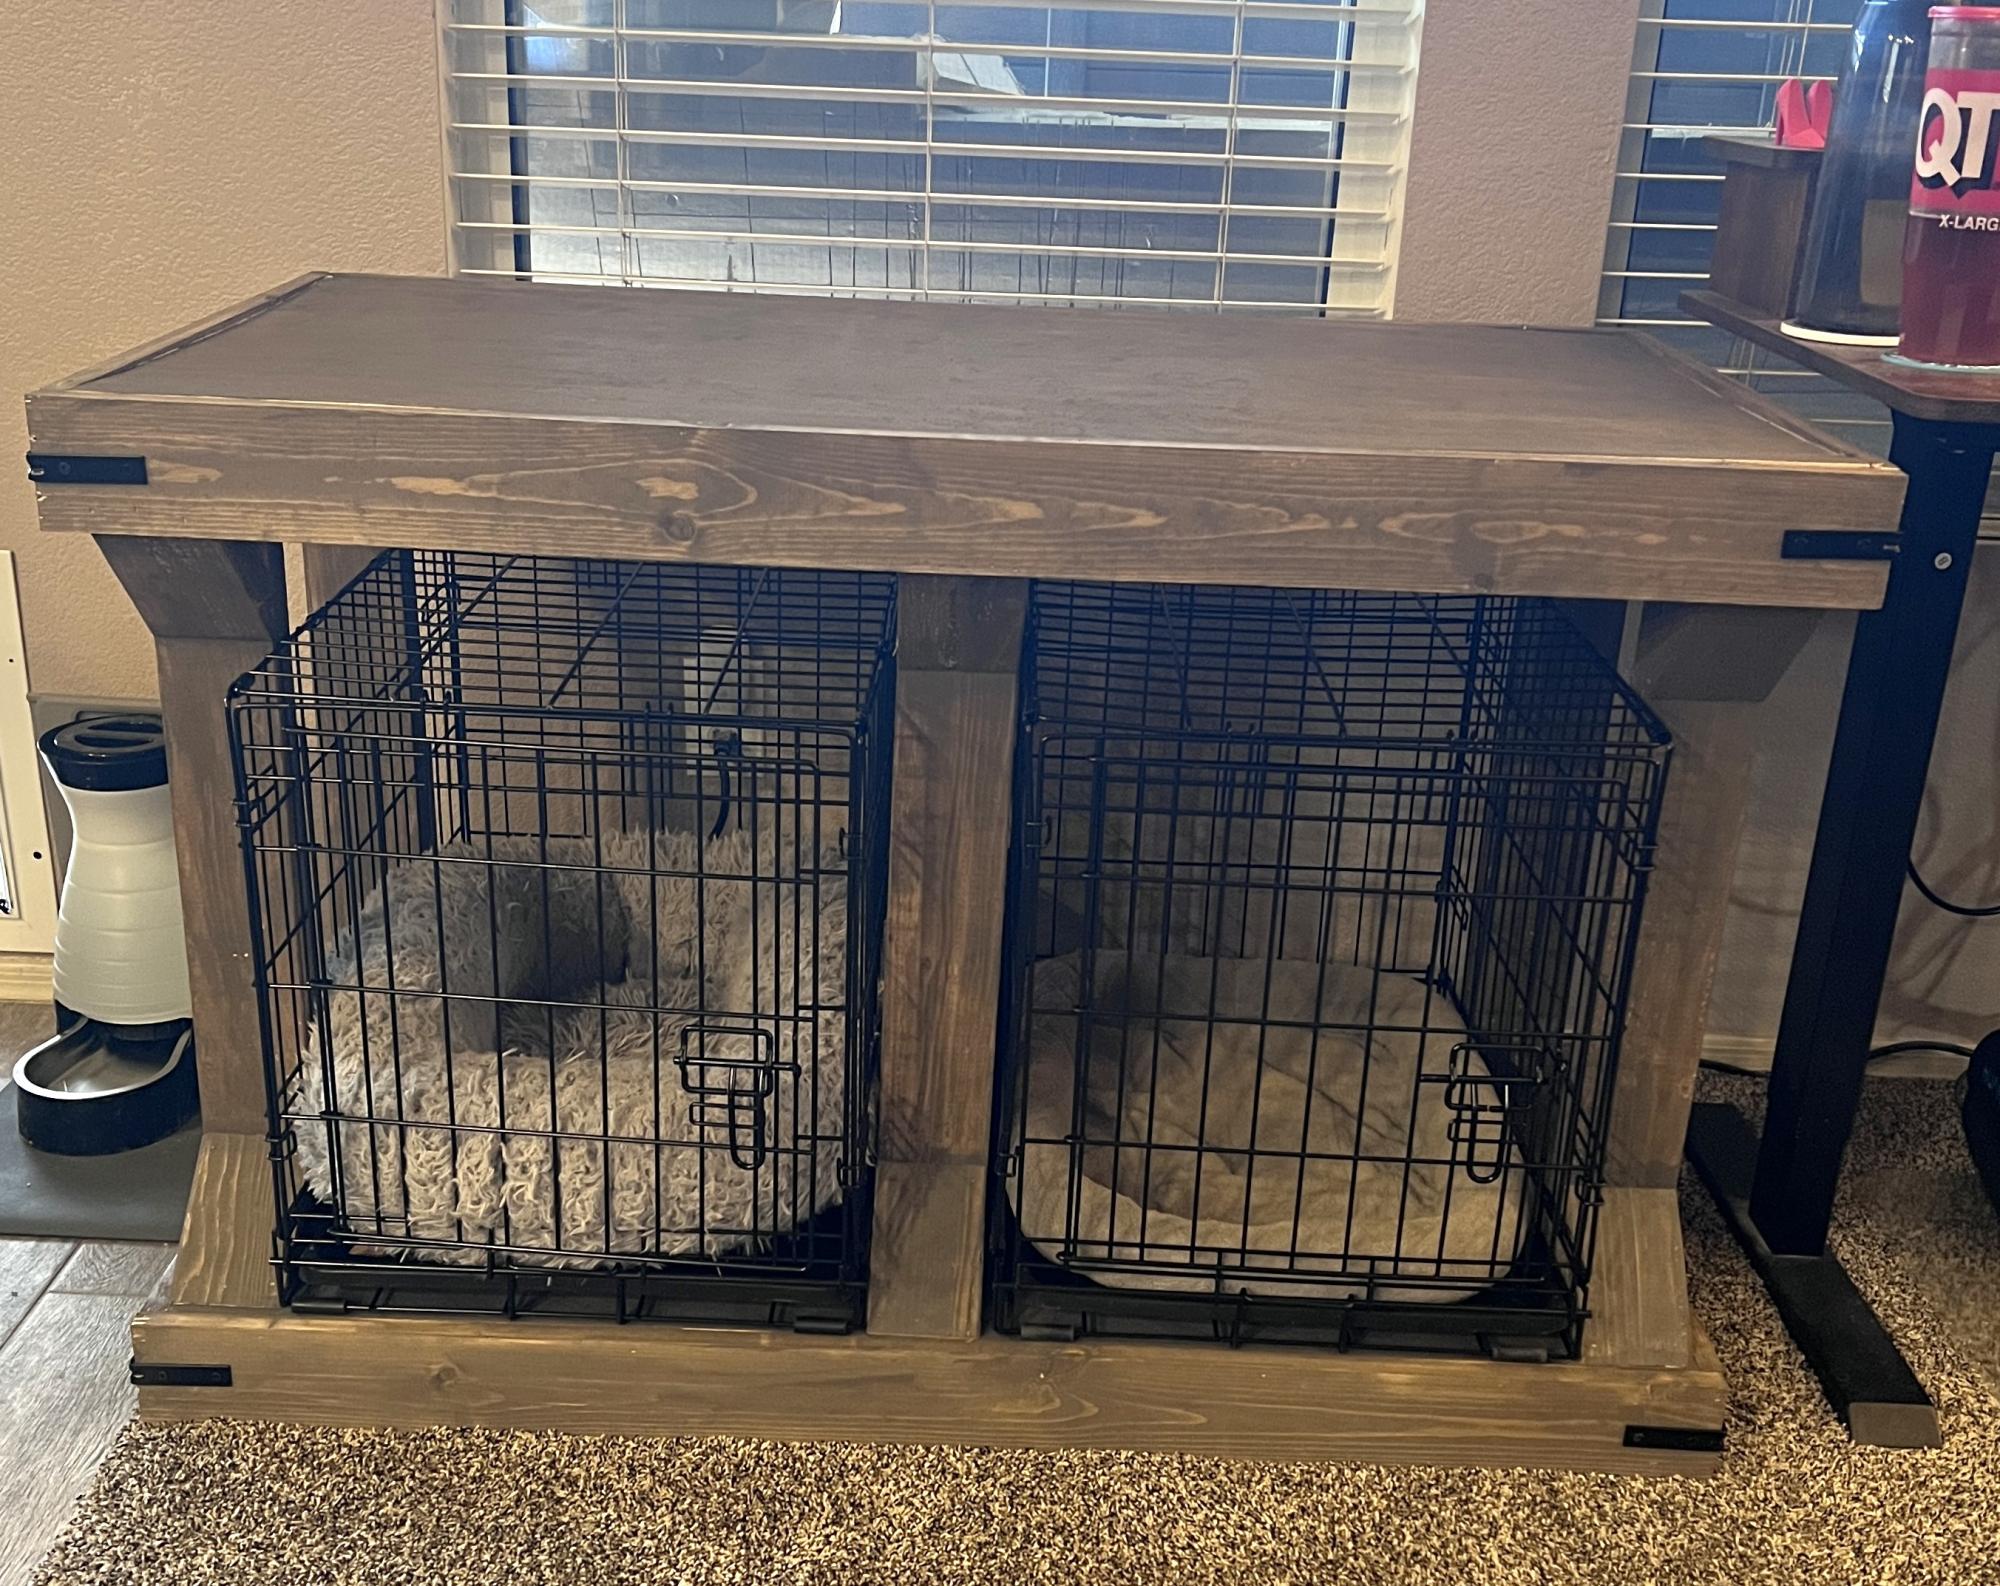
We made this Chicken Coop this summer , with lots of help. We doubled the coop and the chicken run is 8x8 . We used the base of a previous clubhouse!! Thanks so much for the plans

Comments

My First Project

Submitted by loniwolfe on Wed, 03/09/2011 - 16:23

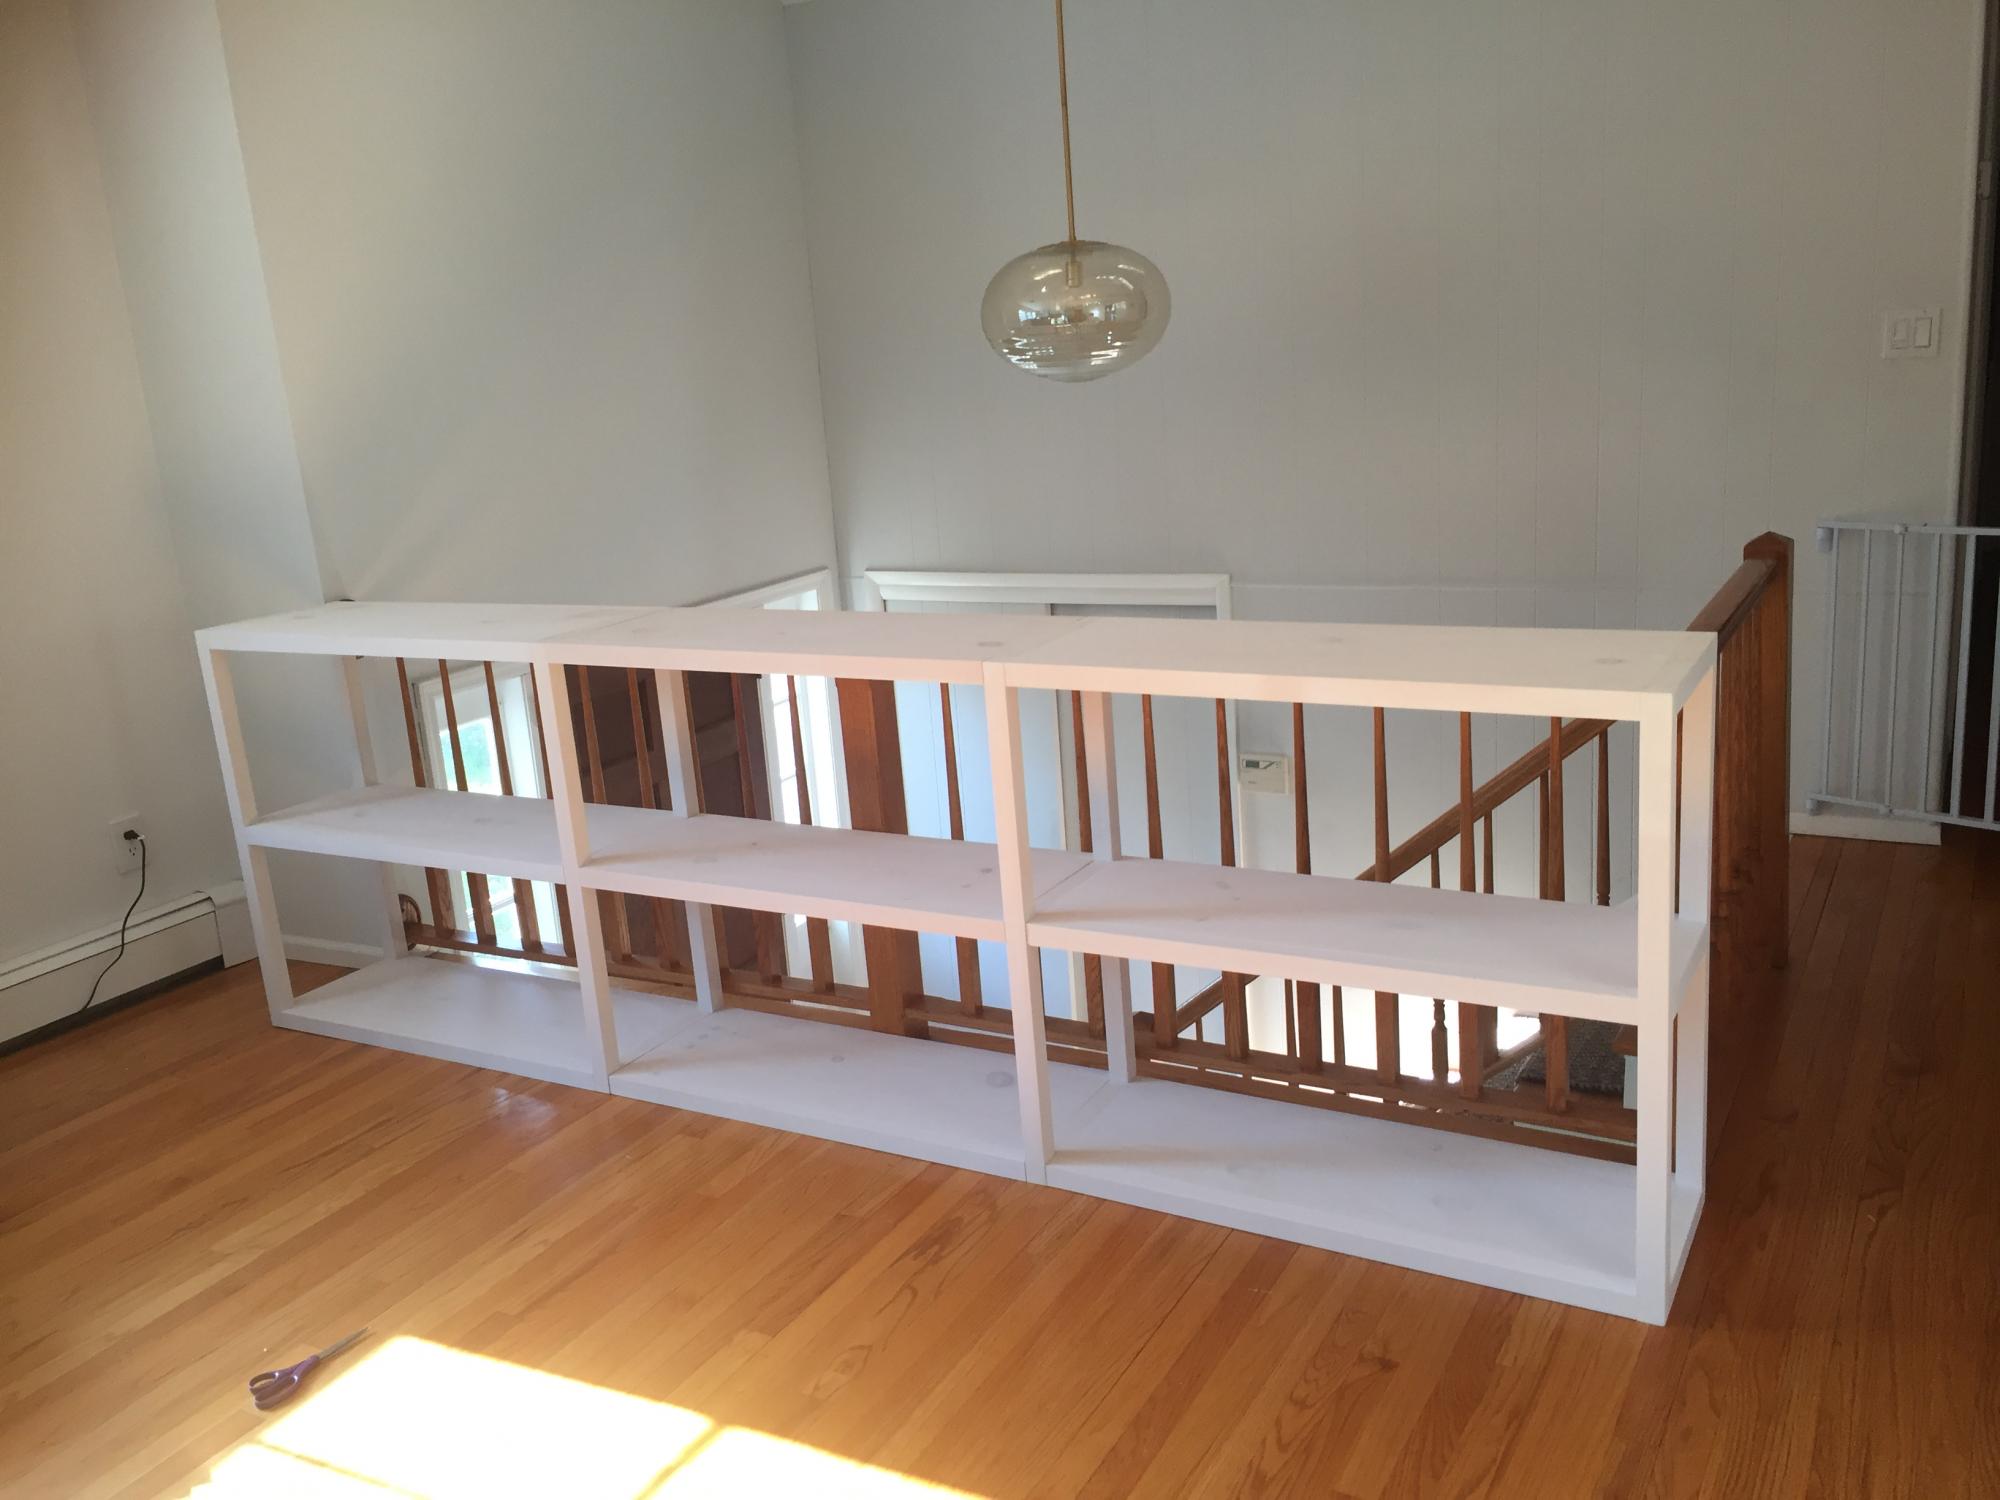
Summer 2010 My first building project!
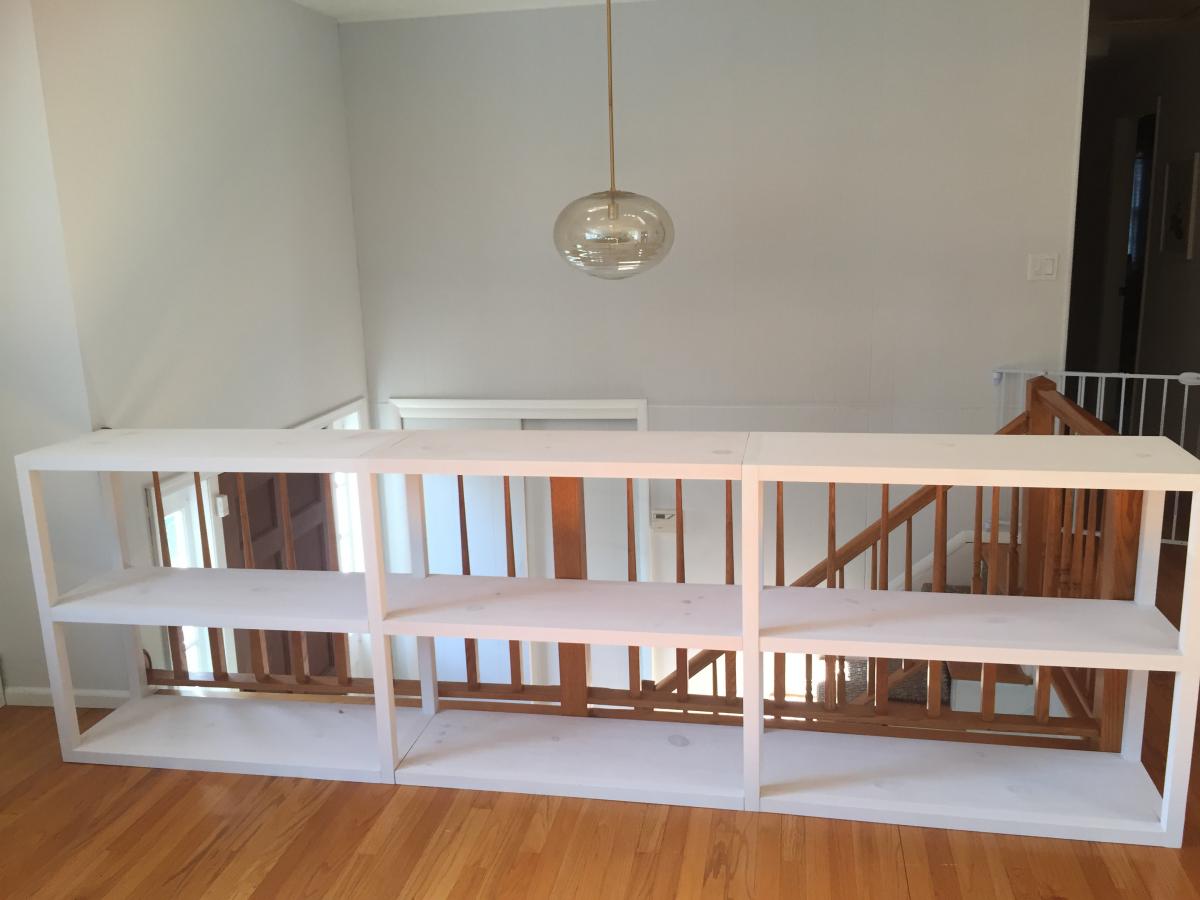
I did not intentionally leave the bottom shelf off. When I bought the lumber, I didn't realise you could buy 6' boards. So I ran a little short. Woops, lol. But I think I like it better this way.

I selected beginner project because it was my first project and it turned out great! the only thing I ran into was that I bought the wrong length of boards so I didn't have enough to finish the shelf. lol.

Built from Plan(s)
Estimated Time Investment
Day Project (6-9 Hours)
Finish Used
After Cutting all the wood but before putting it together I used a white outdoor stain/sealer first and then painted it white. I don't remember what kind of paint I used though.
Recommended Skill Level
Starter Project

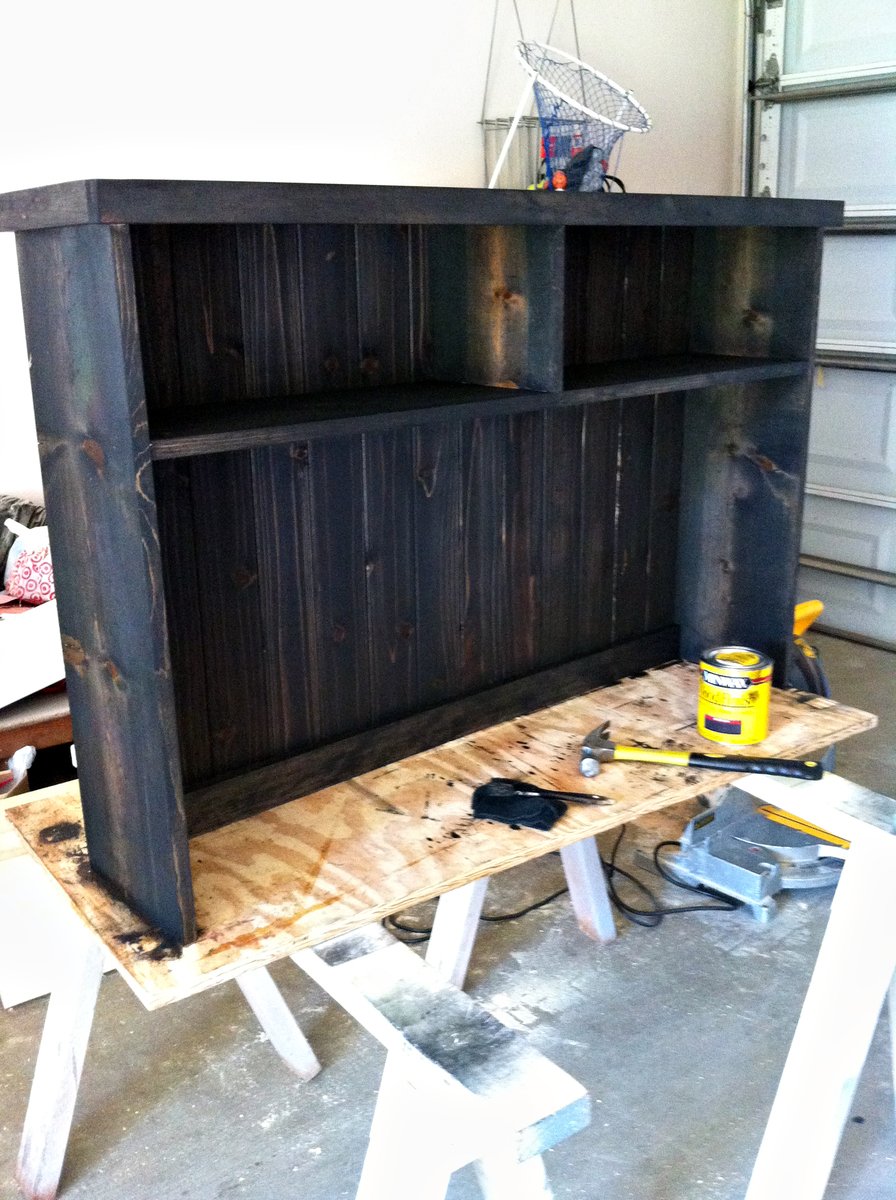
Storage hutch with cushion

Submitted by cathyz on Mon, 05/20/2013 - 19:35
Estimated Time Investment
Week Long Project (20 Hours or More)
Finish Used
Annie Sloan paint, Poly finish
Recommended Skill Level
Beginner

Comments

spiceylg

Tue, 05/21/2013 - 06:01

This came out great and I love that color!!! It's similar to the color I just painted my front door.

Sideboard

Submitted by JoeP on Wed, 04/08/2015 - 11:06

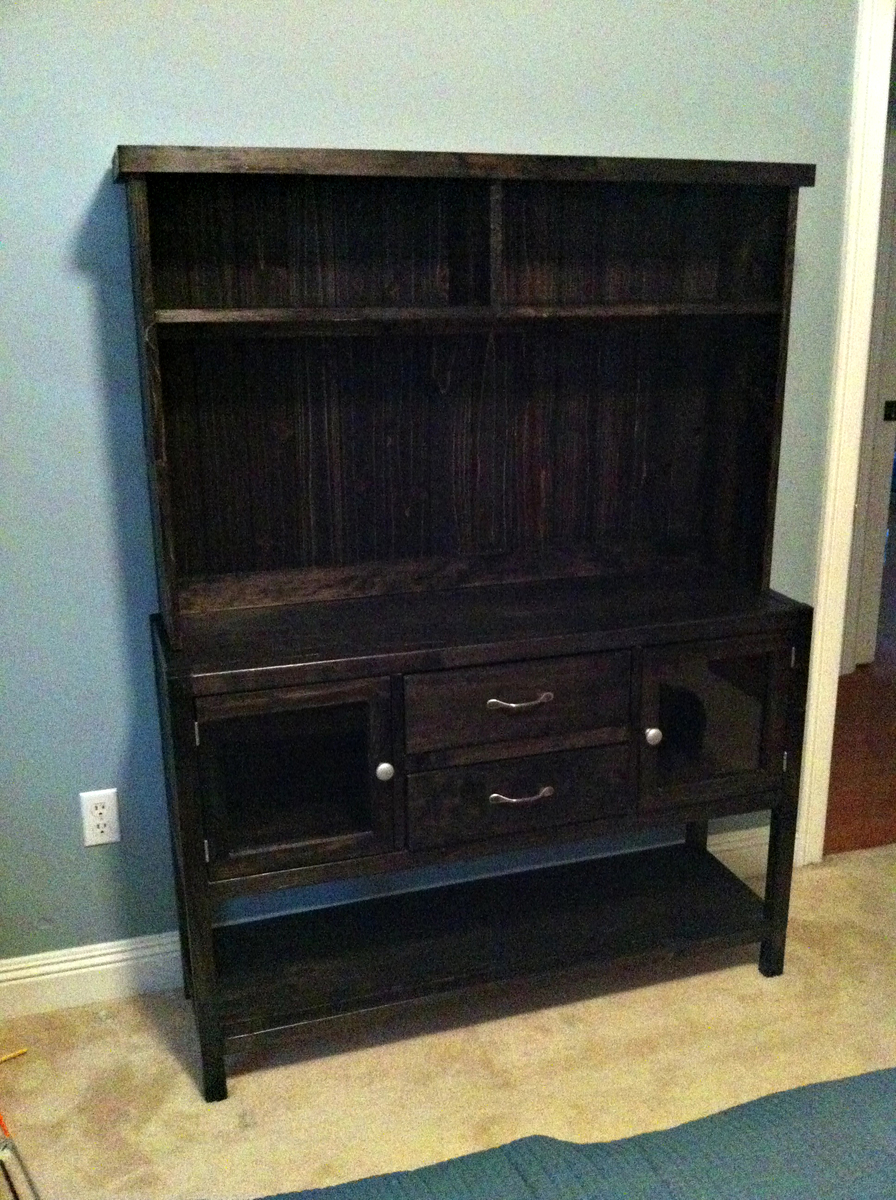
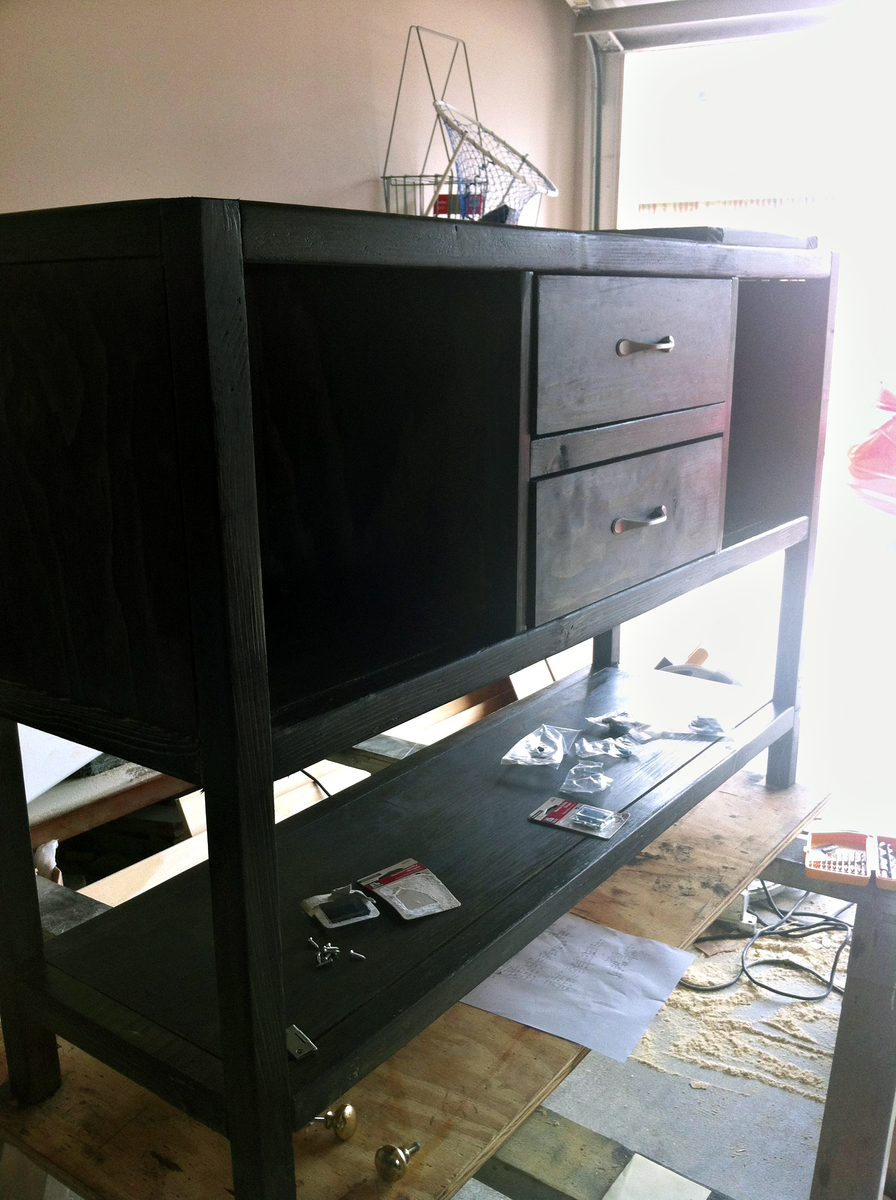
My wife has been asking for a sideboard since we moved into our new home.  I started it some time ago and finally finished it.

Estimated Cost
Can't remember
Estimated Time Investment
Week Long Project (20 Hours or More)
Recommended Skill Level
Beginner

doll high chair

Doll high chair.

Estimated Cost
$5.00
Estimated Time Investment
Afternoon Project (3-6 Hours)
Finish Used
1. one coat primer
2. two coats Behr watermelon eggshell finish
Recommended Skill Level
Beginner

Locker Hack – Bring New Life to a Vintage School Locker as a Funky Sideboard

I have several furniture projects that in my blog pipeline :) After finding Ana-white.com a while back and getting inspired by some of her projects. I’m tackling all sorts of my own DIY furniture projects! This straightforward locker transformation is one of my fav’s! Ward and I found this gem at a antique store’s going out of business sale. We got it for $120. I then spent another $310 on lumber (I bought Fir which is WAY more than say … Pine or Poplar).

I have a tutorial on my blog that goes in detail, unfortunately I never take enough pictures and I only got one before picture.

Estimated Cost
$450
Estimated Time Investment
Afternoon Project (3-6 Hours)
Finish Used
polyurethane satin finish 3 coats. as well as automotive polish for the metal parts.
Recommended Skill Level
Beginner

Wedding Picnic Table

Submitted by leeannraye on Mon, 04/13/2015 - 06:27

I made this picnic table for my upcoming wedding with the intent of using it as our guestbook.  I'm hoping to have people sign, carve, and woodburn their names or a message on the table.  I painted the legs and supports white and stained the top and seats with a cherry stain.  I still need to put some finish on the whole thing, but overall I'm really happy with how it turned out.  And so are my dogs.

Estimated Cost
about $70
Estimated Time Investment
Weekend Project (10-20 Hours)
Finish Used
White paint and cherry stain
Recommended Skill Level
Beginner

Comments

Linda7

Mon, 04/13/2015 - 09:46

I love your idea for a picnic table as a guest book! There are several brags showing benches used as guest books on this site, but no picnic tables. Not wanting to sound like a know-it-all, I would caution you to use paint pens rather than a permanent magic marker if you have guests who aren't comfortable using a woodburning pen (such as an elderly person). Magic marker ink smears when you apply a finish over it. (I read a comment from a mom who made her daughter a guestbook bench. They used permanent magic marker, then applied a poly finish over it, which then ruined all of the signatures.)

leeannraye

Mon, 04/13/2015 - 11:08

Thank you for your suggestion about the paint pens. I hadn't had much time to do research and was planning on just using sharpies. But now I can avoid making that mistake. :)

Sliding Barn doors over sliding glass door

Submitted by Flowerchld on Tue, 08/08/2017 - 16:14

I have vertical blinds and came up with this idea to cover my sliding glass door. I did want to be able to look out, so I sandwiched chicken wire in the "window" portions.

Estimated Cost
$100 plus hardware
Estimated Time Investment
Day Project (6-9 Hours)
Finish Used
Steel wool soaked in white vinegar for about a week and painted on.
Recommended Skill Level
Intermediate

Deck Chairs

Submitted by Anonymous (not verified) on Mon, 10/04/2021 - 20:57

During Covid, we had hybrid classes going on. As a teacher of Stagecraft Technology, we had no sets to create, no large flats or walls to build, so I took your Adirondack chair design and had each student build one using any type of repurposed or up cycled wood. It was a great success, and many of the teachers and staff members started placing orders. The students worked their fingers to the bone, got lots of tool experience, and in the end were proud of their creations, many that we donated to charities, families, etc. Thank You for such a great design.

Comments

Easy Clip Art Rail

Submitted by graceh on Thu, 03/10/2011 - 19:33

This was really easy and provides a place for DS to display his artwork.

Built from Plan(s)
Estimated Cost
$5
Estimated Time Investment
An Hour or Two (0-2 Hours)
Finish Used
Minwax PolyShades (in honey oak?) on the rail,
Disassembled clothespins spray painted navy, green, and khaki.
Recommended Skill Level
Starter Project

My bigger kids picnic table

We finally got our grass green and back yard clean, after all that work the lop sided blue little tykes picnic table stood out like a sore thumb. This was the perfect table to fit our back yard make over.

When Ana says read all comments she means it. Cherie posted "if you plan carefully you really only need 5-2x4's instead of 6. Cut 2-2x4's in half for the seats. Cut 2 legs and one seat support from the third 2x4. Repeat for the fourth 2x4 and finally cut the bottom suppport and the 2 table supports from the 5th 2x4. Just plan carefully." I still bought 6 2x4's but only used 5.
I did pocket holes on almost all the joints. I put the table on risers and was even able to use a pocket hole to add the seat boards. I did have a bit of a problem with the table top supports, I am not sure what others did but I cut mine at 45 degrees and they still wasn't enough to get the measurements the plans had. I just left it and marked where it would have been. I had some scraps from a fence pickets I ripped for my $10 raided garden bed left,over that I used as a spacer for my table top and seat boards, made it so easy and they are perfectly spaced. They are just over 1/2 an inch but It worked great.

http://ana-white.com/2010/04/plans-bigger-kids-picnic-table.html

Estimated Time Investment
Day Project (6-9 Hours)
Recommended Skill Level
Beginner

Wholesteading.com Farmhouse style vanity with vessel sink

I used Ana White's plan as a base but completely modified to suit our needs.  The post on our site includes detailed pictures, instructions, and even the SketchUp file so you can easily modify the plans yourself.

Estimated Cost
Depends on materials used, especially the sink selected buy somewhere around a couple hundred dollars.
Estimated Time Investment
Day Project (6-9 Hours)
Finish Used
Minwax Ebony
Recommended Skill Level
Beginner

Comments

Bedroom Playhouses

Submitted by ___Ron___ on Mon, 08/21/2017 - 15:50

I drew inspiration for this project from Ana's basement playhouse project, however I made some modifications to accomodate the smaller (10x11) bedroom that I was working with.

Each playhouse has an upstairs and a downstairs, and each room is designed to accomodate a twin sized mattress. There is a secret tunnel under the stairs connecting the bottom rooms, and each room is wired with its own switch-controlled lighting. 

My daughter wanted her side painted pink and purple, and my son wanted his to be green and blue. I thought painting the stairs to look like a road between the two houses would be a fun touch, and the kids absolutely love this!

As you can see, it is still a work in progress, but I thought I'd share some initial pics and perhaps post updates later. Thank you for the inspiration Ana!

Sincerely,

Ron Floyd

Portland, OR

Estimated Cost
$1200
Estimated Time Investment
Week Long Project (20 Hours or More)
Finish Used
Low voc indoor paints
Recommended Skill Level
Beginner

Rustic X Bookshelves

Submitted by hnick78 on Tue, 10/05/2021 - 06:22

I was commissioned to build these bookshelves to go along with the “Rustic X” consoles table. The finish is distressed white and True Browns stain.

Built from Plan(s)

Comments

Wall Unit

We had this extra room that was sort of a "catch-all" room. We never used it, except when William wanted to play his guitars he went in there. There was an old, dated college-style desk and bookshelf in there (particle board) an old couch and a chair.

I figured that if I gave this room a purpose, it might actually stay clean and "catch-all"-free. To add to my decision making process was that around Xmas time, we didn't really have anywhere besides 1 guest bedroom for people to sleep. None of the couches are pull-out couches and I don't really like when people sleep on couches. The 1 guest bedroom has a queen sized bed in it, but my sister usually crashes in that room with her 2 dogs, leaving no other place for say, my mom or gramma if they wanted to stay, too. So I thought this new room could be another guest bedroom.

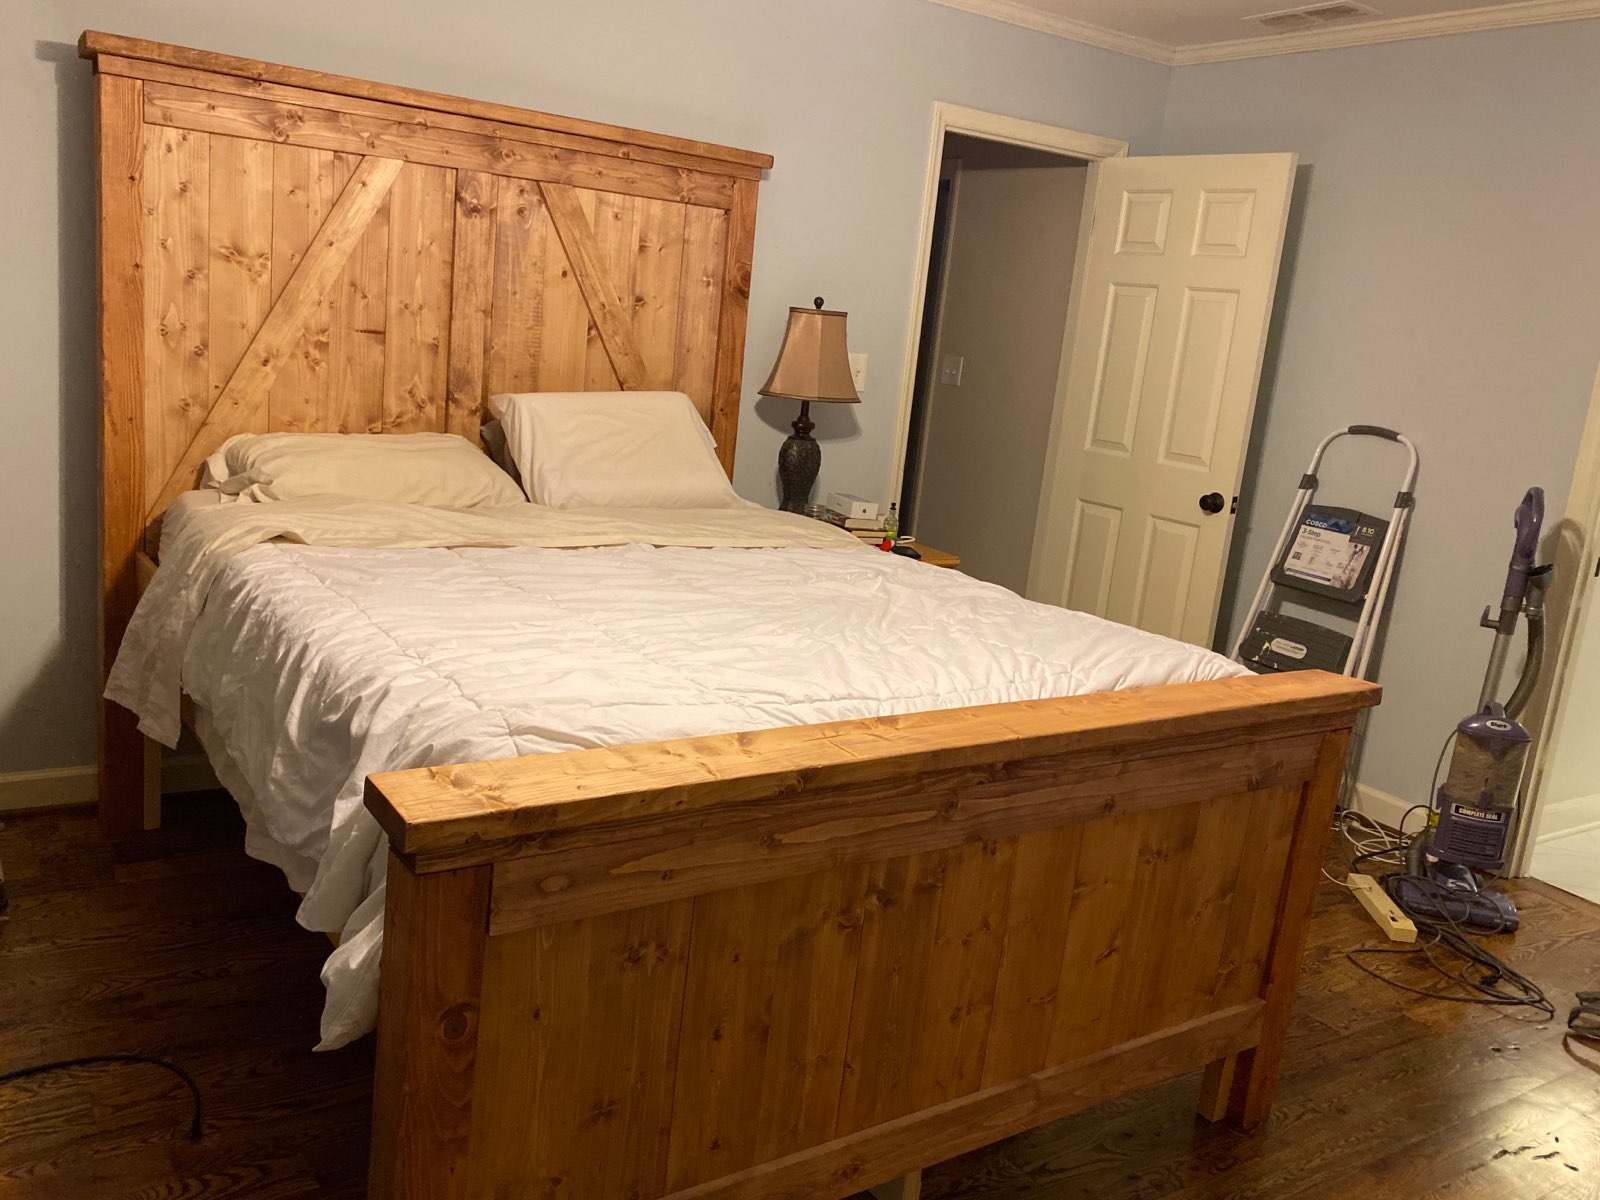
I decided I wanted to go with a minimalist look in the room, opposite of its cluttered origins. I had finished building a reclaimed/recycled wood queen size farmhouse bed for in there and wanted nothing else really besides William's chair to play guitar, but I did need to address storage in the room. There IS a closet, but it's also the attic access and I want to keep it clear of anything so we can get into the attic if we need to... sooo... When William redid the guest bathroom, he didn't throw out the old vanity, and when we re-did our master bath just recently, we kept the vanity from there too. One is a single vanity and one is a double vanity.

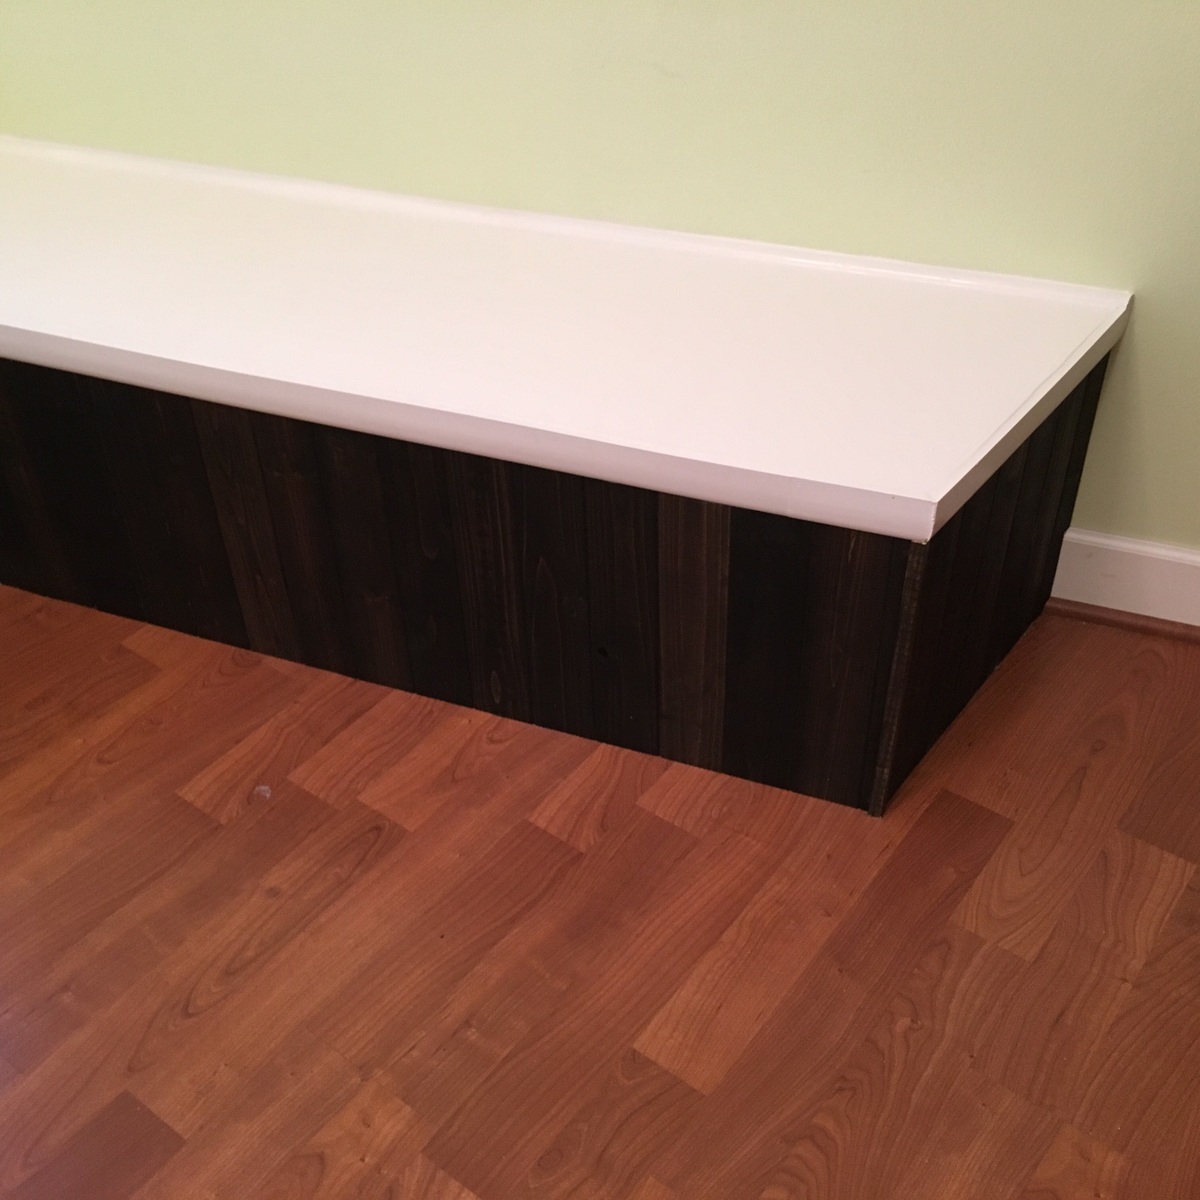
The cabinet bases are solid wood except for the sides which are paneling or something very thin. I definitely wanted to continue the recycled theme of the room so I decided to use these cabinets. Only problem was that the double vanity had 2 sets of smaller doors than the single vanity's wider 1 set of doors. If i placed them side-by-side, it would look weird. So, I sawed the double vanity exactly in half and then flanked the single vanity with them. It actually looked really good. I took the tops off of the vanities and decided to build a new top using left-over plywood we had laying around in the garage. I painted everything white to match the farmhouse bed and I centered the cabinets on the back wall of the bedroom - they don't quite reach from 1 side to the other, so i decided to fill those 18 inches with shelves I built.

I wanted to go with a mid-century-modern look for the room, so that's the design I made for those side shelves... now, looking at it, I kind of want to put doors on them, because it looks a bit odd to have the cabinets and then those shelves without doors. I'll have to figure that out. Anyway, now that I had a base, I wanted to build the built-in hutches to add shelf/storage space and to make a striking piece in the room, since there's so few other things in it.

I used the TOMMY plans to build the center hutch and side hutches, not realizing that the base cabinets for those plans are different heights, so my side hutches ended up being MUCH lower than the center hutch, but it's not the end of the world. Then I just mimic'd the same design of the side hutches to make 2 MORE side hutches to flank them. I just made them even lower in height than the first 2 side hutches. I accidentally forgot to measure the guitars before this last step and ended up building the last 2 hutches 6 inches too high to display the guitars and had to take them back apart and re-build them. It took me about 5 hours to completely build the hutches. It took a few more days of sanding, hole filling and painting, though.
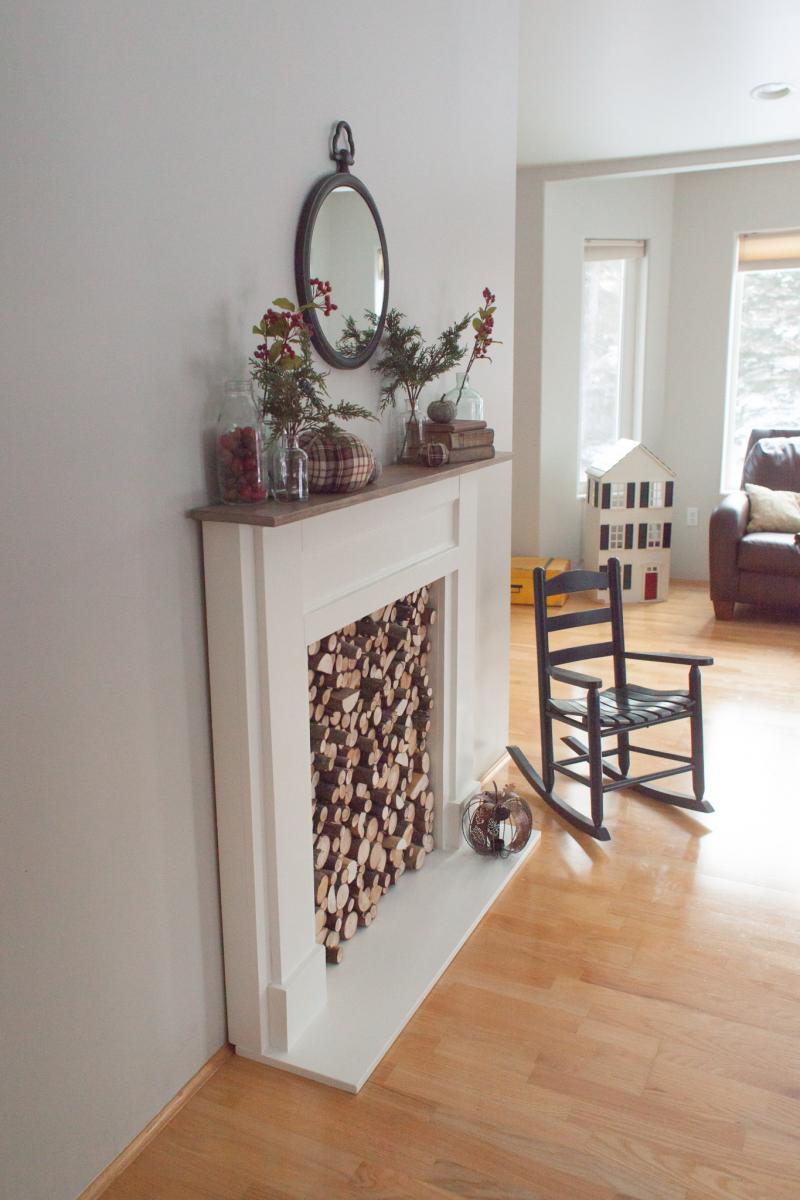
Finally I got it all up and painted and I decided to not use the crown moulding, and instead just used the same moulding that we put on the changing table we built - I didn't want anything more fancy than that. I still have to put some of that same trim on the shelf fronts, as you might be able to see from the photo, but otherwise, it's done. I used all of my scrap pieces of wood to build an artwork piece in the empty space of the center hutch. I painted it the colors of the room (green, gray and white) and I just glued them all in place. A TV will sit on the unit in the middle section.

Estimated Cost
$100
Estimated Time Investment
Afternoon Project (3-6 Hours)
Finish Used
kilz primer and bright white semi-gloss paint
Recommended Skill Level
Intermediate

Storage Cubbies

I used 1x8 instead of 1x6s and added an extra column to fit the exact space I wanted my cubby. It is perfect for storage of my Sizzix dies! The more corner clamps you have, the faster this will go.

Built from Plan(s)
Estimated Cost
50
Estimated Time Investment
Weekend Project (10-20 Hours)
Finish Used
Homemade chalk finish paint
Recommended Skill Level
Beginner

Tilt Out Garbage Bin

Submitted by stephie_00 on Thu, 04/23/2015 - 19:16

Modified the plan to use pallet wood and stained it classic grey for a weathered look.

Estimated Cost
$50
Estimated Time Investment
Weekend Project (10-20 Hours)
Finish Used
Min wax Classic Gray oil-based stain
Recommended Skill Level
Intermediate

Comments

2 Door Corrugated Metal Cabinet

Submitted by mahouna on Sun, 09/03/2017 - 04:47

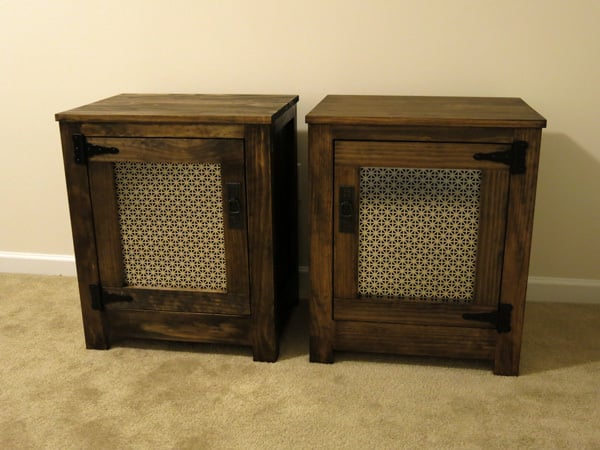
I would love to supply plans, but I just get an idea and "wing it", need to start writing things down! Cost, less than $50.

Estimated Cost
Less than 50 dollars, metal is $10 and it is cut by shears, so using it makes a quick build since the back is done quite quickly.
Estimated Time Investment
Day Project (6-9 Hours)
Recommended Skill Level
Beginner

Post Office / Bank

I used Ana's Library Base Plan and modified it slightly to include cubby holes on the bottom and an acrylic "window" at the top to create a post office for my daughter. This now also gets used as a "bank" and a "fast food window"! Lots of fun!!

Estimated Time Investment
Weekend Project (10-20 Hours)
Finish Used
Paint, Stain
Recommended Skill Level
Intermediate