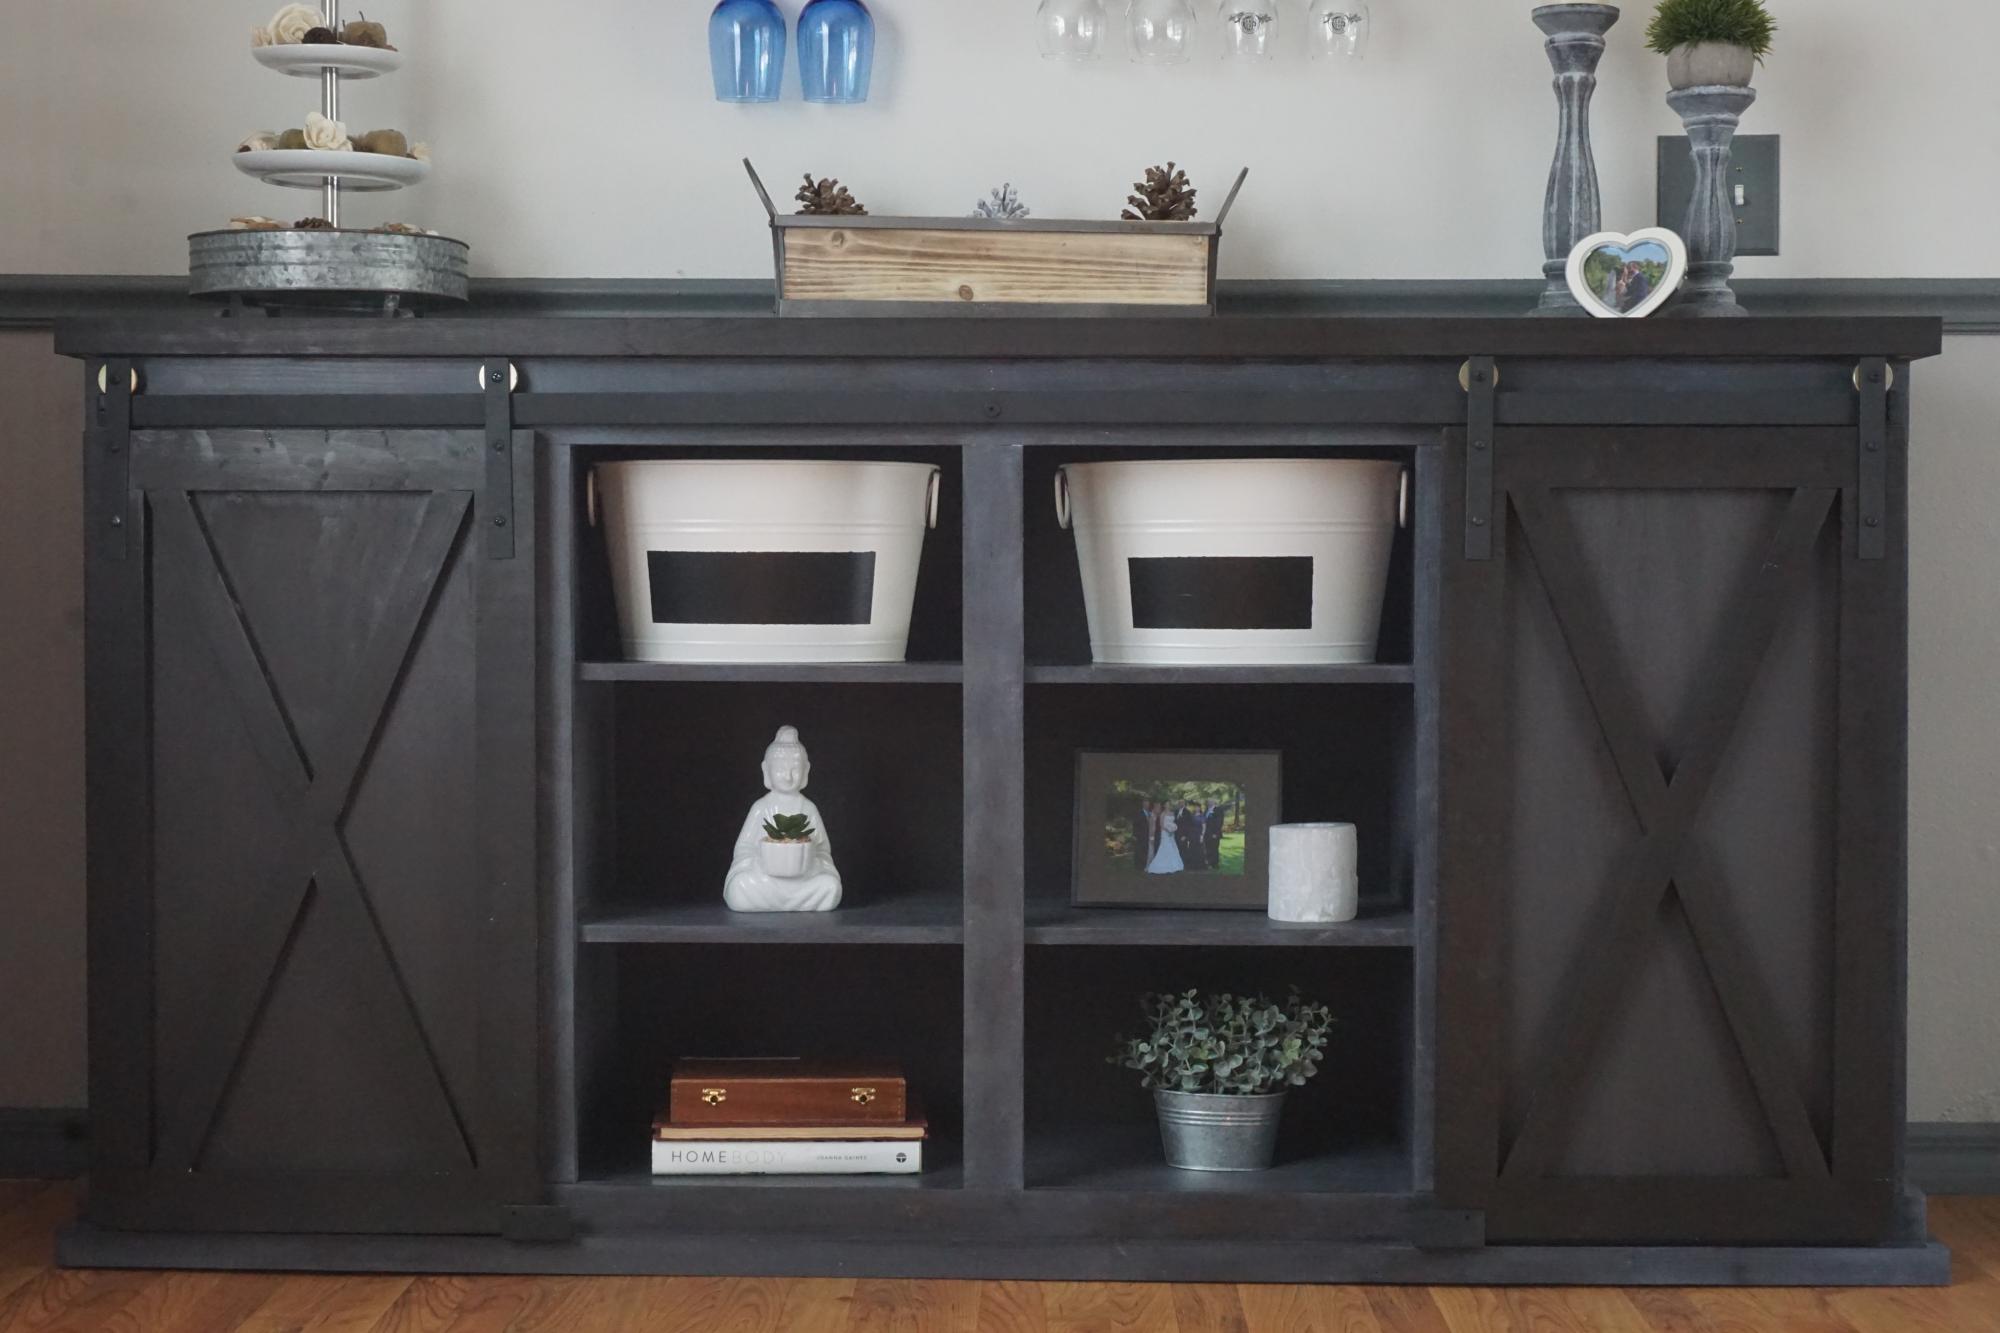
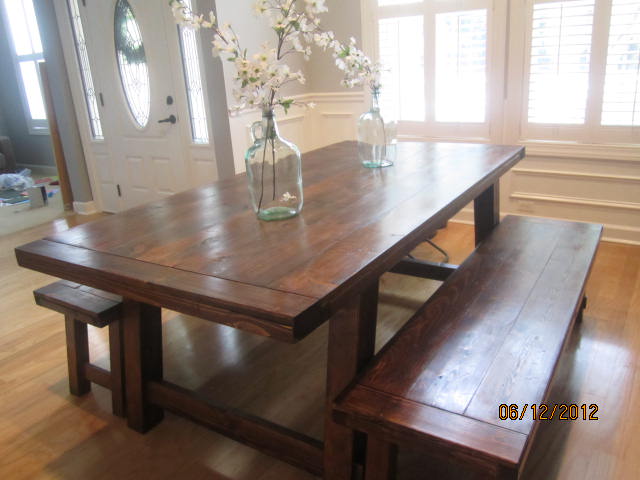
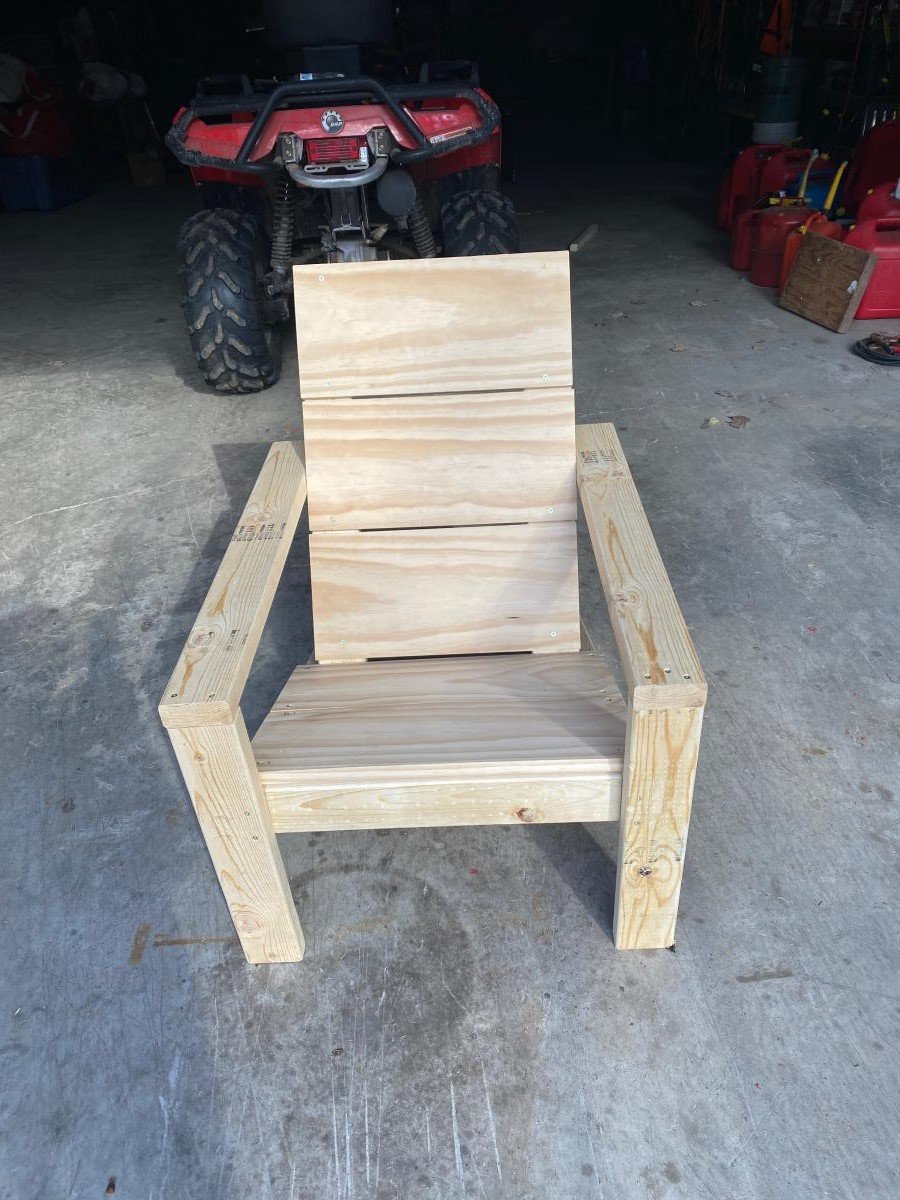
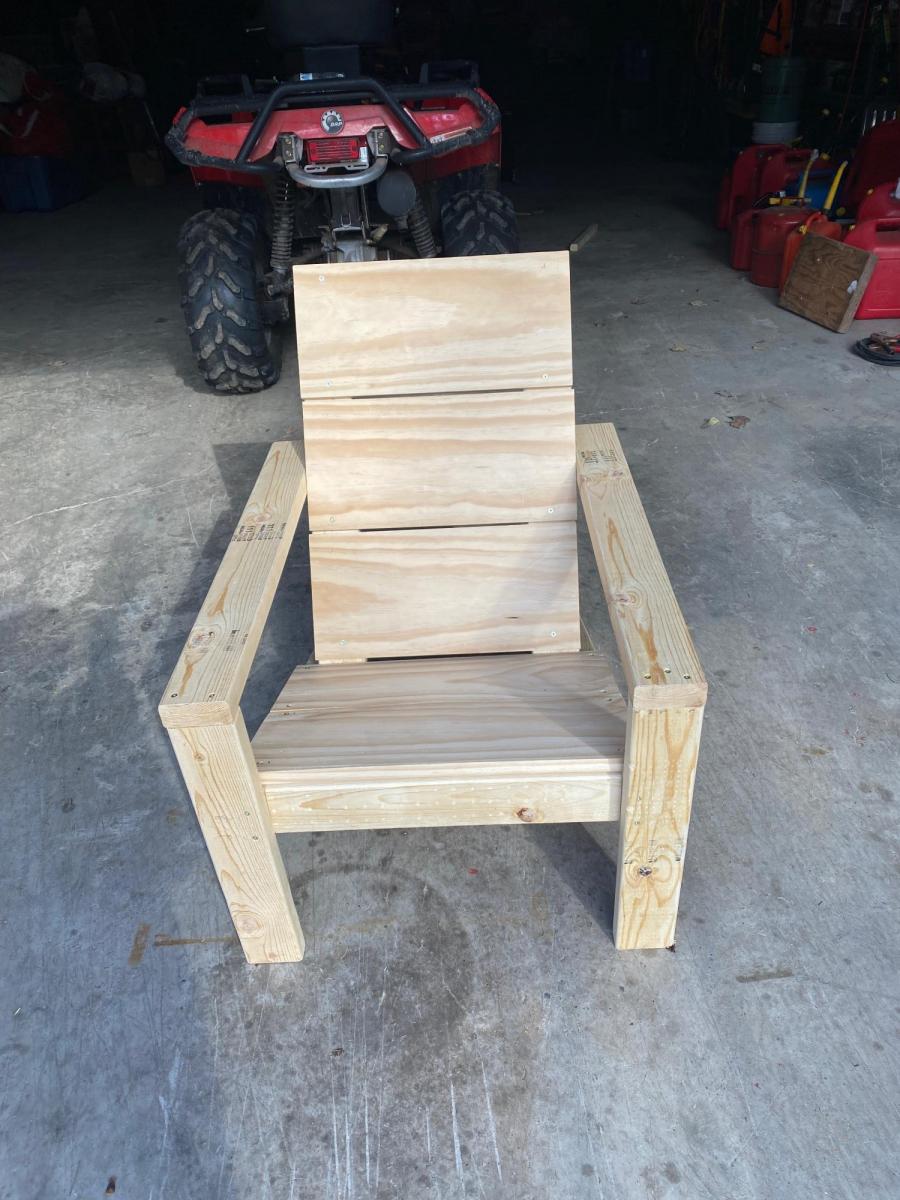
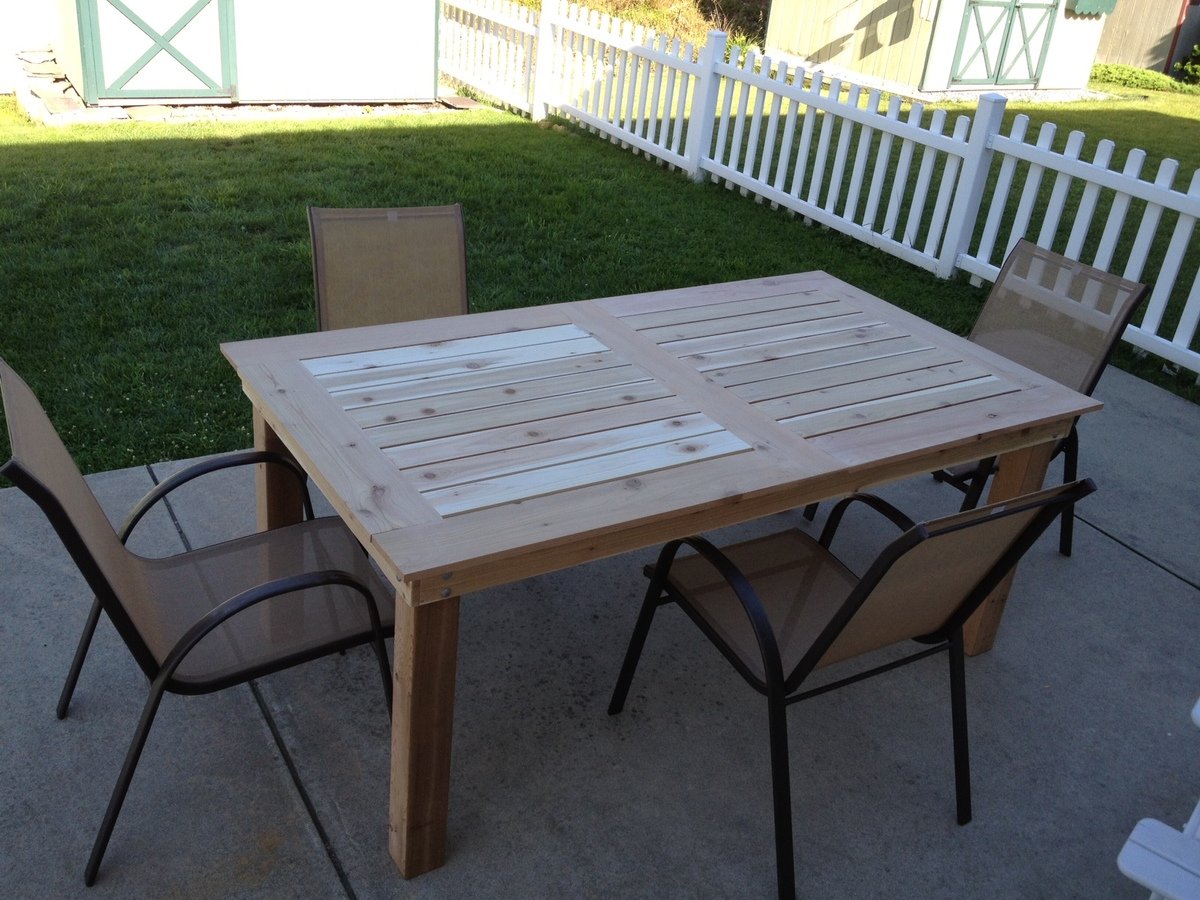
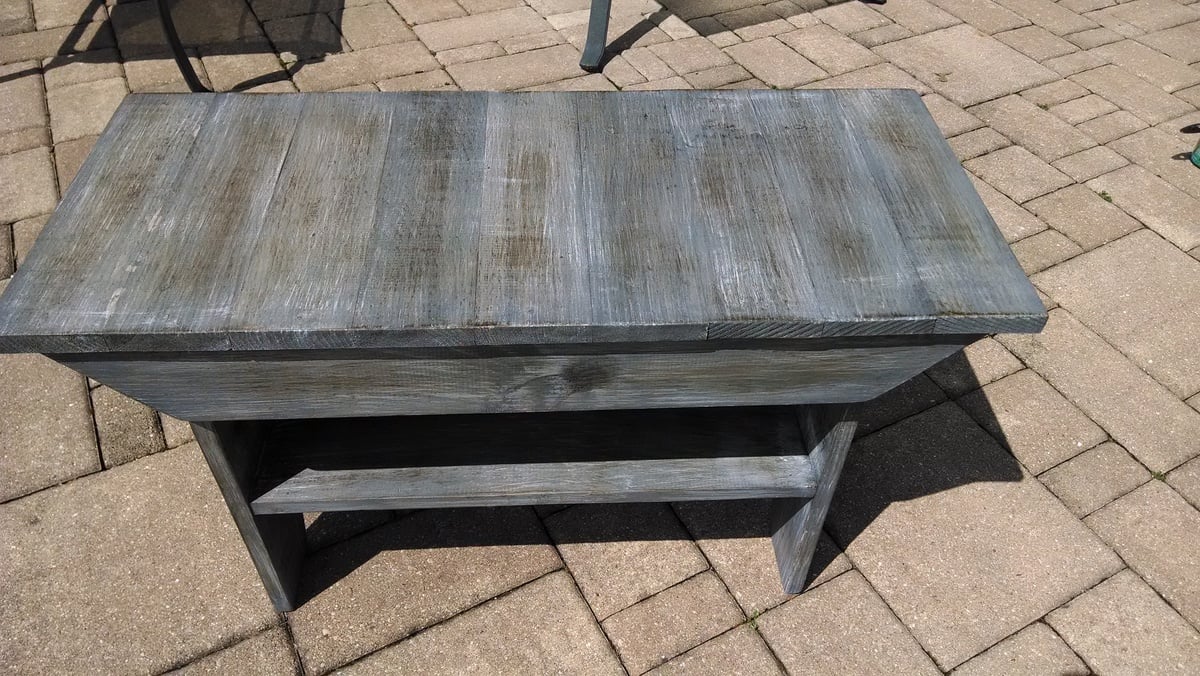
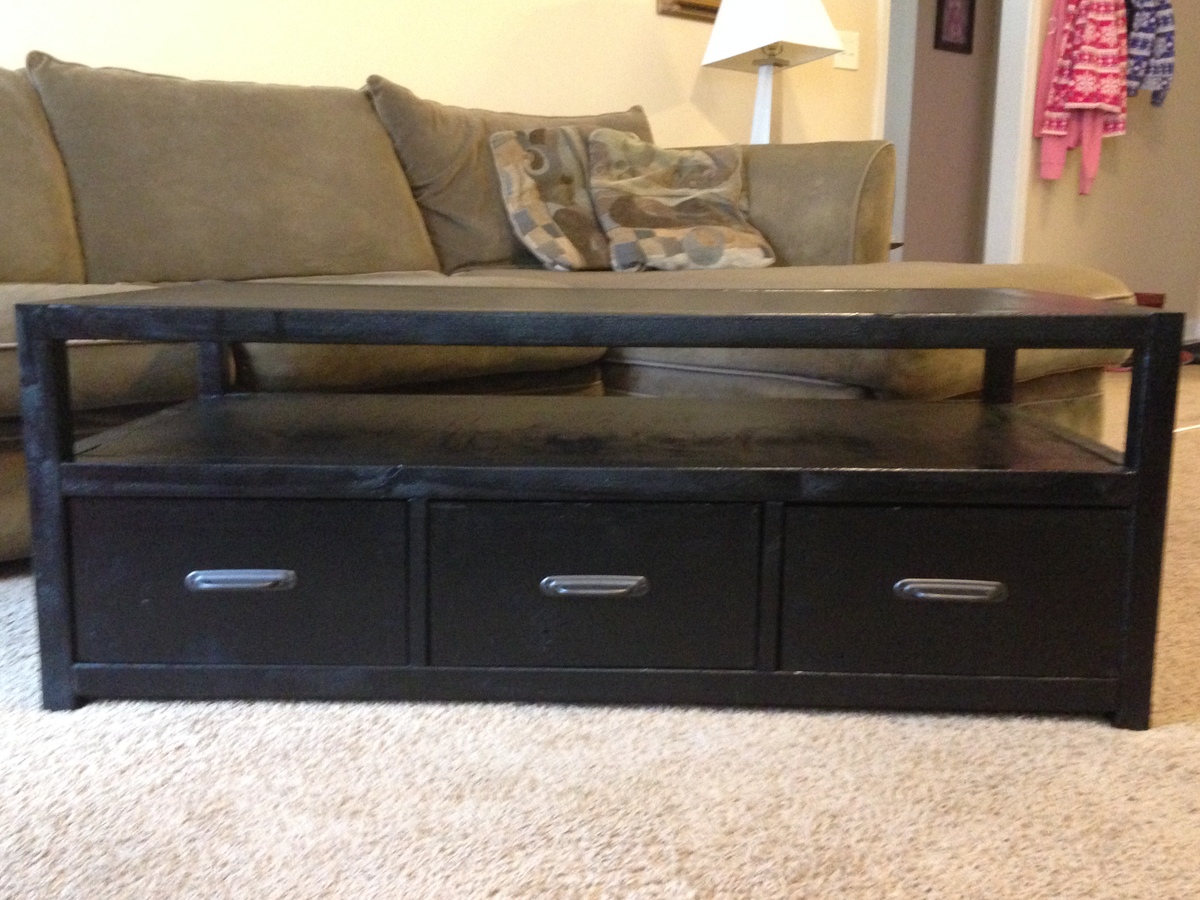
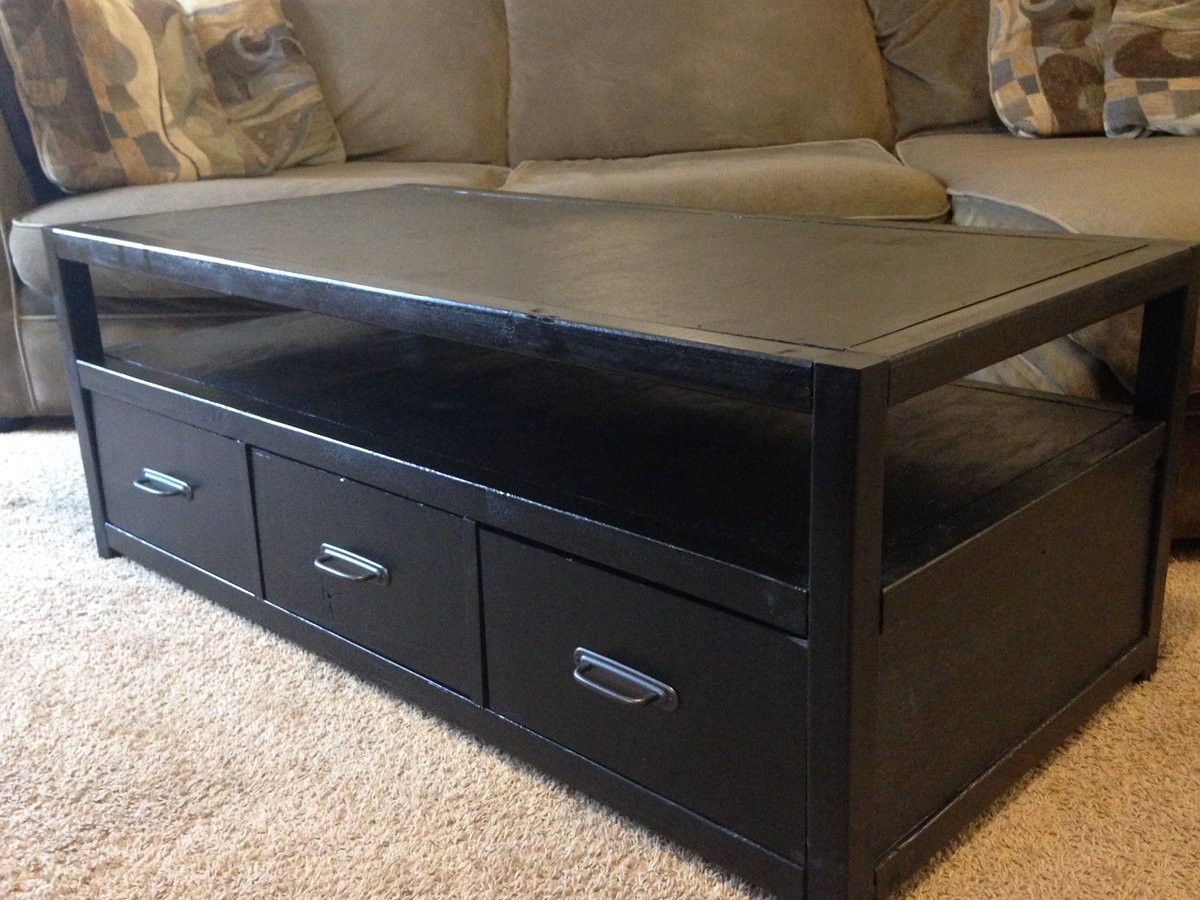
Rhyan Coffee Table
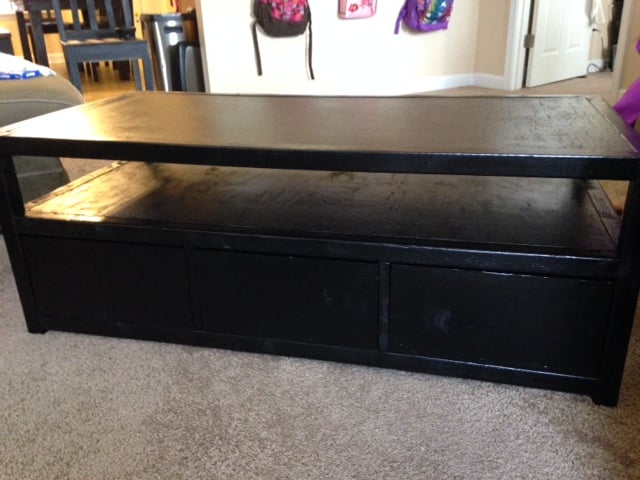
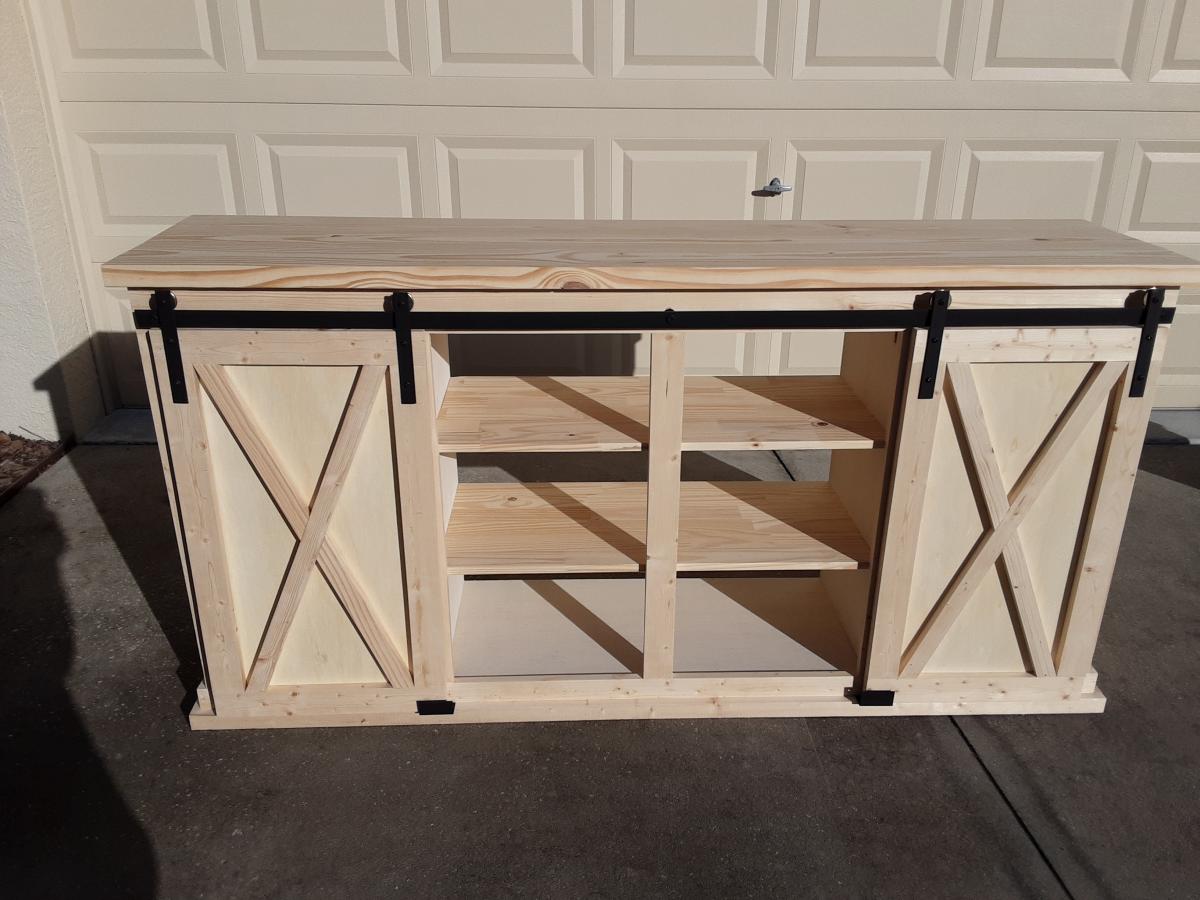
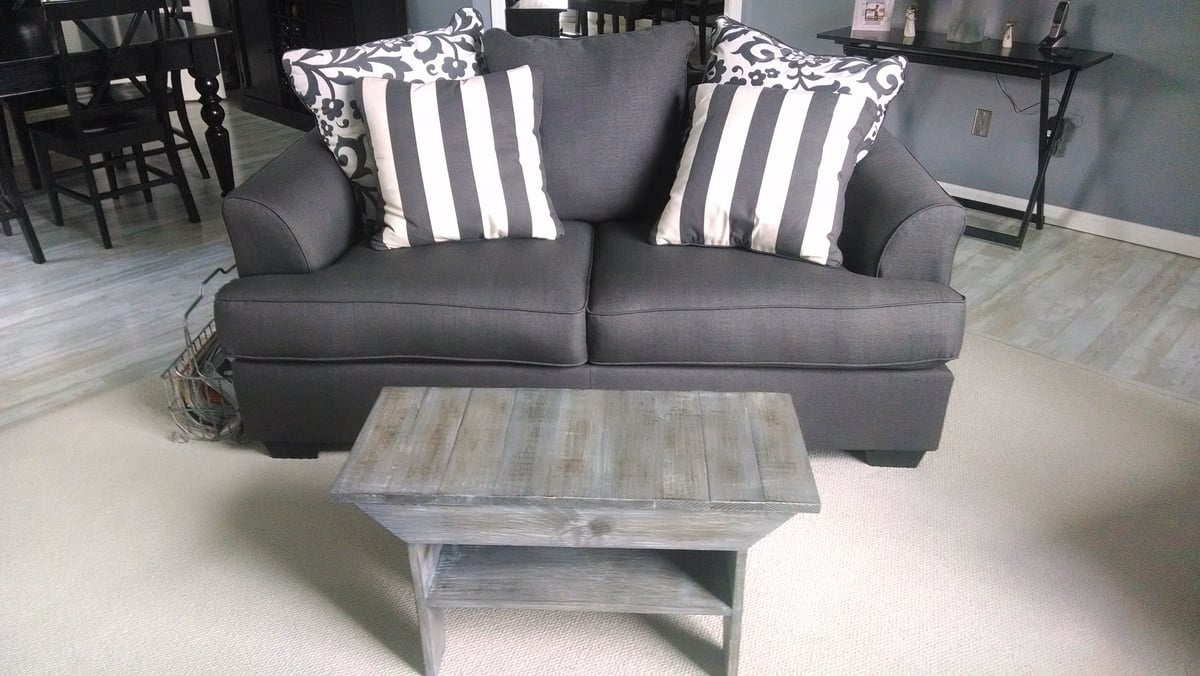
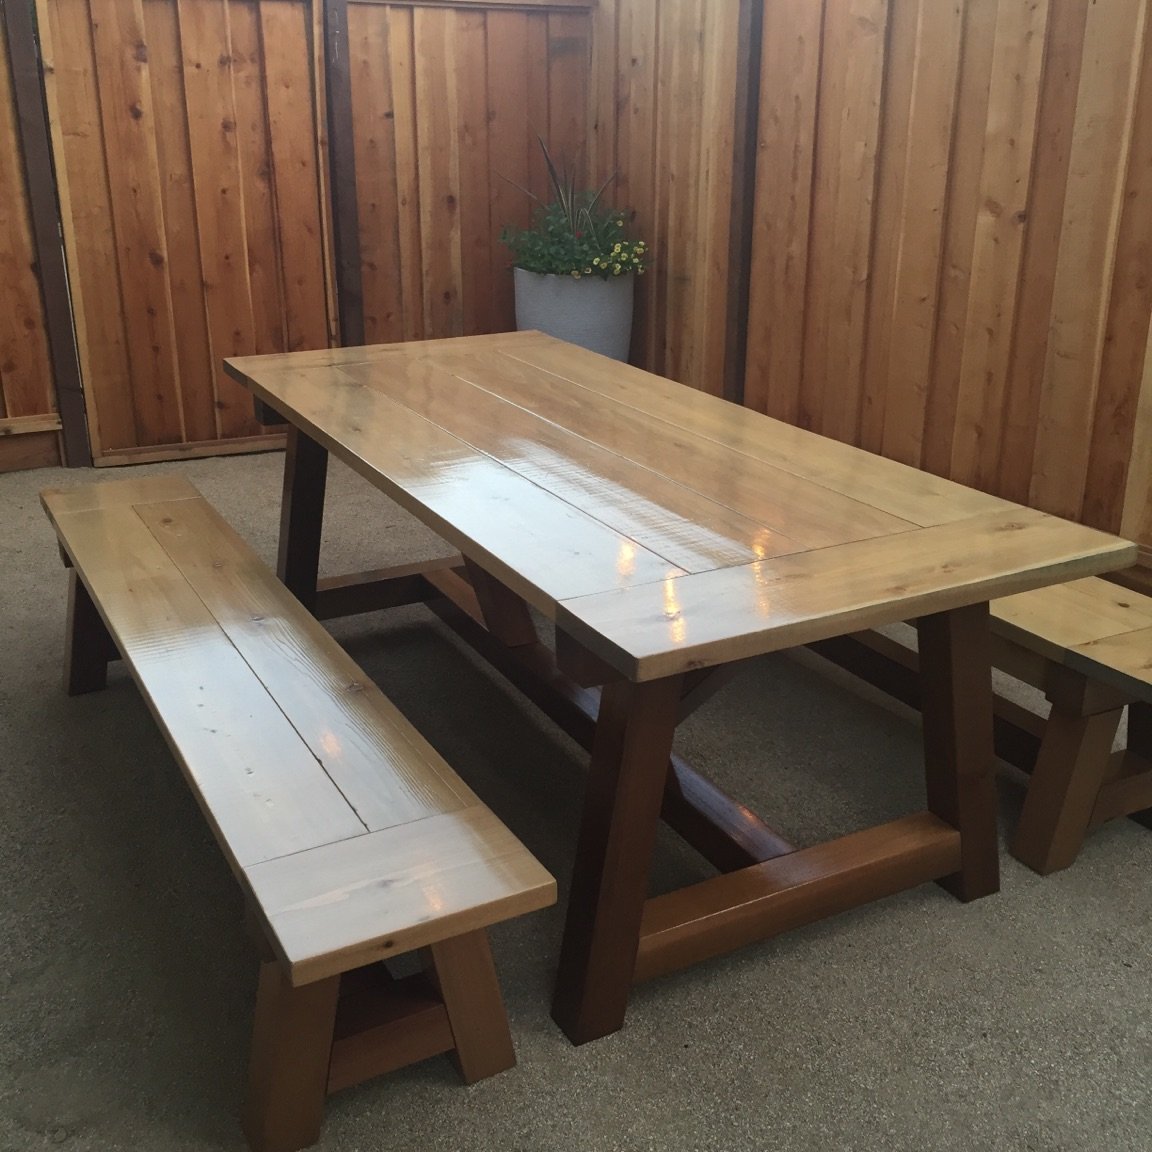
I loved this coffee table plan. I found it on www.morelikehome.net and also linked on Ana White's page. My wife and I loved the size and also the number of drawers for storage. I would say that the plans were great and I had to only make minor adjustments due to my own errors.
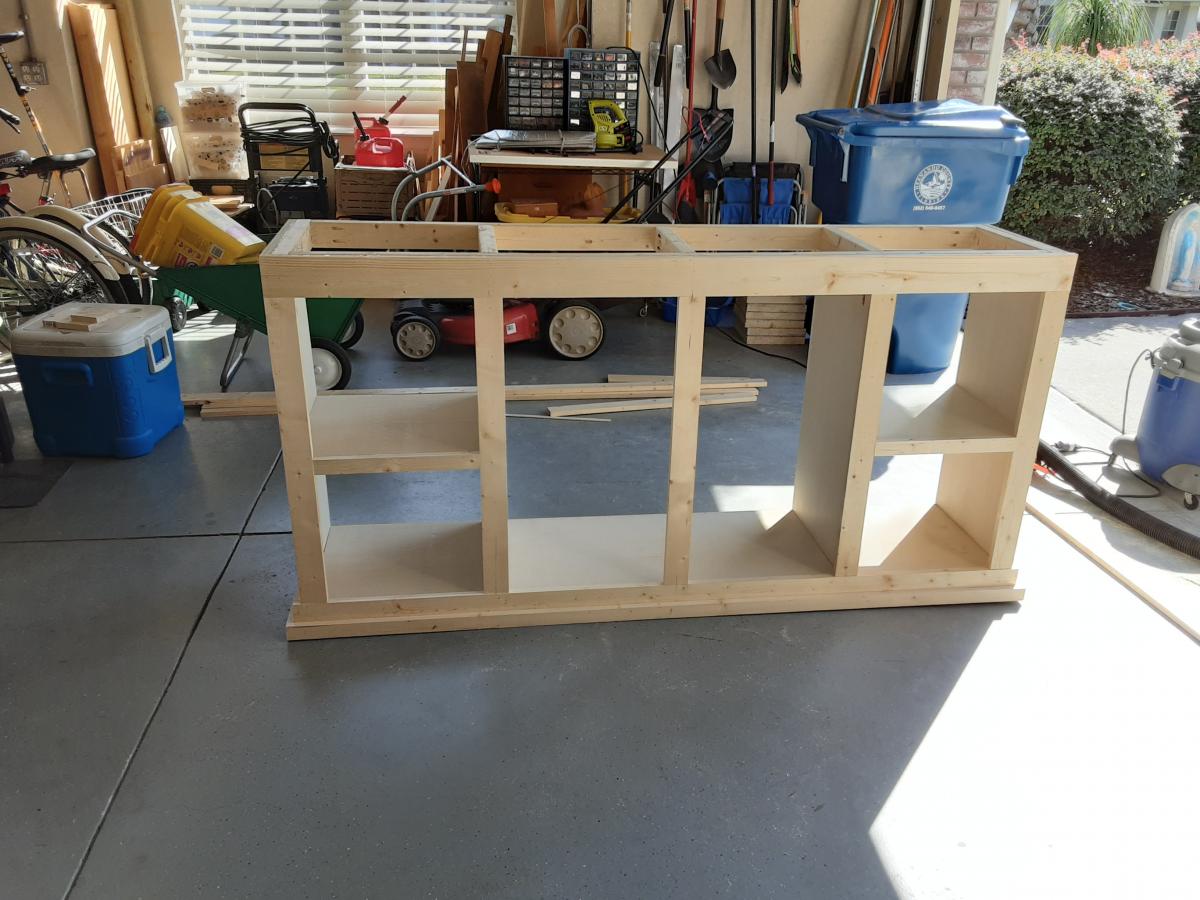
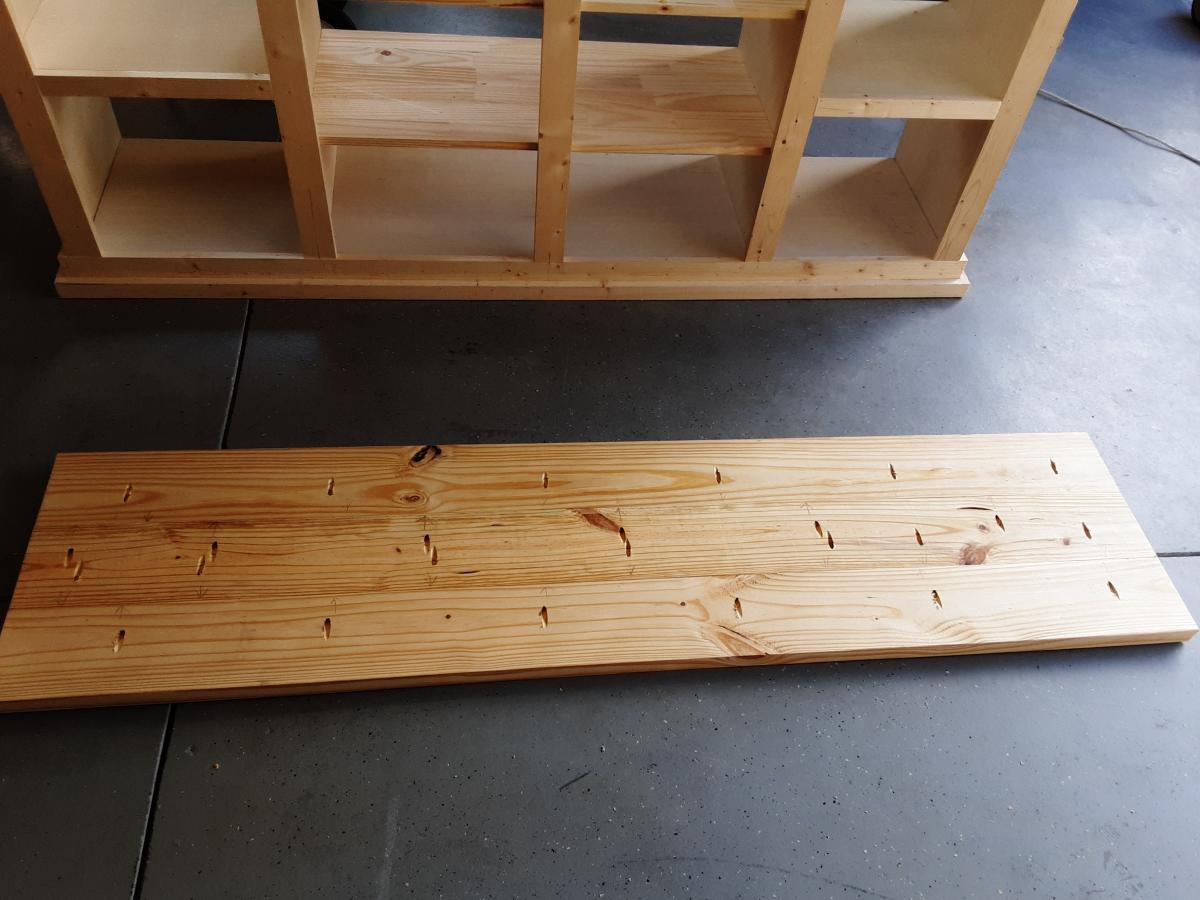
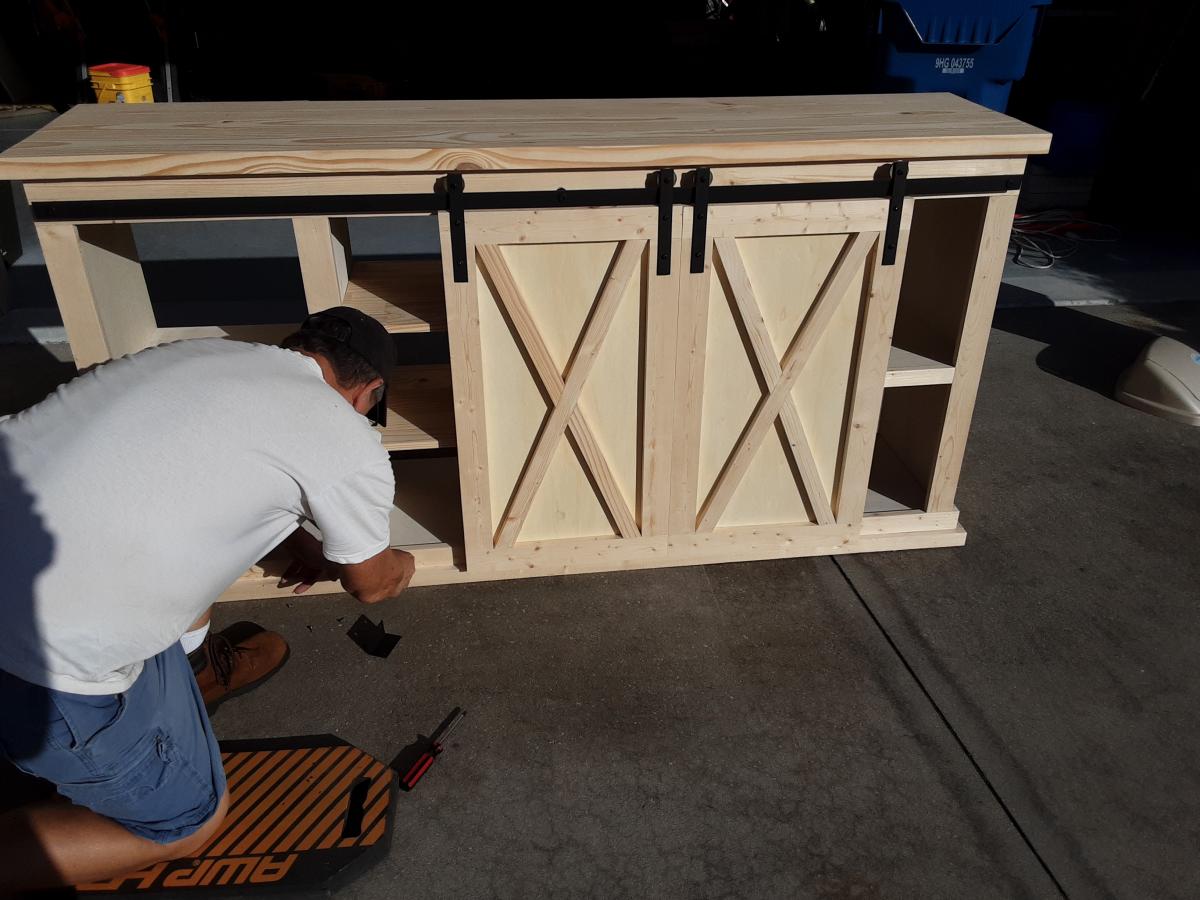
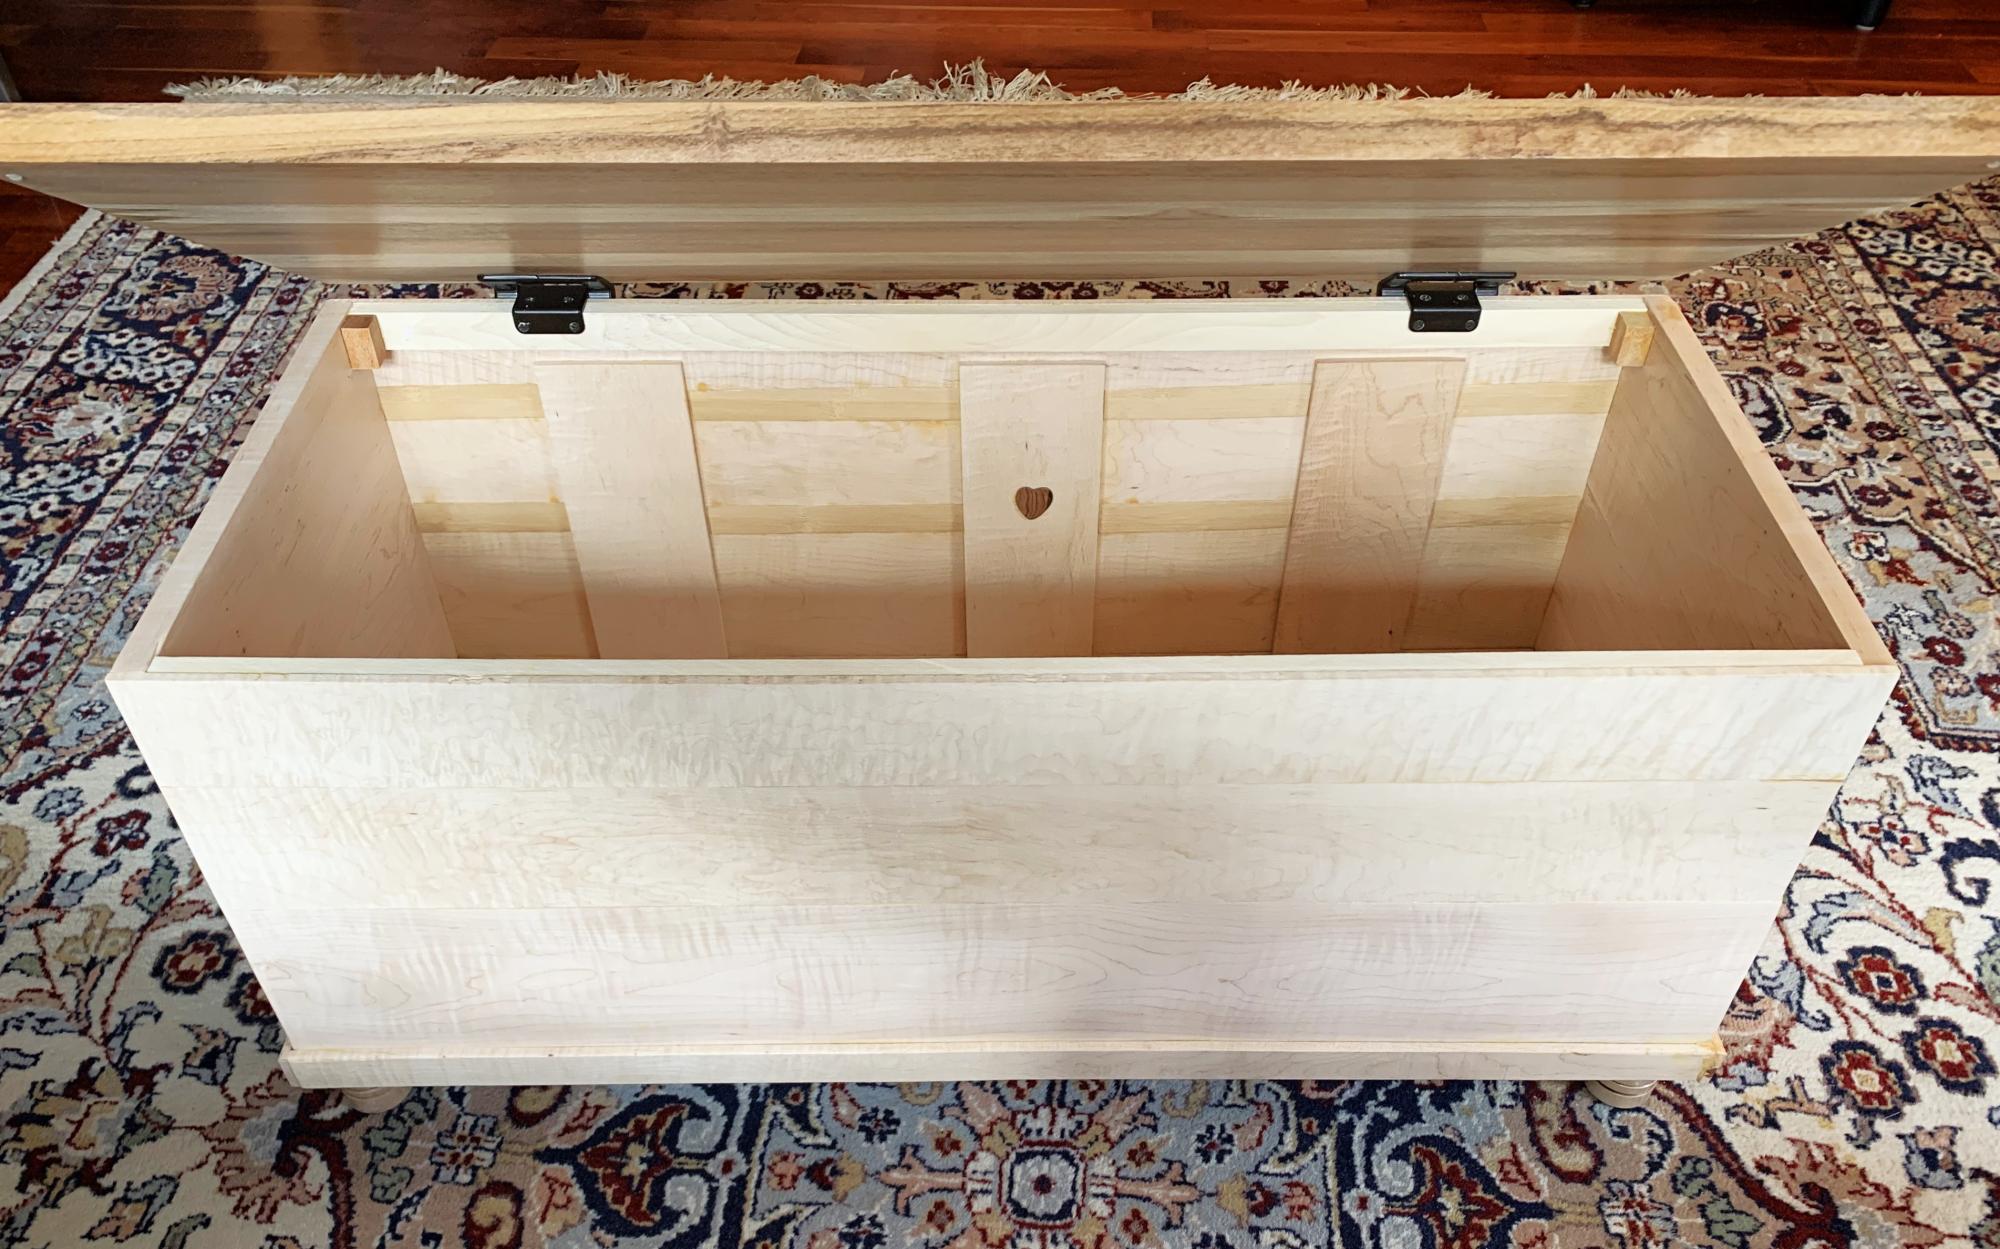
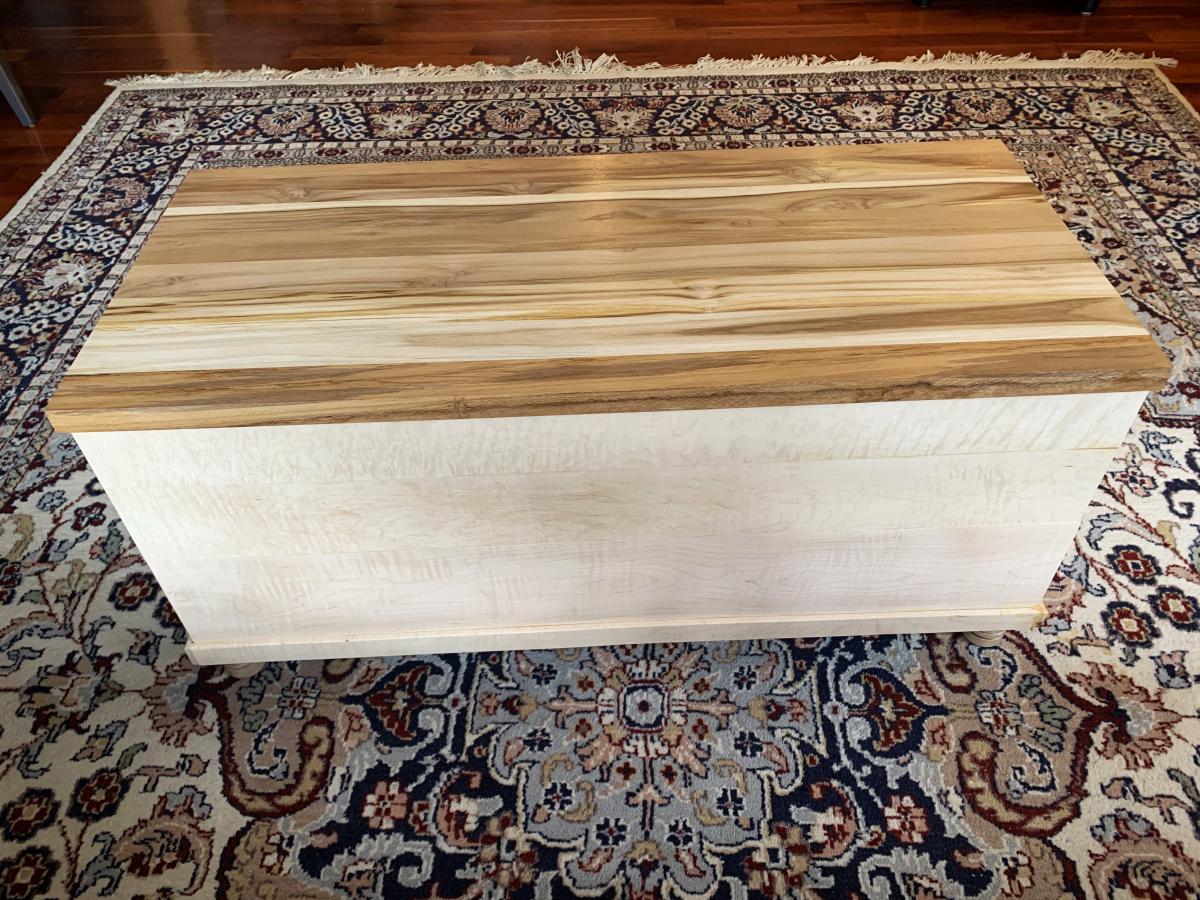
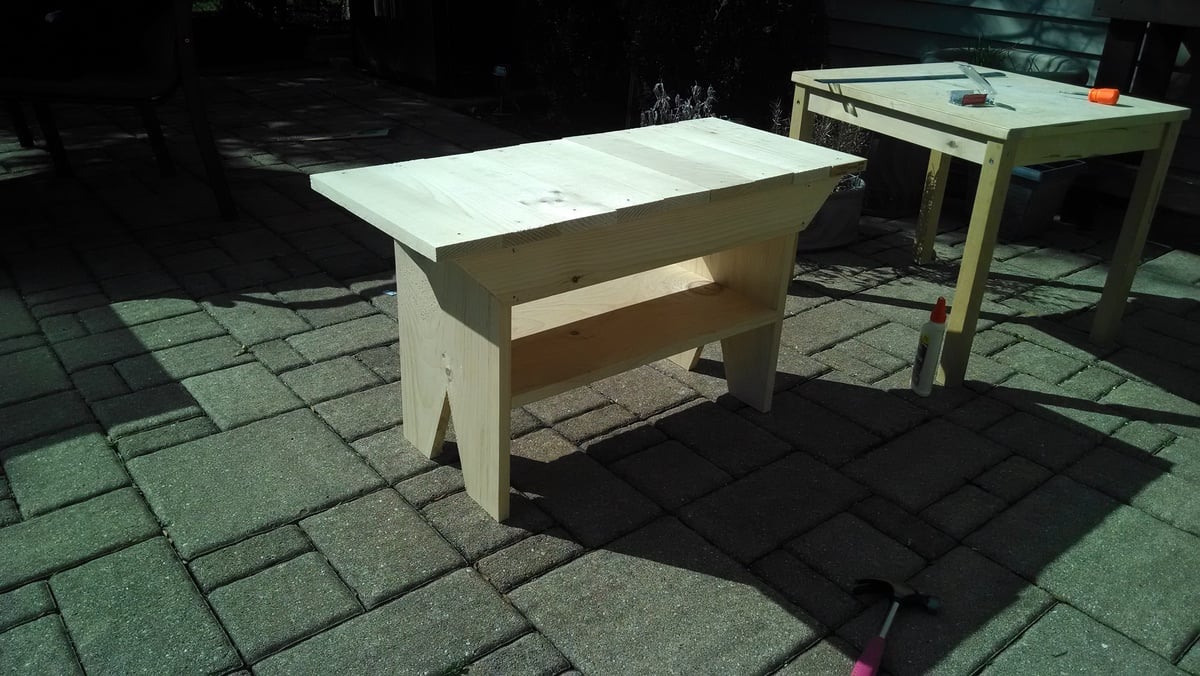
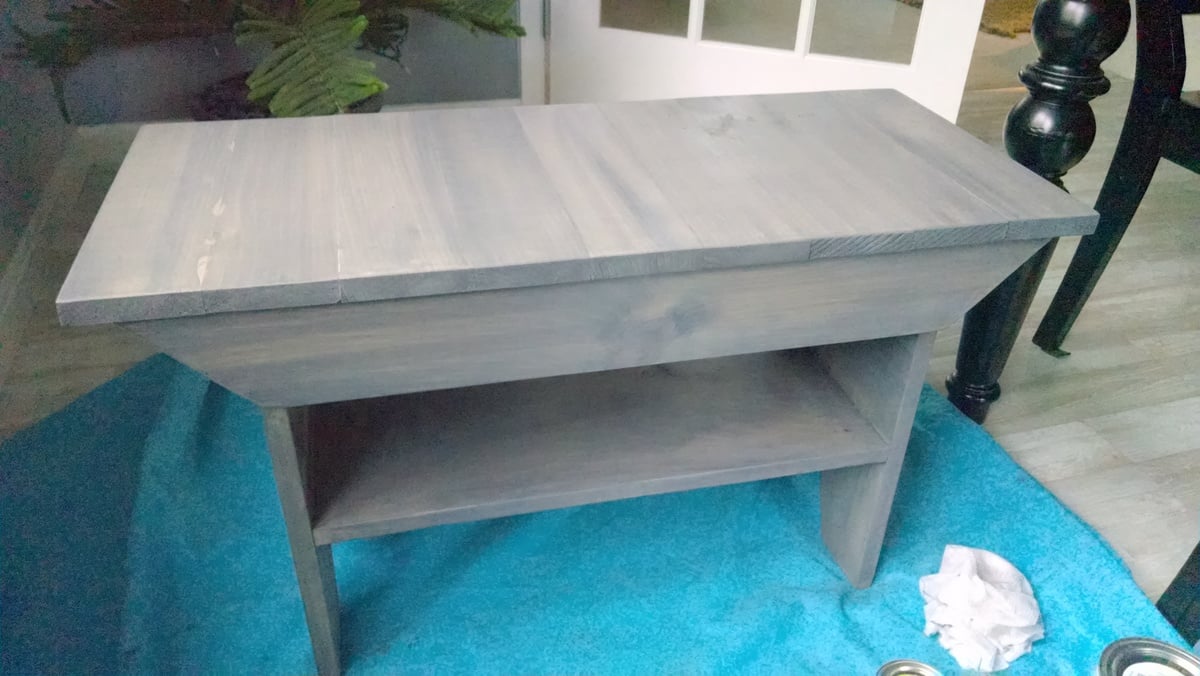
It took me about four days to complete. I used the Kreg jig to complete most of the joining. I put it all together by the end of the second day. It is solid as a rock. The last two days were mostly staining all pieces and then restaining to get the right finish. It also took a couple more weeks to find pulls and get them installed. But now it's all done and we love it already!

Built from Plan(s)
Estimated Cost
140
Estimated Time Investment
Week Long Project (20 Hours or More)
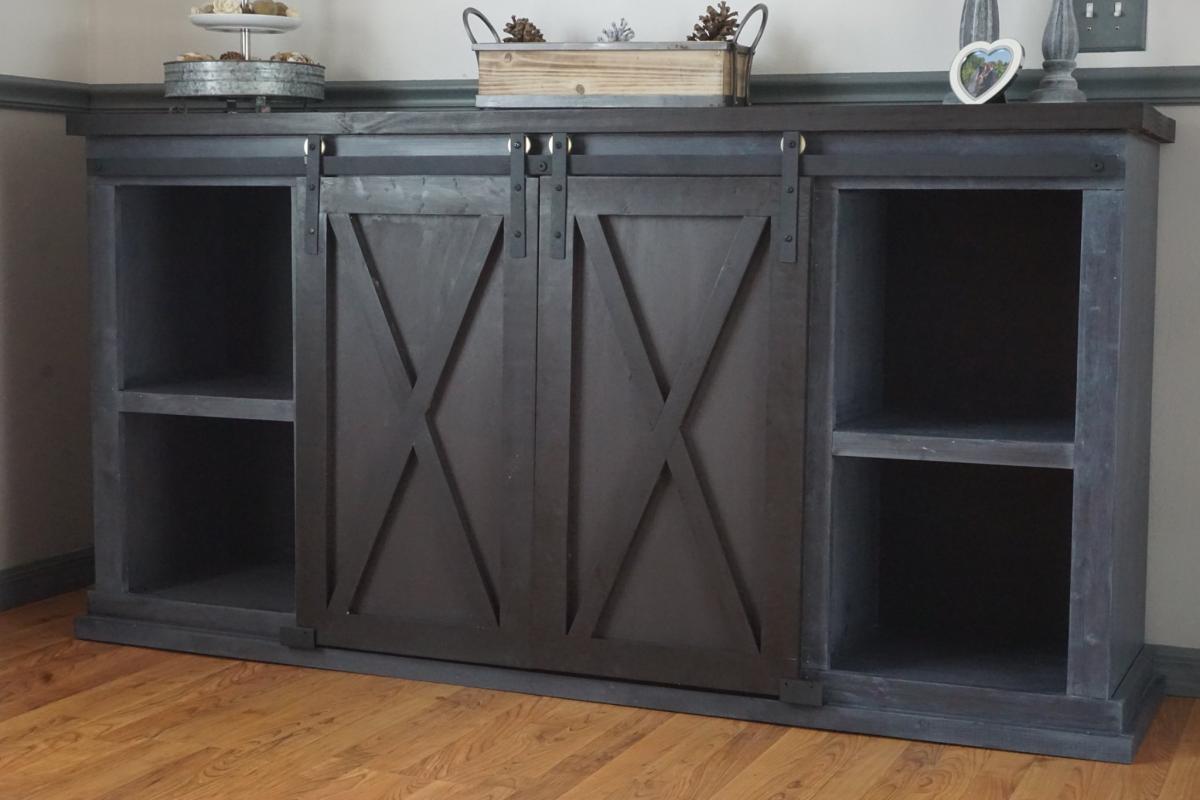
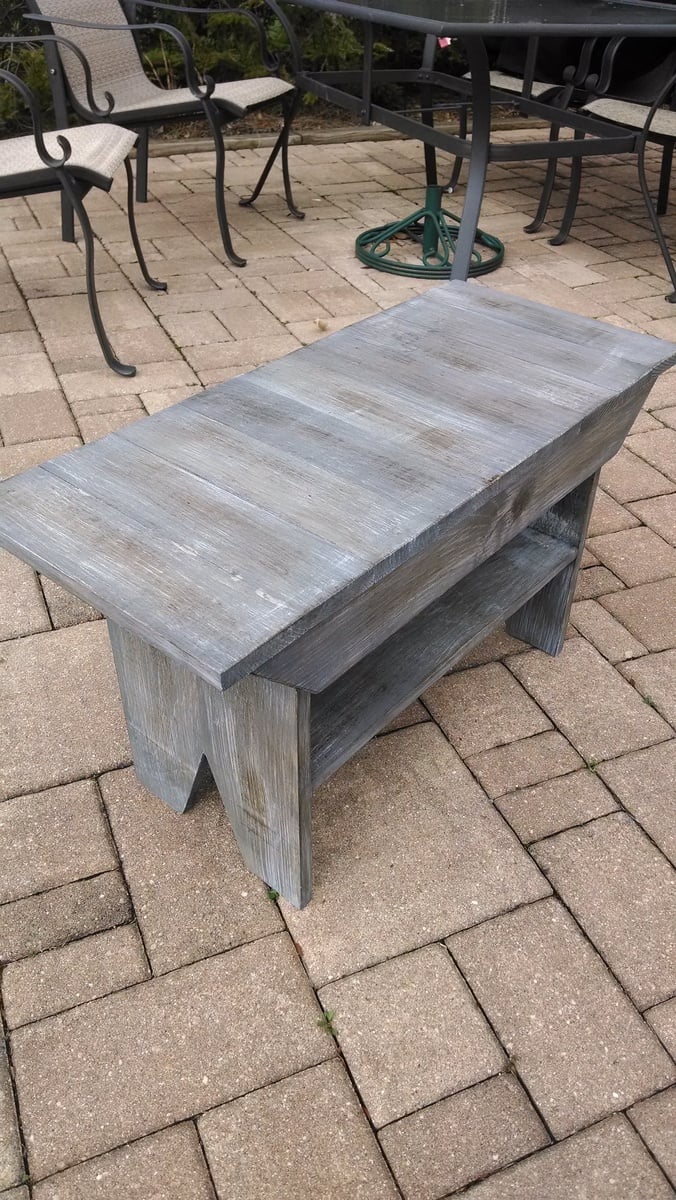
Finish Used
Black satin polyurethane
Recommended Skill Level
Beginner