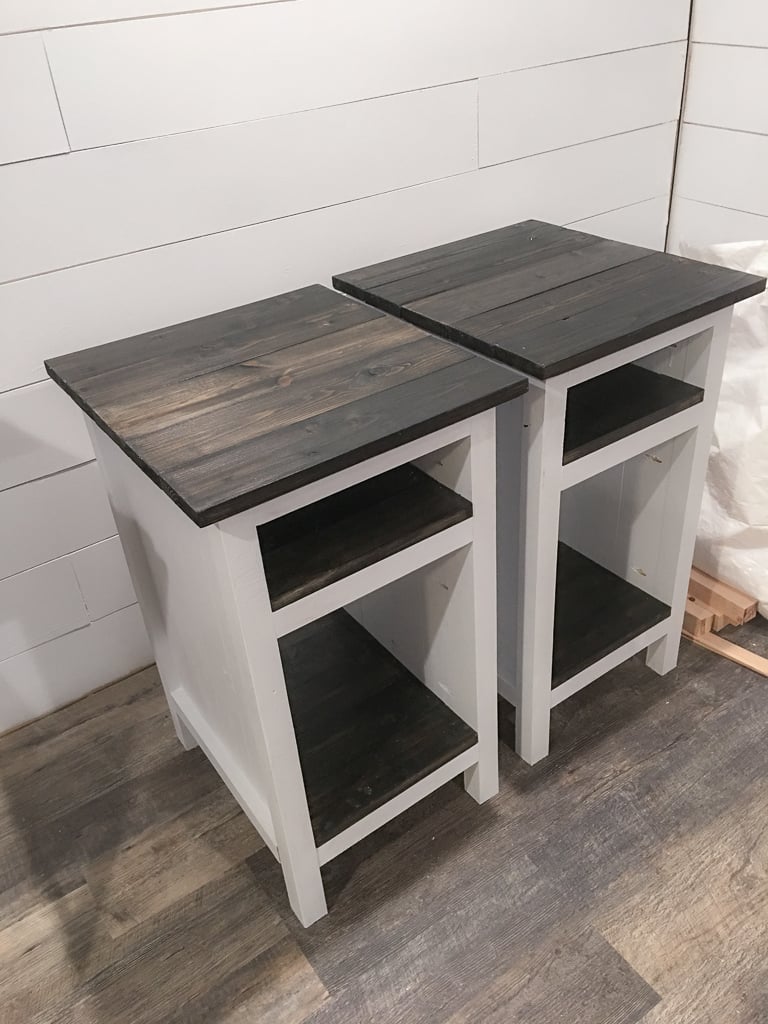
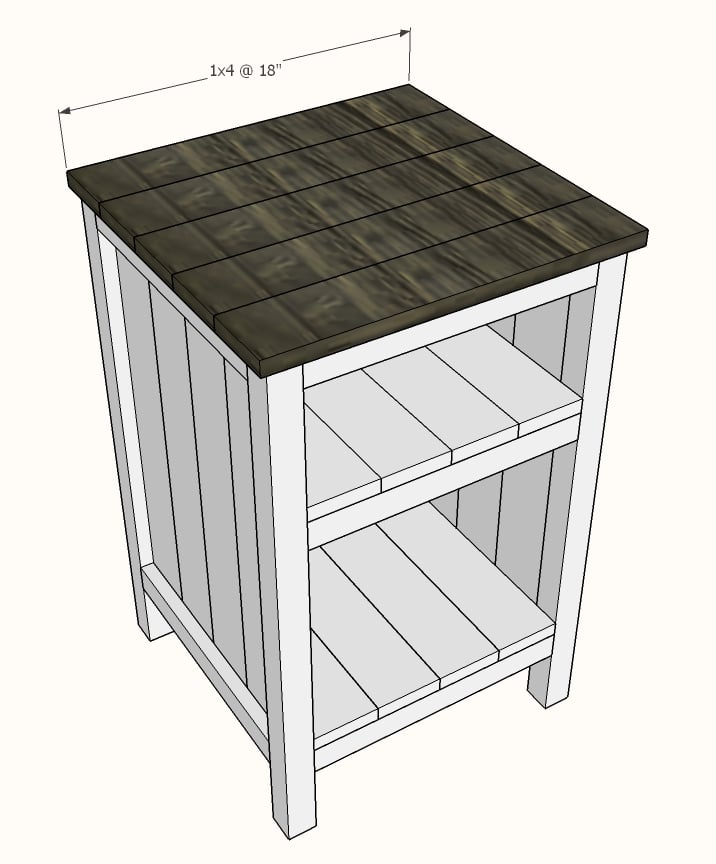
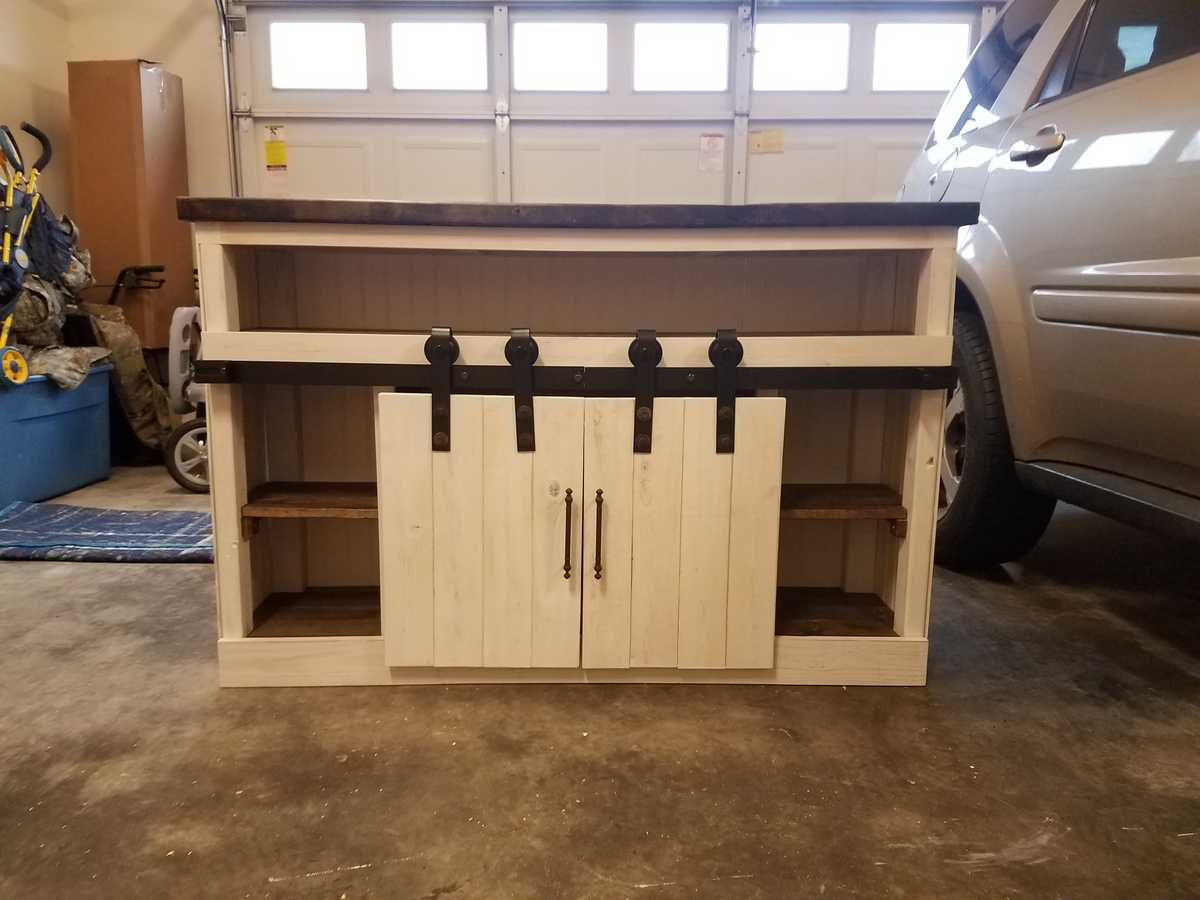
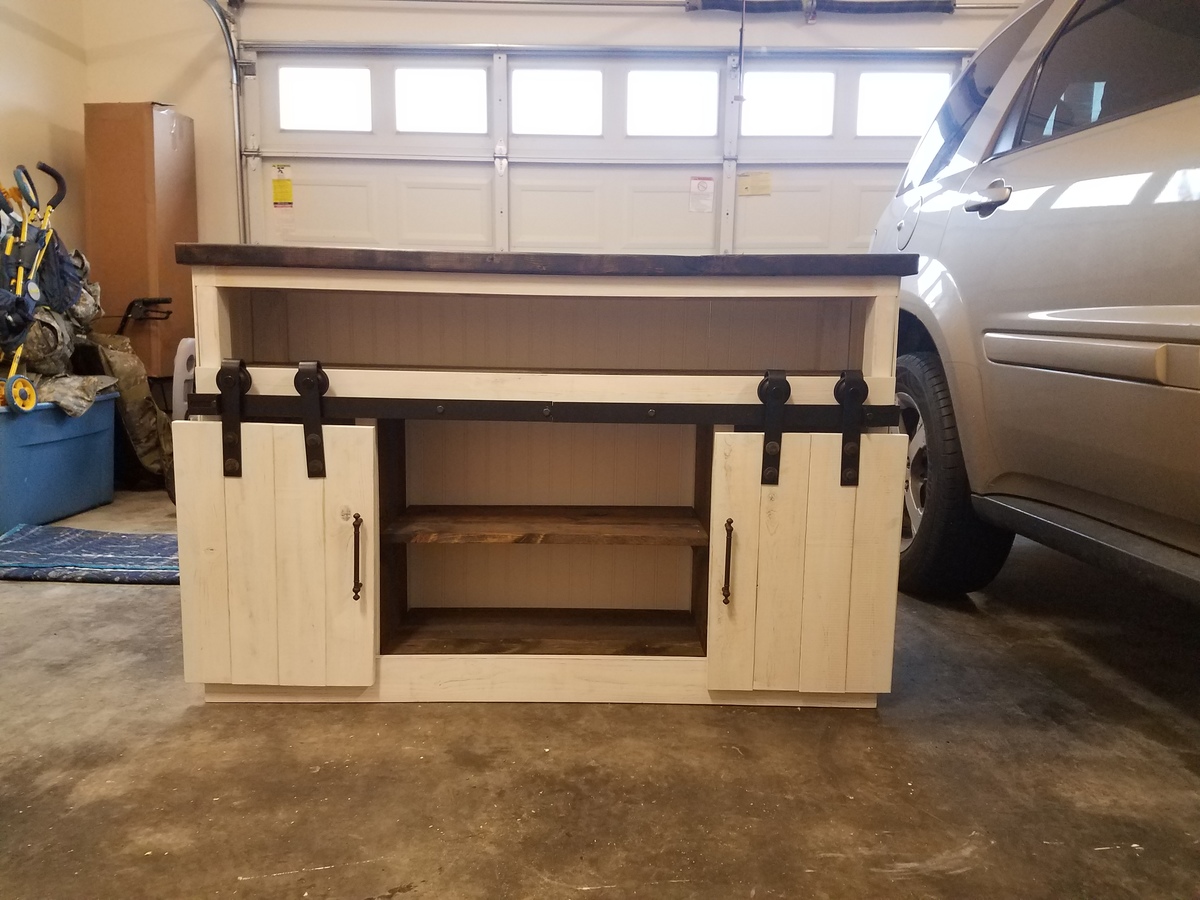
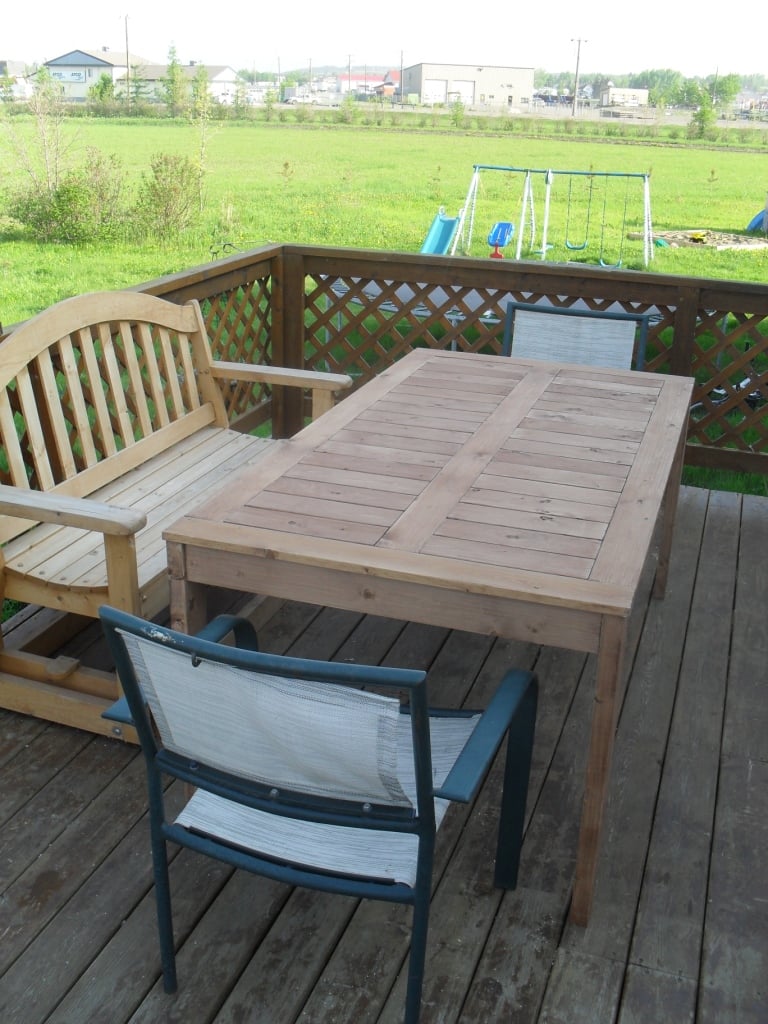
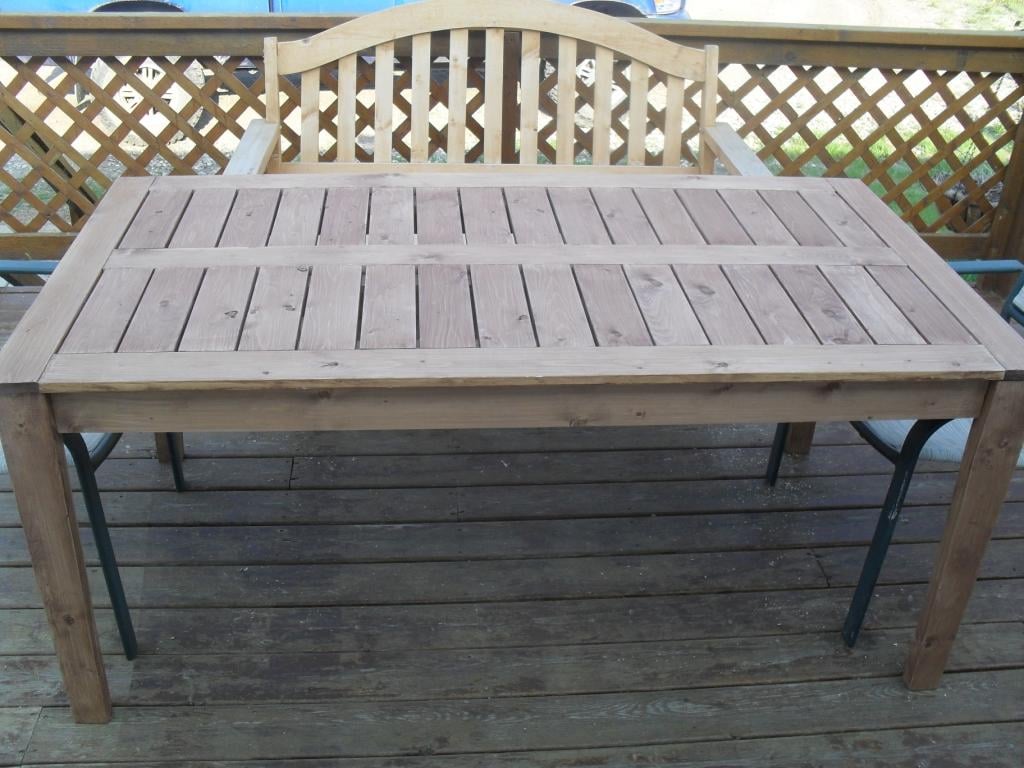
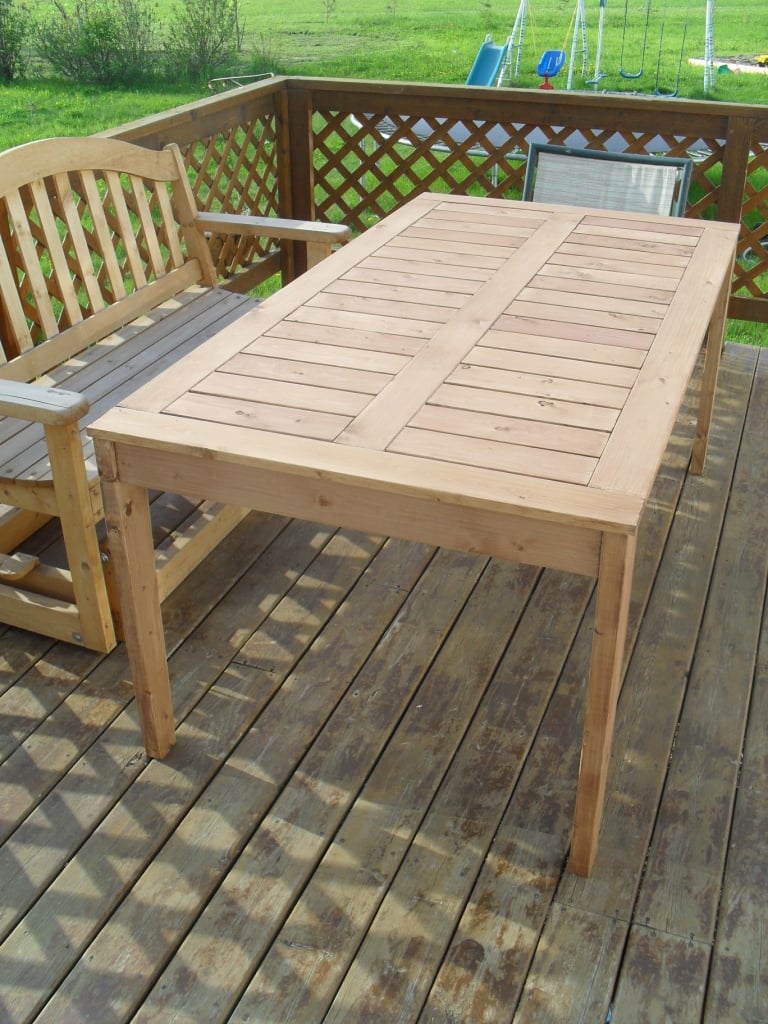
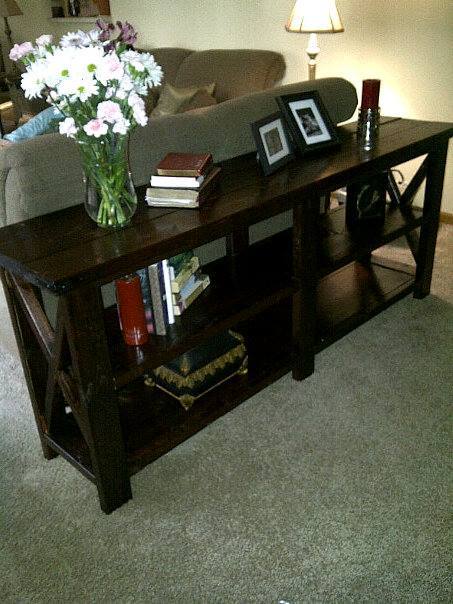
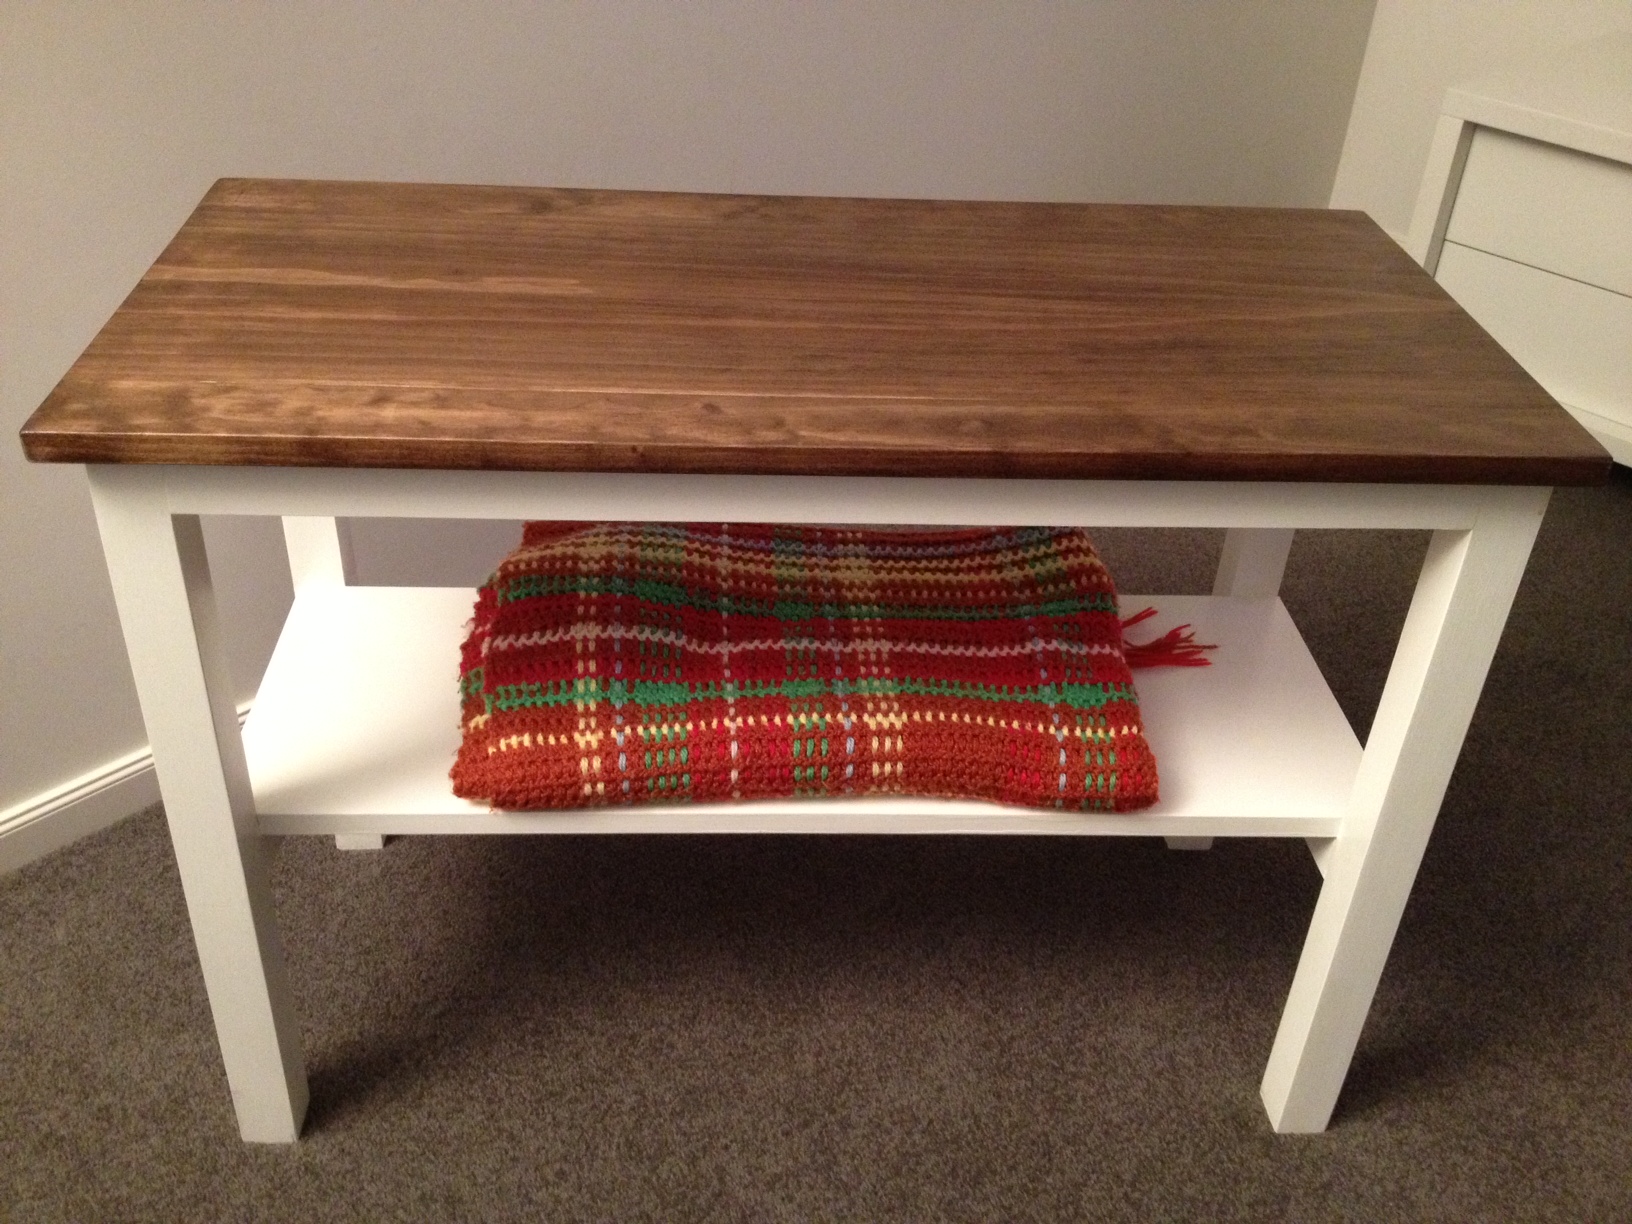
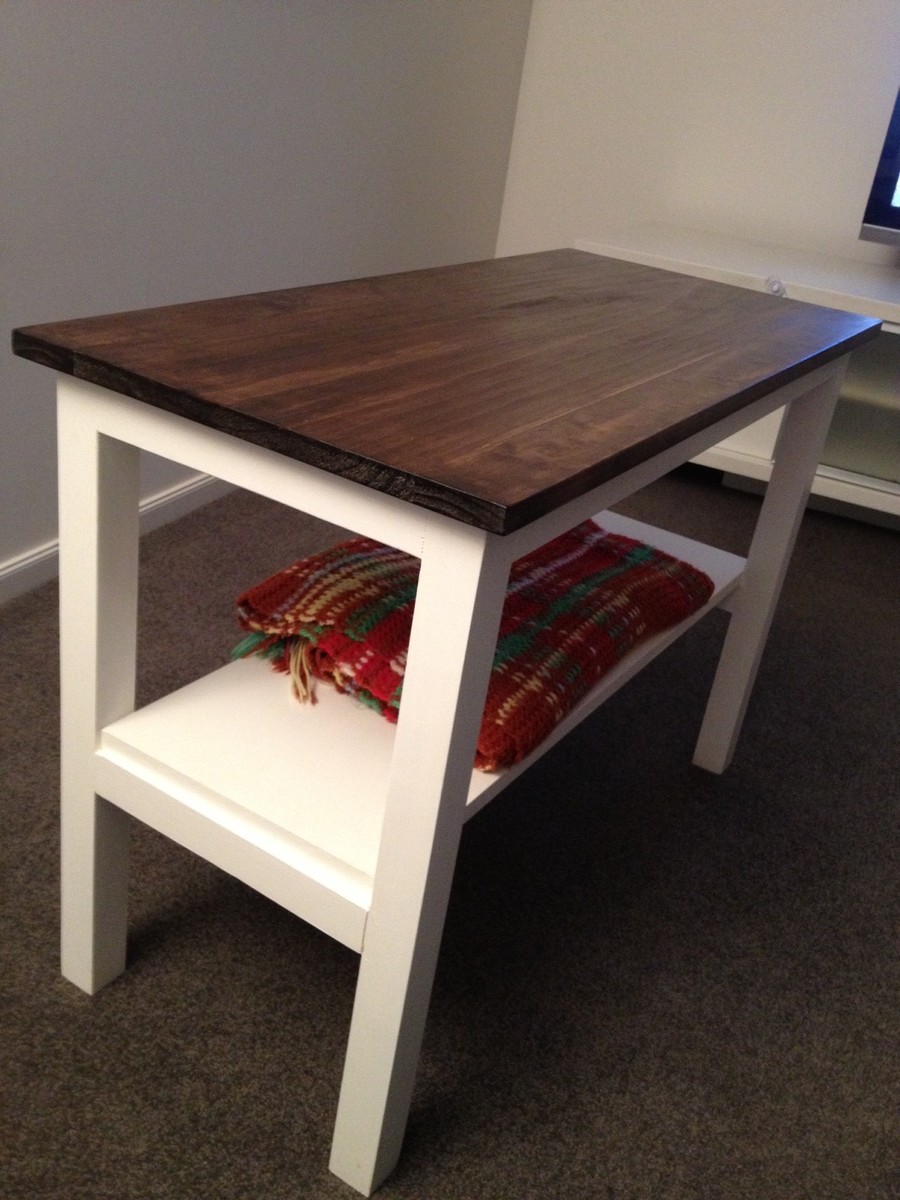
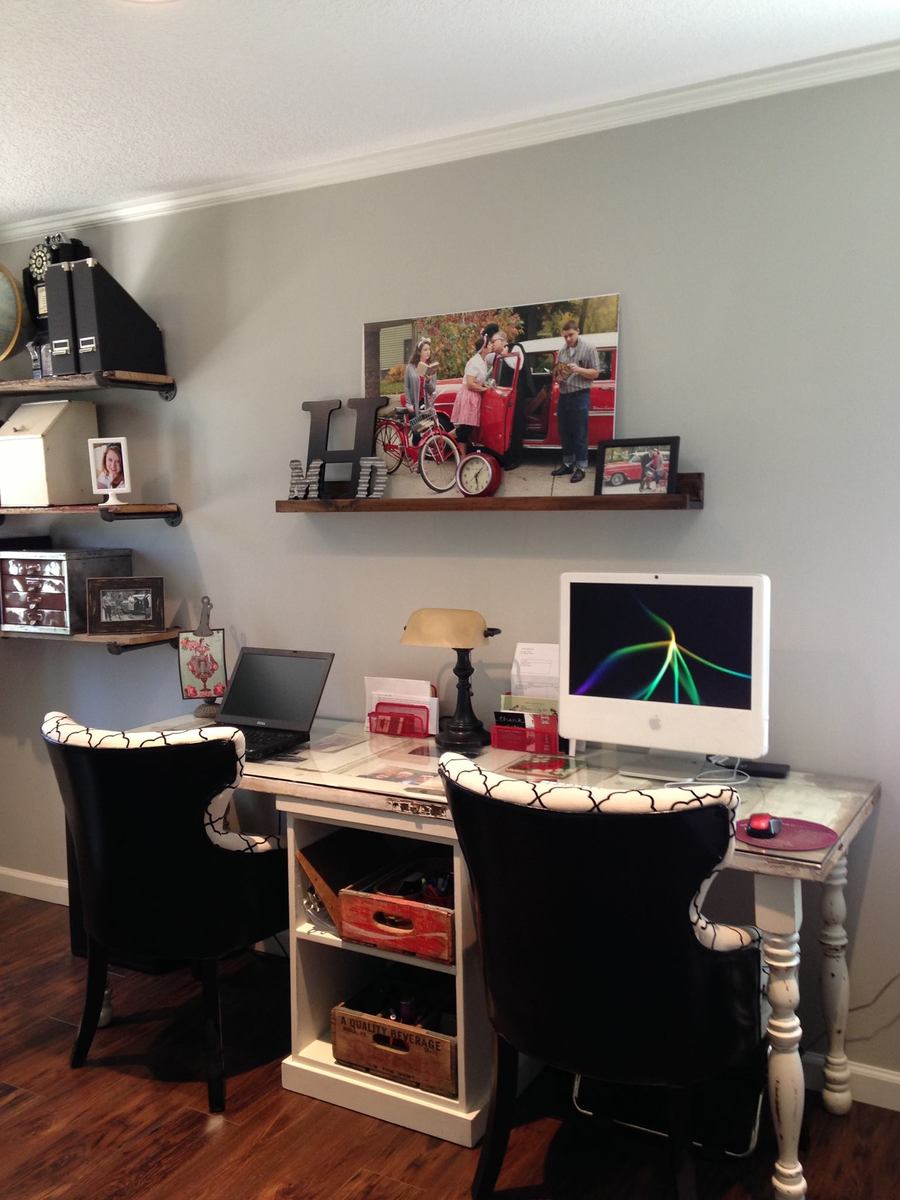
Rustic X Console, Coffee and End Tables
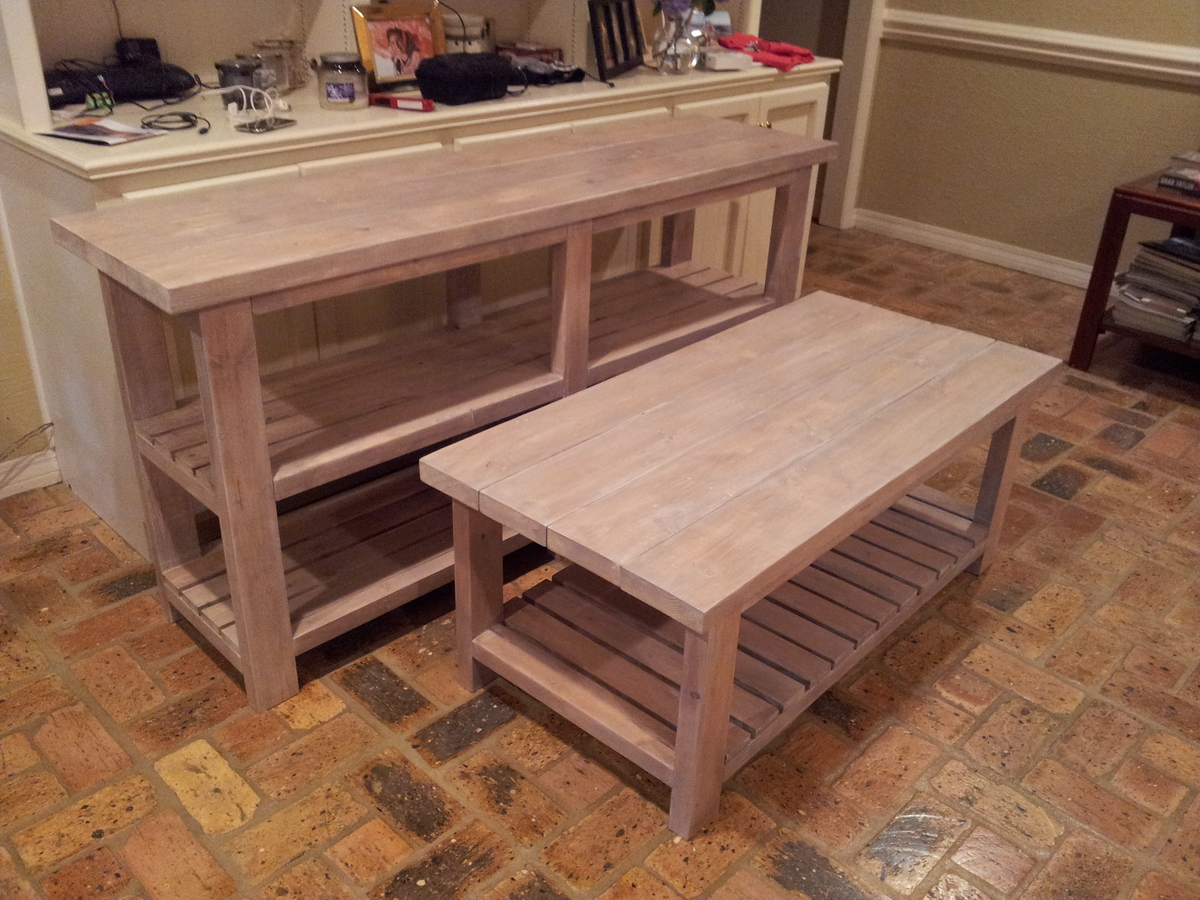
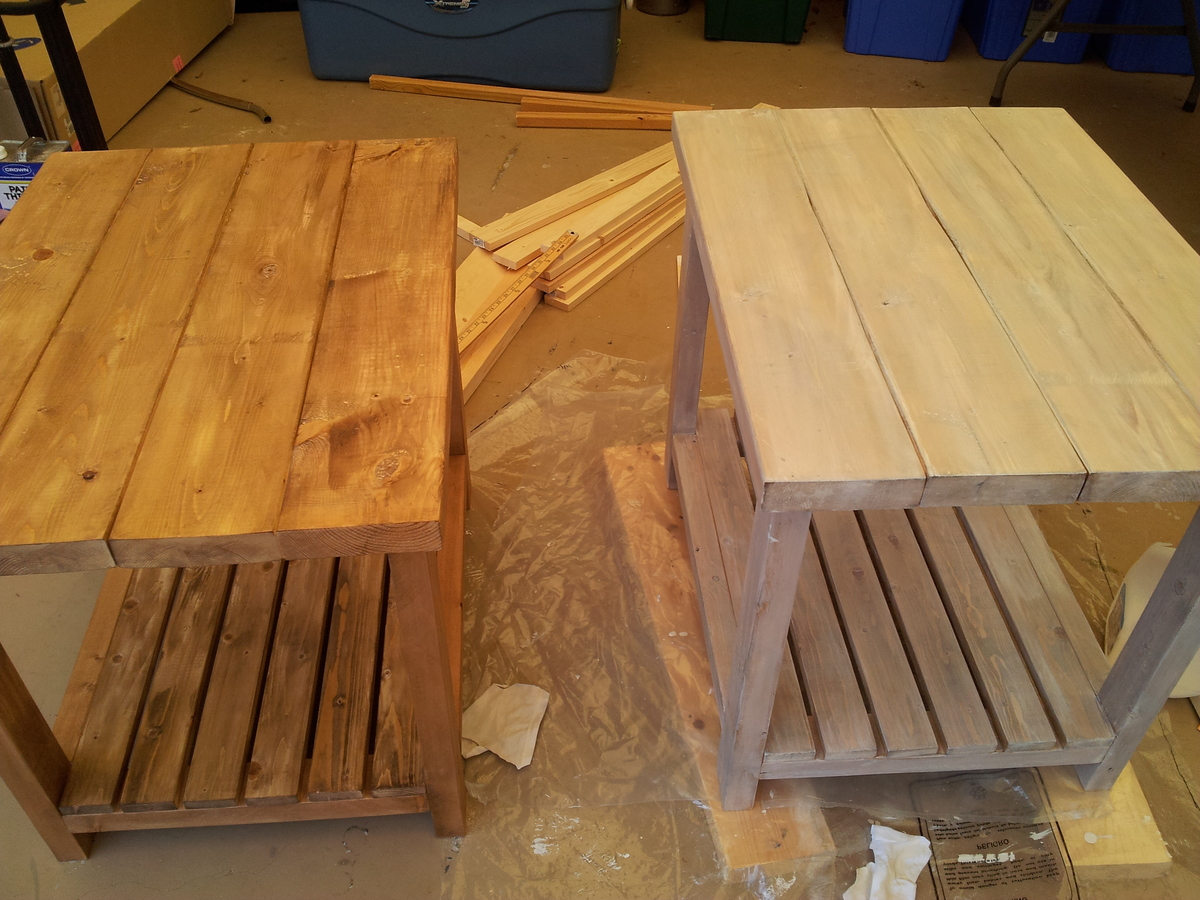
I modified the Rustic X plans by removing the X's on the sides and using 1x3in slats on the shelf. They were made for a beach condo so I wanted a more open look. I wanted a white washed finish and after trying several ideas from the internet I came up with this process: First, I used rags to rub on Minwax Special Walnut stain as lightly as I could. Second, I diluted latex satin white paint, at least 50-50, and brushed it on a small area and immediately wiped it off with a clean rag. I used Minwax Polycrylic as my protective layer.
Built from Plan(s)
Estimated Time Investment
Week Long Project (20 Hours or More)
Finish Used
Minwax Special Walnut stain, white latex satin paint, Minwax Polycrylic Clear Satin
Recommended Skill Level
Intermediate


Comments
amati5
Mon, 07/20/2015 - 10:28
Joints
What kind of joint did you use? I don't see any holes or screws and very nice looking finish.
deblynn42
Mon, 07/20/2015 - 14:57
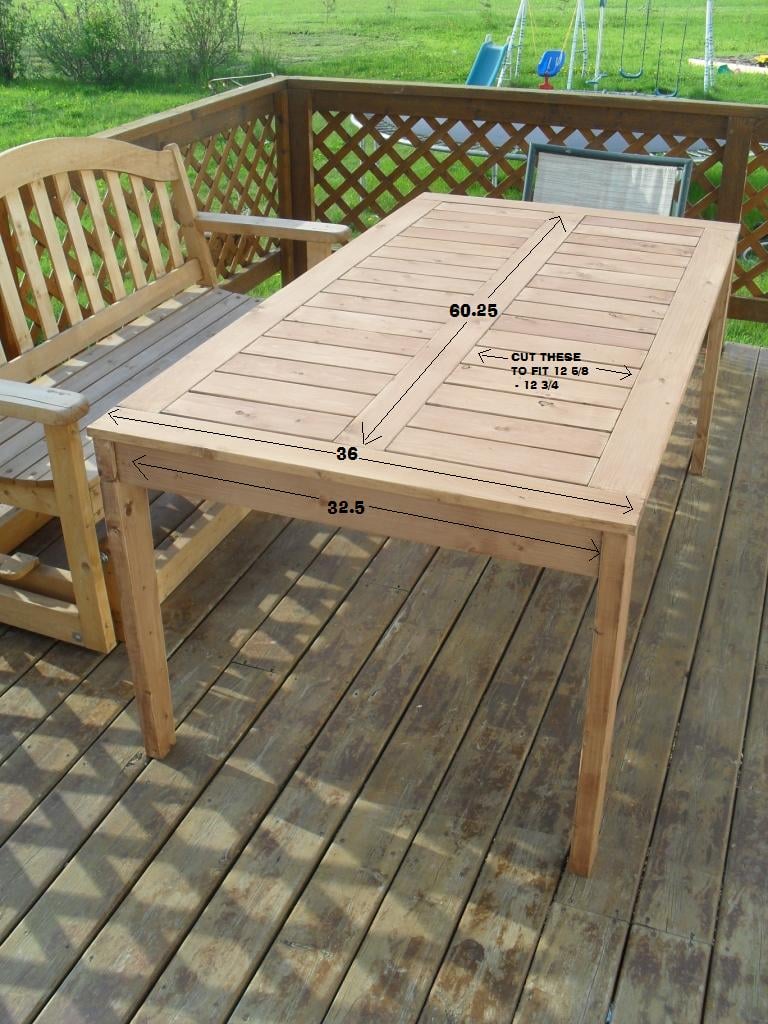
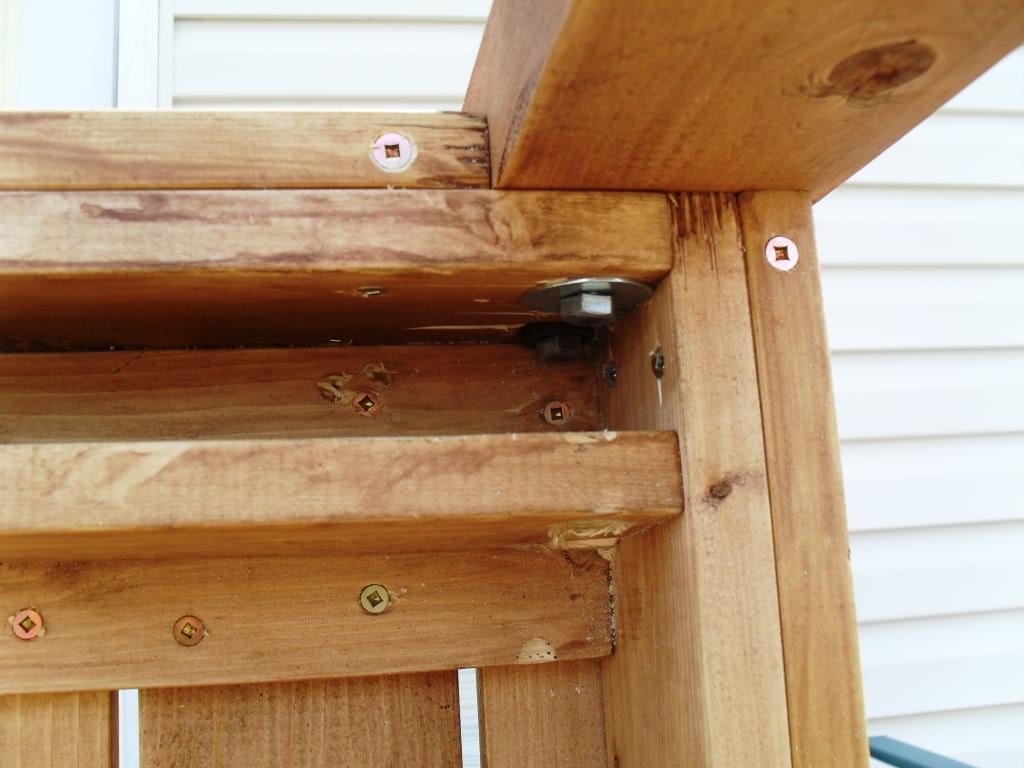
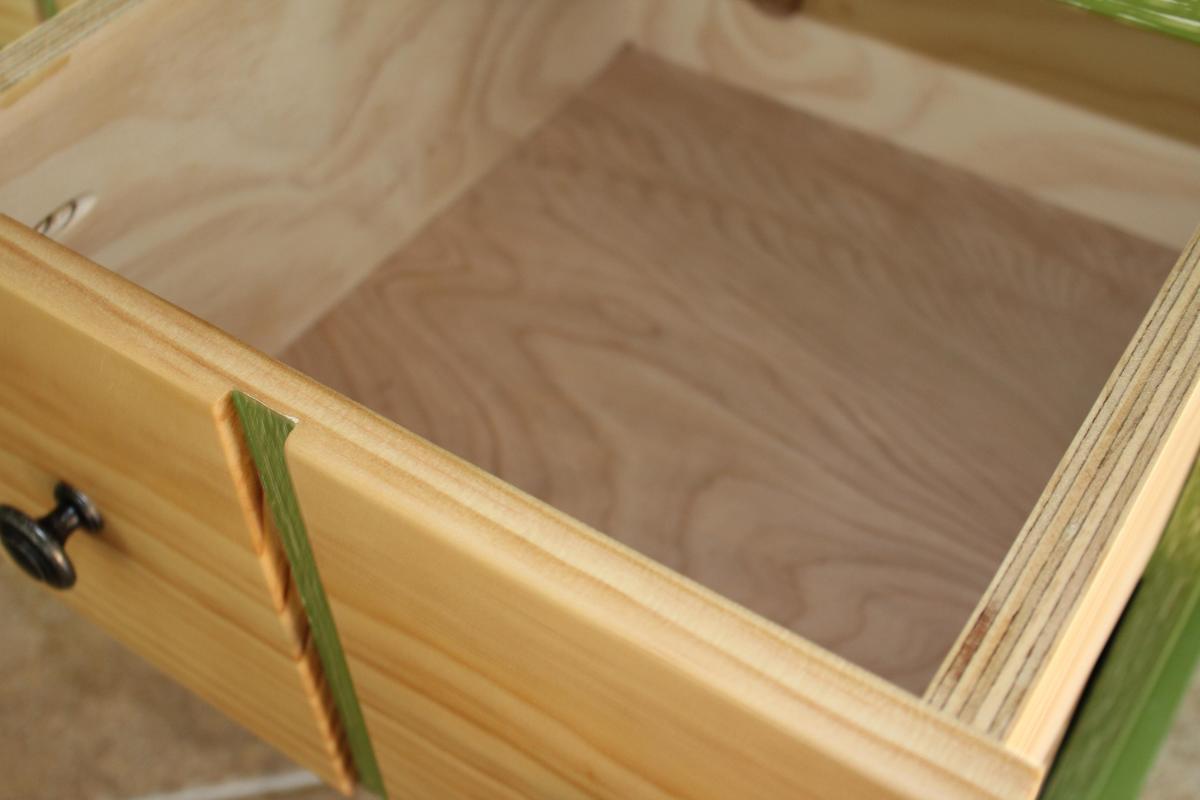
The Rustix X plans use the
The Rustix X plans use the hidden pocket screws using the Kreg Jig tool. It really makes a strong joint. All the hidden pockets are on the underside of the trim pieces. The top and slats are screwed on with normal wood screws, again from the underside.