Community Brag Posts

My firZt Ana White build

Submitted by Francoise on Wed, 07/13/2011 - 17:17

I moved from a big apartment to a small house and I needed more horizontal space. Shelves look great in use and are very stable. All the newbie mistakes in picking wood, cutting and sanding fade into the background.

What did I learn? - This is one time when getting the nice dressed lumber is worth it since they laminate better. I spent a lot of (useless) time applying wood filler trying to get the gaps invisible. - Get the scraps out of the way ASAP so I don't keep confusing them with the cut pieces. - It's hard to set the miter saw to the "same" 10 degrees more than once since its not a preset on the miter saw, so do all the angled cuts at the same time. -For some reason, one shelf was shorter than the rest.

Built from Plan(s)
Finish Used
Rustoleum Spray Paint, 2 cans
Recommended Skill Level
Starter Project

Nightstands

Submitted by kaileelev on Sun, 09/13/2015 - 19:21

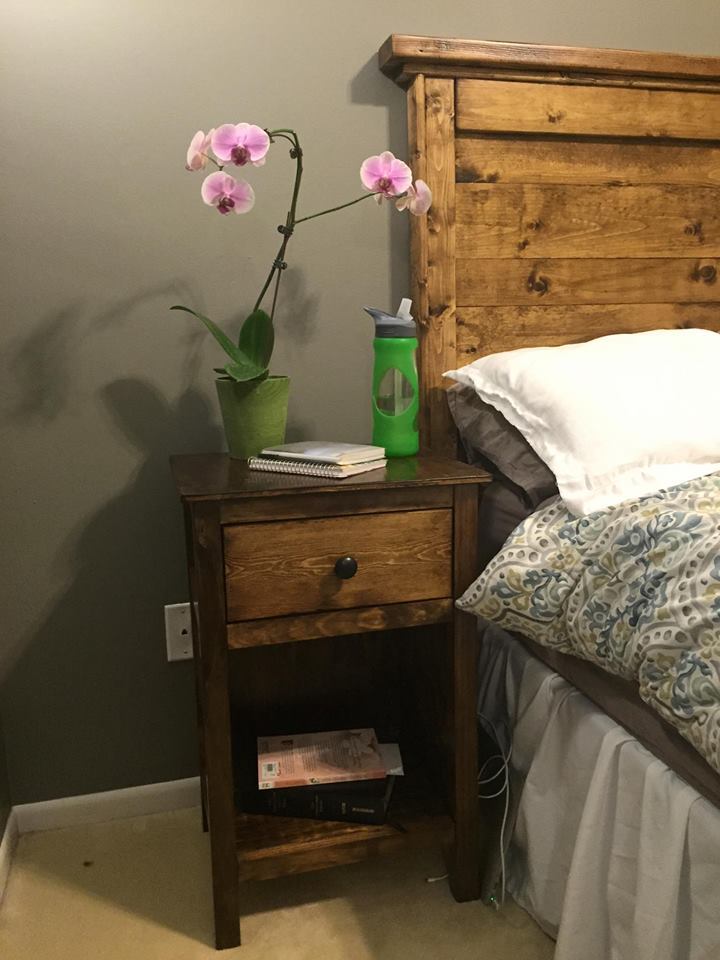
I based these off of the mini farmhouse bedside table plans, but changed a lot of the dimensions, added sides/back and chose to use plywood for the top, sides and shelf. The plywood did not stain very nicely for me- I learned my lesson! The drawers were definitely the hardest part!

Built from Plan(s)
Estimated Cost
$60
Estimated Time Investment
Weekend Project (10-20 Hours)
Finish Used
Minwax provincial stain (two coats) with 2-3 coats of polyurethane.
Recommended Skill Level
Intermediate

Farmhouse bed

Submitted by Anonymous (not verified) on Mon, 05/30/2022 - 05:43

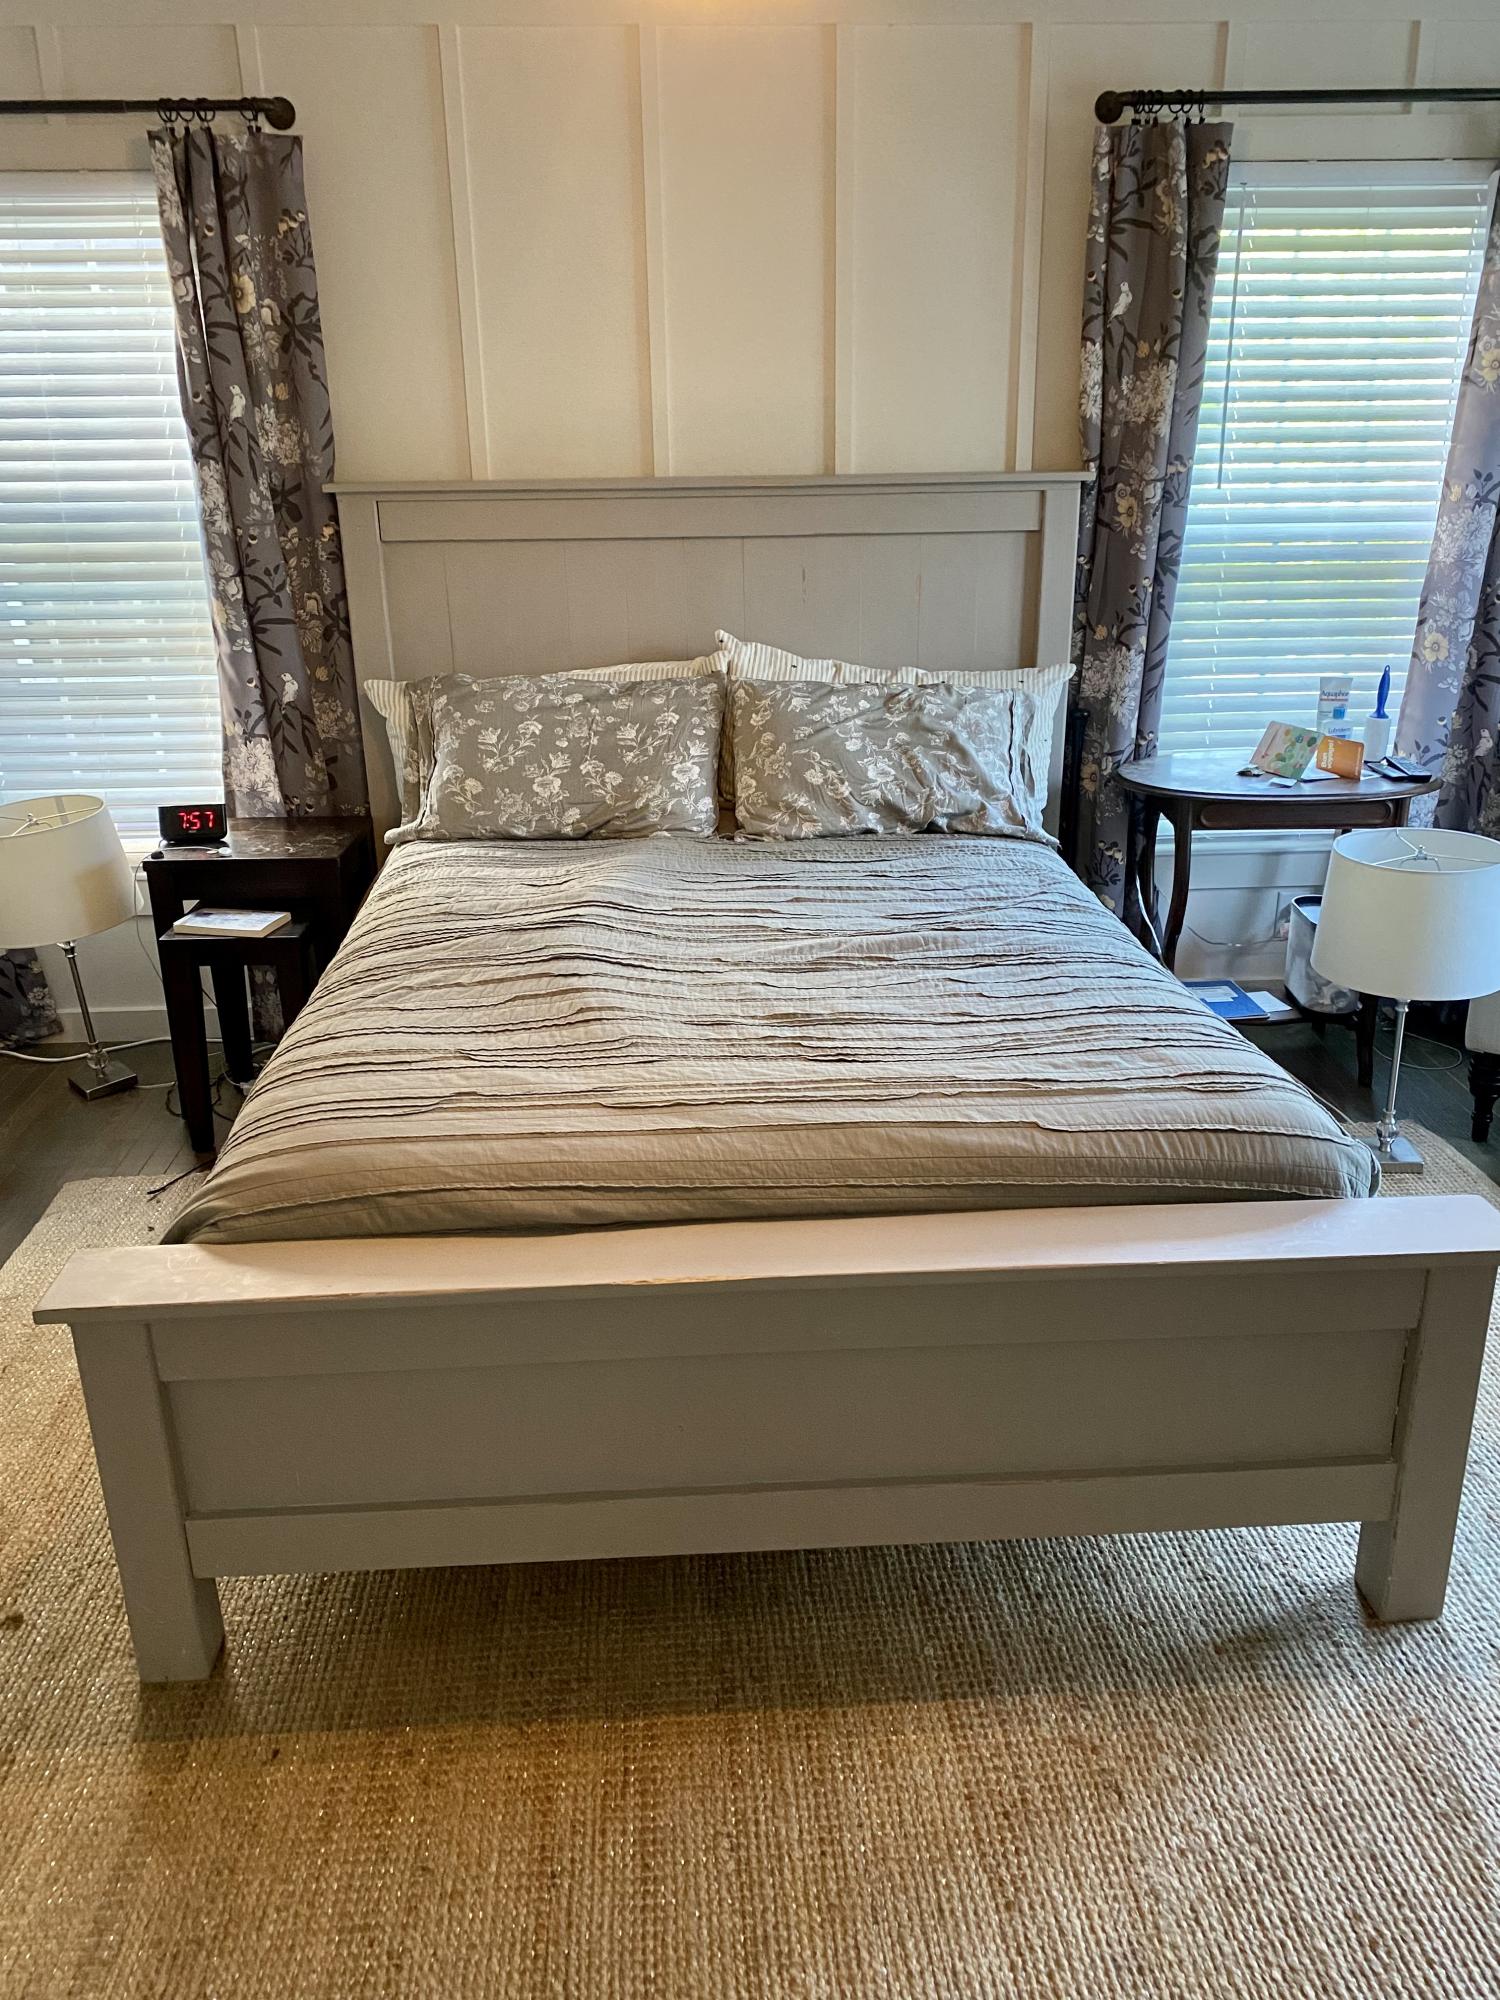
We wanted a new bed - but couldn’t find exactly what we wanted. Then I came across your plans & my husband just ran with it. I’ve gotten tons of compliments too.

Built from Plan(s)

Comments

Twin Storage Beds With Corner Hutch

Submitted by canesa on Fri, 07/15/2011 - 01:15

These beds were the very first thing my hubby and I ever built! We had an old hand saw with a dull blade and a hammer and nails! It took us 7 full Saturdays to complete these beds and that includes all of the finish work. We had a great time and a not so great time building these beds but the memories we built together are priceless! We are so proud of the blood, sweat and tears that went into these beds! We love you Ana, well, mostly I love you! You changed my life and I am officially addicted to building! If you have time, check out my very long but very entertaining post about building these beds!
http://isteppedoutofmycomfortzone.blogspot.com/2010/09/and-built-bed.ht…

Estimated Cost
I'm going to guess we spent $300 to $400. We wasted a lot of wood because we had never built anything before and we just didn't know what we were doing! Lots of human error on this bed!
Estimated Time Investment
Week Long Project (20 Hours or More)
Finish Used
My blog has all of the *painful* and funny details!
Recommended Skill Level
Beginner

Comments

Guest (not verified)

Sun, 07/17/2011 - 09:15

I love what you have done! What a great way to use that space! Good work!

Guest (not verified)

Fri, 03/23/2012 - 17:25

Do you have instructions on the corner unit? We like this one better than the others on the site.

Rustic X Coffee Table with Bread Boards

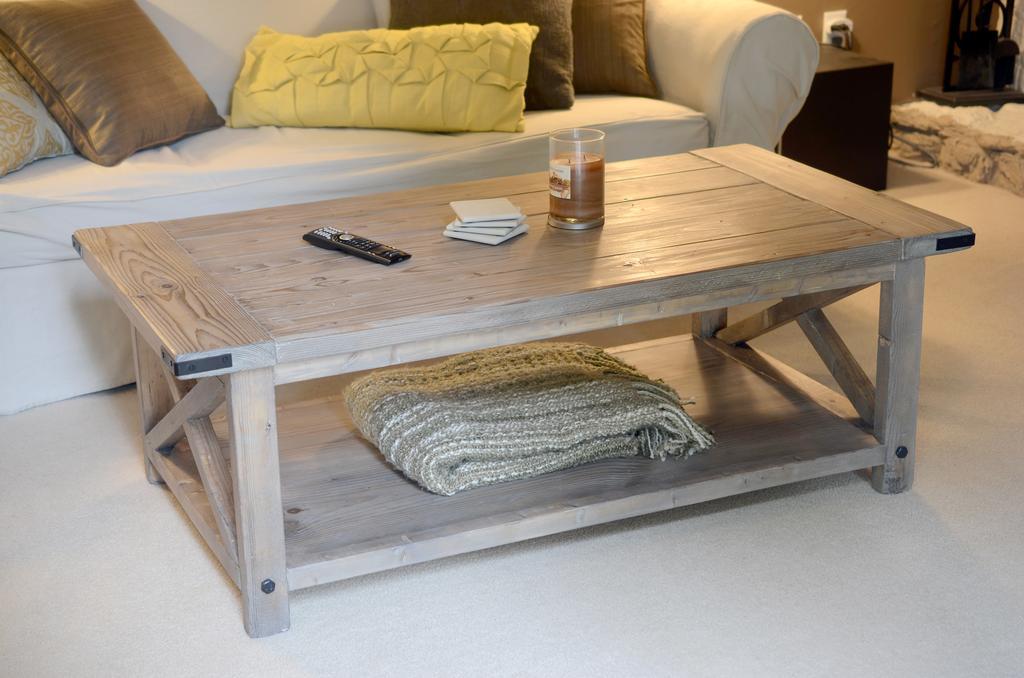
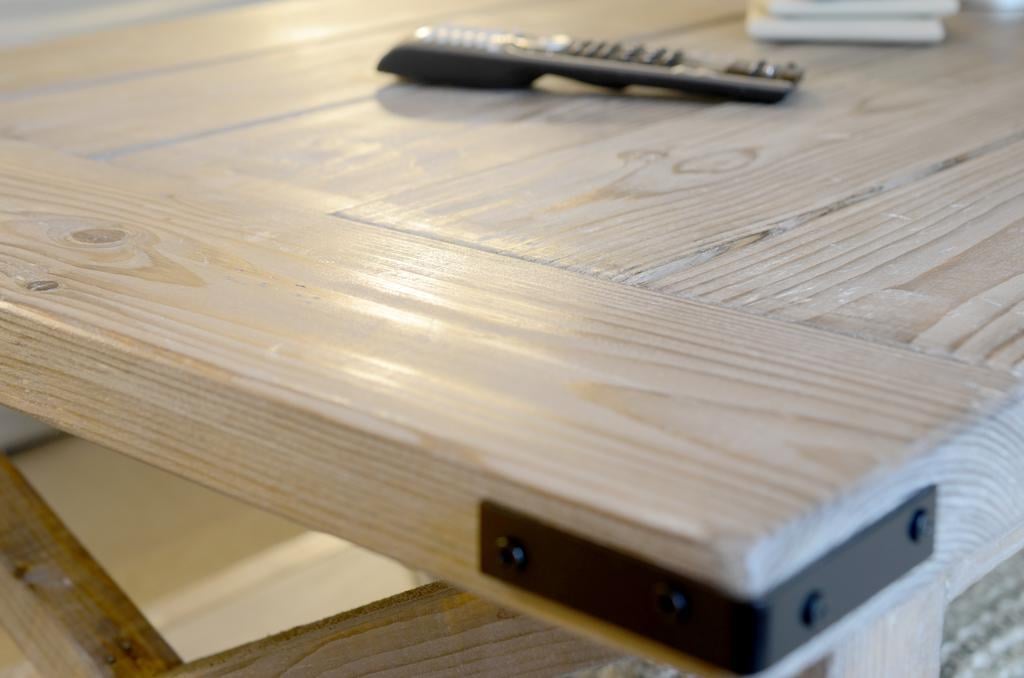
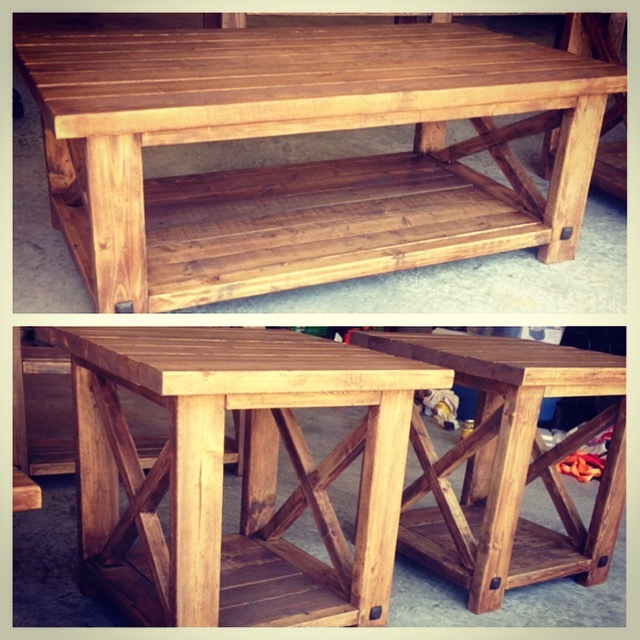
In need of a new coffee table and having a budget lower than what would allow for similar looking store bought tables, I decided to build a variation of the Rustic X coffee table. I used the modified plans by Pete Sveen which included the bread boards on the table top. We used a solution of white vinegar and steel wool to age the wood and used a clear furniture wax to finish it.

Estimated Time Investment
Weekend Project (10-20 Hours)
Finish Used
Vinegar/Steel Wool for Age. Clear furniture wax for finish.
Recommended Skill Level
Beginner

Comments

Vintage Step Stool

Submitted by dkelly75 on Sat, 09/19/2015 - 11:51

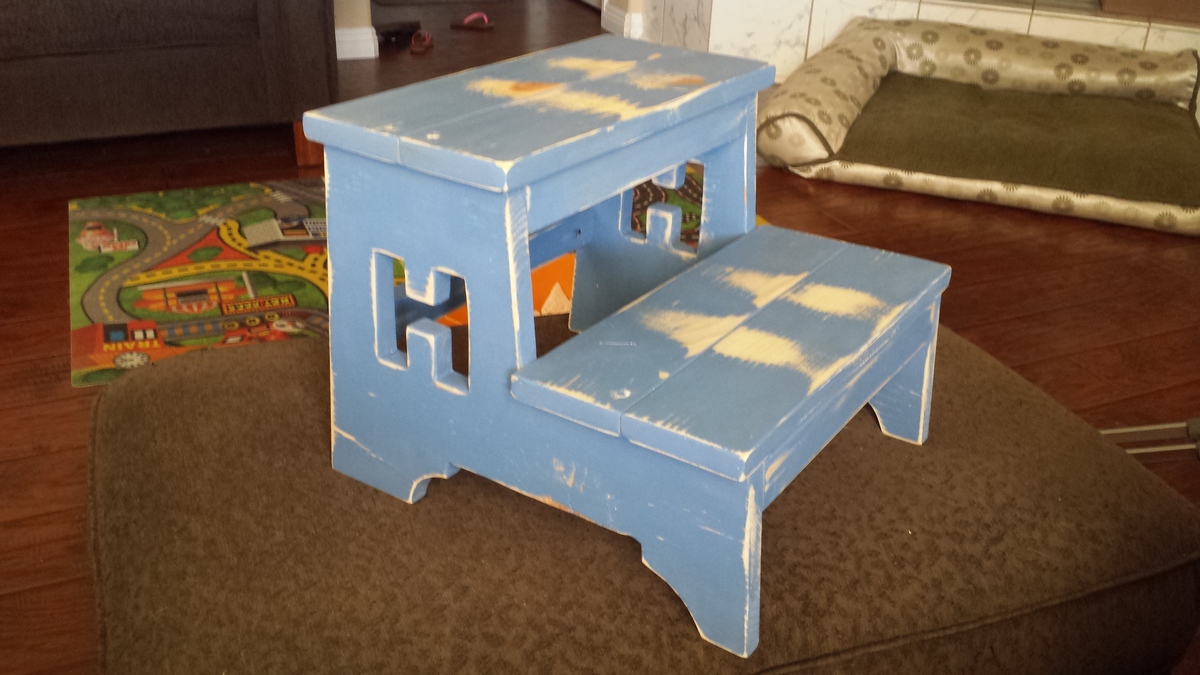
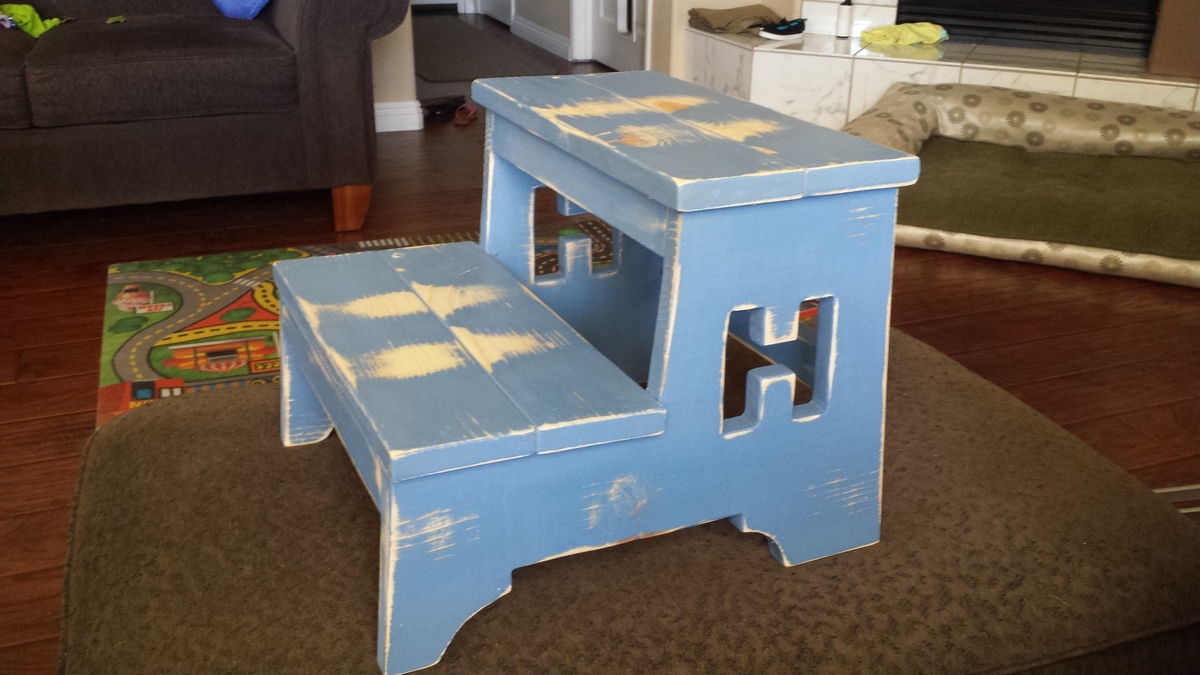
This is the 2nd step stool I built, the first was for my daughter and I just followed the plans. Built this for my friends son Hayden, decided to add the H for his name. It was a tag team build, I built it and painted it and my wife did the sanding, distressing and wax sealer. 

Built from Plan(s)
Estimated Time Investment
Day Project (6-9 Hours)
Finish Used
latex paint and wax sealer
Recommended Skill Level
Beginner

Comments

Little helper tower

Submitted by Luvin_wood on Sat, 09/15/2018 - 12:55

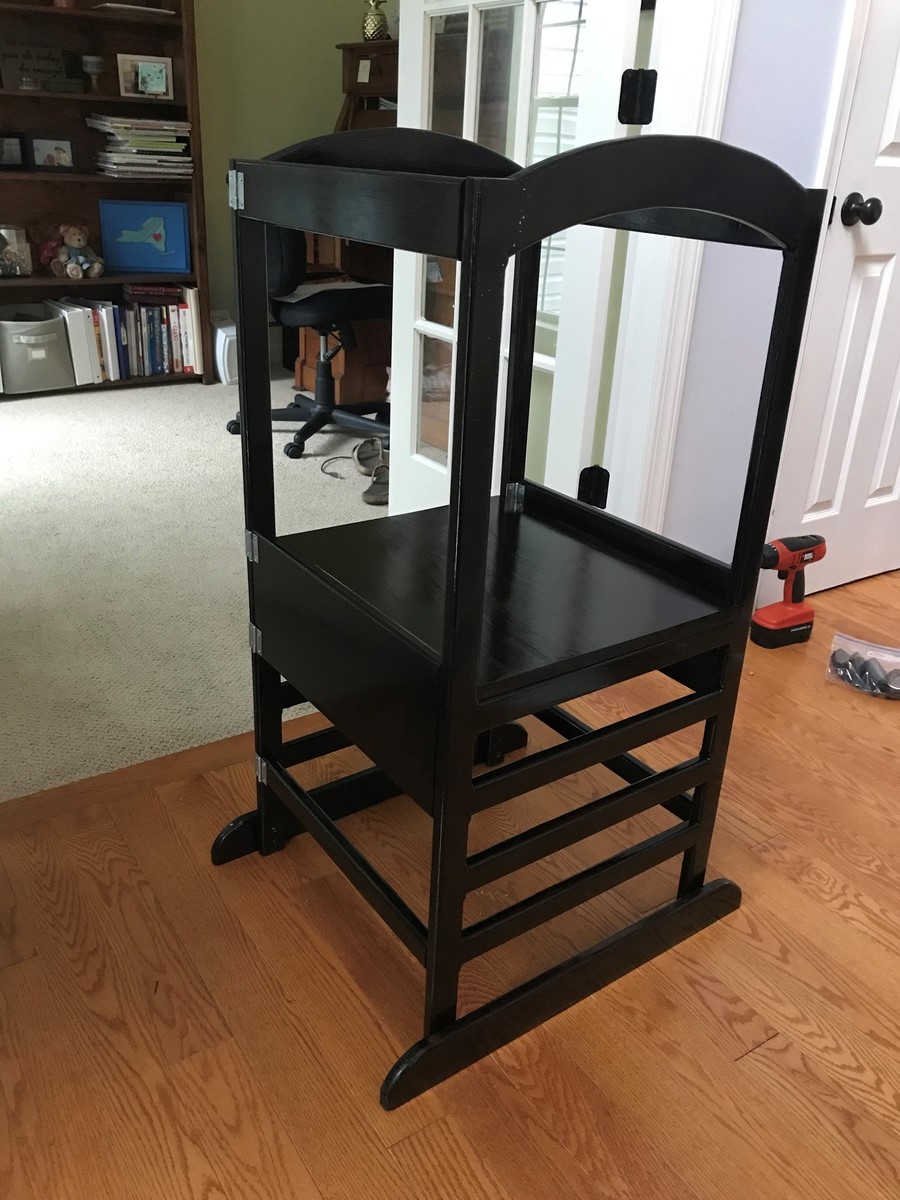
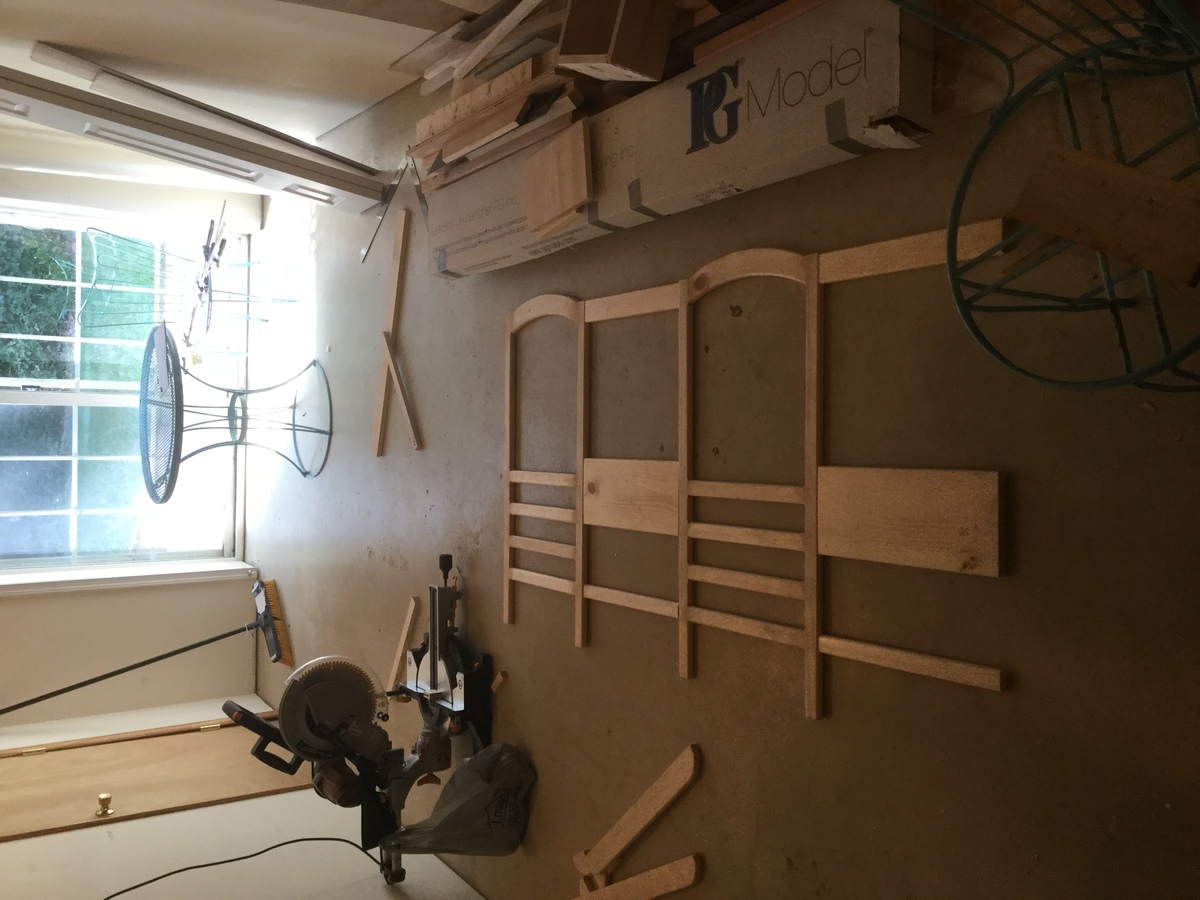
I made this for a friend who has two little ones that are less than two years old. Although I enjoy the ease and convenience of the Kreg jig, I wanted to try something more difficult for this. So for the sides I used mortise and tenon joinery for the ladder rungs and top arches. The only screw I used we to place the hinges and attach the feet. I also didn’t like the gap in the platform that would have been caused by my 1x8 actually only being 7.5 in wide, so I made my own platform by joining the edges of two pieces of wood (one was 11 inches and the other was 6 inches wide). After clamping and lettting the glue dry, I trimmed up the platform to size. Due to the modifications the project took well over 20 hours, but was a fun challenge. 

Built from Plan(s)
Estimated Cost
100 dollars
Estimated Time Investment
Week Long Project (20 Hours or More)
Finish Used
Minwax Poly shades espresso gloss
Recommended Skill Level
Advanced

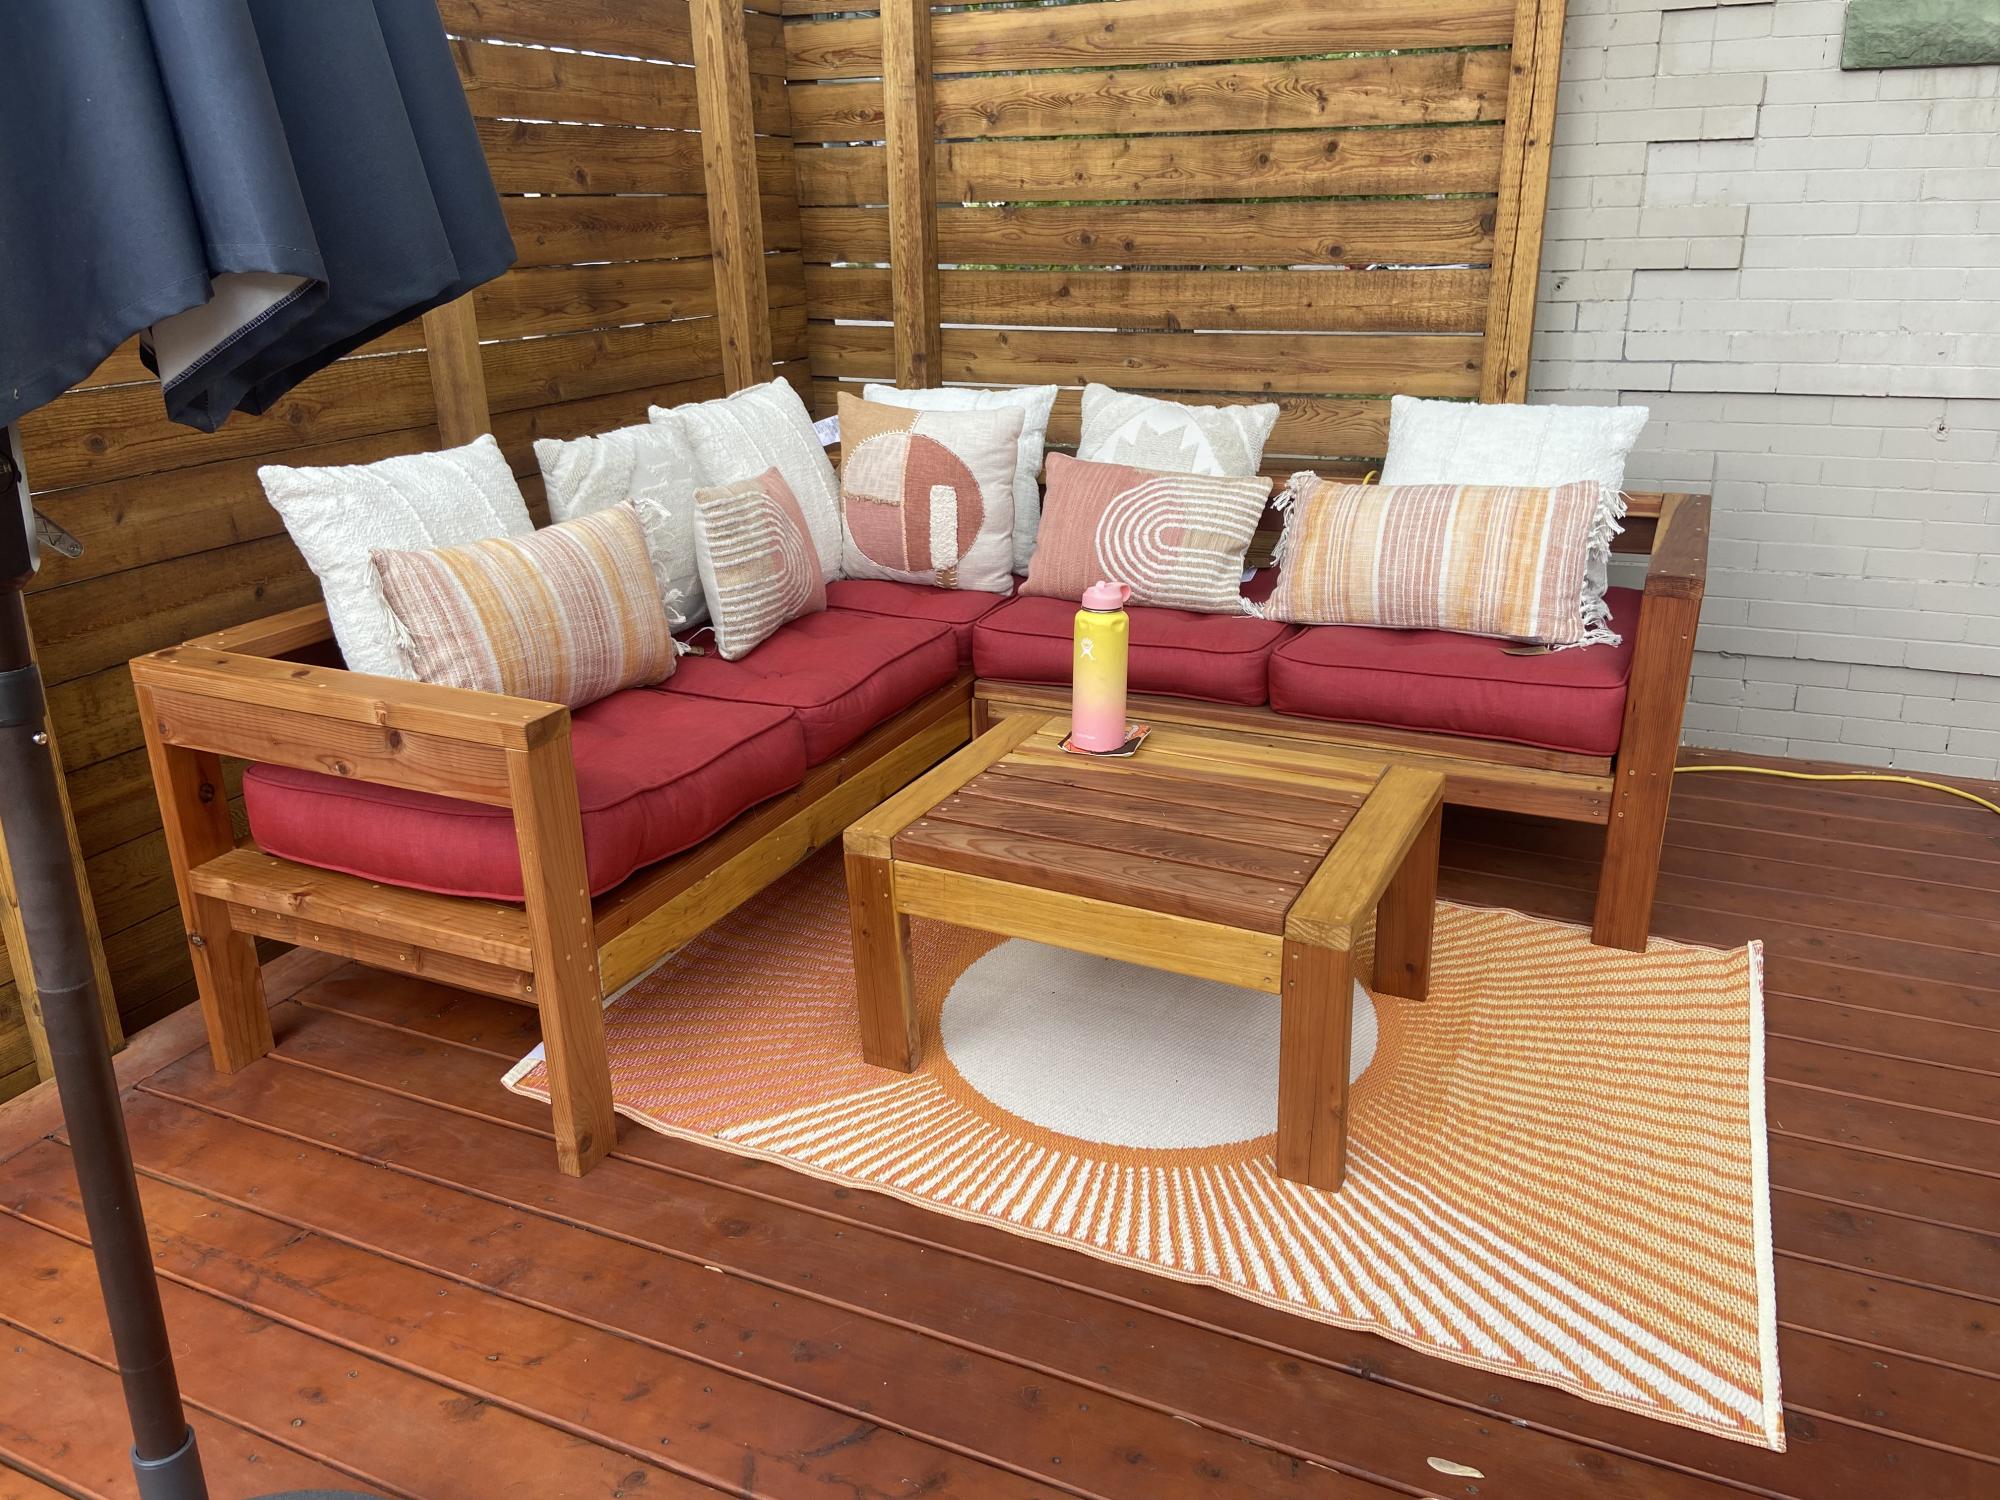
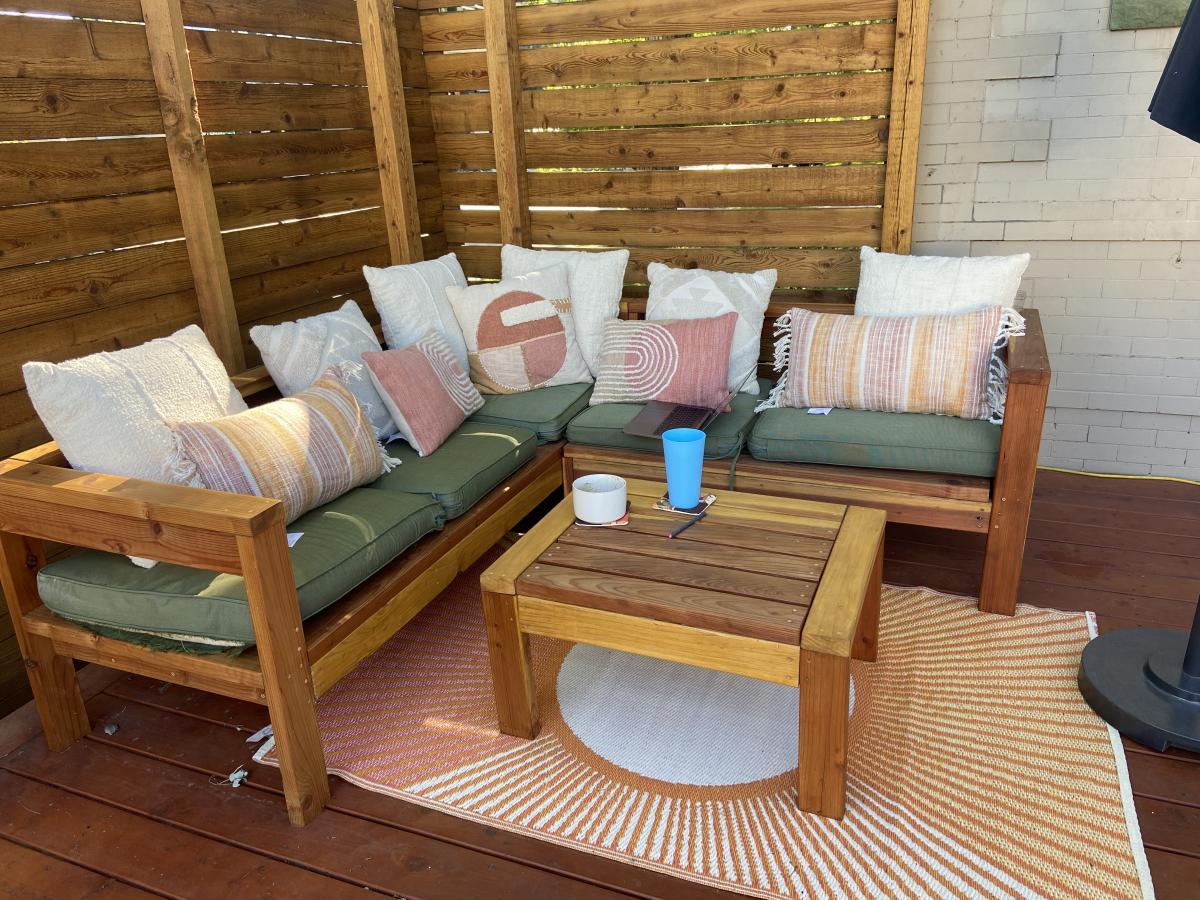
Outdoor Sectional

Submitted by Anonymous (not verified) on Wed, 06/08/2022 - 12:31

I built the two piece sectional + table and adjusted the sizing so the lengths of the sectionals pieces are the same.

Turned out amazing. So much fun building this and I can’t wait for my next project!

Comments

Seasonal And Holiday

King Size Farmhouse Bed

Submitted by krochelle on Tue, 08/20/2013 - 08:12

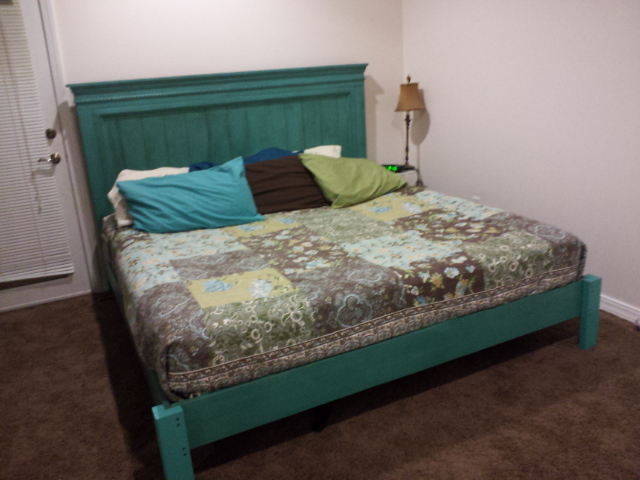
This bed was made as a Christmas present for my parents. At the time, there were no plans for a king-sized bed so I modified the queen plans to fit their mattress. I added a 5th leg to support the center of the bed and also added some plywood sheets underneath to better support the mattress.

Estimated Cost
$150
Estimated Time Investment
Weekend Project (10-20 Hours)
Finish Used
"A Day at the Jeweller" by Valspar with a red mahogany stain over (used almost as a glaze)
Recommended Skill Level
Intermediate

Ridge Media Console

Project was a bit difficult but extremely rewarding when completed!! I followed Ana White's advice......"take a break and always finish your project!!!"

Built from Plan(s)
Estimated Time Investment
Weekend Project (10-20 Hours)
Recommended Skill Level
Intermediate

Comments

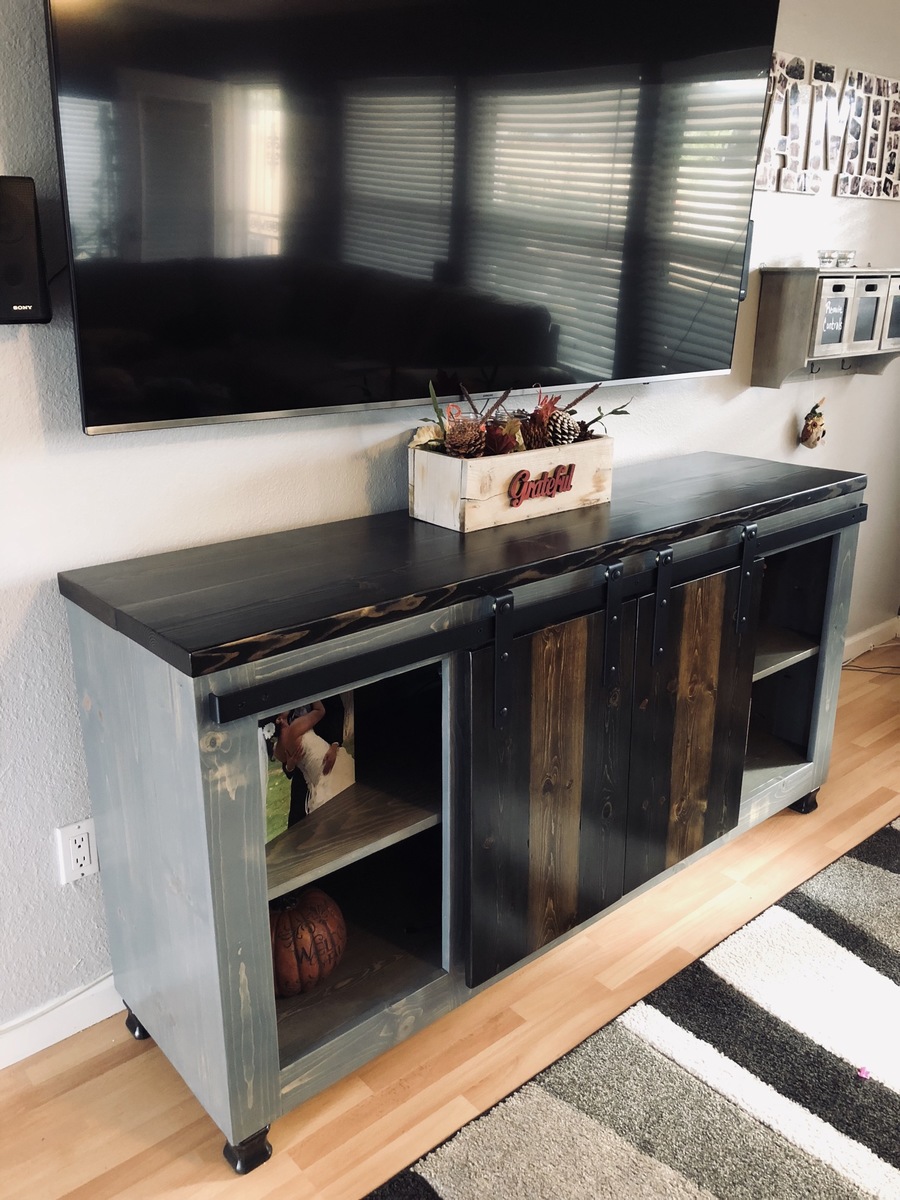
Grandy Sliding Door Console

Submitted by Codding58 on Mon, 10/08/2018 - 15:52

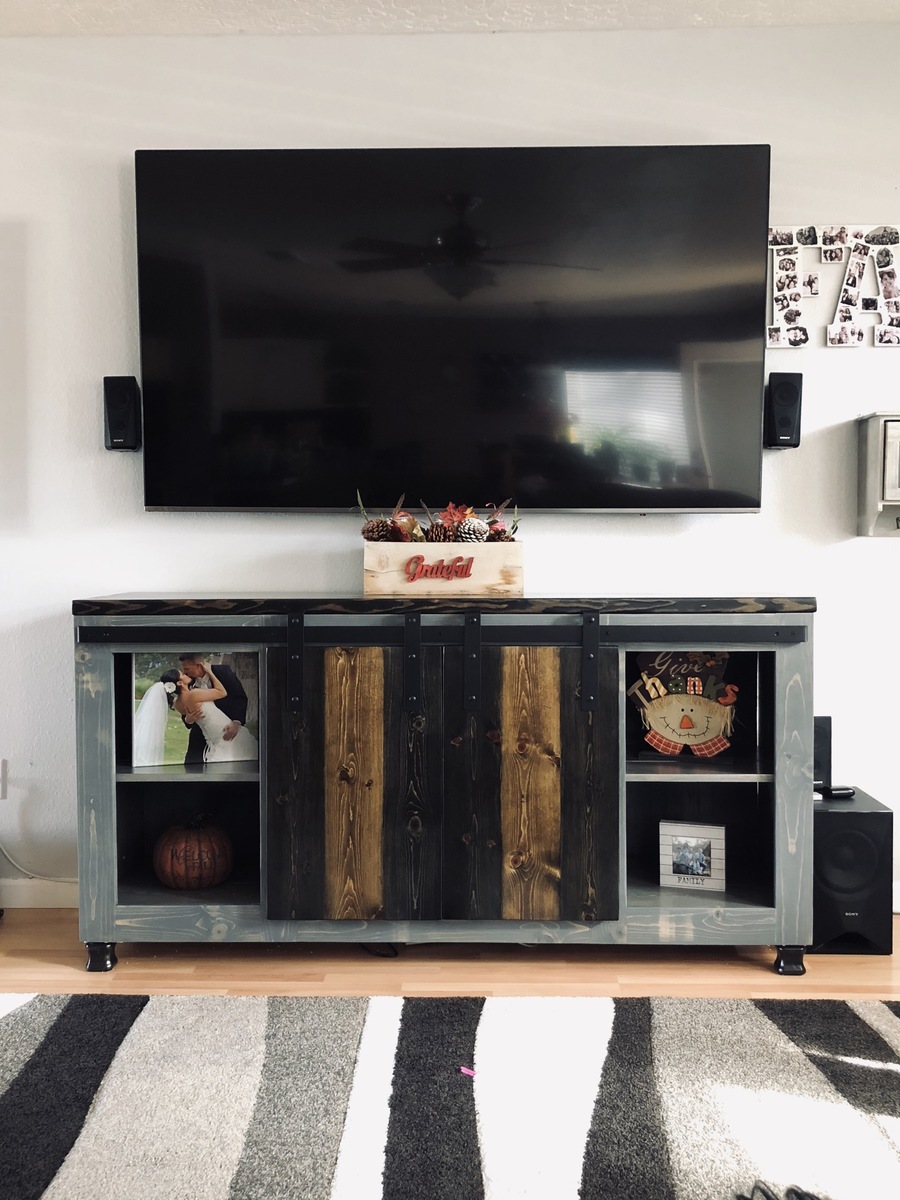
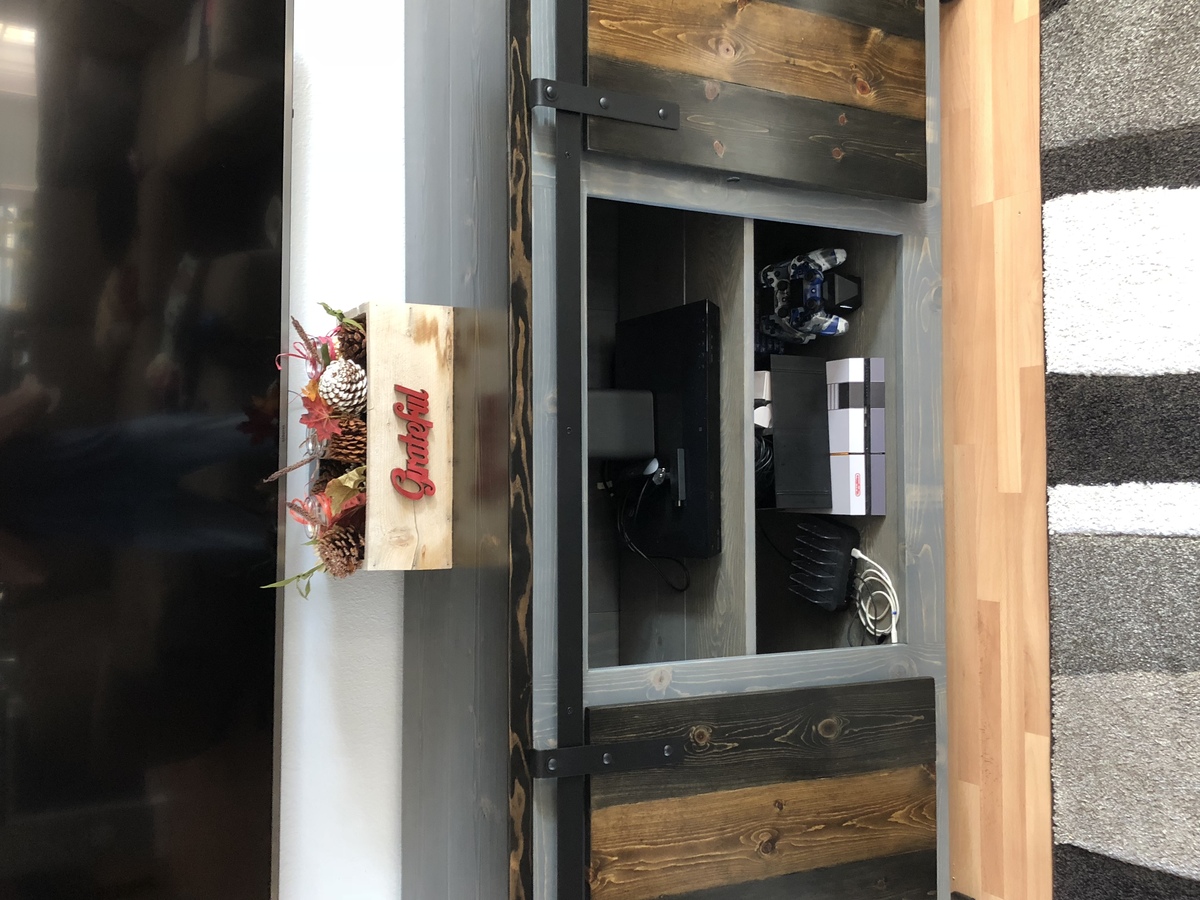
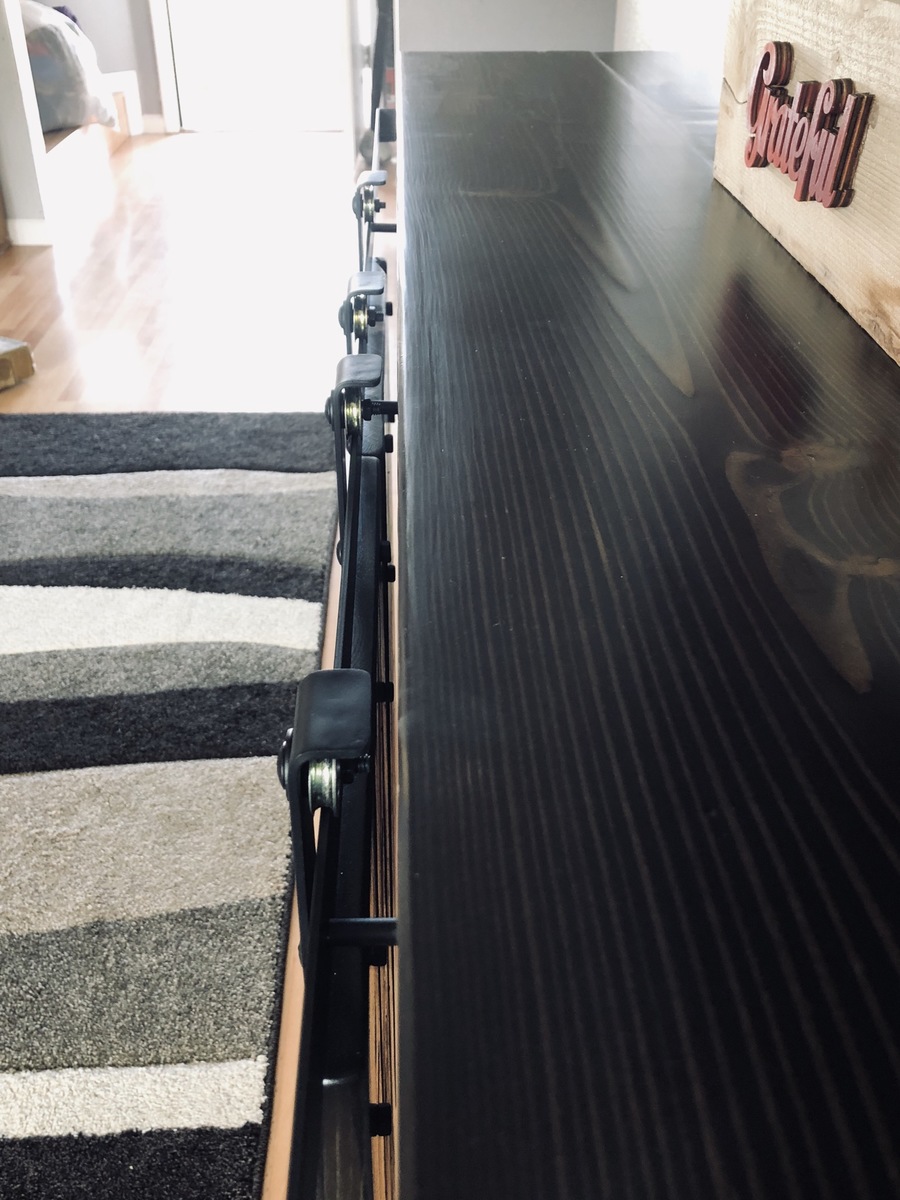
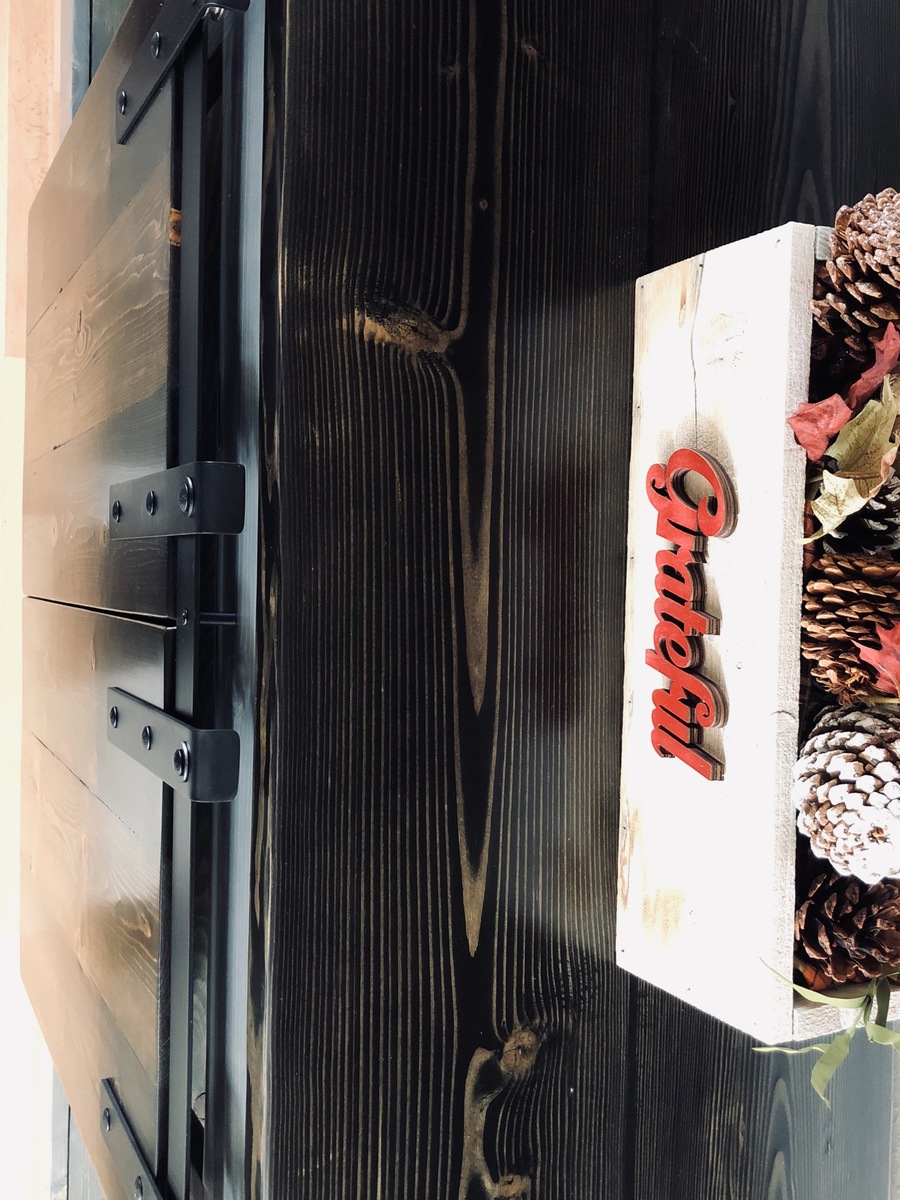
This was a super fun build for me!    I have been wanting to do it for a long time, but was a little intimidated with the hardware.   I bypassed the expensive kits you see online and built my own from aluminum flat bar, carriage bolts, and sliding door pulleys.  I am very pleased with the overall project and wish I would have done it sooner!   Shortened down to 6', and I opted to make 3 "openings, with the middle being the same as the outers, doubled, to insure the doors matched up.

Built from Plan(s)
Estimated Cost
Probably around $250
Estimated Time Investment
Weekend Project (10-20 Hours)
Finish Used
Varathane Weathered Gray wood stain (base)
Varathane Ebony (top and outter planks of doors)
Minwax jacobean (middle door plank)

Multiple coats of polyurethane
Recommended Skill Level
Intermediate

Comments

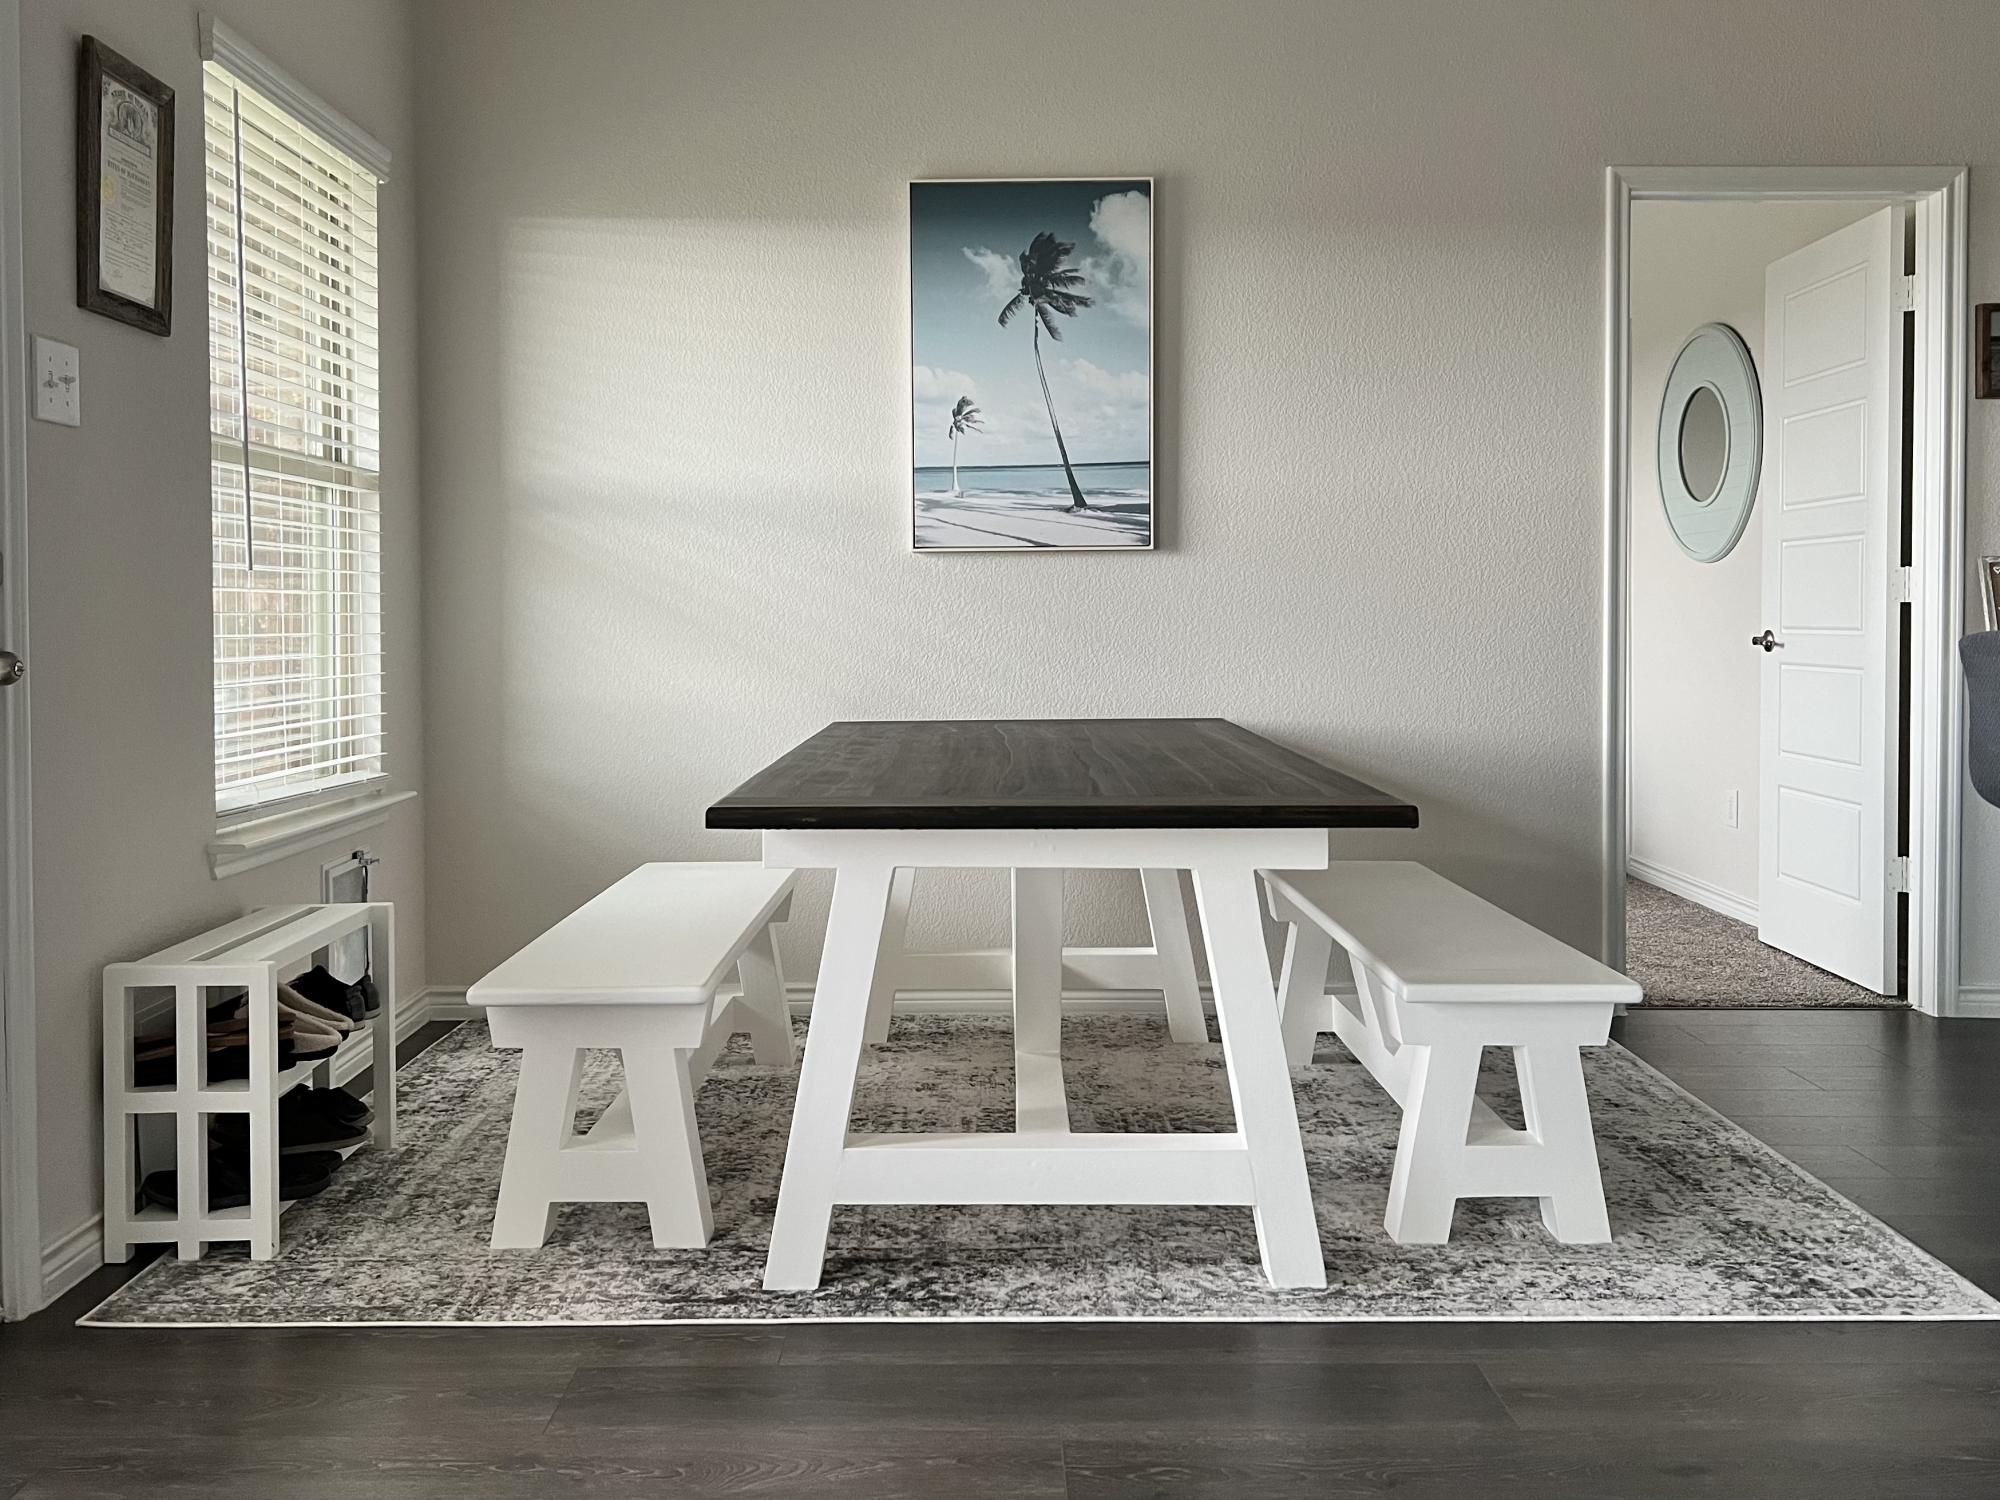
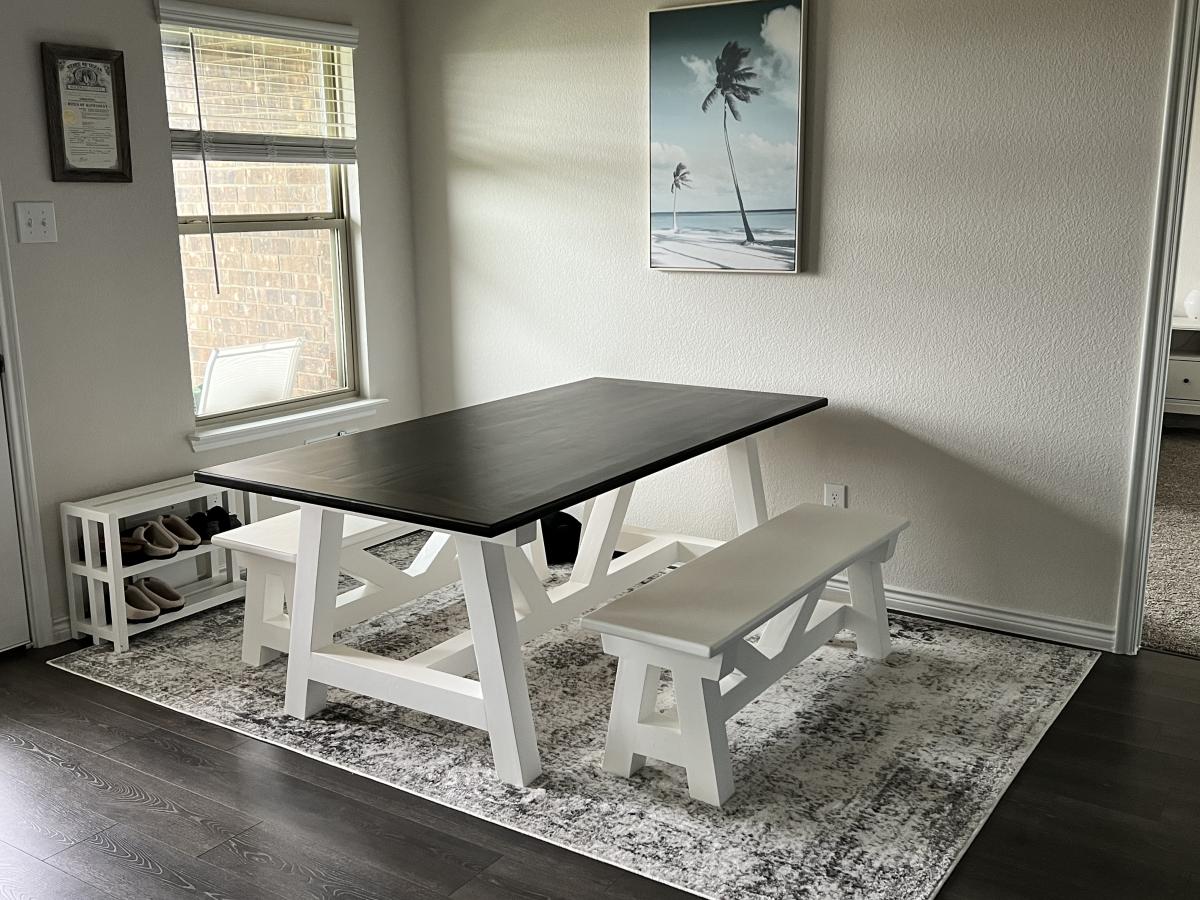
Farmhouse 4x4 Truss Table & Benches (Glue & Dowels)

Submitted by Anonymous (not verified) on Wed, 06/22/2022 - 07:16

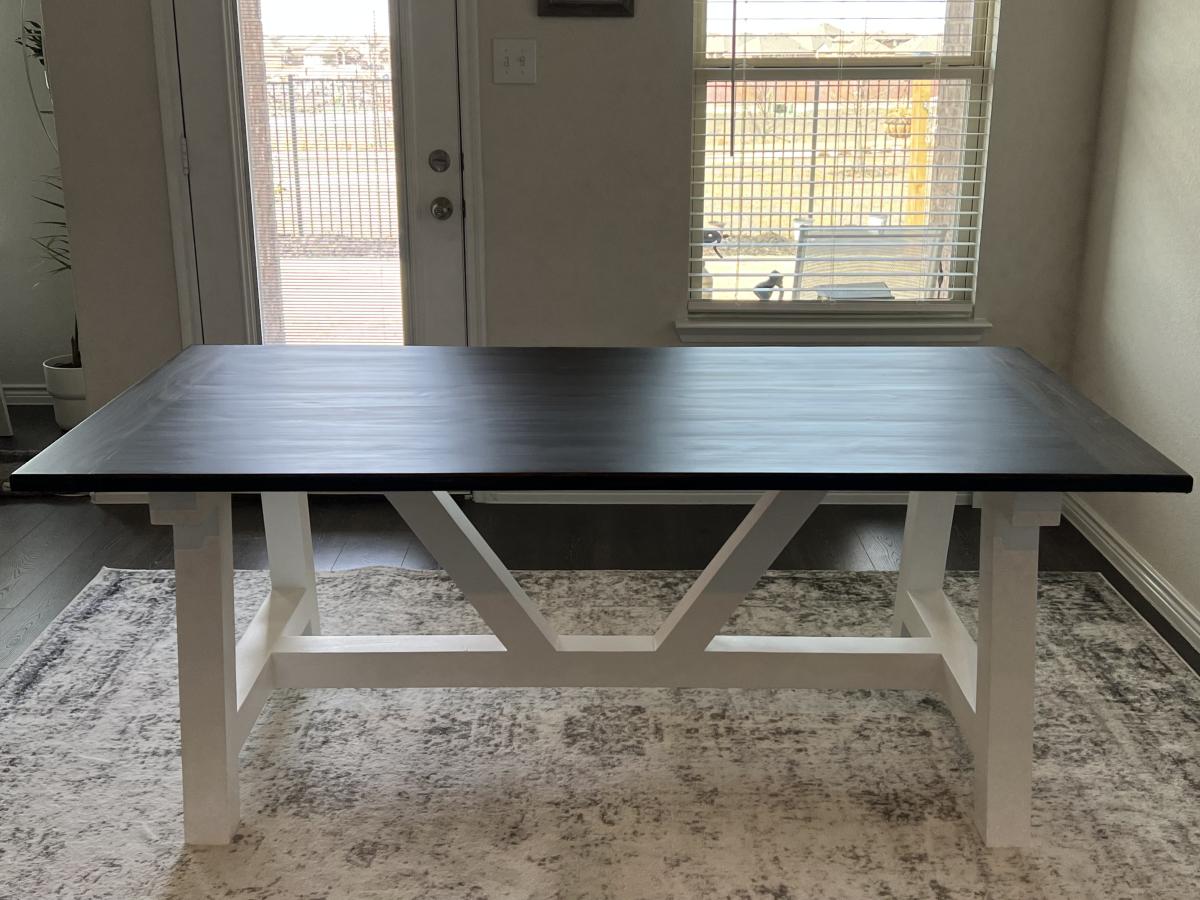
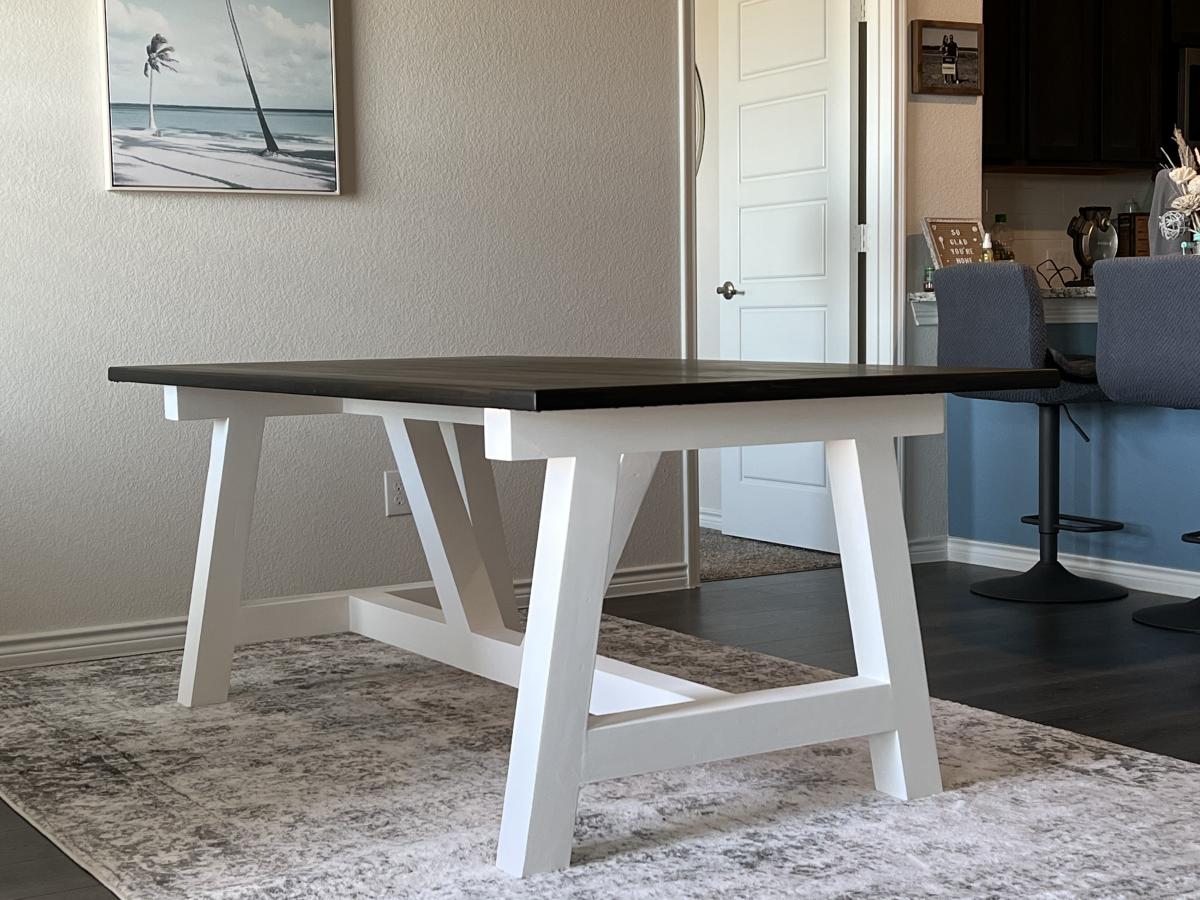
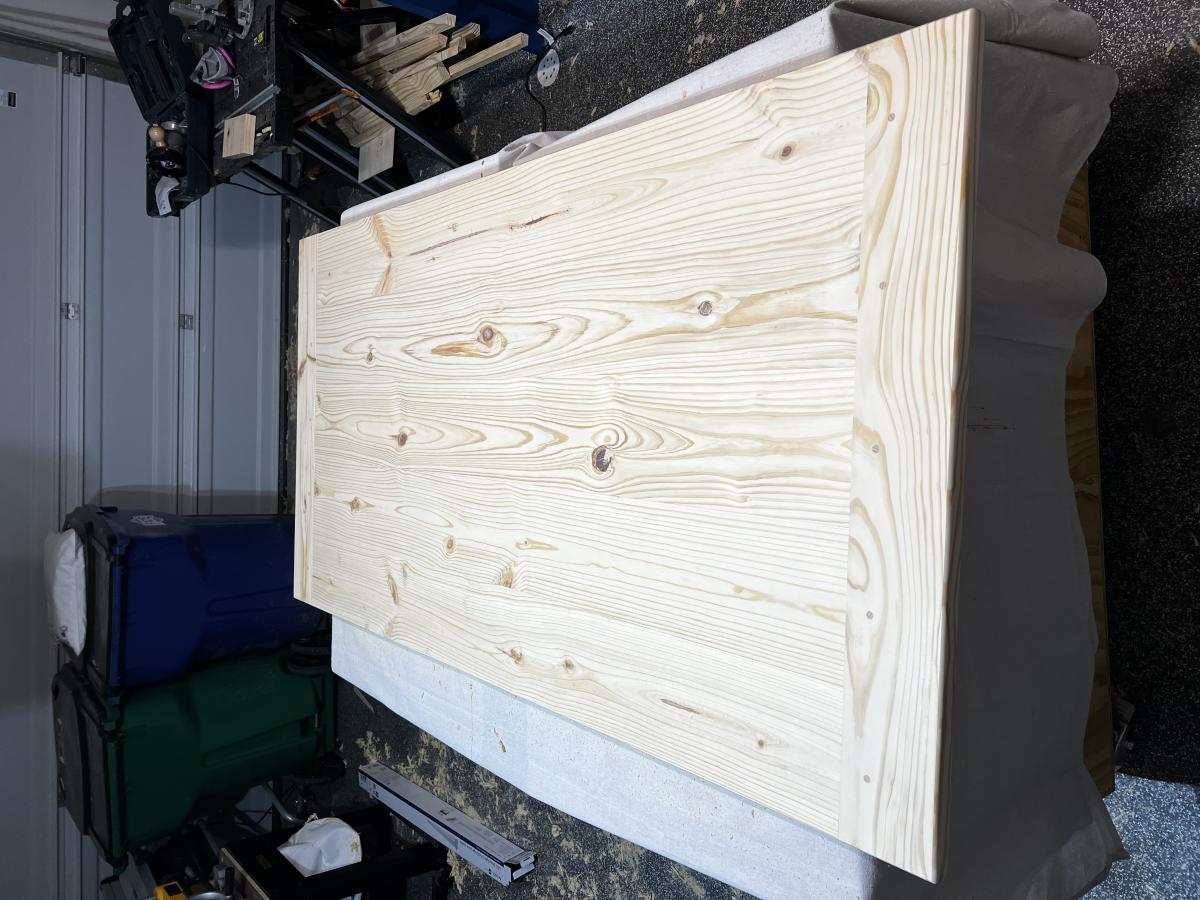
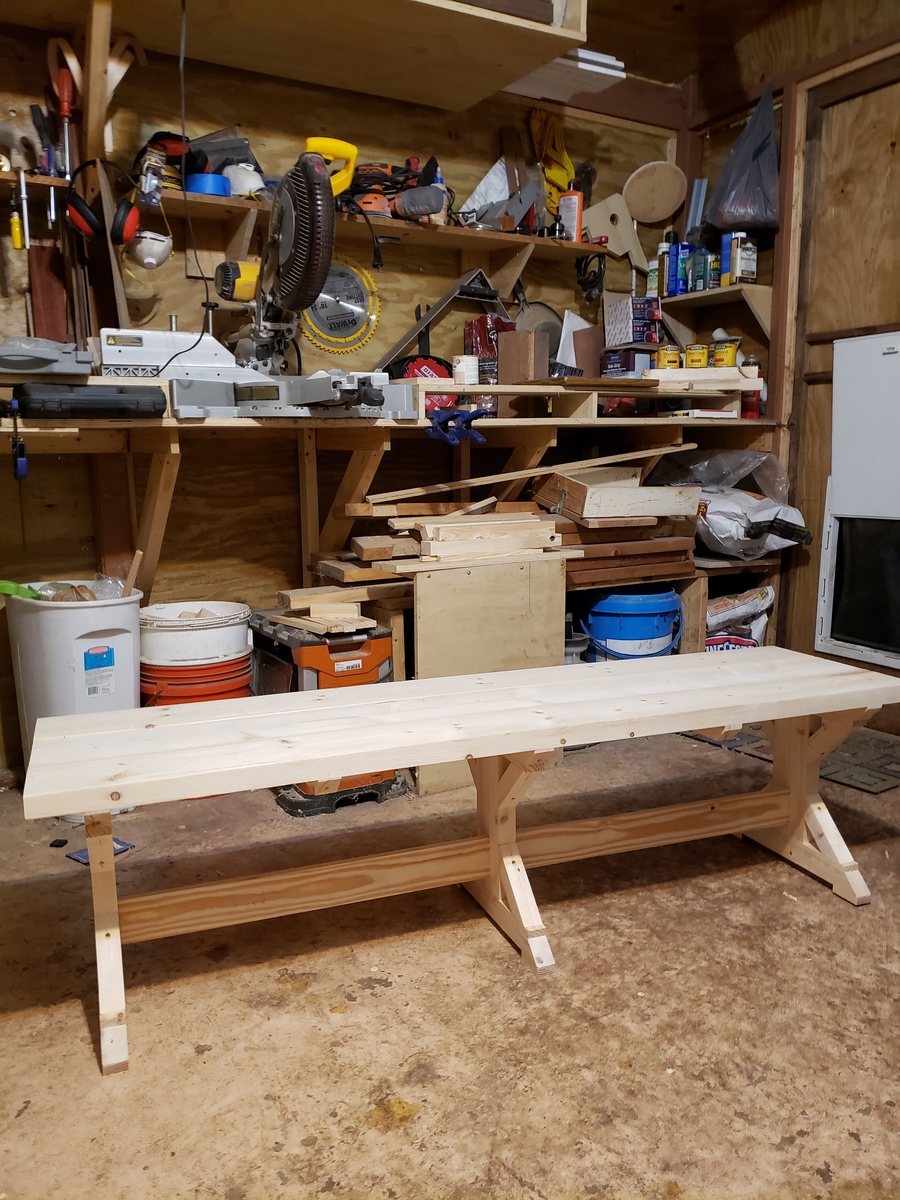
Built this from the plans and customized so it was a finer finish. No pocket holes, went with dowels and glue. Some screws in base for added strength.

Comments

Outdoor Grill Trolley

Submitted by angiemicn on Sun, 07/24/2011 - 05:39

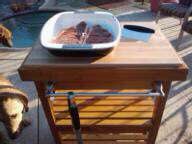
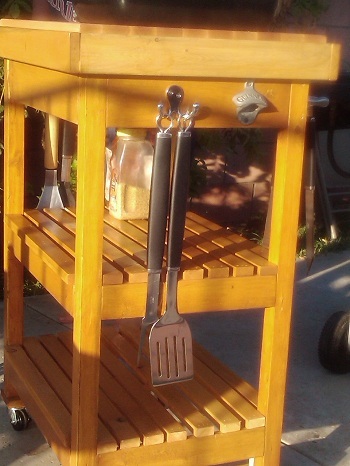
This started out as the Outdoor Multipurpose Cart....and after my hubbies evergrowing wishlist, it quickly become THE GRILL TROLLEY EXTRAVAGANZA!!!! I added the bulk and the height which he wanted, a John Boos butcher block 24x18, which is removable. Funny thing is, I also sampled Ana's Farmhouse frame to cradle the butcher block! I didn't want to put any holes in the 100 clam butcher block so it has it's own little bedframe. It's totally waterproofed and stained since it's new home will be beside the pool. I used all Kreg joints, so you could sit on this it's so sturdy. I also added 2.5 inch locking casters for the bottom. There's a stainless steel bathroom towel rack which doubles as a handle, lots of hooks for his BBQ paraphenelia, and the most important addition...The Guinness bottle opener. Totally hubby customized. And the best thing> I did it myself, setting it aside whenever a problem arose, but always coming back to it. This was originally a Papa's day present

Estimated Cost
150. (100 of it was just for the upgraded John Boos outdoor reversible butcher block! well worth it!)
Estimated Time Investment
Week Long Project (20 Hours or More)
Finish Used
Thompson's Waterseal, Minwax Puritan Pine, 2 coats, but wiped it off very quickly, didn't want it too dark. I didn't want a uniform appearance, so I wet it down, heavier in some areas than others, with water, wiped the stain on, and was taking it off with the other hand.
Recommended Skill Level
Intermediate

Comments

Rustic Table w/ two tone finish

Submitted by Ash_Ahrens on Wed, 08/21/2013 - 19:35

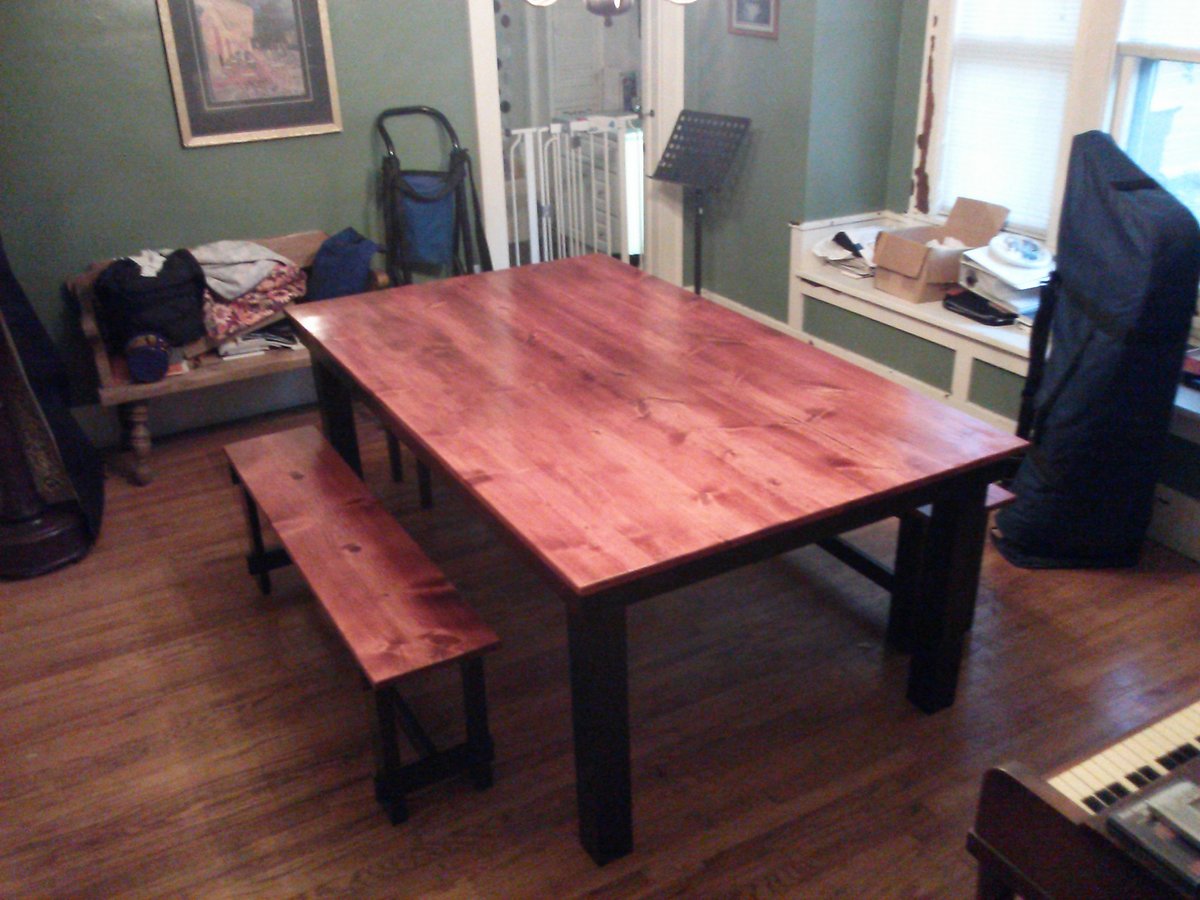
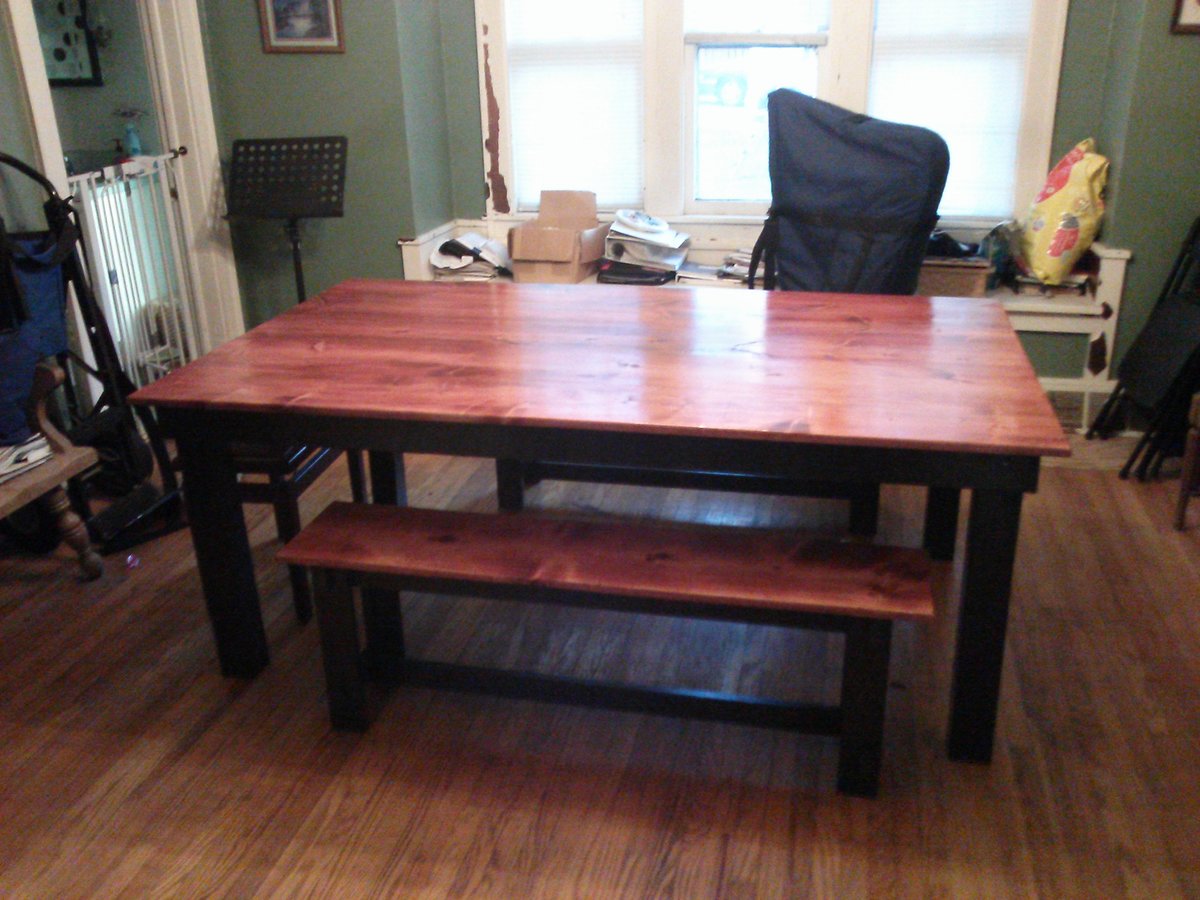
This was totally my first real build. Like most others I modified the plans to fit in my mother-in-law's dining room. I used 4x4s for the legs and built two benches to go with it.

Estimated Time Investment
Week Long Project (20 Hours or More)
Finish Used
Varathane Cabernet stain with polyurethane top coat.
Recommended Skill Level
Beginner

Rustic X

Submitted by Burrel on Sat, 10/03/2015 - 08:22

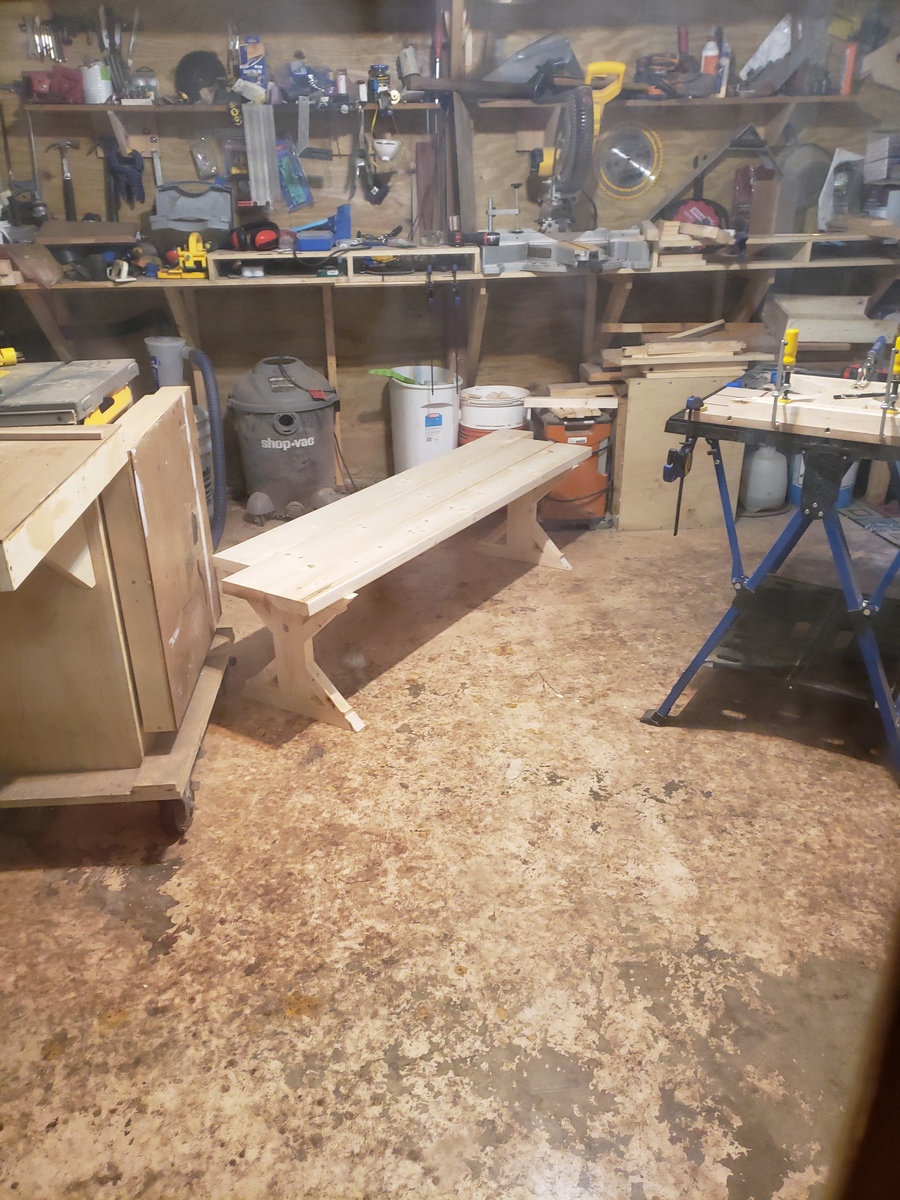
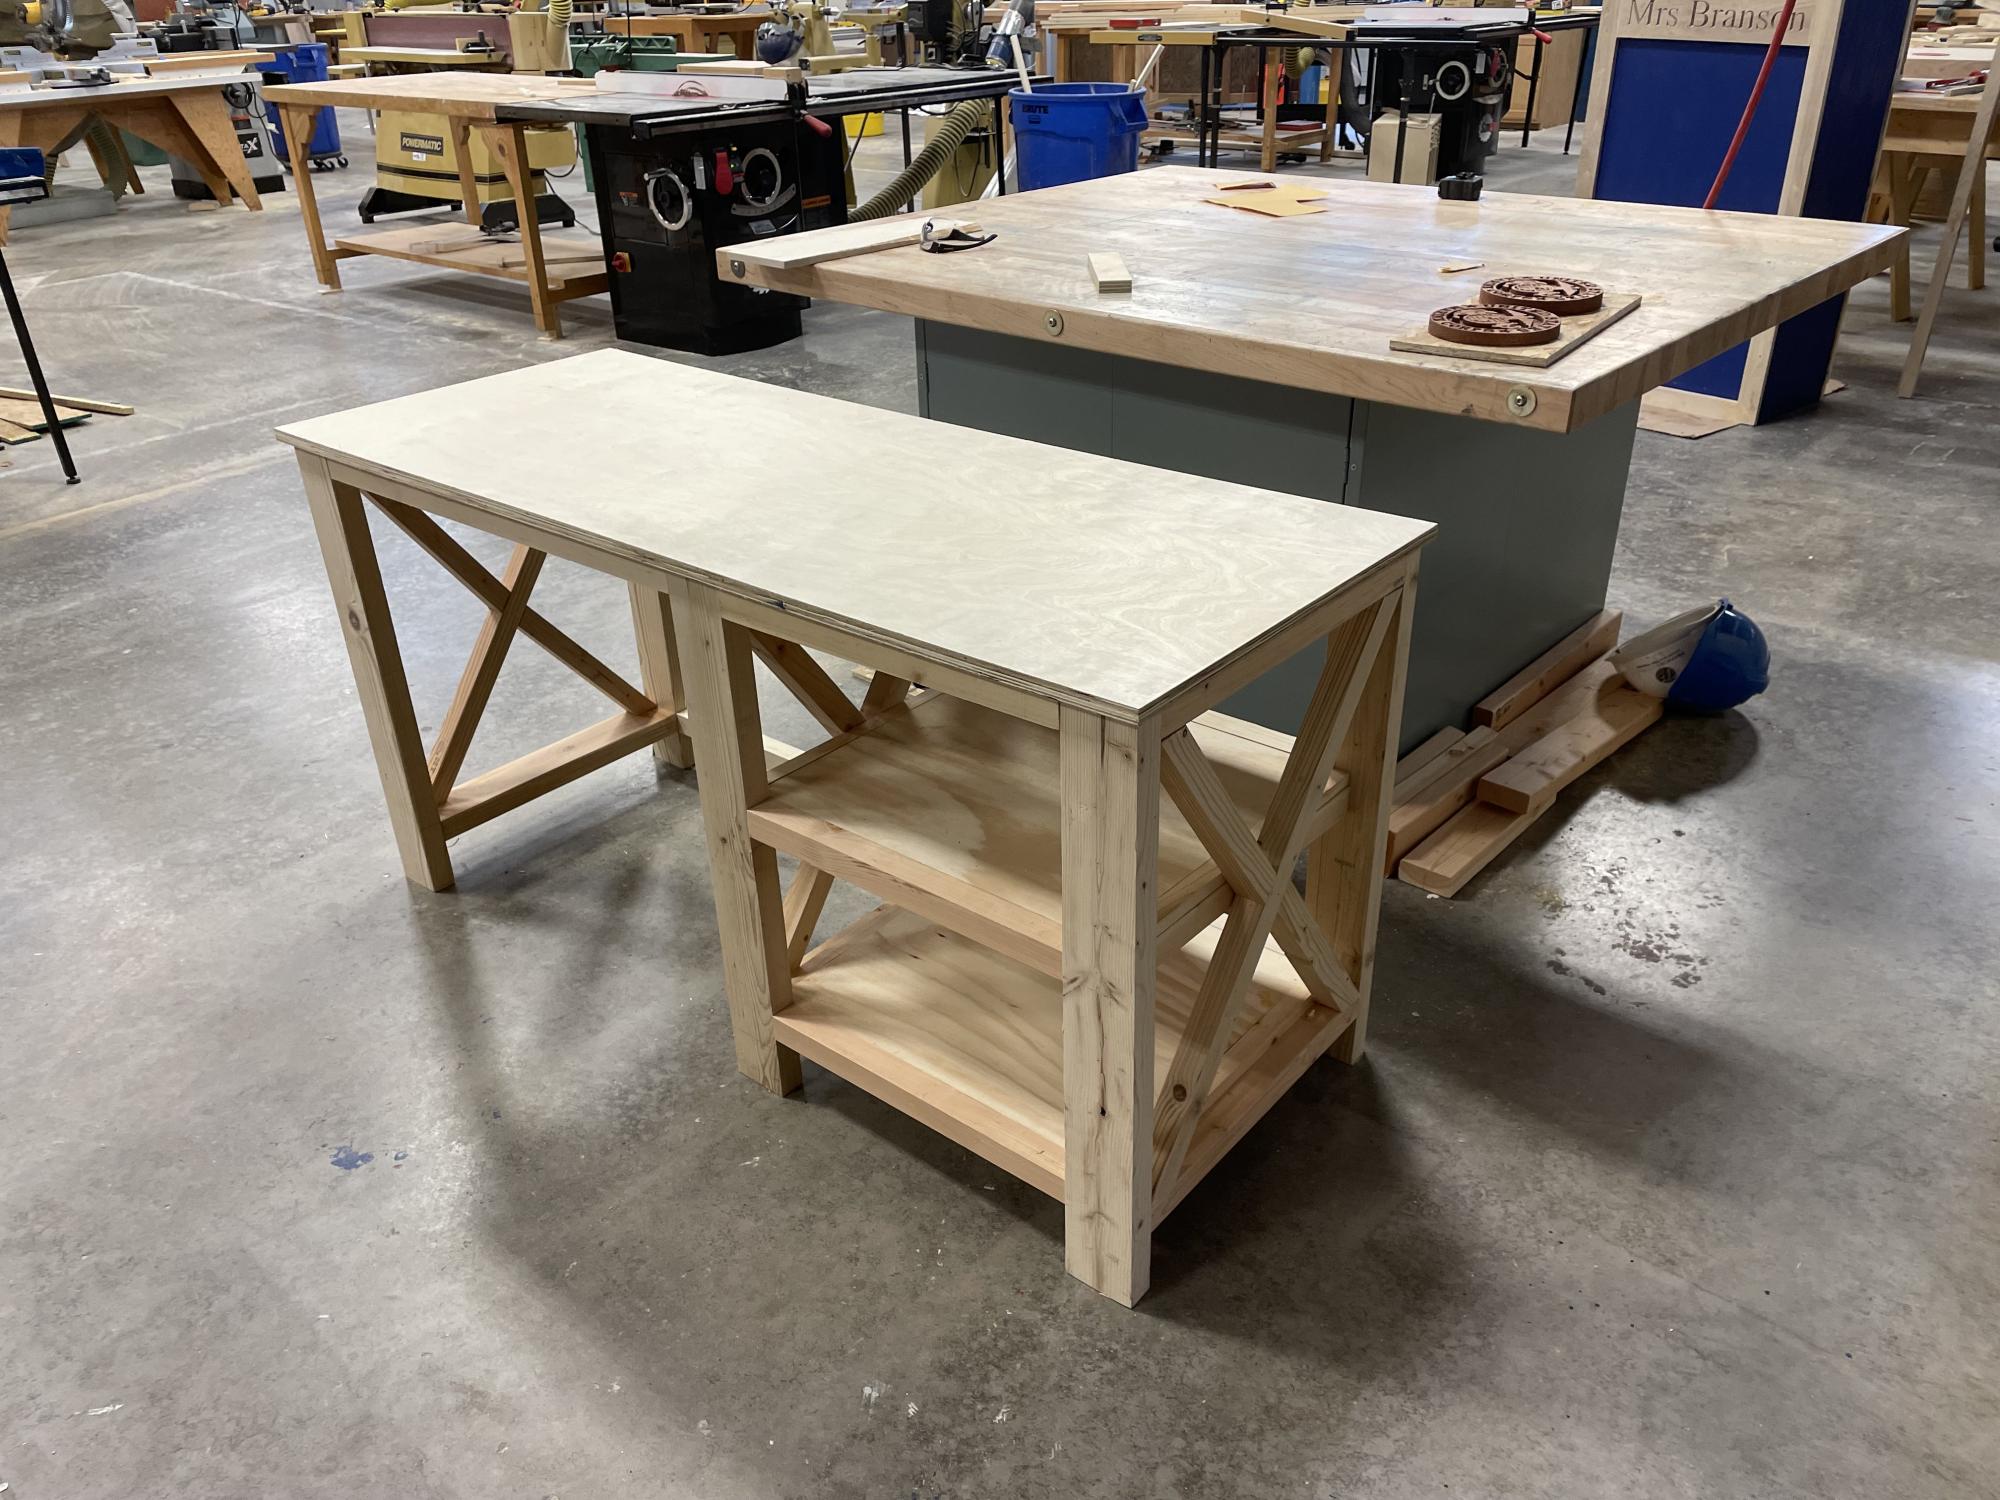
I built this for my daughters house warming gift.

Estimated Cost
125.00
Estimated Time Investment
Weekend Project (10-20 Hours)
Recommended Skill Level
Intermediate

Love this bench!

Submitted by Anonymous (not verified) on Tue, 10/16/2018 - 10:38

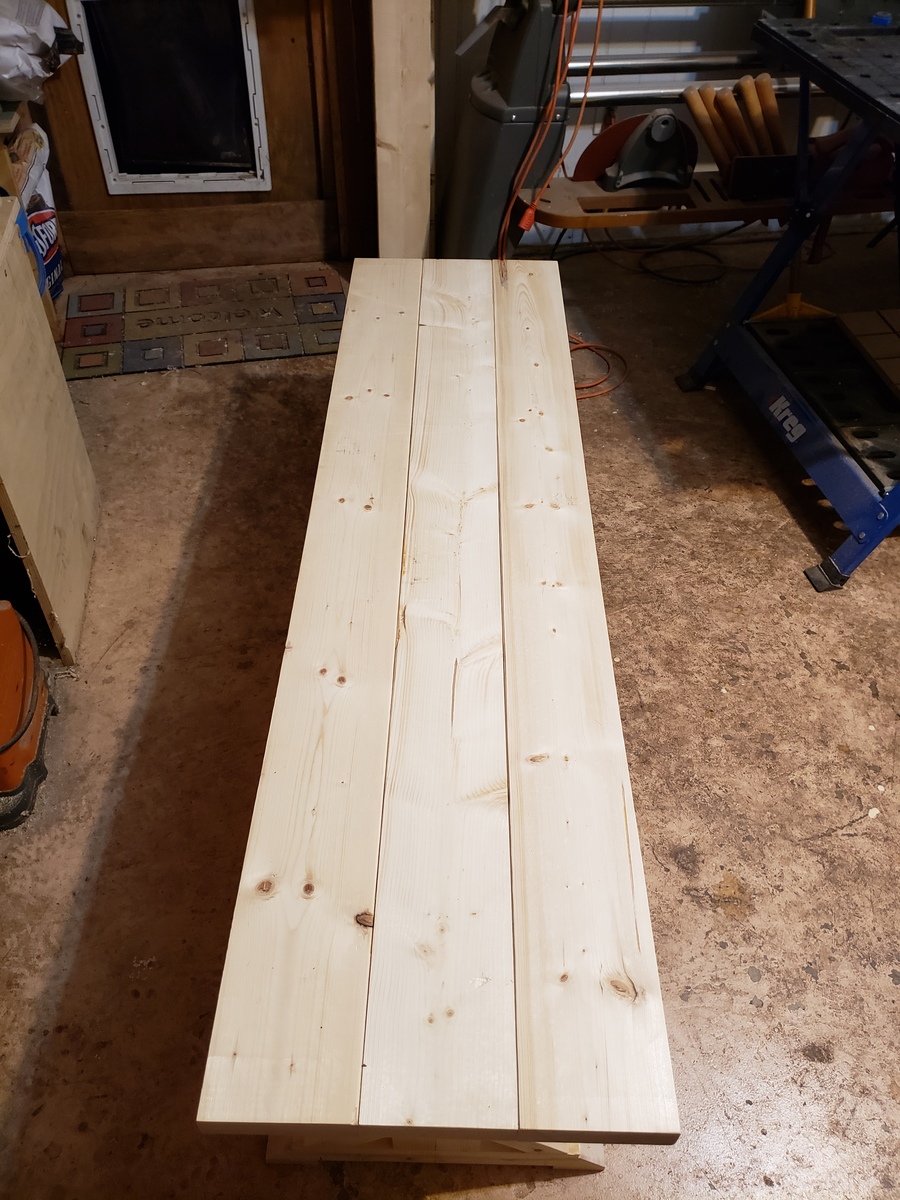
This was my first real project from start to finish. We bought rough lumber from The Home Depot.  Between having a toddler, tweenager and a life it took about a month of sporadic work but it was a great bonding project for my husband and I.  Guess the overachiever in me should have seen that one coming, I wanted have the full experience of jointing our own wood.  I learned a lot and had a lot of fun working with the table saw, miter saw, jointer, and kreg jig, all of which my husband already owned.  I did not use any glue on this project simply because I wanted to avoid the mess.  The best part about this project was the easy measurements..I'm not too good with the confusion.  It made it so much easier when cutting, specifically the 45degree angles. 

Estimated Time Investment
Week Long Project (20 Hours or More)
Finish Used
None at this time
Recommended Skill Level
Intermediate

Custom Wall Media/Entertainment Center

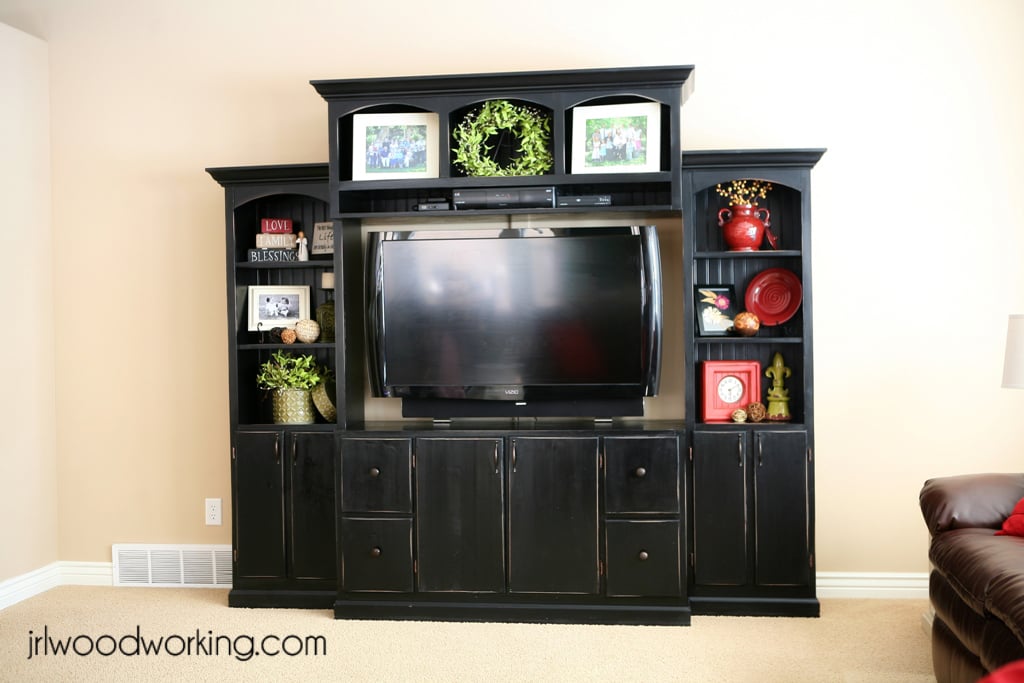
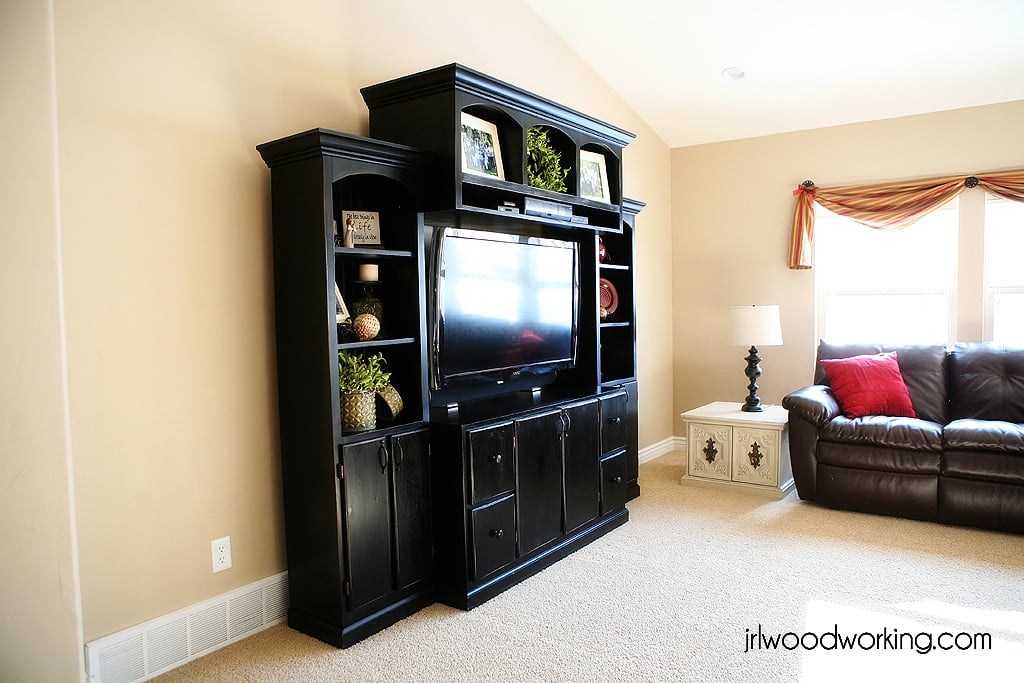
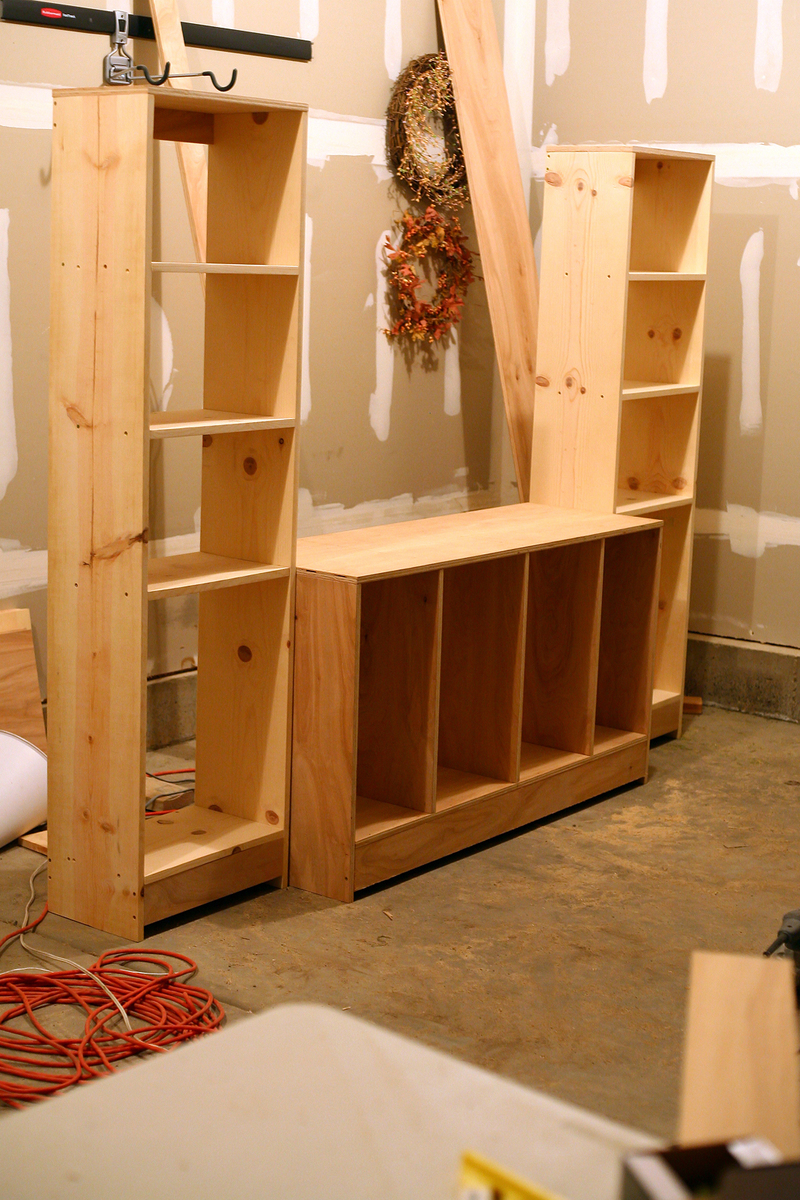
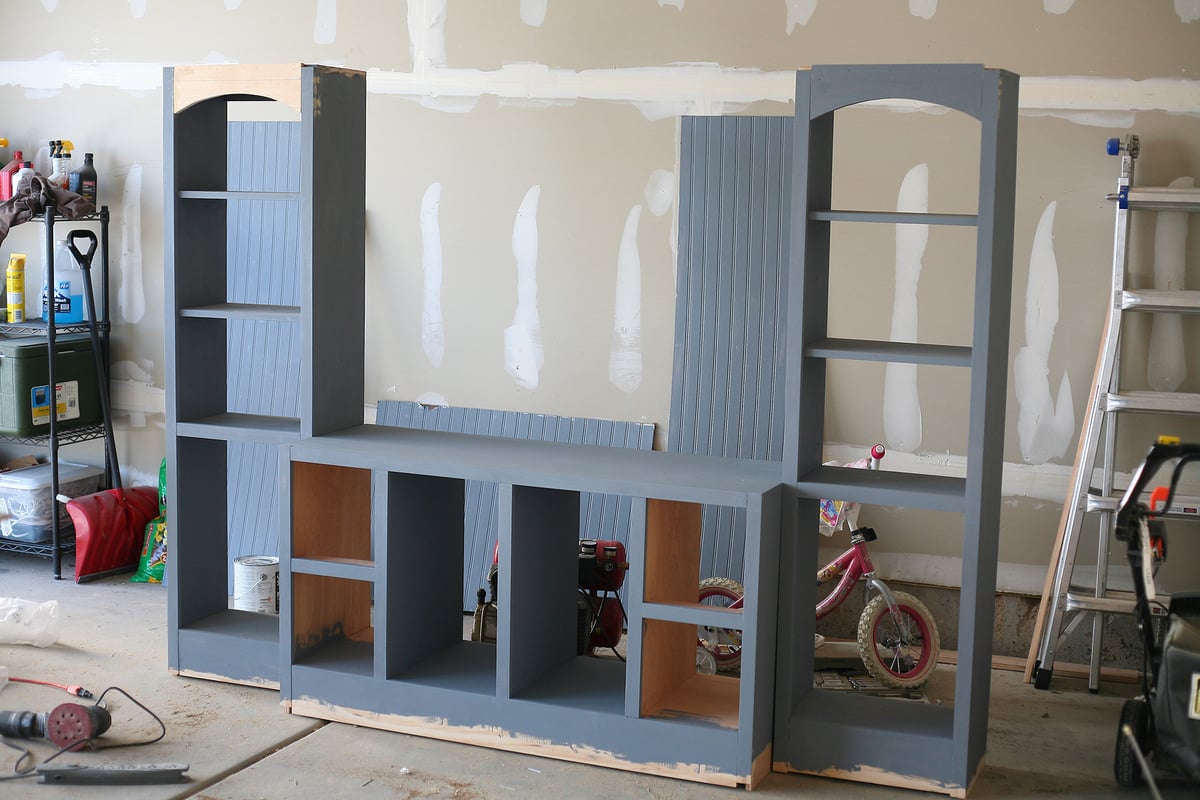
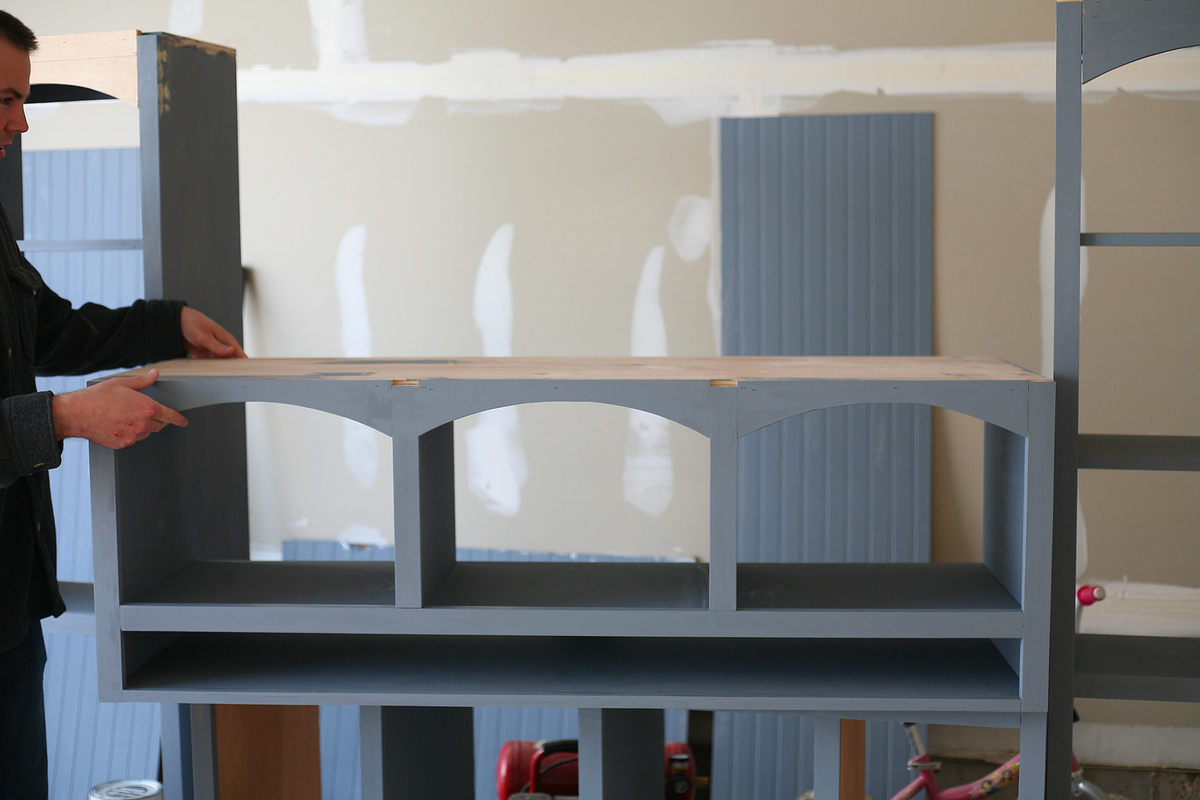
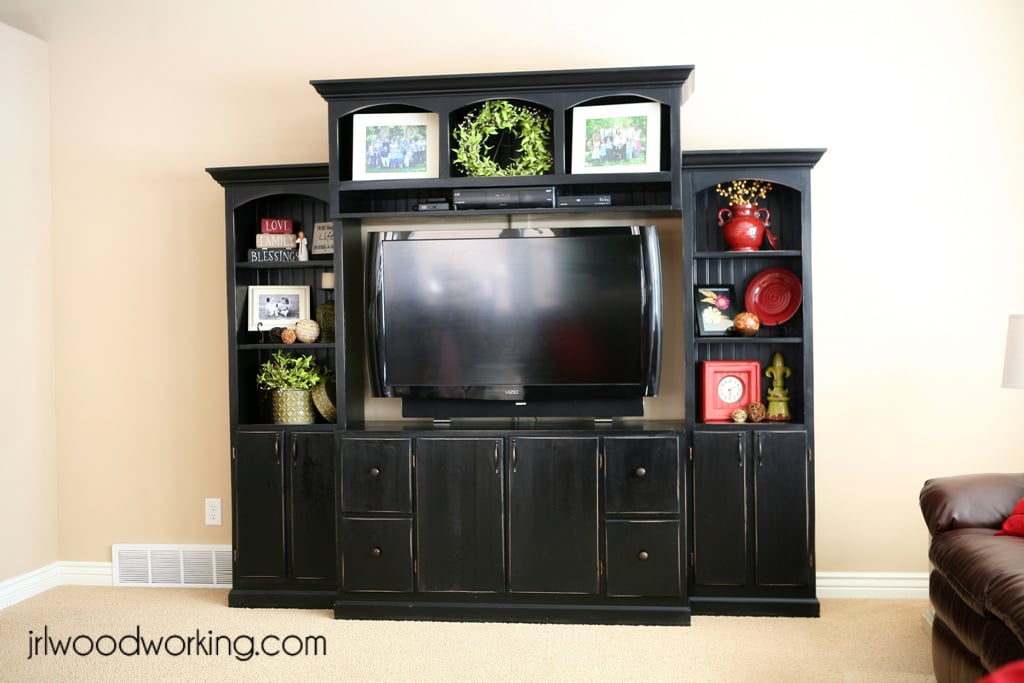
We purchased our first LCD TV, which meant we needed a new entertainment center to put it on. We looked at quite a few furniture stores and couldn't believe the price tag on the big centers. I wanted more than just a TV stand, so I convinced my husband to help me build an entertainment center ourselves. I looked at a lot of different entertainment centers, even a few on this site, and then I drew up a picture of what I was envisioning, tweeking things here and there (I have three little kids so I needed to make sure the center piece was high enough to keep little fingers off my expensive TV, and I also knew I wanted all Satellite Receivers and DVD players out of reach), and we went to work figuring out dimensions. We designed the TV opening around the exact dimensions of our new TV (it's a 46" tv, if that helps you imagine the opening size) and then figured out the rest of the dimensions after that. Once we had the dimensions figured out, my husband went to work calculating what materials we would need. Then we got to work. We built the center in four different pieces (two side shelf units, the middle bottom stand, and the middle top piece). We spent every night for the next week working in the garage to build the entertainment center, and it turned out absolutely beautiful! And the best part? The price, of course. In total, we spent $546.00. That includes wood, trim pieces, paint, primer, hardware (knobs and hinges). Not too bad for a beautiful entertainment center made of real hardwood!
Built from Plan(s)
Estimated Cost
$550
Estimated Time Investment
Week Long Project (20 Hours or More)
Finish Used
We used an oil based primer, tinted as dark as possible, and then an oil based semi-gloss (satin) black paint. After painting was finished, I distressed quite a few areas (edges and around drawers and cabinets) and then used a q-tip and stained them with a cherry stain.
Recommended Skill Level
Intermediate

Comments

Diana (not verified)

Thu, 07/28/2011 - 09:38

This is beautiful! Do you have any tips on cutting and getting the crown moulding to fit right?

In reply to by Diana (not verified)

kristenlotz

Thu, 07/28/2011 - 16:17

I was worried the crown and bottom moulding would be tricky, but it wasn't too bad. To make sure it all lined up perfectly, we screwed together all the pieces (the top center piece to the two side shelving pieces and then both the side shelving pieces to the bottom center piece) first. We had it all put together just as it would be in the house and THEN we measured and cut the crown and base moulding. I had painted all the moulding first and then just touched it up after we put it on the entertainment center. I think we wouldn't have been able to get it to line up perfect if we hadn't screwed it together first, screwing it together get it a nice snug fit.

kaytrishjr

Mon, 08/08/2011 - 07:16

If I didn't actually see the building process of the entertainment center, I wouldn't have believe you built it yourself!

sdking1981

Wed, 08/10/2011 - 13:59

This is exactly what I need! Happen to have the dimensions? I know I could modify it to fit our TV but I'm really wondering how deep your side bookcases are. Thanks!!
sdking1981

Wed, 08/10/2011 - 14:35

I appreciate your quick response and help!! We're in the process of planning this one right now! :)

Guest (not verified)

Wed, 08/31/2011 - 23:53

Wow! Your entertainment center is beautiful and seems wonderfully functional! Just wondering what the height is of the ledge for the TV in the center console. We have little ones too and need TV and componenets to be out of reach! Also, would you mind sharing which plans you used as inspirations for each part? I think it is the Basic Collection for the bookcases and the Tommy for the center? Is that correct?

In reply to by Guest (not verified)

kristenlotz

Wed, 01/18/2012 - 14:19

Hi, sorry for the slow reply! I am not 100% sure (I can't find my tape measure!) but I think the TV ledge is either 30 or 36 inches high. I wanted it high enough that it wouldn't be hard to watch the TV while sitting, but enough that it would be hard for little fingers to touch the TV.

azca33 (not verified)

Mon, 11/21/2011 - 16:24

Hey Kristen,

Your entertainment center looks beautiful!

Did you use Pine wood for the entire project or did you use plywood for the top of the side book cases and the top part of the Media center. Did the paint cover up all the knots?

In reply to by azca33 (not verified)

kristenlotz

Wed, 01/18/2012 - 10:59

Thank you! We used plywood on part of it, mostly for the center pieces. If I were going to do it again, we would have used plywood more because it was knot free and much straighter. The paint did a good job covering up the knots, and I am overall really happy with it!

In reply to by azca33 (not verified)

kristenlotz

Wed, 01/18/2012 - 11:00

Thank you! We used plywood on part of it, mostly for the center pieces. If I were going to do it again, we would have used plywood more because it was knot free and much straighter. The paint did a good job covering up the knots, and I am overall really happy with it!

JennieB (not verified)

Sun, 01/01/2012 - 16:27

My husband was sure we wouldn't be able to tackle building an entertainment center until we saw your photos. We are excited to take on this project. Yours turned out beautifully! Can you fill us in on the finishing that took place after this blog ends: doors, etc.?

In reply to by JennieB (not verified)

kristenlotz

Wed, 01/18/2012 - 14:22

Thank you, we love it! And we loved building it ourselves and saving a ton of money while we were at it. Sorry for the slow reply on this as well. We cut and measured the doors, gave them a simple finish by routering the edges, and hung them. For the drawers, we build a basic box, added the runners, and then finish nailed the drawer front onto the box. They work perfectly! I distressed all the edges once everything was completely finished and hung.

Chris Manitz (not verified)

Wed, 01/18/2012 - 06:52

What is the style/ color of knobs and pulls you used on this project. I am in process of building this. ALso, what is the cherry stain? Did you use that on the distressed parts of the center??
Thanks for your help!
Chris

In reply to by Chris Manitz (not verified)

kristenlotz

Wed, 01/18/2012 - 14:27

Congrats on building the entertainment center! You will love it! I ended up using brushed bronze knobs and hinges (similar to this: http://www.handlesets.com/rusticware-950-1-1-4-modern-mushroom-knob-fro…). They turned out perfect with the black paint. They stand out enough, but not too much to distract. As far as the stain, I just used a Minwax Cherry gel stain. I would wipe it on the areas I had distressed (around the drawers, cabinet doors, edges, etc.) then let it sit for awhile and then I wiped it back off. It gave the distressed areas enough color to not look raw, but it still stands out. I hope that answered your questions!

Jeff (not verified)

Sat, 01/28/2012 - 22:29

Are there plans for this?

In reply to by Brandi Vancott (not verified)

kristenlotz

Thu, 03/01/2012 - 18:56

No, sorry, there are no official plans for this. I just drew a picture of what I wanted and my husband calculated everything out from the picture. The general dimensions are listed above, though, if that's any help!

Carey (not verified)

Mon, 02/27/2012 - 17:05

I really love this too.. is there any plans for it?

Cheramie (not verified)

Fri, 03/02/2012 - 16:40

You guys did a beautiful job! I am so glad to see someone built almost the exact unit I was picturing. :) Ana's inspiration strikes again!!! I didn't see one, so wanted to ask if you blogged this elsewhere so I can read more details about the process. Thanks!

claydowling

Mon, 03/05/2012 - 07:20

Those arches are most easily cut with a jig saw. You can clean up with a curved rasp and file, or a spokeshave.

ktambascio

Sat, 03/16/2013 - 15:53

I love the the shelf above the TV. If you make that shelf about 6 inches tall, you would have enough room for a center channel speaker, or for an XBox Kinect.