2x4 Projects
Some 2x and 4x Wood Projects
Lee Lape

Some 2x and 4x Wood Projects
Lee Lape


We and our dogs love our new sofa! This is the place where we cuddle with the dogs and serve as extra seating when we have guests. It looks great! Thank you so much Ana.
Mon, 02/13/2012 - 19:23
I really like your choice of fabric. This came out beautifully.
Wed, 02/22/2012 - 17:59
Thank you so much for all the positive comments! I believe it is suede. We had so much fun making this sofa!
Thu, 03/08/2012 - 10:24
I would love to have something like this for our family room, but I'm afraid I would miss the arms. I love to cuddle in the corners in a couch.
So, anyone with this style of couch/sofa, how comfy is it for cuddling up with a spouse on and watching a movie?
Wed, 04/18/2012 - 03:51
I have not made this (yet) but imagine it wouldn't be too difficult to modify the plans to add arms to this sofa based on the construction of the back Actually, I've got all sorts of modifications running through my mind for this one including extending the back on one side so I can make an L-shaped sectional...
Mon, 10/01/2012 - 10:49
@Snardles If you do end up revising this to make it a sectional or have arms I would love to see it!
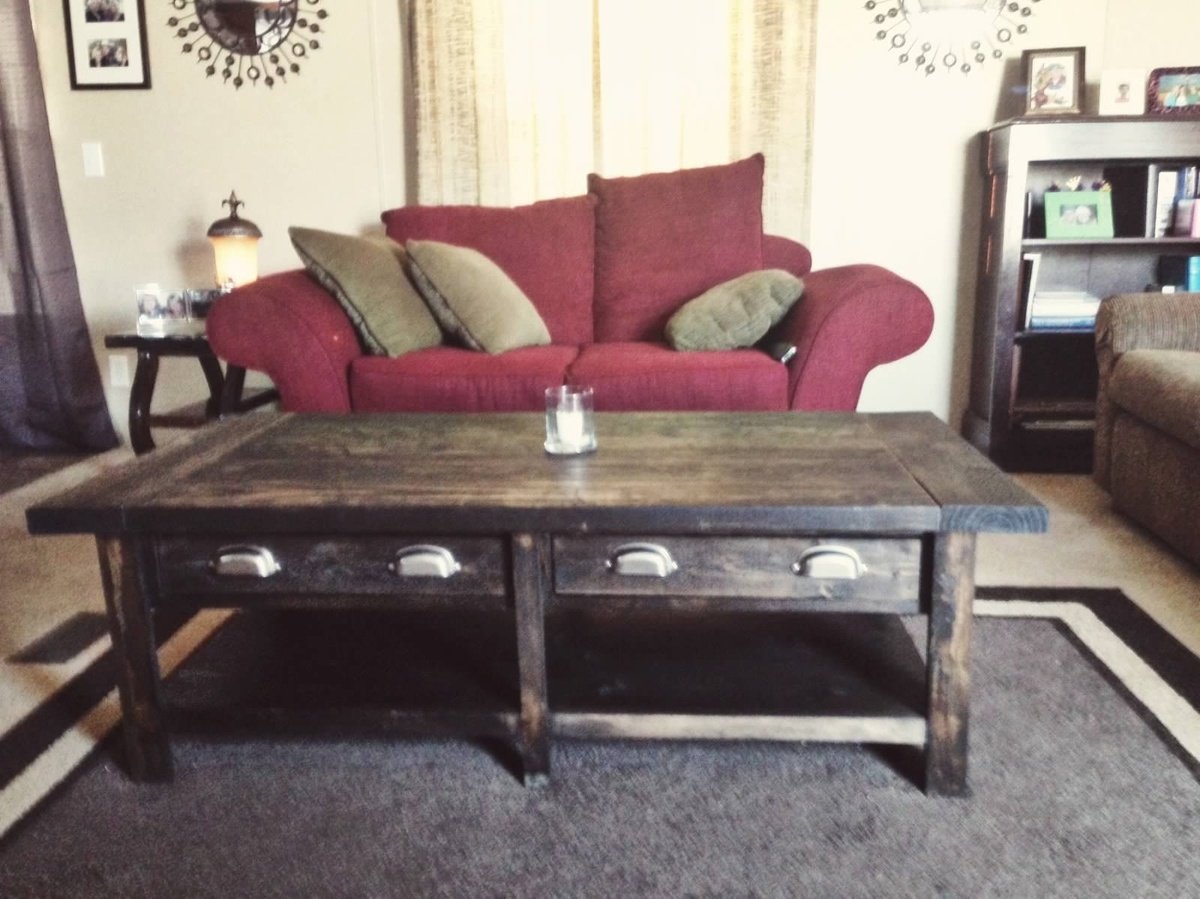
I made this for a friend and absolutely love it! The drawers were my first and proved to be as difficult as I expected since I had not done any before, but I refused to accept defeat as I made and remade them until they were just right. When choosing 2x6s i suggest choosing those that are more squarish than those with the rounded edges. This will prevent having to use a ton of wood filler if you are wanting a flat table top. I cant remember, but they may be a tad more expensive...but not much. As always, I forgot to take pictures and had my friend send me this one. I wish I had more because this picture definitely does not do the table justice. It is heavy and very sturdy unlike those store bought fake wood jobs that are way overpriced. I would absolutely say this is no small feat for the beginner but certainly possible as I still consider myself a beginner contrary to what other who know me may say. So get your wood and your kreg jig and get to it! It feels wonderful to be able to sit back, admire, and say, "It's Ana White and I helped!!"

Build Instructions: http://www.instructables.com/id/Birds-Mouth-Hollow-Spar-Planter-Made-Fr…
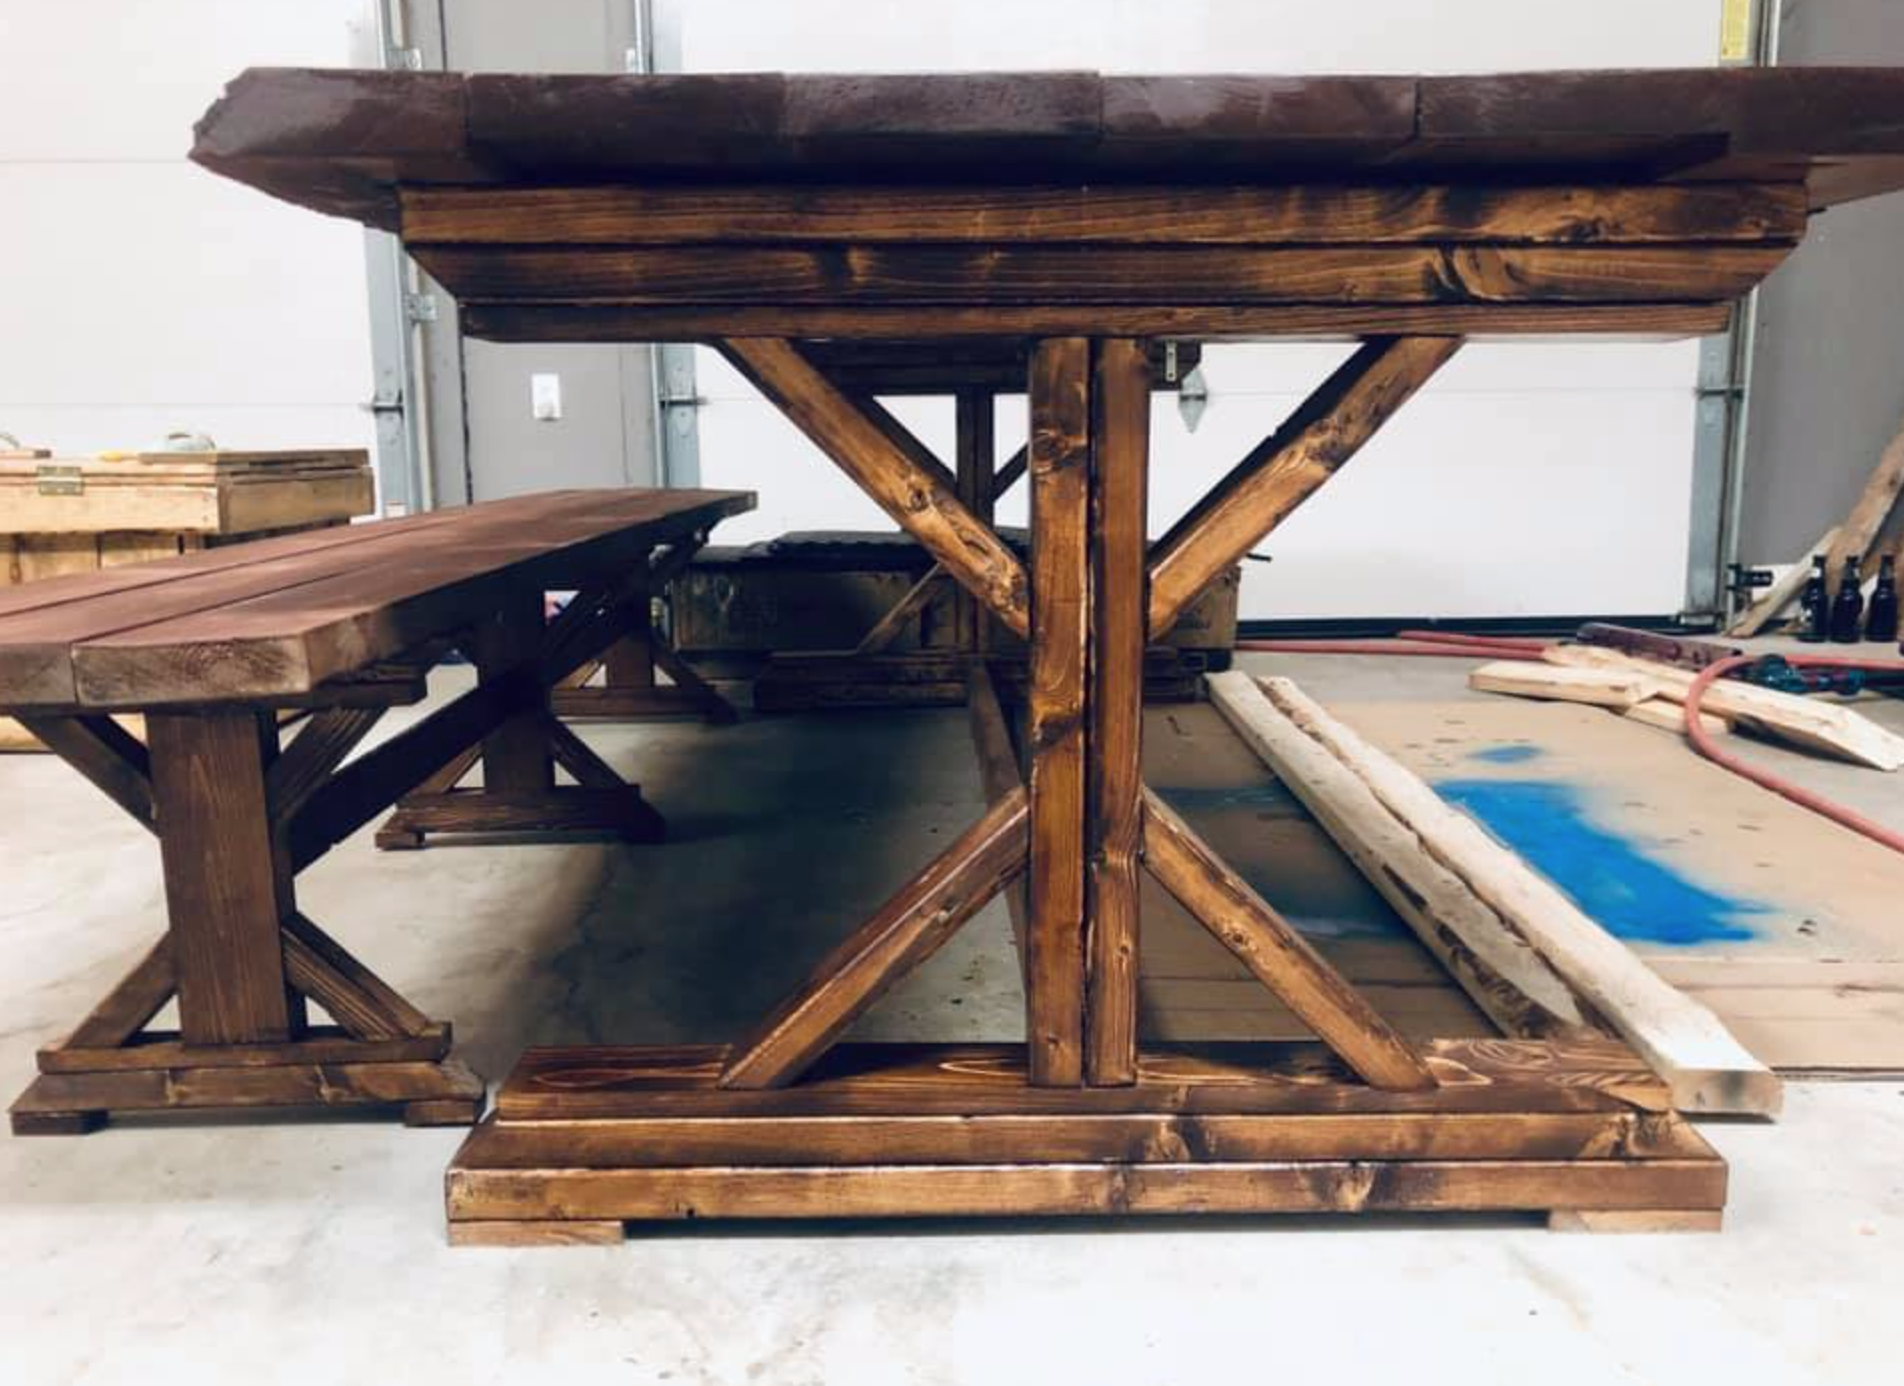
Hi Ana! - I'm so glad that I found your site. Thank-you SO much for your plans and video tutorials.
I was recently in a car accident and found myself away from work for several months. Though I've always been hesitant to build anything (for lack of having been taught), I've found a new passion for woodwork. It's been a wonderful pastime and has created hours of fun with my young daughter.
This is my first project (save for a few small boxes). - I'm very proud of the final product and was thrilled to be able to share it with my family for Canadian Thanksgiving this weekend.
The project was quite pricey, due in large part to the live-edge lumber that I sourced (2 x (2x6) @ 8ft). - The project includes the Fancy Farmhouse Table as well as 2 matching benches.
Thanks again :)))
- Kyle
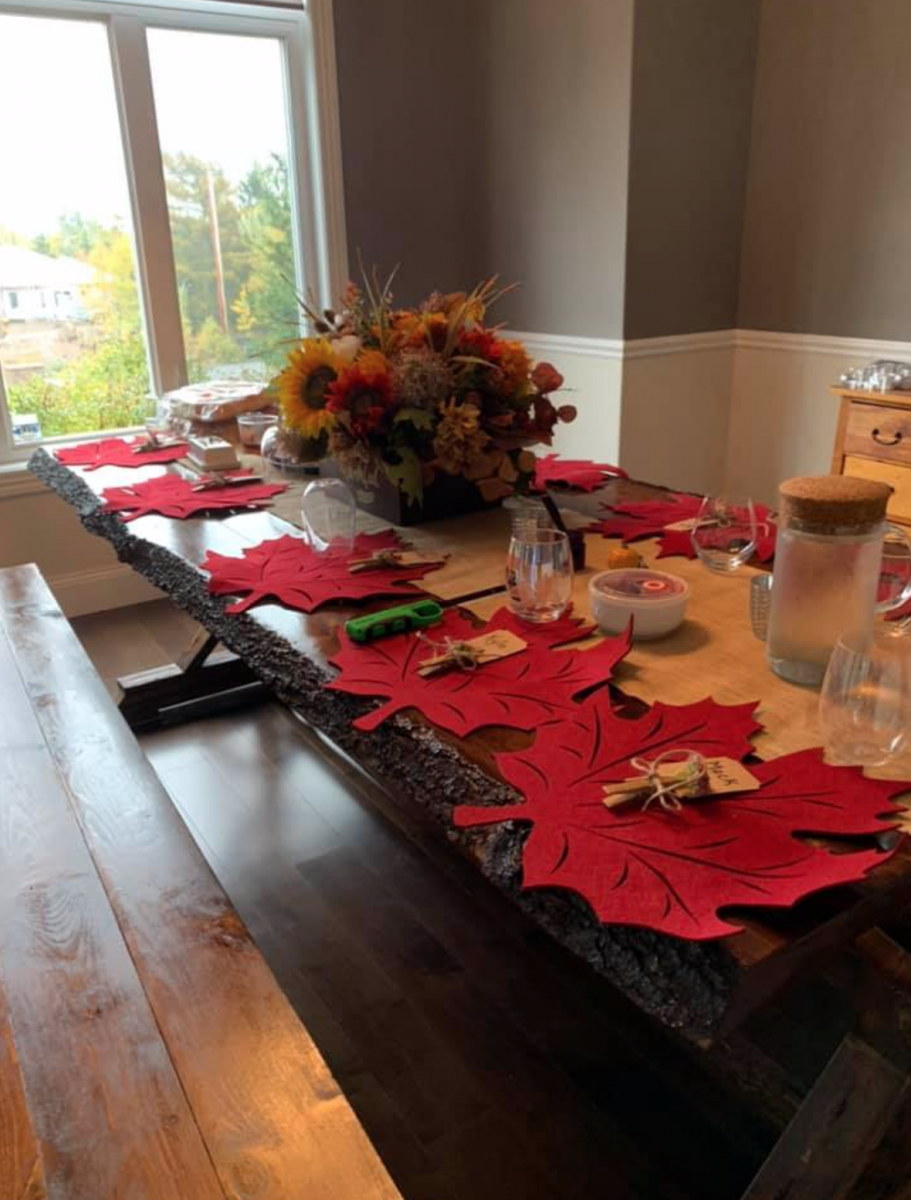
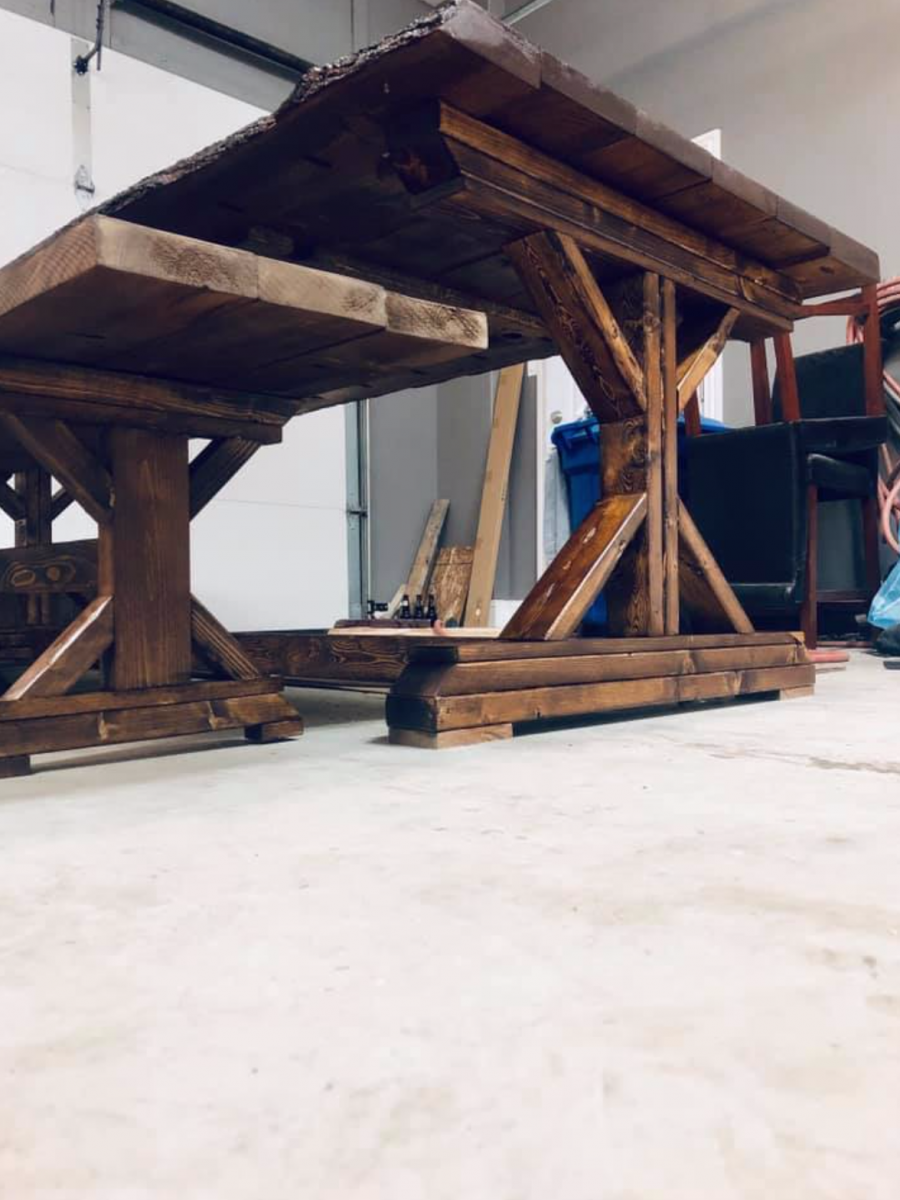
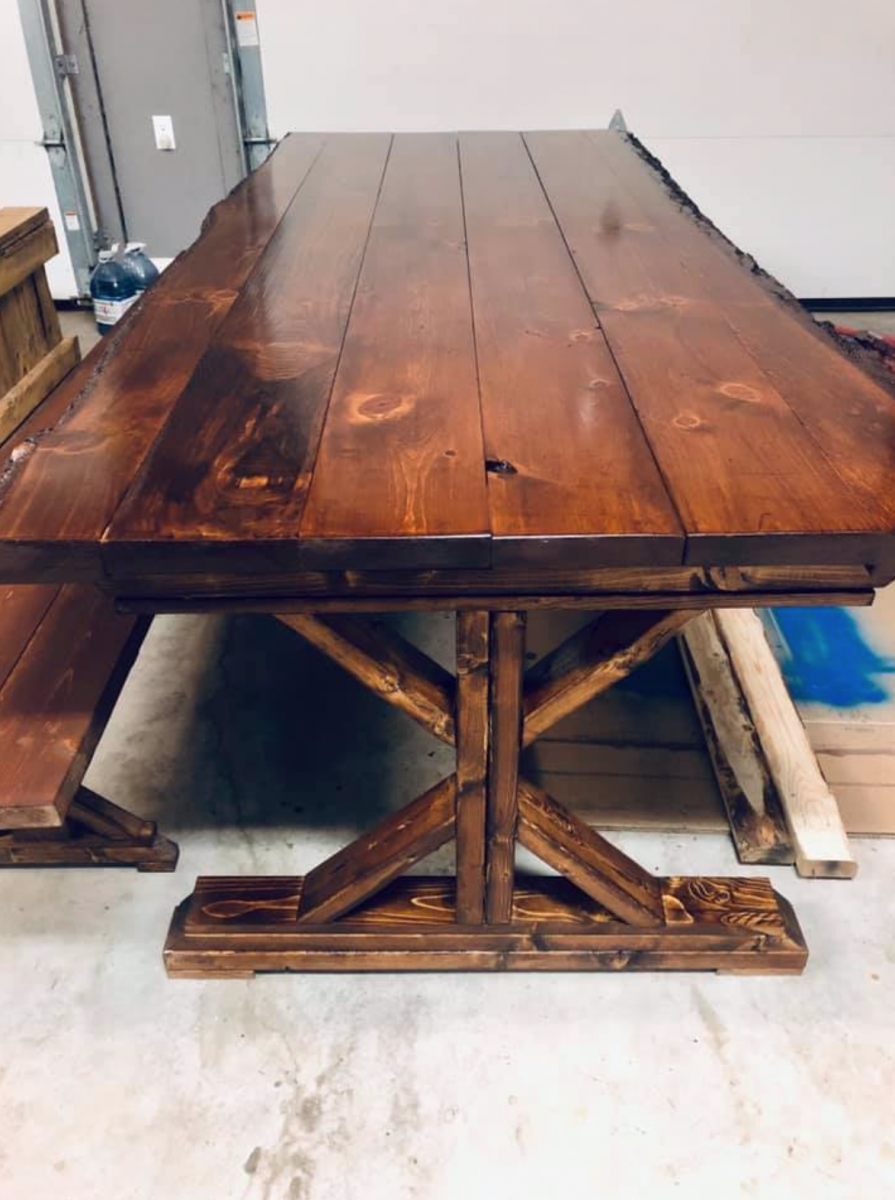
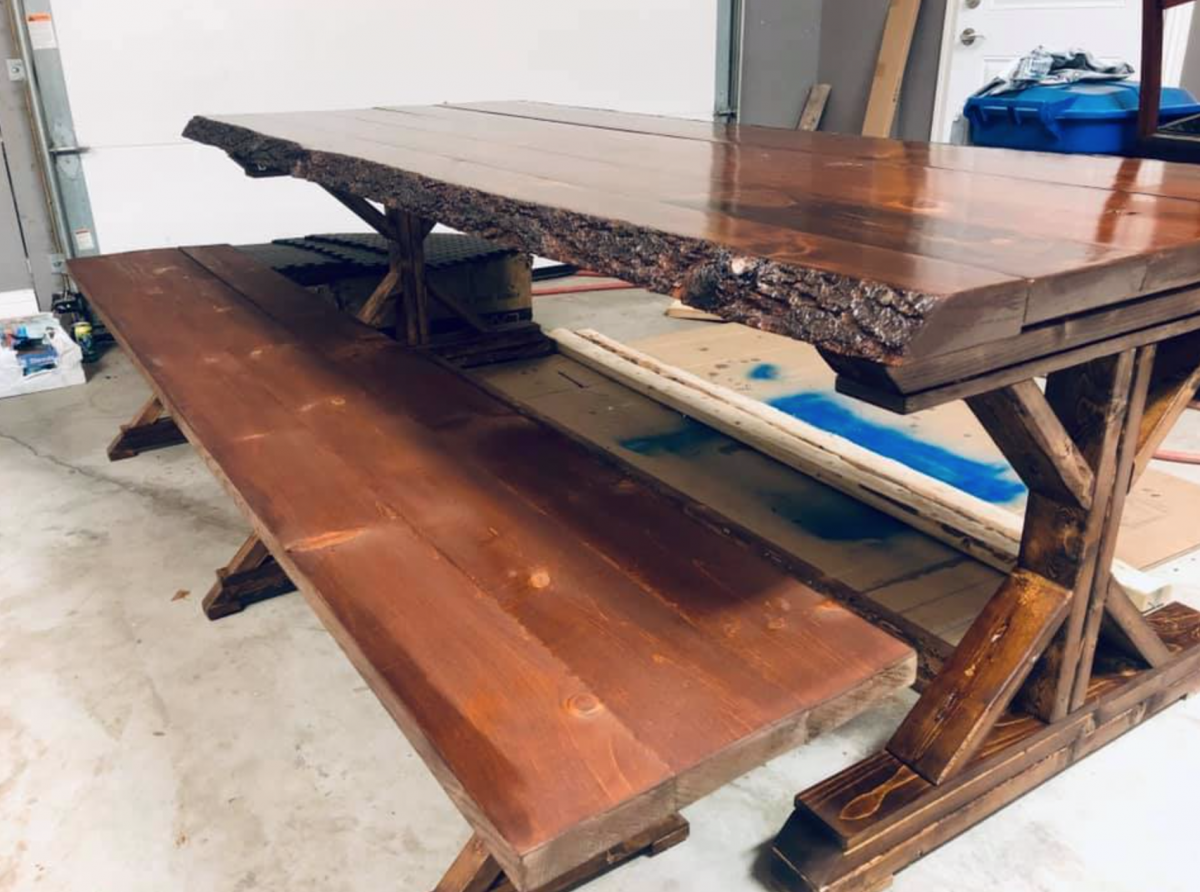
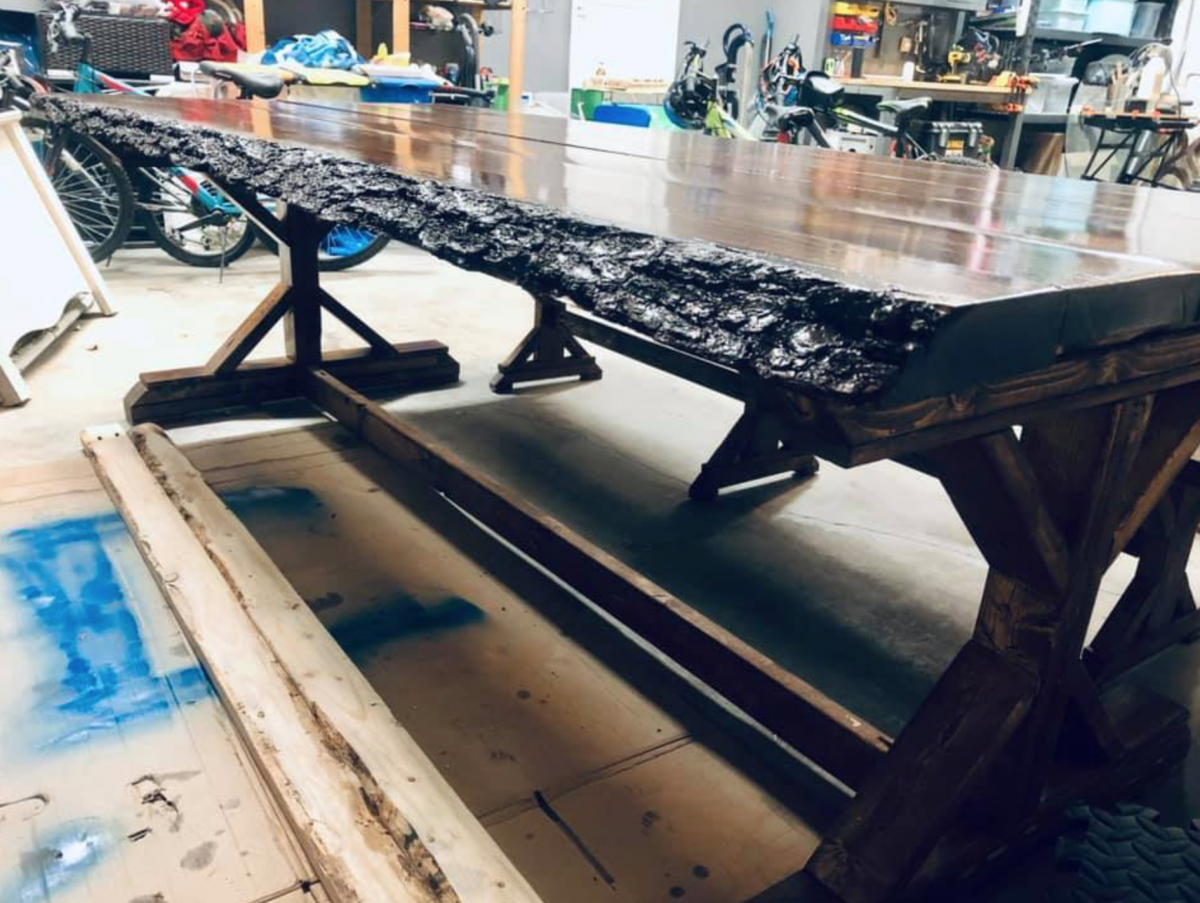
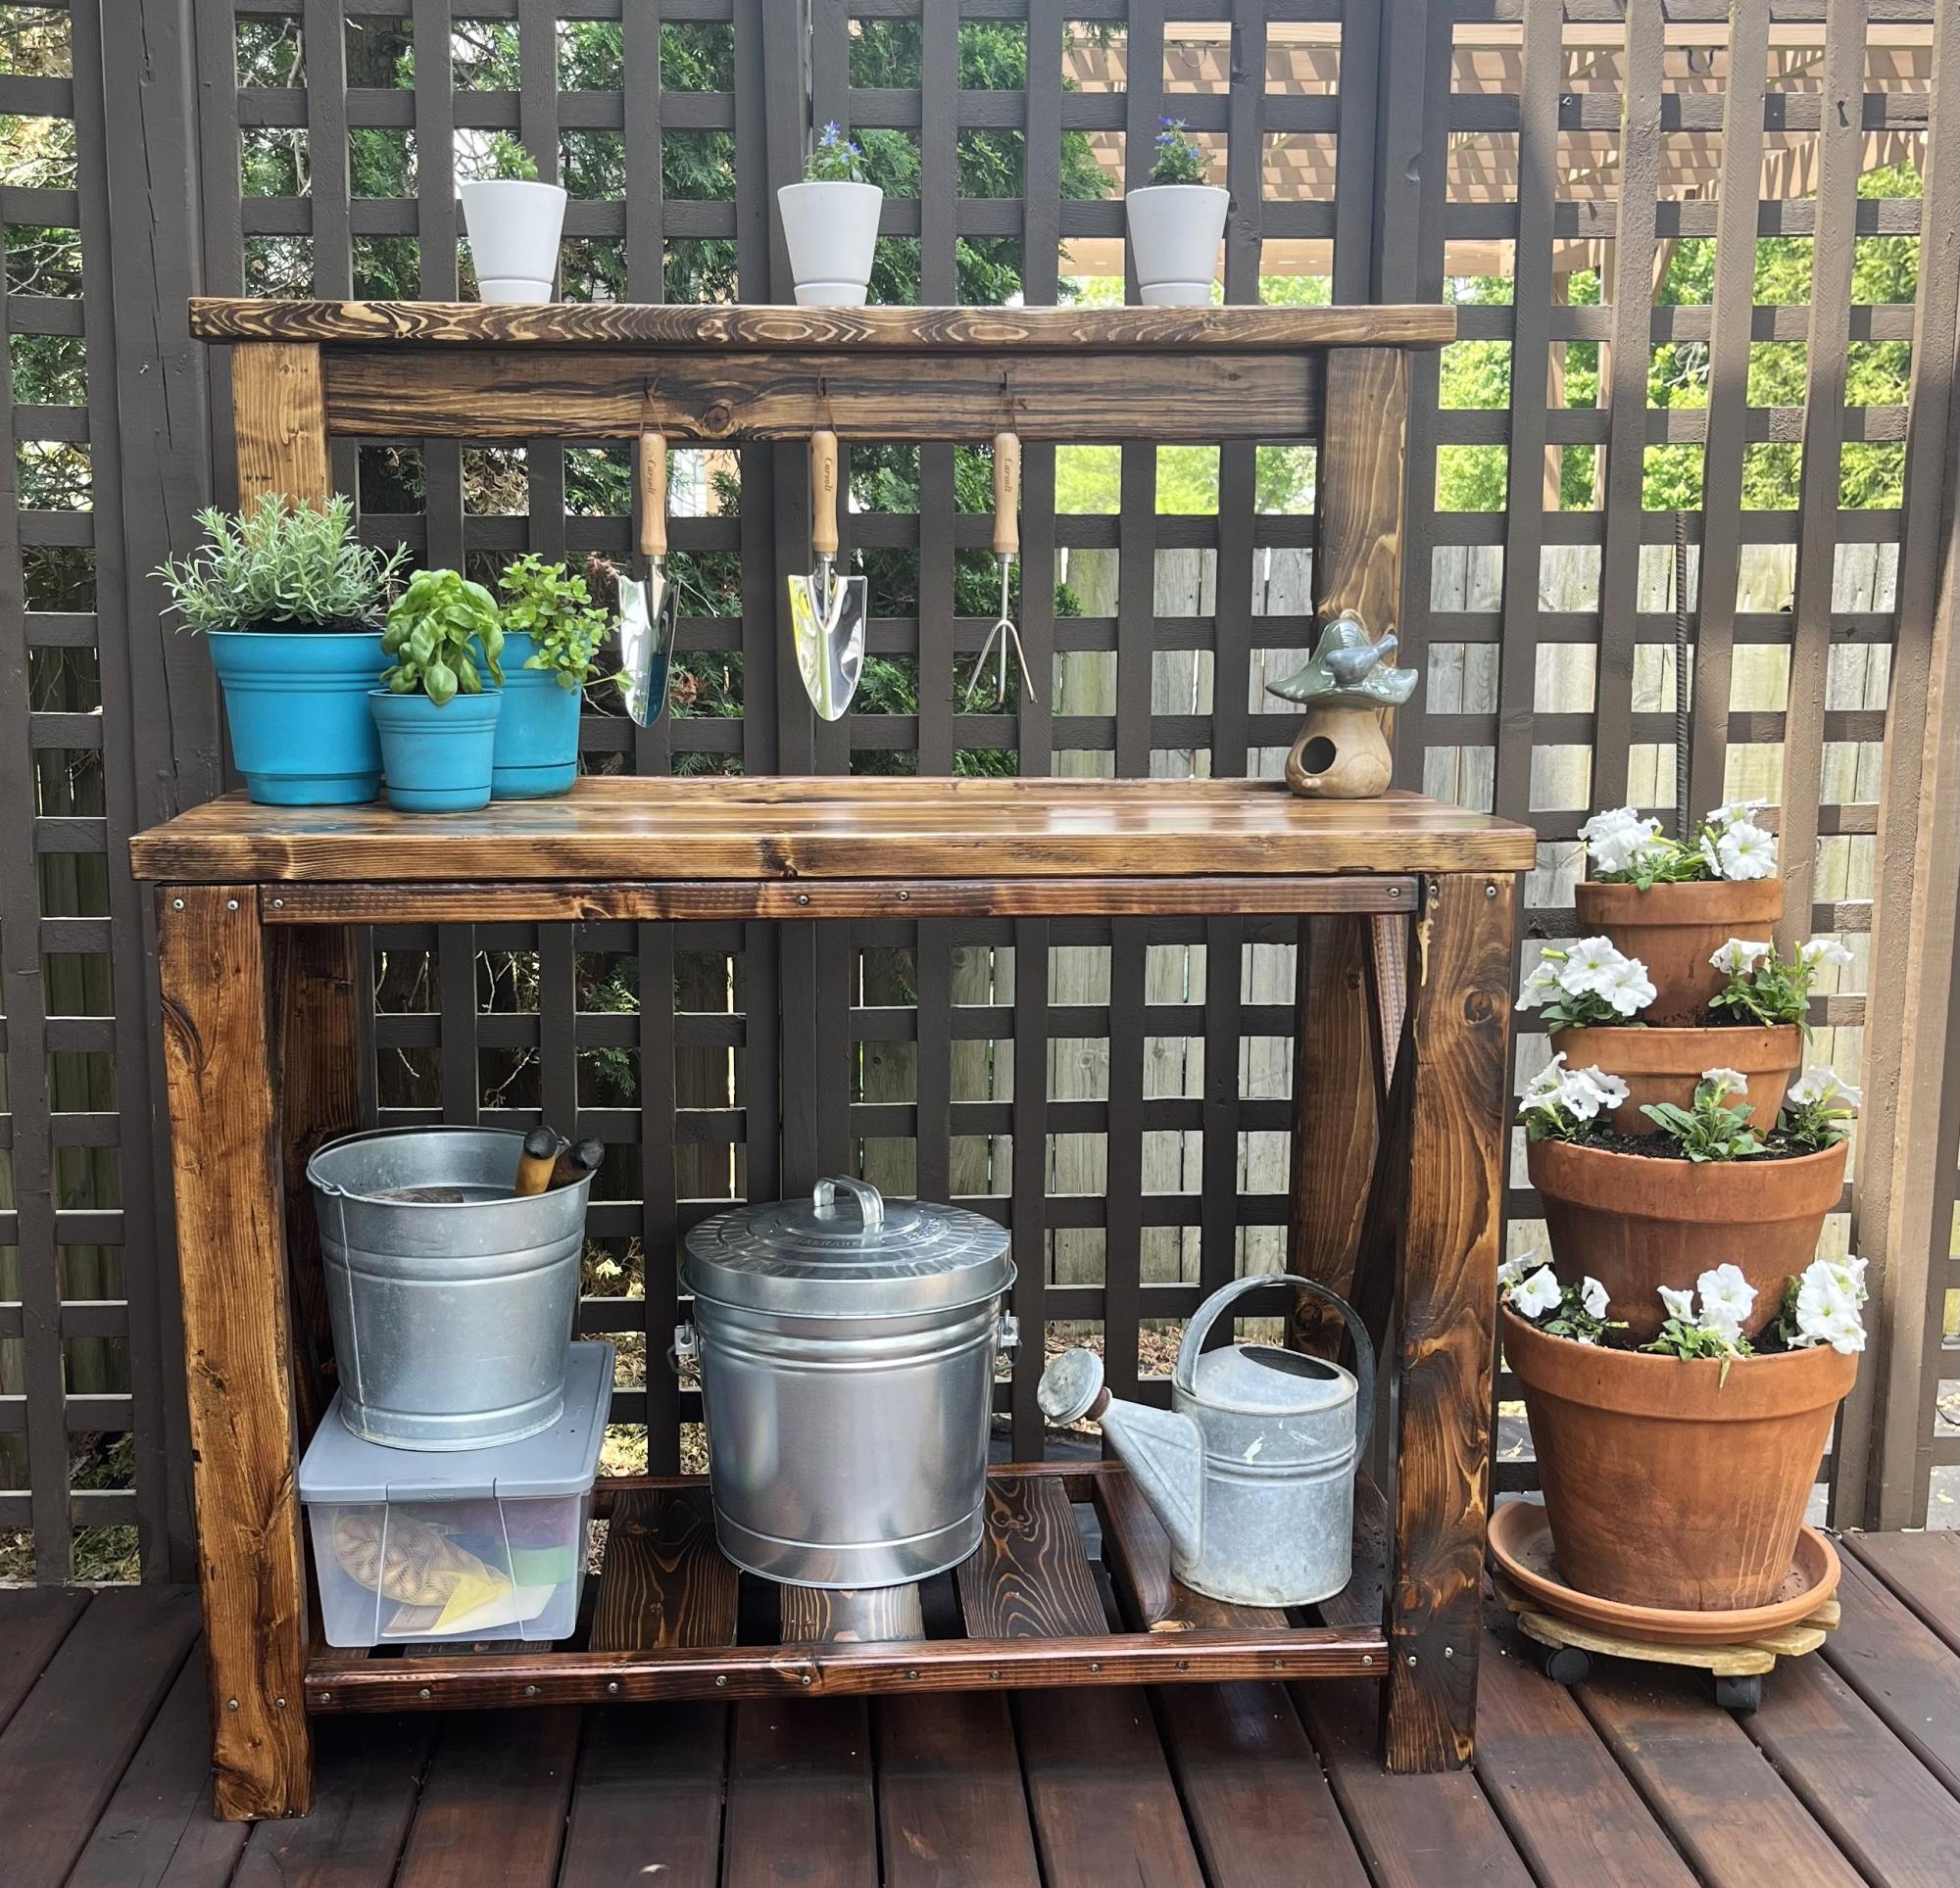
Such an easy build with a little woodworking experience. I am in love with this project and am so excited to have done it myself!
Amy
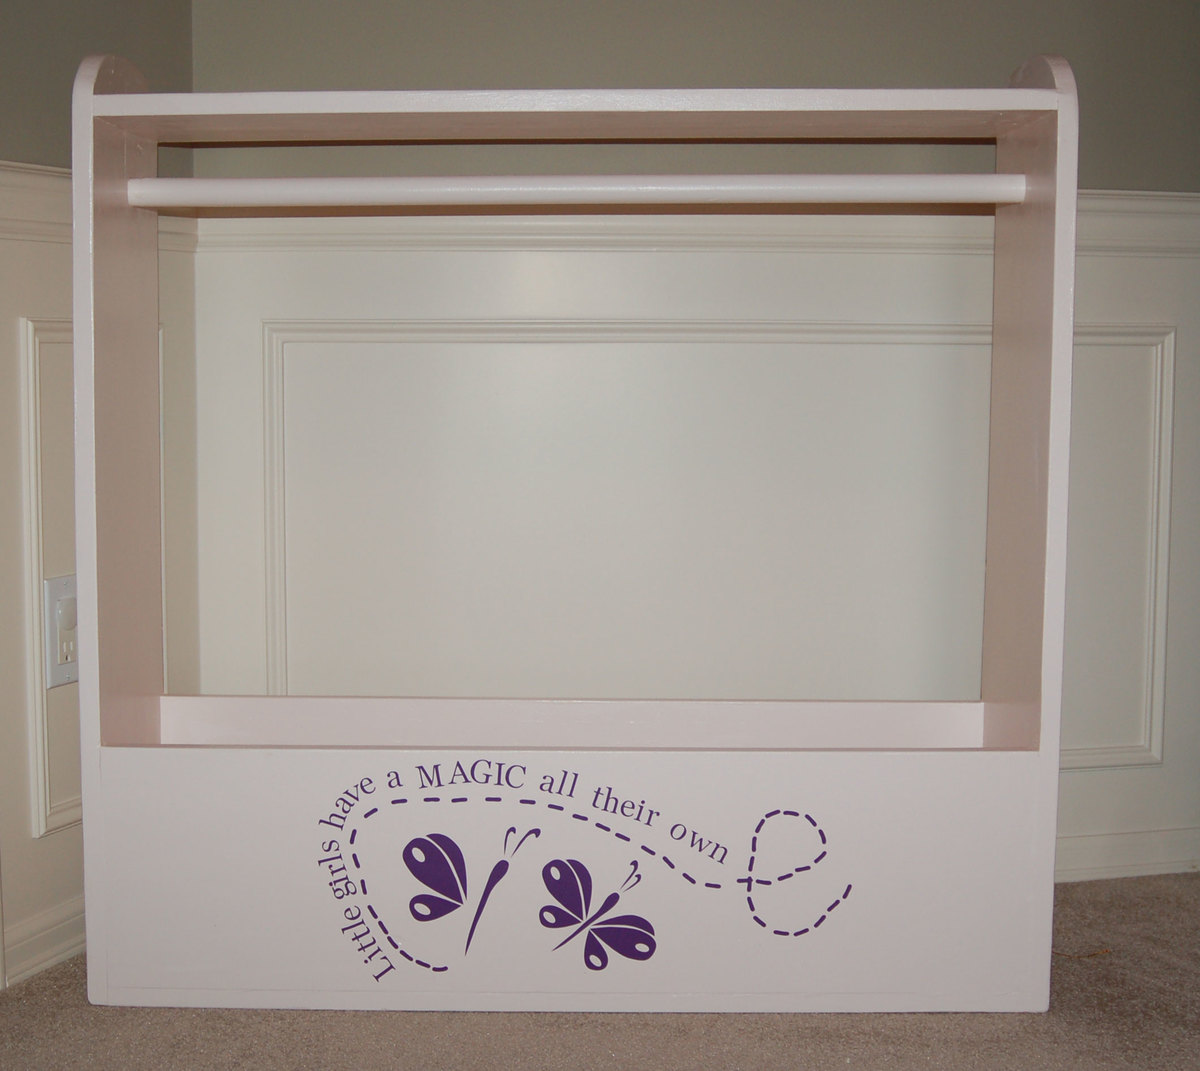
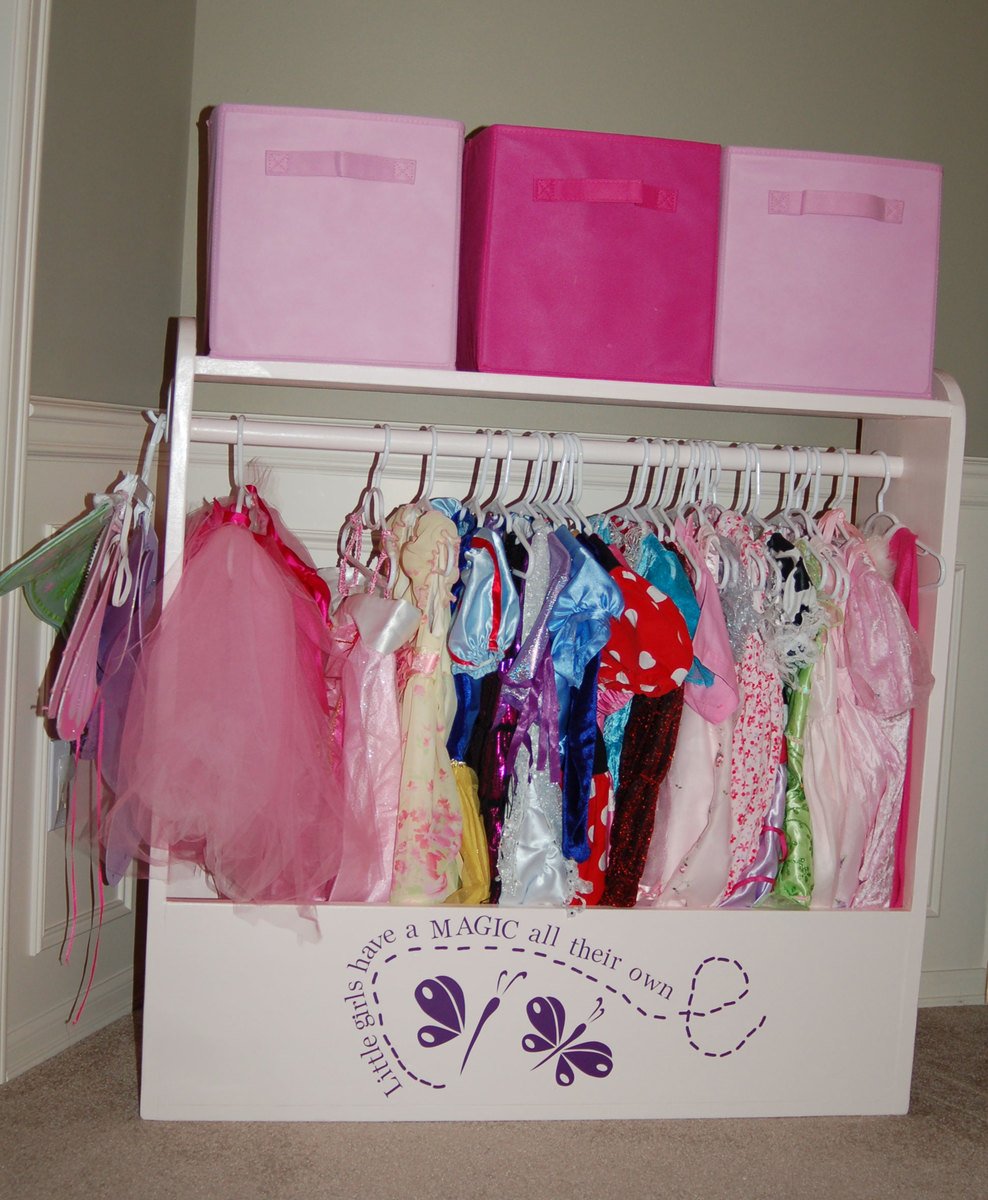
I've been working on a couple of doll beds, but since the storage cabinet that was keeping my girls' dress-up clothes partially collapsed, I put those on hold to make this.
I followed the dimensions as written, though in hindsight, I wish I had made it a little larger. This is for three girls and already jam packed. Or maybe we need to pare down our selection. :-) I skipped the wheels for now but did add the upper shelf. The shelf is holding three Closetmaid fabric cubes which contain shoes, wands, crowns, purses, etc. I put a little 3M plastic hook on the side which is holding their fairy wings.
The actual piece went together fairly quickly -- ~2 hours. It took me a few days to do all of the sanding, priming, painting, and poly.
The design is an Uppercase Living vinyl rub-on. It's not perfectly placed because I had it on the wall in the playroom at our old house. I took it off when we moved and kept it stored between two pieces of Glad Clingwrap. It took a little tinkering to get it to reapply. I rubbed it onto a Cricut cutting mat and then rubbed it again back on to the wood. The cutting mat wasn't large enough so I had to do three transfers to get it all on...part of the reason it's so wonky.
I wish I had time for a blog, but I'm too busy reading everyone else's.
Mon, 02/20/2012 - 06:57
Don't get rid of any of the dress up clothes! Just build a second unit! =)
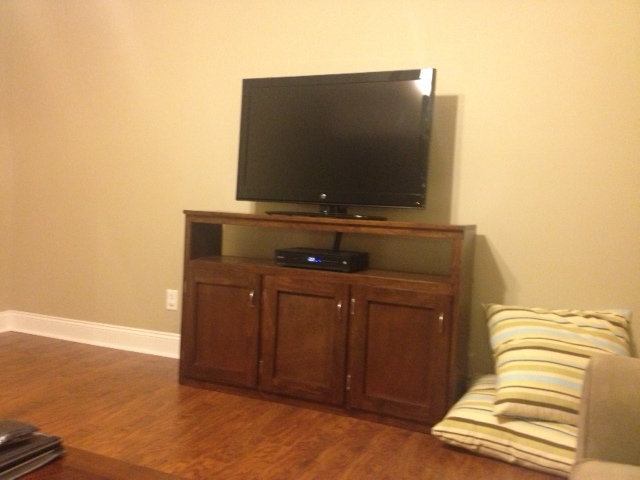
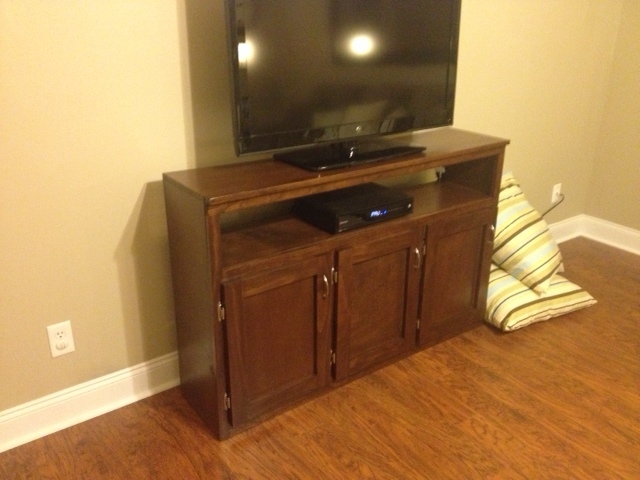
My version of the Rebecca Media Center - Console.
Had a great time completing this project, being a professional wood-finisher I was able to match it exactly to the other pieces of furniture in our family room.
Can't wait to start the next project.
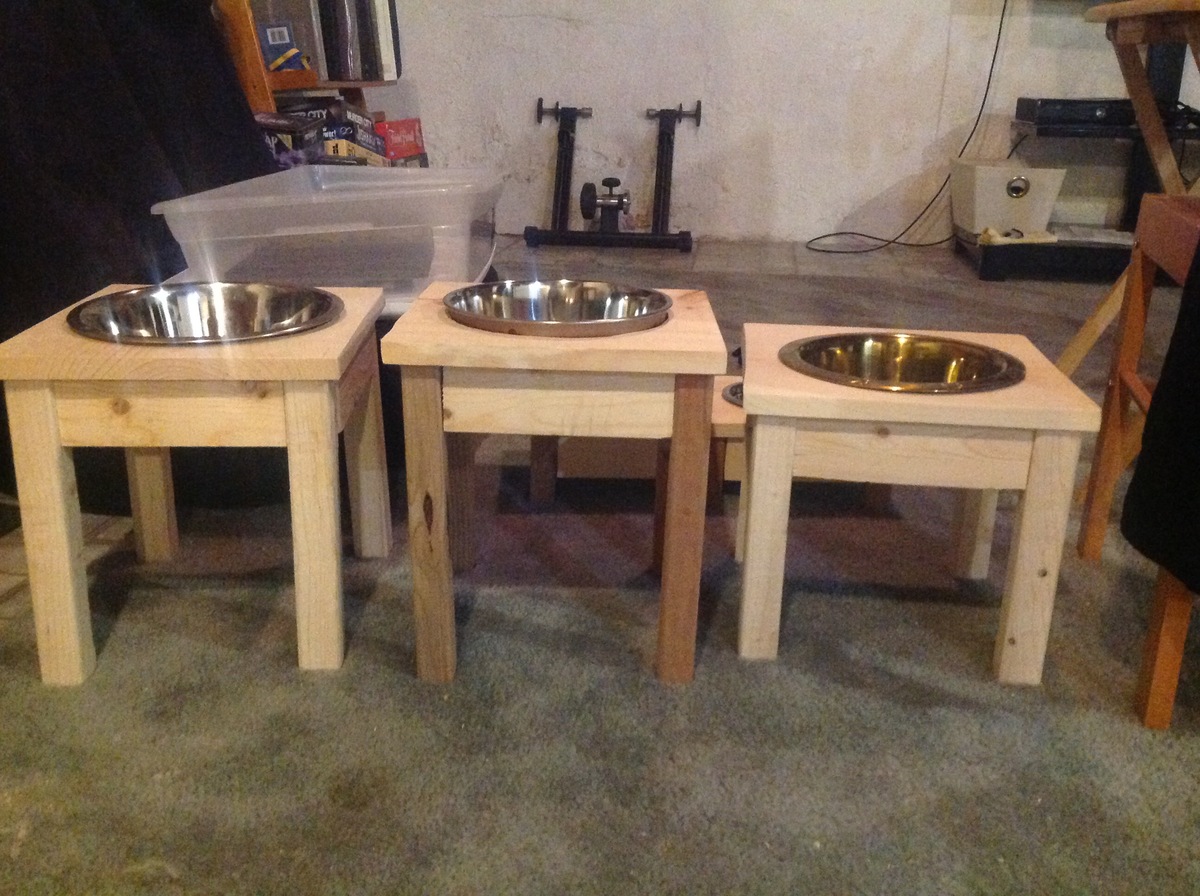
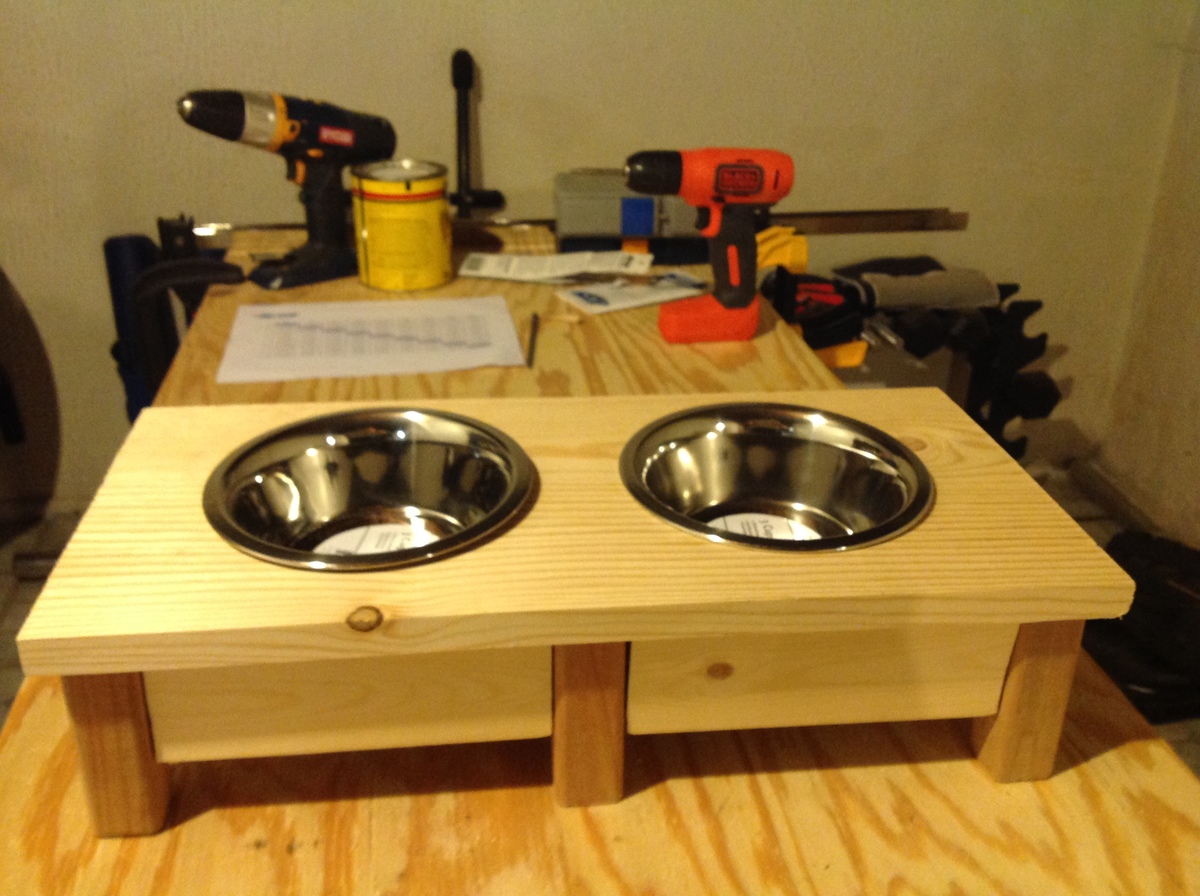
I had to practice cutting the circles probably 10 times before they were acceptable. I am glad I didn't quit! These bowls are great!
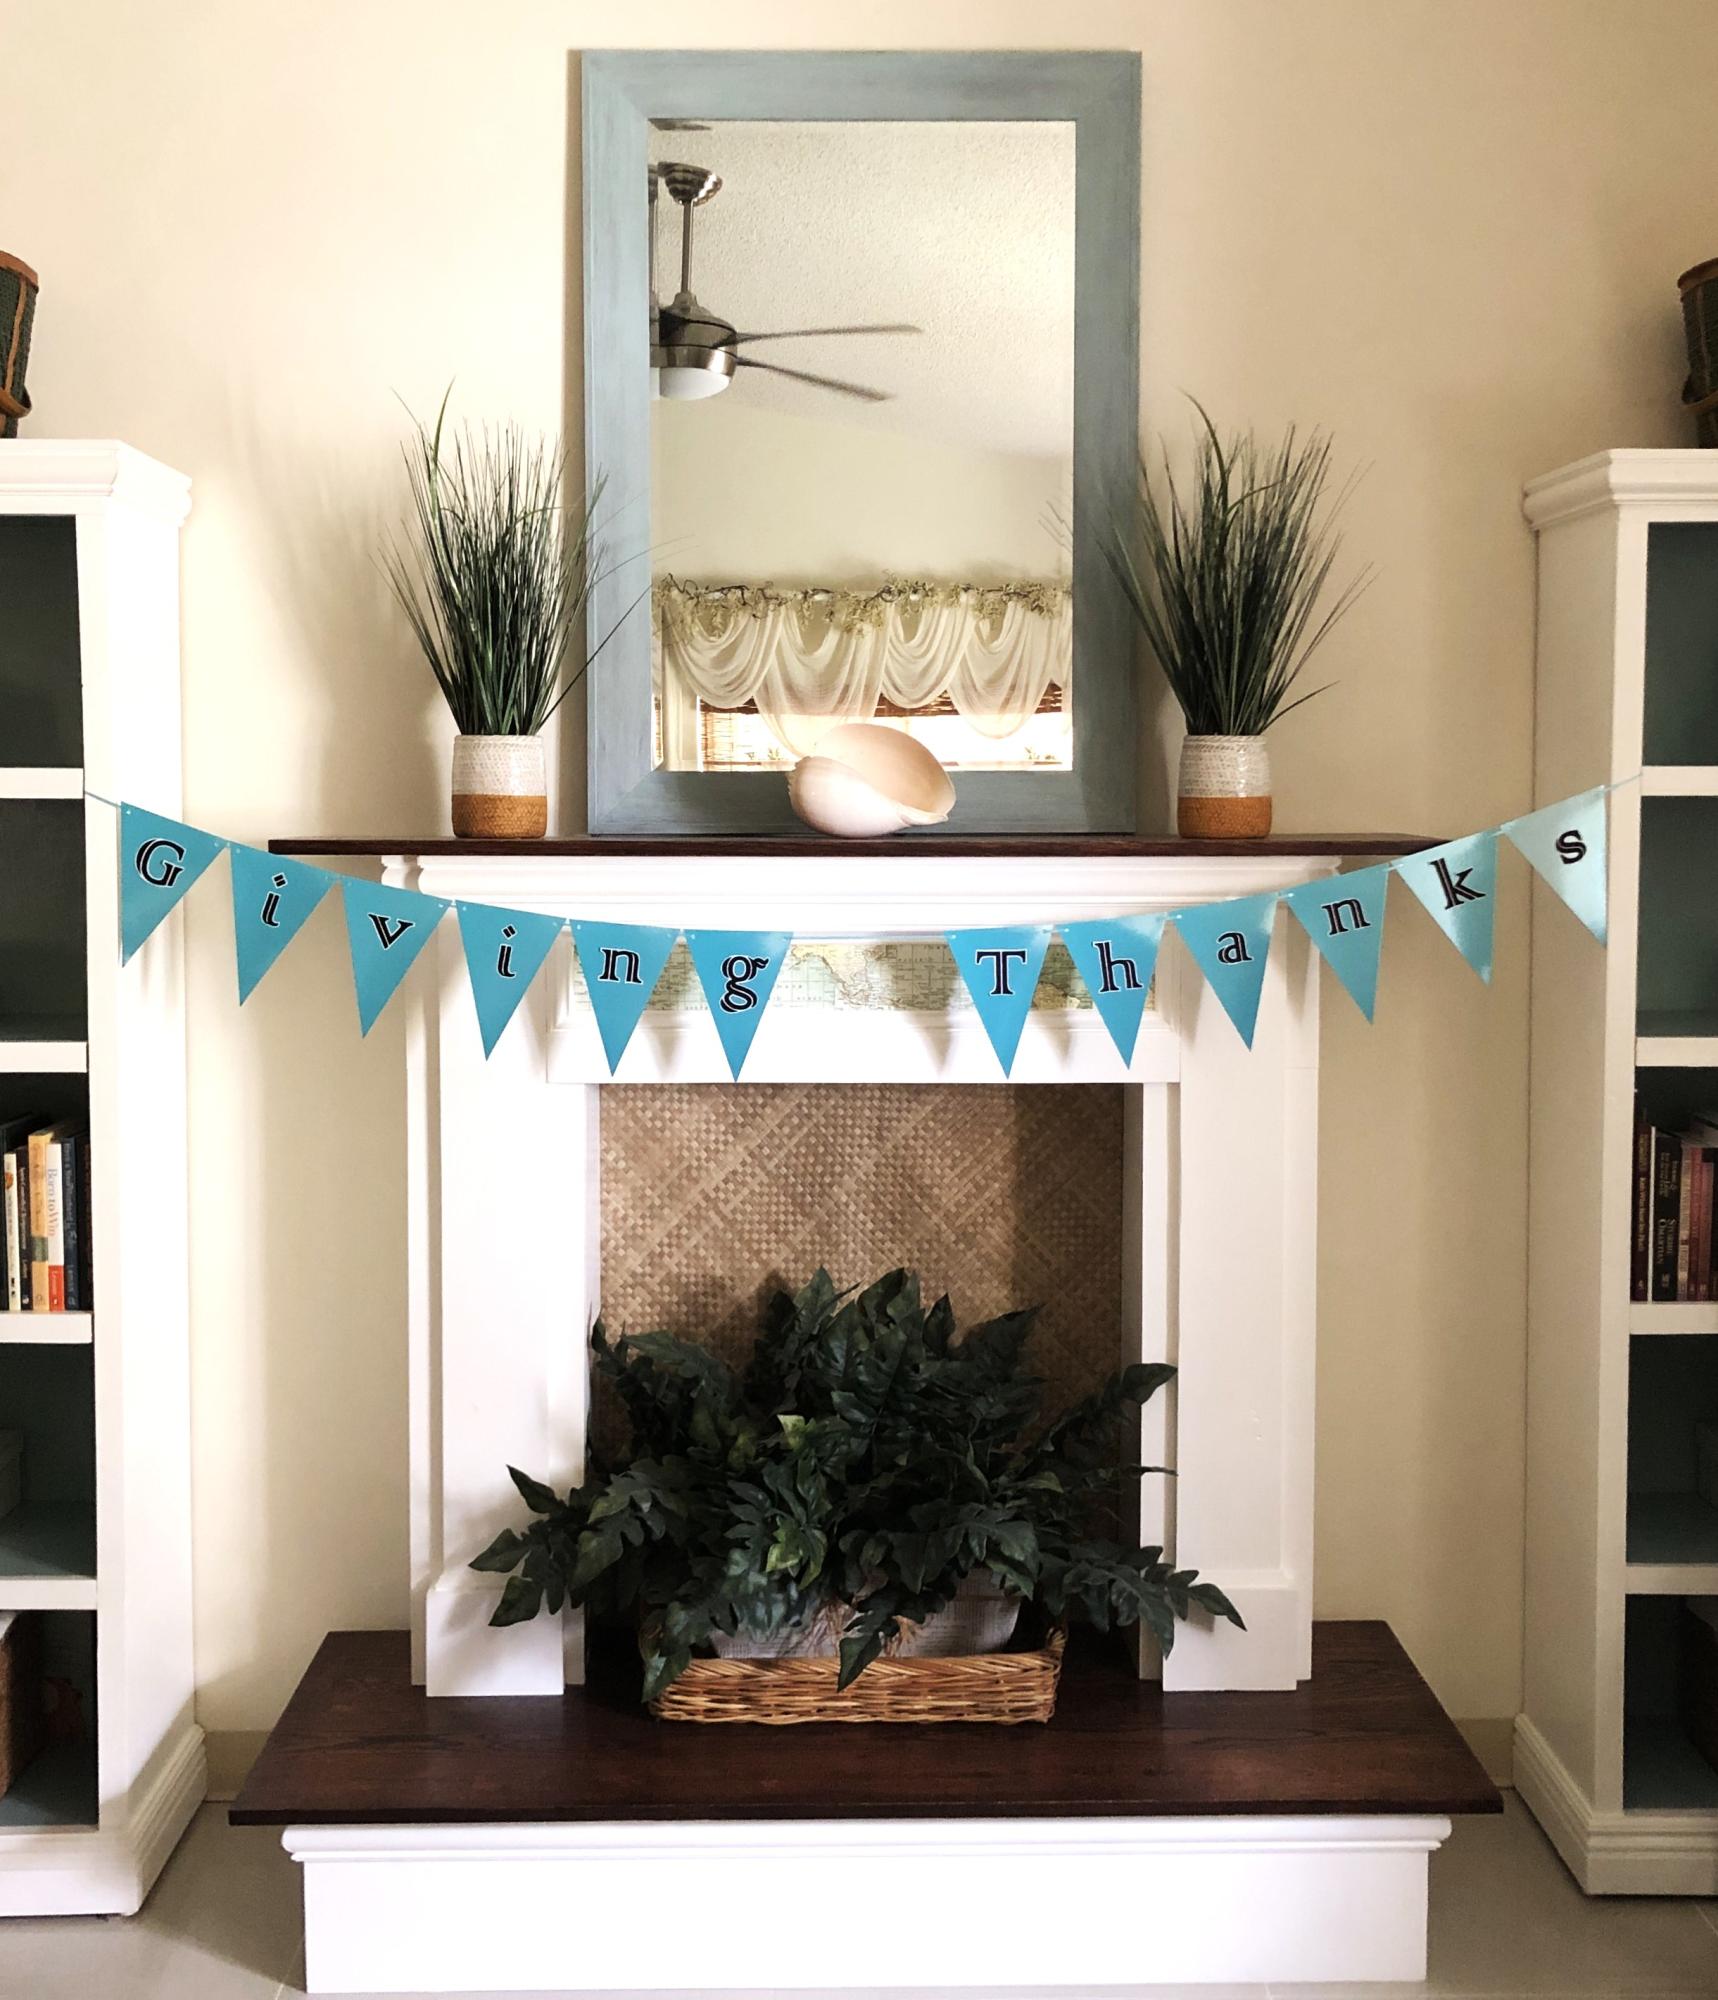
We’ve made three of these: this one’s on a “hearth” in our sala on Guam; my husband put another one in our bedroom here, and the third faux fireplace is in our bedroom in Missouri. Later this year he’s building one requested by our daughter for her living room.
Kelley
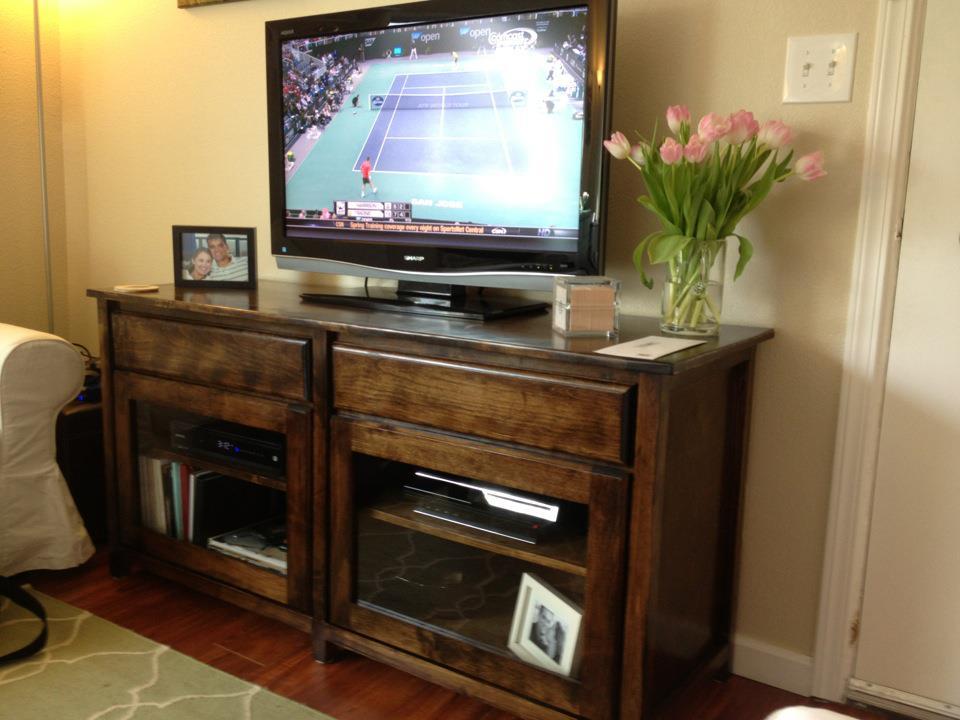
My dad and I built the Benchmark Media console!We made a few minor adjustments but pretty much stayed to the plan.
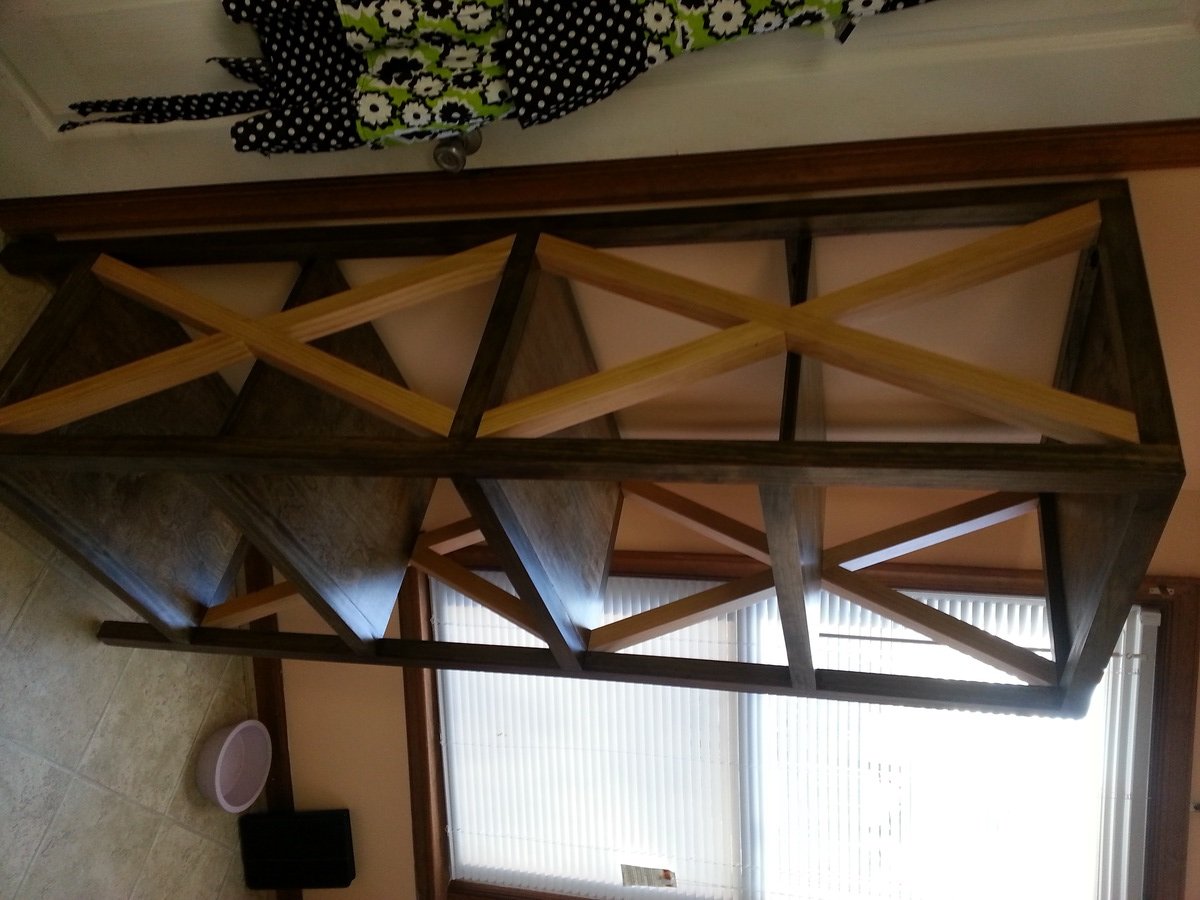
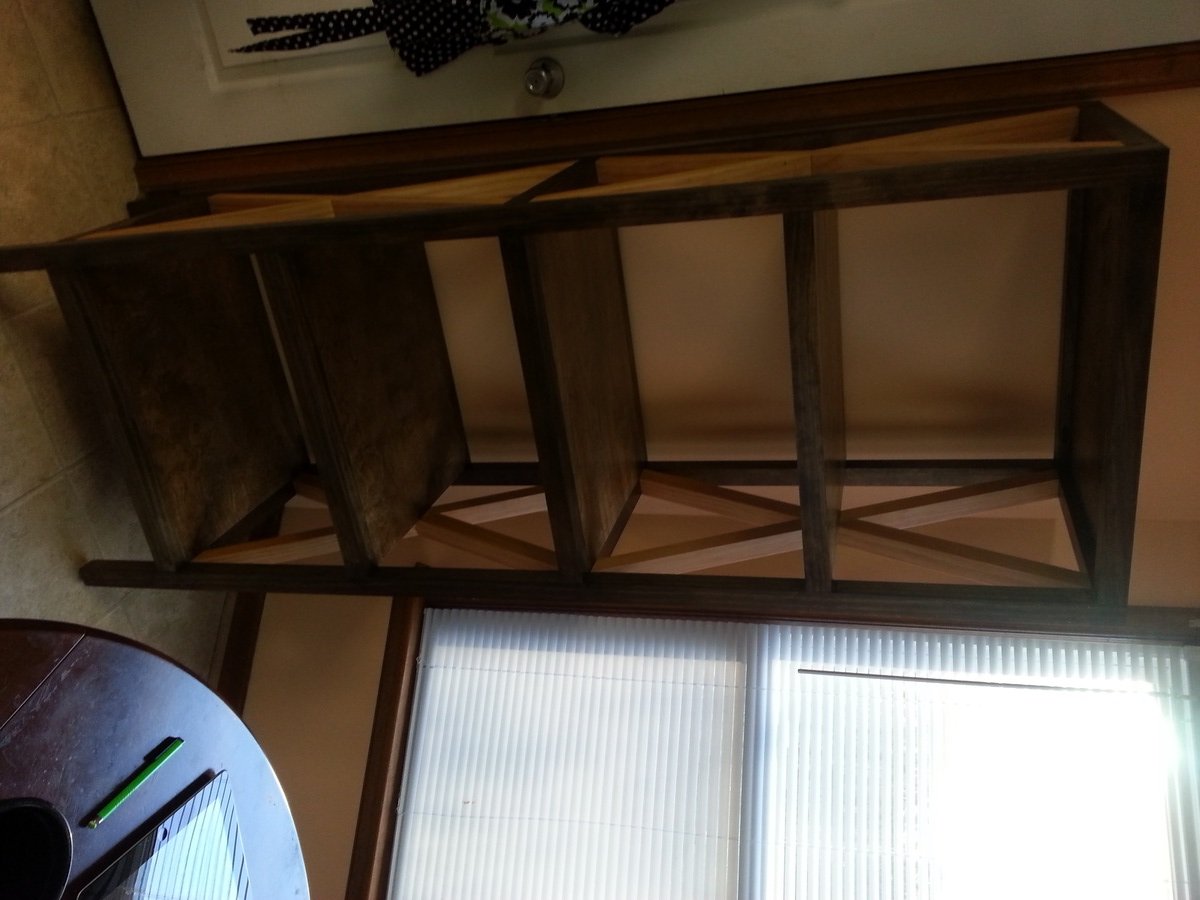
I made this piece a little different. I used 2x2's vise 2X4's for the frame. I also made the width 4 inches shorter. My friend found a 3/4 inch 4x8 birch plywood piece being thrown out, so I paid next to nothing for it from him and used it for the shelf. The framing was made using select pine which was a little expensive, but the boards were clean and straight as an arrow. Well worth it! Making the X was difficult! I had to go through a few cuts to fit them just right. I used one clamp in the center of the X to hold the X in place while the glue dried.
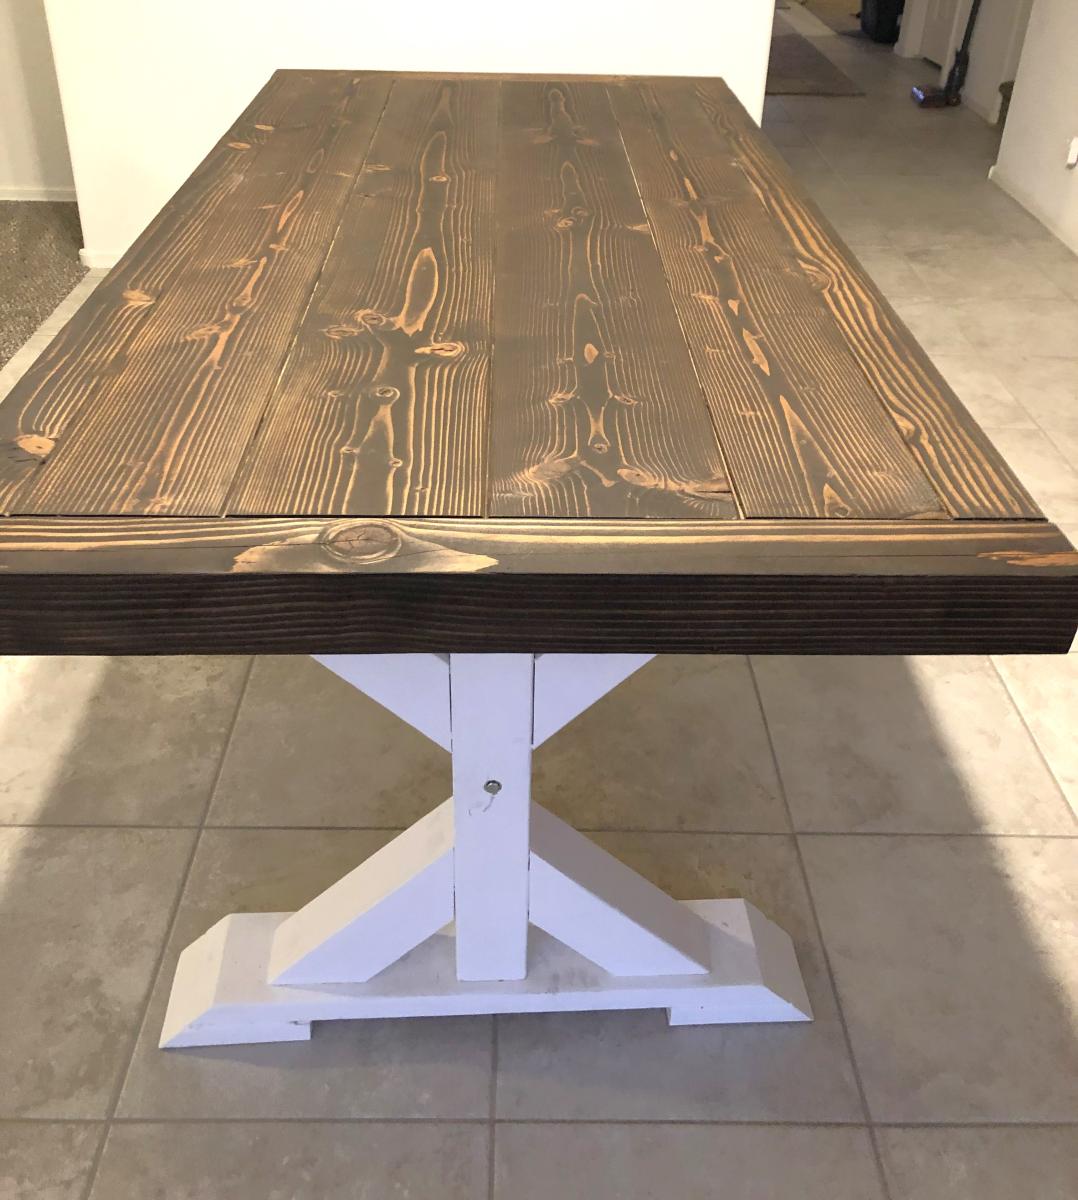
I modified the plans for only 2 pedestals, and a solid 100 inch walnut top. I used auto body filler to fill the gaps of the legs, sanded and distressed. It appears to be solid barn board wood, and there is NO way to tell that it's stock 2 x 4 and 2 x 6.
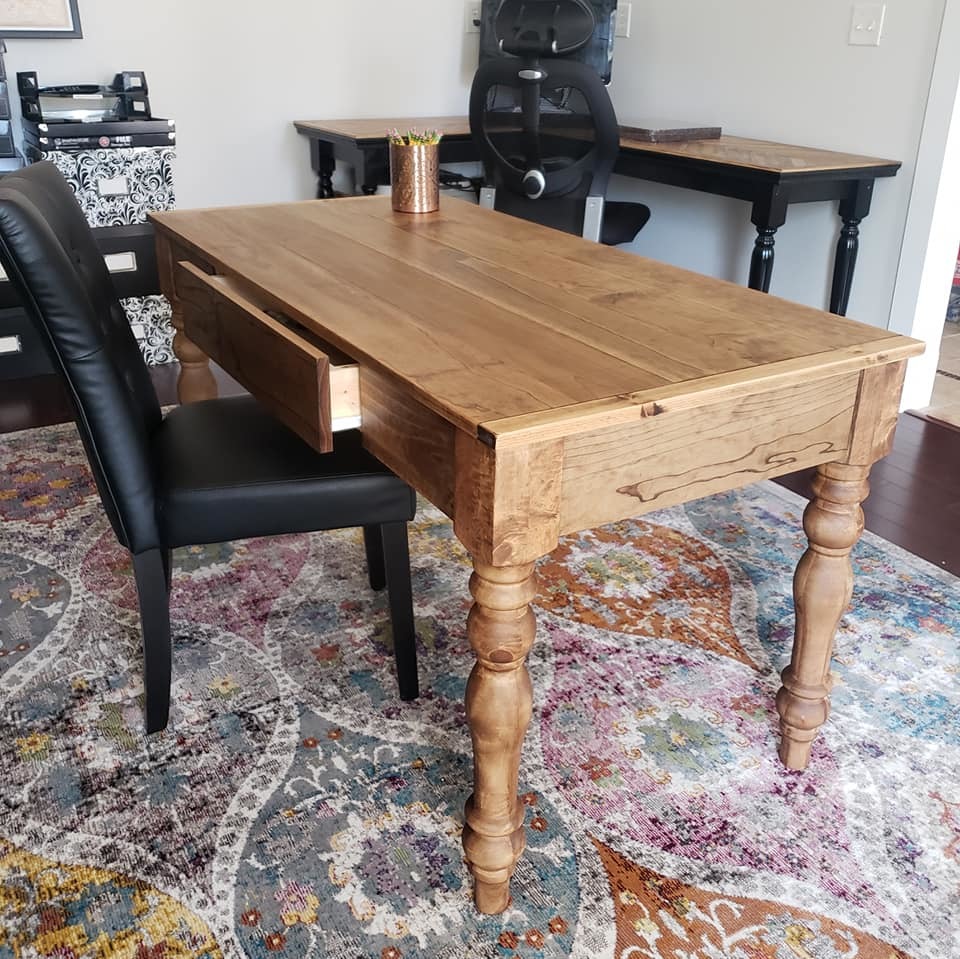
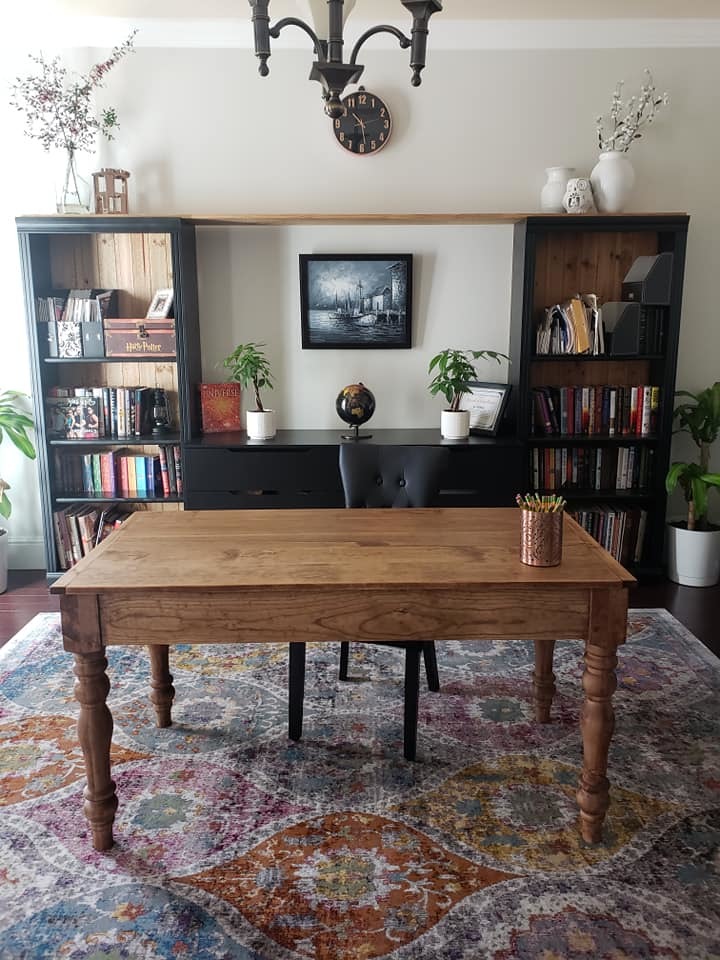
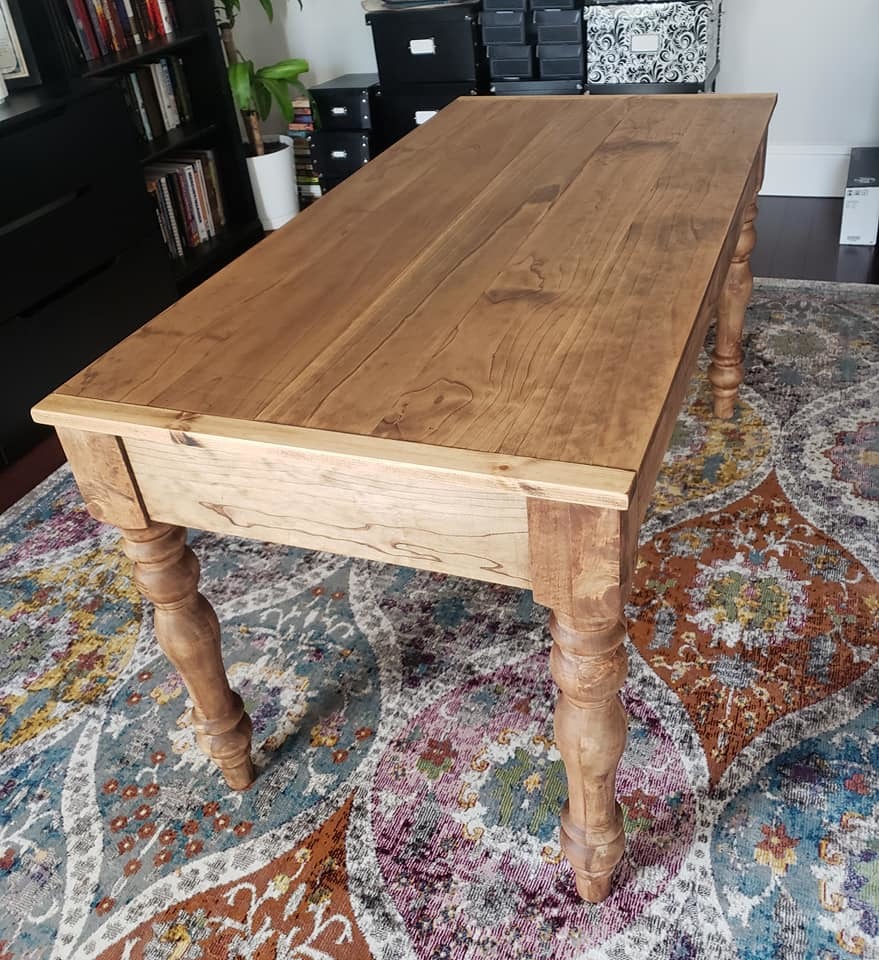
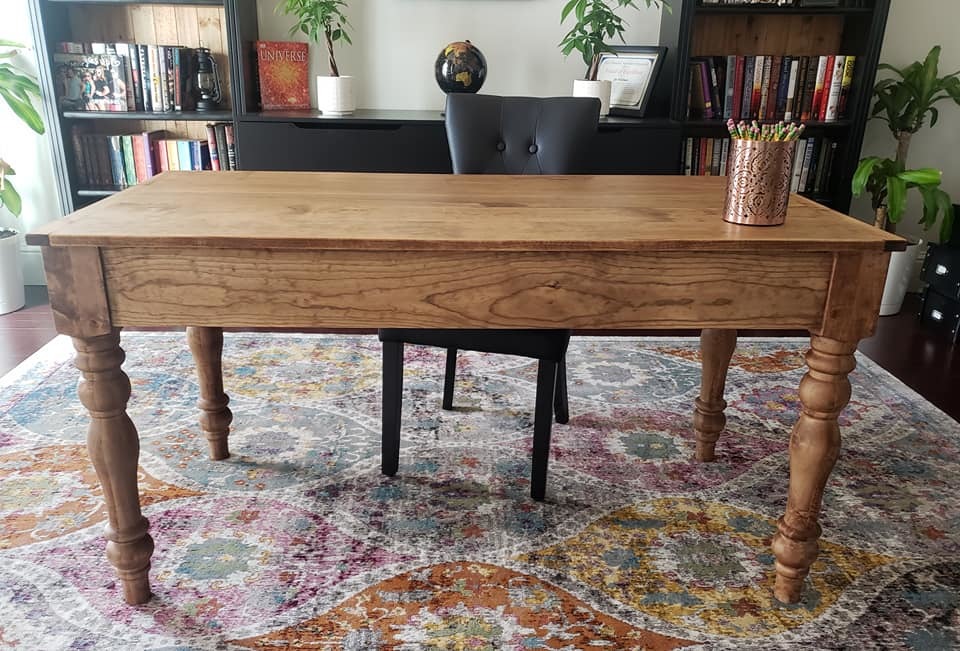
I modified the Small Old English Style Farmhouse Dining Table plan to build a writing desk.
I used five 1x6 boards for the top for a width of 27.5 inches. I made my desk 56 inches in length. I put the drawer on the long side like a pencil drawer. I did use the legs that Ana recommended in the plan.
I watched the video Ana posted on how to make the drawers for this table and it was so helpful. I just made it like Ana did in the video but on the long side instead of the short ends.
I love how it turned out. I used Watco dark walnut danish oil and Minwax dark wax for the finish.
We used flooring from Homedepot for the middle boards. My decorator suggested that I make it longer and that worked well with this flooring. We did discover that our Lowe's has the post for only $10 - we paid too much at 84 lumber - only to discover that they were warped - we had to use corner brackets to fix it.
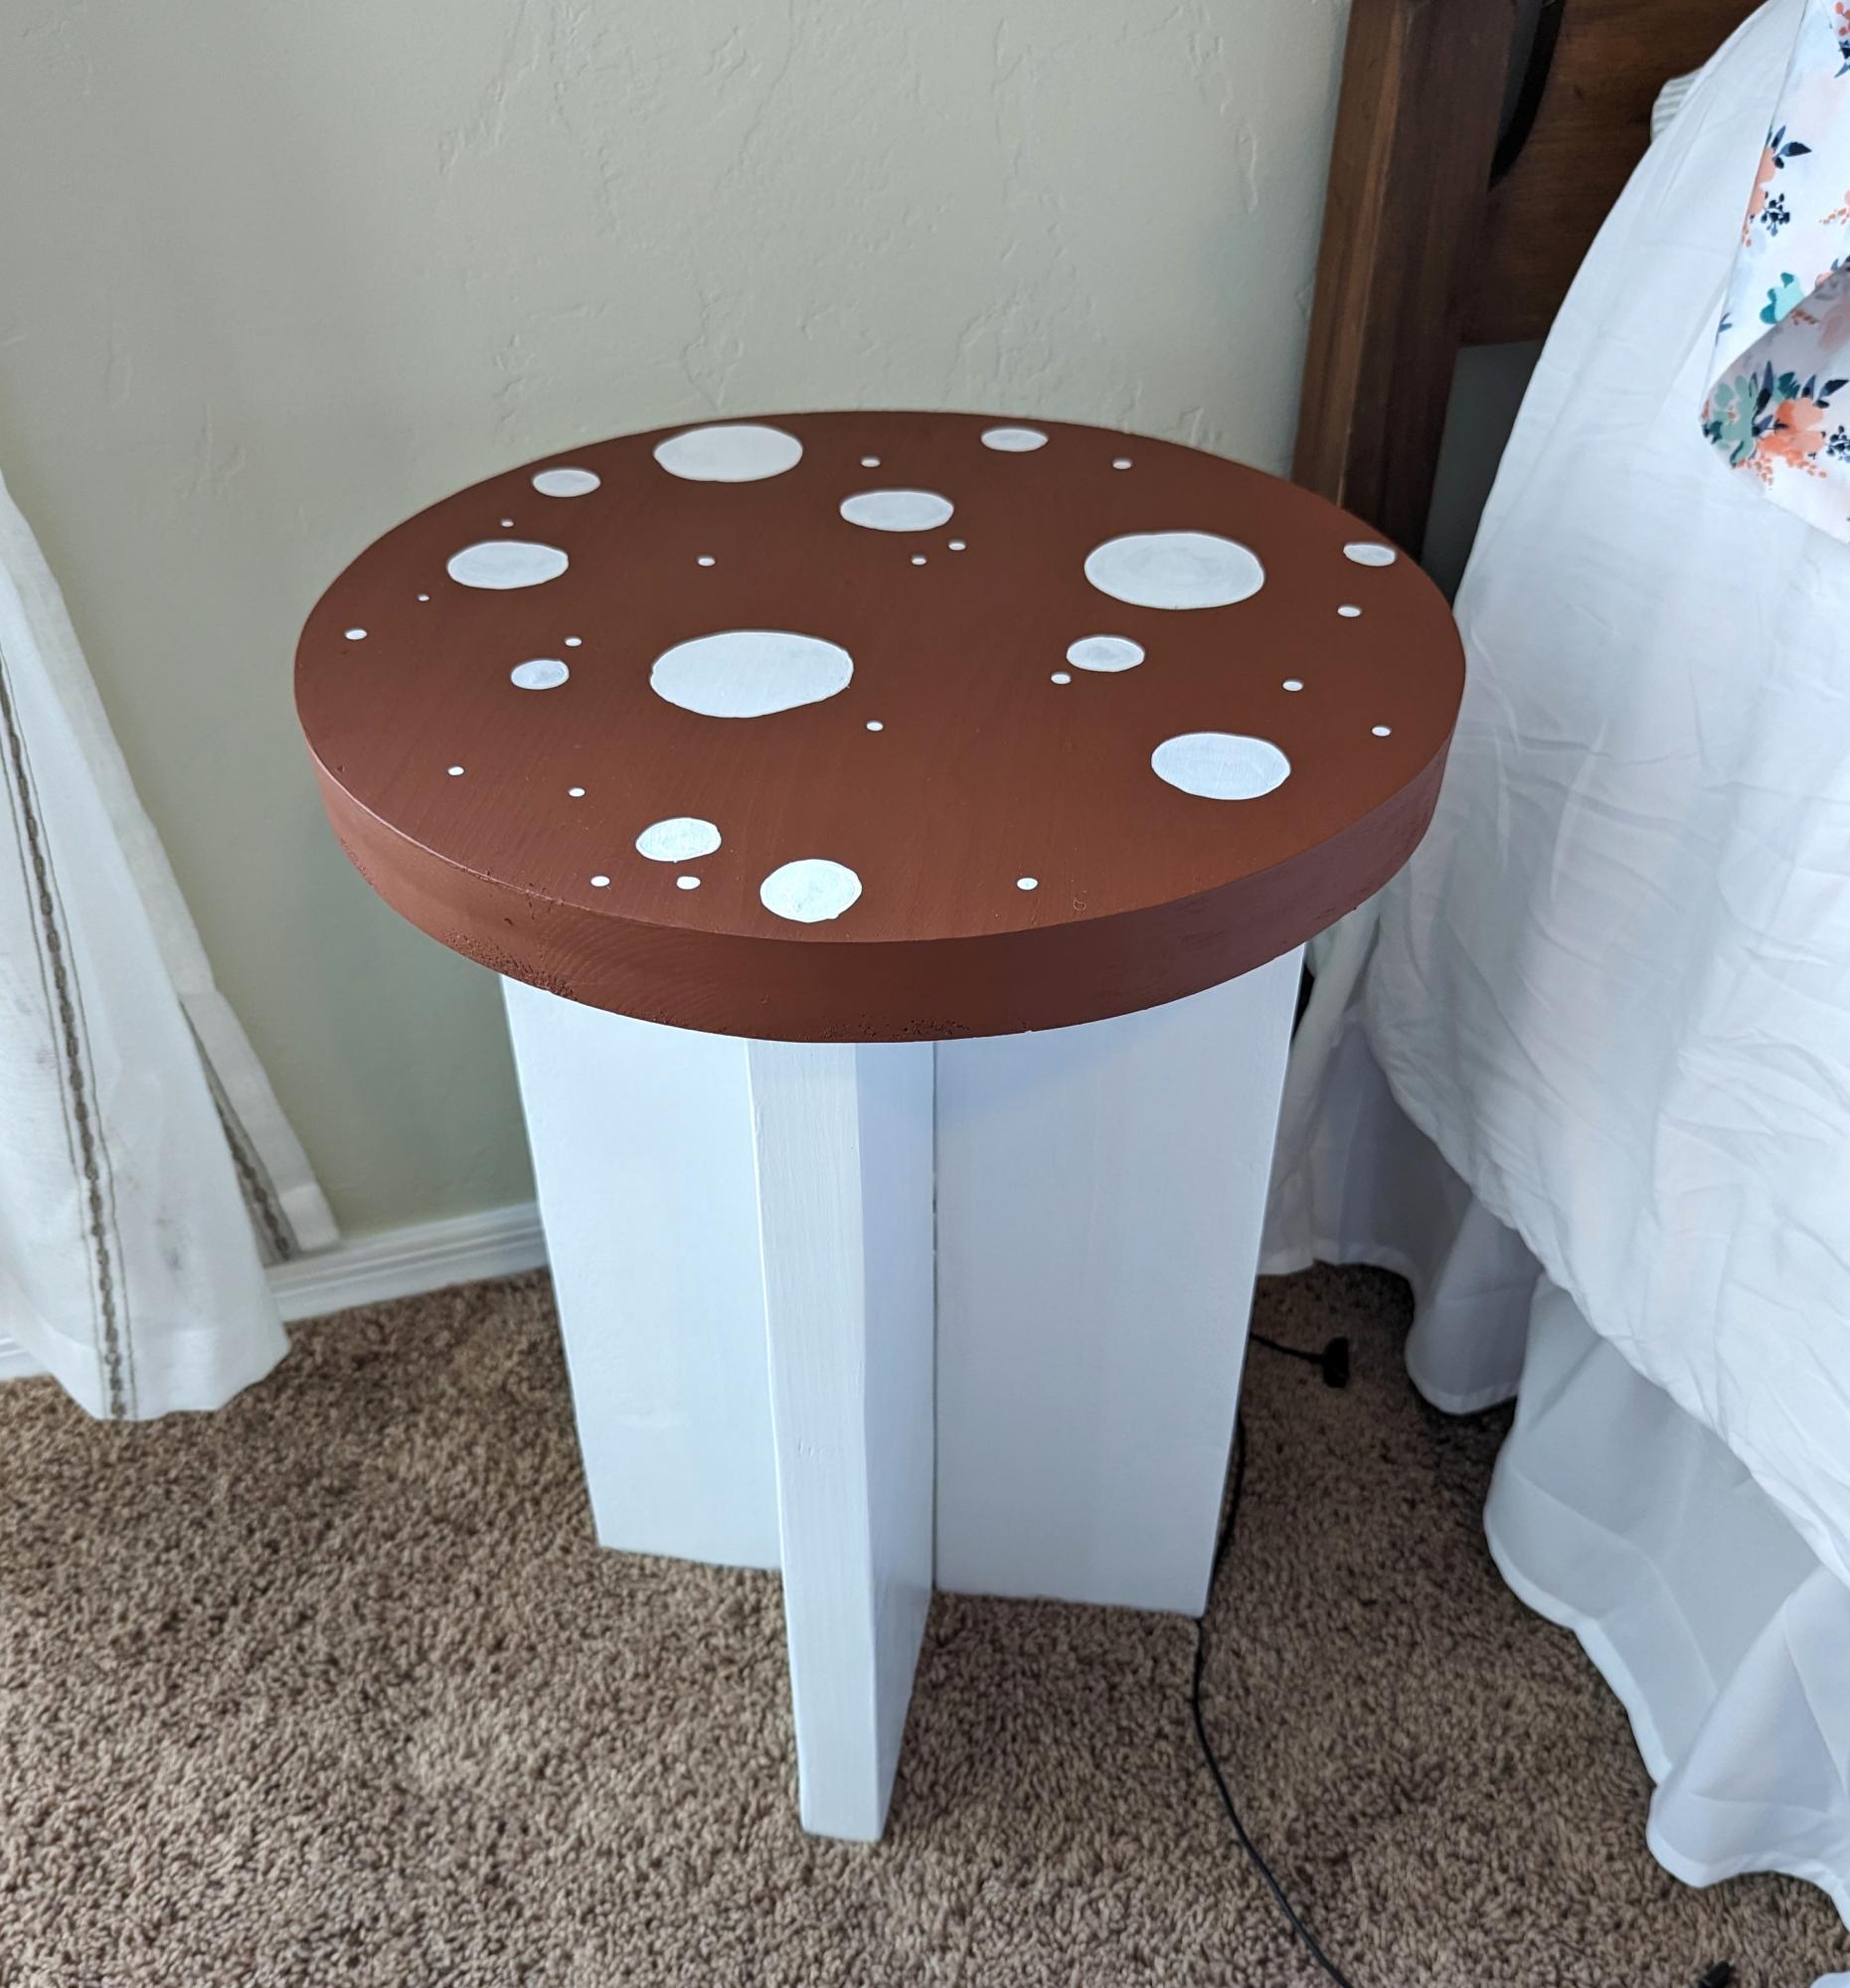
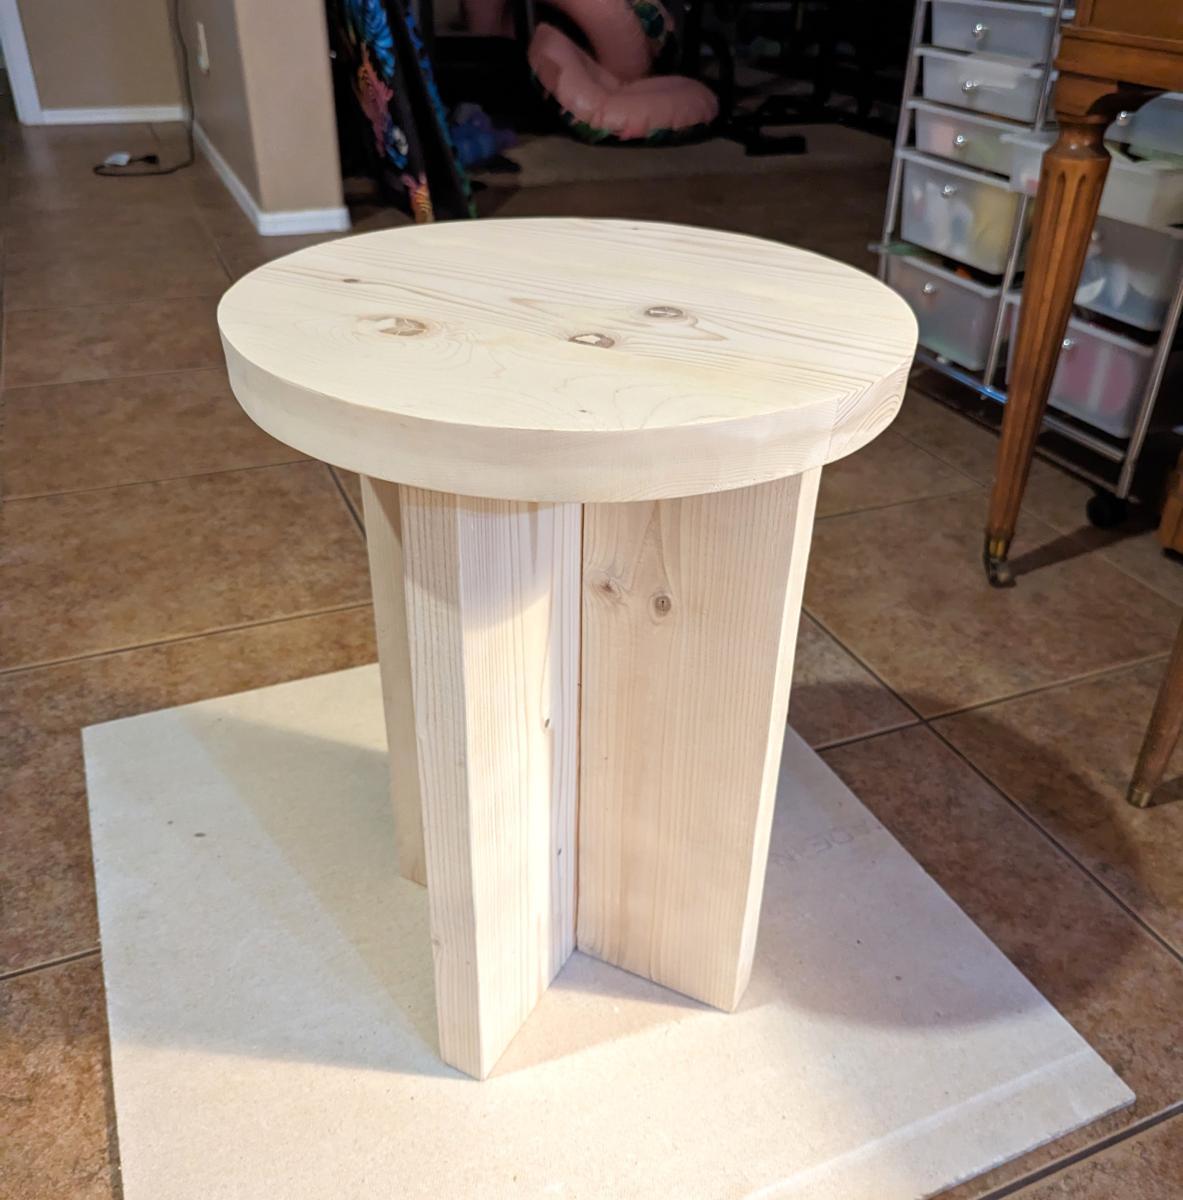
We made this for our daughter, and our other daughter wanted to paint it to look like a mushroom. We are very happy with how it turned out.
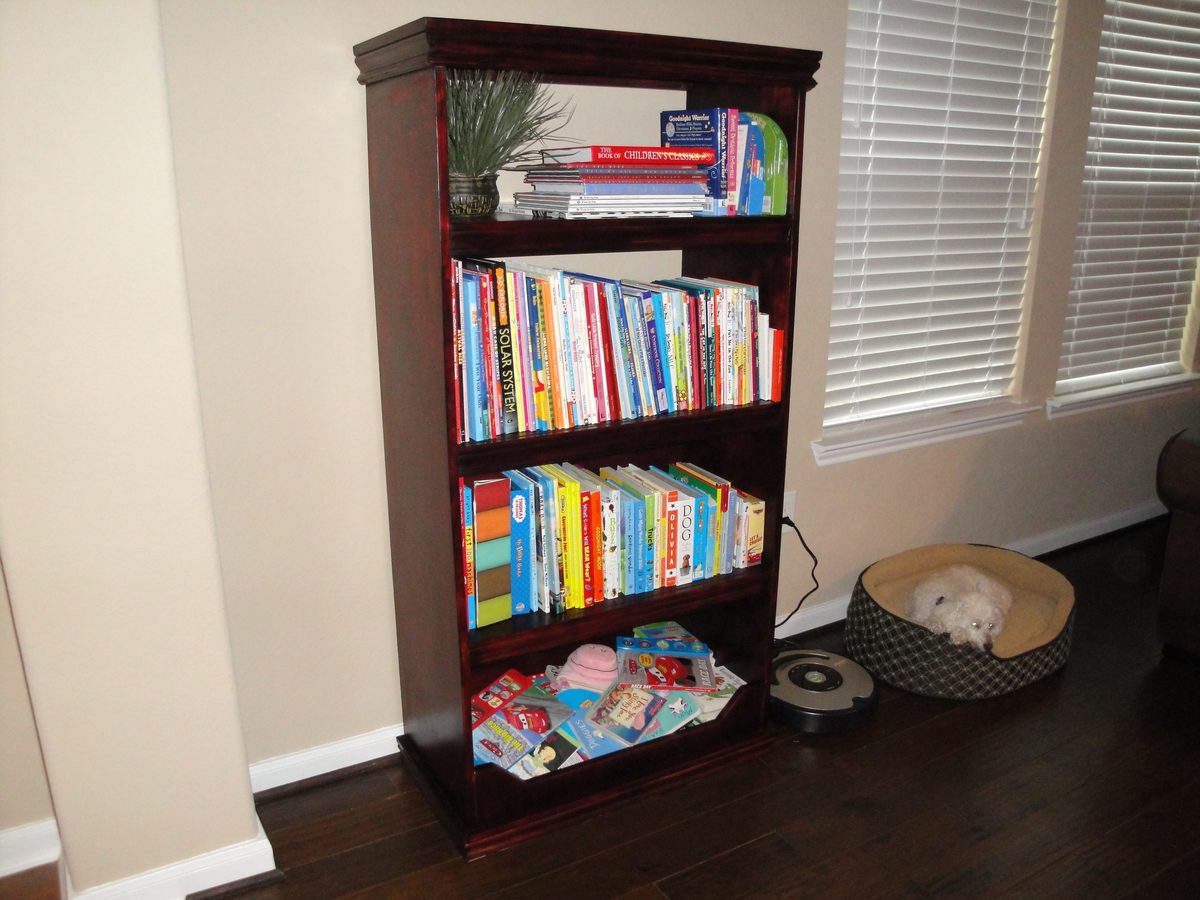
We knew we wanted to make this bookcase as soon as we saw it! I plan to put baskets and toys in it later, but for right now all books. The only difference to the original plan is that we put some plywood behind the bottom two shelves so that we could have a backing when we do use toys. My three year old loves to sit and go through all the board books at the bottom and clean up is a snap!
Sat, 03/03/2012 - 05:36
Great job, I plan on putting a back on mine as well, just haven't gotten around to it. It's in the basement, cut, ready to stain...
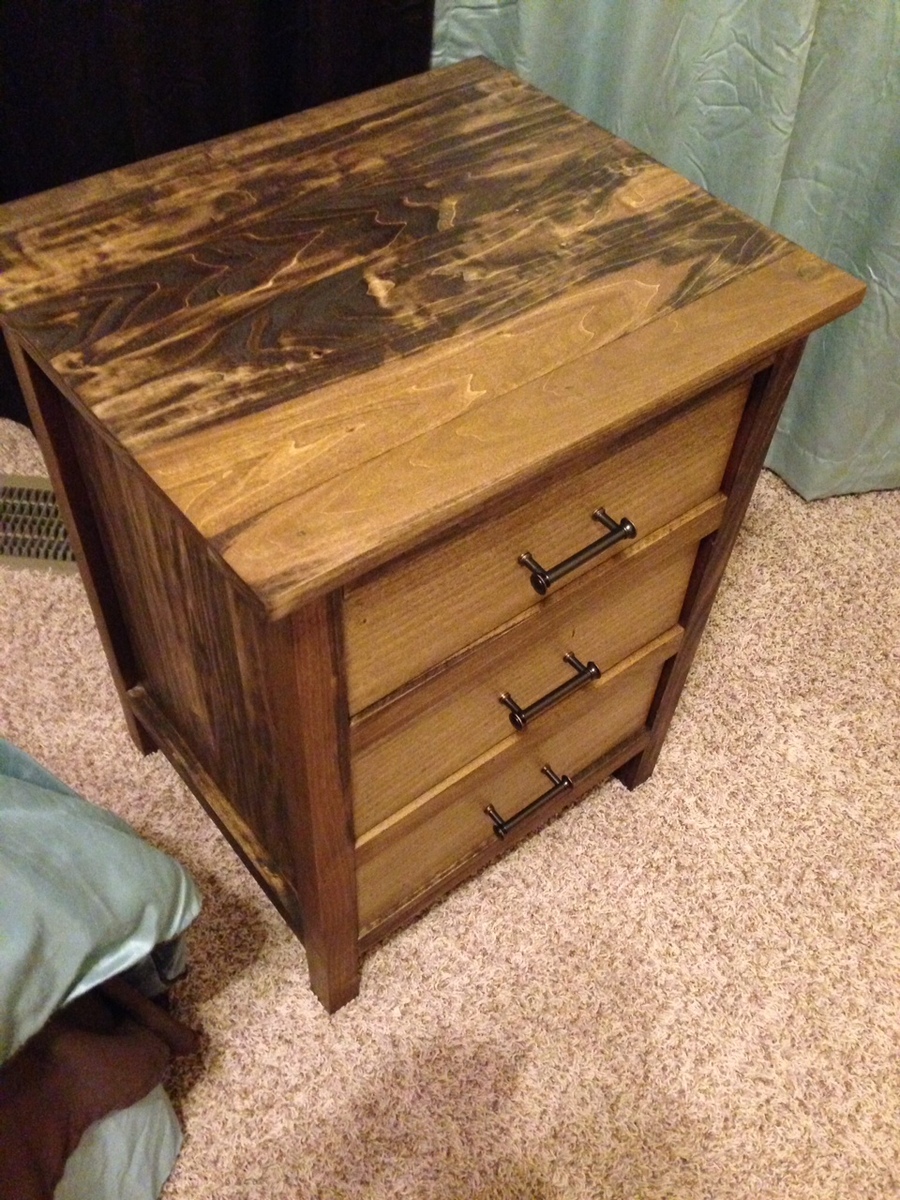
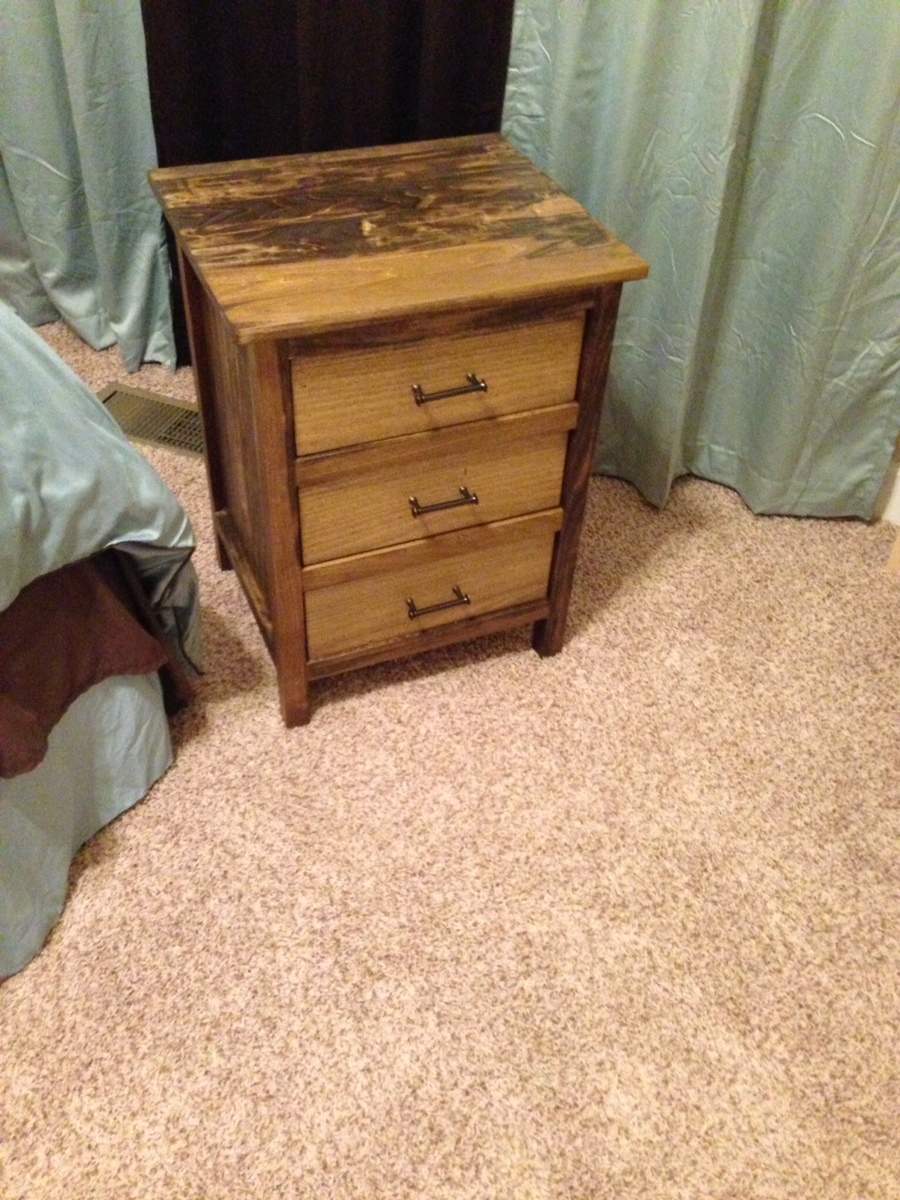
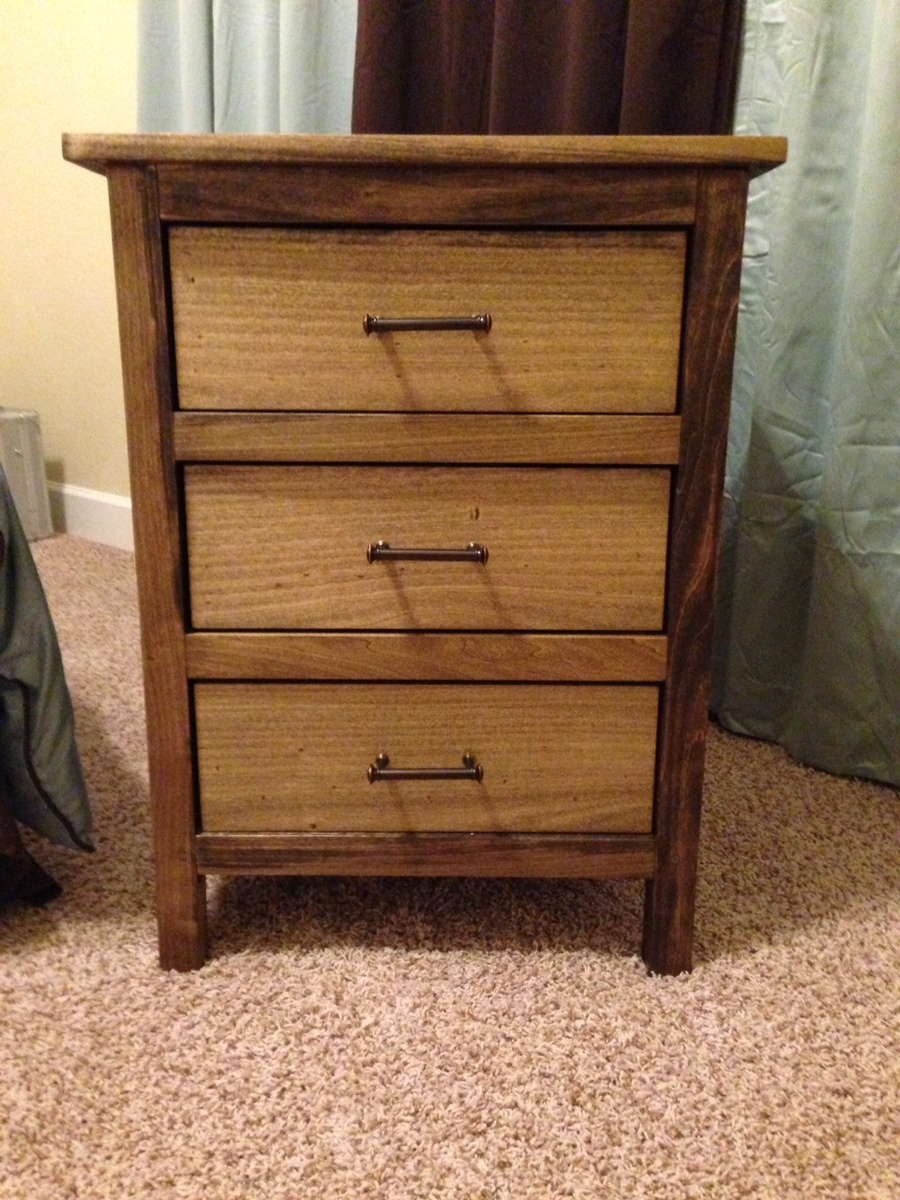
This was my first attempt at building furniture. I decided to make new nightstands for my wife and I. I used the bedside table plans, and they worked excellent. I used poplar hardwood for the material. I stained it using Minwax Special Walnut, and I used Minwax Satin Polyurethane. I am currently working on the second one, which will be my wife's (she said she wanted me to build mine first, so that if I messed it up, hers wouldn't be messed up, lol). Mine turned out good, I am very happy with it. Thanks for the plans! After the next nightstand is built, I would like to build a matching triple dresser...
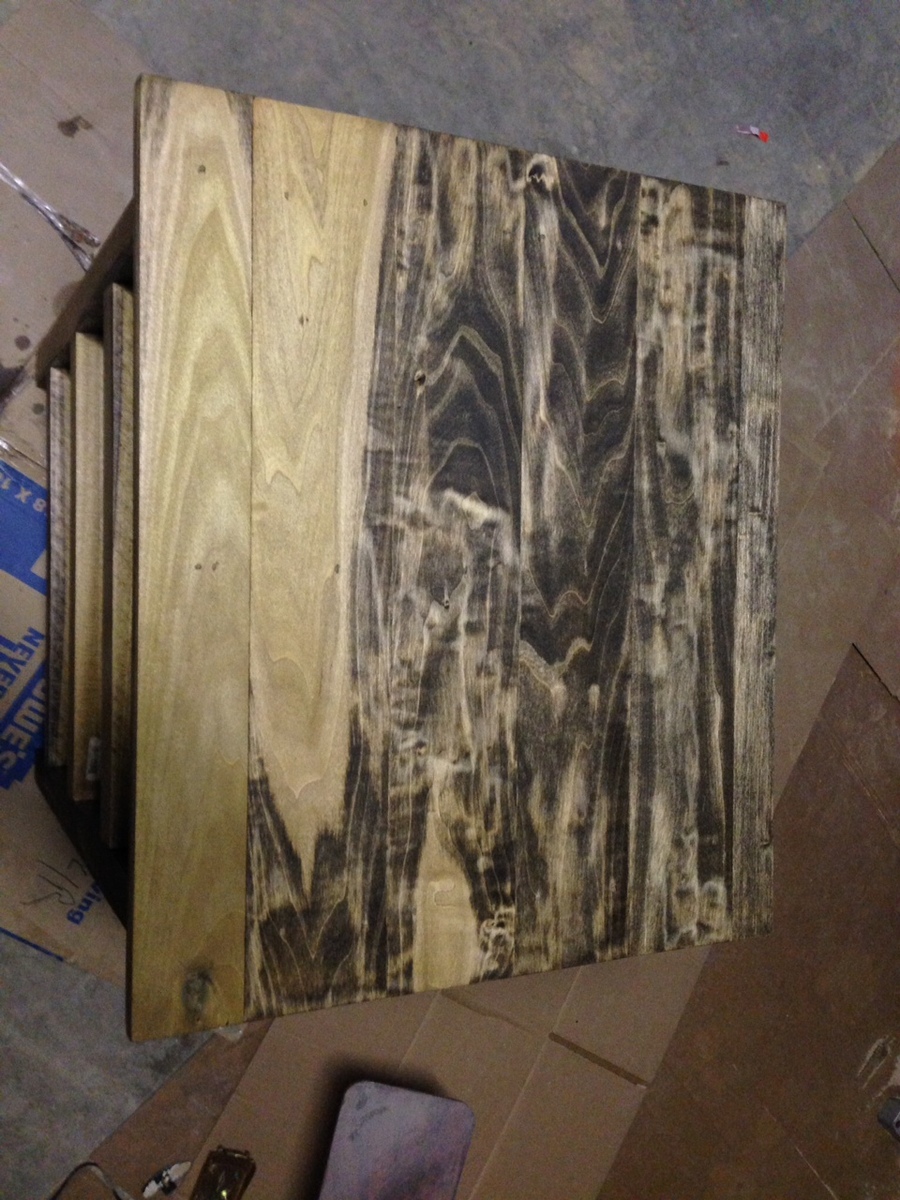
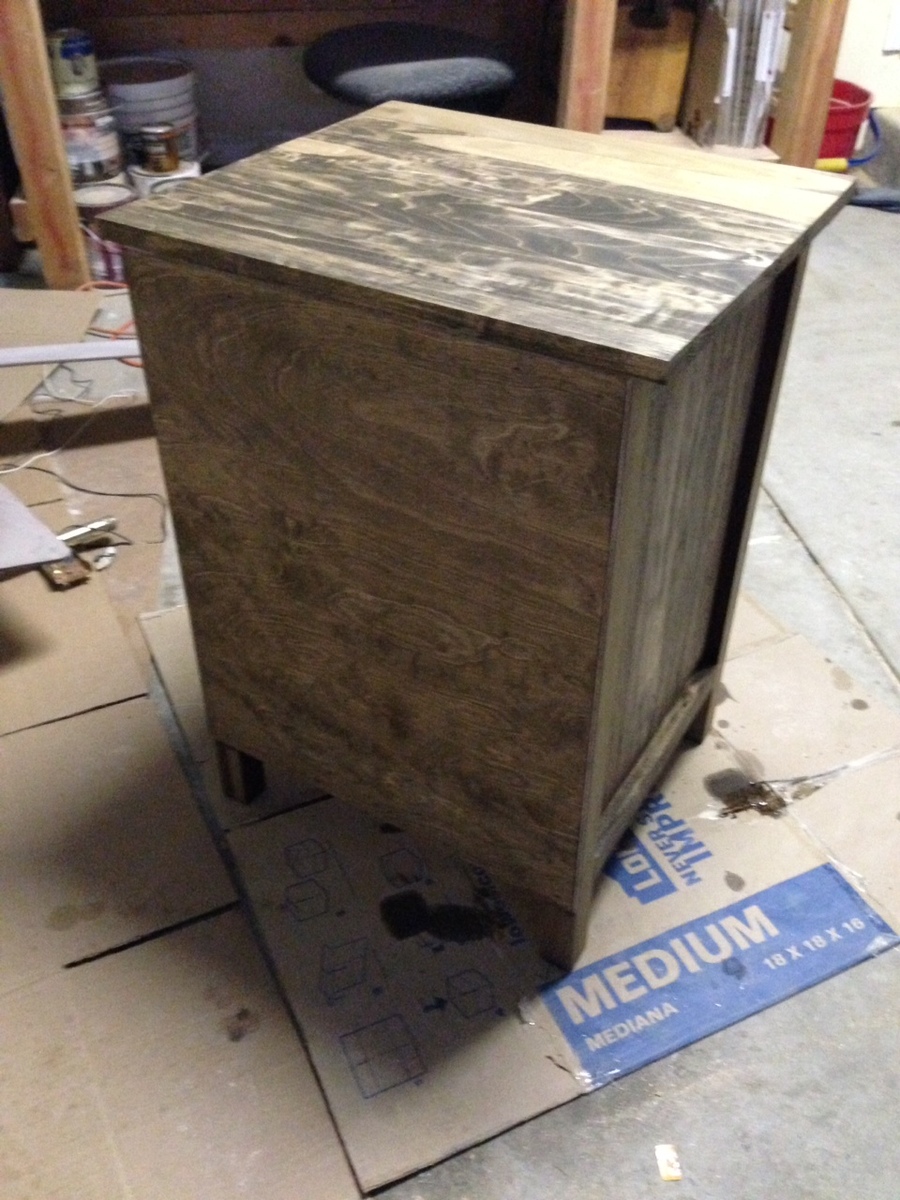
I procured the finest and freshest Redwood from a lumberyard. Tip : Don't go to Home Depot. Most of the squaring and planing was done from the hand held Lie Nielson Jointer # 7. It was worth an investment and came in handy for a lot of other applications. I used Fein Supercut for sanding needs. Works well.
