Community Brag Posts

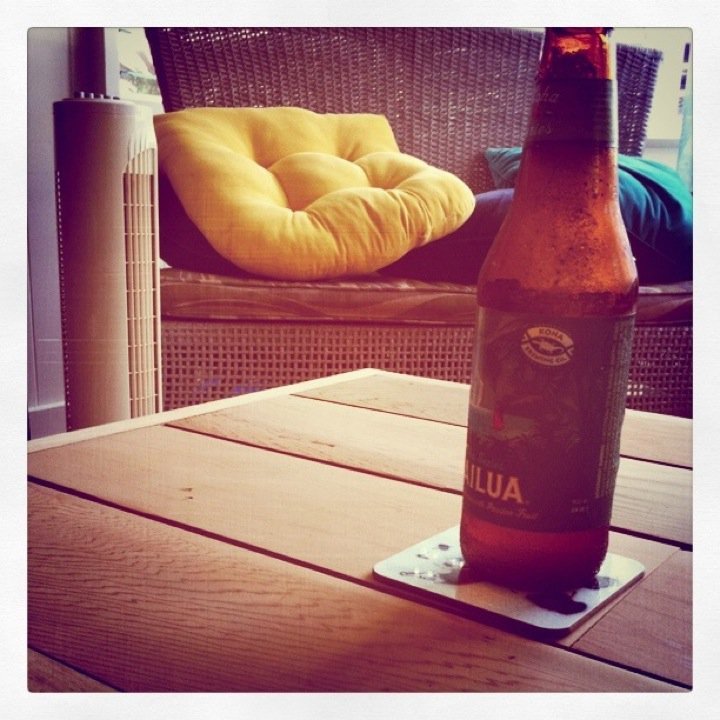
Reclaimed Wood Coffee Table

Submitted by Me-go-Eco on Fri, 08/19/2011 - 10:42

Built this coffee table as a housewarming present for my buddy who got me hooked on woodworking as a hobby! Made from reclaimed wood.

You want to see more? Check out my blog and follow me.

http://me-go-eco.blogspot.com

my twitter is: me_go_eco

Reduce, Reuse, Recycle, RECLAIM! Thanks!

Estimated Cost
$10 thrownout wood and leftovers from old projects from Re-use Hawaii.
Estimated Time Investment
Afternoon Project (3-6 Hours)
Finish Used
None
Recommended Skill Level
Beginner

Comments

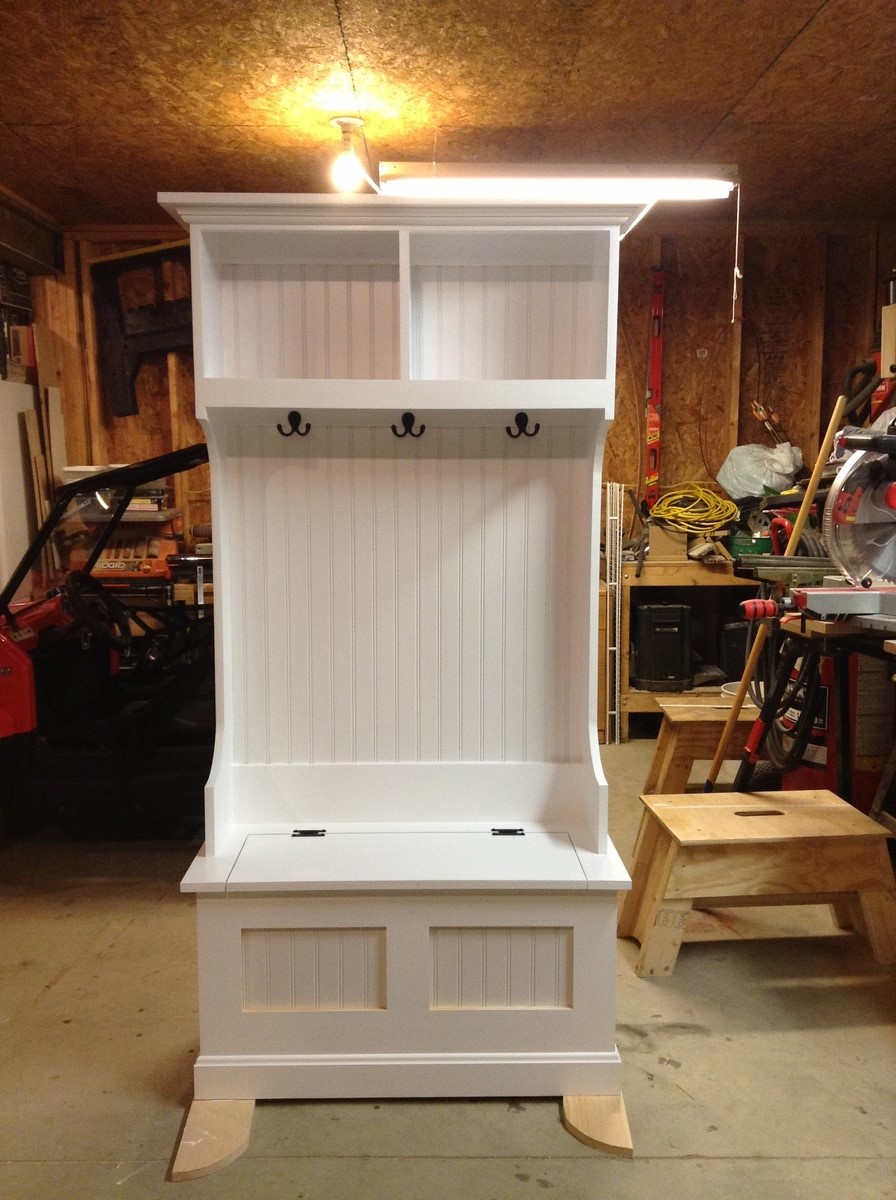
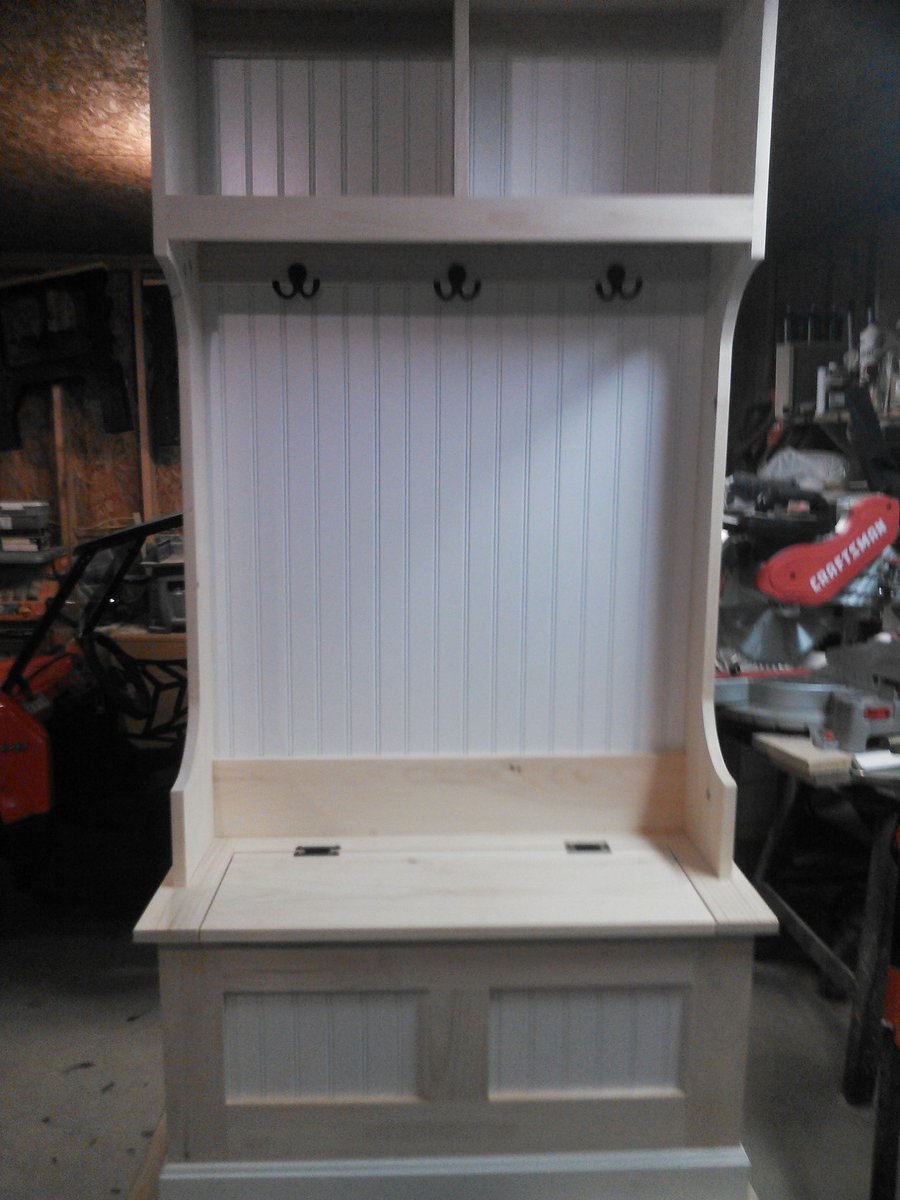
My coat rack

Submitted by atenney446 on Wed, 09/11/2013 - 17:41

Thank you for such a simple set of plans for such a useful and practical piece of furniture. I enjoyed making this.

Built from Plan(s)
Estimated Cost
$75
Estimated Time Investment
Weekend Project (10-20 Hours)
Finish Used
Semi gloss enamel paint
Recommended Skill Level
Intermediate

Comments

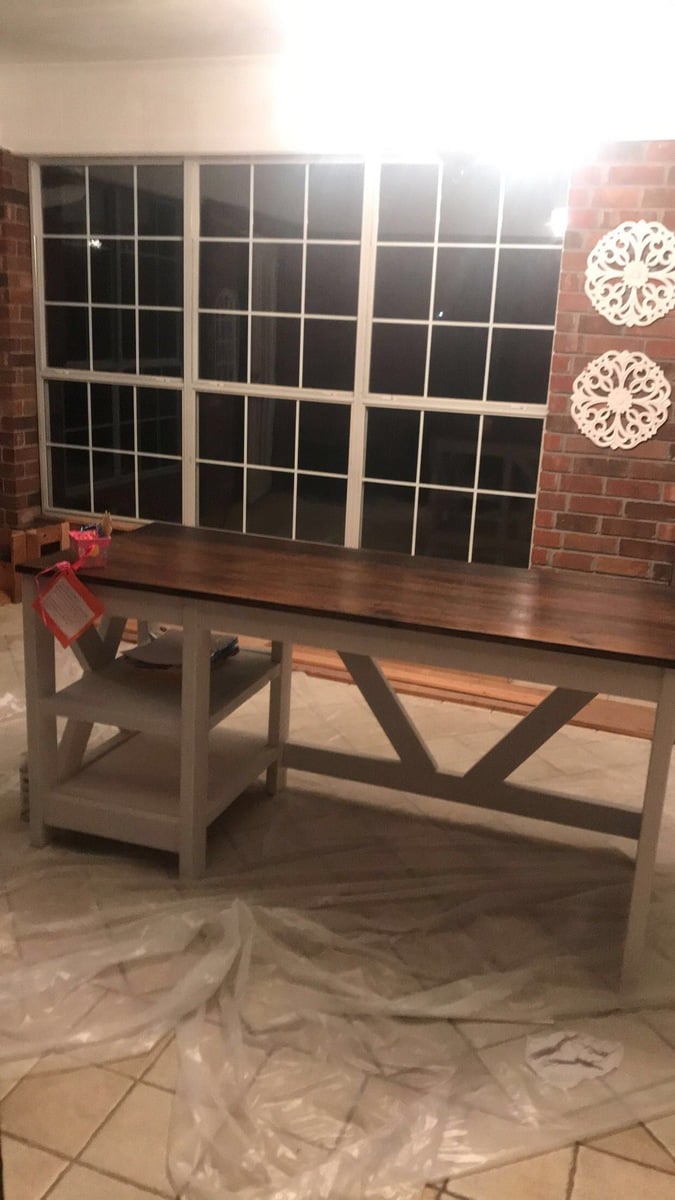
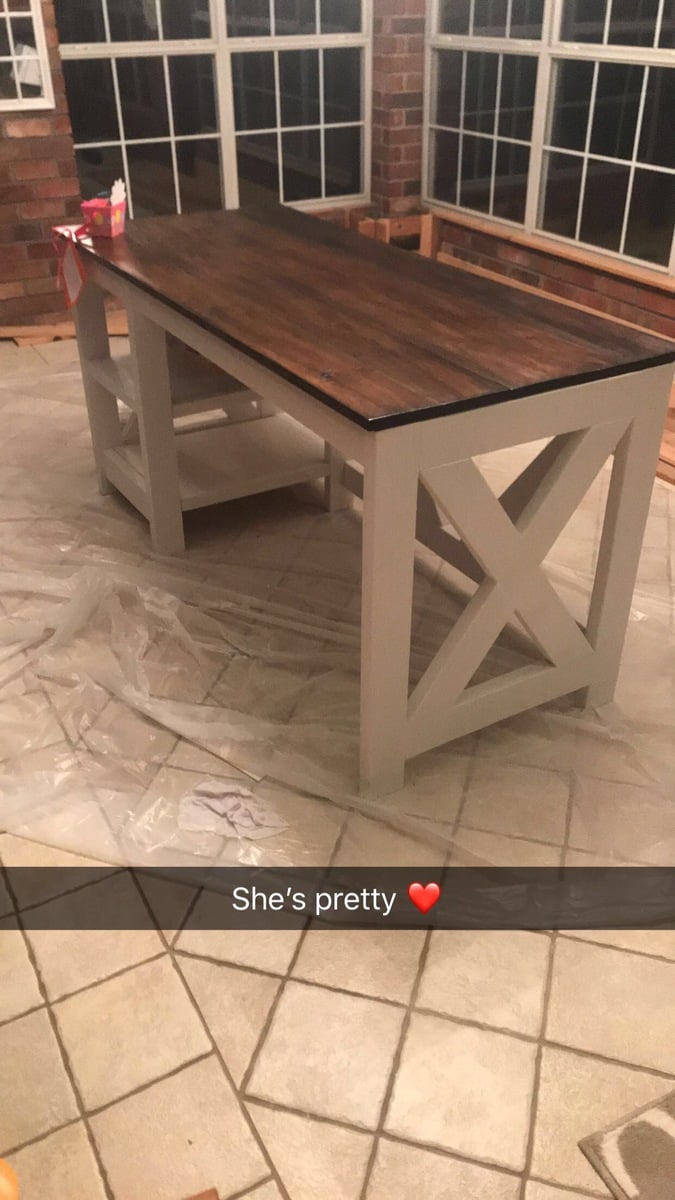
Desk

Submitted by Anonymous (not verified) on Fri, 01/04/2019 - 15:34

I absolutely love how this turned out! Thank you for plans! I was able to use aquired tools and wood from each of my grandparents Who have passed which makes it that Much more special to me

Built from Plan(s)
Estimated Time Investment
Weekend Project (10-20 Hours)
Finish Used
Antique white chalk paint and Kona stain
Recommended Skill Level
Intermediate

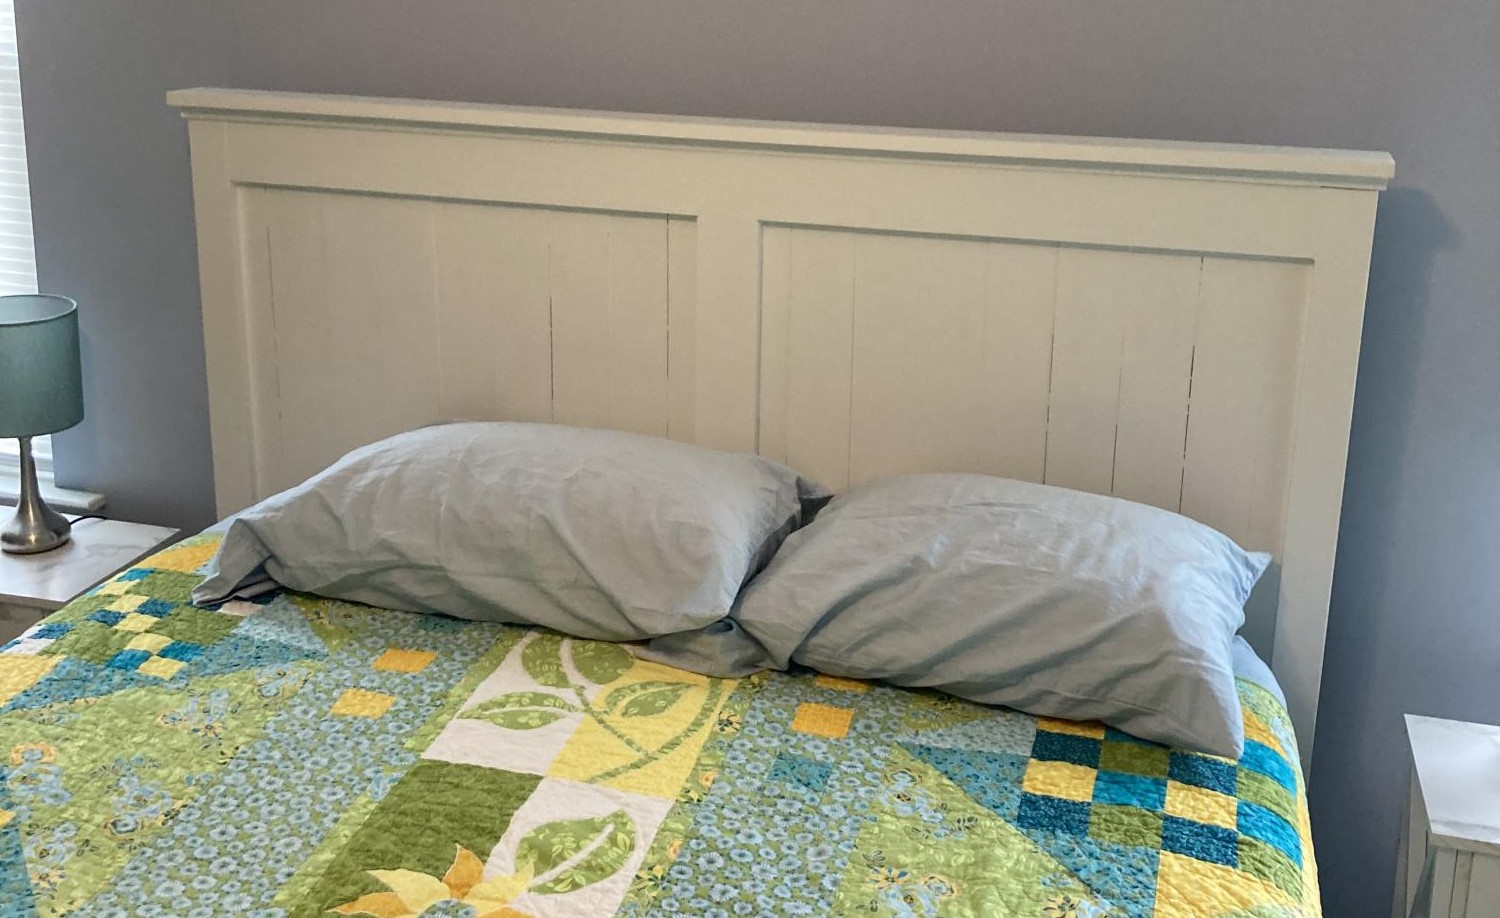
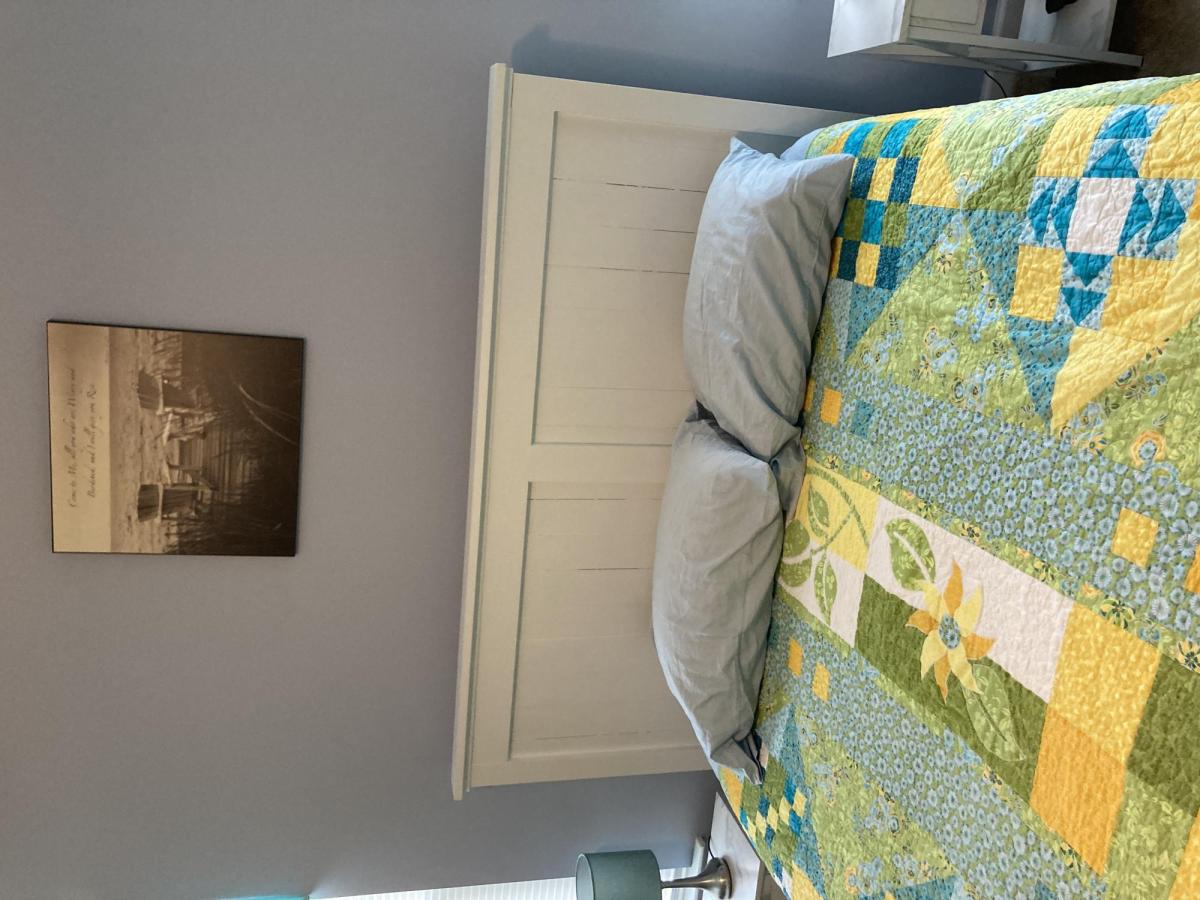
Brookstone queen headboard

We had an old heavy sleigh bed with headboard and footboard. It overwhelmed the room. We bought a basic metal bed frame. I made this headboard from Ana's plans, and my wife painted it. We really like this so much better.

Built from Plan(s)

Comments

My first project- we are loving our new bookcases

Submitted by MatiaP on Sun, 08/21/2011 - 22:33

This was my very first project. I had been on the hunt for two bookcases to put on either side of our fireplace. This plan was just right, but shorter than our space so I modified the plan and made the bookcases longer. I used the kreg jig every place I could find. Thanks so much Ana for your website. Finally we are furnishing our new house without breaking the bank. I never would have thought that I could build furniture, just the way we want it, all by myself. It's a wonderful feeling and I'm addicted.

Estimated Cost
$60 per bookcase
Estimated Time Investment
Day Project (6-9 Hours)
Recommended Skill Level
Starter Project

Media console

This is a tv stand I built for my mom, she had to get a new tv because her tube tv finally broke. Her old stand was a big particle board cabinet that wouldn't fit a new flat screen. I seen this plan on here and thought it would make a great stand for her she absolutely loves it.

Built from Plan(s)
Estimated Cost
$80
Estimated Time Investment
Weekend Project (10-20 Hours)
Finish Used
I used minwax dark walnut stain and minwax satin polyurethane spray.
Recommended Skill Level
Beginner

Comments

Rolling Cabinet

Submitted by Ovidiu on Fri, 11/20/2015 - 01:14

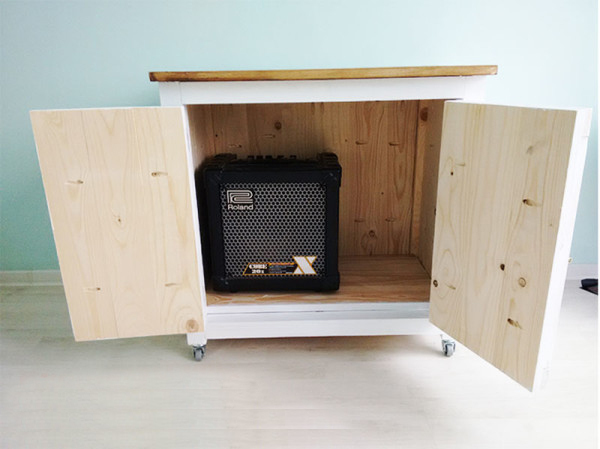
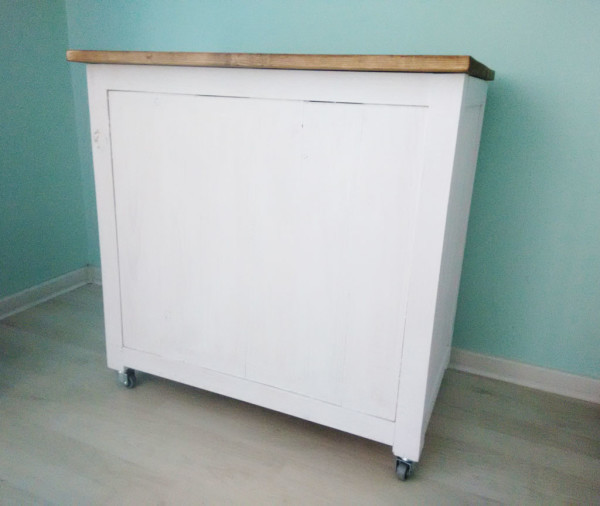
This is one of the projects I am most proud of, as it has a farmhouse look and it is also really useful around the house. I use it for my guitar amp, as well as to store other small items. The caster wheels make moving it very easily, so it can also be used as a kitchen island. 

Estimated Cost
100 $
Estimated Time Investment
Day Project (6-9 Hours)
Finish Used
Water based paint and Stain
Recommended Skill Level
Intermediate

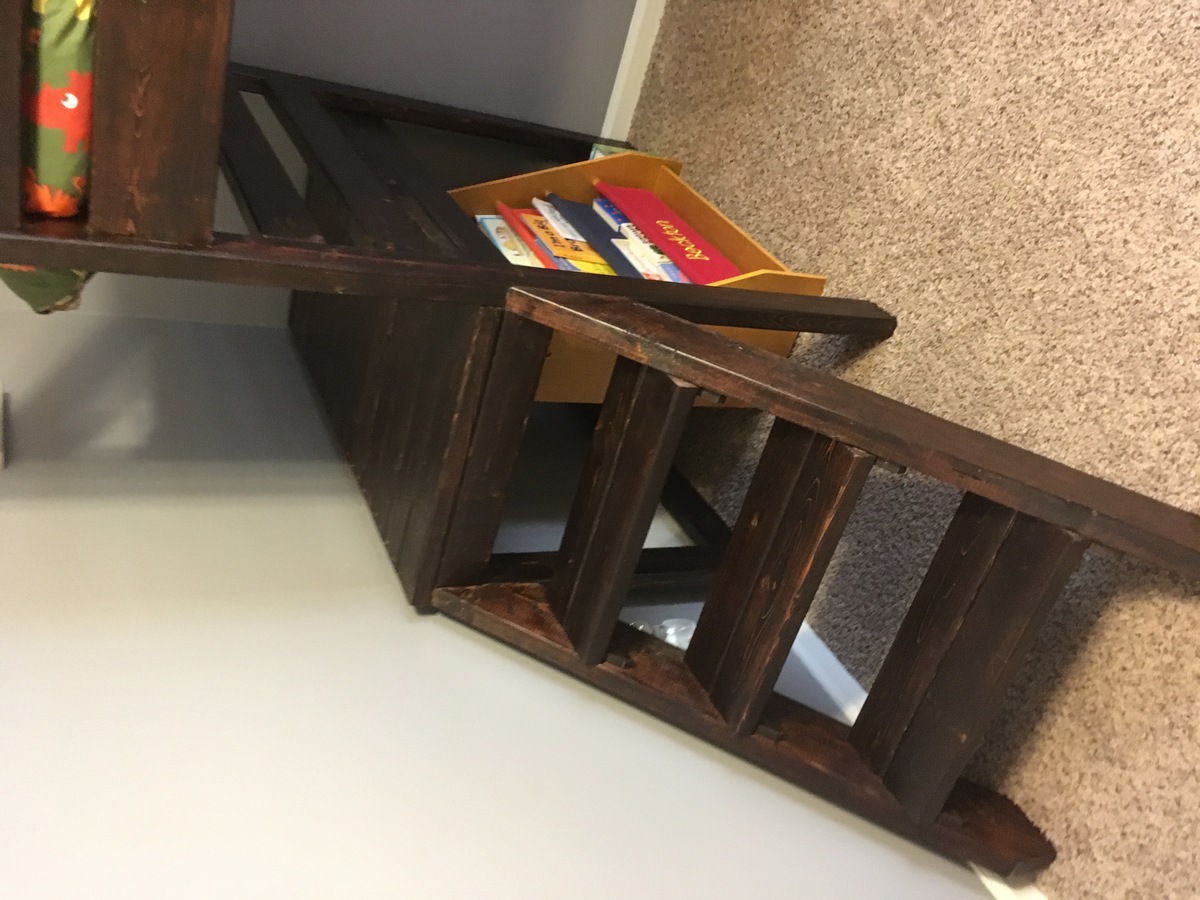
Loft Bed

Submitted by Anonymous (not verified) on Tue, 01/08/2019 - 06:59

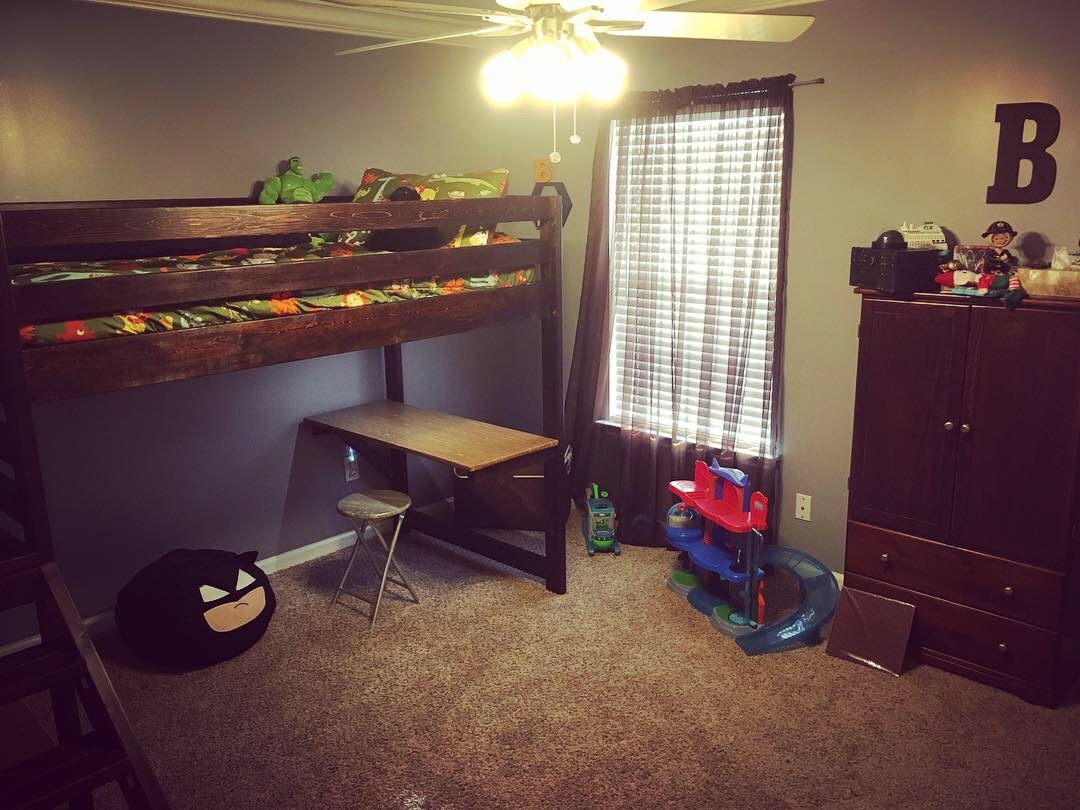
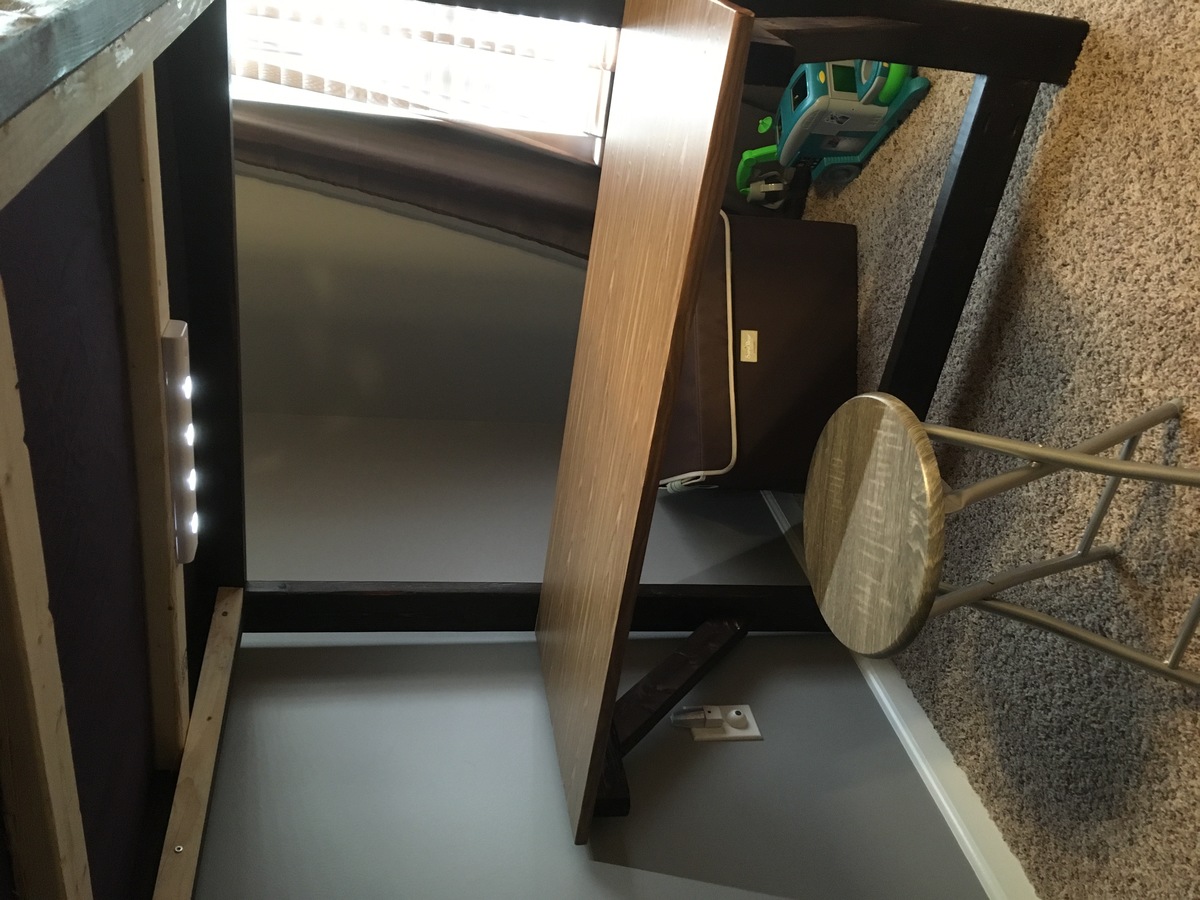
Built this for my son so he would have a fun play area in his room. 

Estimated Cost
Since I needed certain tools, the cost was under $200!
Estimated Time Investment
Weekend Project (10-20 Hours)
Finish Used
Just a dark/red stain.
Recommended Skill Level
Beginner

Comments

1st Tapered plant stand

Submitted by Anonymous (not verified) on Sat, 10/15/2022 - 18:18

I enjoyed this build looking forward to making more.

Built from Plan(s)

Comments

Kid's Storage Dining Table

Submitted by christy on Thu, 08/25/2011 - 17:01

My sister-in-law wanted a kid-sized dining table for all her nieces and nephews, so I made one for her by combining a couple of Ana's plans. The little seats are just a scaled down version of the Easiest Upholstered Bench plans. My kiddos love it so much, it looks like I'll be making another for us.

Estimated Cost
$100 - $150
Estimated Time Investment
Day Project (6-9 Hours)
Finish Used
The base is just gloss white paint. The top is stained using minwax special walnut. I finished the top with 3 coats of wipe-on poly, lightly sanding between each coat.
Recommended Skill Level
Beginner

Comments

Lady Goats

Thu, 09/08/2011 - 11:18

I'm looking for ideas for a round kid-table to go with a window seat I plan on making. This looks great! What're the dimensions of the table-top? It looks like it'd fit a lot of kiddos, well!

Lady Goats

Sat, 09/10/2011 - 07:59

When I looked at the 36", they just seemed too small. It's nice to have something to compare it to! :-)

Guest (not verified)

Mon, 03/26/2012 - 03:24

Hi, can you tell me the age of the kids in the picture? I'm hoping this size would fit my sons with plenty of room to grow. Age/size comparison would help a lot if you don't mind sharing! Your table looks amazing!

Guest (not verified)

Mon, 03/26/2012 - 08:10

They are 5 years and 2 years. The older one is pretty tall for her age...about 46 inches at the time the photo was taken.

Guest (not verified)

Mon, 03/26/2012 - 08:11

They are 2 years and 5 years. The older one is tall for her age...about 46 inches at the time the photo was taken.

spiceylg

Sat, 10/20/2012 - 10:32

Love it, beautiful job. Built this just from the kid's storage table plans. She references a 32" top but I don't believe they sell that size. Just wanted to make sure the 36" isn't top heavy?

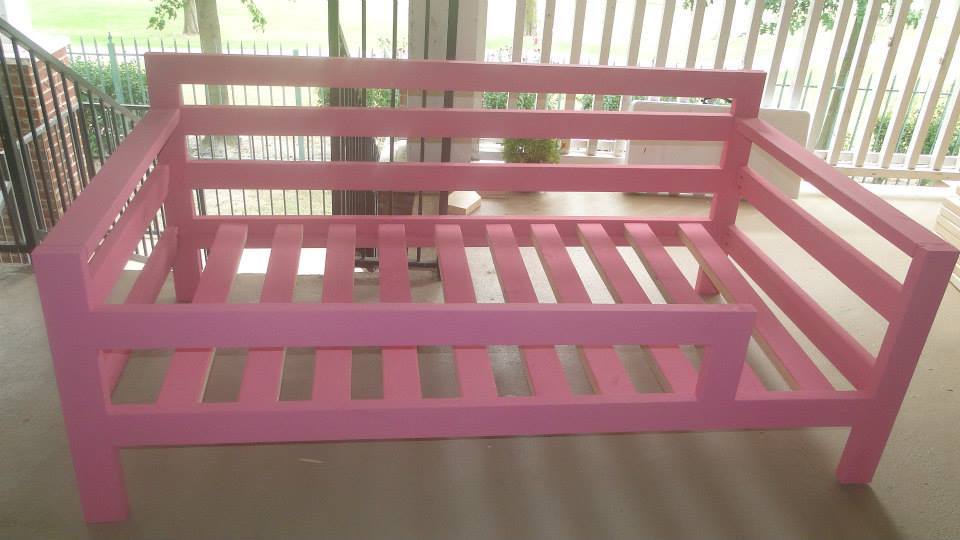
Pink Twin Day Bed made for a Toddler

Simple Day Bed Modified with rail for toddler coming from a toddler size bed.

Estimated Time Investment
Afternoon Project (3-6 Hours)
Finish Used
Olympic in a light pink
Recommended Skill Level
Beginner

Comments

Modified Indoor Clubhouse and Bed

Submitted by Anonymous (not verified) on Fri, 01/11/2019 - 21:49

This is my first build and I had so much fun!  I am now officially addicted to DIY and woodworking!  

I started off with a couple of problems right out of the gate but, I really wanted to make this for my Grandaughter for Christmas.  The first problem was the ceiling in her room is 7 feet 6 inches  high.  So, if I lowered the height then the loft platform became too low to install over a twin bed.   It didn’t allow for enough headroom over the mattress.  Plus, I didn’t want her to sleep on a mattress that was on the floor. So, I raised the platform to 48 inches and modified the roof so that I would be able to fit the Alaska Cabin Twin storage bed underneath.  

I also modified the size by increasing the platform dimensions to 40”x48”.   Doing that allowed me to comfortably fit the bed underneath. 

 I was lucky to find laminate flooring on clearance at Lowe’s. I paid five dollars for an open box. I used it to cover the plywood floor. I also used it for the roof by just nailing it to the 2x4s. 

 I wanted my granddaughter to be  able to paint, use her markers, and be as messy as she wanted without restrictions.  One wall is made from dry erase board with 1x4s as shelving to frame it out.  (I used Ana’s flip down desk plans as a guide for the shelving.) The back wall is slat wall from Menards.  I just spray painted it hot pink.  The third wall is a 12 inch shelf framed out by 2x4s. The last wall is leftover 1x3 and 1x4 boards that I stained and painted. 

 My daughter didn’t like the first ladder so I moved it to one side. I stained the ladder with Minwax classic gray. I also used the classic gray stain for the cabin bed frame.  The pink on the cabin bed is  Sherwin Williams “hibiscus.”

 My granddaughter and I finished the bed this evening. She loves helping me “work “in the garage. We ended our build by adding a monster free zone. Monsters will be zapped if they try to enter the clubhouse or the bed! Thank you Ana! 

Mary
Estimated Cost
$150
Estimated Time Investment
Week Long Project (20 Hours or More)
Finish Used
Minwax Classic Gray
Sherwin Williams “Hibiscus”
Kilz white primer
Recommended Skill Level
Beginner

Comments

4x4 Truss Beam Table

Submitted by Anonymous (not verified) on Fri, 10/21/2022 - 10:42

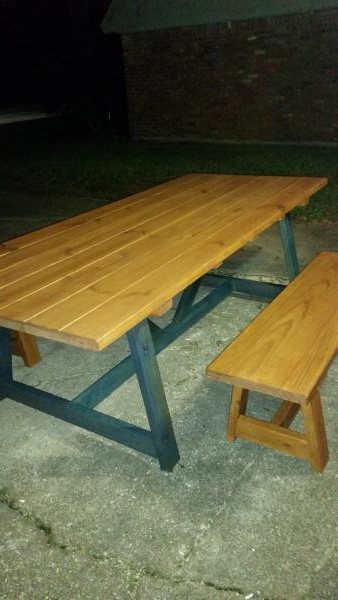
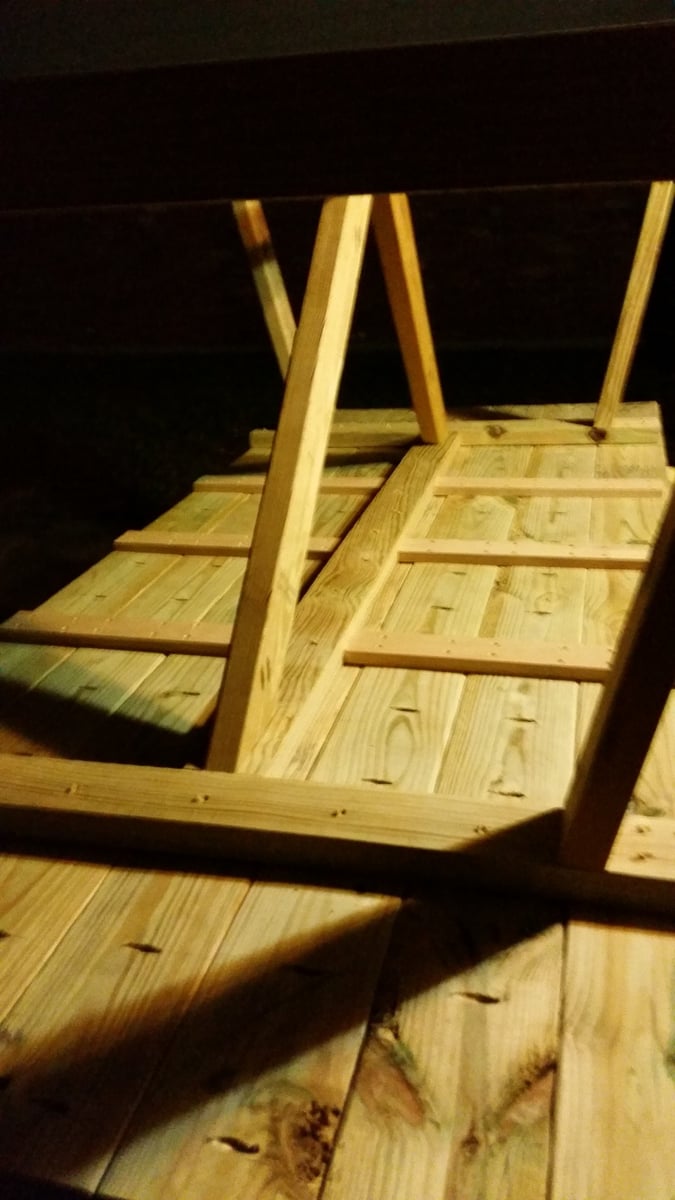
This is our new dinning room table. We used the 4x4 truss beam table and refer to it as our farm to table table. It's made from red cedar that we harvested off of our land and milled into lumber. A natural stain with some clear coats and it turned out to be gorgeous. I wasn't a fan of the black base, at first, but think the finished table looks good. Pretty happy with my first table attempt.

Built from Plan(s)

Comments

Modified Loft Bed

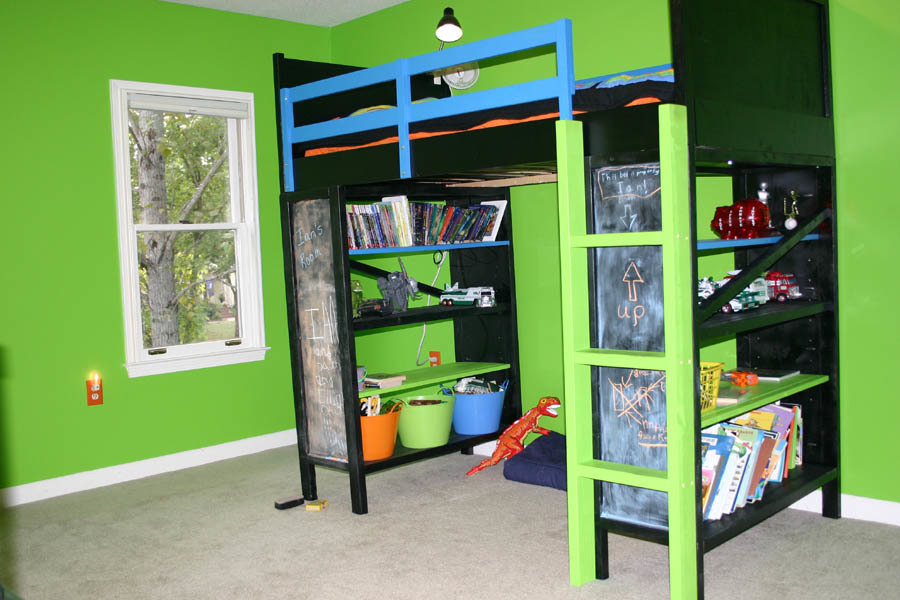
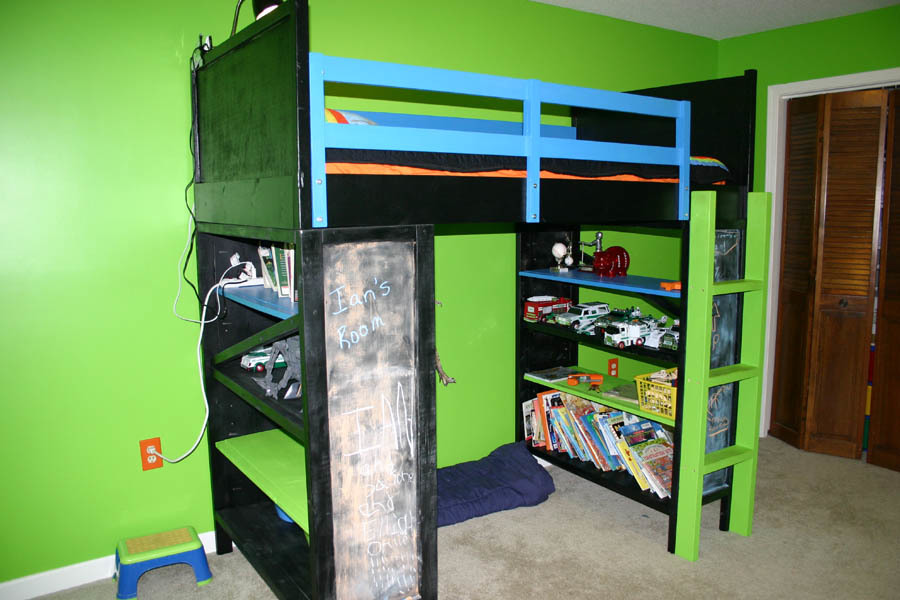
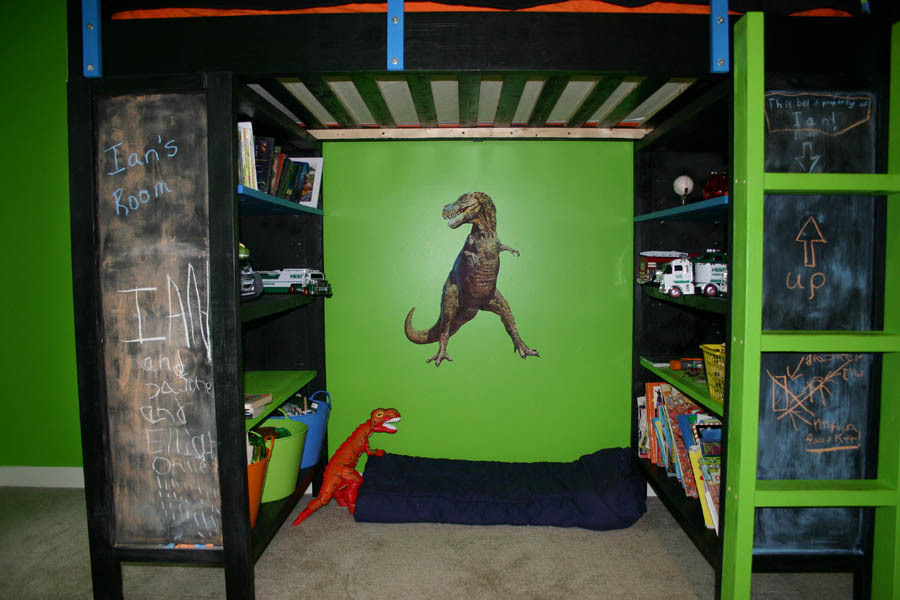
It was time for my younger son's bedroom re-do. He had waited patiently, and was pretty clear in his requests. He wanted color, and dinosaurs. Not just any dinos, but "real" ones--no babyish dinos allowed, said my future paleontologist. Once he saw the loft bed that I was considering for his older brother--he was hooked. We negotiated the paint colors and we were off.

I used the cabin loft bed and the chelsea designs for this bed.
I used the Chelsea bookcases with 2x3s as legs instead of 2x2s (due to quality). This altered the shelf measurements some, but I simply made my adjustable shelves to plan.
The biggest thing to note about the Chelsea bookcase supports is that you need some sort of bracing to eliminate side-to-side wobble. I used a 2x2 and eliminated most all of it, but you need to take this into account!

As for the cabin loft plan part--this was used in the bed portion of the plan. I did used the non-mortising bed rail brackets to attach the side rails for ease of use.

Ladder-Oh the ladder and the angles gave me fits! LOL. I ended up doing a straight ladder and attaching it to the bookcase support. It's fine. Just FYI-don't paint your ladder a light color if dirt bothers you. The rungs are already showing the dirt from little boy feet, so it may get painted again!

I painted the side panels of the bookcases with chalkboard paint. If I did it again I think I would have attached a smooth piece of thin board(the name escapes me right now) and painted that, as the wood tends to catch the eraser some.

Estimated Cost
~$200-$250
Estimated Time Investment
Week Long Project (20 Hours or More)
Finish Used
I used a rustoleum satin black, a behr cobalt blue paint and primer in one (from the oops bin at orange for $1!) and the green was a Sherwin Williams eggshell (same as the walls).
Recommended Skill Level
Intermediate

Comments

jalfieri

Fri, 12/30/2011 - 18:19

I like the idea of using the straight ladder. I built the loft bed for my daughter. I went crazy trying to make the legs match. After a lot of filing I was able to get them relatively close. BTW, nice dinosaurs!

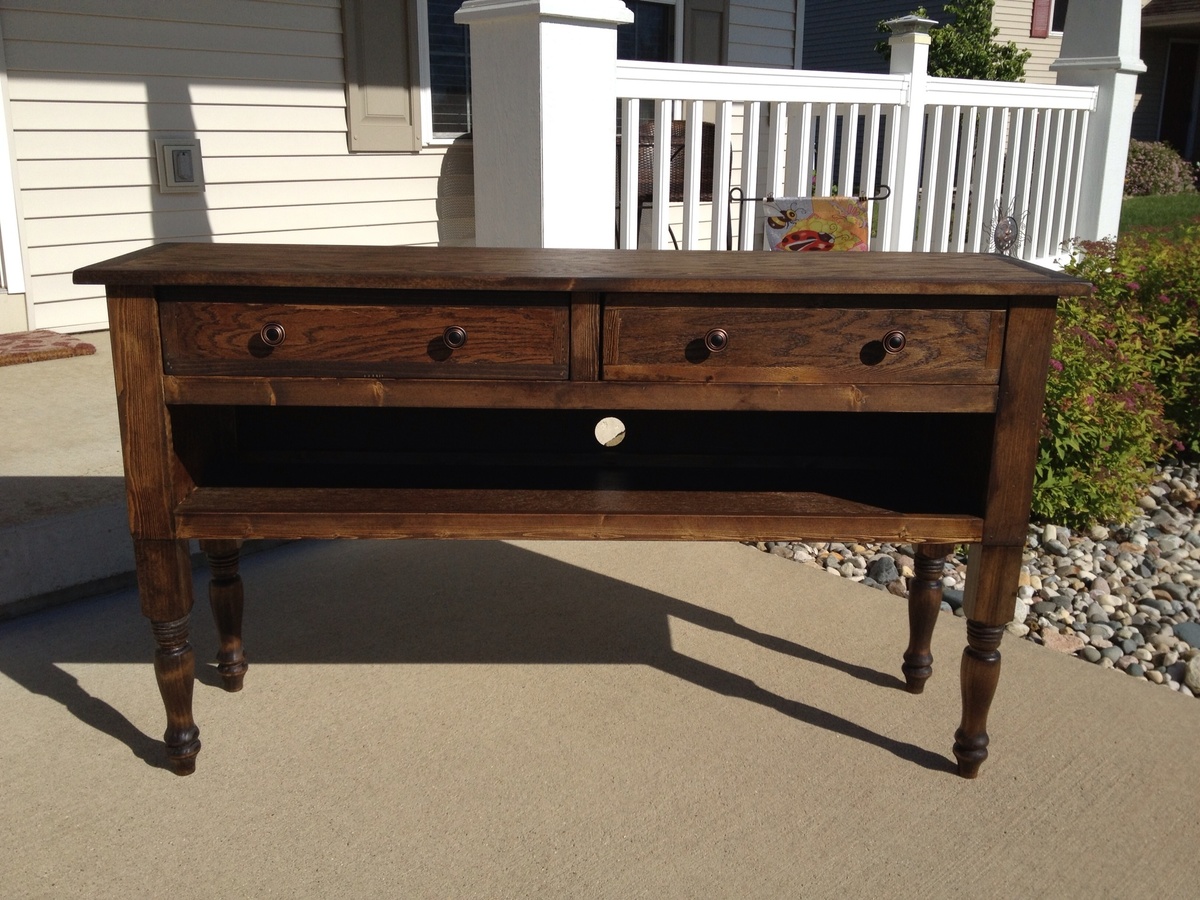
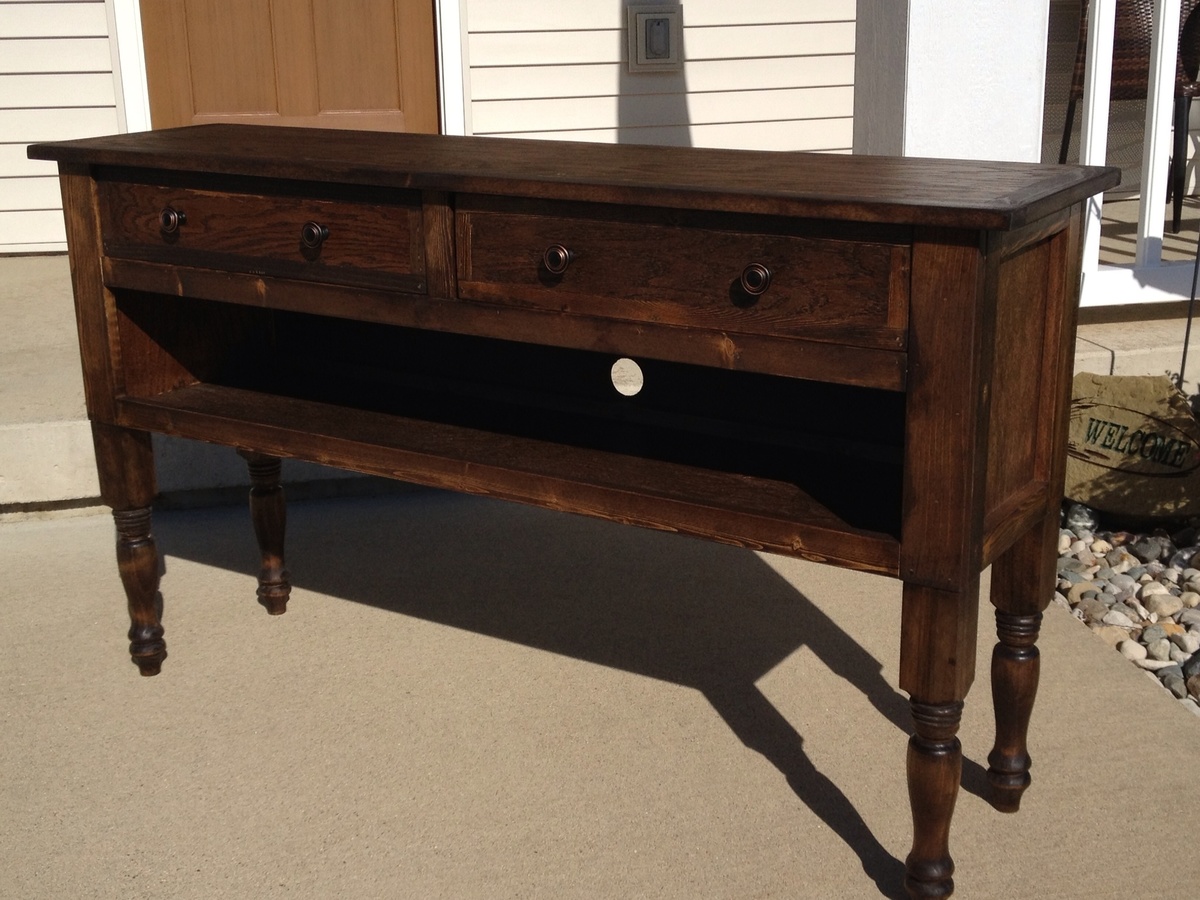
Console Table

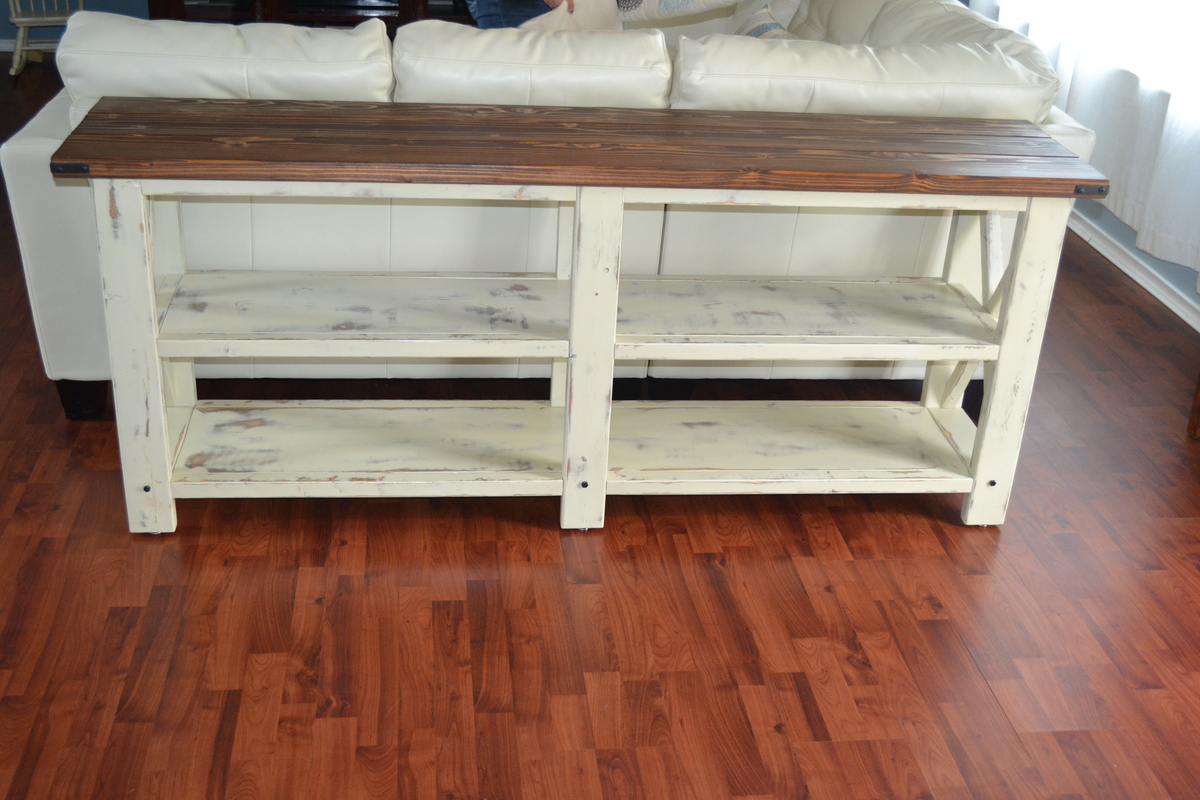
A customer of ours emailed the plans for this console table to me from Ana's site and asked if I could build it for her. I must say, the plans were laid out so well I believe my 8 year old could have built it. Well done Ana!

I made the color scheme what the customer asked for and I think it turned out pretty decent. I also have to say that I would typically wing it when it came to building stuff, but after seeing how the plans on this site are laid out so well, I will definitely be changing my practices. I have read a lot of great helpful tips, tricks, and hints on this site. I've only been doing this for about 6 months, so I need all the help I can get!

Thanks again, Ana, for being such a great source of information and inspiration!

Estimated Cost
125
Estimated Time Investment
Weekend Project (10-20 Hours)
Finish Used
ON the table base I used a minwax Walnut stain on the bare wood, then applied a coat of Krylon Almond paint. I distressed the paint with a 5" orbital sander and 120 grit sand paper. I then applied two coats of Minwax wipe-on Polyurethane Satin finish. I did the same on the top, minus the almond paint. After the poly coats were applied I wiped the entire piece down with an orange oil/bee's wax mixture, let it dry, then buffed it with a soft clean cloth.
Recommended Skill Level
Beginner

Queen farmhouse bed frame with drawers.

Submitted by Anonymous (not verified) on Mon, 01/14/2019 - 20:57

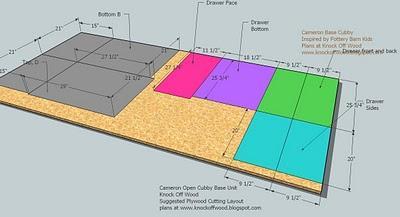
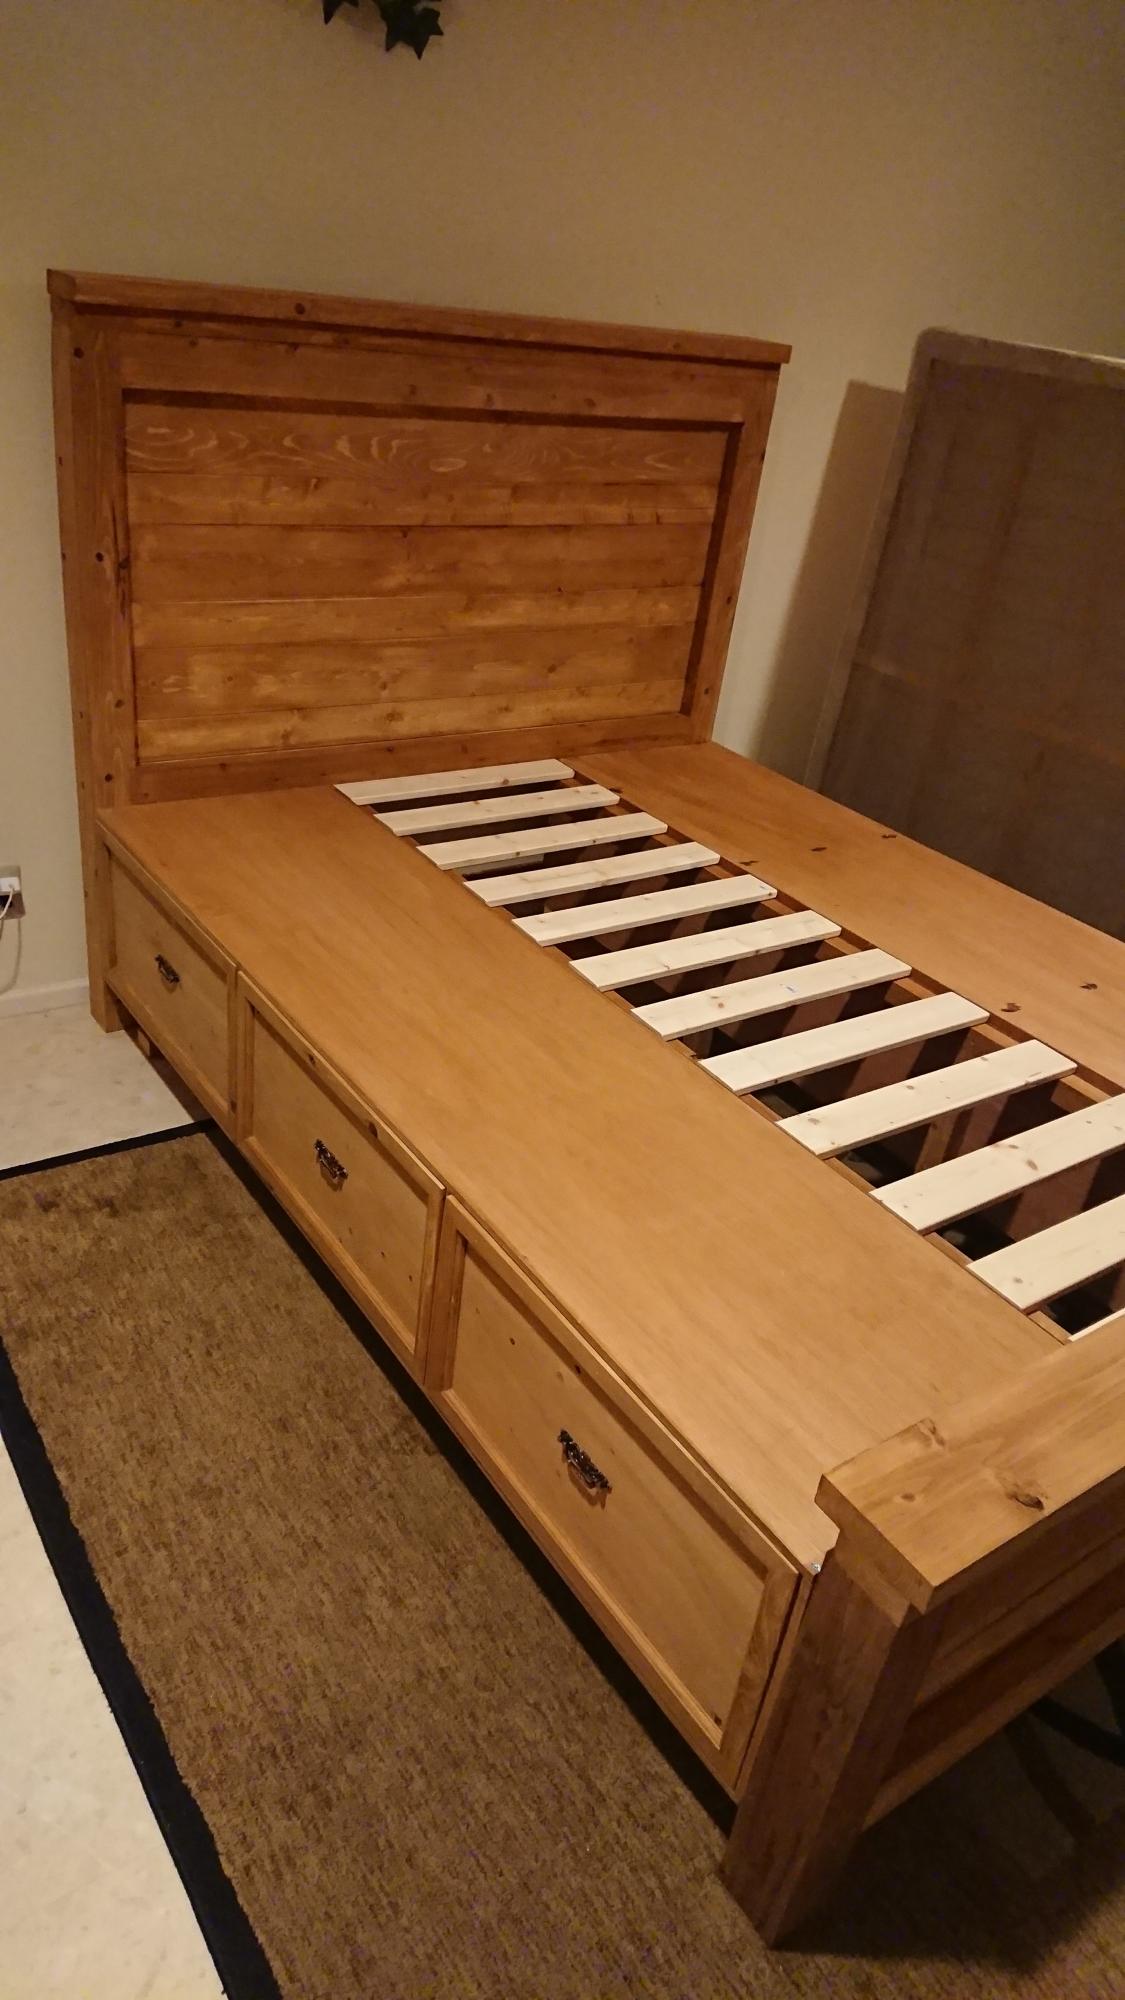
Took several long days to get this thing done. Being stationed in Japan it made things a bit more difficult and quite a bit more expensive sourcing the materials for this project. I had to opt for 1/2" plywood as cost of lumber here in okinawa is nearly double that of what you would see in the states. I made a few other modifications to the plans here and there where I felt it would better fit my needs. I wanted more storage space so I made the drawer boxes 20" deep. Rather than nail and glue the drawer bottoms on I wanted a reassuring solid hold so I grooved out the drawers and inserted the bottom panel with glue to secure it in place. The drawer faces I chose to add a little more detail in the molding by using miter cuts and the router to add some texture. The headboard was actually a previous project that was requested by my wife so with some modification I was able to rebuild that and fit it into the build. The 4x4's were grooved out with a 3/4" straight bit to slide my headboard and footboard slats into place. All in all this project was a lot of fun, the bed is now a monster of a thing to move but solid as a rock we love it. Thanks for the plans! 

Estimated Cost
$500
Estimated Time Investment
Week Long Project (20 Hours or More)
Recommended Skill Level
Intermediate

Necklace and Earring Shelf

Submitted by vendo on Fri, 11/11/2022 - 13:15

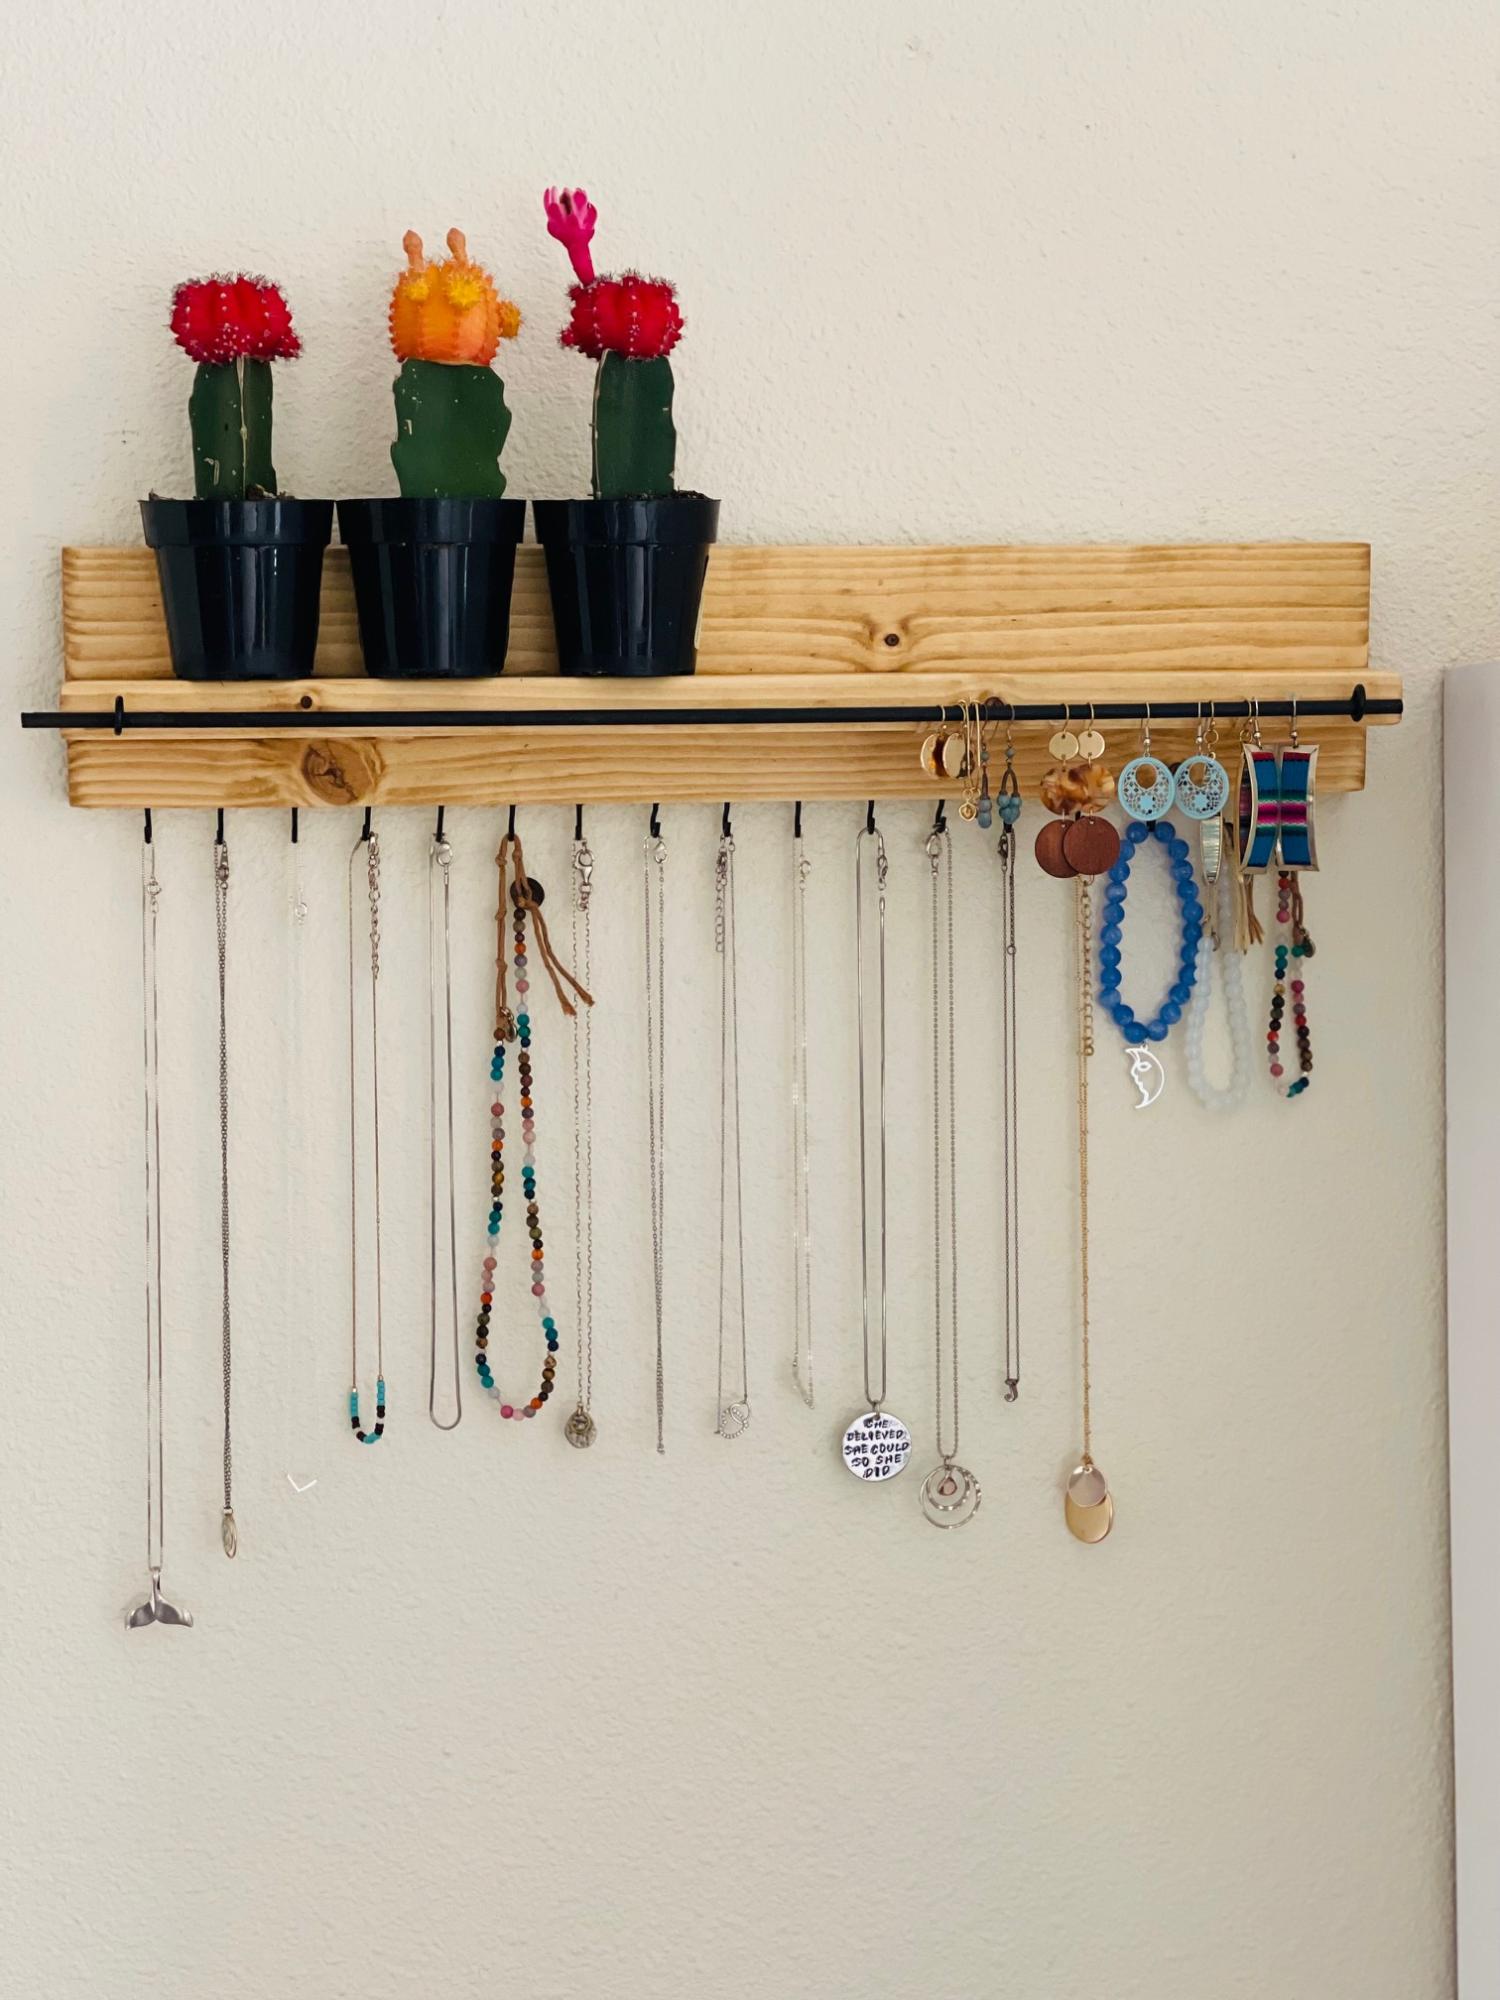
I built this super easy shelf for my earrings, necklaces and bracelets. I love that I can see what I have, before they were stored away in a drawer and not easily accessible for daily wear. I also enjoy that this was super inexpensive and easy to build! Planning to build another one for my daughters.

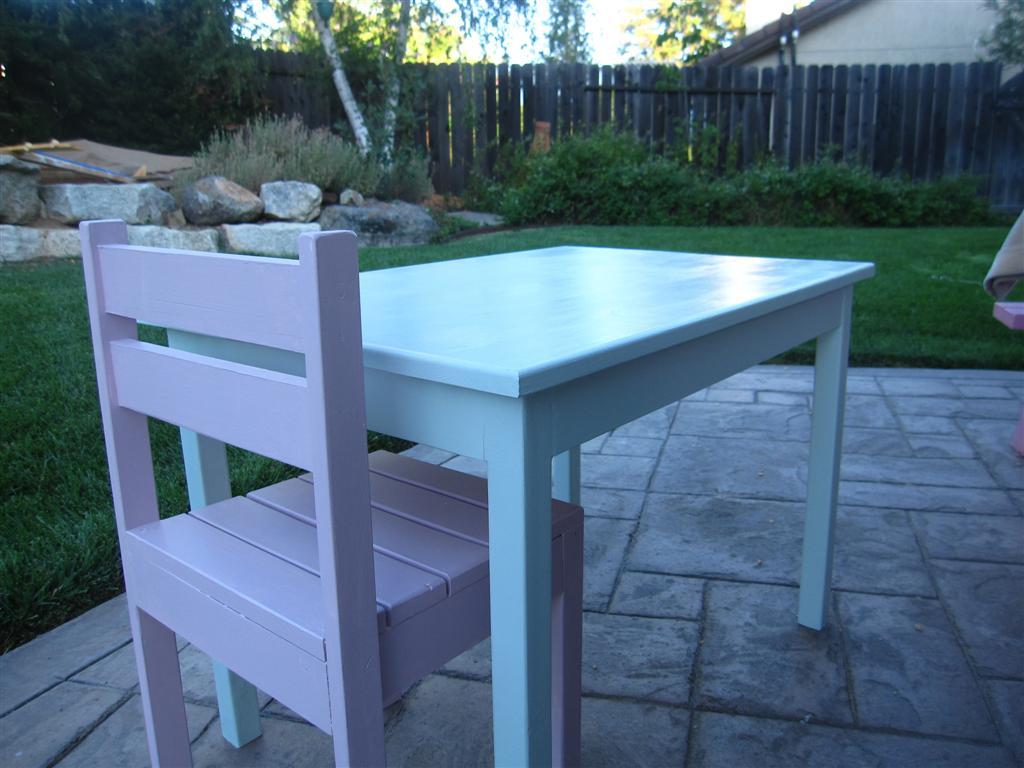
Kiddo table and chair(s)

Submitted by fethiye on Wed, 08/31/2011 - 15:54

A nice and easy project for little people to enjoy getting in and out of chairs without worrying parents!

Used a router first time to soften the edges of the chairs and table. Also used a plug maker to fill up the counter sink holes. Love that stuff.

Didn't want to make all the chairs at once to figure out how I can improve on my process, and now I know that I should
1. Paint the slats prior to installing
2. Use router on the slats prior to installing
3. Use kreg jig to install the slats

Planning on making more chairs, or one more chair and 2 stools. Not sure yet.

As always, painting took the longest and I am not done yet. Will give a Minvax polycrylic gloss finish before putting into use.

Built from Plan(s)
Estimated Cost
$15
Estimated Time Investment
Day Project (6-9 Hours)
Finish Used
Oops paint from Home Depot :) Love those surprises and prices!

Recommended Skill Level
Starter Project

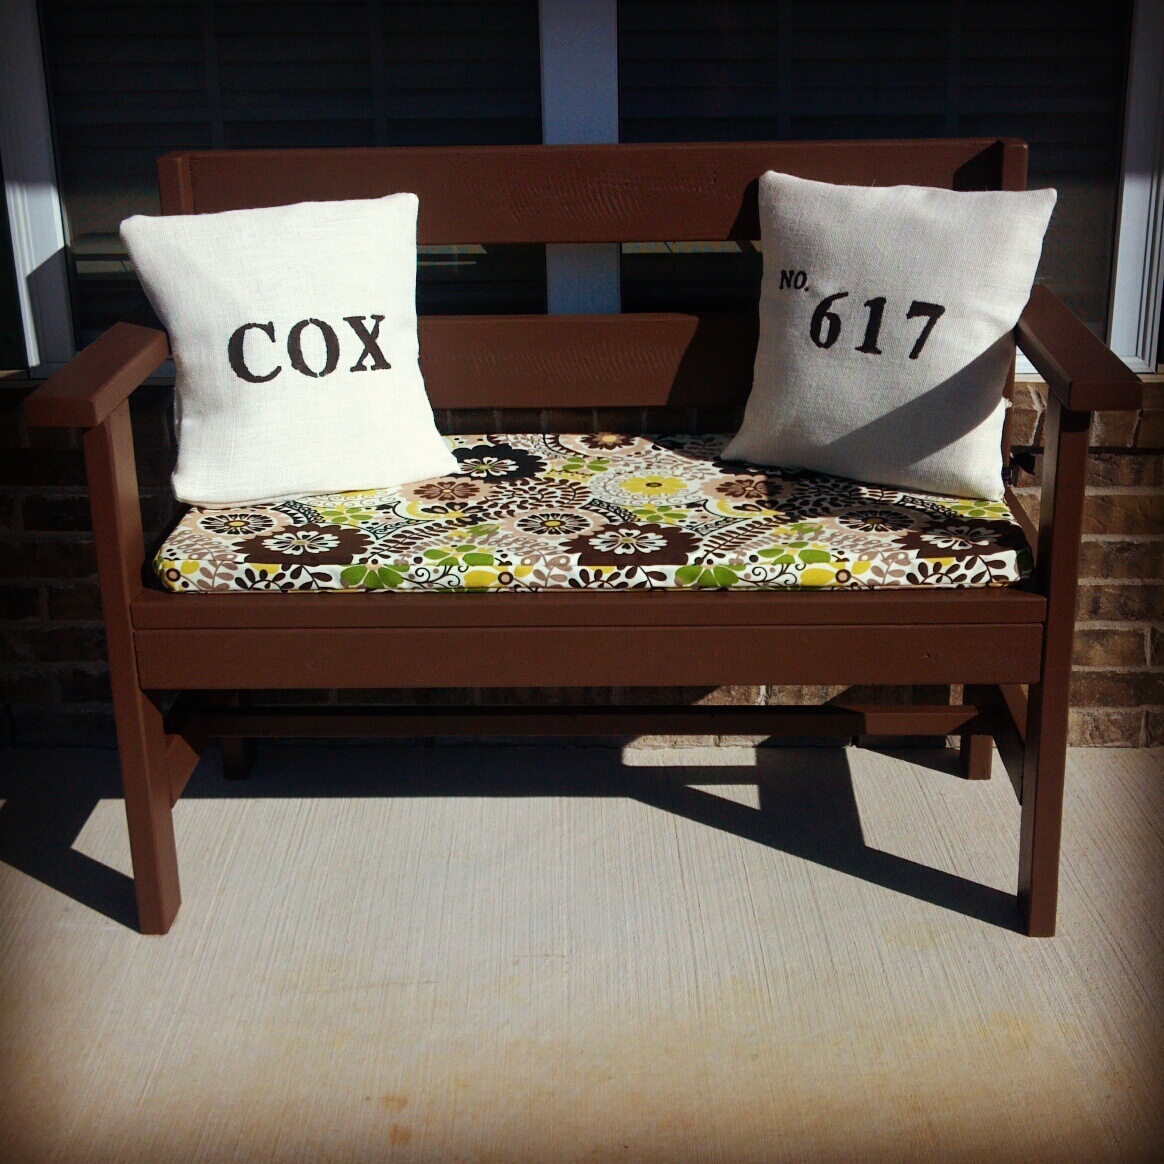
garden bench

Submitted by mr.cox on Sat, 09/21/2013 - 18:09

First project. Modified so that the seat is more narrow.

Built from Plan(s)
Estimated Cost
$37 for lumber
Estimated Time Investment
Afternoon Project (3-6 Hours)
Finish Used
brown paint
Recommended Skill Level
Starter Project