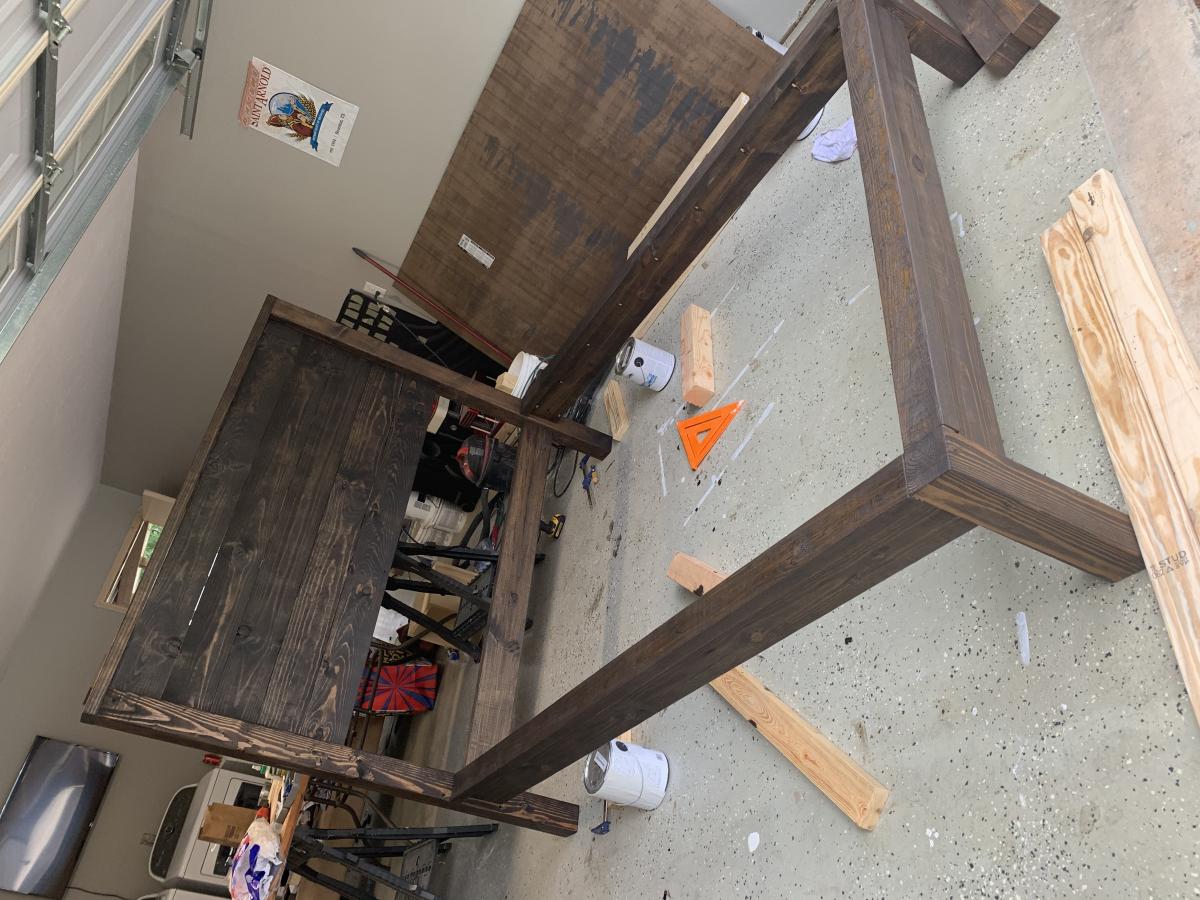
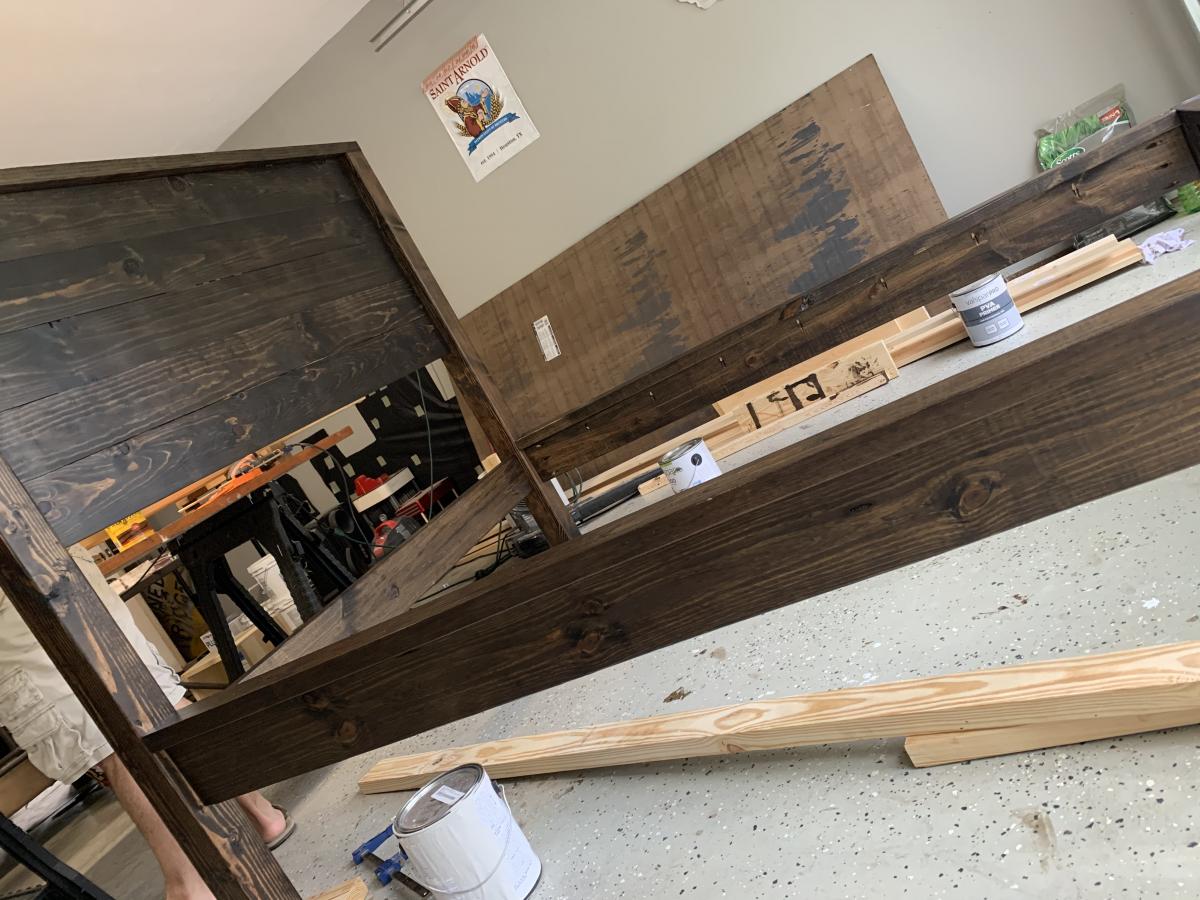
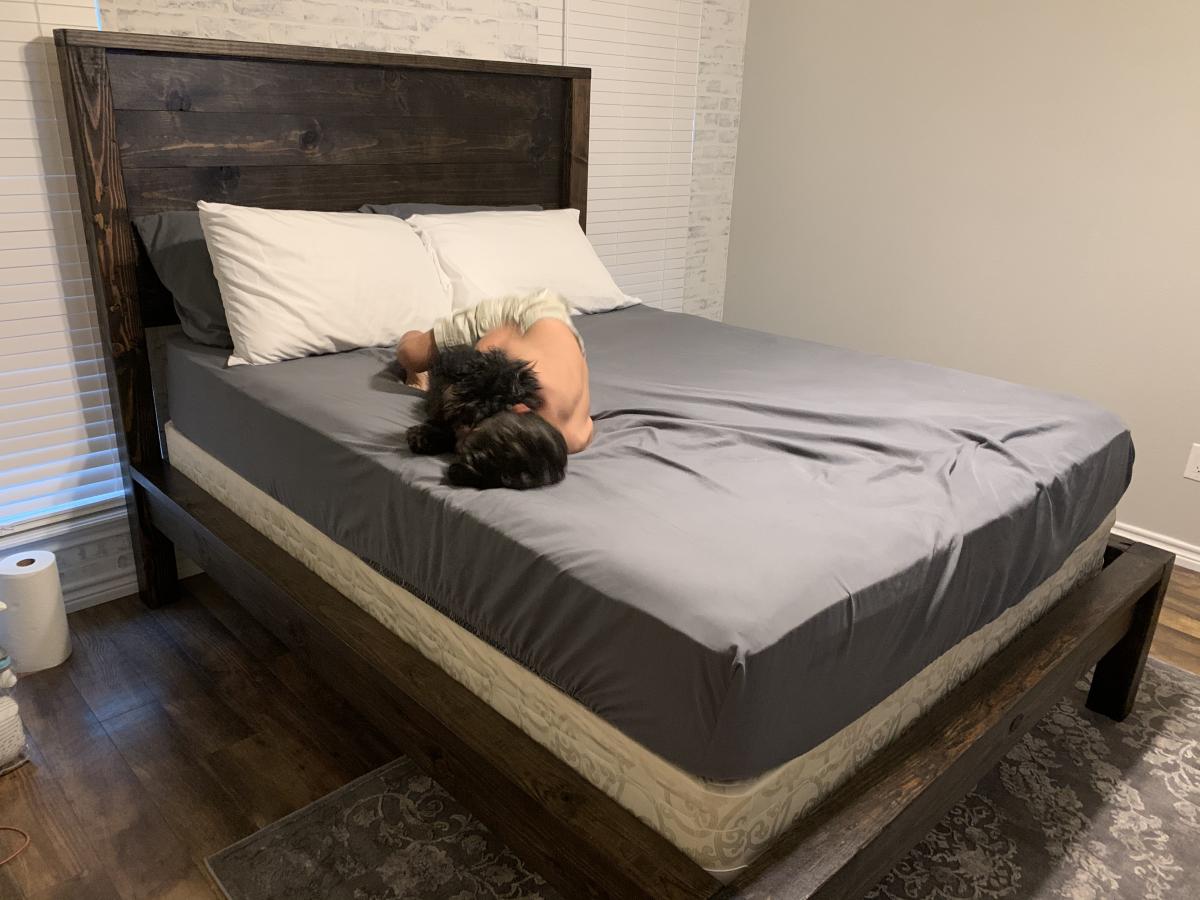
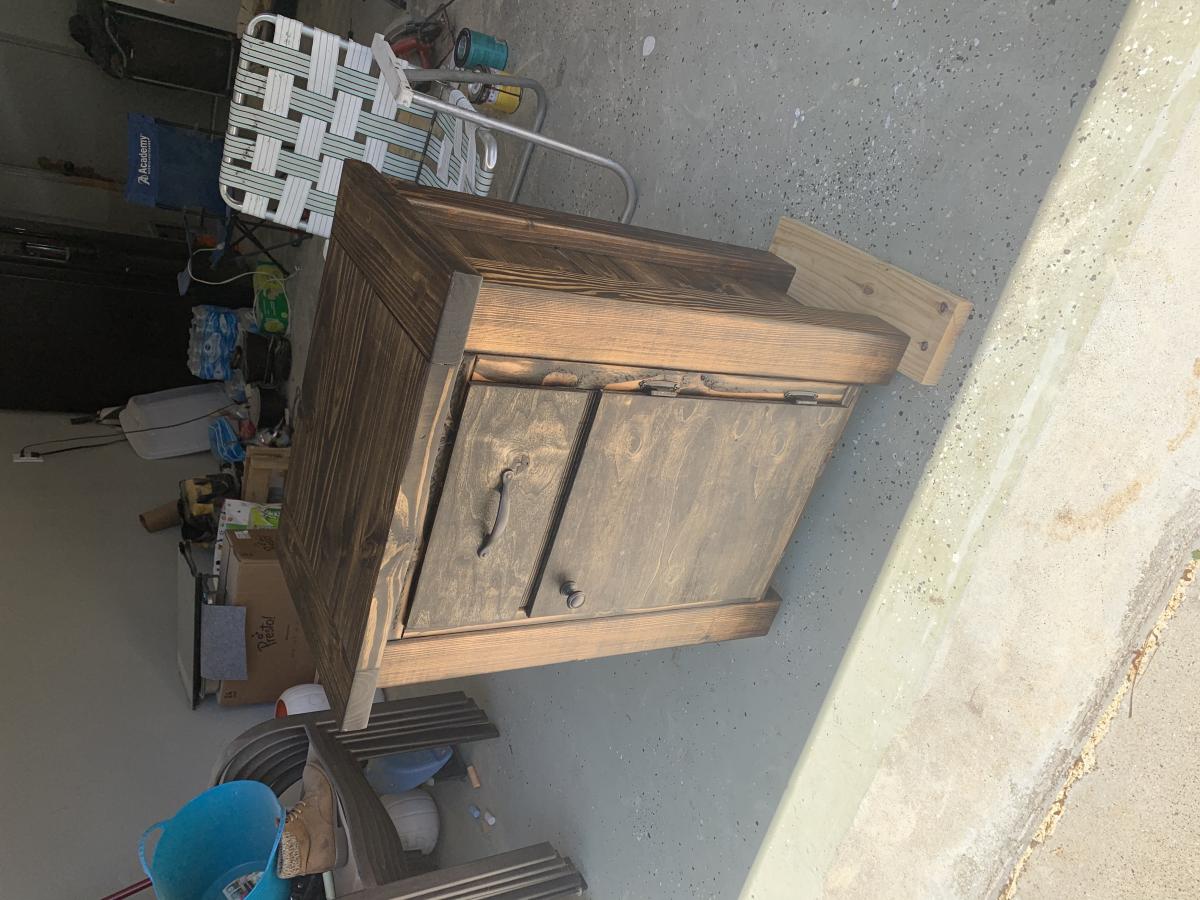
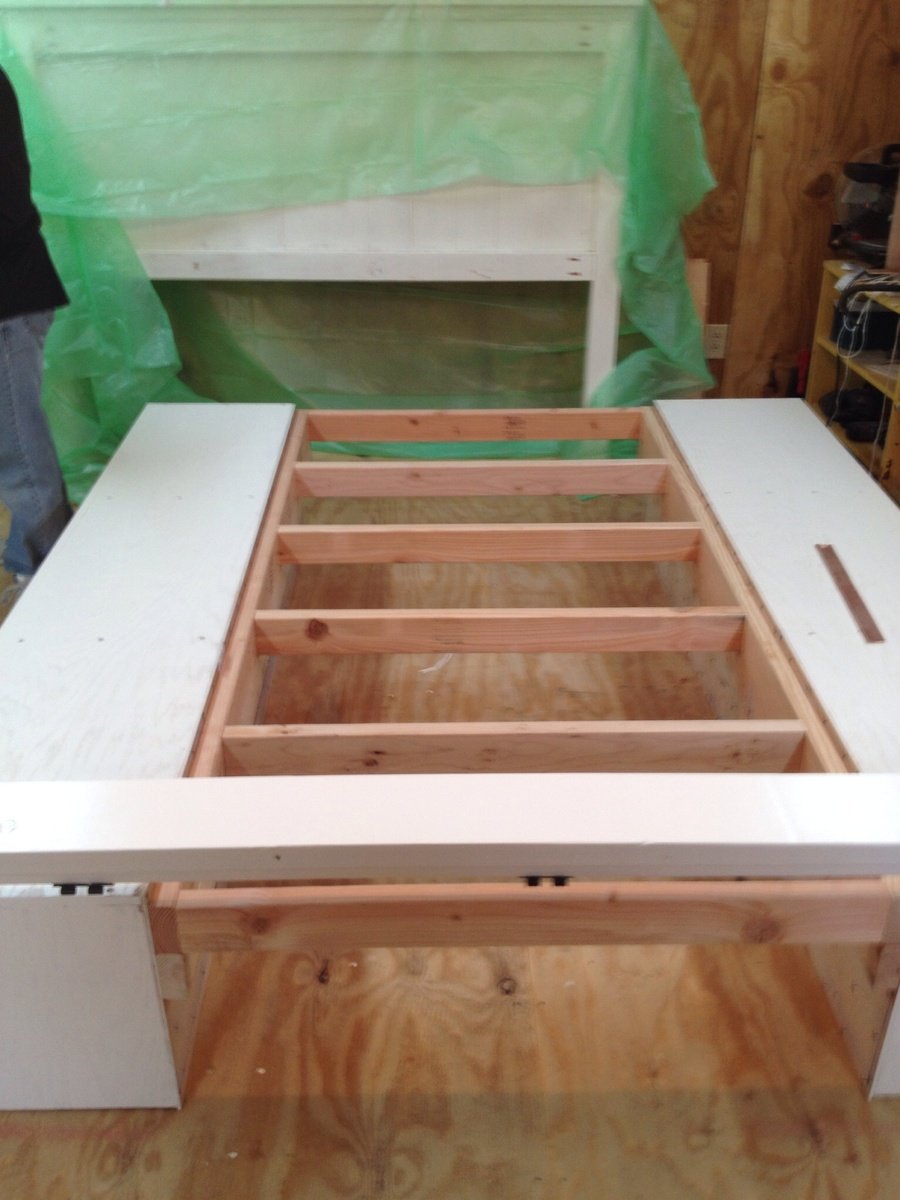
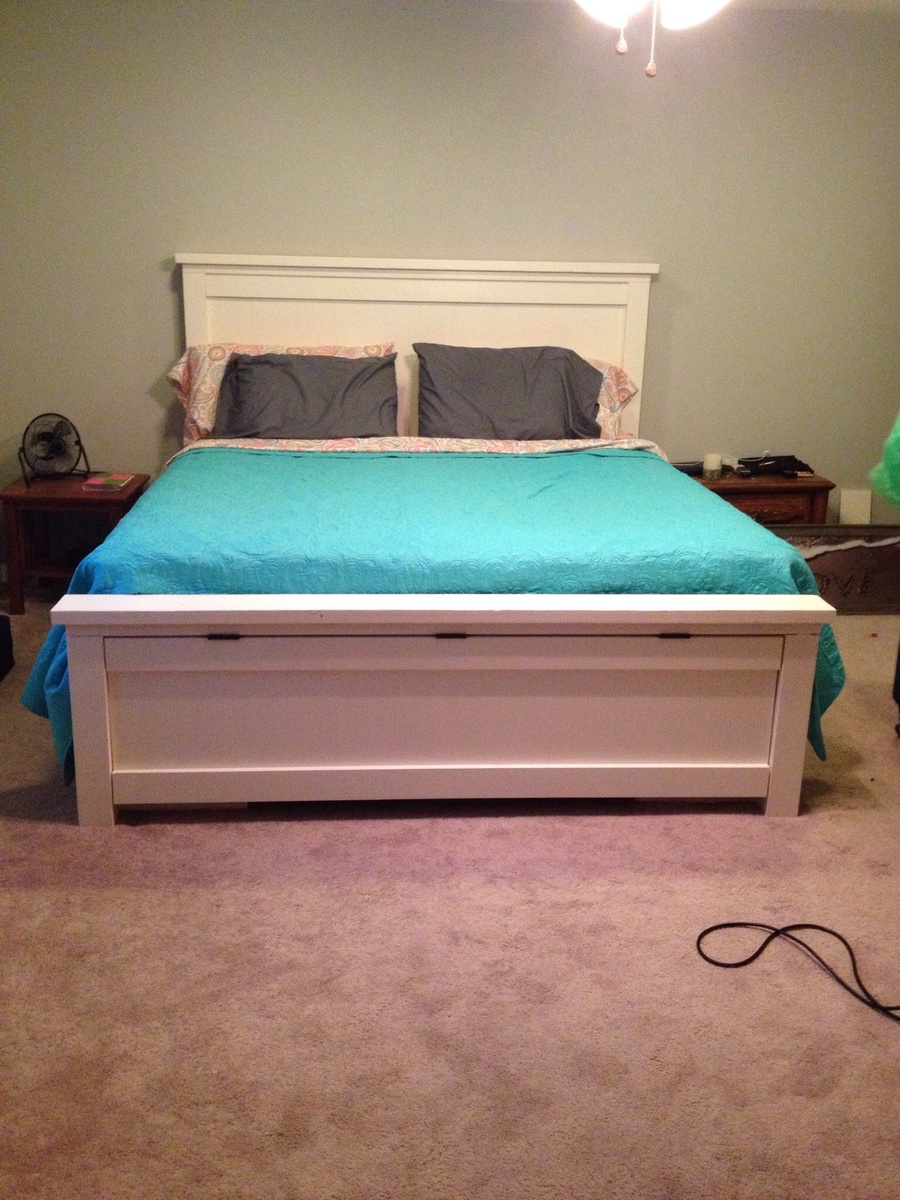
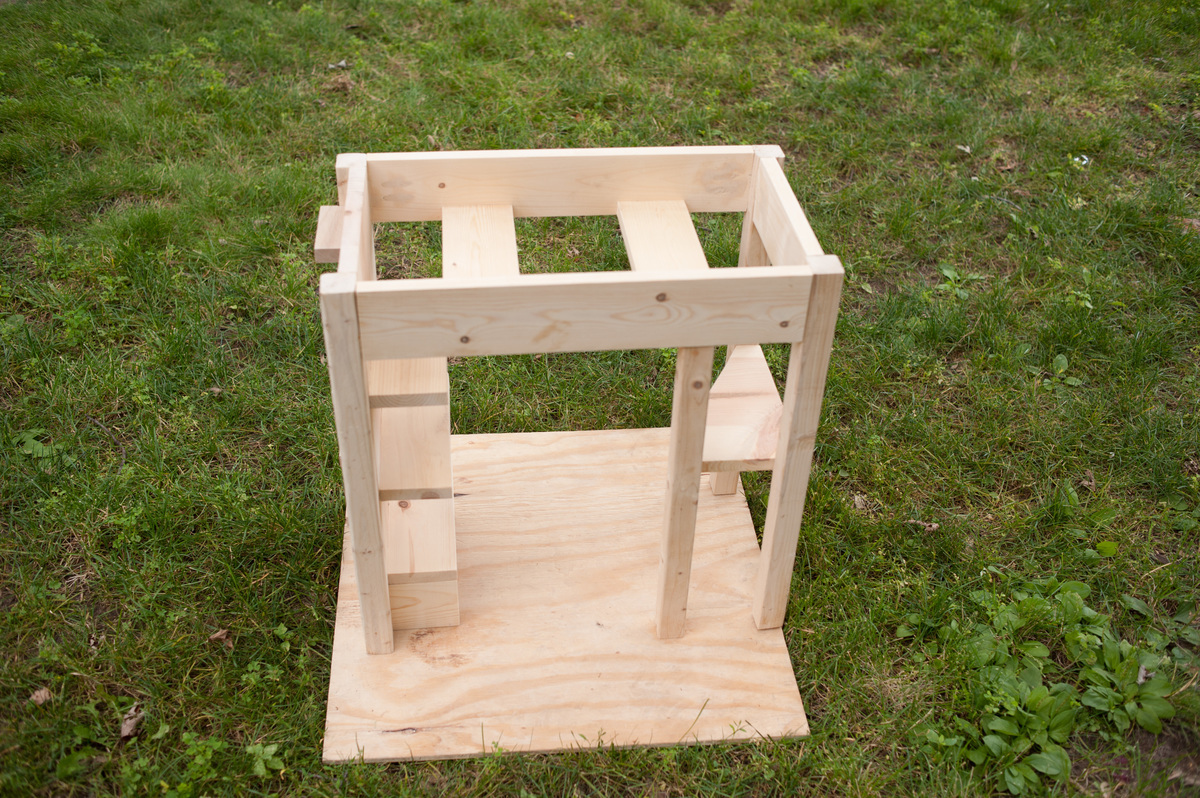
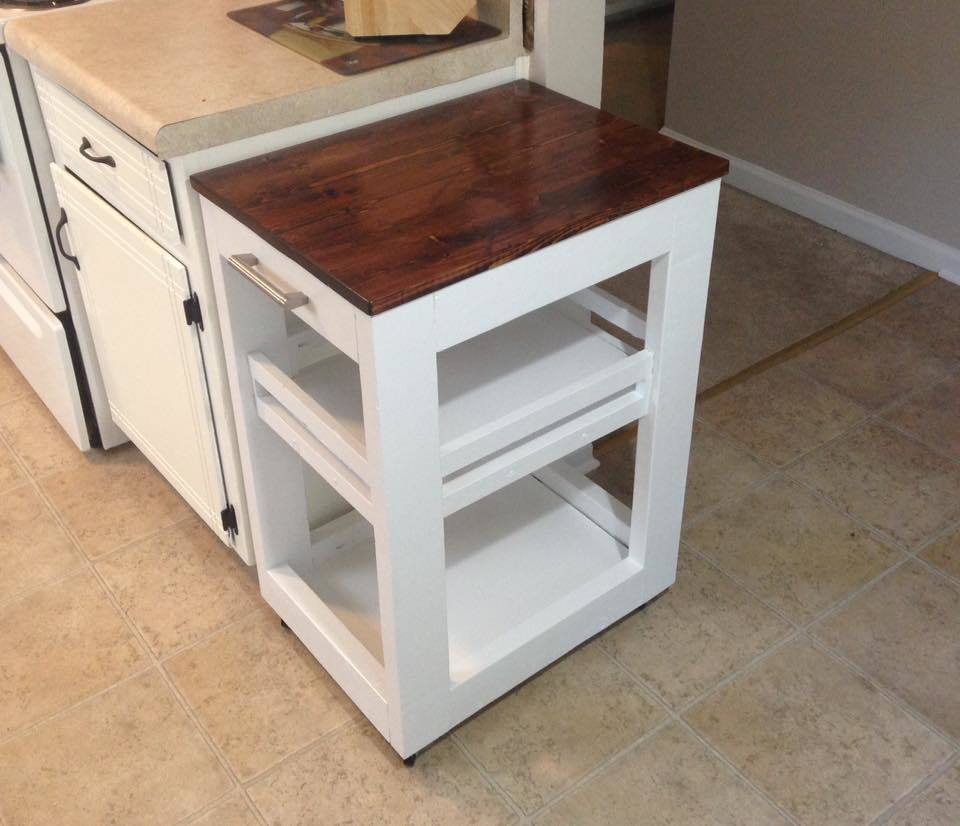
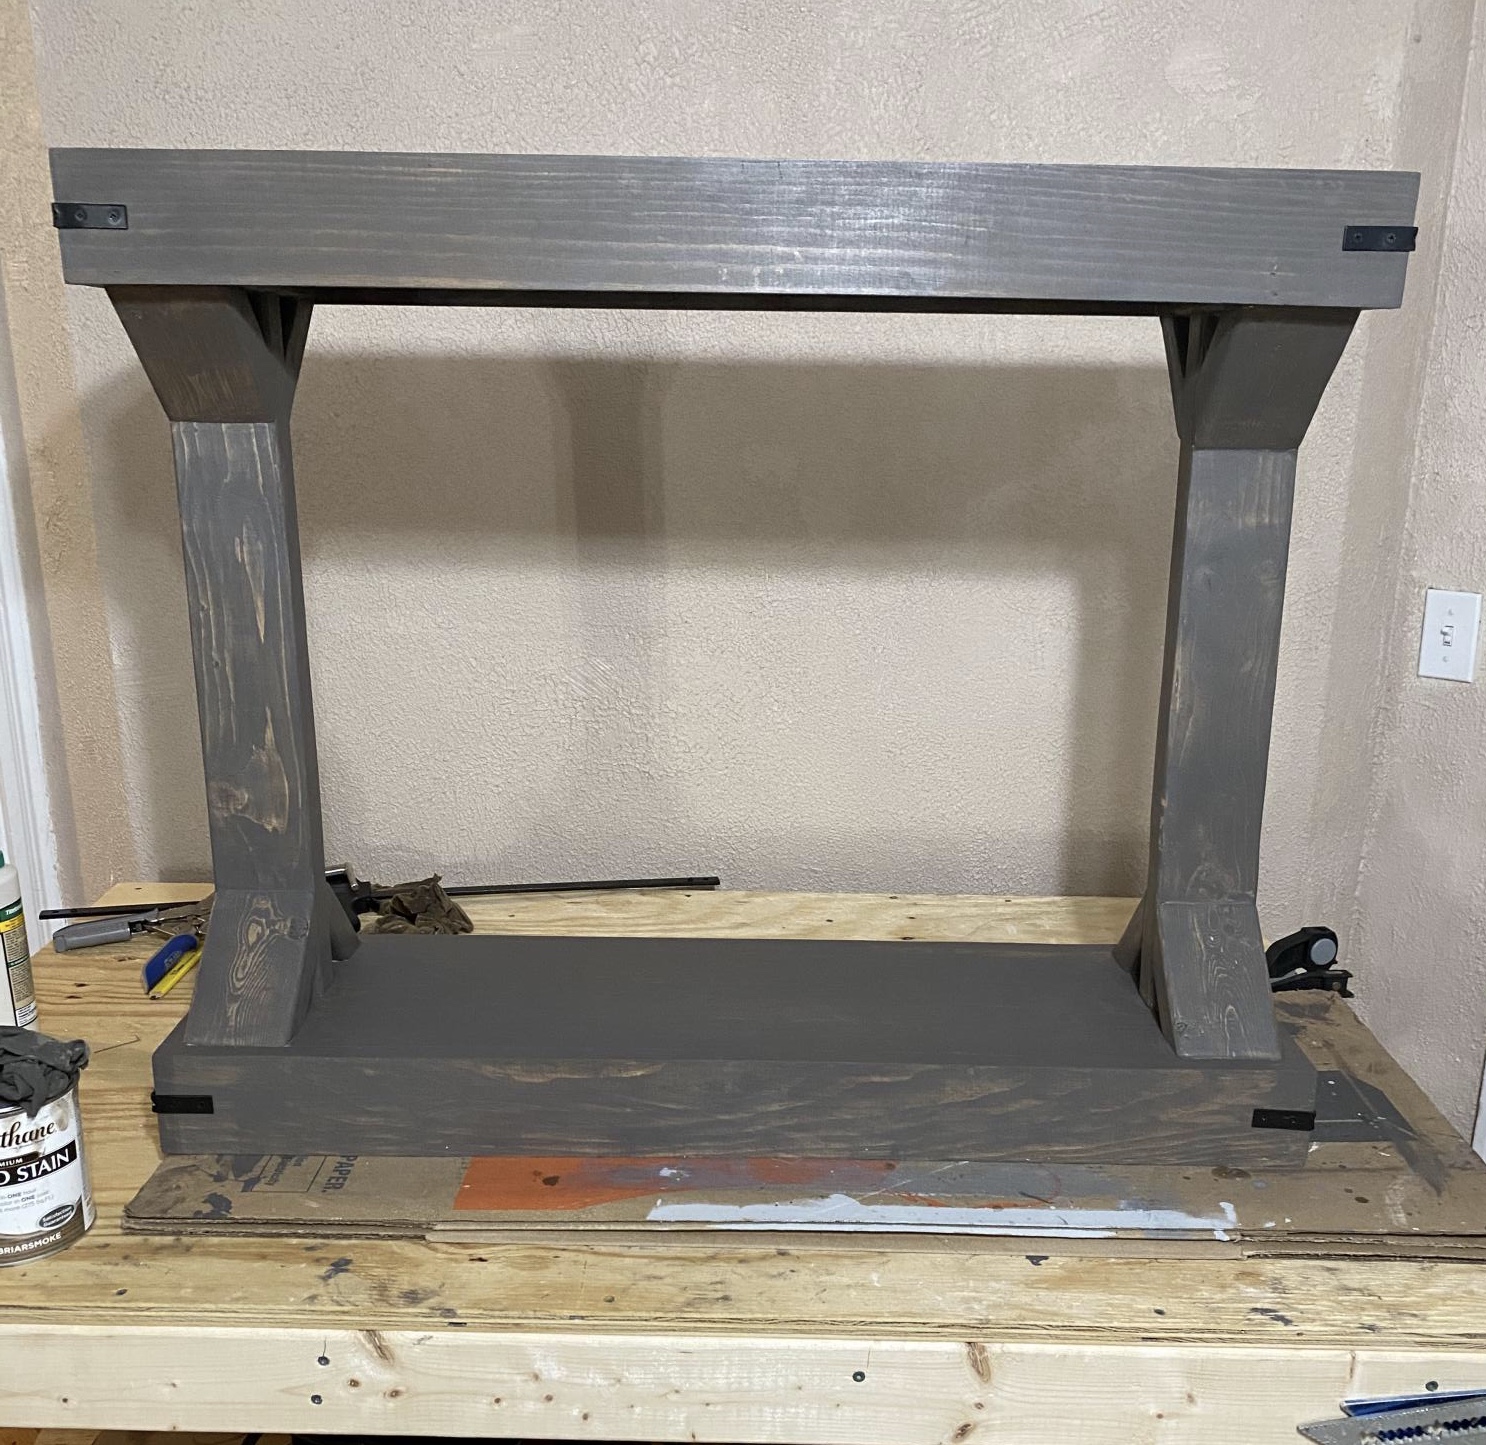
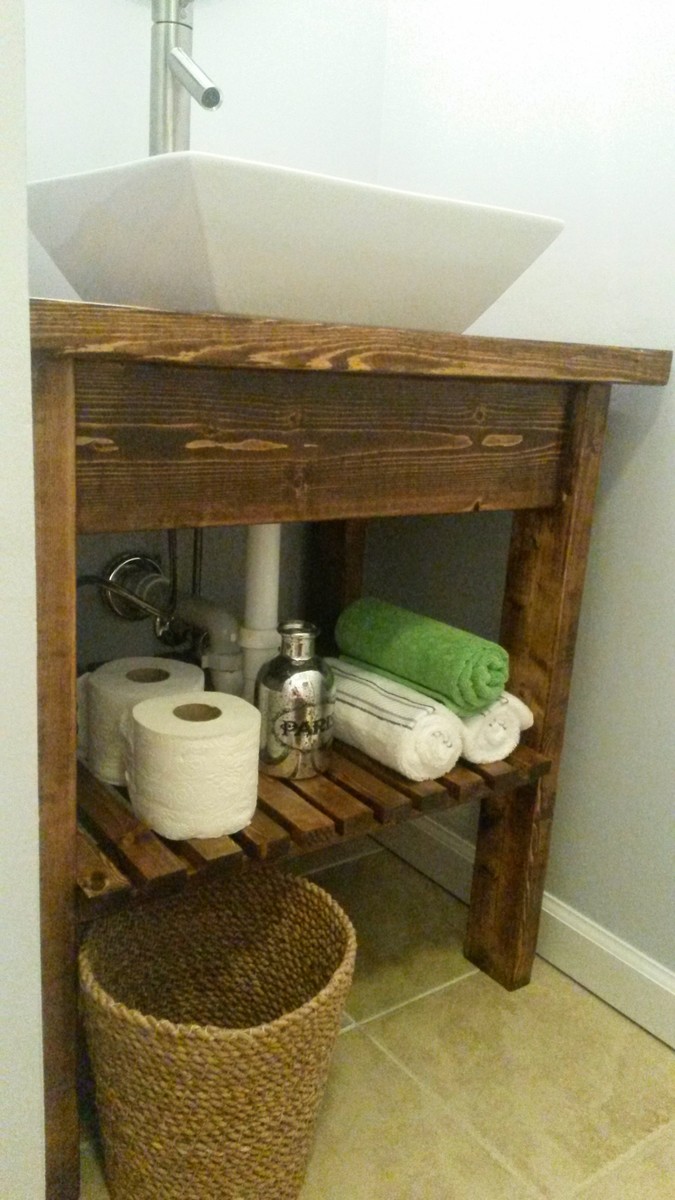
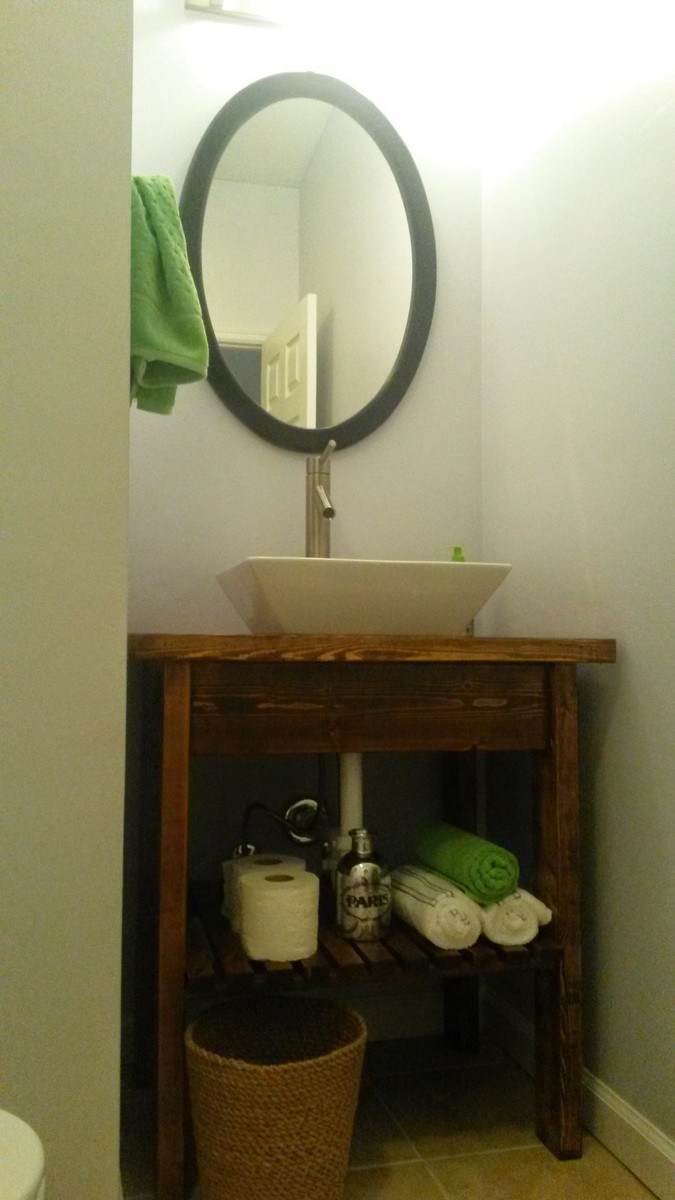
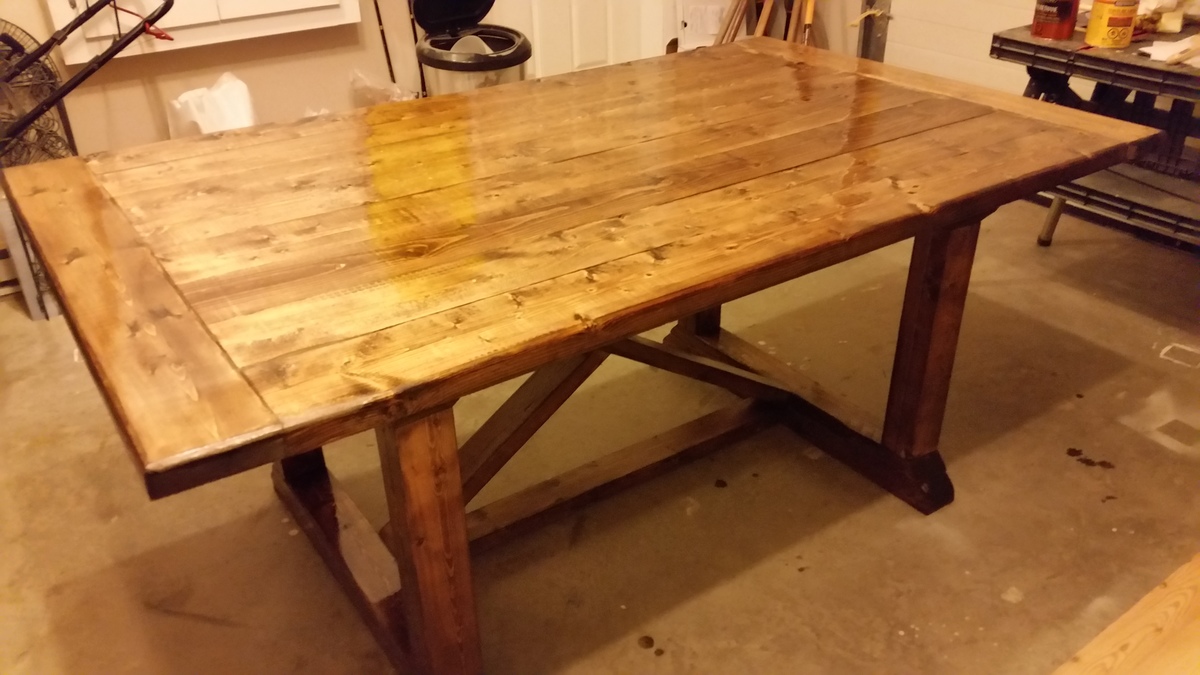
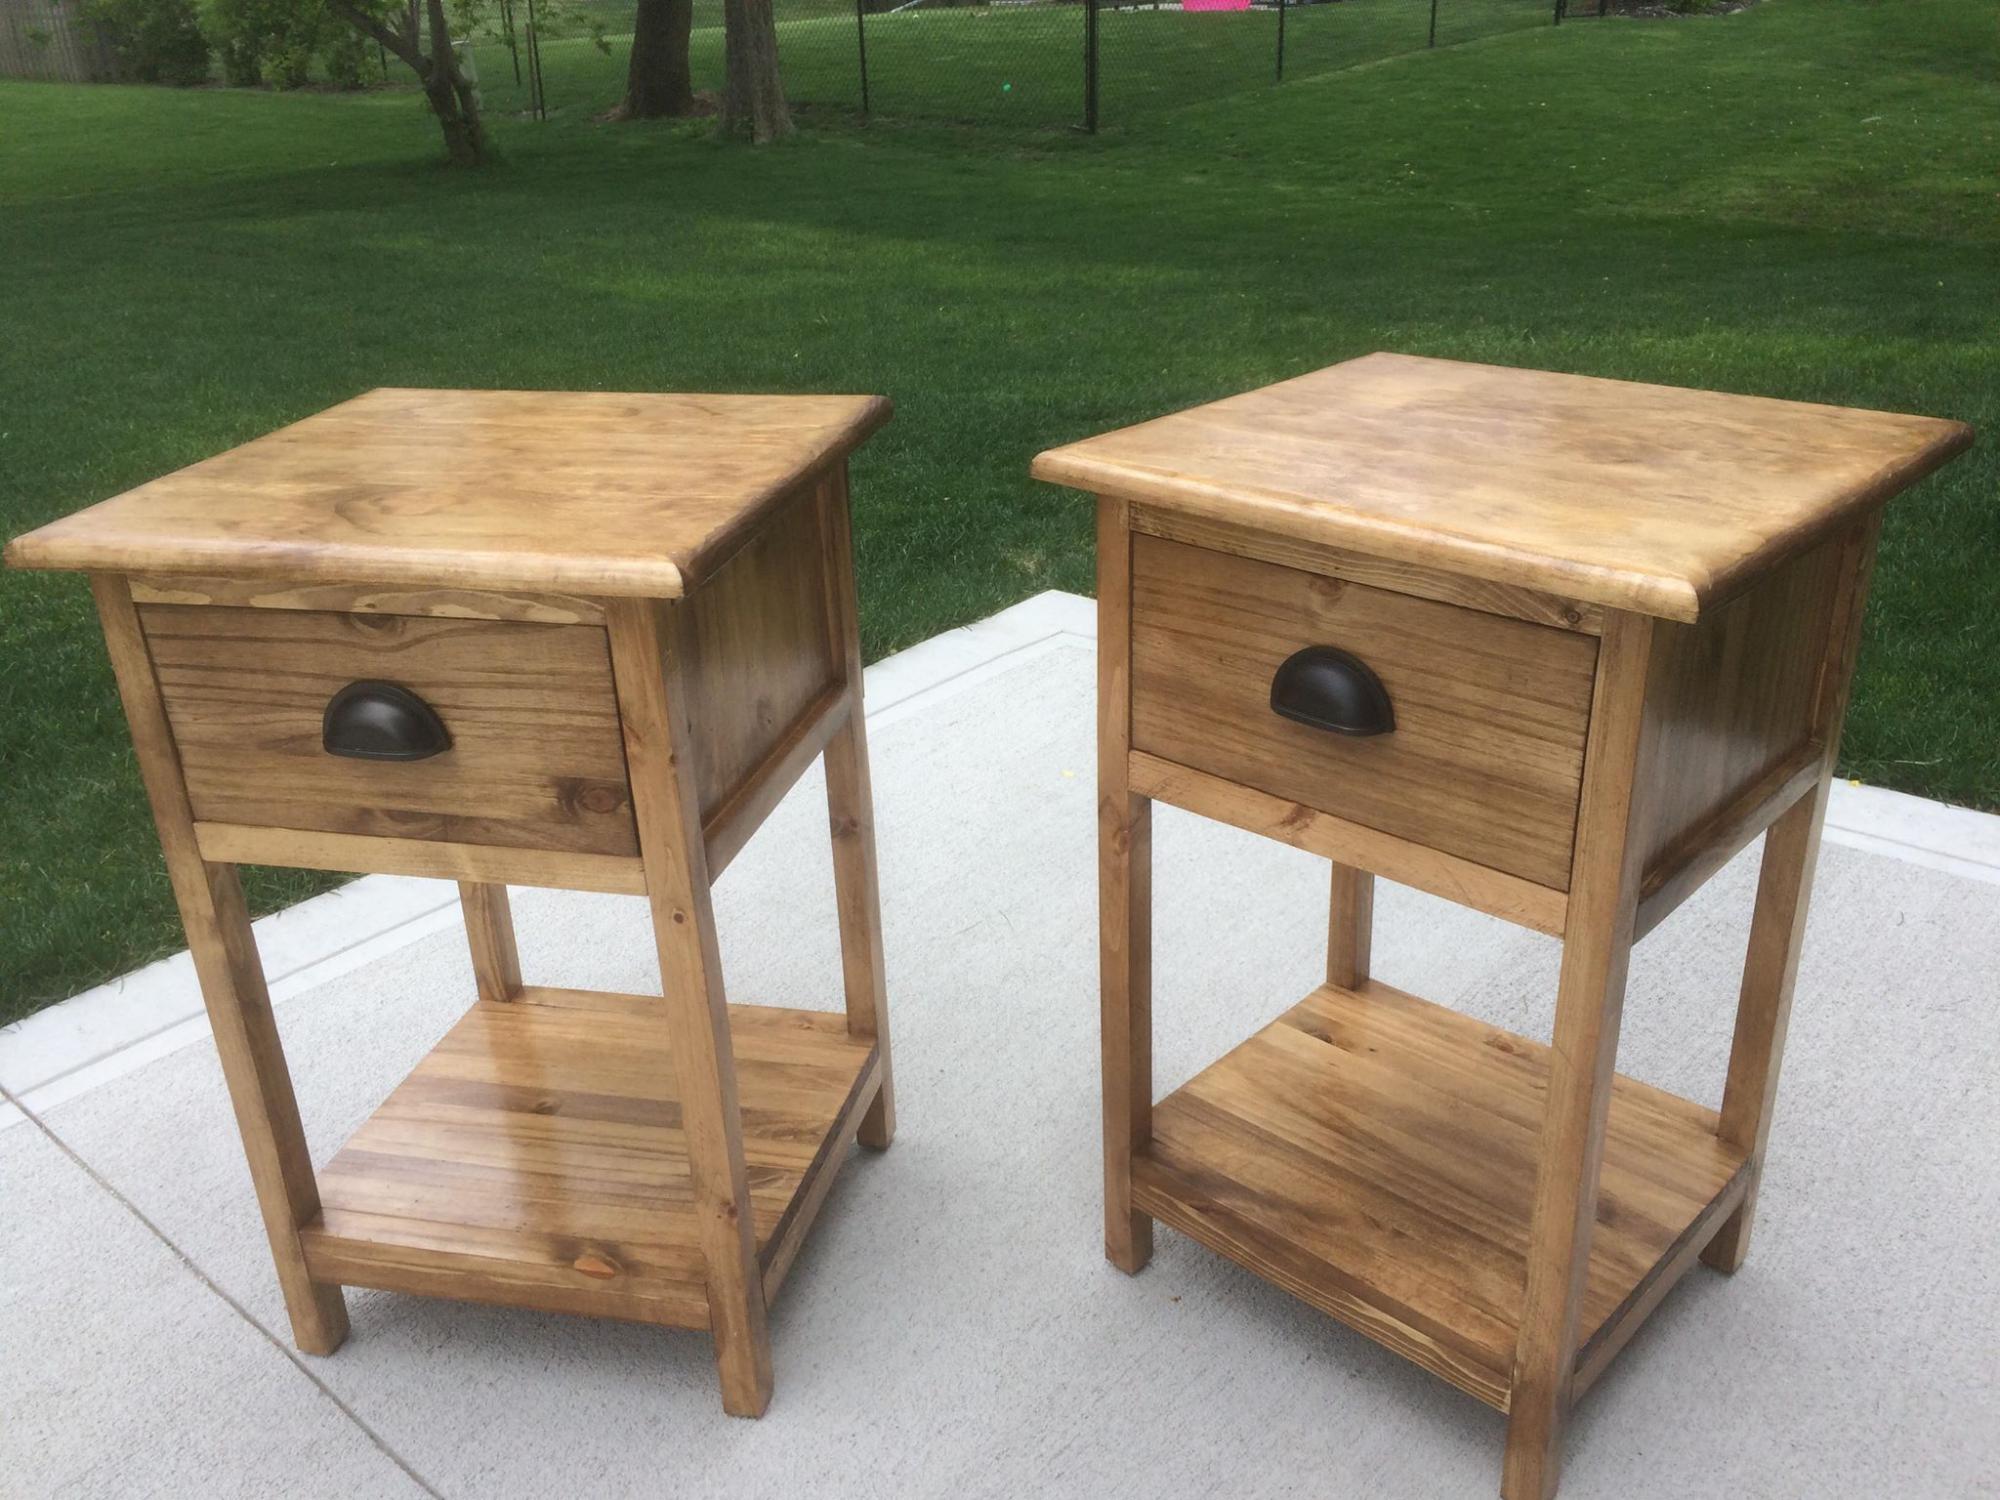
I've moved into a new "builder grade" house recently which, to me, translates to a litany of rooms to renovate, redecorate and reinvigorate! I try, like so many of you , to keep the costs down as much as possible on things by doing much of the work myself. So when shopping around for vanities, I was sorely disappointed to see a general lack of pizzazz in my price range. I was going for a "spa-retreat" look, with cool colors and rich wood tones. Then I saw Ana's plans for the "easy kitchen Island" and I new it was perfect! I scaled the whole project down to fit my 30" space. I kept the lumber sizes the same because it work better for me mathematically vs say, swapping out the counter 2x6's for 2x4's. If you are interested in using this plan (for whichever purpose) here are a few pointers that I picked up along the way that may be useful to you;
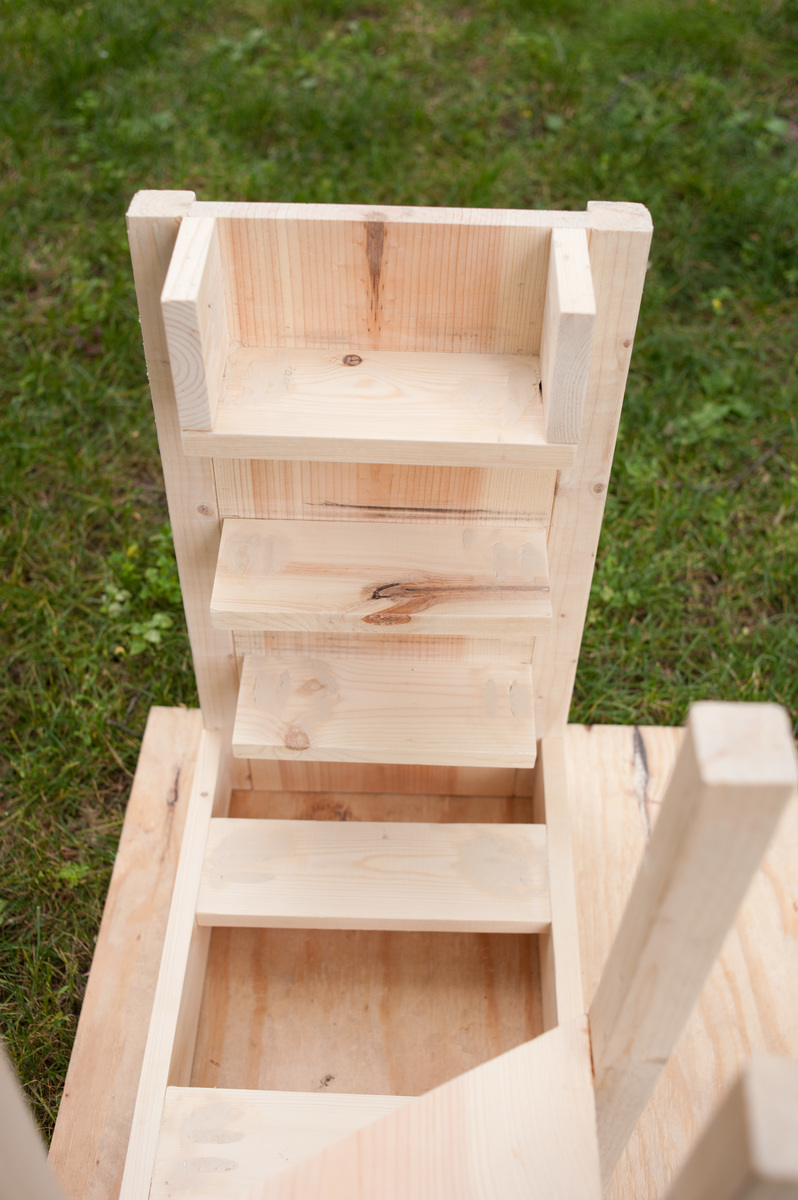
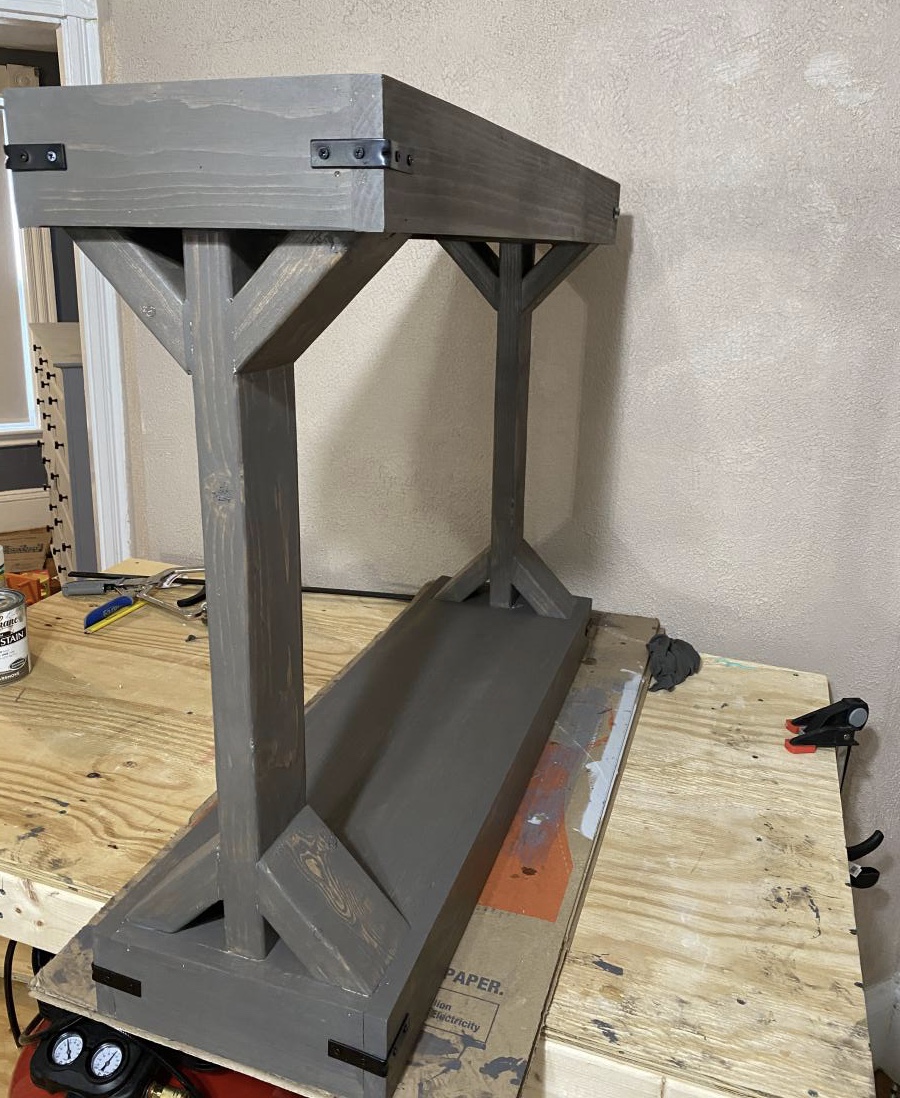
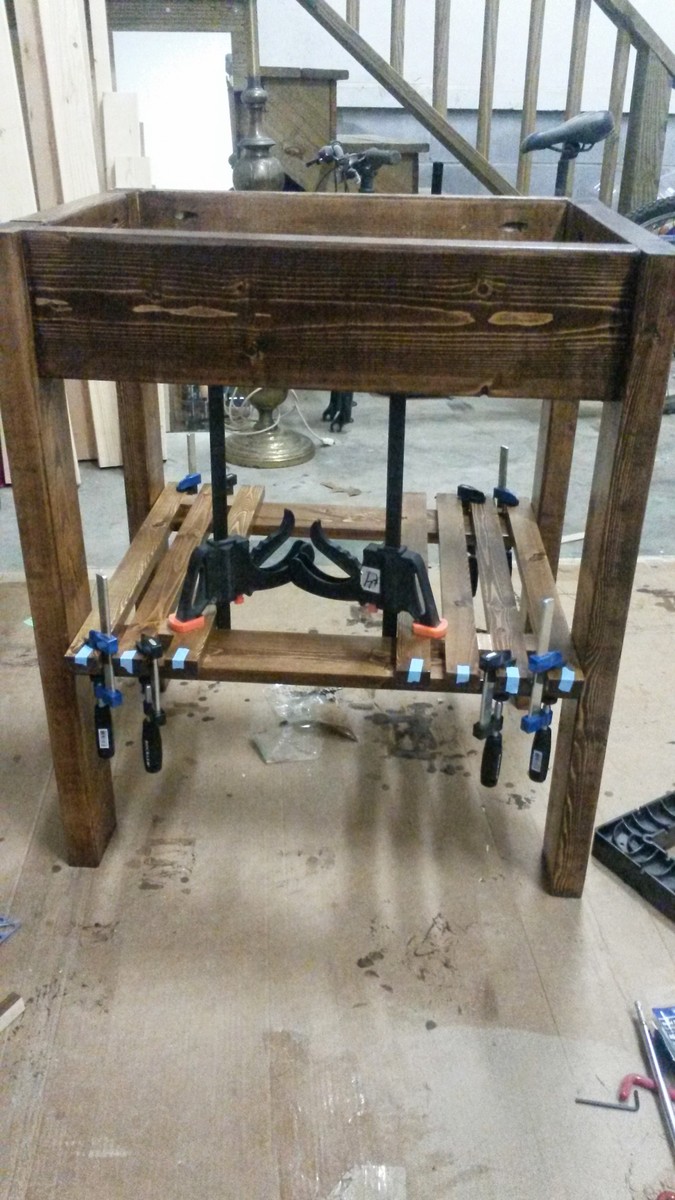
I finished the project prior to final assembly in three parts; the counter, the base, and the individual 1x2's that were destined to be shelving. I am extremely impatient with finishing, so I knew I would mess it up if I had to be all dainty around the slats, etc.
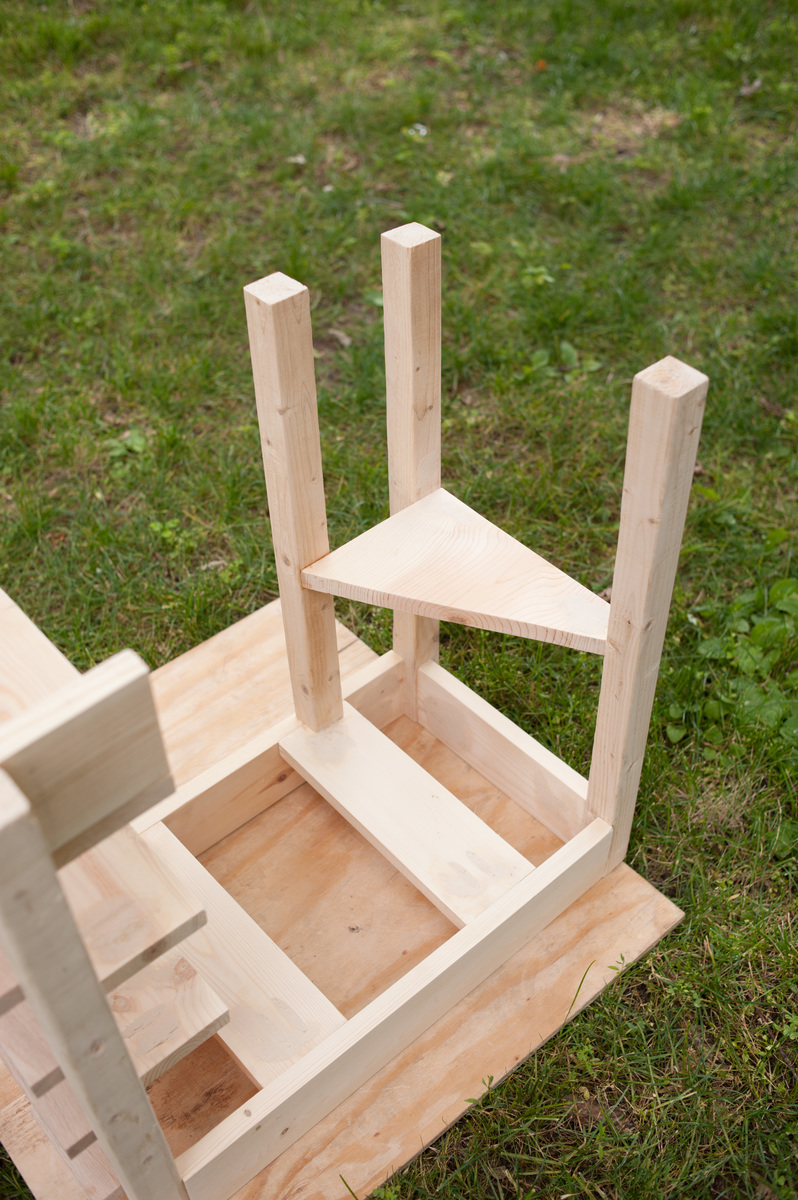
I also made a few extra slats so I could choose the best looking ones (and procrastinate the spacing decision).
I usually find whatever is around to use as a spacer, but in this case, nothing worked, so I wound up cutting a bunch of them out of scrap 1x2. I then was able to positing many of them at once (limited only by the number of clamps I had handy) and then flip the whole thing to screw them in place. I predrilled/countersunk because Kreg screws are expensive and hard to come by where I live.
That's all I can think of for now, hit me with questions if you have any! Cheers!


Comments
JoanneS
Sun, 07/01/2012 - 16:21
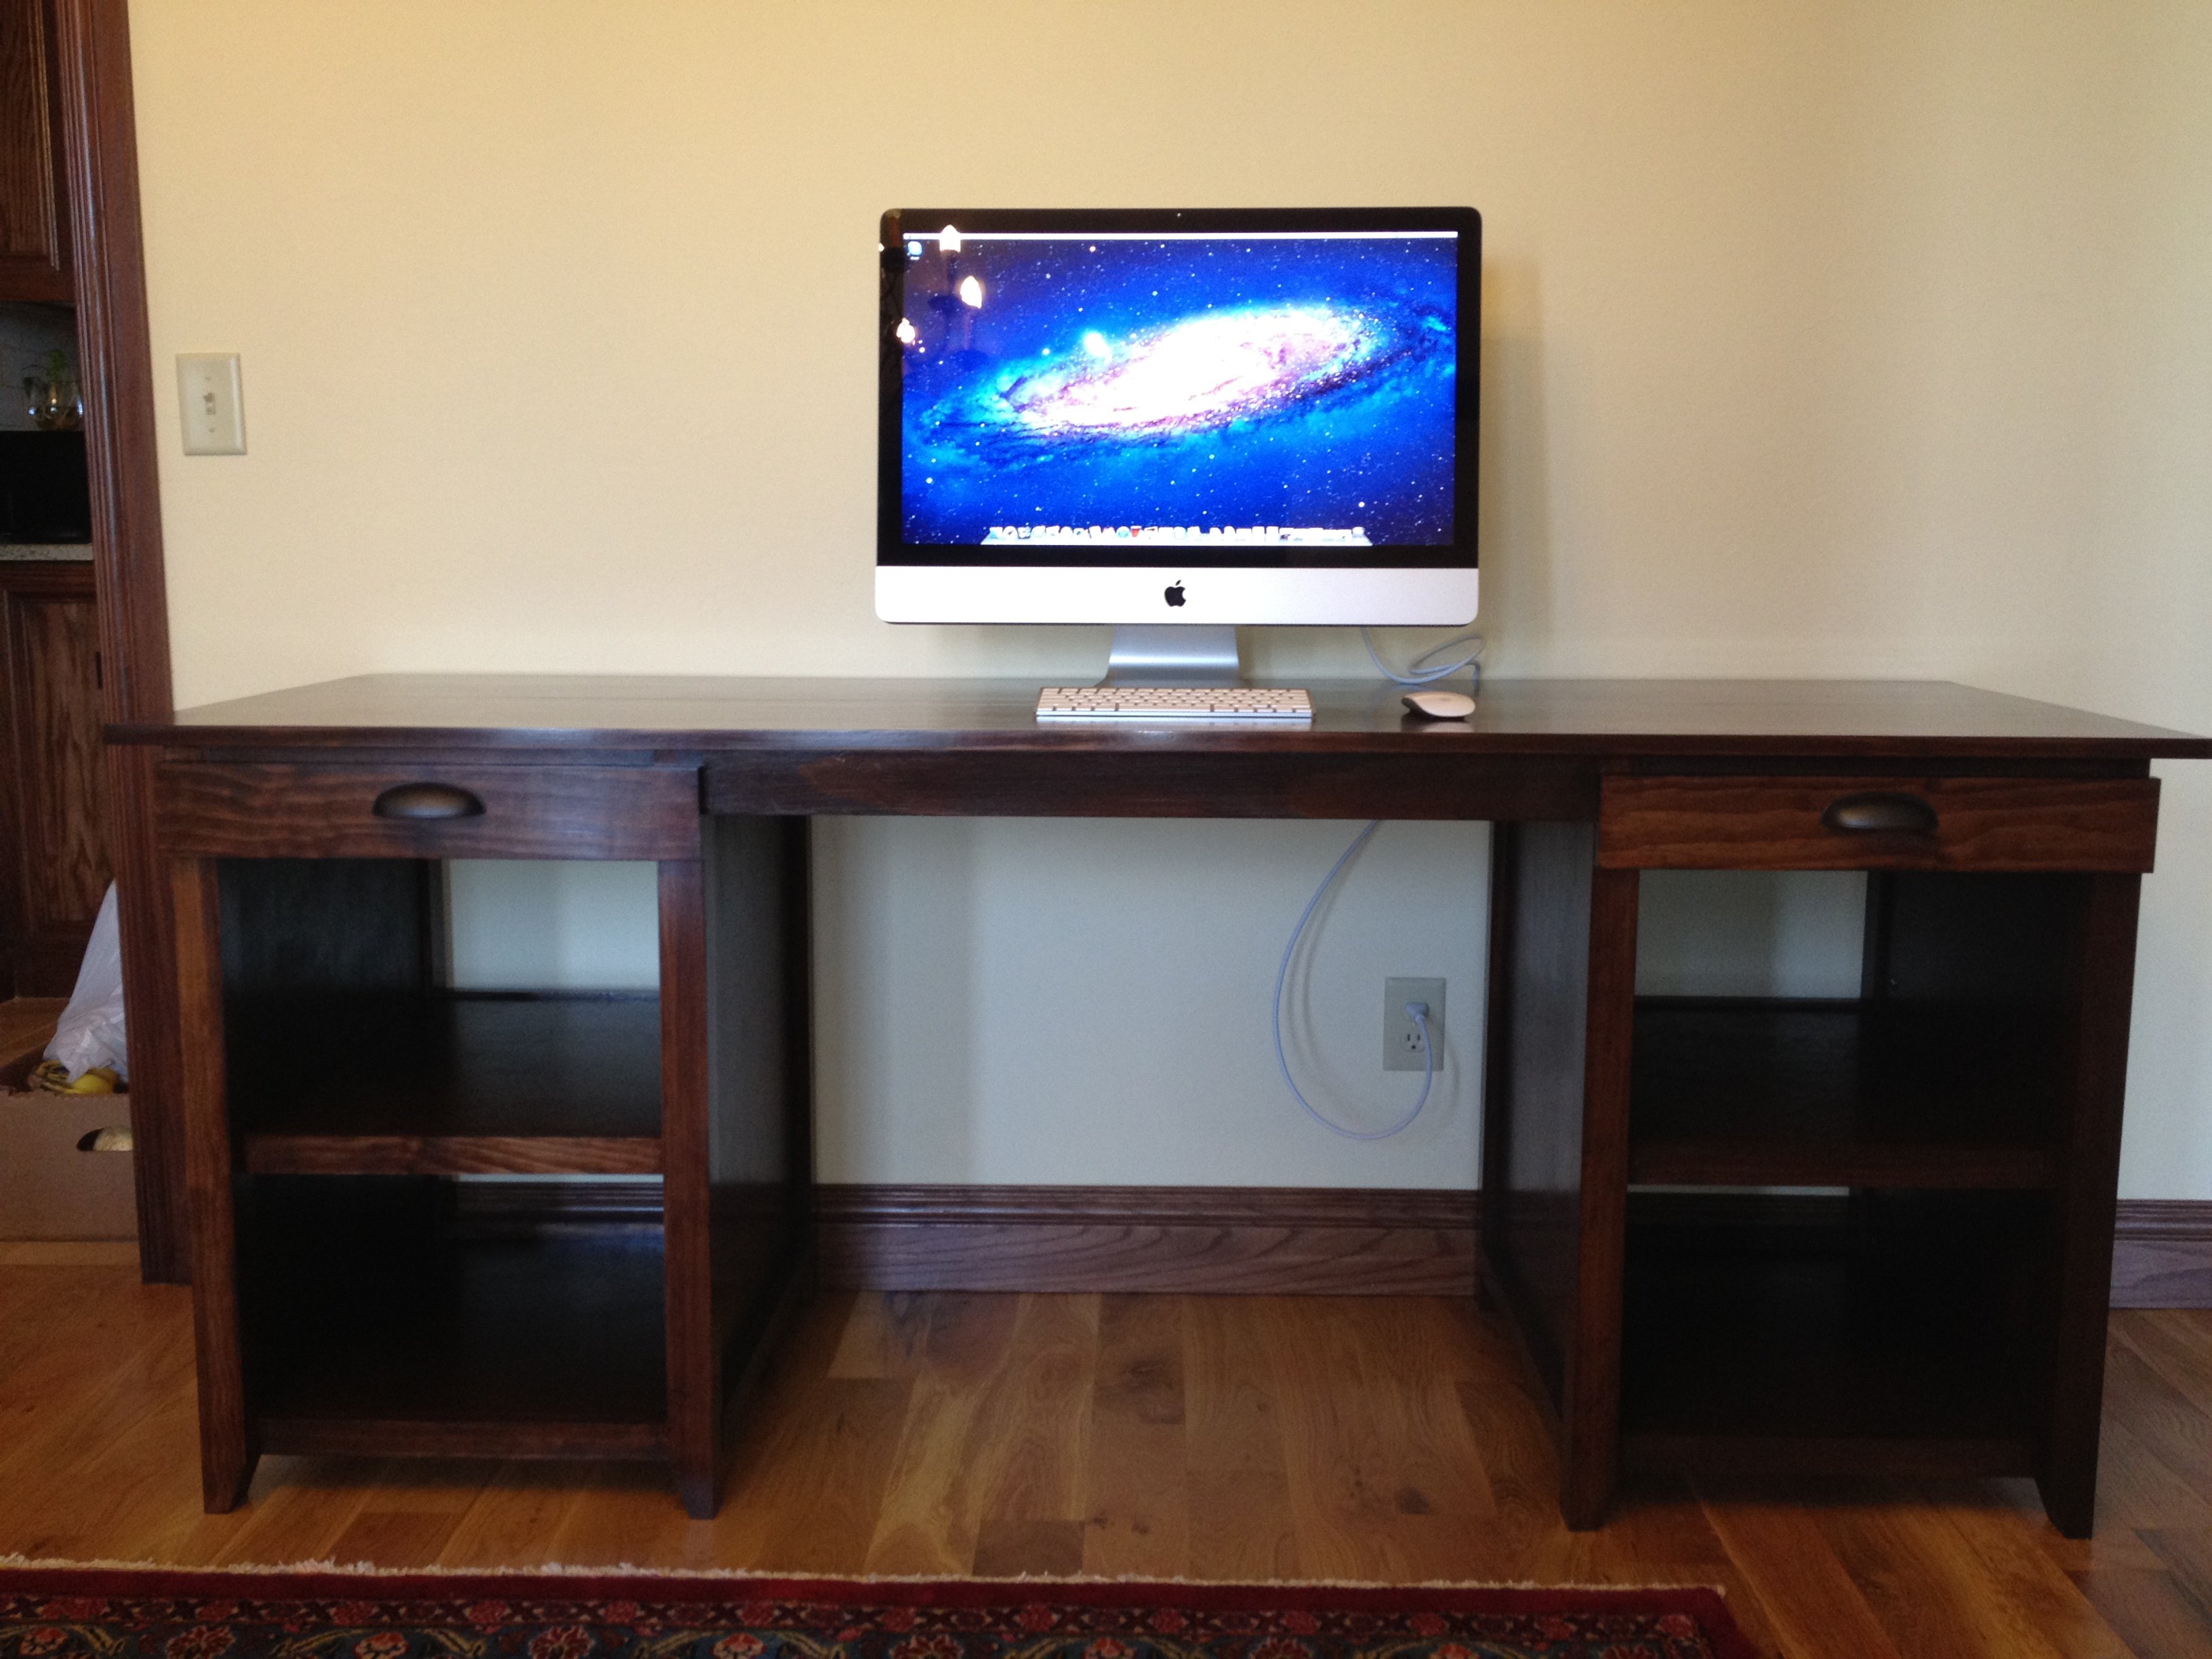
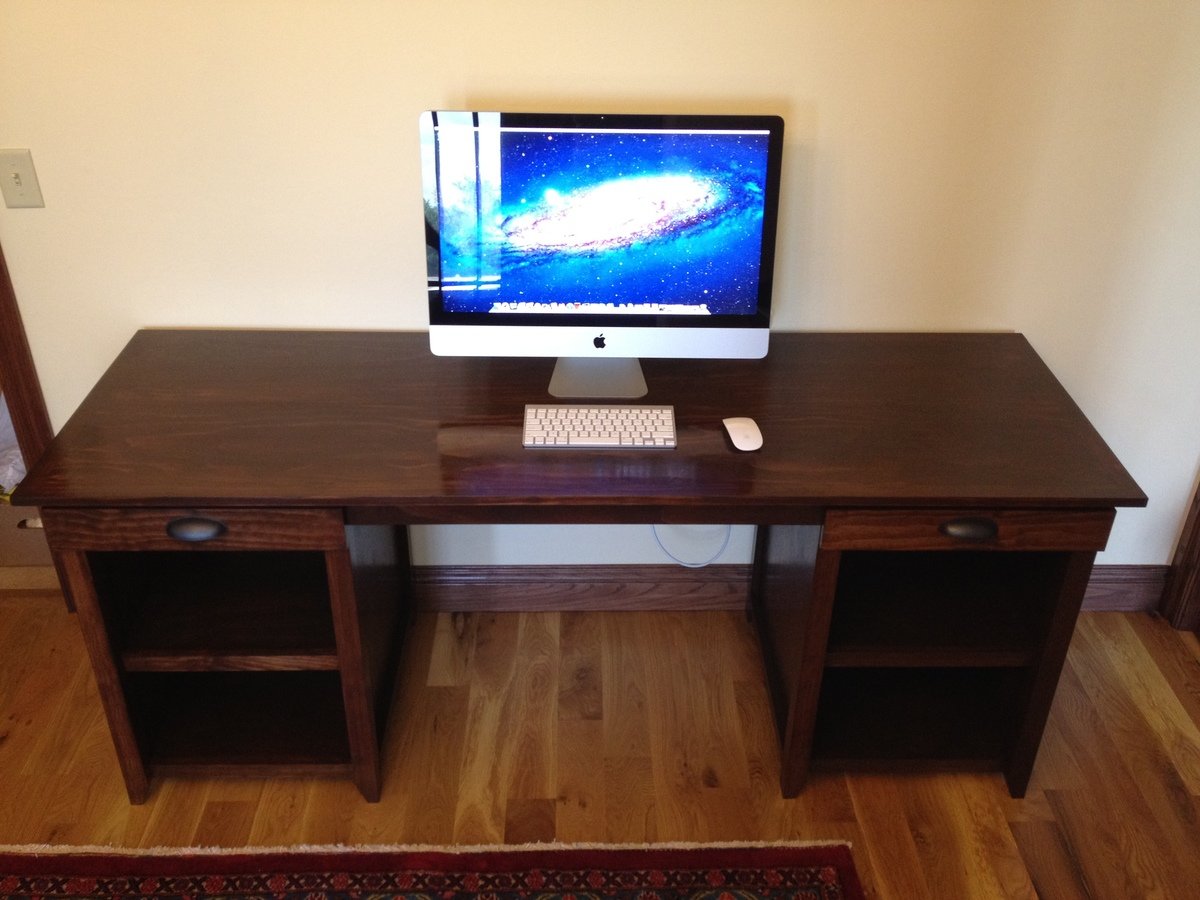
Your desk is awesome
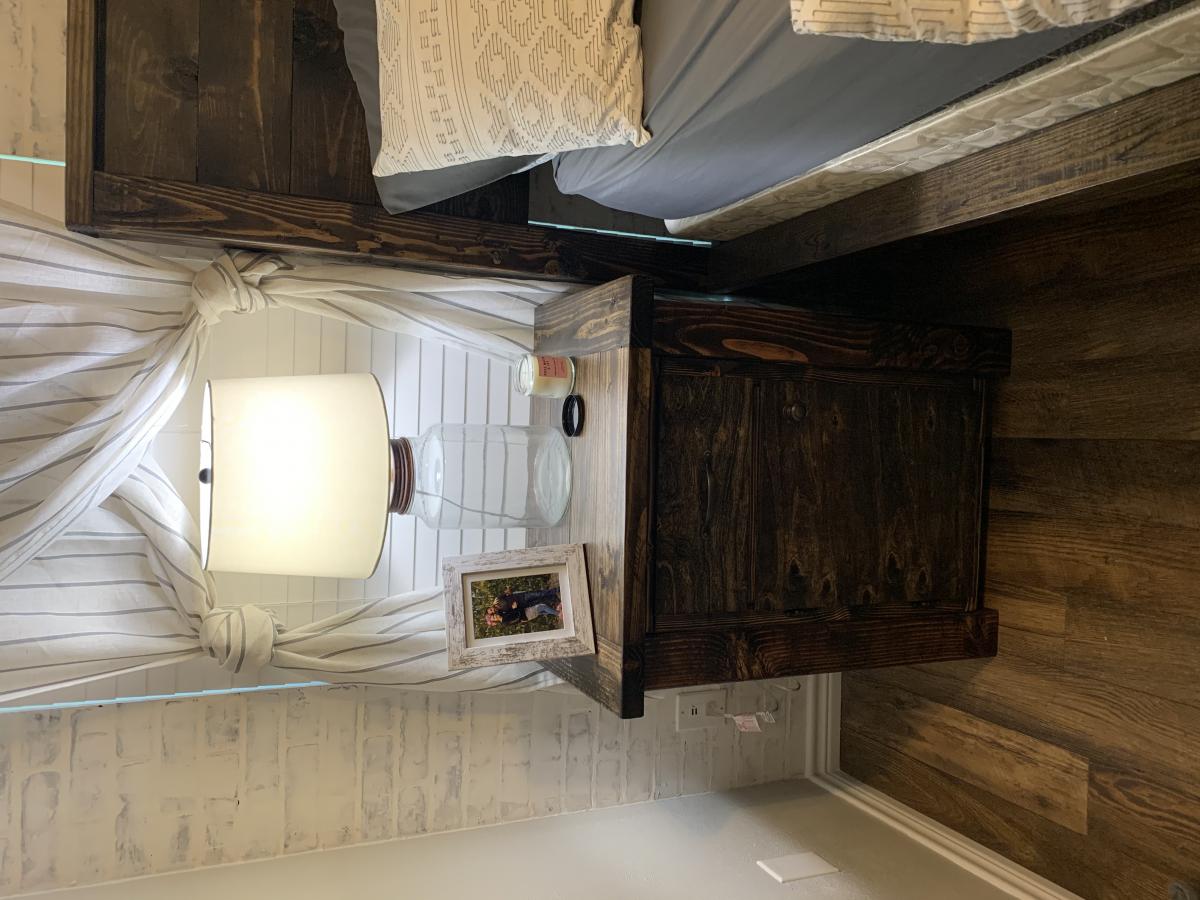
Wow, this looks amazing! Looks better than what you would see at a furniture store, and the finish is so beautiful! Awesome job.
Ji
Mon, 07/02/2012 - 11:57
Thanks!
Thanks alot! My husband and I were worried about the staining process. The stain didn't look very good at first but after a couple more coats it started to get better. We love to build but we are still struggling with finishing.
Jason S (not verified)
Wed, 08/22/2012 - 20:44
Ji, If you are finishing soft
Ji,
If you are finishing soft woods, especially pine, it is woth the few dollars it costs to but some pre-finish wood conditioner. The conditioner will help eliminate the irregularities in stain color on soft woods. It doesn't really cost too much and it really does help eliminate blotches, streaking and helps get a more consistent color.