Heavy Duty Picnic Table Bench
My husband and I modified the plans just a bit for this Picnic Bench Table we found on your site. We love it!
My husband and I modified the plans just a bit for this Picnic Bench Table we found on your site. We love it!
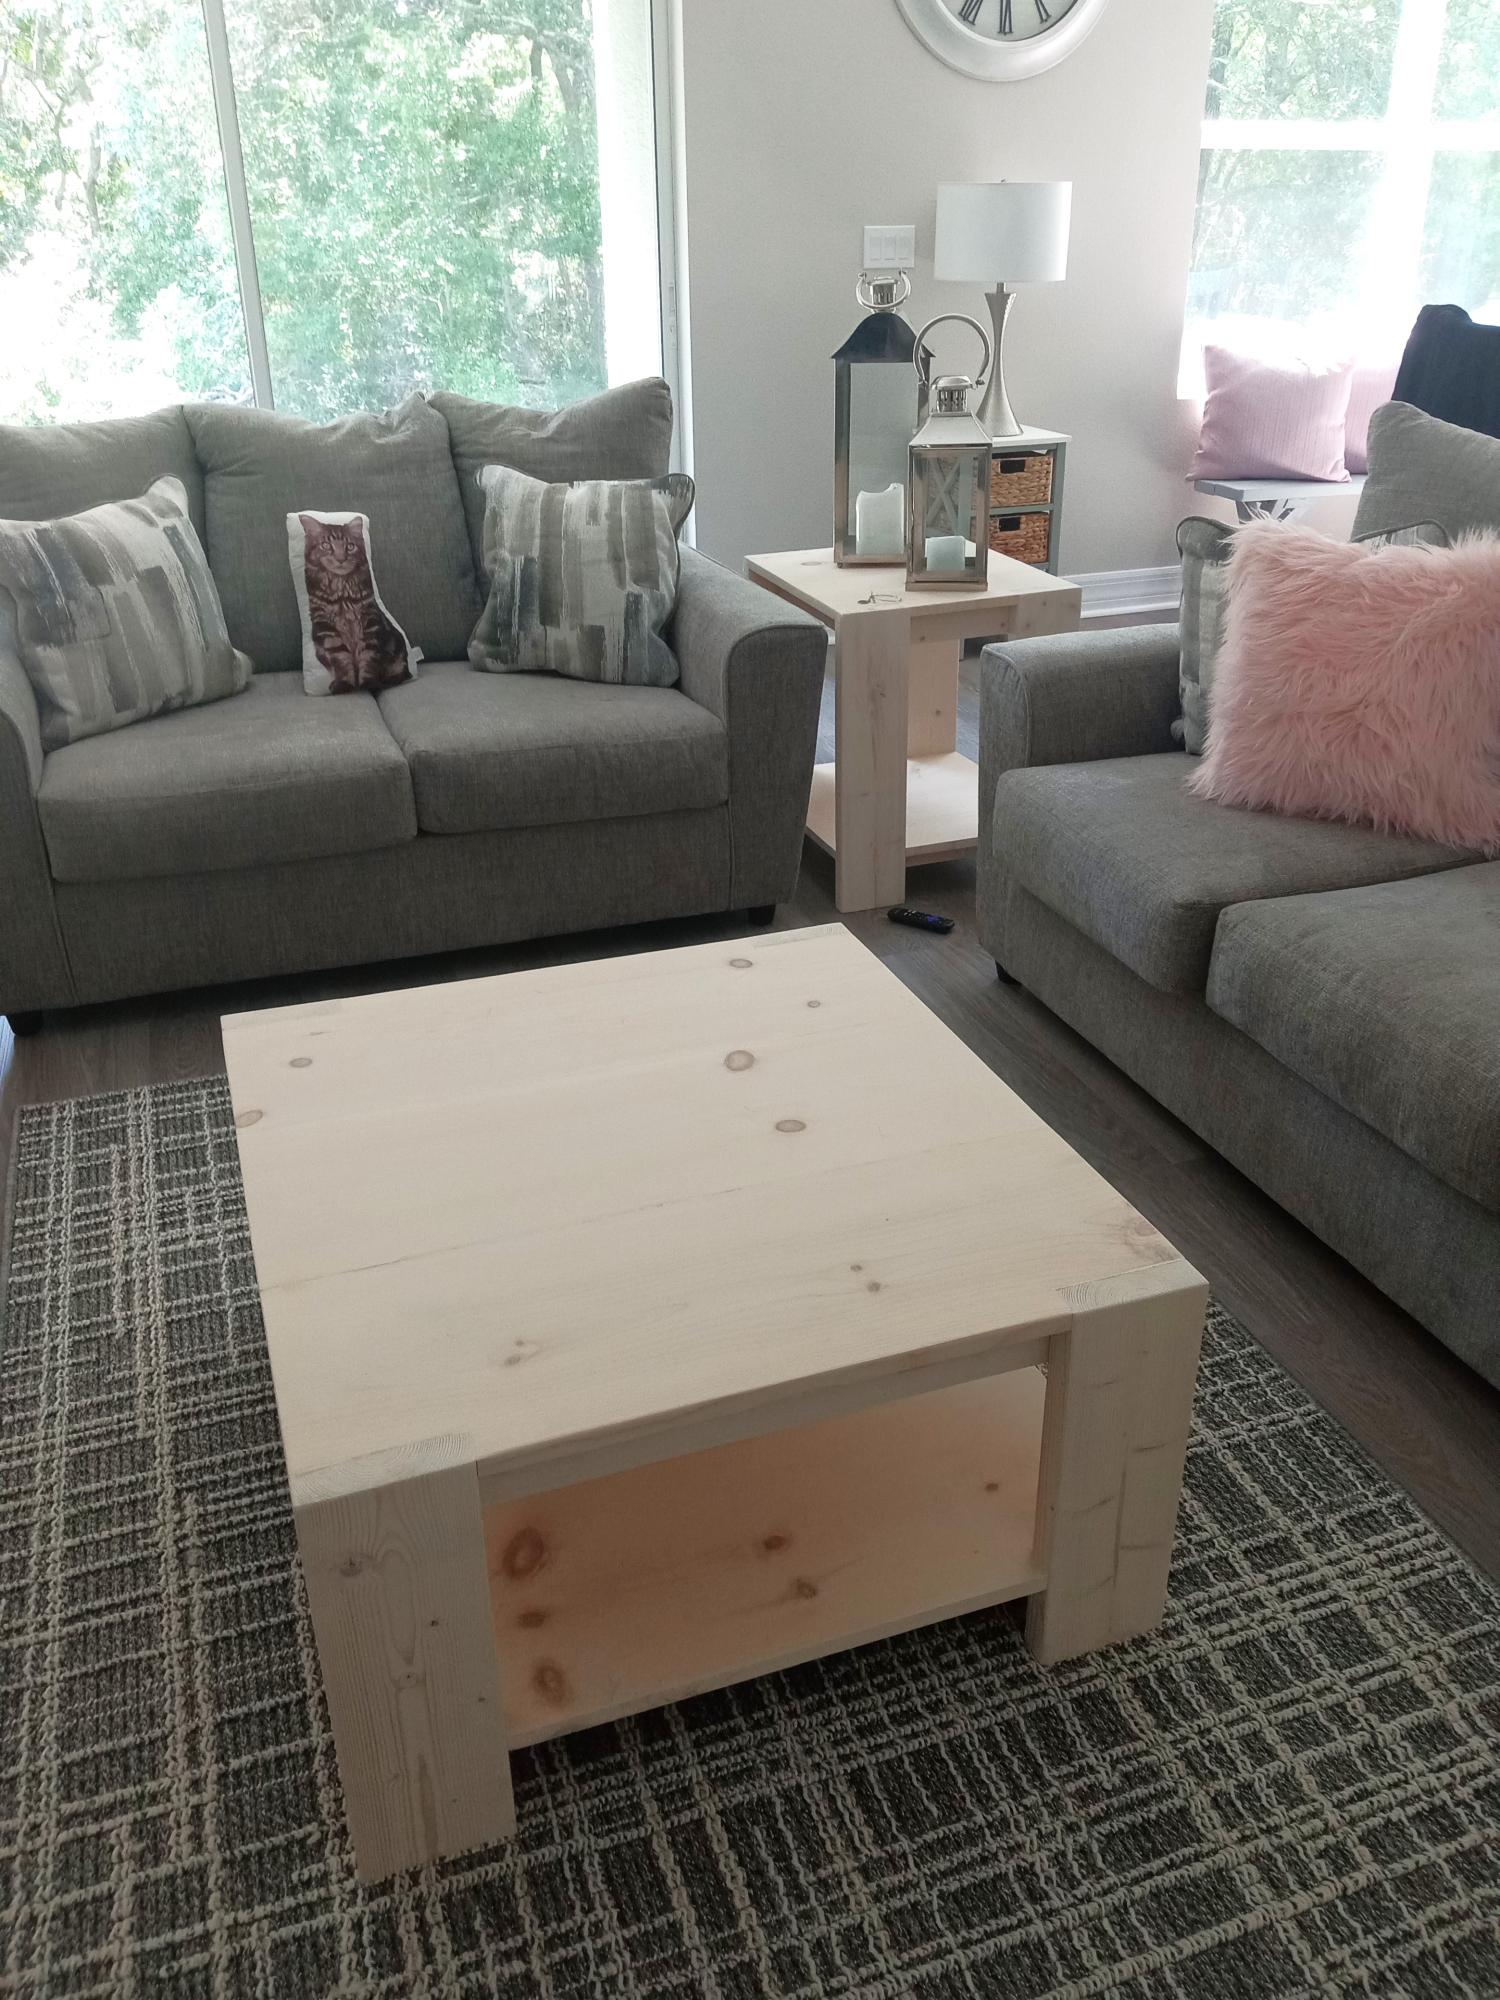
I have my husband working hard . 💙💙💙
Valorie Torres Arantz
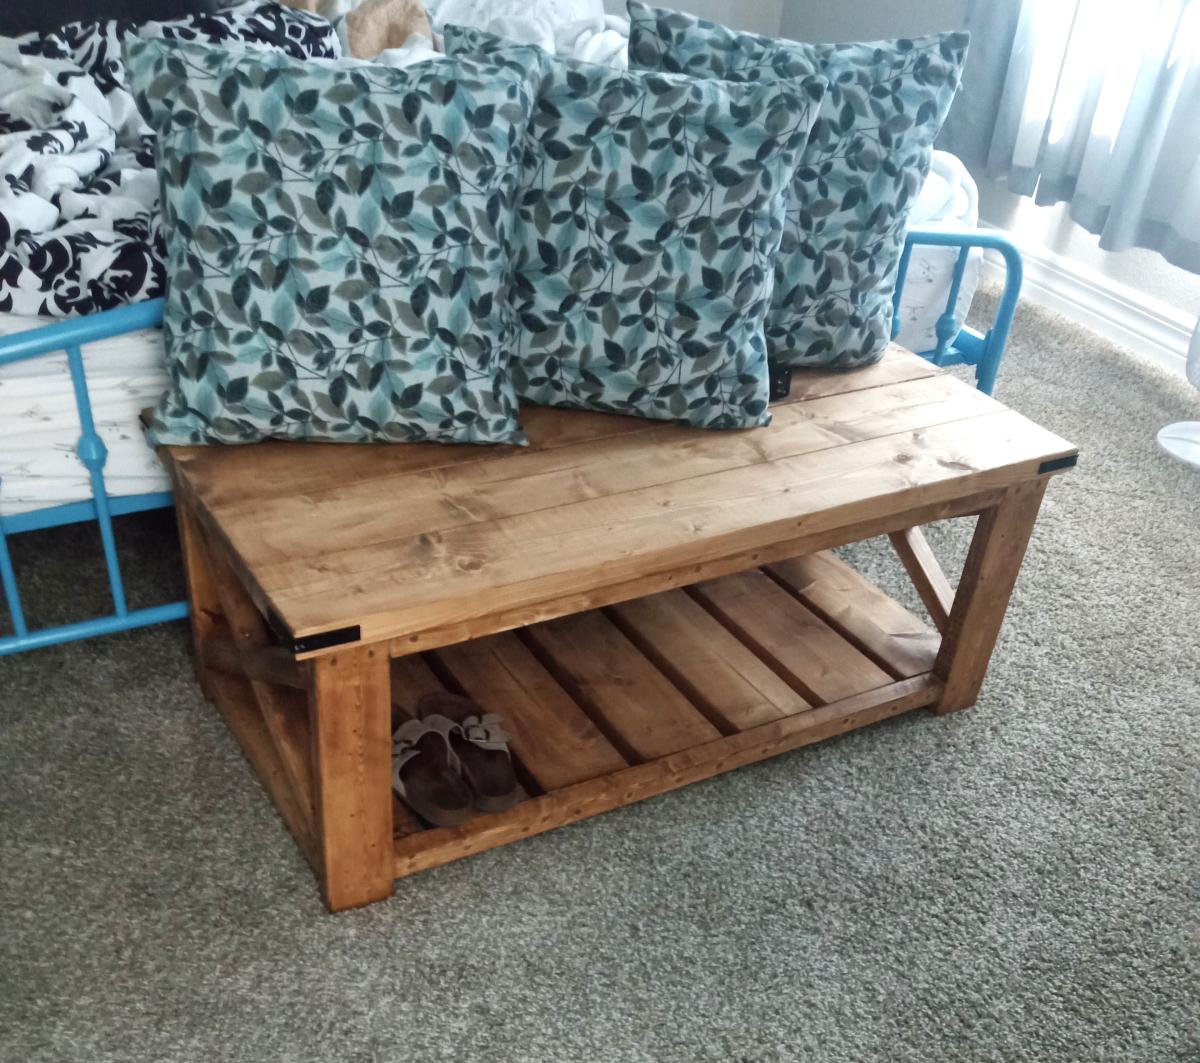
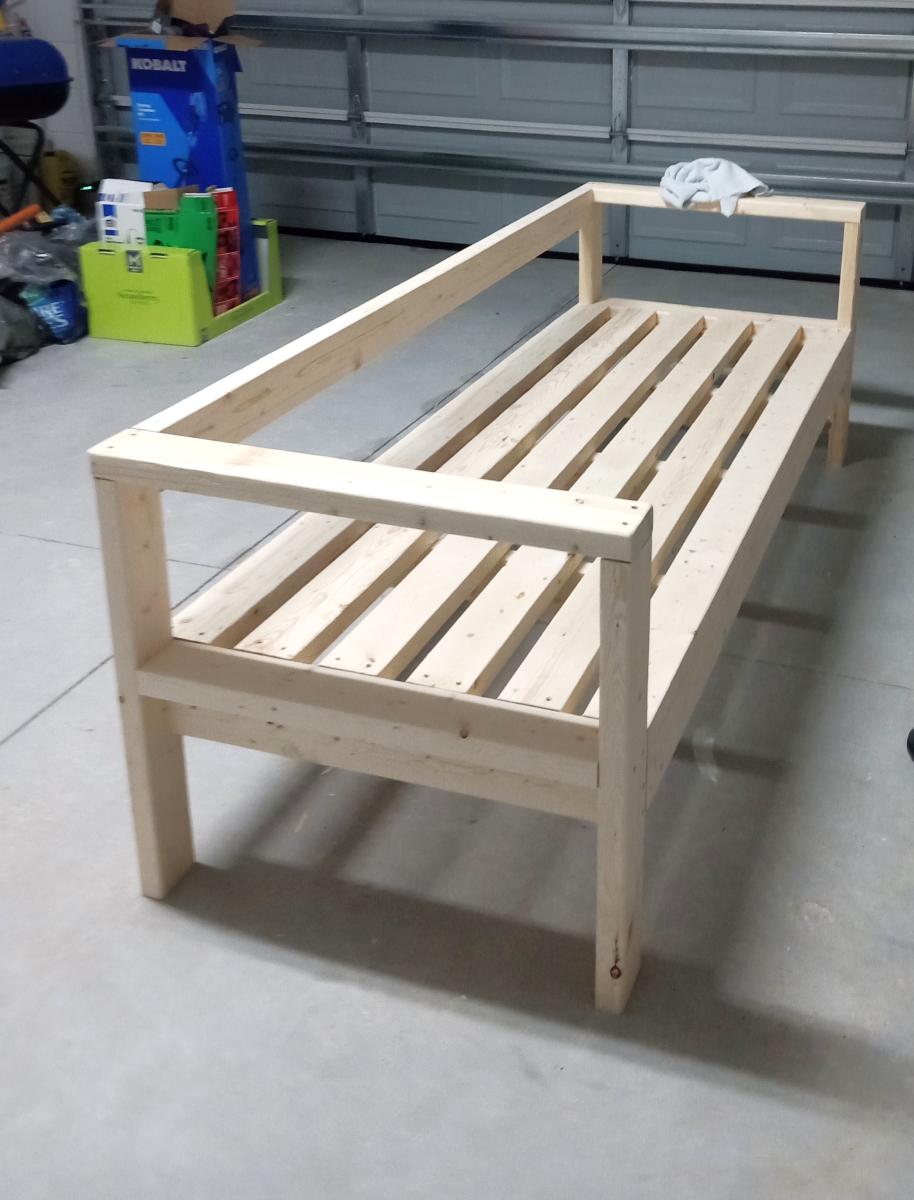
"J" shaped wrap around bar
To build:
2 x 4s
1/2" plywood
#2 resaw 1 x 6" planks - sold in 16' increments
#2 resaw 1 x 4" planks
1 5/8" screws
2 1/2" screws
3" screws
Jacobian stain
lacquer
finishing nails
Needed:
Tons of time
Miter saw
3/8" driver
wrasp
hand planer
I actually built this in my living room when I lived in an apartment. I had very cool neighbors. It weighed about 300lbs when it was done.


3 - 1x3 boards, 6' length
3 - 1x2 boards, 6' length

A) 4 - 1x3 @ 29 1/2" (Fronts and Backs of the Legs)

Construct your legs by nailing through the 1x3 legs into the edge of the 1x2 legs with 1 1/4" finish nails and glue. The legs will be positioned with the 1x3s to the front, 1x2s to the side, as shown in the diagram.

Start by marking each of the legs 5" from the bottom of the board. This will be the bottom of the side support, D. Nail D to the legs, using 1 1/4" nails and glue, from the inside.

Now attach the bottom front and back aprons, F, alligning with the bottom side support D, Use glue and 1 1/4" nails, nailing through the apron F, into the legs.

Attach Bottom shelf G to the bottom side supports D and bottom front and back aprons F. Use Glue and 1 1/4" nails, nailing through the shelf into the supports and aprons.

Now use the 1 1/4" nails to nail through the Top side supports C into the legs. Use glue. Keep top edges perfectly flush.

Do the same for the Top front and back apron pieces, E, as shown above. Nail through E into the legs using 1 1/4" nails and glue. Keep top edges flush. Take a minute to check for square

Now add the base top, piece H. You should have a 1/4" overhang on the front and back edges, and 4 3/4" overhang on either side. Nail into the legs and the apron using 1 1/4" nails and glue.

For the Bread Board ends cut a piece two pieces from the 1x10" board to 11 1/4" long. You then need to rip those pieces down to 5 1/2" wide. If you prefer you can purchase a short piece of 1x6" board instead but this reduces waste. Use glue and 1 1/4" nails from the underside to attach the breadboard ends to the base top. Keep all outside edges flush.

I recommend not cutting the final piece, J, unitl you have taken an exact measurement. Add the final piece, using glue and 1 1/4" nails from the underside.
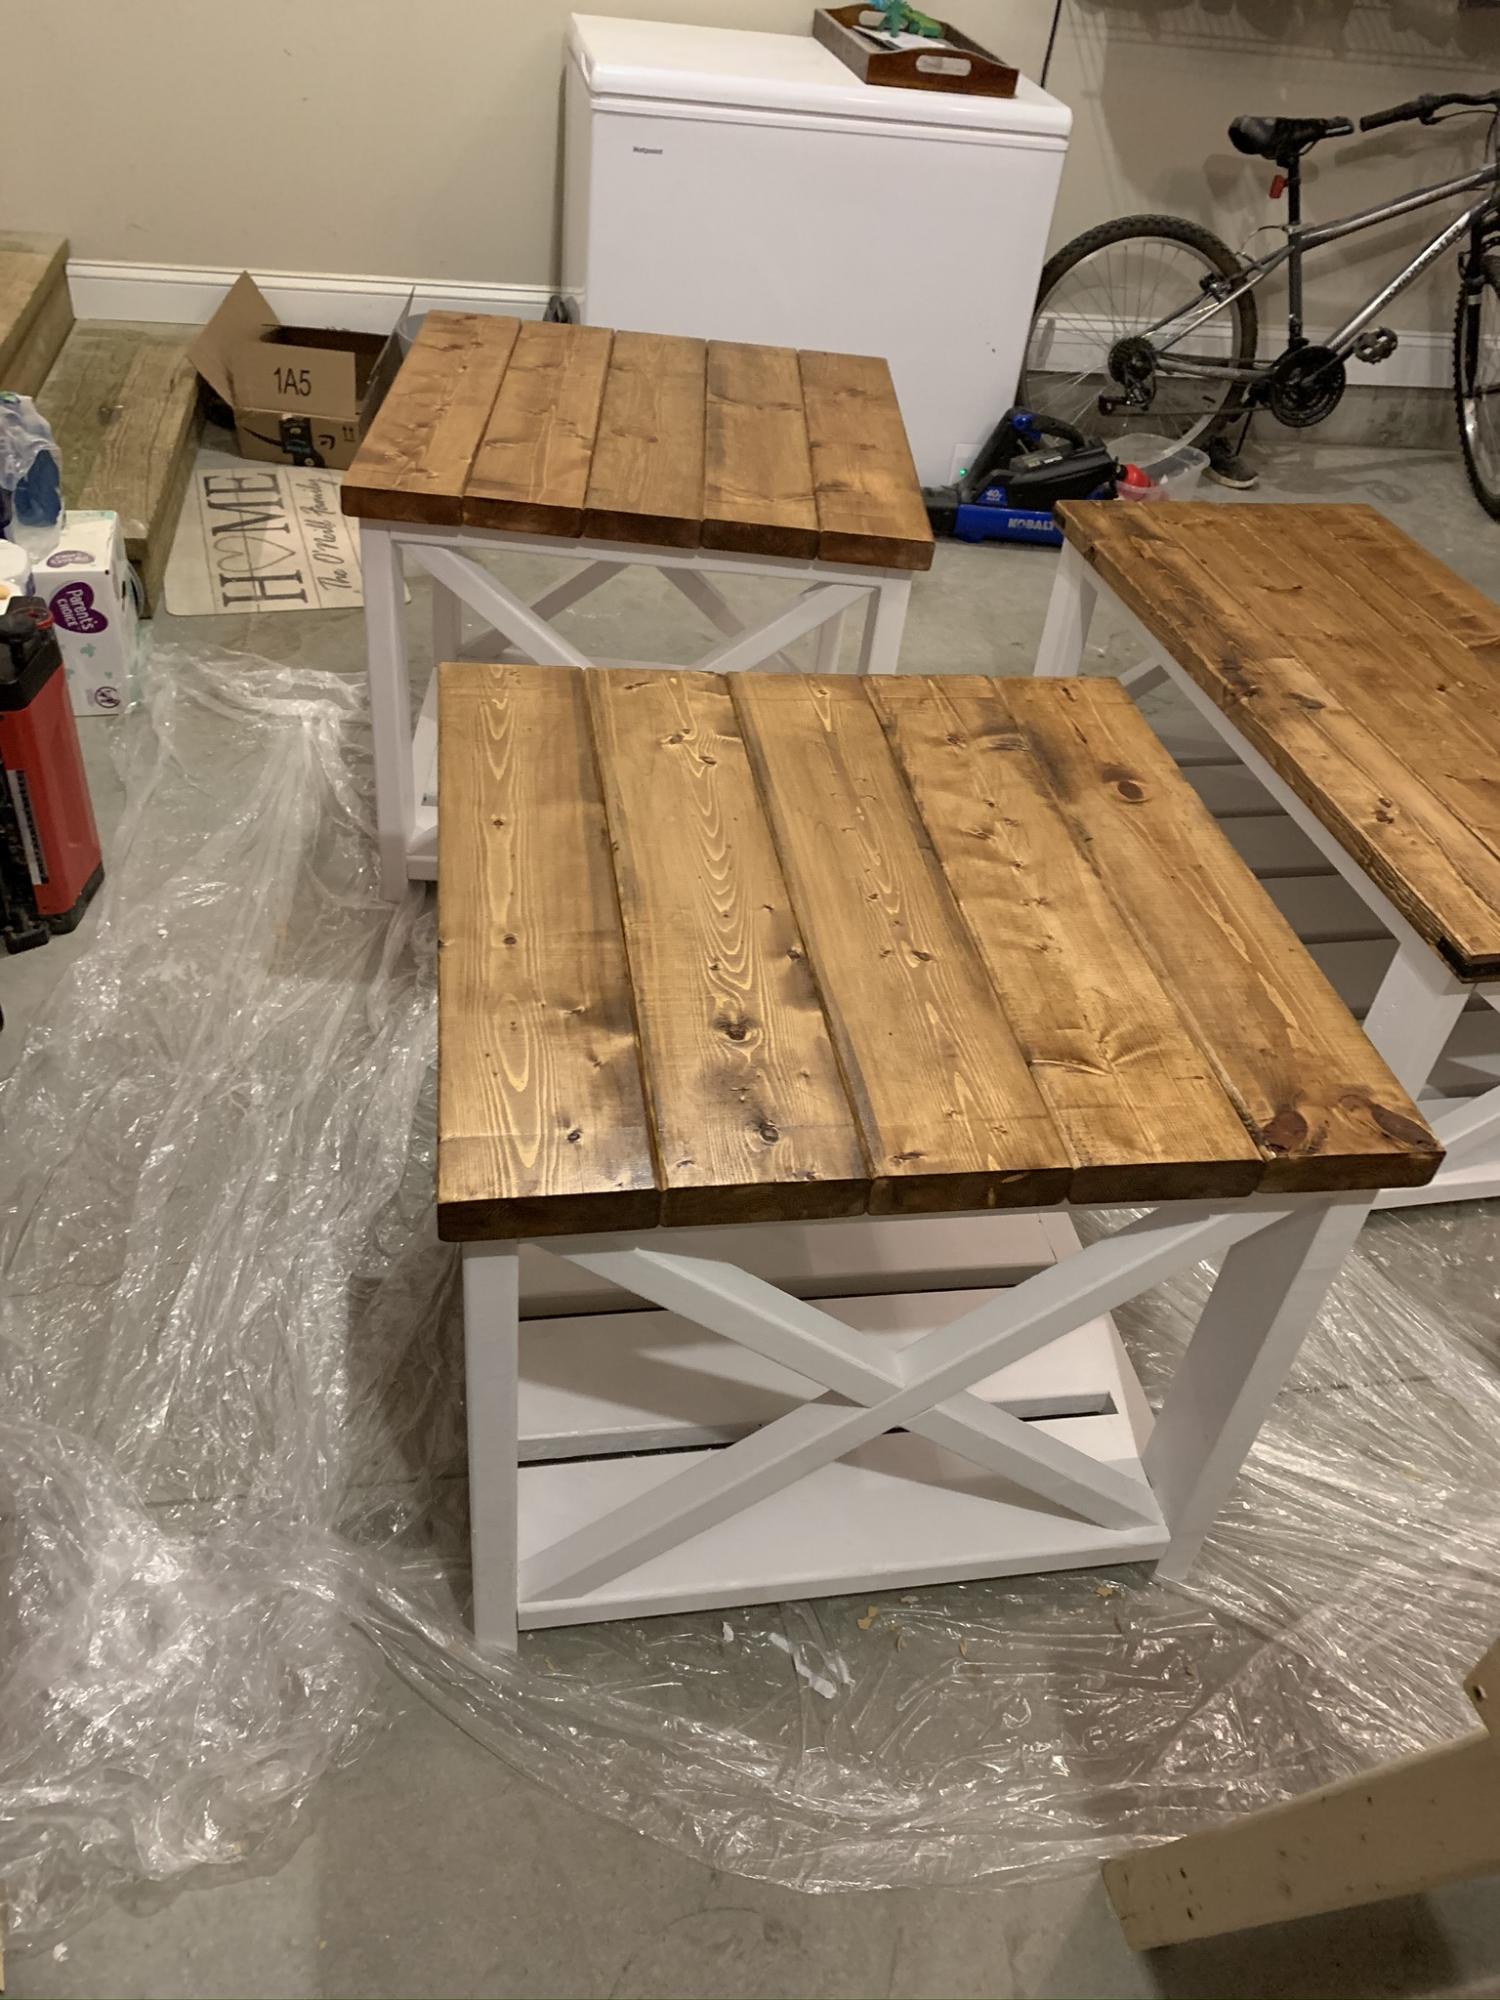
Great looking tables . This is the Large size . If your using in your living room I’d recommend going with the “small” size which is more like a normal standard size. The large size is way to big for a normal average size living room.
About $70 to build a set .
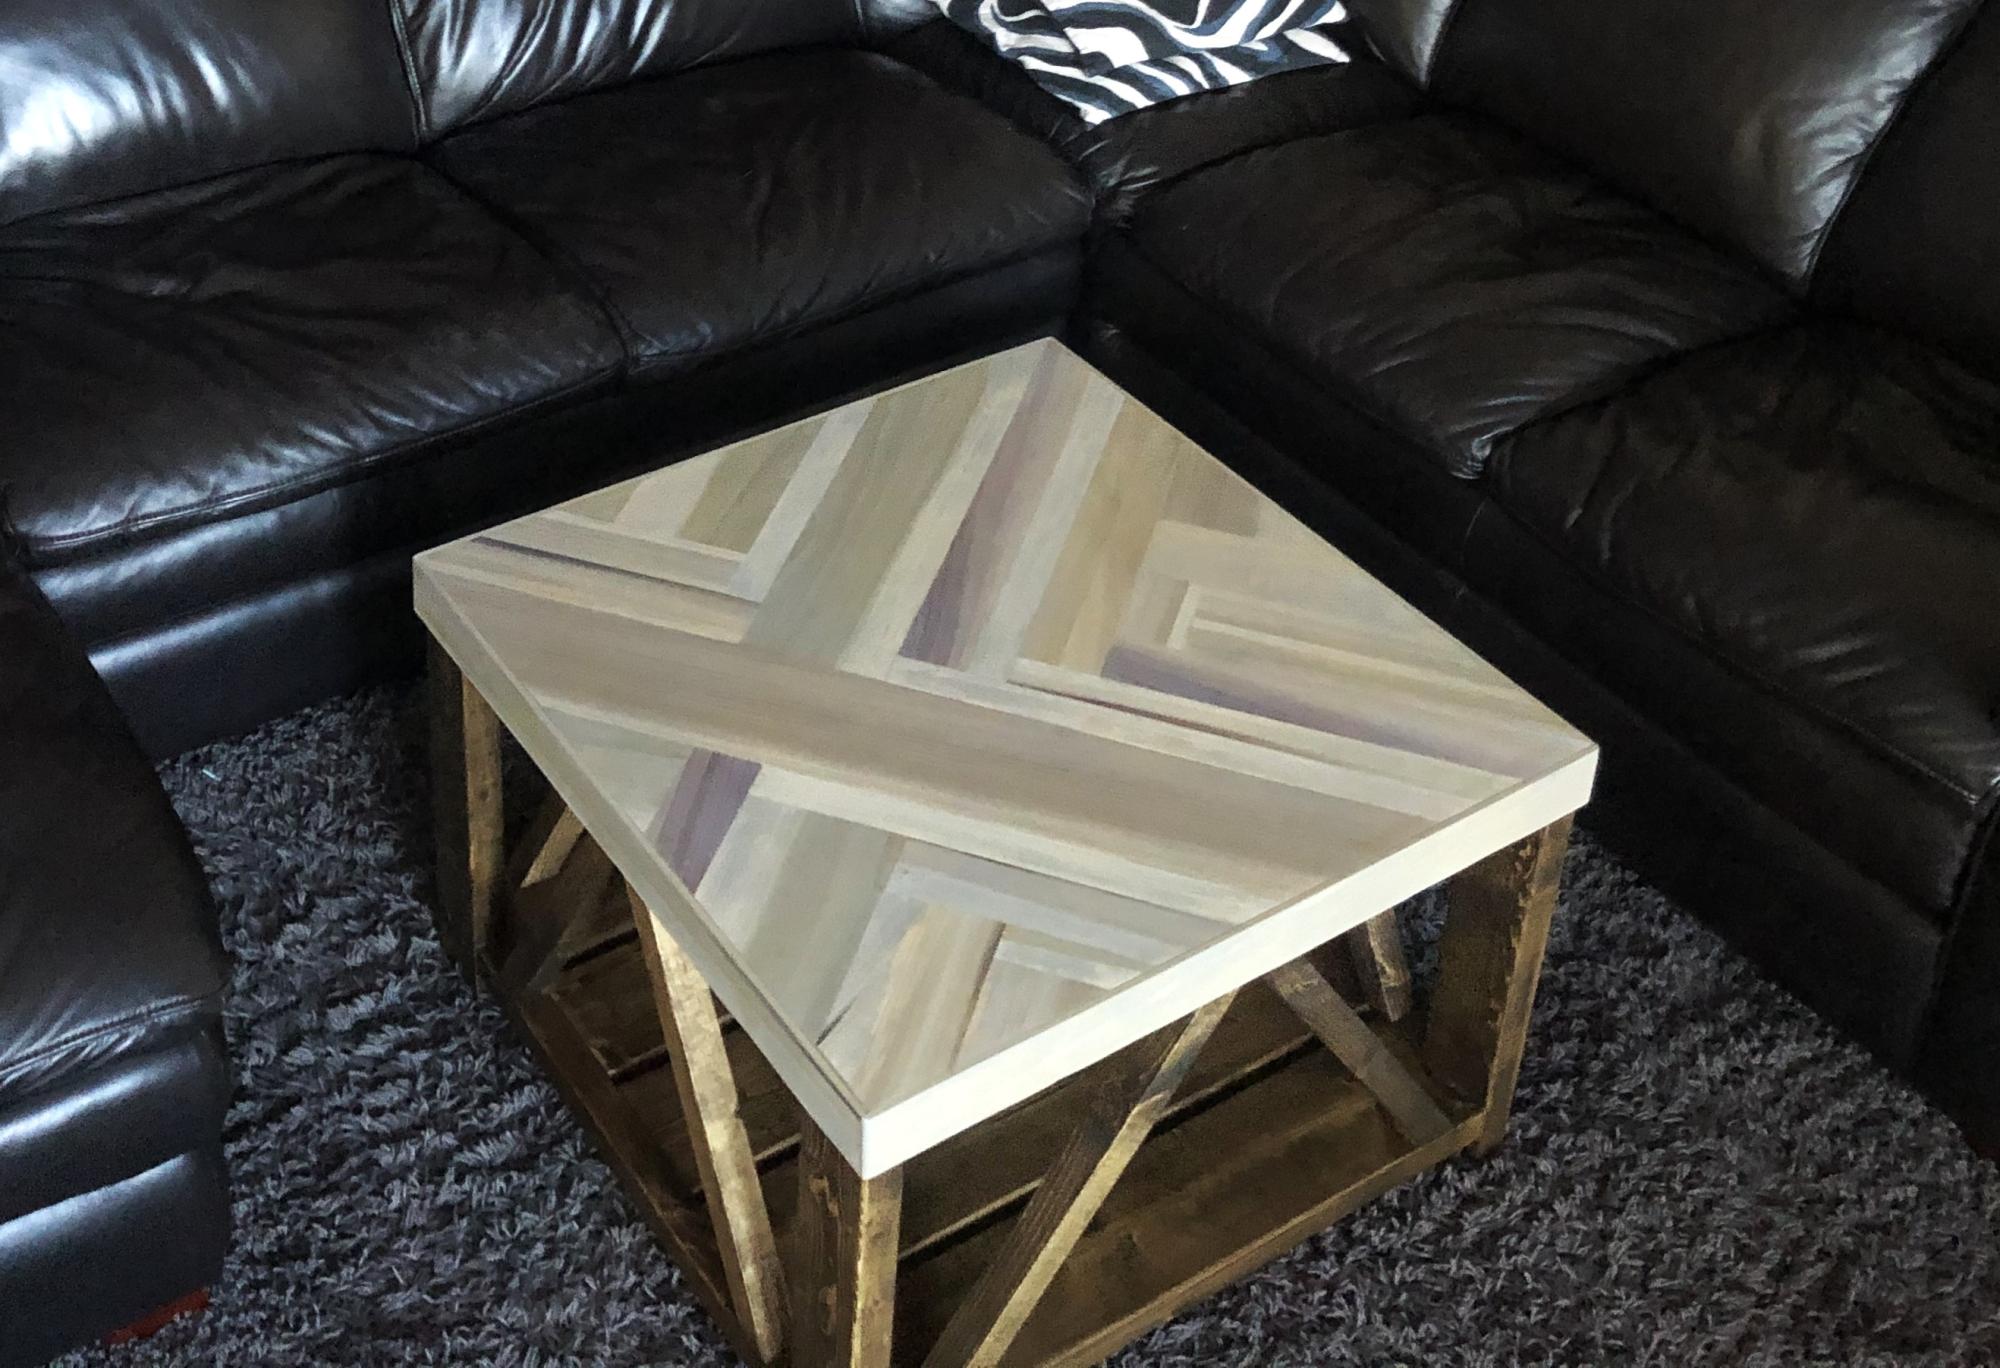
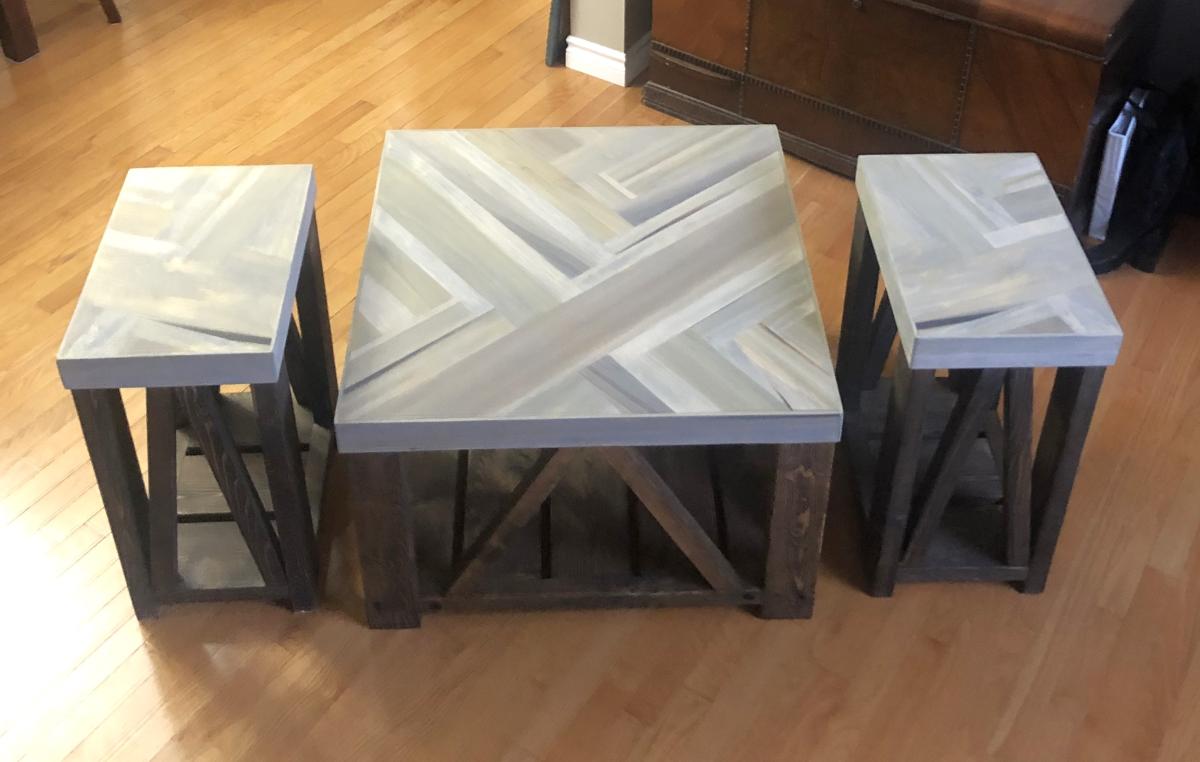
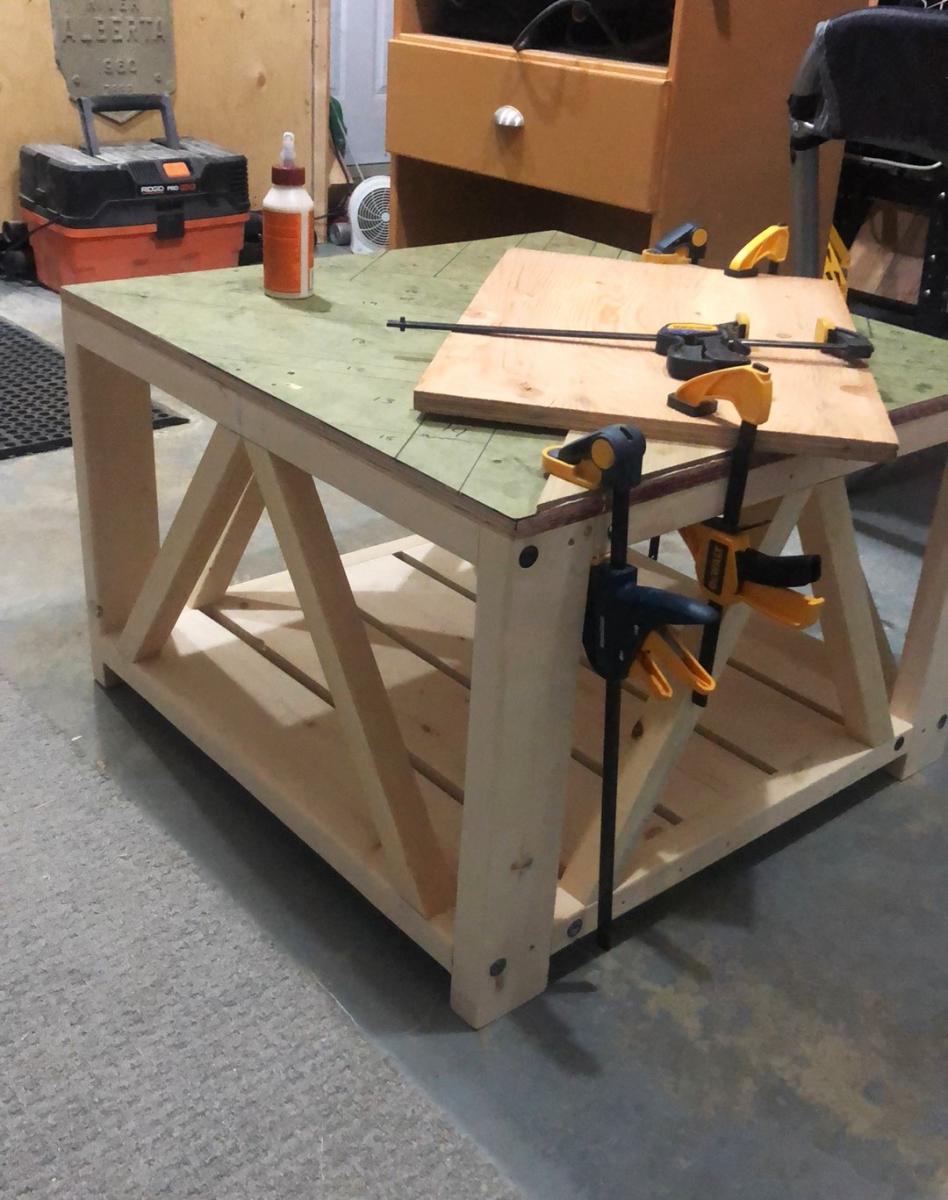
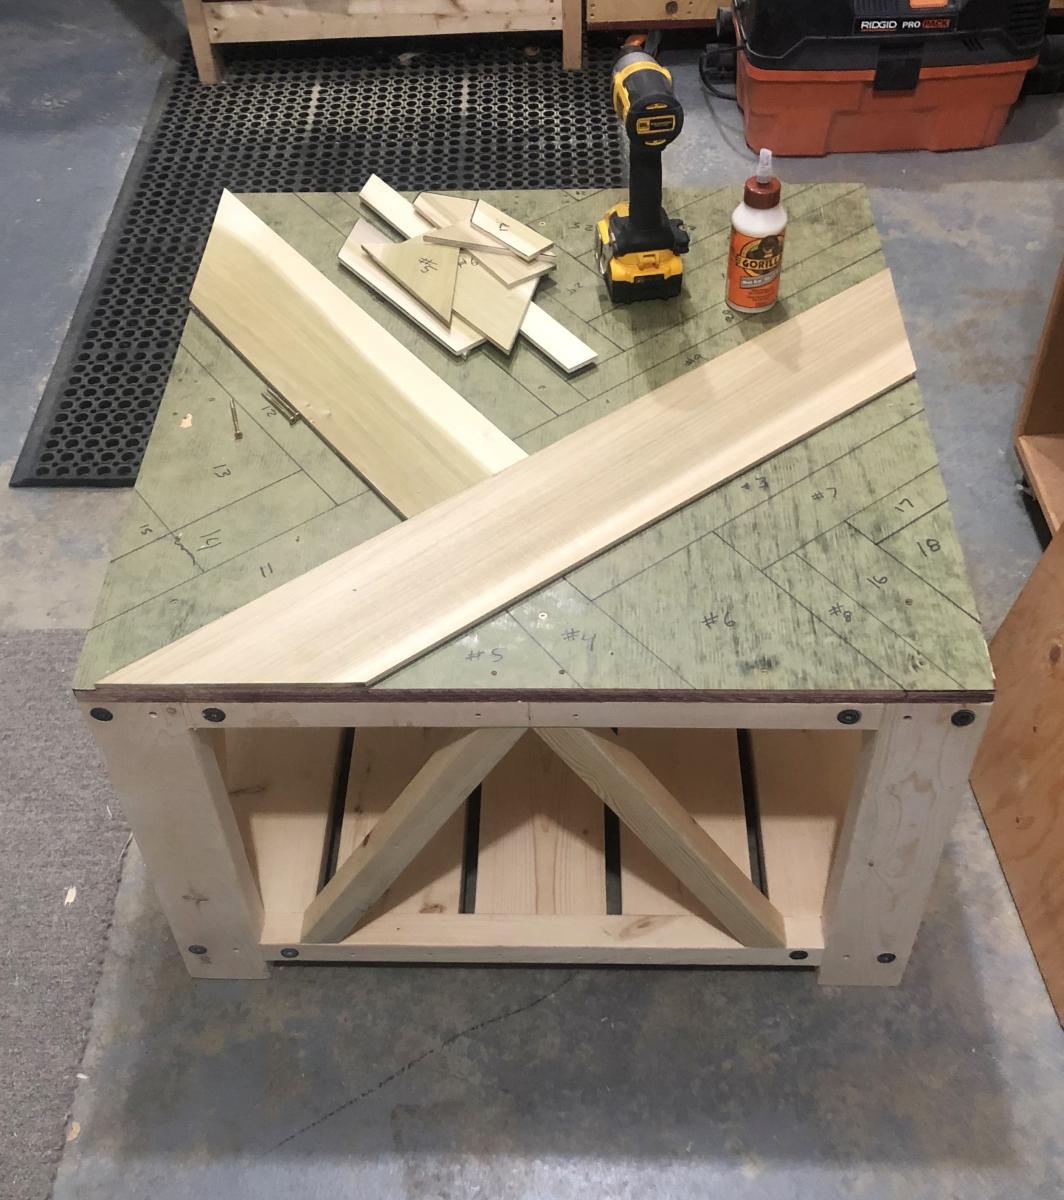
We looked for coffee table to fit our sectional, couldnt find a size that seemed right so wife tasked me to male one. Table turned out so good she requested end tables i followed an Anna White plane for basic coffee table but added the decorative top.
Marty Henderson
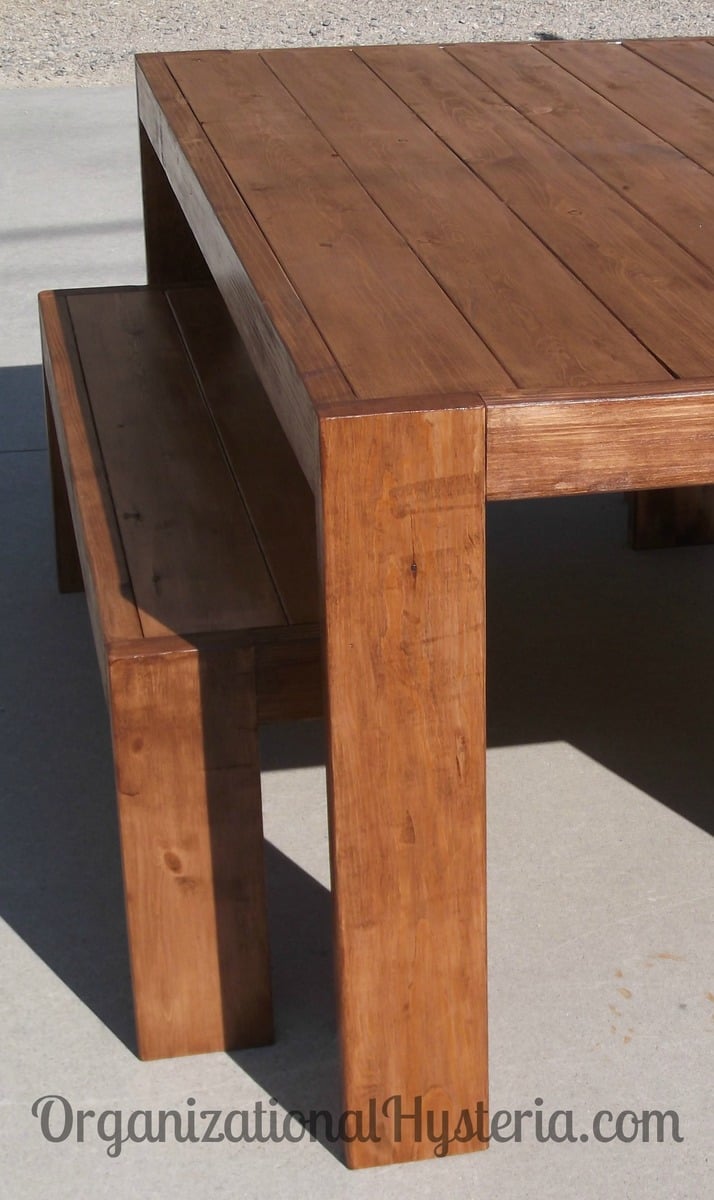
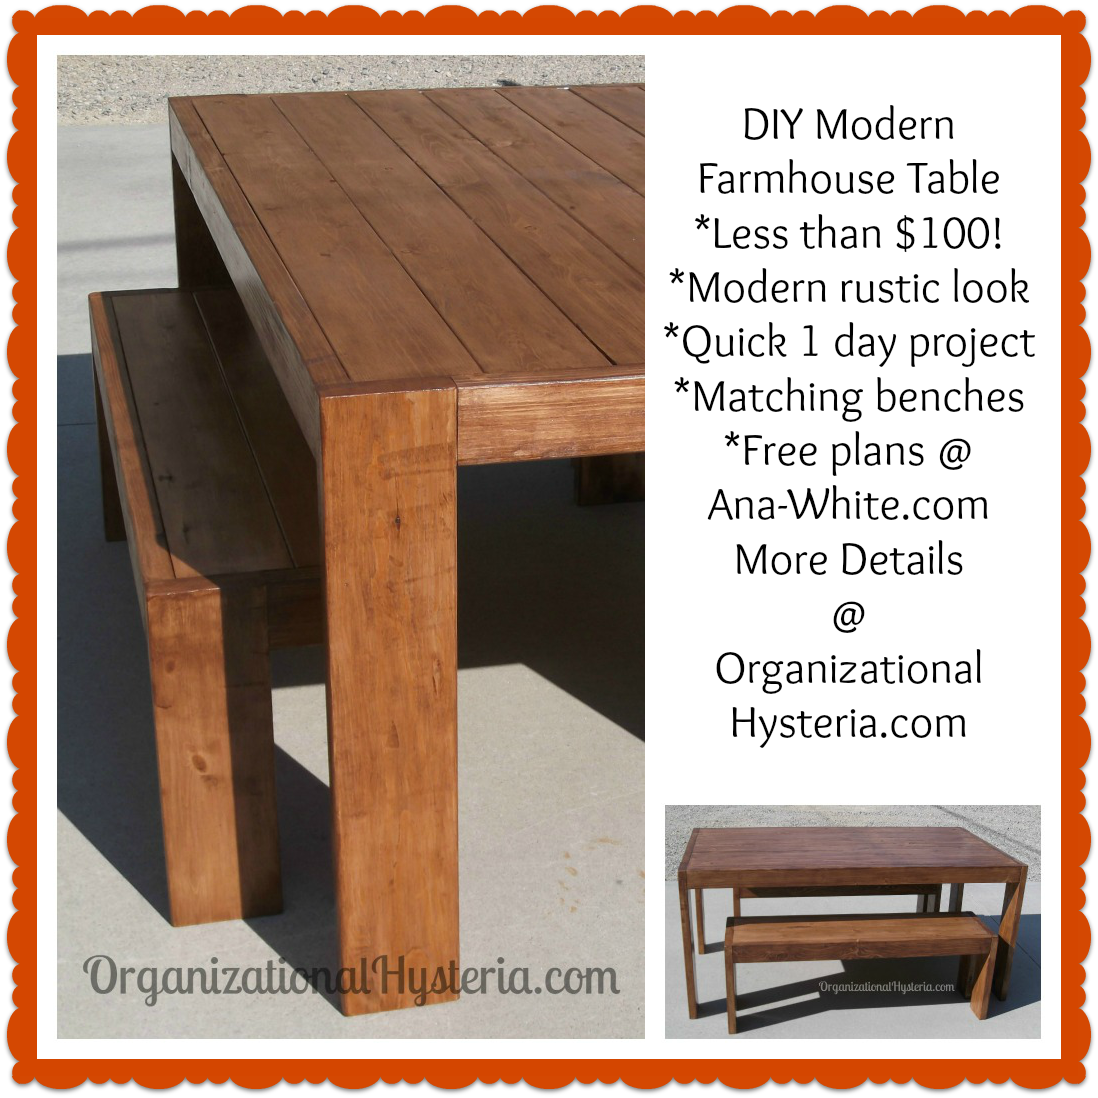
My husband and I built this project in one day, for less than $100, including the matching benches! We used inexpensive white wood boards and made sure to find the straightest ones in the best shape. The table is easy to assemble and SO sturdy. It can easily sit 4 adults on the benches or 6 smaller people, more with extra chairs on the ends.
I've wanted to build this table for quite some time and it couldn't have turned out better, I just wish we were keeping it for ourselves. :-)
I share more details on my blog if you'd like to check them out, thanks for looking!
Happy Building,
Danielle
organizationalhysteria.com
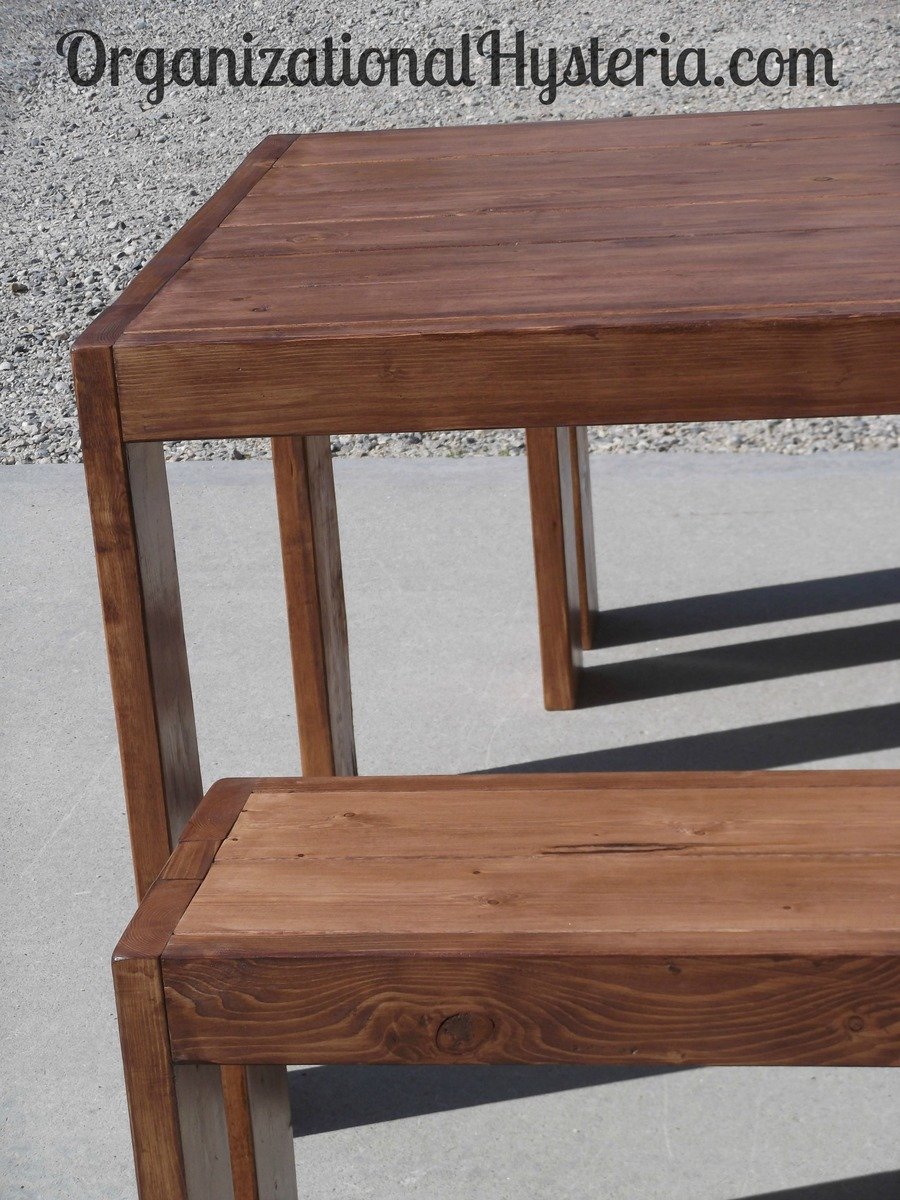
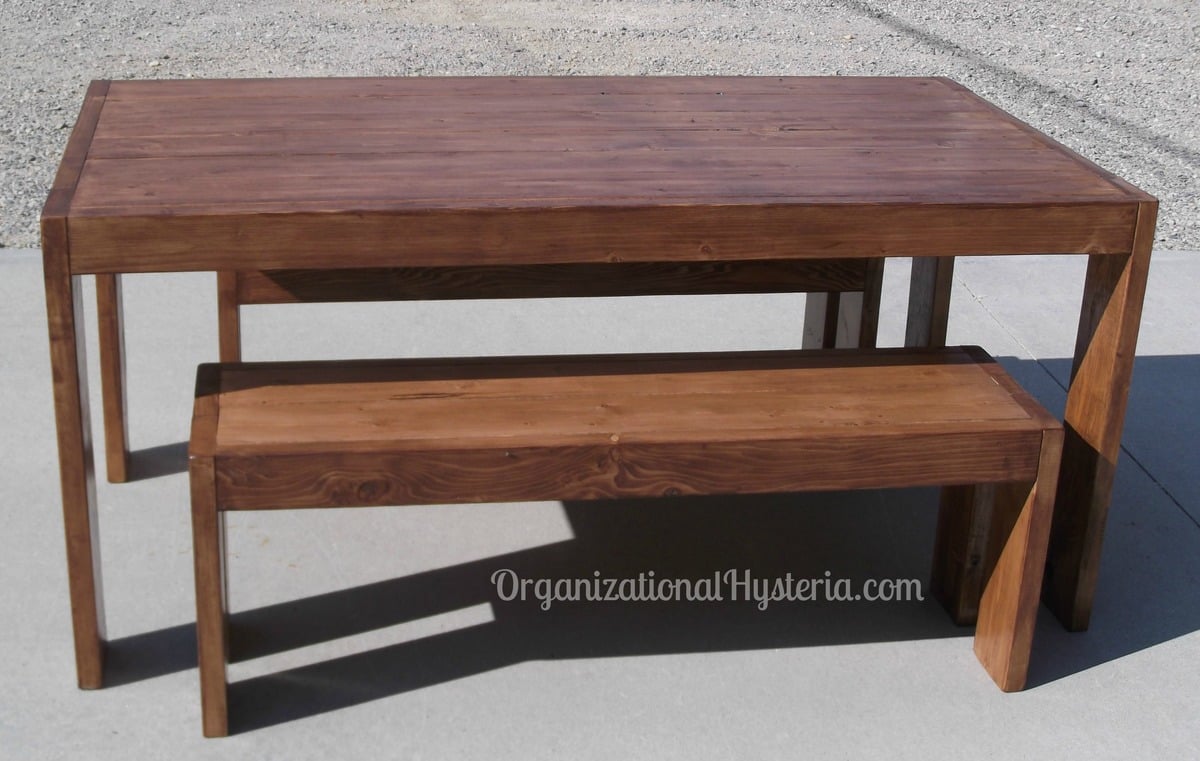
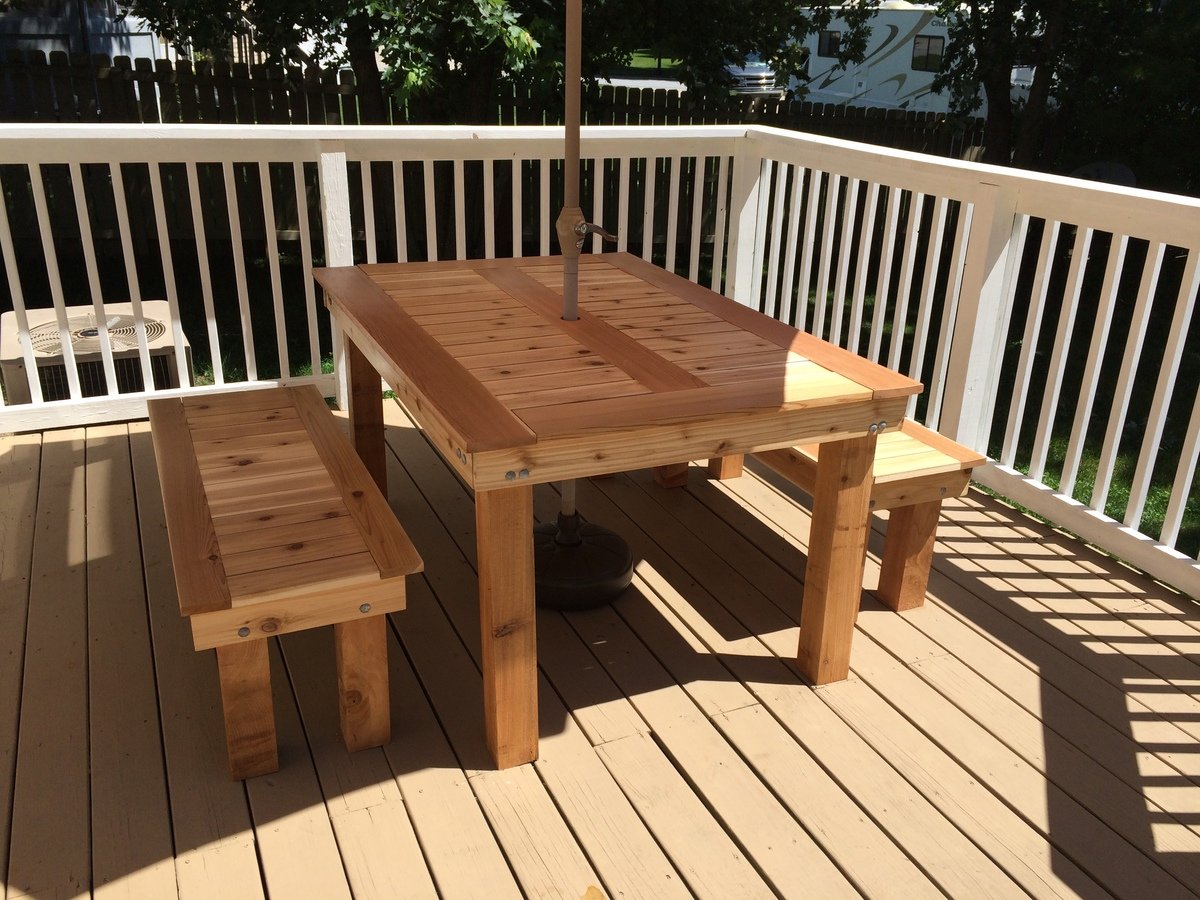
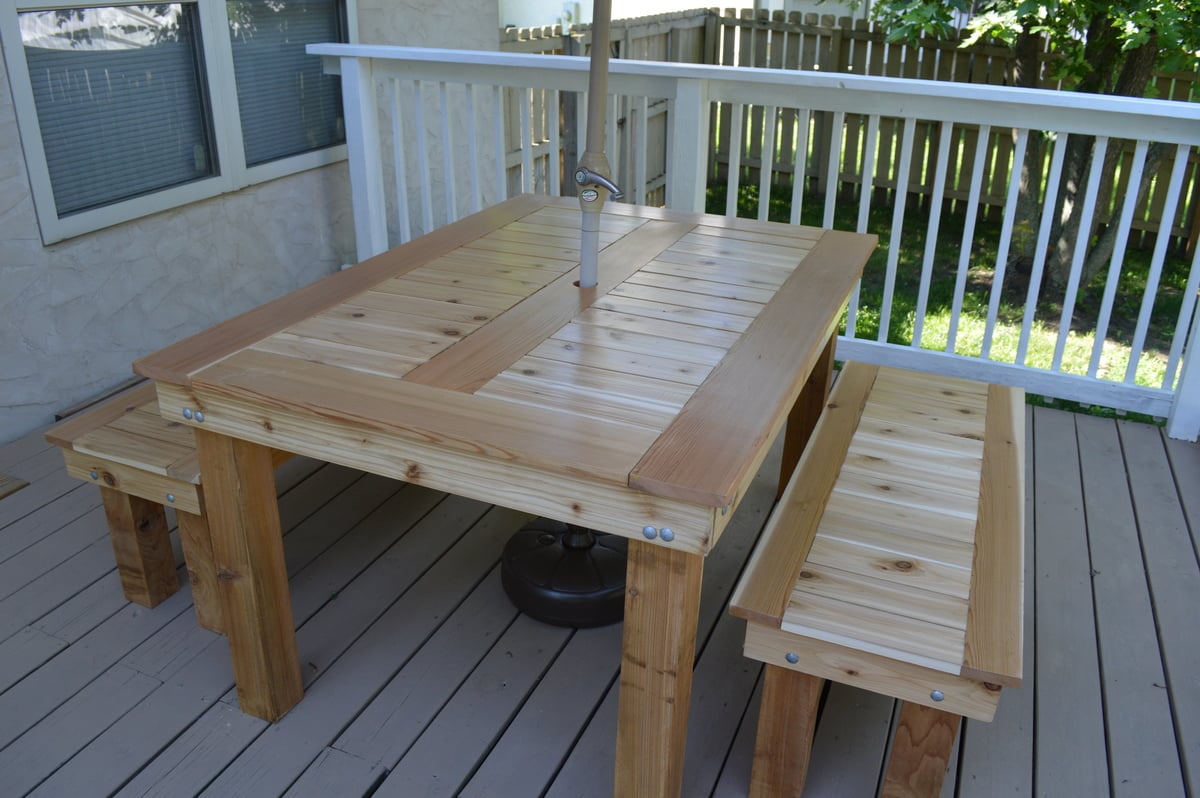
My wife and I loved the version that Finns-Dad made but we wanted it to be rectangular. The top is 1x6s around the edges with 1x4s in between. The frame is 1x4s. The bench tops are all 1x4s with 4x4 legs. There are 3/8 inch lag bolts in the legs. We did 4 coats of the urethane.
This was my first major project, and while there are many things that I would do differently if given the opportunity, we're still very pleased with it.
Thu, 01/01/2015 - 09:04
I really like the changes you made to this table, it looks really nice.
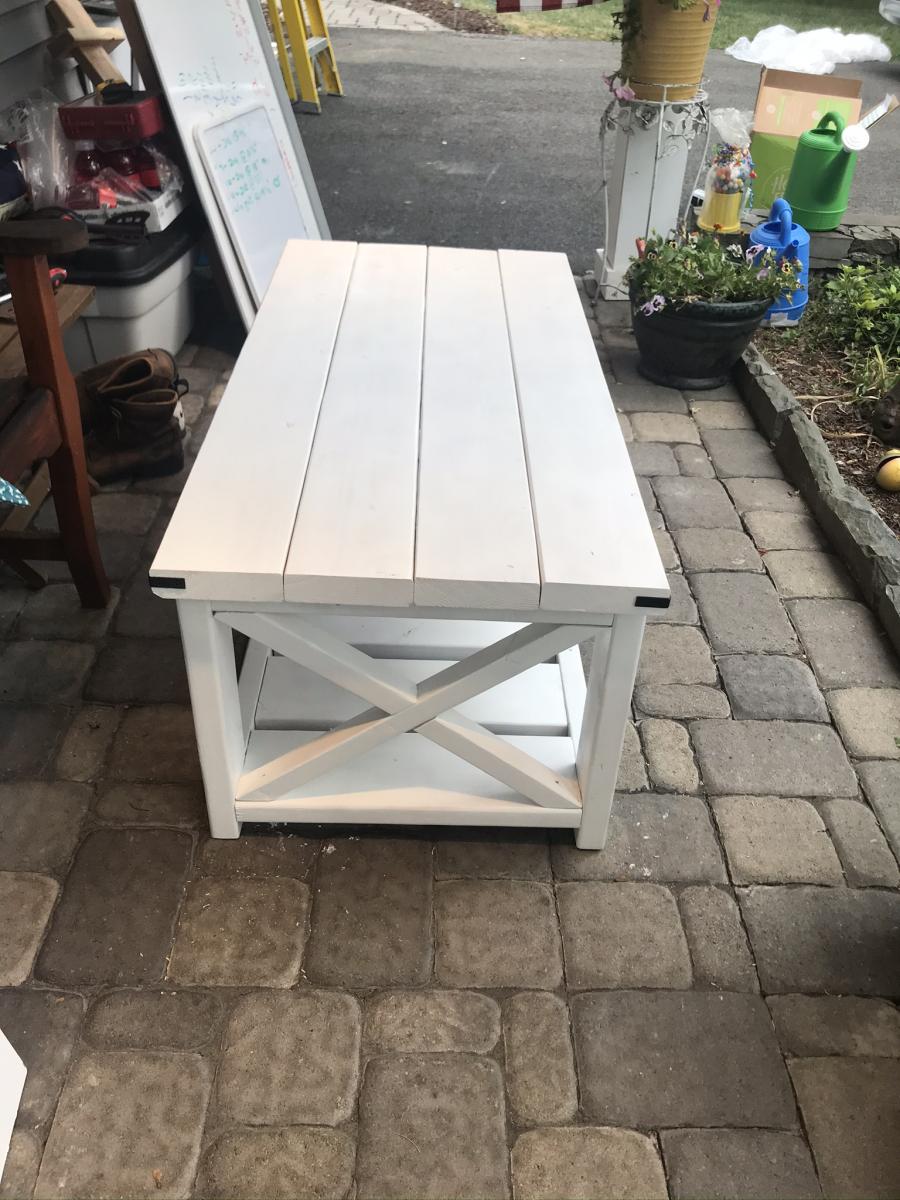
Rustic X Coffee Table
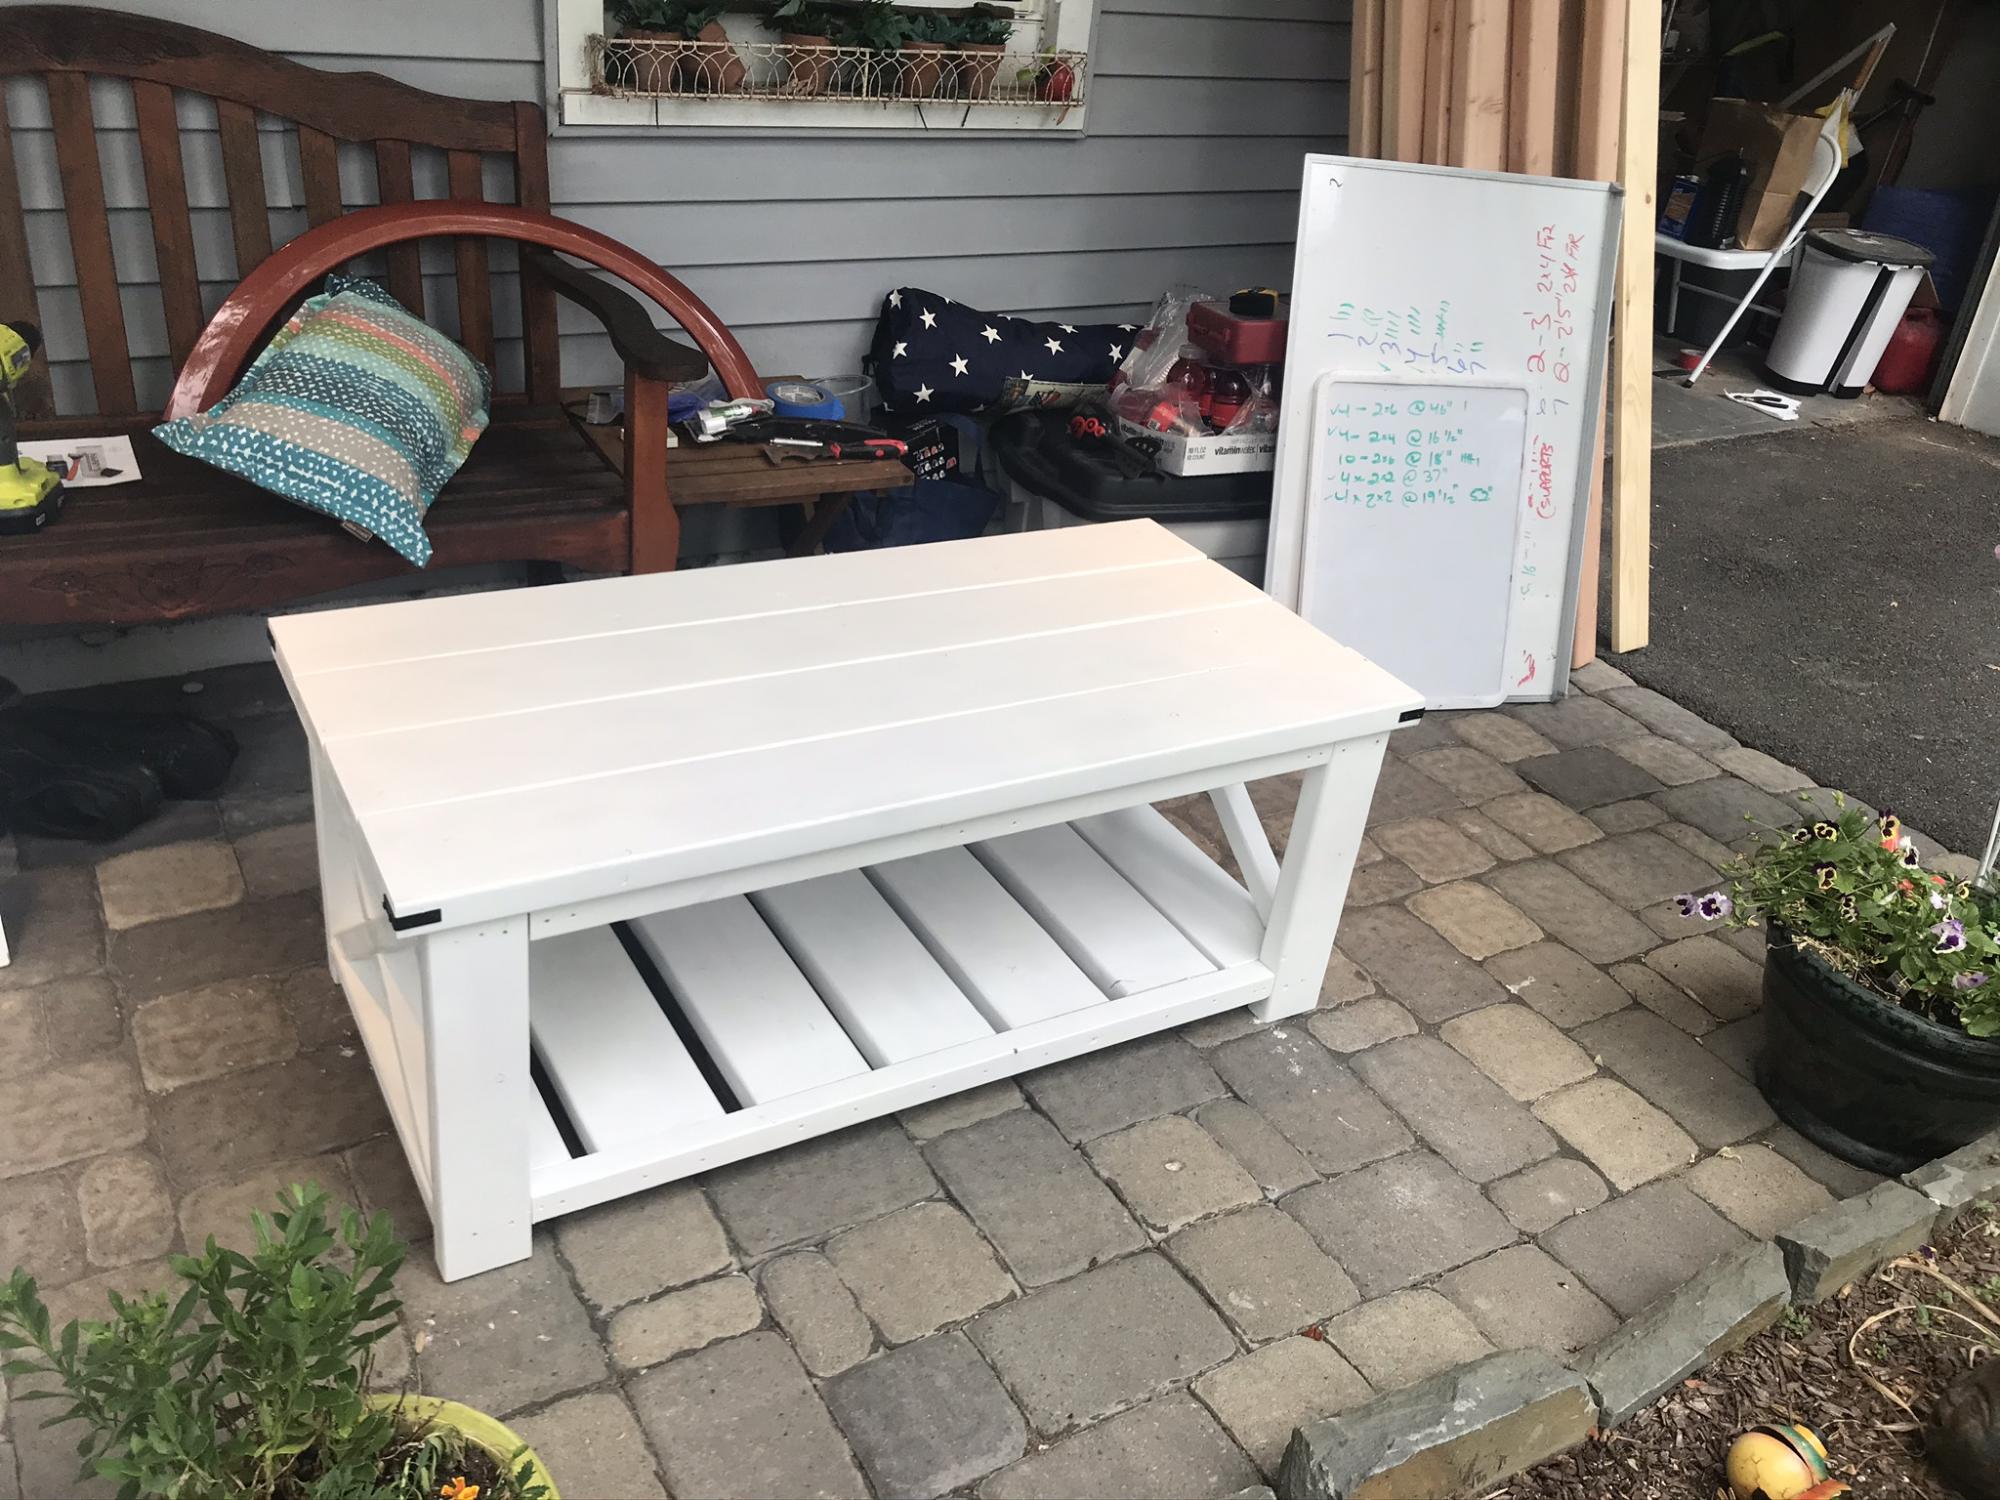
This project was a ton of fun, and pretty easy to access for a new woodworker. I do think the type of screws are a poor choice, as a beginner will probably be buying lumber from a home center and is most likely not using a plainer or jointer. Also, some thing to note is the brackets are not made for this purpose and because of this the countersinks are on the inside so the screws don’t sit flush.
I loved the project (made it as a gift for my sisters new apartment so she chose the white paint).
Can’t wait to build my next project from here.
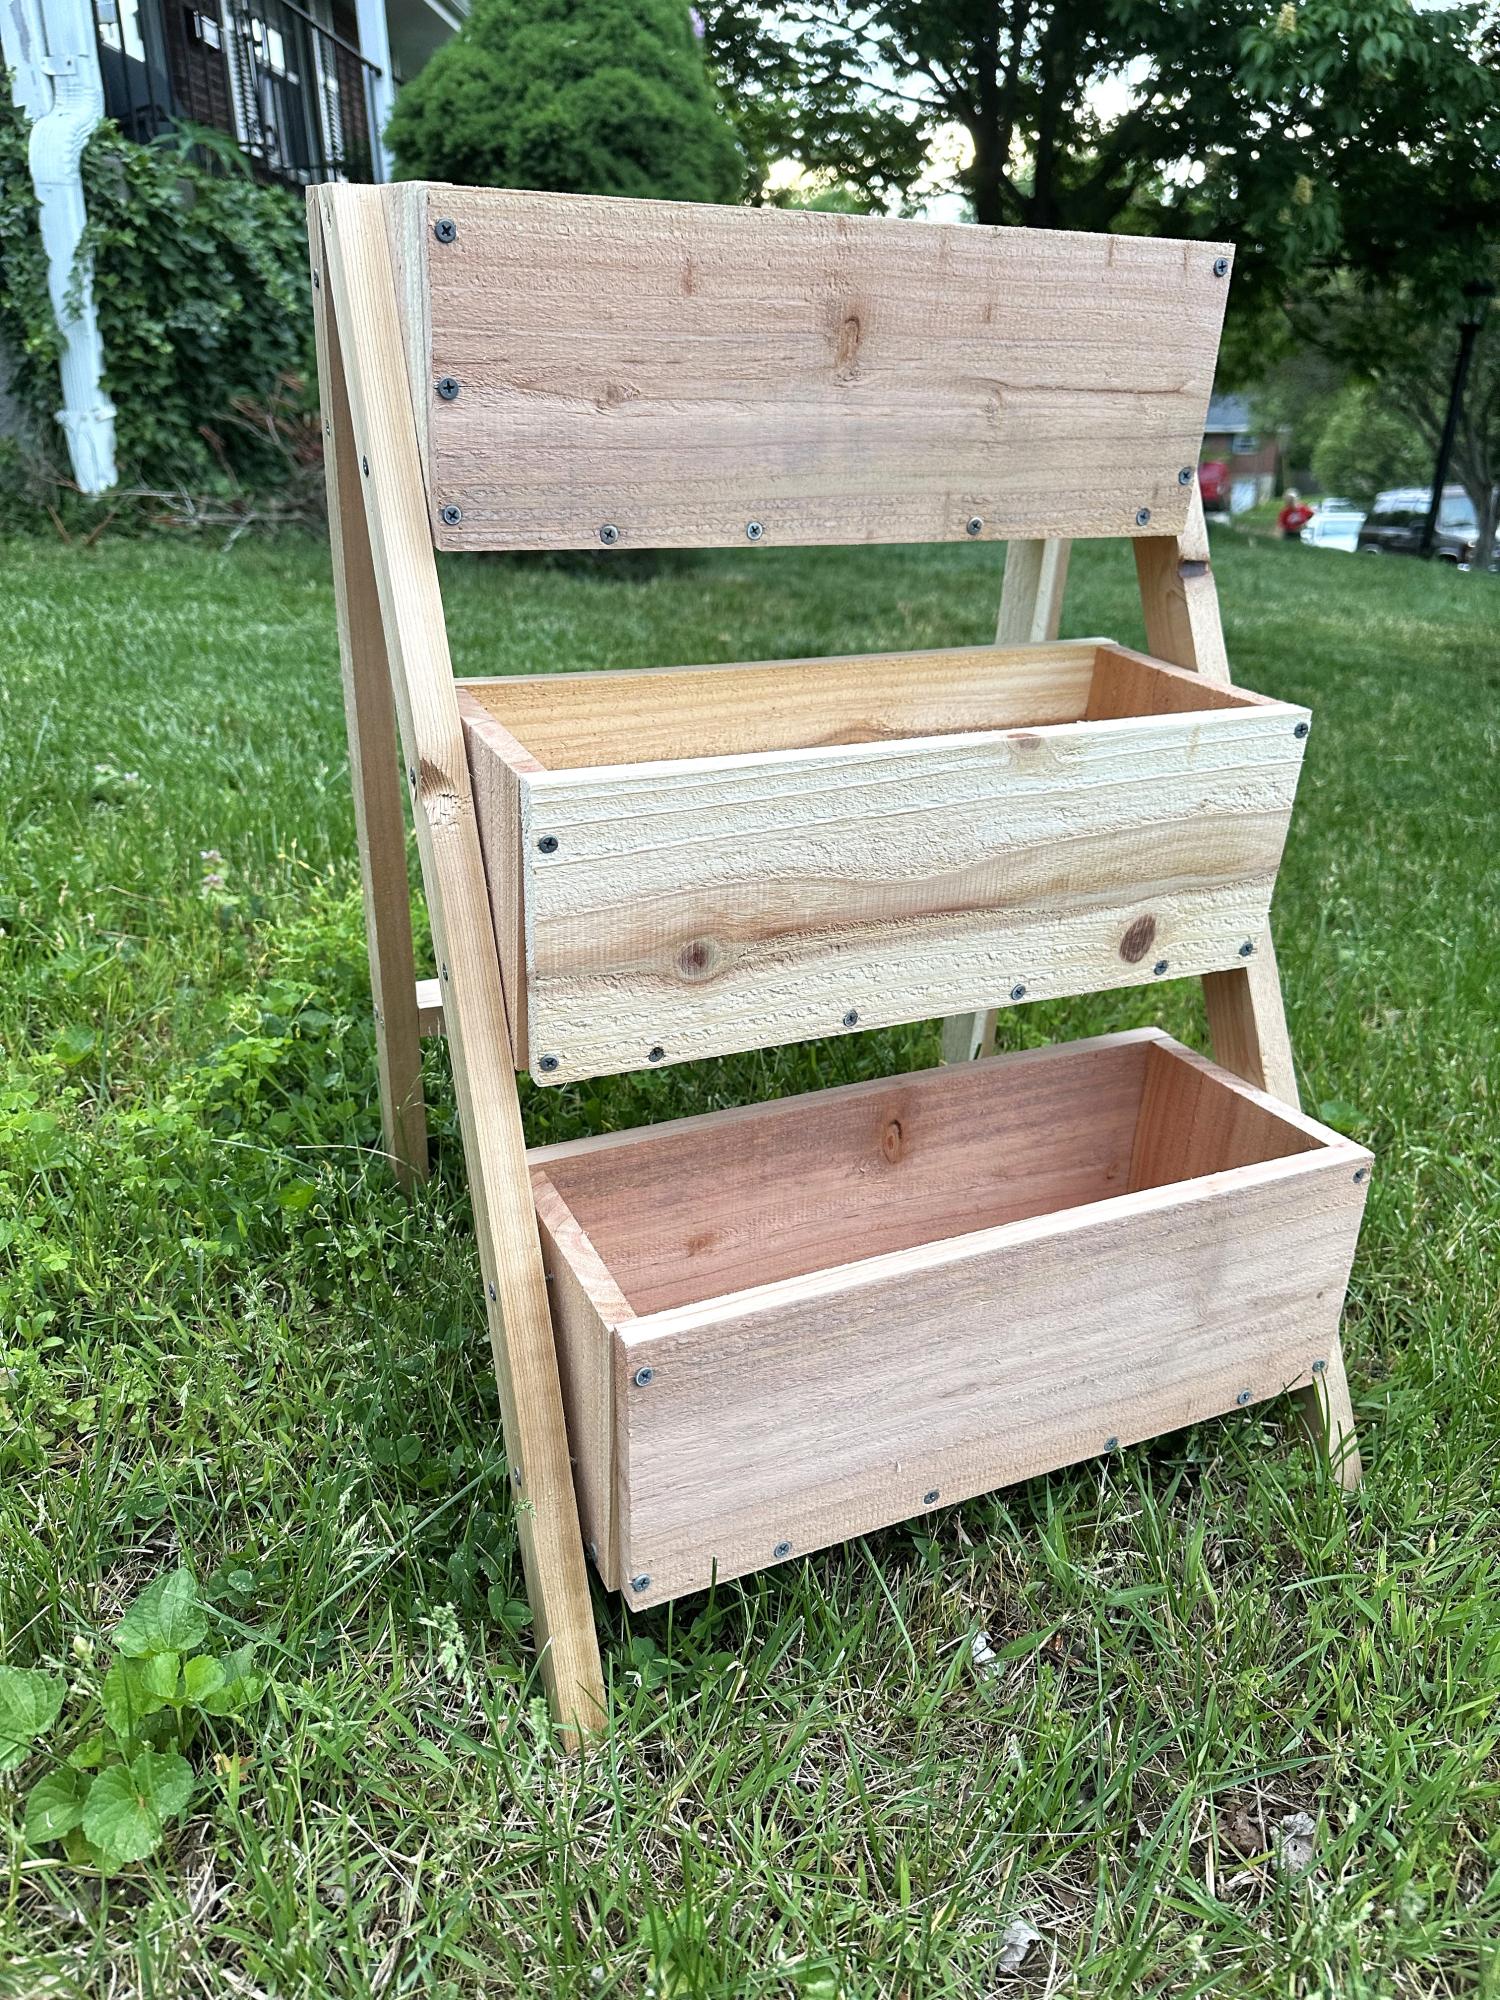
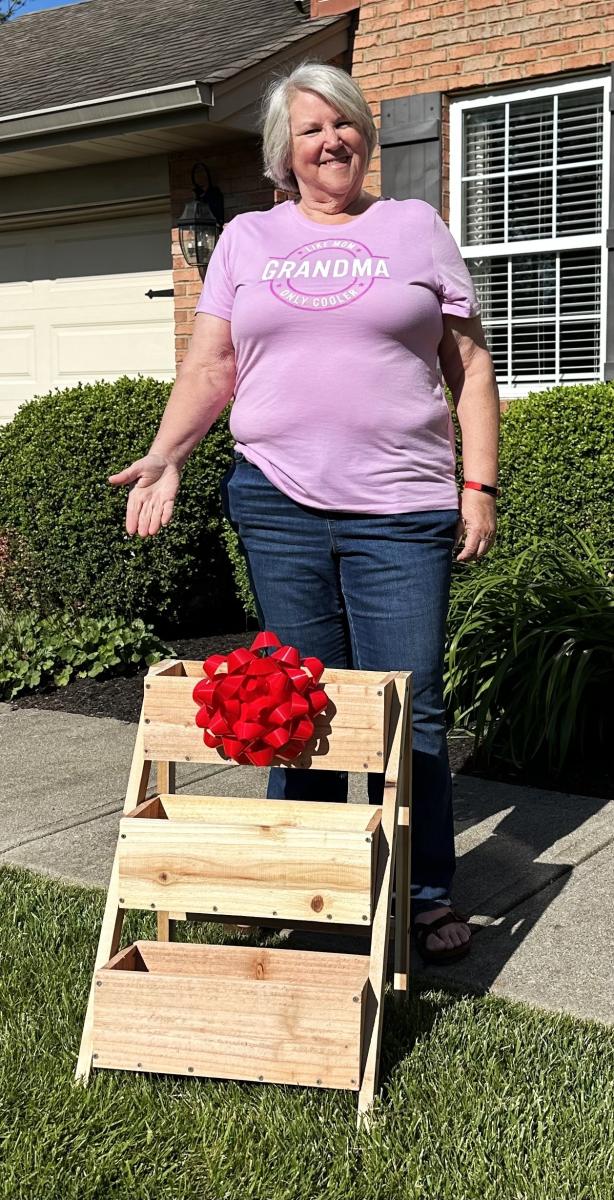
This was my very first project since I took wood shop in high school more than 20 years ago. It’s absolutely no where near perfect, But it was easy and fun. I made it for my mom for Mother’s Day. She LOVED it! Currently figuring out my next piece for Father’s Day! 😁
Angie Ang$10

So my husband and I bought a 60" flat screen and decided to mount it above our fireplace where a mirror had previously hung. Come to find out that with the age of our house, and chimney it was going to cost us almost as much as the TV itself did to have it professionally done. So we decided to build a new, much larger mantle over the existing one so that our TV, WII and DVD player had a home on the mantle as well.
We ran across several problems while designing this. 1. the next buyers may not want this huge mantle here to put their TV on and 2. because of the age of the house and lack of plug ins, how where we to hid all the cords.
The new mantle sits over the old and above it about 3". It is attached to the wall, with 3" boards attached underneath that simply sit atop the old mantle. The boards are in a serpentine fashion and not only hid the cords underneath, but also the power strip that everything plugs into. The TV not only sits on the new mantle but is also secured to the wall behind it. The front of the new mantle hides the space between and any cords. And we stained it to match the old. So unless you are very closely inspecting it, you wouldn't even know there are hidden cords or that it is not completely original.
Problem solved. If a new owner wants to revert back to the old mantle, all they need to do is remove the top, patch the holes and dust the original back to its former glory.

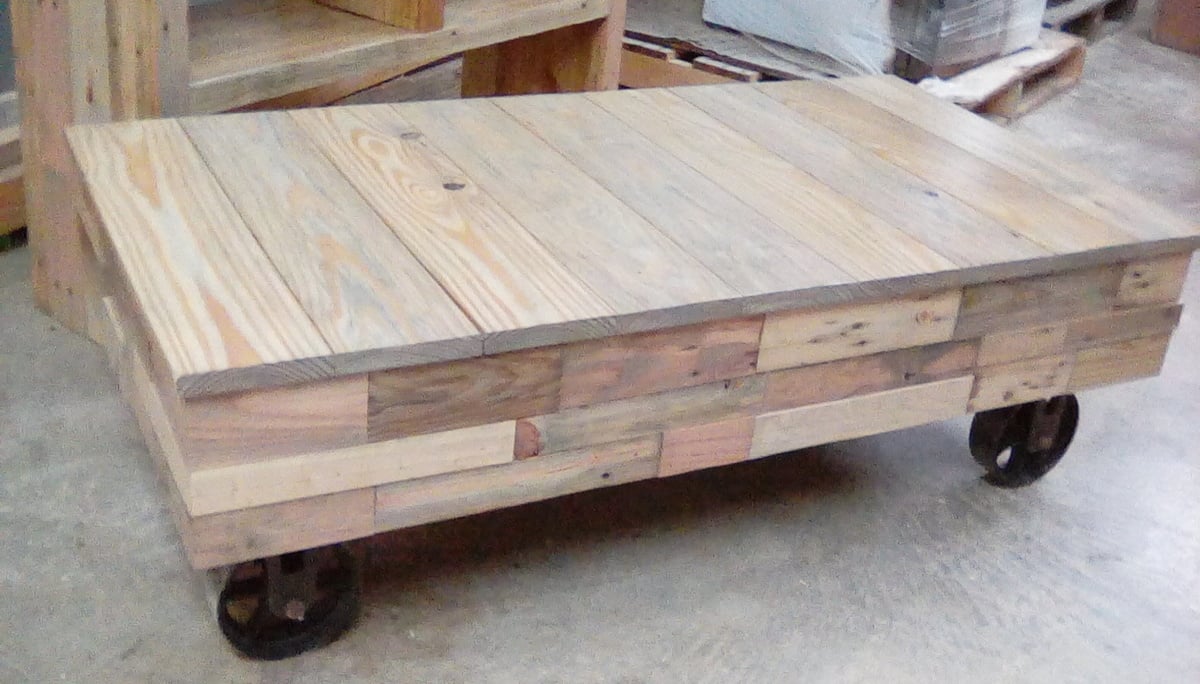
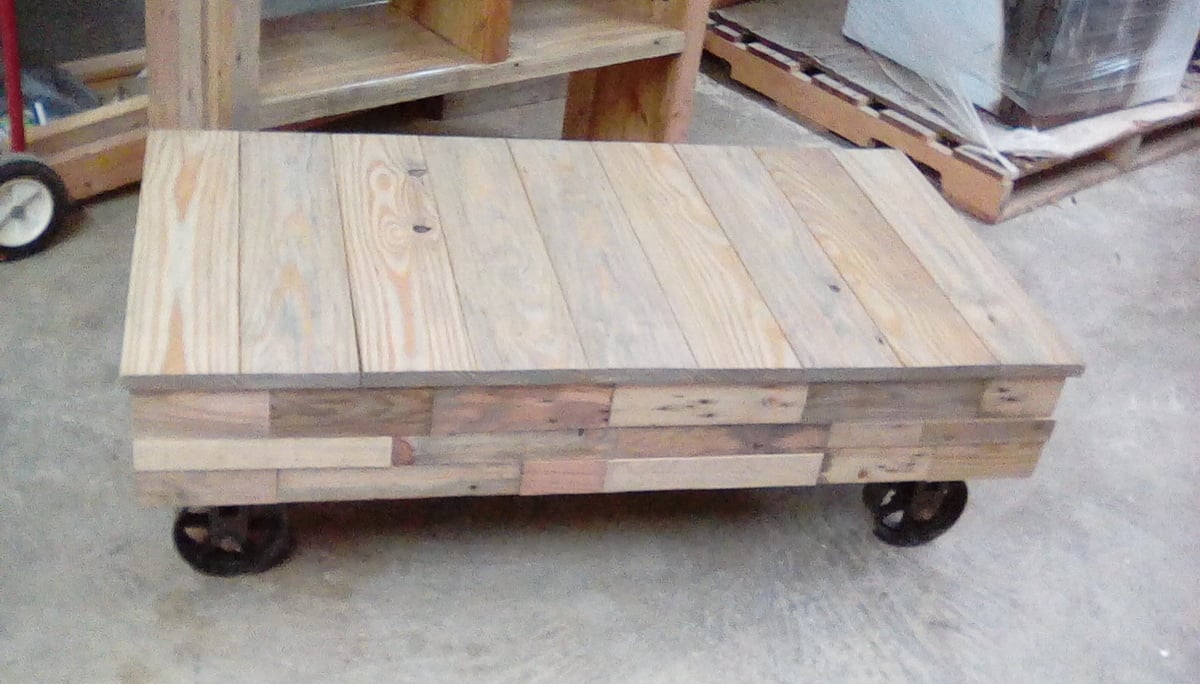
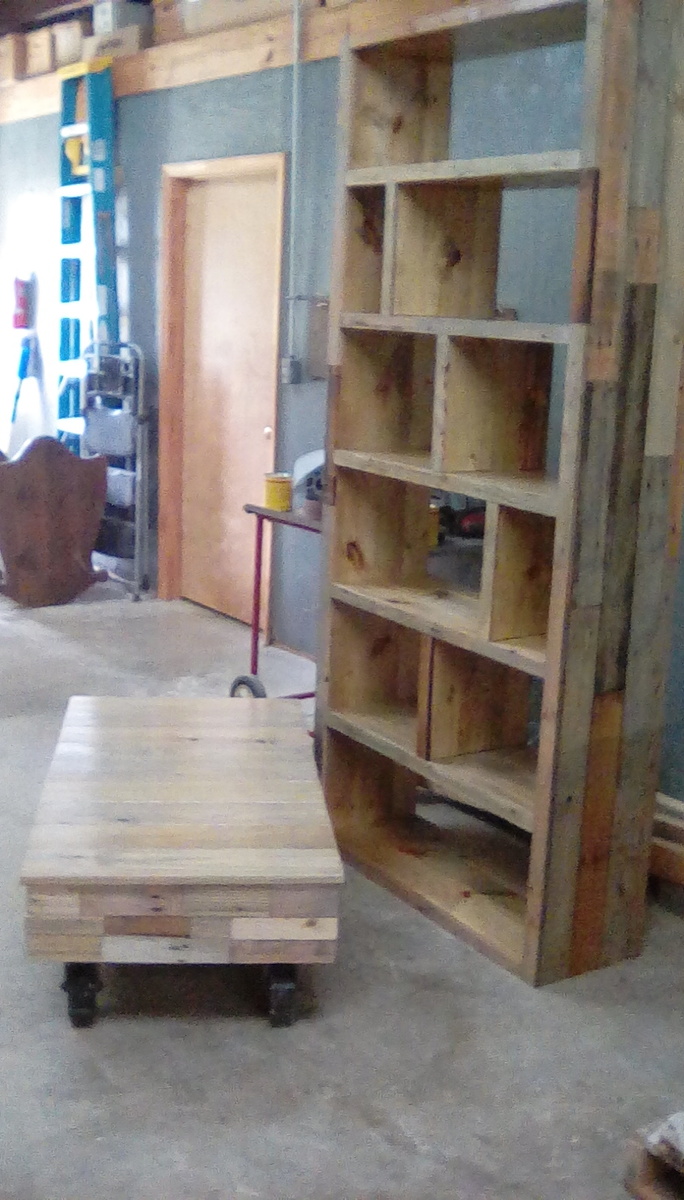
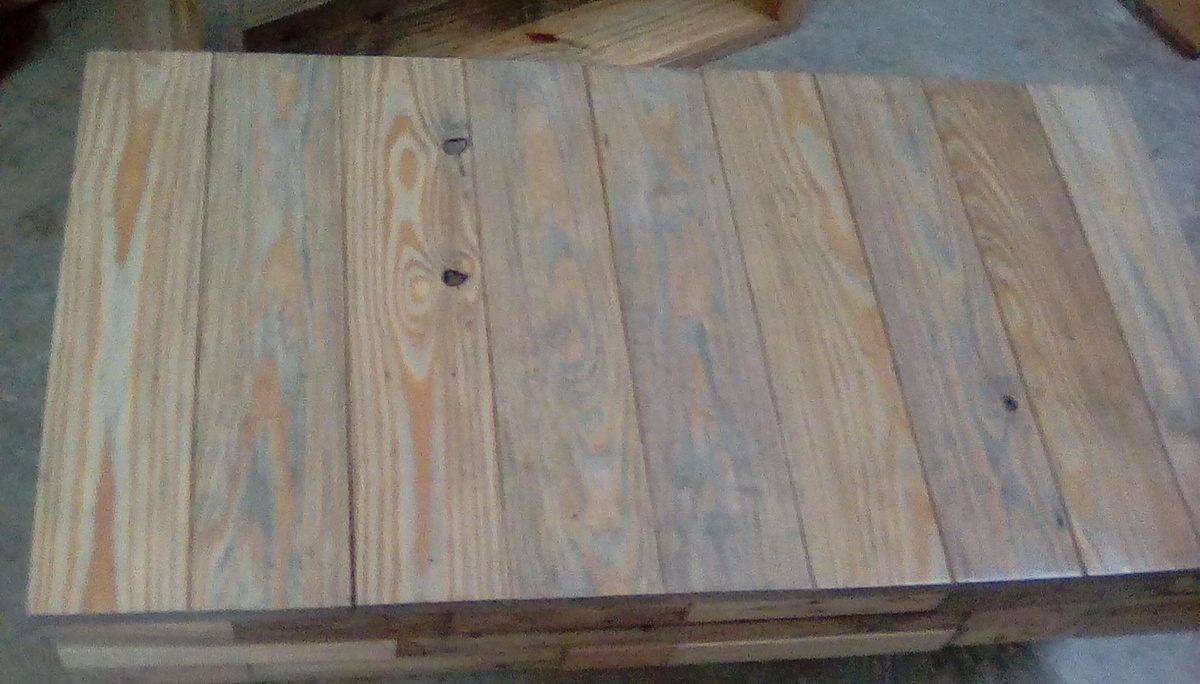
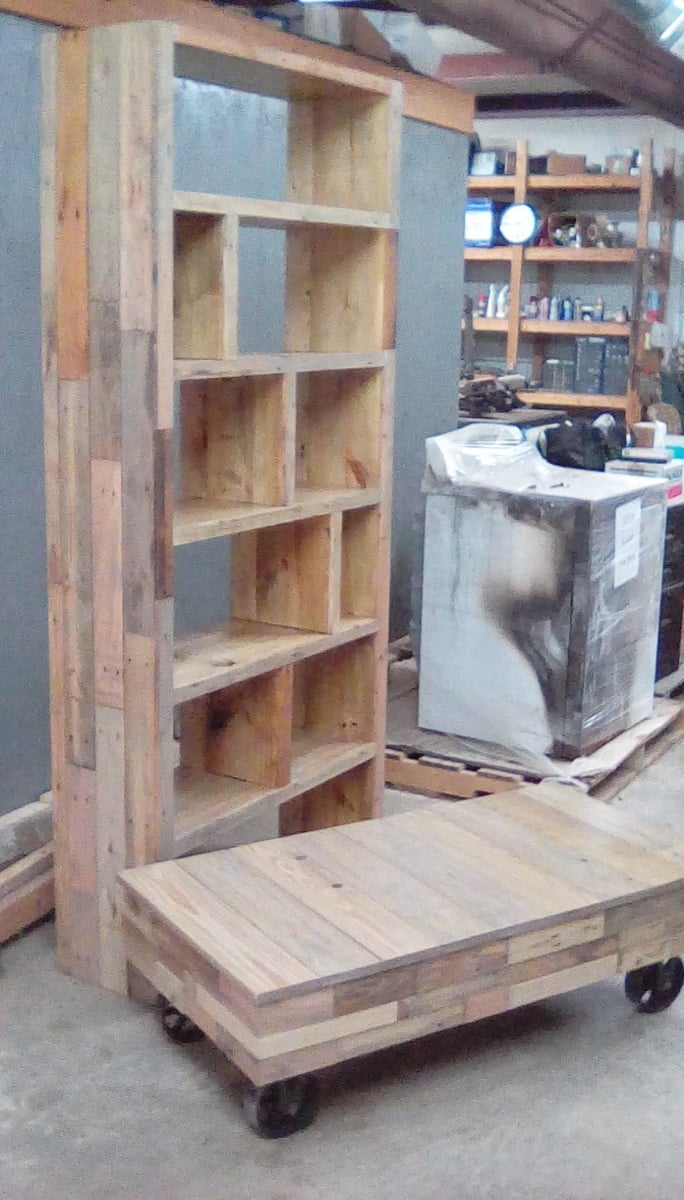
A little over a year ago my husband graduated from grad school and we moved form California back to our home state of North Carolina. Before moving back home we got rid of all of our furniture in the hopes of my husband getting a post doctorial position in Europe. Needless to say that did not happen. He did however get a post doc position in the States but now we had zero furniture. So we had a little bit of time on our hands before he started his new position and I decided to make a few items for our new home and the Factory Cart Coffee Table was one of them. I loved how my Reclaimed Pallet Wood Bookcase turned out (diy plans for bookcase is on www.jenwoodhouse.com) so I decided to make my coffee table match it.
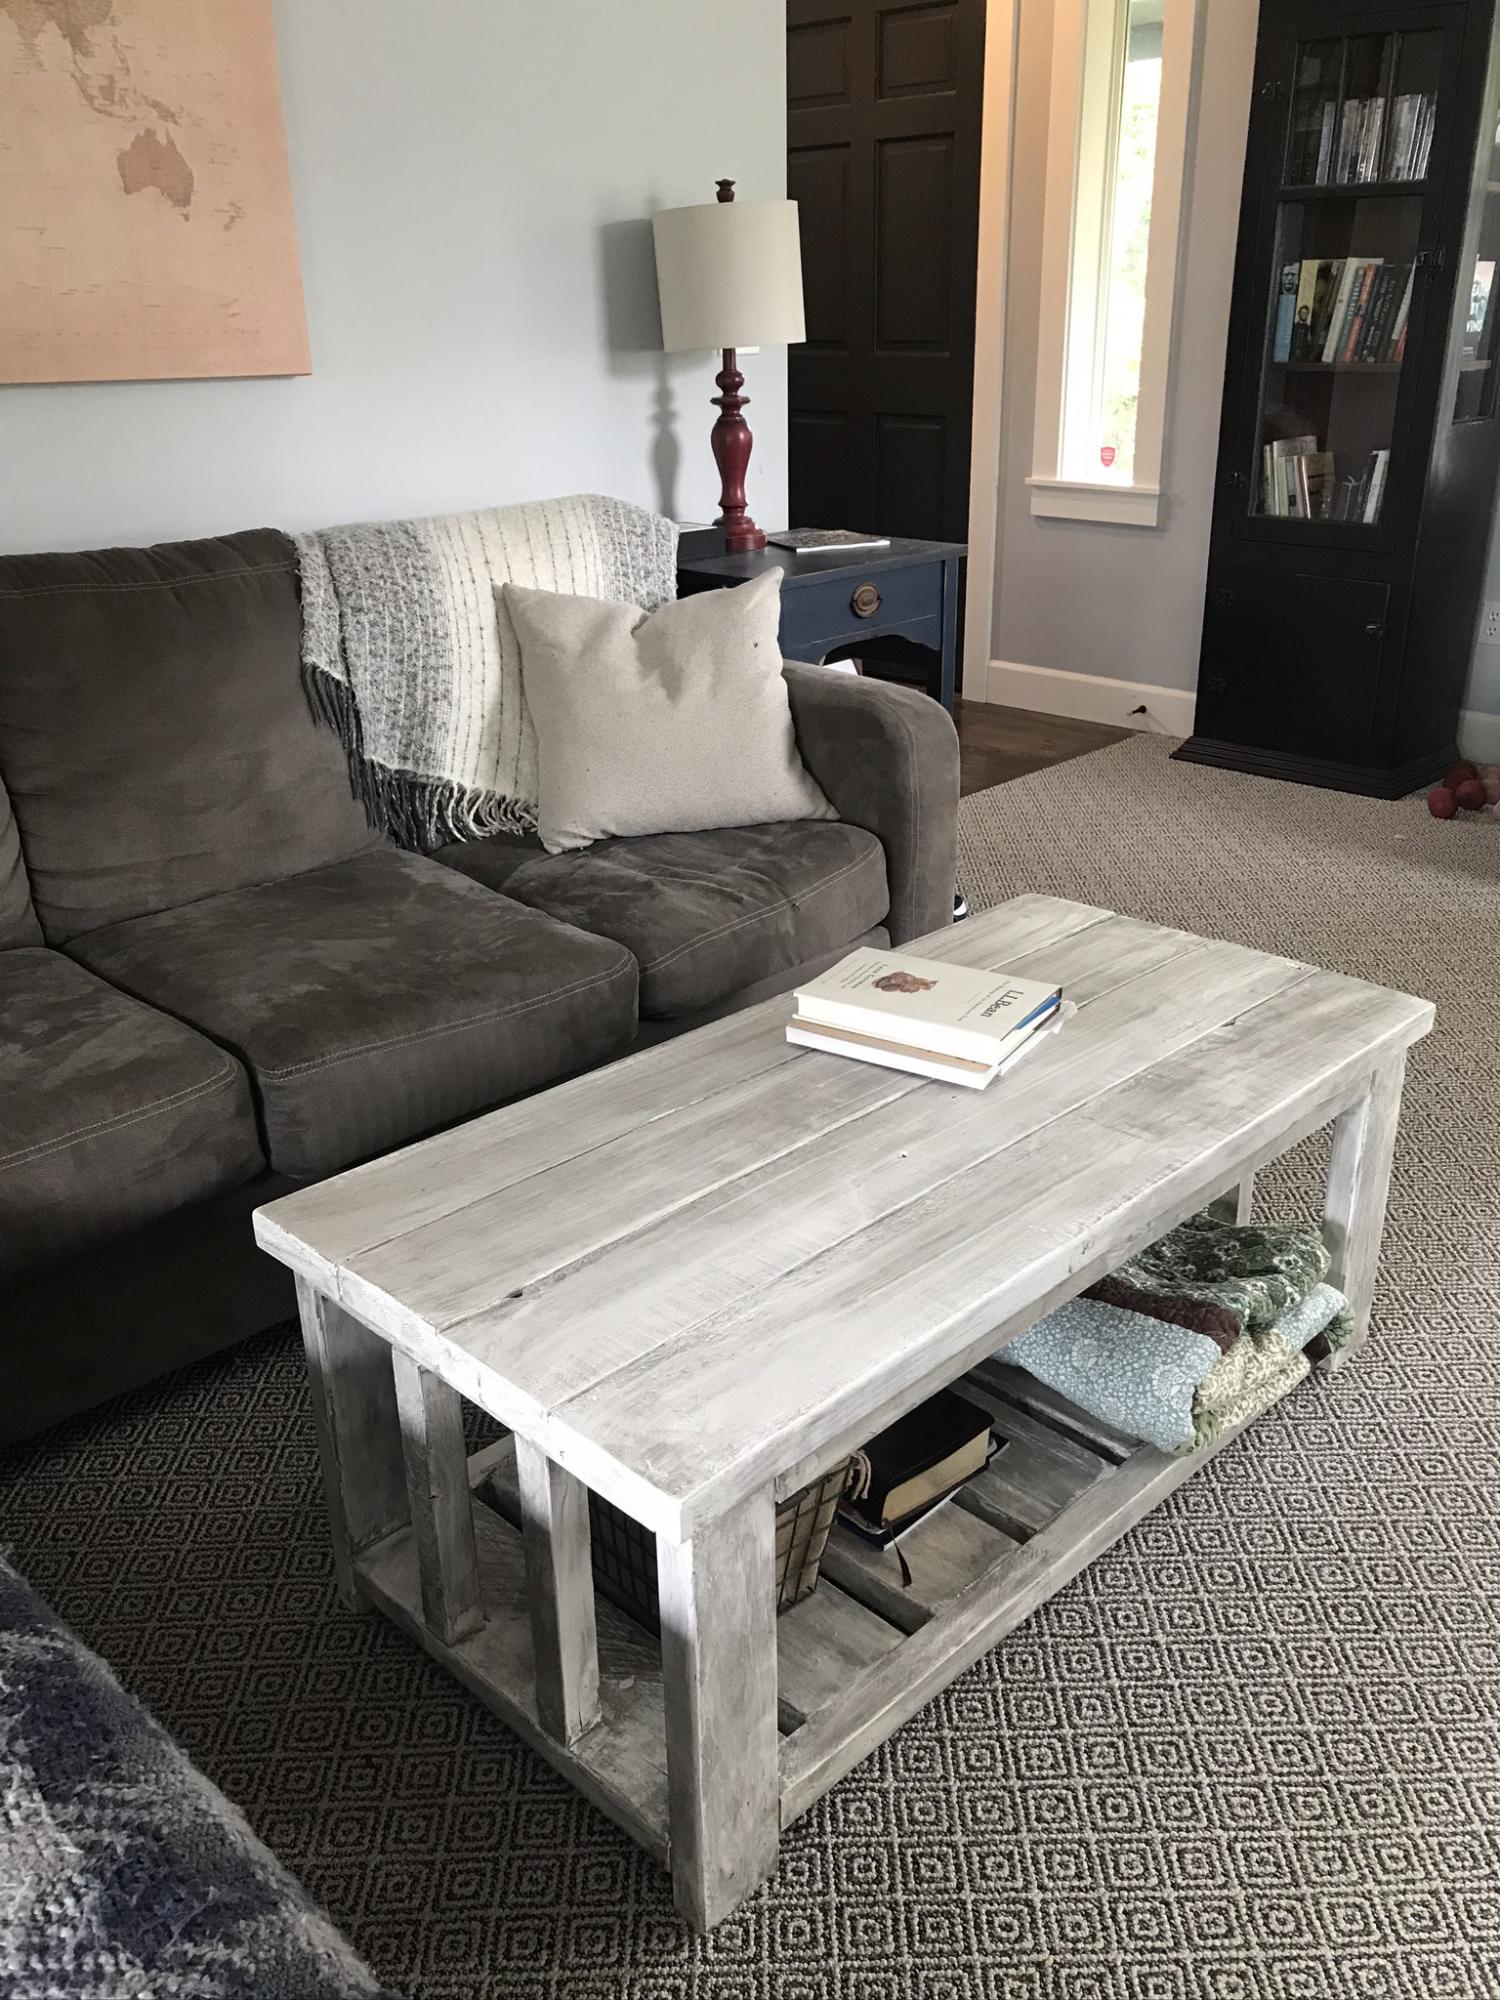
Ana’s plan for the farmhouse coffee table (beginner) was so easy to use! I modified the x on the ends to straight bars since my saw could not do the angle required. I painted white then put a gray stain over the top for a rustic beach look. I am really happy with how this turned out, considering it was my first project! I am working on a side table now, and looking forward to trying other plans on Ana’s site.
Carrie
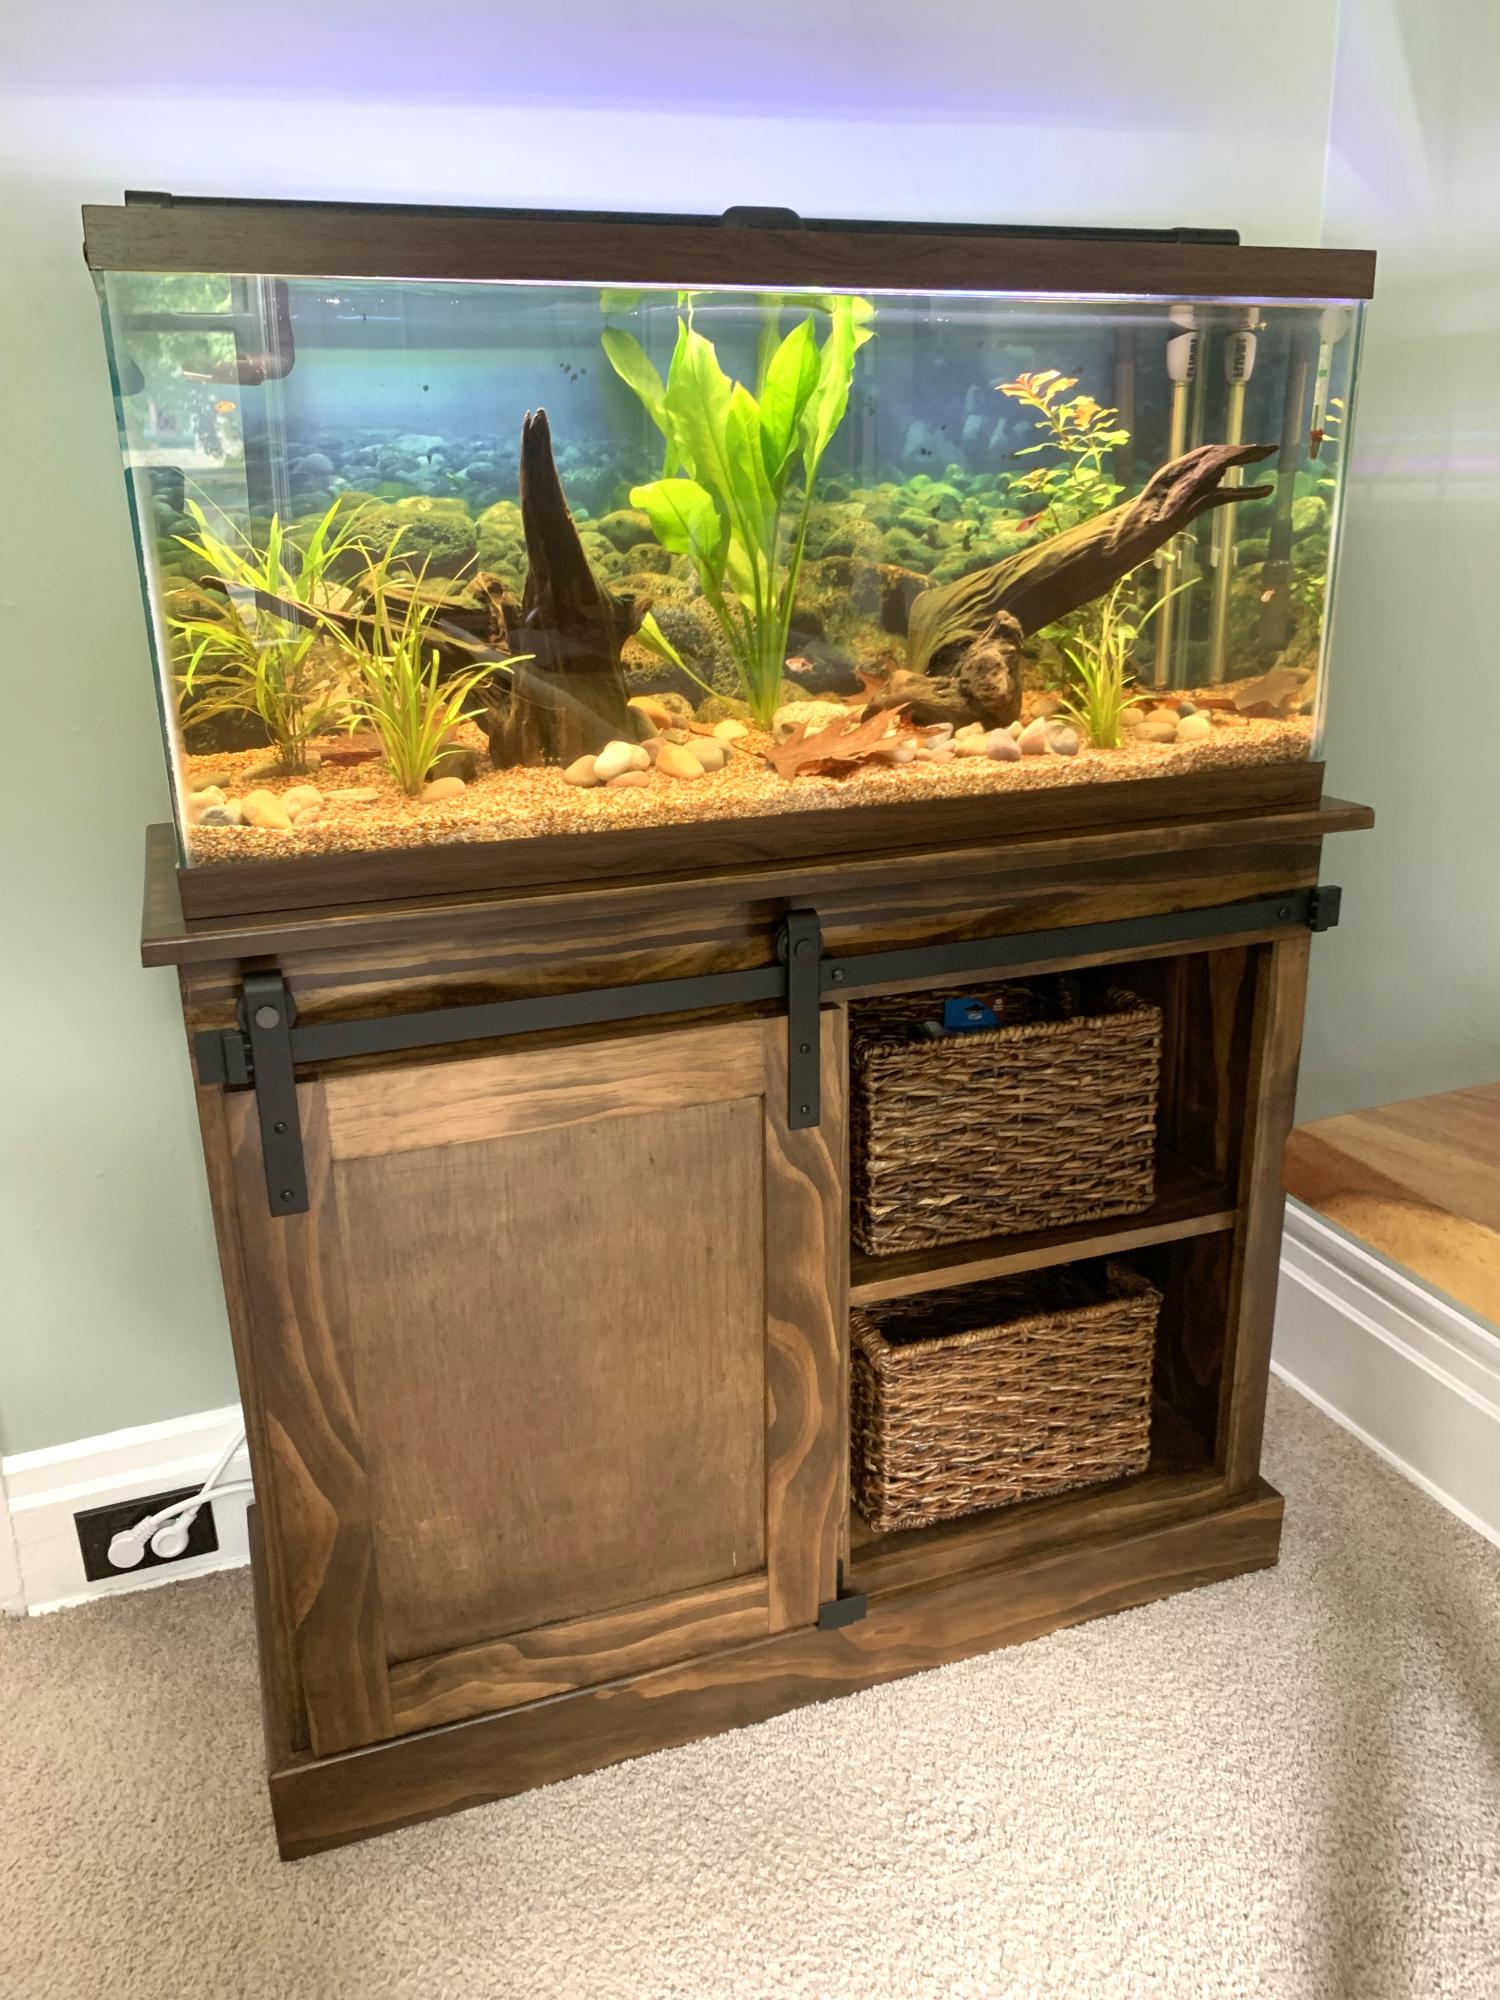
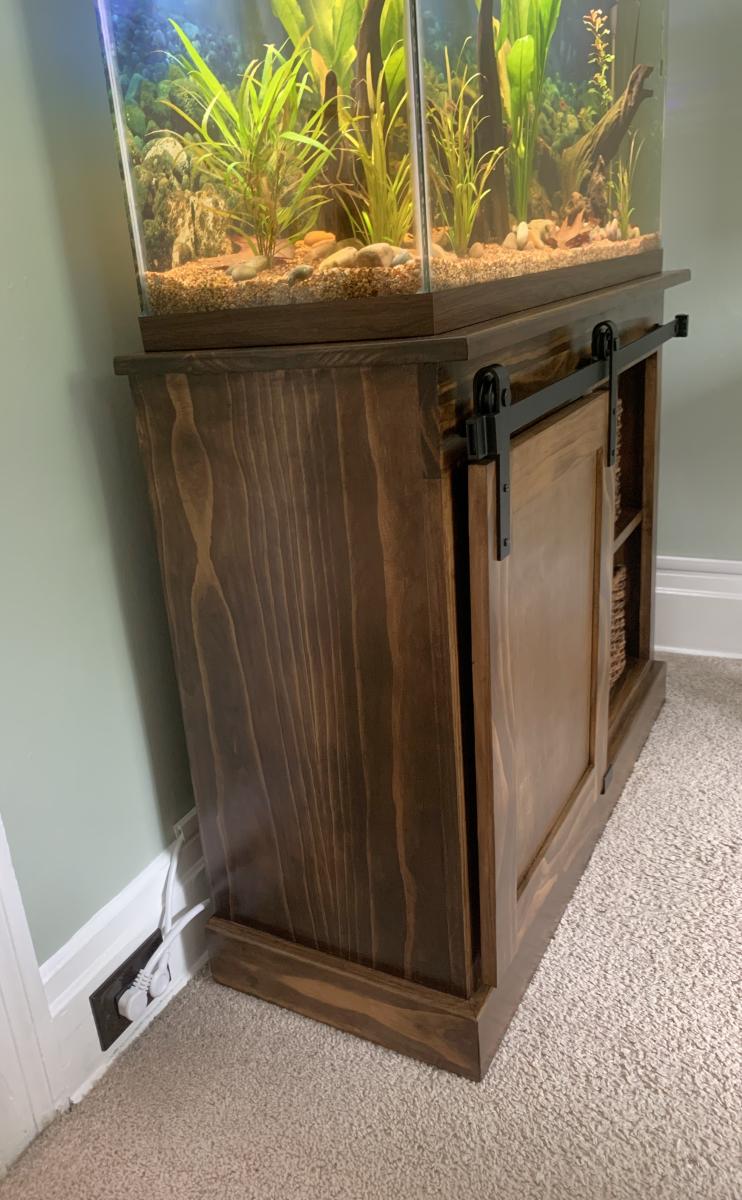
I wanted to make an aquarium stand and really liked Ana’s barn door cabinet (intended to house a mini-fridge and microwave). I adjusted the dimensions to match my needs, added matching baskets on the right to hold aquarium supplies, and most importantly, use the barn door on the left side to hide my canister filter, etc.
Jeremy
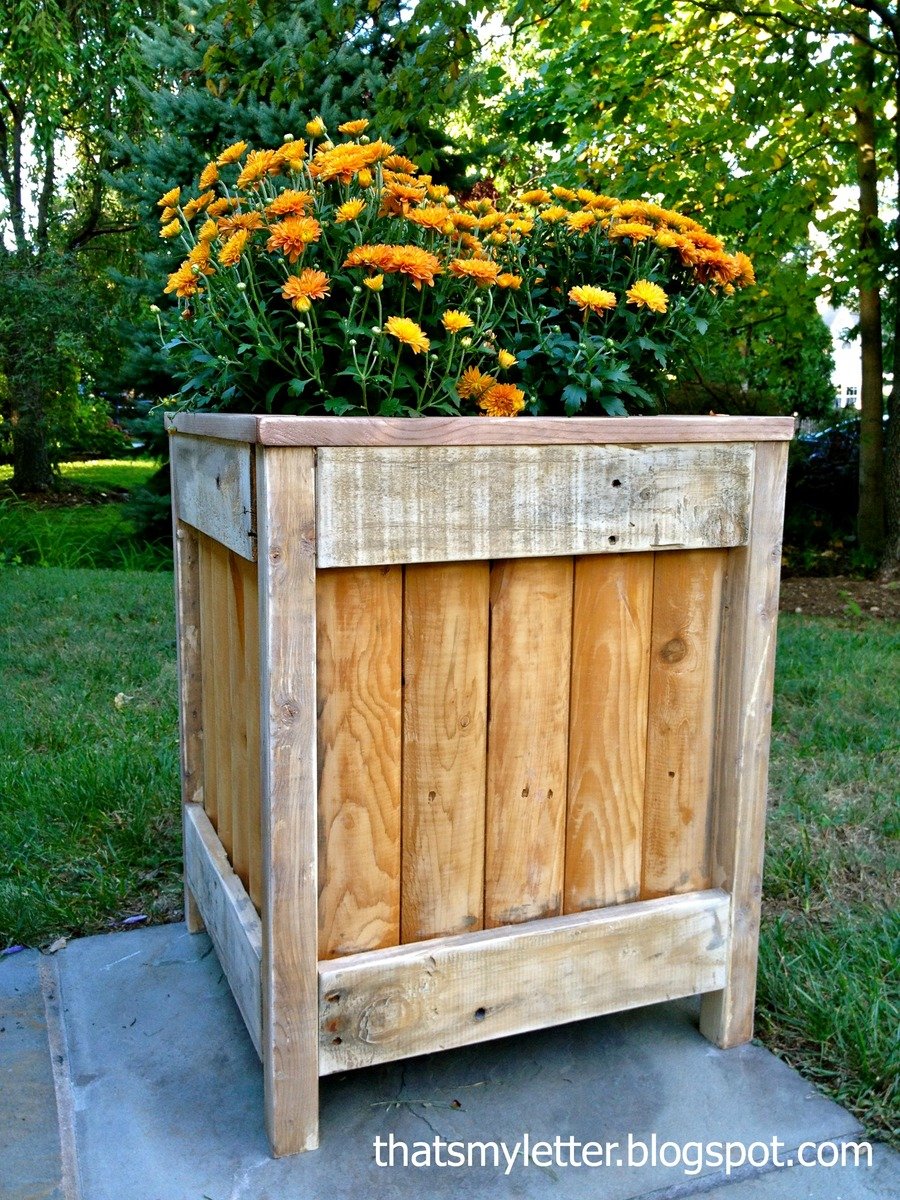
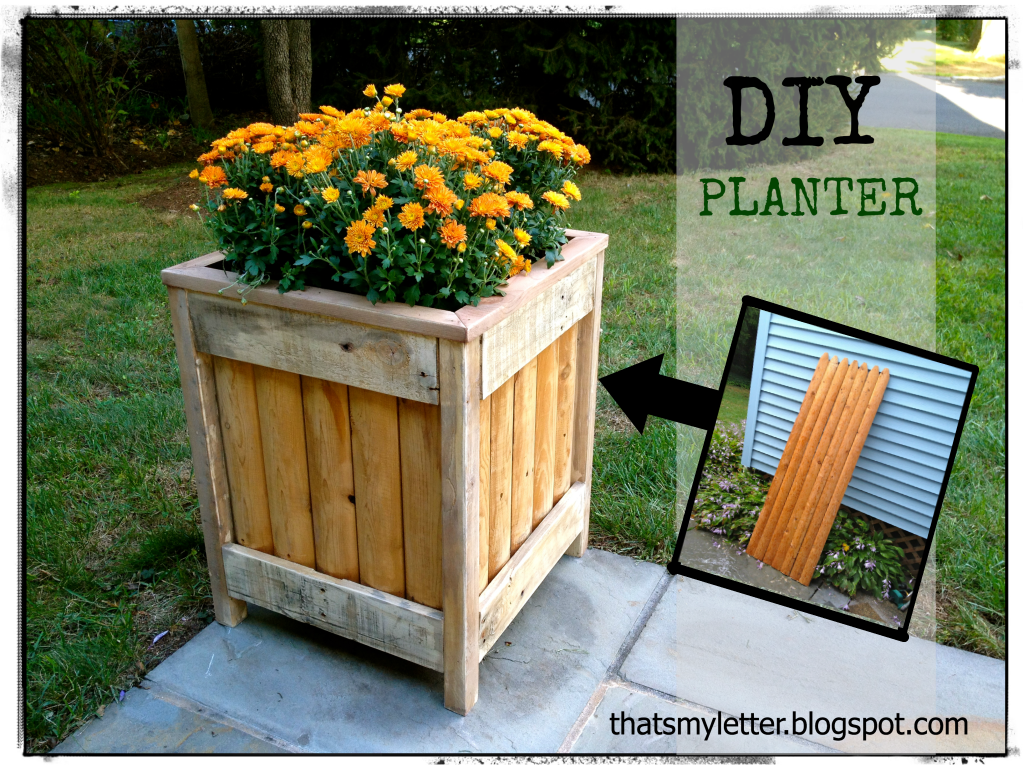
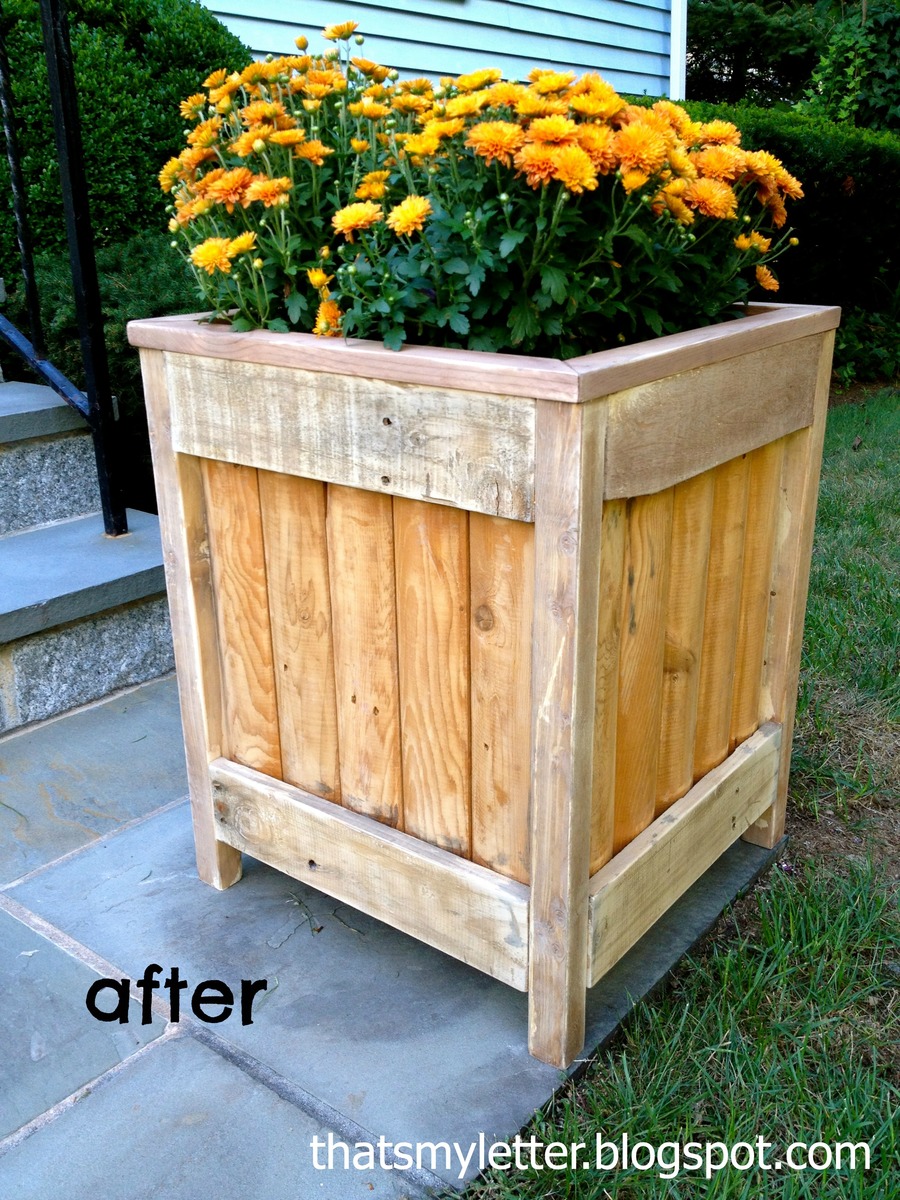
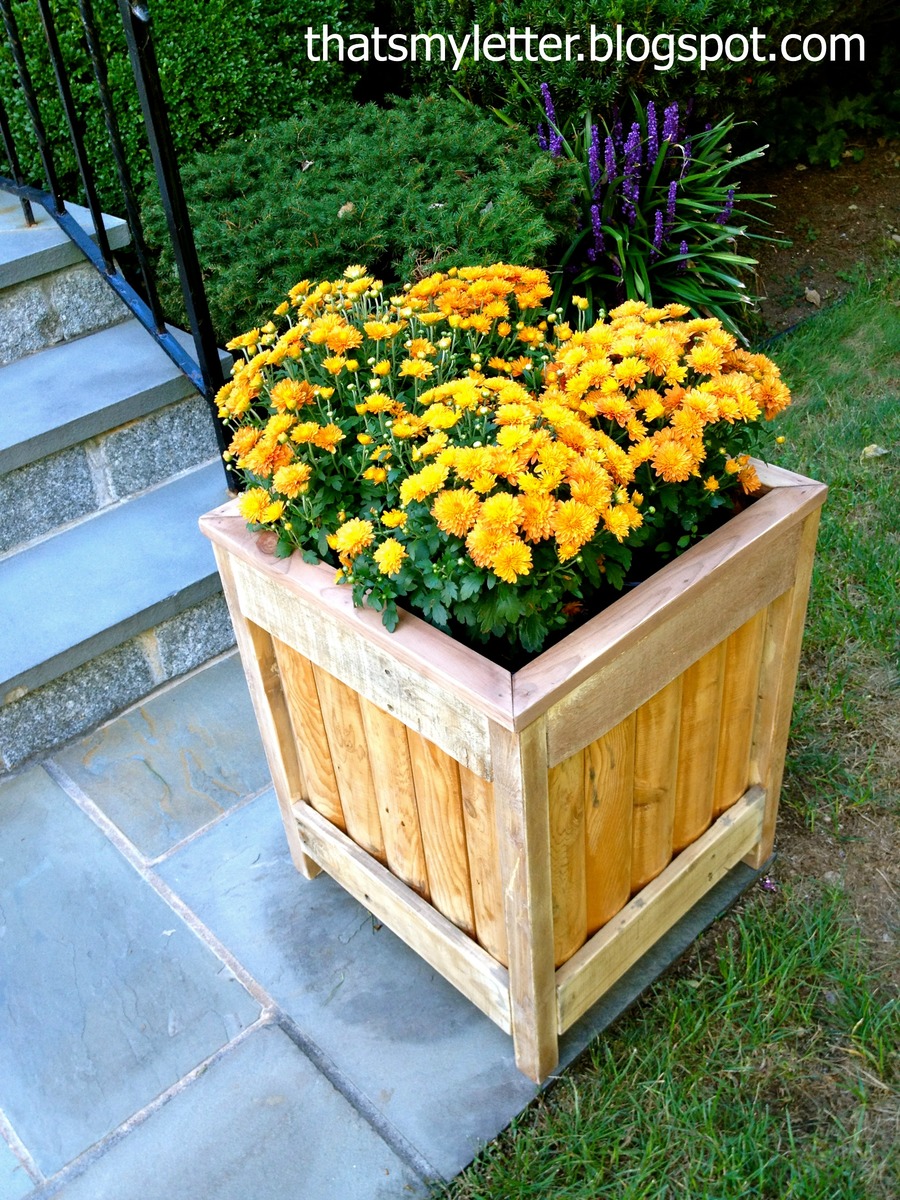
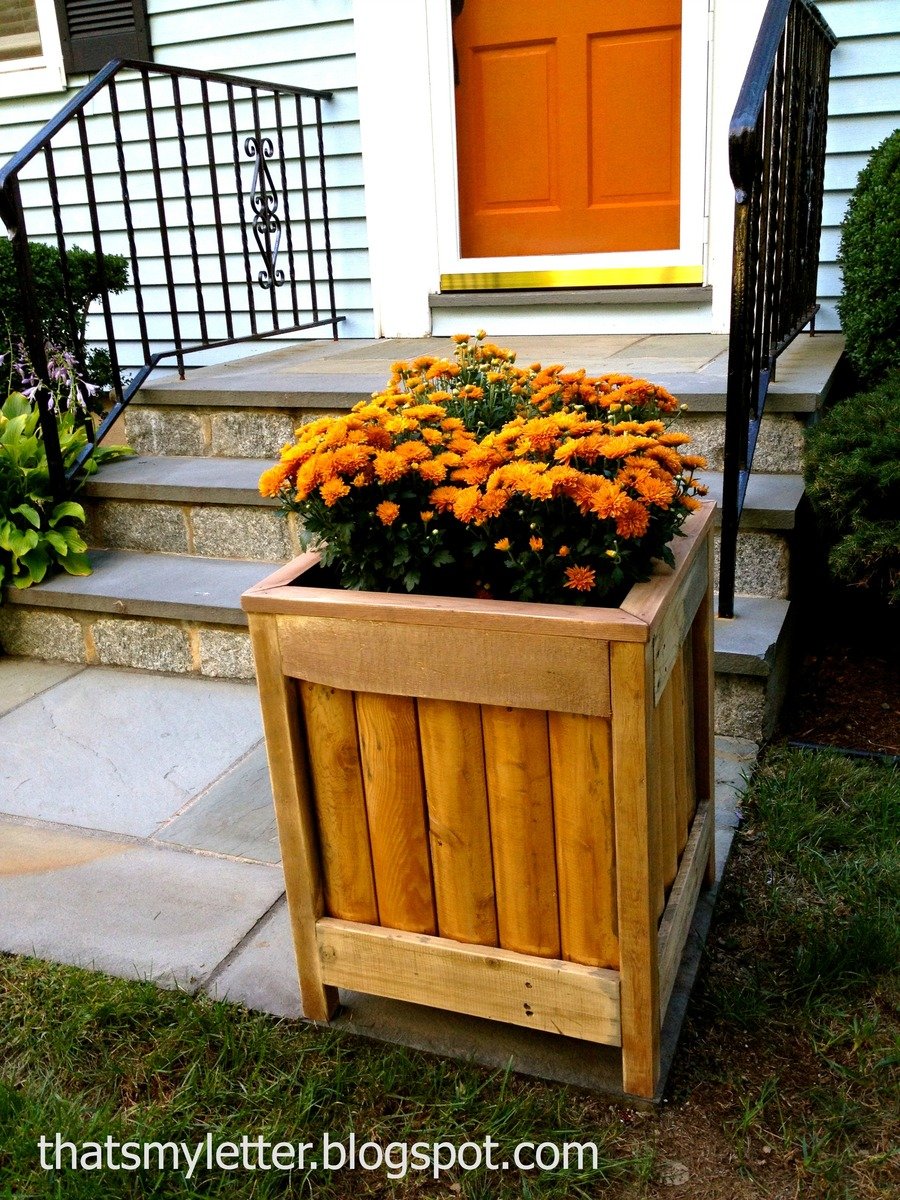
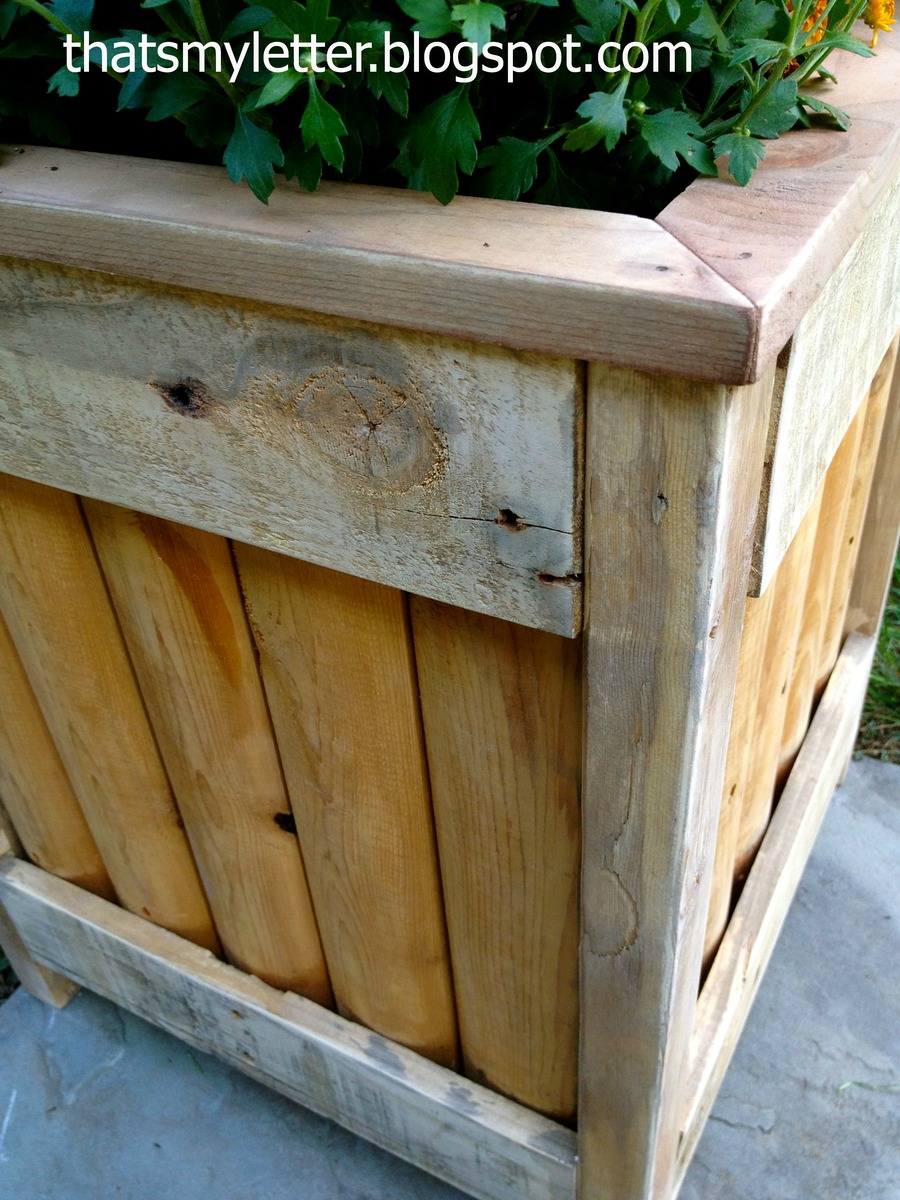
Easy outdoor planter made from piece of scrap fencing.

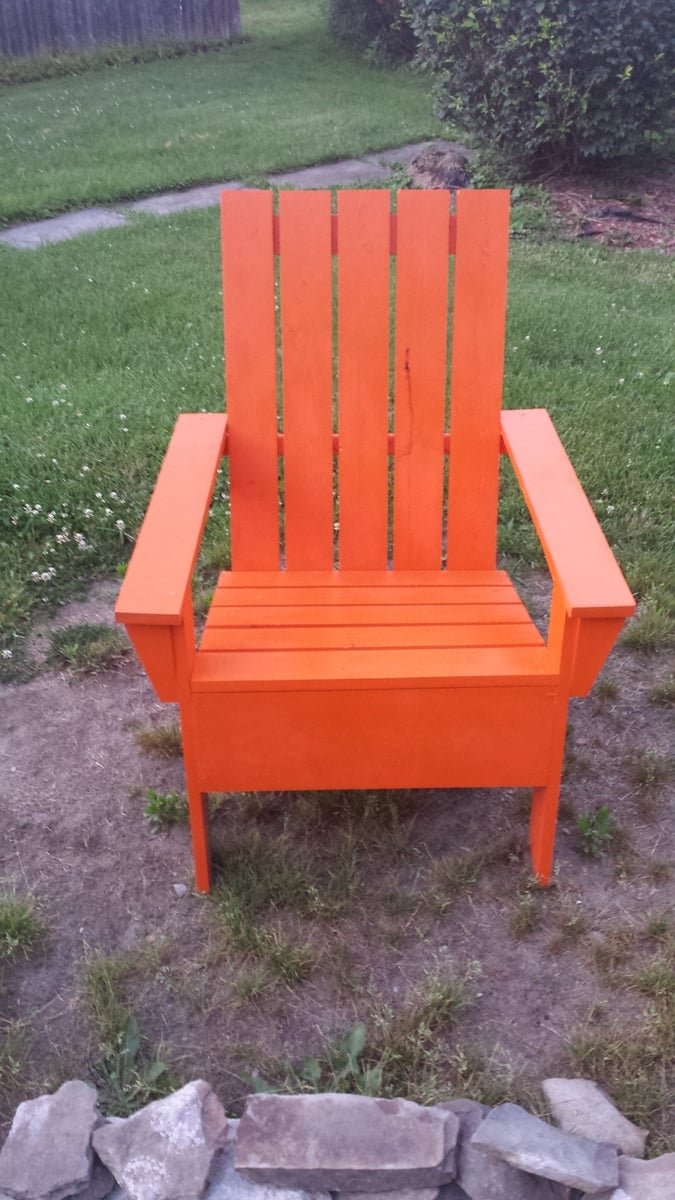
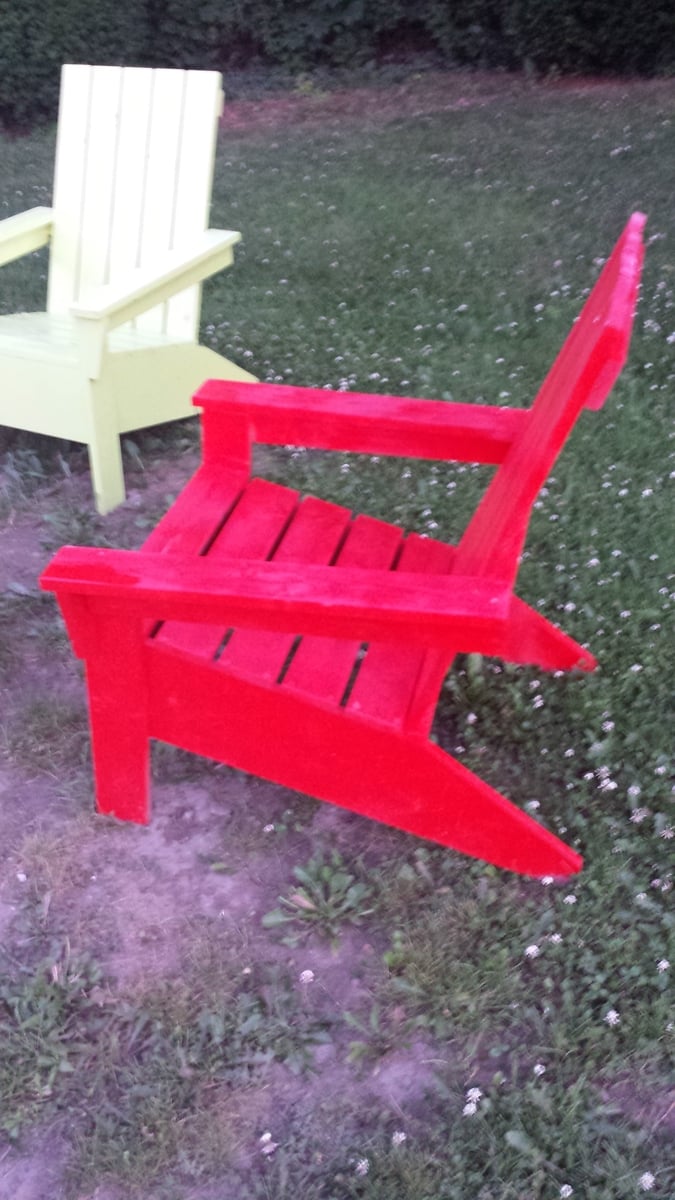
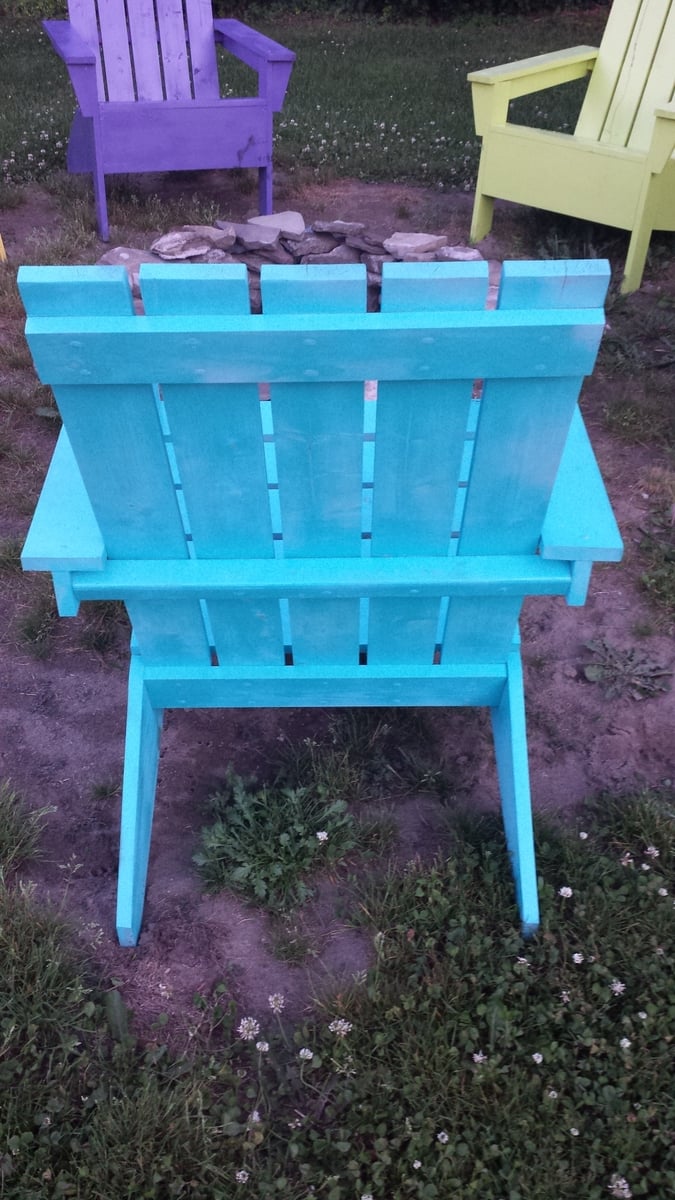
I built these chairs last summer, they came out amazing! Everybody loves them! Thank you Ana. I also built the sofa for my sun room. Pictures to come.
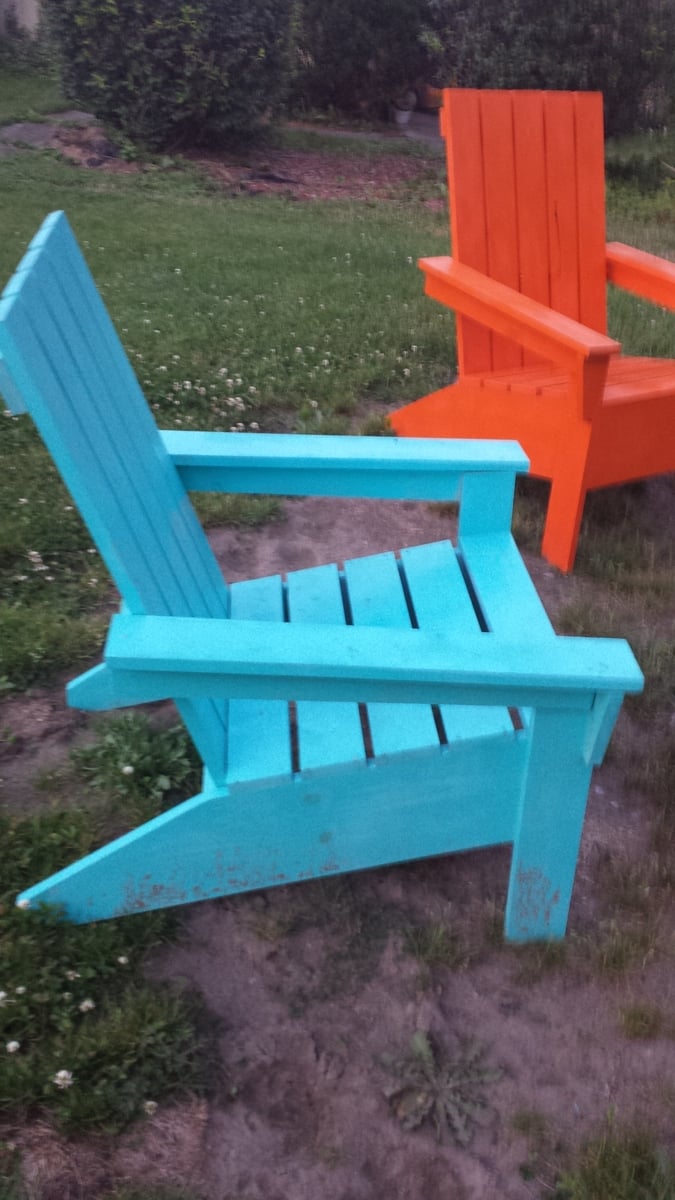
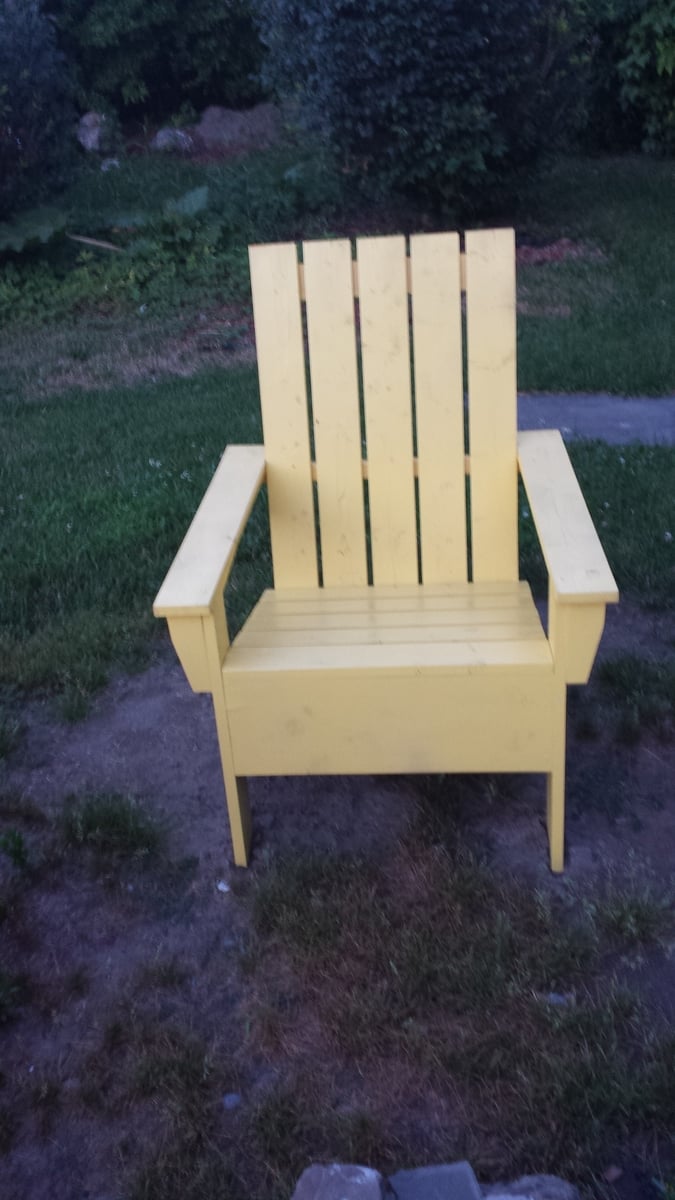
Sat, 05/04/2019 - 08:18
My husband made 4 of these with some slight modifications like rounded arms and back.
However the best function he added were 2 wooden wheels he attached to the back legs, we now can move these chairs easily on our deck.
Our goal was to make them look like well worn beach chairs, we used milk paint for that effect. It still lets the grain show through.
I had to convert Ana's plan into metric measurements using 90x35mm timber available in my local hardware shop. Painting was done pre-assembly and was the most time consuming part. It is not perfectly angled but am happy with the final result.
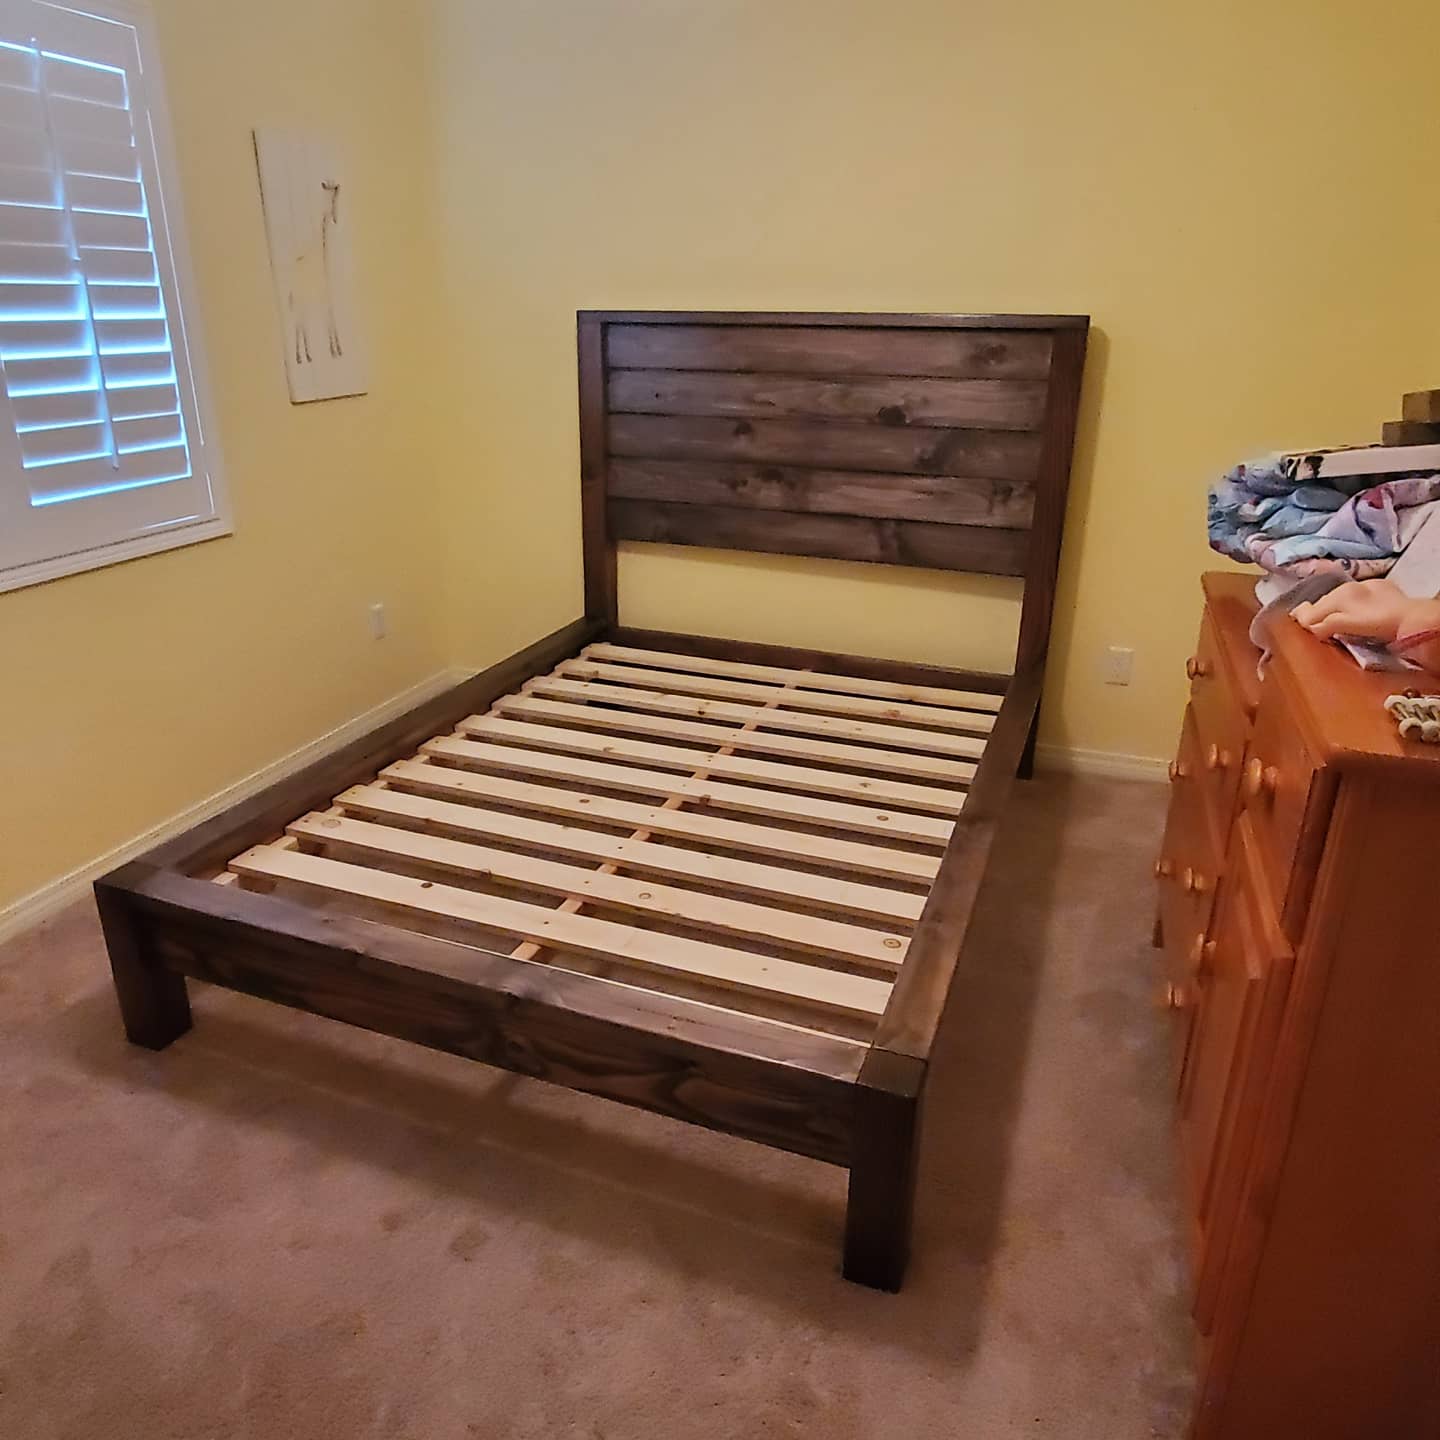
thank u ana white for plans
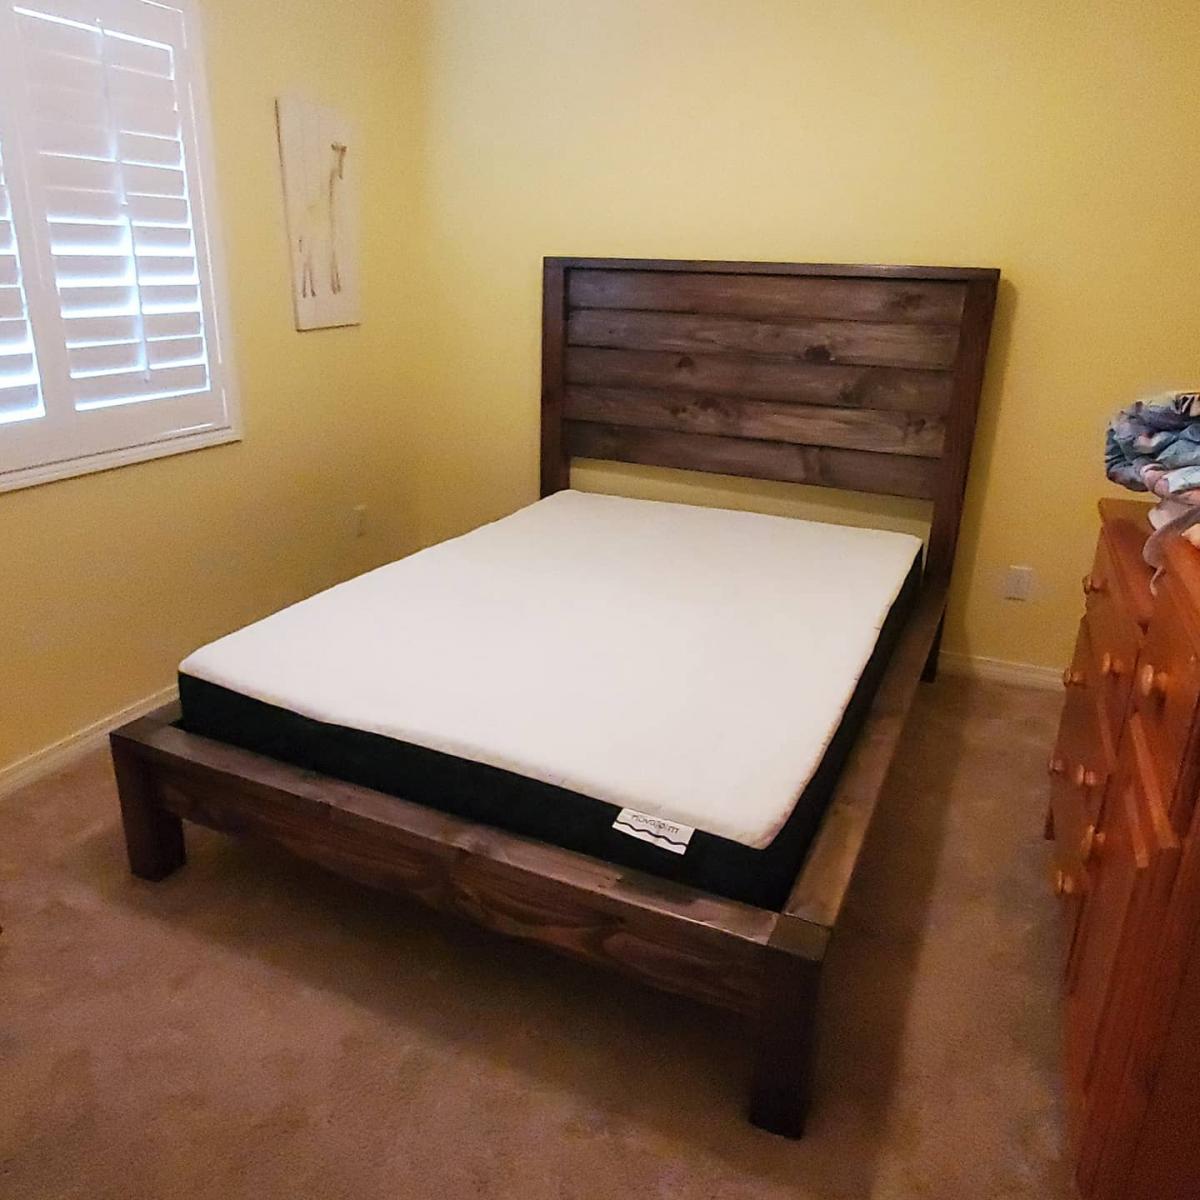
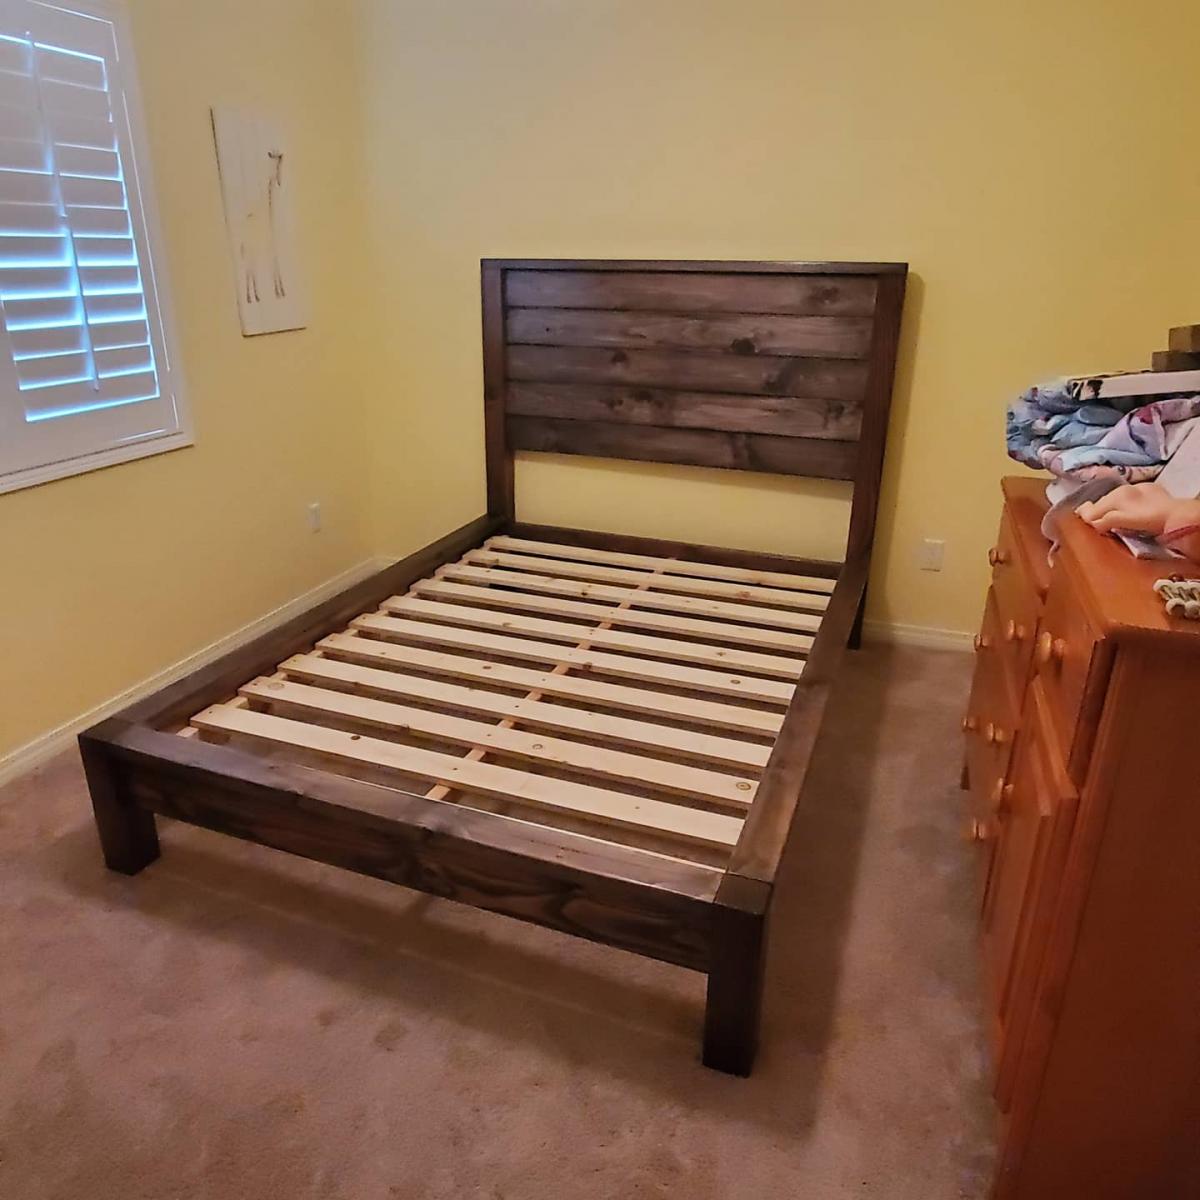

In addition to my brag post regarding DVD stand (posted here: http://ana-white.com/2012/09/simpliest-shelf-stand) I would like to suggest you the project of TVset and other multimedia stand.
PS. Sorry, English is not my native language, but I hope you can understand my post. Blog link leads to russian language page.


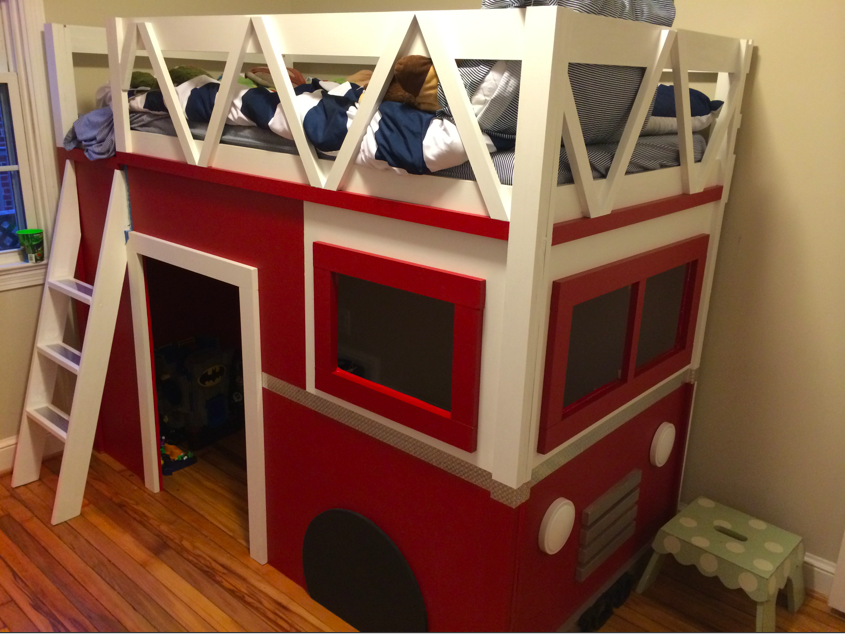
Made a smaller version of the fire truck bed for our two boys. The youngest will move "downstairs" when he gets out of the crib. It was fun, but lots of work! It took me about 5 weeks of weekend/late evening work.
Thanks for the great plans and inspiration.