Community Brag Posts

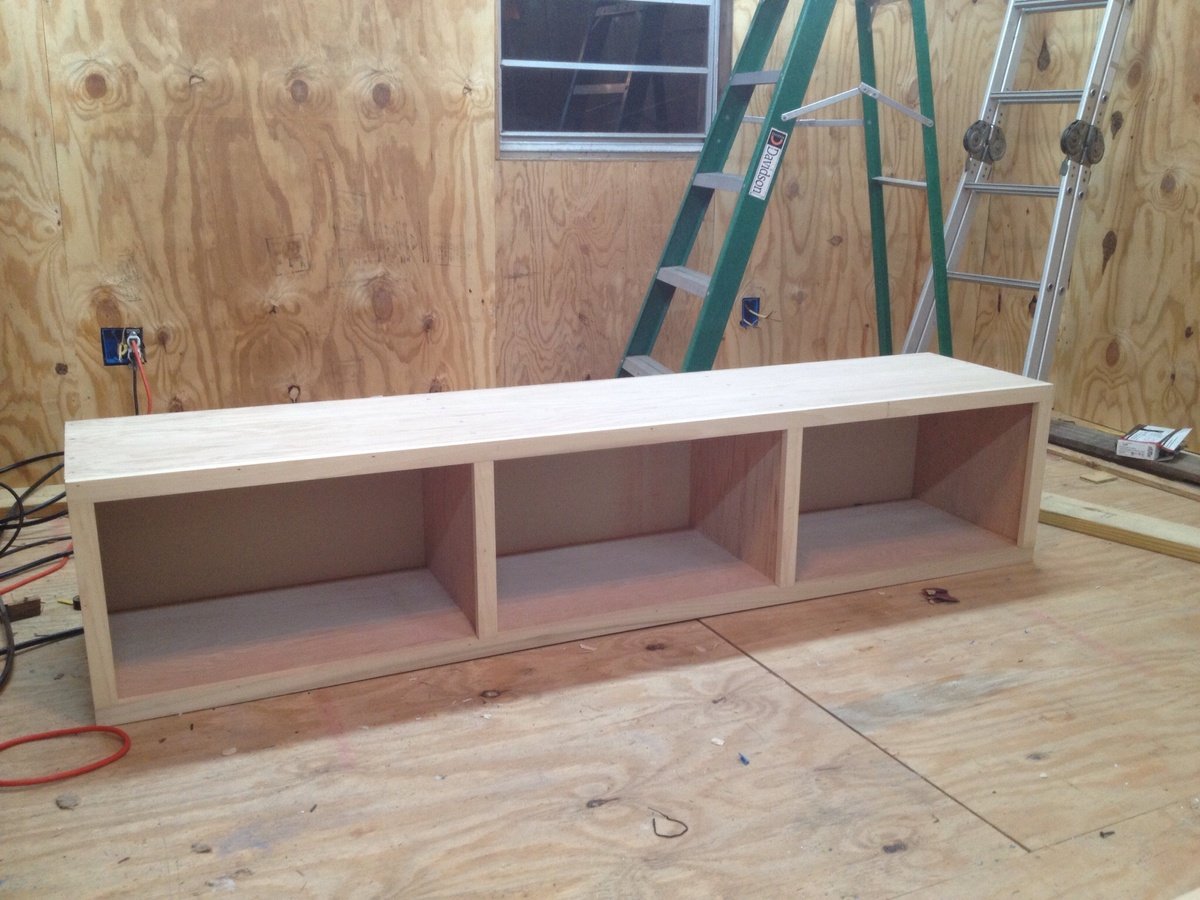
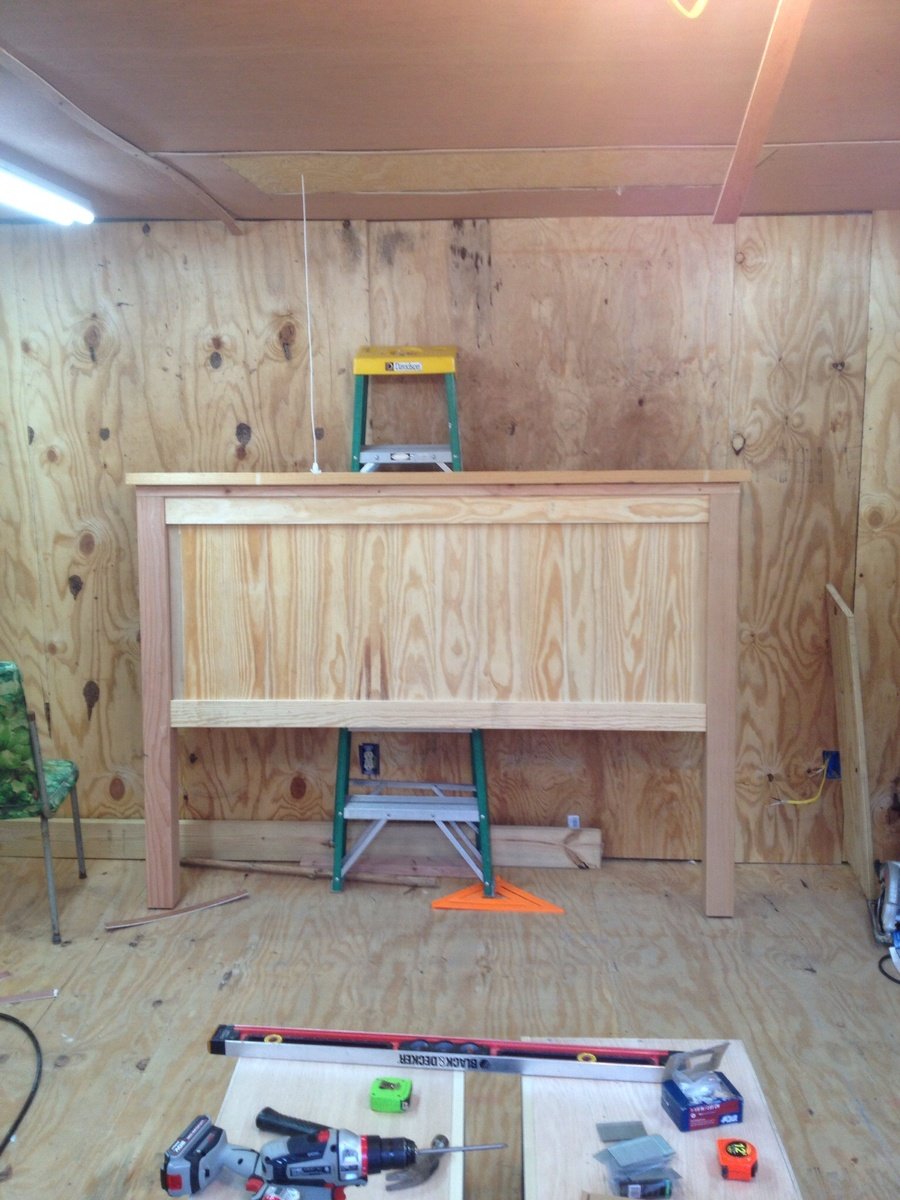
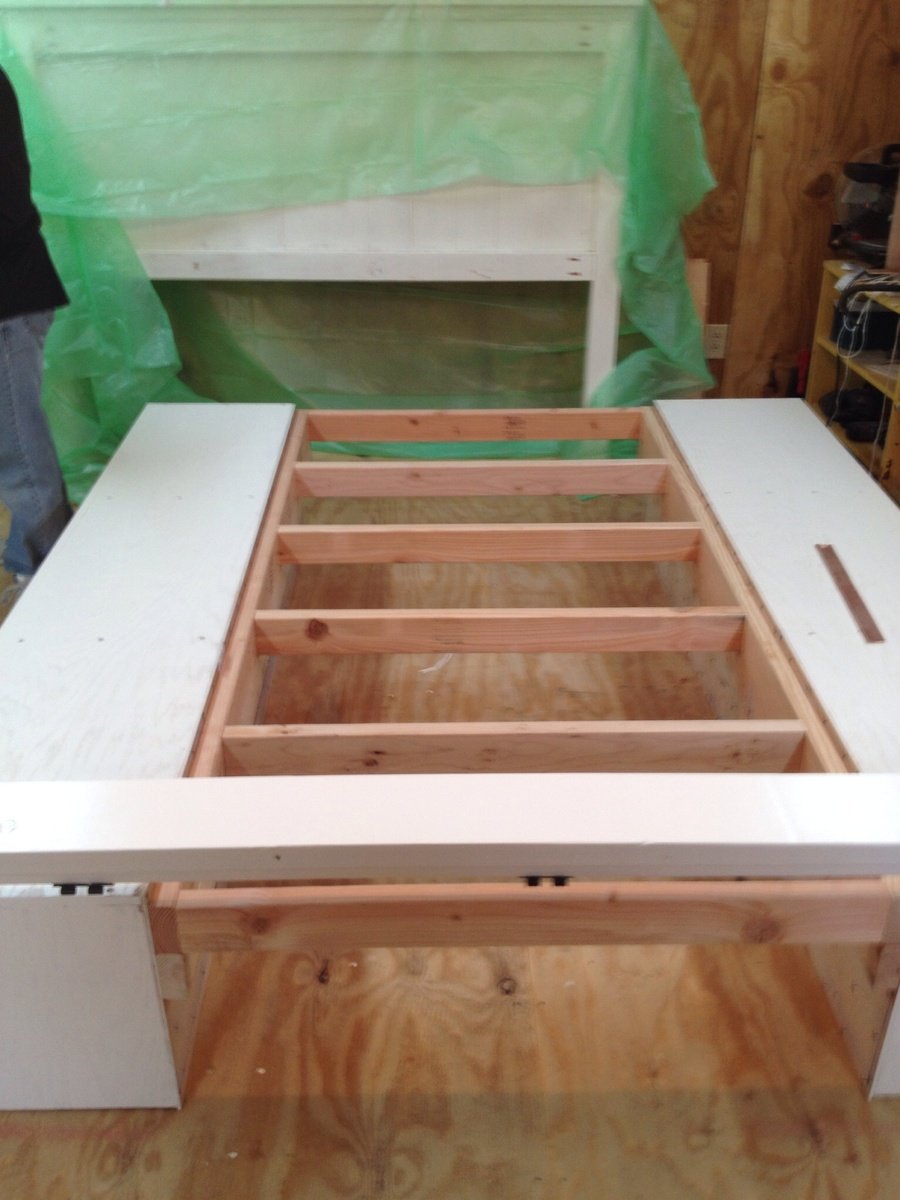
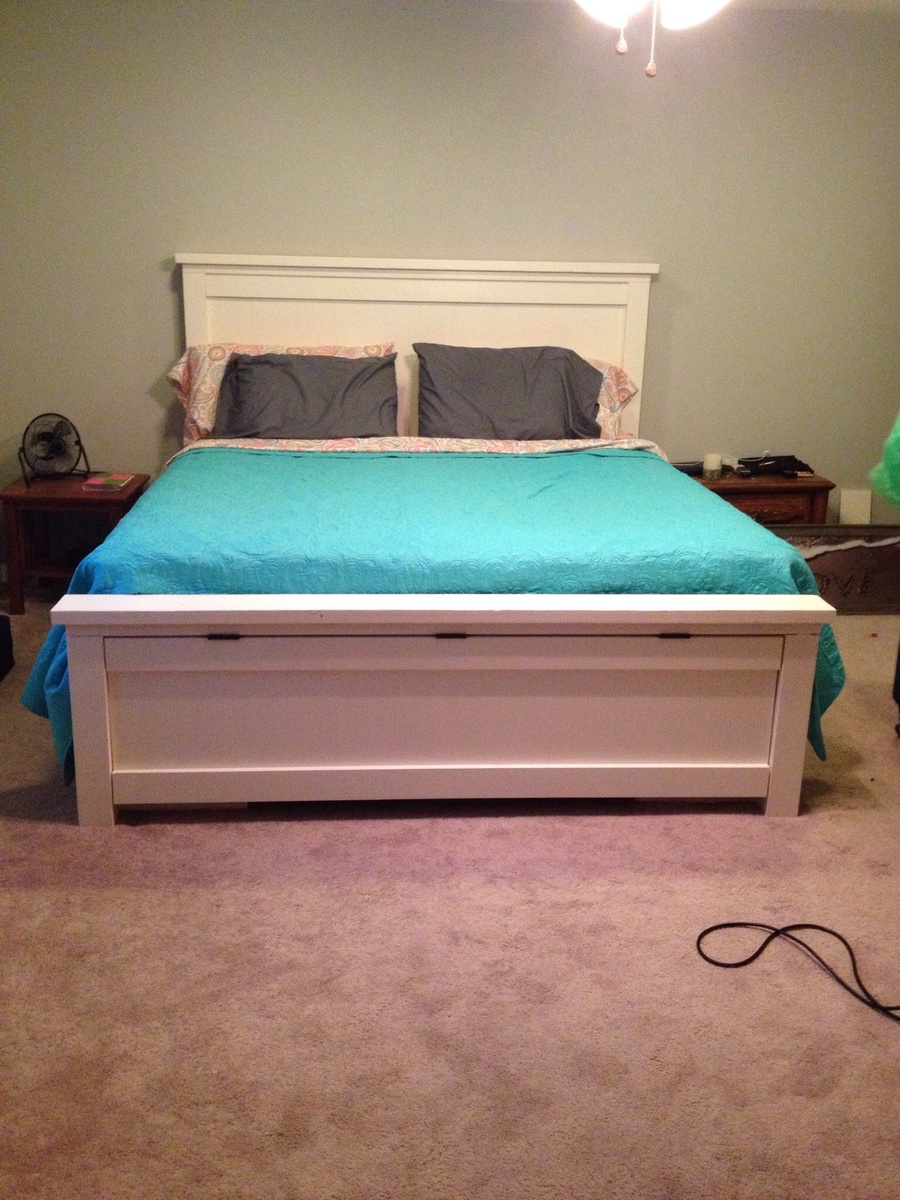
Our Farmhouse bed :)
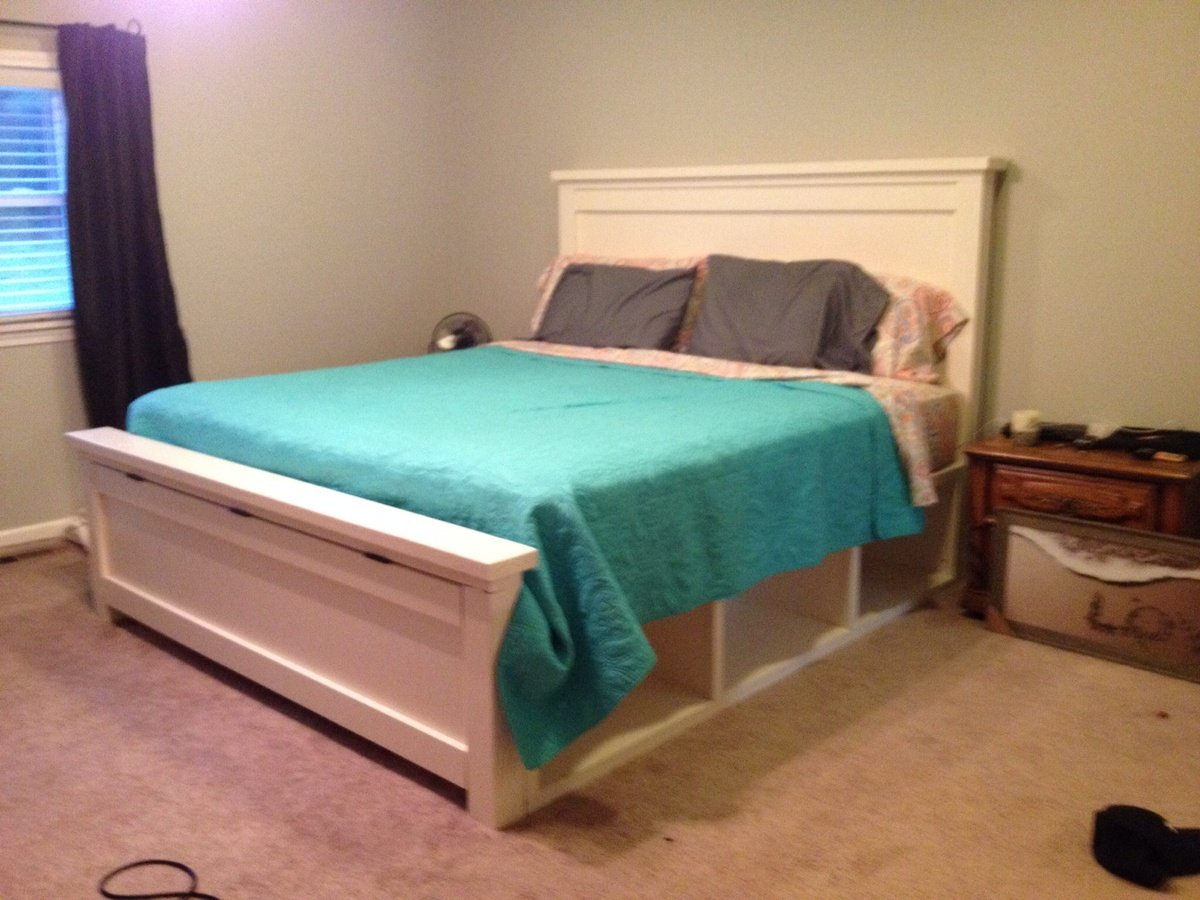
My wife and I wanted to upgrade to a king size bed and we stumbled upon this website and are so glad we did. My dad and I built this over the course of a month, working a couple hours at a time as time permitted. It was a fun build and the plans are easy to follow. I encourage anyone building these beds to find the exact measurement of your mattresses and modify the plans accordingly.

Built from Plan(s)
Estimated Cost
$300
Estimated Time Investment
Week Long Project (20 Hours or More)
Finish Used
Valspar antique white in semi-gloss 4 coats
Recommended Skill Level
Intermediate
Comments
Mon, 02/20/2017 - 13:43
I plan to make a bed very
I plan to make a bed very similar to what you did. I like the idea that it has a headboard and footboard with storage on the sides. How did you end up fastening the head and footboards to the body of the bed?

Mon, 02/20/2017 - 21:06
FarmHouse Bed
Bought your book and I love it, pouring through it every nite. Planning to make the full size farmhouse bed. Got lots of tools in the Garage and taking inventory of what's in there and what I'll need, (none have been used in a few years). So glad my husband left all the tools behind when he left.
I've already built the worktable and saw horses.
Mon, 02/20/2017 - 21:07
FarmHouse Bed
Bought your book and I love it, pouring through it every nite. Planning to make the full size farmhouse bed. Got lots of tools in the Garage and taking inventory of what's in there and what I'll need, (none have been used in a few years). So glad my husband left all the tools behind when he left.
I've already built the worktable and saw horses.
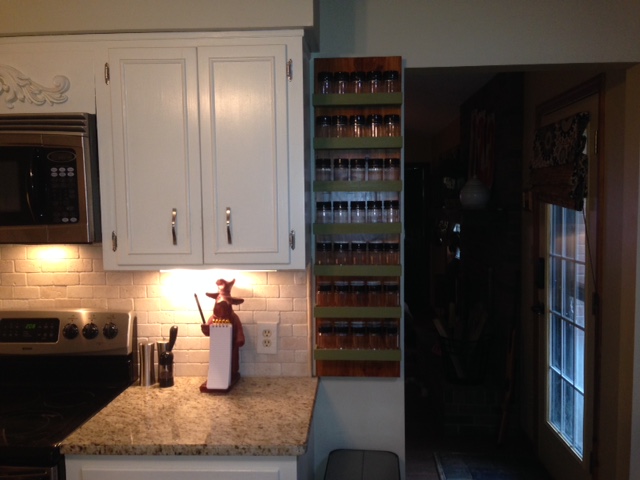
Spice rack customized for my space
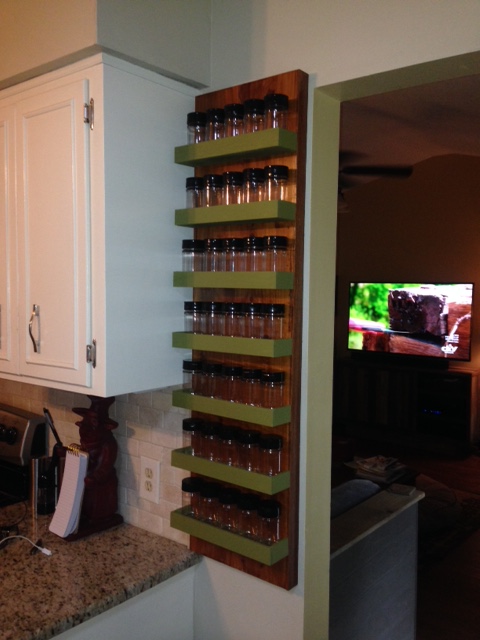
At the end of the day, my spice rack did not look anything like Ana's plan, but it did make my creative juices start.
I hung mine on my wall. I used a premade panel as the backing which I then stained. I boxed in the panel with a thin 1x2 along the sides so that the hanging wire would not show. The shelves are 1x3 trimmed with the same 1x2 to provide a ledge so that the spice bottles won't fall off.
Still waiting on my labels to arrive so have not loaded up the jars yet! Splurged on the jars from a specialty bottle company. They are high grade impact resistant plastic that is super clear and lightweight. The lids have a hinged top with one side having shaker holes and the other open to be able use a measuring spoon.
So proud of the finished result. Thanks Ana!
Built from Plan(s)
Estimated Cost
$300 since I bought 100% of the material. Of this, $125 was the bottles.
Estimated Time Investment
Day Project (6-9 Hours)
Finish Used
Dark oak MinWax stain with satin poly included. Annie Sloan chalk paint with a 60/40 mix of avocado and English yellow with her clear wax on top.
Recommended Skill Level
Beginner
Dresser Bunk Built-in
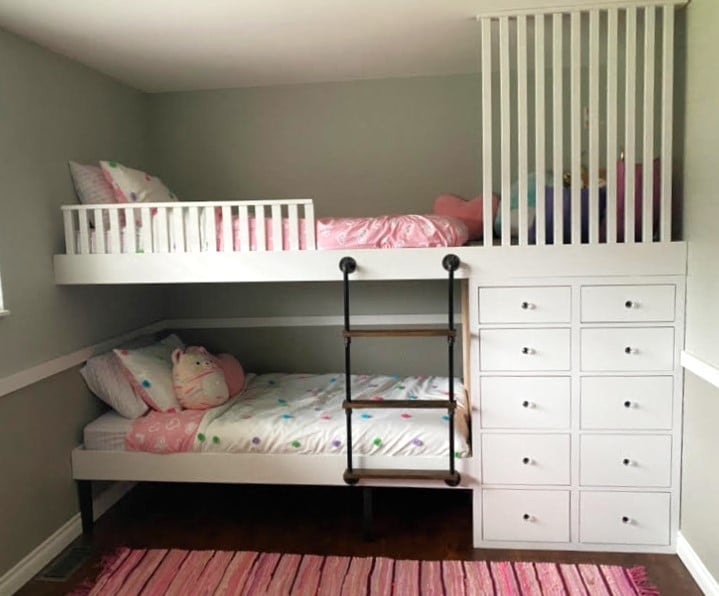
It started with the rustic rolling dresser. I wanted to try to build a dresser, but my girls needed a bunk bed. I modified the dresser to support a bunk bed. 2 little nooks for the girls, rock solid beds and a beautiful dresser.
HisAndHersOriginals
Built from Plan(s)
Comments
Tue, 01/09/2024 - 08:36
Great bunk and dresser design!
Love how you incorporated the dresser, it looks amazing!
Entryway shelf
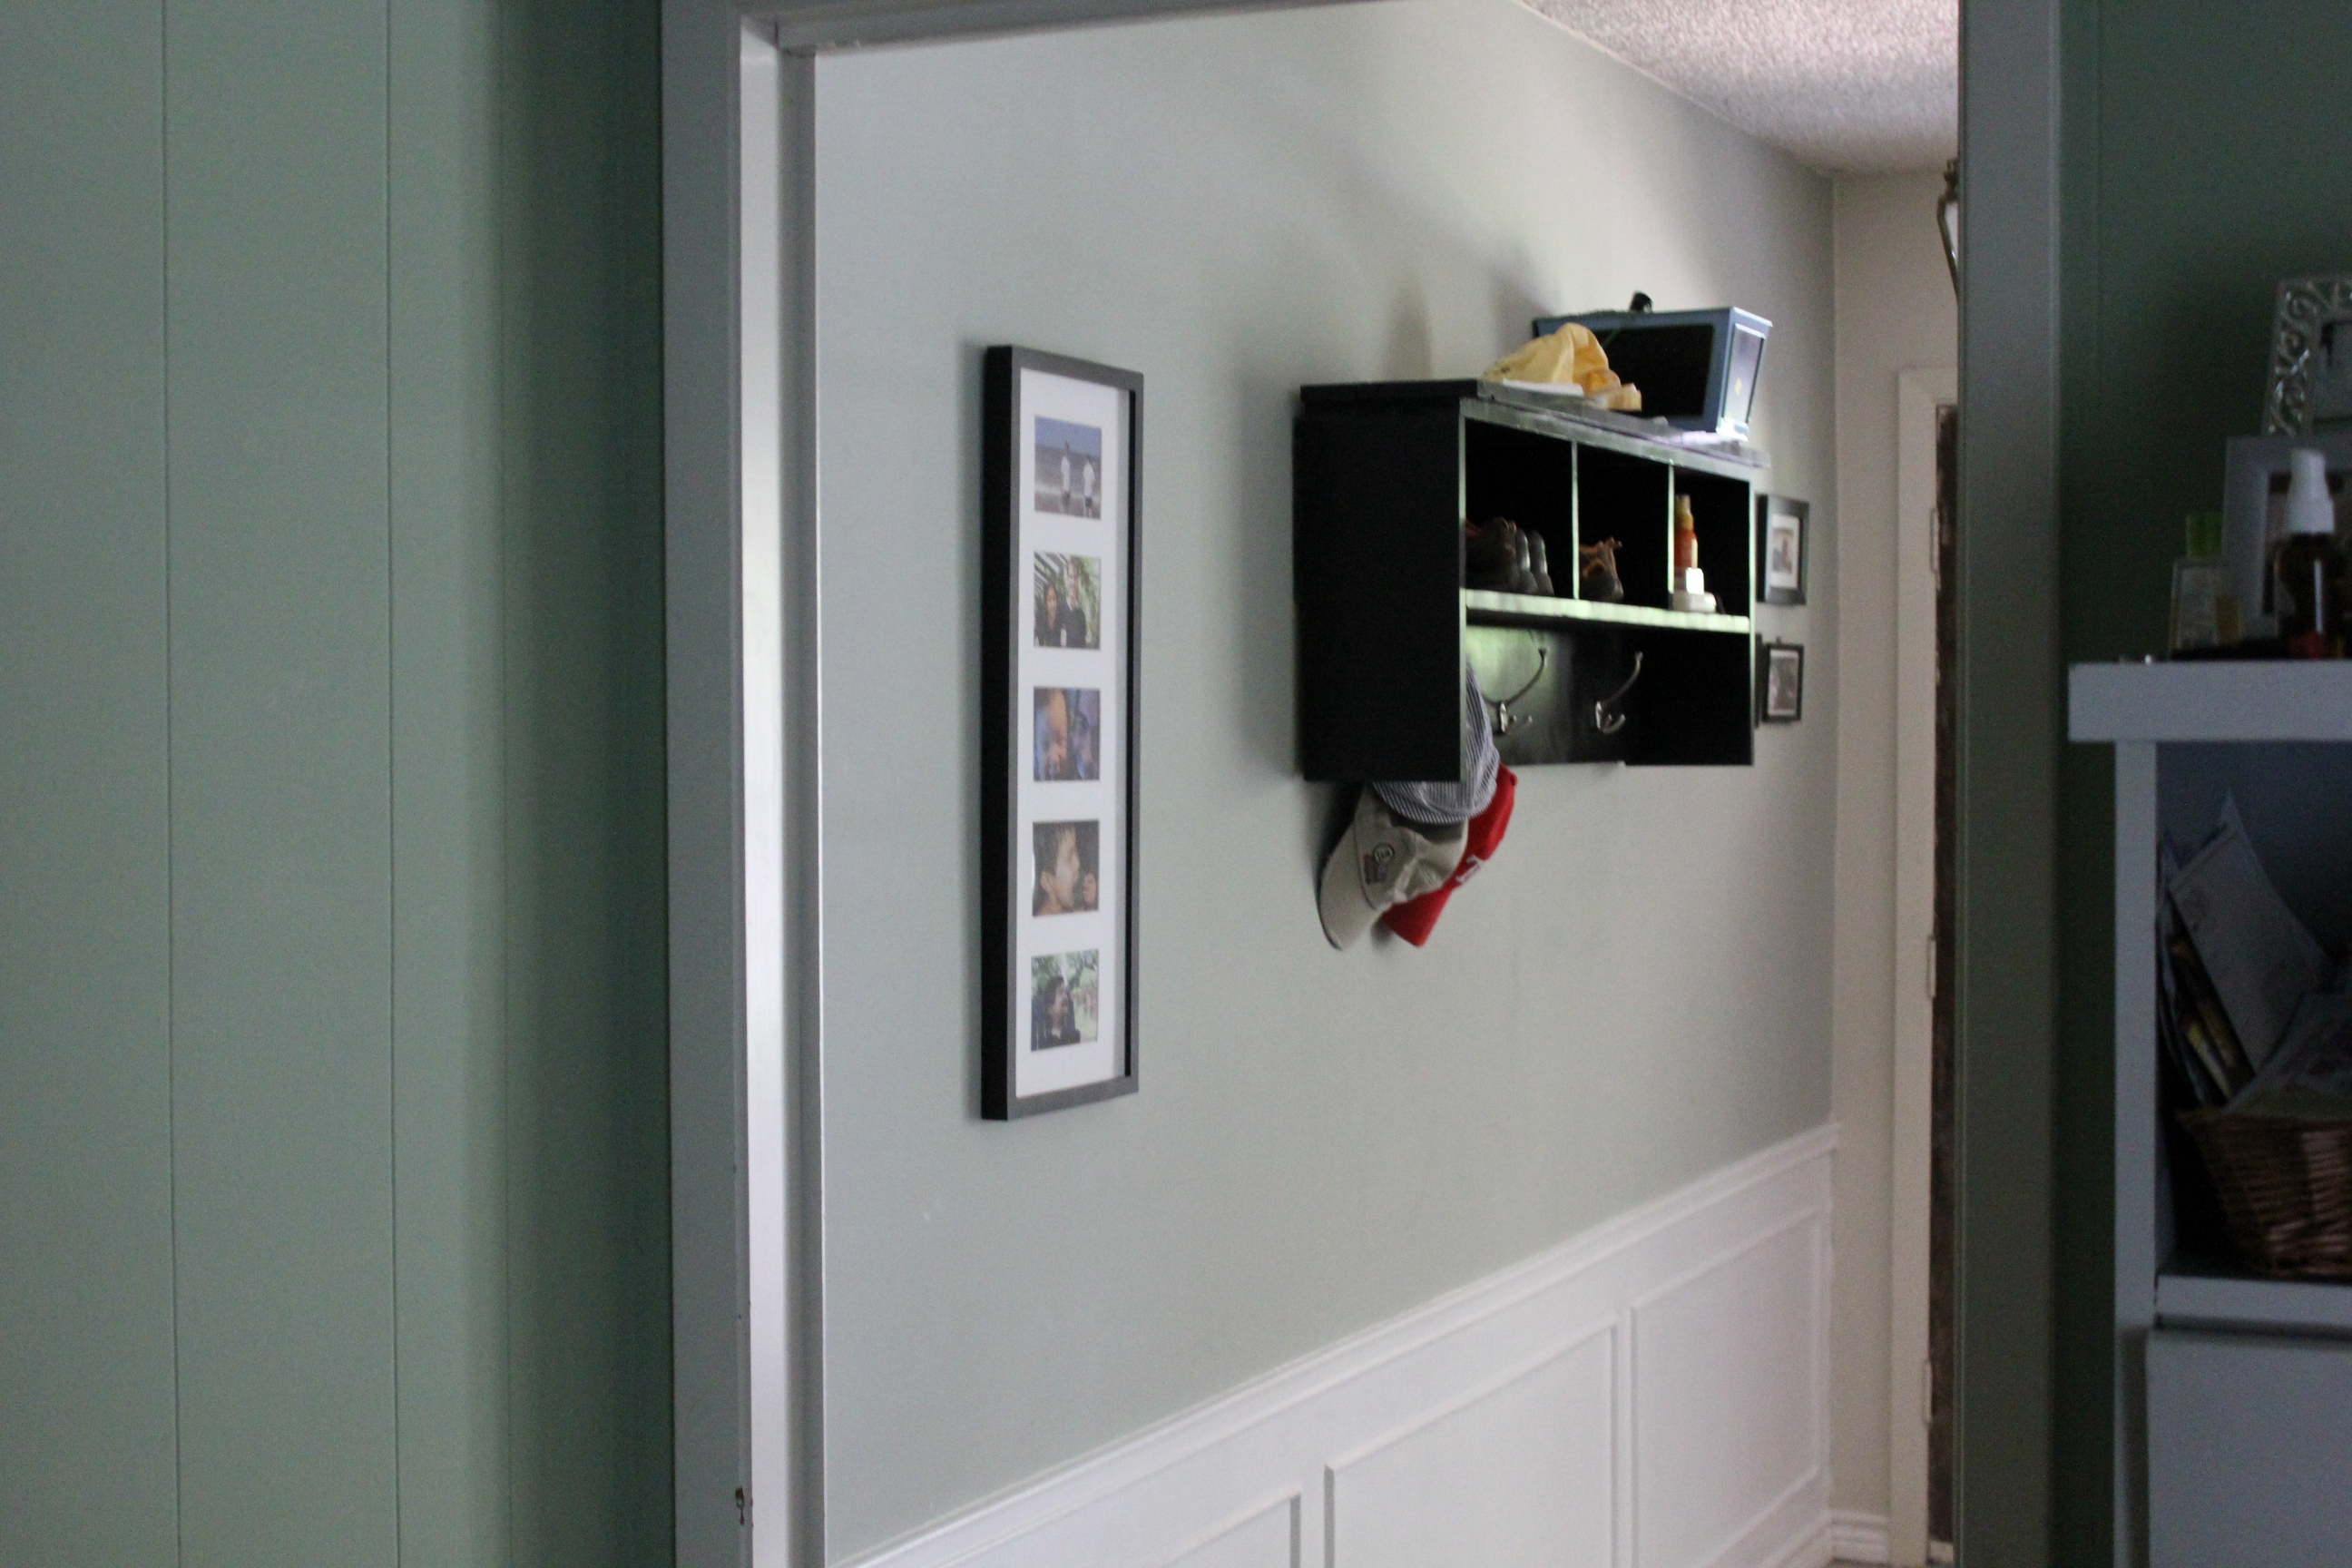
I built this ages ago but never got around to posting. This was my first build to replace a coat tree that my baby was using to pull himself up with. Hanging it up was more difficult than building it! The amount of storage on this thing is amazing.
Built from Plan(s)
Estimated Time Investment
Afternoon Project (3-6 Hours)
Finish Used
I used Valspar black spray paint.
Recommended Skill Level
Beginner
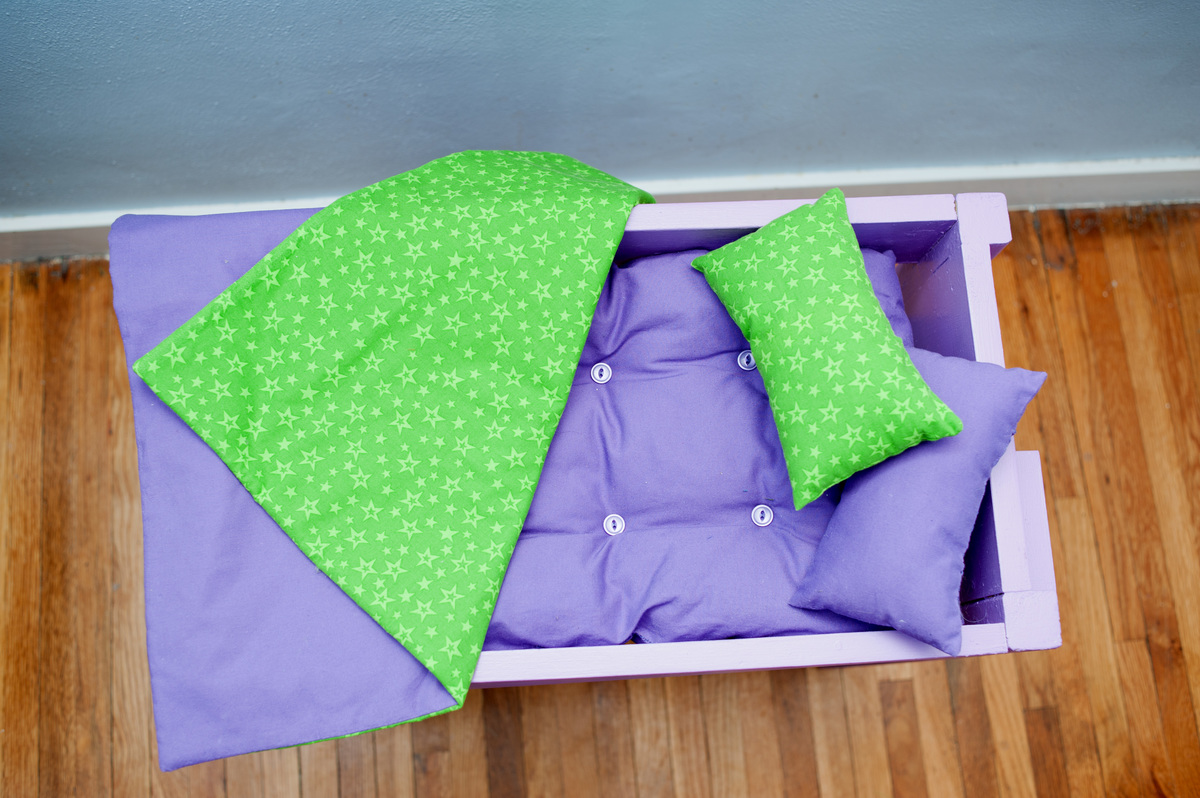
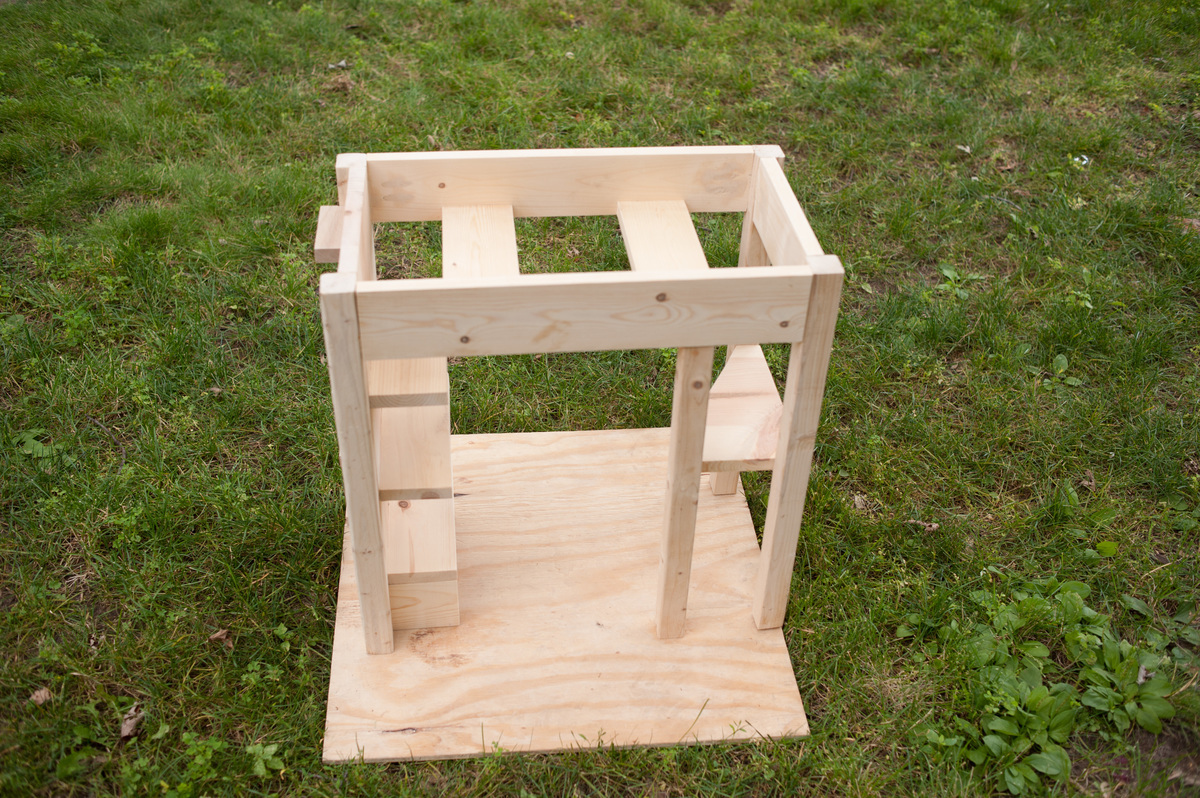
loft bed for 18" doll
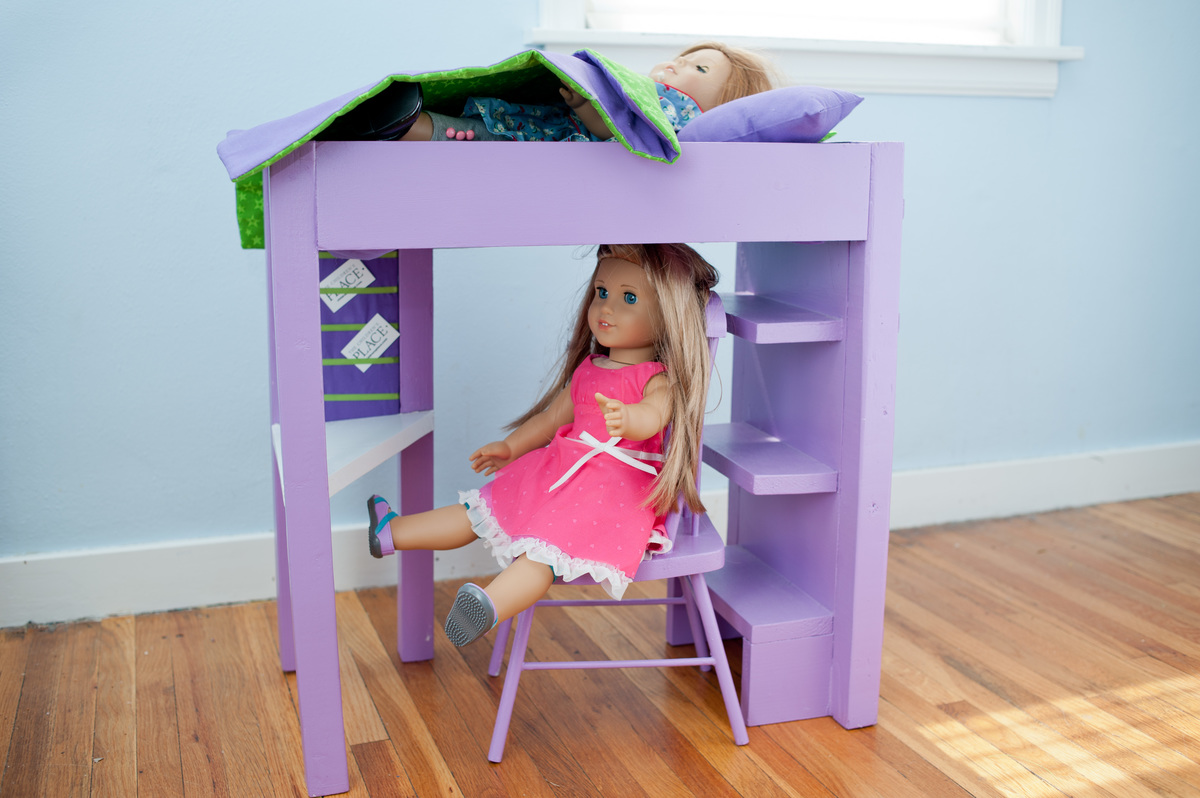
My daughter had asked about American Girl doll beds two summers ago. She looked at several plans on this site and chose this one.
A huge thanks to my neighbor who lent me his compound miter saw.
My 9 yr. old son and 10.5 yr. old daughter helped with pocket holes and screws. The were also helpful in determining next steps when I got "stuck".
Started this project last summer. By fall, when life got crazy, stopped the project. Finished details this spring.
Note: Chair was a garage sale find and repainted.
I'm a recovering perfectionist. If I wasn't so particular, I probably could have finished this in a weekend, but it took me much longer.
I attached photos of the finished bed and before painting. I'm very visual...hoping the photos will help someone else.
I have a few more photos. If anyone needs to see more views, please feel free to contact me.
Hoping to build more projects before my neighbor needs his saw back!

Estimated Time Investment
Weekend Project (10-20 Hours)
Finish Used
sanded, primed, behr interior semi-gloss (color: daylight lilac).
(Thank you Little Stuf for the plans)
(Thank you Little Stuf for the plans)
Recommended Skill Level
Beginner
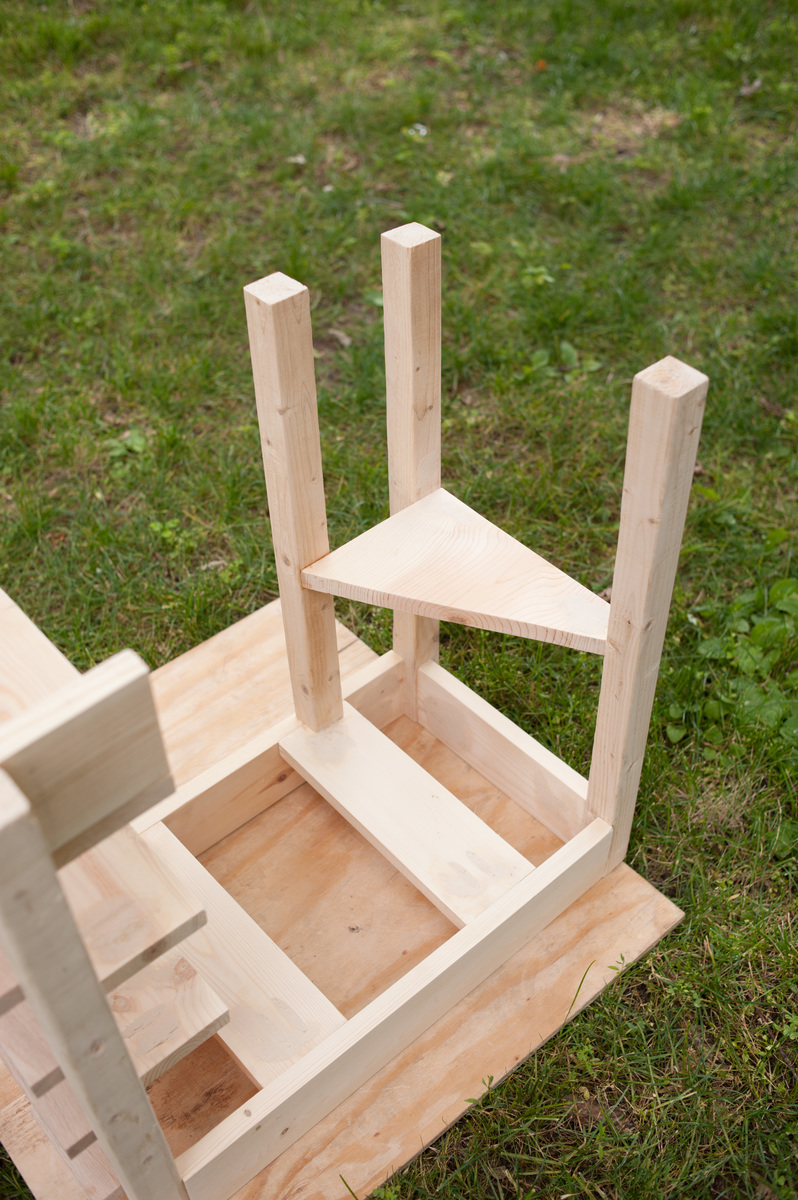
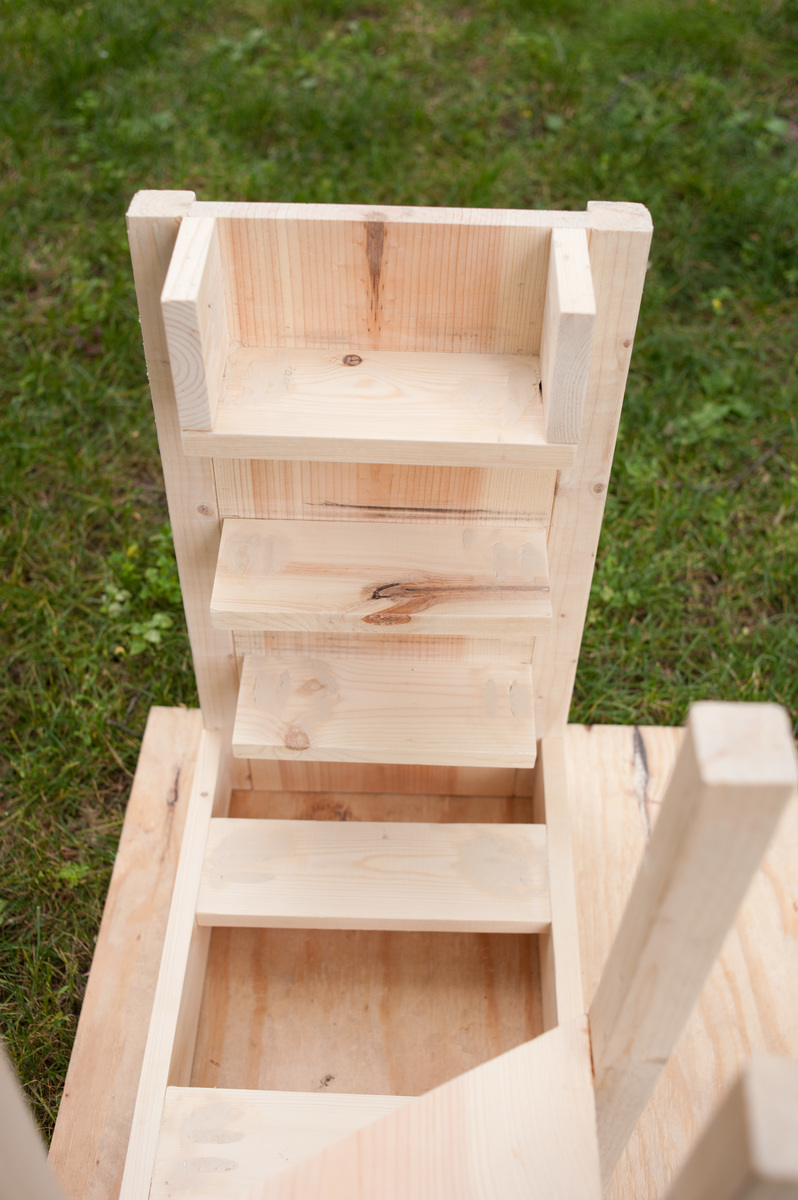
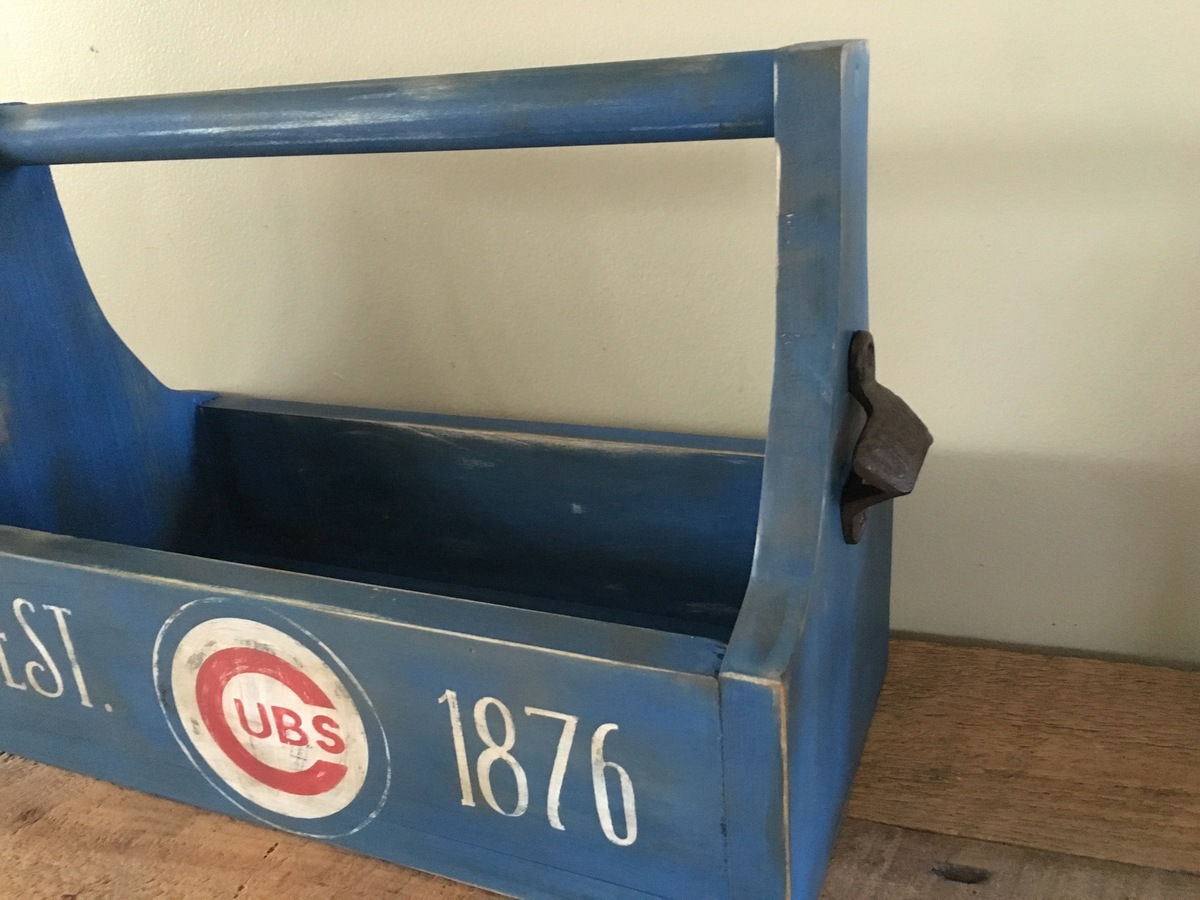
Cubbies Caddy
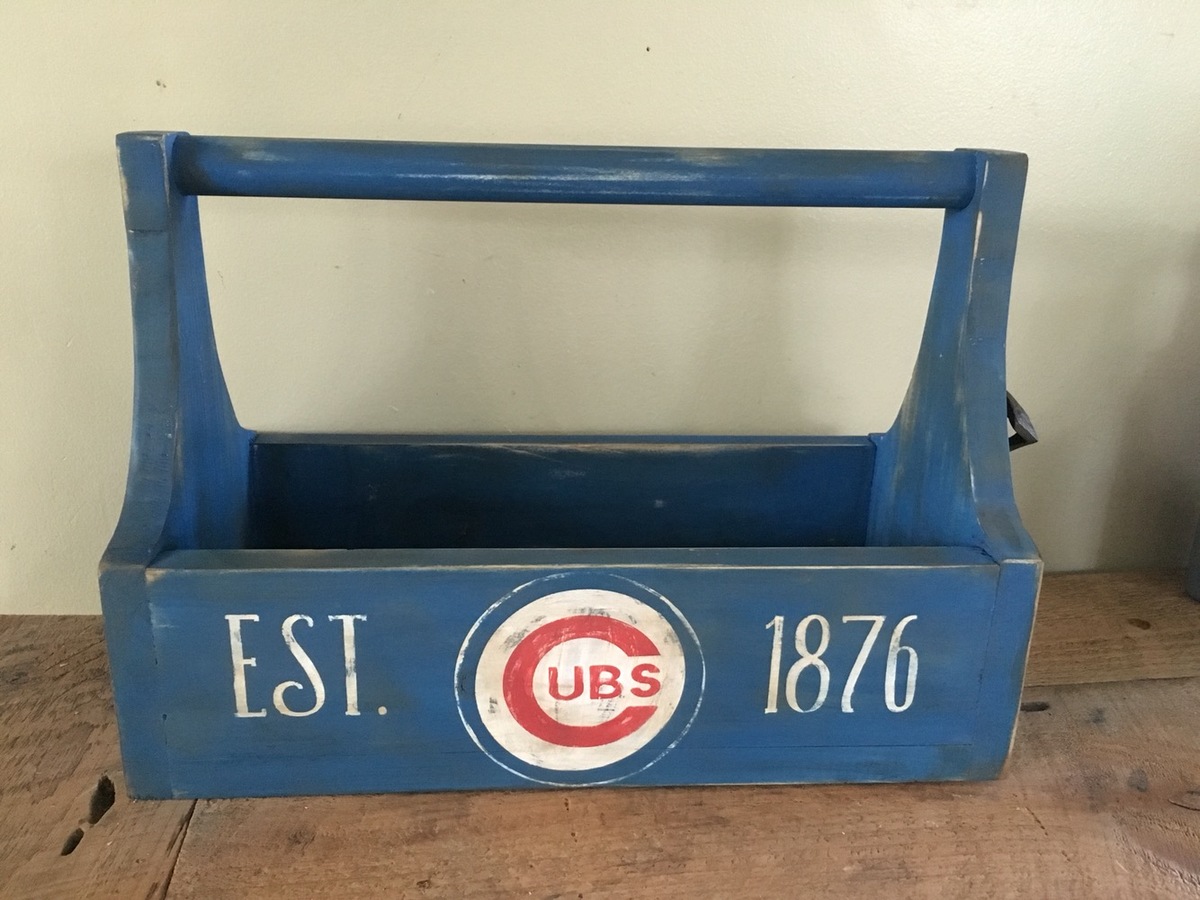
Just a fun tool caddy for the sports lover (Cubs or other teams) out there. It has a beer opener on the side so you honestly don't have to move when cracking open a cold one. Be it soda or beer that doesn't require you to twist it off.
Estimated Cost
10 dollars
Estimated Time Investment
An Hour or Two (0-2 Hours)
Finish Used
Chalk paint
Recommended Skill Level
Beginner
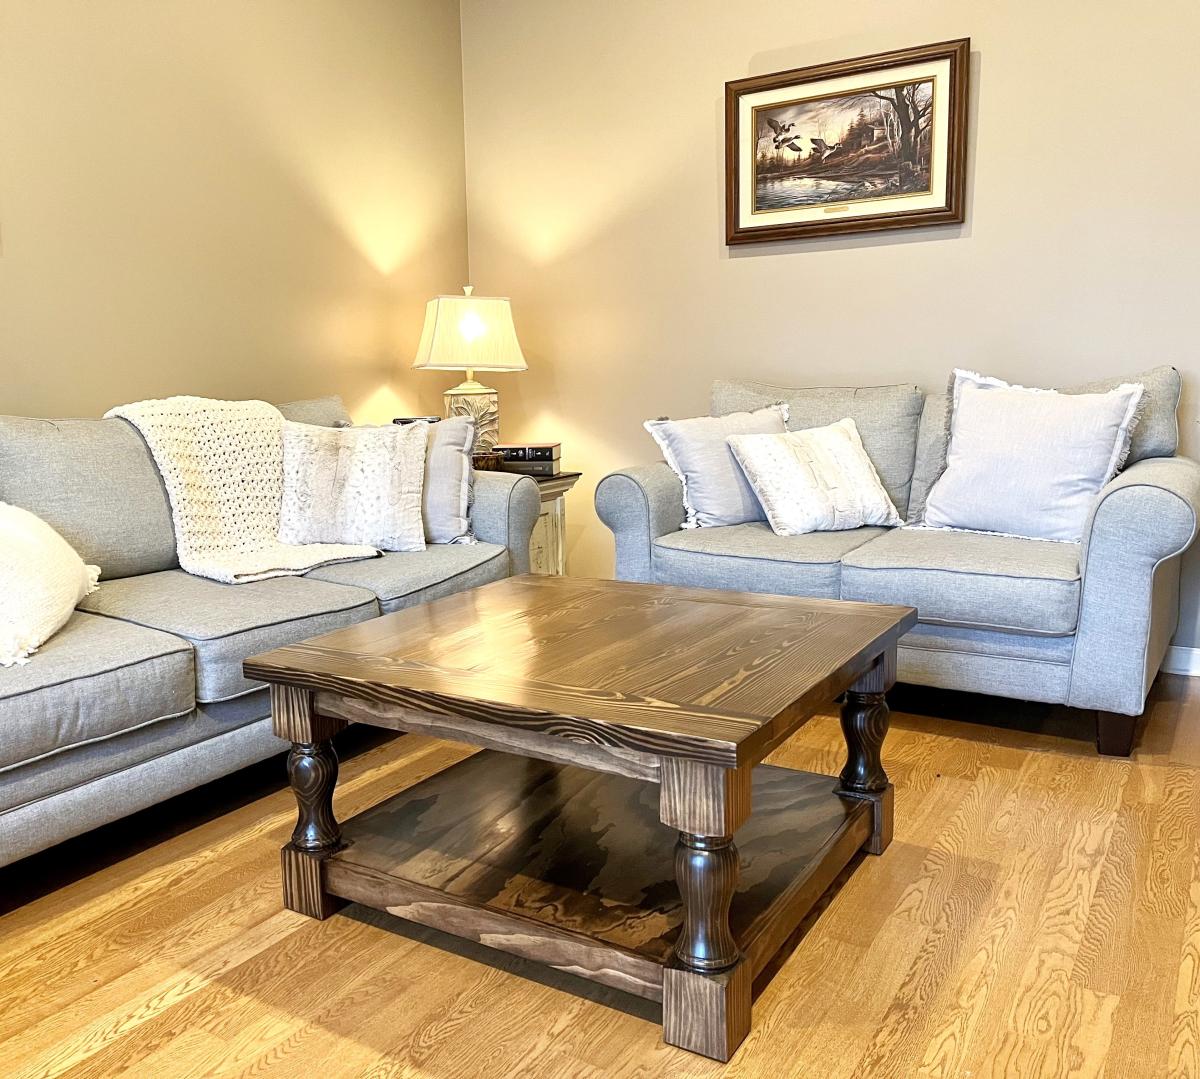
Square Coffee Table with Turned Legs
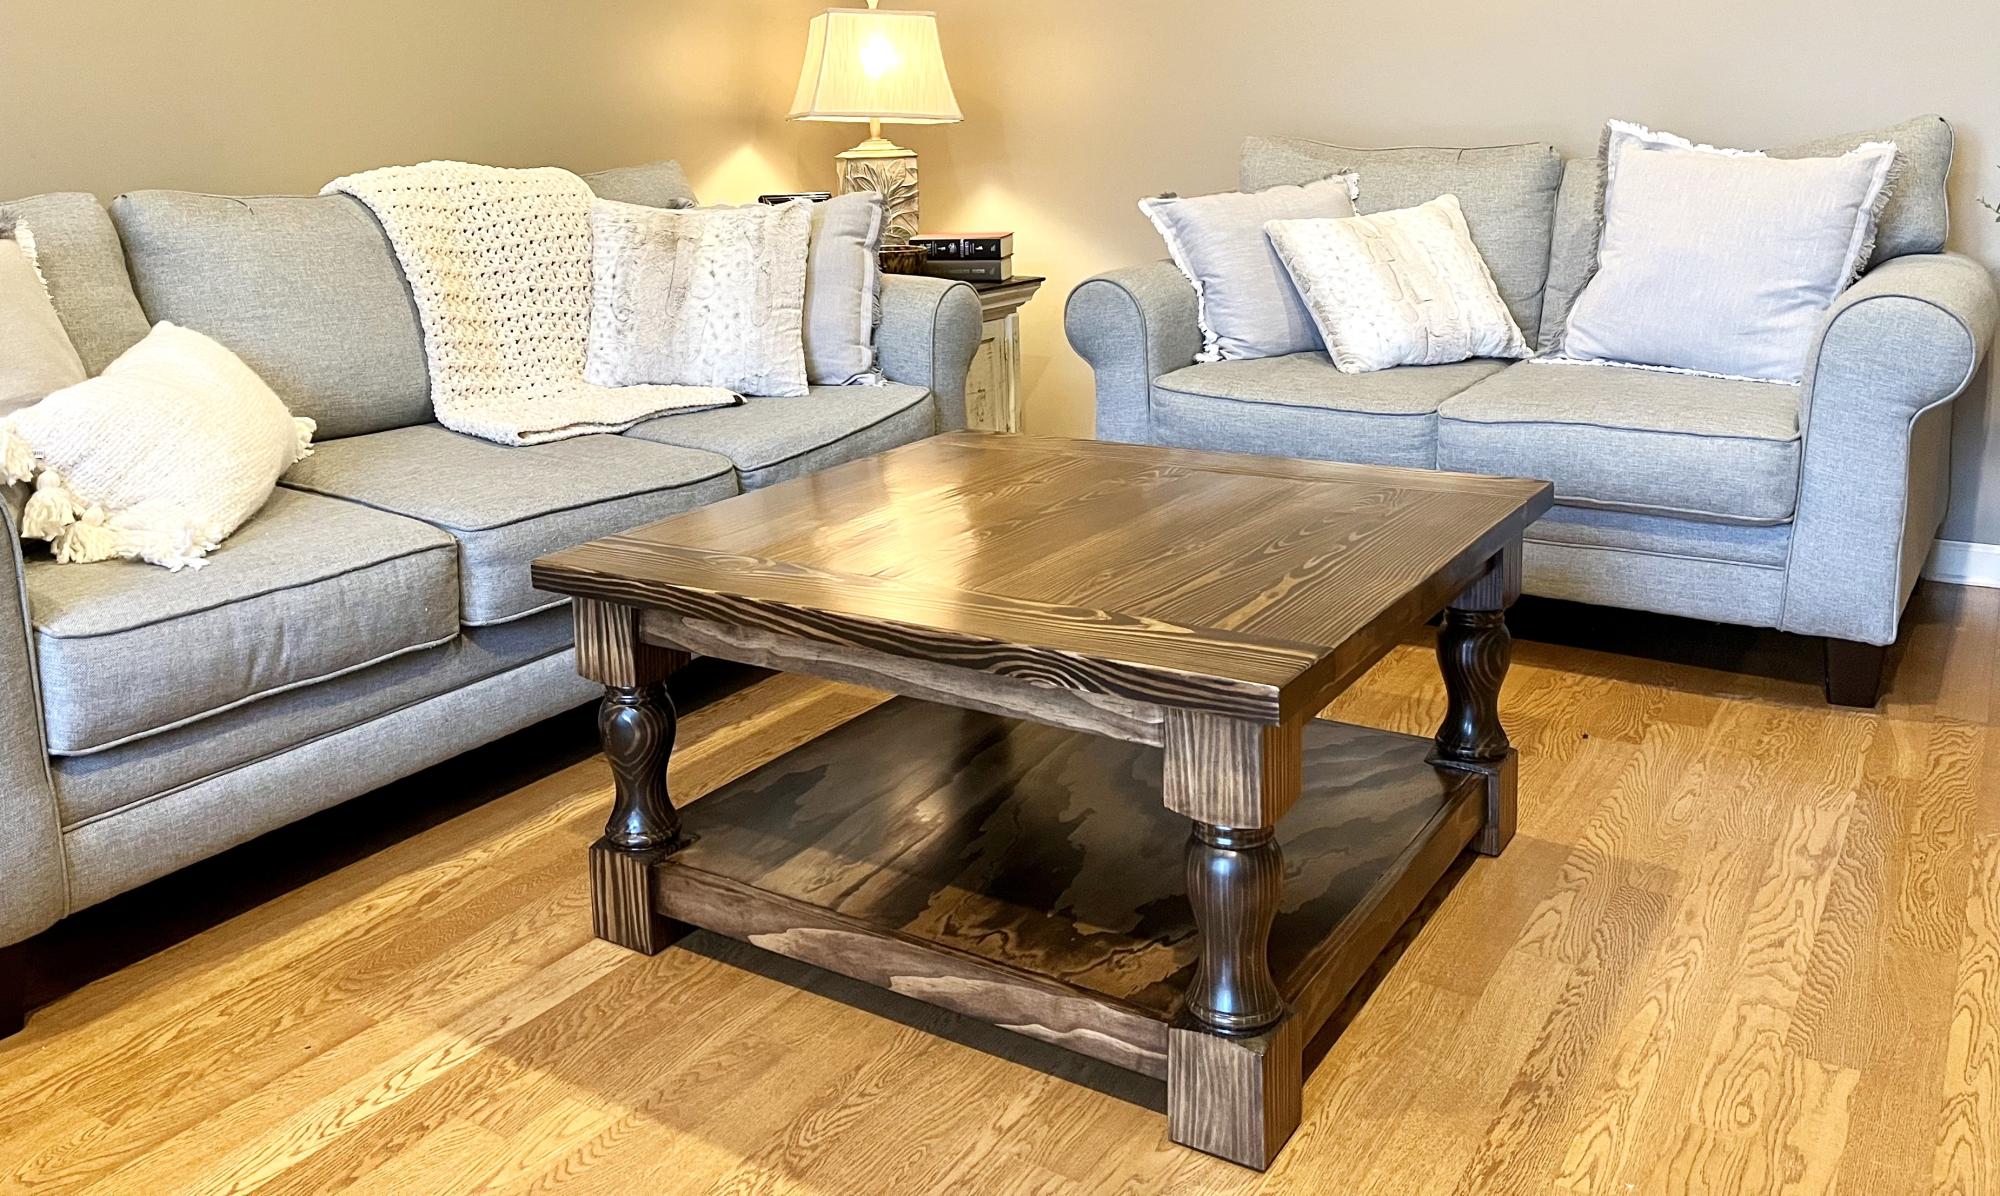
I used these plans: https://www.ana-white.com/woodworking-projects/corona-coffee-table-squa…
I ordered the turned legs from Etsy: https://www.etsy.com/listing/648709457/
The stain is Varathane Premium Gel Stain in Kona, sealed with Varathane Semi-Gloss Polyurethane
Built from Plan(s)
Piano bench

I used the farm house bench plans and added hinges for my own little twist. This was my first attempt at making furnature and I happy with the result. Thanks Ana.

Estimated Time Investment
Afternoon Project (3-6 Hours)
Finish Used
paint
Recommended Skill Level
Beginner
Comments

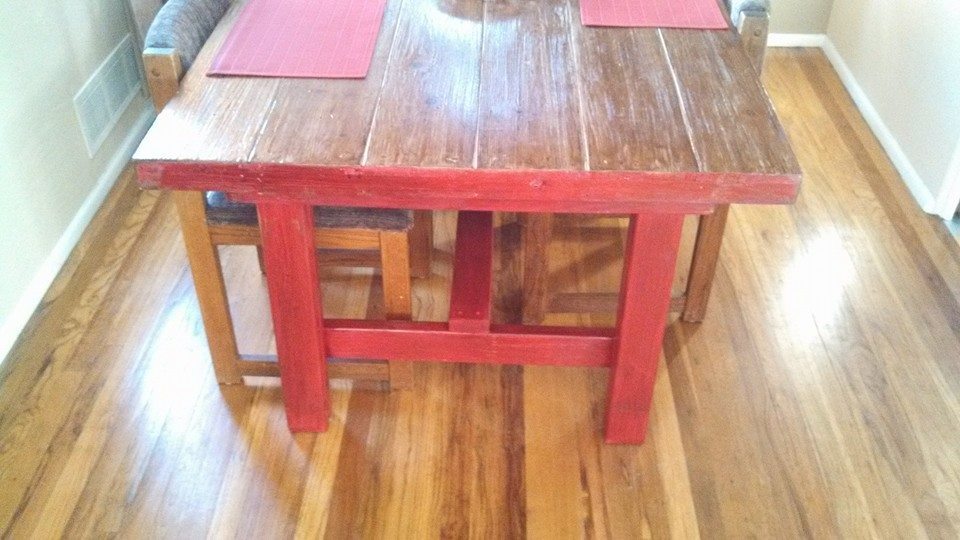
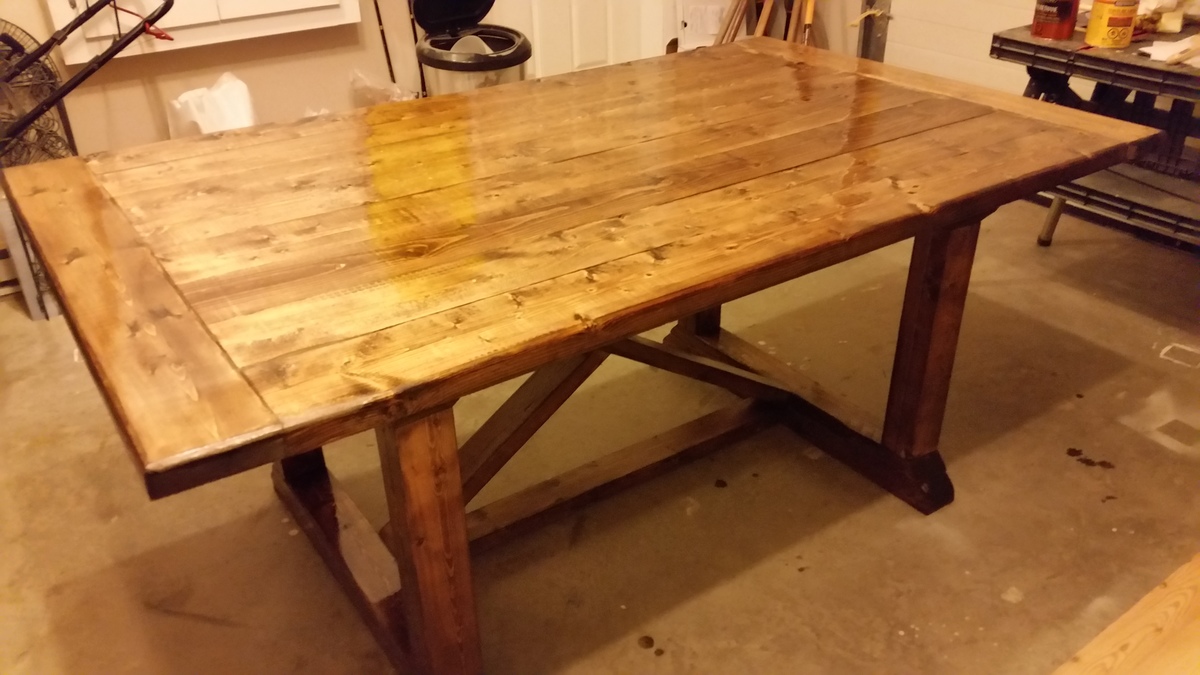
Farmhouse table
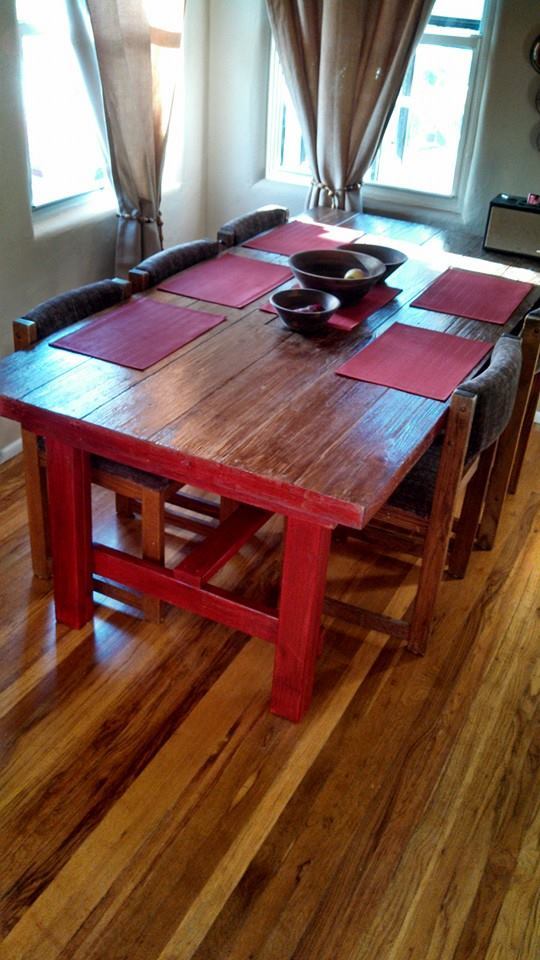
Loved the Farmhouse table project. I took it a step easier. A local door builder had clearance doors for a cheap cost. I found the door I wanted (42"x96"), cut off about a foot length wise, refinished the top and then added a modified farmhouse table apron and legs to it. Then used the distressed finish I found here on Ana-white.com to finish it with. I used a red paint and a dark walnut stain. All together it took about 4 hours of actual time. Though there was a overnight wait period after paint and another one after stain before I finished putting it together.
Built from Plan(s)
Estimated Time Investment
Afternoon Project (3-6 Hours)
Finish Used
I used the finish steps found here: http://ana-white.com/2011/08/reclaimed-wood-patchwork-multi-color
Recommended Skill Level
Beginner
Kitchen Cart
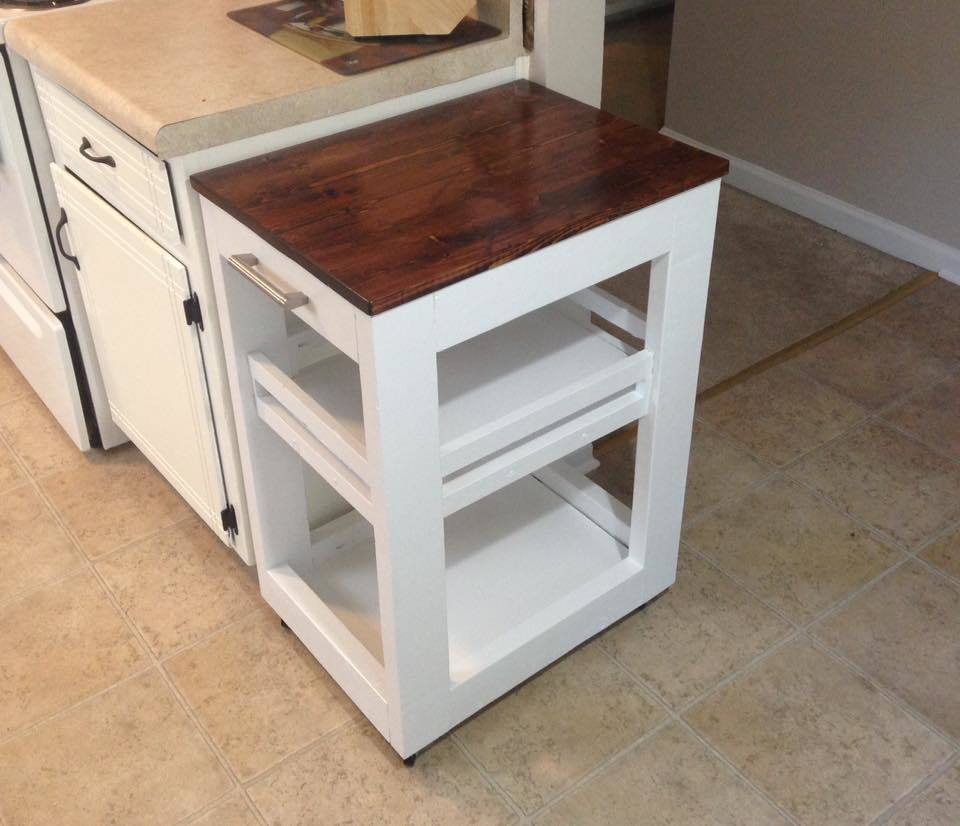
We needed a little extra workspace and storage in our kitchen, so I put this together for the wife. She wanted a smooth surface and wanted it to look a little less "clunky", so I modifed the plans from More Like Home a bit. It works great in our kitchen and it was fun to make.
Plans at: http://www.morelikehome.net/2012/10/day-3-build-kitchen-cart-with-2x4s.html
Estimated Time Investment
Weekend Project (10-20 Hours)
Finish Used
Red Oak stain with three coast of satin finish on top. Gloss white paint.
Recommended Skill Level
Beginner
Narrow Console table
Second project so far. Thank you Ana for the plans.
Built from Plan(s)
Estimated Cost
$33
Estimated Time Investment
Afternoon Project (3-6 Hours)
Recommended Skill Level
Beginner


Kids Adirondack Chair

This is the perfect sized chair for little ones. I didn't understand how to cut the stringers so I asked someone, other then that it was so simple to build.


Built from Plan(s)
Estimated Cost
8$
Estimated Time Investment
Afternoon Project (3-6 Hours)
Finish Used
Behr paint
Recommended Skill Level
Beginner
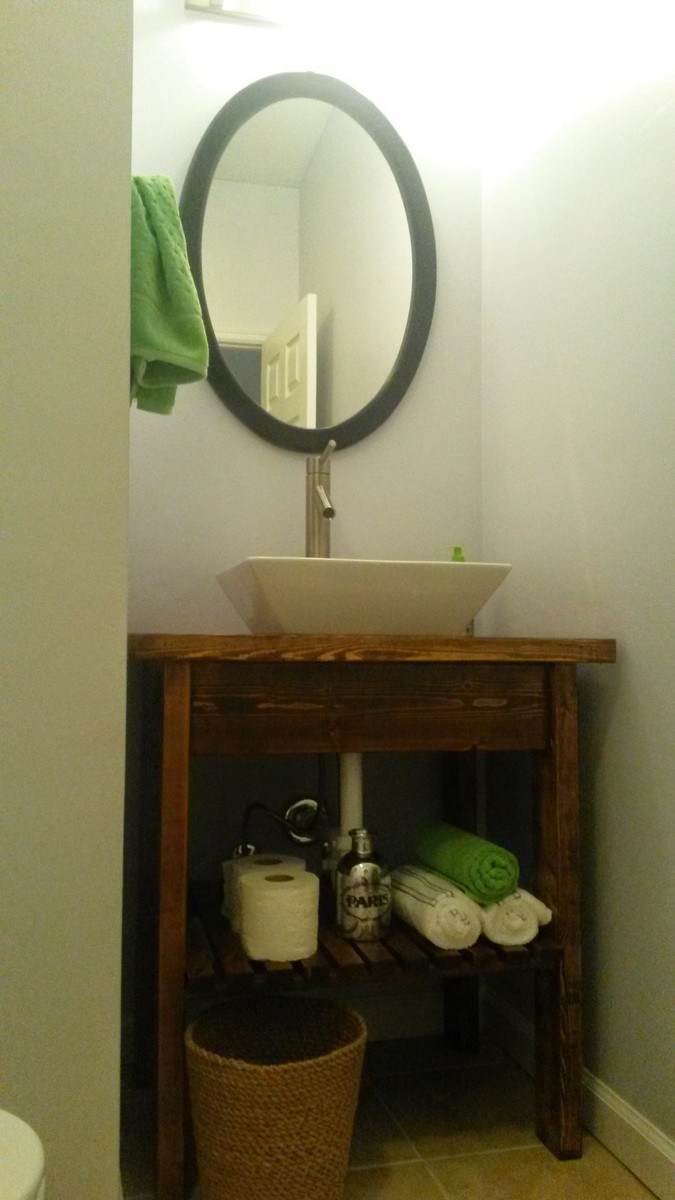
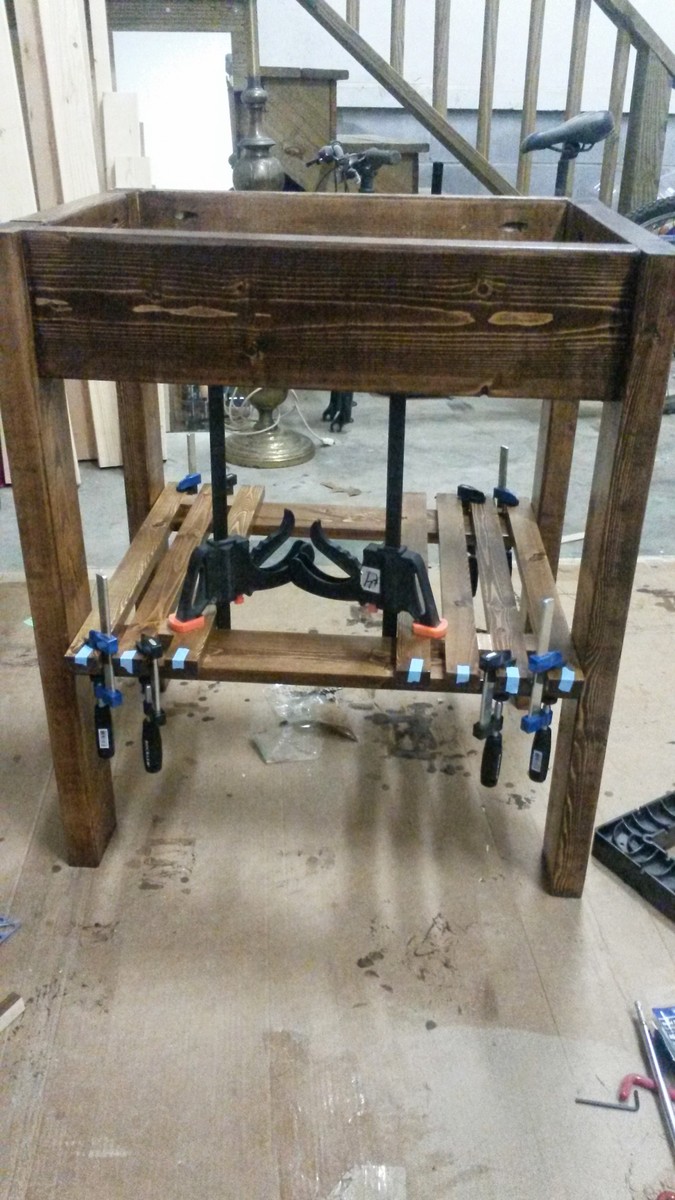
Easy Kitchen Island/ Bathroom vanity
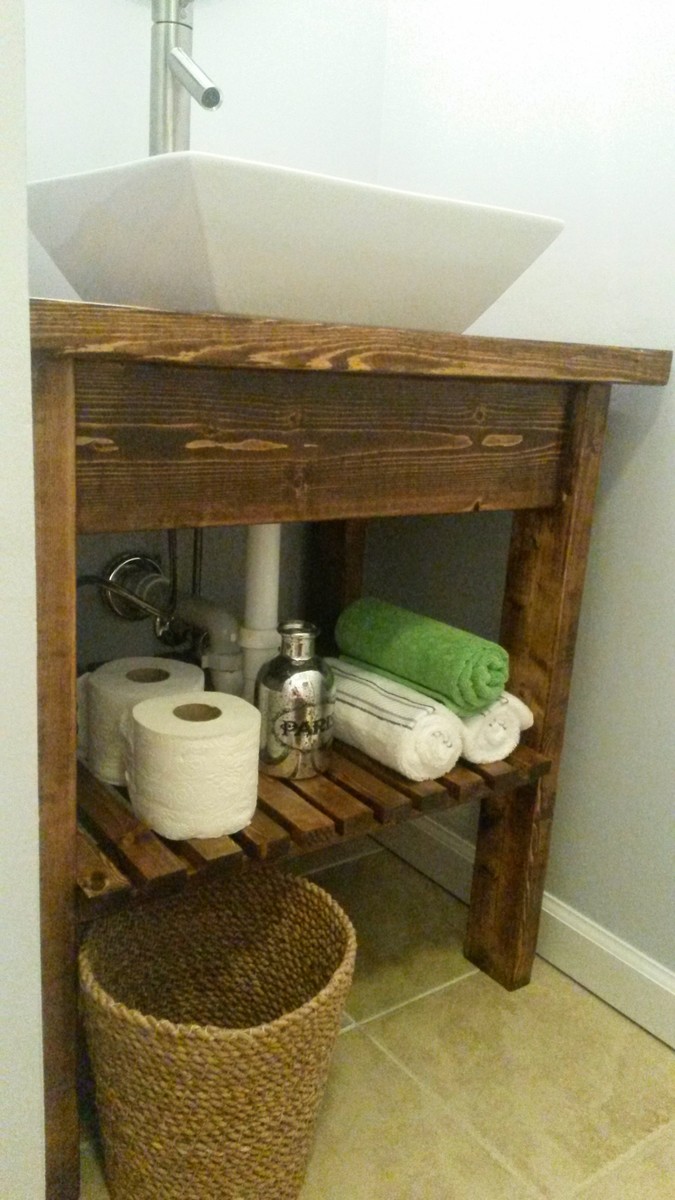
I've moved into a new "builder grade" house recently which, to me, translates to a litany of rooms to renovate, redecorate and reinvigorate! I try, like so many of you , to keep the costs down as much as possible on things by doing much of the work myself. So when shopping around for vanities, I was sorely disappointed to see a general lack of pizzazz in my price range. I was going for a "spa-retreat" look, with cool colors and rich wood tones. Then I saw Ana's plans for the "easy kitchen Island" and I new it was perfect! I scaled the whole project down to fit my 30" space. I kept the lumber sizes the same because it work better for me mathematically vs say, swapping out the counter 2x6's for 2x4's. If you are interested in using this plan (for whichever purpose) here are a few pointers that I picked up along the way that may be useful to you;
I finished the project prior to final assembly in three parts; the counter, the base, and the individual 1x2's that were destined to be shelving. I am extremely impatient with finishing, so I knew I would mess it up if I had to be all dainty around the slats, etc.
I also made a few extra slats so I could choose the best looking ones (and procrastinate the spacing decision).
I usually find whatever is around to use as a spacer, but in this case, nothing worked, so I wound up cutting a bunch of them out of scrap 1x2. I then was able to positing many of them at once (limited only by the number of clamps I had handy) and then flip the whole thing to screw them in place. I predrilled/countersunk because Kreg screws are expensive and hard to come by where I live.
That's all I can think of for now, hit me with questions if you have any! Cheers!
Built from Plan(s)
Estimated Cost
$50-75
Estimated Time Investment
Weekend Project (10-20 Hours)
Finish Used
Minwax Wood Conditioner
Rustoleum Dark Walnut stain (one coat)
Minwax Spar Urethane (3 coats)
Rustoleum Dark Walnut stain (one coat)
Minwax Spar Urethane (3 coats)
Recommended Skill Level
Intermediate
Comments
Smaller Version finished in colonial
I modified the table to be a little smaller for a space. it came out beautifully. Love this build as it allows for a very large yet stable table that allows for seating on the ends as well.
Built from Plan(s)
Estimated Time Investment
Weekend Project (10-20 Hours)
Finish Used
Minwax Colonial
Recommended Skill Level
Intermediate
Matching nightstands
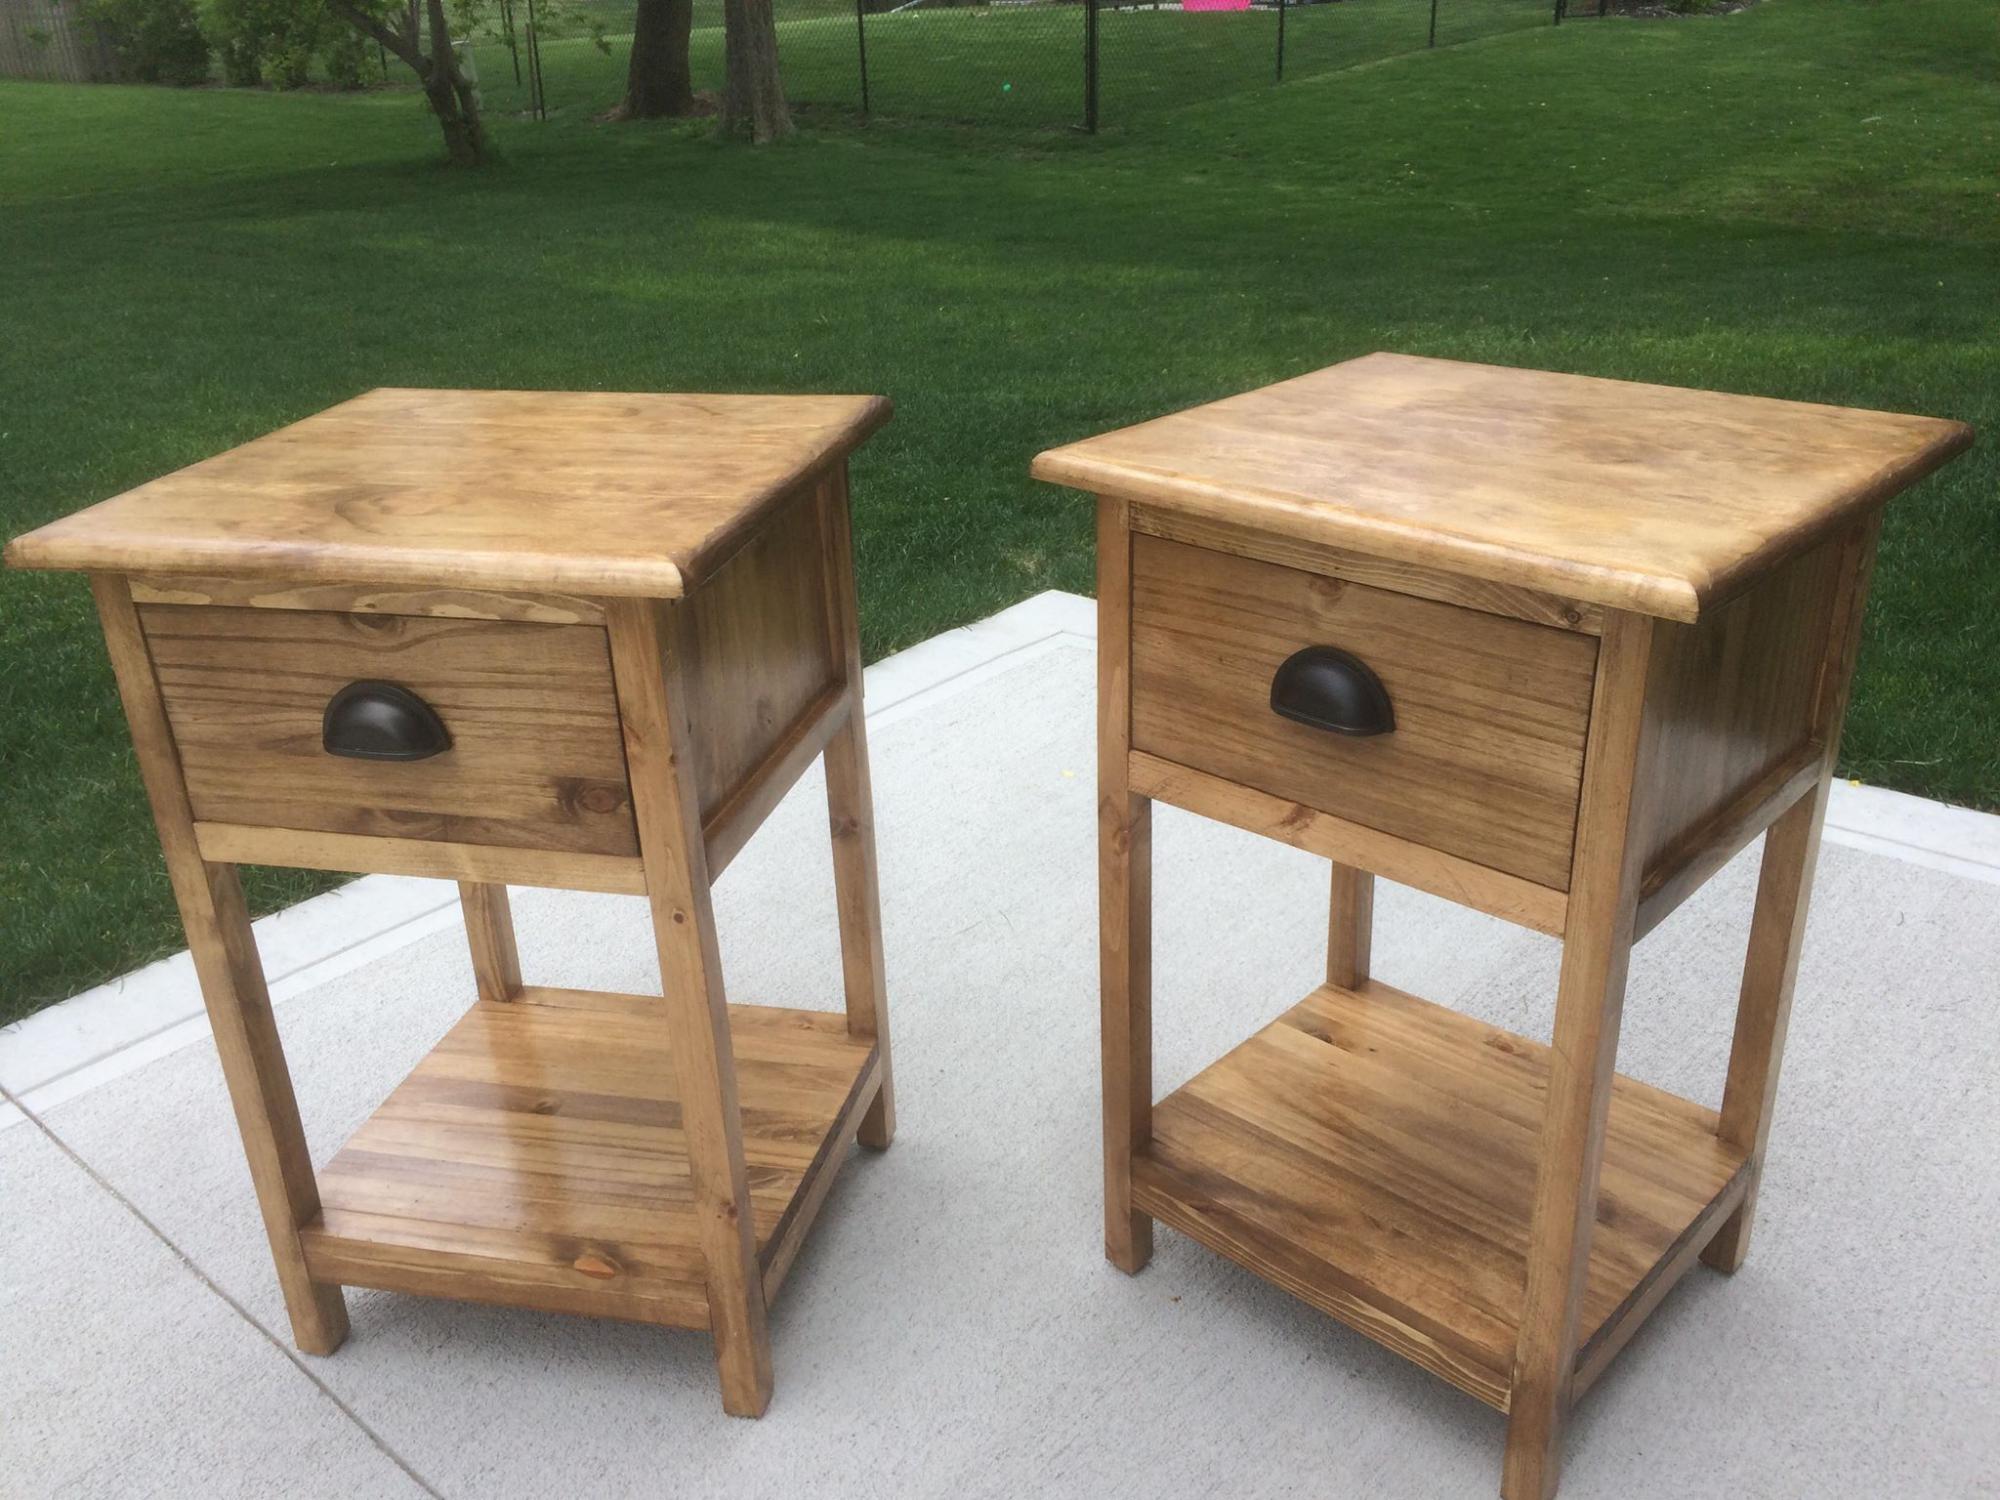
I had to rip the 2x2s for the legs and trim since they only had furring strips at the store. This messed up the rest of the measurements but ended up looking good in my opinion.
Built from Plan(s)
Estimated Cost
100$
Estimated Time Investment
Weekend Project (10-20 Hours)
Finish Used
early american (minwax) and then a satin polyurethane
Recommended Skill Level
Beginner
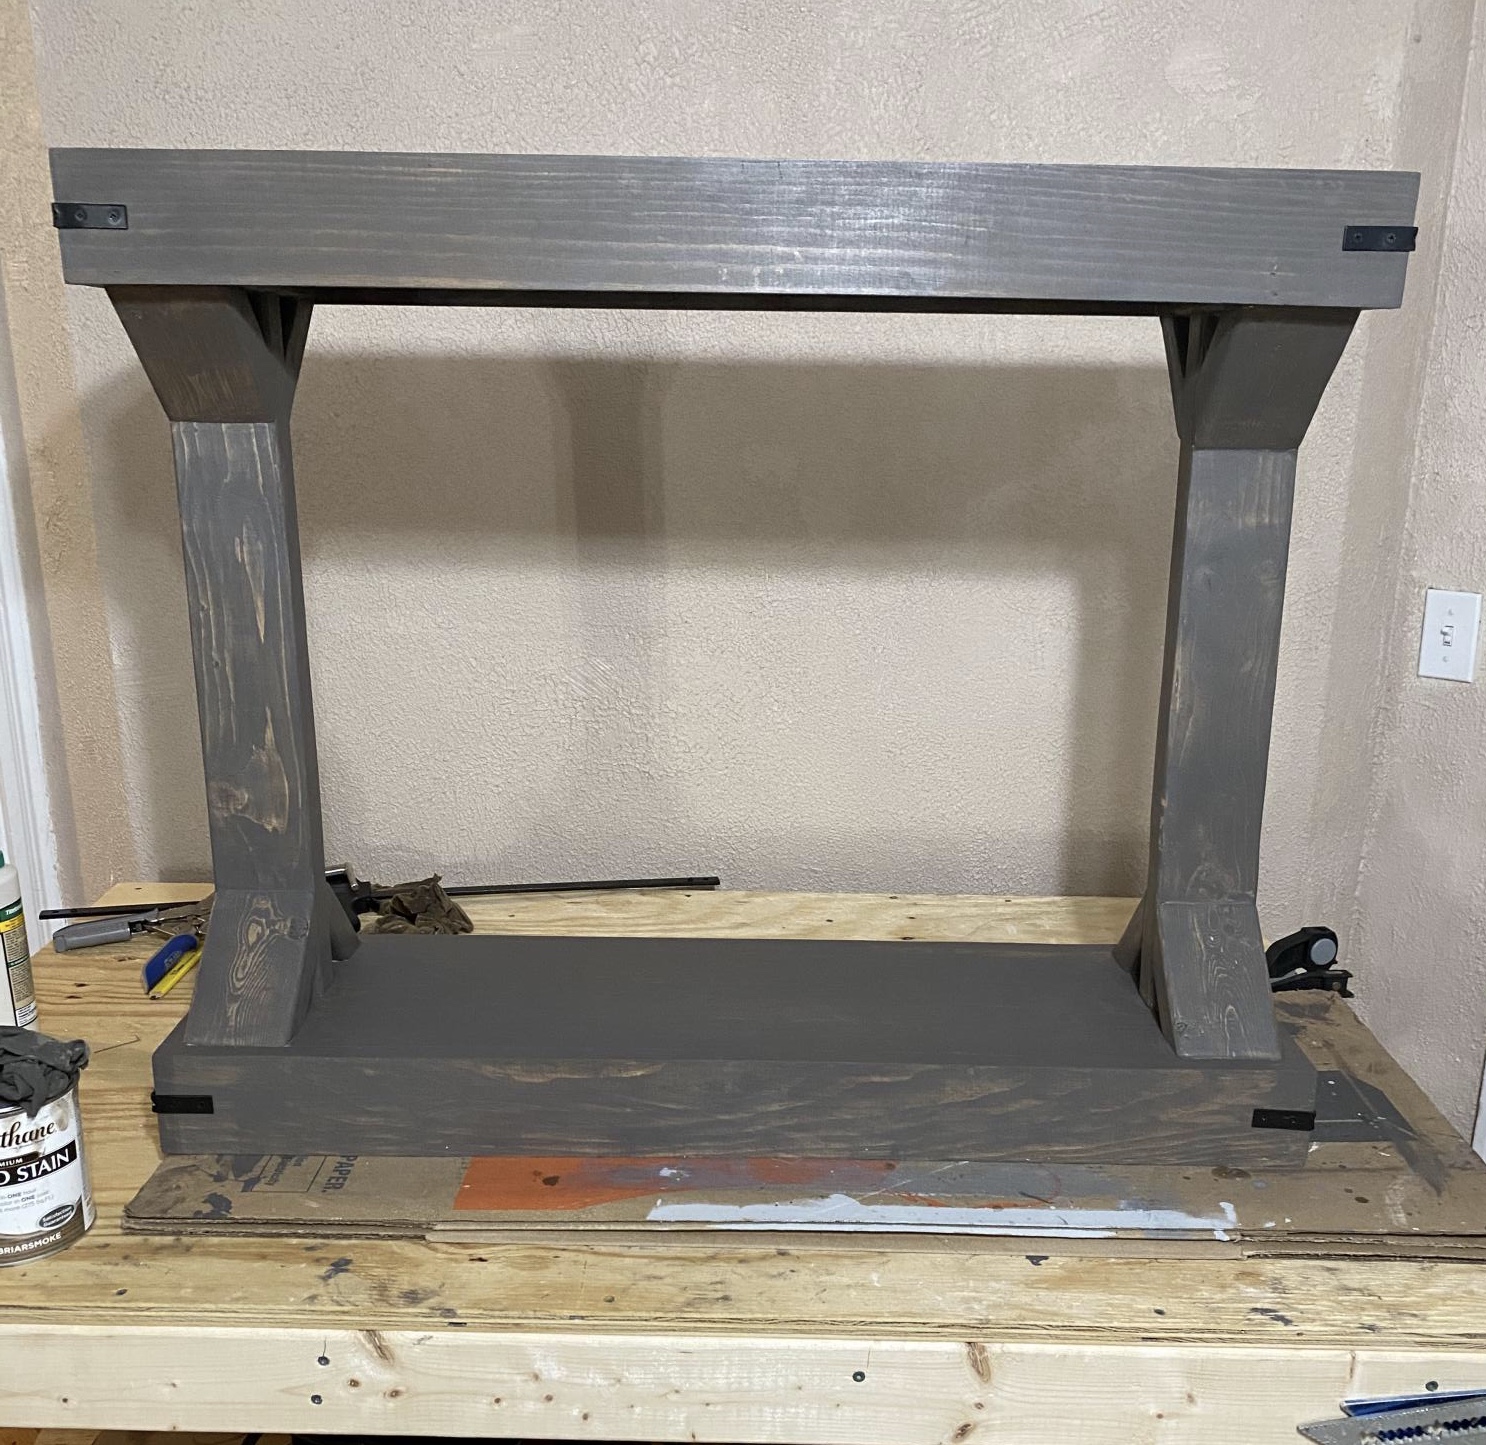
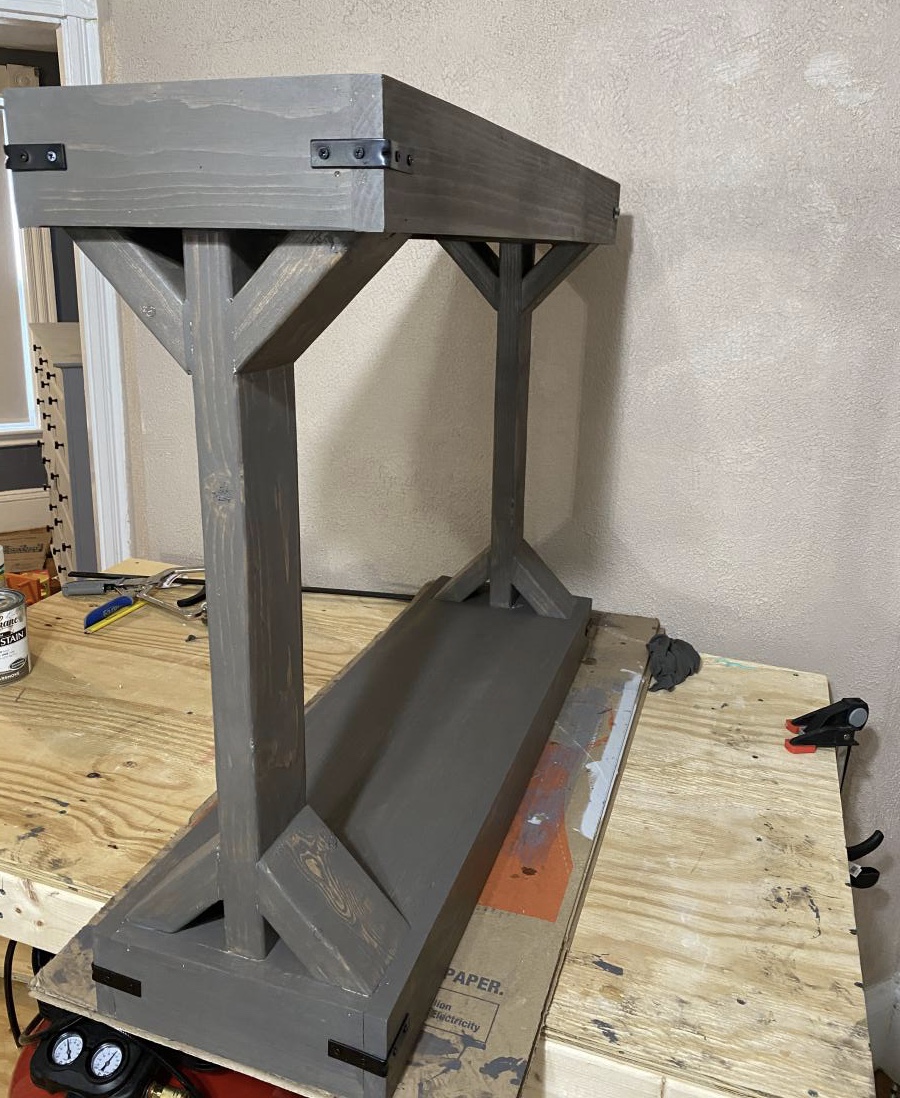
Modern Waterfall Console Table
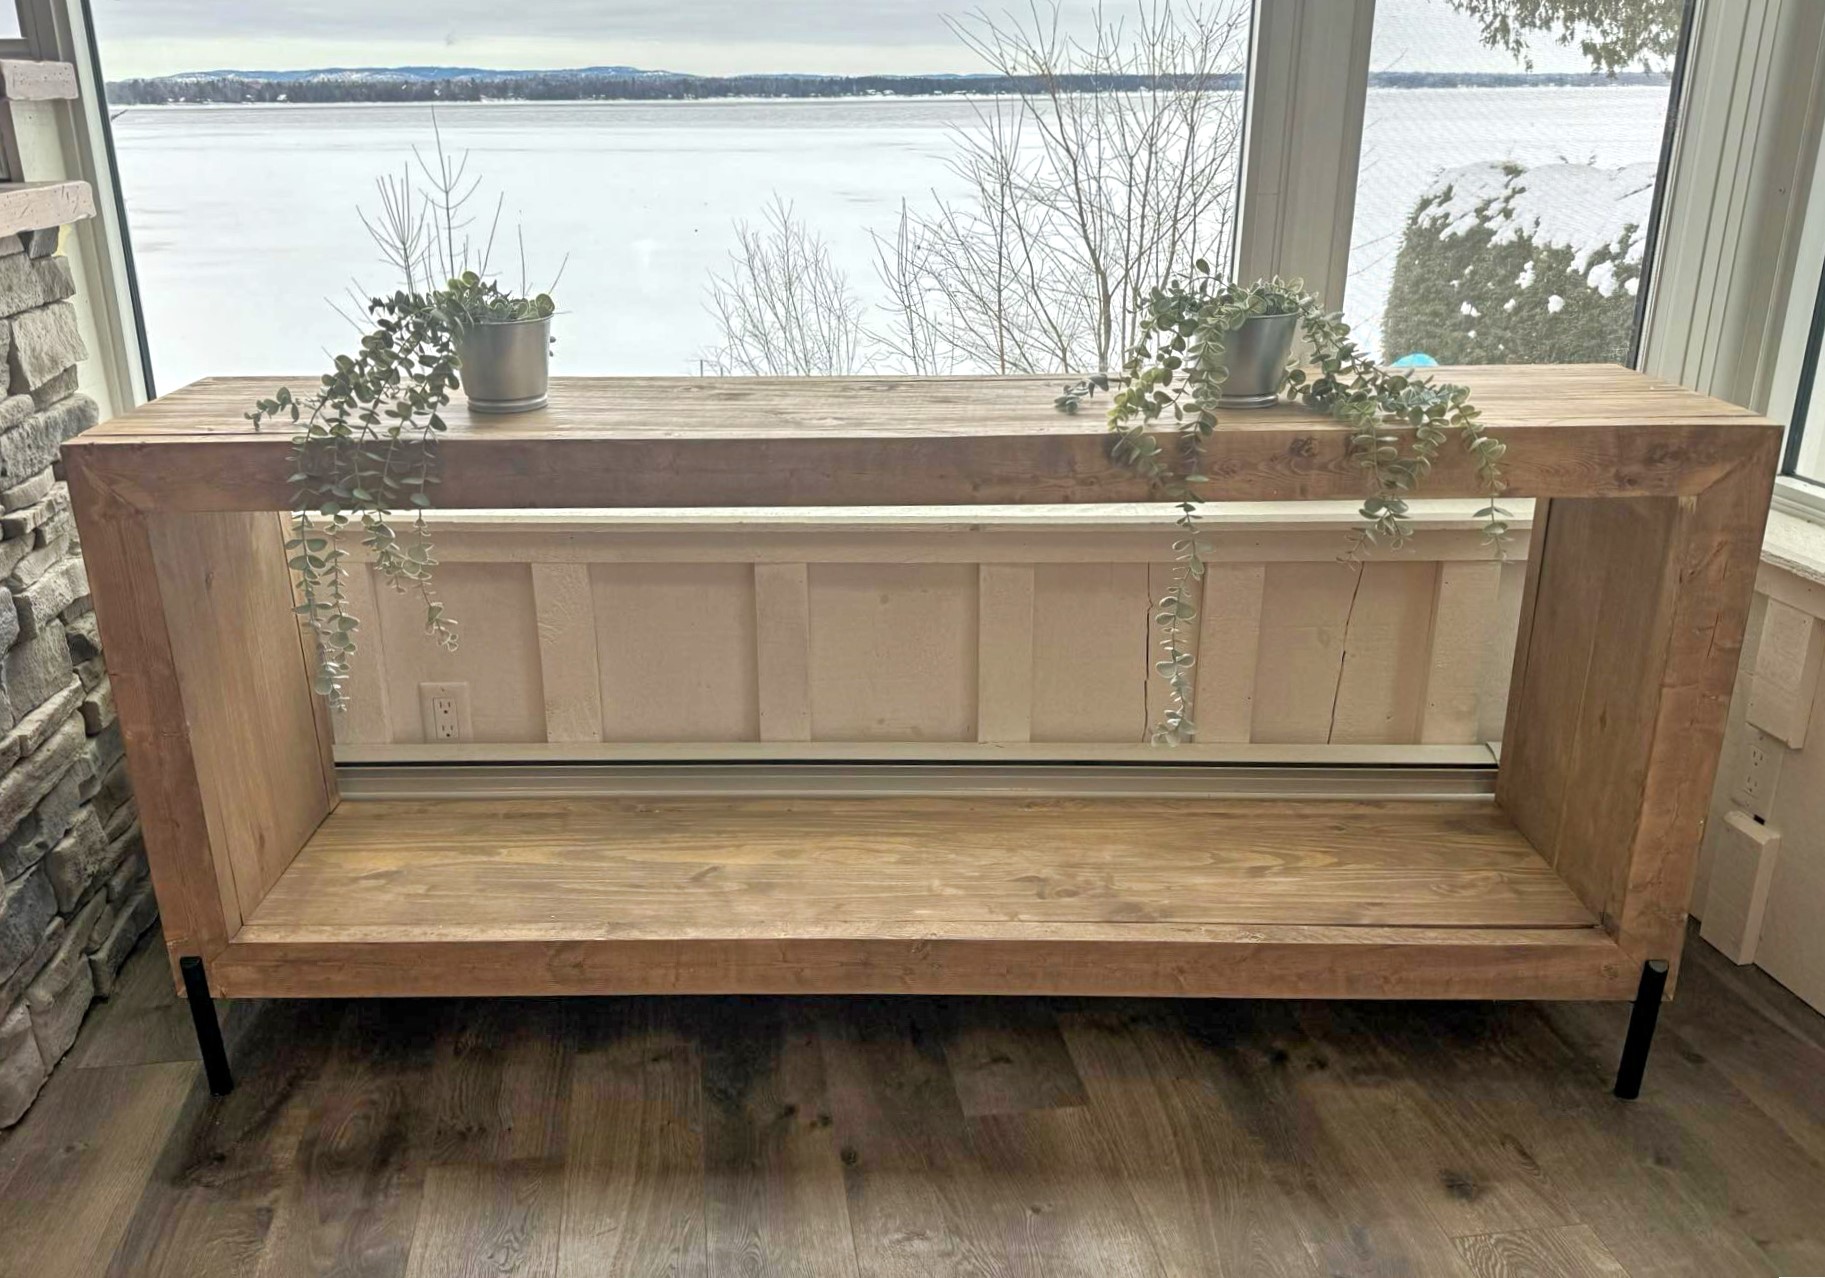
Waterfall console with industrial legs!
Built from Plan(s)
Birthday Seesaw

I decided to build this for my kids while they were at camp for a week this summer. It was easy and very inexpensive. They love it!
Estimated Cost
$30 (including paint)
Estimated Time Investment
An Hour or Two (0-2 Hours)
Finish Used
Valspar 12 Oz. Everglade Glen Satin Spray Paint
Recommended Skill Level
Beginner
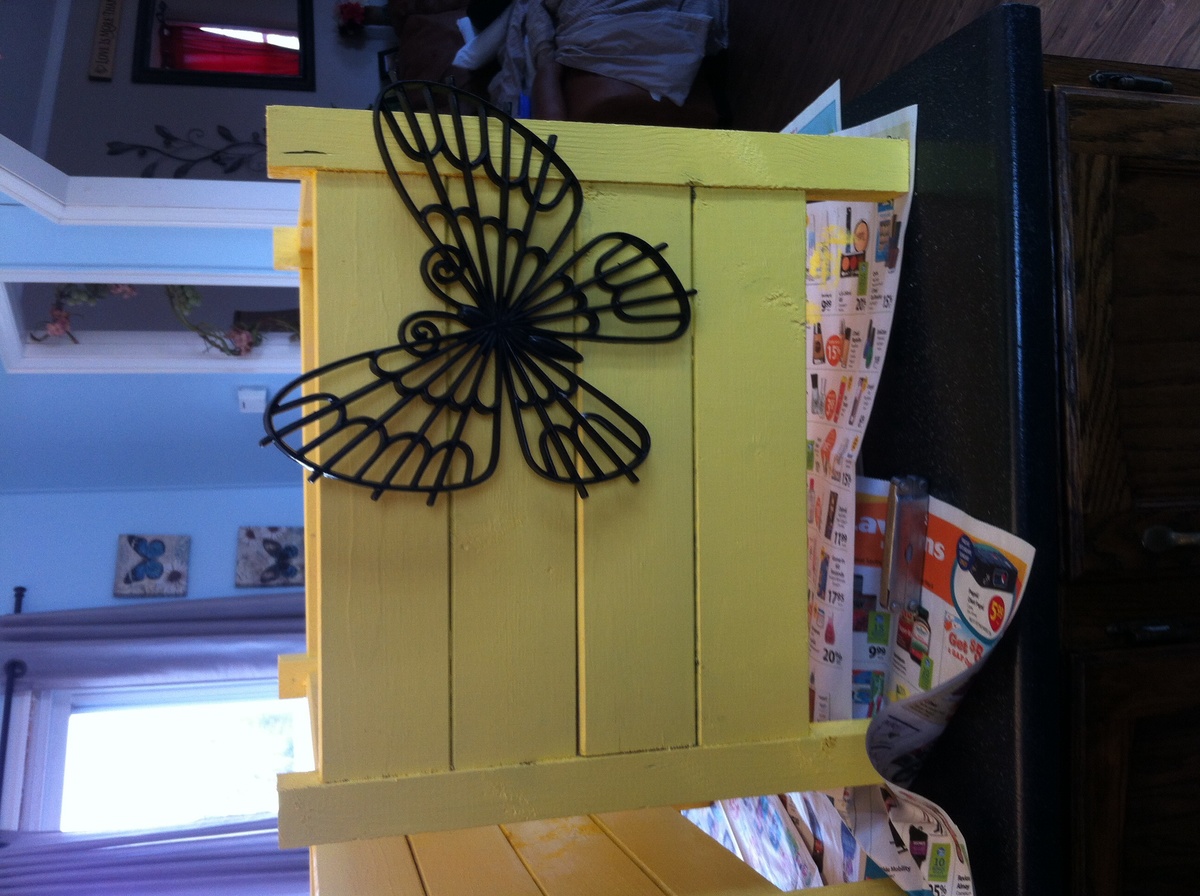
Planters
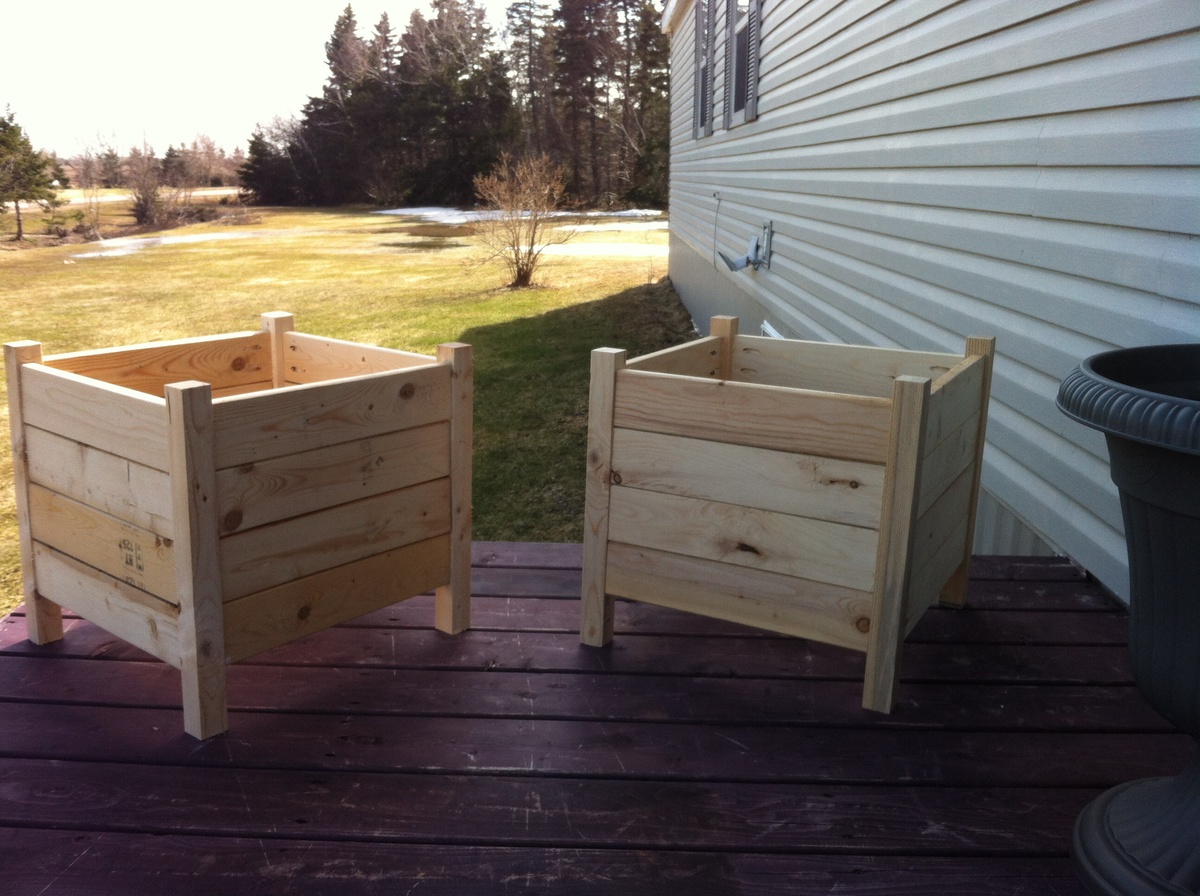
I loved this project! First time I got to use my kreg jig!! Which I would recommend to any builder. Took me a few hours. Not sure how I'm going to finish them yet!
Built from Plan(s)
Estimated Cost
$20 for both. I had some scraps left over from previous projects
Estimated Time Investment
An Hour or Two (0-2 Hours)
Finish Used
Haven't decided on Minwax walnut stain, or a yellow paint.
Recommended Skill Level
Starter Project
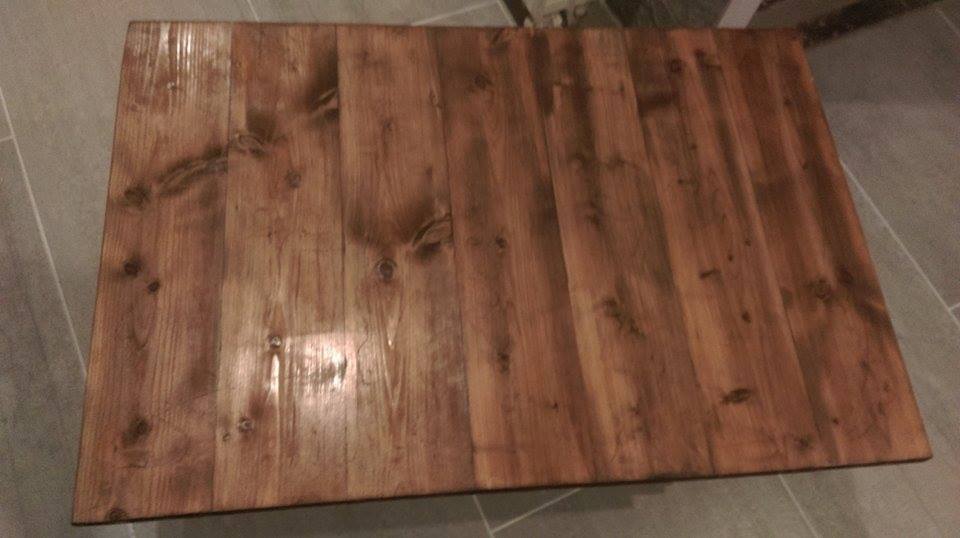
Coffee Table/ Rustic table
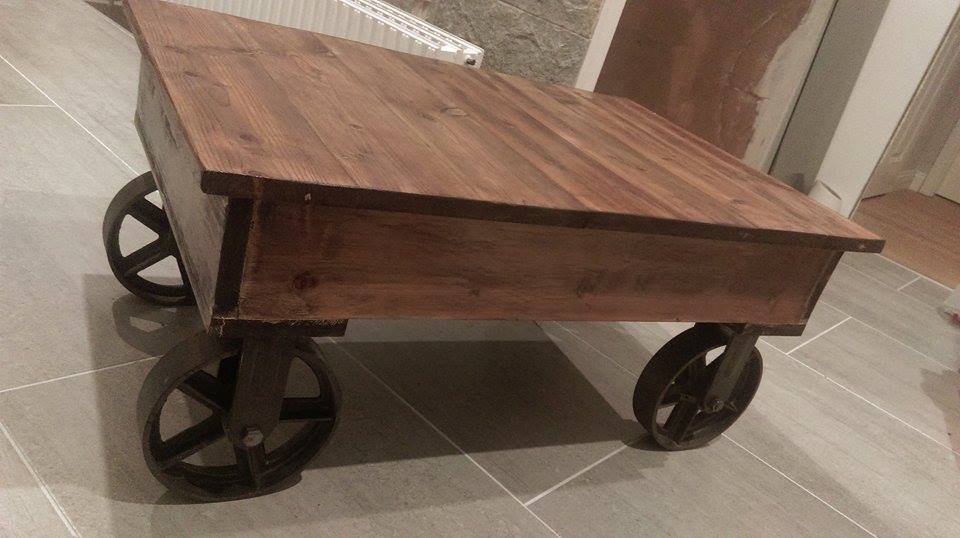
That was my first real handmade project after just reading and following Ana Whites story and her diy projects for a while.
I´m coming from Germany and it took quite a while to "translate" all the lumber measurements to the german equivalents, since we don´t have the same ones. So I just took the similar lumber sizes I could find in a hardware store (Baumarkt), all in all 23 € for pine lumber plus wheel casters for 30 € each, which was the most expensive part of the project. I modified the size of the table as well and am very proud to present you my first project: my very first industrial coffee table for the home office.
I made the stain myself, by the way!
Here is the summary:
- one layer of black strong coffee (3 table spoons + 500 ml hotwater)
- 2-3 layers of steel + vinegar solution (sanding a bit inbeween)
- 2-3 layers of spar varnish (sanding a bit inbetween)
Hope you like it;) and thanks a lot to Ana White for being so creative and delivering loads of beautiful diy projects for woodwork lovers all over the world!
Looking forward to my next project!!!
Built from Plan(s)
Estimated Cost
aprox 160 €
Estimated Time Investment
Weekend Project (10-20 Hours)
Finish Used
stain + spar varnish
Recommended Skill Level
Beginner
Comments
dianna
Wed, 07/04/2012 - 18:00
nanafromnowata
This looks like the what I need for my craft room.