Custom Potting Bench

Potting bench with a few modifications to fit our space.
Bill N
Built from Plan(s)
Potting bench with a few modifications to fit our space.
Bill N

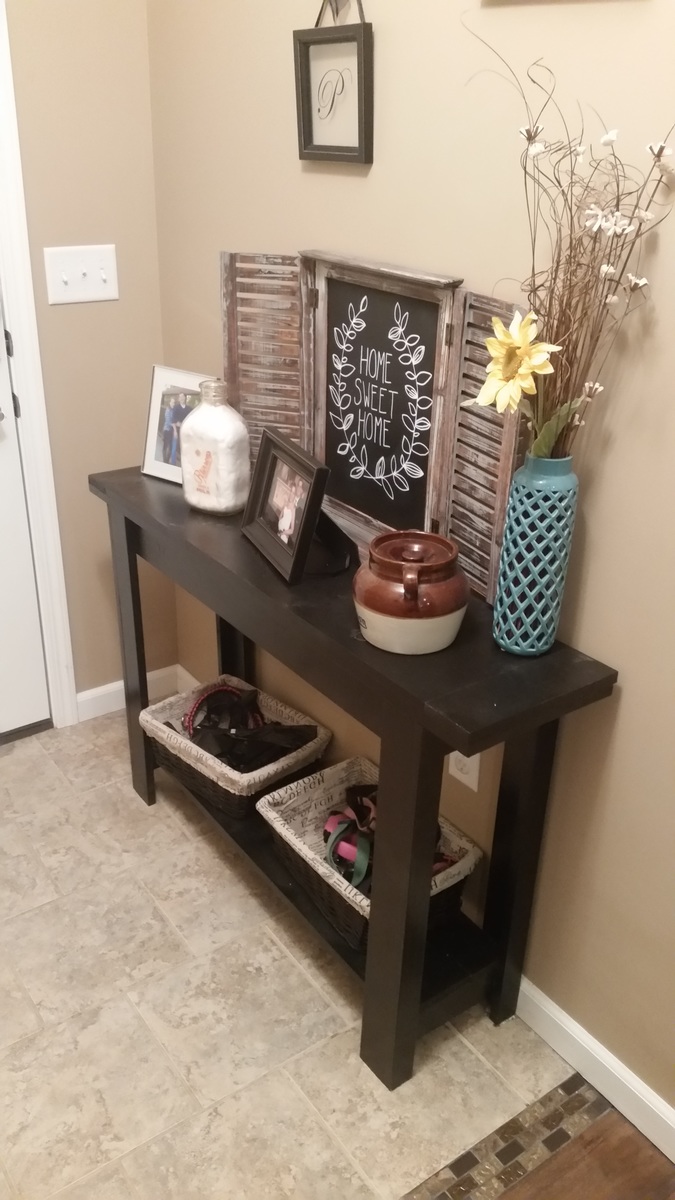
I saw hilarylouise do this and really loved it. It was taken from the cubby storage collection and it 3 bases with drawers put together. I also copied her painting the inside of the drawers different colors. I love that! It is super easy toy storage so not every room in my house looks like a playroom. I could use some practice sewing cushion covers though.


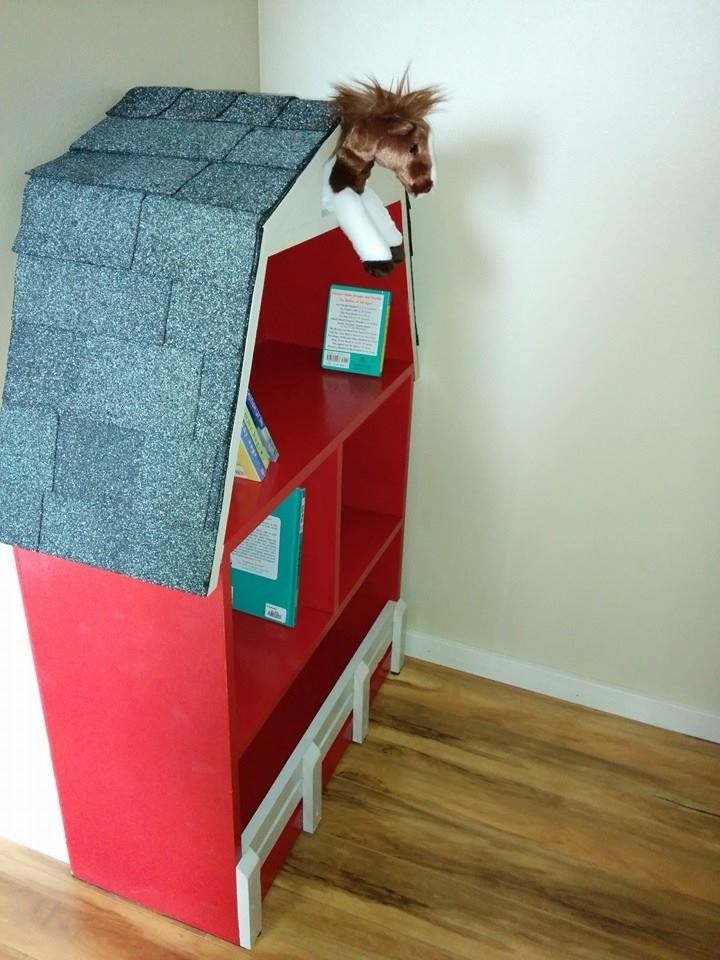
For our baby girl's cowgirl nursery, my husband and I wanted to build all the furniture. Only the crib and night stand to go.
We built the barn bookshelf for the fact that it was a perfect addition to any cowgirl room. It was a relatively simple build with the finishing taking the longest amount of time.

Sun, 06/29/2014 - 20:53
What a beautiful bookshelf! I'm a couple weeks away from completing my 1 & 3 year olds' John Deere themed bedroom and have been looking for a shelf for their tractors. This is the perfect! Thank you for your awesome idea and good luck with the the rest of your nursery builds!
In reply to So creative and an amazing job! by Veronica P
Tue, 07/01/2014 - 17:42
Thanks for the encouragement! We have enjoyed building but sometimes feel like we bit off more than we can chew with all the nursery and the closing deadline. :-) hearing positive feedback is encouraging.
Tue, 07/01/2014 - 19:06
I'm due in August with baby boy #3 and promised his big brothers a John Deere themed room including a tractor bunk bed, toy storage, closet and stepstool before the little guy arrives. What was I thinking? But I'm just a week or so away from completion. I'm sure you'll make it in time as well and if your finished pieces are any indication of what her nursery will be like, Teyla will be a lucky little girl!
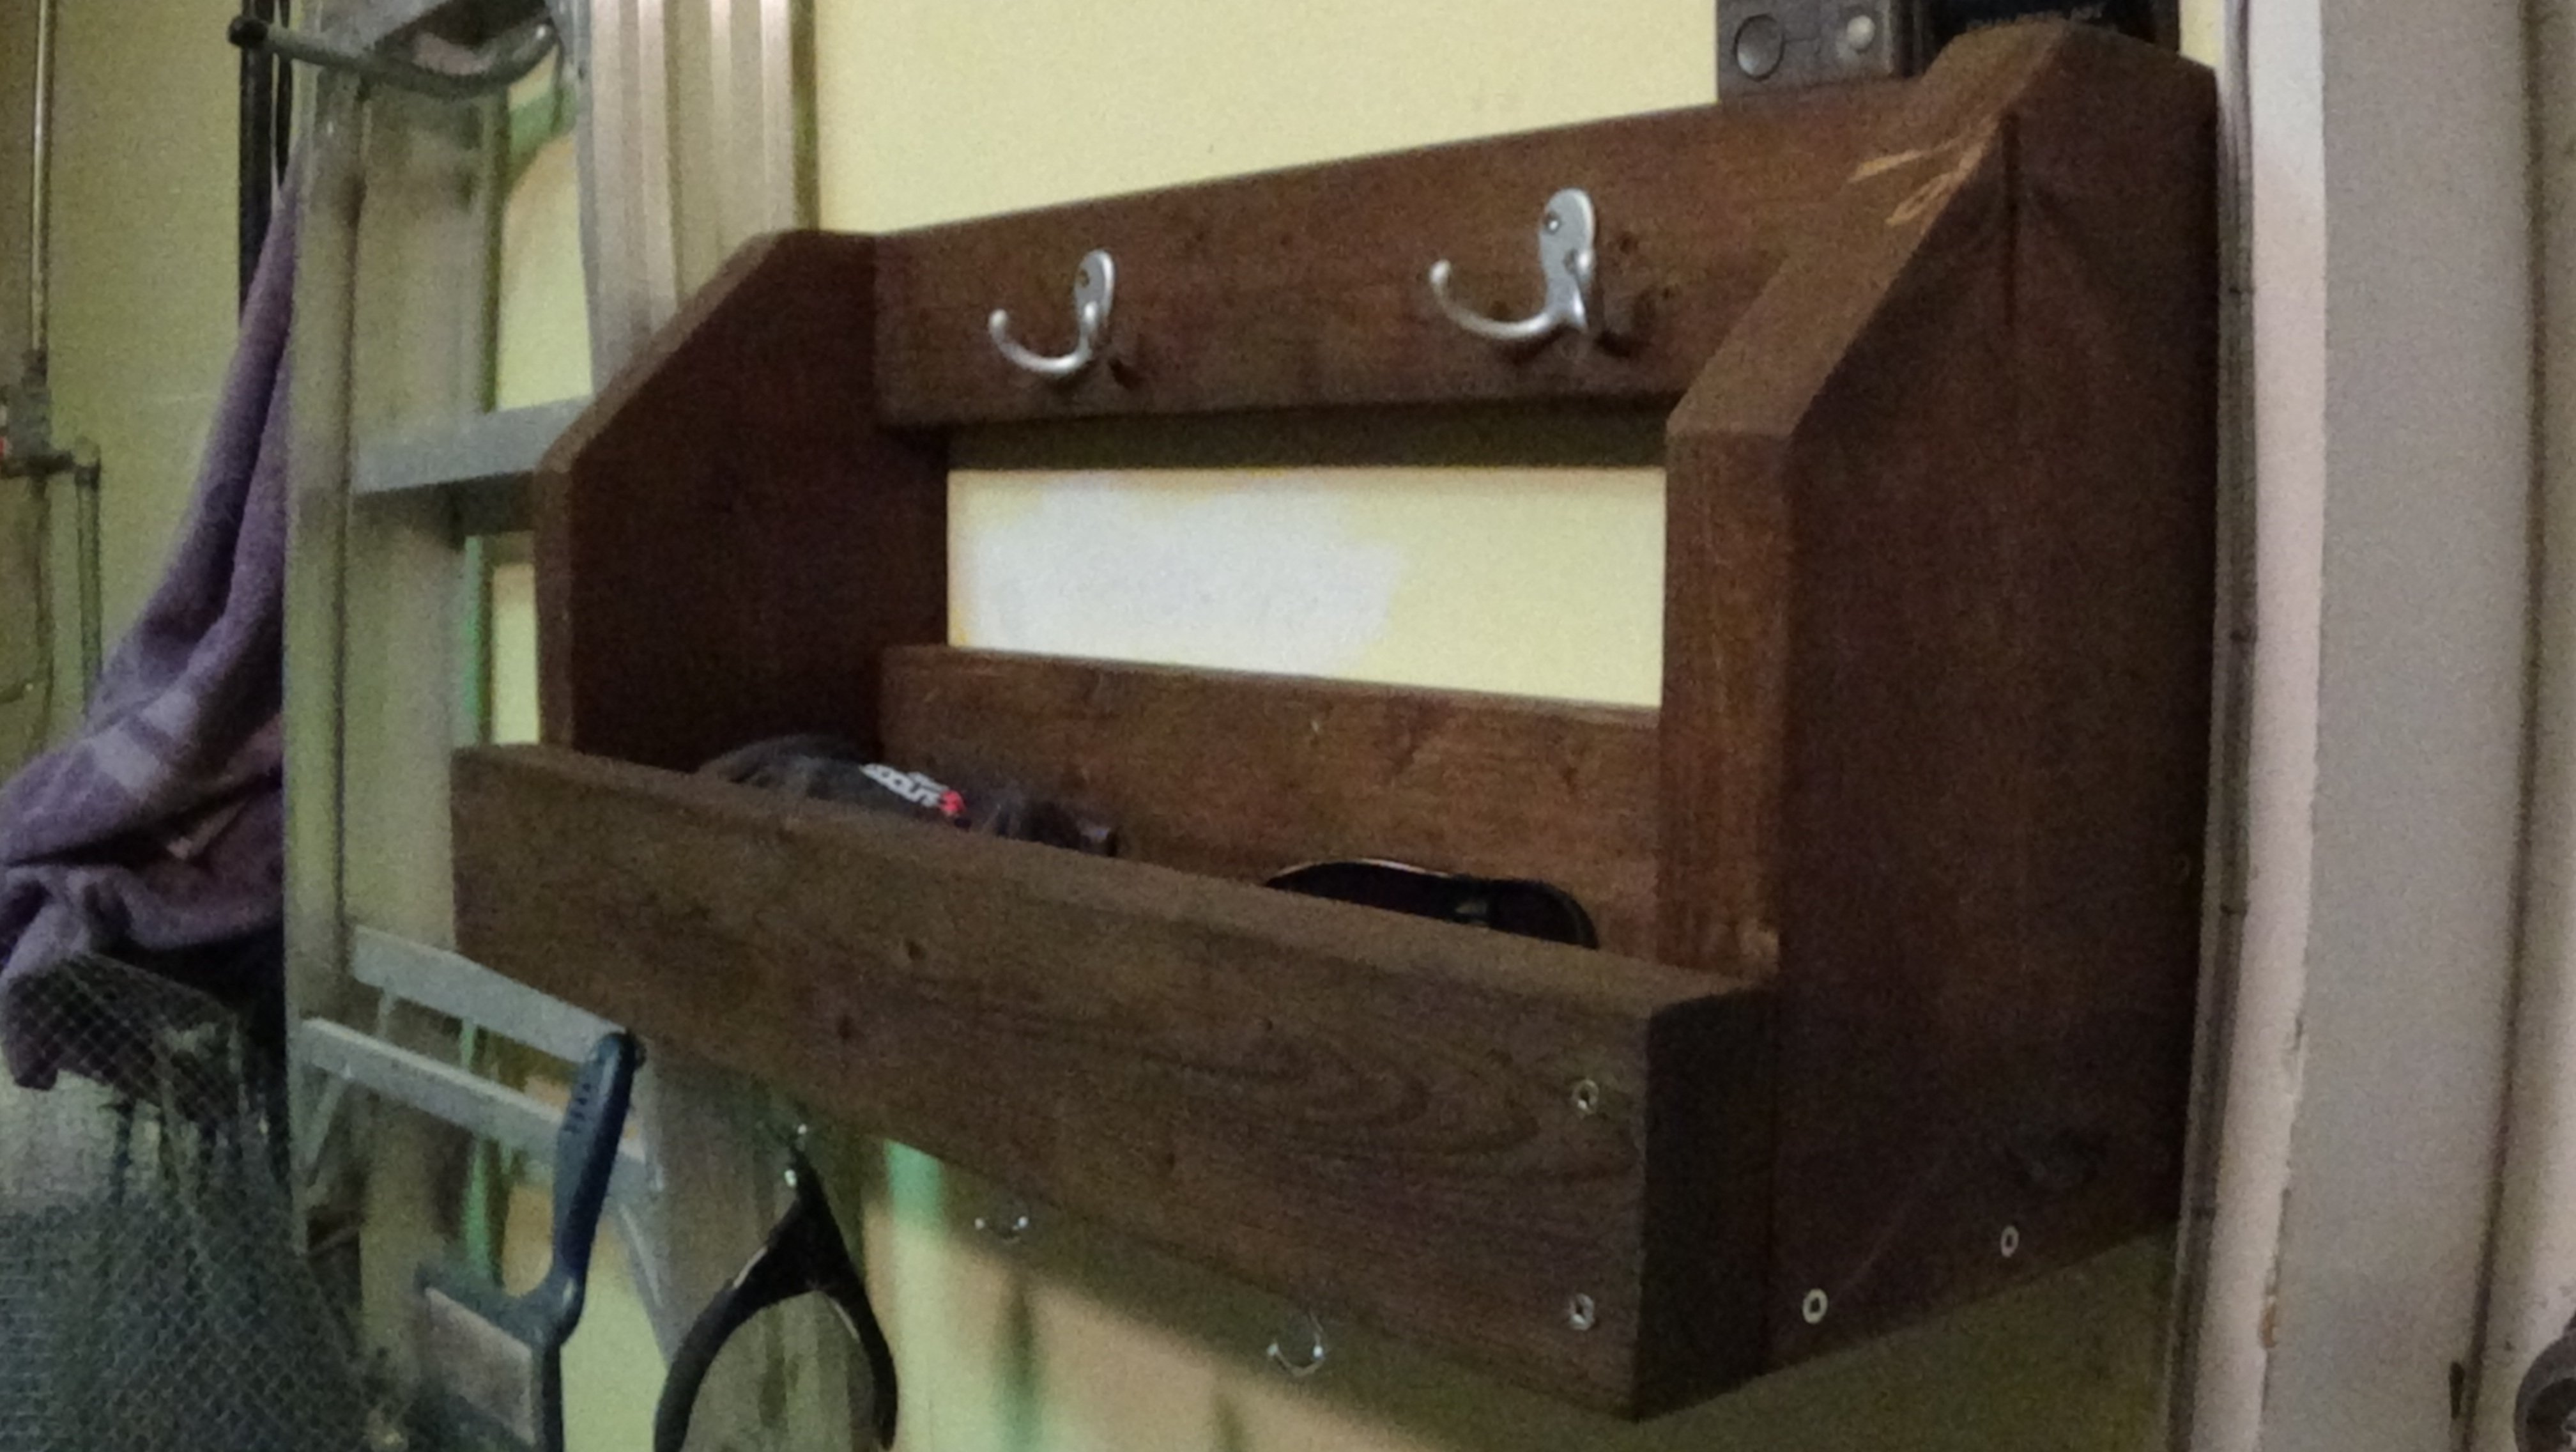
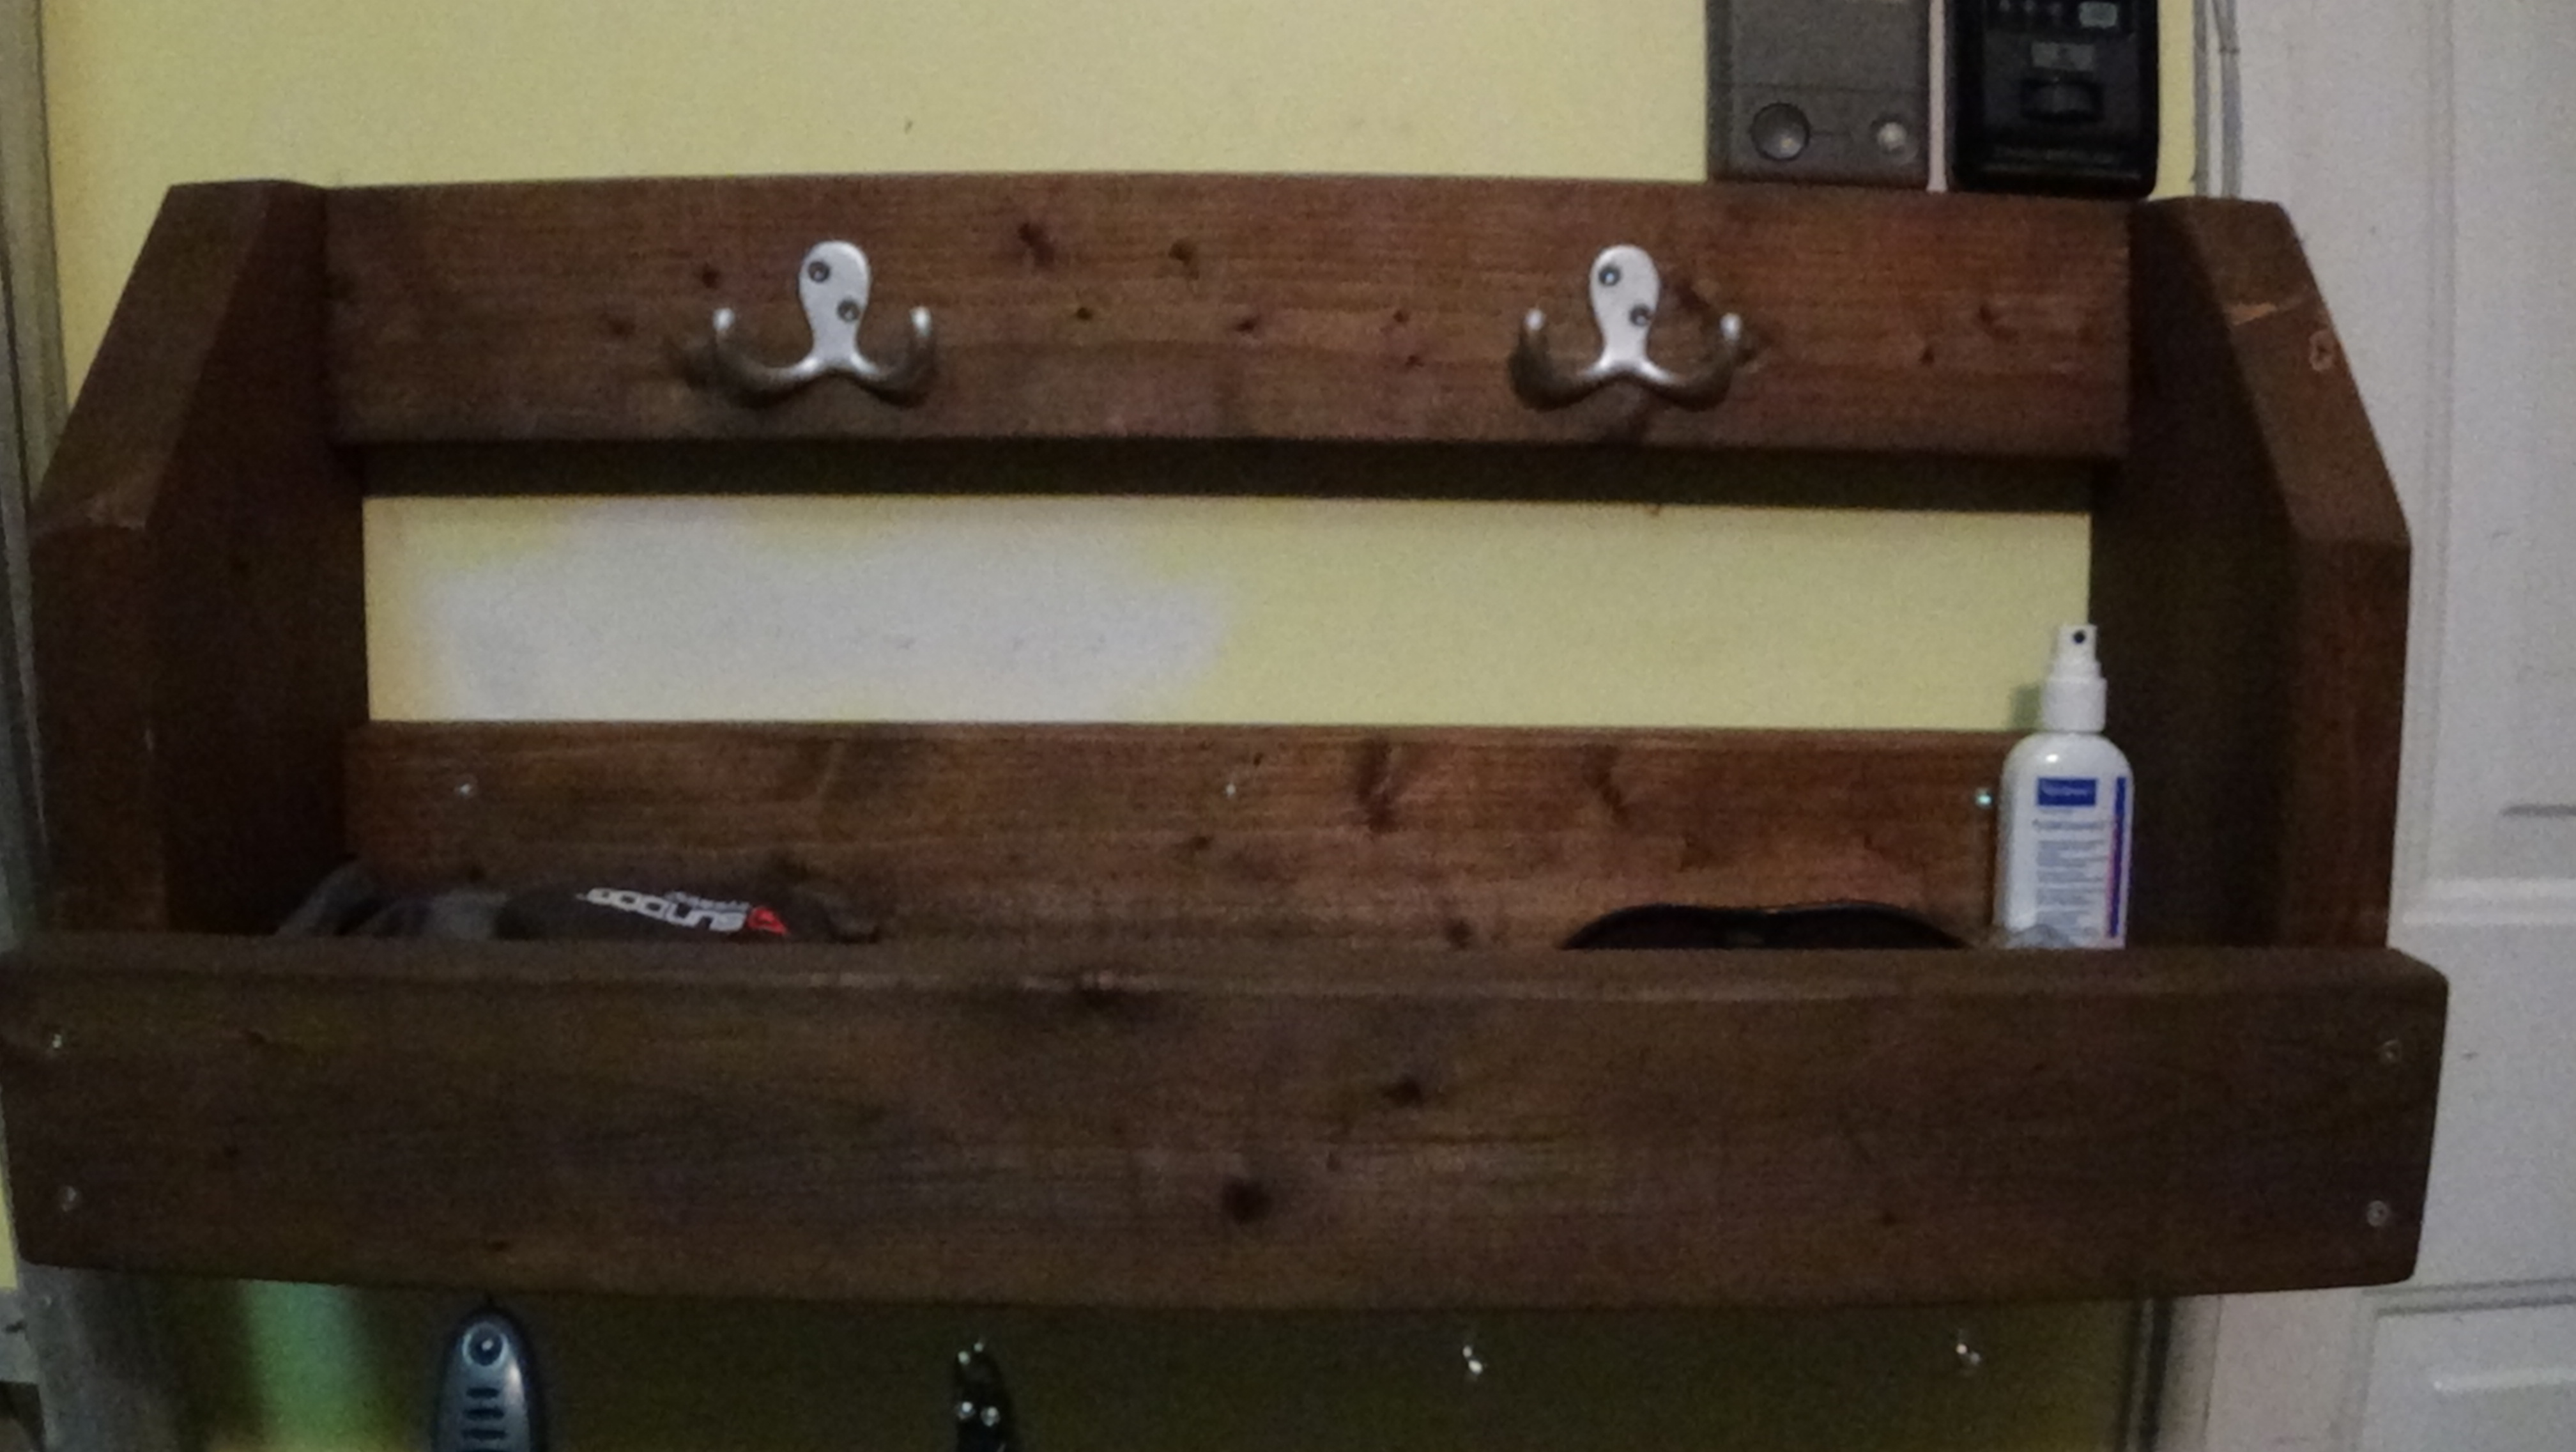
It's a little twist on Ana's Coat organizer. Turned out really useful and did not cost me anything since I ussed scrap wood. I wish I would build have built one for coats as well.

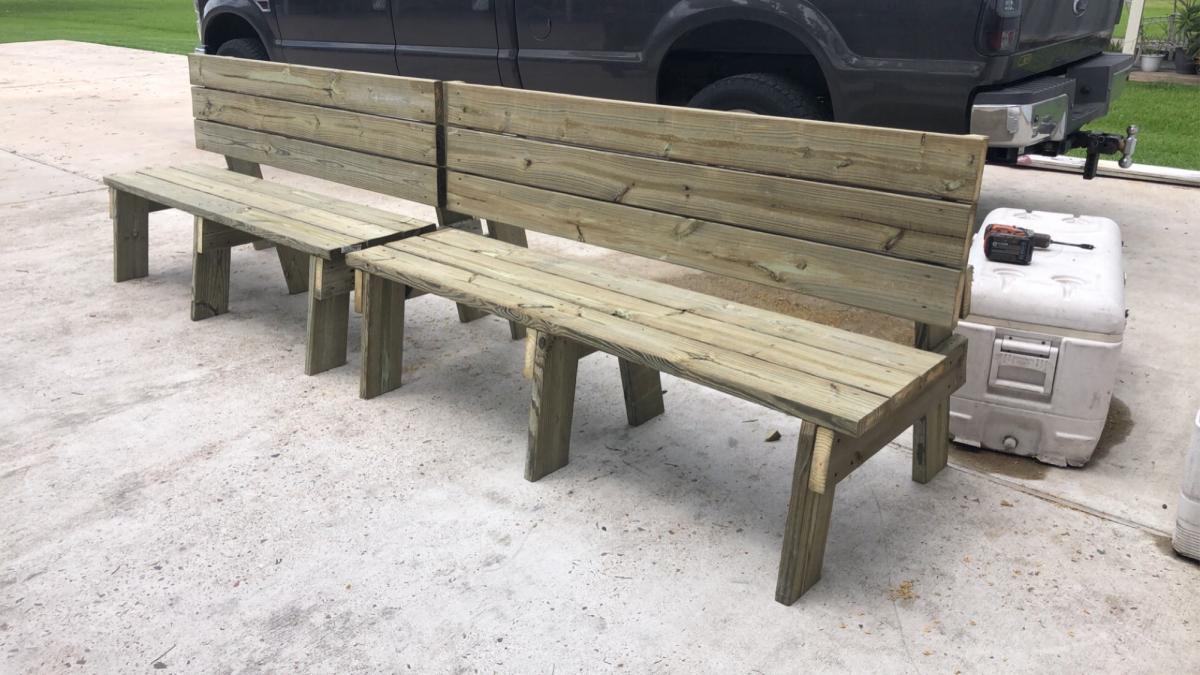
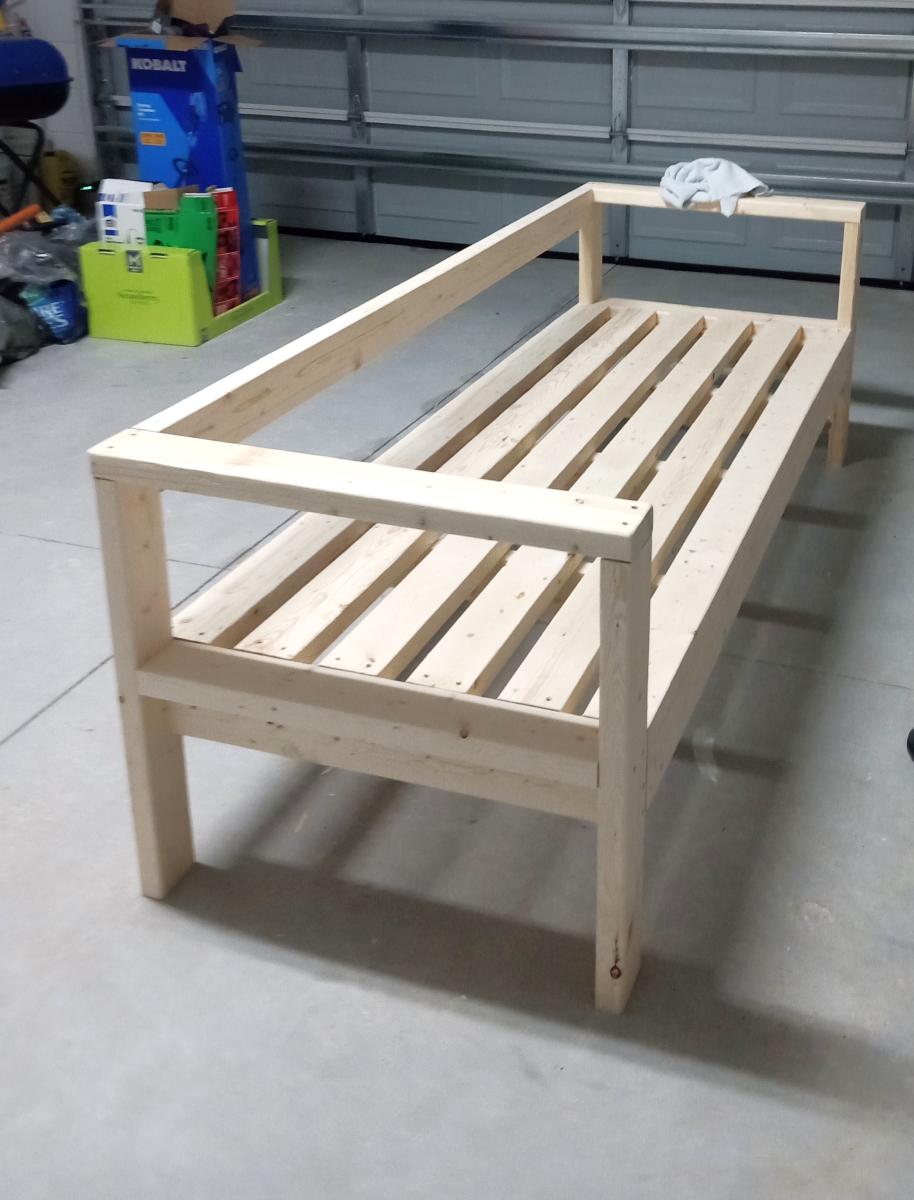
Just modified the length of the 2x4 Truss Bench, to fit in the space.


I love our living room in our new house, but this media niche that was created for the 90's tube TVs has been an eyesore. Next we hope to finish out this niche with a fun finished background and floating shelves.
I built the cabinet on the left in a cabinet-making class at a my local woodworking shop. I altered the Classic Storage Wall dimensions to fill in the rest.
Things I would do again: I left a couple inches of the backboard open for easy plug hiding. My build was made much faster with the Kreg jig and a borrowed nail gun. I added a kick plate to match my original cabinet and give it more of a built-in feel.
Things I would change for next time: Instead of spray base and finish, I would use regular paint for better consistency. I'm not sure how much I saved using MDF, but I'd prefer a sturdier material for this heavy of a piece. I need to adjust my cabinet doors still. I still plan on adding shelves inside of the cabinet door sections.

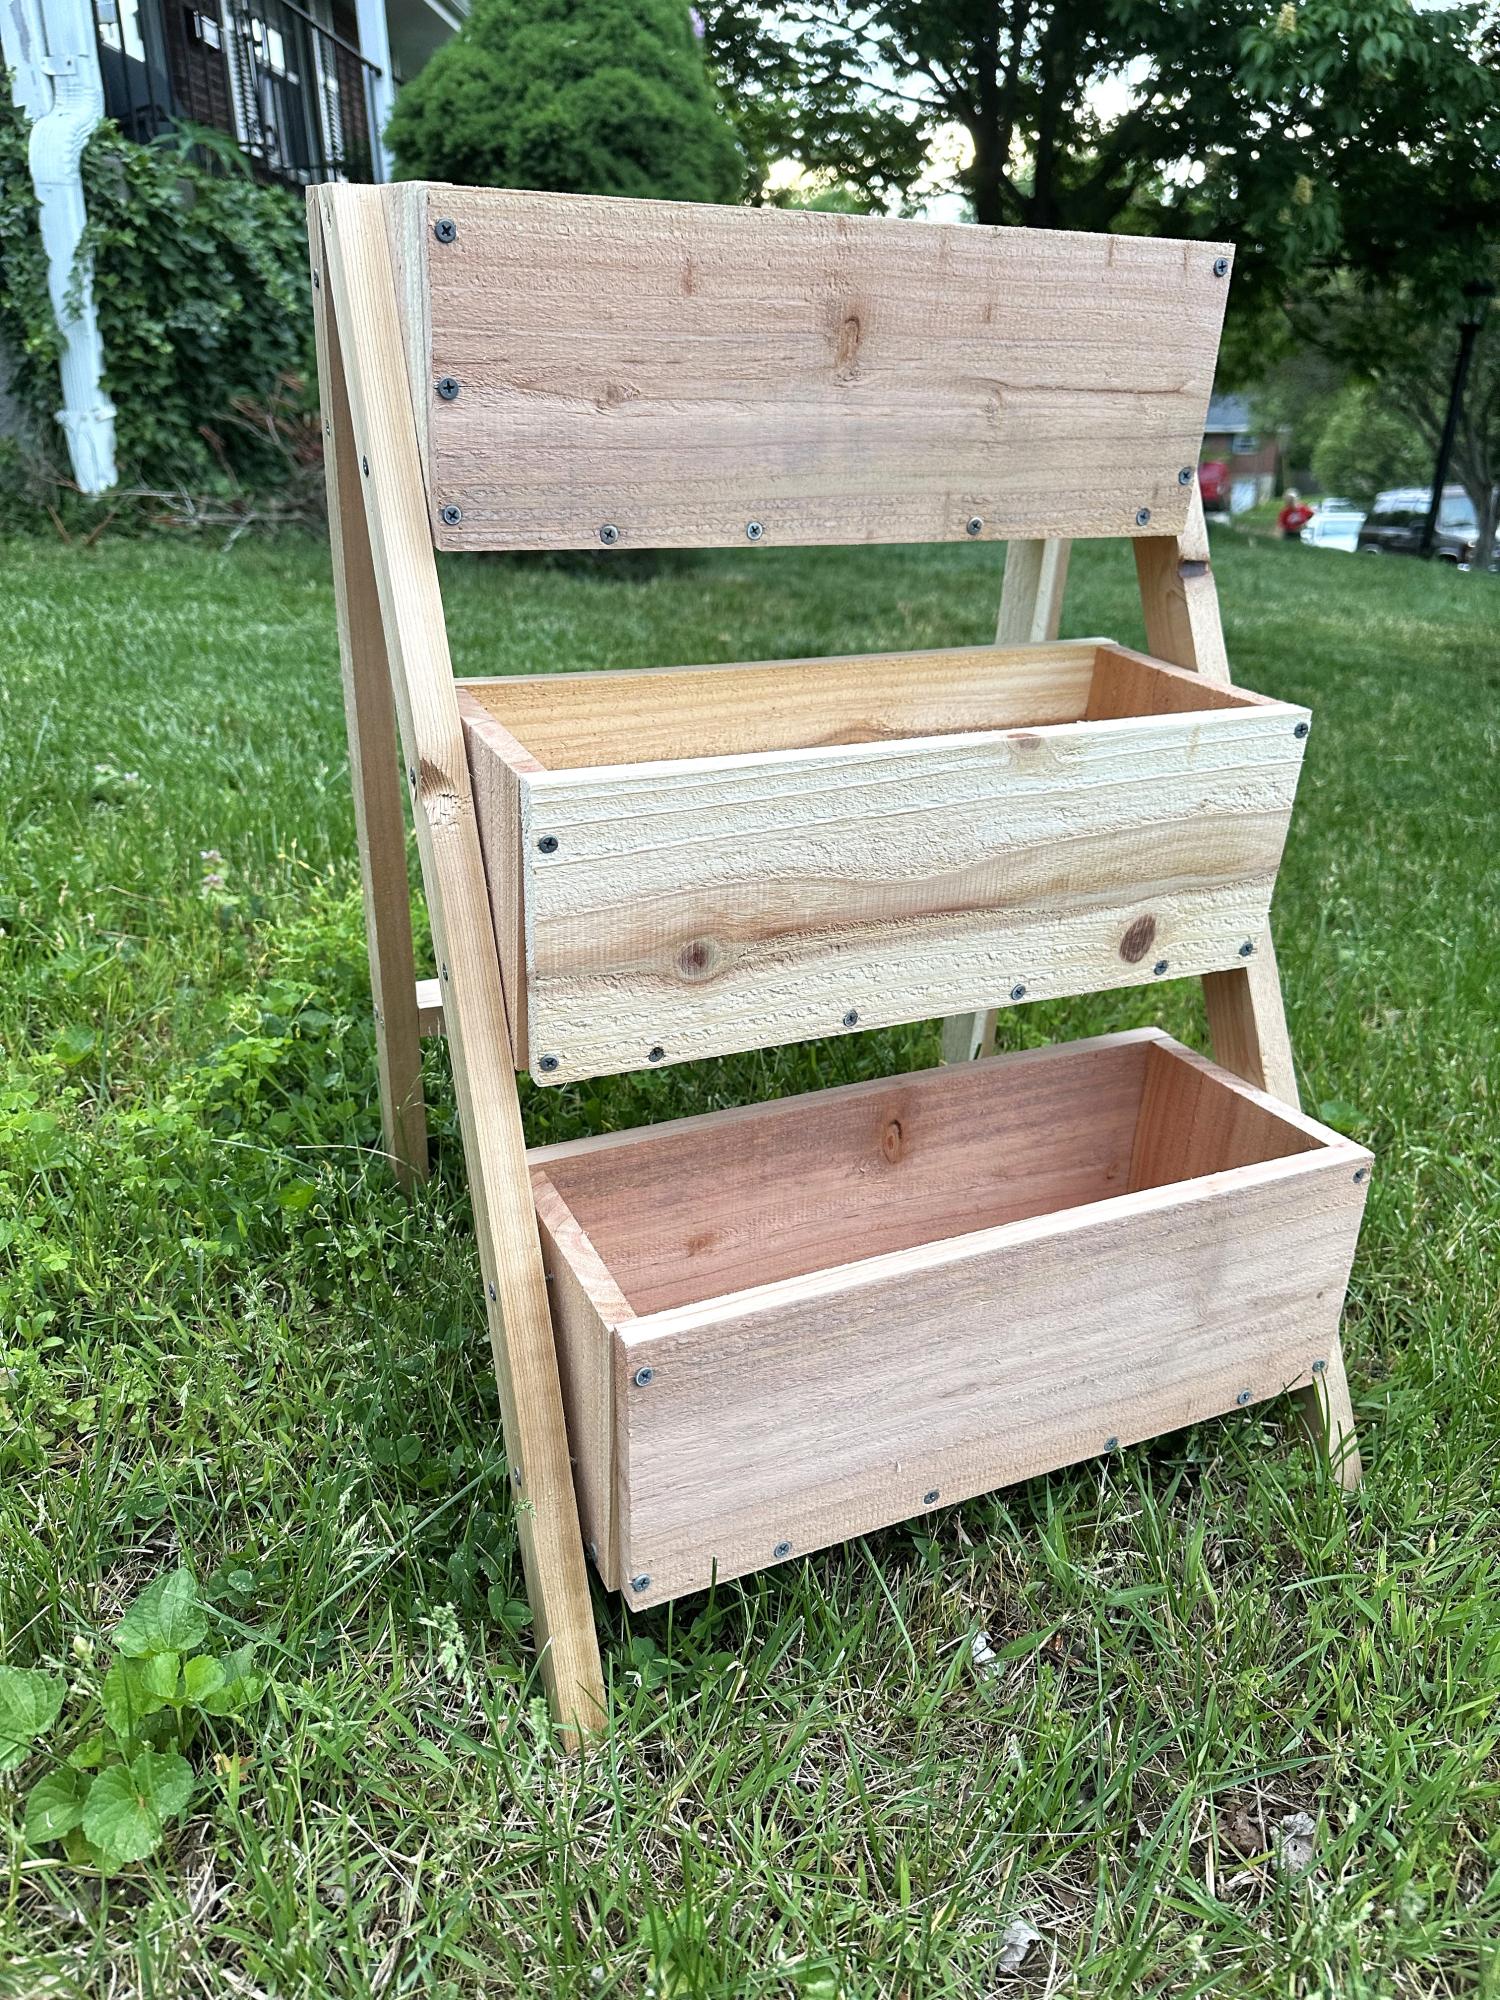
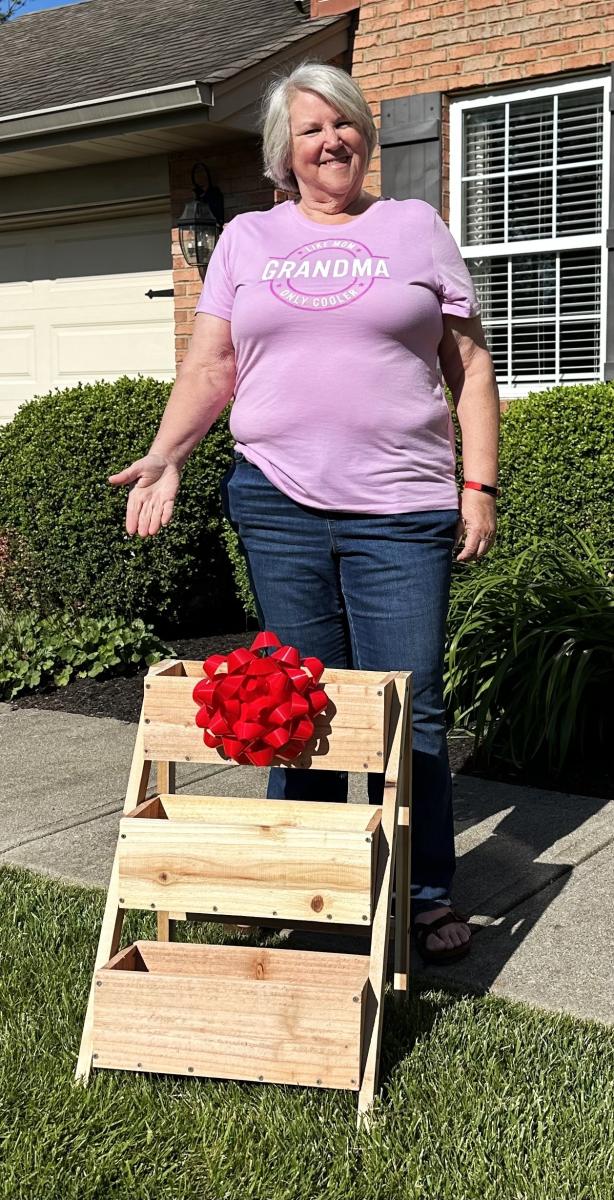
This was a starter project, it was easy and fun to make. I think I turned out great for a beginner wood worker.


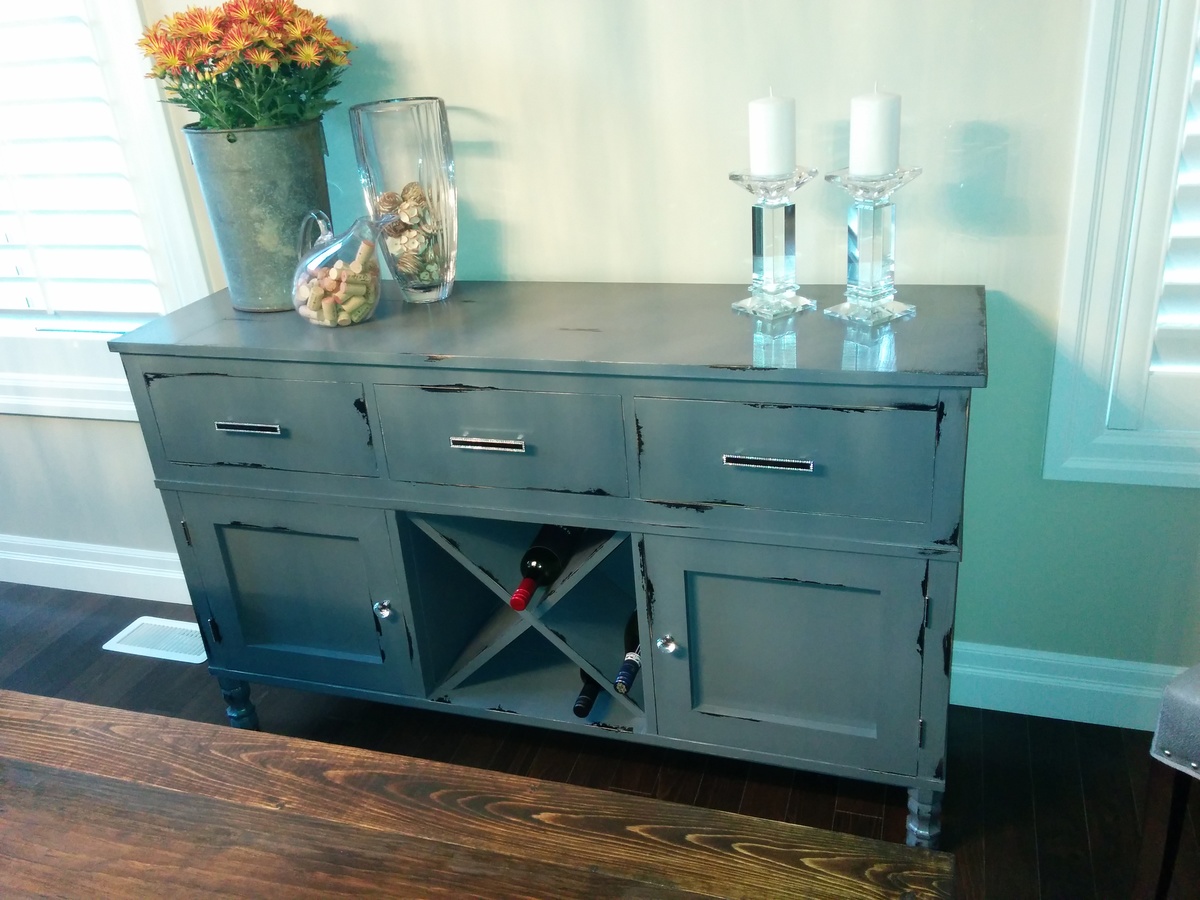
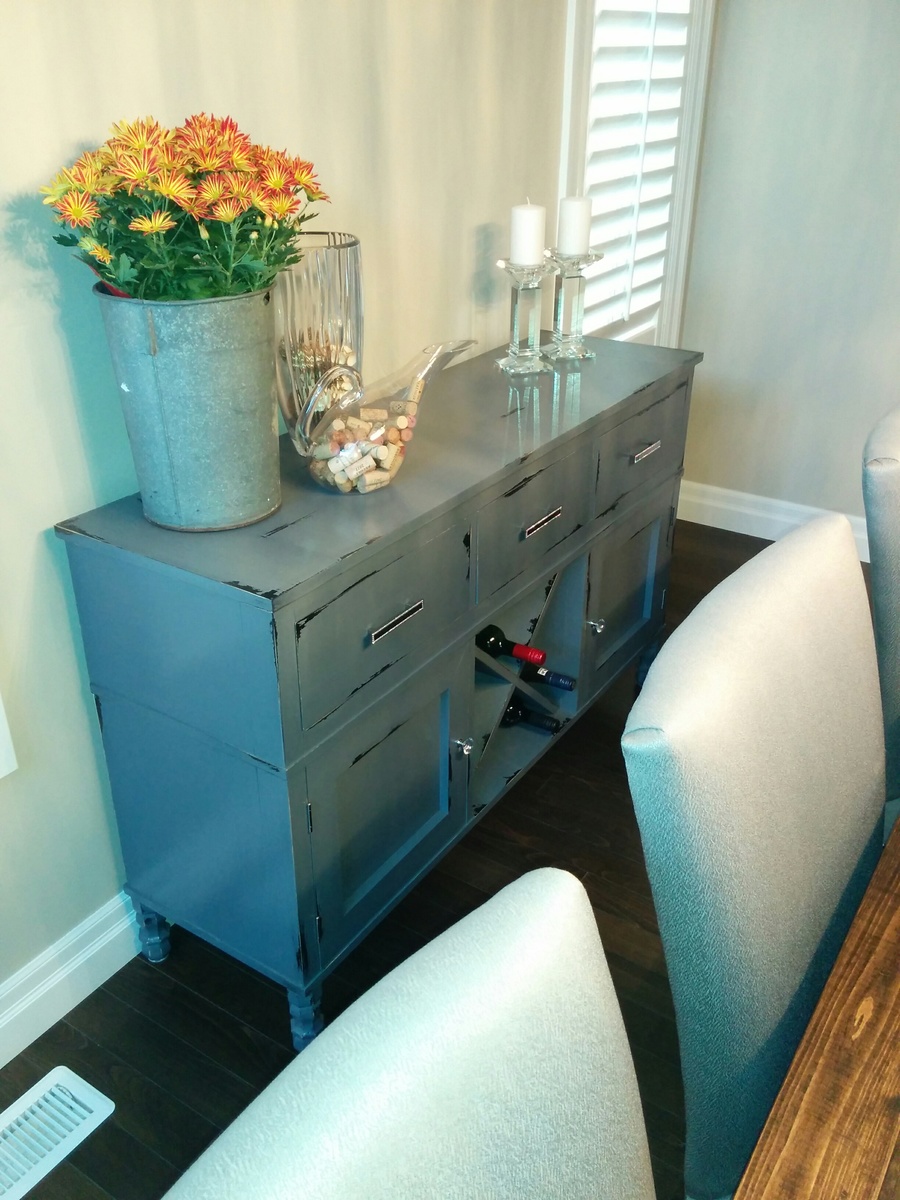
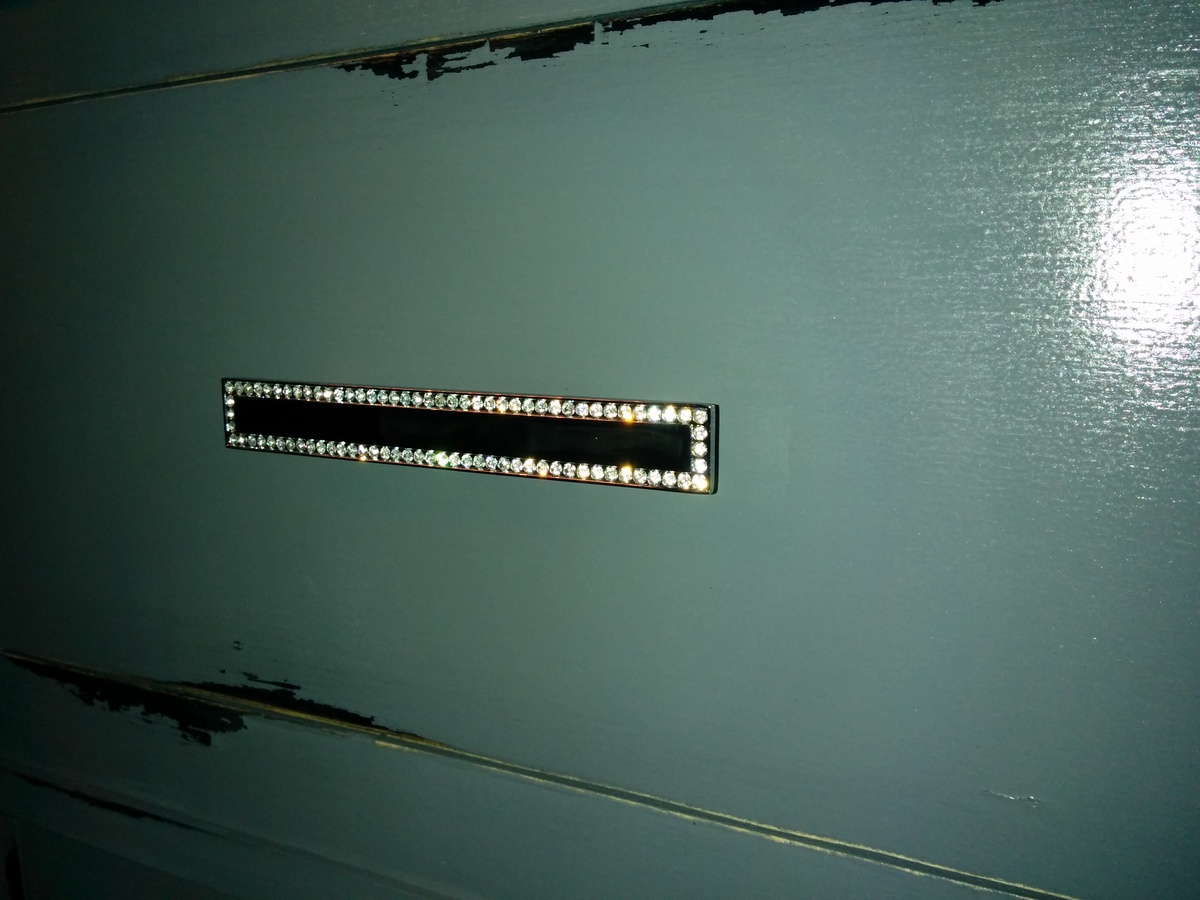
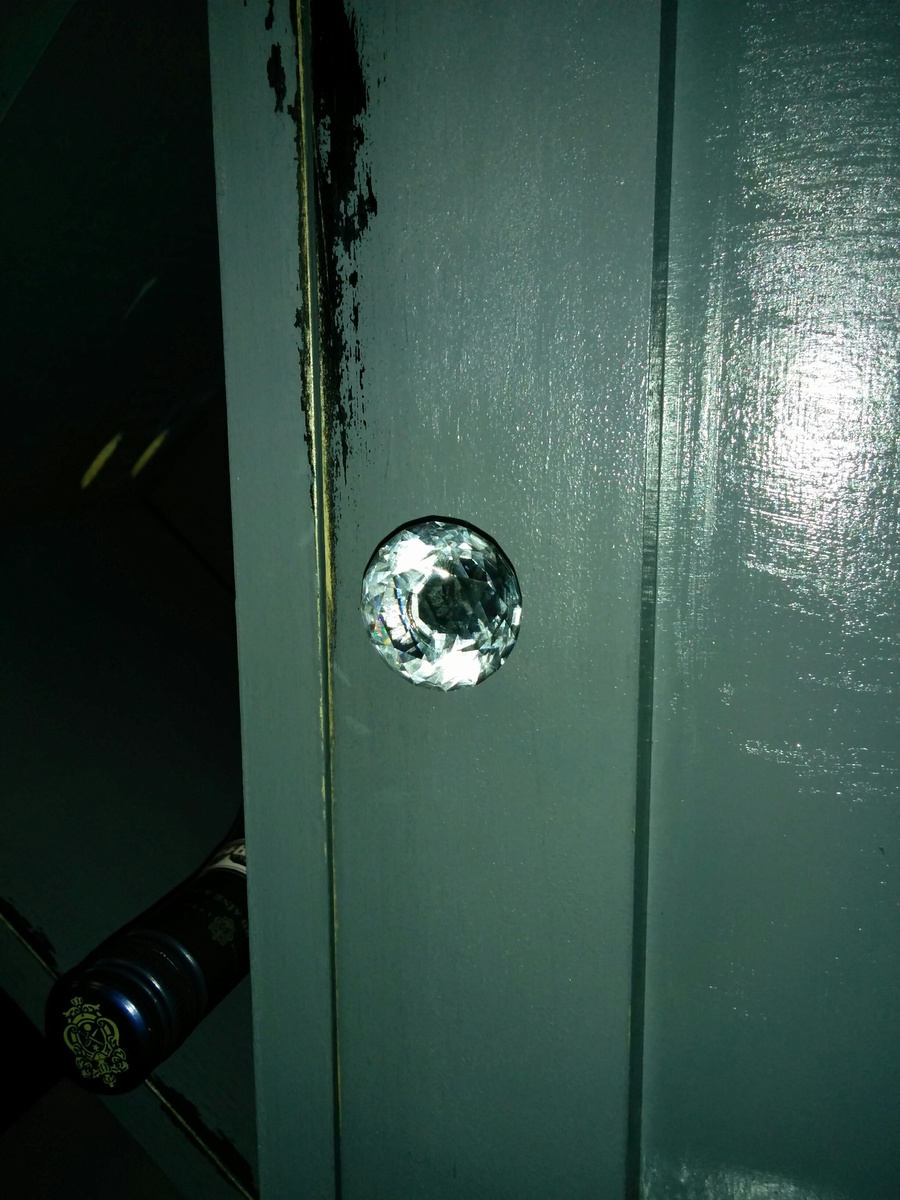
We needed a server that would store our china and also display and store our wine. I looked online for months and finally found the perfect plan. This fits in well with our modern rustic dining room decor.

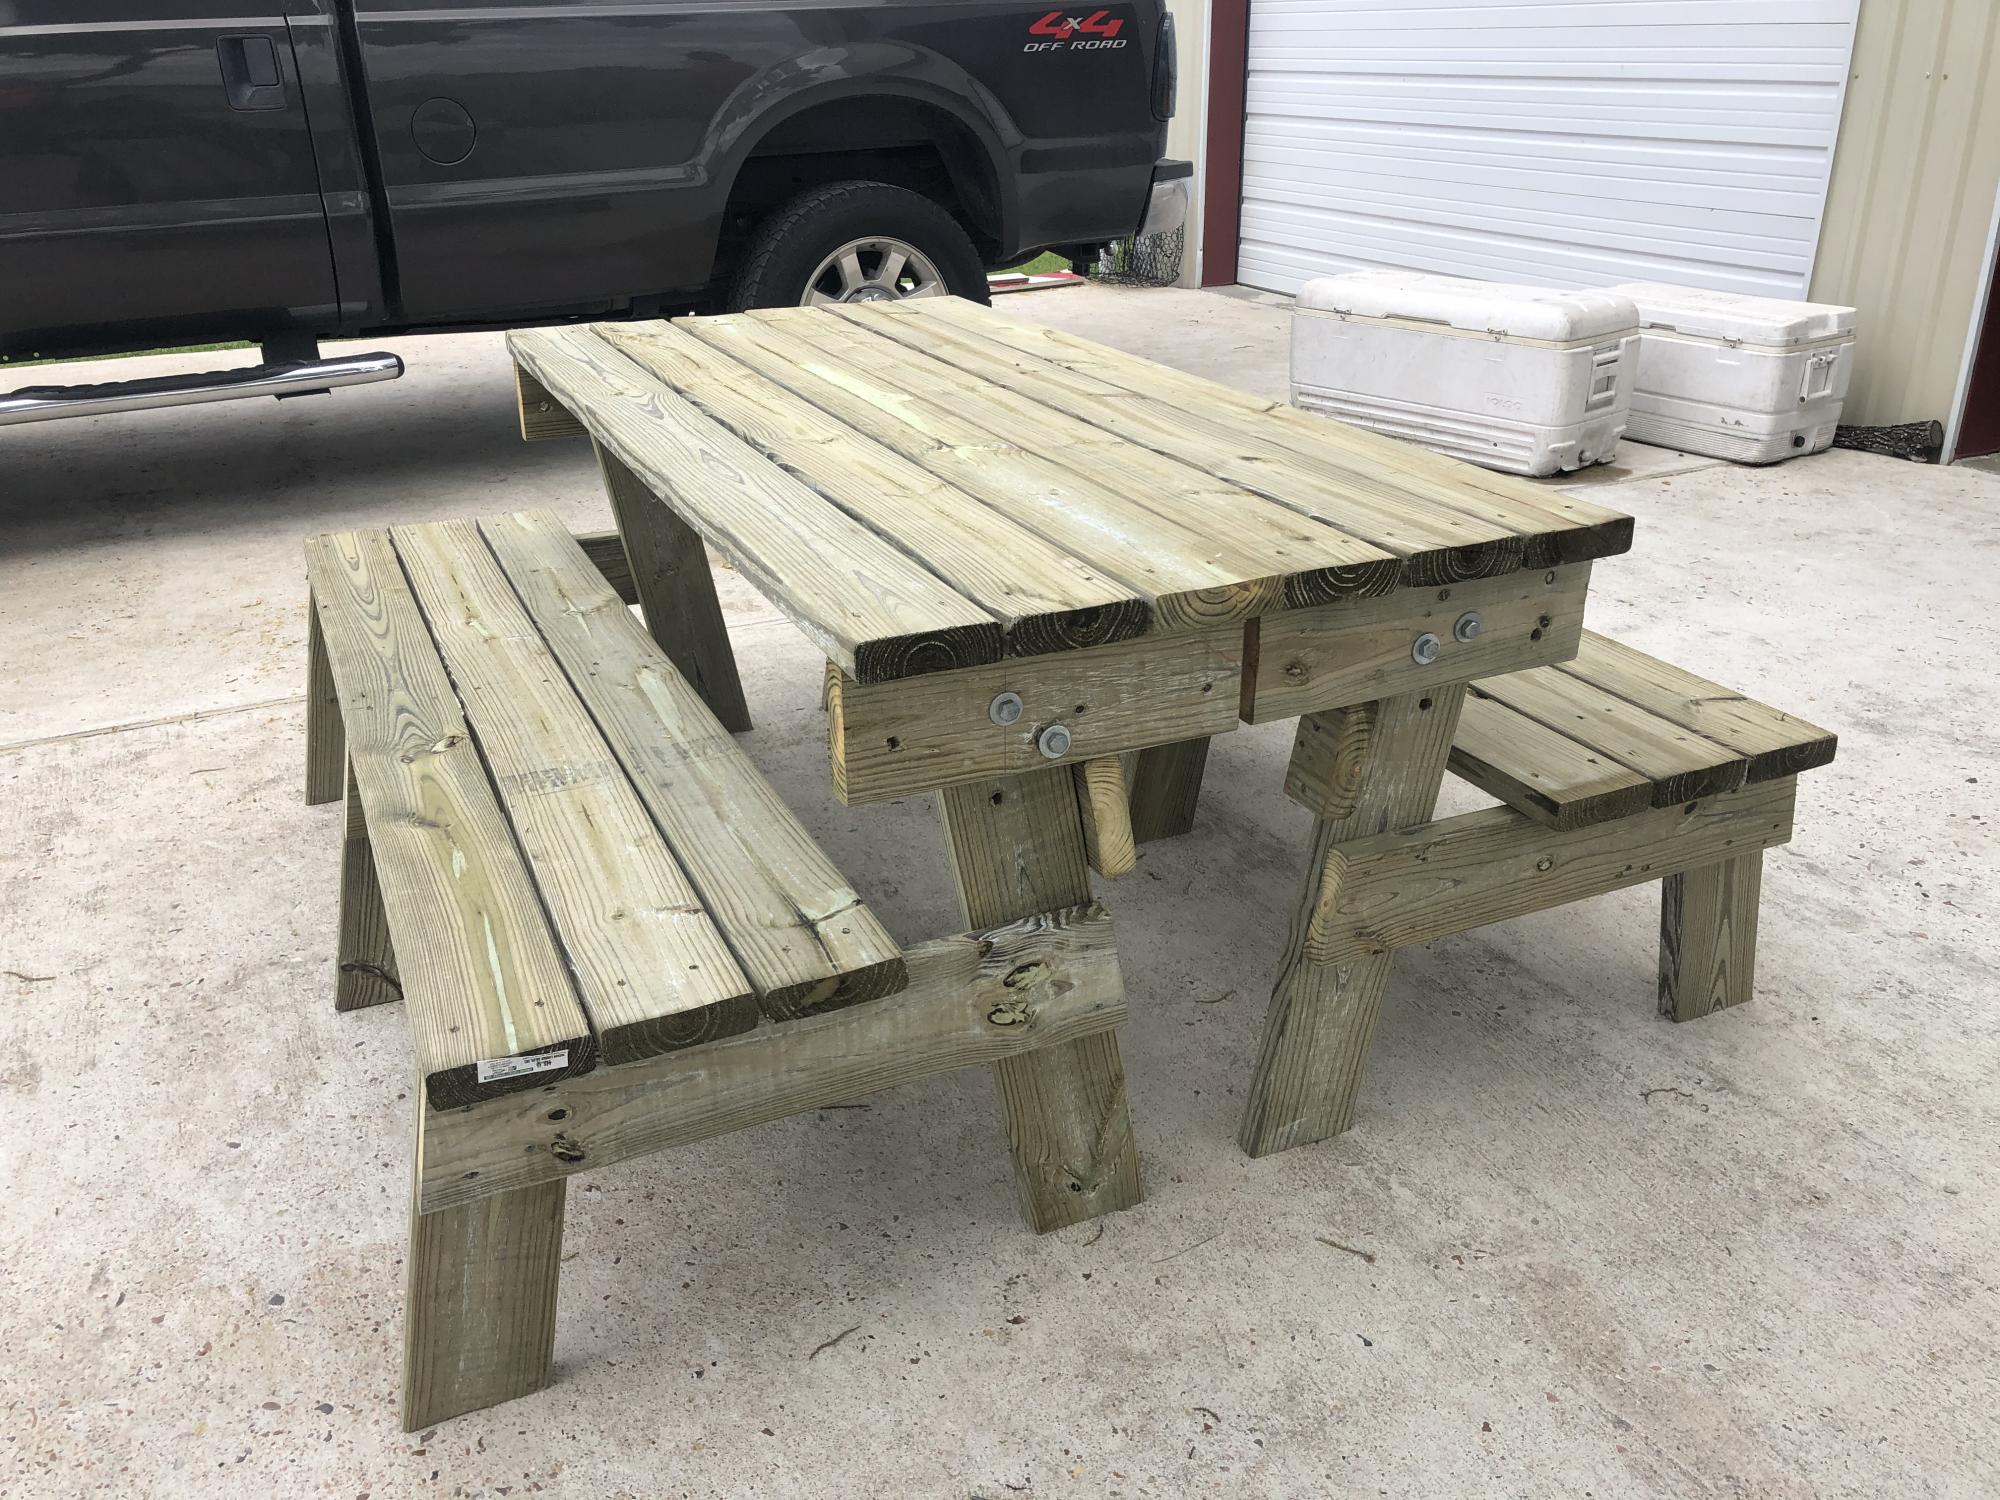
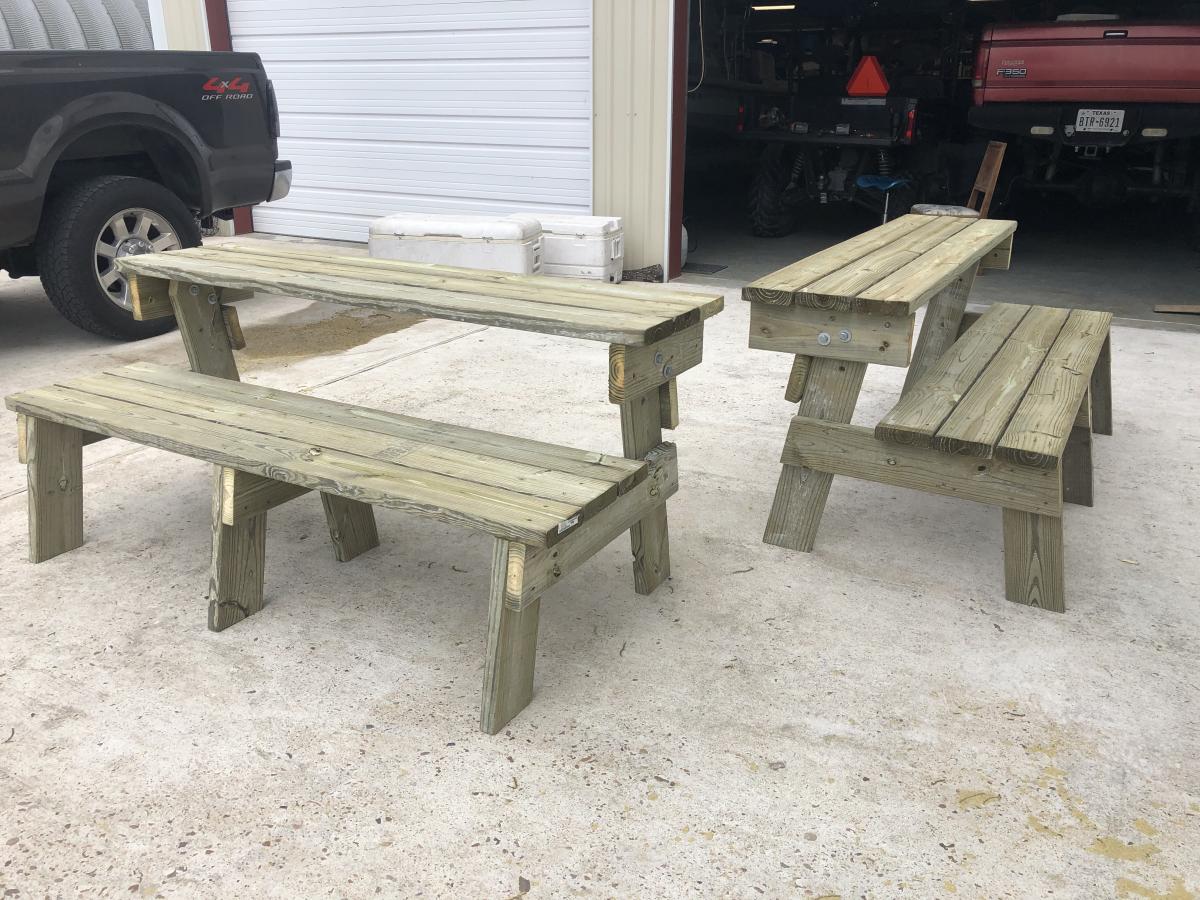
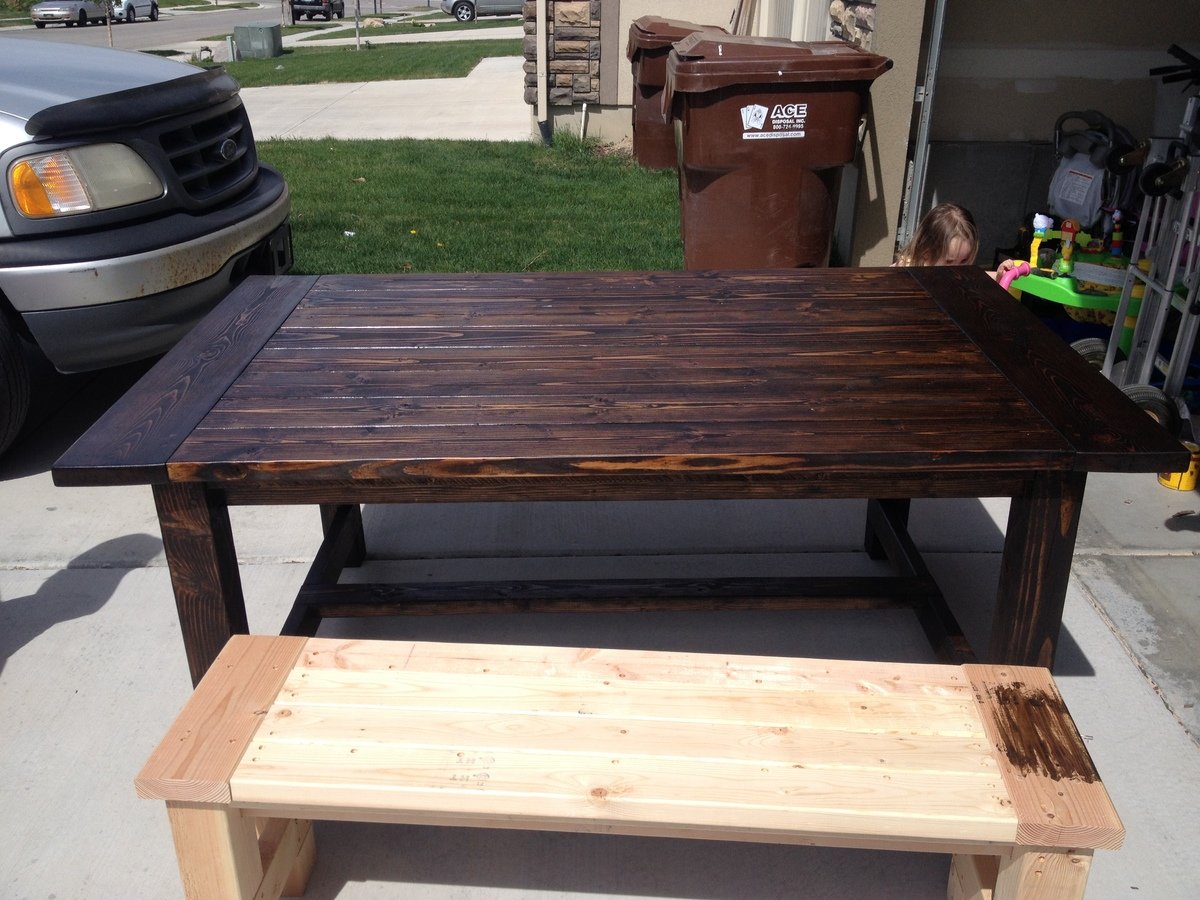
My husband and I modified the plans just a bit for this Picnic Bench Table we found on your site. We love it!
I have my husband working hard . 💙💙💙
Valorie Torres Arantz

"J" shaped wrap around bar
To build:
2 x 4s
1/2" plywood
#2 resaw 1 x 6" planks - sold in 16' increments
#2 resaw 1 x 4" planks
1 5/8" screws
2 1/2" screws
3" screws
Jacobian stain
lacquer
finishing nails
Needed:
Tons of time
Miter saw
3/8" driver
wrasp
hand planer
I actually built this in my living room when I lived in an apartment. I had very cool neighbors. It weighed about 300lbs when it was done.


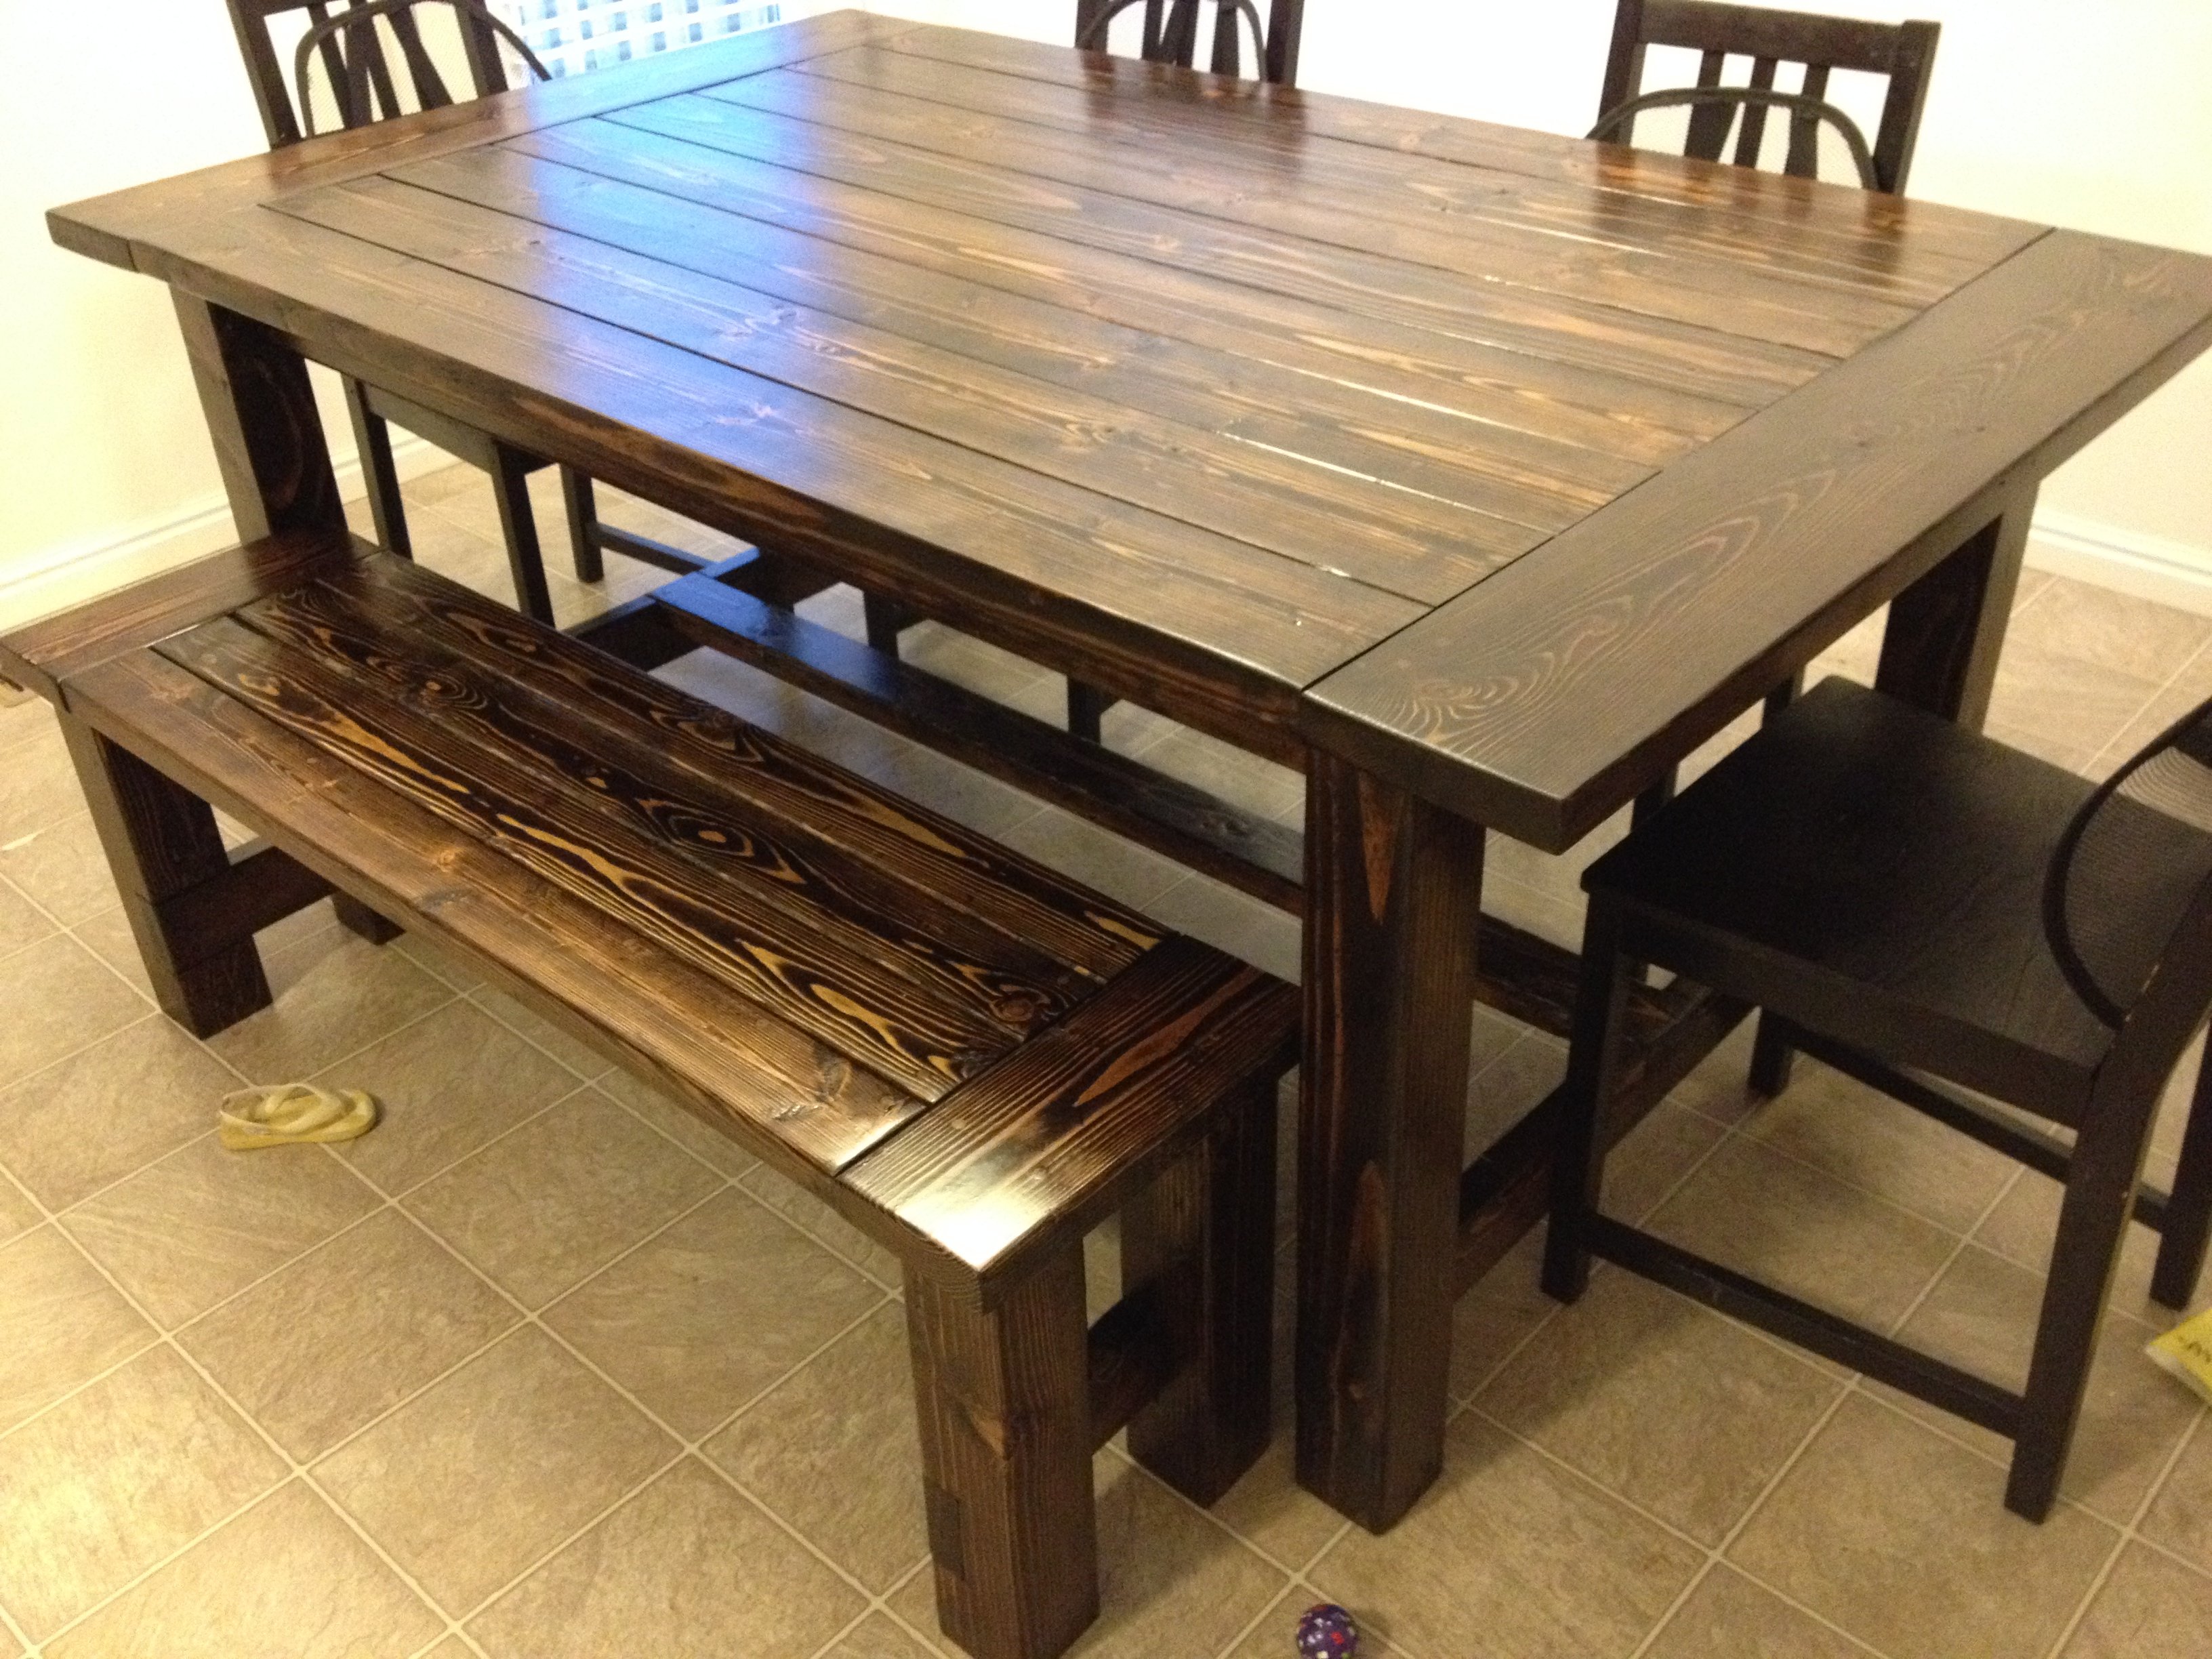
This was our first furniture building project. It took us about 20 hours to complete and we couldn't be more happy with the results. We used 4x4's instead of 2x4's for the legs. We also changed the dimensions of the table so that it was the perfect size for our kitchen. After completing the table we decided to build a bench as well. It is the same plan as the table, just miniaturized. We used Minwax Jacobean stain on the table and then topped with a clear coat. It is a very heavy, sturdy table.

3 - 1x3 boards, 6' length
3 - 1x2 boards, 6' length


A) 4 - 1x3 @ 29 1/2" (Fronts and Backs of the Legs)

Construct your legs by nailing through the 1x3 legs into the edge of the 1x2 legs with 1 1/4" finish nails and glue. The legs will be positioned with the 1x3s to the front, 1x2s to the side, as shown in the diagram.

Start by marking each of the legs 5" from the bottom of the board. This will be the bottom of the side support, D. Nail D to the legs, using 1 1/4" nails and glue, from the inside.

Now attach the bottom front and back aprons, F, alligning with the bottom side support D, Use glue and 1 1/4" nails, nailing through the apron F, into the legs.

Attach Bottom shelf G to the bottom side supports D and bottom front and back aprons F. Use Glue and 1 1/4" nails, nailing through the shelf into the supports and aprons.

Now use the 1 1/4" nails to nail through the Top side supports C into the legs. Use glue. Keep top edges perfectly flush.

Do the same for the Top front and back apron pieces, E, as shown above. Nail through E into the legs using 1 1/4" nails and glue. Keep top edges flush. Take a minute to check for square

Now add the base top, piece H. You should have a 1/4" overhang on the front and back edges, and 4 3/4" overhang on either side. Nail into the legs and the apron using 1 1/4" nails and glue.

For the Bread Board ends cut a piece two pieces from the 1x10" board to 11 1/4" long. You then need to rip those pieces down to 5 1/2" wide. If you prefer you can purchase a short piece of 1x6" board instead but this reduces waste. Use glue and 1 1/4" nails from the underside to attach the breadboard ends to the base top. Keep all outside edges flush.

I recommend not cutting the final piece, J, unitl you have taken an exact measurement. Add the final piece, using glue and 1 1/4" nails from the underside.
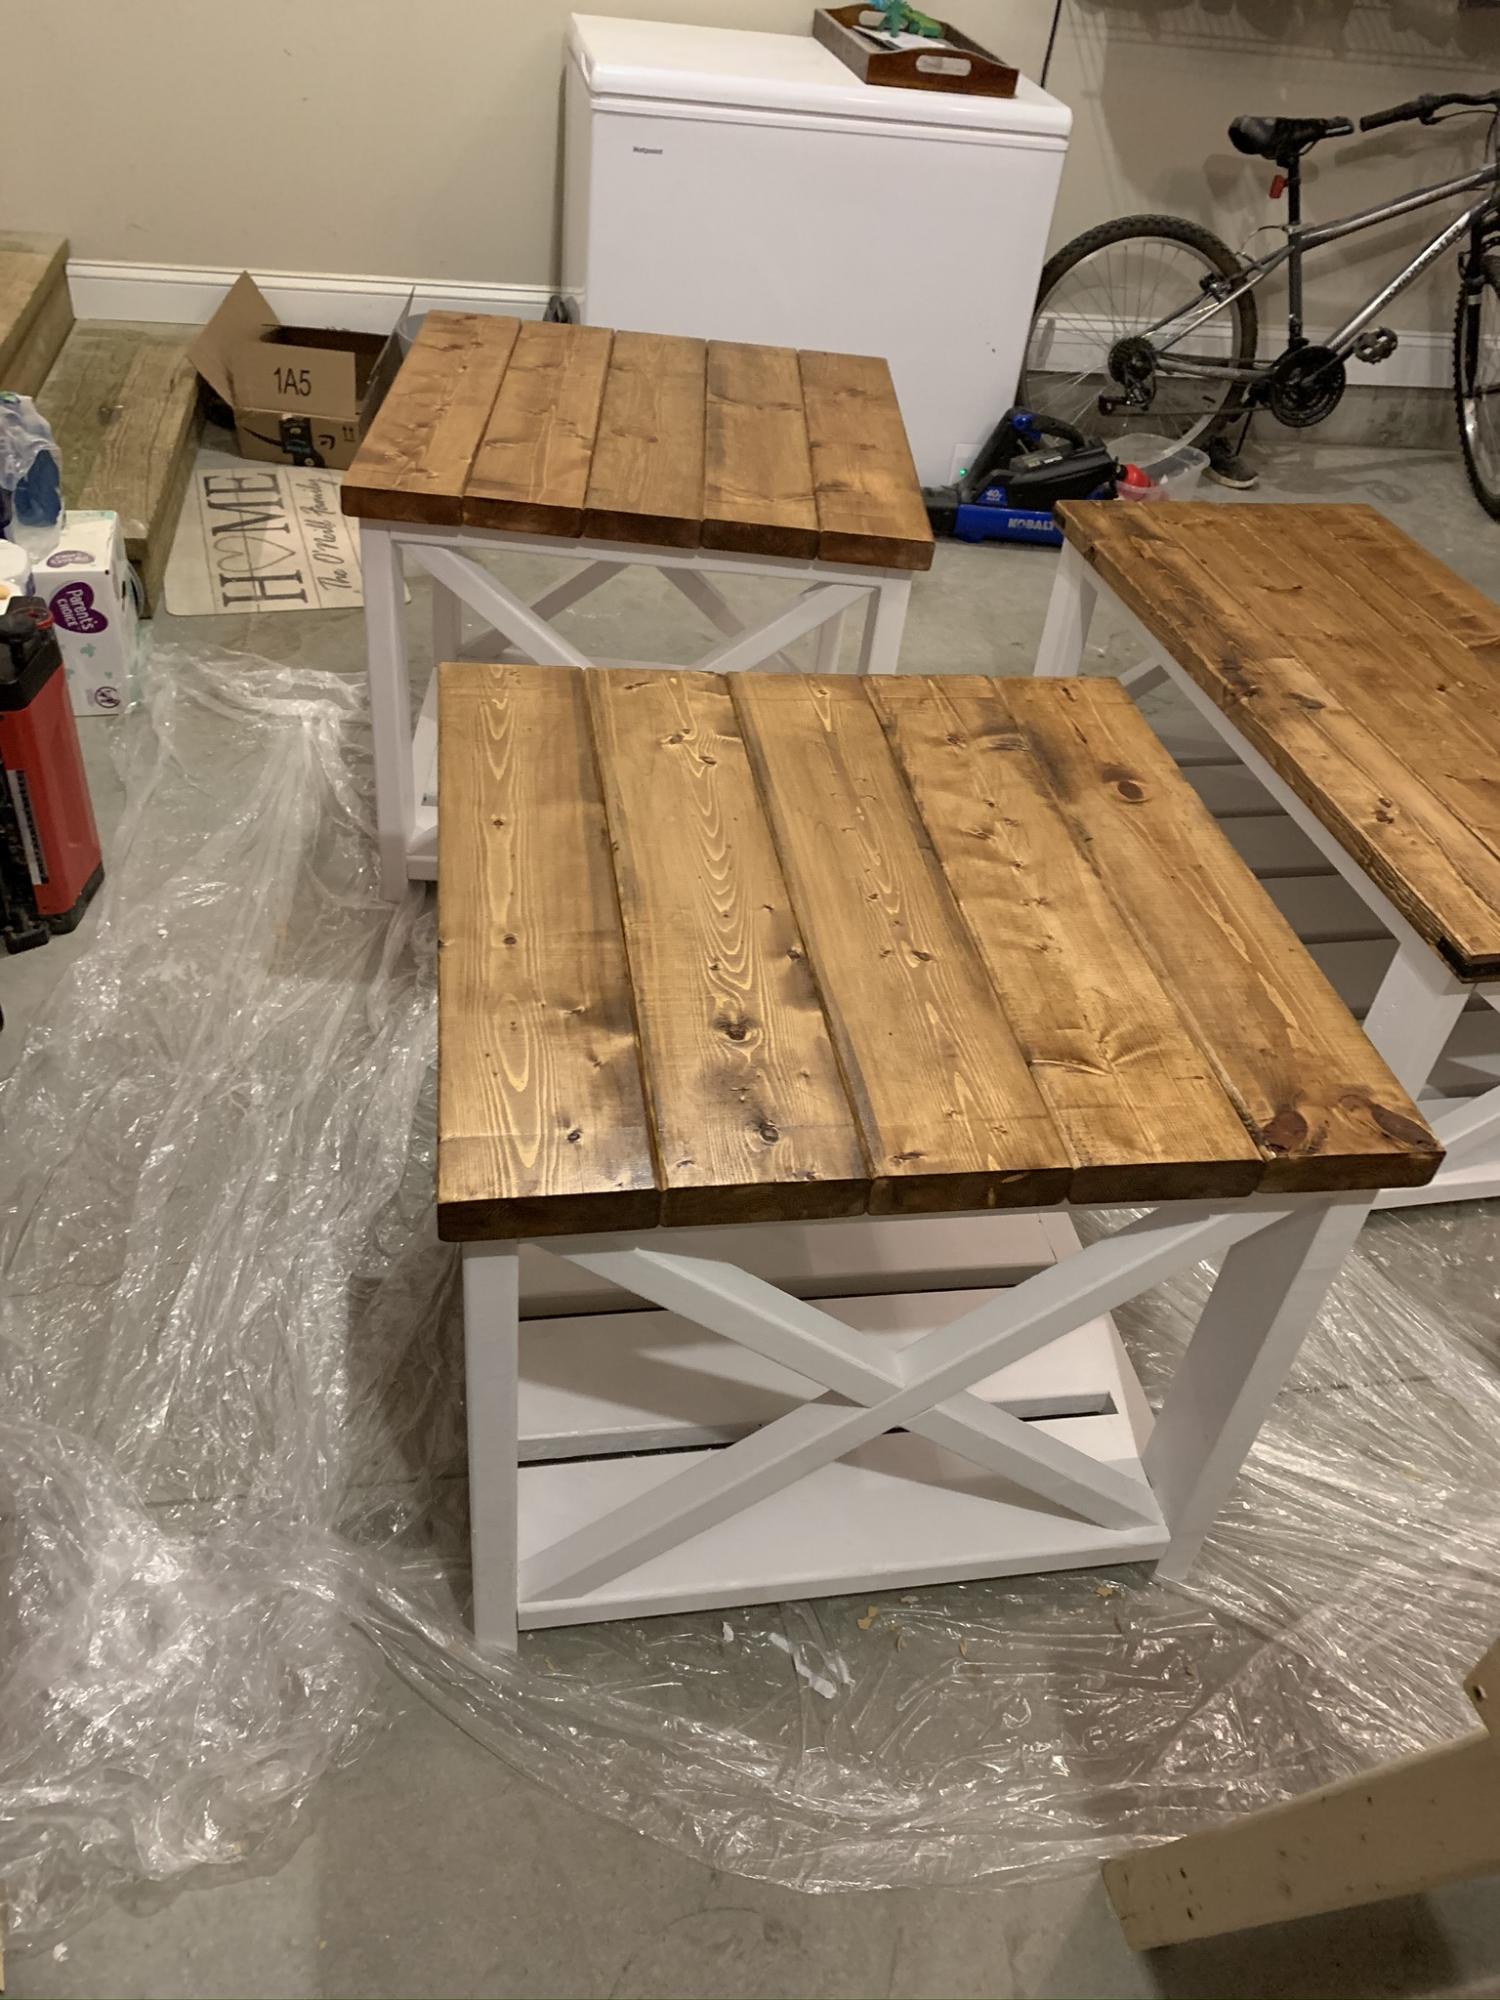
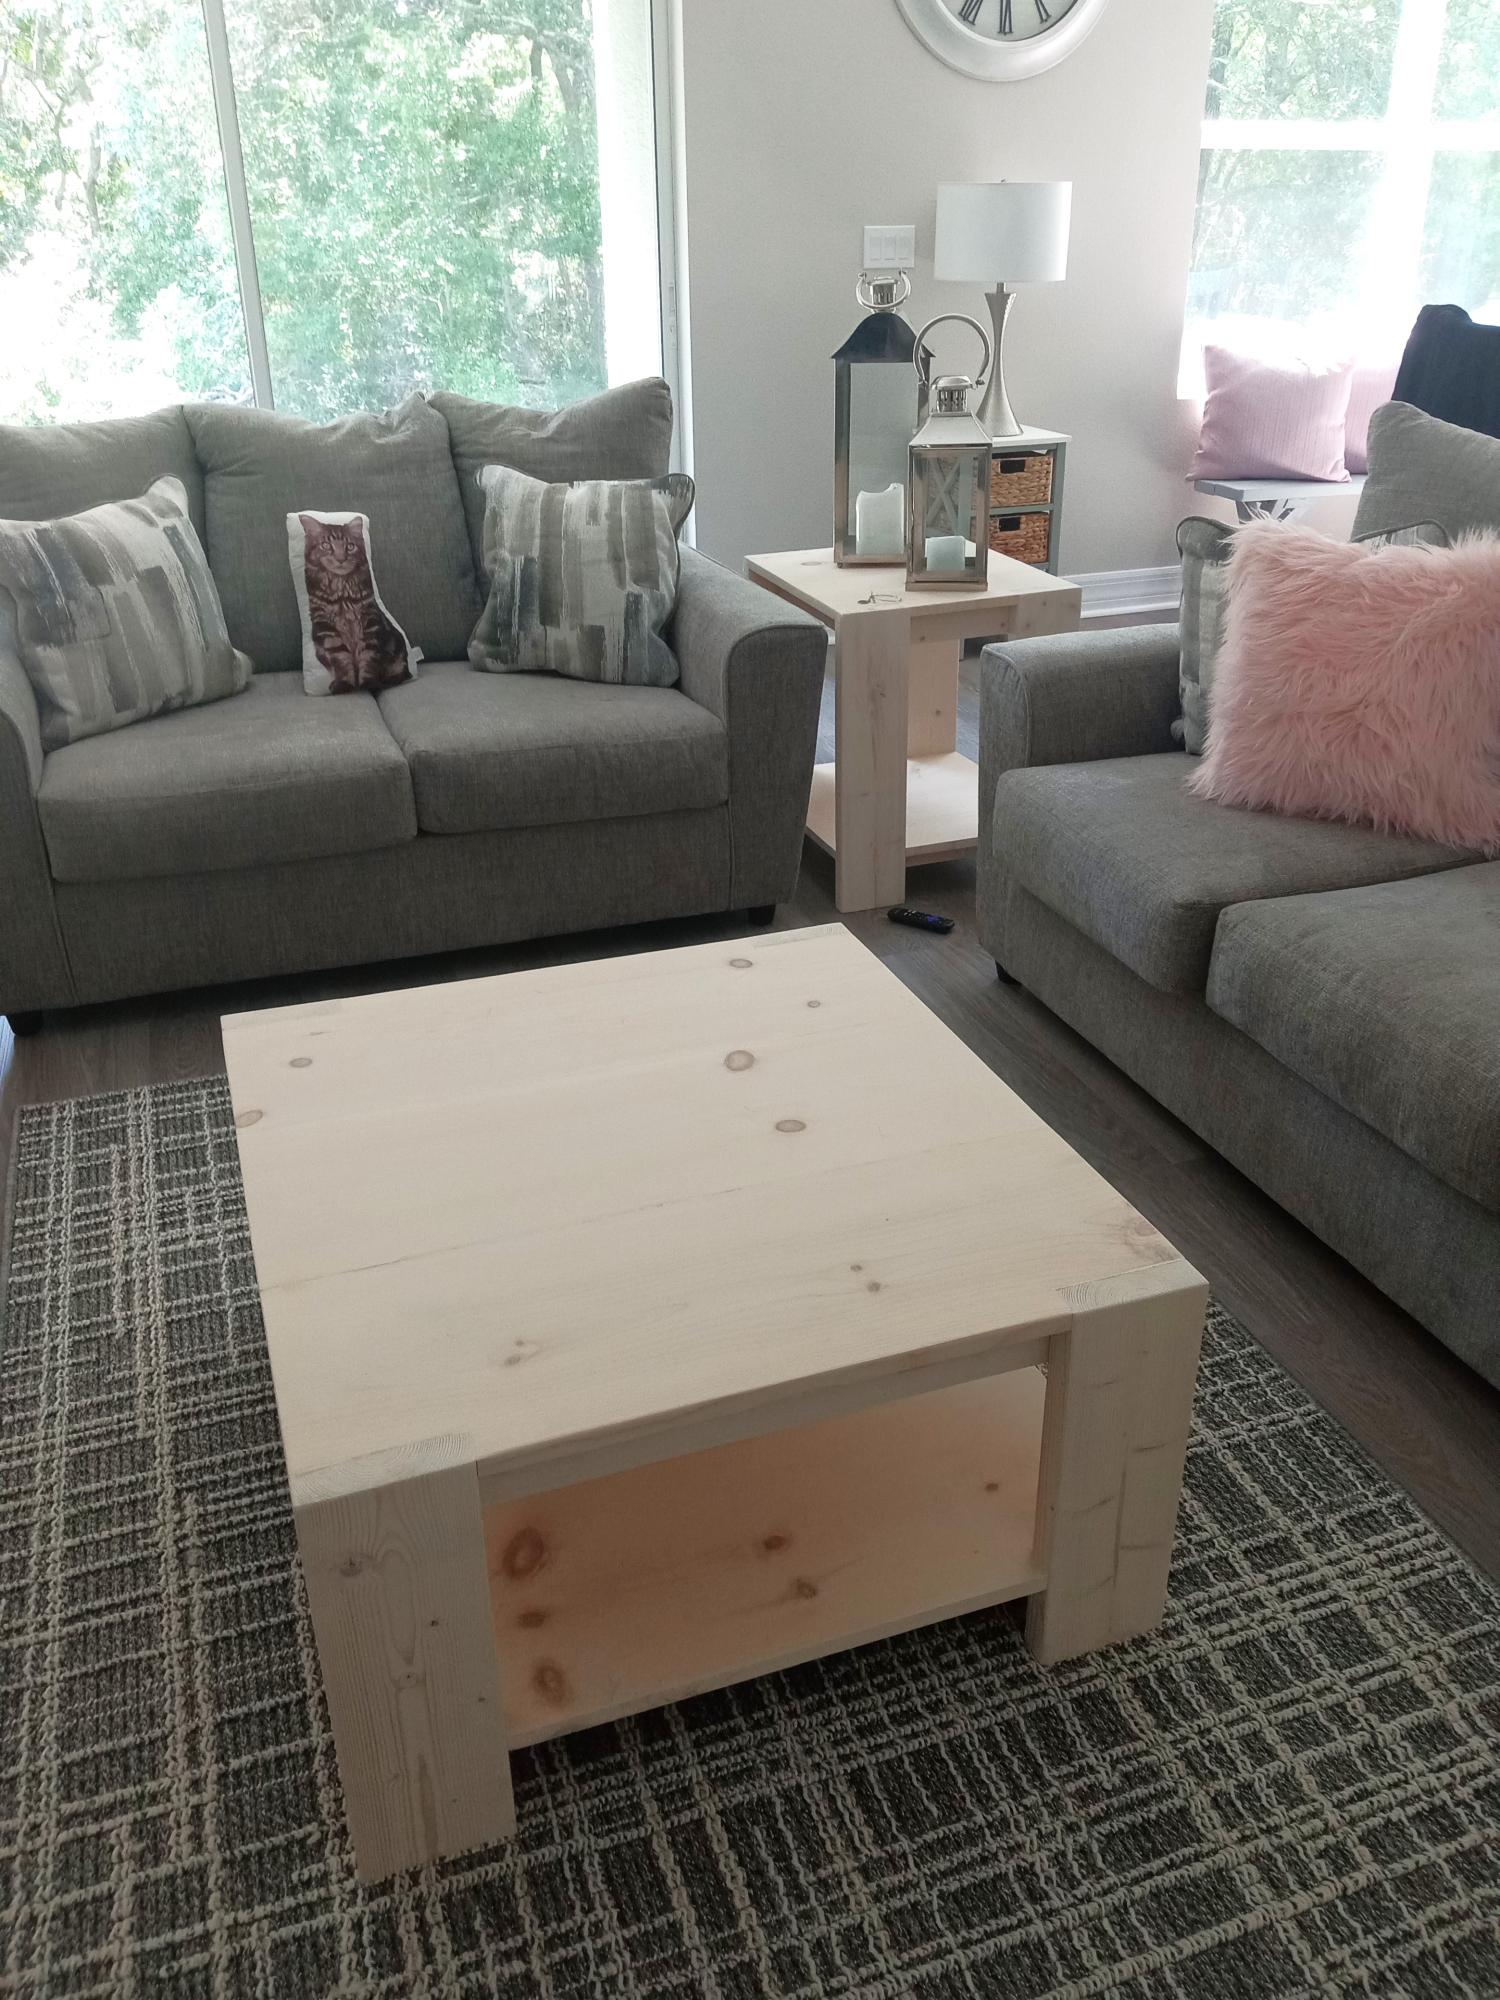
Great looking tables . This is the Large size . If your using in your living room I’d recommend going with the “small” size which is more like a normal standard size. The large size is way to big for a normal average size living room.
About $70 to build a set .

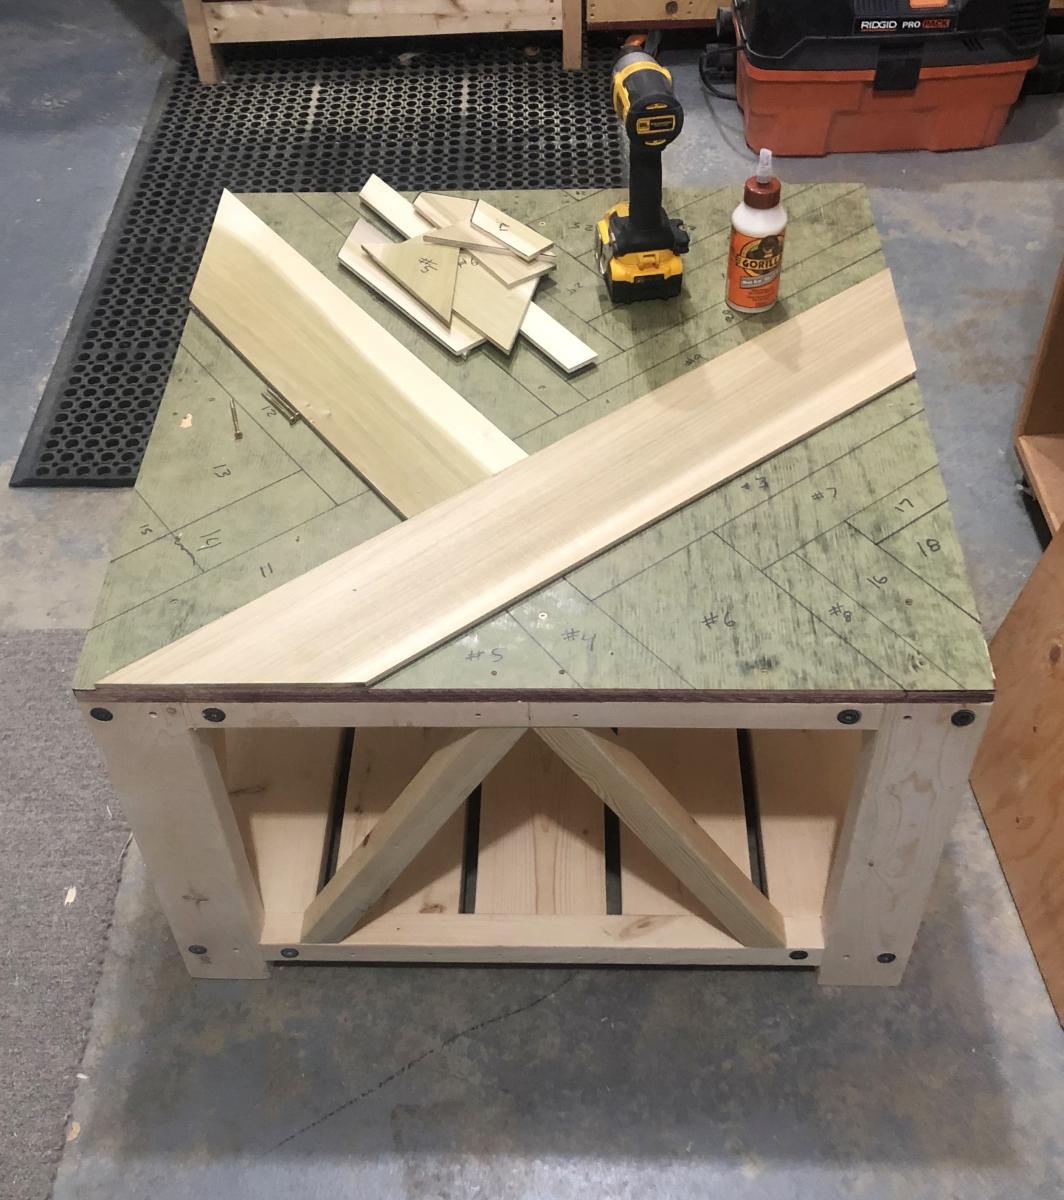
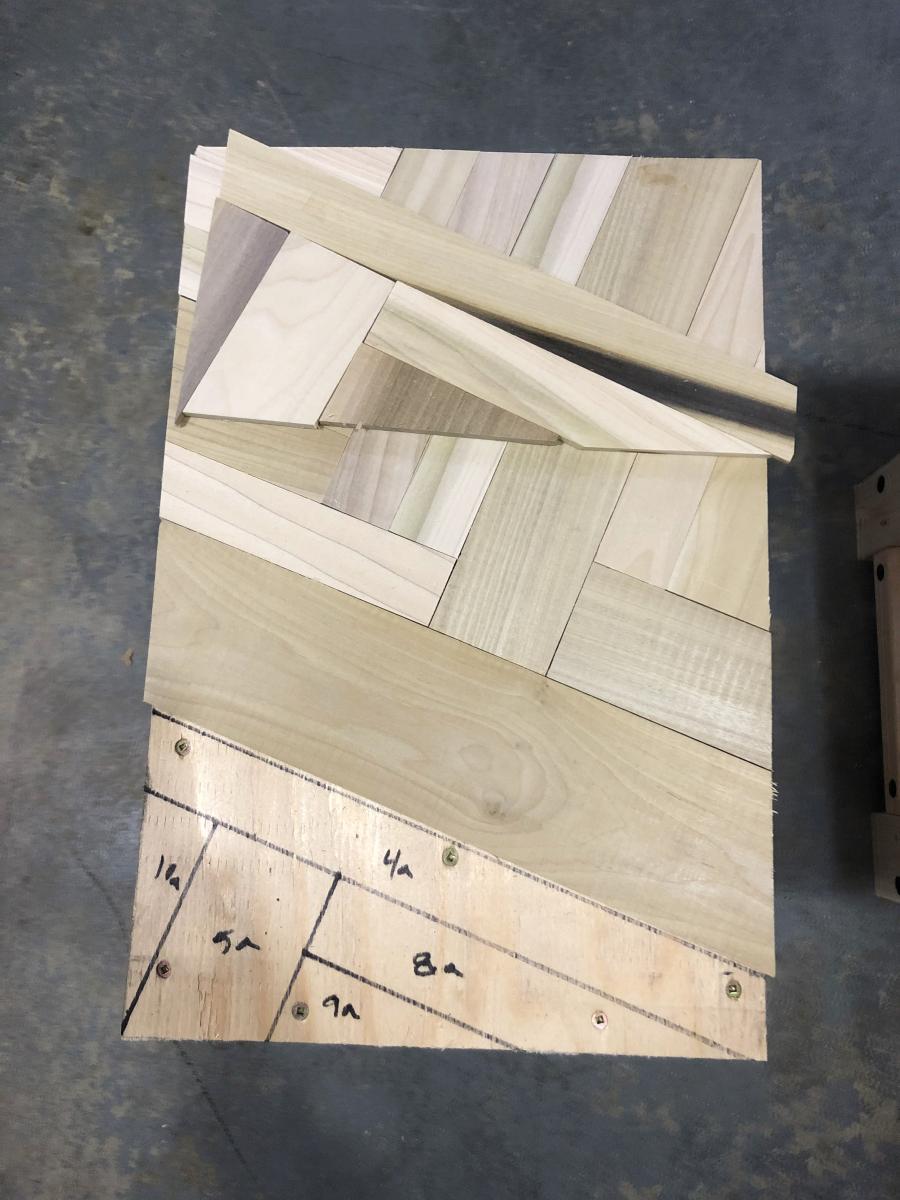
We looked for coffee table to fit our sectional, couldnt find a size that seemed right so wife tasked me to male one. Table turned out so good she requested end tables i followed an Anna White plane for basic coffee table but added the decorative top.
Marty Henderson

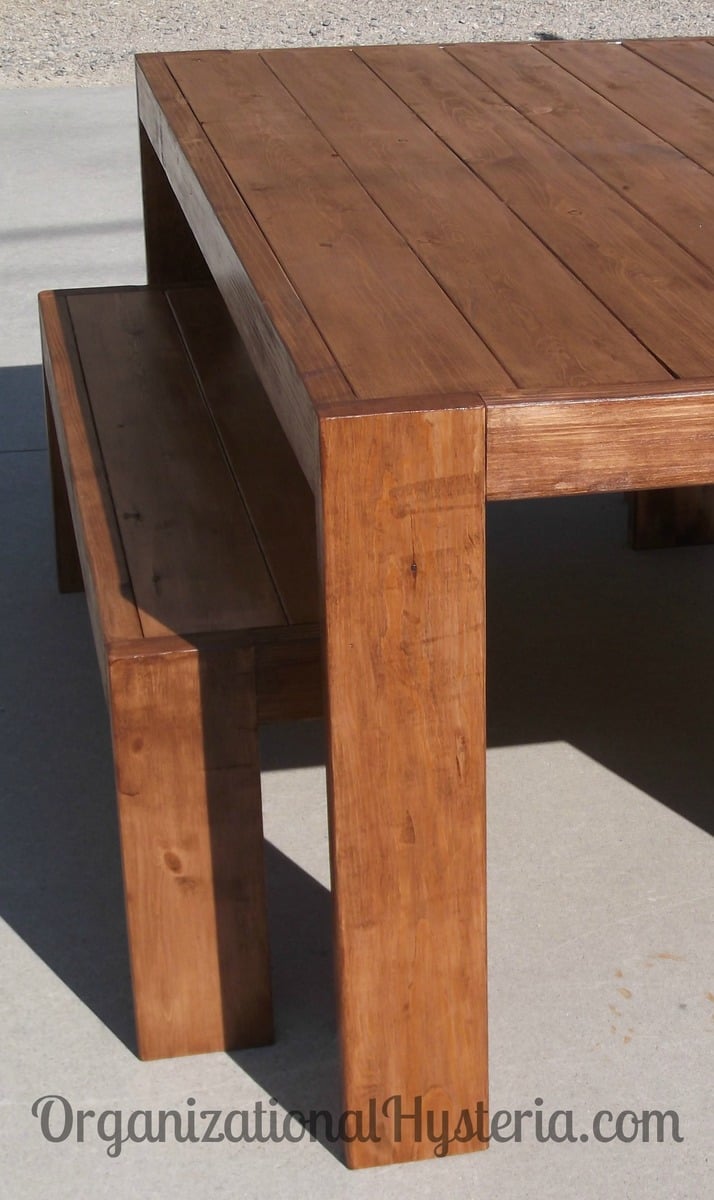
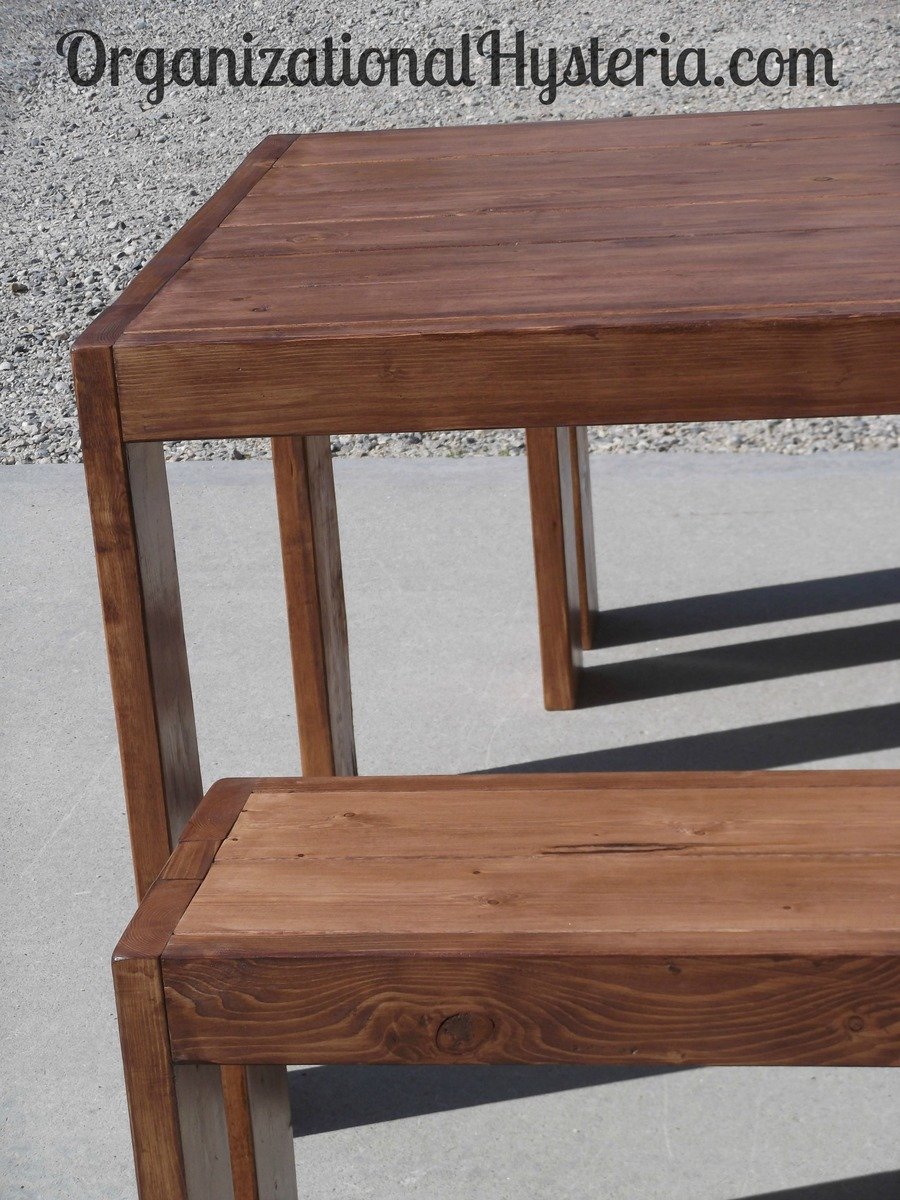
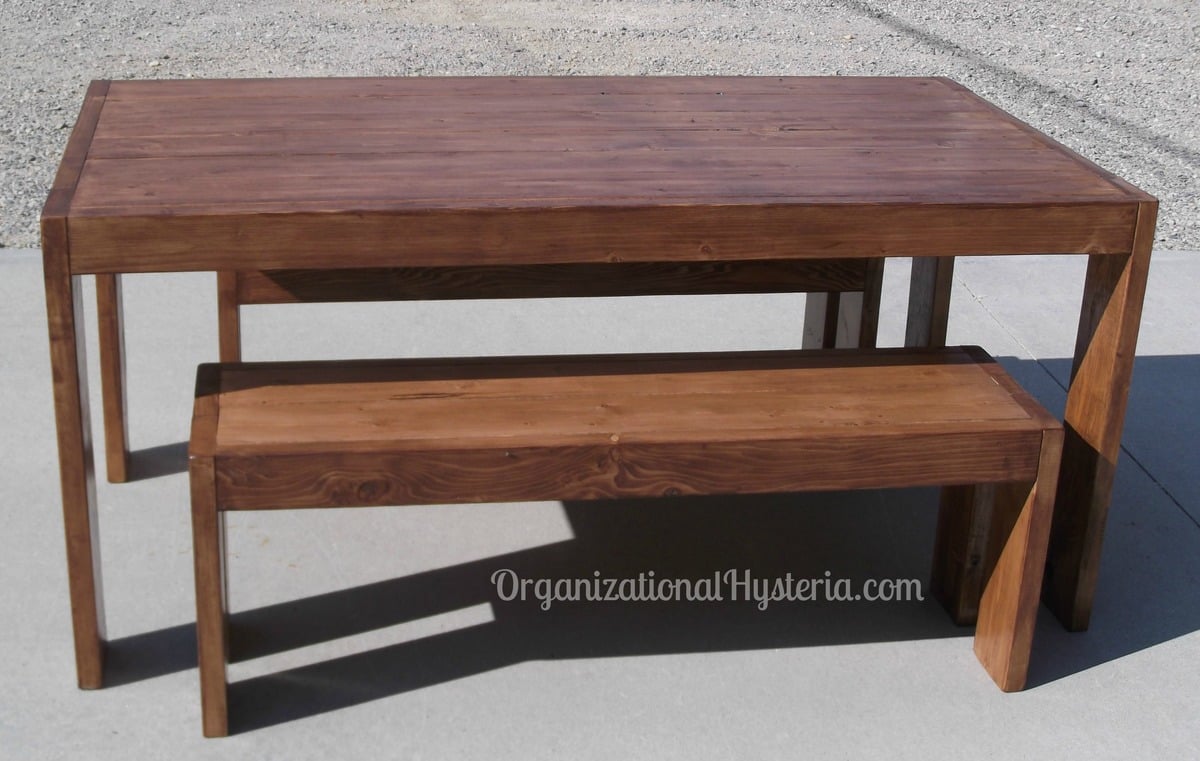
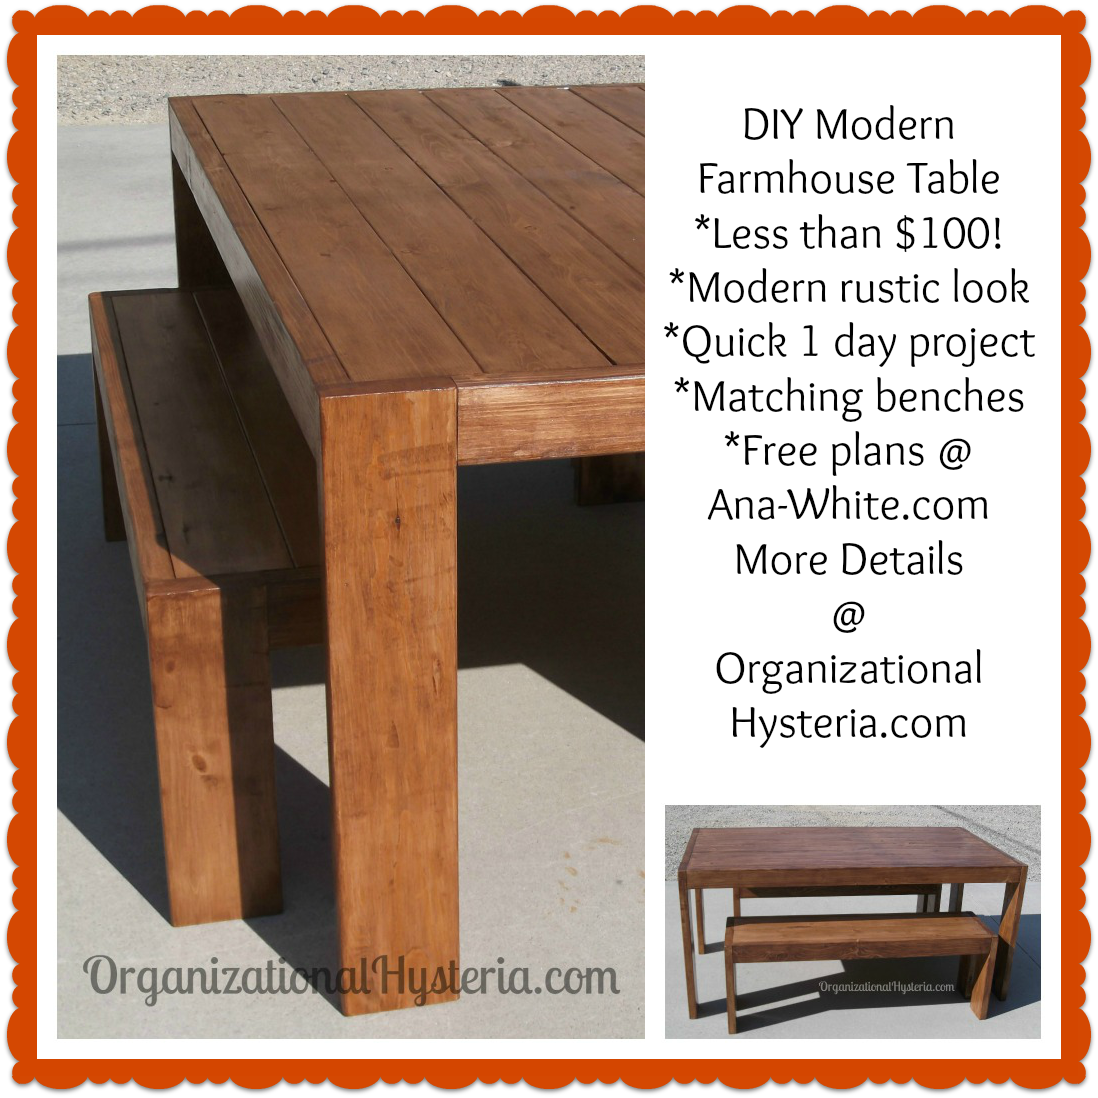
My husband and I built this project in one day, for less than $100, including the matching benches! We used inexpensive white wood boards and made sure to find the straightest ones in the best shape. The table is easy to assemble and SO sturdy. It can easily sit 4 adults on the benches or 6 smaller people, more with extra chairs on the ends.
I've wanted to build this table for quite some time and it couldn't have turned out better, I just wish we were keeping it for ourselves. :-)
I share more details on my blog if you'd like to check them out, thanks for looking!
Happy Building,
Danielle
organizationalhysteria.com

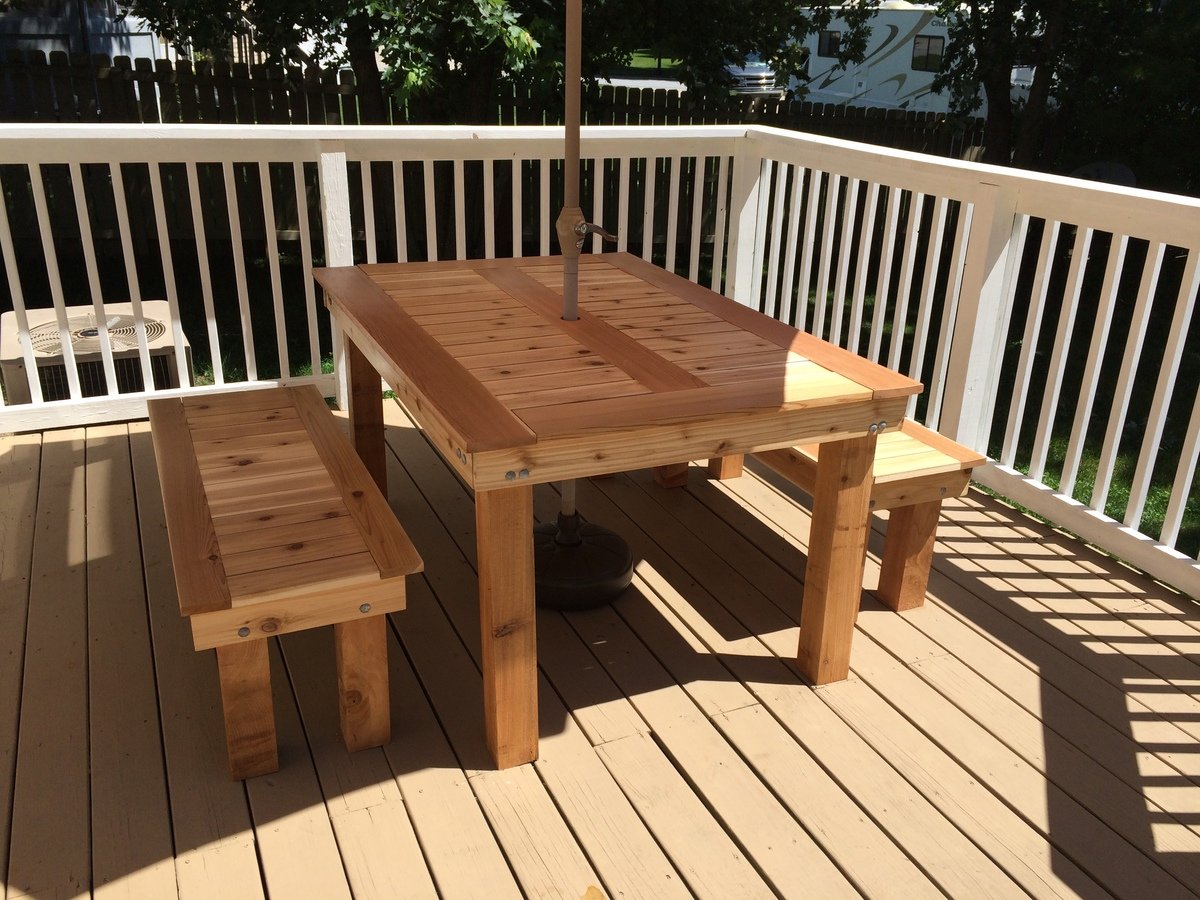
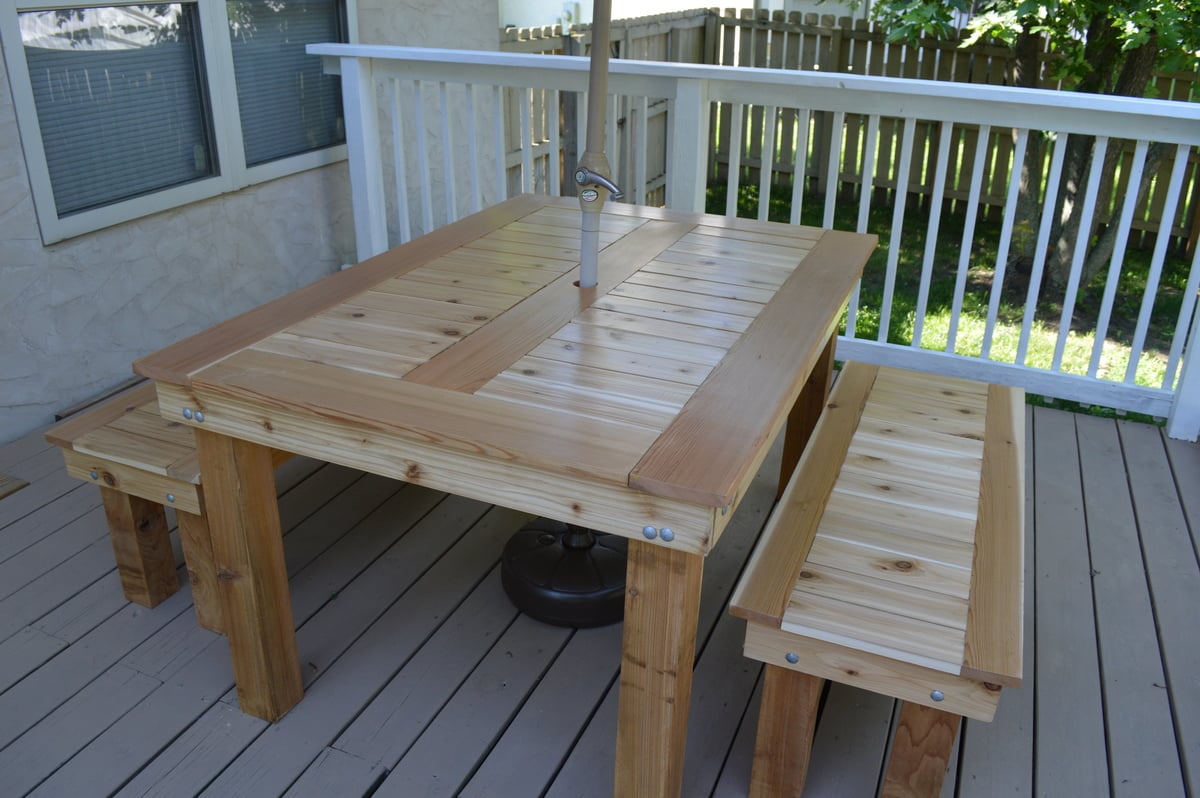
My wife and I loved the version that Finns-Dad made but we wanted it to be rectangular. The top is 1x6s around the edges with 1x4s in between. The frame is 1x4s. The bench tops are all 1x4s with 4x4 legs. There are 3/8 inch lag bolts in the legs. We did 4 coats of the urethane.
This was my first major project, and while there are many things that I would do differently if given the opportunity, we're still very pleased with it.
Thu, 01/01/2015 - 09:04
I really like the changes you made to this table, it looks really nice.

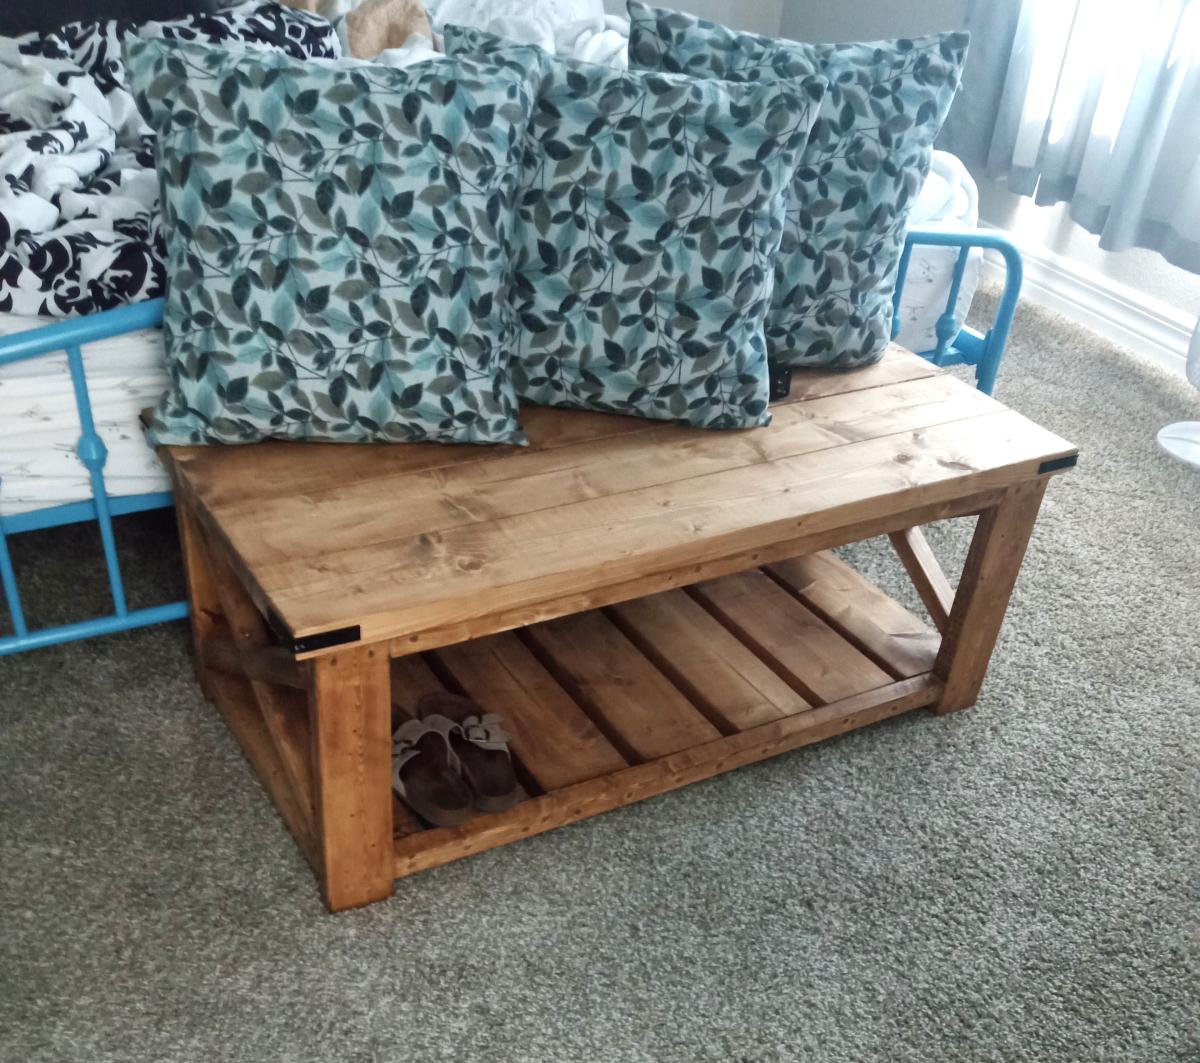
Rustic X Coffee Table


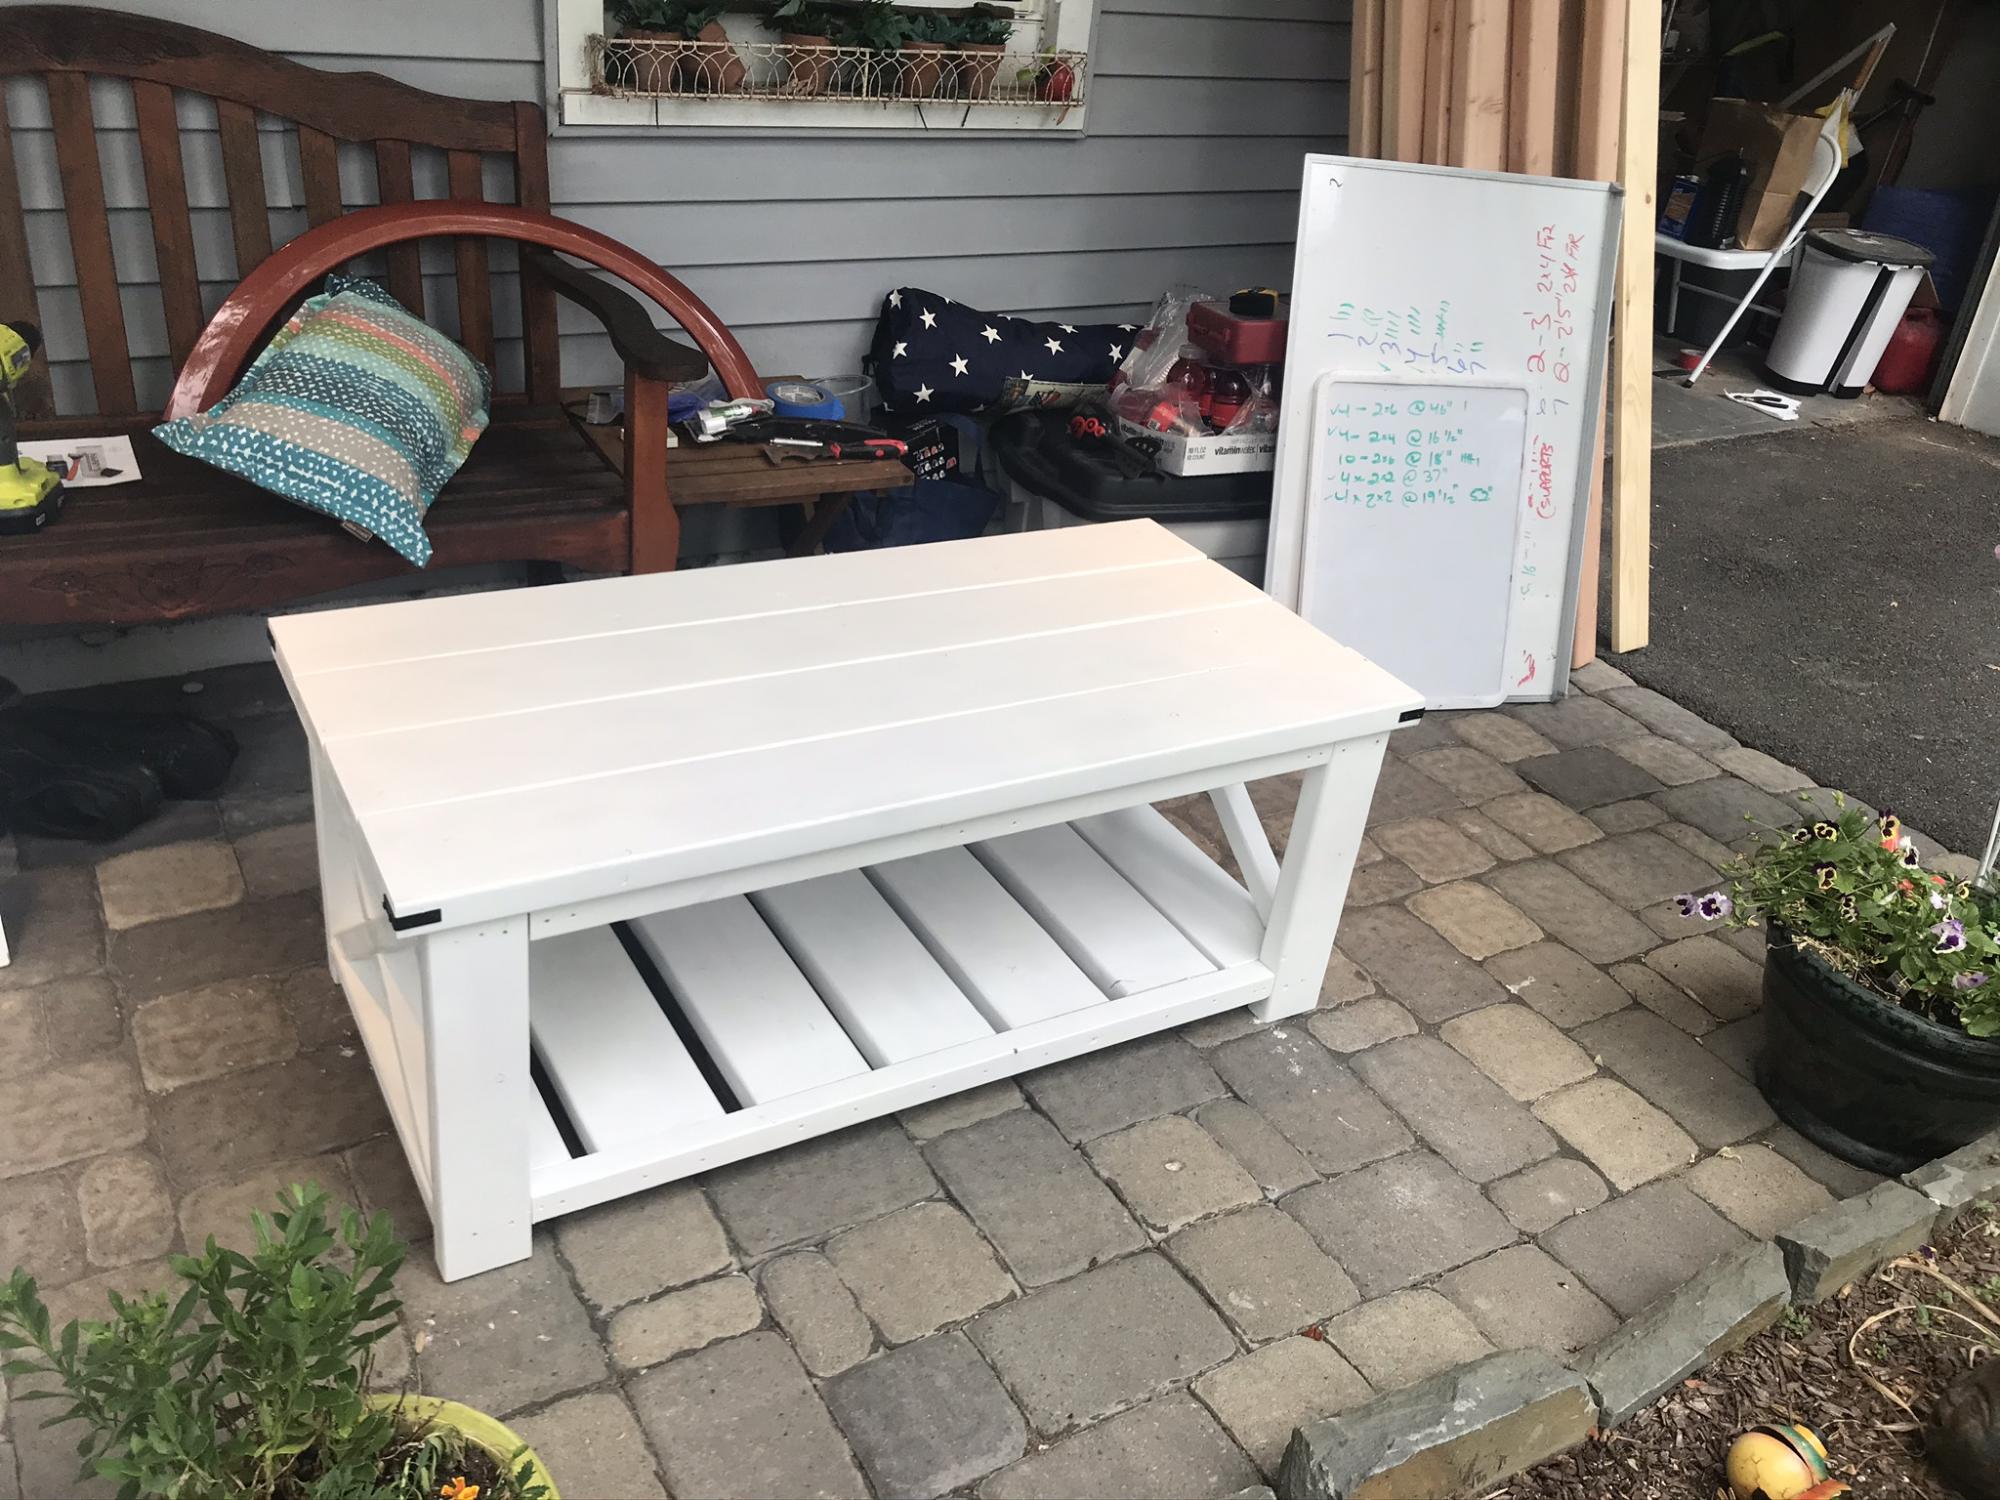
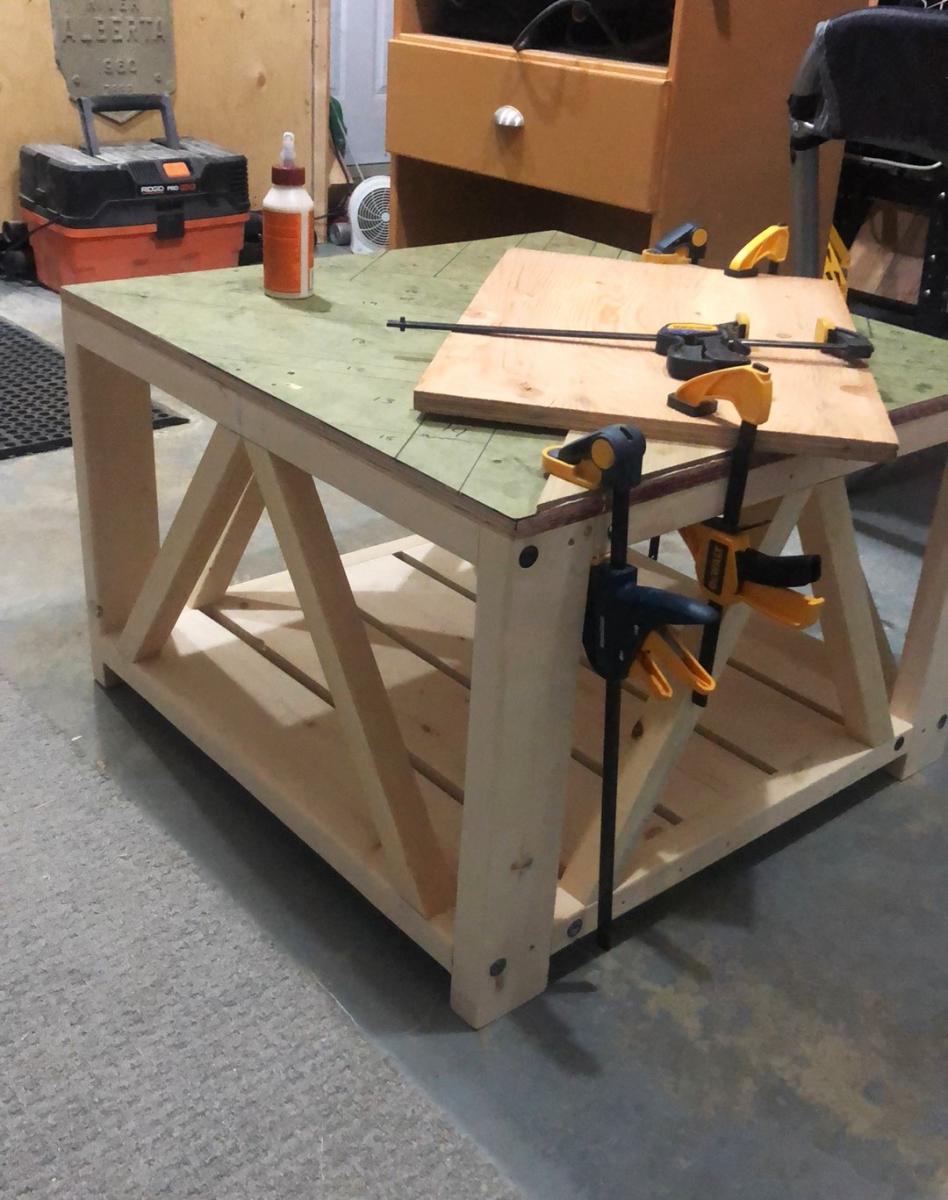
This project was a ton of fun, and pretty easy to access for a new woodworker. I do think the type of screws are a poor choice, as a beginner will probably be buying lumber from a home center and is most likely not using a plainer or jointer. Also, some thing to note is the brackets are not made for this purpose and because of this the countersinks are on the inside so the screws don’t sit flush.
I loved the project (made it as a gift for my sisters new apartment so she chose the white paint).
Can’t wait to build my next project from here.
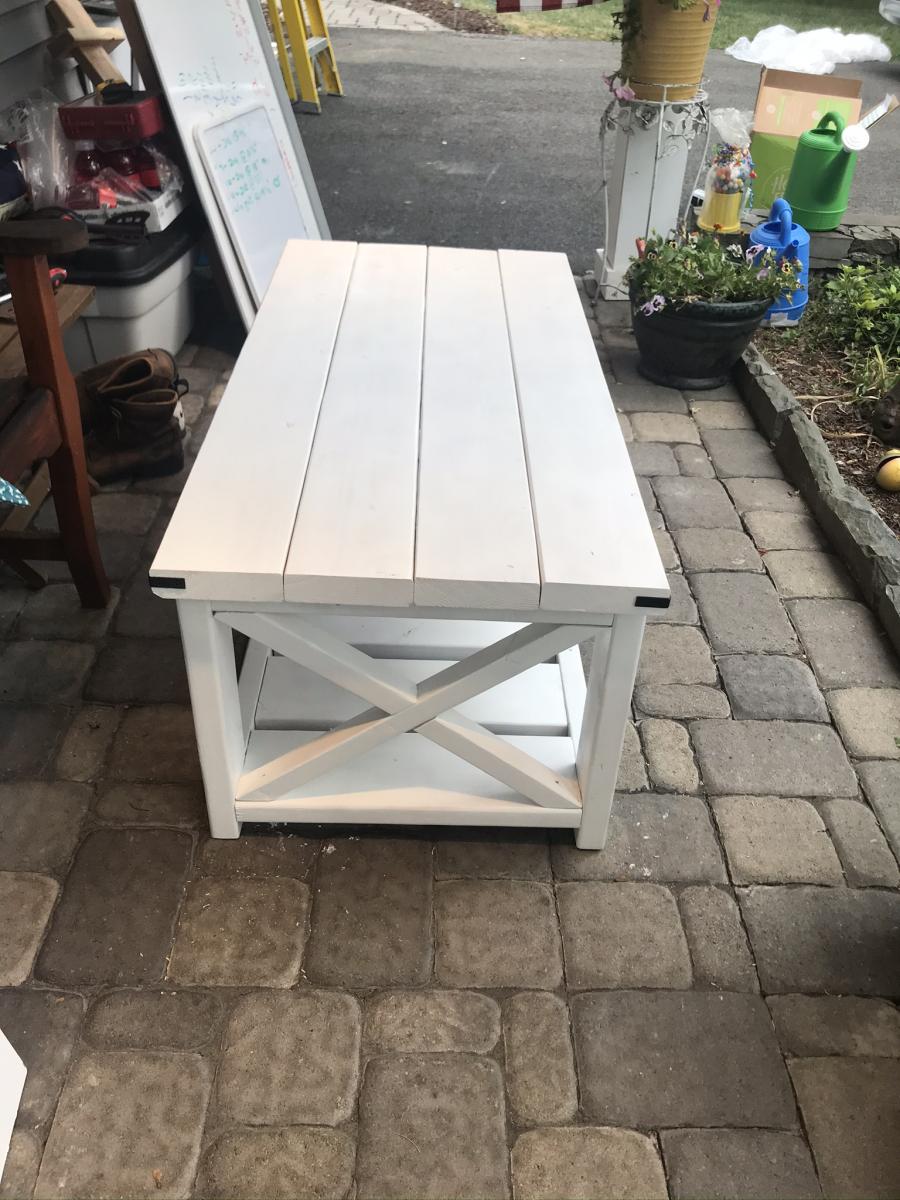
This was my very first project since I took wood shop in high school more than 20 years ago. It’s absolutely no where near perfect, But it was easy and fun. I made it for my mom for Mother’s Day. She LOVED it! Currently figuring out my next piece for Father’s Day! 😁
Angie Ang$10

So my husband and I bought a 60" flat screen and decided to mount it above our fireplace where a mirror had previously hung. Come to find out that with the age of our house, and chimney it was going to cost us almost as much as the TV itself did to have it professionally done. So we decided to build a new, much larger mantle over the existing one so that our TV, WII and DVD player had a home on the mantle as well.
We ran across several problems while designing this. 1. the next buyers may not want this huge mantle here to put their TV on and 2. because of the age of the house and lack of plug ins, how where we to hid all the cords.
The new mantle sits over the old and above it about 3". It is attached to the wall, with 3" boards attached underneath that simply sit atop the old mantle. The boards are in a serpentine fashion and not only hid the cords underneath, but also the power strip that everything plugs into. The TV not only sits on the new mantle but is also secured to the wall behind it. The front of the new mantle hides the space between and any cords. And we stained it to match the old. So unless you are very closely inspecting it, you wouldn't even know there are hidden cords or that it is not completely original.
Problem solved. If a new owner wants to revert back to the old mantle, all they need to do is remove the top, patch the holes and dust the original back to its former glory.
