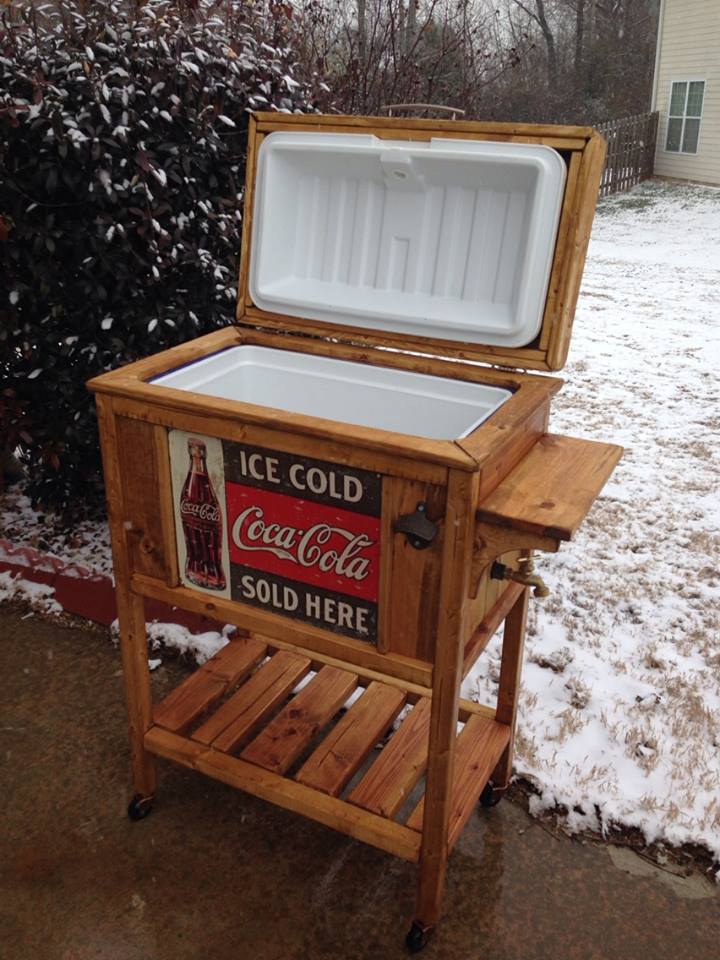
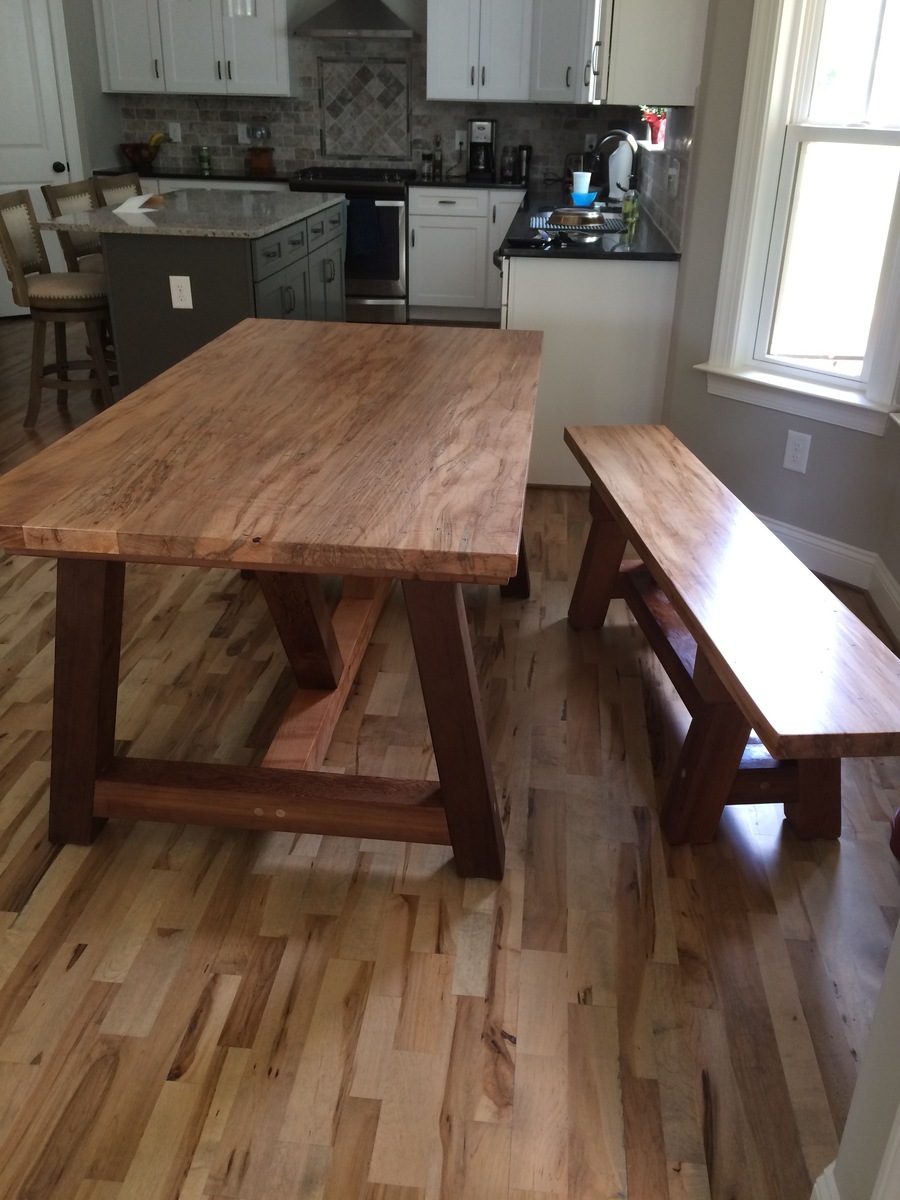
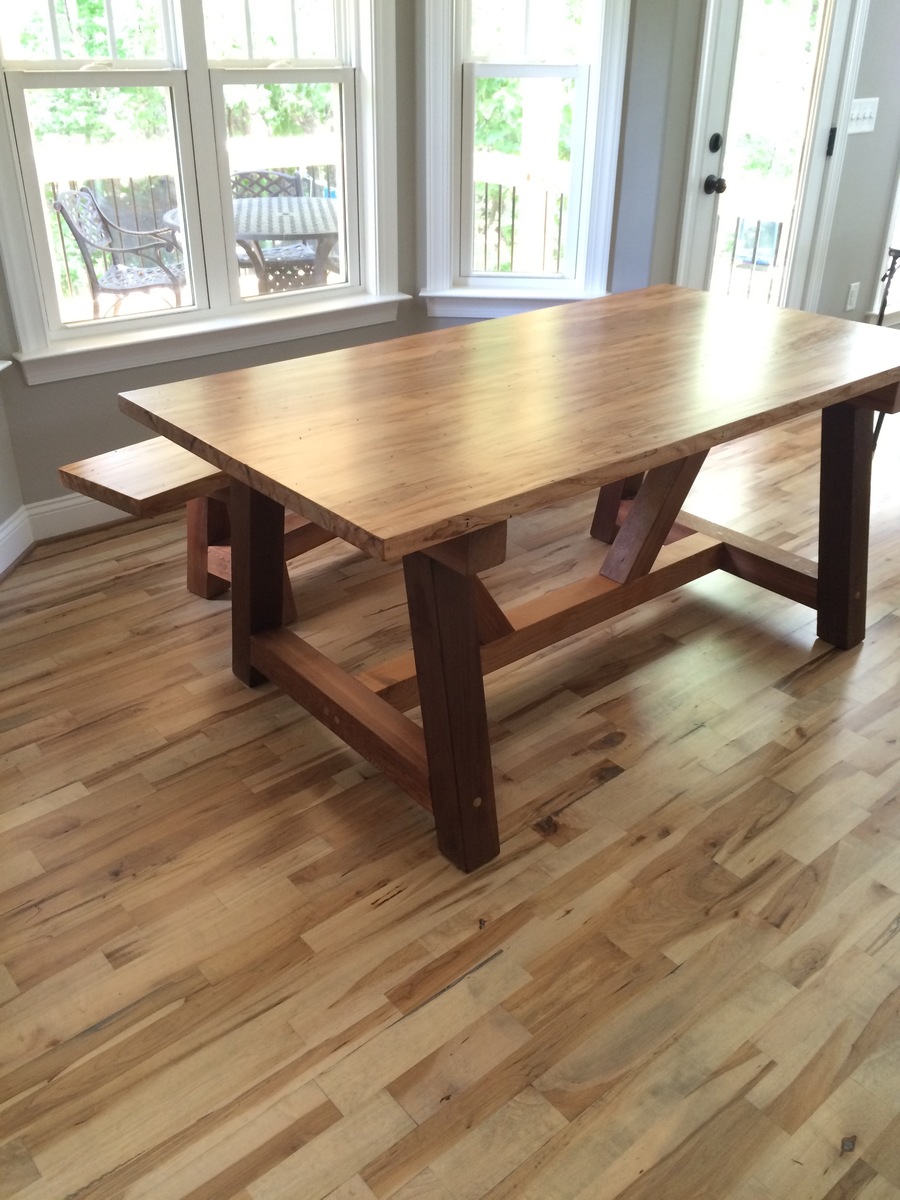
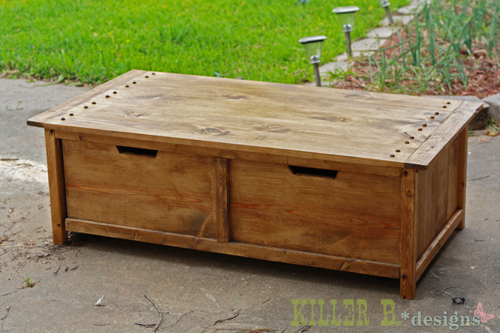
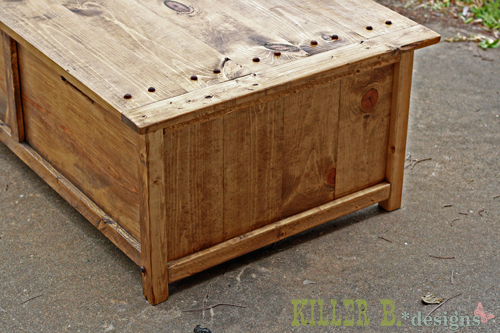
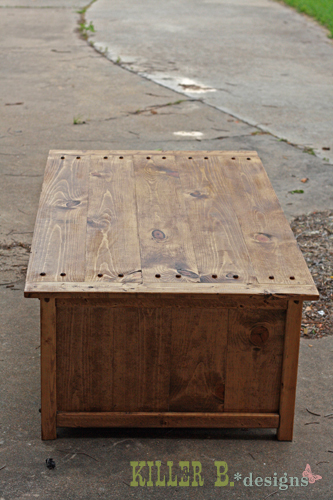
DIY Wooden Cooler Stand - Vintage Look
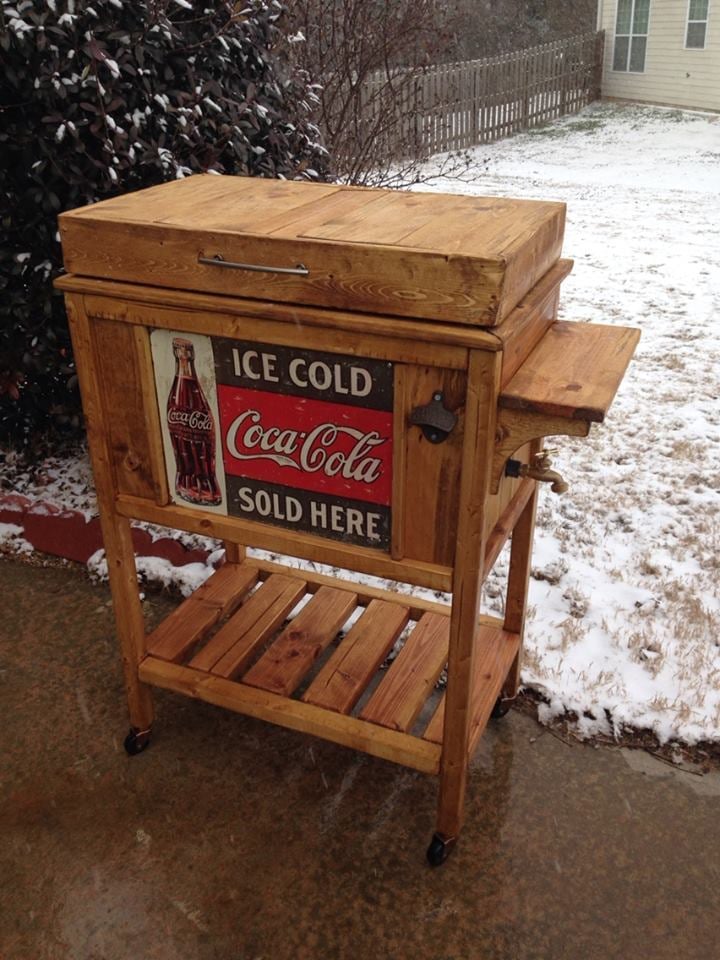
Got this idea from the blue cooler project - but decided to deck it out with vintage trimmings. Everyone who has seen it loves it! Very fun project.
Estimated Cost
70.00
Estimated Time Investment
Weekend Project (10-20 Hours)
Finish Used
Minwax Summer Oak - followed with polycryllc and johnson's furniture wax.
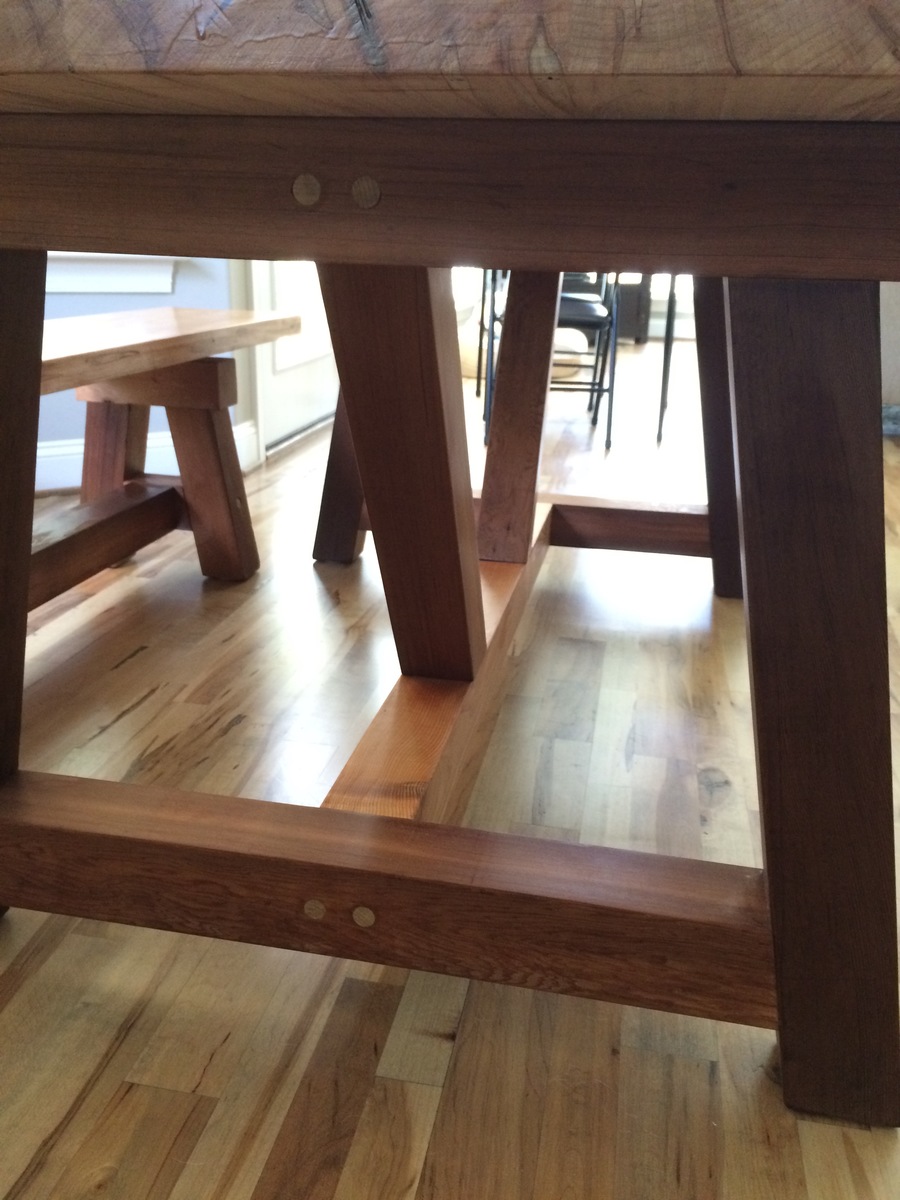
Recommended Skill Level
Intermediate


Comments
birdsandsoap
Mon, 02/03/2014 - 16:37
I love it! The Coke sign is
I love it! The Coke sign is very cool!
birdsandsoap
Mon, 02/03/2014 - 16:37
I love it! The Coke sign is
I love it! The Coke sign is very cool!
DIY everything
Tue, 02/04/2014 - 21:32
Very Nice!!!
I'm in the process of building one out of this plan too except I'm trying to use pallet wood. I love how your cooler turned out so I hope you don't mind that I use the same Coke sign. Awesome job!