Community Brag Posts

4x4 Truss Beam Table

Submitted by Anonymous (not verified) on Tue, 02/07/2023 - 12:39

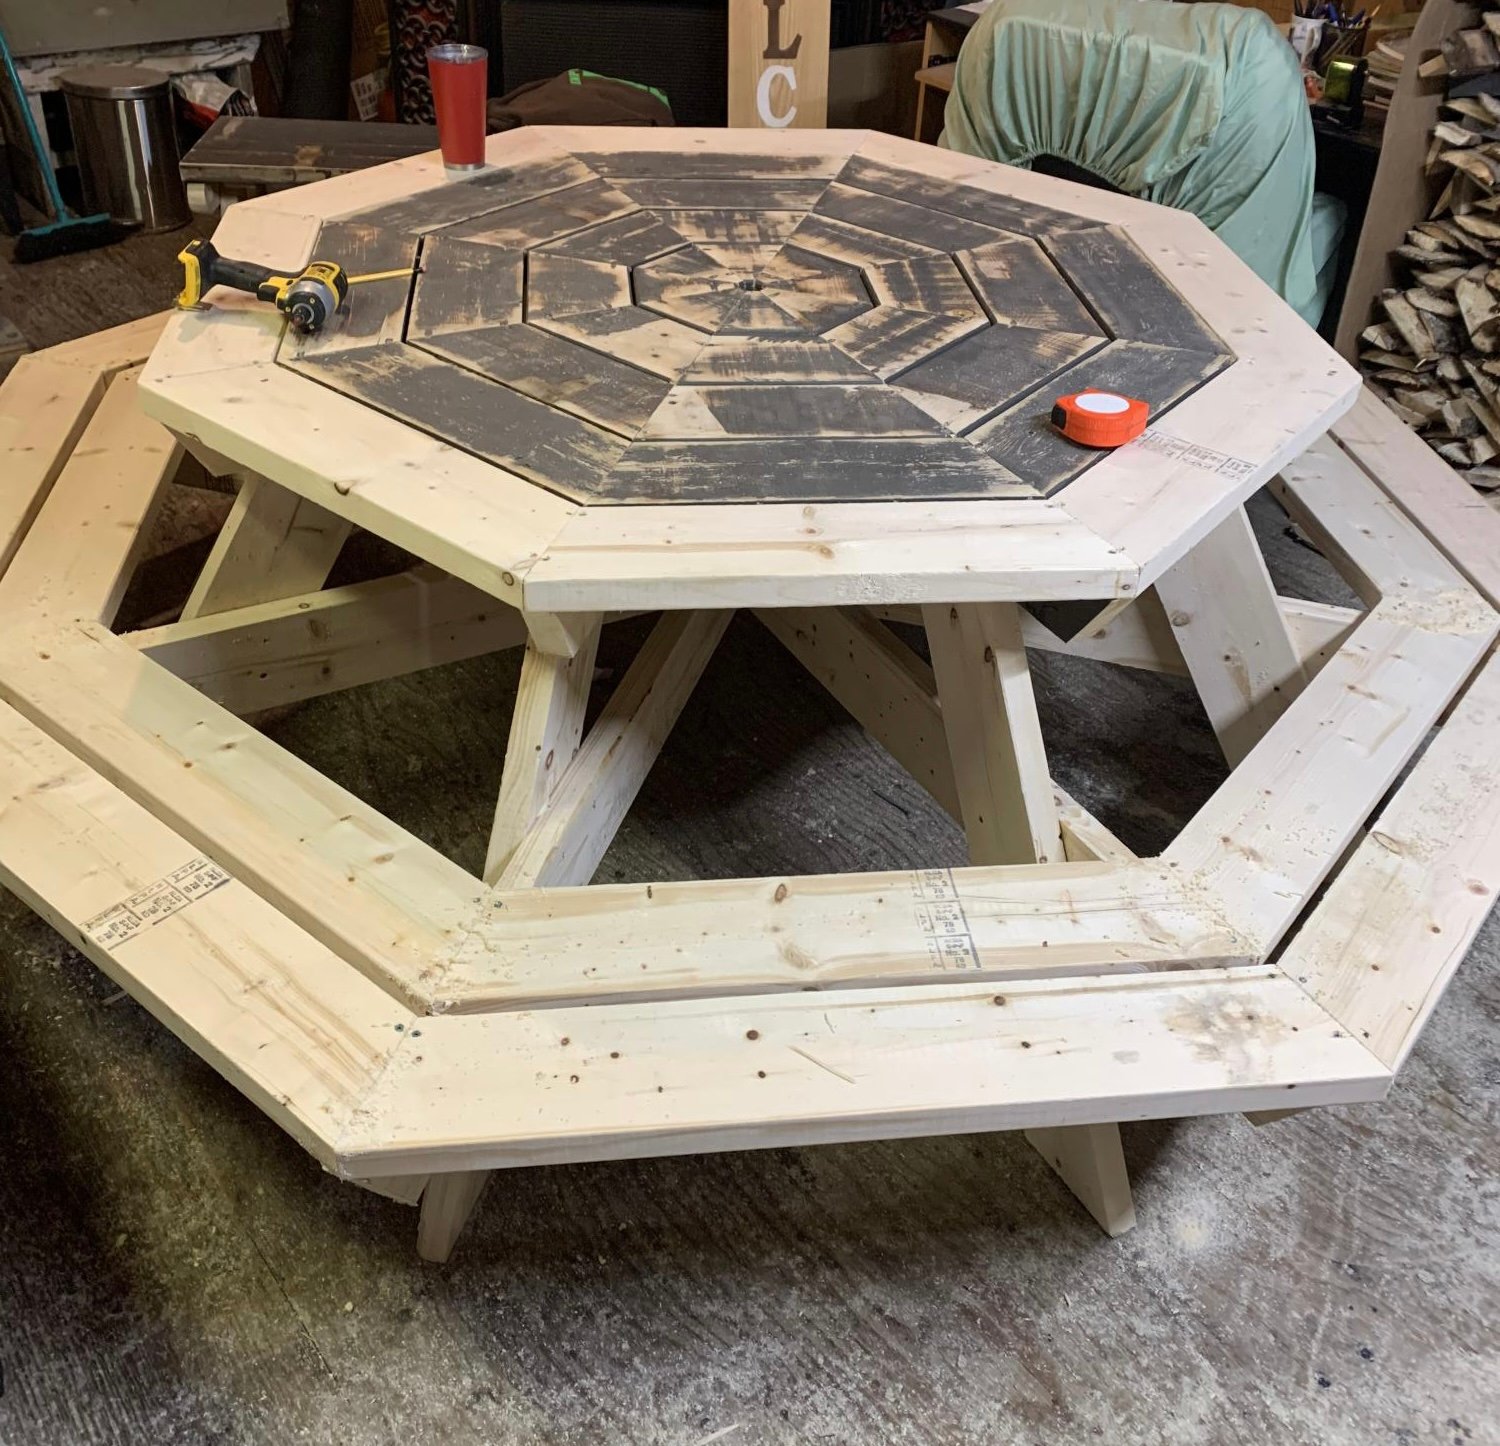
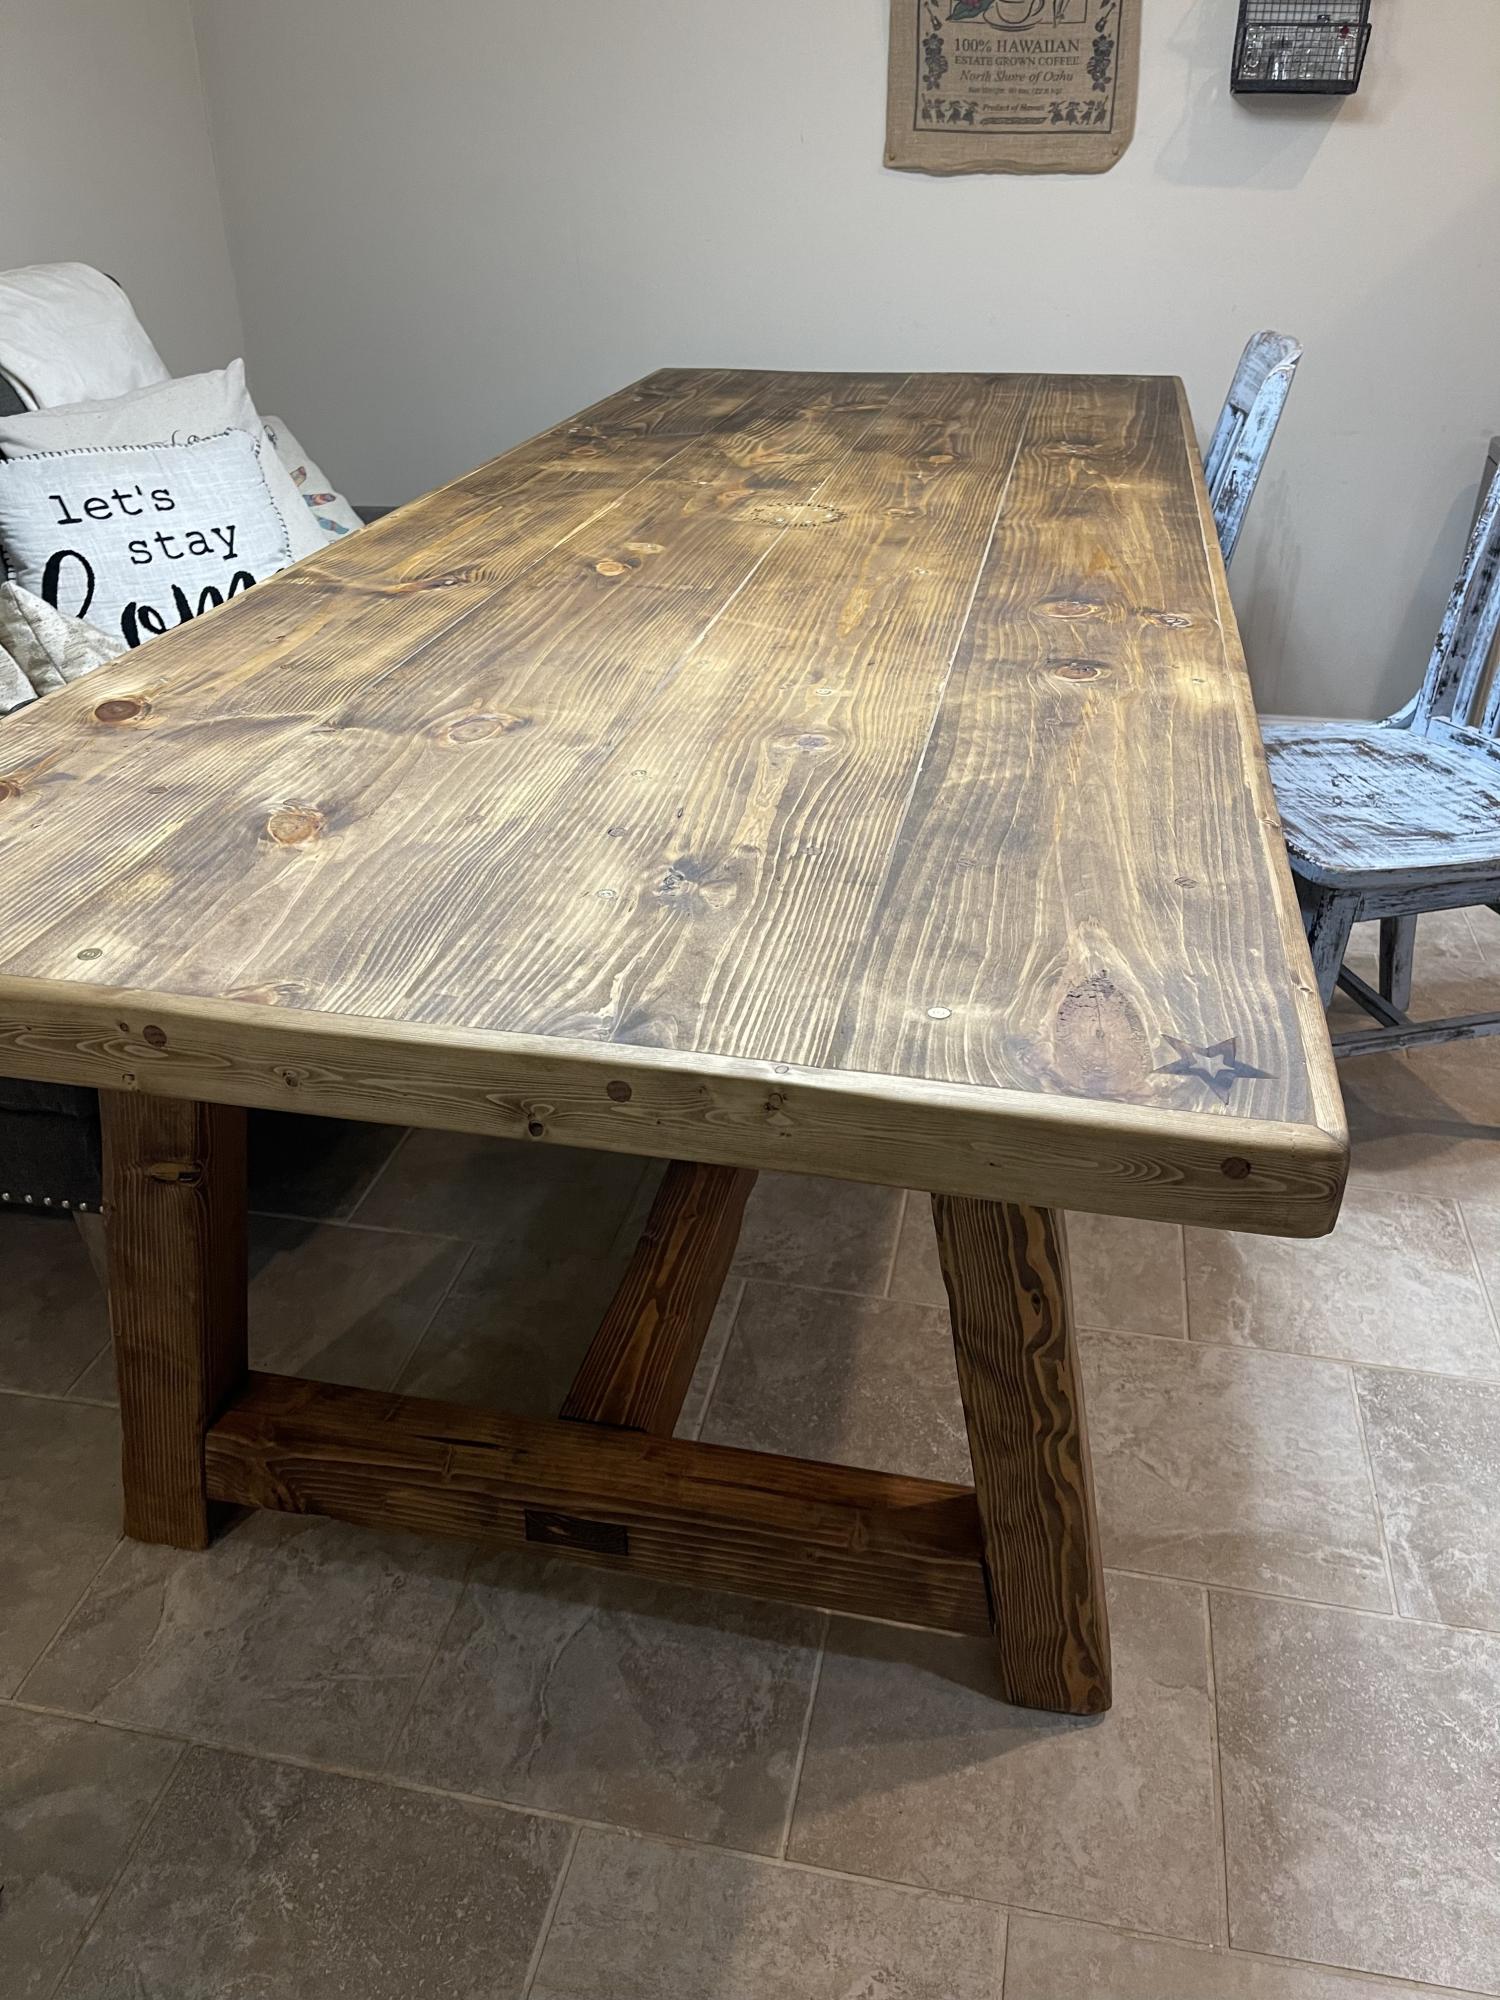
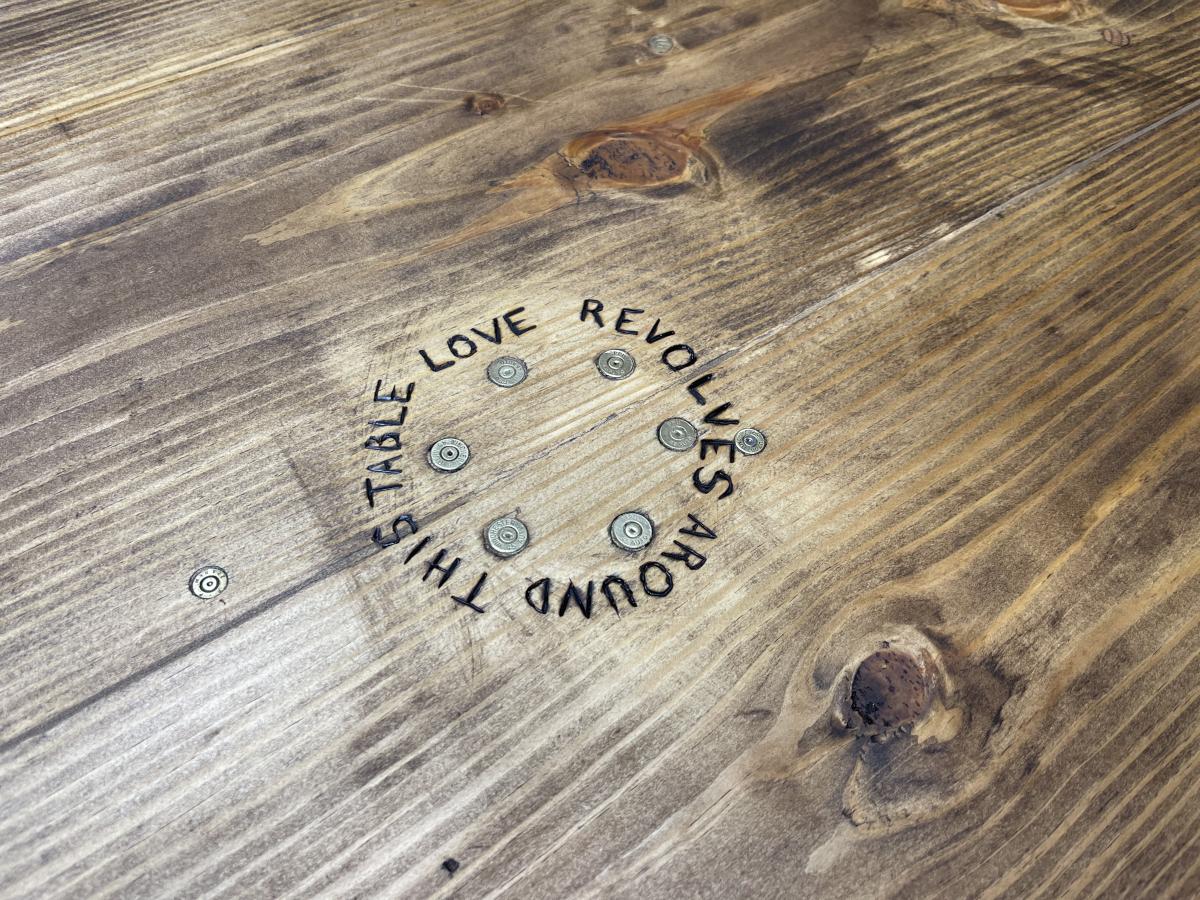
We stuck with th original plans, but instead of making table ends, we did full 2x10x8 boards and capped it with 1/3’s. We filled in the gaps in the wood with stainable wood filler. We also used a 1/2@ Forstner bit and recessed the screws and used wooden dowels to cover the screw holes. It gives it a beautiful finish. We also enjoy our pew pews, so we recessed .40, .45, .223, and .22 empty shells into the table. My husband wood burnt a message in the center of the table, then we sealed it all with one step minwax finish in mission oak.

Built from Plan(s)

Comments

Il Bagno

5 kids, 1 bathroom, lots of waiting.
Not long ago I built the "waiting bench" and while it looks great, the space needed another little touch.

So I painted a sign saying, "Il Bagno", that's a prettier way to say "the bathroom" (in italiano).

Estimated Time Investment
An Hour or Two (0-2 Hours)
Finish Used
had various left over spray paints that I layered, then put a dry brush coat of white(ish) paint. Then mixed some acrylic paint for the lettering and then did a little blue wash over the top. then after dry, gave it a little sand.
Recommended Skill Level
Starter Project

Rustic X End Table

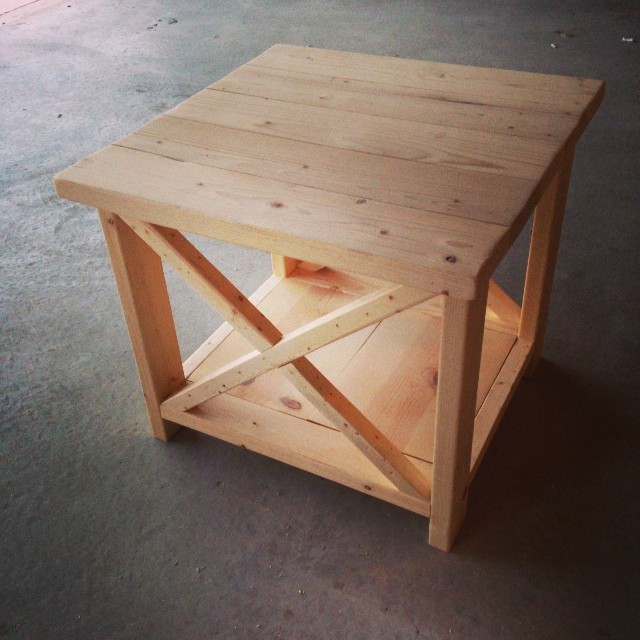
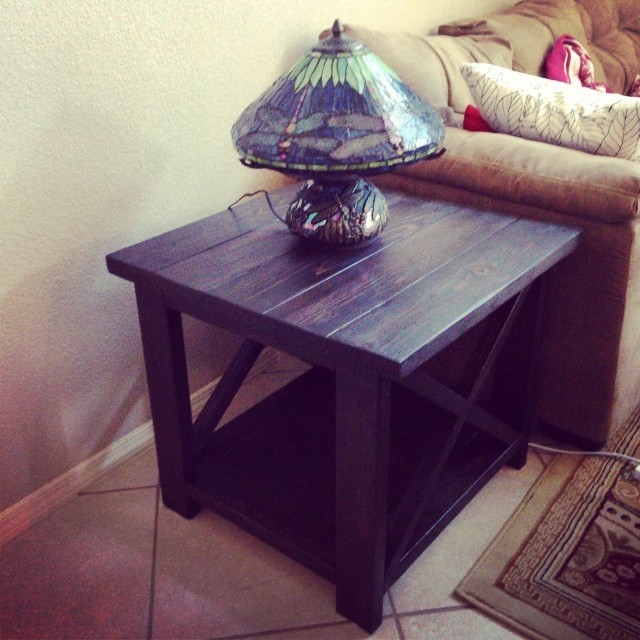
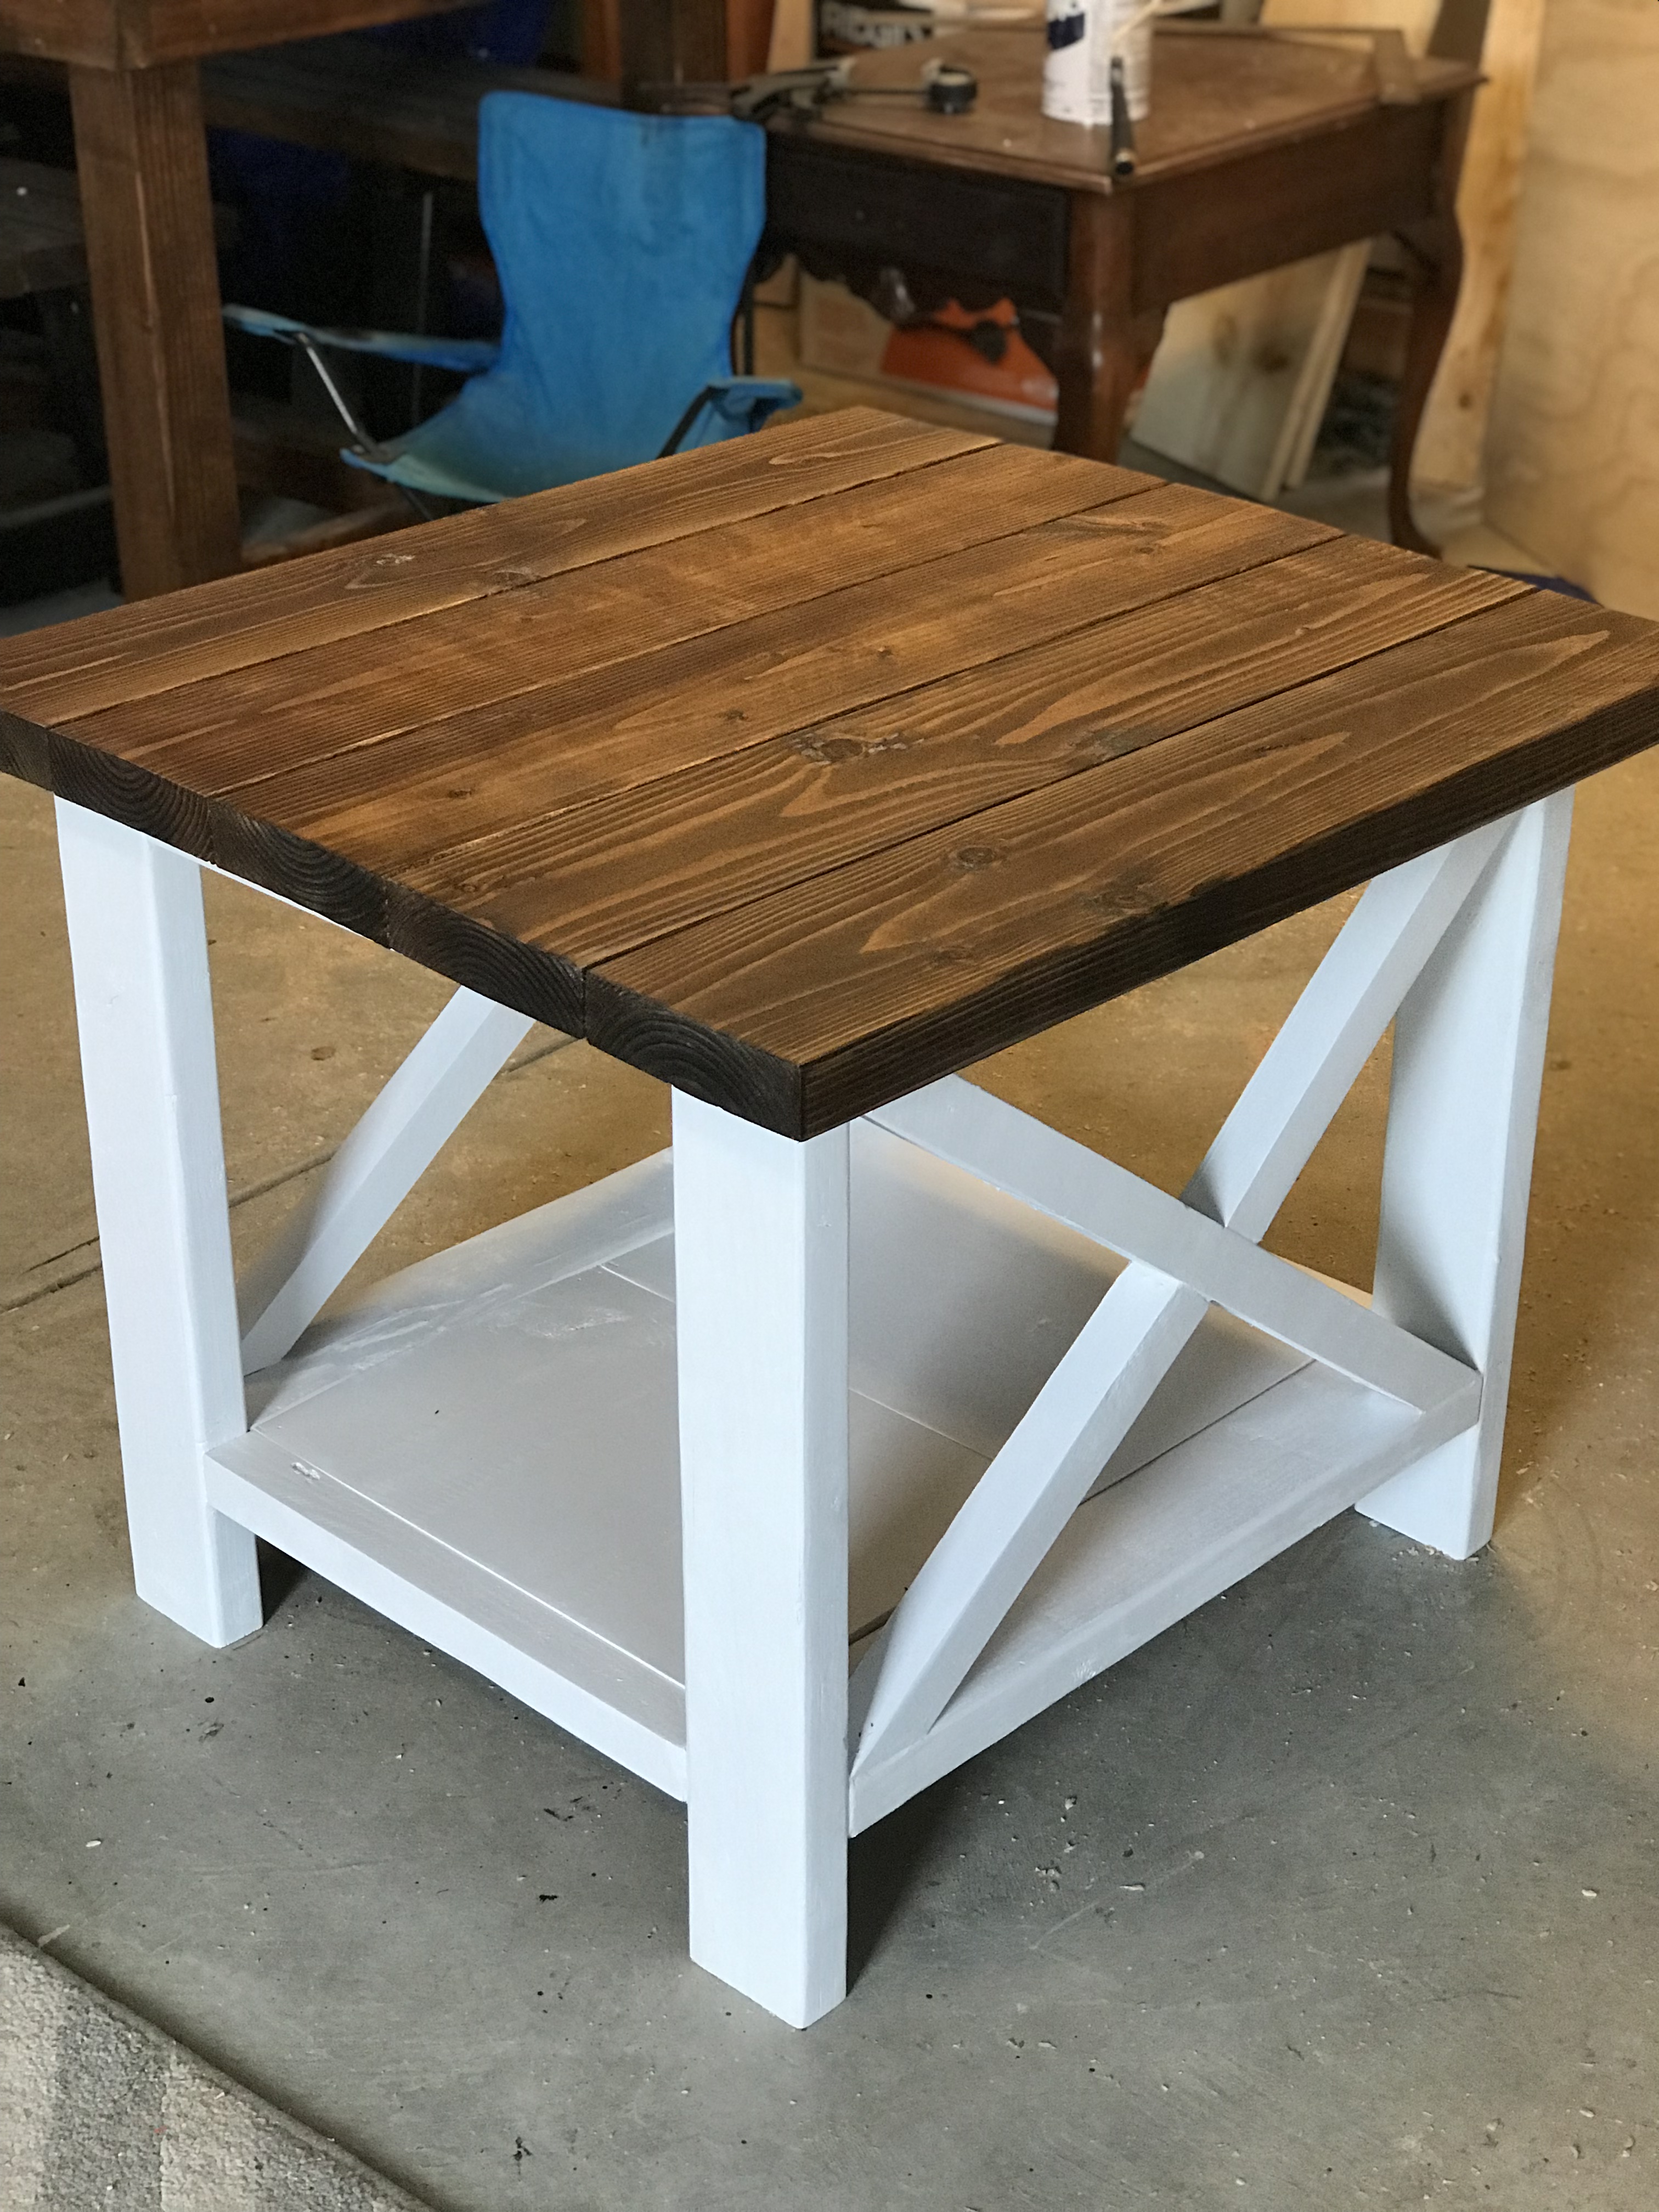
My husband and I built this after the Rustic X coffee table won us over. The end table building plan is awesome, straight-forward, easy to follow. What we have learned from building the coffee table was that it is much easier to finish the frame and then mark the 2x2 against the bars for exact cut. We tried following the cut list, but turned out if the other cuts are slightly off, or the table is not squared, or the wood is not straight, then there may be a slight gap. So marking the 2x2 against the built frame was a much easier option for us. Of note, the end table is pretty big. So if you have a smaller living room, you may want to size down accordingly.

Built from Plan(s)
Estimated Cost
$30
Estimated Time Investment
Day Project (6-9 Hours)
Finish Used
Conditioned, stained in Kona, matte finish
Recommended Skill Level
Beginner

Planter

Submitted by Anonymous (not verified) on Sun, 01/03/2016 - 09:35

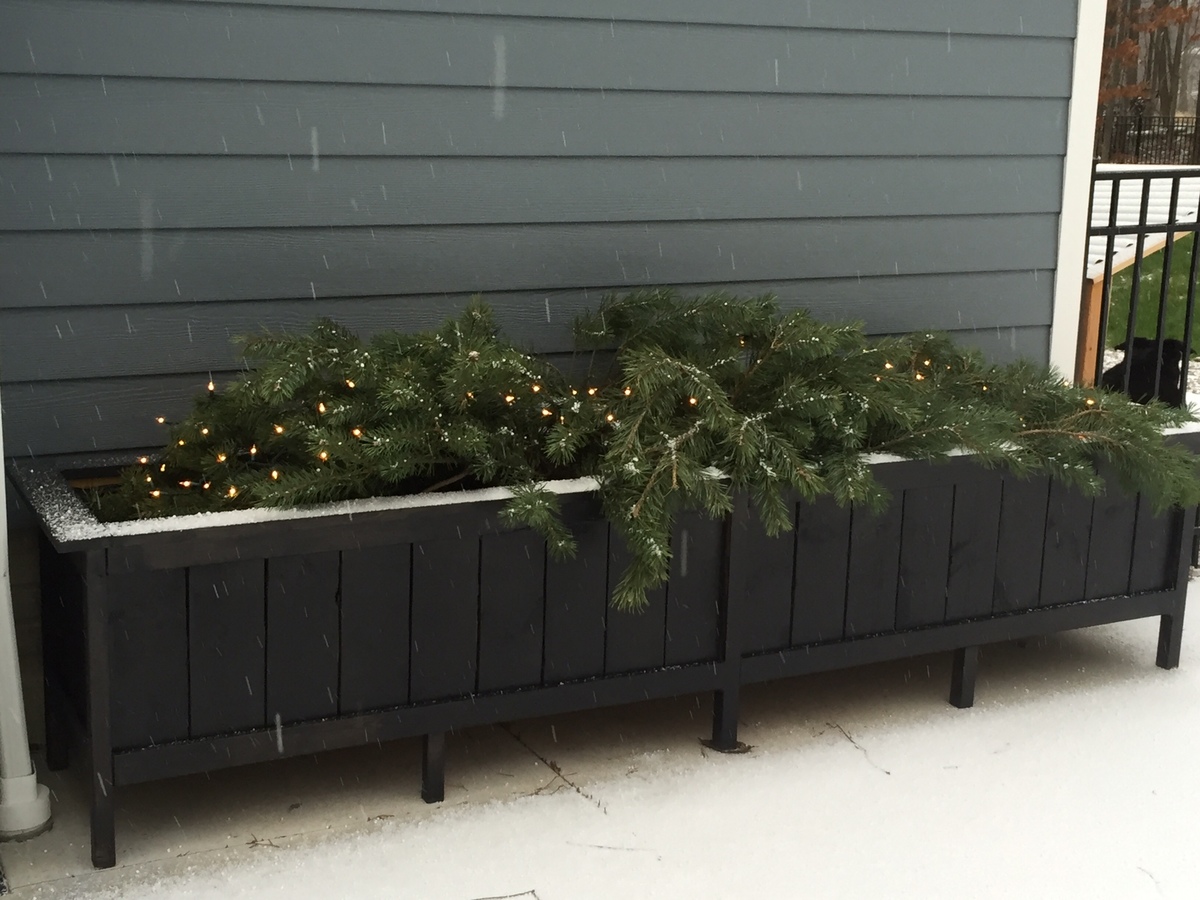
Tripled the dimensions, filled with mums for the fall. Now pine boughs and fairy lights! Love!

Built from Plan(s)
Estimated Time Investment
Weekend Project (10-20 Hours)
Finish Used
Outdoor stain, poly
Recommended Skill Level
Beginner

CA King Farmhouse Bed

Submitted by Anonymous (not verified) on Fri, 03/22/2019 - 09:39

This was my husband's 3rd or 4th Ana White project.  We also had to go back for mre wood as the shopping list was not complete.  

Estimated Cost
$350
Estimated Time Investment
Week Long Project (20 Hours or More)
Recommended Skill Level
Intermediate

Comments

B's toy box

Submitted by kareylynn on Mon, 10/24/2011 - 19:12

I built this toy chest out of some beautiful oak. I used brad nails to tack on a sign I painted with his name. That can be removed later with little damage to the chest.

Built from Plan(s)
Estimated Cost
$150.00
Estimated Time Investment
Weekend Project (10-20 Hours)
Finish Used
Minwax Golden Oak, 2 coats of Rub On Poly
Recommended Skill Level
Intermediate

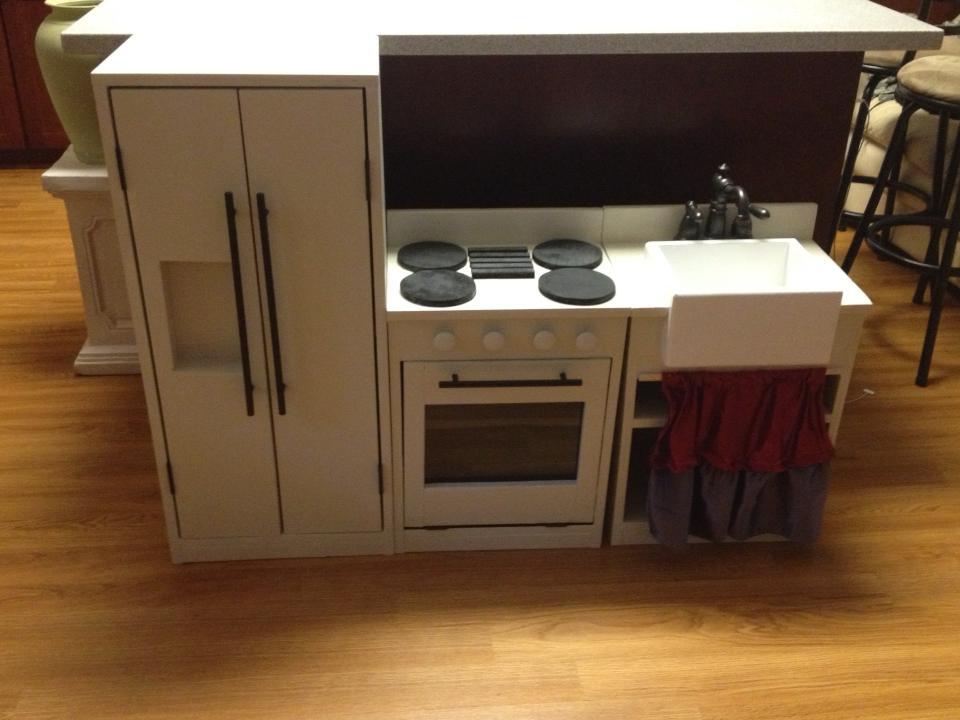
Kitchen set

This was a kitchen for friends daughters birthday. I used my nail gun on this, made it so much easier:)

Estimated Time Investment
Weekend Project (10-20 Hours)
Finish Used
I used Behr Ocean Pearl and polycrylic coat.
Recommended Skill Level
Starter Project

Comments

DMax2010

Fri, 10/18/2013 - 04:47

I made this kitchen for my son, it was one of my first projects, and I love seeing all the different ways people decorate these!

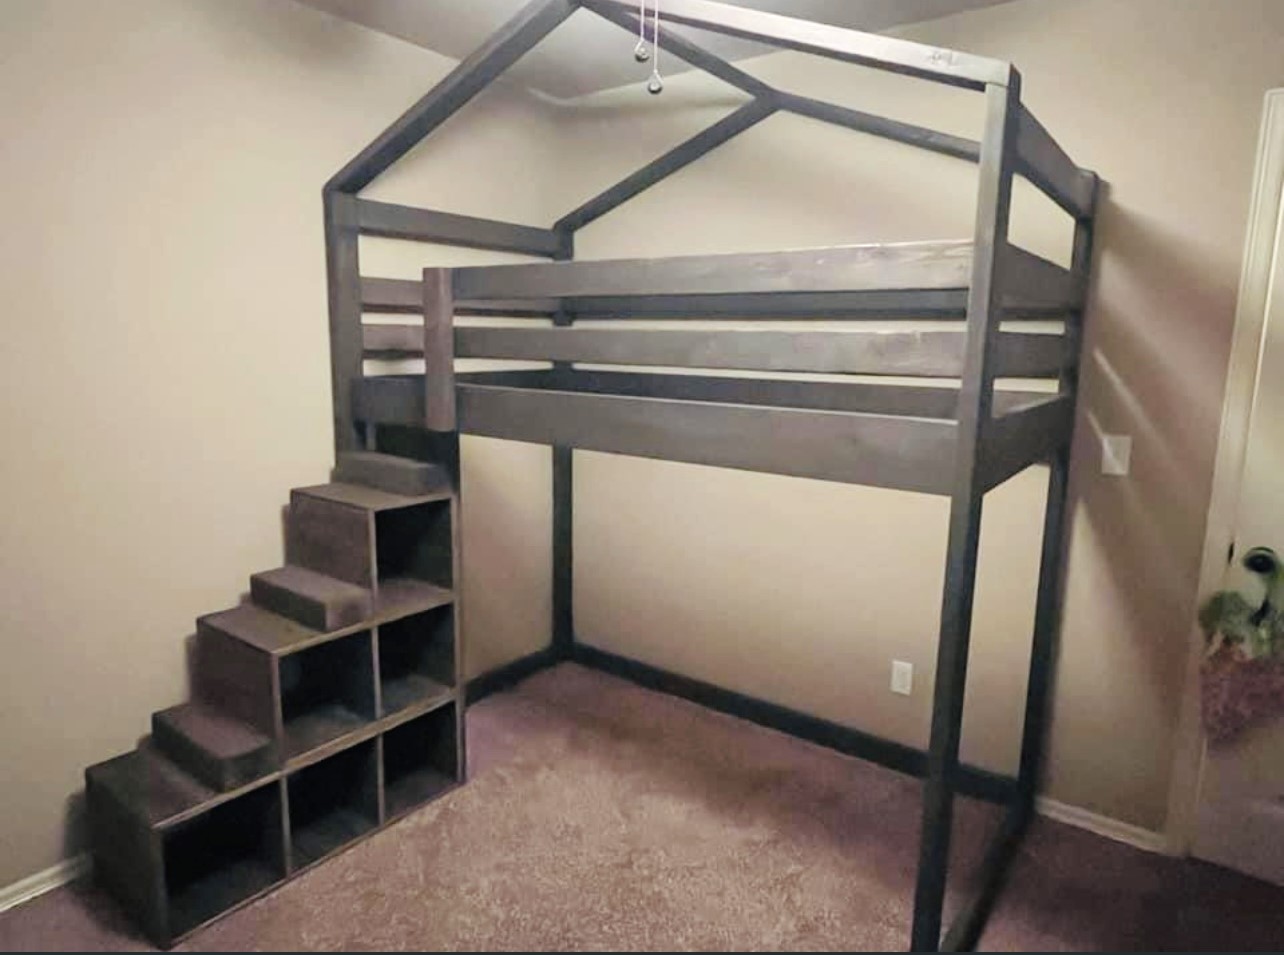
Mikey's Clubhouse Bed

Submitted by Jenga on Mon, 01/04/2016 - 17:41

Finished project for Mikey's bed.

Built from Plan(s)
Estimated Time Investment
Week Long Project (20 Hours or More)
Finish Used
Dark Maple after burning for a antiqued weathered looked
Recommended Skill Level
Intermediate

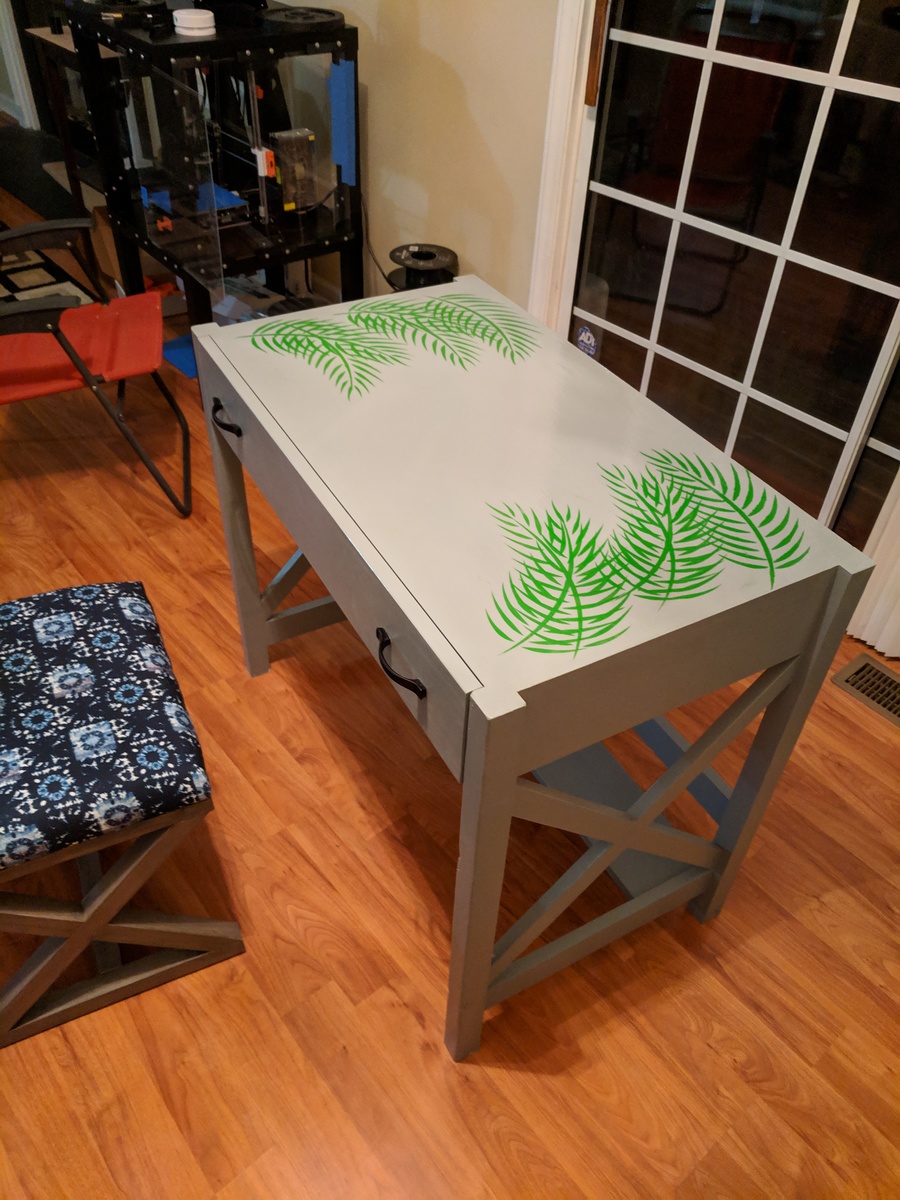
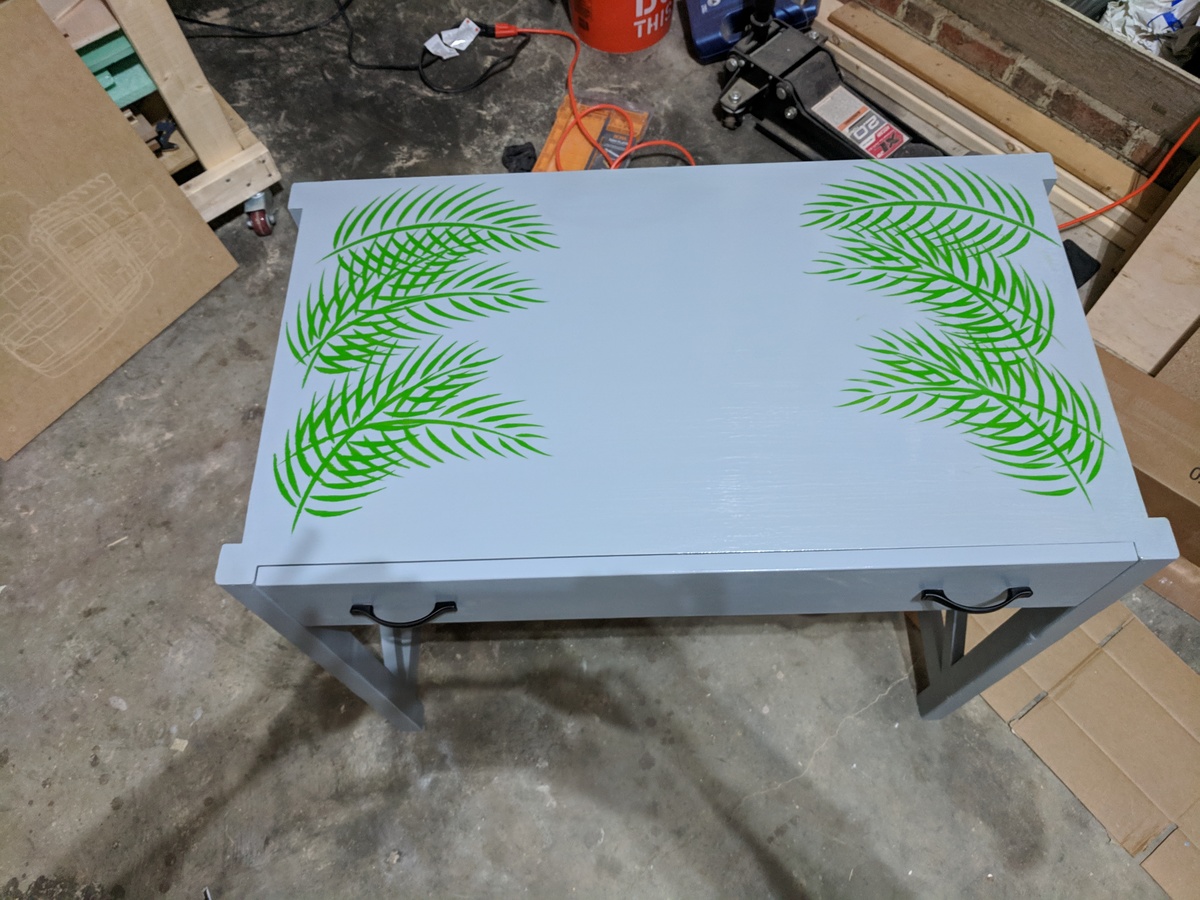
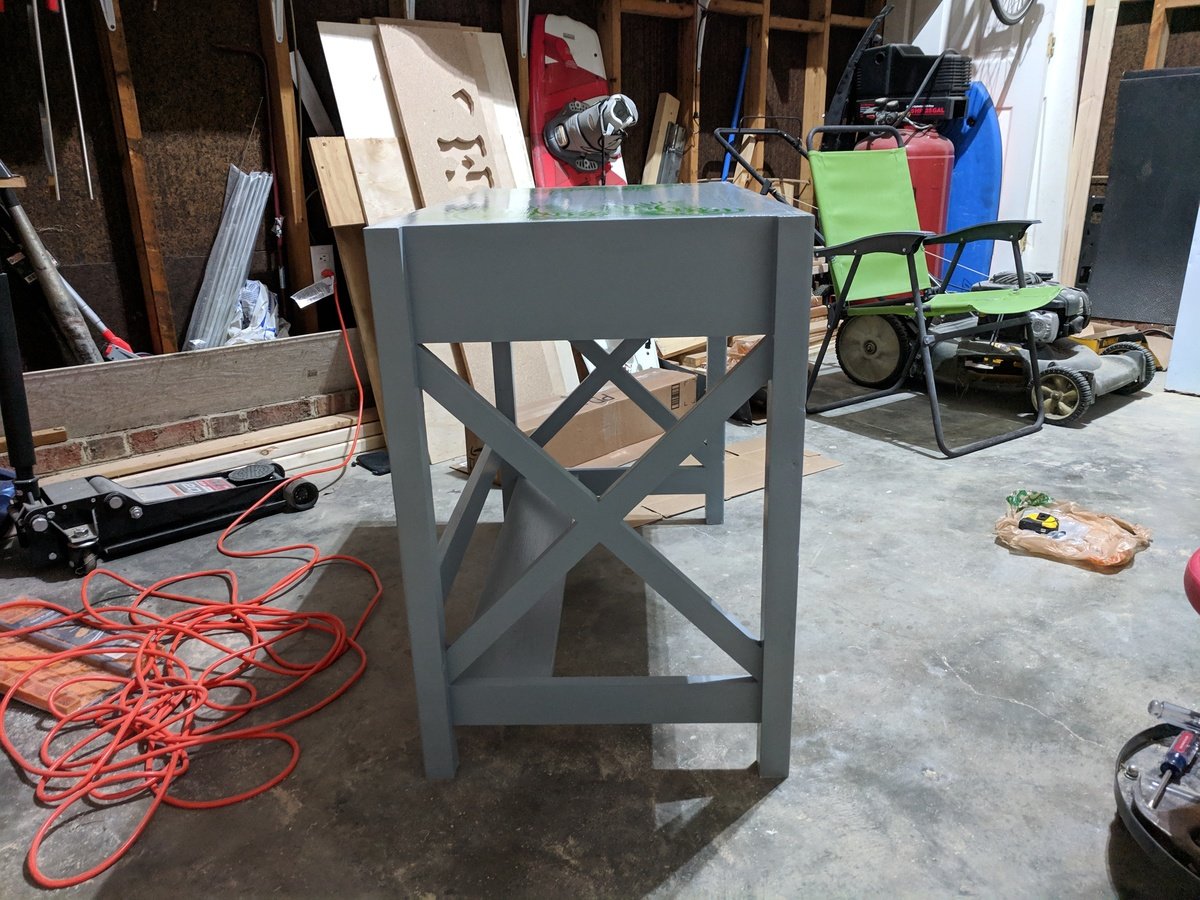
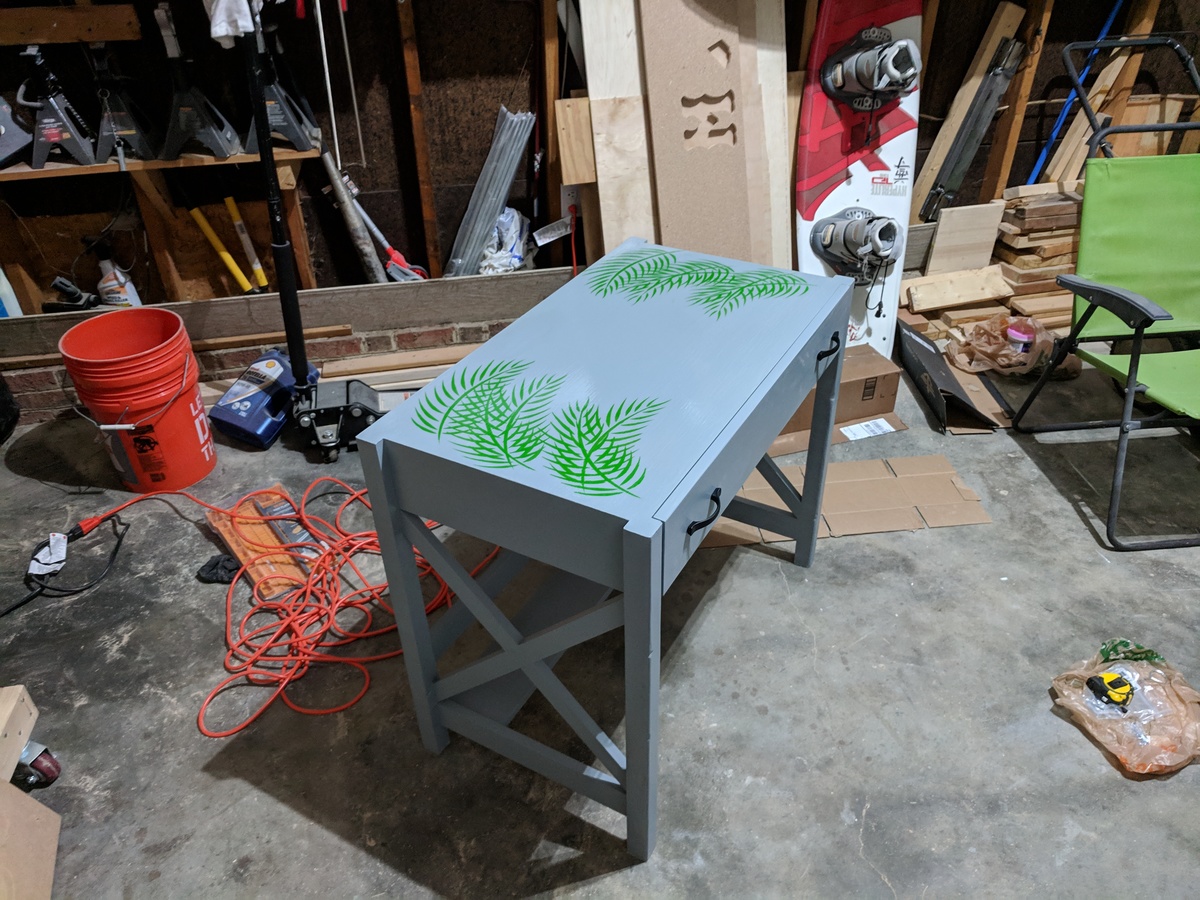
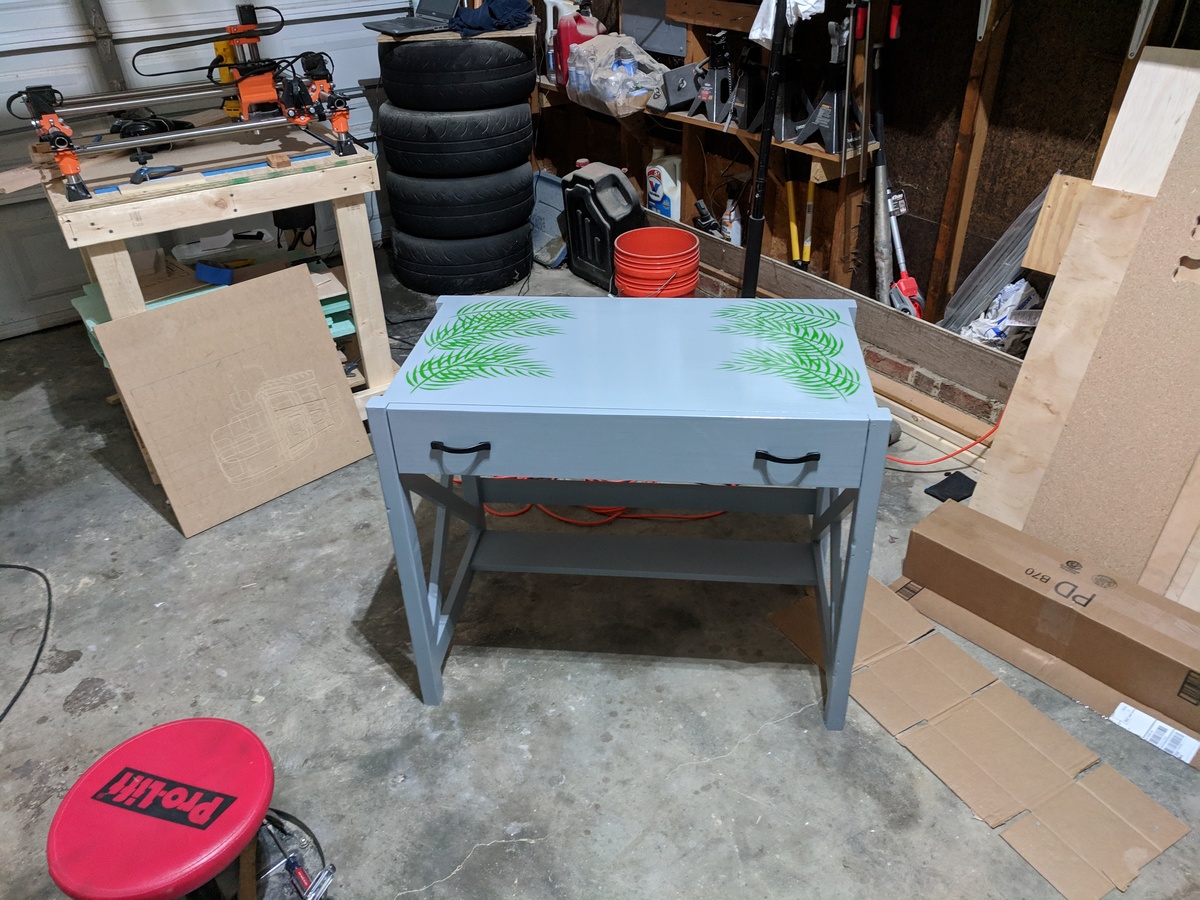
Desk X Build

Submitted by Anonymous (not verified) on Tue, 03/26/2019 - 07:12

Full timelapse and thoughts in the imgur album.

Estimated Cost
$120
Estimated Time Investment
Weekend Project (10-20 Hours)
Finish Used
Behr: Moonquake grey and Luck of the Irish green. Polyurethane on the top and drawer face.
Recommended Skill Level
Beginner

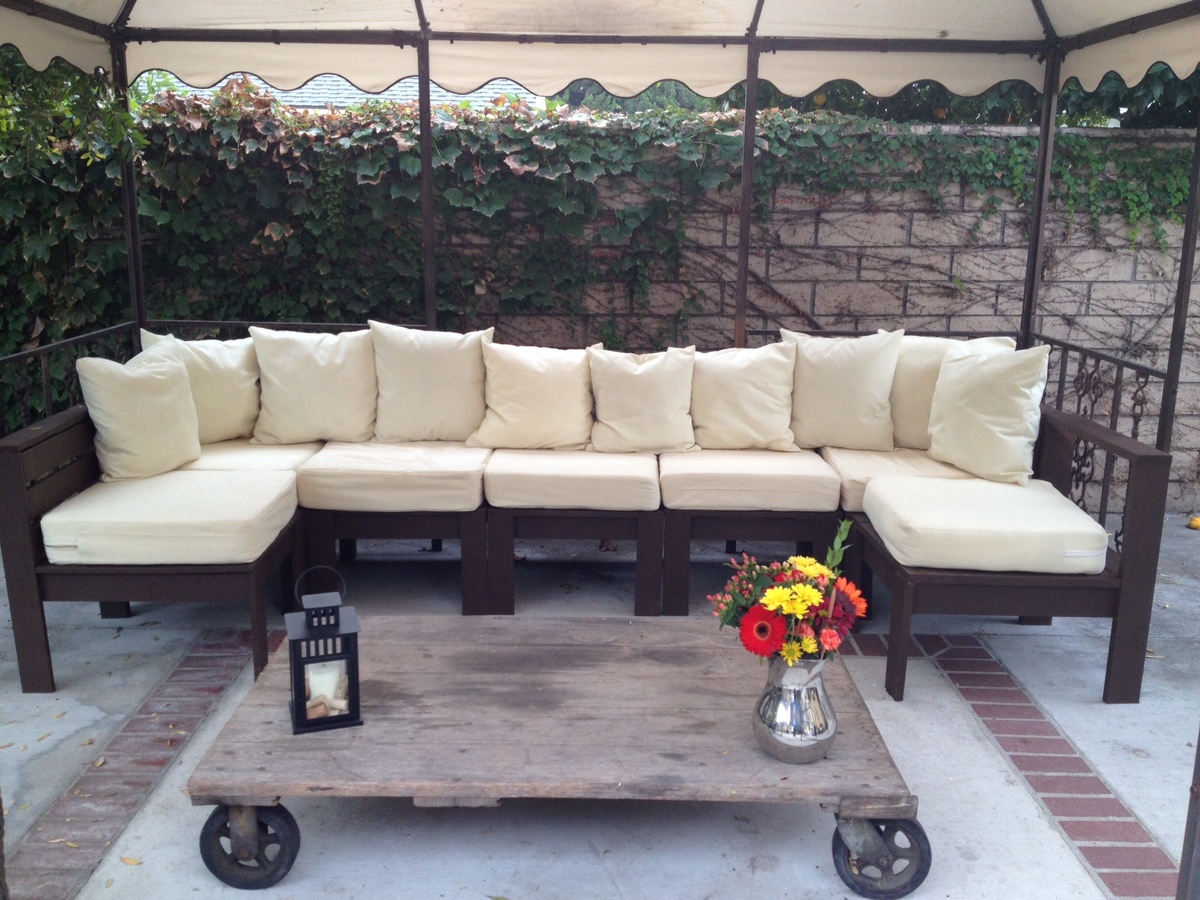
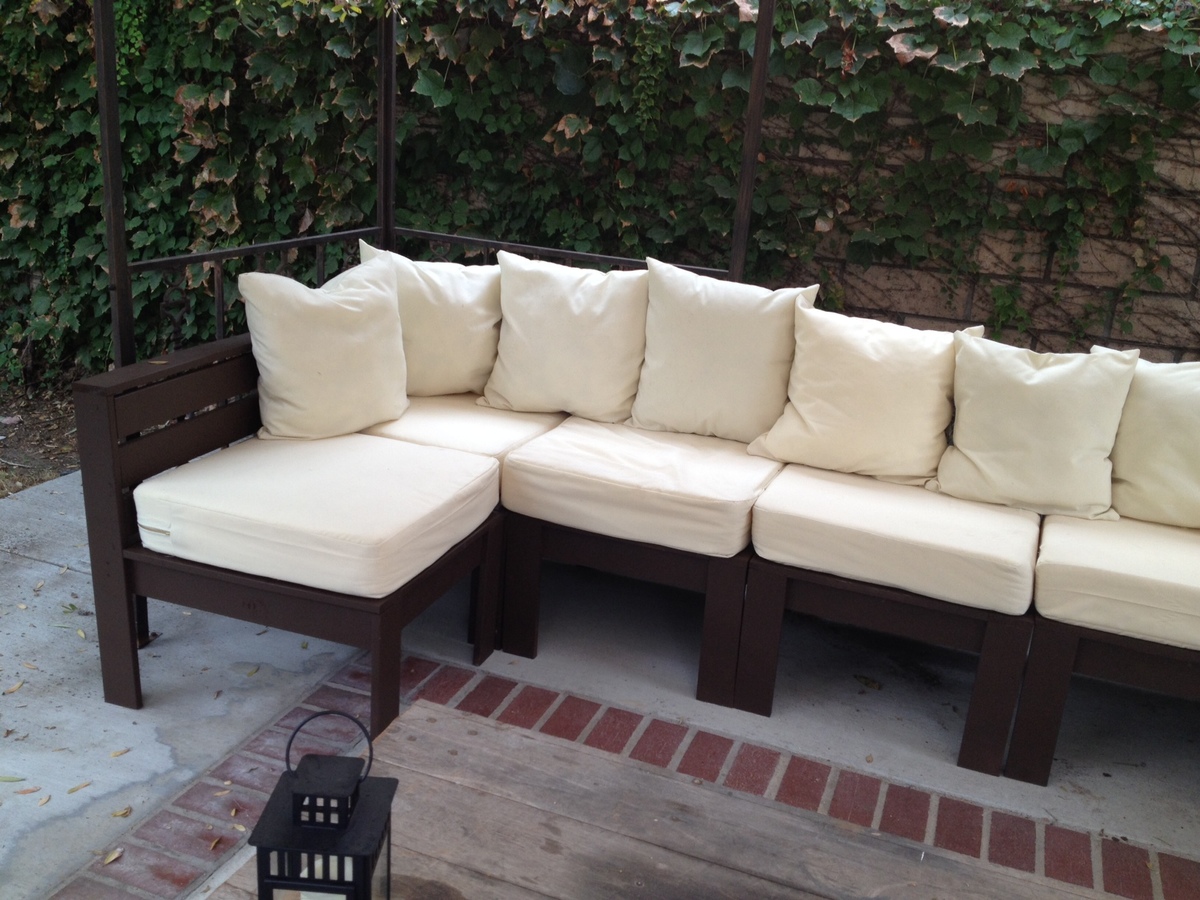
Giant outdoor sectional

Submitted by nprince on Mon, 10/21/2013 - 09:49

This is the first wood working project I took on. My husband thought I should start with, like a birdhouse or something, but I'm a "go big or go home" kind of person (plus I hate birds), so I thought a seven piece sectional was the way to go. After a few lessons from him on the miter saw, I got the clear to work on the project solo. (My husband builds a lot of our furniture but I insisted I wanted to do this 100% myself...and he surprisingly agreed).

The first section took a really long time for me to do (maybe 4 hours), but considering I've never even so much as drilled a hole for a screw, I considered it a success. After that (and after I decided to go out and buy a Kreg Jig - best invention ever - and ditch the "knock off" I tried to buy/use), it was pretty smooth sailing from then on out. Aside from being time consuming, I was surprised at how easy the plans were to follow. Ana it truly amazing for publishing these.

From start to finish, it probably took me a month to complete (and THANK GOD we bought a paint sprayer in anticipation for painting the outside of our house, or I think it would've taken at least another week to finish). But that's also because I stupidly decided to sew all of the cushions/pillows myself. I just couldn't justify ordering pre-made ones for seven individual pieces (the price quote I was getting for that and what I wanted was close to $1,000 in itself).

Overall, I'm VERY excited/please with how it turned out. I priced out the West Elm sectional of this size and it would've cost us about six times what it cost us to build from scratch. I can't wait to take on the next project (after a much needed break...)

Estimated Cost
Wood ($200), Cushions ($450)
Estimated Time Investment
Week Long Project (20 Hours or More)
Finish Used
I used a dark espresso outdoor behr pain.
Recommended Skill Level
Beginner

Comments

nprince

Mon, 10/21/2013 - 15:02

I stumbled upon your site a couple of months ago, and I'm a bit obsessed. I have a laundry list of projects I want to do now...more to come!

- Nicole

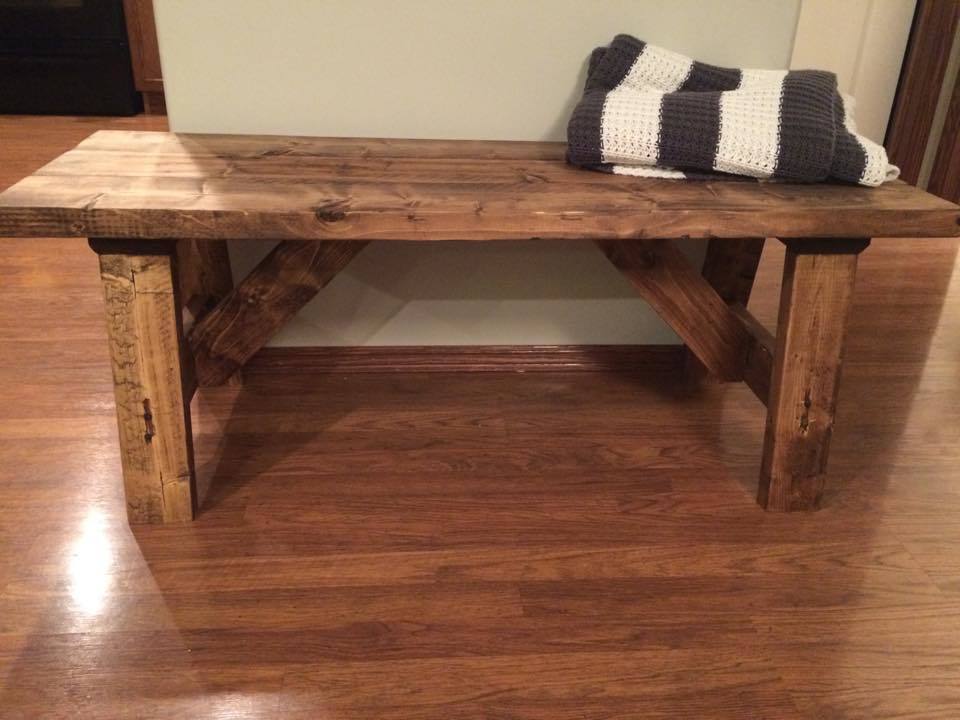
Providence Bench

Submitted by Anonymous (not verified) on Wed, 01/06/2016 - 13:07

I LOVE this bench. It's simple and rustic, yet absolutely beautiful. I modified the plans slightly to exclude the long support board along the bottom of the bench and found that the bench is still very sturdy and stable. I love that this bench is a relatively easy and quick to complete project, with such a gorgeous end product!

Built from Plan(s)
Estimated Cost
$25
Estimated Time Investment
Afternoon Project (3-6 Hours)
Finish Used
I used Minwax brand stain in Provincial for the color and finished it with Varathane brand varnish in a matte finish.
Recommended Skill Level
Intermediate

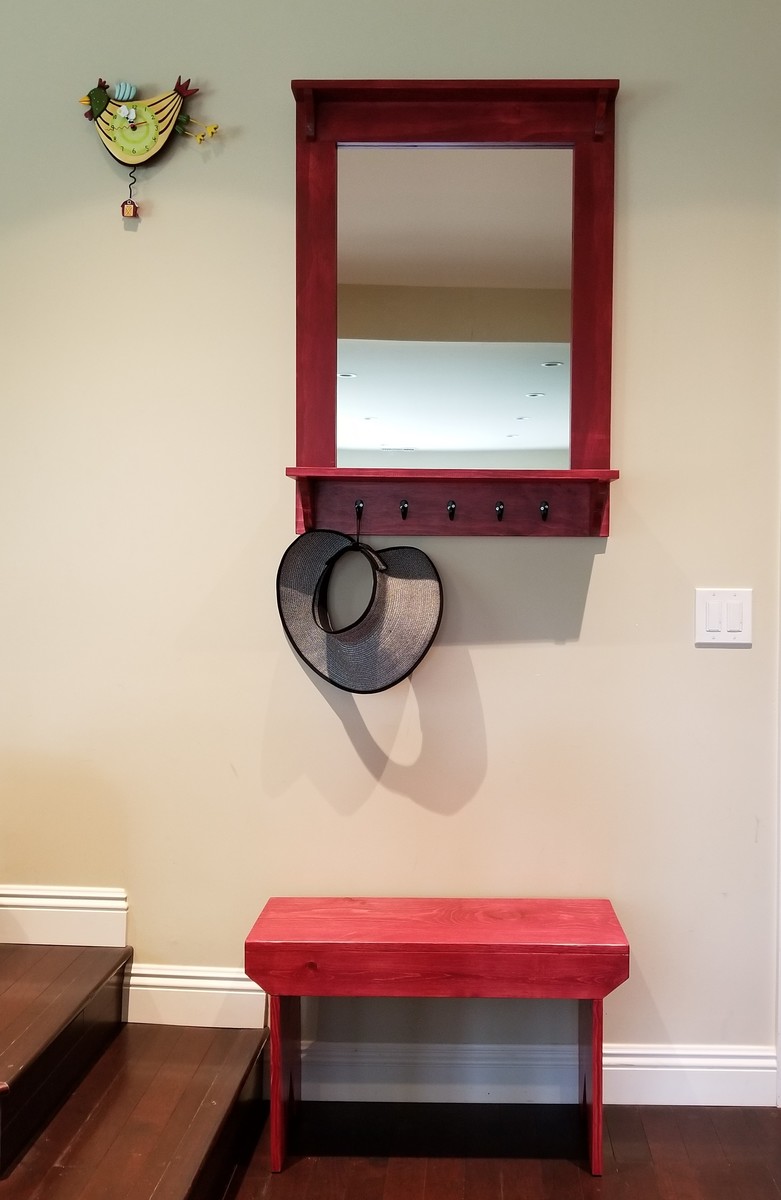
Bench and mirror

Submitted by ogie287 on Sat, 04/20/2019 - 12:21

This is the 5-board bench and project #2 mirror from Ana's "The Handbuilt Home" book. The bench was shortened to fit the space that I wanted it for. 

Estimated Cost
$50
Estimated Time Investment
Afternoon Project (3-6 Hours)
Finish Used
Barn red stain and matte polyurethane
Recommended Skill Level
Beginner

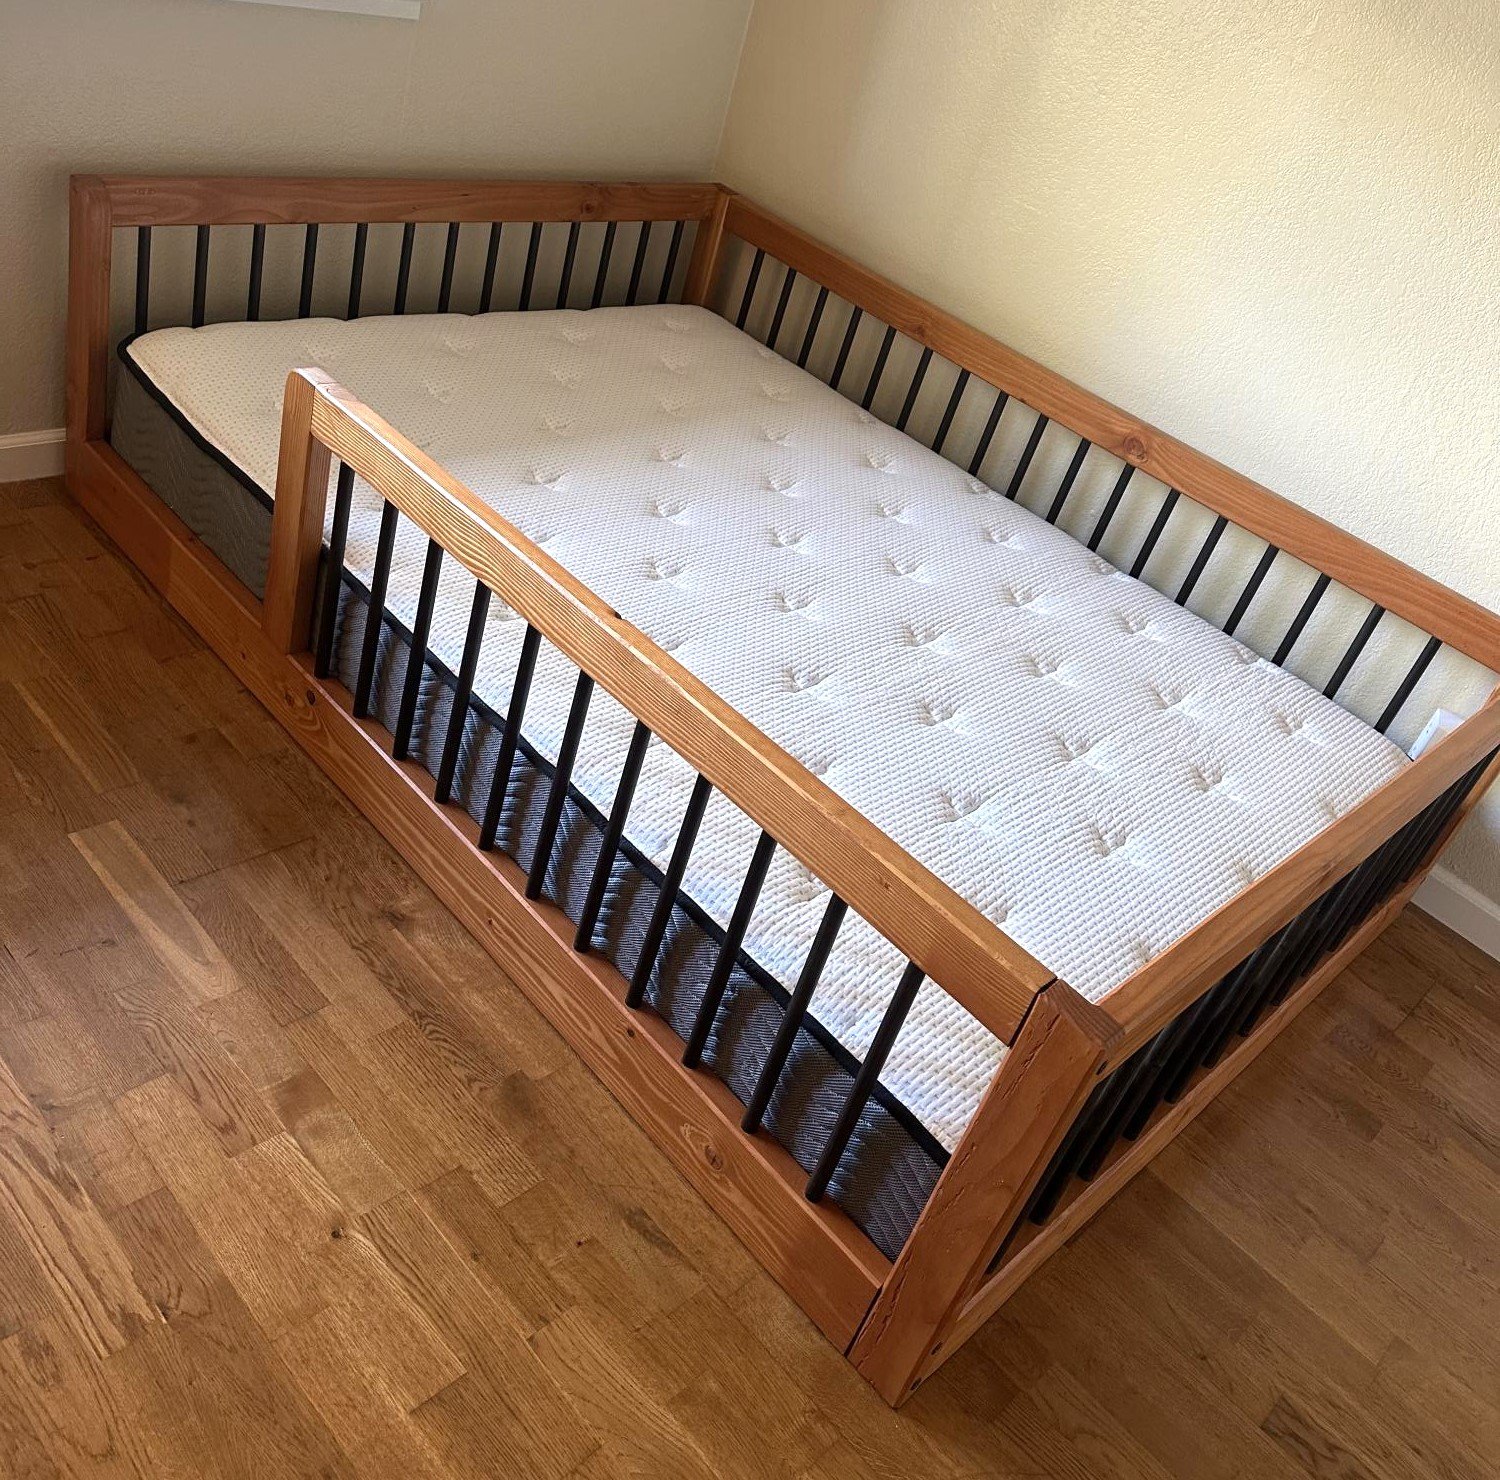
Montessori bed

Submitted by Anonymous (not verified) on Fri, 02/24/2023 - 07:53

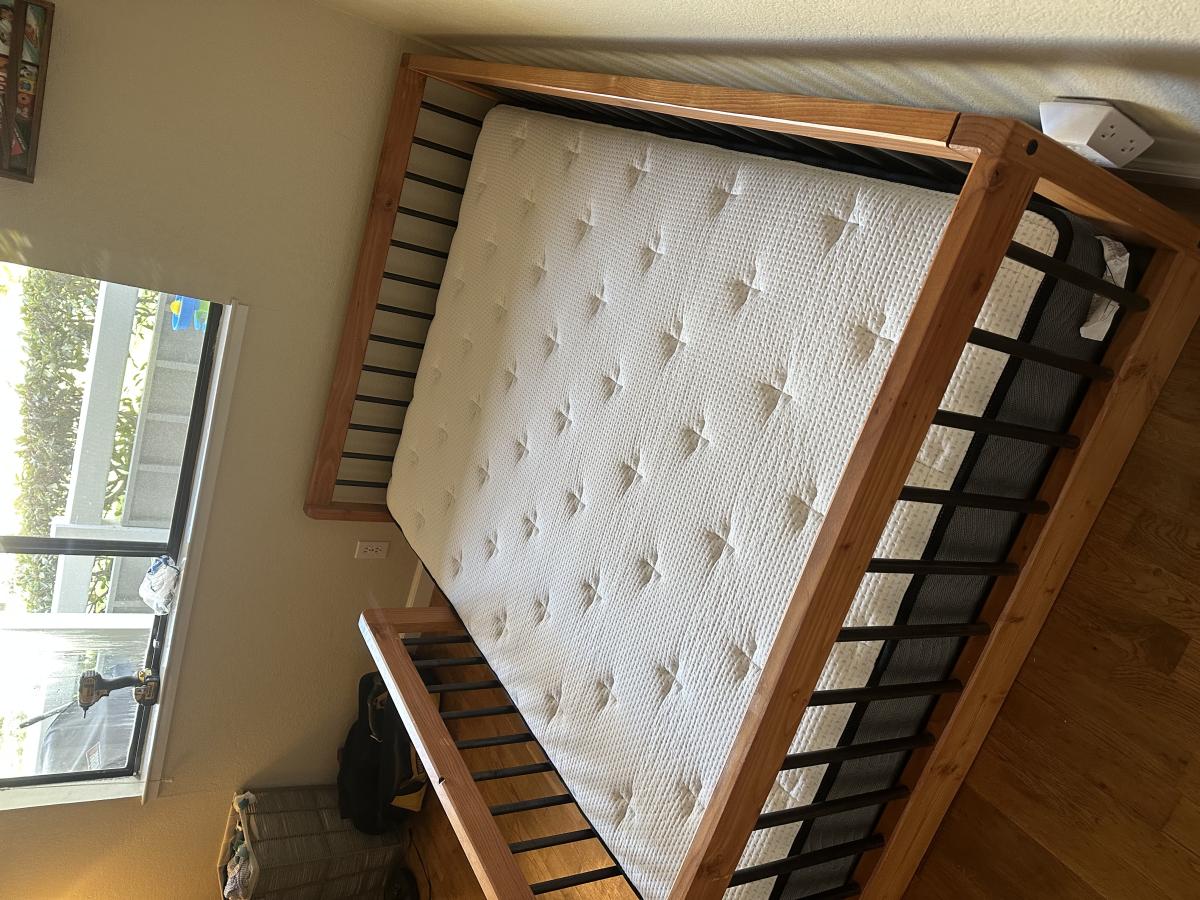
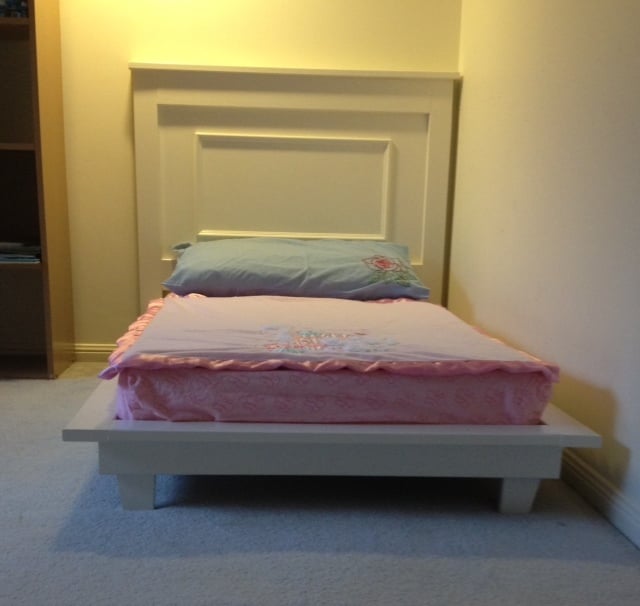
A Montessori (full size) bed made for my grandson Jack’s 1st Birthday.

Comments

Console Bookshelf

Submitted by jlamorey on Fri, 11/04/2011 - 12:10

A bookshelf to help with the everyday clutter in our kitchen.

Built from Plan(s)
Estimated Cost
$50
Estimated Time Investment
Day Project (6-9 Hours)
Finish Used
Used MinWax Ebony stain and rub on poly
Recommended Skill Level
Beginner

Comments

Claudia

Sat, 11/05/2011 - 12:07

Glad to see someone build this plan--have been considering it, but wanted to see a finished photo. Thanks!

wpaul

Sun, 05/26/2013 - 11:04

The plan shows a total width of 39" but that's a bit too much for me (I'm mostly just wanting to store reference books next to my desk and don't need that much space). I like the proportions on your build, can you say how wide it is? (I'm assuming it's not 39", unless you have some massive countertops!)

Thanks.

Fillman Toddler Bed

Submitted by brogers67 on Thu, 10/24/2013 - 01:37

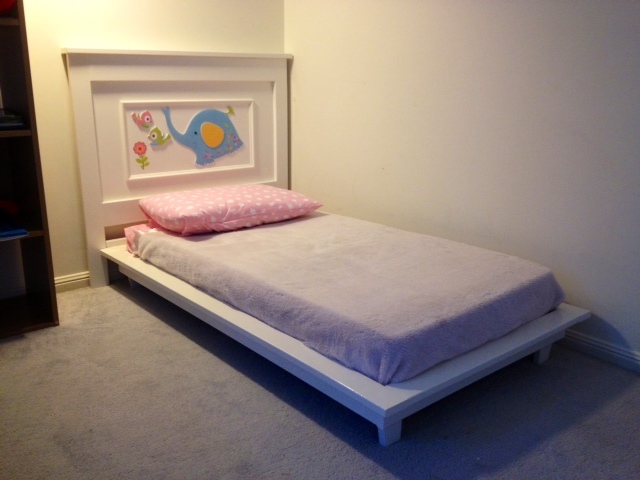
First build and totally happy with result . The excitement and smiles of our 18 months old grand-daughter was worth every effort !

Estimated Cost
$20 Aud
Estimated Time Investment
Weekend Project (10-20 Hours)
Finish Used
Acrylic White Gloss
Recommended Skill Level
Starter Project

Comments

JoanneS

Thu, 10/24/2013 - 13:20

Love this bed! What a super cute room for your grand-daughter! Looks totally professional, would never guess this is a first build -- Great job!

Octagon picnic table

Submitted by Anonymous (not verified) on Fri, 03/03/2023 - 02:27

Great project . Easy plan to read .

Built from Plan(s)

Comments

Entryway Locker System

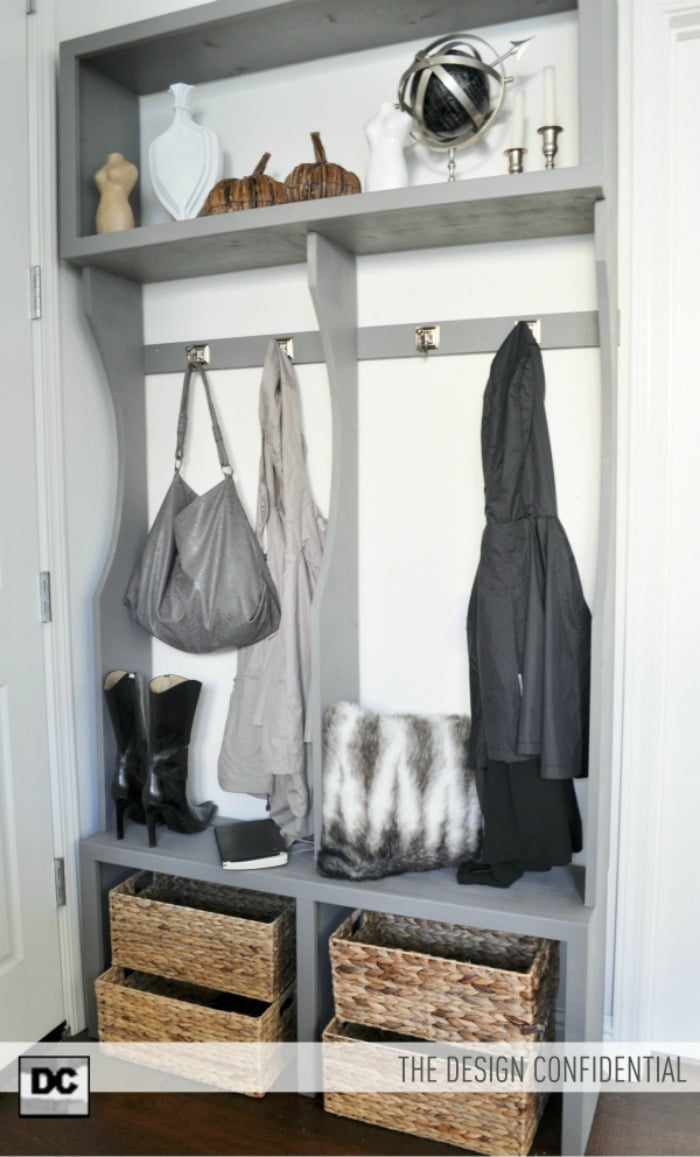
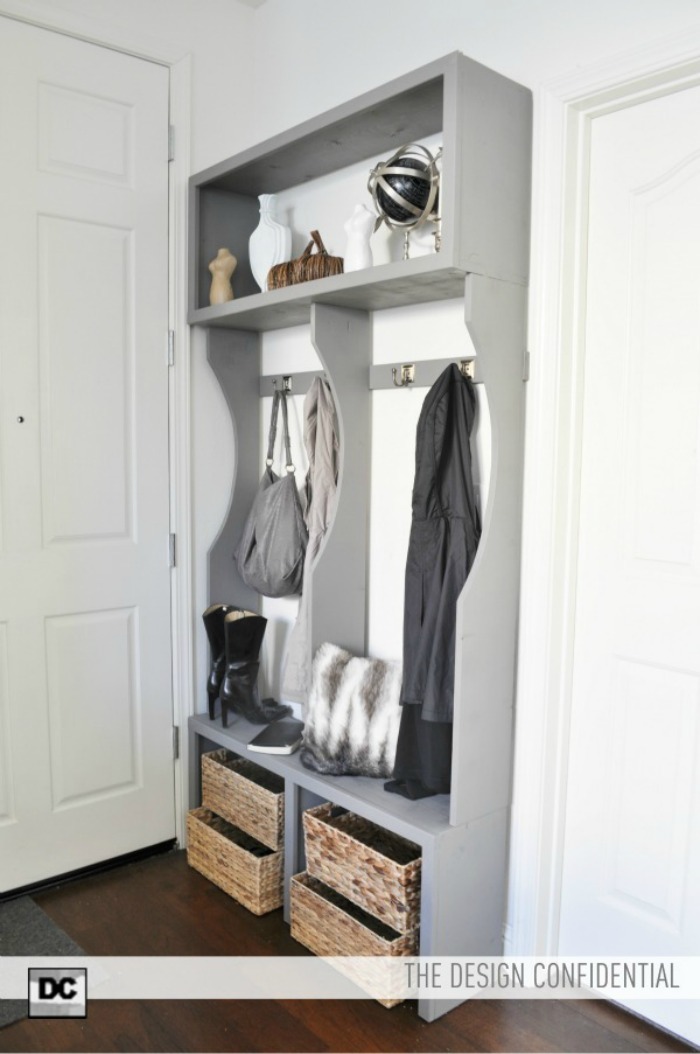
I fell head over heals in love with Ana's Smiling Mudroom Project... but alas I have no mudroom in my home and no available closet to transform. *Sad Face* I do however have exactly the depth of a 1x10 between my front door and entryway wall. *Happy Face*

I modified her plans to fit a more narrow profile... (much more narrow) and also shortened it to about half the width.
I couldn't be happier with the finished product and I'm happy to share the modified plans with any of you who also lack a mudroom or any sort of entryway organization whatsoever!

Modified Mudroom Plans for an Entryway Locker System can be found here! Yay

Built from Plan(s)
Estimated Cost
$40
Estimated Time Investment
Afternoon Project (3-6 Hours)
Finish Used
Zinc by Martha Stewart for Home Depot in Eggshell
Recommended Skill Level
Beginner

Comments

margjack

Mon, 11/14/2011 - 05:37

It looks amazing! I love the shelves on the bottom for the smaller baskets. I'm still working up the courage to build this one!

Super Storage TV Wall

Submitted by jgettings on Sat, 10/26/2013 - 14:10

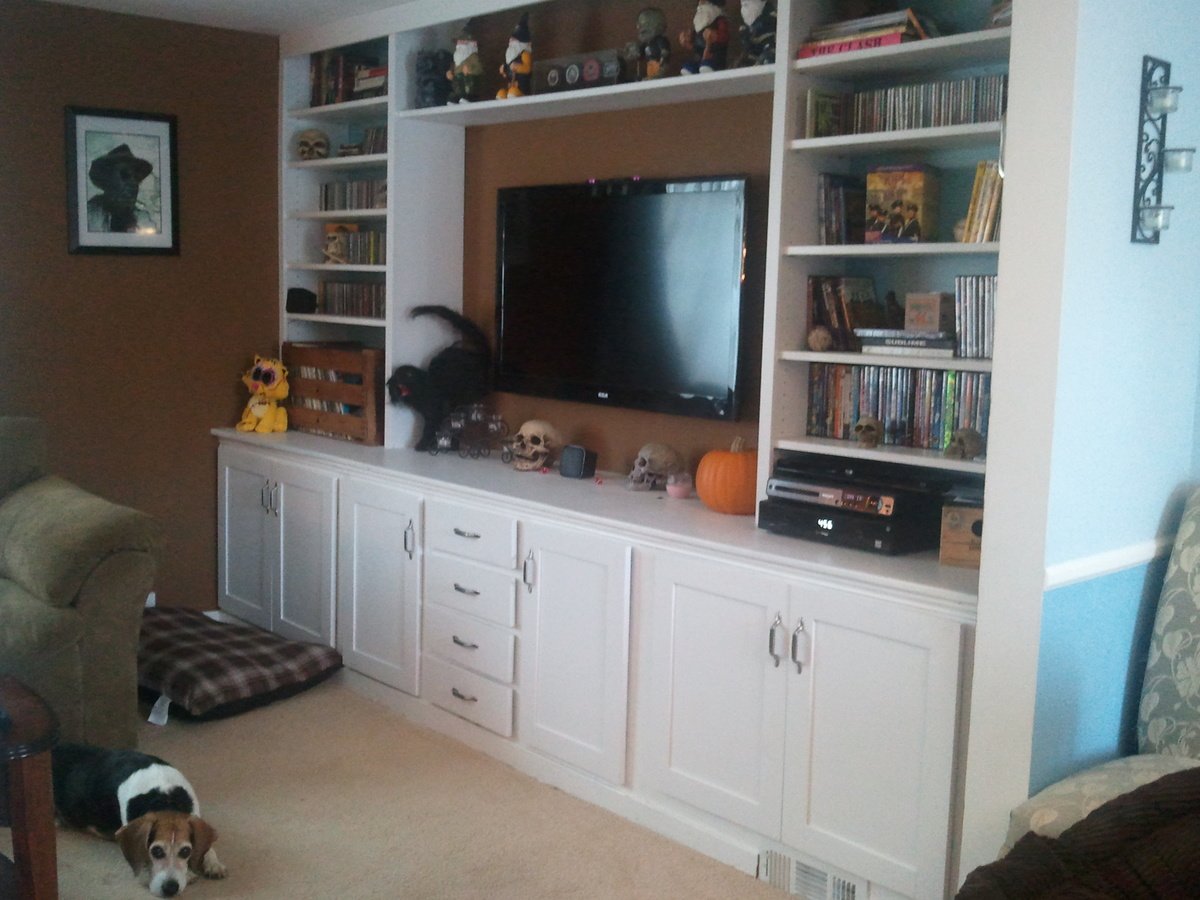
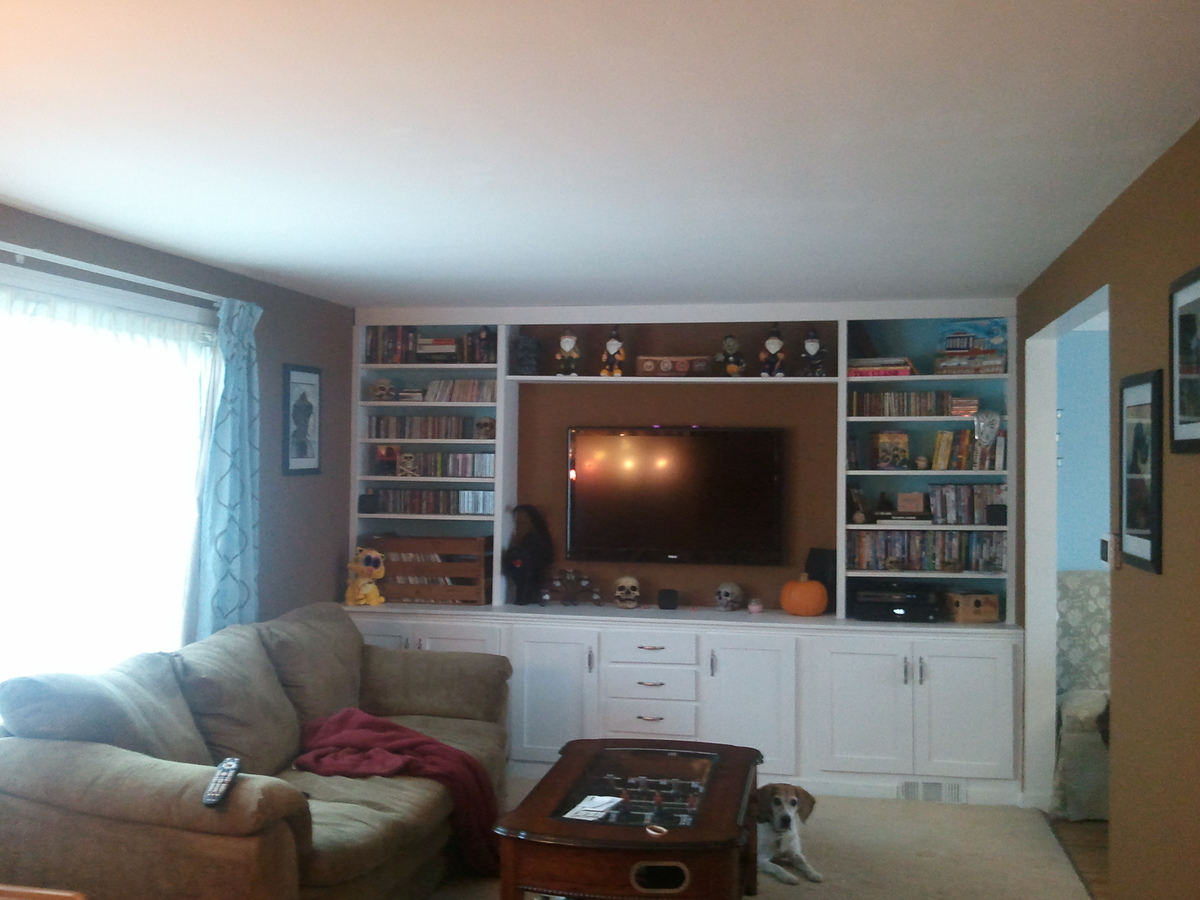
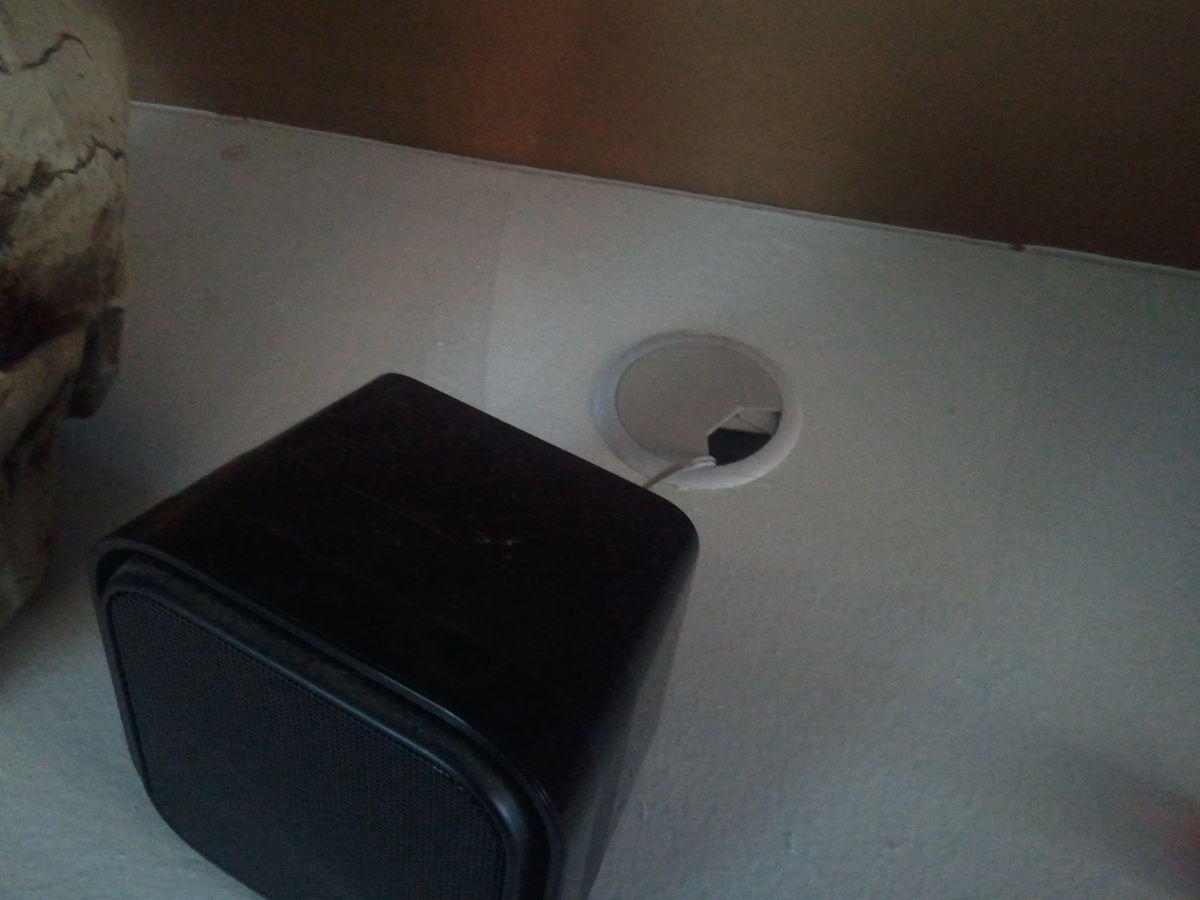
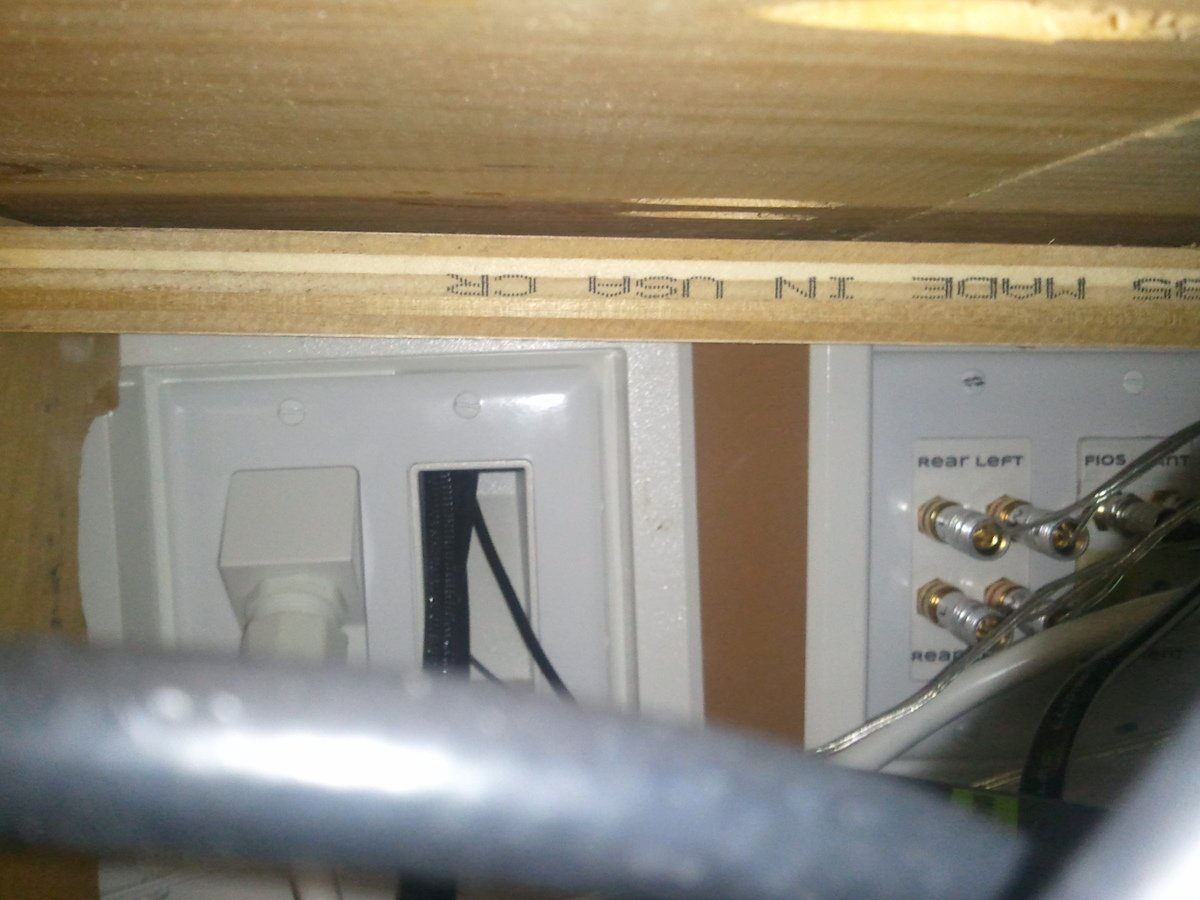
This took me about a year to complete, start to finish, but there was a lot of downtime. I started by running the wires through the wall and taking the opportunity to add a ground to the outlet on this wall.

The bottom cabinets are from Ana's kitchen cabinet base plans, but they are a little shorter, shallower and do not have a toekick cut out. My hope is that this will serve as good practice to do an entire kitchen!! I built these based on my modified plans, pulled back the carpet (there is hardwood under them that I intend to expose at some point), popped off the baseboard, and installed these as if they were kitchen cabinets. The top is 6 pieces of whitewood 1x12's "Kregged" together - I wish I had used plywood but an entire piece would still not be long enough, so that was awkward either way. There is a simple piece of molding under the edge of the "countertop". At that point, not much got done all summer and we just had base cabinets with no uppers and no doors.

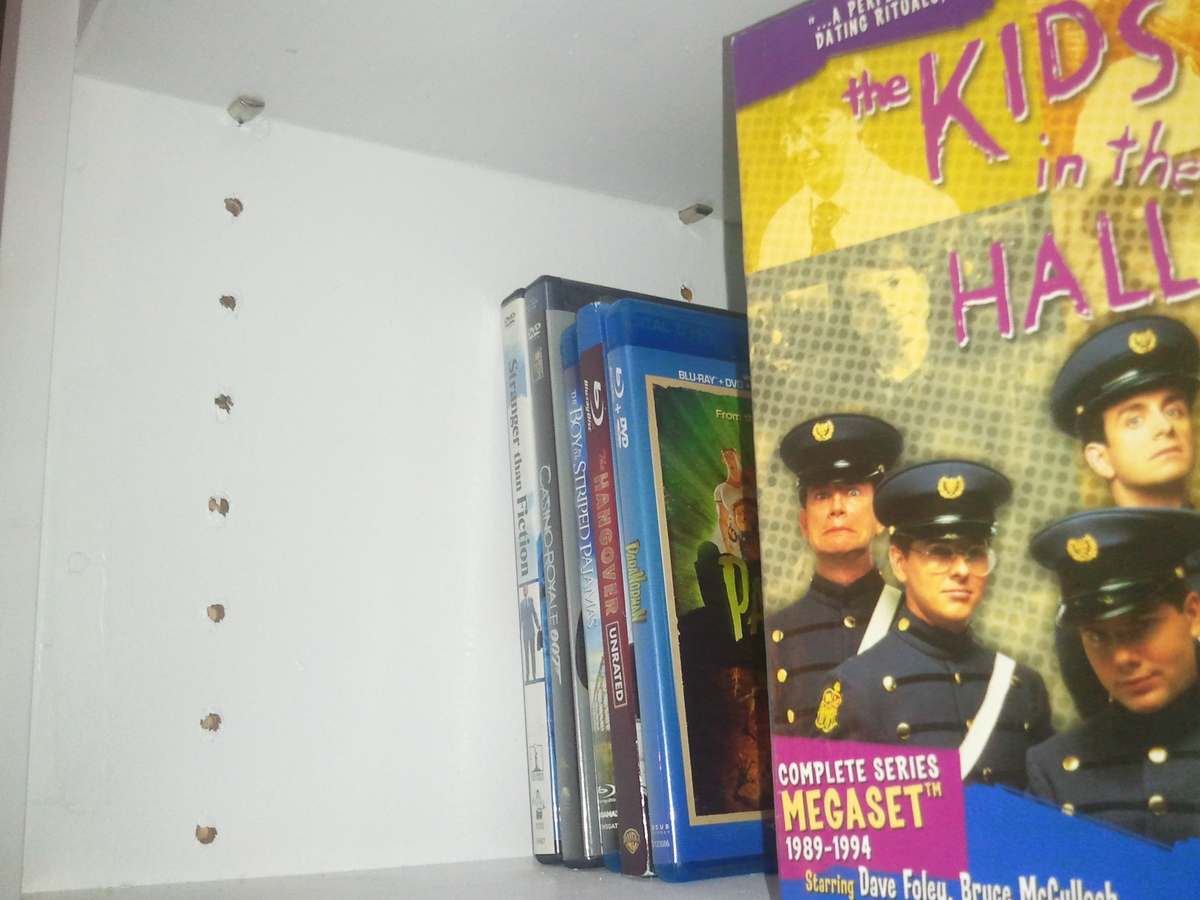
More recently, I finally got more time to work on this and created the upper shelves. I just kinda winged these. A whole bunch of 1x12's, I cut 4 the height of what I needed (about 5', from the countertop to the ceiling) and I made a bunch of shelves cut to size. I wound up making more shelves than we needed, but I put shelf pin holes in the vertical pieces so all of the upper shelves are adjustable! I used a kreg shelf pin jig and it worked great. The middle shelf above the TV was cut and added after everything else since I knew it would've been more difficult to calculate the length than to just measure after everything was in. I added some molding to cover up some things that didn't quite line up perfectly and to beef up the vertical pieces (1x2's make 'em look a little wider and cover the edges of the shelves). We finally have storage for all of the cd's and dvd's!!

I was a little nervous to do the doors, but the post for how to do doors came out at a perfect time. Turns out the hardware I bought way at the beginning was pretty cool and let you adjust up/down, distance from the cabinet, and left/right a few mm each way just by turning a screw. I'm glad I went with the fancy self-close-soft-close ones! I'm also in love with the handles I found.

I had some issues with the drawers and they don't slide perfectly, I think it's mostly a squareness issue. I'm planning on getting the kreg drawer jigs before I do the kitchen. I got the fancy soft close ones to see how they'd work to see if I want to use them in the kitchen, if I can't do a better job then I might opt for the cheaper ones!

I have intentions of adding crown molding to this room and that will go across the front of this when I do. I added a 1x4 across the top that can act as a base when we finally get around to that.
Estimated Cost
800
Estimated Time Investment
Week Long Project (20 Hours or More)
Finish Used
Lots and lots of white paint. I wound up using a spray enamel for the upper shelves in attempt to make them less sticky after finding out that latex paint doesn't really work well for shelves. I've also learned that the paint with the primer in it is my new favorite type of paint.
Recommended Skill Level
Advanced

Comments

Rustic X coffee table and side table

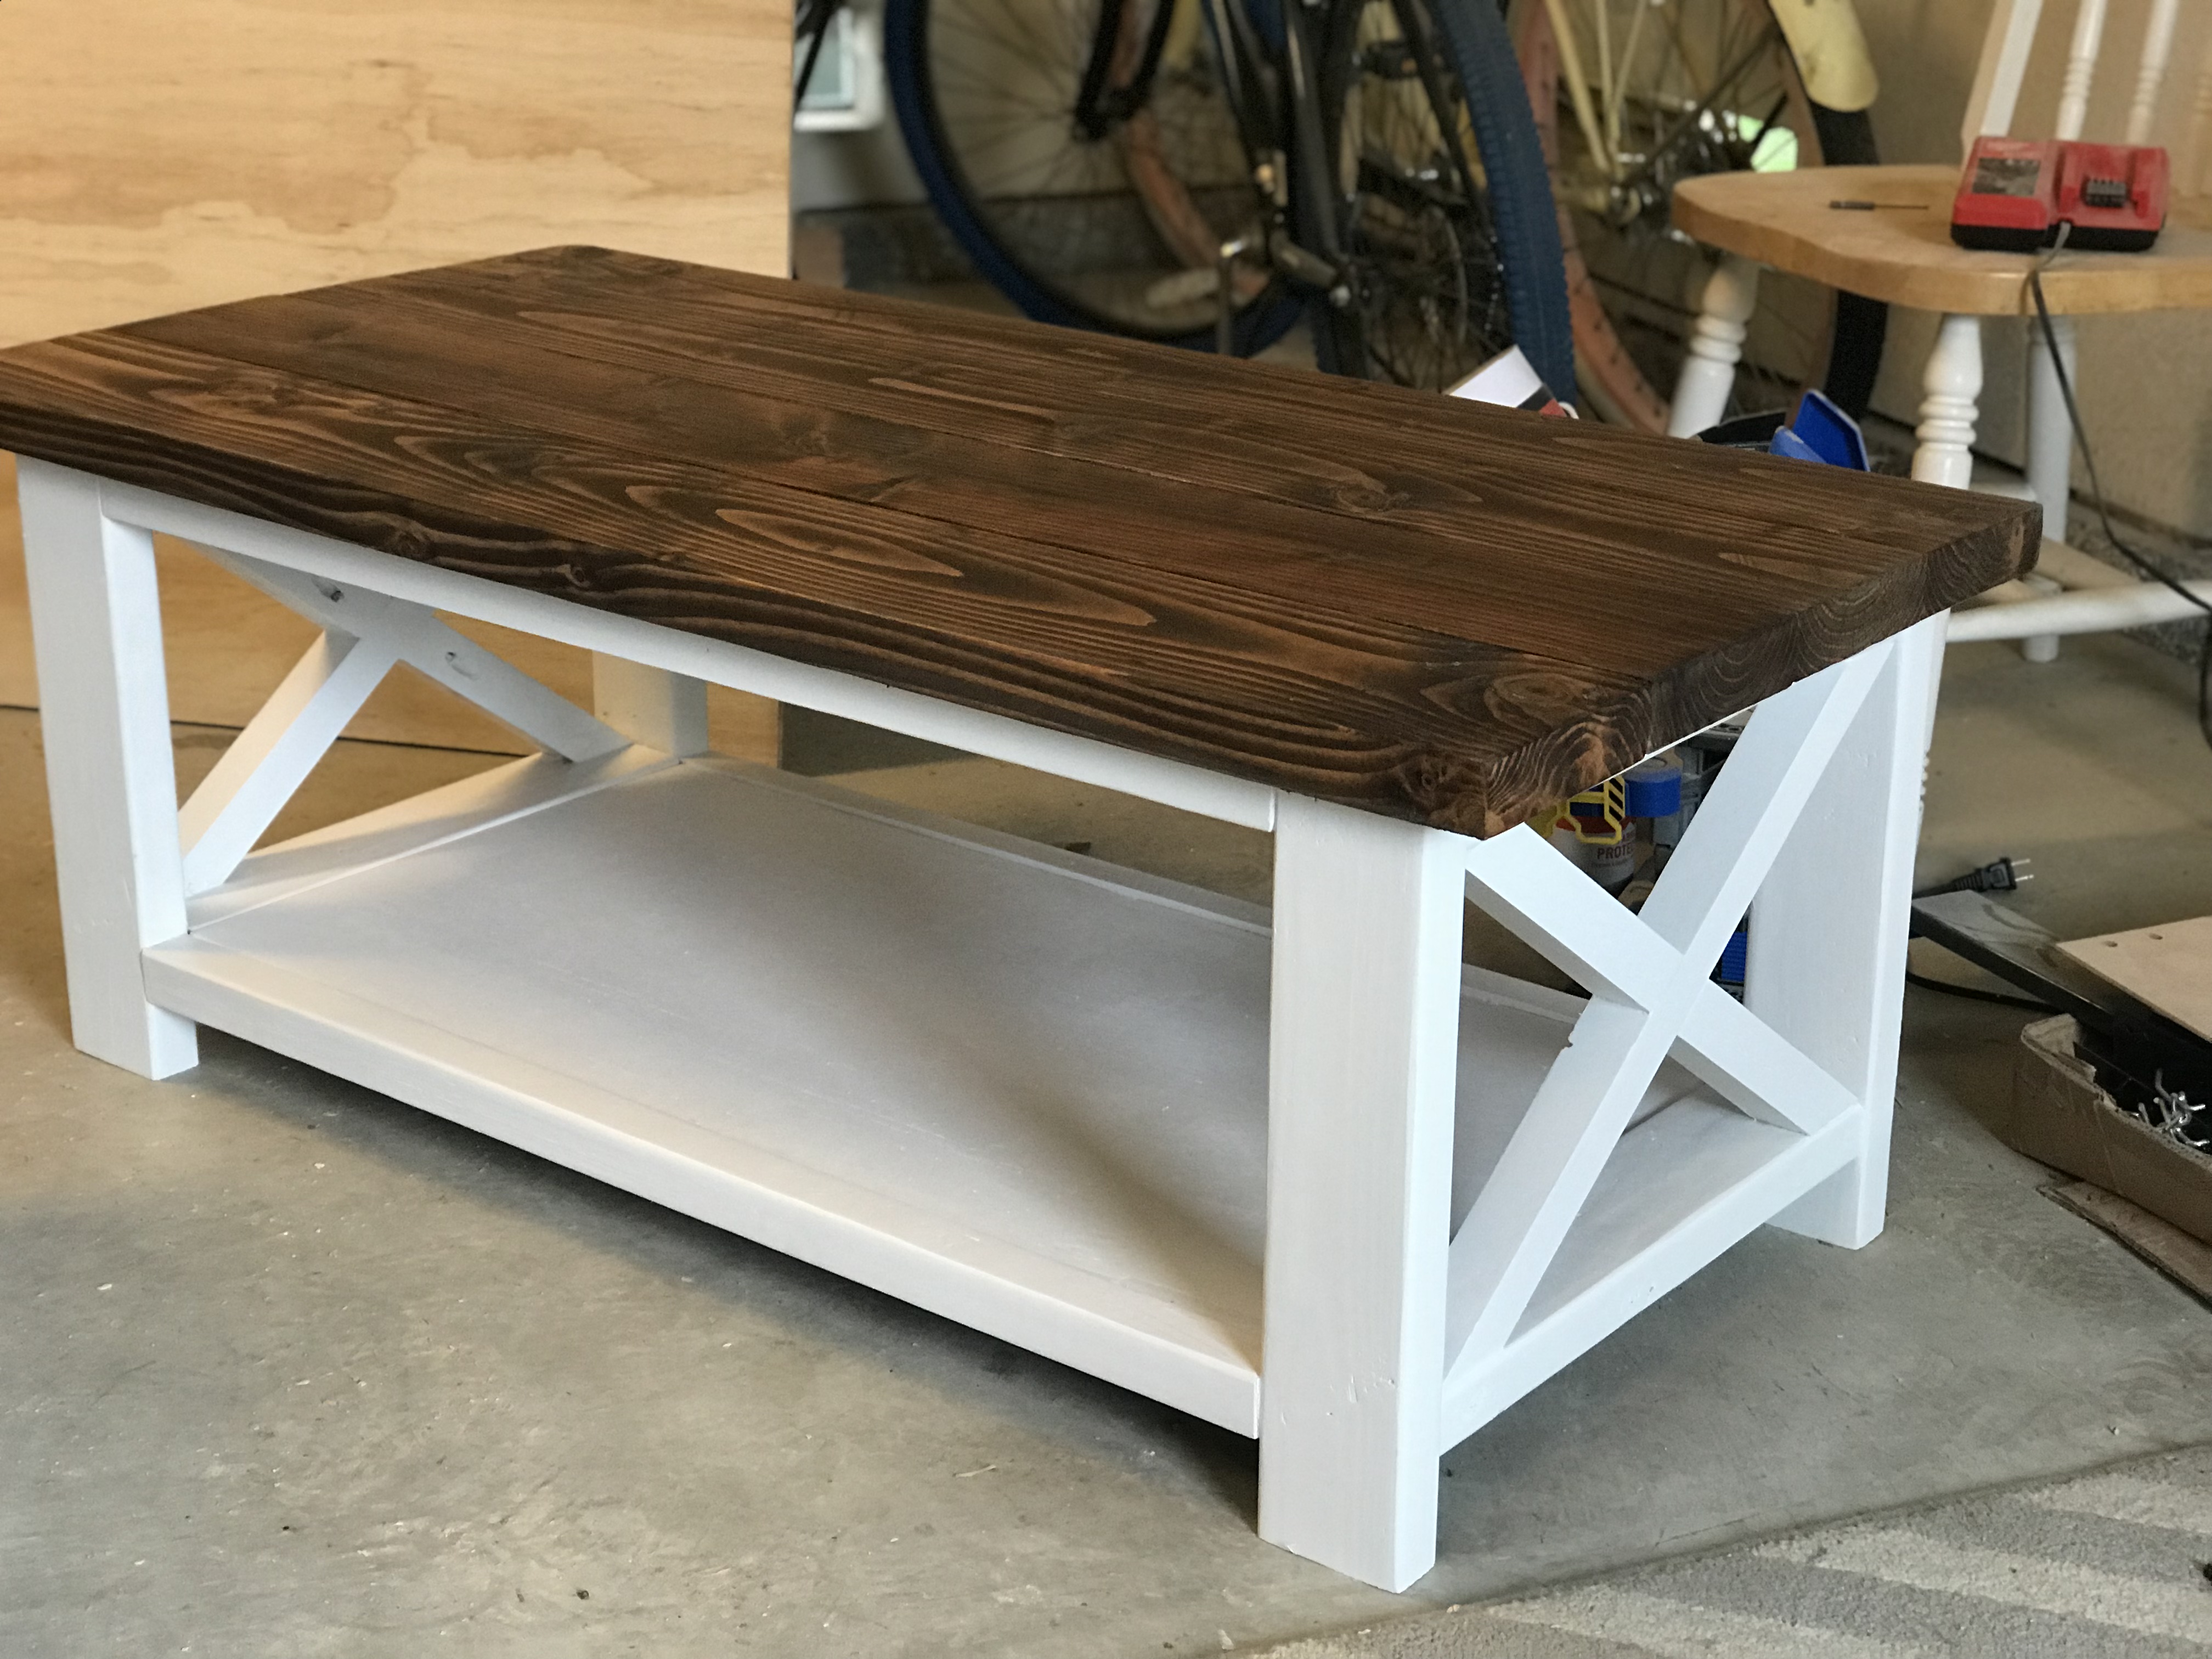
I made these tables from the Ana White plans but for the side table I made it a bit larger to fit the space it was going to be going in. Stained the top varathane Dark Walnut and the bottom I painted white. 

Built from Plan(s)
Estimated Time Investment
Weekend Project (10-20 Hours)
Recommended Skill Level
Intermediate