Numbered Cubbies on the Wall
This is not my first Ana project, but it is my very first brag post! :) I am thrilled with the way this turned out.
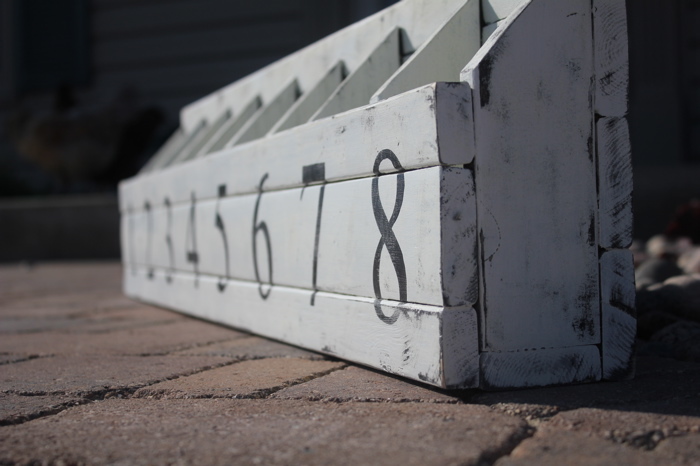
This is not my first Ana project, but it is my very first brag post! :) I am thrilled with the way this turned out.

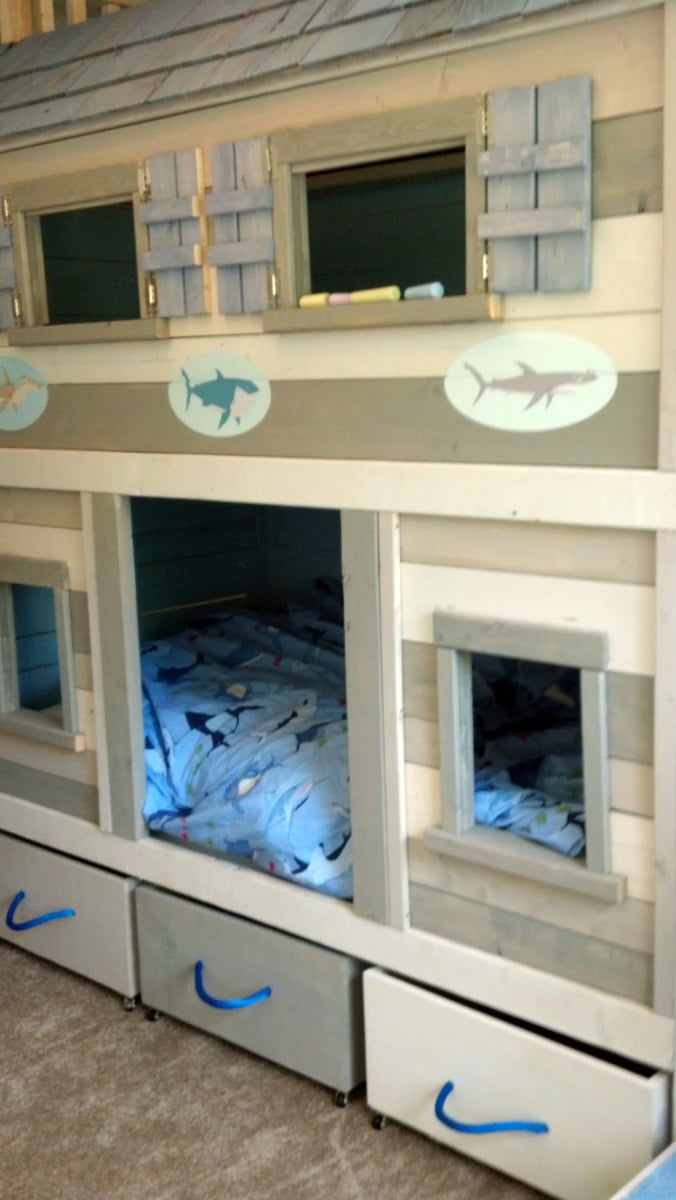
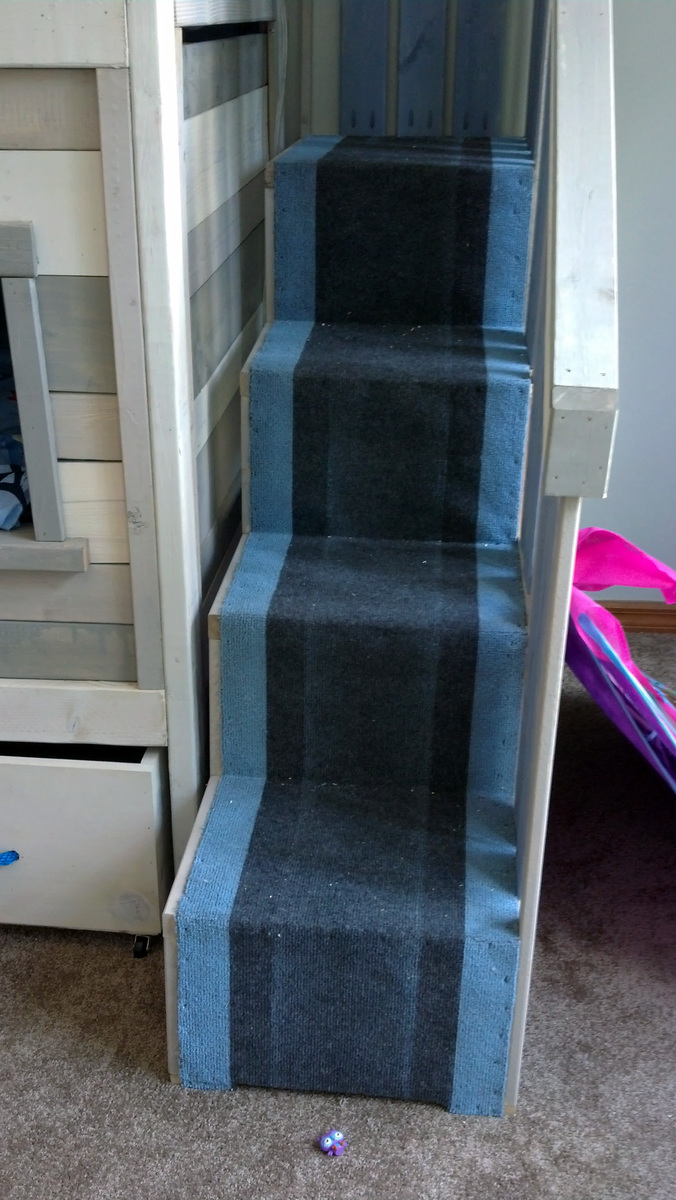
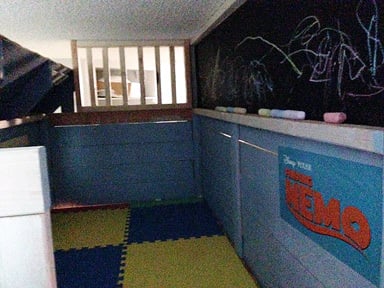
We to make a Loft turn into a closed room for my grandson. We used the Sweet Pea Plan and made it a boy bed. We enclosed the back of the bed. the top bunk is a play area for him and my grand daughter. He loves it. Thanks for the Website.
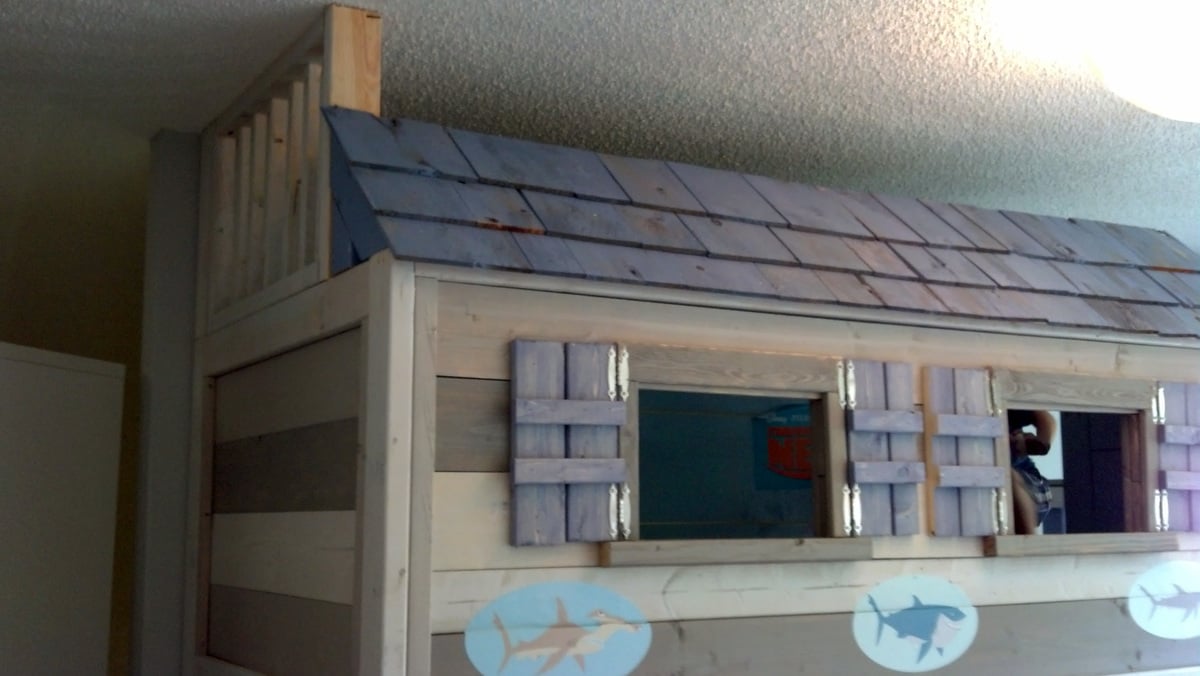
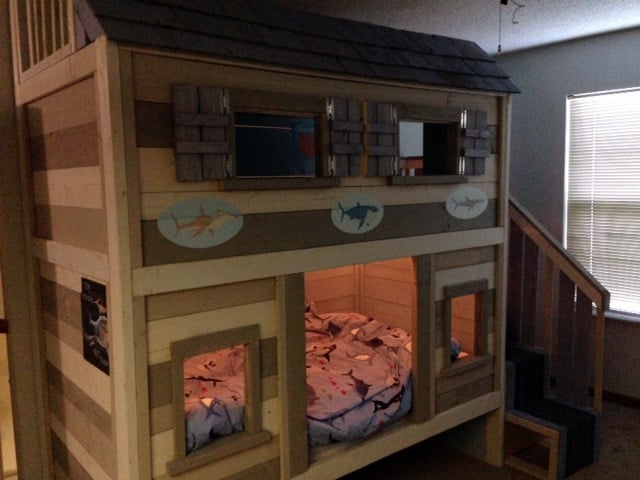
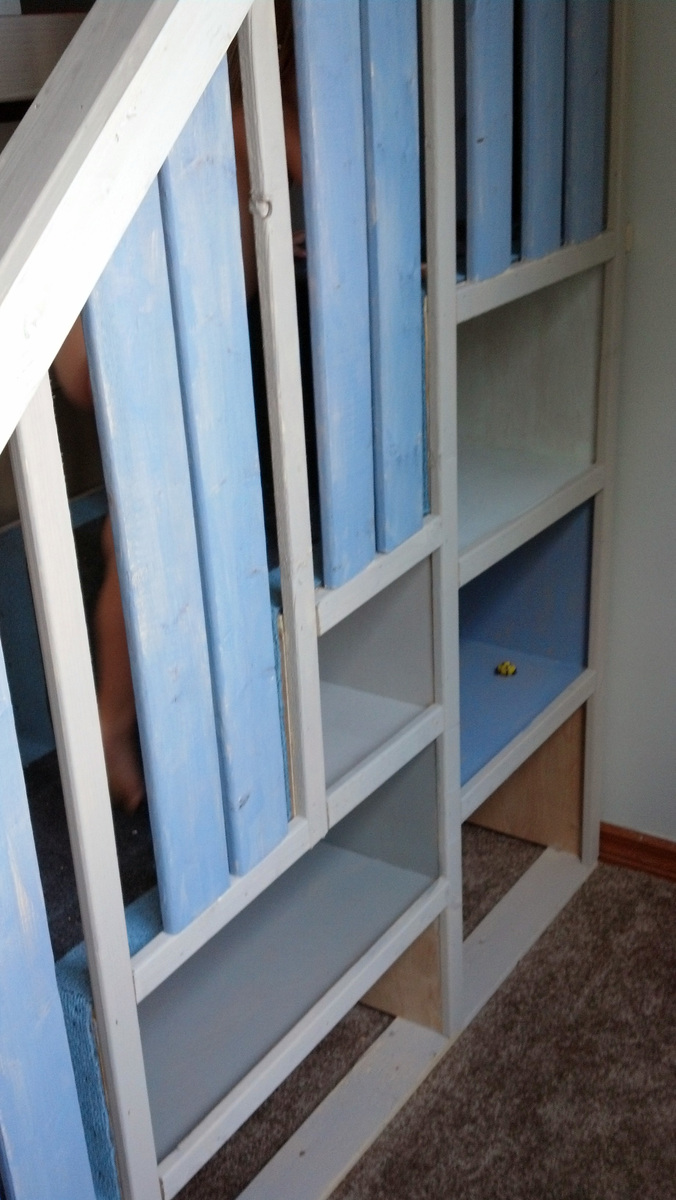
Mon, 09/09/2013 - 13:32
This is an awesome project! I love how you took the plan and customized it to be a boy's space. And the shark motif - how cute is that!?! Love it, great job!
Mon, 09/09/2013 - 21:35
I absolutely love this! You did a great job with converting it to a boys bed. I was actually going to do the same thing to this exact plan when we move in a few months! Very well done. Love your taste.
Thanks for the inspiration!!
Tue, 09/10/2013 - 21:23
I love this! The play area up top with the chalkboard wall is so cool! I love the stain you used on all the boards too. Impresssive!
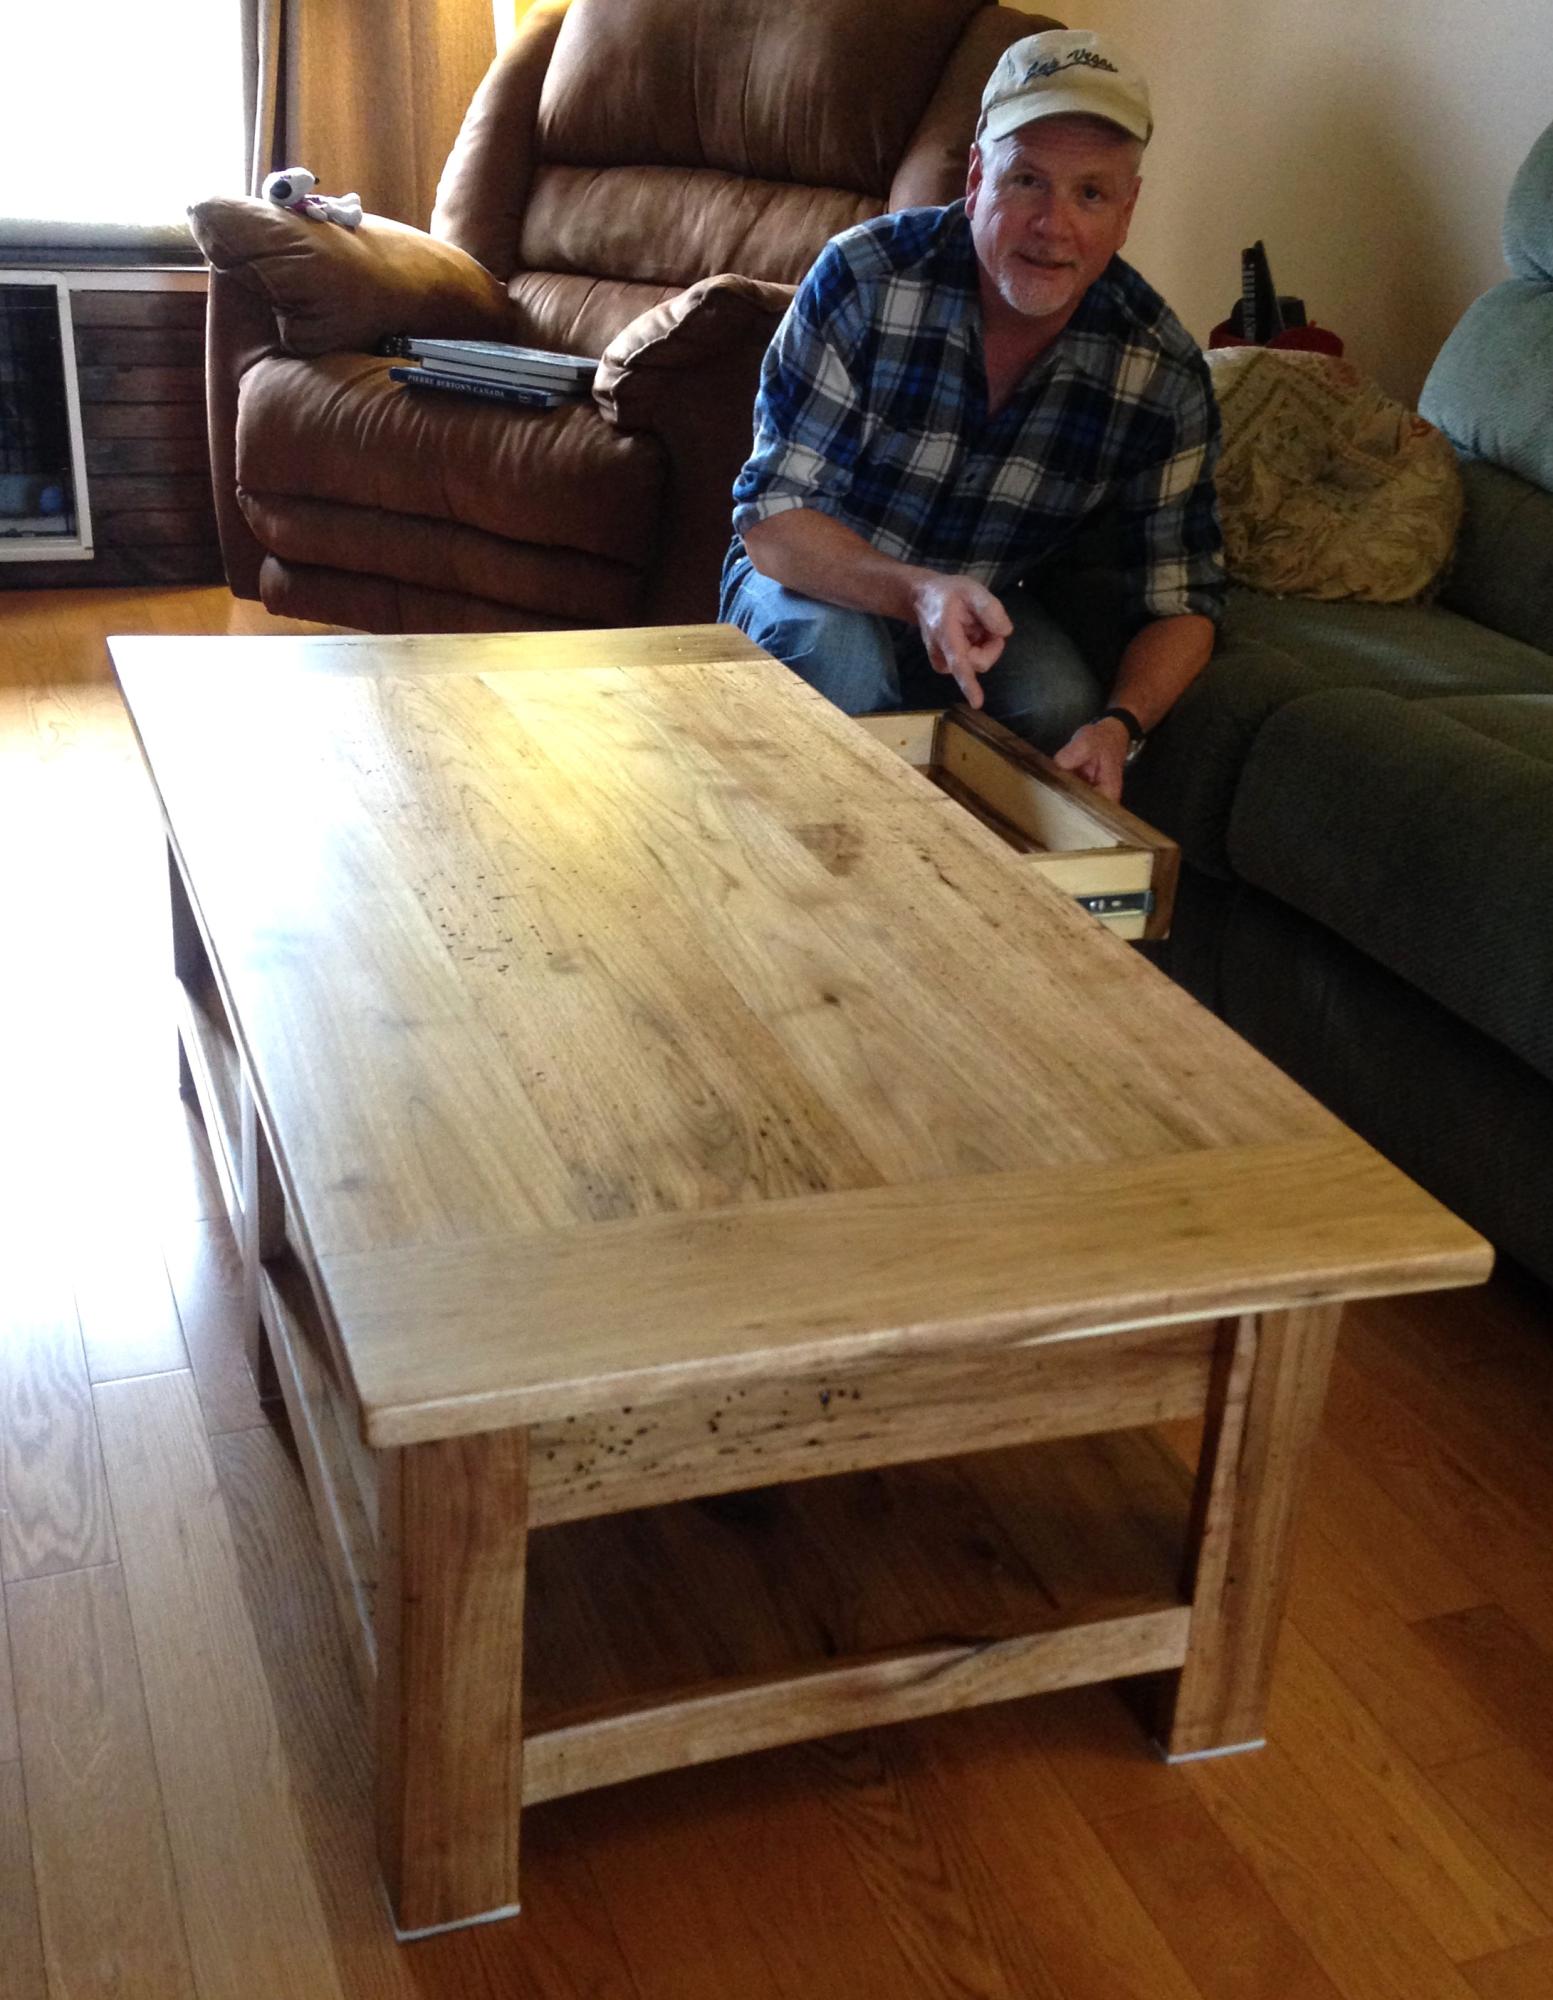
I built this table out of really rough old lumber from our family farm. Lots of sanding and a real rustic look. Thanks for the plans! I love it!
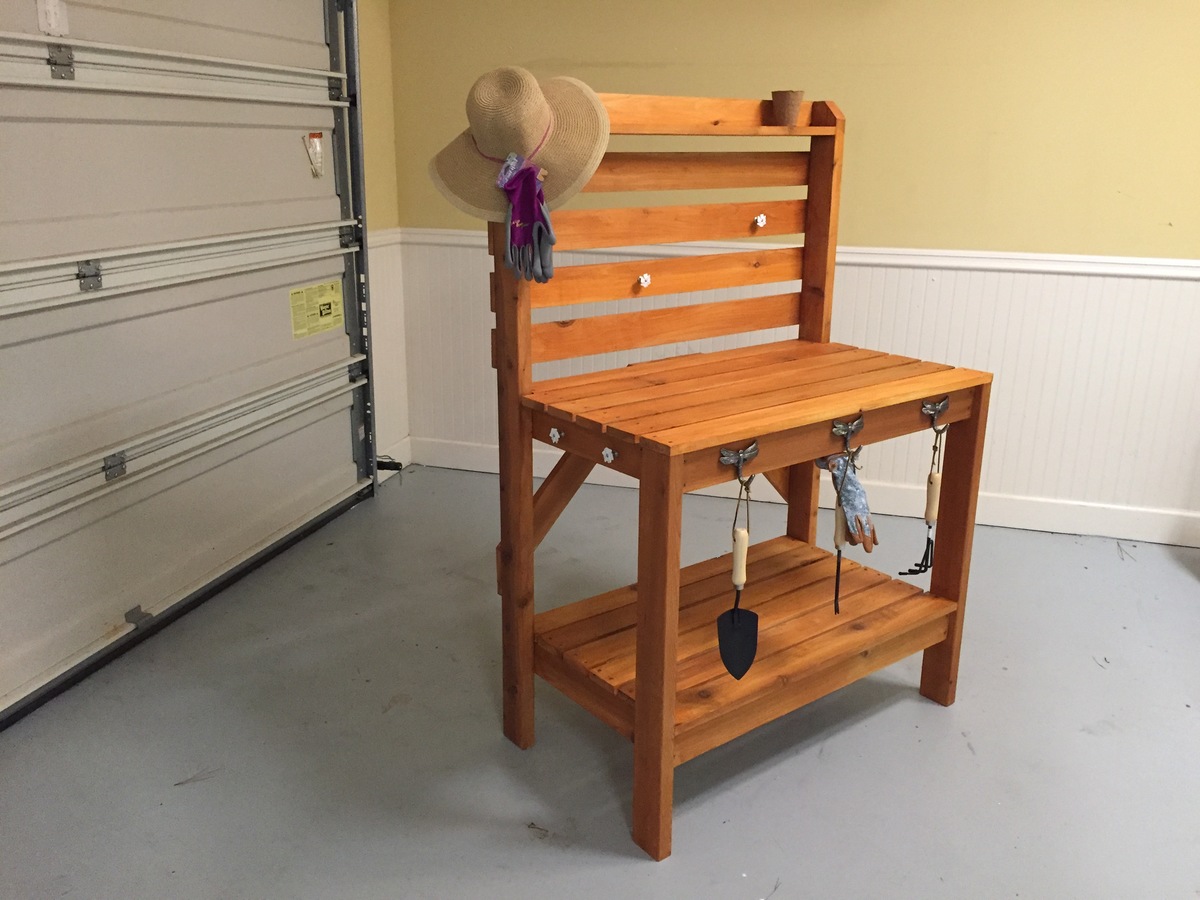
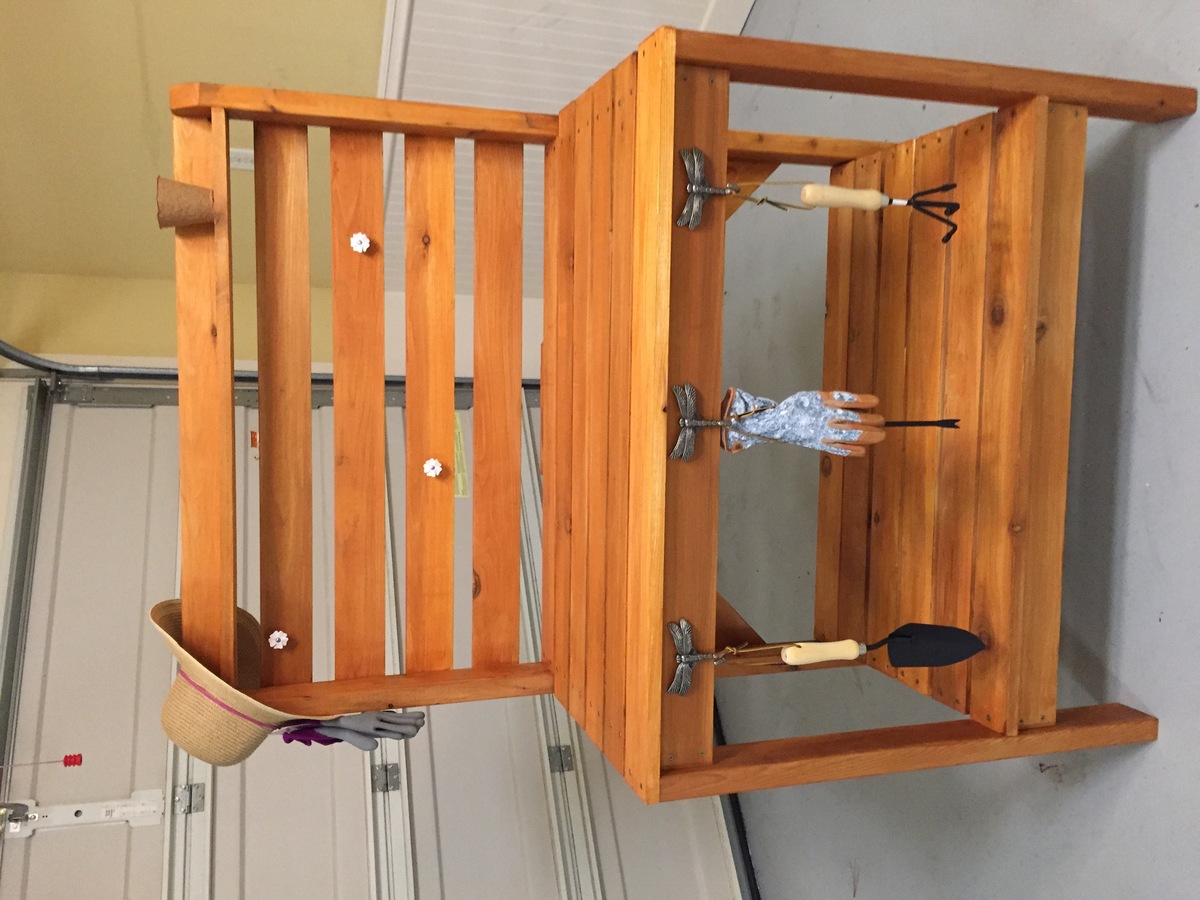
Christmas project for the back. Built it from cedar from big box store.
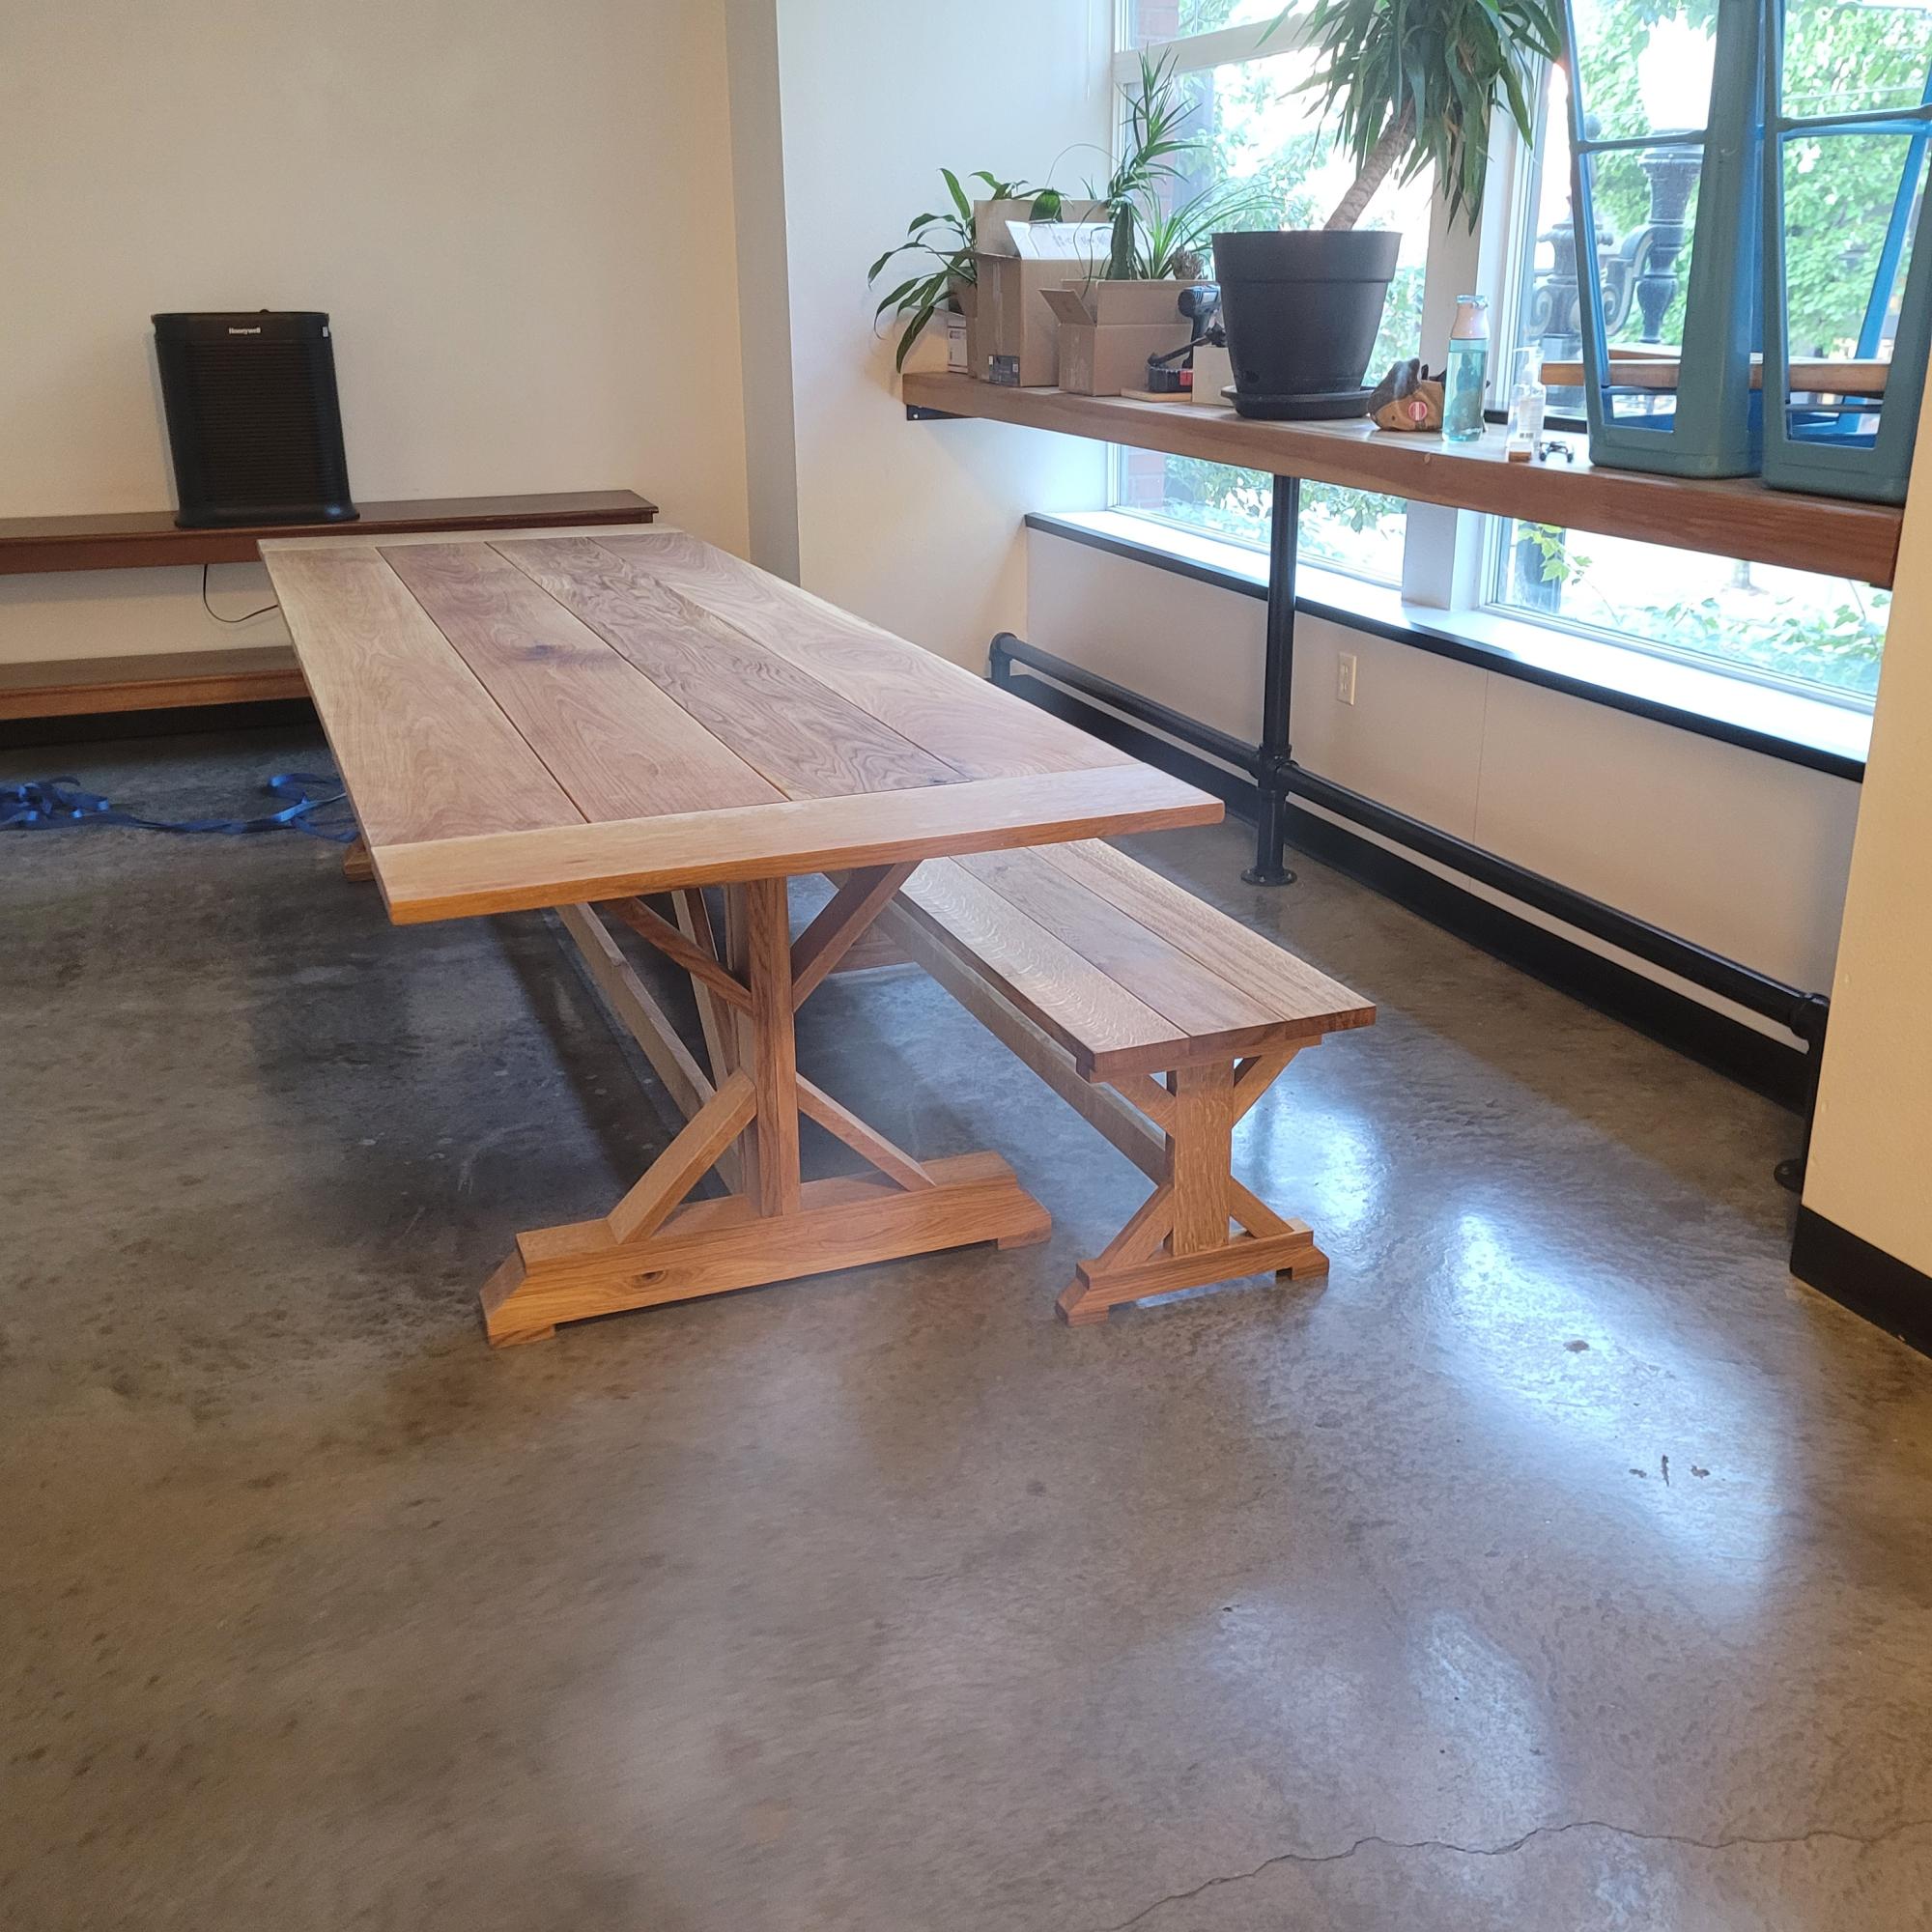
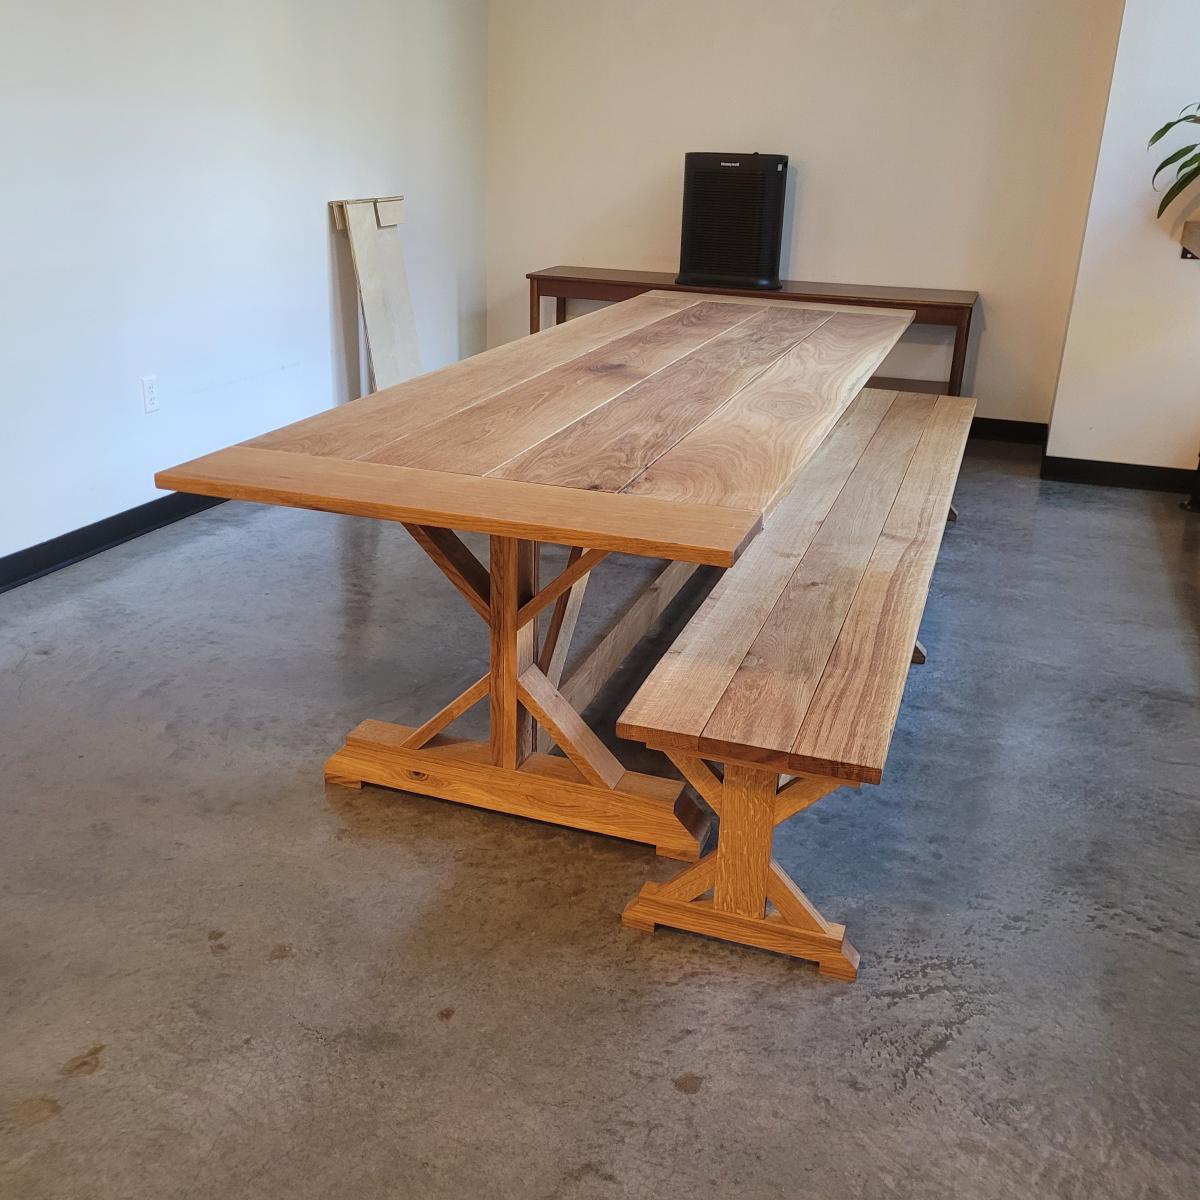
My employer asked for an "upscale farmhouse table" to act as a feature in our new training facility. After perusing designs online, I found this one and decided to upgrade it just a bit for the stated purpose.
Made entirely of white oak (over $1600 worth!) purchased as 4/4 and 5/4 stock, I milled all the lumber to spec in our shop. As it was to be 10' in length, and I was unable to acquire acceptable wide stock for the tabletop in that length, I went with breadboard ends, which also seems to have served to upgrade the appearance over "picnic table" to elegant showpiece. All joinery is invisible, using mostly dowels and glue where joints had to be hidden.
Final treatment was with tung oil, and it took up residence in its permanent home last week. I had to assemble it on-site, as there is NO way to move a table of this size in and out of the building. It's there to stay.
As my lumber wasn't exactly spec-size (1X4, 2X10, etc), I had to do the math and make some adjustments to achieve spec height, but the final product is a rousing success.
Thank you for the inspiration.
Mon, 09/26/2022 - 17:59
This is gorgeous and very well built! Thank you so much for sharing.
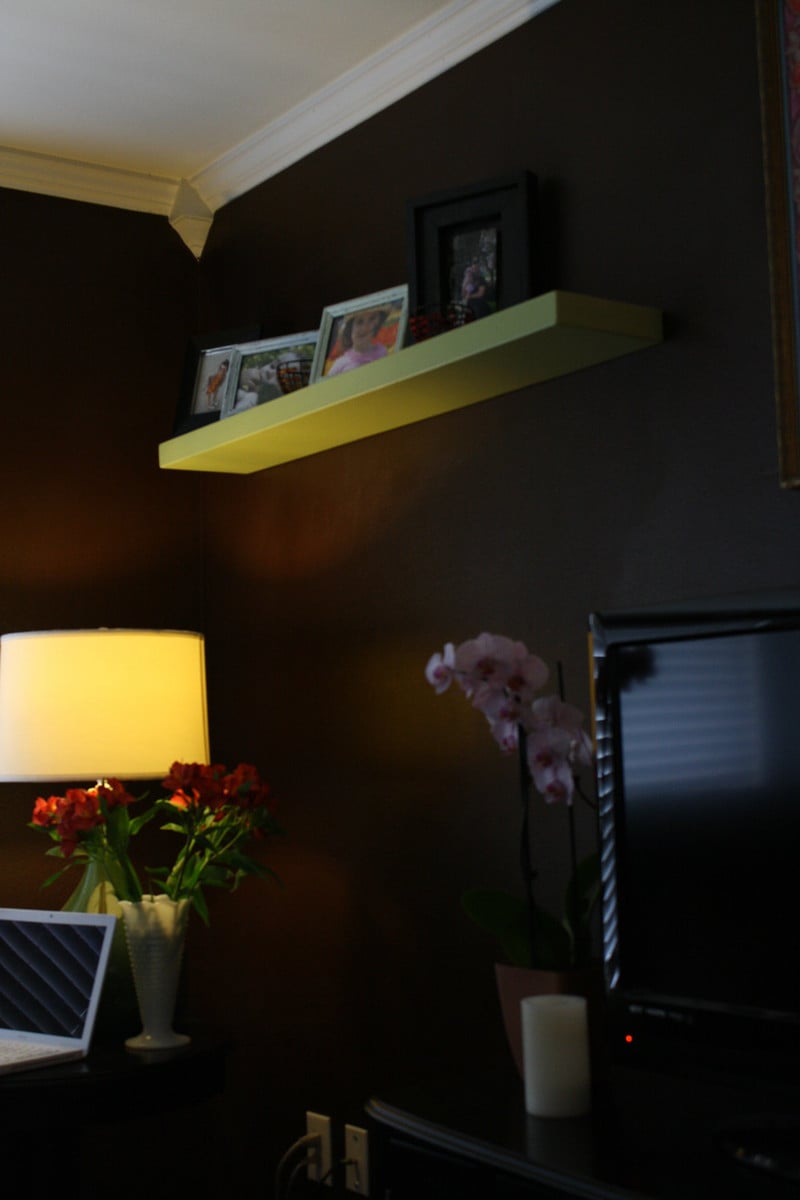
I thought I'd try out floating shelves and it worked out pretty well. Easy to follow plans as long as I took my time. These shelves add so much to this wall it's unbelievable. My wife and I are very grateful! Afternoon project for 2 - 48" shelves.
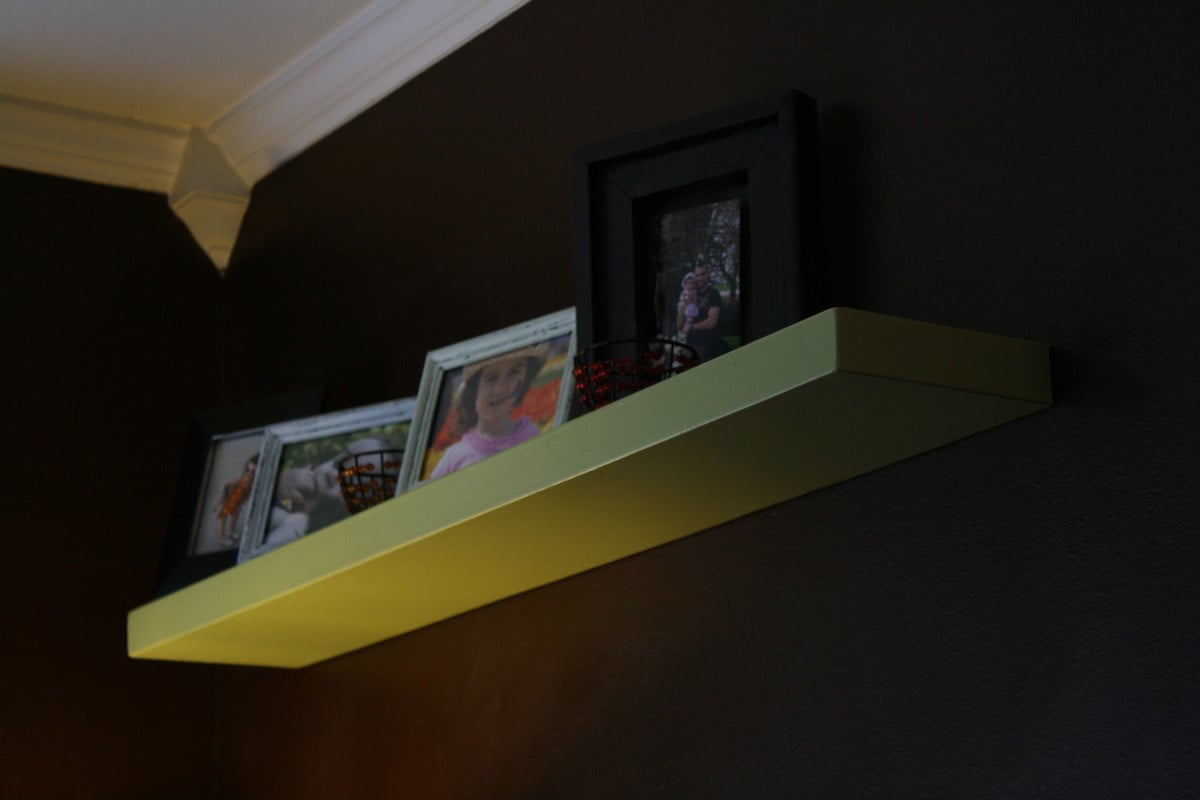
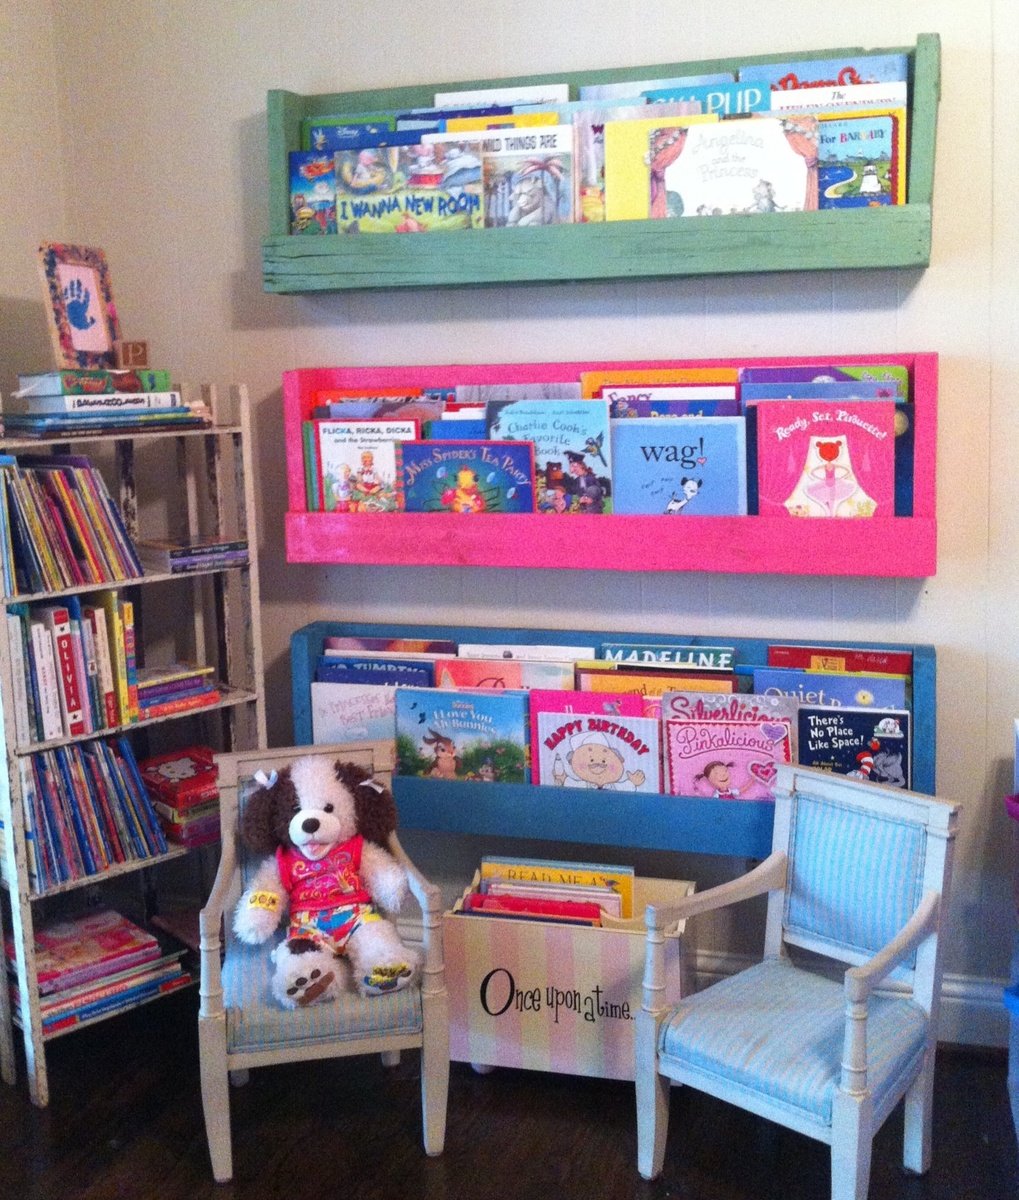
I wanted 3 shelves so I took apart the entire pallet (44 x 44) Sanded and spray painted two coats. Only advice is next time I will make sure the pallet is in better condition. Less time sanding. My 4 year old daughter loves her new reading area!
Me: Hey can we get a new TV?
Wife: No, there is nothing wrong with ours.
Me: Darn, ok. Hey what if I build this cool frame around it?
Wife: <3 <3 <3 OK! <3 <3 <3
Me: Win.
So this is a project from quite a while back, one of my first builds that got me hooked on woodworking actually. I made a few modifications (obviously) since our TV was super thin it just wasn't going to work the way I wanted. I decided to go with more of a tapered look instead. It was my first experience with the "antiquing" technique, after lots of trial and error I ended up getting the look we were going for. It was overall a fun and fairly easy build, with a few learning moments along the way. The only time any of these projects seem "complicated," is when you over think everything, like I do :)
Sat, 03/26/2016 - 08:42
This looks beautiful! Was wondering where you purchased the barn door hardware? Been looking everywhere to find some that won't break the bank.
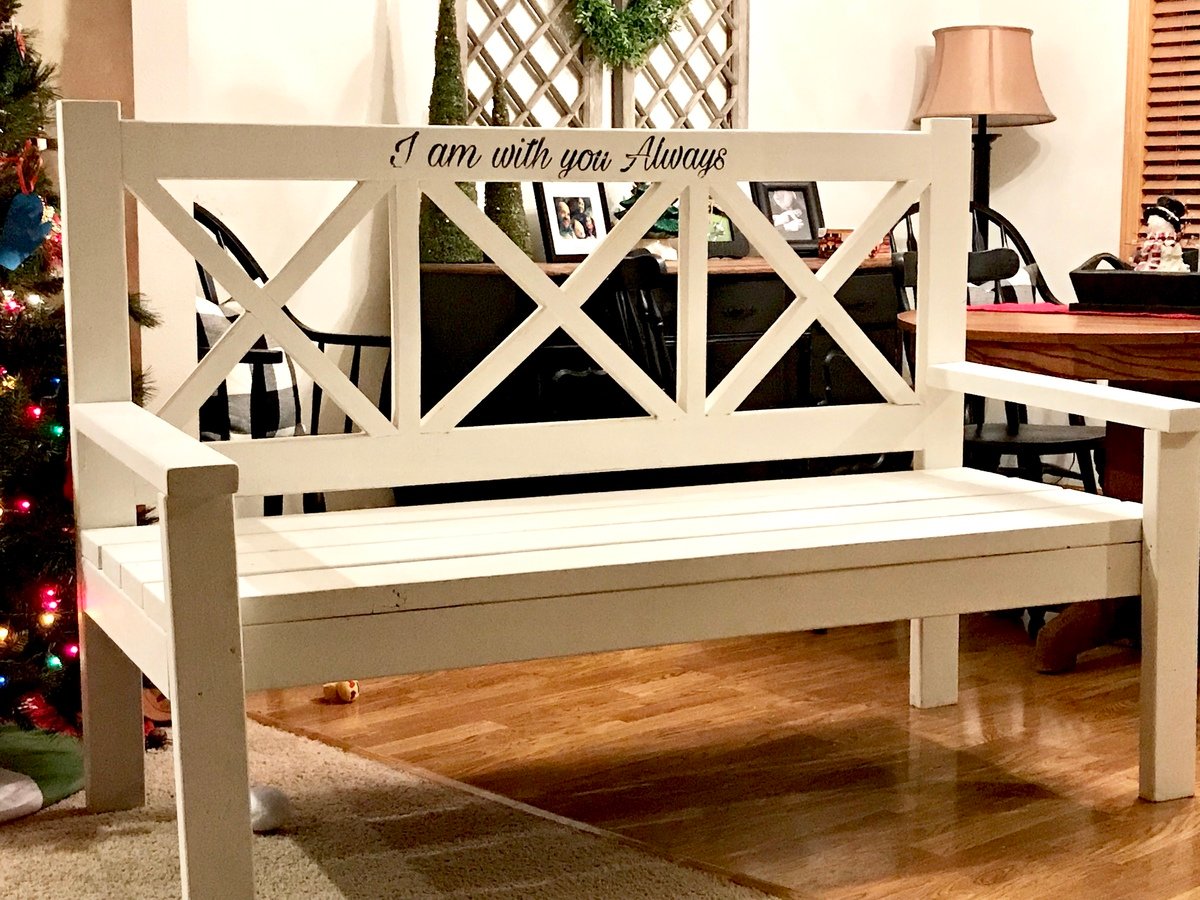
Love the easy to follow plans!!! Make sure you have room when building....this a Big bench.
Rob V.
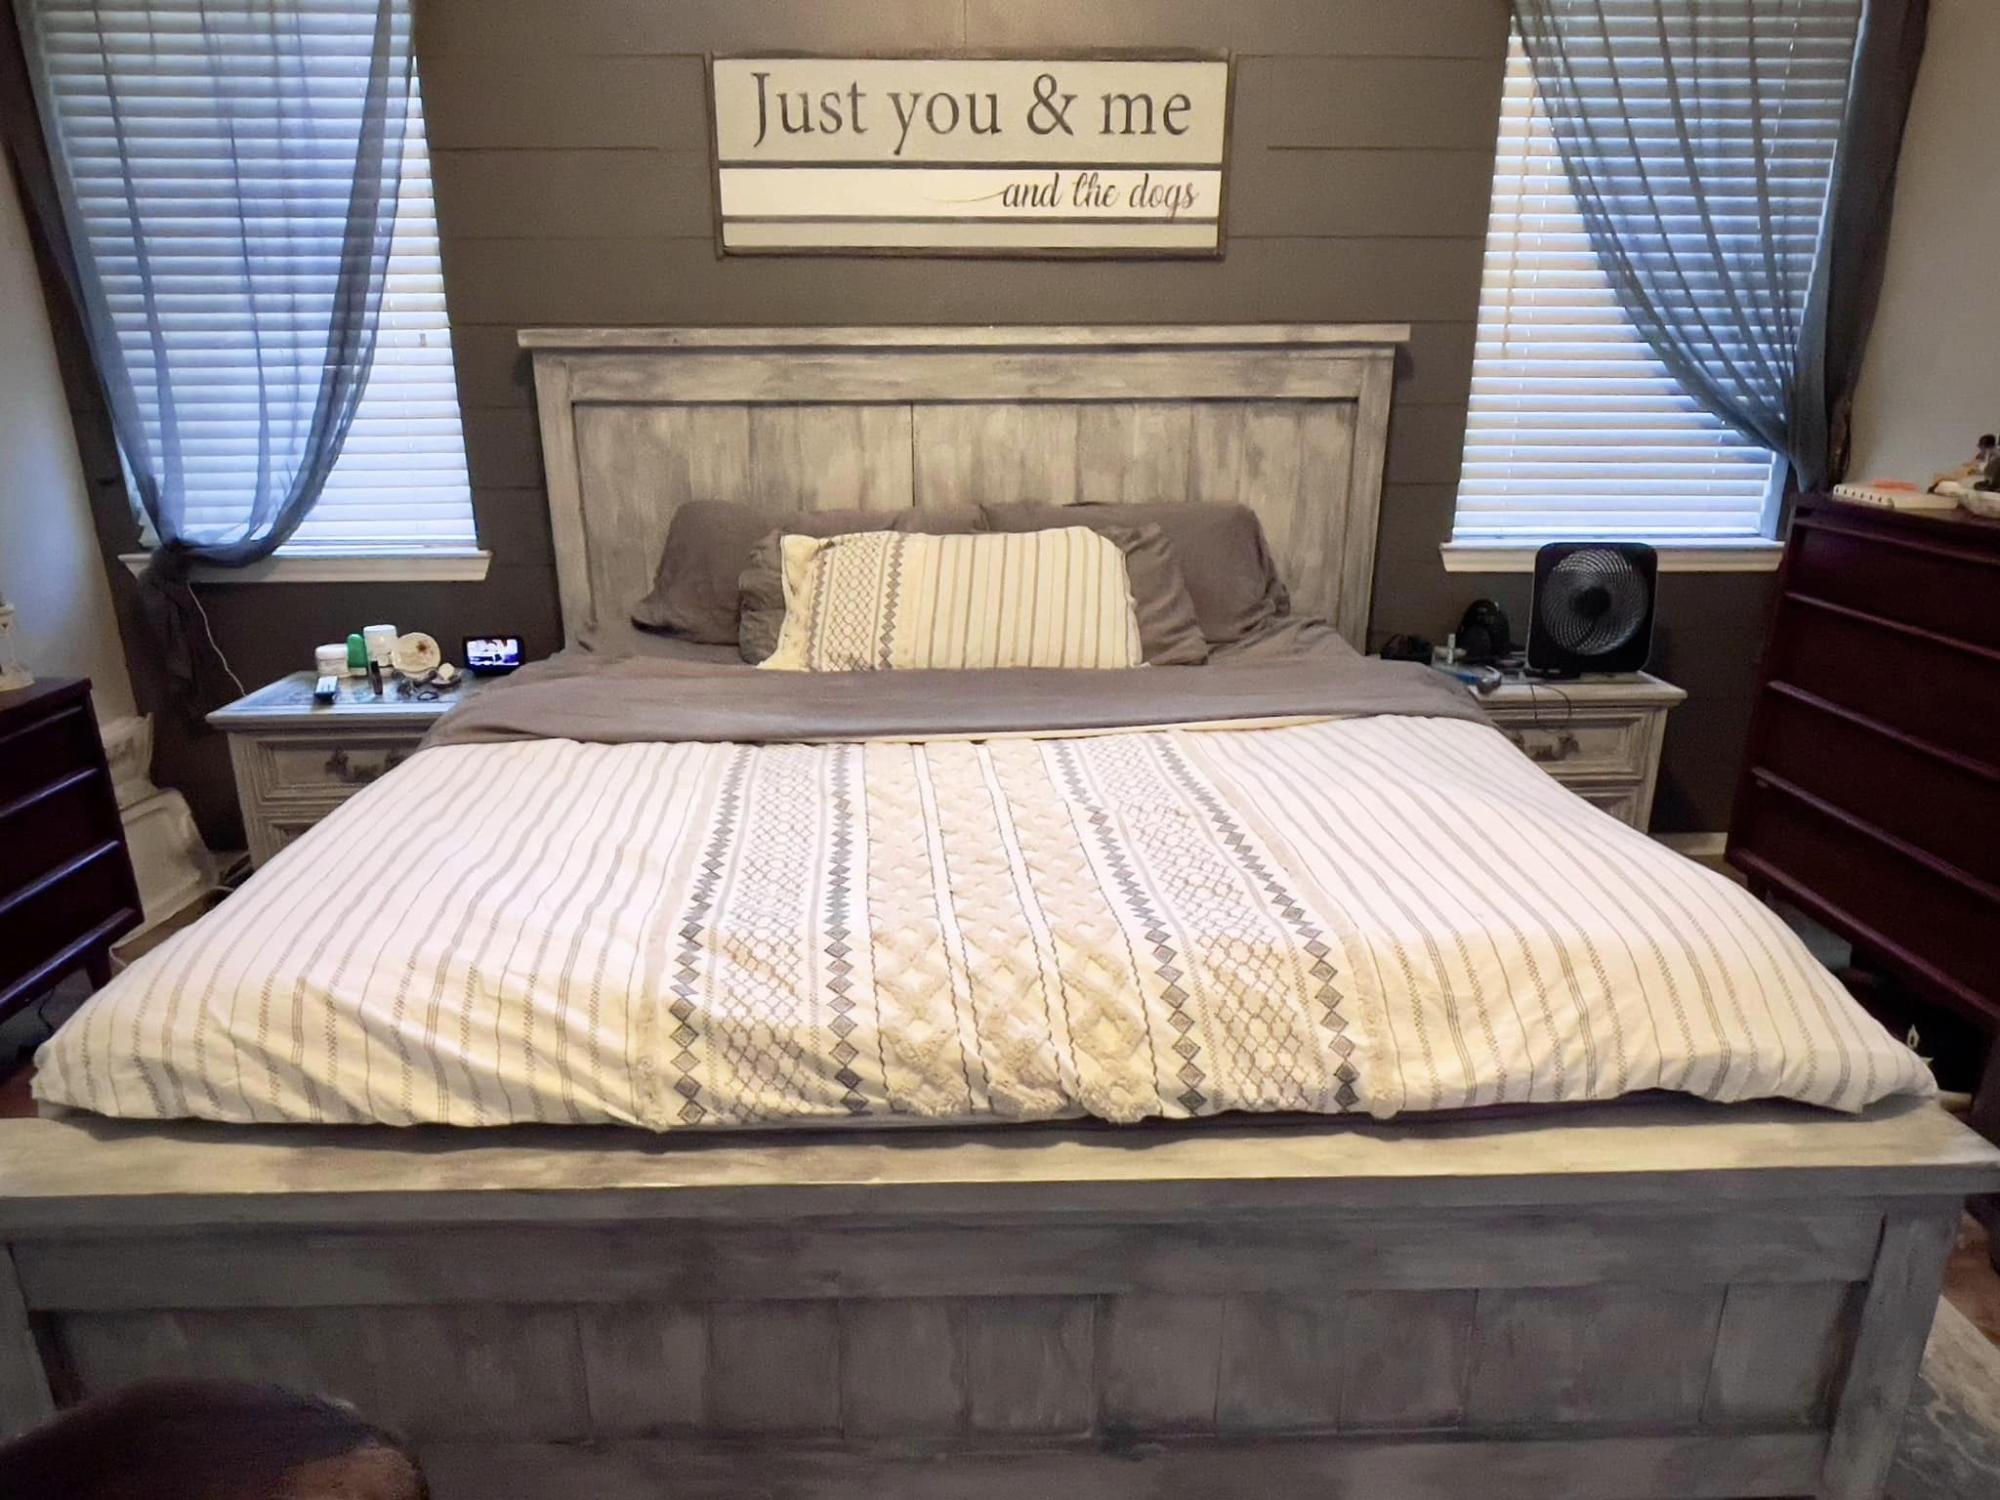
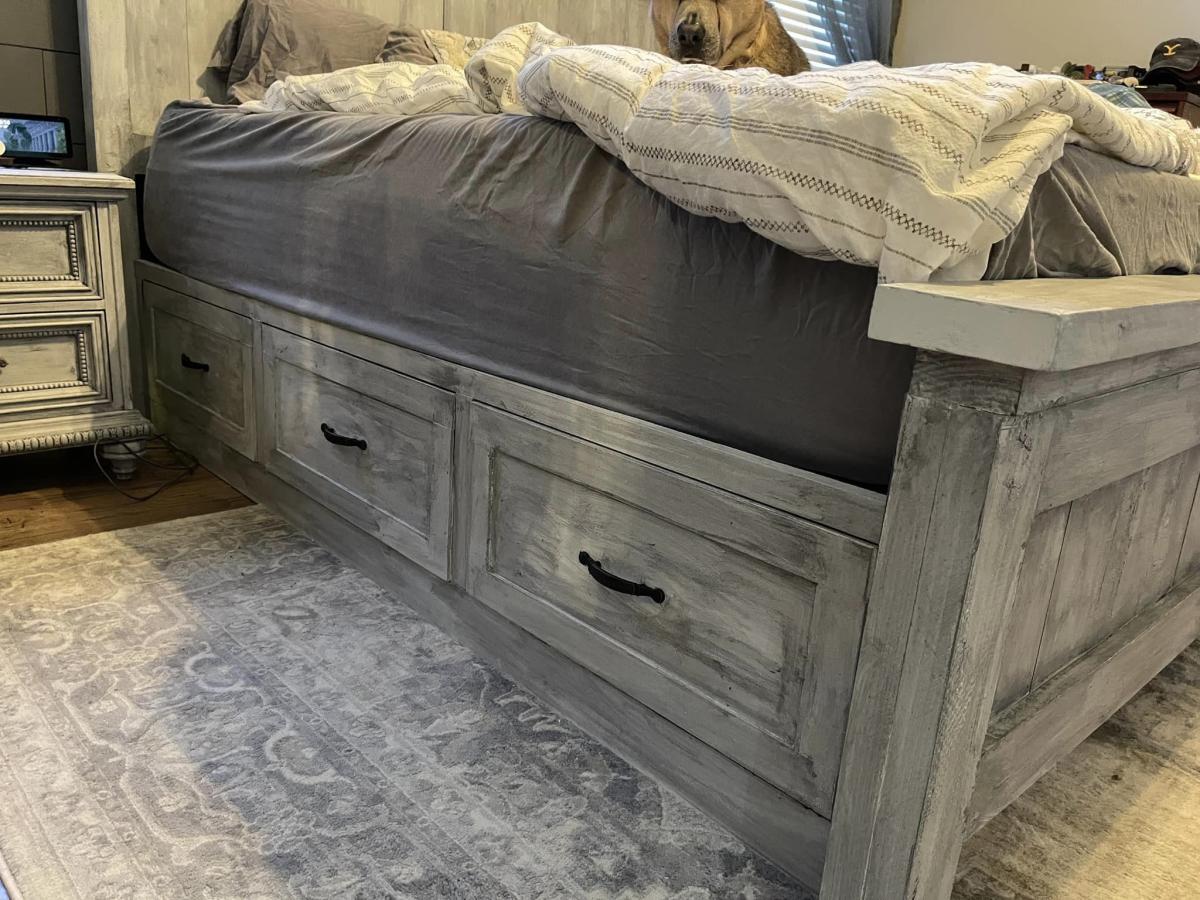
This is a King size farmhouse bed that I made based off of Ana's plans. I love it! I painted it a light gray and then glazed over it with a darker gray. Thanks for looking! - Wendy
Tue, 10/04/2022 - 08:13
WOW, this is amazing, job well done! Thank you so much for sharing!
This was my second project. My eleven year old son and I had great fun building it together.
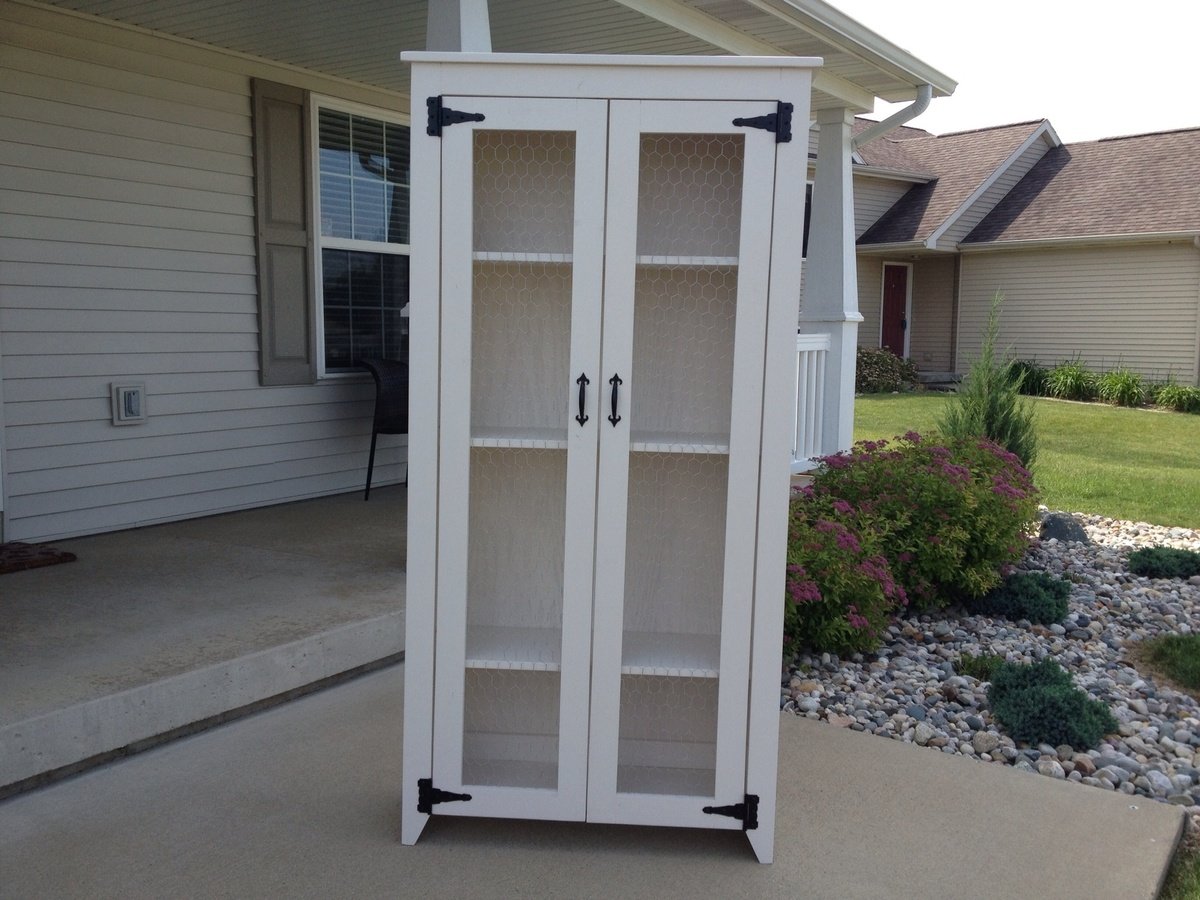
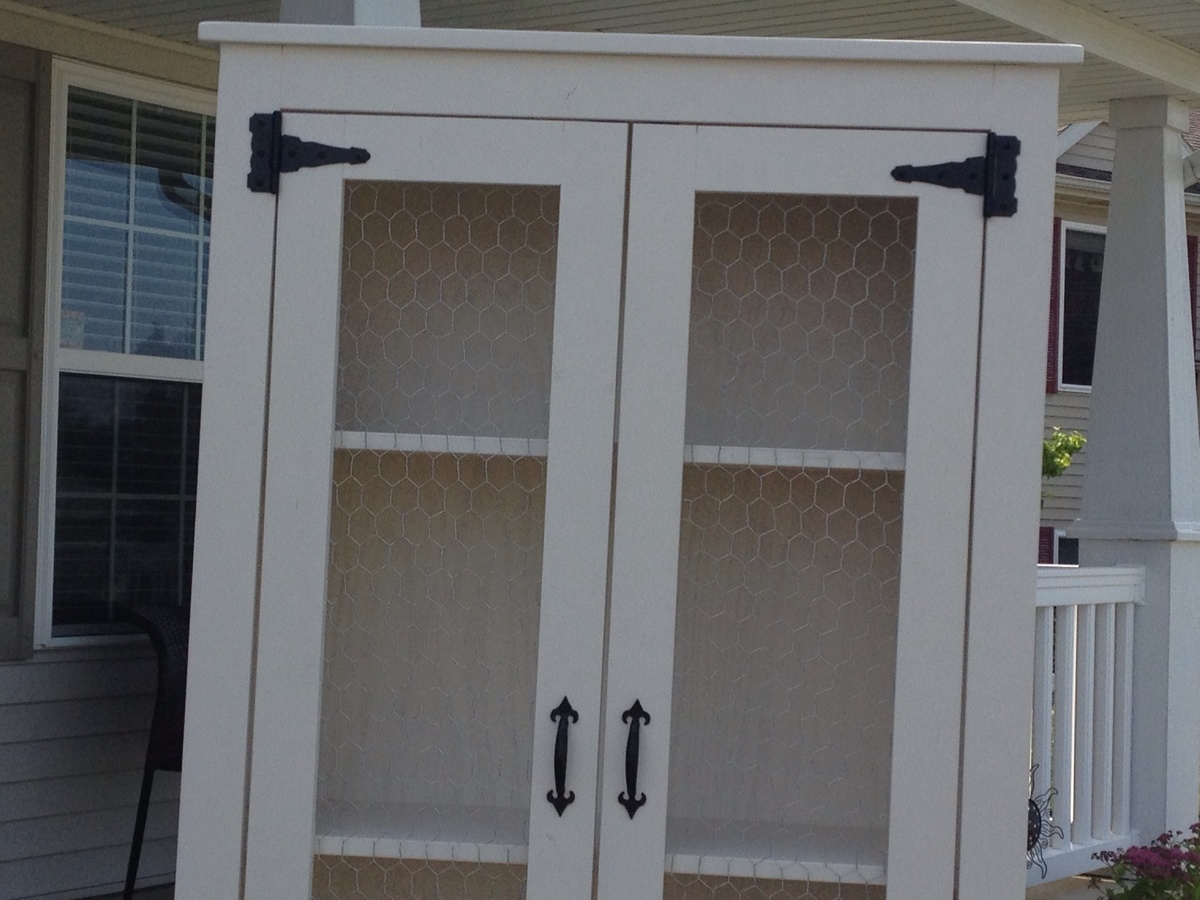
This is my version of Patrick's jelly cupboard. I made some changes to he dimensions by making it taller and a bit wider.
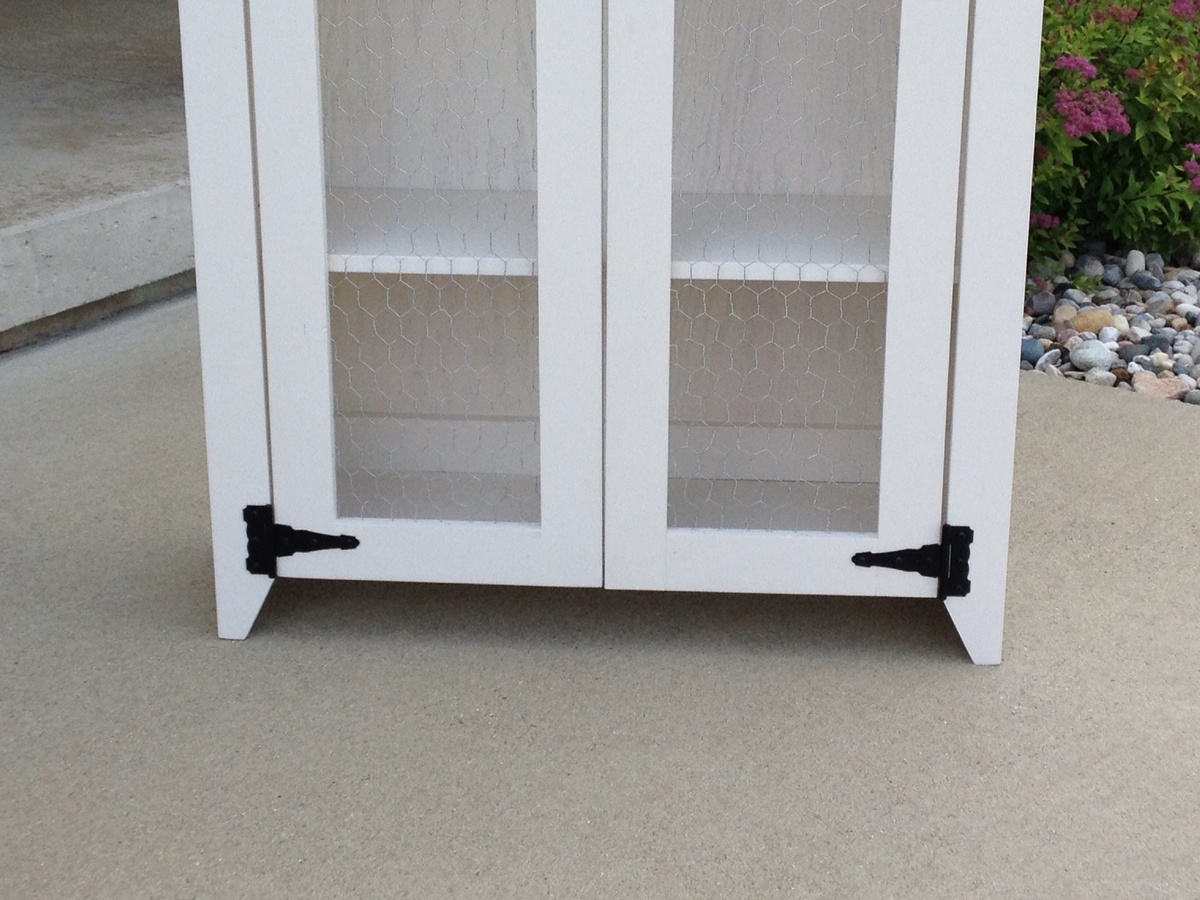
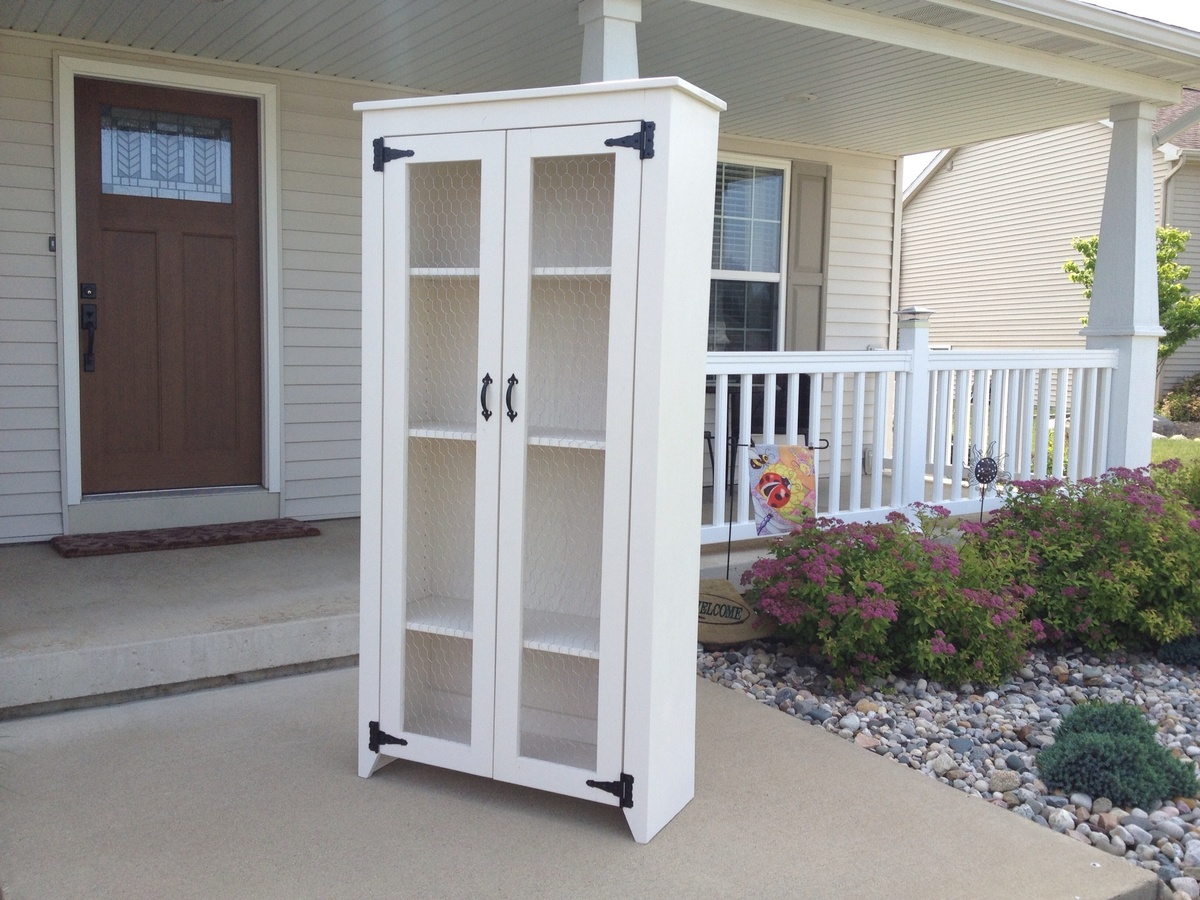
Sun, 09/15/2013 - 17:57
Thank you very much I also forgot to add that the shelves are adjustable.
Wed, 06/11/2014 - 05:00
My husband and I built one of these last year and made it into a wine cabinet. My Mom wants us to build her one but she would like it to be a little bigger also. Do you mind me asking what you changed the measurements to? It looks like the perfect size for her. :)
Wed, 06/11/2014 - 12:23
I believe the measurements are 72" high by 35" wide by 12" deep. I built that last year and I sold it at a antique shop that I had a booth at. But to the best of my knowledge that was the measurements. Thanks for taking a look at it!!
Used scrap cedar fence pickets for this build- only sanded the roughness off the top so that the saw marks remained to give it a rustic look. added tea stain then steel wool vinegar mix to age the boards, then a coat of poly on top. Very quick build, held together by brad nails.
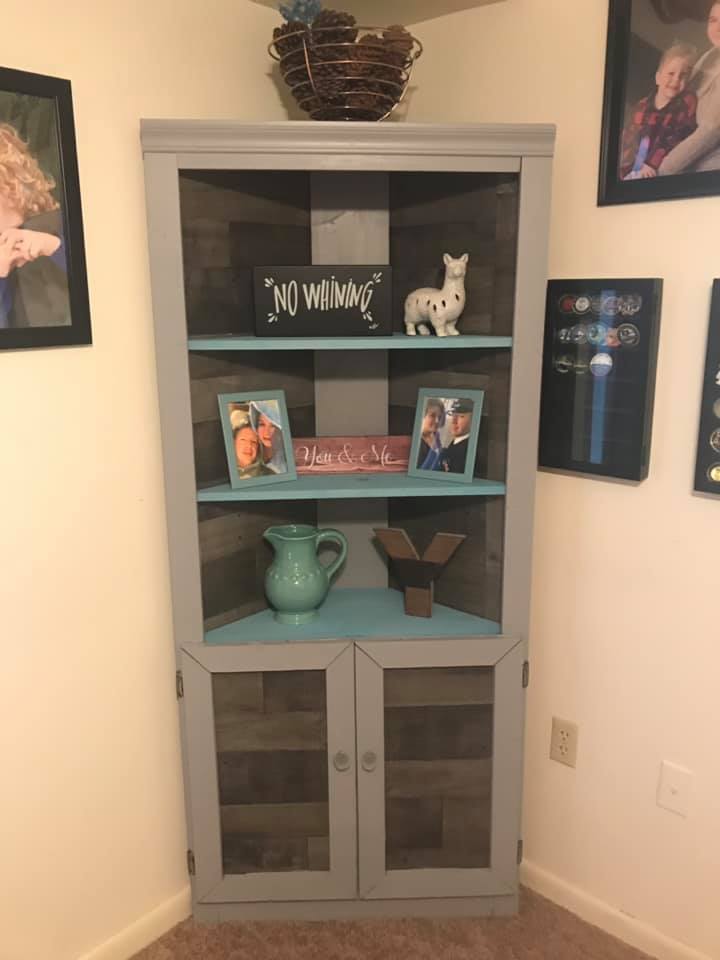
Made this corner cupboard in an afternoon. It was easier than expected especially with the sliding compound miter saw, and the kreg jig haha!
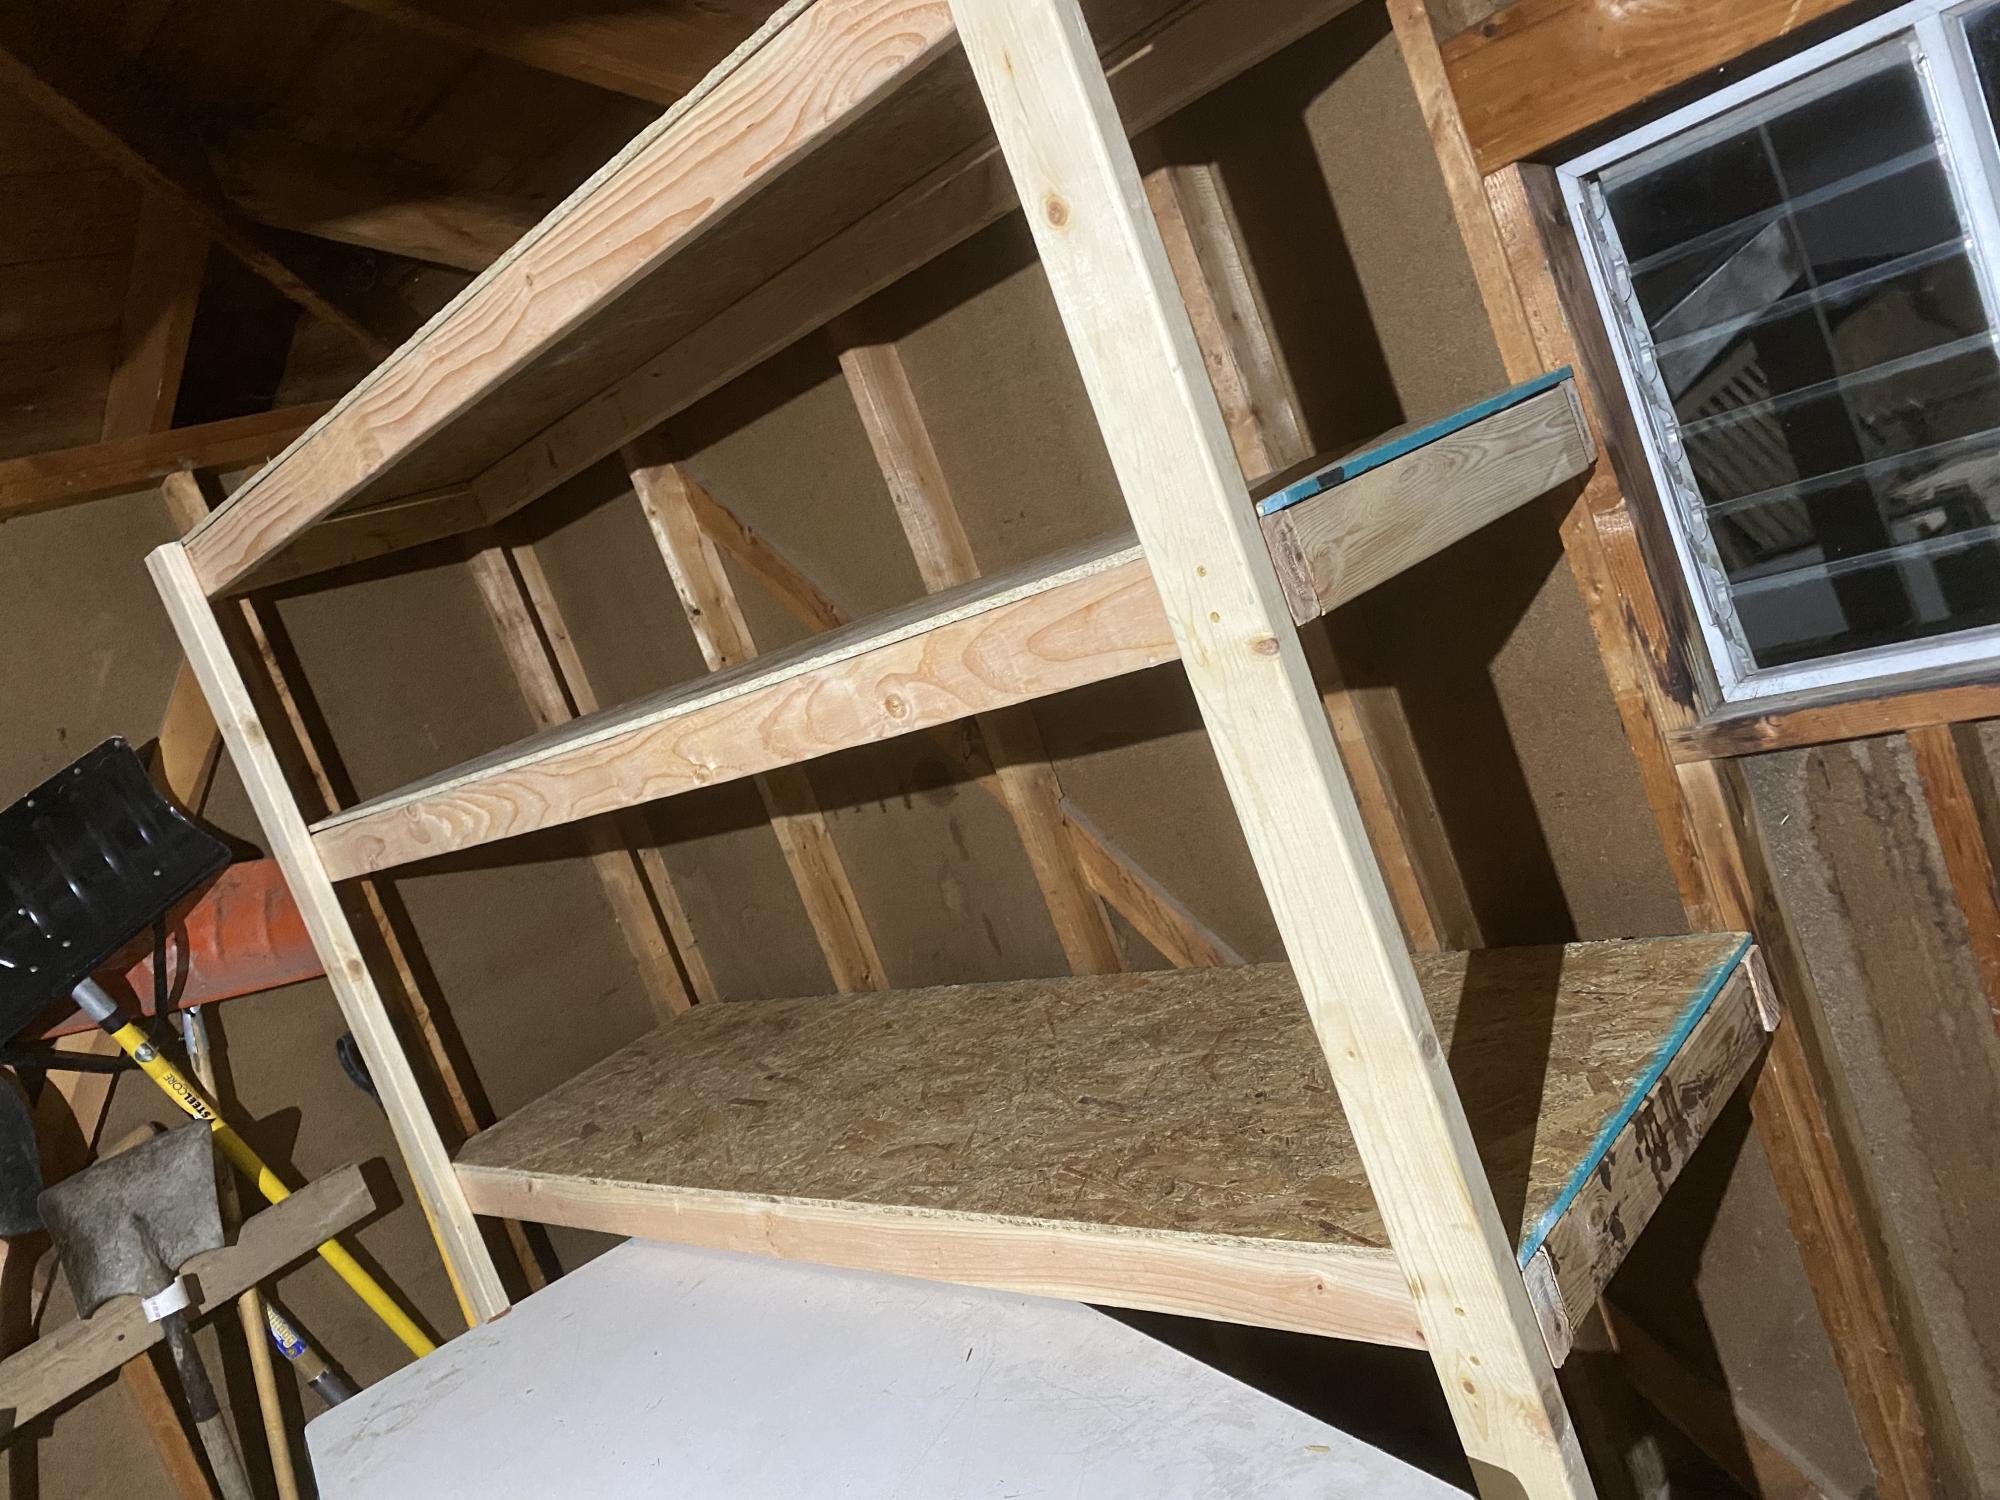
Total cost $87. This project was very easy and did not take much time.
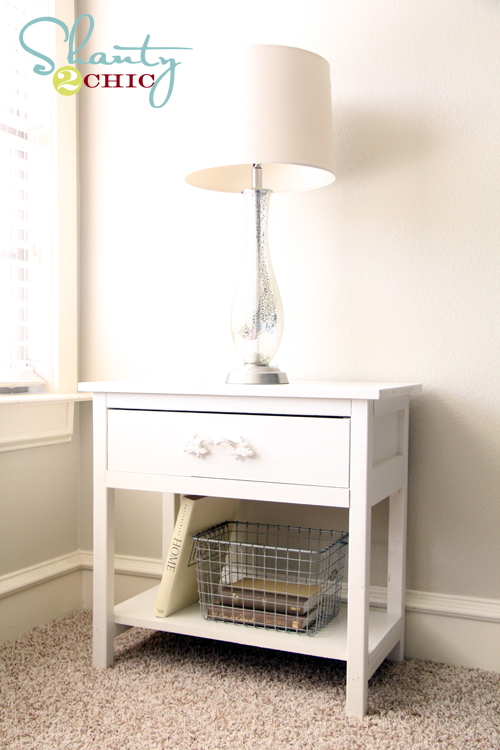
I spent about $9 and my scrap pile to build Ana's Farmhouse Bedside Table. I used scrap MDF and furring strips. I got it finished during a nap time... Easy peasy!
You can see more at http://www.shanty-2-chic.com/2011/08/farmhouse-side-table.html


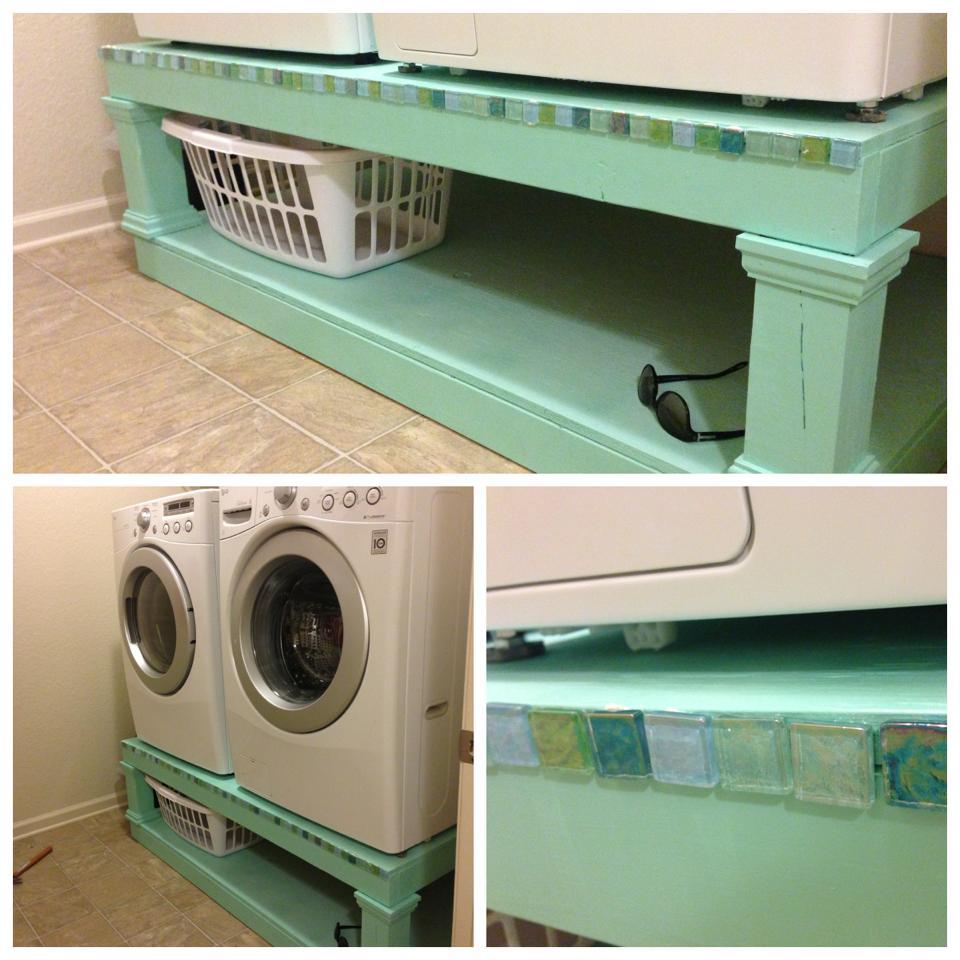
Built according to plan, adding embellishment to cover decking seam. Painted with three coats of paint and a sprayed clear coat.
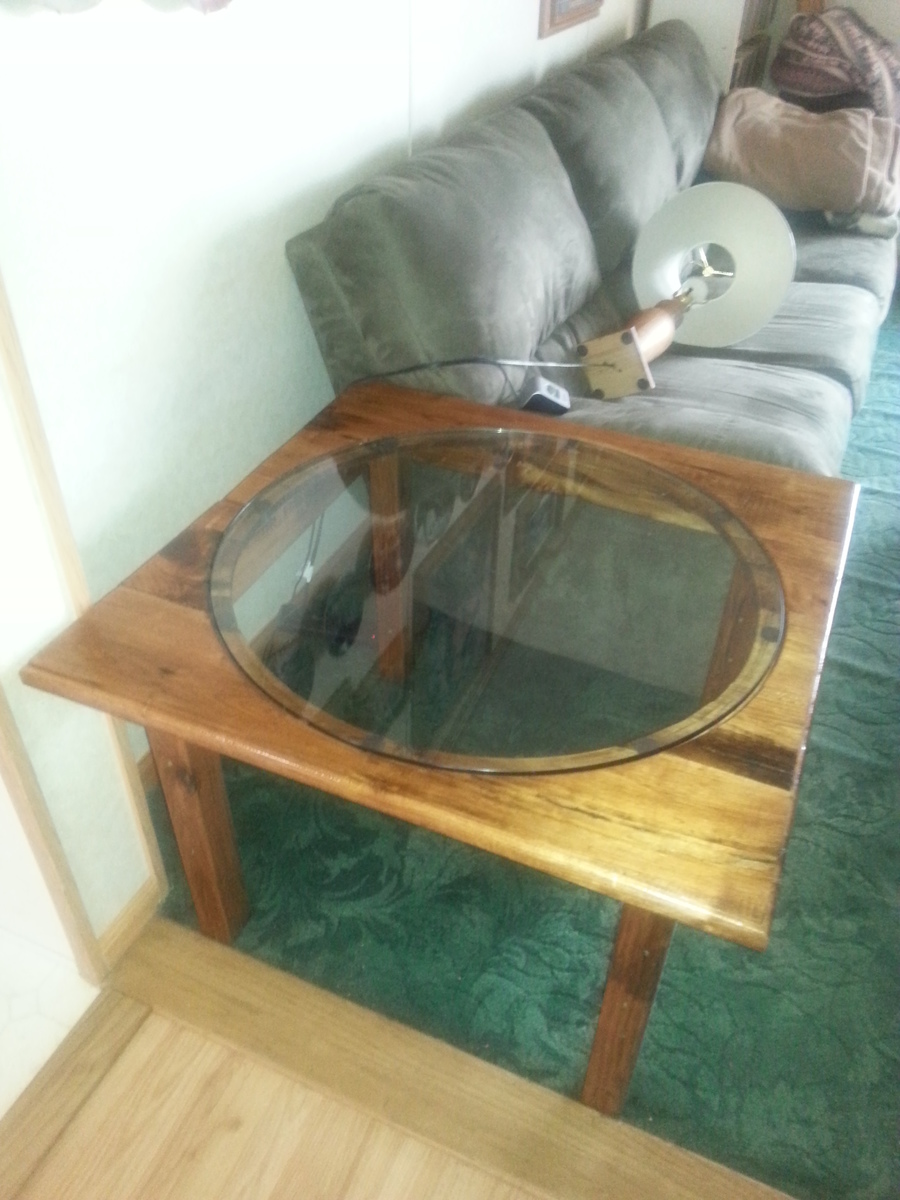
Got some butternut from a friend and here it is.
Mon, 11/23/2015 - 13:01
Making this was a little bit of a headache maker,but got thru it.No plan from anywhere was used.
My husband and I enjoyed building this for our boys. Our wood supply store didn't have enough 1x4's so we purchased 1x6's and ripped them down to an even 4" instead of 3.5 as with a 1x4. We also increased the height by 5.5 inches. That gives us a little extra room to do nightly reading at the bottom bunk. The slats (2 sets) in the bottom are just from IKEA and at the time we just threw them down there and I forgot to set them up in place for a true final photo. Oh well. They've enjoyed the bed for over a month already

We modified the plans to be the height of our countertops, roll and to be the dimensions of a nice cutting board we have. We originally were going to have a custom butcher block made for the top, but after having a built in one in our old house (we just moved) we decided it would be nice to be able to take the cutting board on and off to cut. We only put two locking caster wheels in the back as we have small kids and wanted to be able to stop the kids from pushing it around as much. If I hadnt wanted the hinges to be flush and a wooden knob and metal handles on the side we could have built this out of pallet boards, scraps and things we allready have! We also put small L brackets on three sides to hold the cutting board in when we cut. The cost is just caster whees, the wood knob, and the side handles as we had all the wood and paint from other projects. Also things take us a lot longer with kids and no one to watch them (and I am 8 months preggo!) so I could have done this even with drying time in a day or two. As it was I think it took me 4 days working an hour or two every day

Sun, 08/28/2011 - 14:56
Sorry for the less than great photo! We are still unpacking and I havent found my good camera. This was a cell phone camera so I will try to post better ones later.
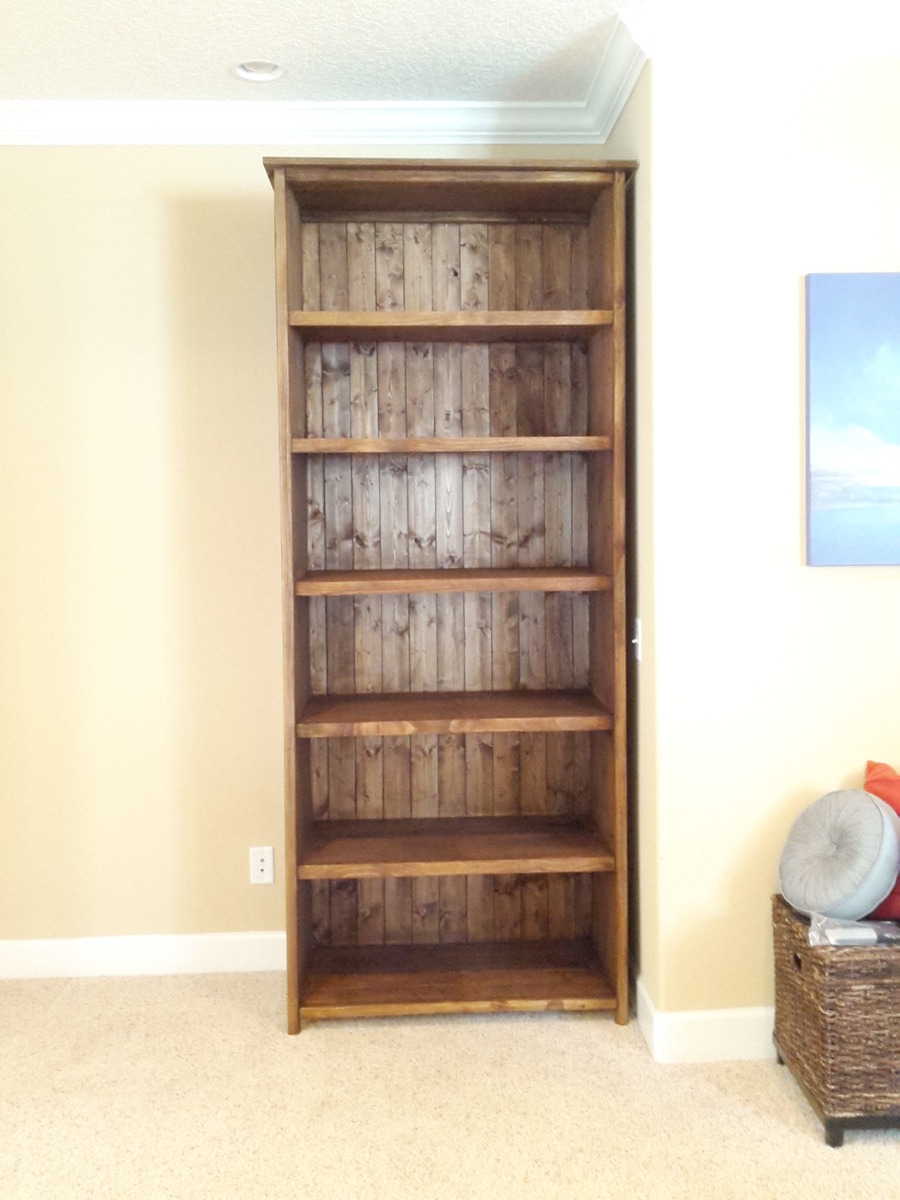
My wife loved the original kentwood plan, but wanted it....bigger. So it is 96 inches tall in total, and for the sides and shelves i used 1x16 project board from Lowes. This means that the shelves and sides are cedar, while the remainder is pine. Turned out fantastic and she loves it. I am currently building a second one to match.
Estimated time: 12 hours.