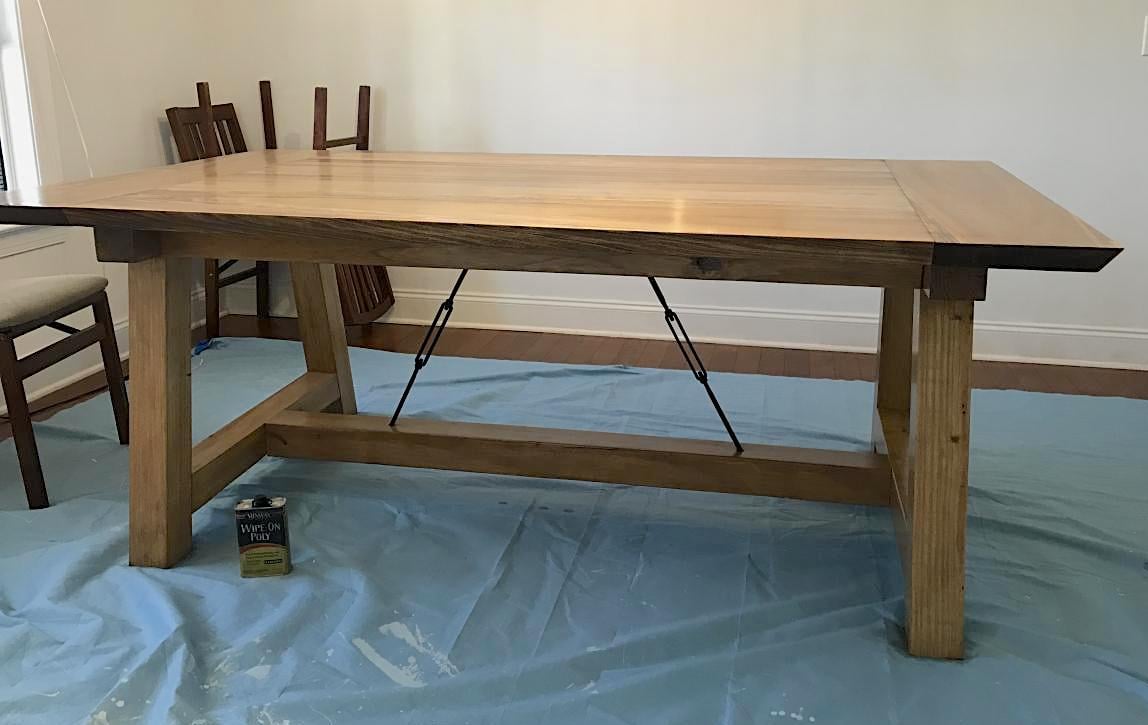
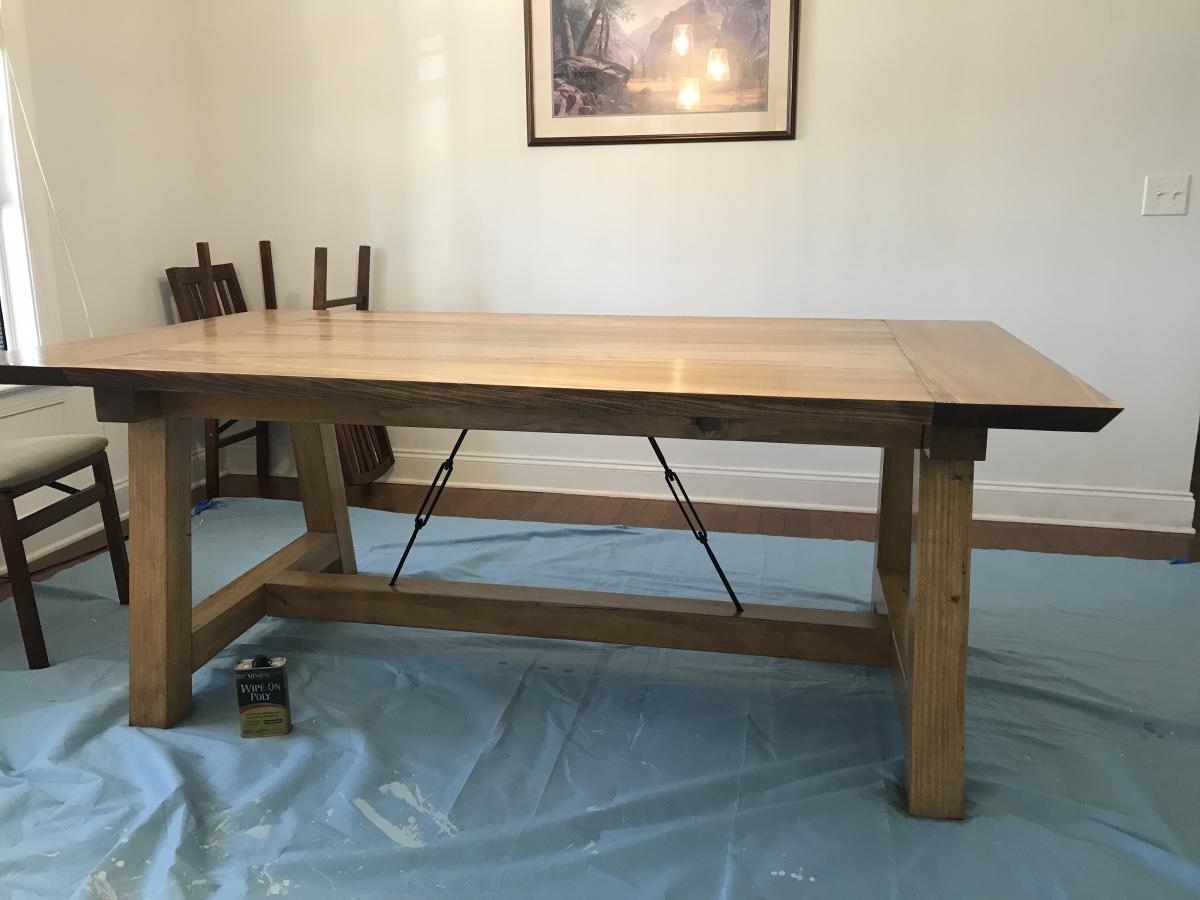
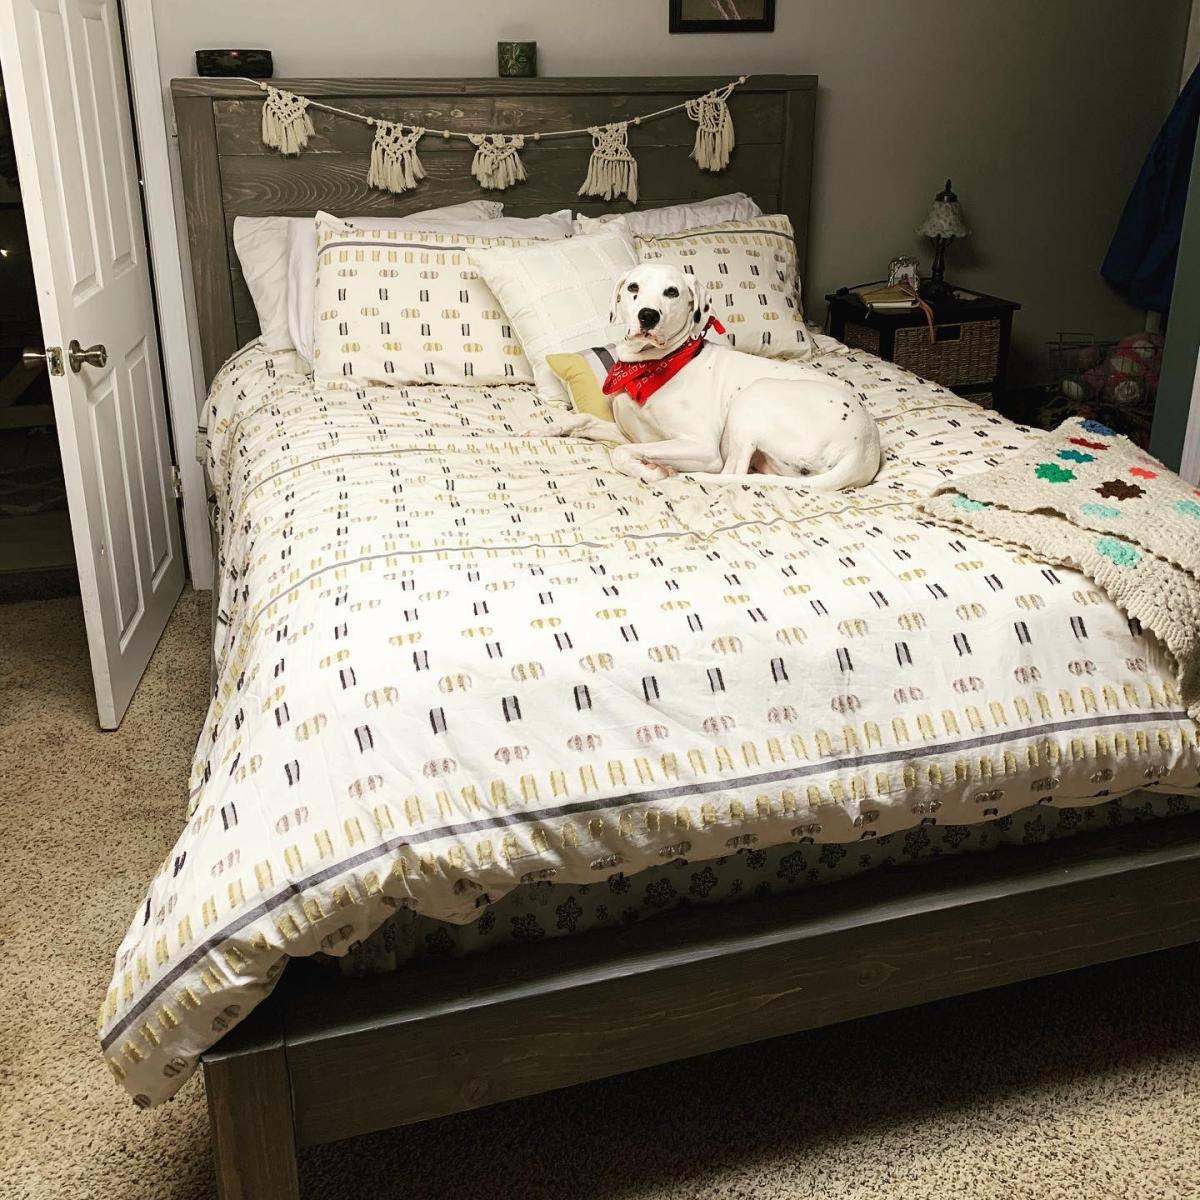
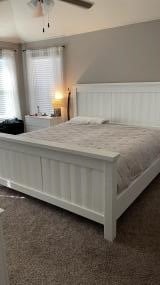
Kentwood Twin Bed
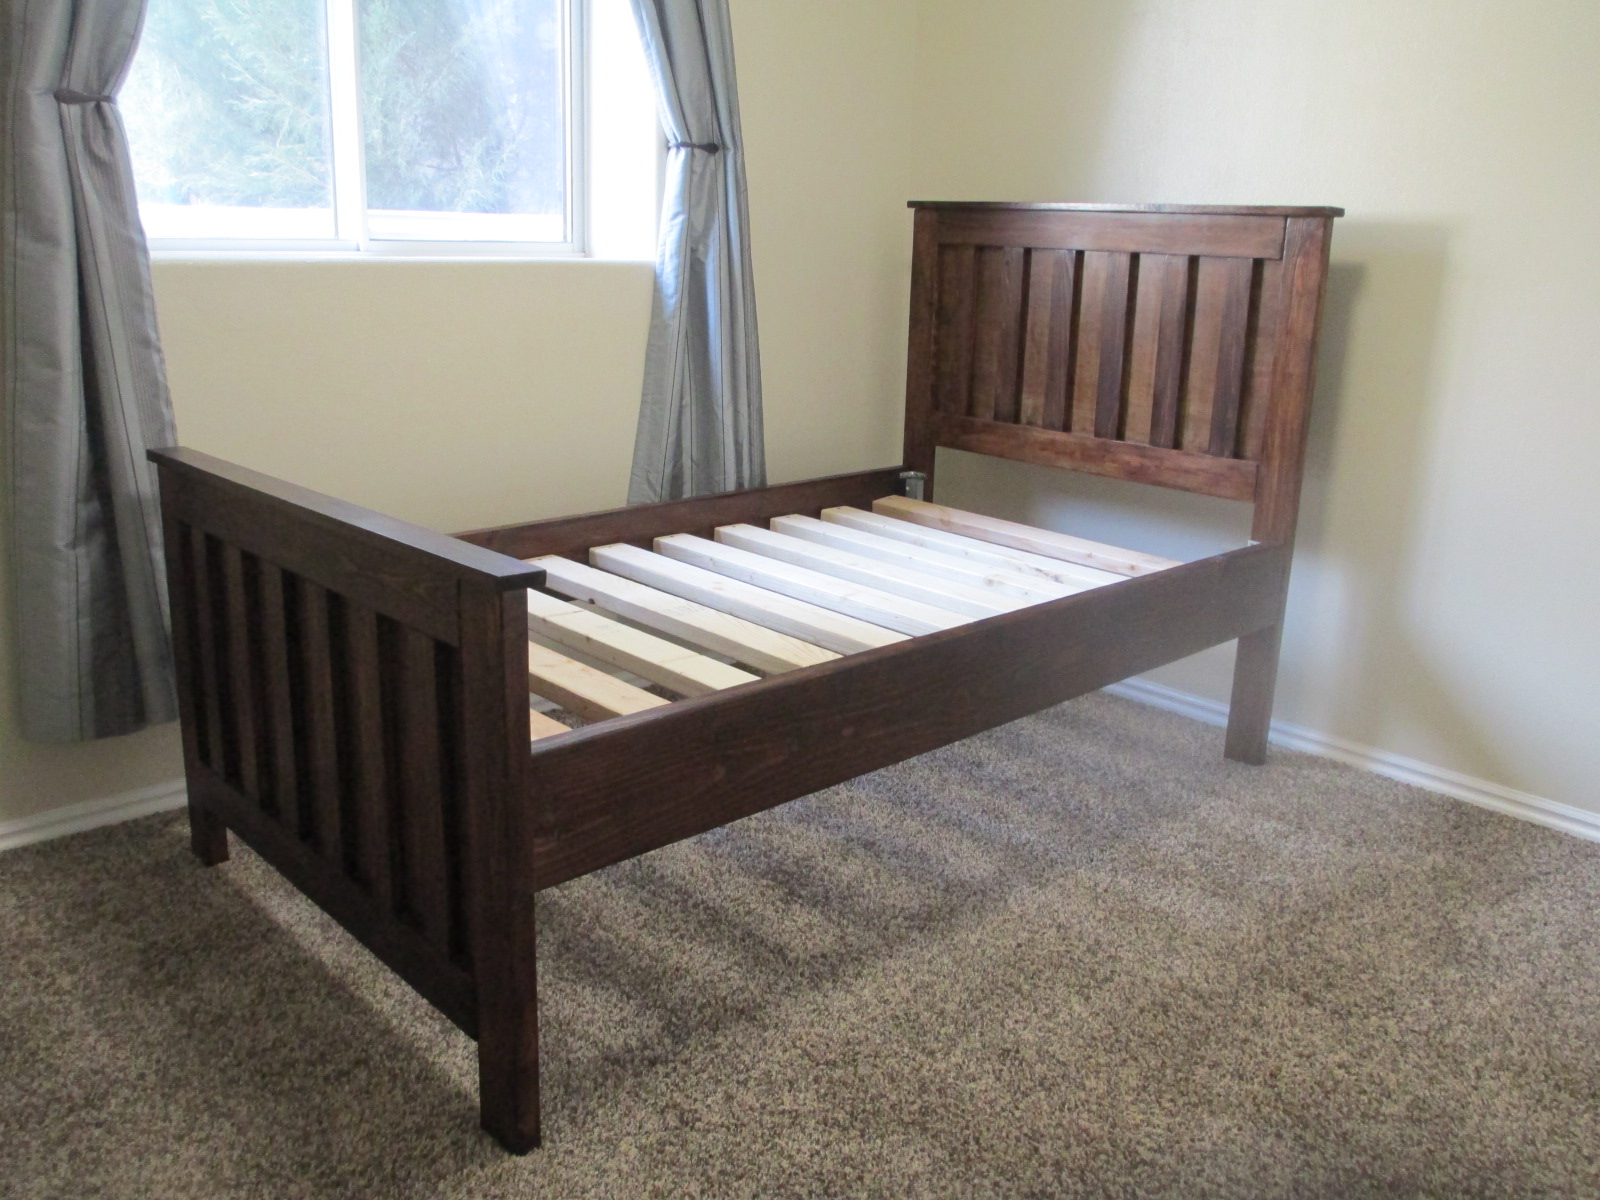
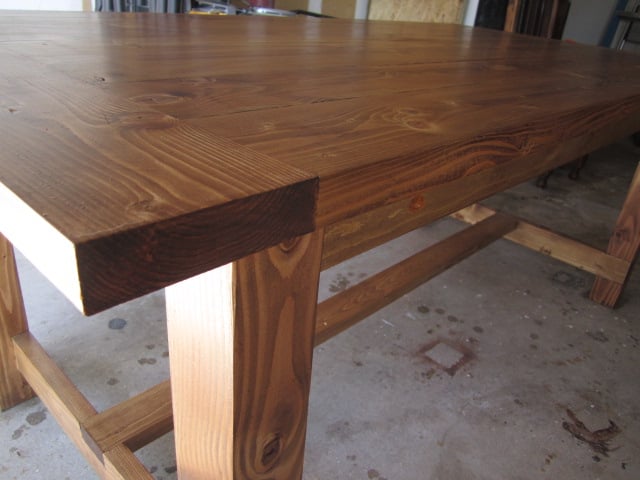
My husband and I built this bed for my sister-in-law for Christmas. It took us about a week of working an hour or so a day on it. Most of that time was staining. The actually assembly took about 2 hours.
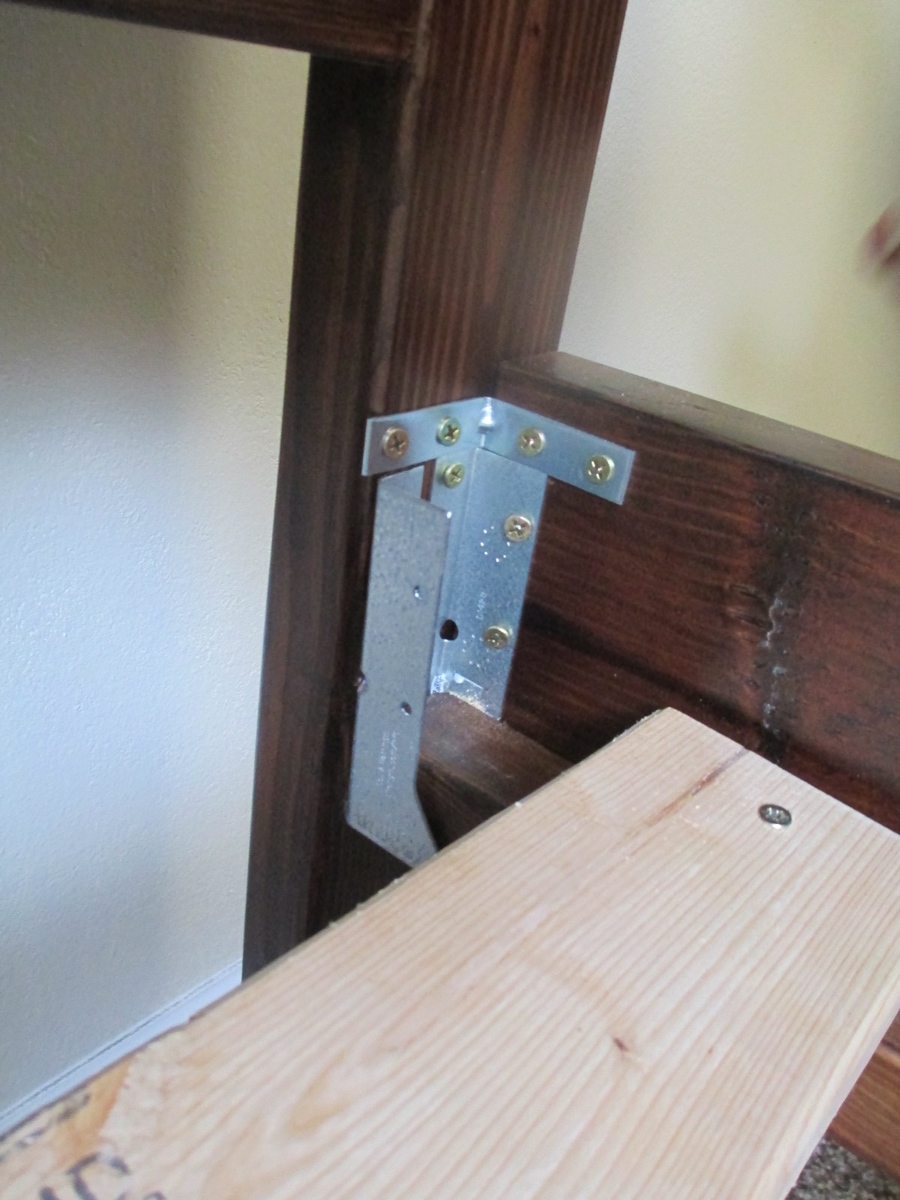
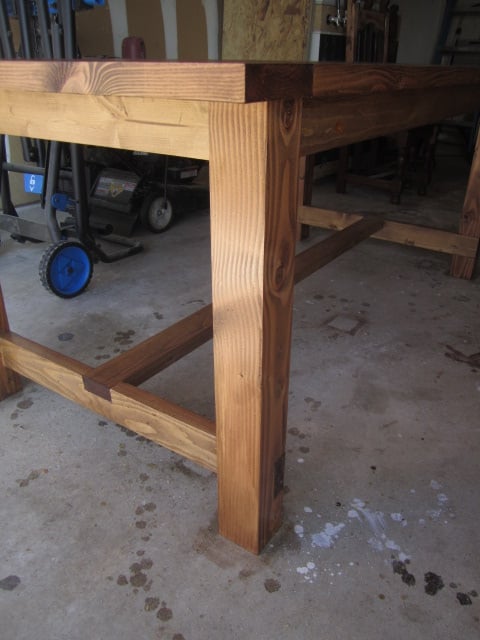
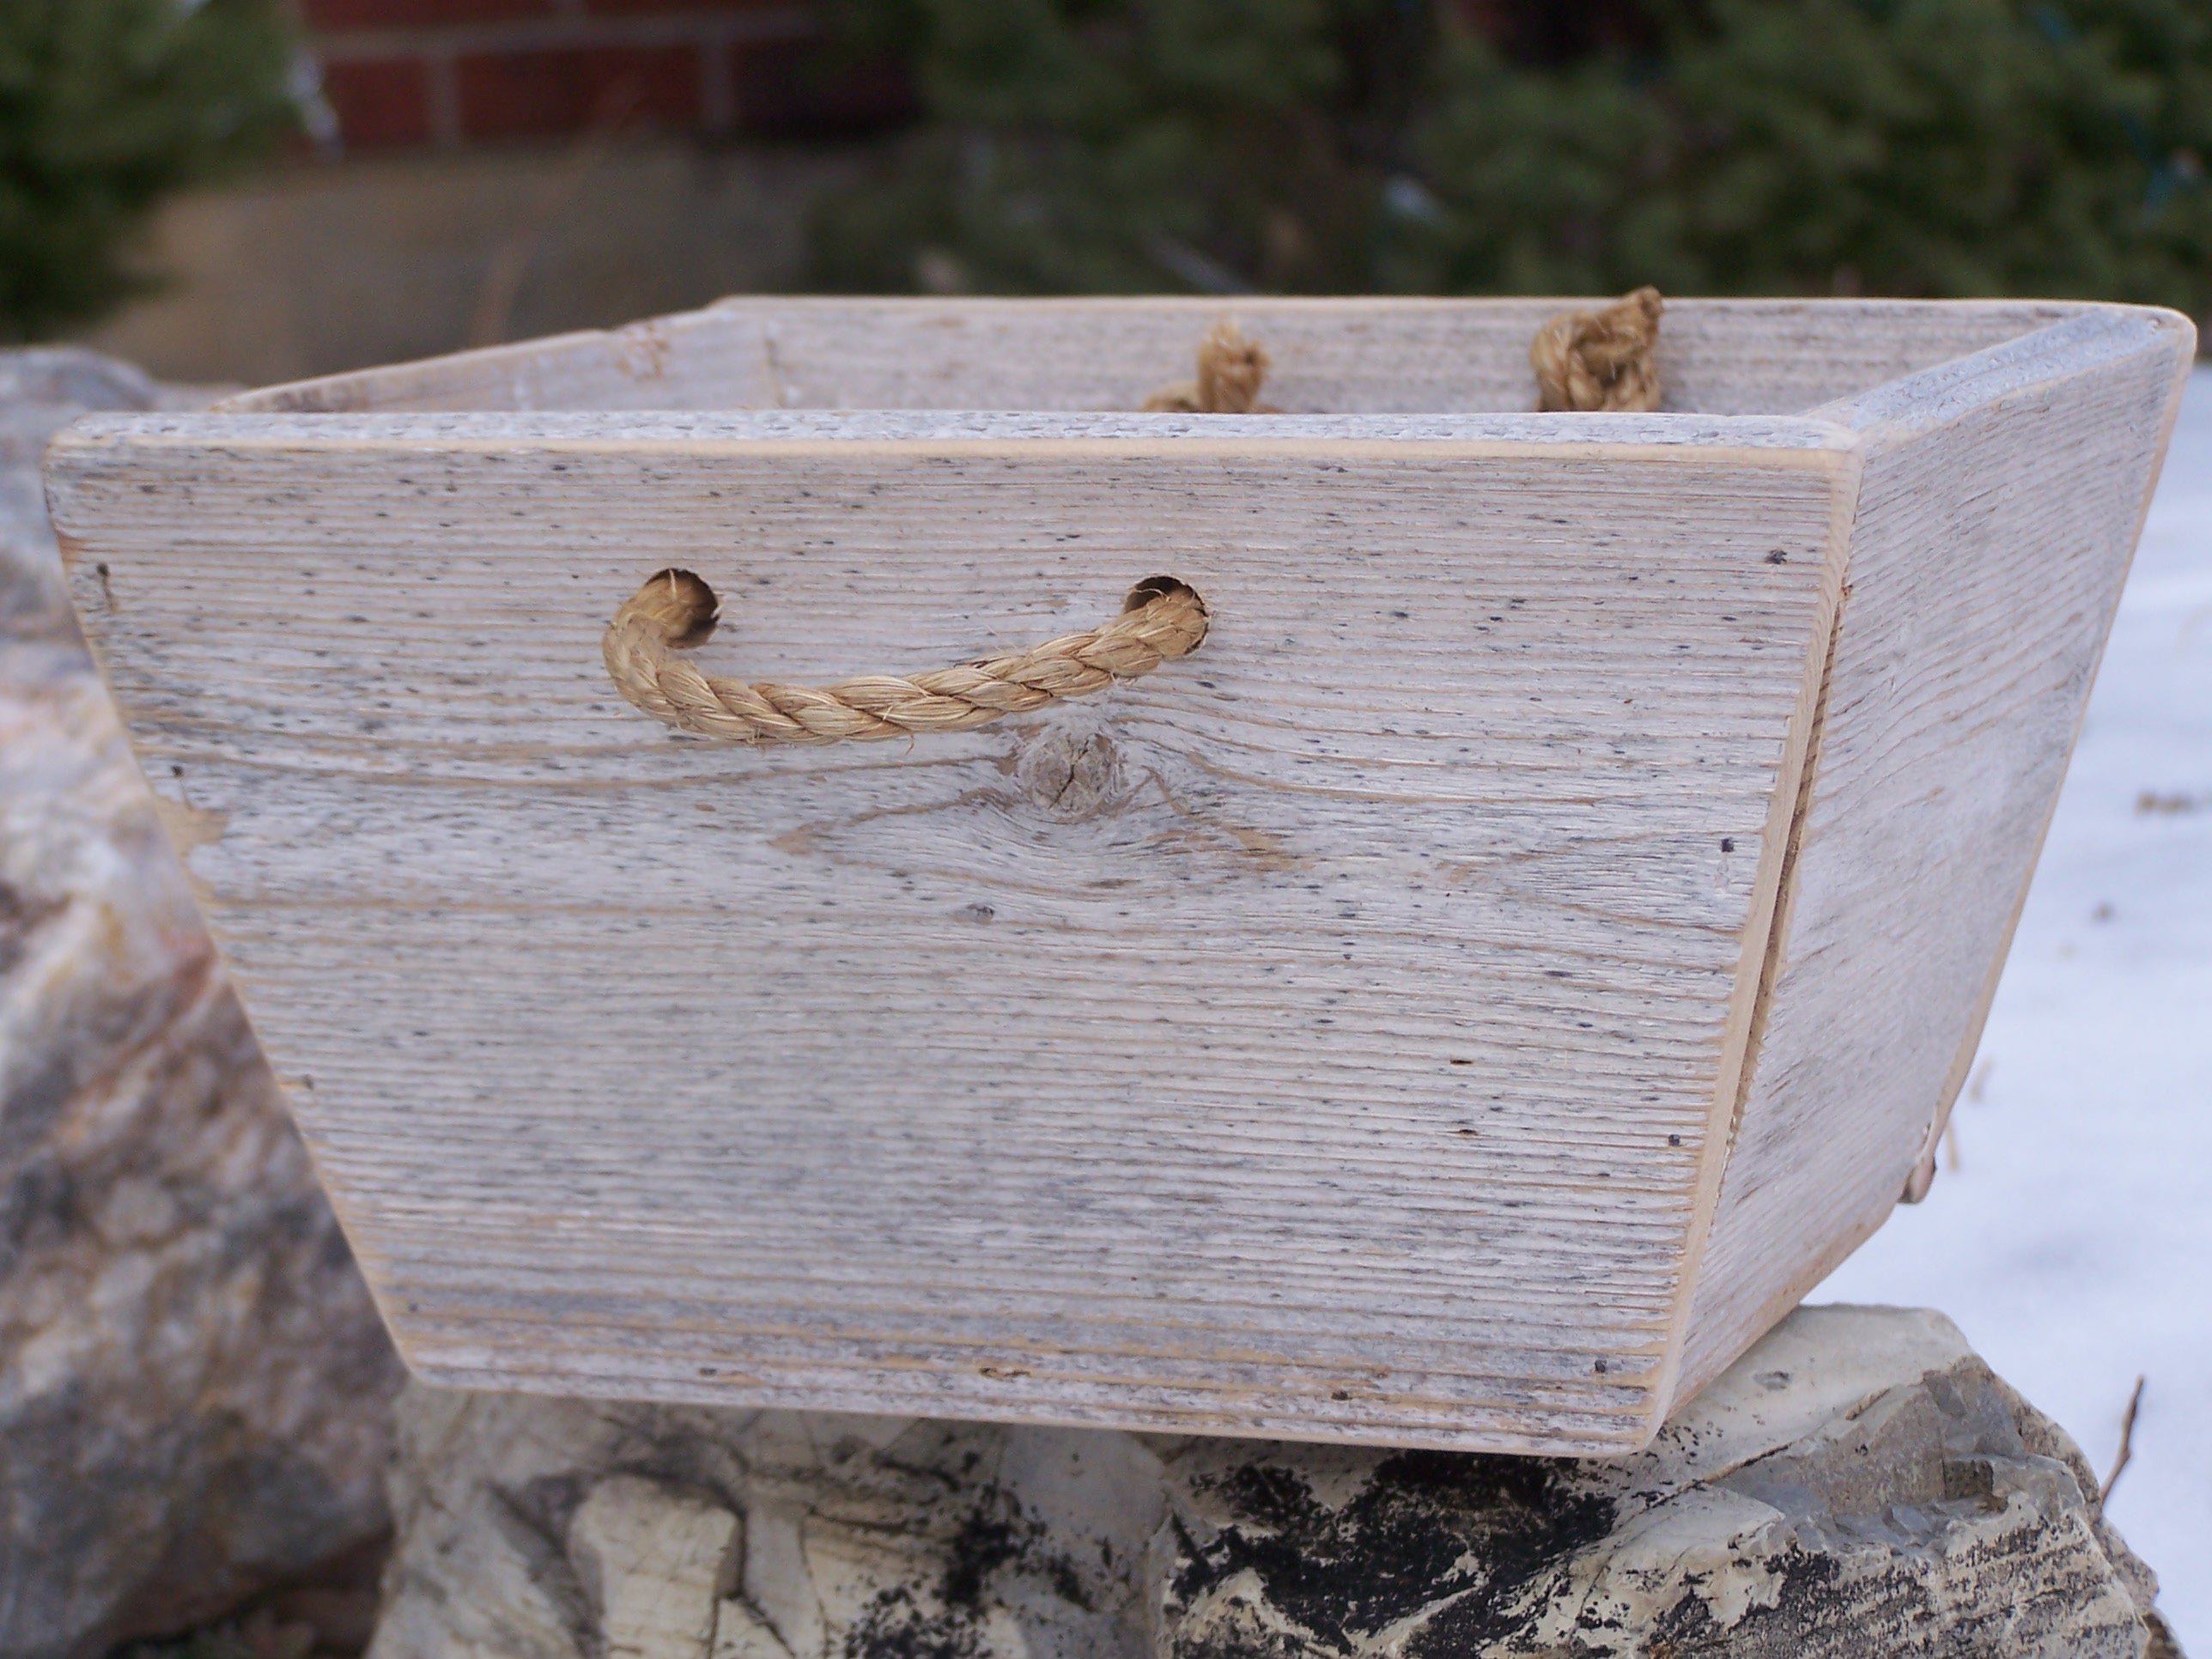
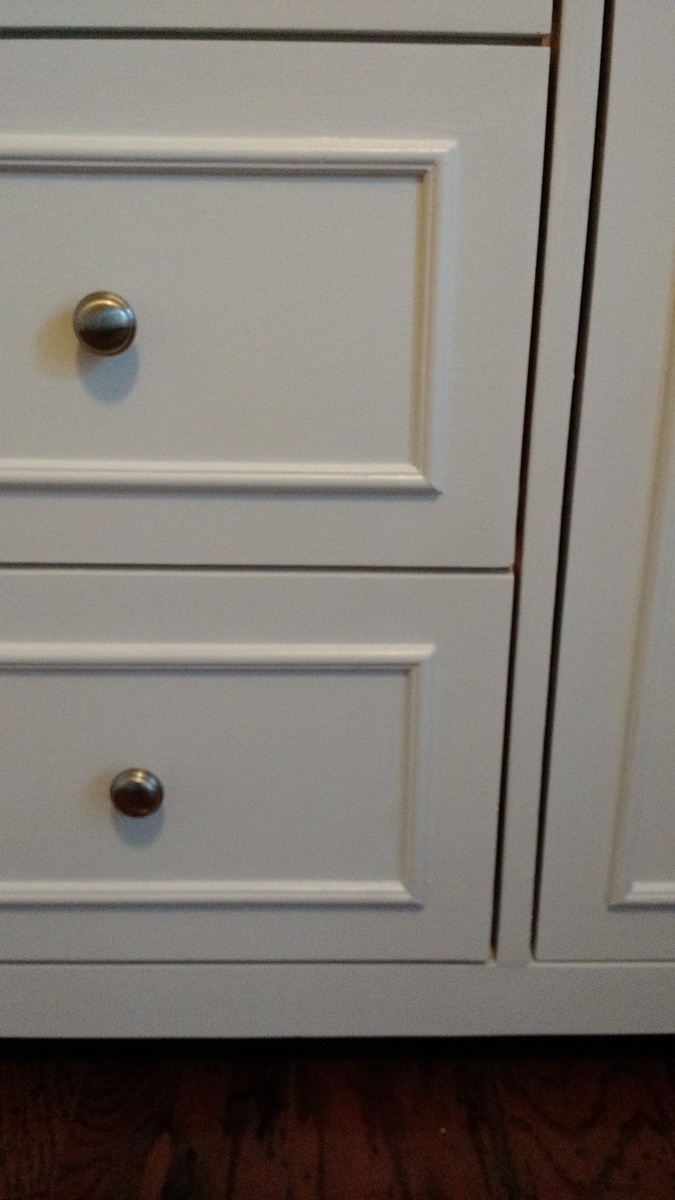
I included a picture of how we attach the siderails to the headboard/footboard. We use a bracket that the 1x2 slides into. It is screwed to both the siderail and the headboard with 1 1/4" screws. We also attach a small L bracket to each corner with helps remove any wiggle that was there previously. It really makes the bed much more stable by adding those little L brackets. Again, we used 1 1/4" screws to attach them.
Built from Plan(s)
Estimated Cost
$110-$120 (price includes wood, stain and hardware)
Estimated Time Investment
Week Long Project (20 Hours or More)
Finish Used
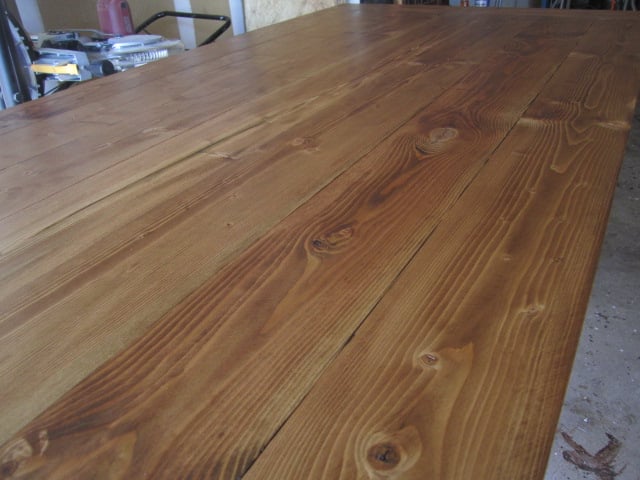
Sanded well
1 coat of pre-conditioner
1 coat of Minwax early american
2 coats of Minwax Mission Oak with Polyurethane, Satin
Steel Wool after each coat of the stain with poly
1 coat of pre-conditioner
1 coat of Minwax early american
2 coats of Minwax Mission Oak with Polyurethane, Satin
Steel Wool after each coat of the stain with poly
Recommended Skill Level
Beginner


Comments
meganomesh
Wed, 12/10/2014 - 13:55
Bed Details
I had some trouble with the submission of my form and now it's not allowing me to edit so I'll write the details in the comments.
The assembly took about 2 hours but we worked on the bed about a week due to the many coats of stain etc.
Here's how we finished the bed:
1 coat of Minwax pre conditioner
1 coat of Minwax Early American
2 coats of Minwax Mission Oak stain with poly, satin
Steel wool the project after each coat of stain with poly
I included a picture of the hardware we use to attach the side rails to the bed. The big bracket holds the side rails up. The little "L" bracket in each corner makes it so the bed doesn't wiggle or move. This is our 4th bed to build and we have found this set-up to make a very secure, sturdy bed.
meganomesh
Wed, 12/10/2014 - 14:01
Bed Details
I had some trouble with the submission of my form and now it's not allowing me to edit so I'll write the details in the comments.
The assembly took about 2 hours but we worked on the bed about a week due to the many coats of stain etc.
Here's how we finished the bed:
1 coat of Minwax pre conditioner
1 coat of Minwax Early American
2 coats of Minwax Mission Oak stain with poly, satin
Steel wool the project after each coat of stain with poly
I included a picture of the hardware we use to attach the side rails to the bed. The big bracket holds the side rails up. The little "L" bracket in each corner makes it so the bed doesn't wiggle or move. This is our 4th bed to build and we have found this set-up to make a very secure, sturdy bed.