Community Brag Posts
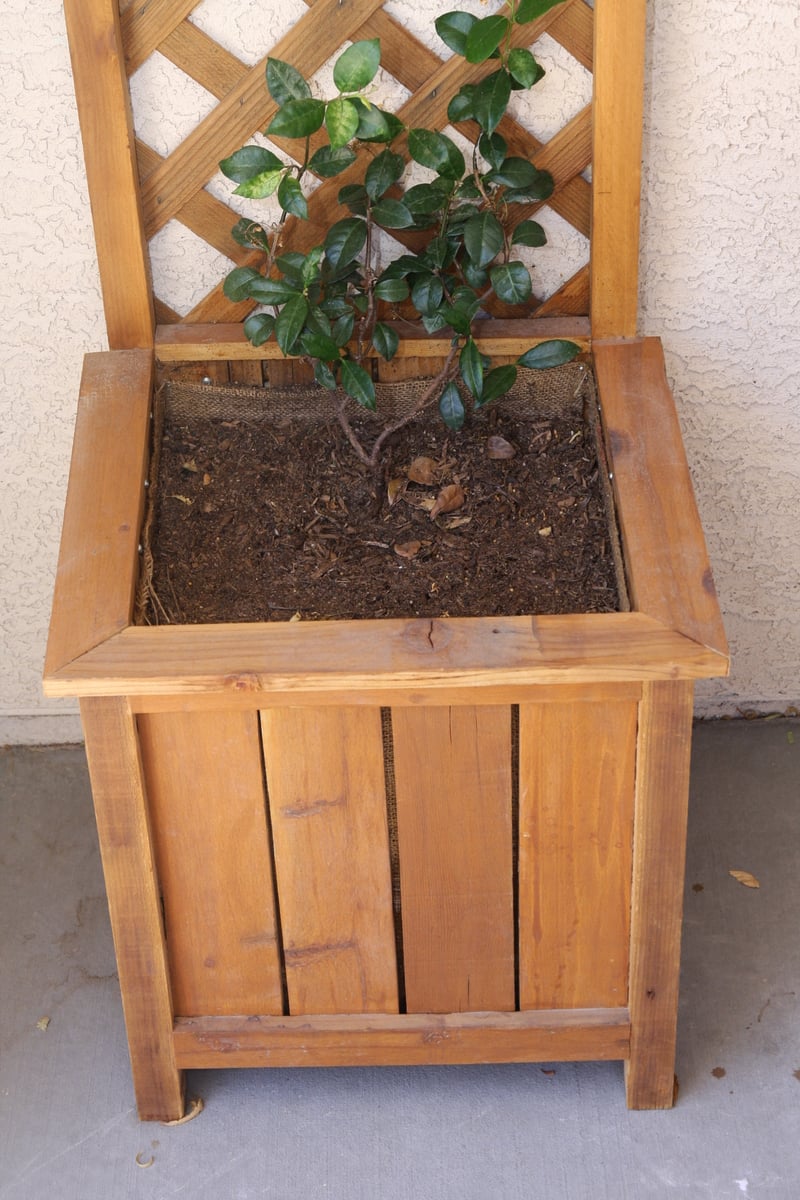
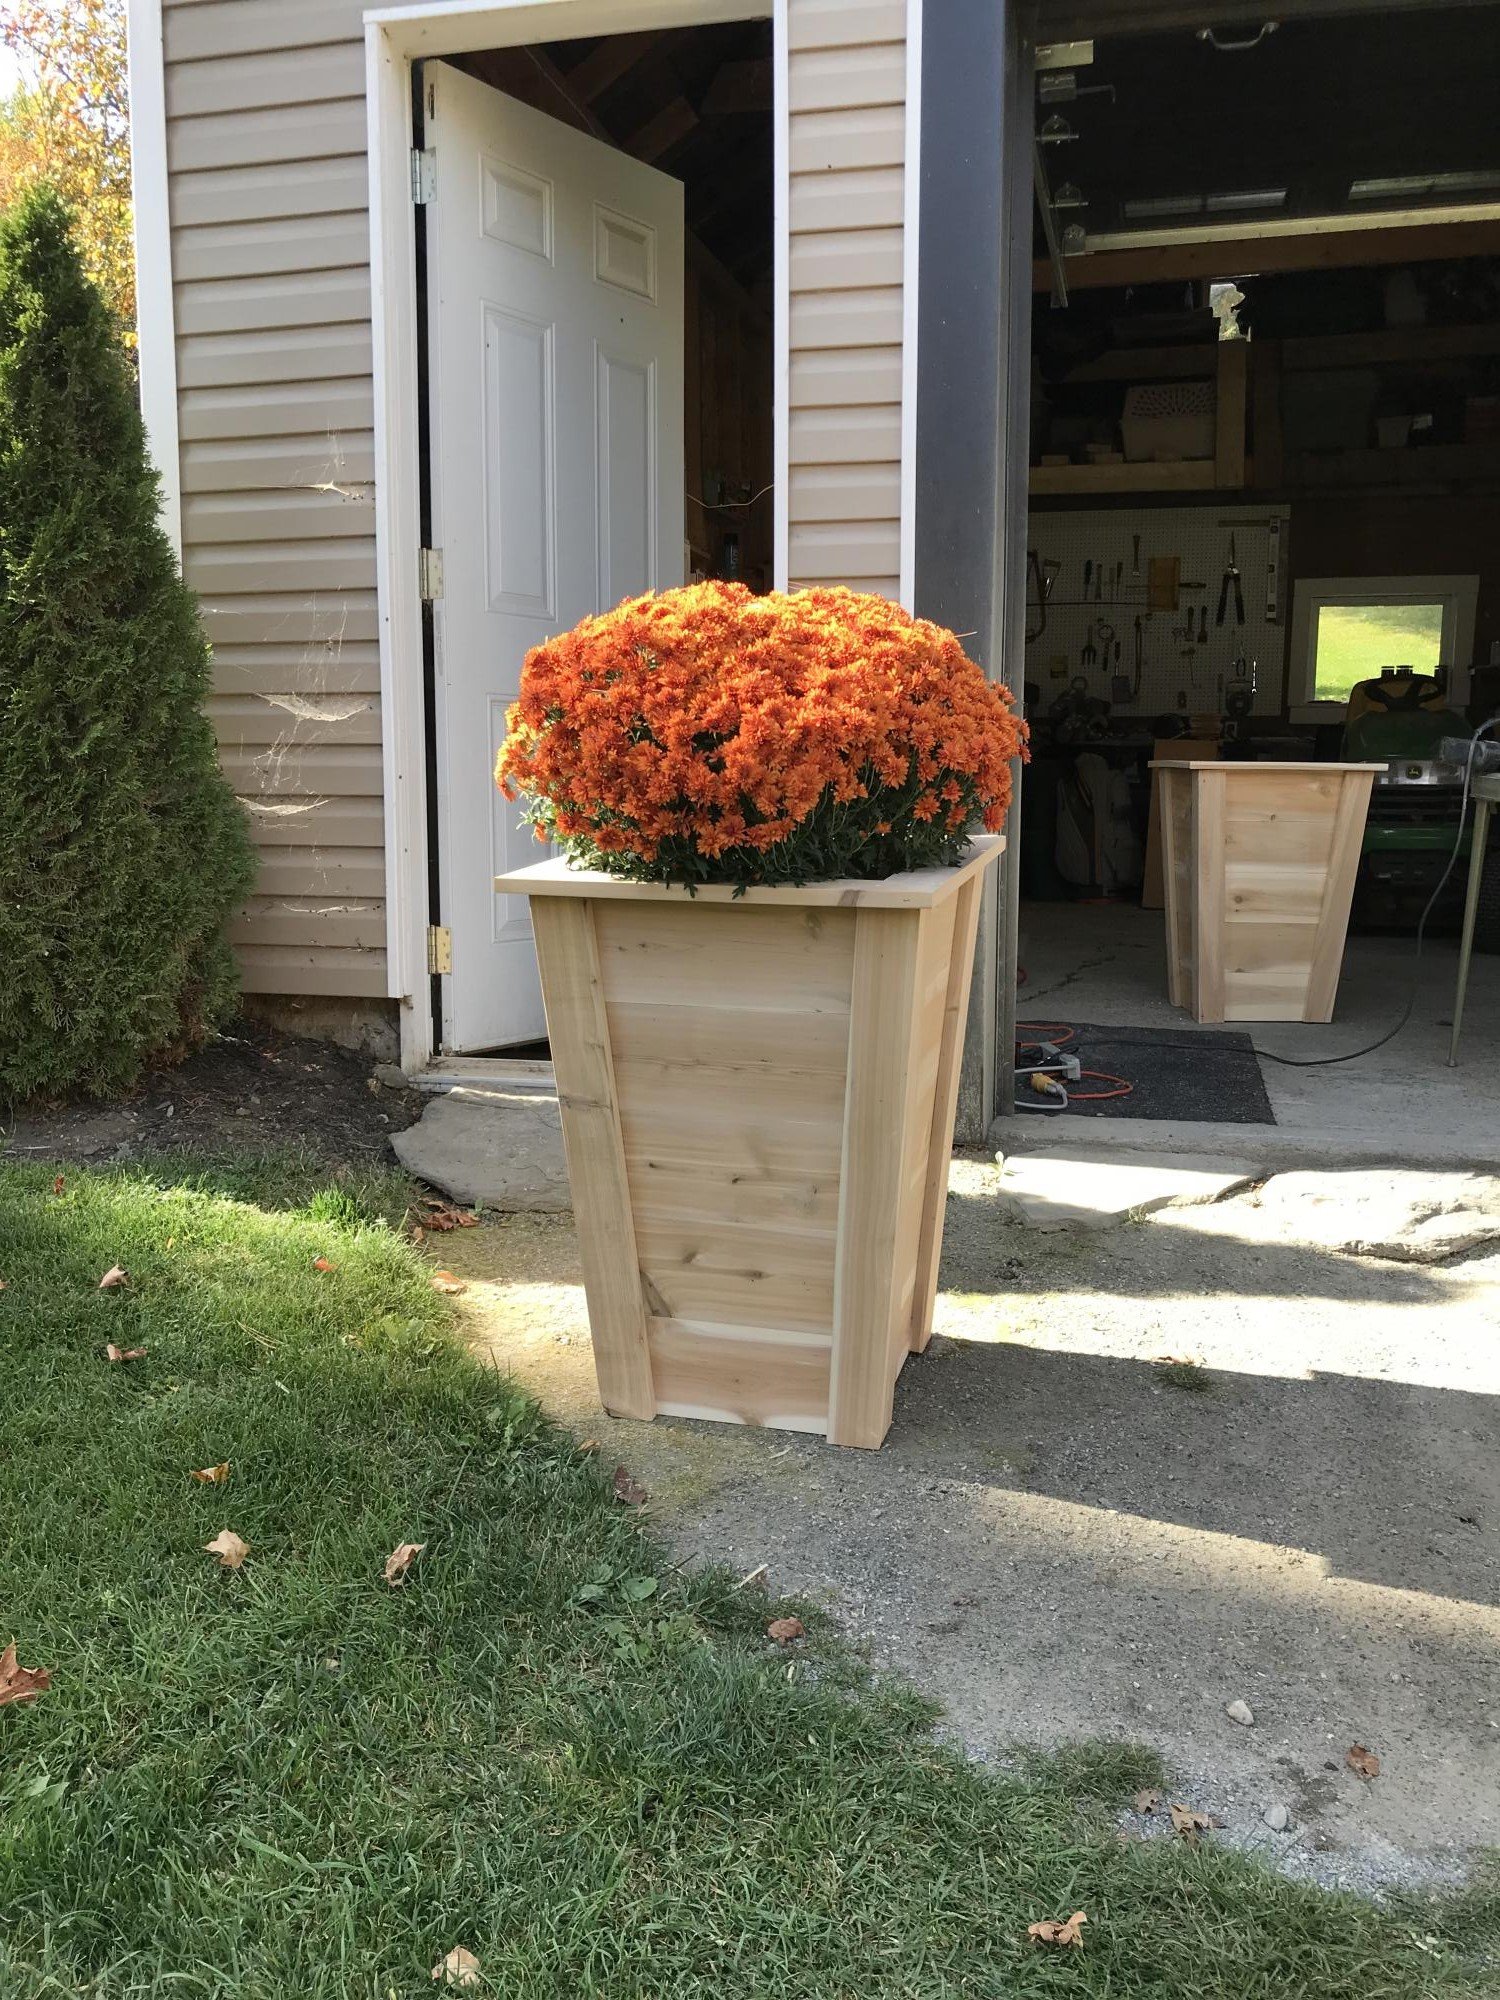
Cedar Planter with Trellis
I put the two planter boxes on this site together to get a perfect little lattice box for the space by my door. I get lots of compliments and hopefully soon I will have yummy jasmine welcoming my guests.
Texas wood clock
I had a few scraps of wood left over from a fence I took down. I wanted to make a clock for the state I live in. I also used shotgun shells for the numbers. It only took half a day to make and it was fun to see what the finished product looked like.
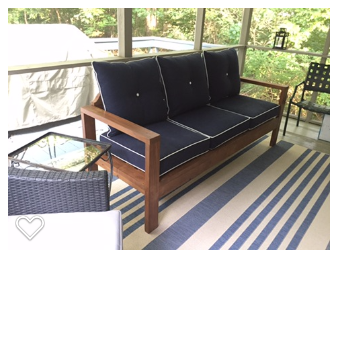
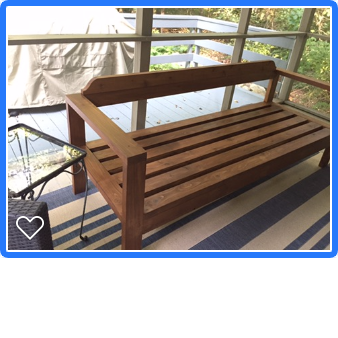
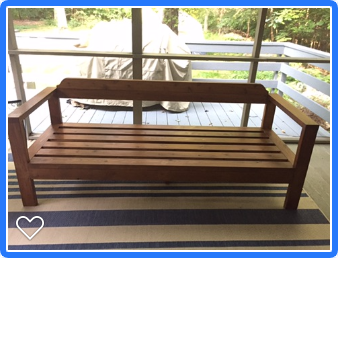
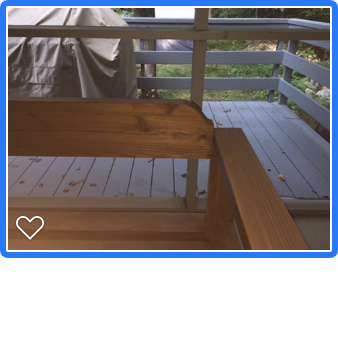
Outdoor 2x4 sofa
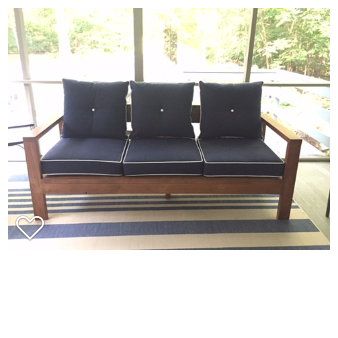
We finally got our outdoor porch cleaned out and needed some additional seating. Loved all the different designs based on Ana's 2x4 sofa. Used Cedar boards instead of Pine.
Coffee station
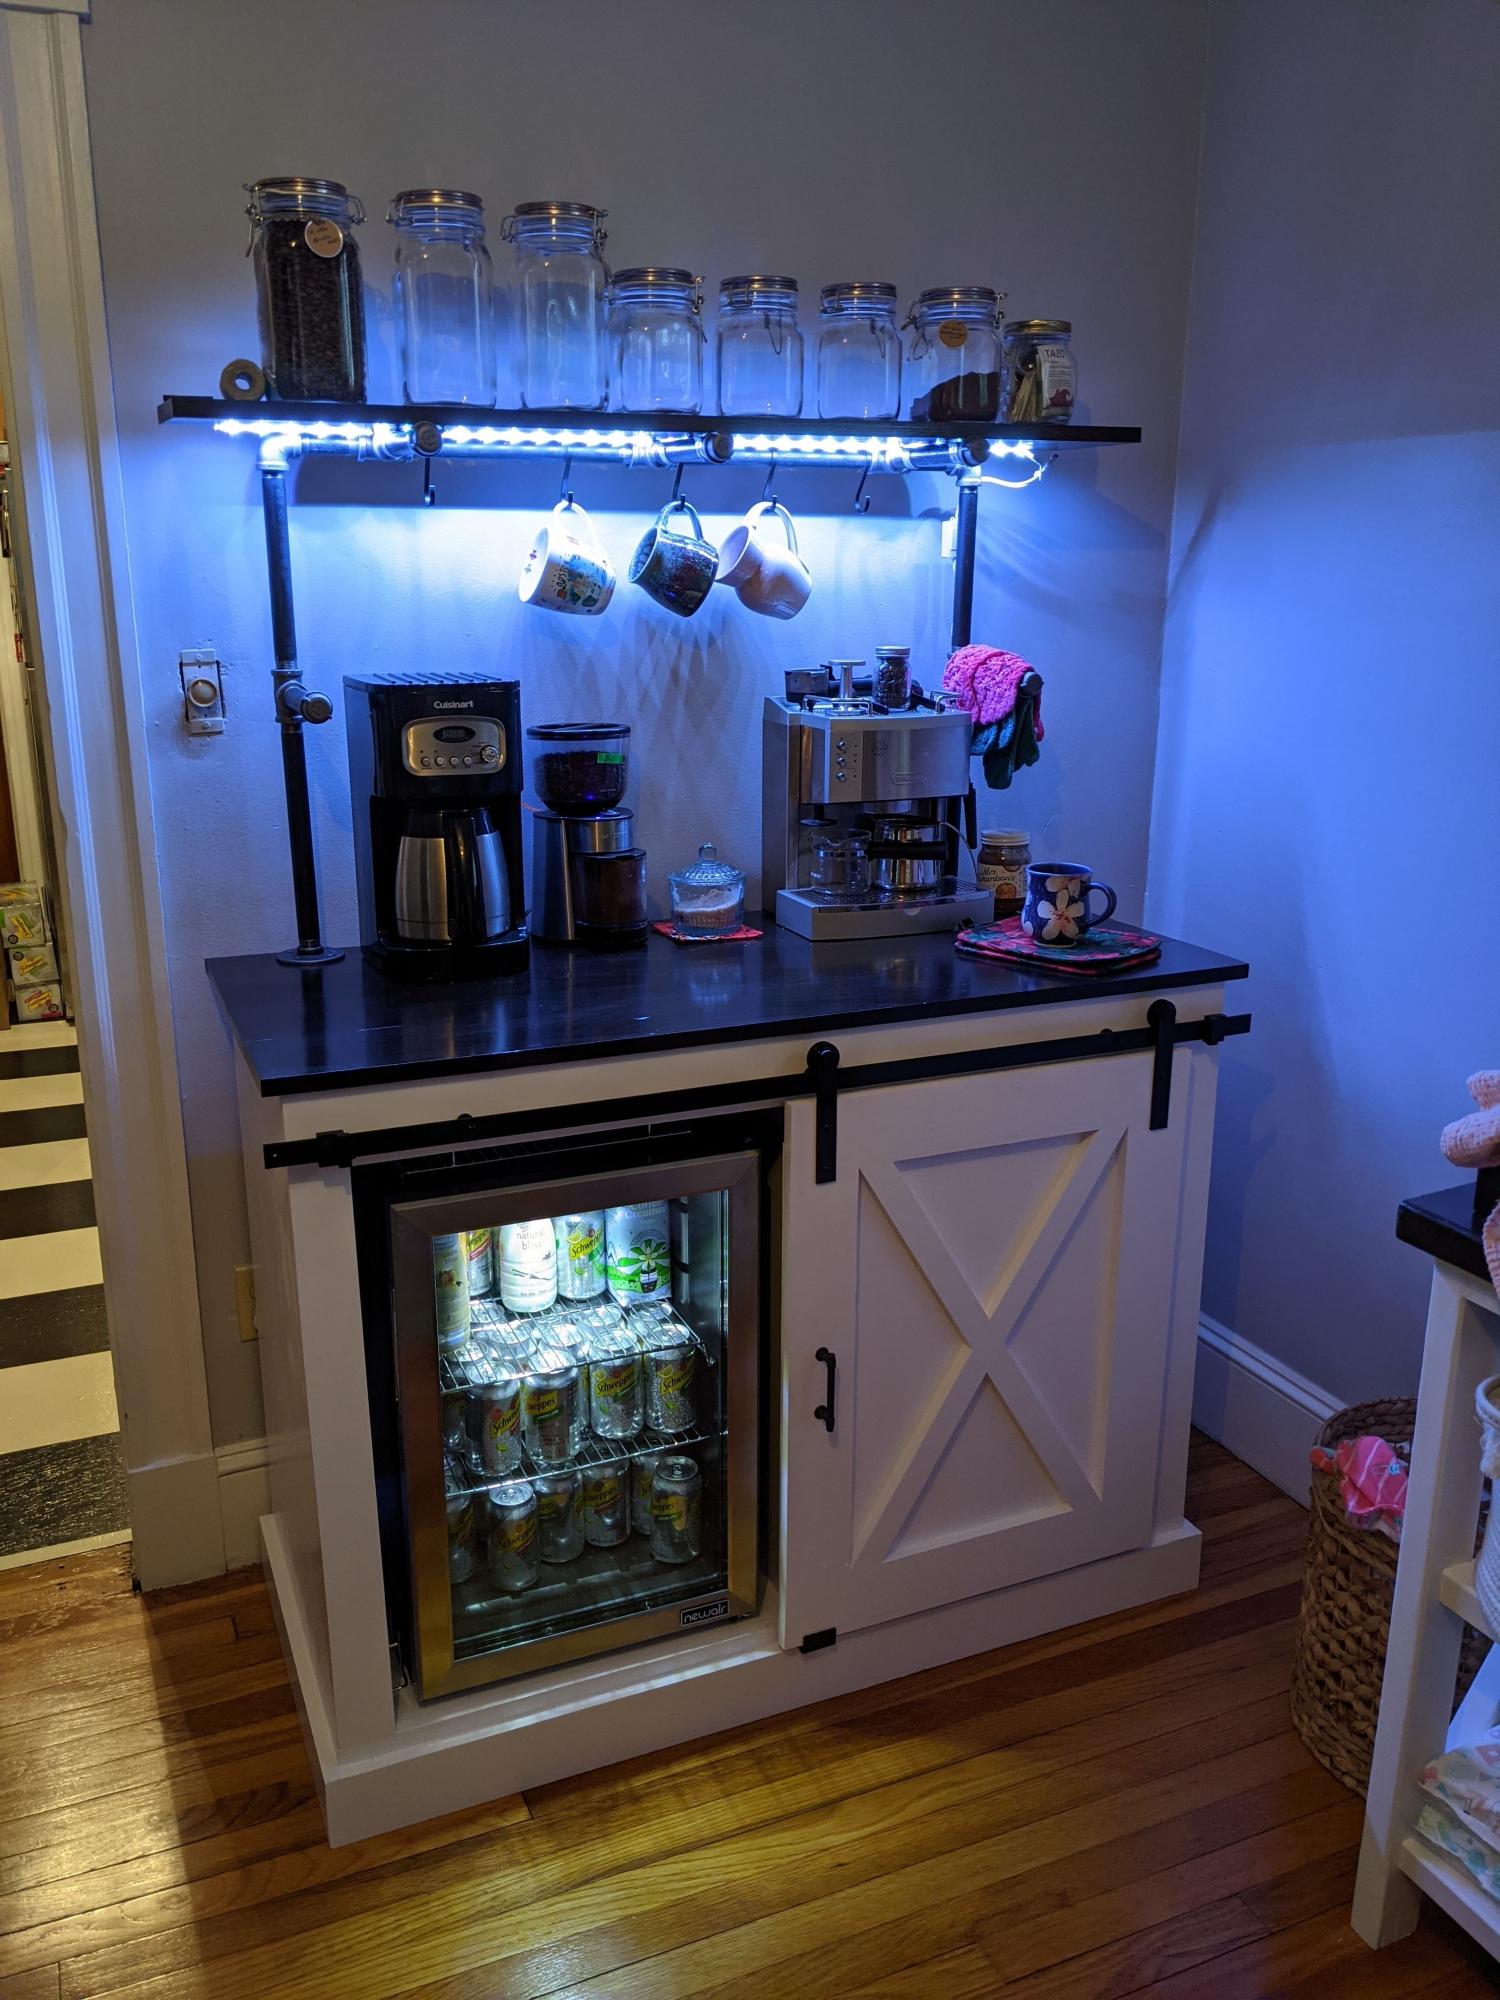
I was inspired by your coffee station plans to build this unit. I added an upper shelf with gas pipping, along with LED lights under the shelf. This station has been very popular in our house.
Comments
A Bright and Simple Changing Table
I built this changing table with a friend who wanted an easy introduction into building. I already had the MDF for the shelves gifted from a friend looking to get rid of a large pile of sheets, so that really helped cut down on cost. I spent $15 on the furring strips and screws for the rest of the piece. I already had the sanding and finishing supplies as well as paint. I added two strands of white cording from Hobby Lobby ($1 per roll on half off days) to hide the gap created between my trim and the top changing piece. I also modified it to fit a 16" wide changing pad.
I would totally recommend using Mod Podge as a sealer on work-horse pieces of furniture. One, it's completely fume-free and non-toxic (which was perfect, since I'm about five months pregnant and need to avoid VOC's) and it's got a really thick, clear glossy finish that's super easy to clean. You only need one coat of it, as well. Just be advised that it's a lot easier to see brush strokes, so I wouldn't use it on your fancy stuff. But for changing dirty diapers, or on a kids table? It's perfect!
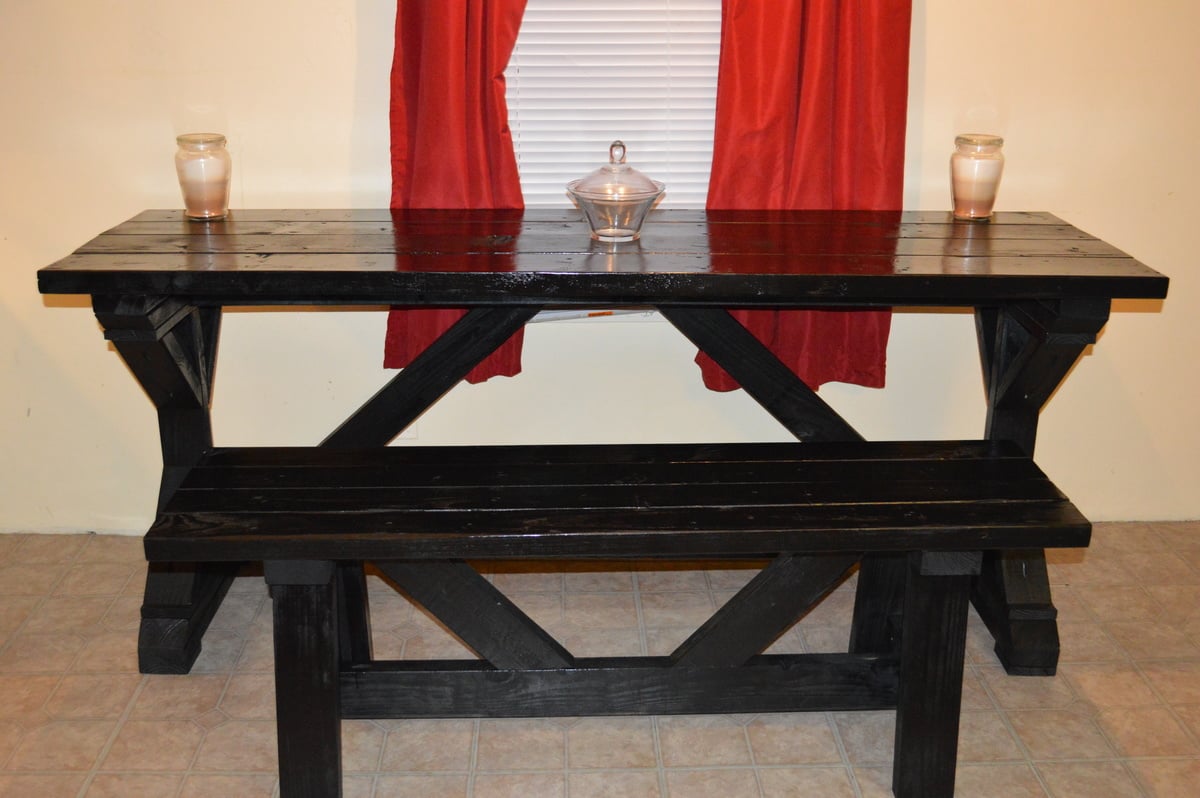
$55 fancy x desk turned kitchen table
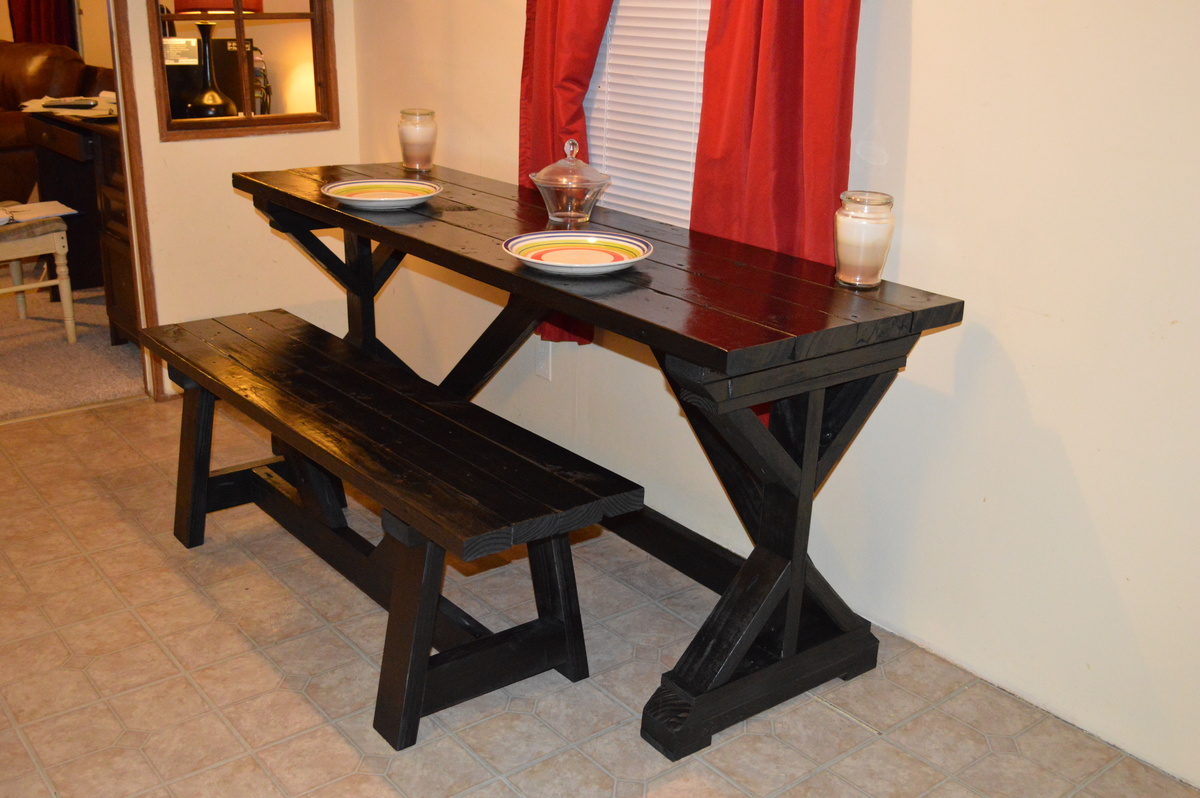
I was making the fancy x desk, and my wife suggested building a bench to go with it to make it a bar style kitchen table to take up less space in our kitchen. So I looked up plans for a bench on here (providence bench looked best with it), and built it. I painted it with rust-oleum American accents spray paint for wood, metal, and plastic in glossy black and surprisingly it looked amazing!
DIY Workbench on wheels
Thanks to www.shanty-2-chic.com for this plan! I needed a workbench for all these projects that I was starting and I was tired of getting out a piece of plywood and the sawhorses every time. So this was just perfect for what I needed!
Rustic Sliding Door Media Console from Barn Wood
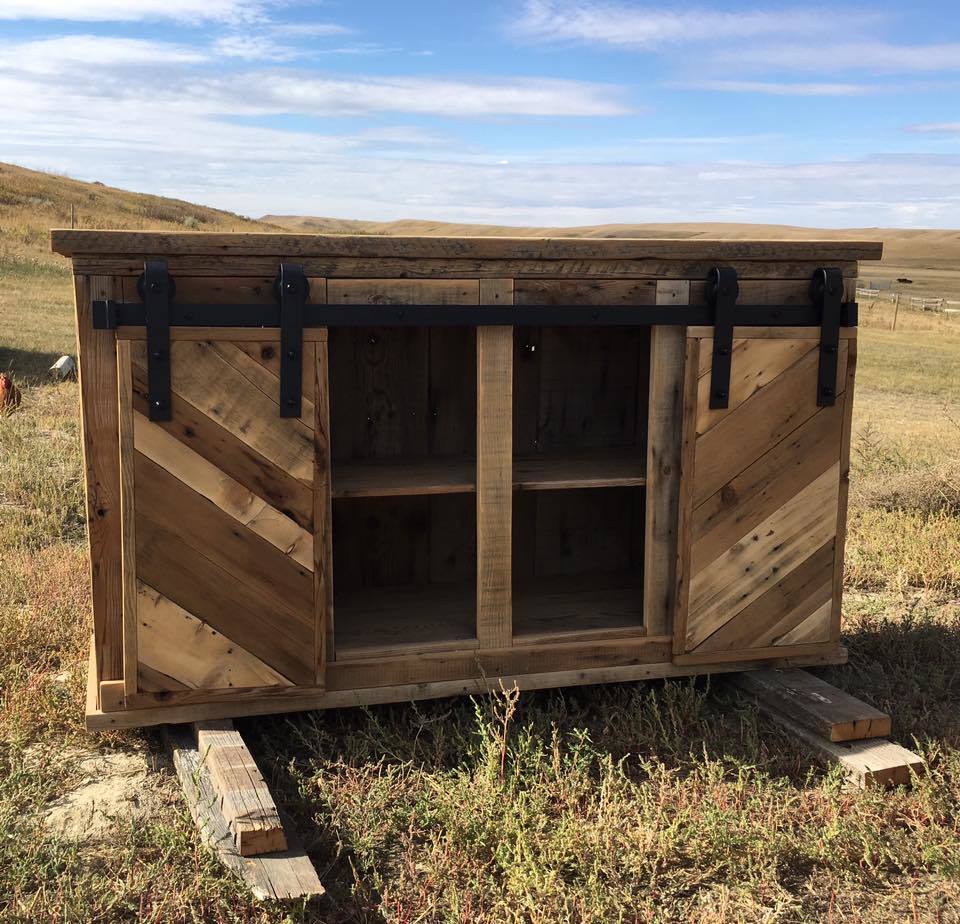
Built by Richelle Munro
"I love all your plans, and I have made quite a few of them now! This is one of my favourite! I used old barn wood for the top, and ship lap for the bottom and doors!"
My corner desk
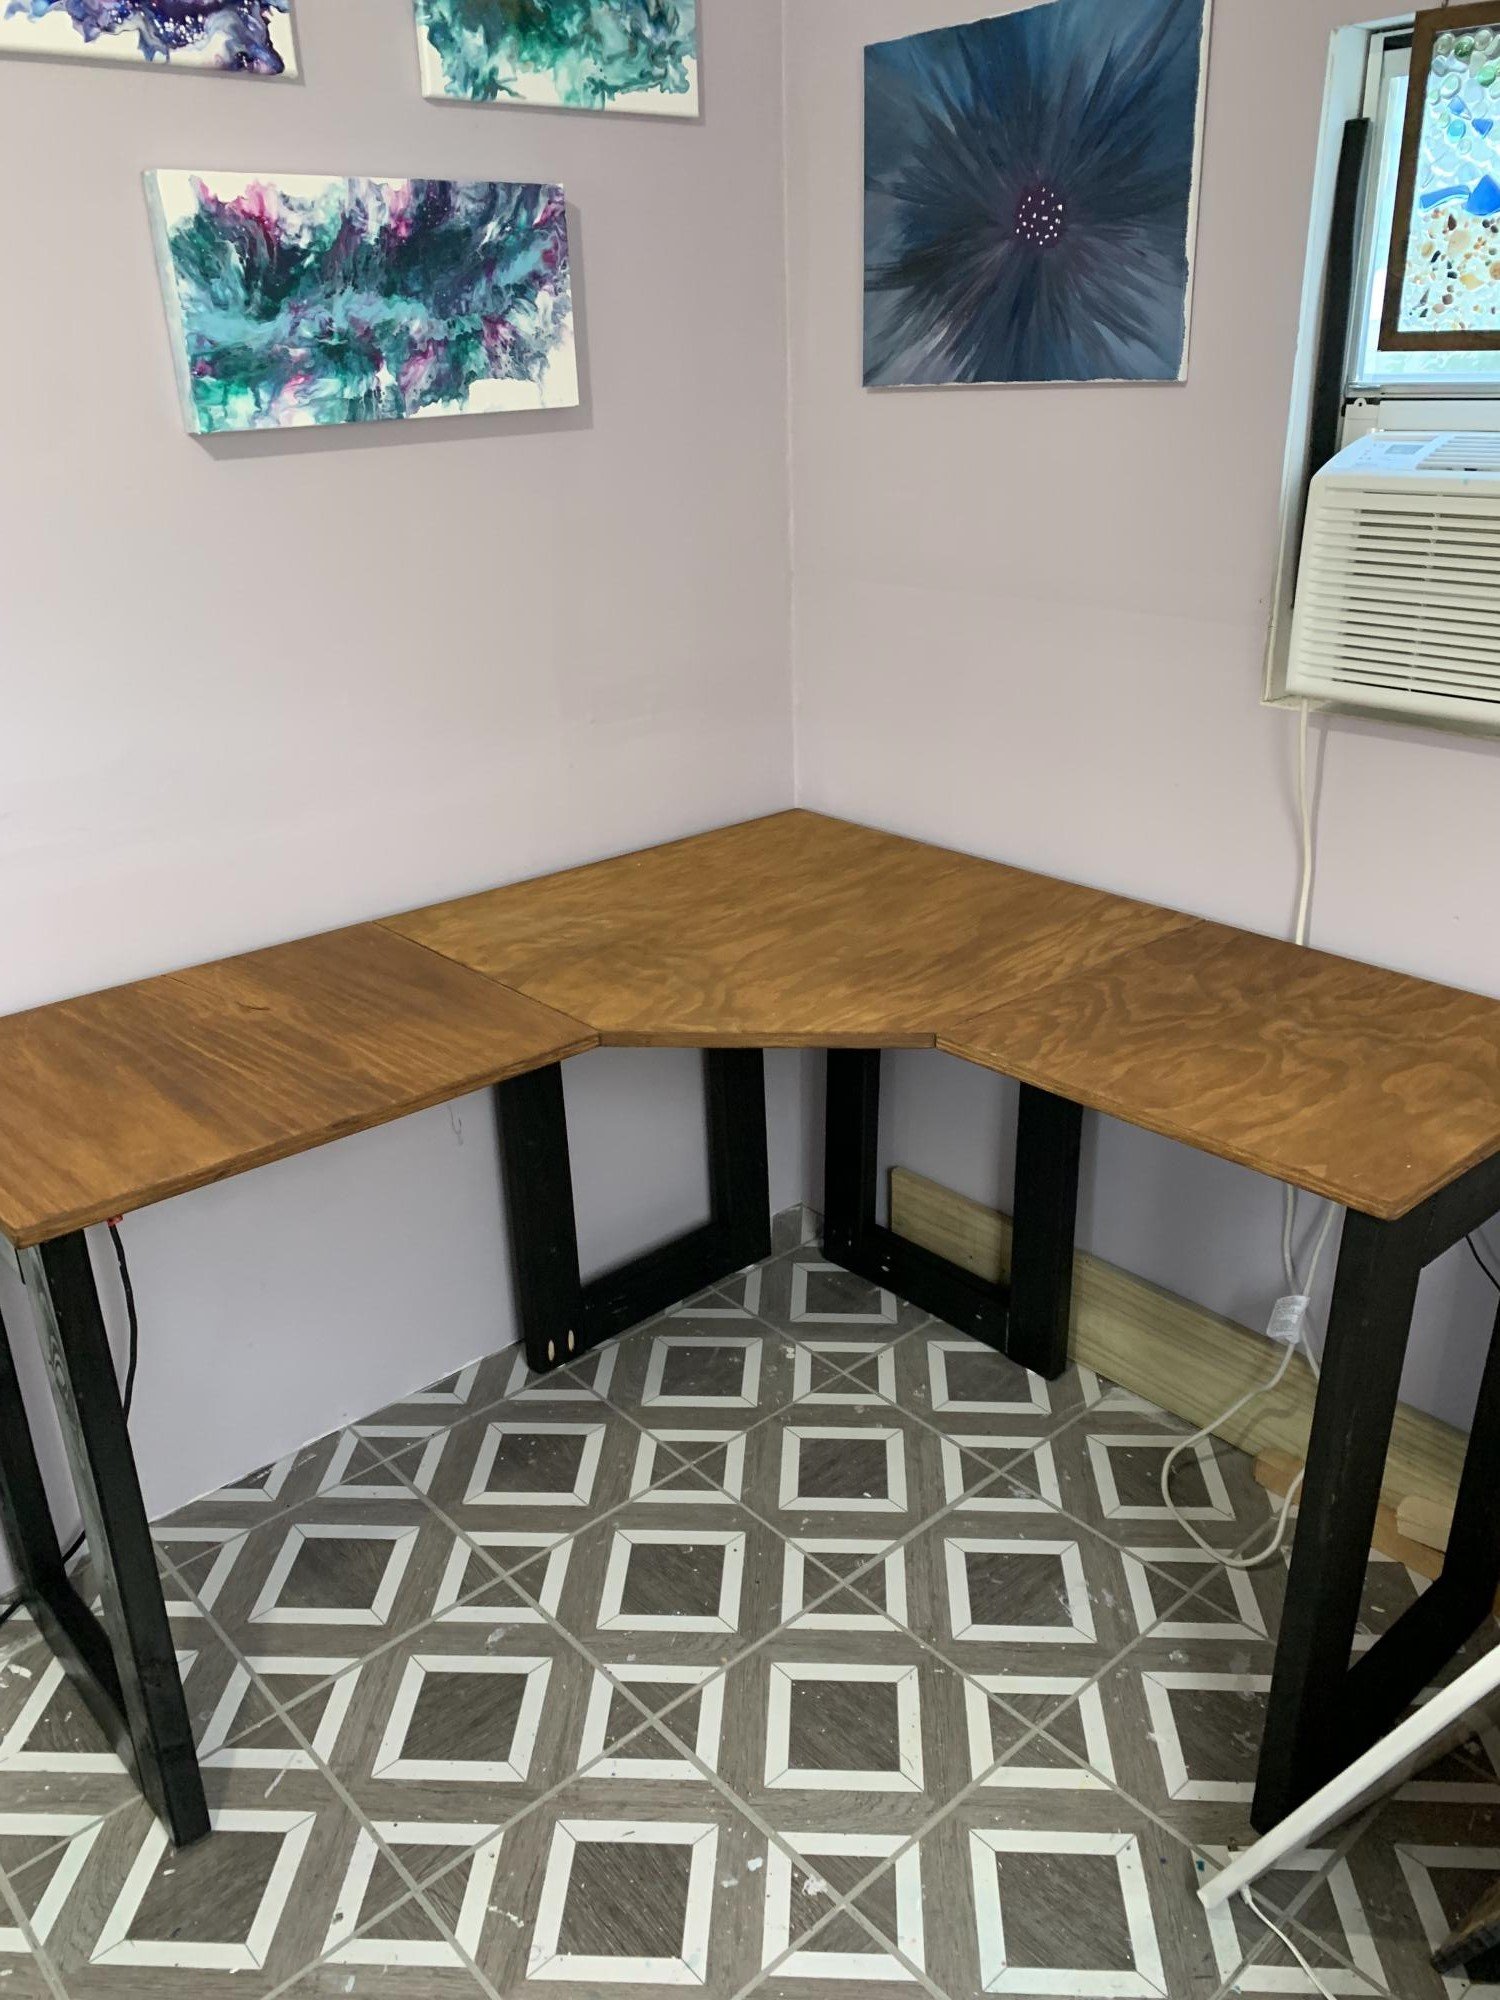
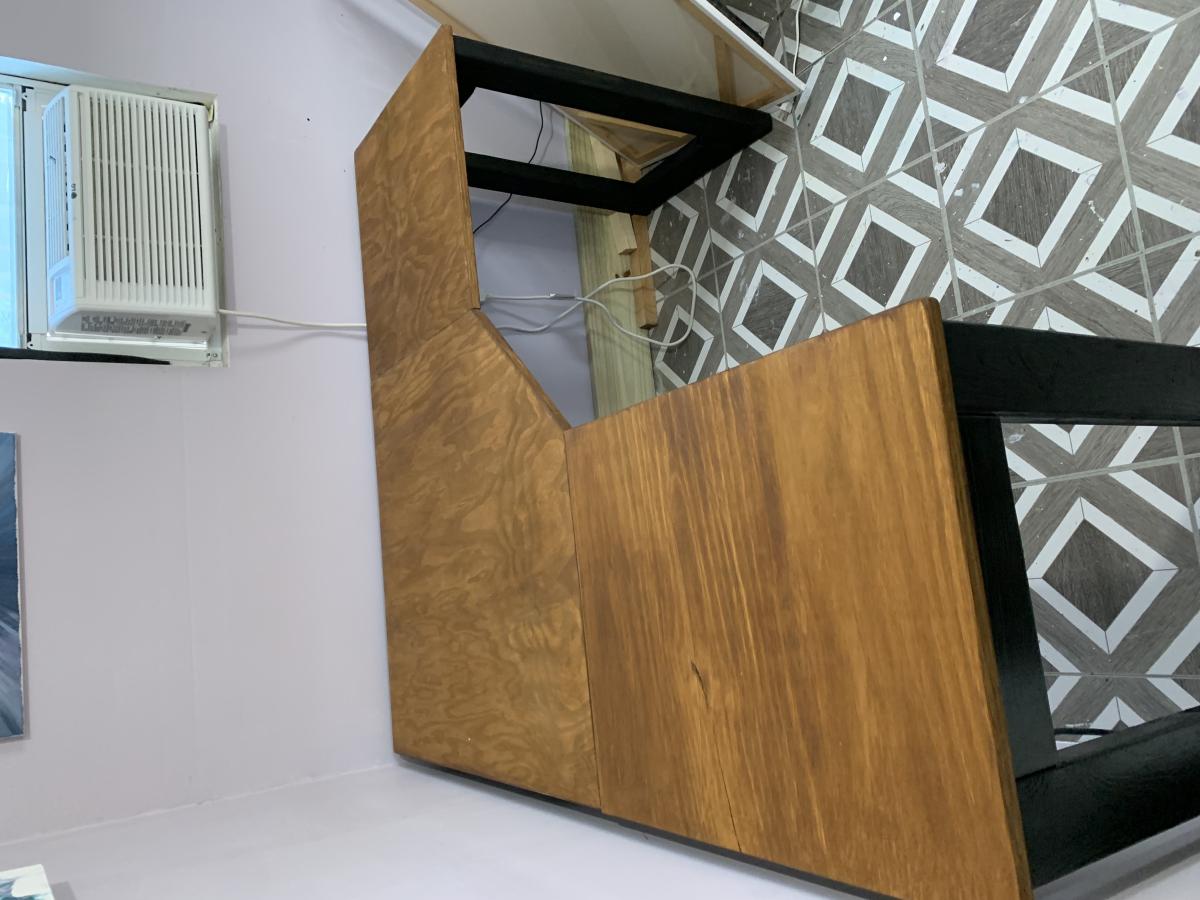
I wanted to convert my craft shed to my office after I accepted a new job and would be working from home full time. My shed is only 10x8, so I needed something smallish and functional. I modified the plans slightly and I did make a few mistakes. In the end, I think it turned out great for a 50 something grandma who likes to work with her hands!
Comments
Our first Build!

This was my husband and my first try at building furniture. It took most of the weekend to build, paint, sand etc, but it looks great in my son's room and has much more room then his old bookcase.
Rustic X End Table
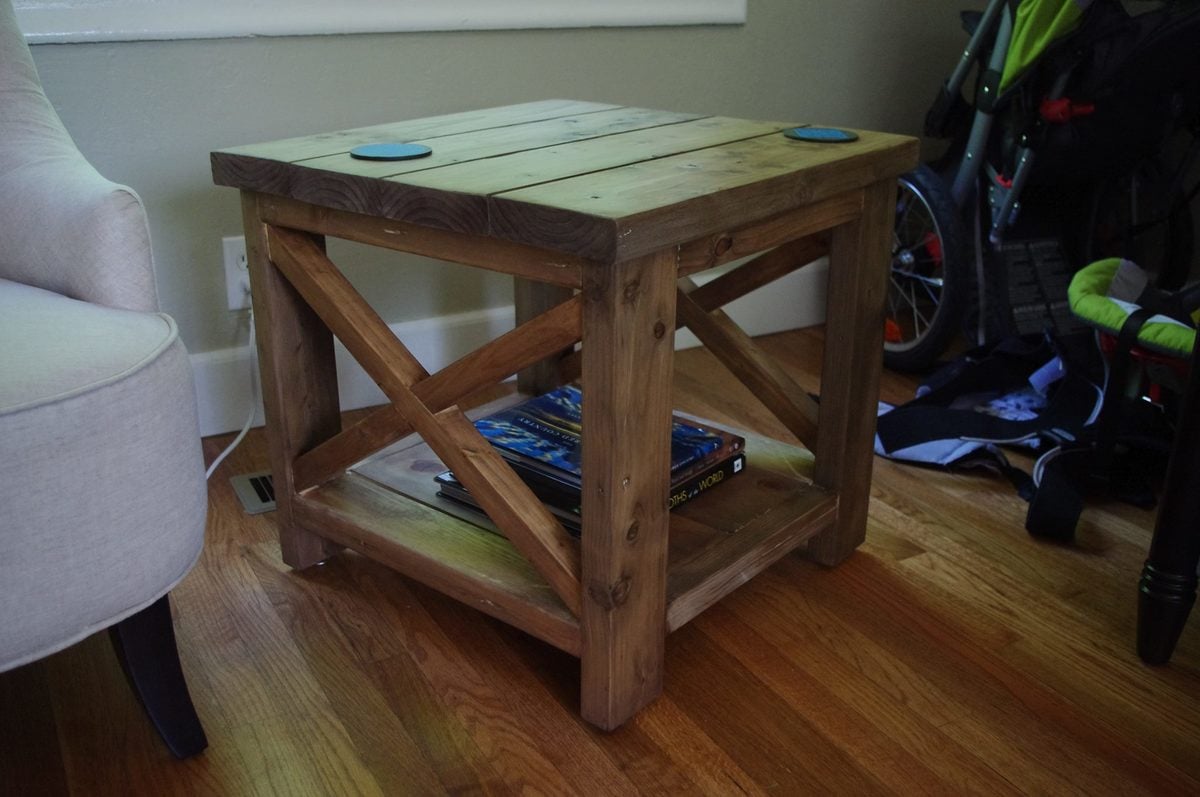
I altered the dimensions slightly so that it wouldn't be overbearing in my living room. It is much shorter than the plan suggests, and the length and width are also changed. I used framing 2x4 and 2x6 lumber, so I had to sand the heck out of it to make it nice and smooth. It looks great next to the console table. Good plan.
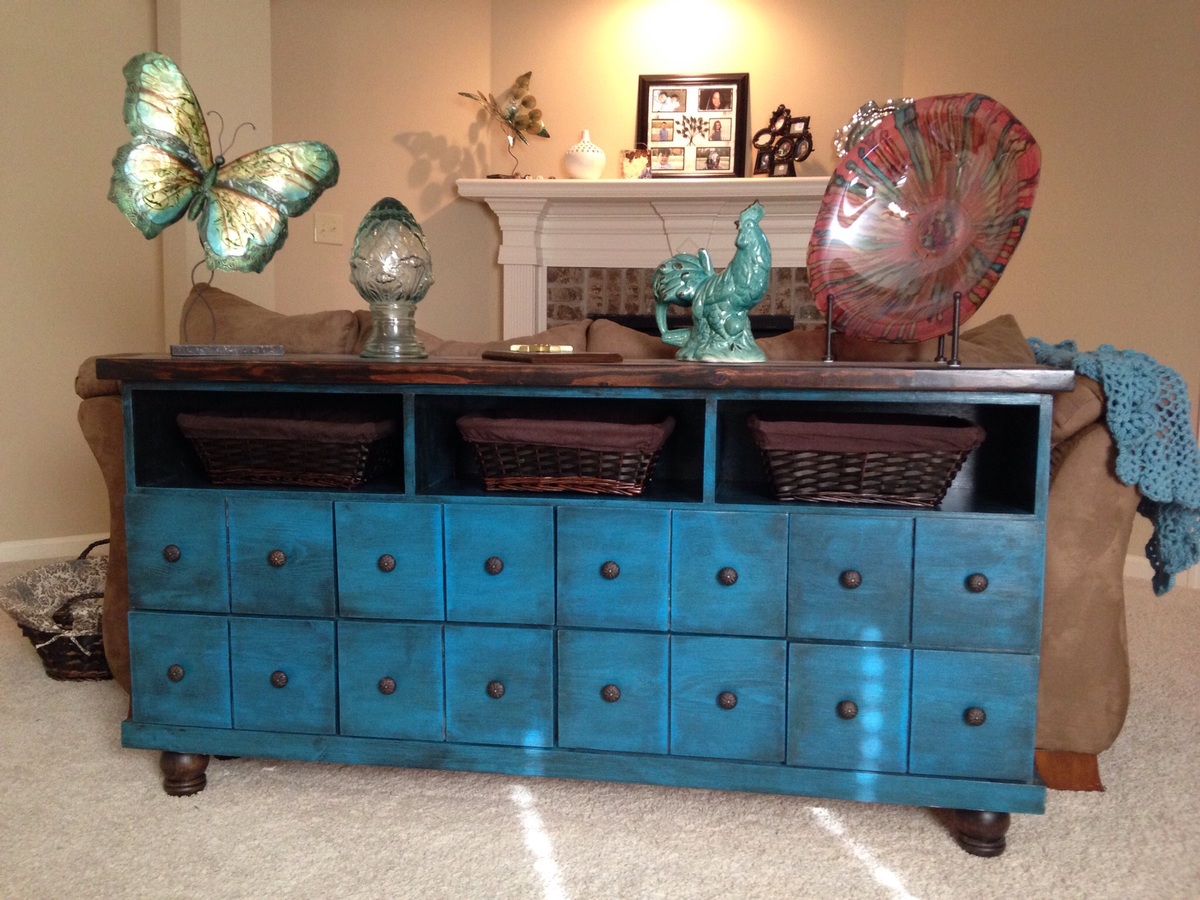
Turquoise lady
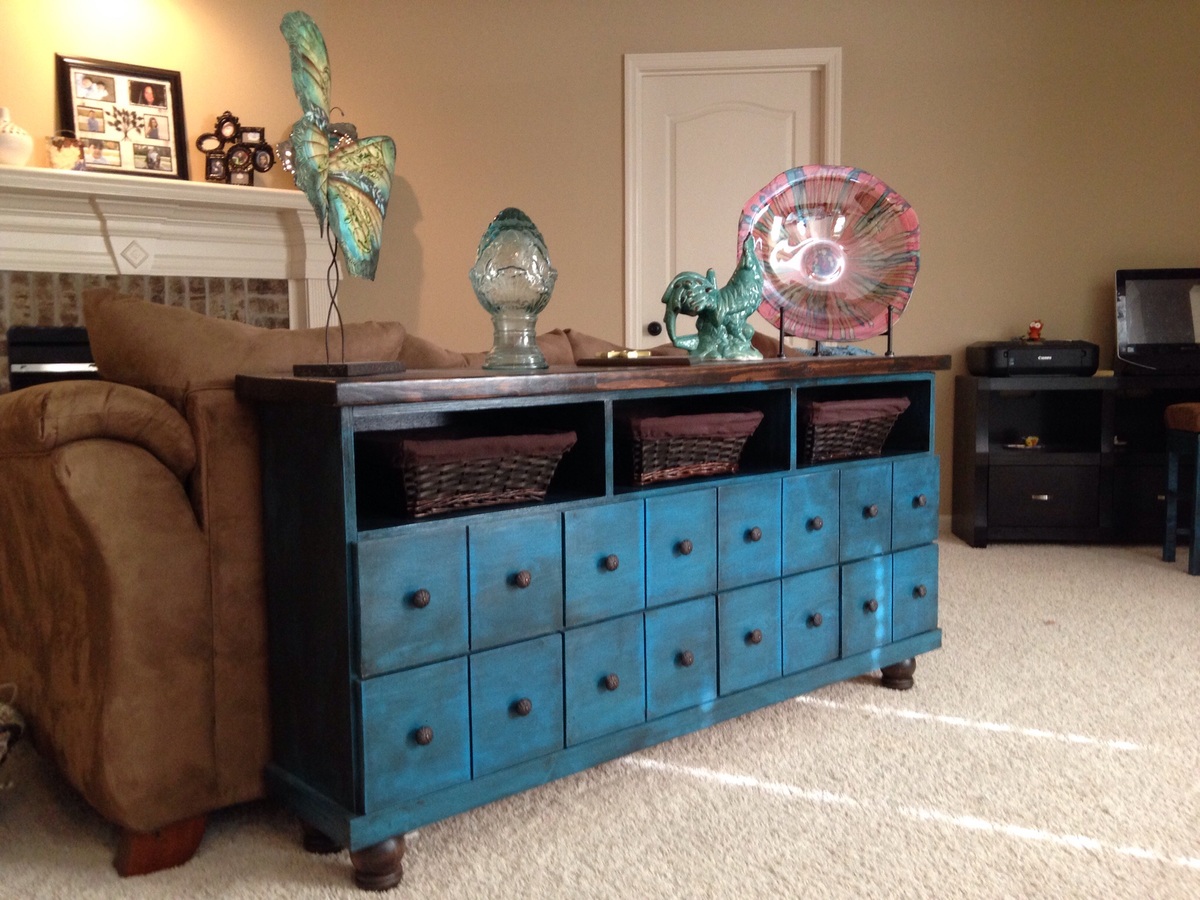
I built this with the intent of making it all drawers. So there is not a cabinet with doors in the center.
Micro Cabinet
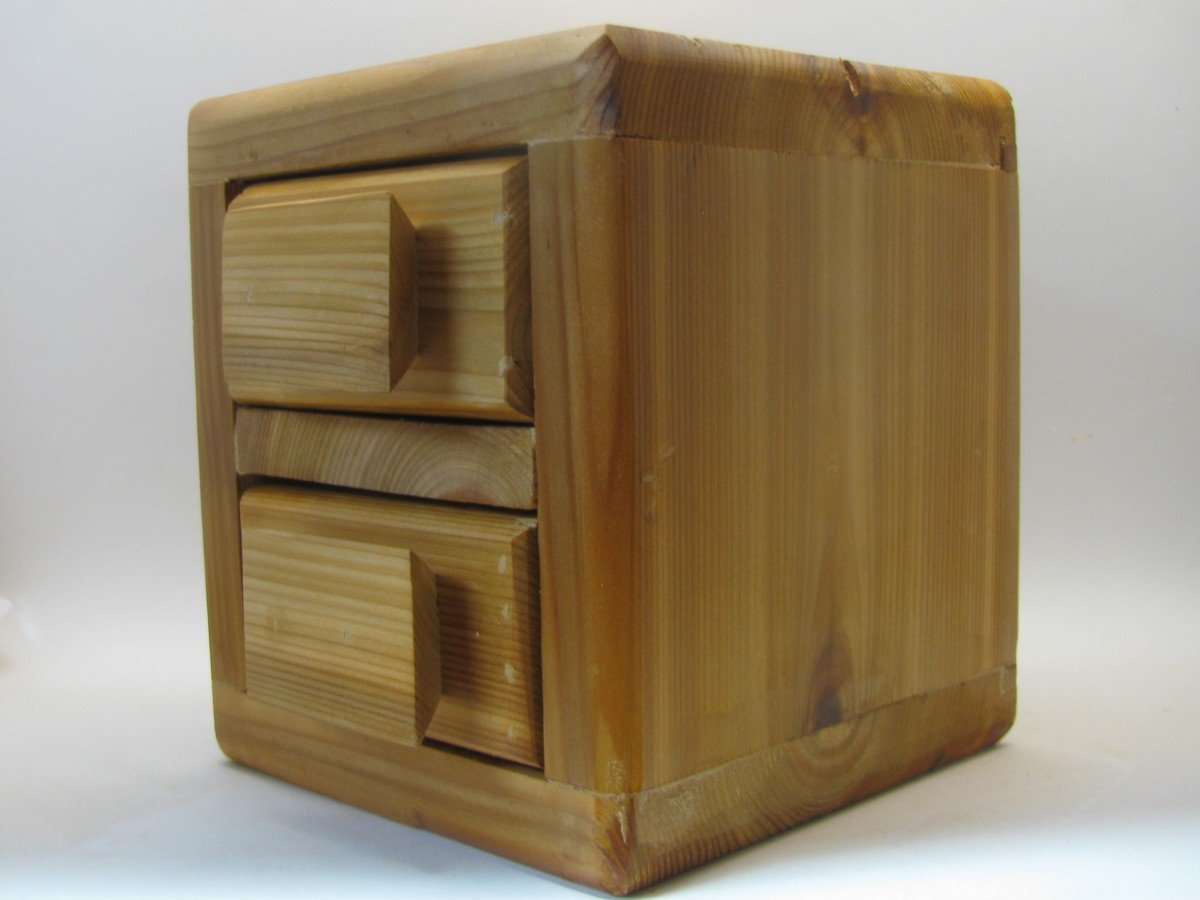
A great one board project using some left over cedar that was collecting dust. Using a 1/2" round over bit I eased the outside corners as well as the drawer sides. I find that the drawers will slide easier with a slight round over applied. I left the cedar without a stain and two coats of satin clear.
Comments
Sat, 11/04/2017 - 19:29
Great project
Great job on this project! The router detail is beautiful, and the unique shaped pulls are awesome!
JoanneS
House bed
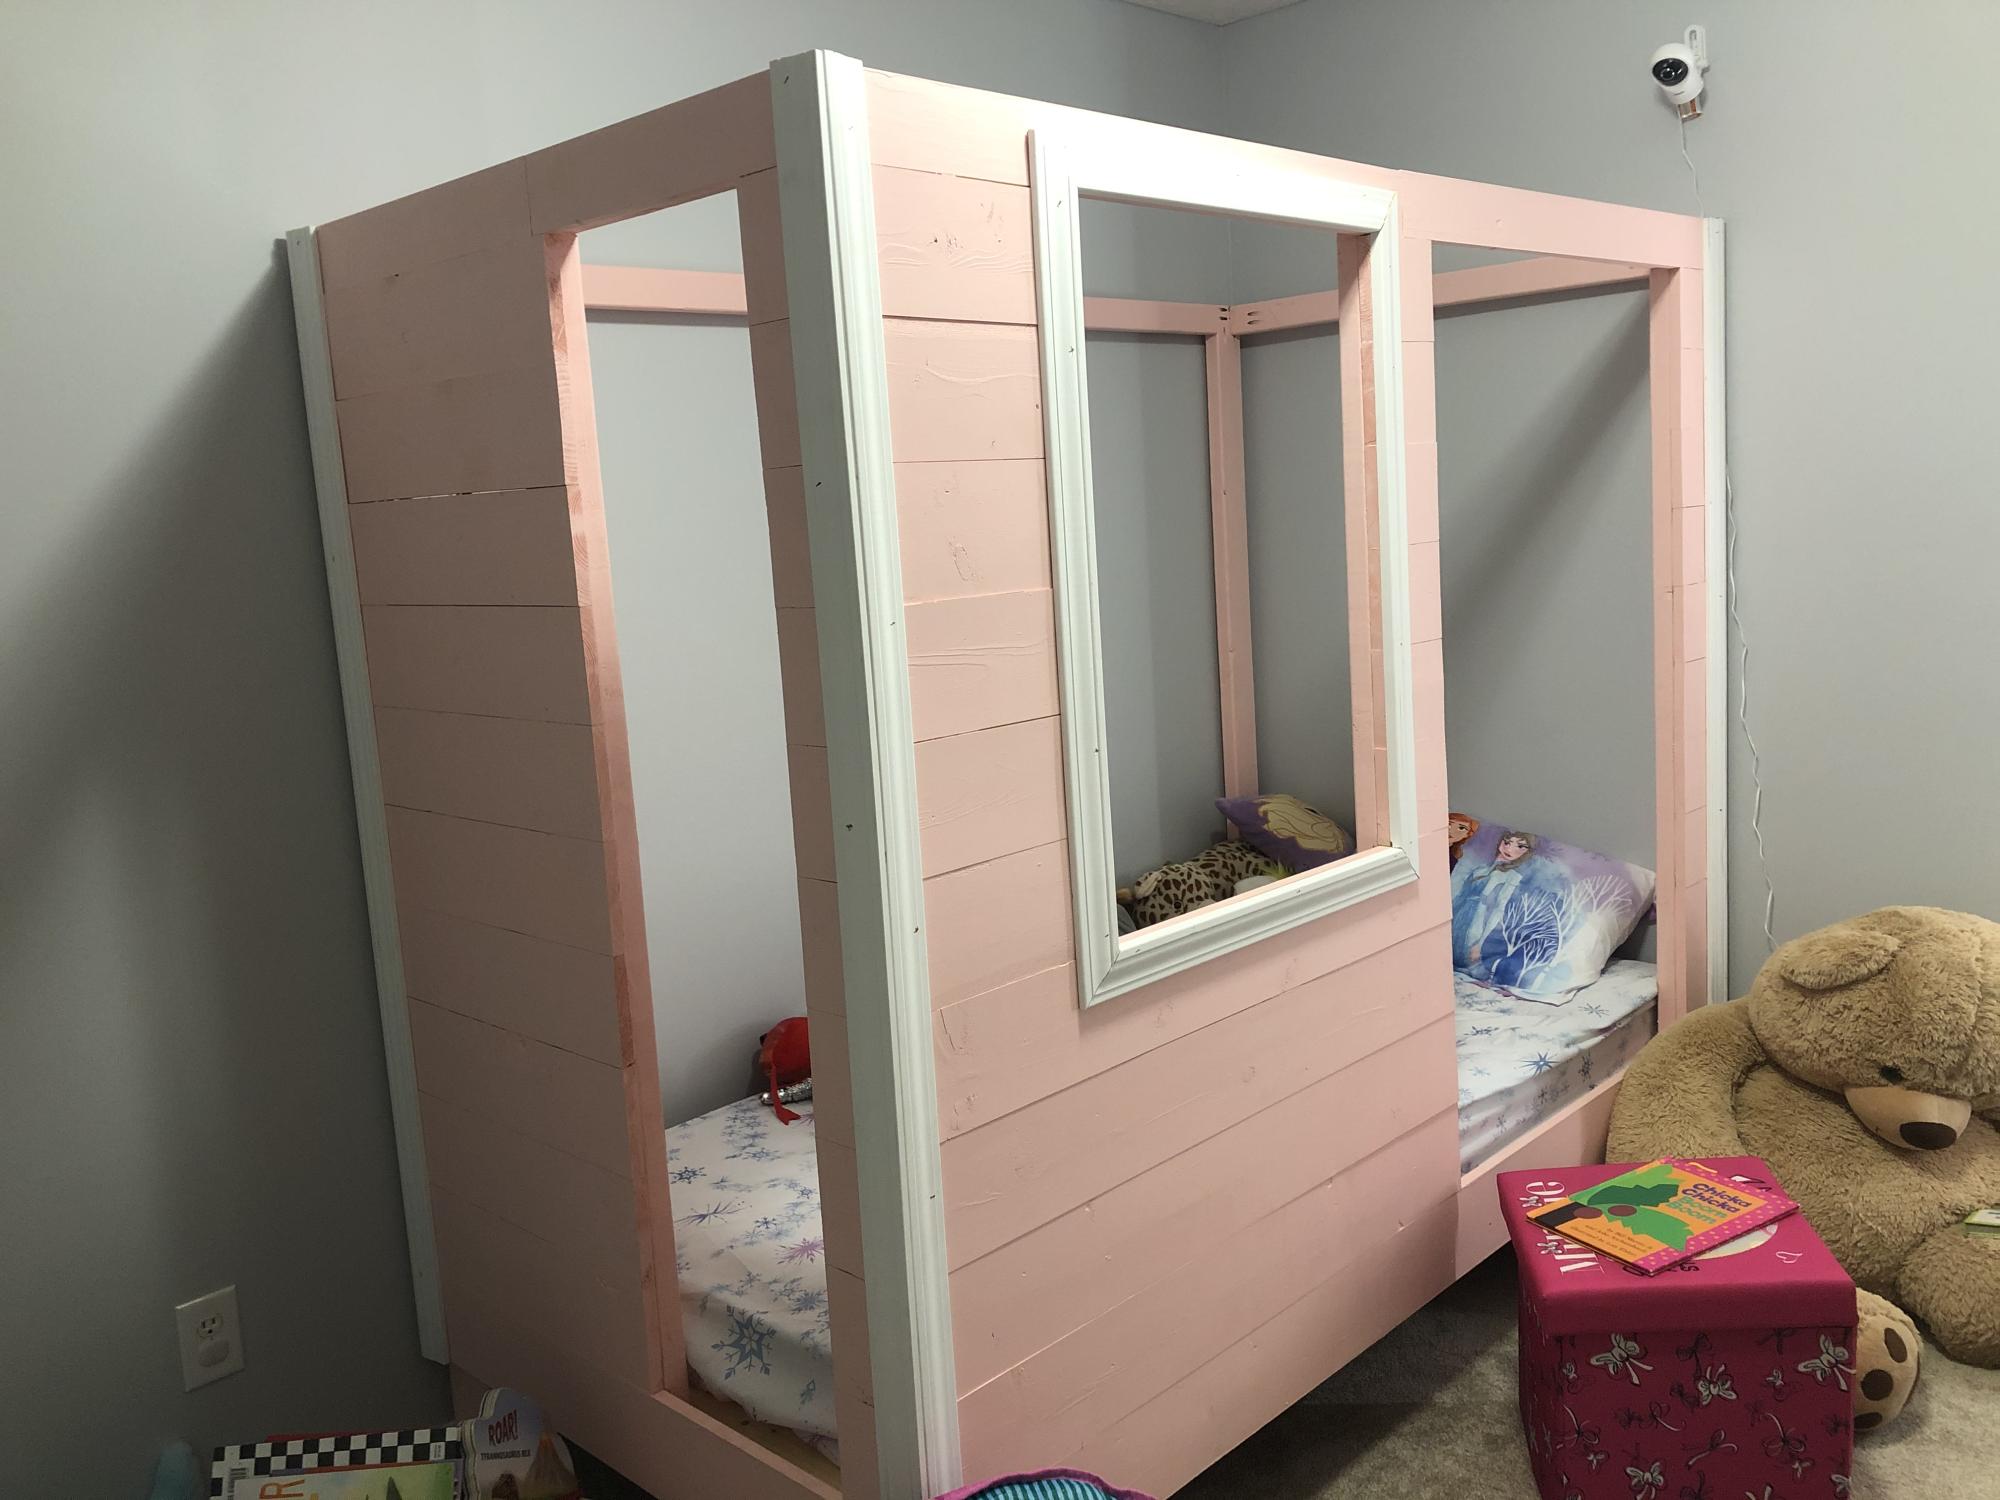
Made this simple house bed for my daughter. Got the idea from Ana white page and made my own.
Comments
First nightstand
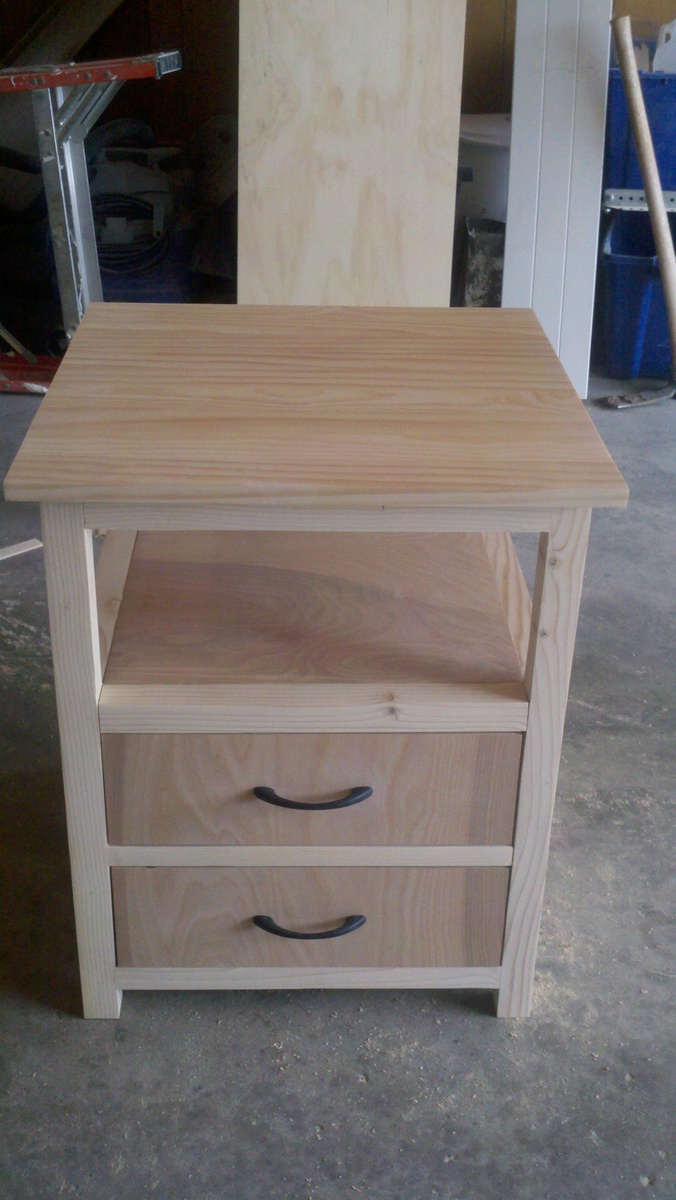
We used ana's plan but modified the top
Comments
Thu, 05/30/2019 - 13:00
Project Plans
This is EXACTLY what I'm looking for but I can't find the plans that were used to build it. Do you happen to still have the link for them?
Sun, 06/23/2019 - 22:39
Link
Porch bench
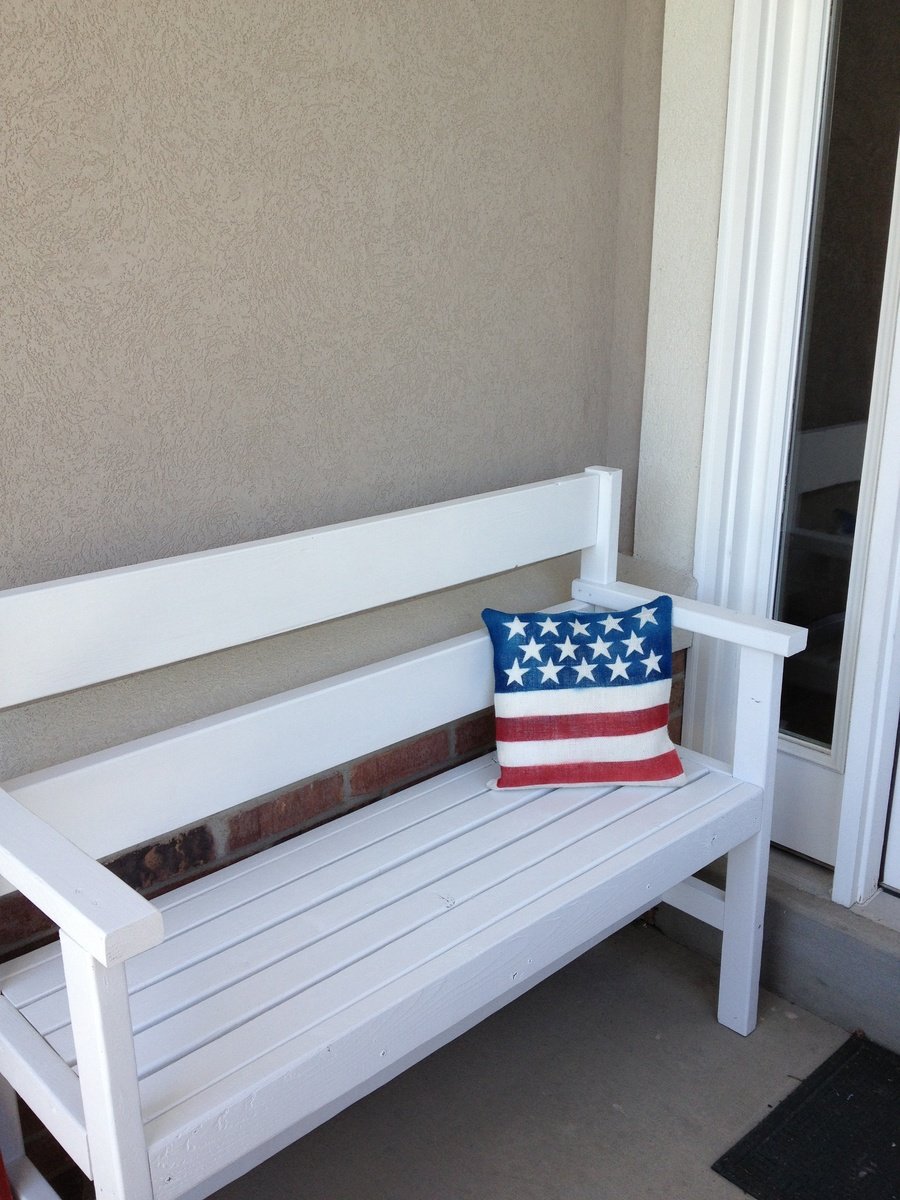
Using Ana's garden bench design, I modified the plans slightly to make the bench less deep in order to fit on my narrow porch.
Desk with additions
This was the first plans we used from Ana White and it turned out great. Modified the desk to be a little shorter and have dual drawers in the front.
Comments
Wed, 09/23/2015 - 20:24
Fancy X Desk -- Drawer Plans
Your desk looks great...well done! I'm diggin your drawer modifications. Would be able to share your plans for this addition? Thanks!
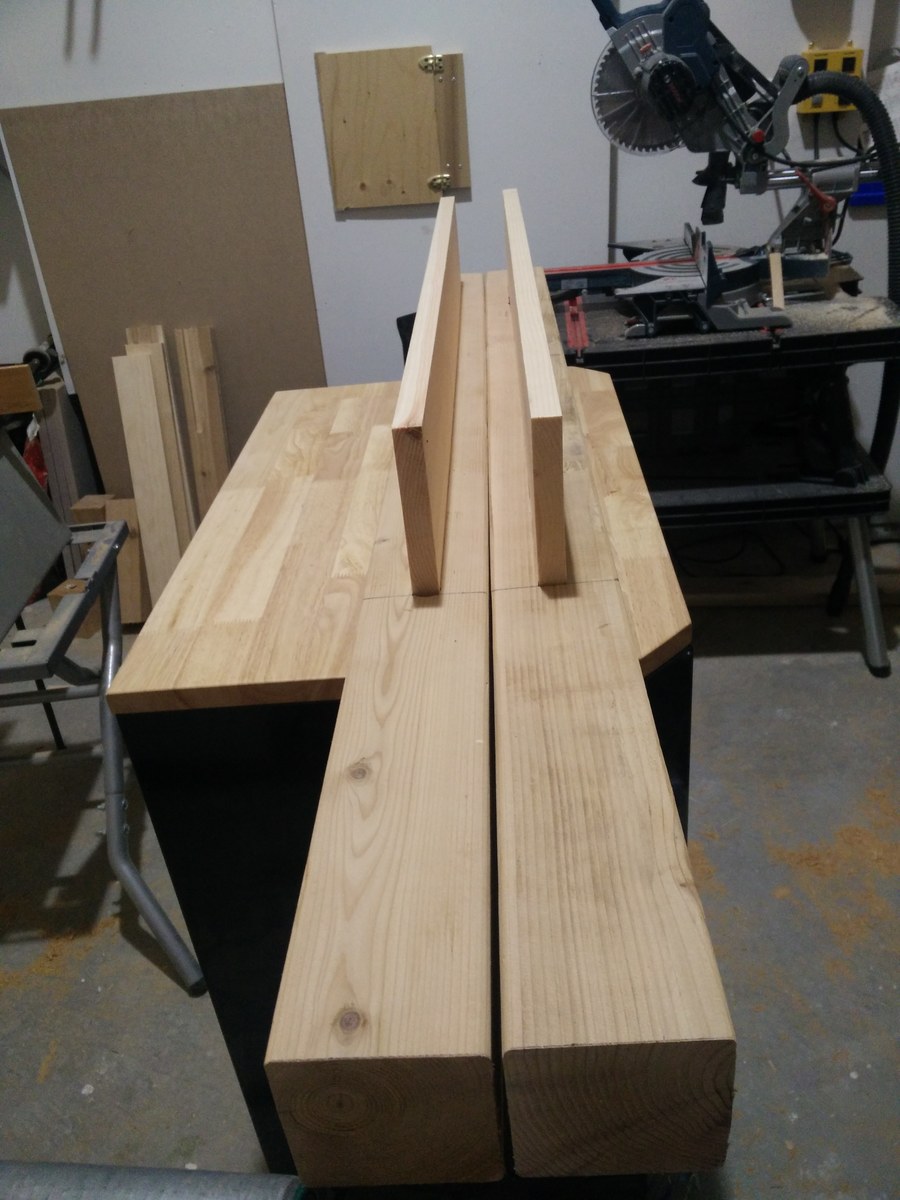
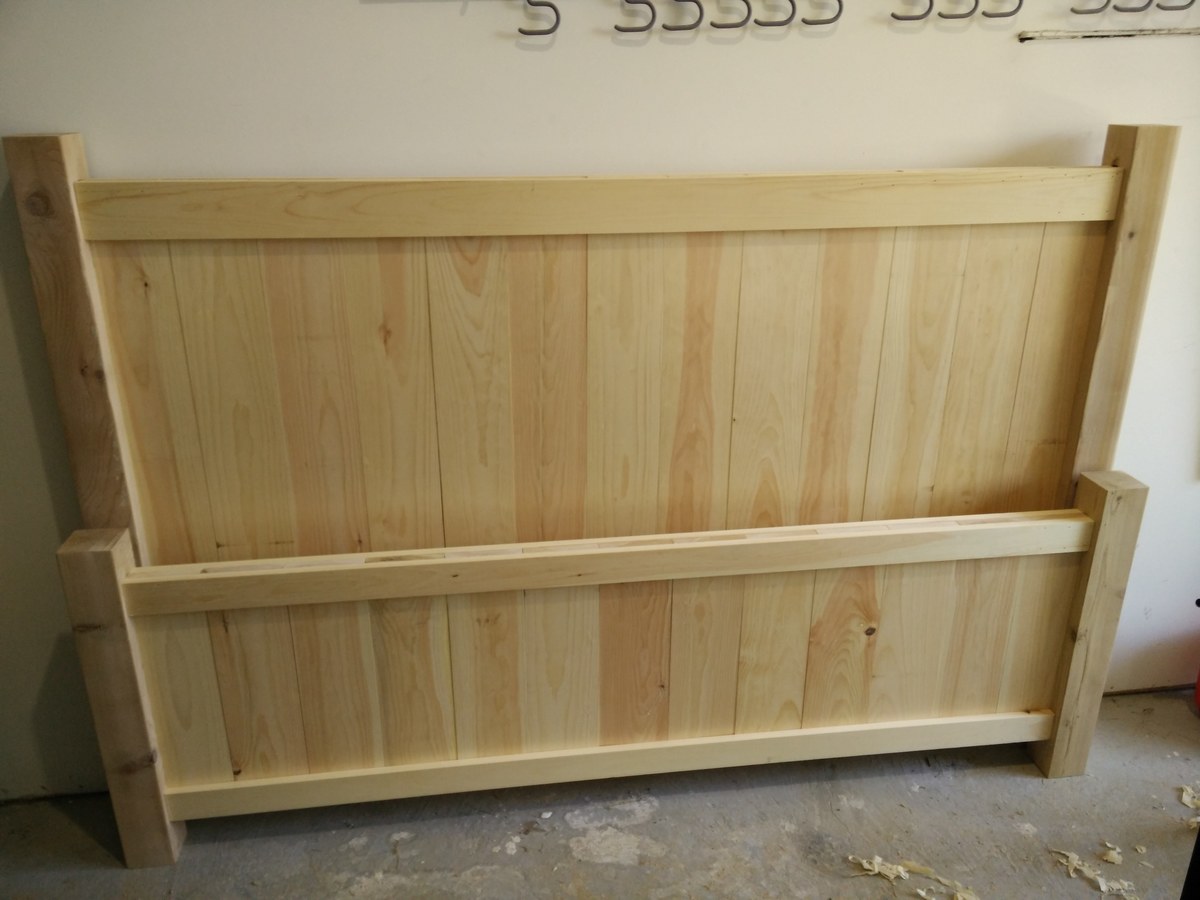
Modified Farmhouse King Bed
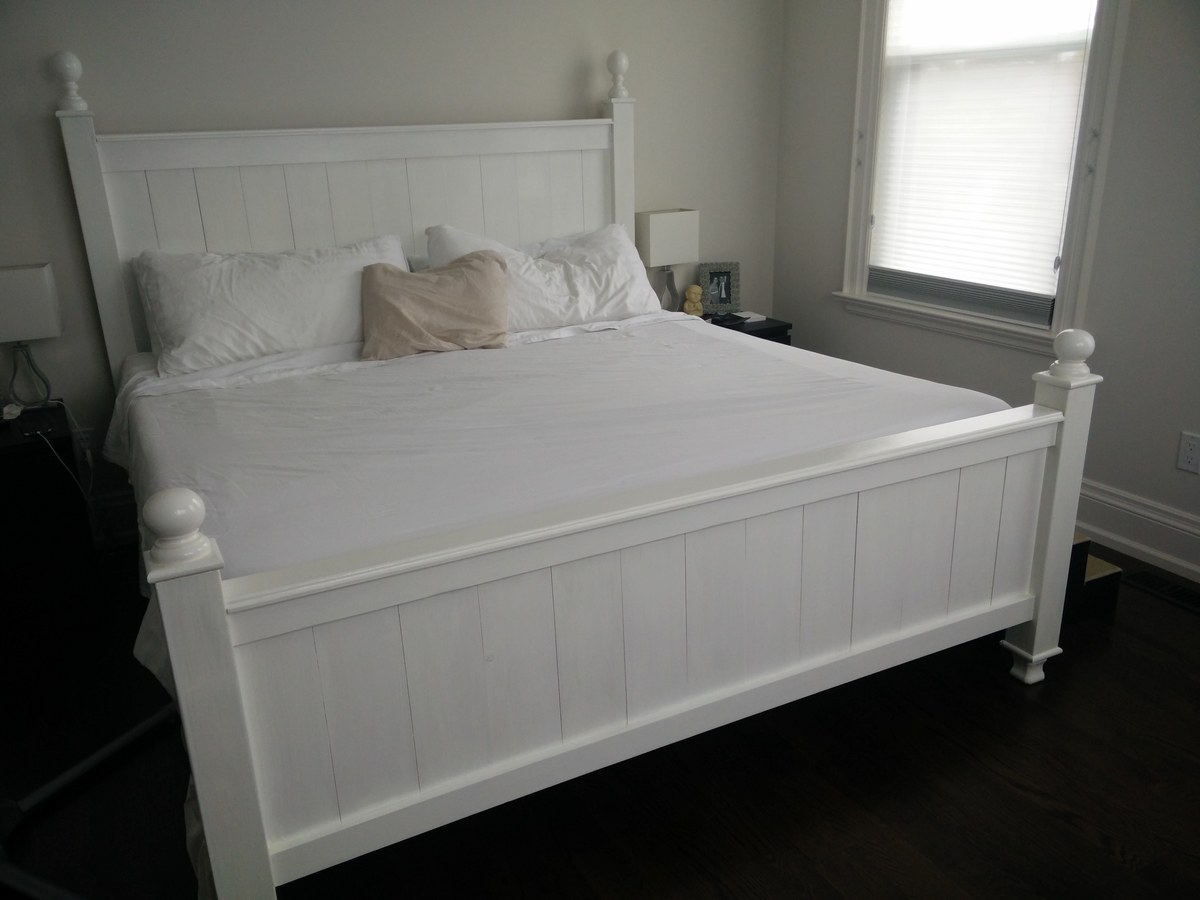
- Used a router to cut a dado slot for the vertical boards to slide into the 4x4 posts so I would not have to screw them in from the outside
- Used a router to round over the edges to make the post toppers.
- Used router to give a shaped edge to the top horizontal planks
- I bought the finials for the post tops
Modern Bedroom Furniture Build
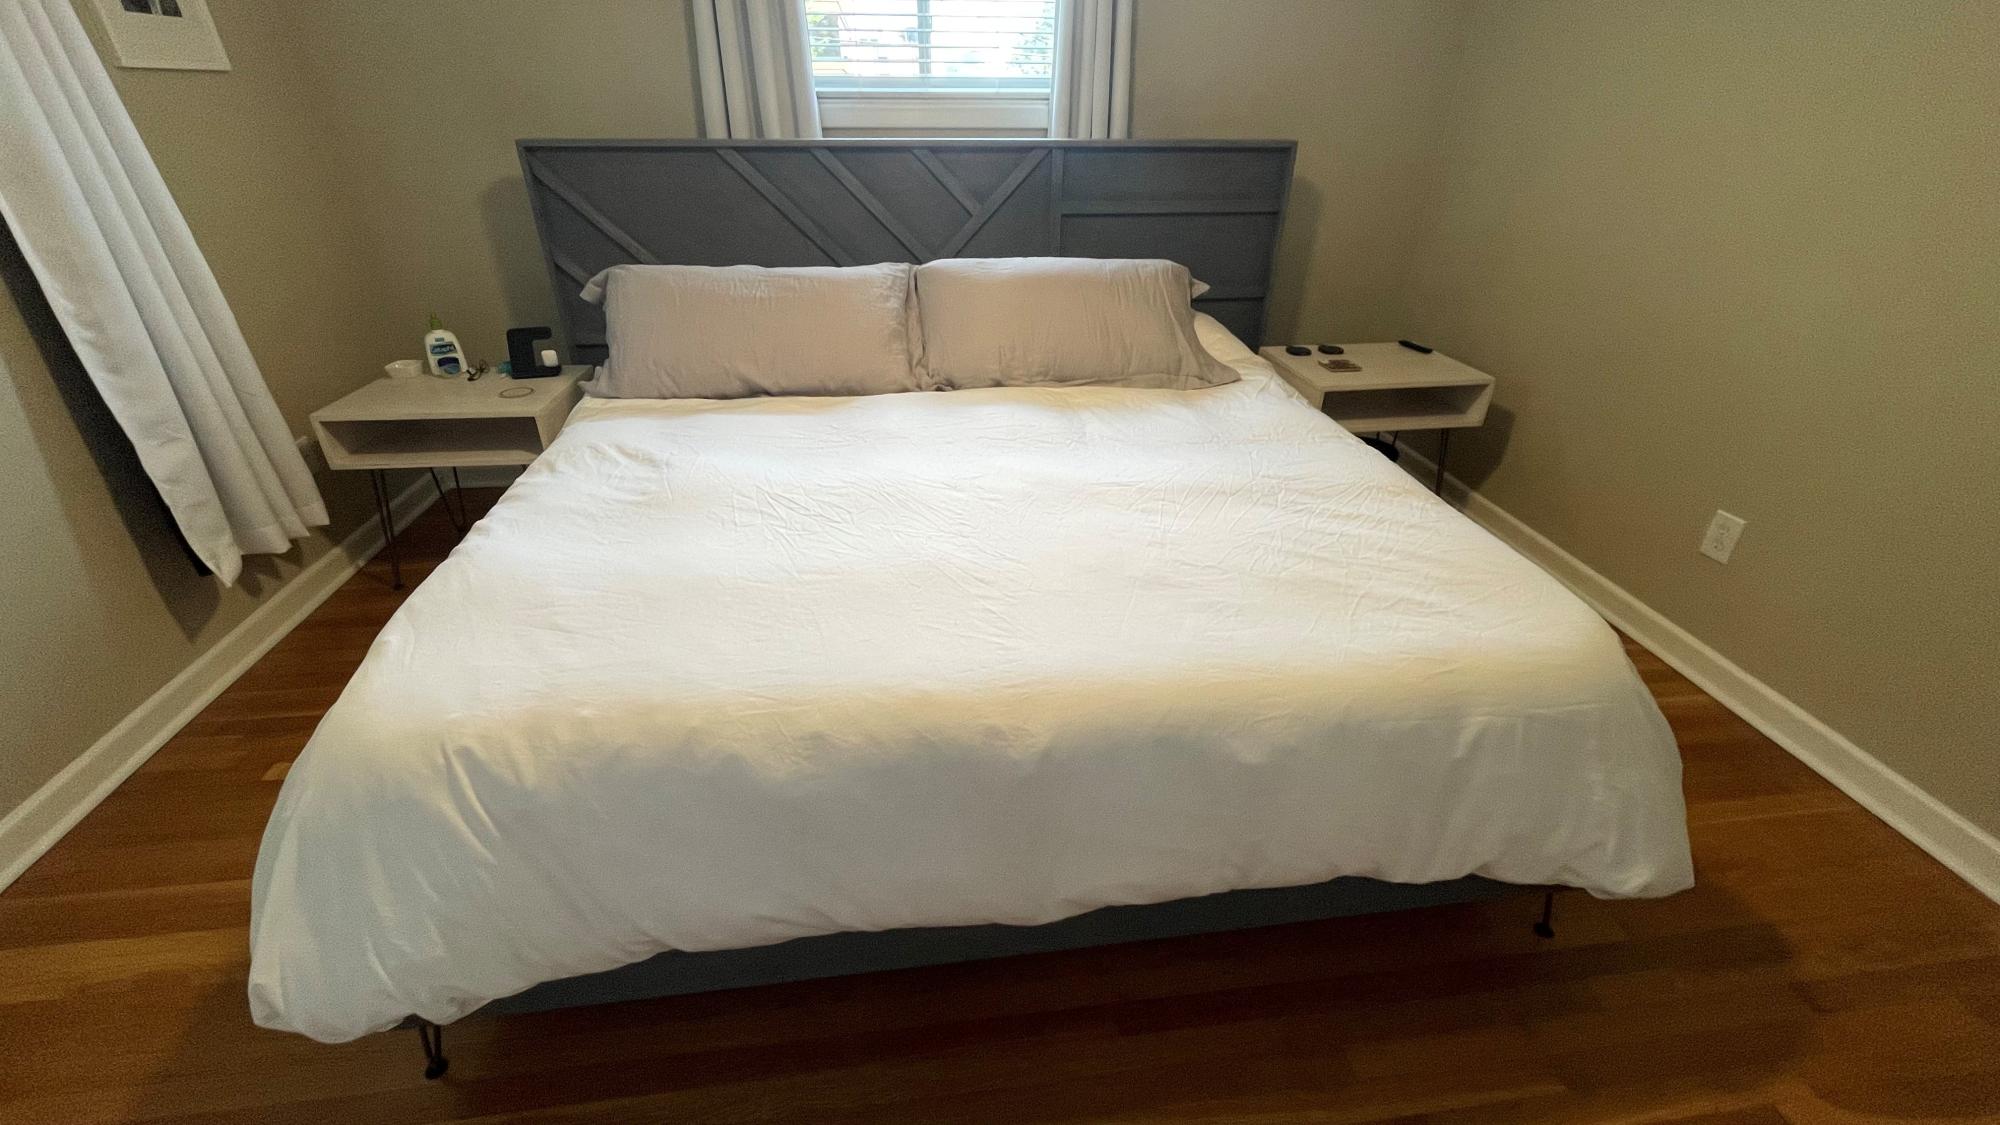
Bed Frame and Headboard made from Ana's plans. Frame is very simple. Headboard is fairly simple but a lot more cuts, measuring and attaching. I stained both with Varathane Weathered Gray. I also attached sideboards and internal support 2x4s with bed-frame brackets rather than screwing directly in to allow for easier deconstruction and reconstruction. Used an insert nut on the sideboards to attach hairpin legs (screwed directly into top/bottom boards).
Side tables are just 3/4 birch plywood glued and nailed into a rectangular box. 24x18" Top/Bottom and 18 x 6" sides. Hairpin legs are longer versions (16") of Ana's Amazon suggestions for bed frame. Stained with Varathane Antique White.. turned out ok, but would use a different white stain or just paint them white if I had to do it again, and paint the insides before you build!
Comments
Tue, 11/16/2021 - 15:27
Great headboard and nightstands!
That is beautiful, well done, thank you for sharing!
Pallet Wood Coffee Table
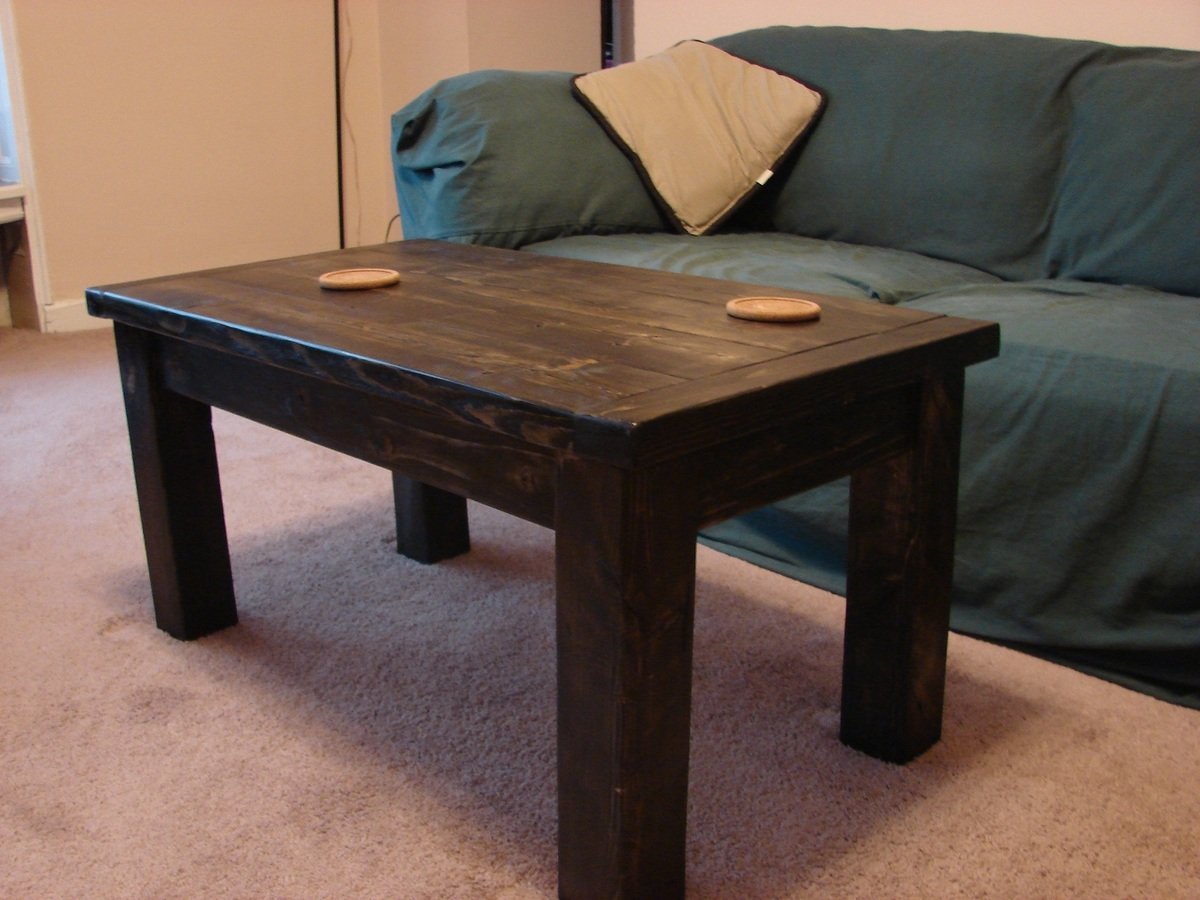
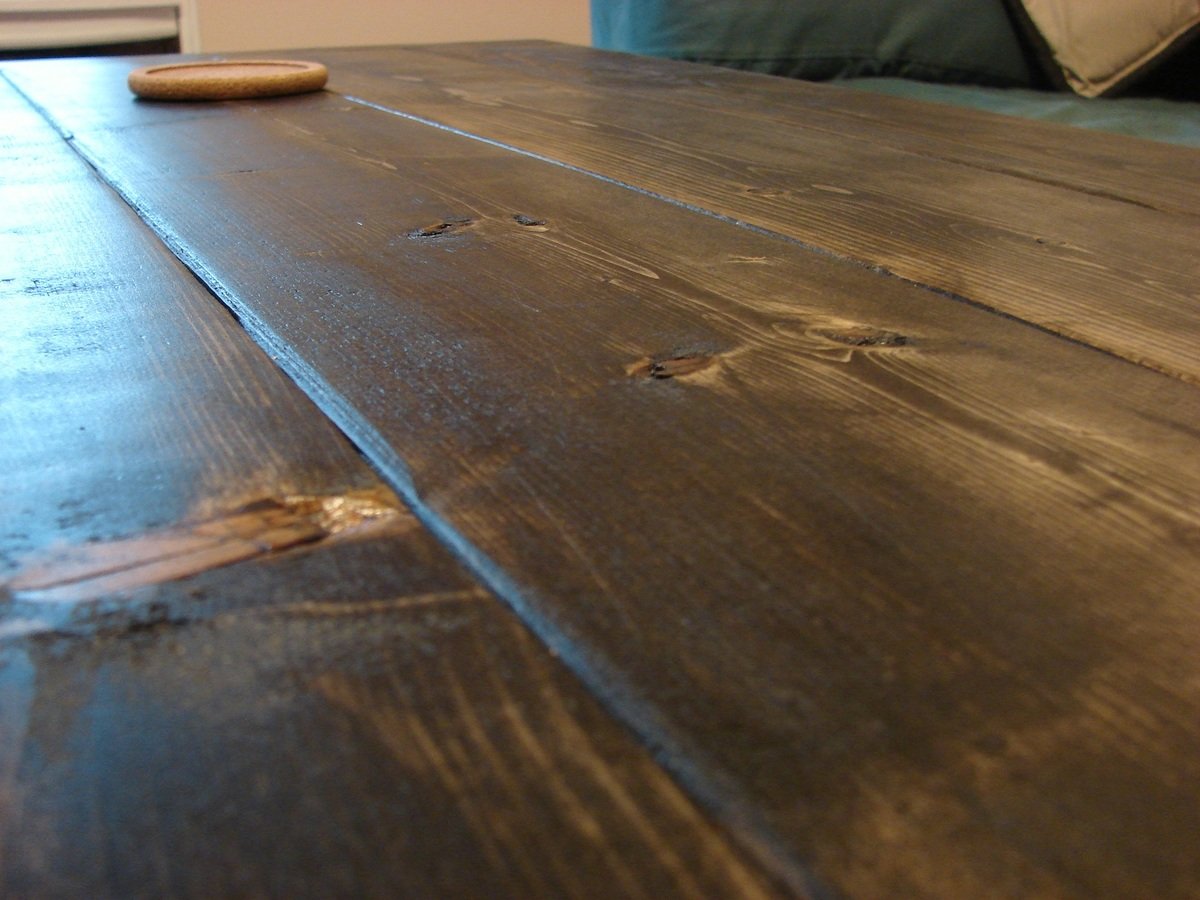
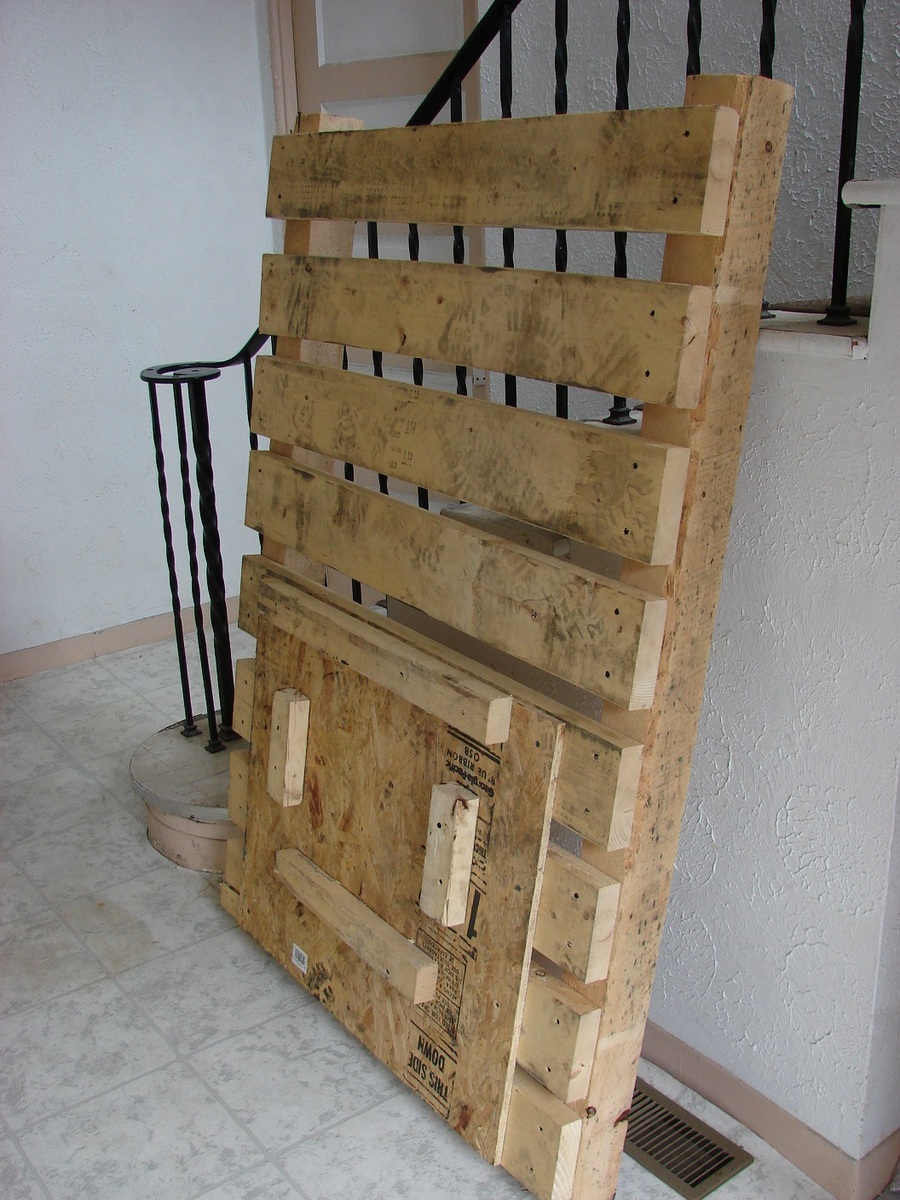
After my free drink station project I was going to swear off pallet wood for larger pieces, then I came across what may be a holy grail of pallets. 4 feet by 5 feet made with 4X4's and 2X6's held together with screws rather than nails. Yup, something had to be done with this.
so the sort of free comes from the lumber being free while I paid for the stain and poly. Of course, you could say we always pay for those, in this instance though they weren't leftovers from another project.
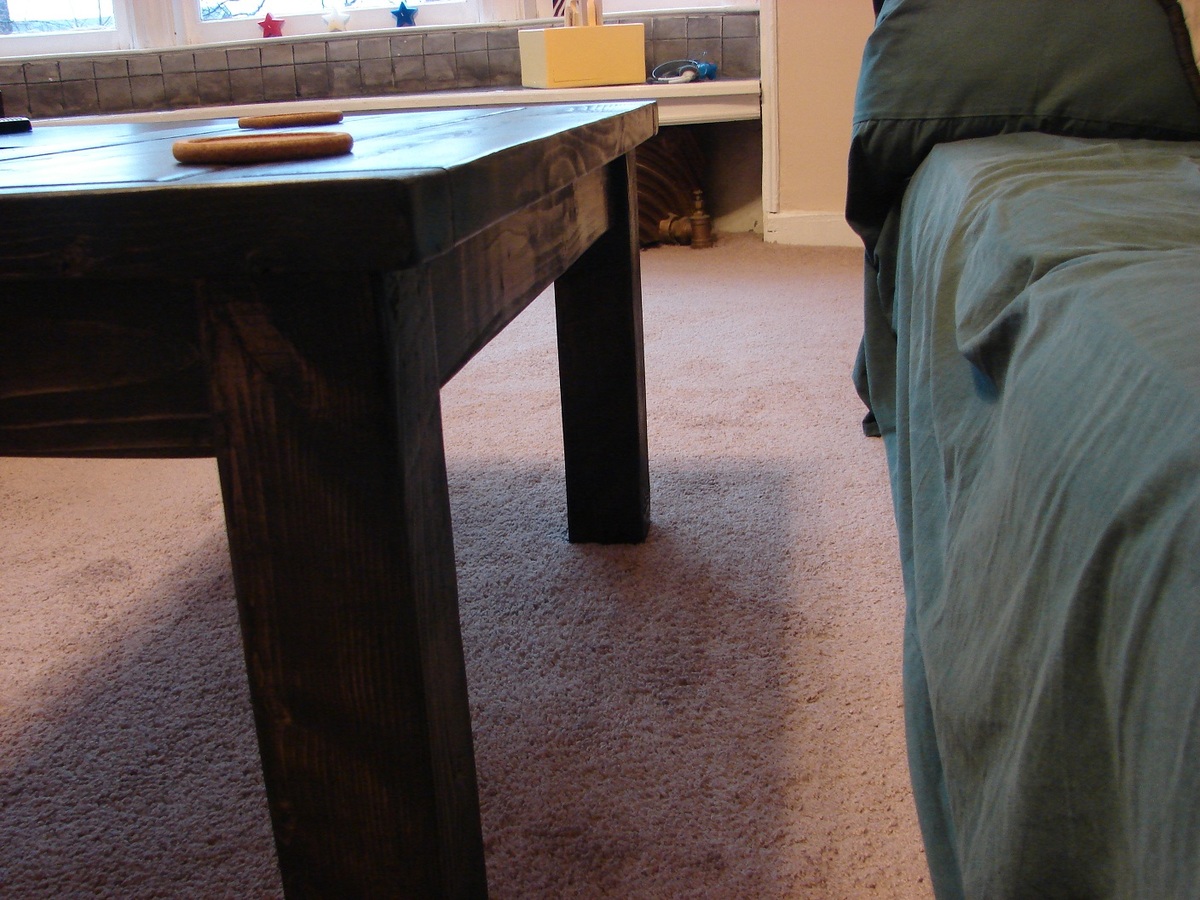
I say sort of Tryde because it shares the basics of the table, 2 by top pieces, breadboards, chunky 4X4 legs. However, given my wood choices the lumber sizes are all mixed around. Also because I was originally going to make the modern X leg kids picnic table but didn't have any good wood for the legs.
So instead of the breadboards being the wide pieces those are now 2X3's with 2X6's for the table top pieces. Another difference is that instead of 1X4's for the aprons boxed out I used 2X4's. This really wasn't a big deal because I had a Kreg Jig. By the way, got the master system and it rocks my socks off.
Compared to my last pallet wood projects these boards pretty much look store bought, I wish I had remembered to take a picture before I stained it. They're definitely a bit knotty but that's OK because even when I don't want an overly distressed look I still don't think wood should be perfect, if I wanted that I would use MDF.

Comments
Ana White Admin
Fri, 10/15/2021 - 12:53
Way to go!
Love it, so pretty! Thank you for sharing~