DIY Home Fireplace
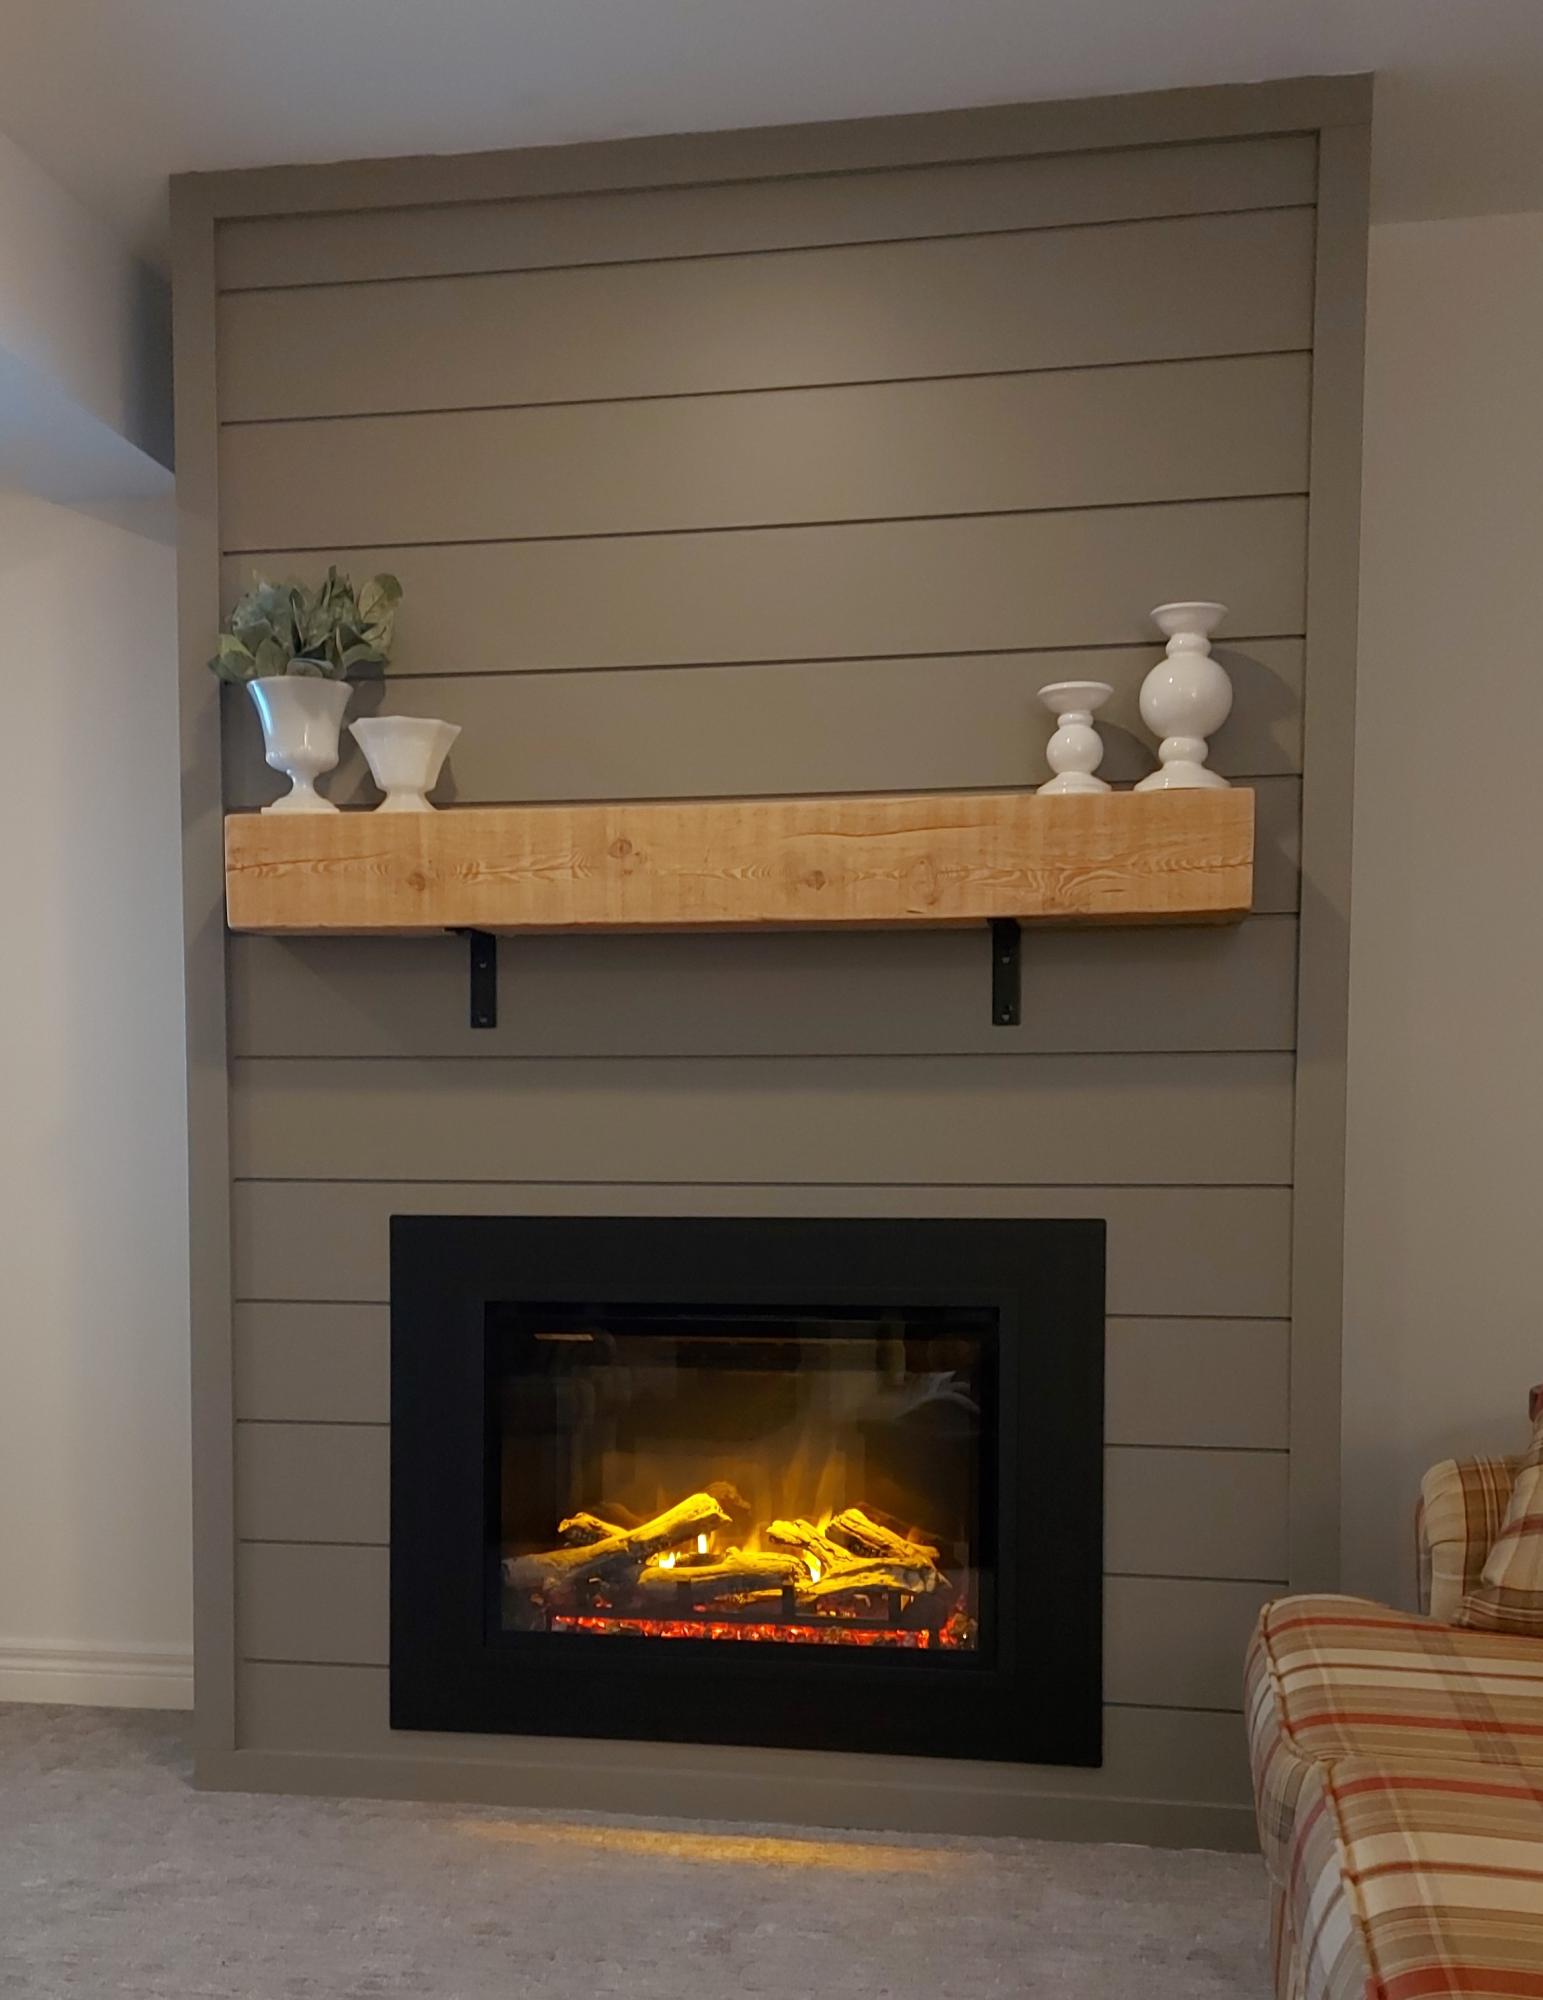
We built this fireplace where nothing existed before. The instructional video was very helpful. We are so proud of how it turned out.
Jim and Susie Jacob

We built this fireplace where nothing existed before. The instructional video was very helpful. We are so proud of how it turned out.
Jim and Susie Jacob
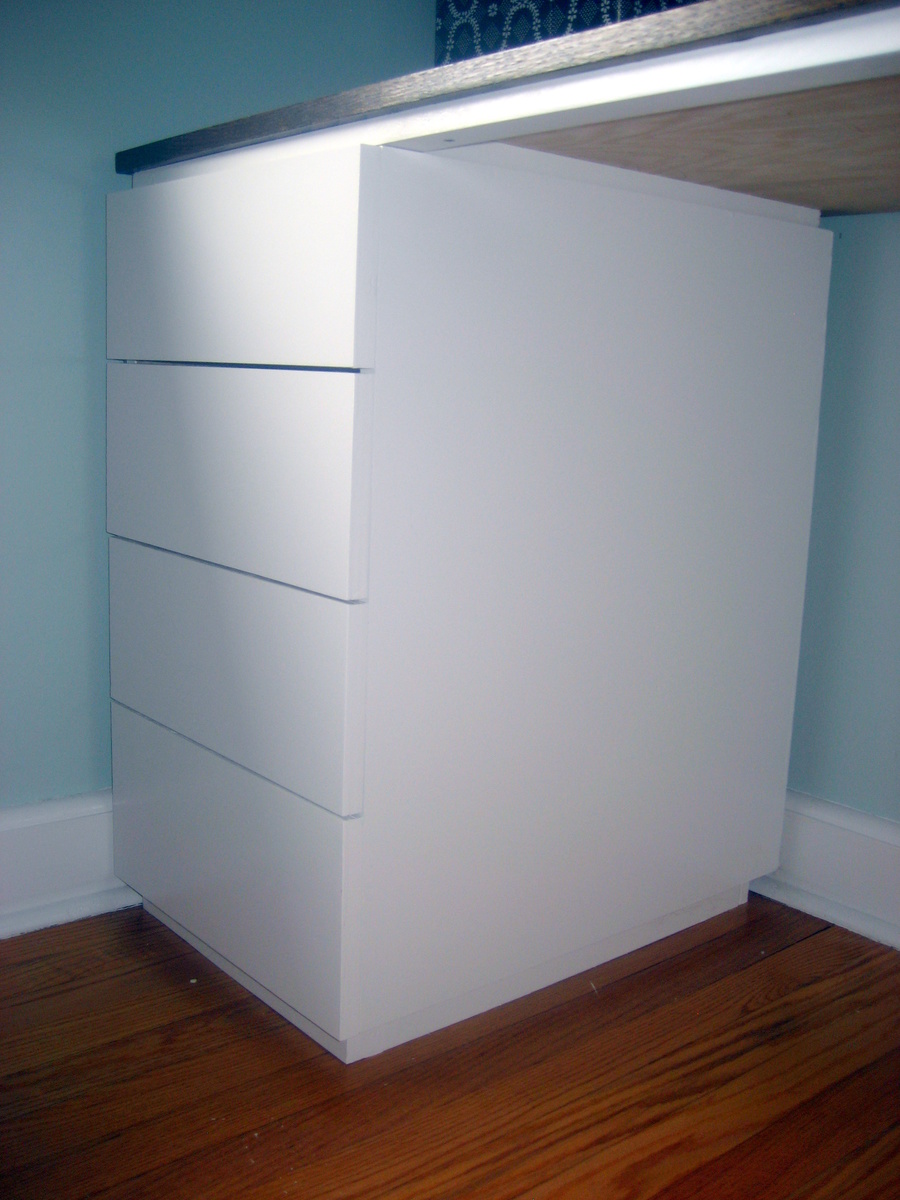
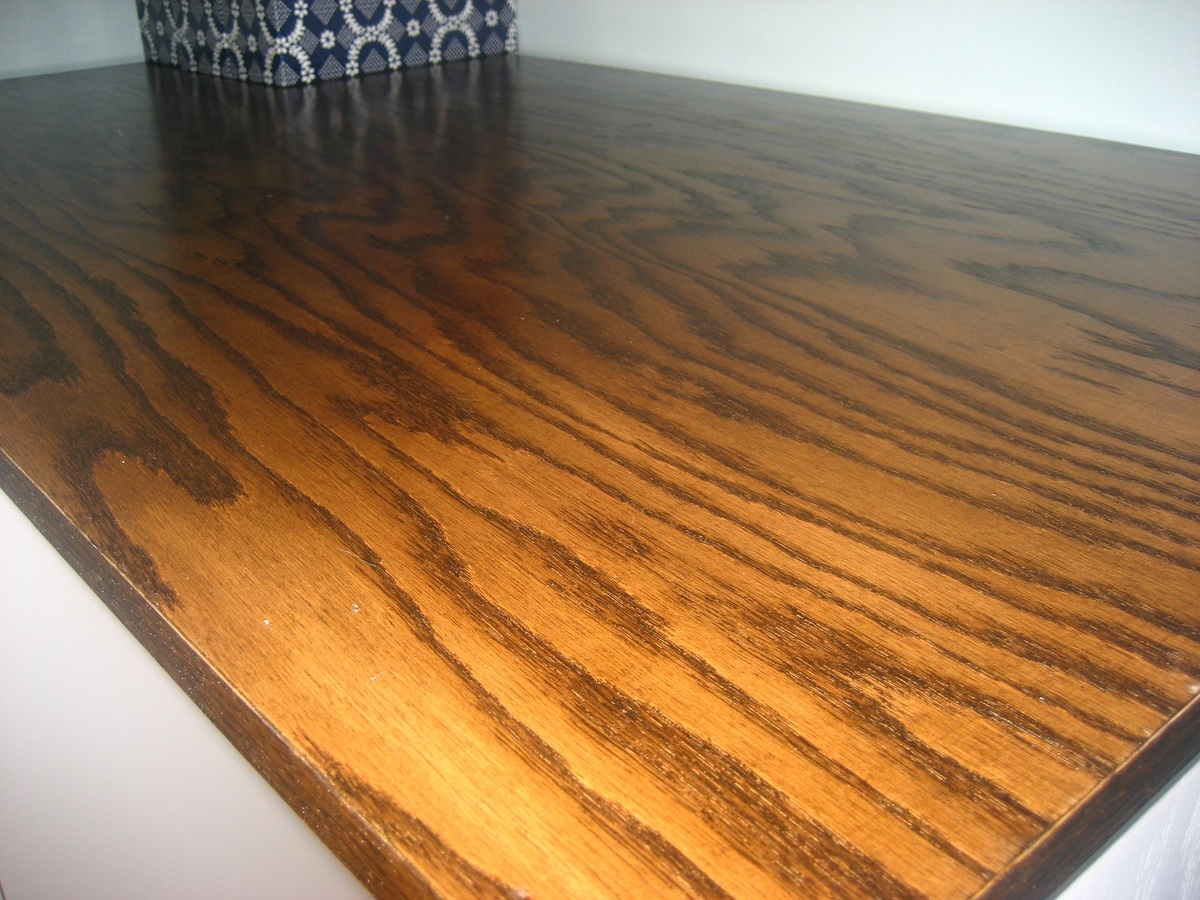
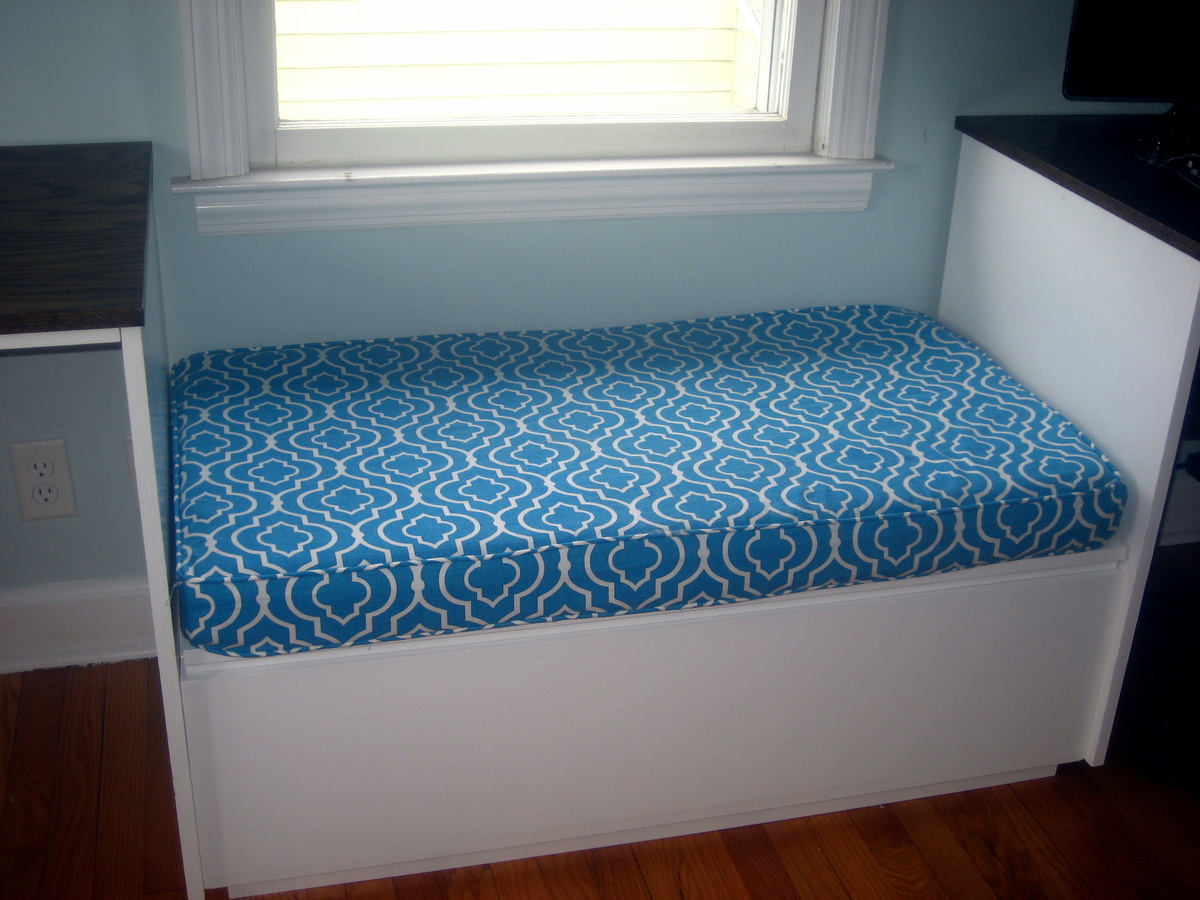
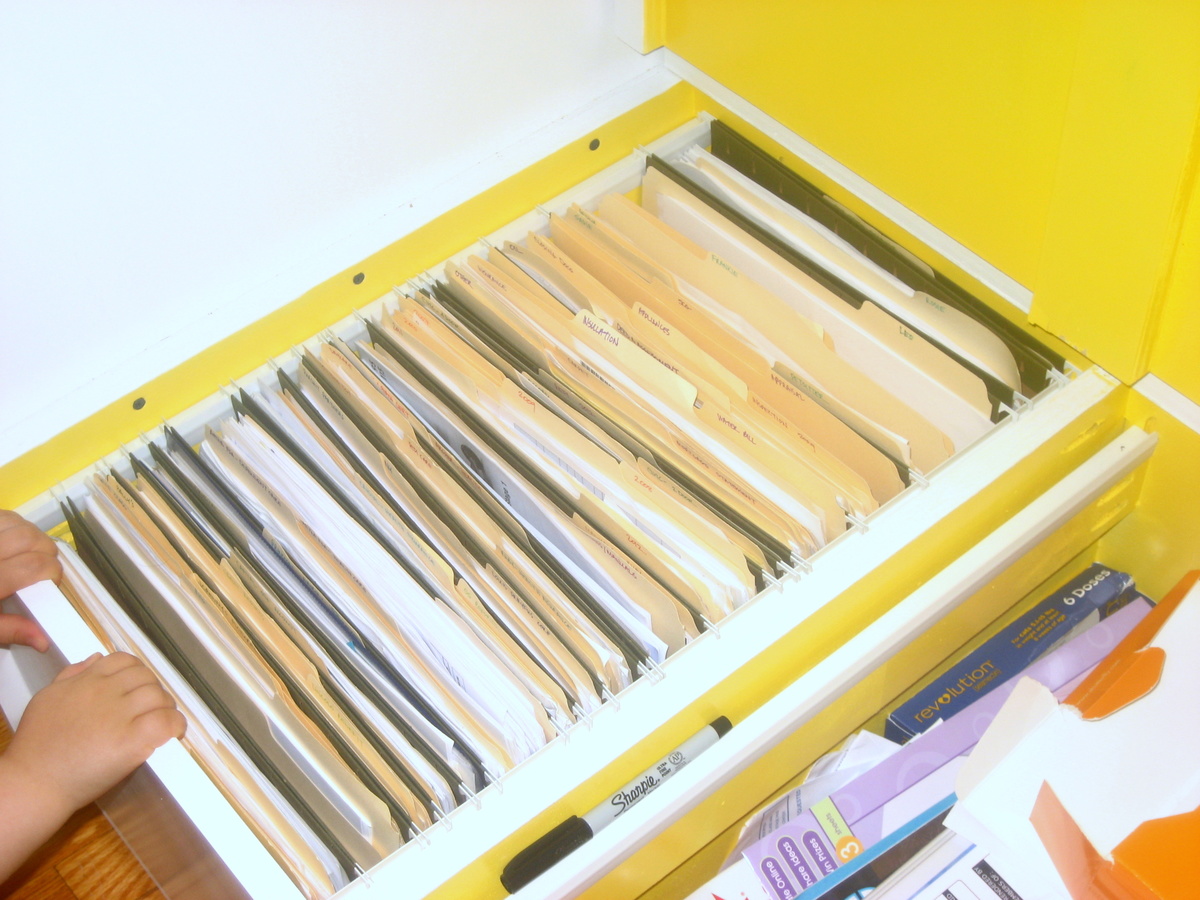
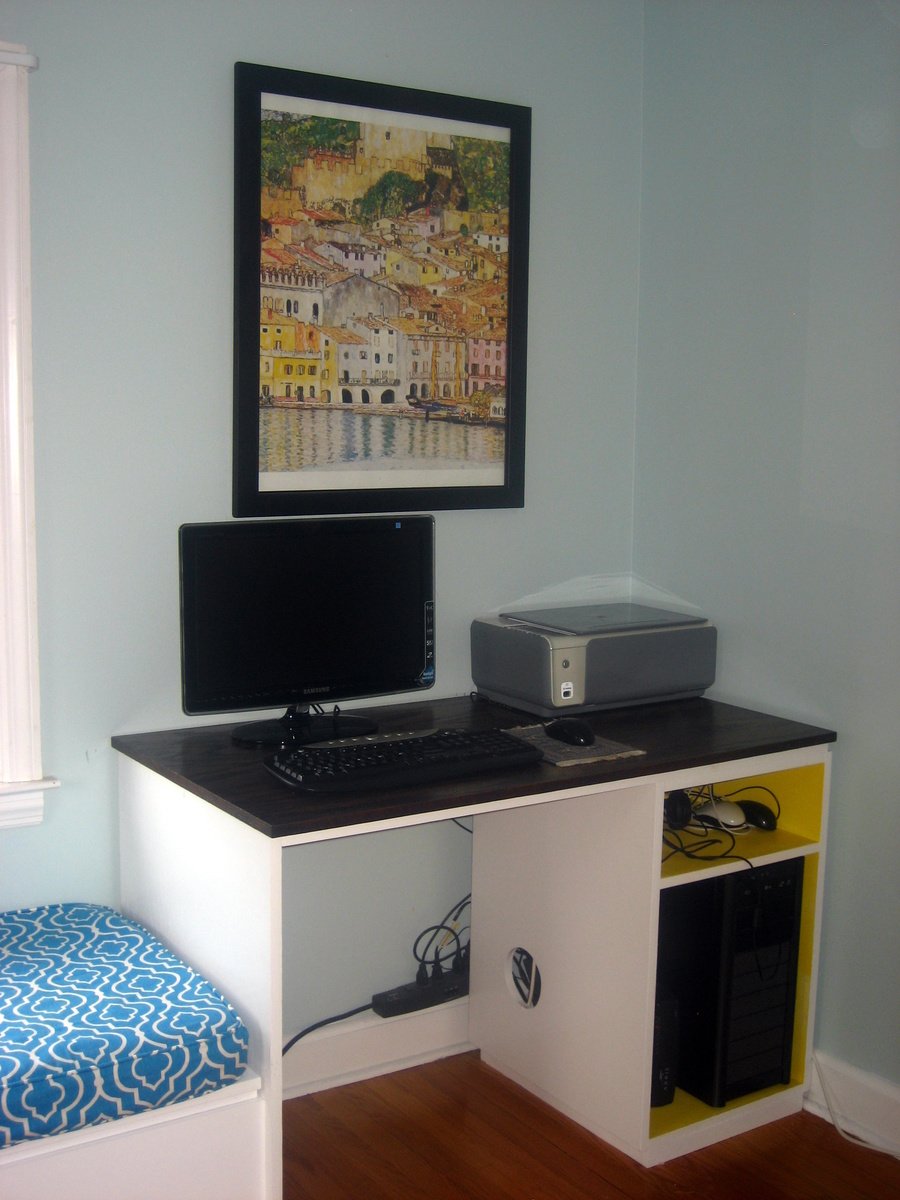
We built a double desk based off of the eco-office desk plans. We made various modifications and still haven't decided how we're going to attach the door the cabinet on the right. The window seat has the same style as the other pieces but is totally our own invention - it has three rows of filing inside!
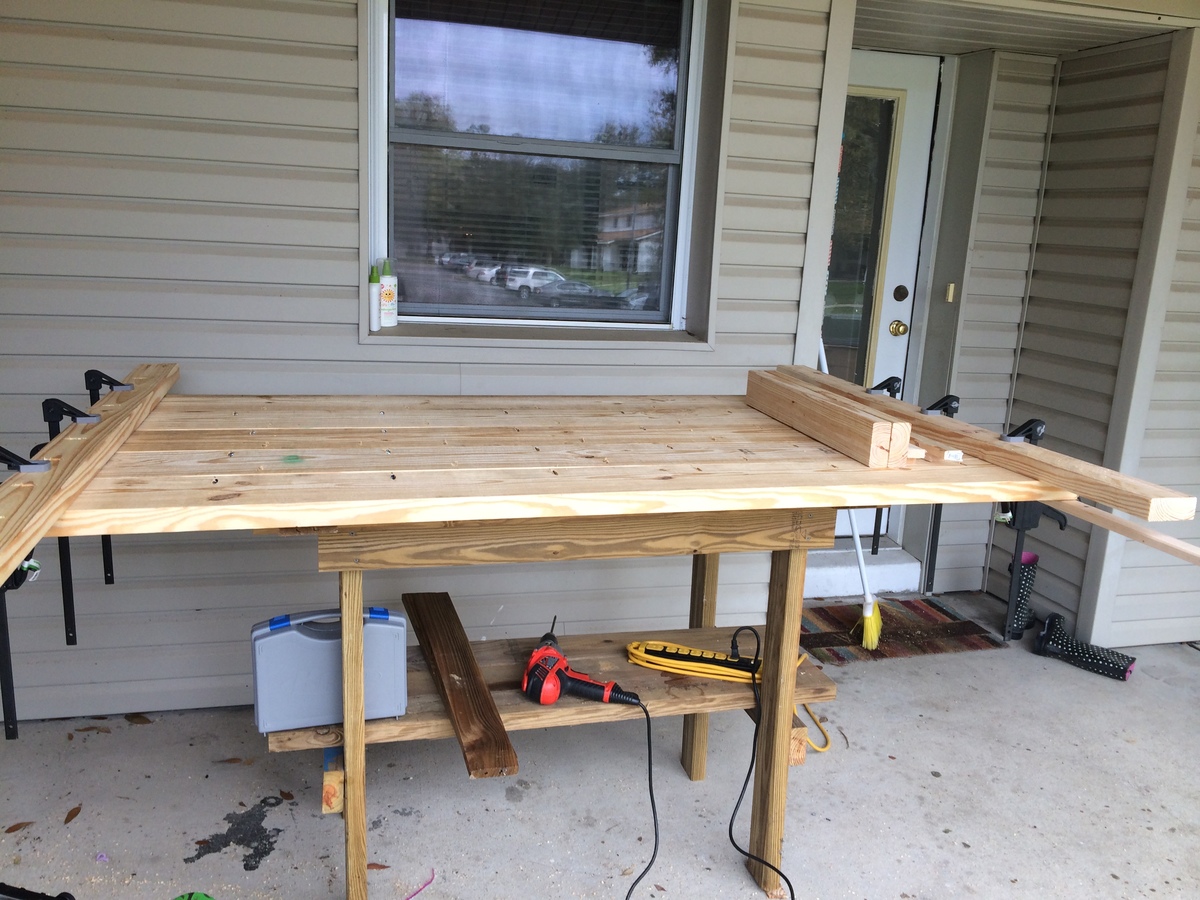
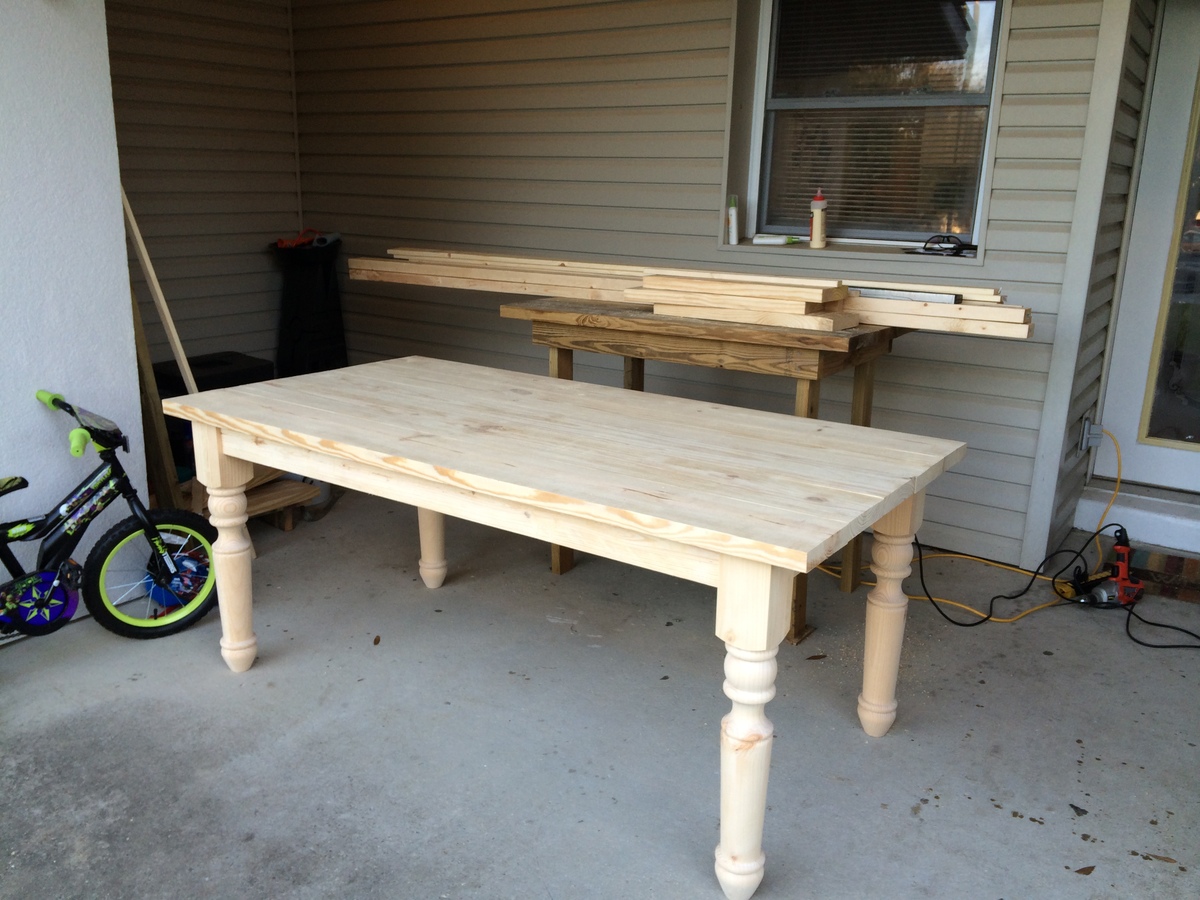
Took about a week to build and put together. Most expensive part was the table legs but the most challenging part was to get the table top smooth and level. I built the benches based off the farmhouse bench plans and then picked up some chairs from a local second hand shop for just two bucks a piece. So far the feedback has been very positive!
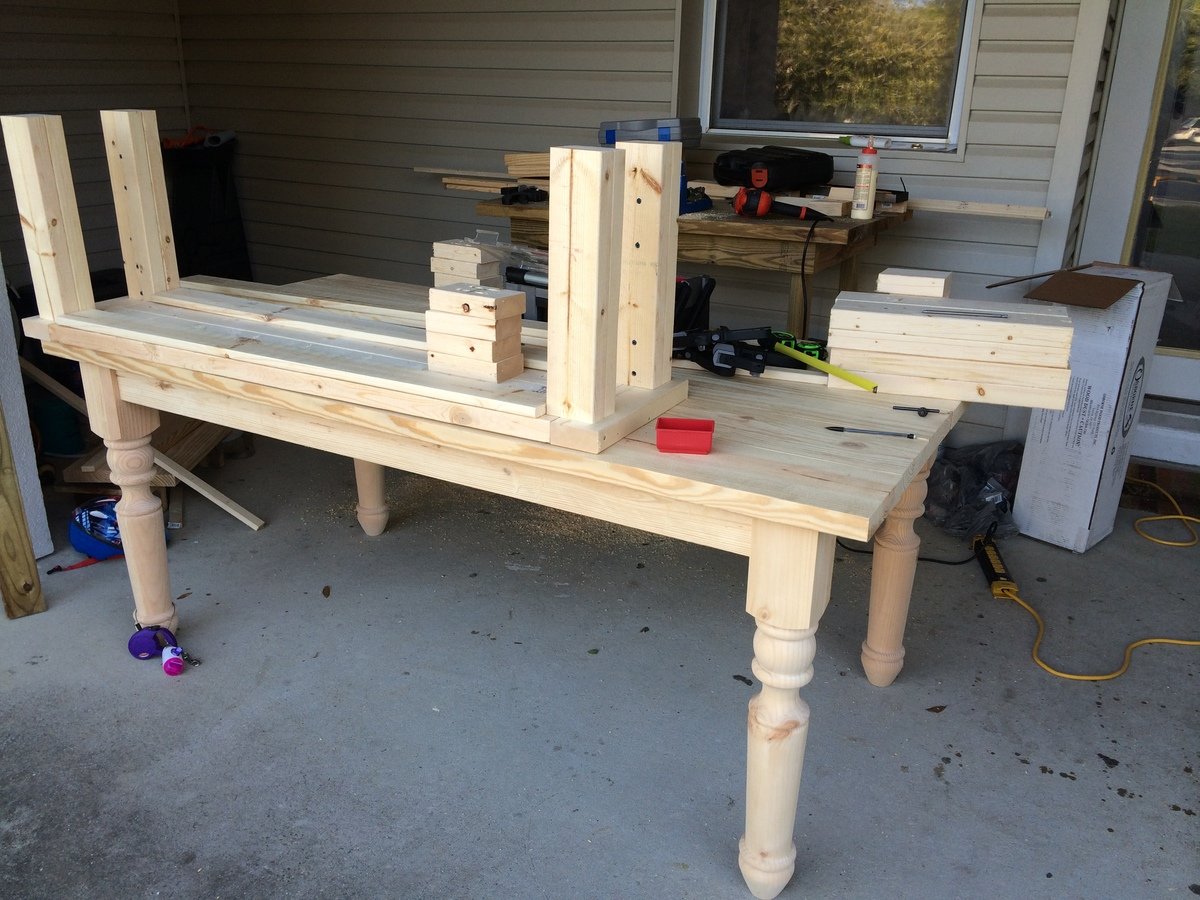
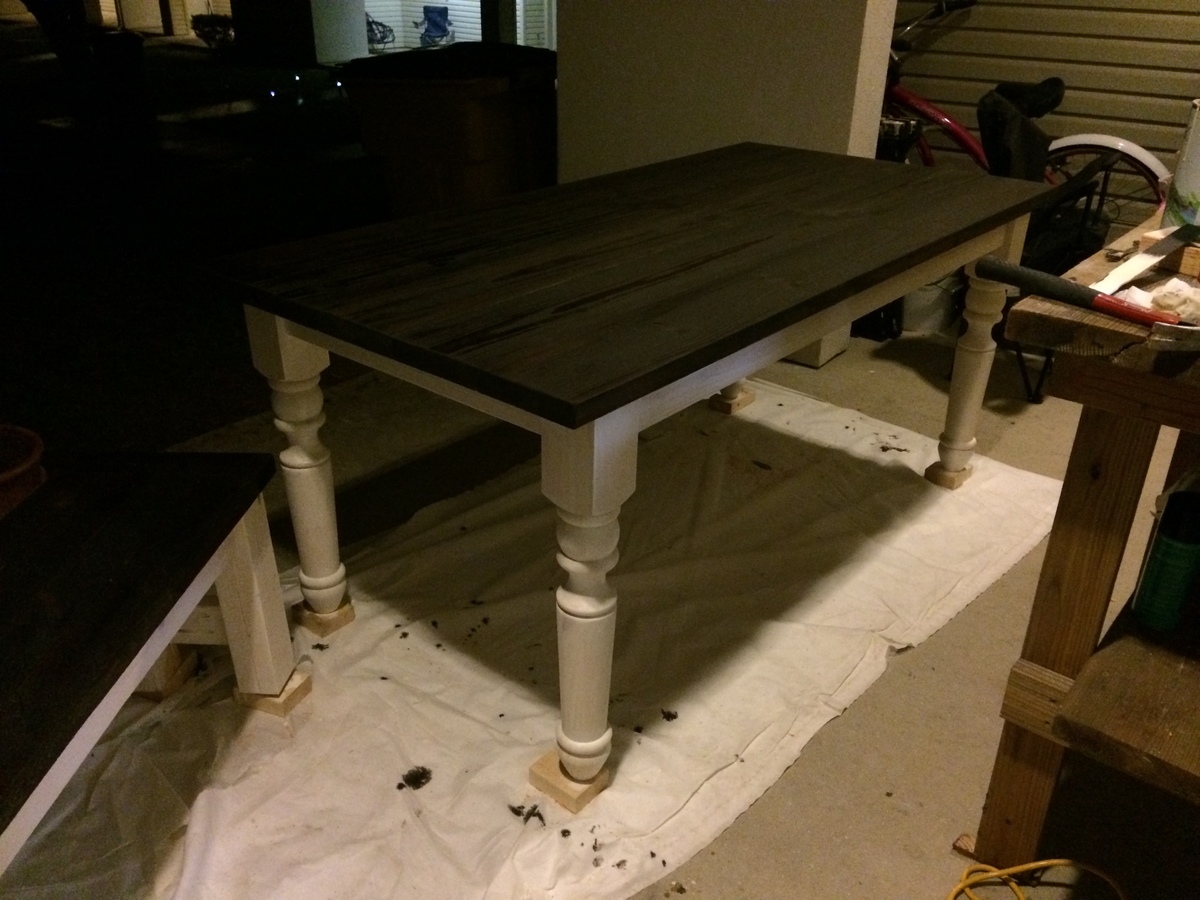
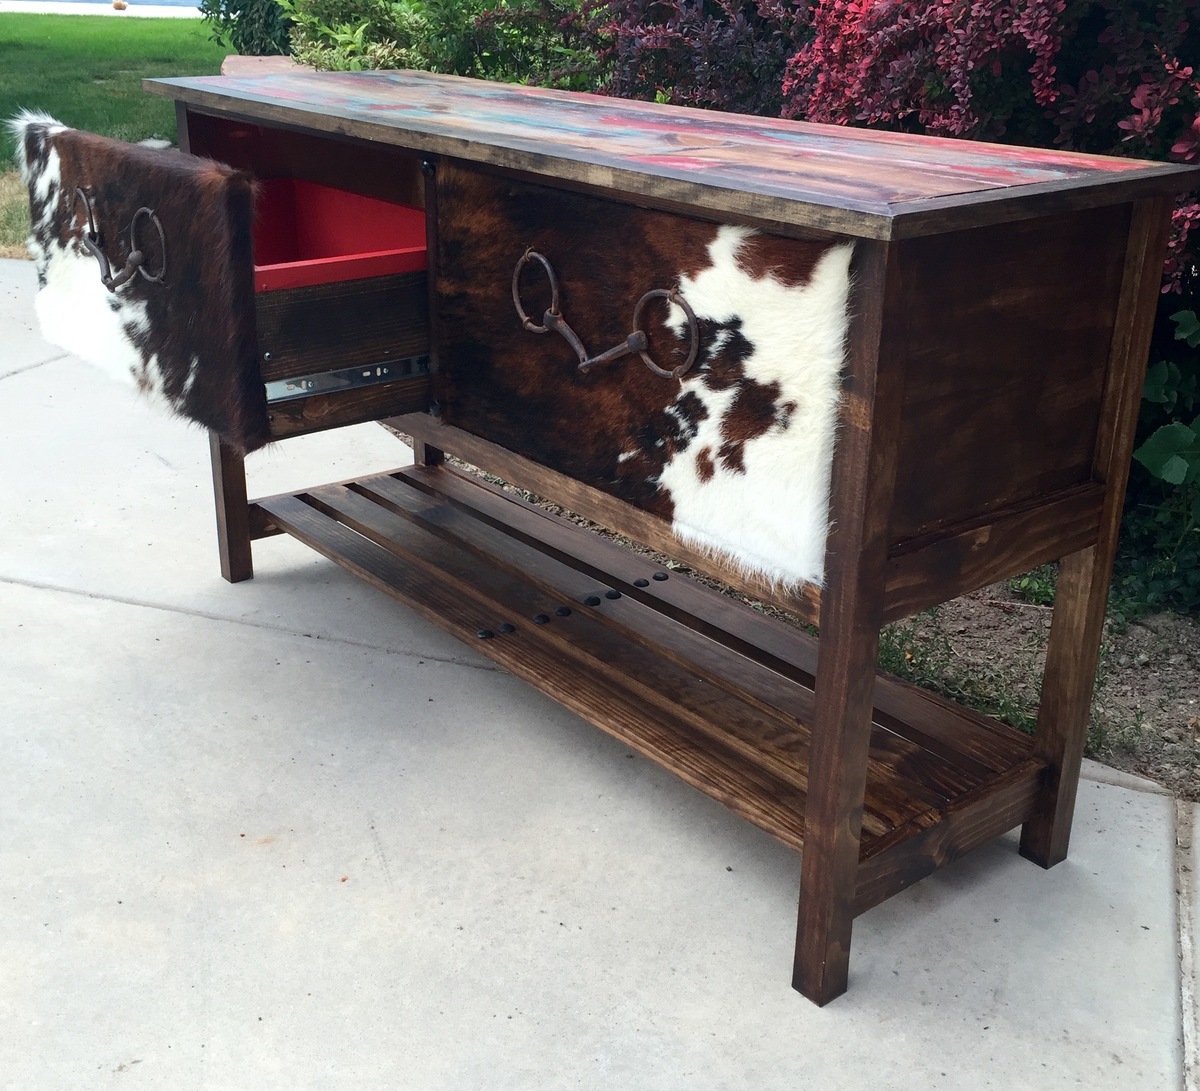
built by Instagram: @sawdustandperfume
built to be used in an buisness office that a former cattle rancher conducts buisness.
I had such a fun time on this shed coop/run build! My wife and I have 5 children and it was fun involving them in building everything about this coop and run. They have a wonderful sense of accomplishment in looking at what they helped build.
A few notes, while this what a fairly straightforward build, there are a lot of little intricacies to be aware of. Such as:
• Make sure your chicken coop is about a foot off the ground. It's best to do that so critters such as rats and snakes don't make their home under the shed and potentially eat their way through the floor.
• It is highly advisable to dig a trench about a foot to a foot and a half deep around the coop and the run and attach chicken cage fencing from the bottom of the coop/run into the trench, and then taper the cage fencing outward. This will prohibit critters such as raccoons from trying to dig under the coop.
• When you attach the poultry netting to the outside of the chicken run, staple one side really well, then move to the other side and pull the netting fairly hard to make the netting as tight as possible. (Also, be careful when putting the netting across the top of the run to not fall off the ladder as I did and dangle there until one of your kids comes to help you! Ha! :D )
Thank you, Ana, for posting these plans! We are so excited to get our little chickies out into their new home as soon as their feathers come in!
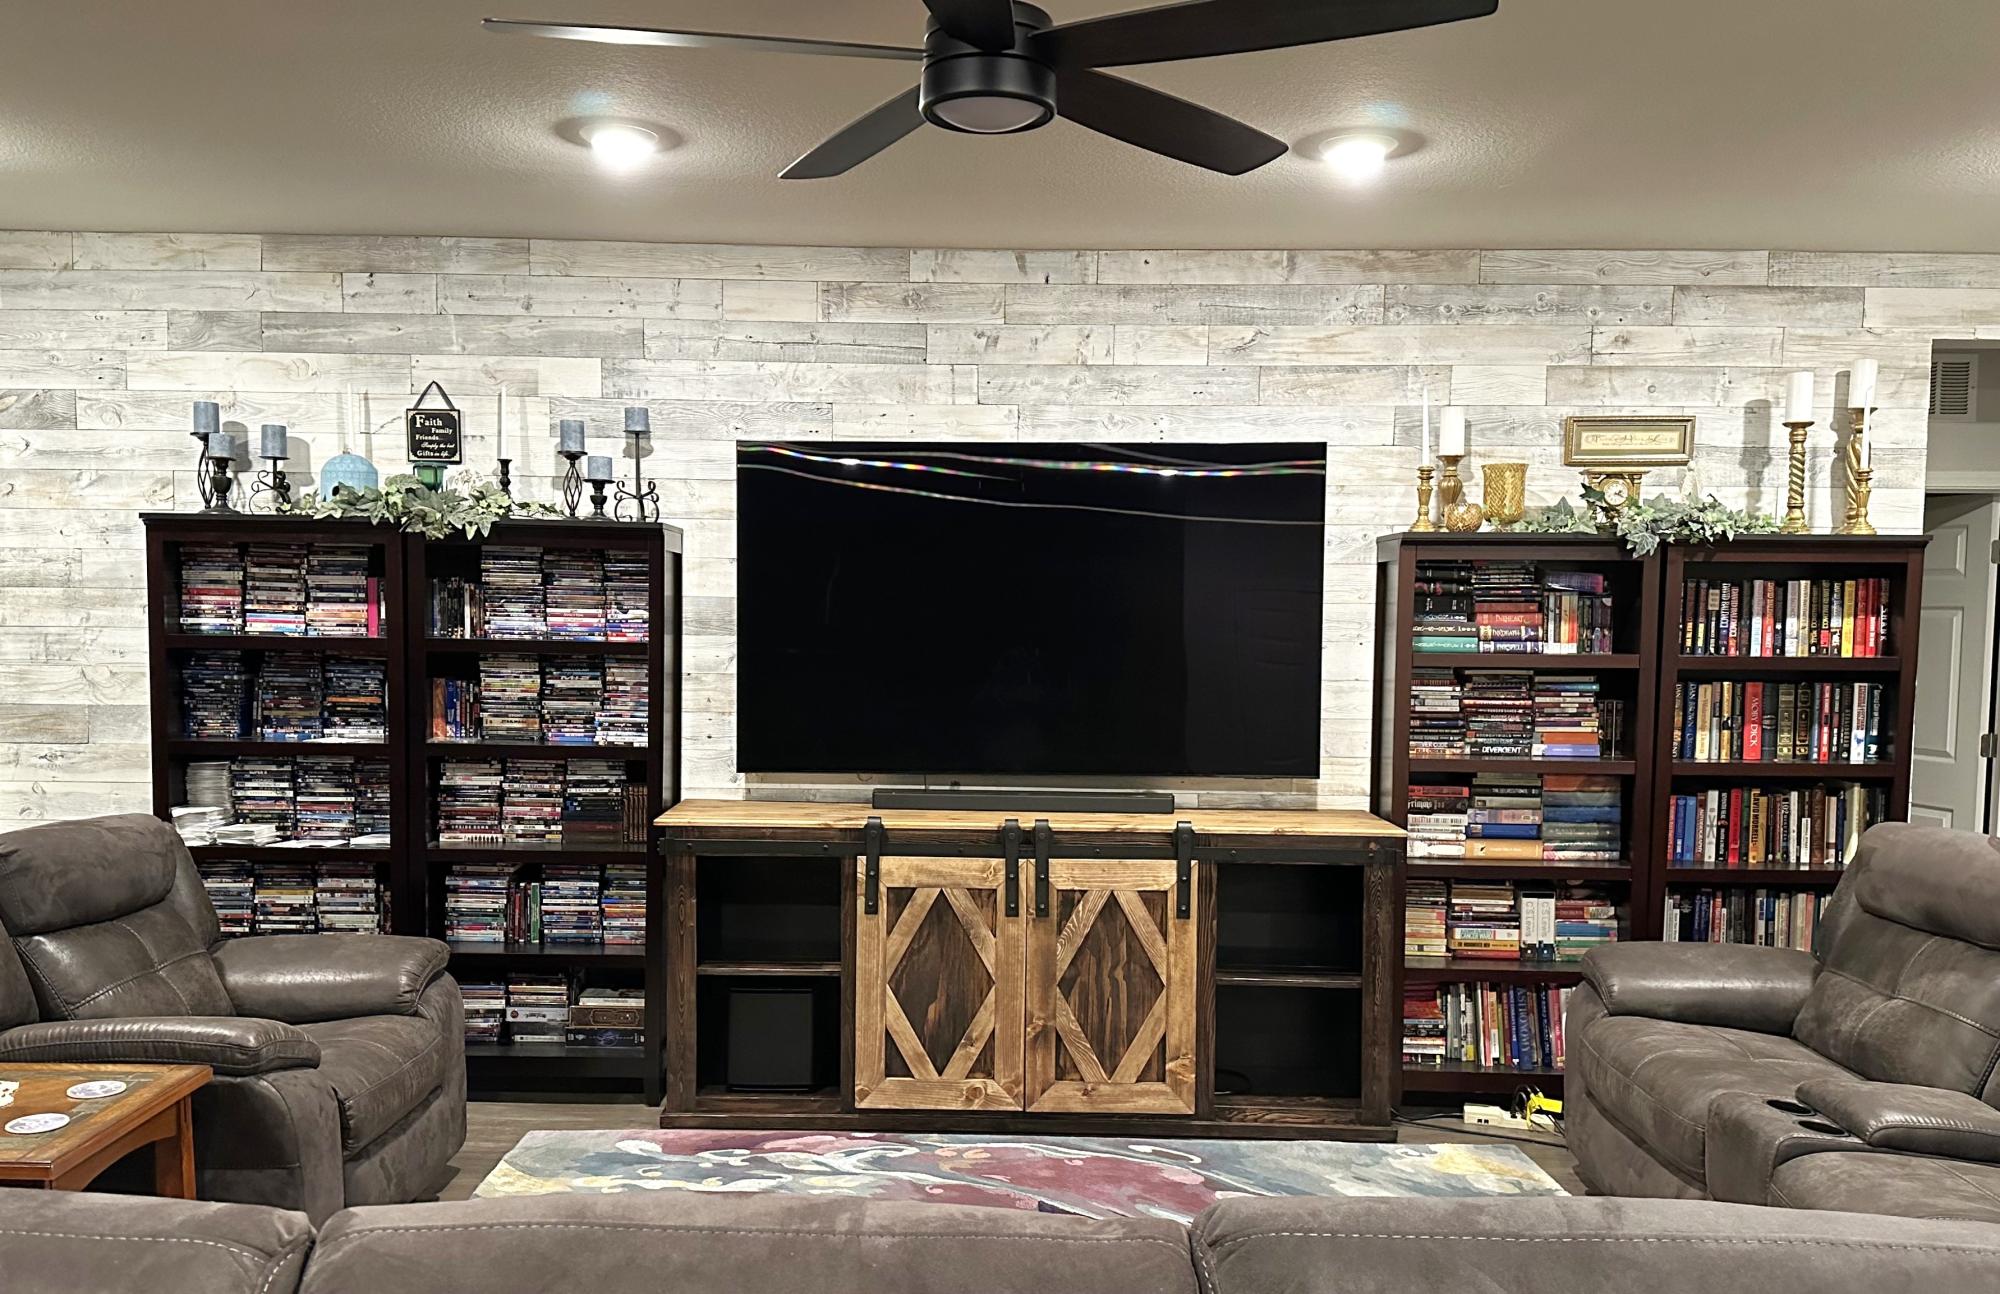
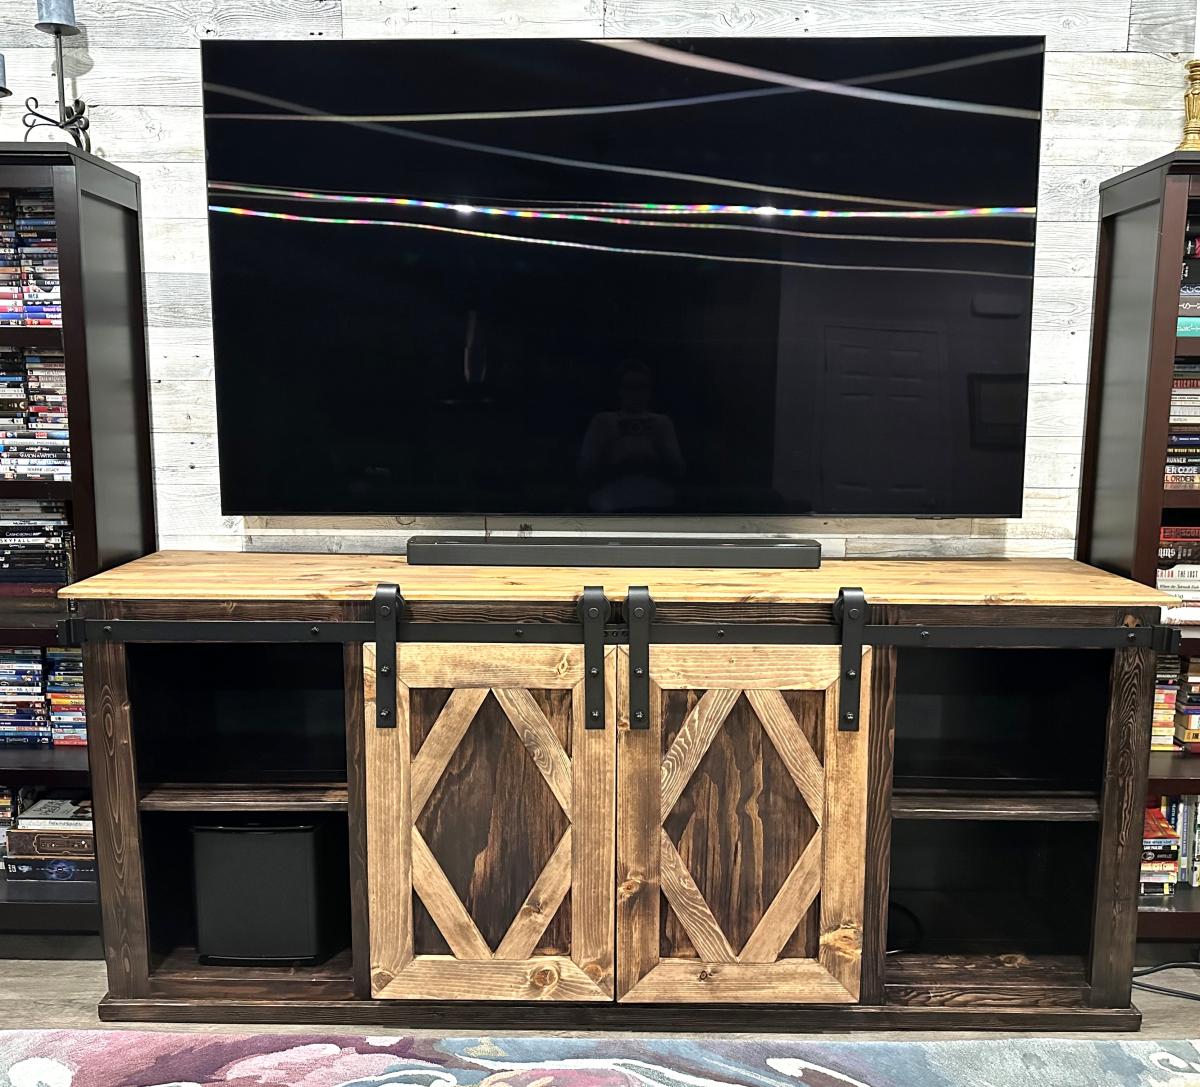
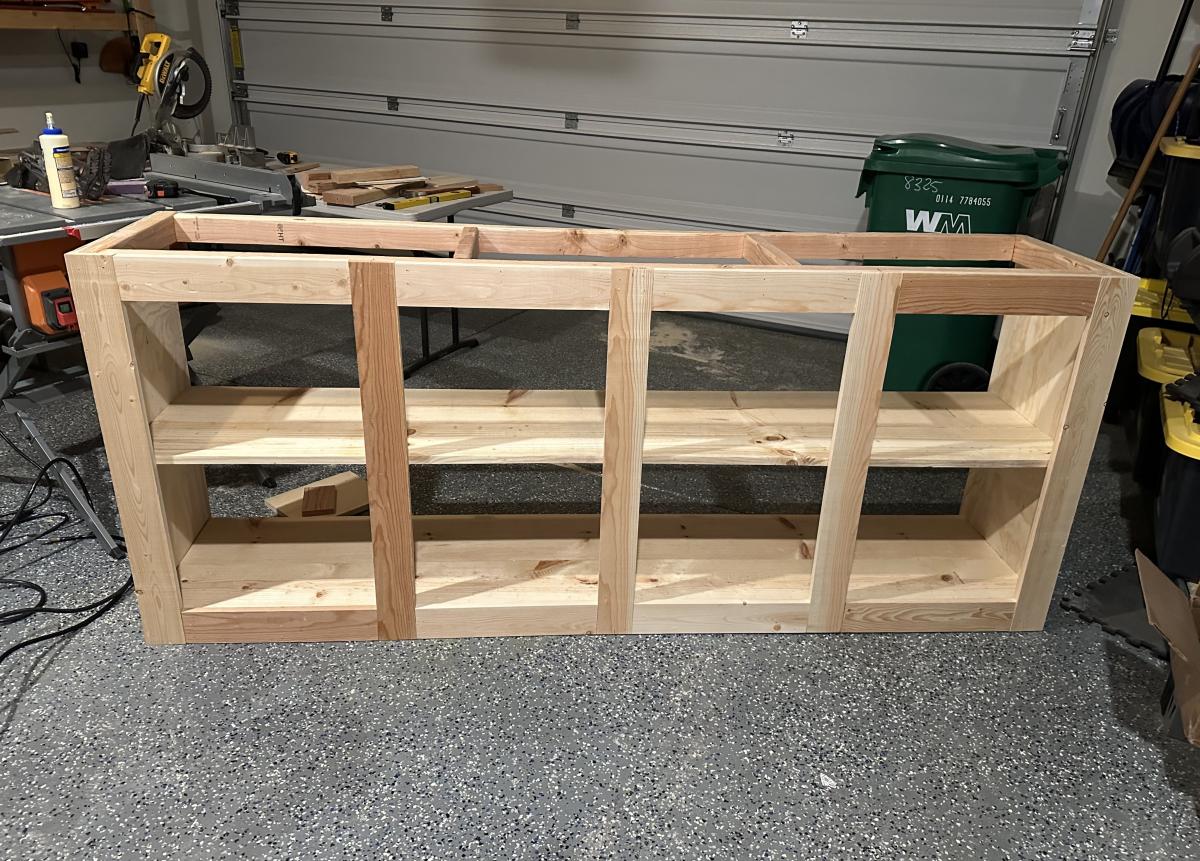
We have been looking for a TV console for the last couple of years, but couldn't find anything we liked. My husband said, "Why don't we build it ourselves?" We found the Simplified 8' Barn Door Console plans! The rest is history! We LOVE this console. And we loved making it together!
Janet Pulleyn
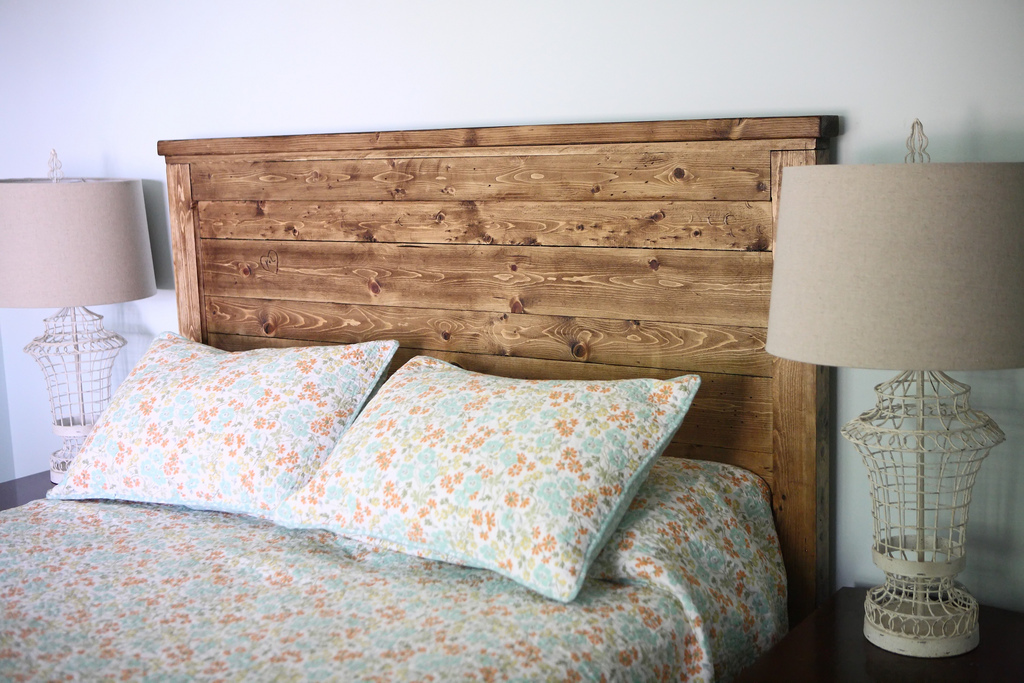
Reclaimed-wood headboard from pine boards with minwax aged oak gel stain and stain finish wipe-on polyacrylic. I distressed some of the board with a screwdriver, a pipe, and whatever else I found in the garage, and etched my and my wife's initials in a heart on one side. Aww!

Fri, 07/06/2012 - 19:44
I was going to carve mine and my hubby's initials in a heart on our reclaimed headboard, too!!!!! I didn't end up doing it because I think we'll eventually sell it and build a headboard with padding on it since my husband likes something padded to lean against while watching tv at night.
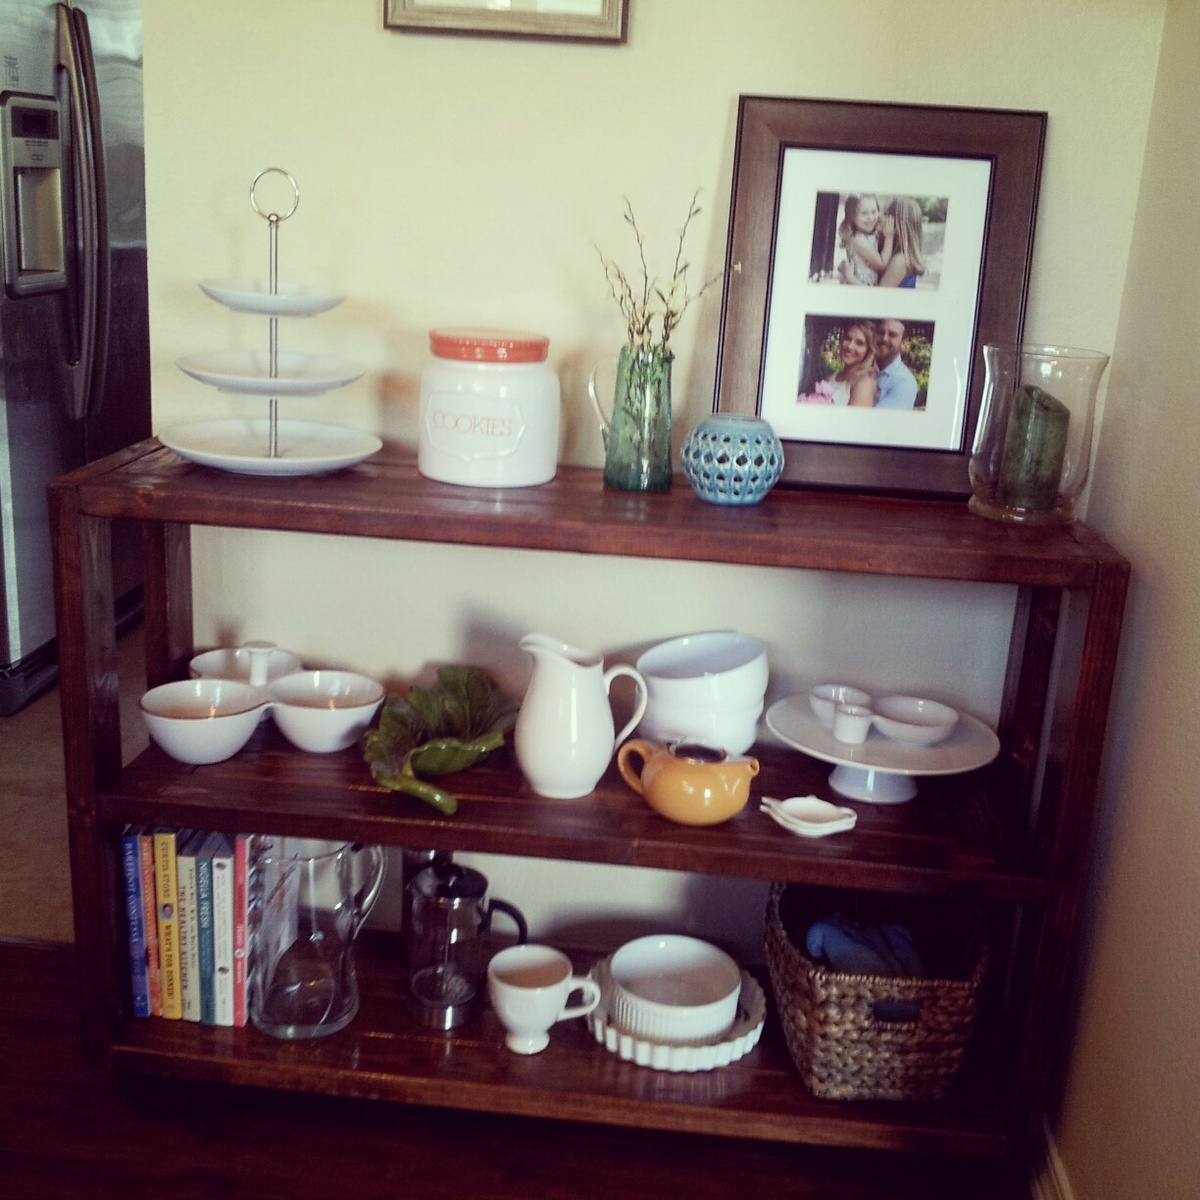
This dining cart is very versatile. It could be used in any room of the house. I love that it has wheels on the bottom so you can move it easily if needed.
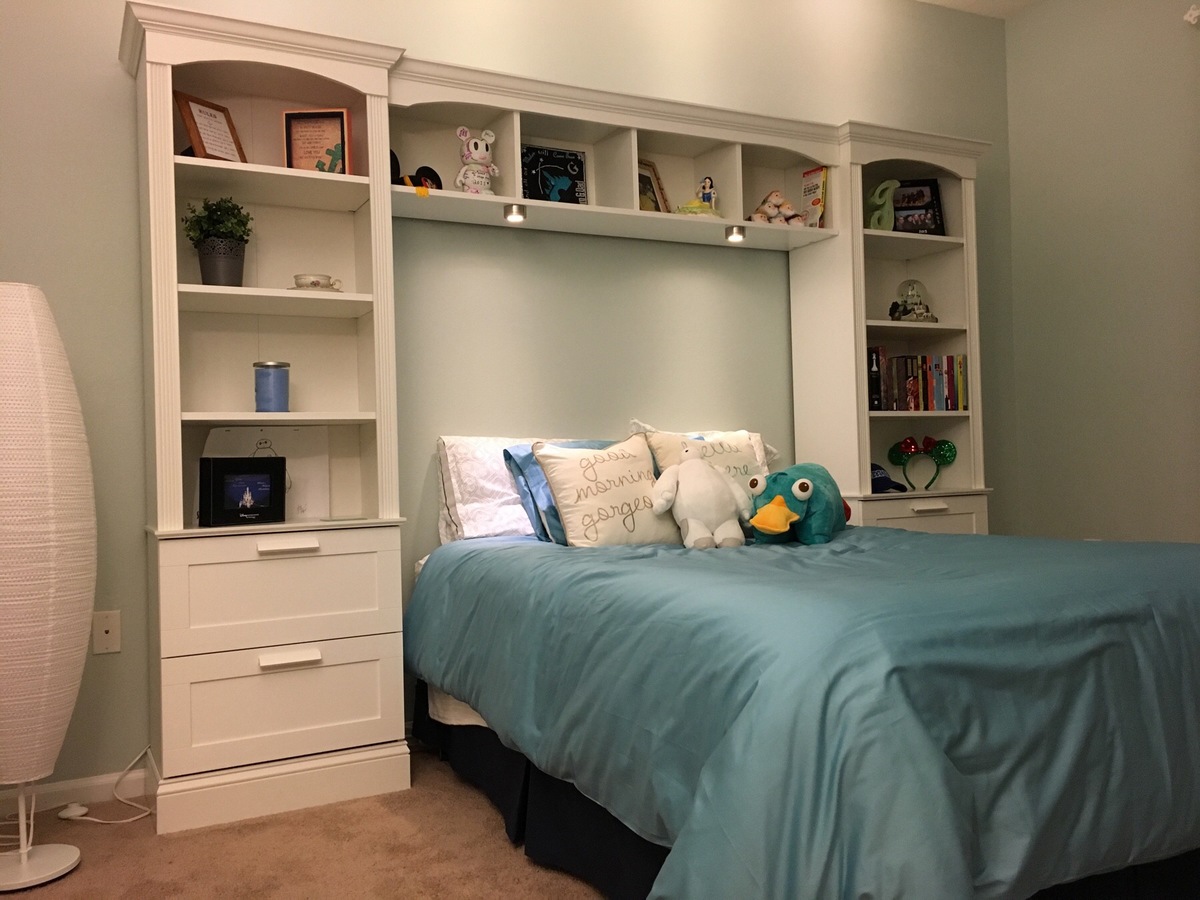
I hacked three IKEA bookcases into this beautiful bed for my princess of a daughter who was getting her first apartment in Orlando, FL, because she got a full-time dream job with Disney. Full details at http://handydad.tv/ikea-hack-bed-bridge-bookcase/.

Added some extra trim pieces to finish it out. turned out really nice!!
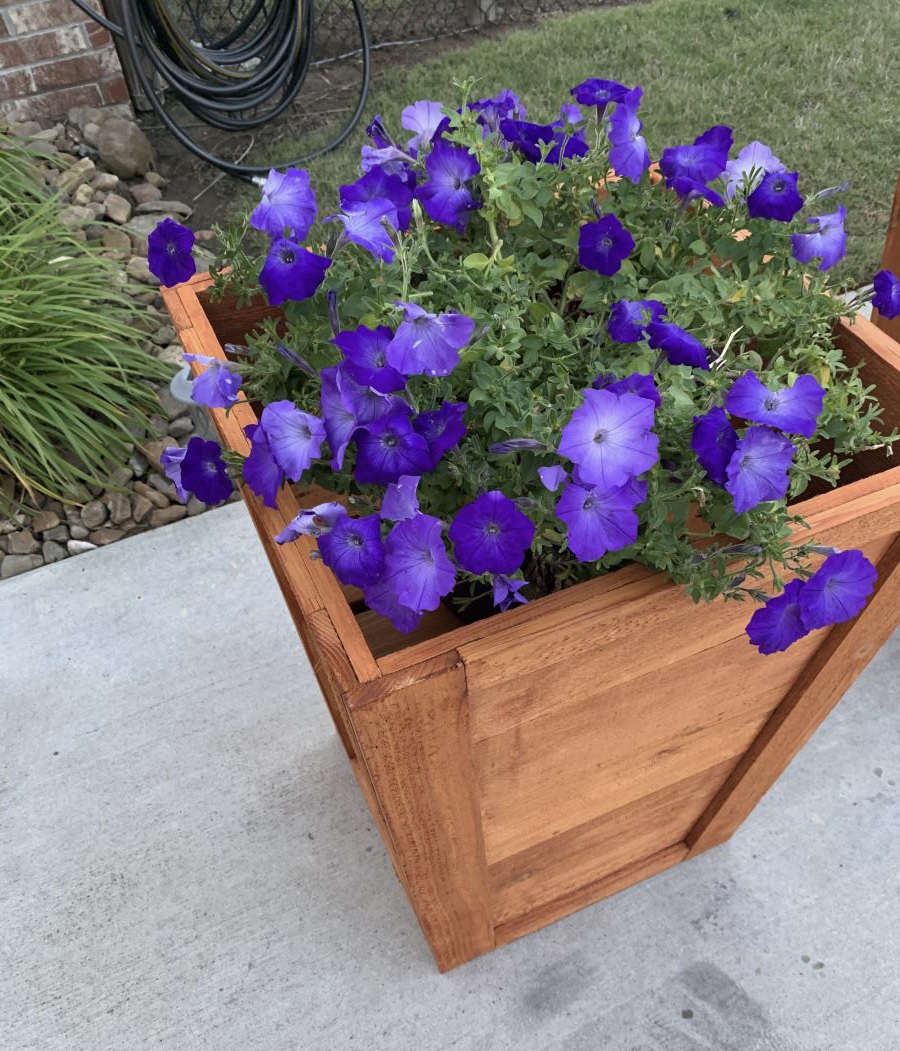
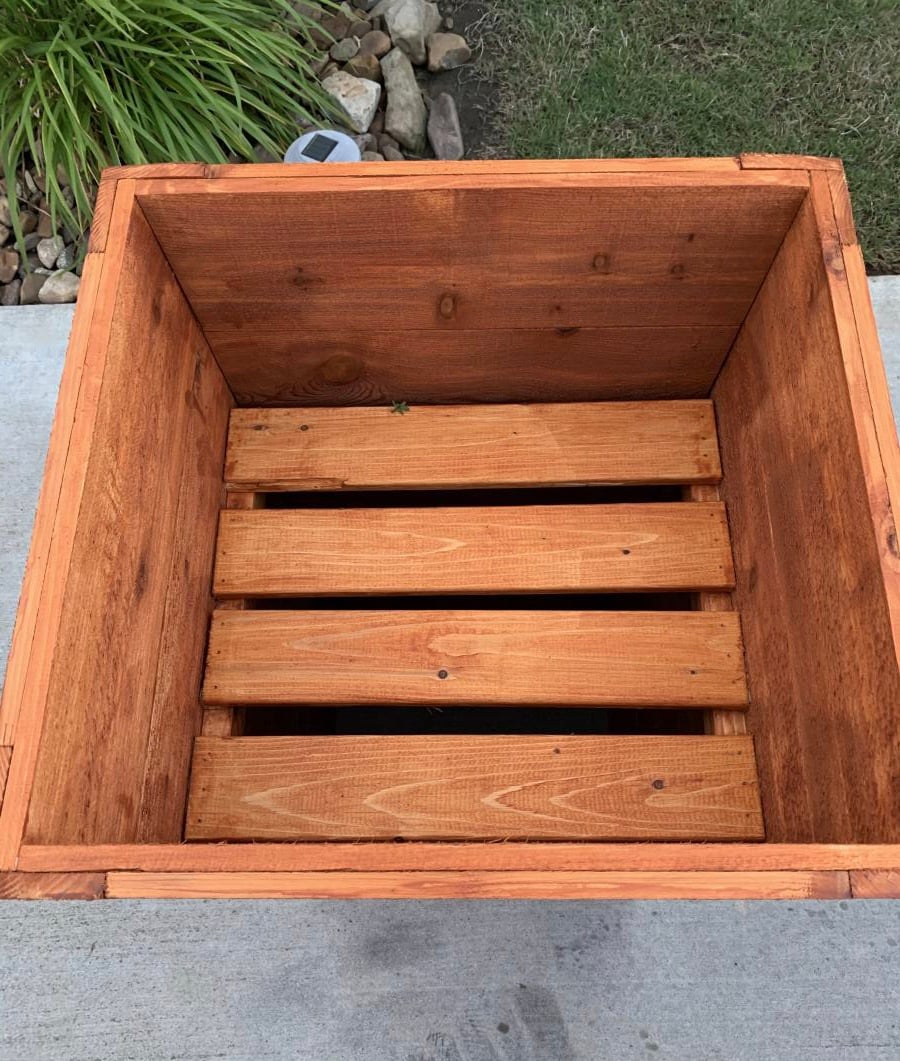
Mon, 05/18/2020 - 17:25
These look great! Did you use the cedar tone water proofing?
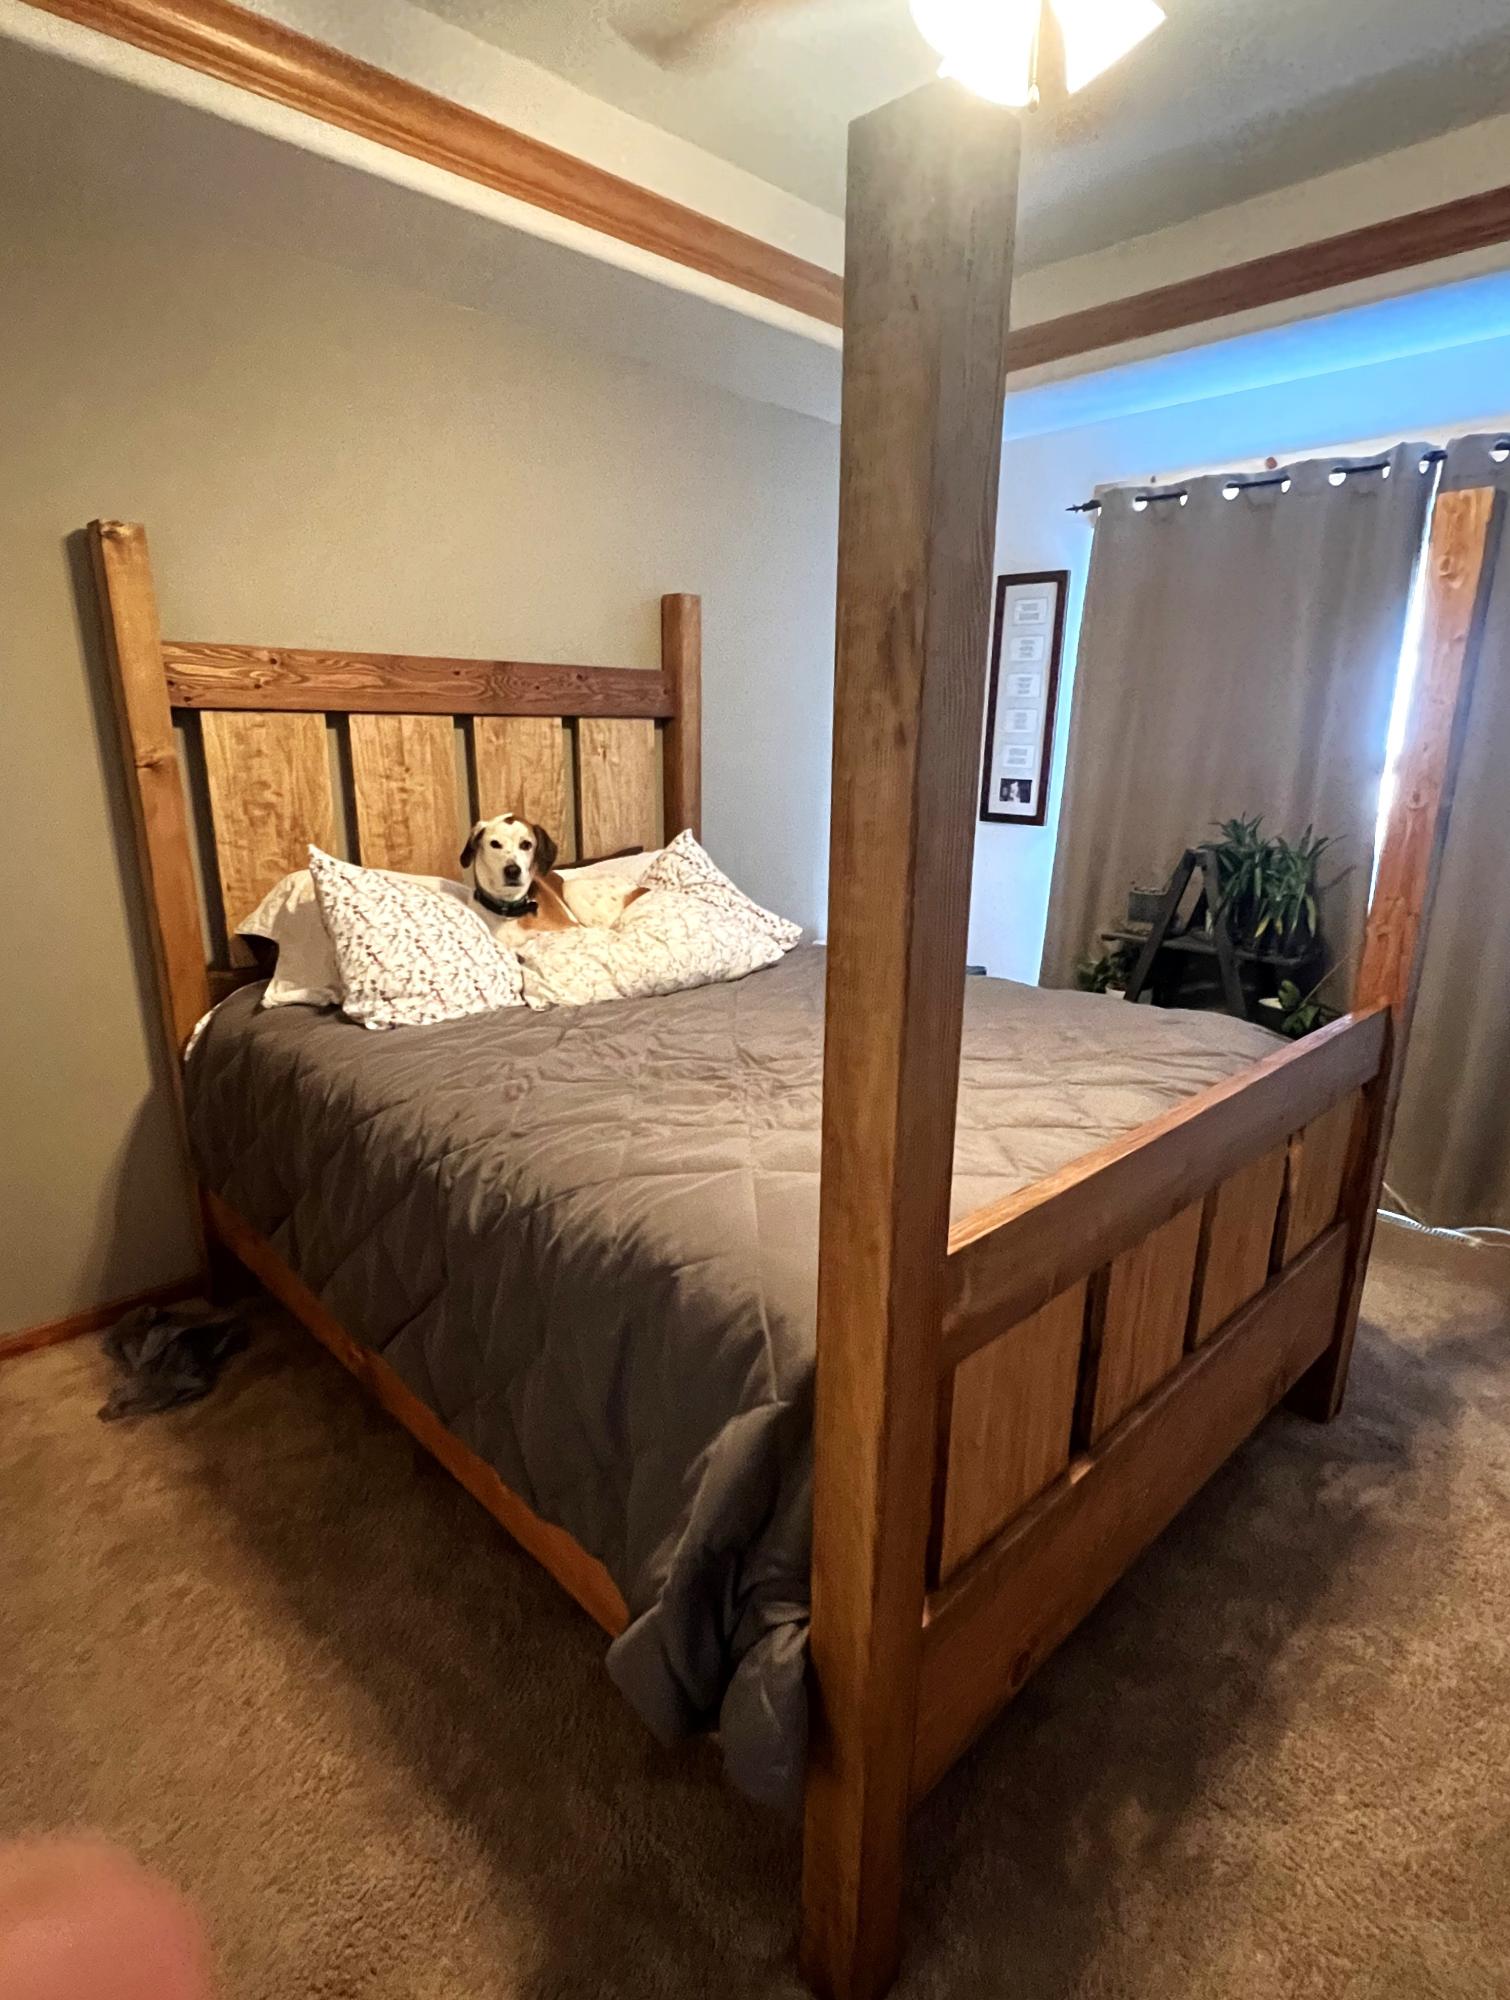
Slatted four posted bed and I adore my new bed!
The toy room needed some attractive storage for the books and puzzles instead of the floor! Enter this plan. I shortened the shelves to 36" and fastened the shelves to 1x2 stretchers that I fastened to the inside of the sides. I hid them by nailing a face frame to it made of 1x2s. I used beadboard for the back, which I painted before attaching it.
I had a hiccup when I forgot to use my square and had to backtrack some, which made this project longer than I anticipated.
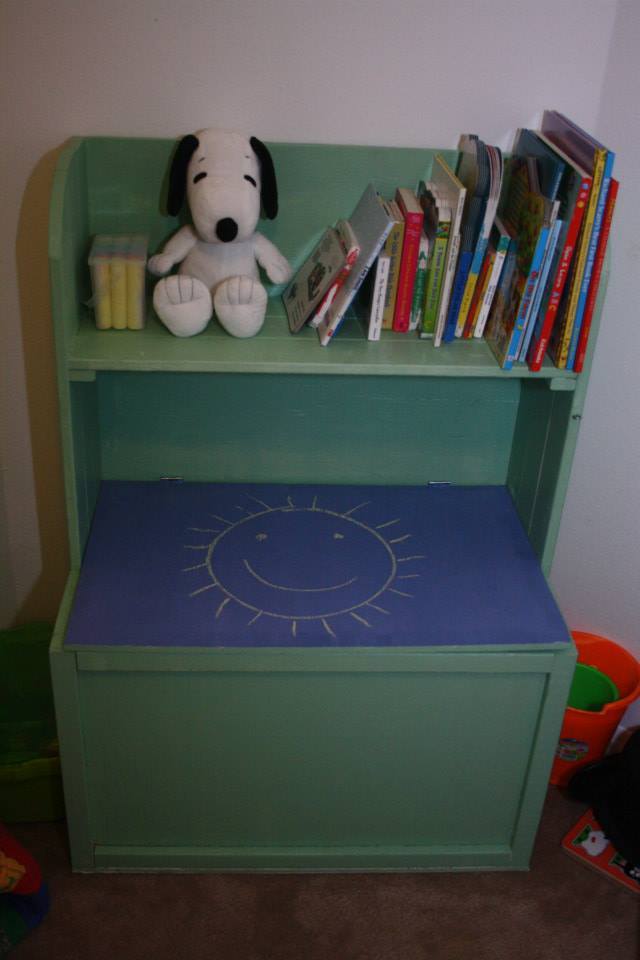
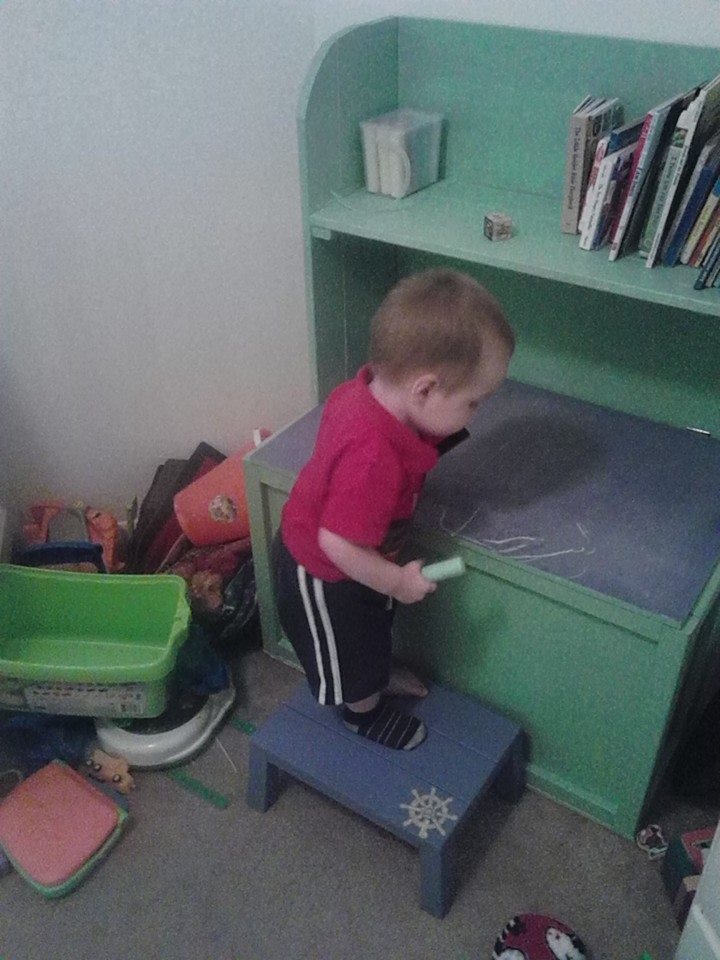
After building the farmhouse table, I got really excited about doing another project. While I was on spring break (nice benefit of being a teacher) I put together this toybox for my son. It's great to finally get the toys out of the laundry basket we had them in and into something more appropriate. We decided to make the lid a chalkboard for a little added fun.
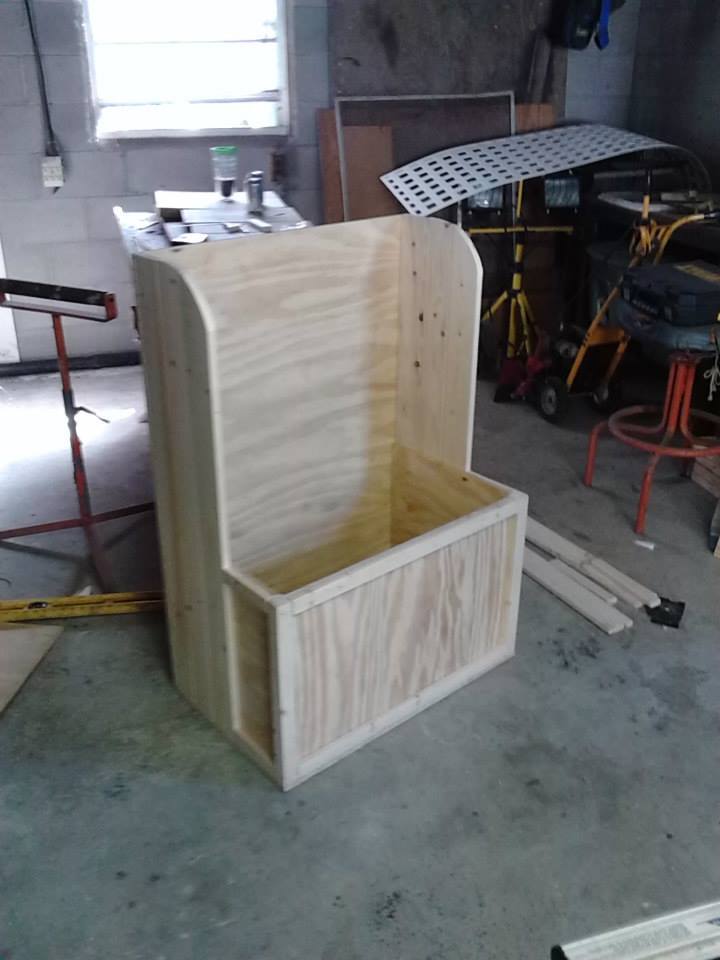
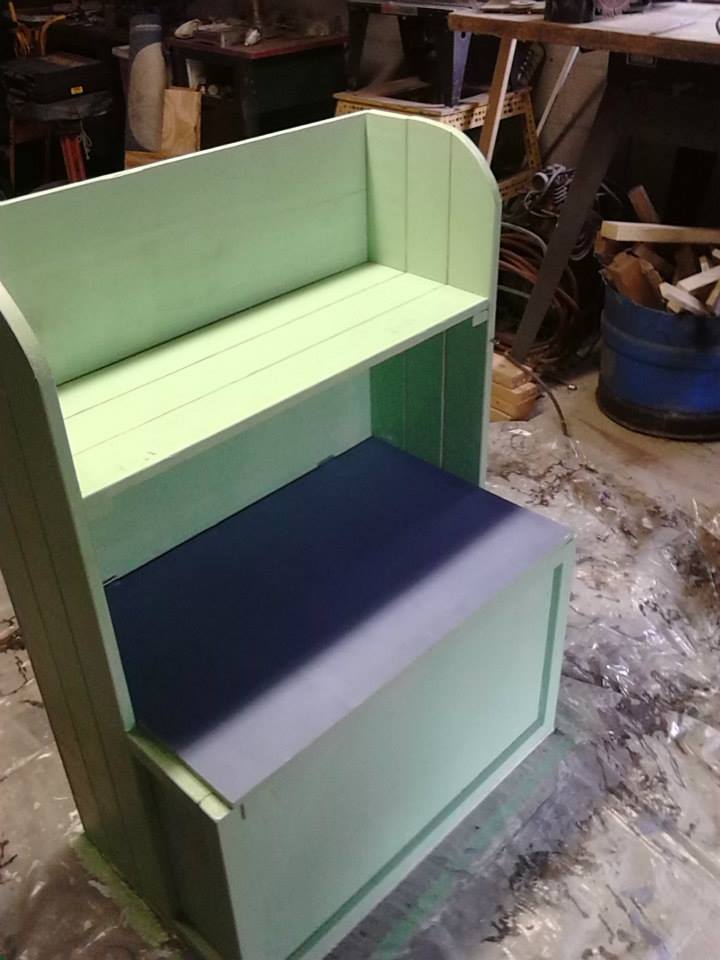
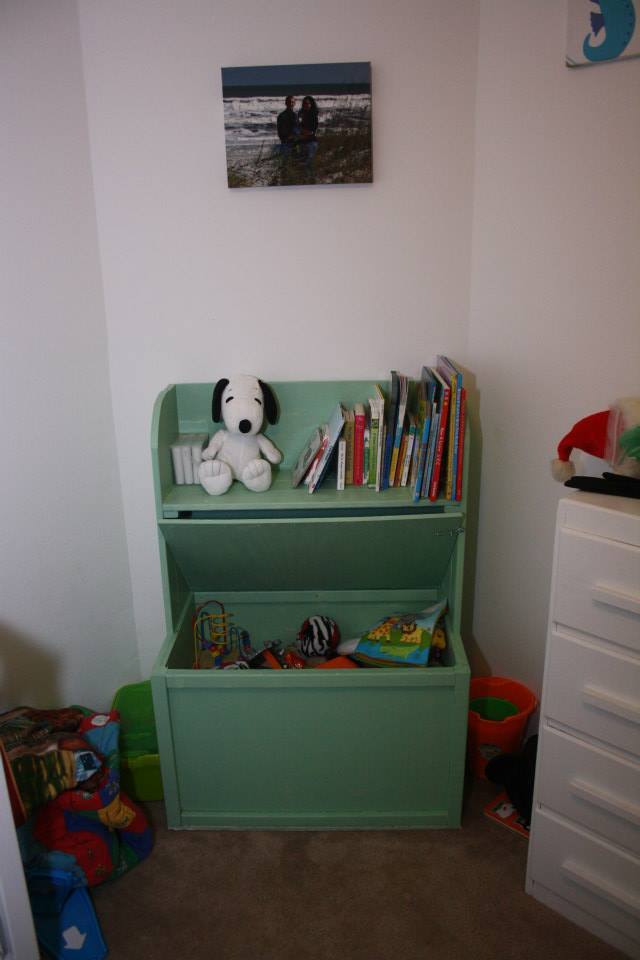
I followed the plans as listed pretty closely. I added a 2x4 under the main shelf for extra support, and used 2x4s instead of 2x2s at the bottom, so I could have something to attach the casters to. I also opted for 1x3 braces, rather than the hinges to hold up the sides. I need to add the fence and paint it white.
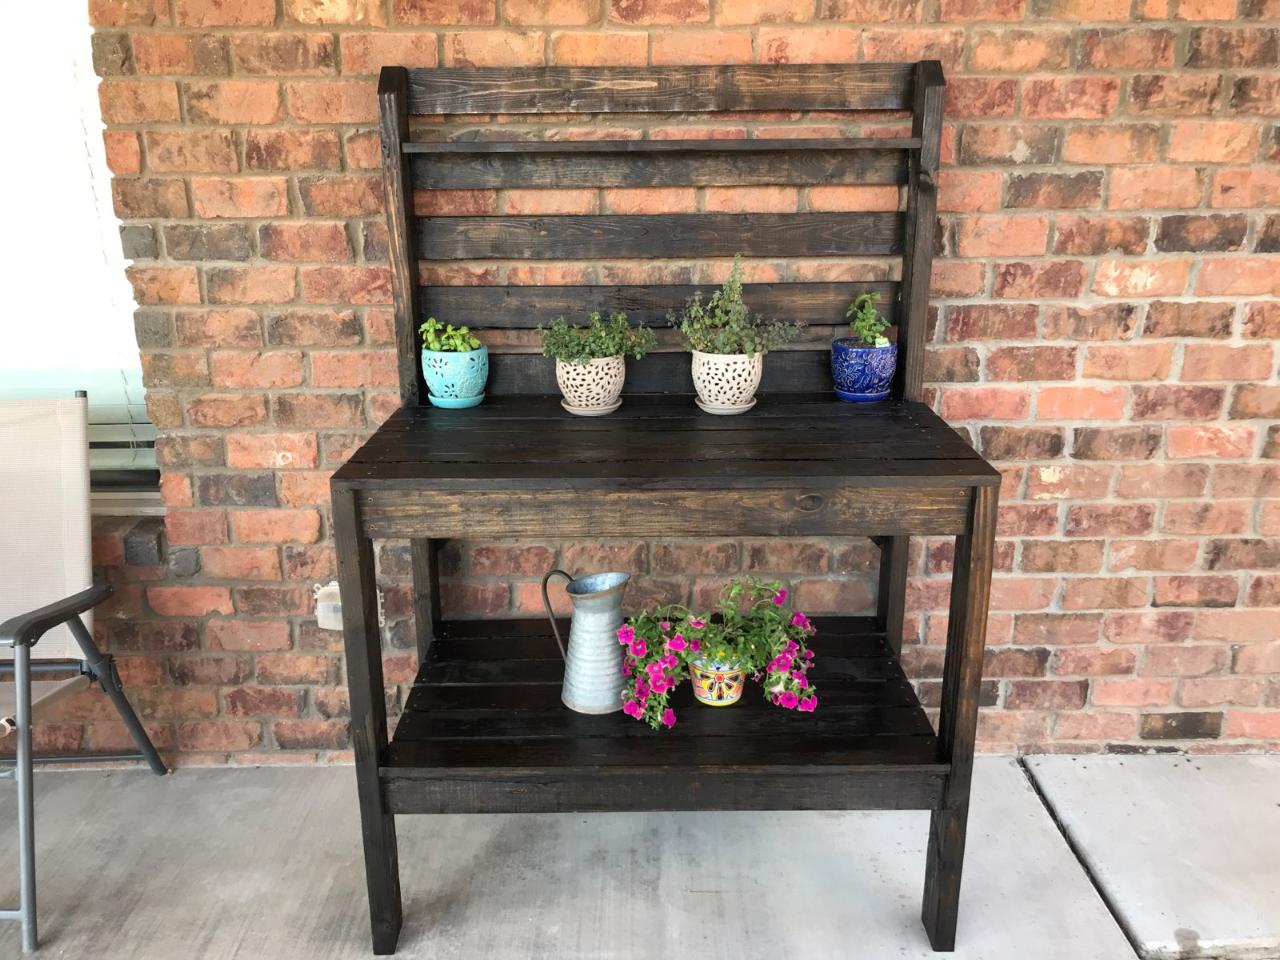
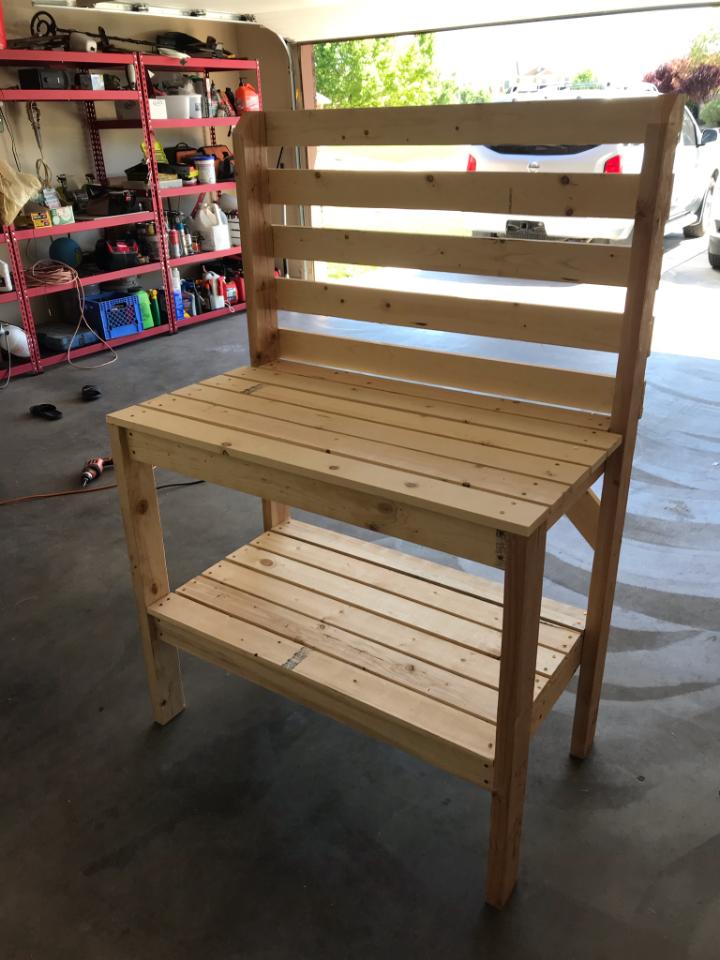
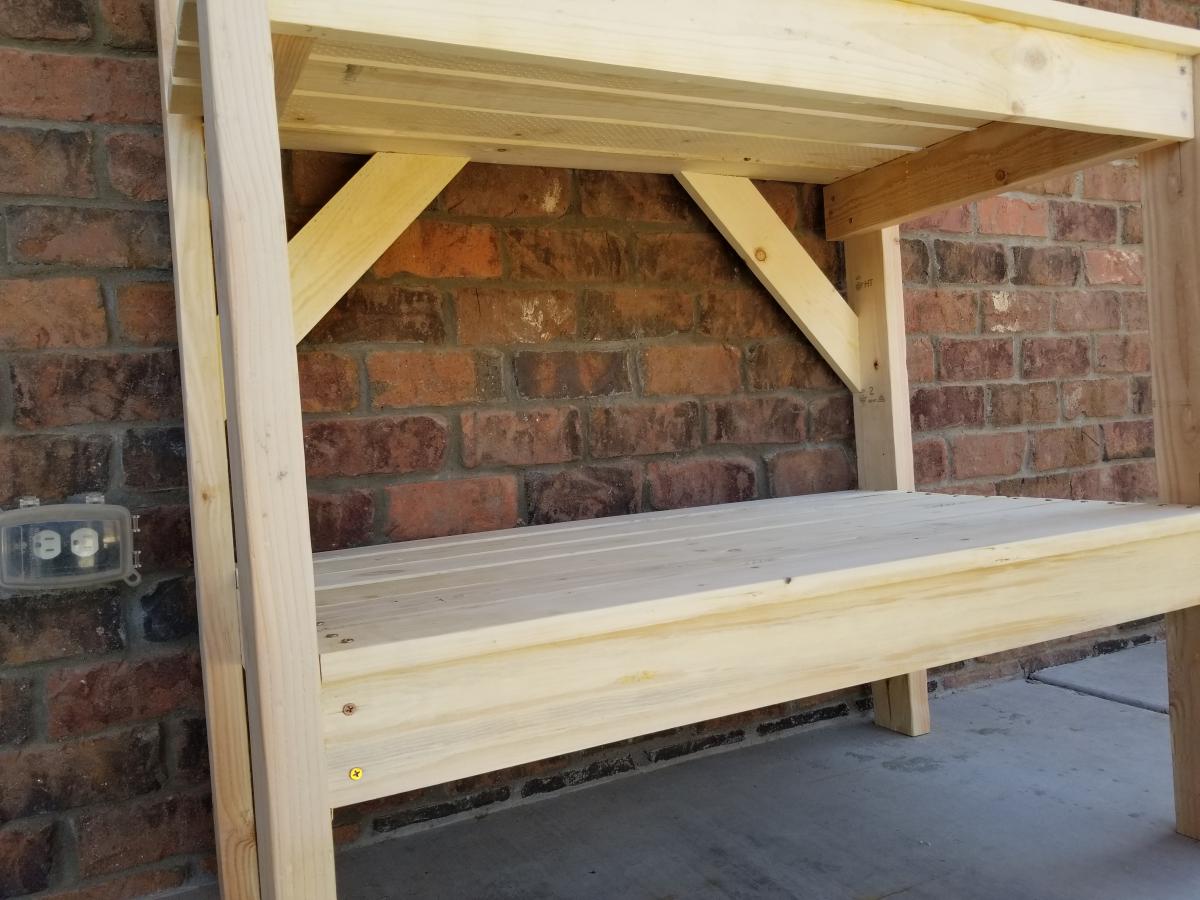
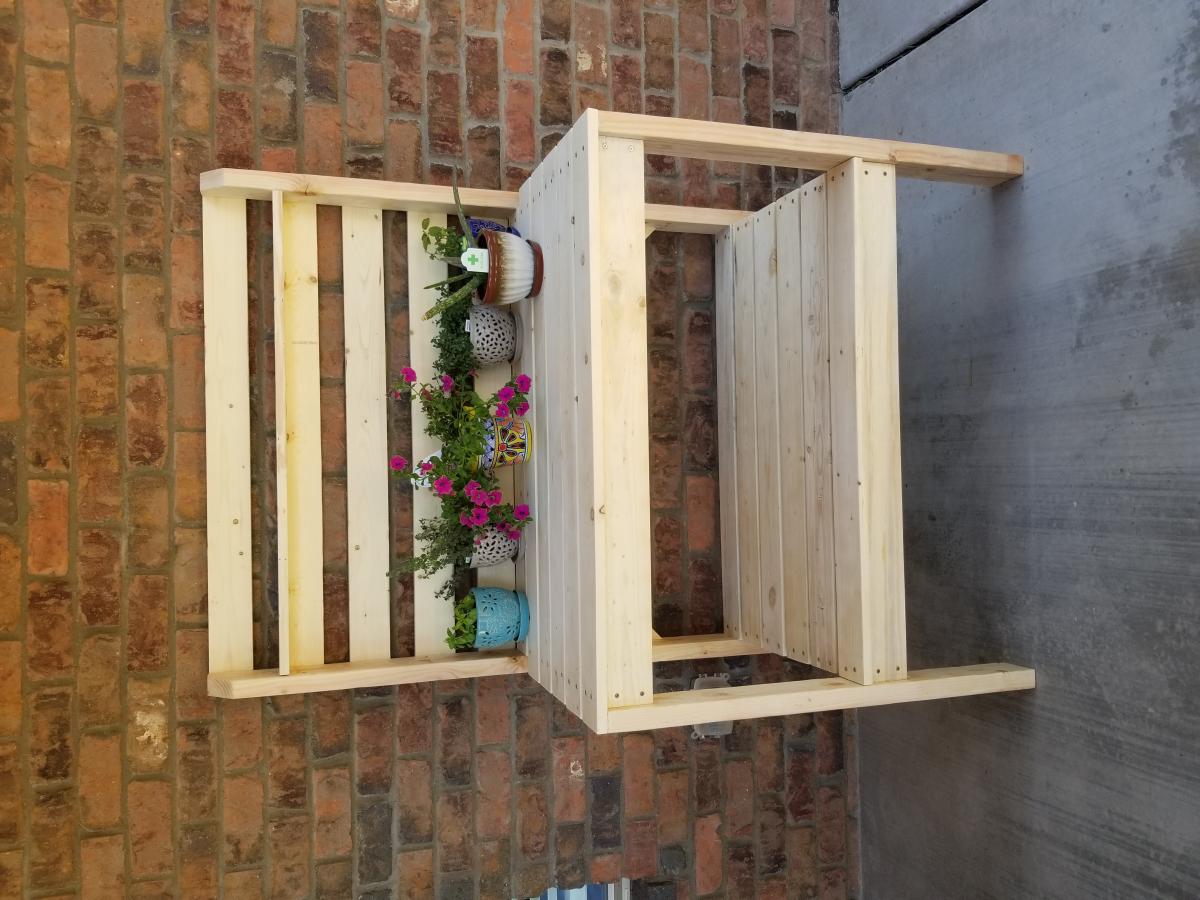
Simple 2x4 Potting Bench. Easy build and looks great!
Sat, 07/04/2020 - 20:22
This plan was so easy to follow and do! My dad and I made this bench for my mom as a surprise! Thank you so much!!!! It literally only took us 2.5 house from start to finish of putting it together.
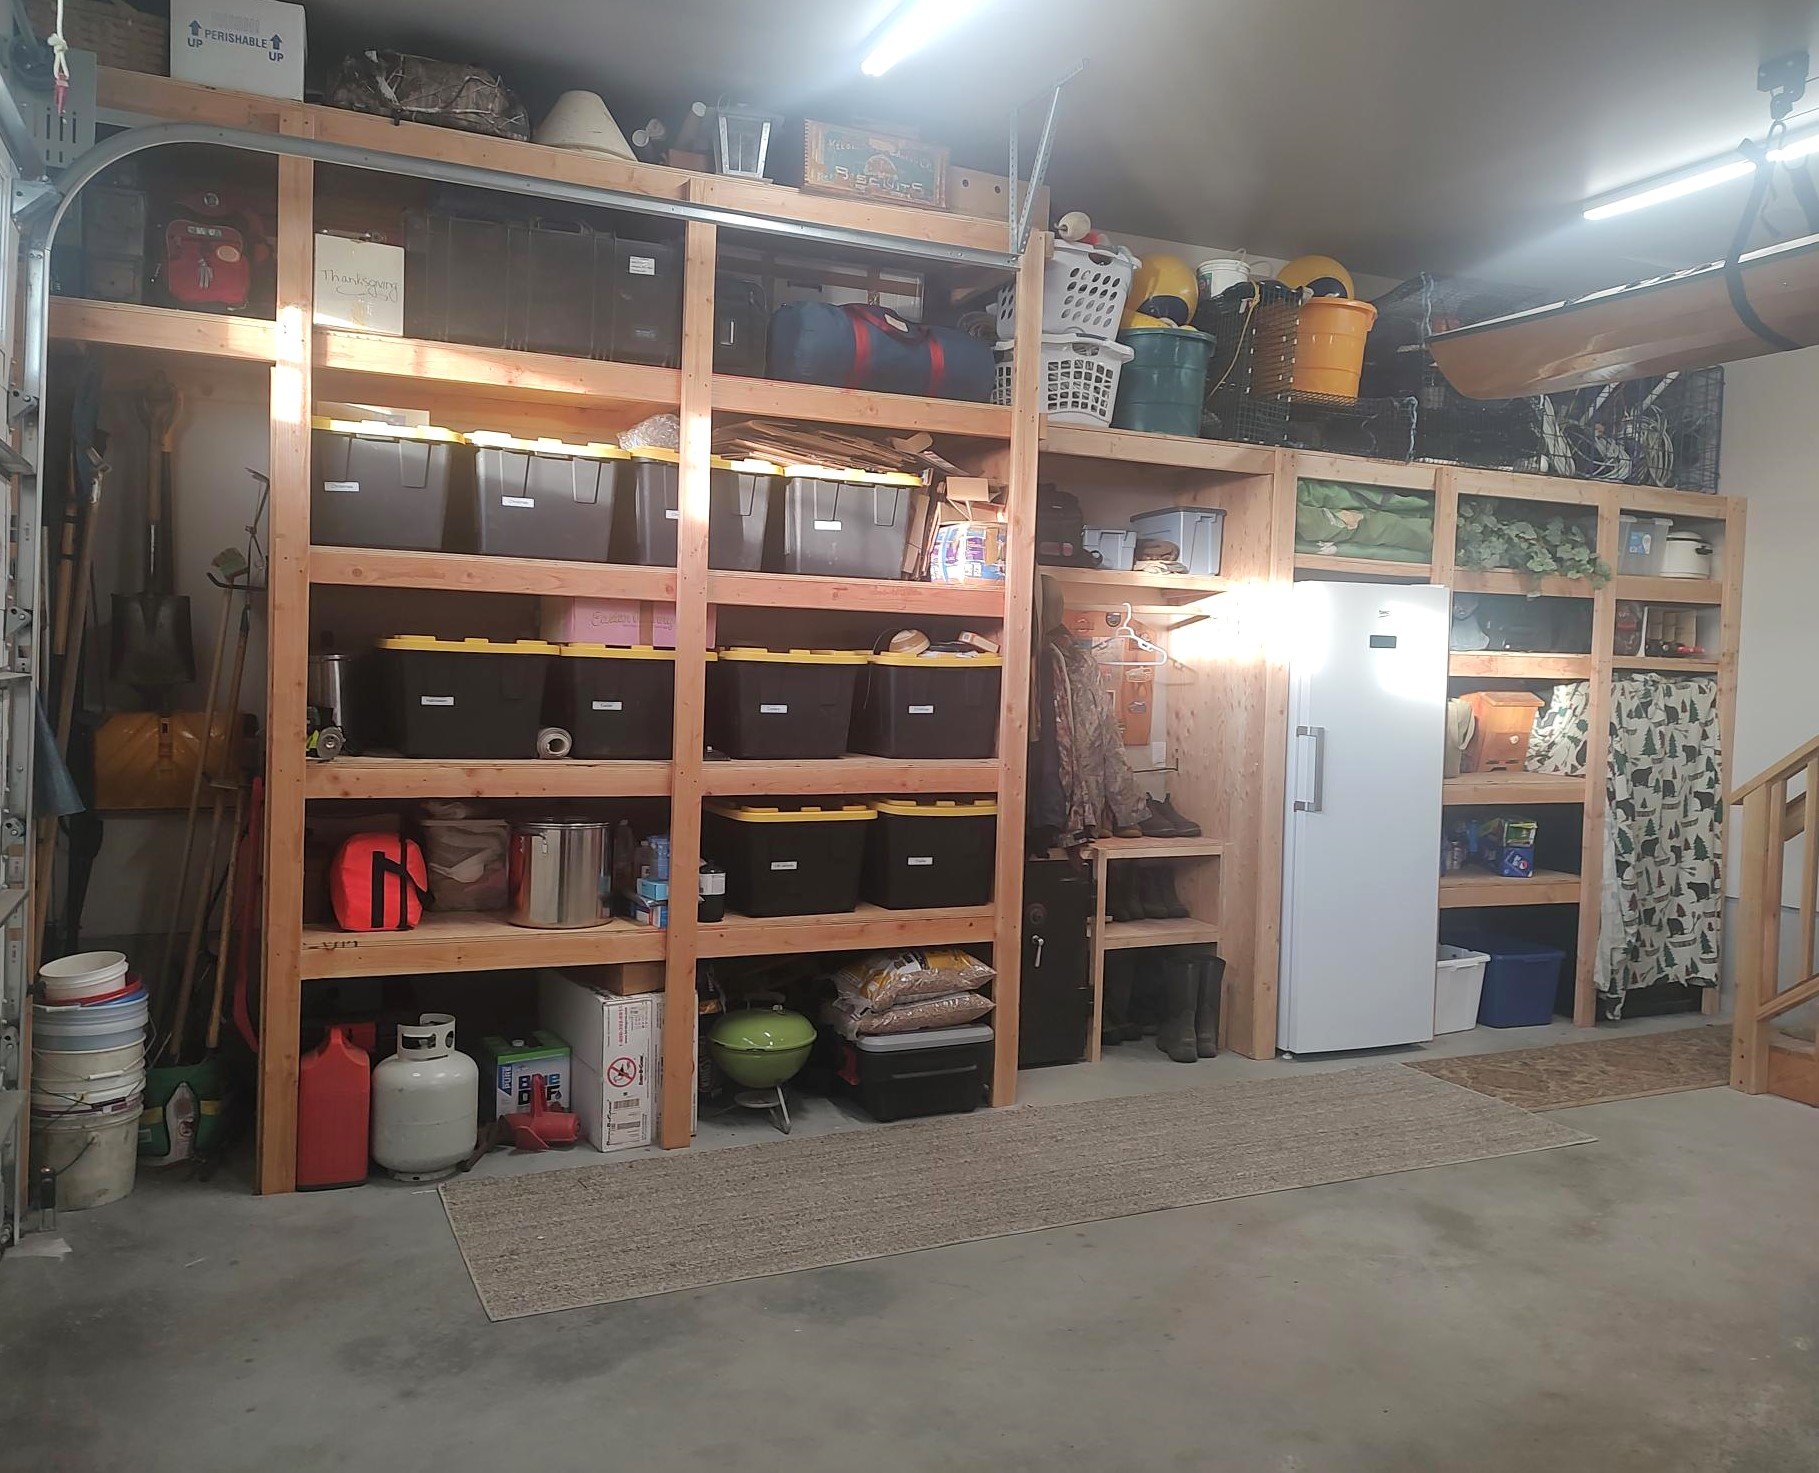
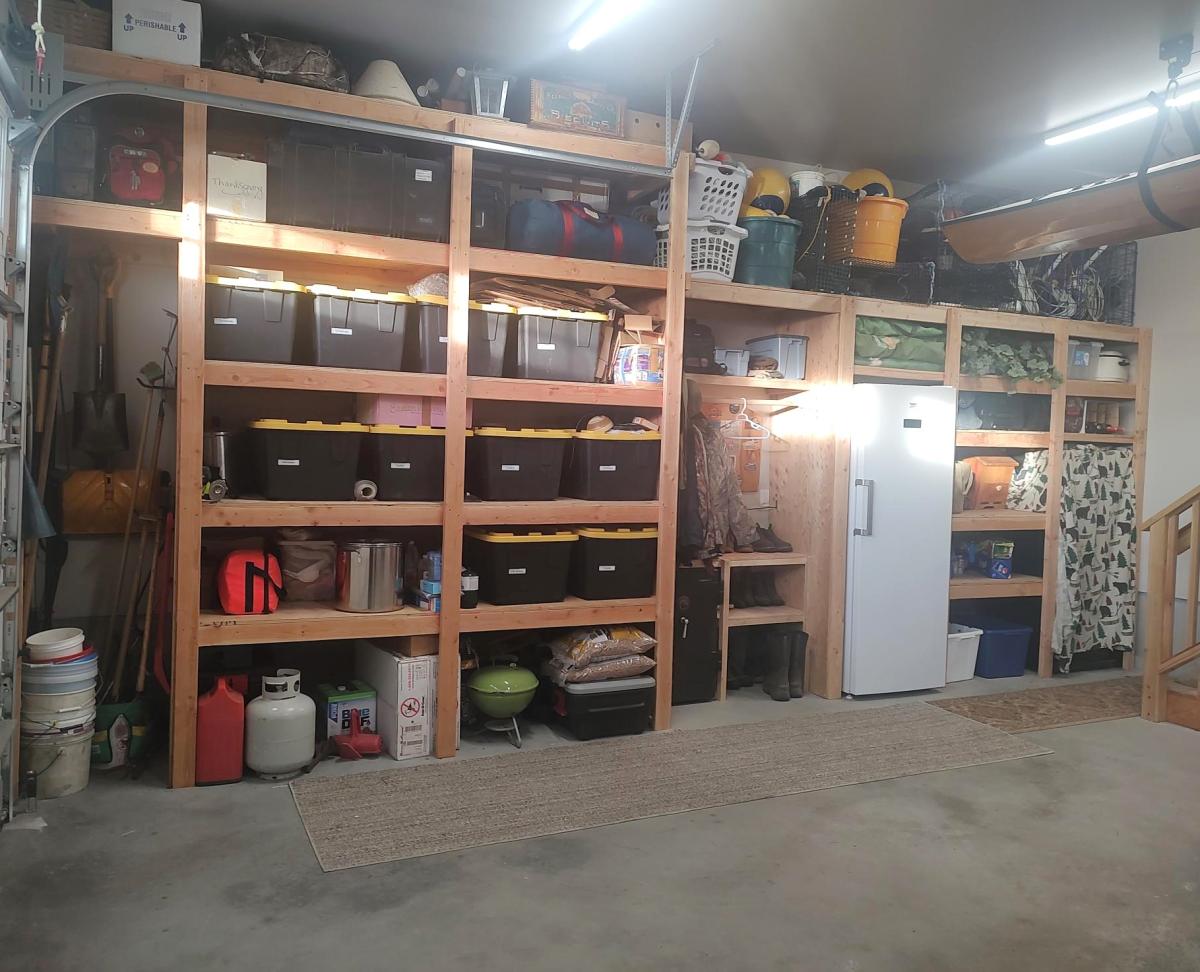
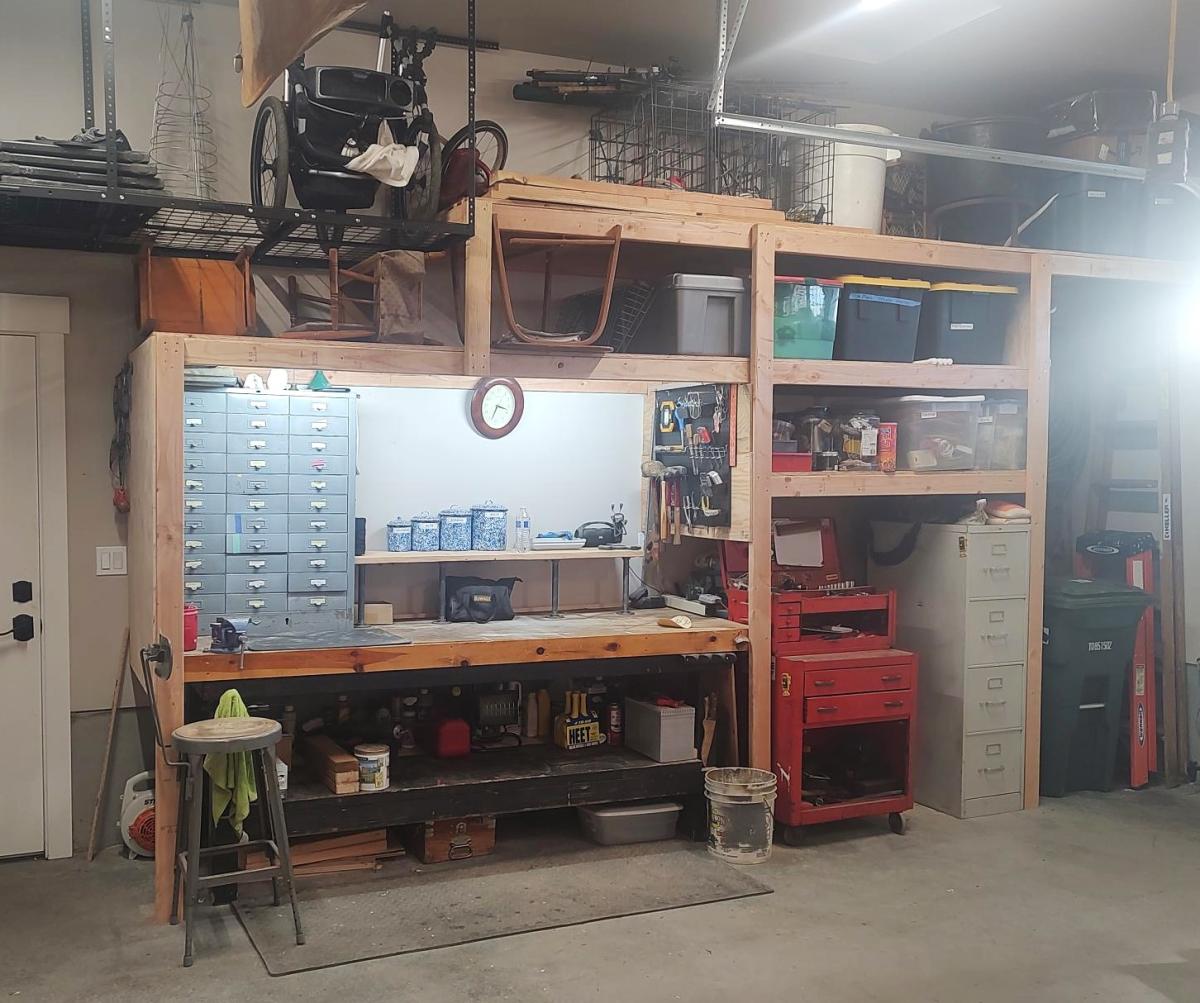
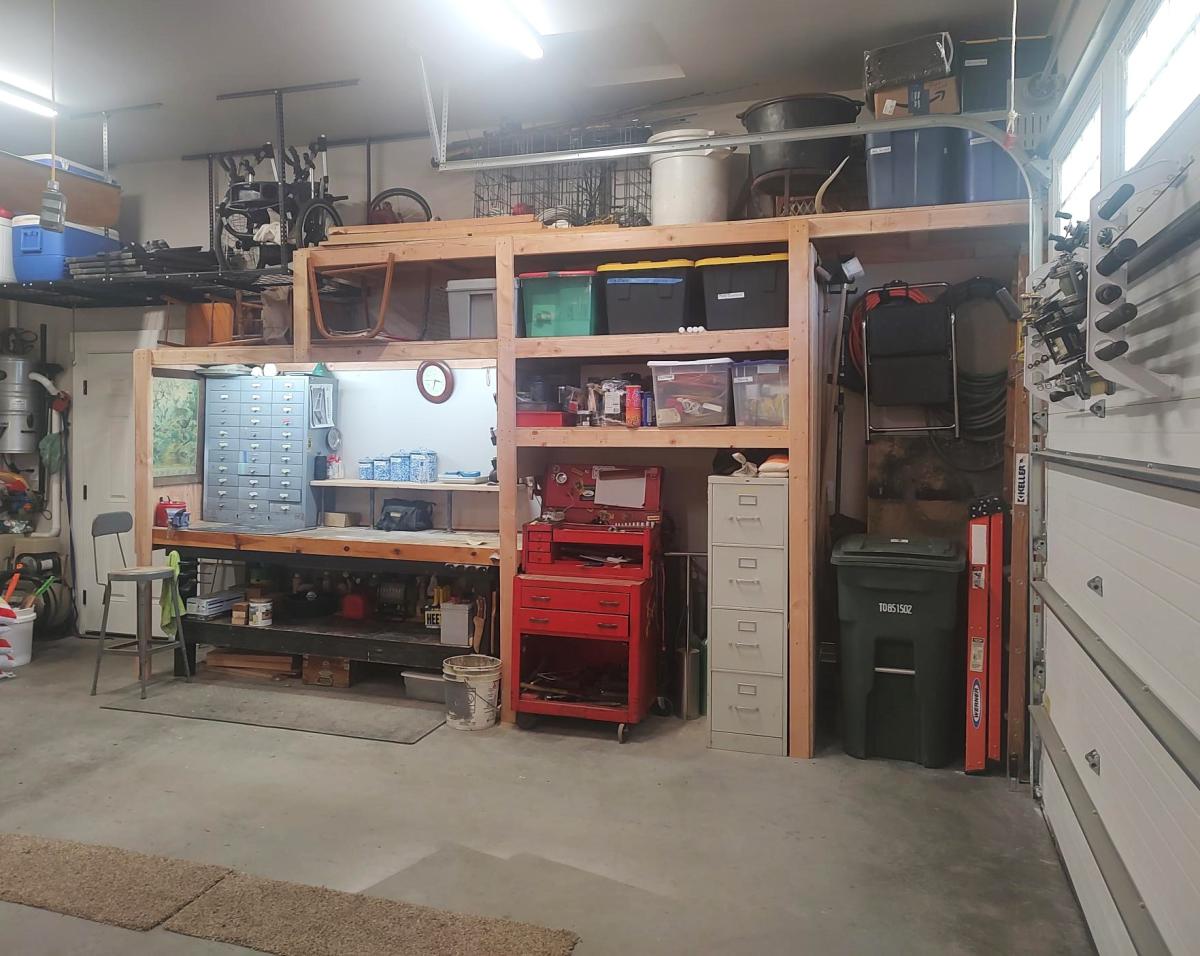
I just finished shelves on both sides of my garage using your video. I built a coat rack and boot rack. I also made space for tall items like tools and ladders near the garage door. I had to also build in a gun safe, freezer and my work bench. Everything came together and now I have everything in bins on shelves.
Gary Hoffman
These are super simple and easy to build. The stained ones are in my dining room and the blue ones are in my craft room. Not sure how much they cost since I used scrap wood.


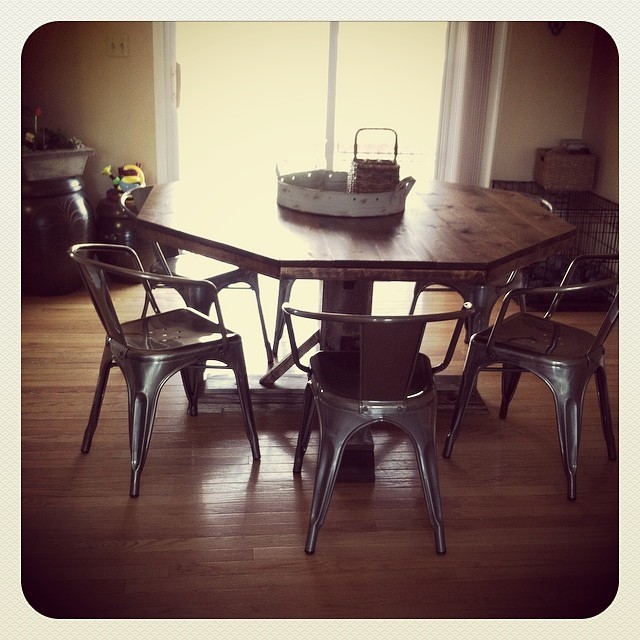
We needed a table for the breakfast nook in our new home that we will be moving to in June. We were so excited about this table that we built it ahead of time and sold our other dining room table. We love this table! Thank you so much for the awesome plans.
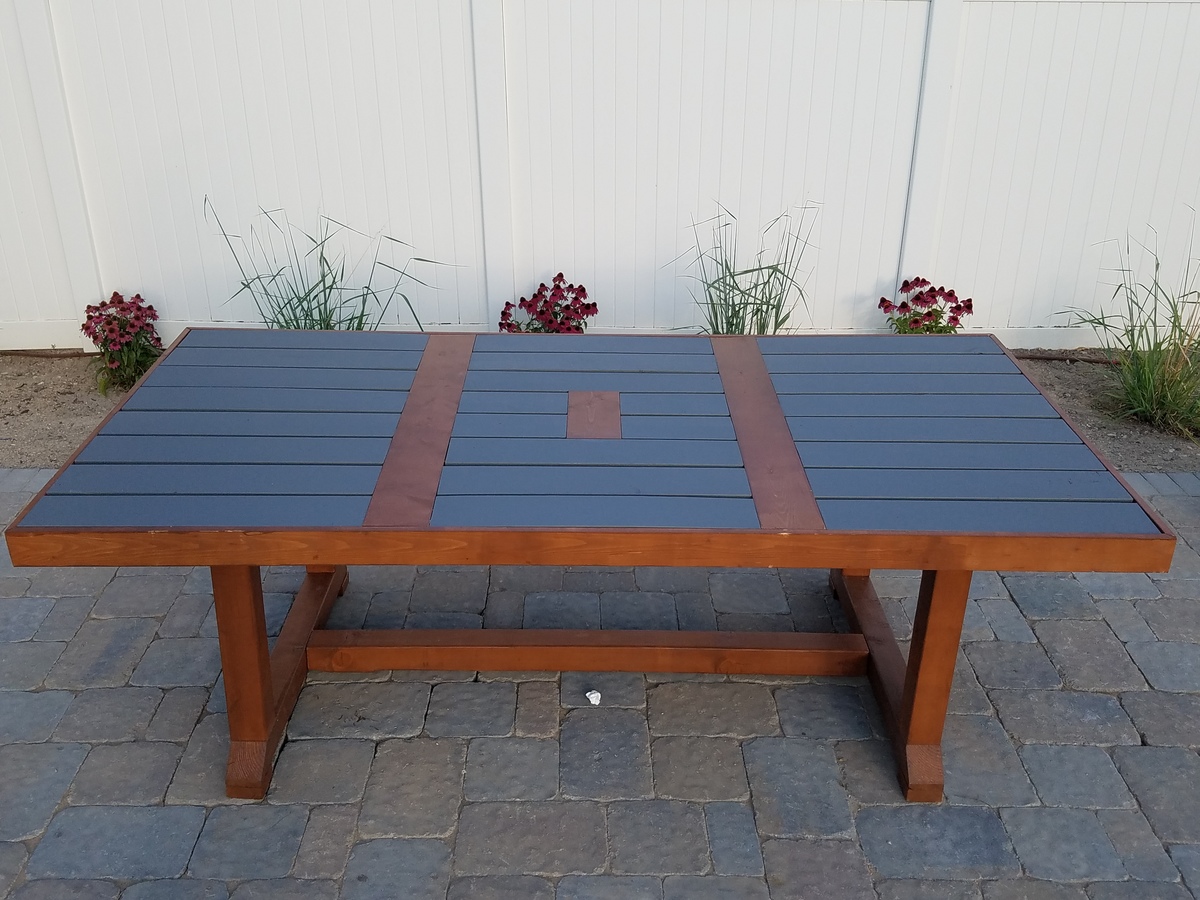
This took new novice DIYers about 25 hrs. Also this table is really heavy when complete so build it where you want it to sit or build in it one place and right before you are about to finish move the 3 built peieces separely where you want it to sit and finish assymbling it. Also, when completed this is counter height. We are going to take ours apart abit and shave 6in or so off the legs to be normal table height.
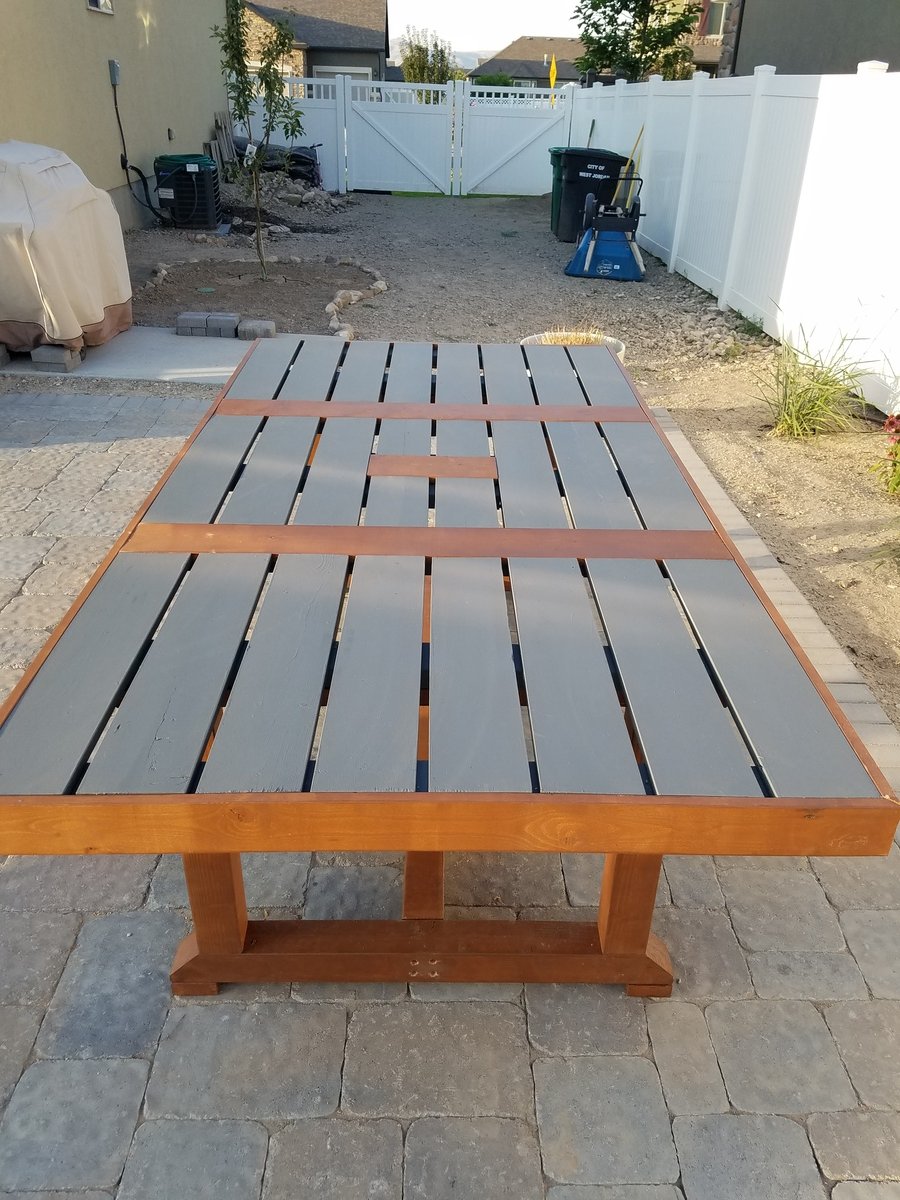
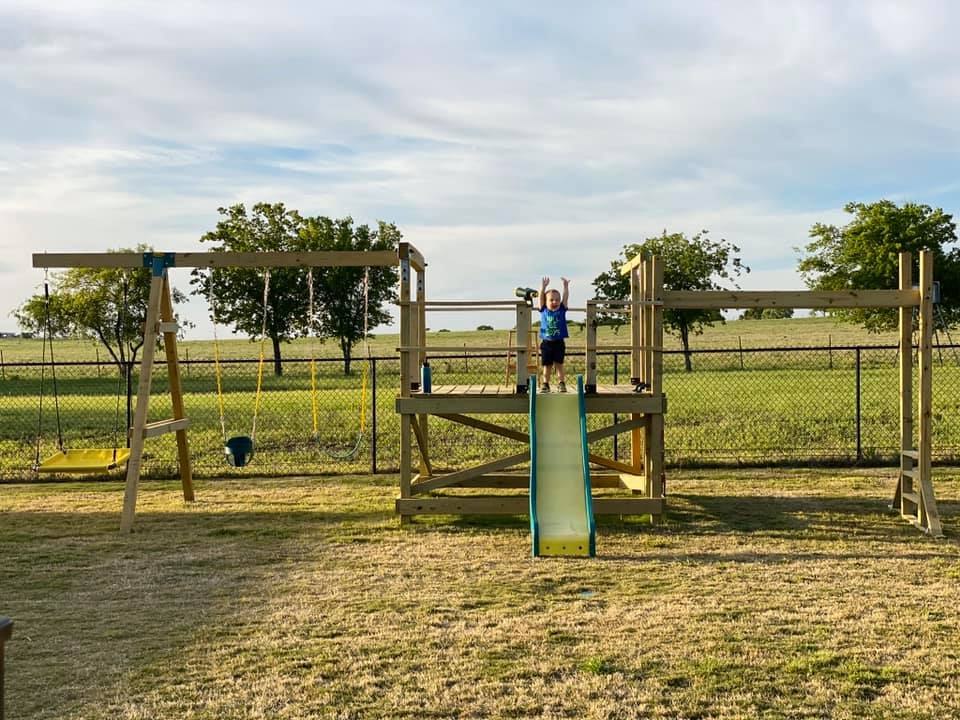
We are used to seeing our grandson every weekend but during the 2020 COVID quarantine we were unable to do so. Instead, we filled our time building him a swing set for our backyard. He loved it!! We are going to add more to the swing side but the hardware I want isn't available right now (apparently there is a lot of swing set building going on during this time). I look forward to many years of playing on this with our grandson and hopefully additional grandkids in the future... Our cost was pretty high mainly because our first round of lumber came from a local lumberyard that was willing to deliver within a few days (big box was going to take several weeks) and they had what is supposed to be higher end lumber (not sure I am convinced of that)....also, i chose some pretty expensive hardware (brackets) just for the added security.....


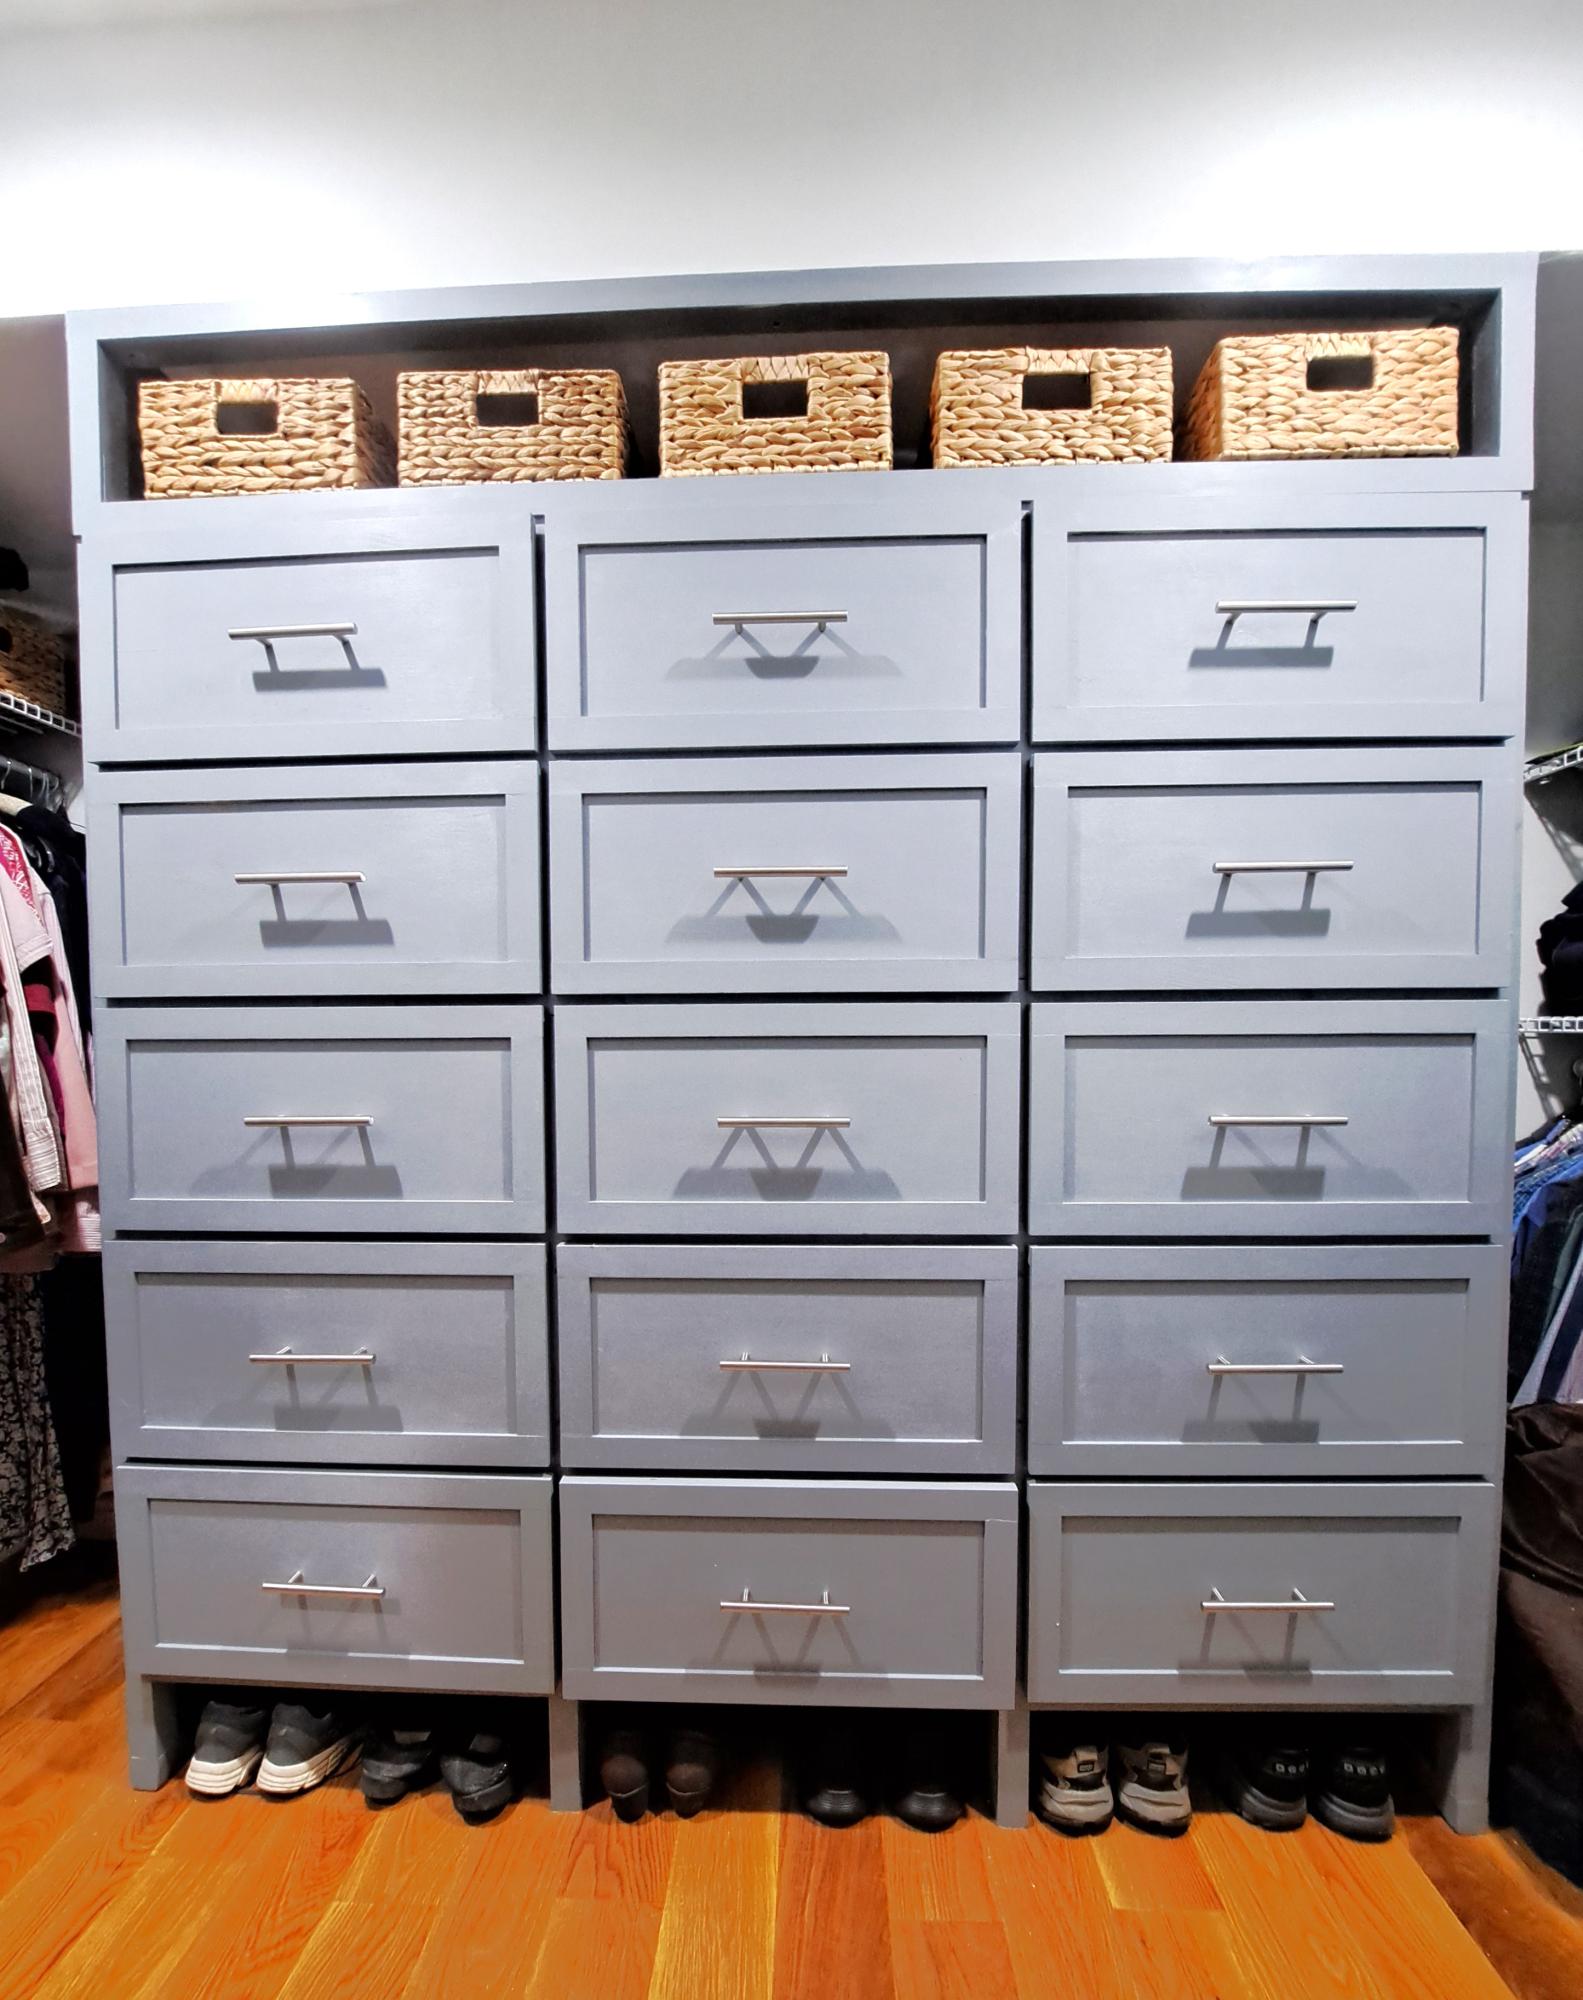
Using Ana's methods of drawer construction - 15 Drawers in the Primary Bedroom Closet - with tote storage above and shoe storage under.
Phil F. *Ana's secret drawer slide trick for full extension drawer slides
Comments
Ana White Admin
Mon, 01/08/2024 - 09:36
WOW!
You did an amazing job, absolutely love the color choice!
hmillgarv
Wed, 02/28/2024 - 19:20
Could this be modified to be moveable?
Hello! I’m wondering if you think this could be built as a temporary piece that could be moved? I live in apartment and wouldn’t want to leave something like this behind after spending time and money to build it. Maybe if I built in some removable access panels (a few of the slats?) to be able to attach it to studs (and later remove it) after building the entire piece. Thoughts? TIA!