Community Brag Posts

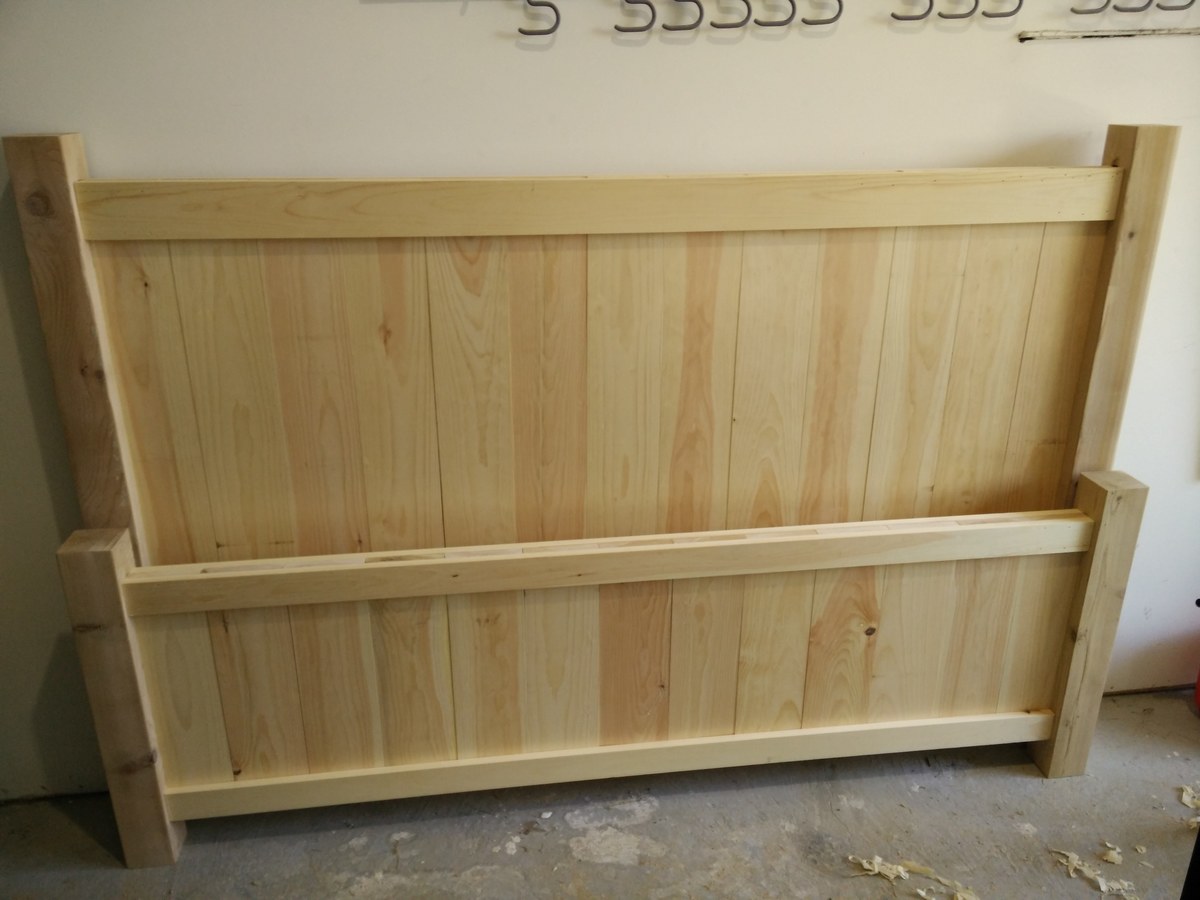
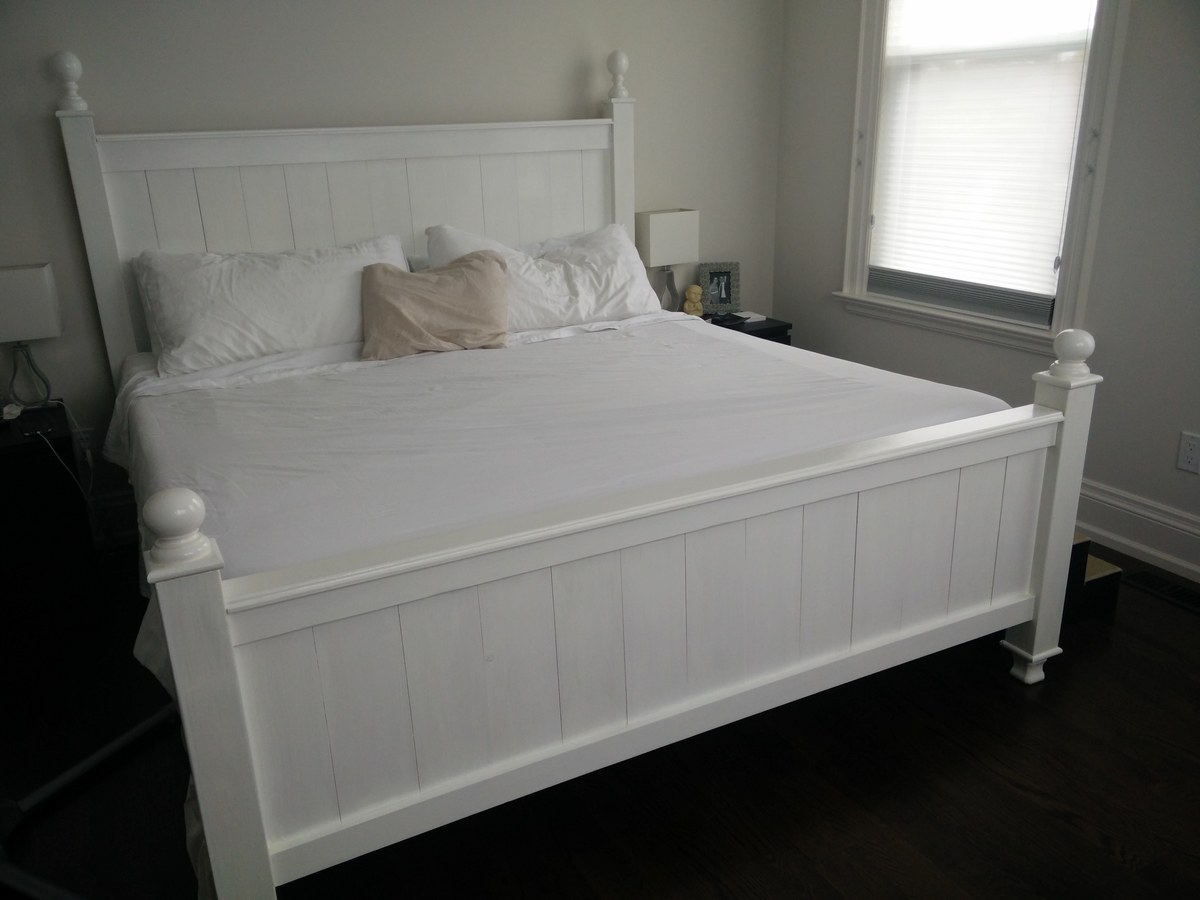
Modified Farmhouse King Bed

Submitted by dsteinberg on Wed, 11/29/2017 - 11:38

- Used a router to cut a dado slot for the vertical boards to slide into the 4x4 posts so I would not have to screw them in from the outside

- Used a router to round over the edges to make the post toppers.  

- Used router to give a shaped edge to the top horizontal planks

- I bought the finials for the post tops


Estimated Time Investment
Weekend Project (10-20 Hours)
Finish Used
General Finishes Snow White Milk Paint
Recommended Skill Level
Intermediate

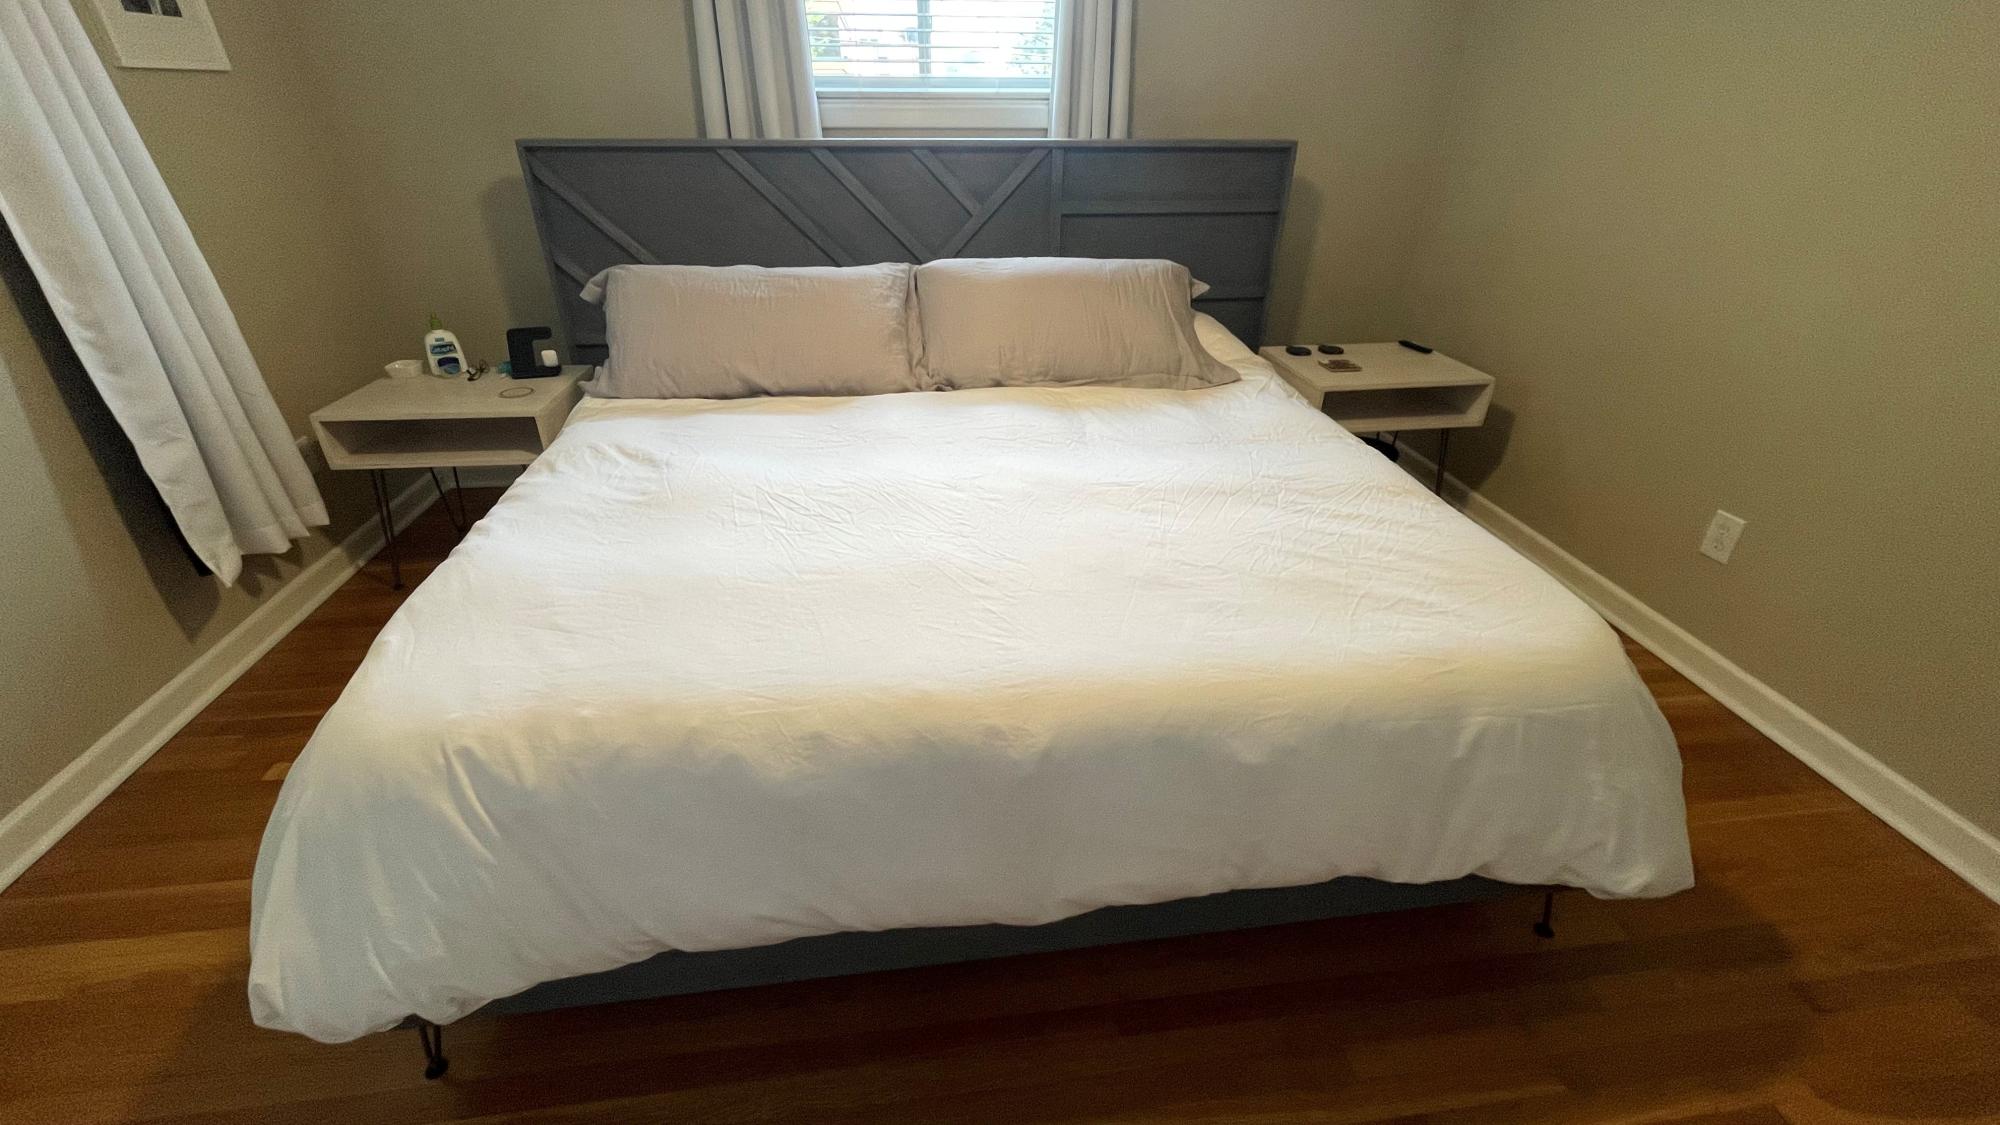
Modern Bedroom Furniture Build

Submitted by Anonymous (not verified) on Tue, 11/16/2021 - 12:29

Bed Frame and Headboard made from Ana's plans. Frame is very simple. Headboard is fairly simple but a lot more cuts, measuring and attaching. I stained both with Varathane Weathered Gray. I also attached sideboards and internal support 2x4s with bed-frame brackets rather than screwing directly in to allow for easier deconstruction and reconstruction. Used an insert nut on the sideboards to attach hairpin legs (screwed directly into top/bottom boards).

Side tables are just 3/4 birch plywood glued and nailed into a rectangular box. 24x18" Top/Bottom and 18 x 6" sides. Hairpin legs are longer versions (16") of Ana's Amazon suggestions for bed frame. Stained with Varathane Antique White.. turned out ok, but would use a different white stain or just paint them white if I had to do it again, and paint the insides before you build!

Comments

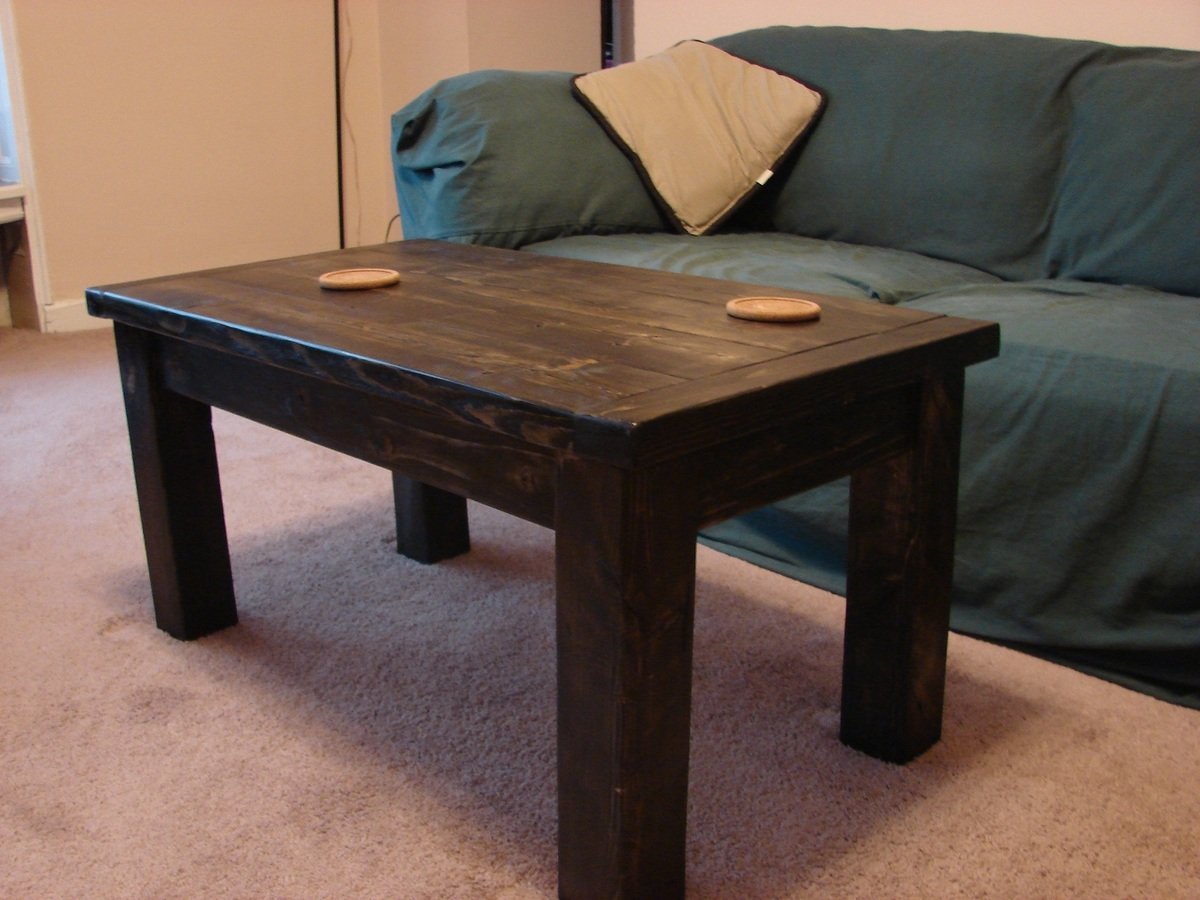
Pallet Wood Coffee Table

Submitted by AlexWS on Mon, 04/04/2011 - 14:51

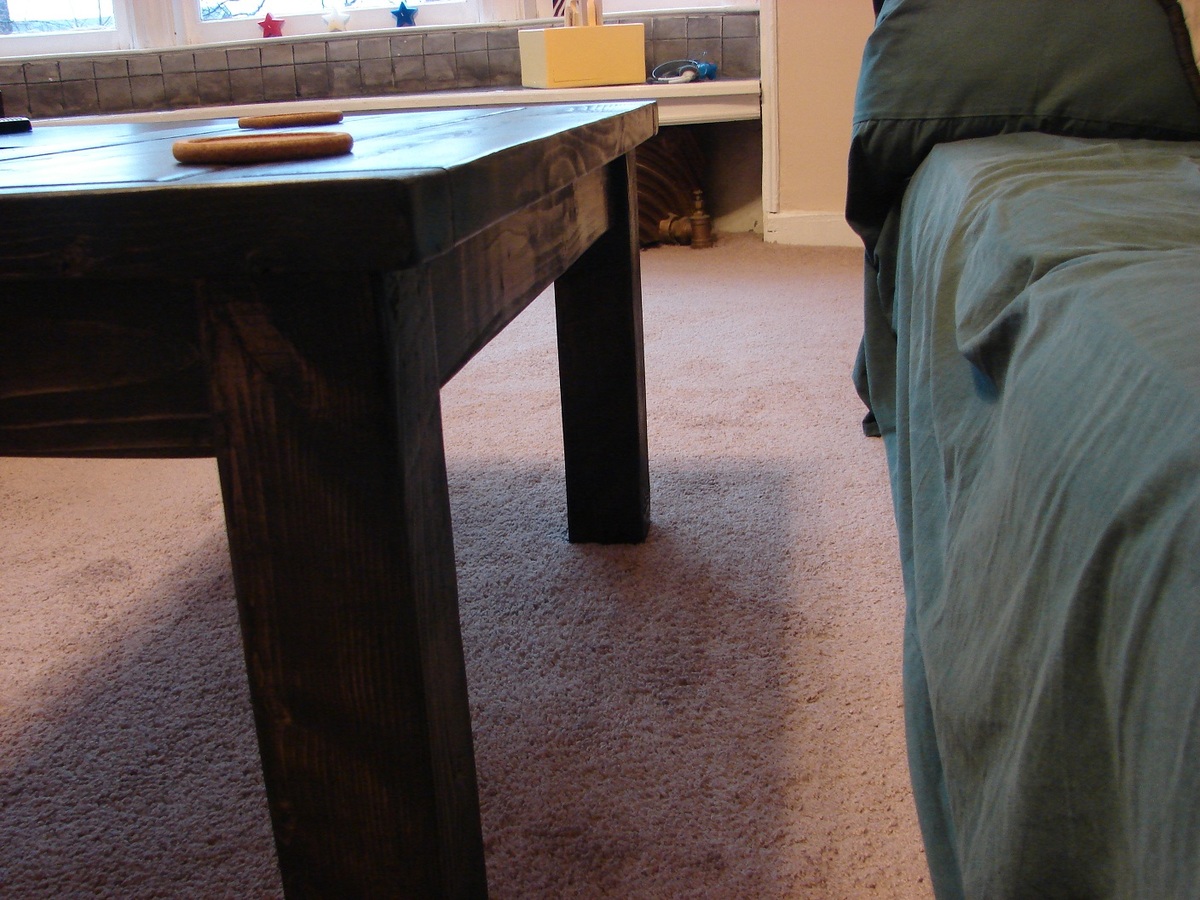
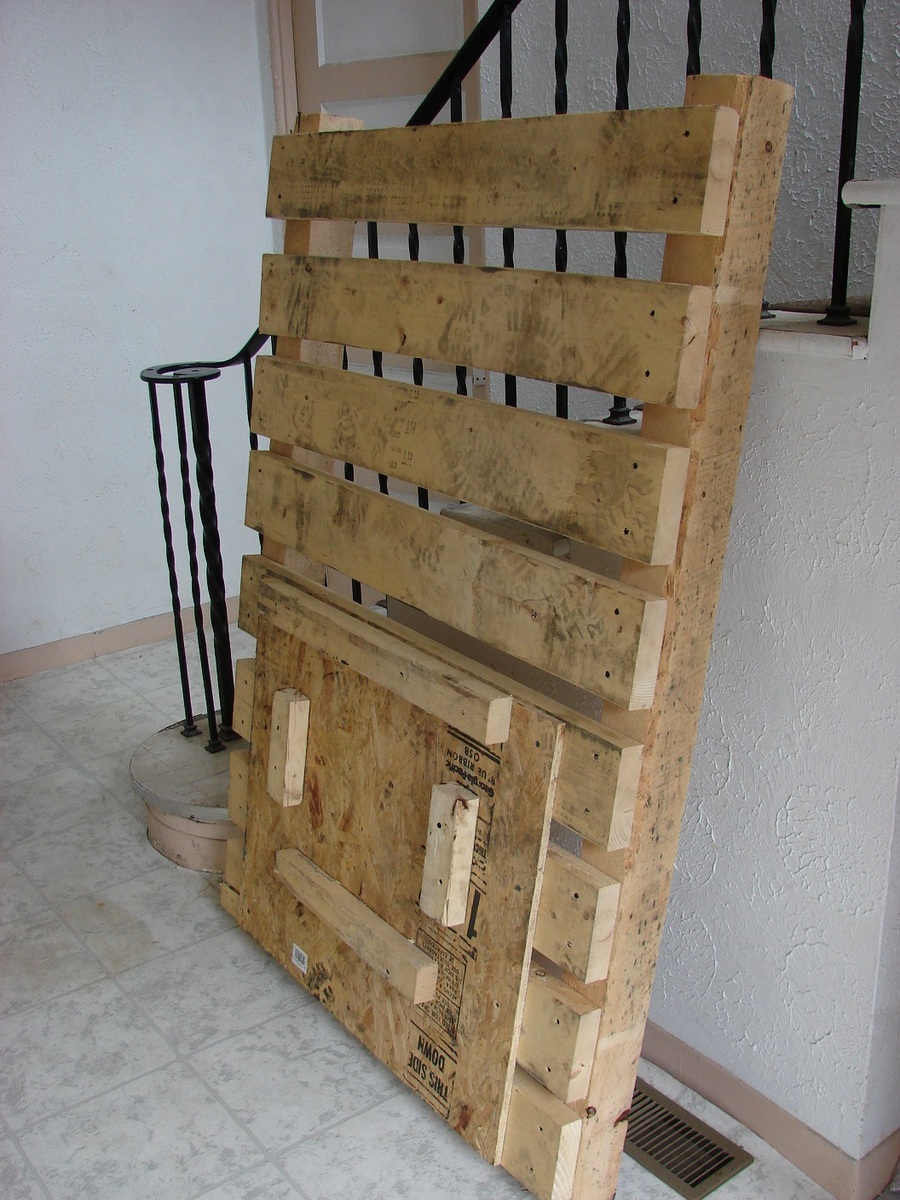
After my free drink station project I was going to swear off pallet wood for larger pieces, then I came across what may be a holy grail of pallets. 4 feet by 5 feet made with 4X4's and 2X6's held together with screws rather than nails. Yup, something had to be done with this.

so the sort of free comes from the lumber being free while I paid for the stain and poly. Of course, you could say we always pay for those, in this instance though they weren't leftovers from another project.

I say sort of Tryde because it shares the basics of the table, 2 by top pieces, breadboards, chunky 4X4 legs. However, given my wood choices the lumber sizes are all mixed around. Also because I was originally going to make the modern X leg kids picnic table but didn't have any good wood for the legs.

So instead of the breadboards being the wide pieces those are now 2X3's with 2X6's for the table top pieces. Another difference is that instead of 1X4's for the aprons boxed out I used 2X4's. This really wasn't a big deal because I had a Kreg Jig. By the way, got the master system and it rocks my socks off.

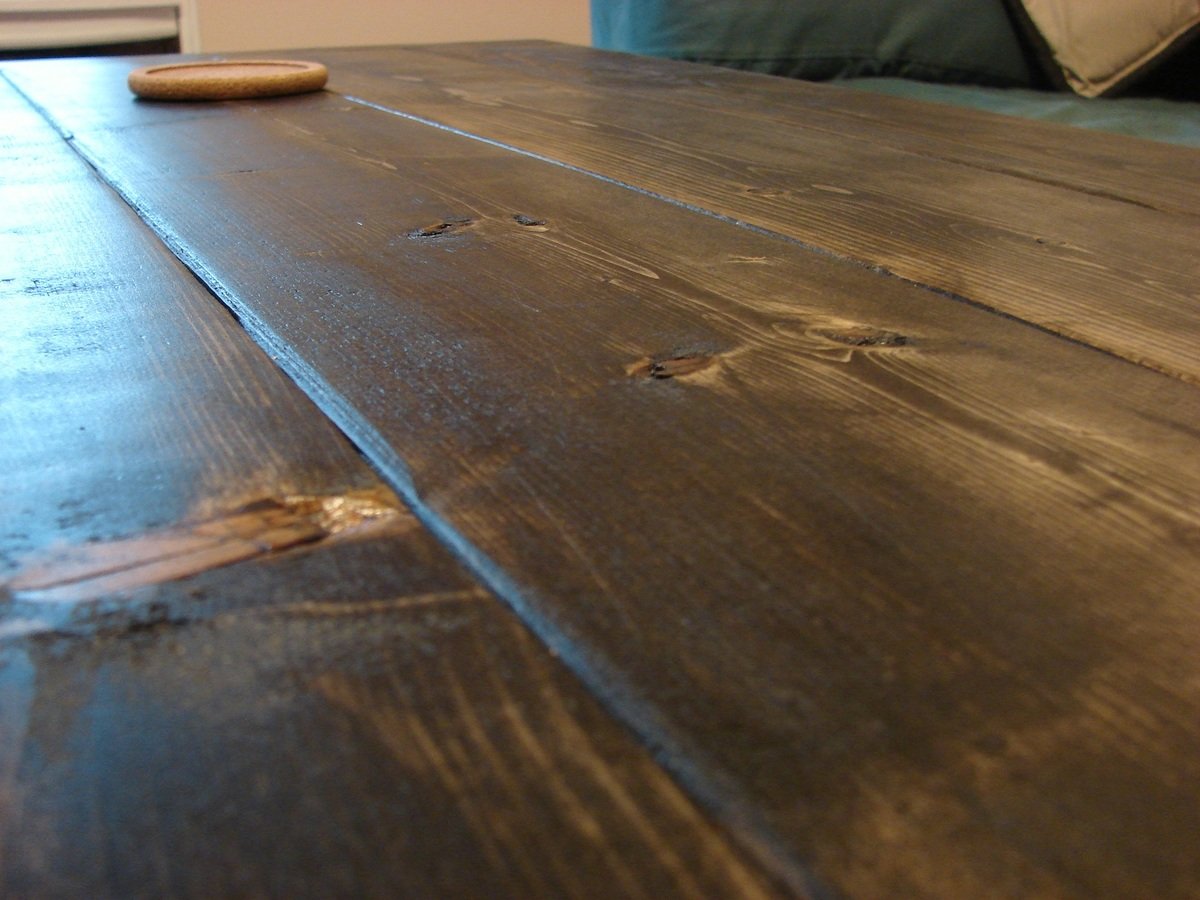
Compared to my last pallet wood projects these boards pretty much look store bought, I wish I had remembered to take a picture before I stained it. They're definitely a bit knotty but that's OK because even when I don't want an overly distressed look I still don't think wood should be perfect, if I wanted that I would use MDF.
Built from Plan(s)
Estimated Cost
$15
Estimated Time Investment
Afternoon Project (3-6 Hours)
Finish Used
Simple Minwax Ebony stain with a gloss spray poly.
Recommended Skill Level
Beginner

Tryde Coffee Table

Submitted by bishop2001 on Fri, 06/14/2013 - 07:00

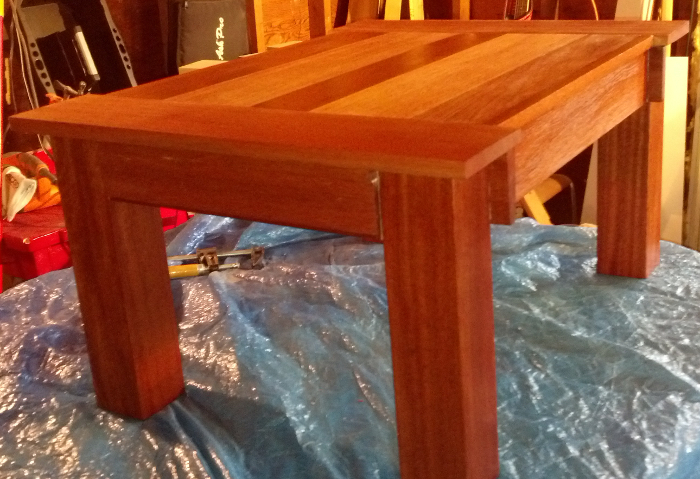
Tryde Coffee Table made of mahogany and stained used several layers of boiled linseed oil and a few top coat layers of wipe on satin polyurethane. It came out really nice. This is my first project.

Estimated Time Investment
Week Long Project (20 Hours or More)
Finish Used
boiled linseed oil
Recommended Skill Level
Beginner

Comments

Poolside sectional

Submitted by Littlek8 on Tue, 05/19/2015 - 09:55

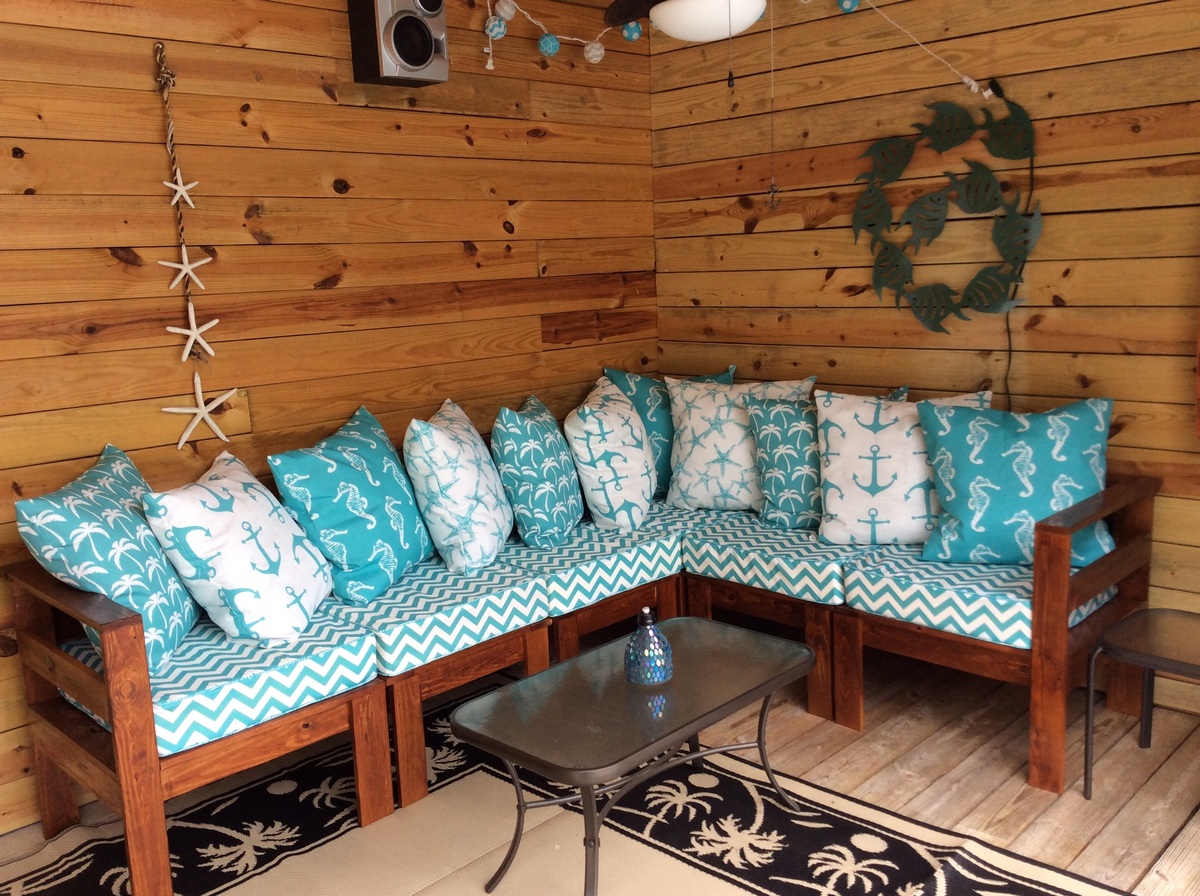
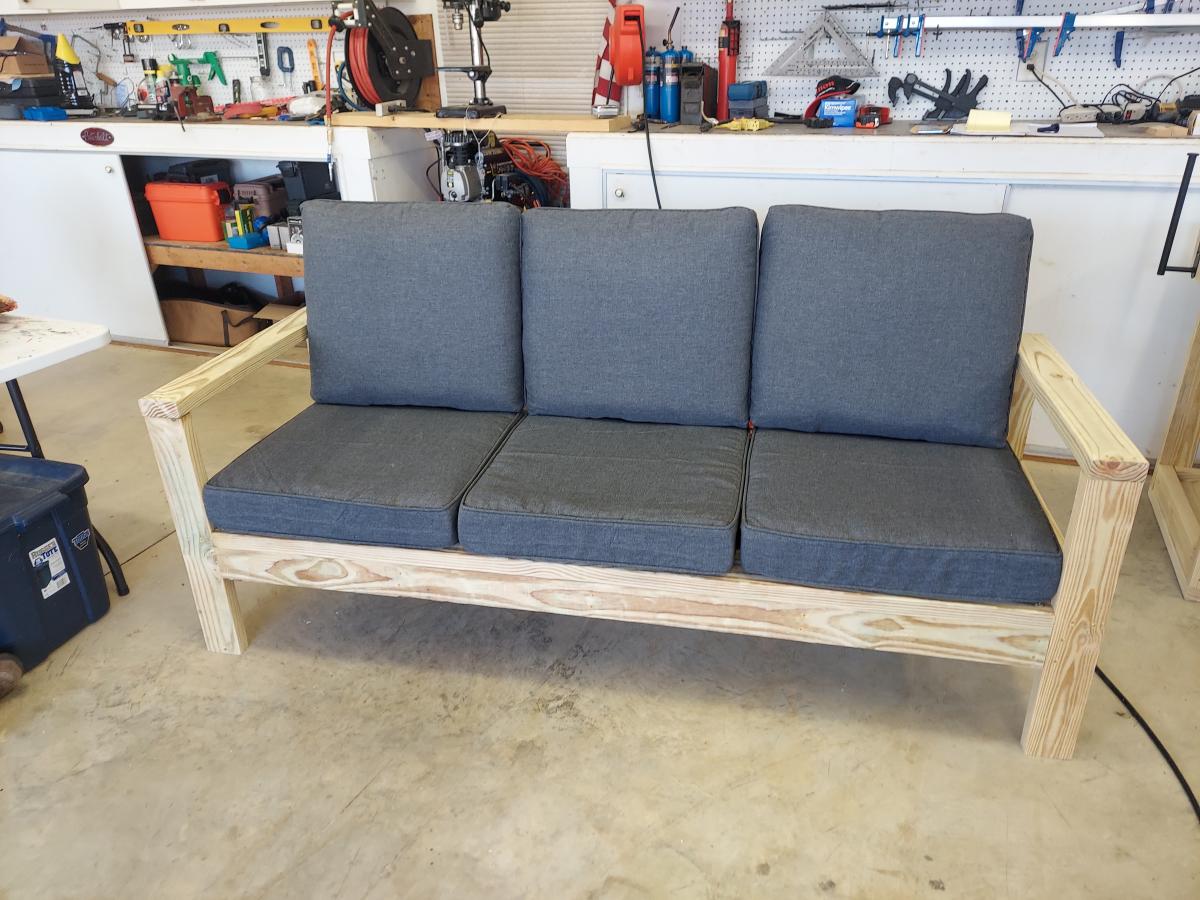
This was our first diy furniture project but definitely not our last. We were looking for furniture to put by our pool but everything that we liked and was comfortable was way out of our budget. I came across the post on pintrest and recruited my husband to do the woodworking for me. I the meantime I made the cushions and back pillows using outdoor fabric from fabric.com. The sectional is stained using Olympic Elite semi transparent exterior stain in kona brown.

Estimated Cost
$500.00
Estimated Time Investment
Week Long Project (20 Hours or More)
Finish Used
Olympic Elite semi transparent stain in kona brown. Topcoat of Helmsman polyurethane
Recommended Skill Level
Beginner

Comments

Afternoon Farmhouse Table Build

Submitted by Ahuff9103 on Wed, 12/13/2017 - 06:43

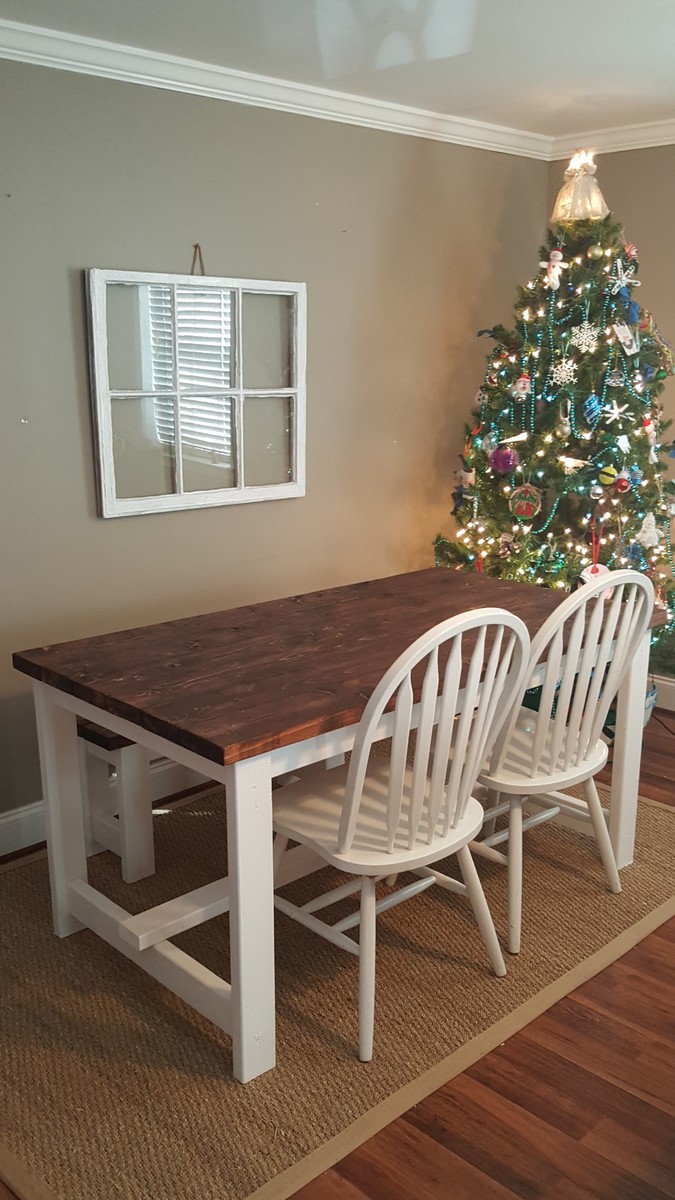
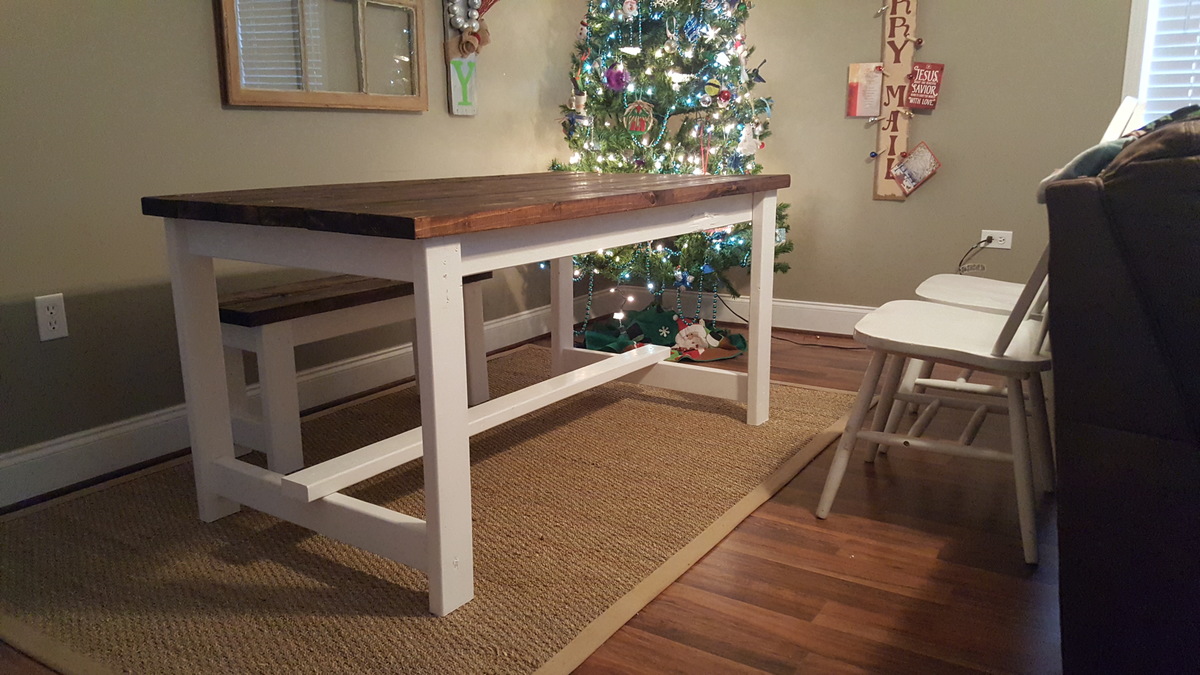
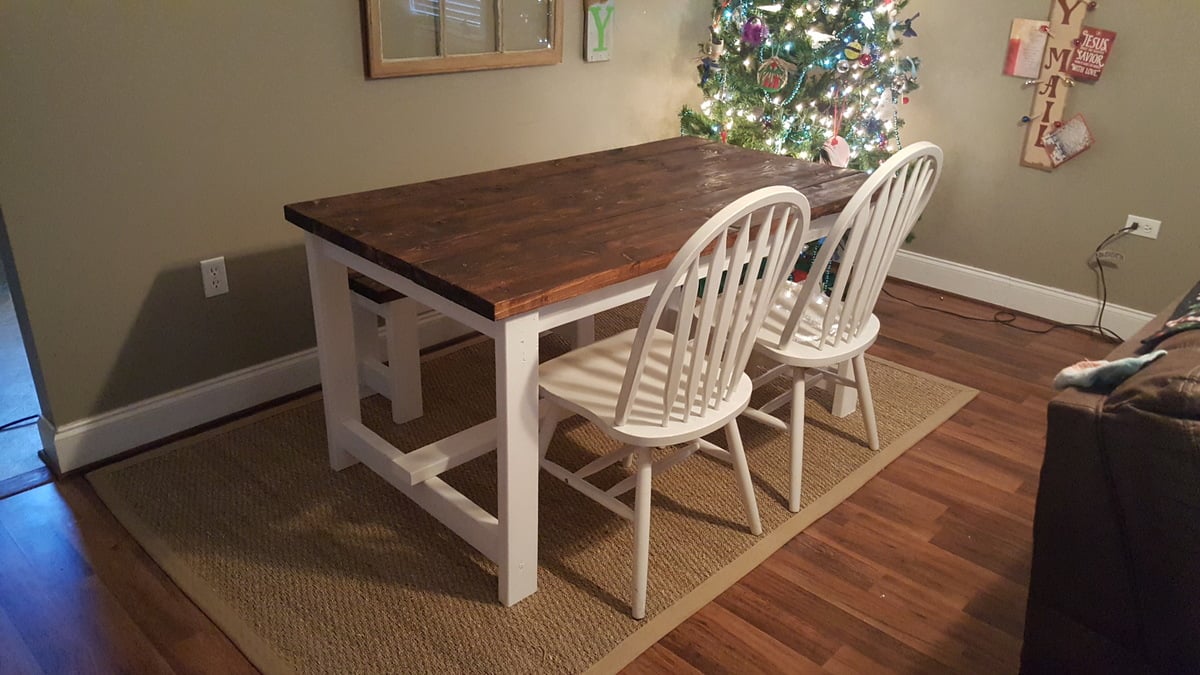
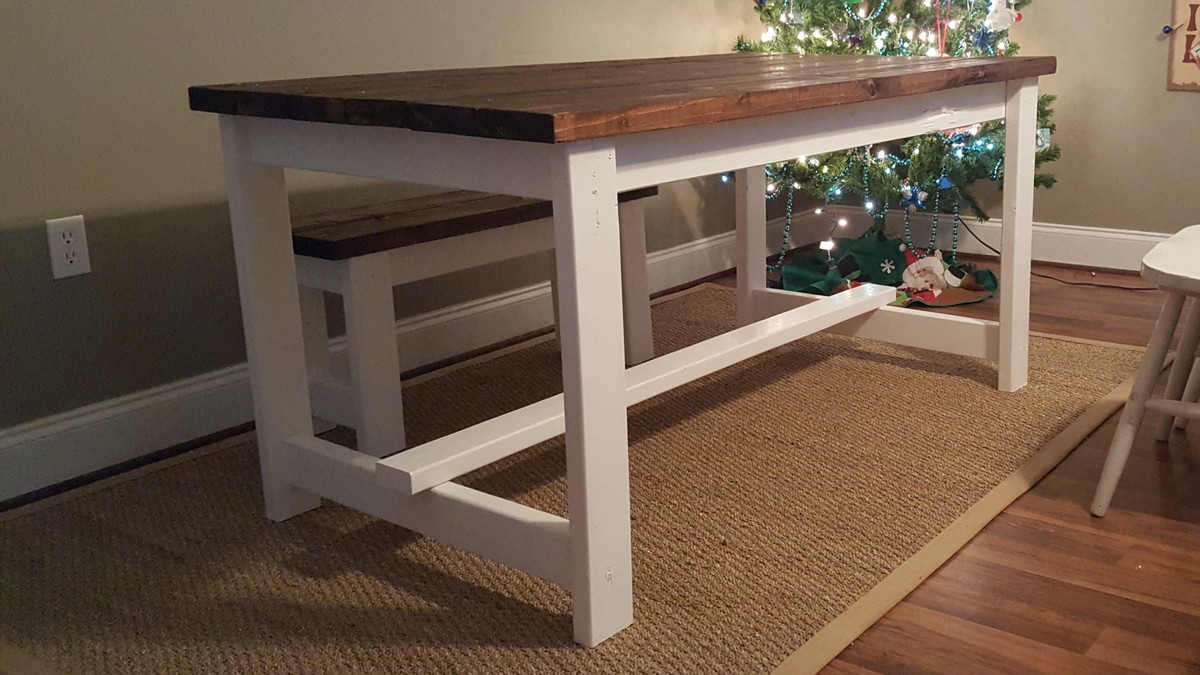
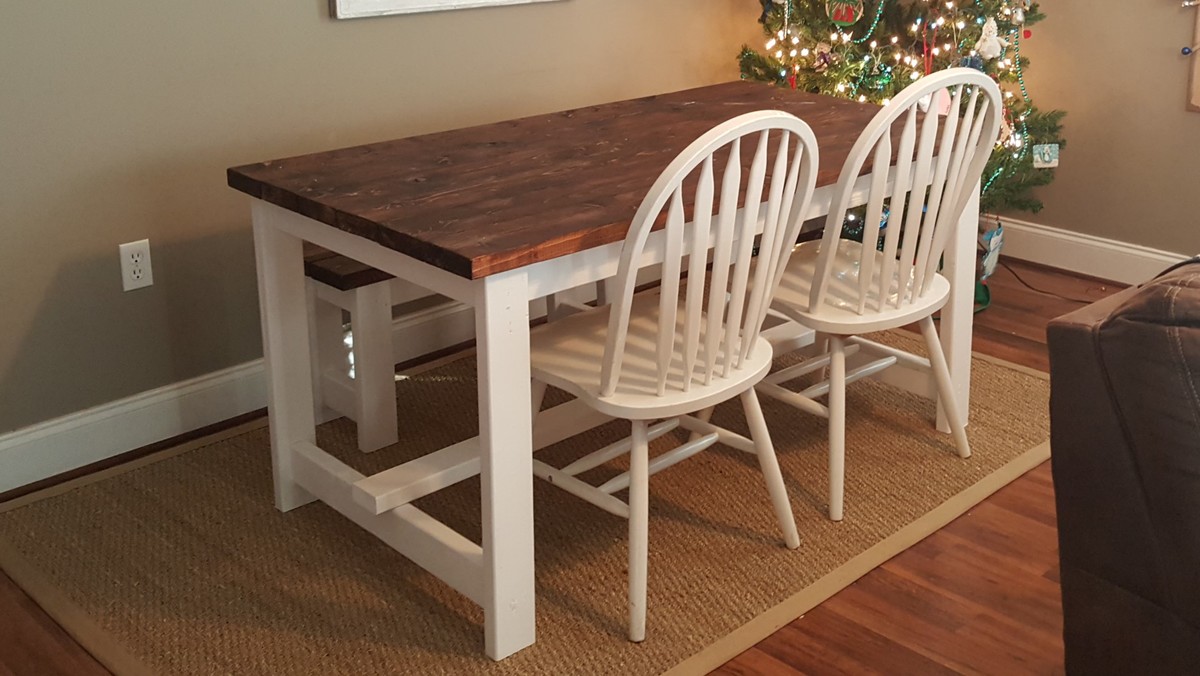
I got the plans from Anna White $50 beginner farmhouse table build. Changed from a 6 ft table to a 5 ft. Built in a few hours but took longer to paint than anything because it took 2 coats. 

Estimated Cost
$50
Estimated Time Investment
Afternoon Project (3-6 Hours)
Finish Used
Minwax honey 272
Recommended Skill Level
Beginner

Comments

Mike Mercer

Thu, 12/28/2017 - 16:23

Hi,

I really like the colour you chose!  Did you use "SPF" lumber or something else?  I am using SPF, so I am curious to see what the stain will look like once dried, etc.    


Thanks again, 

- Mike

My little side tables

Submitted by tdqueenroy on Wed, 11/24/2021 - 18:20

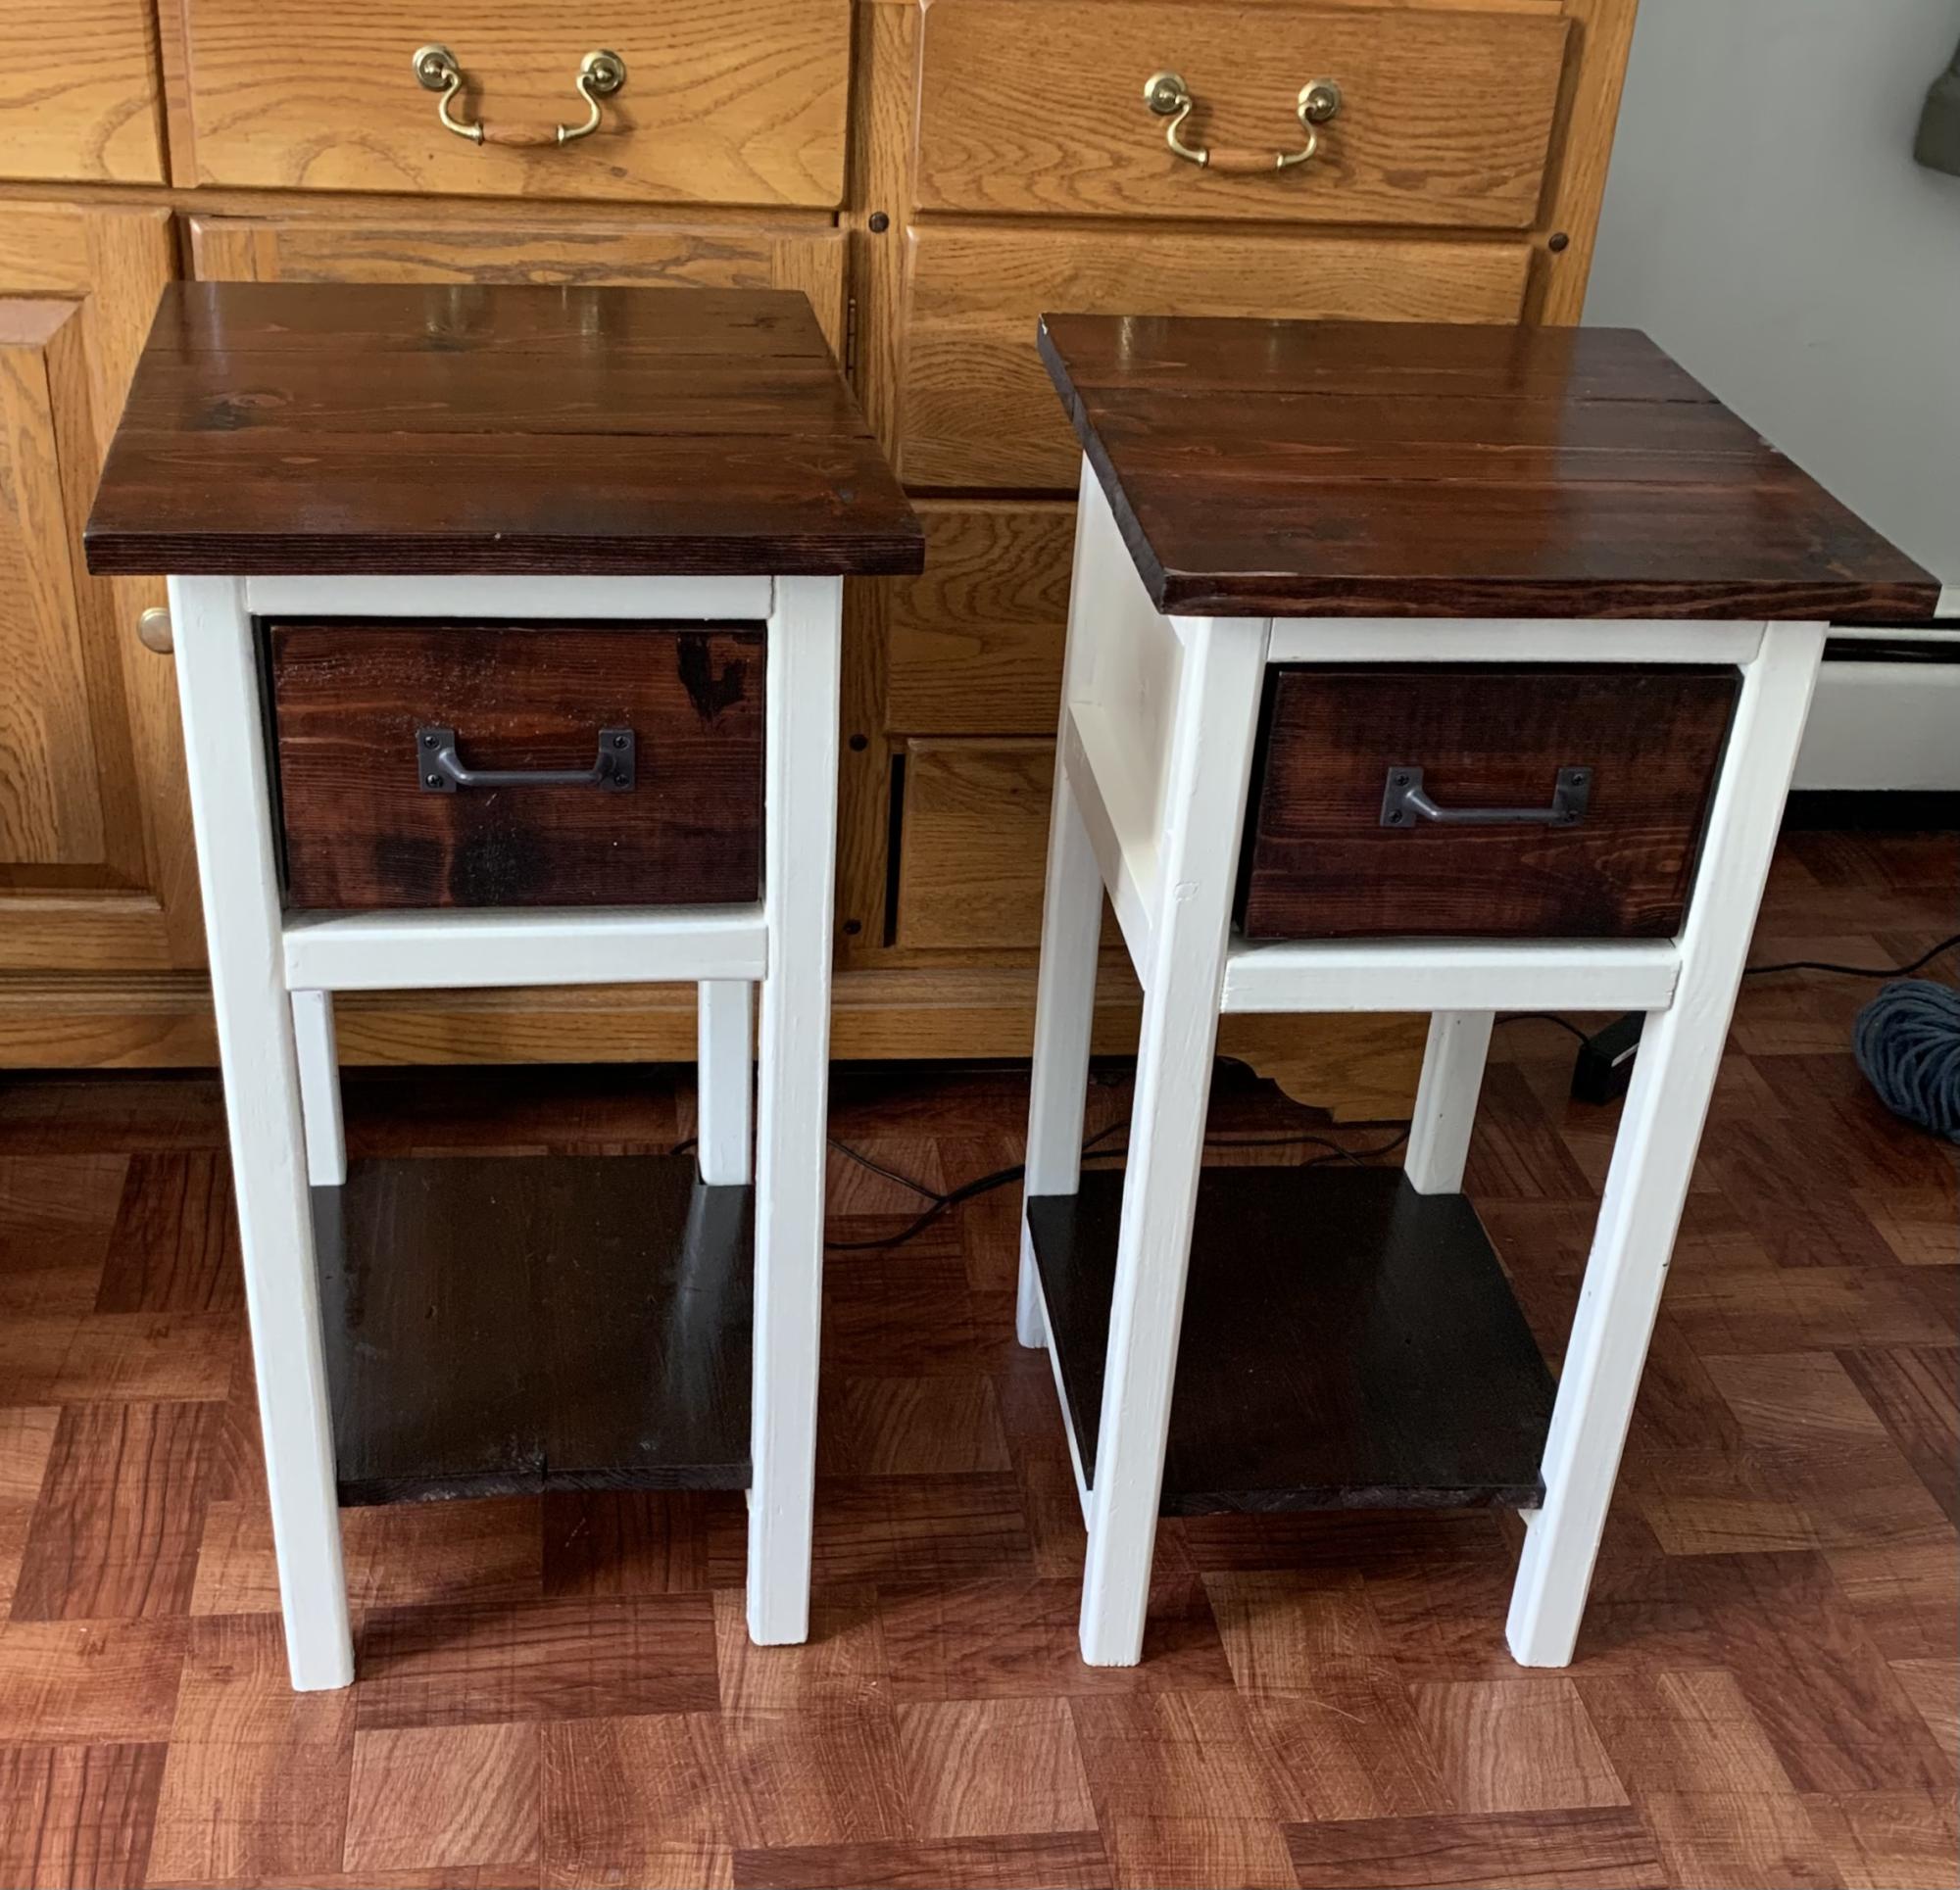
I have previously made side tables for our master bedroom but after two grown kids came back we had to move to the smaller of the two bedrooms we have. So here’s my 13” width version !

Nice easy build, thanks again Ana. Took longer to figure my new measurements for my cut list than actually building them!

Comments

A cottage bench with shoe rack

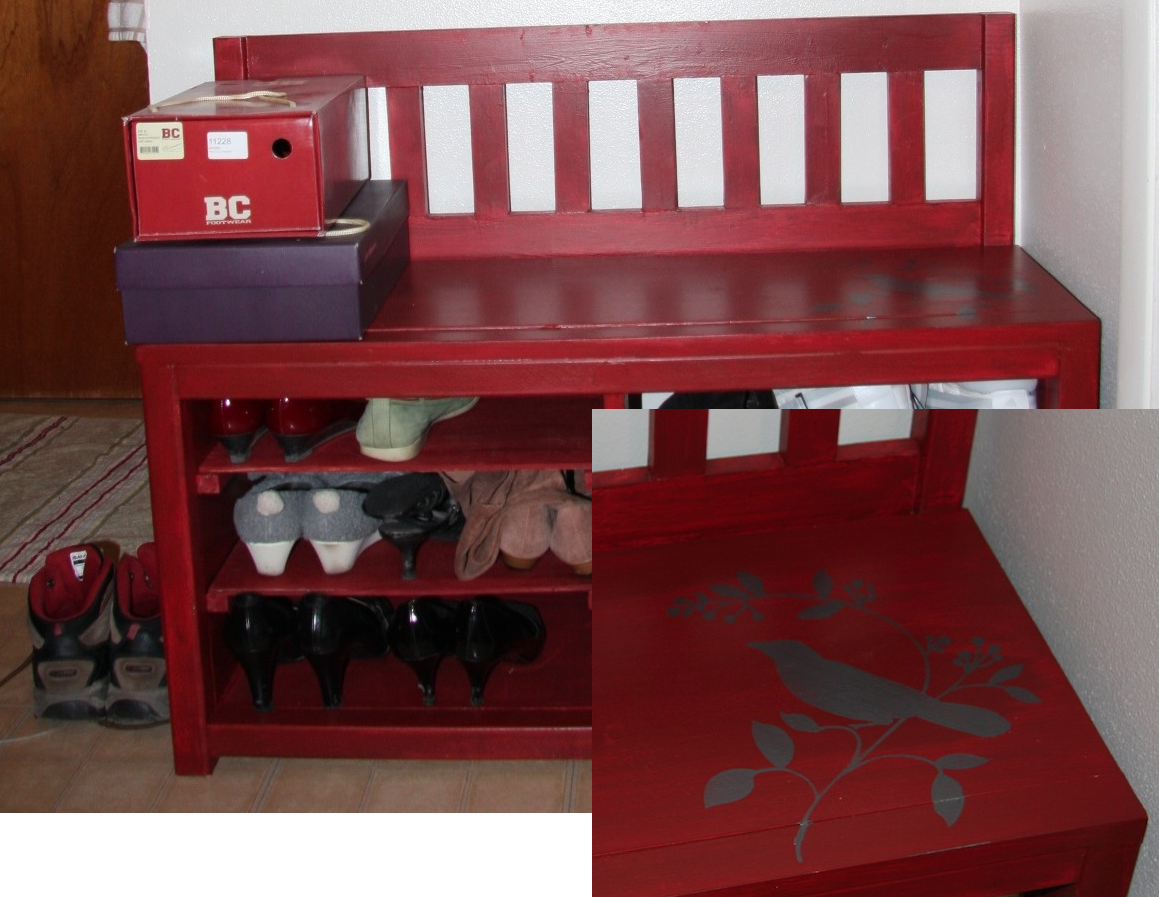
Only slightly modified cottage bench - I made the storage area bigger and added shelves to put my shoes. Only my second project so it's not perfect (especially the paint job) but I loooove it! Sure, the shoe rack I had was perfectly functional and bigger, but this is waaay prettier.

Found a perfect red oops paint at Lowes and I even added a little birdie stencil. I have a few more pieces I'm working on and hope to finish soon. Thank you Ana for the plans!
Estimated Time Investment
Weekend Project (10-20 Hours)
Finish Used
Primer and two coats of paint, lightly sanded in between. I skipped the top coat because I want the red color to naturally fade with use.
Recommended Skill Level
Starter Project

King storage bed

Submitted by Ken Kelly on Sat, 06/15/2013 - 22:43

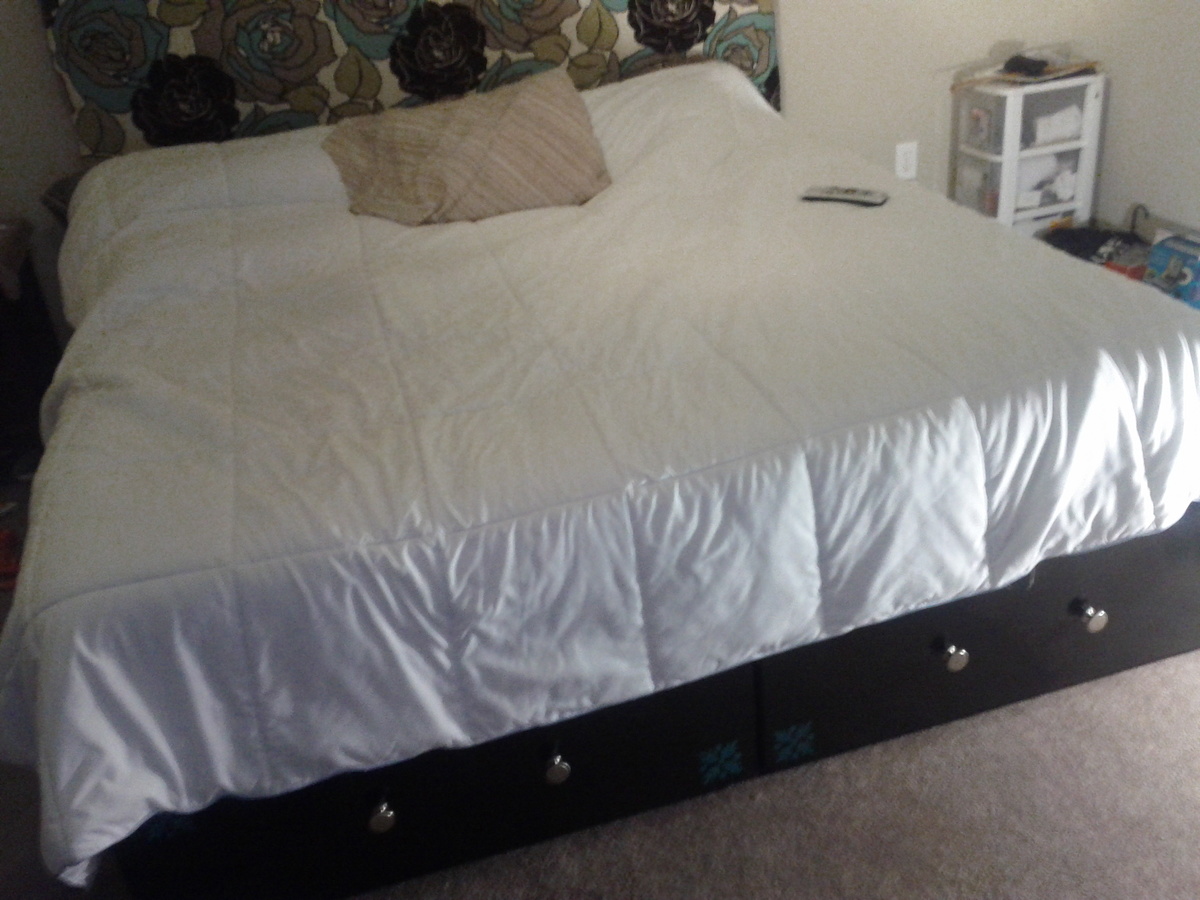
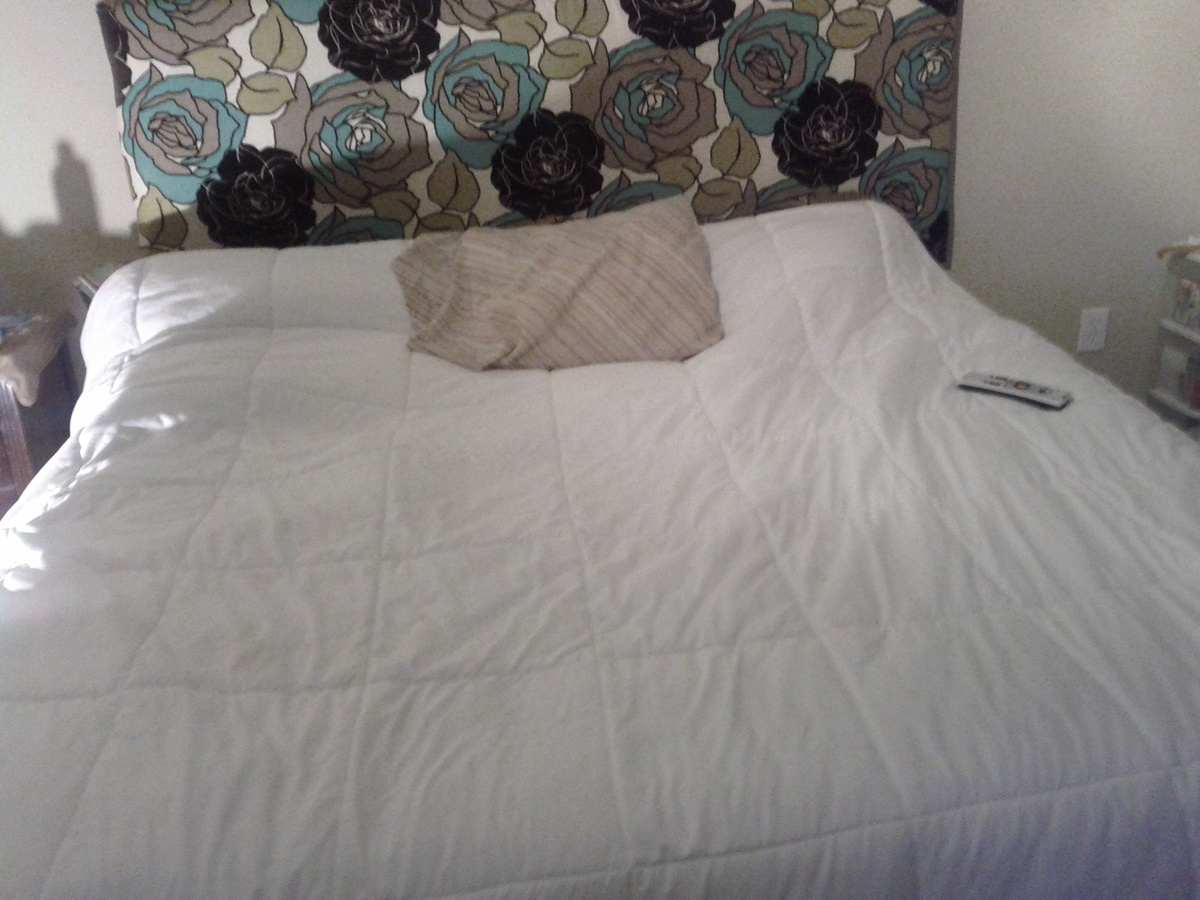
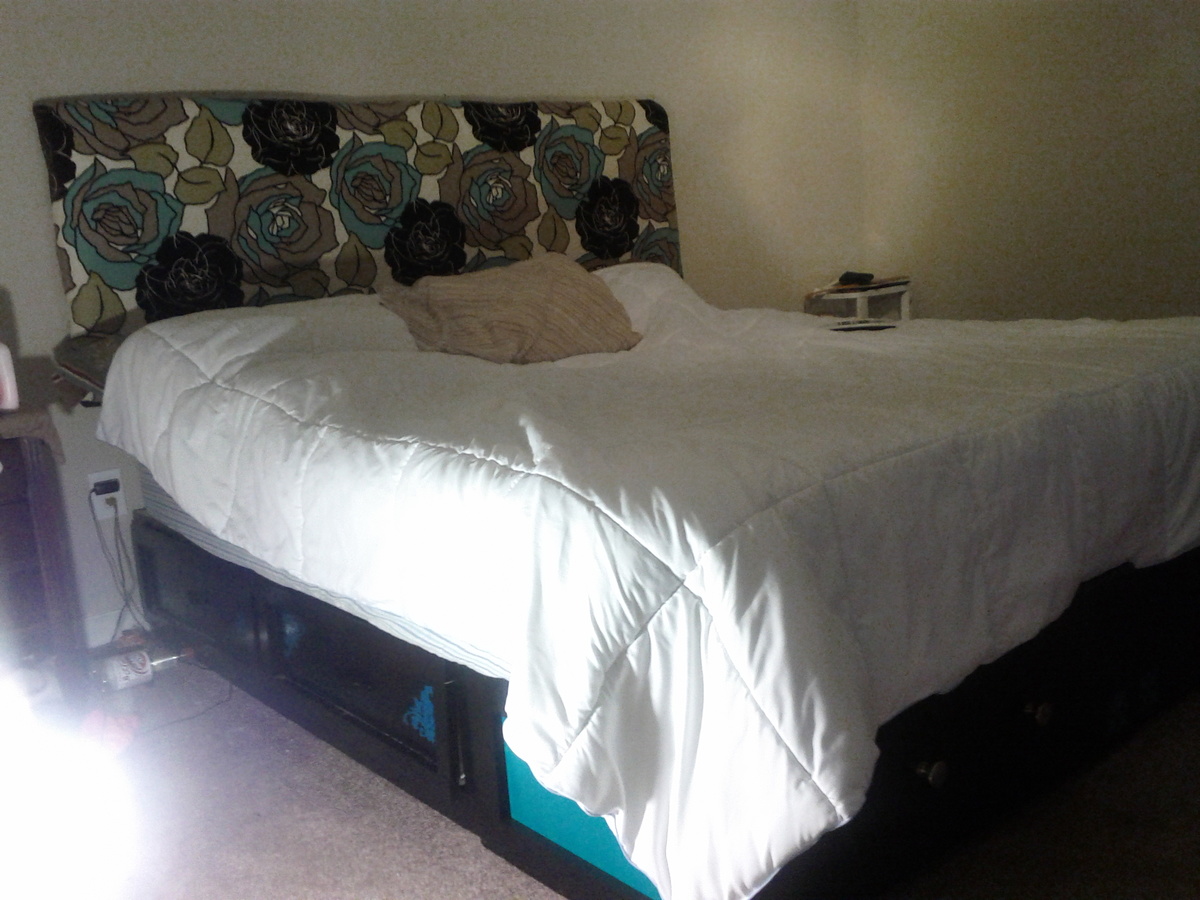
This King size storage bed has 6 large pullout drawers. It's made by the plans we got from Ana's queen size and Twenty five to life's plans we found on this site(THANK YOU). Just like they say in their plans I'm not sure how much I actually spent because I made some mistakes and had to rebuild my bottom piece. But I loved putting this together, and it's worth every penny and beyond. The compliments from visitors and the swollen chest pride I get when I hear my wife say, "My husband built this for us." Can't put a price on that.

Estimated Cost
Around 200-250
Estimated Time Investment
Week Long Project (20 Hours or More)
Finish Used
Min-wax stain and polyurethane.
Recommended Skill Level
Intermediate

2x4 garage shelving

Submitted by mjberger85 on Sat, 05/23/2015 - 15:07

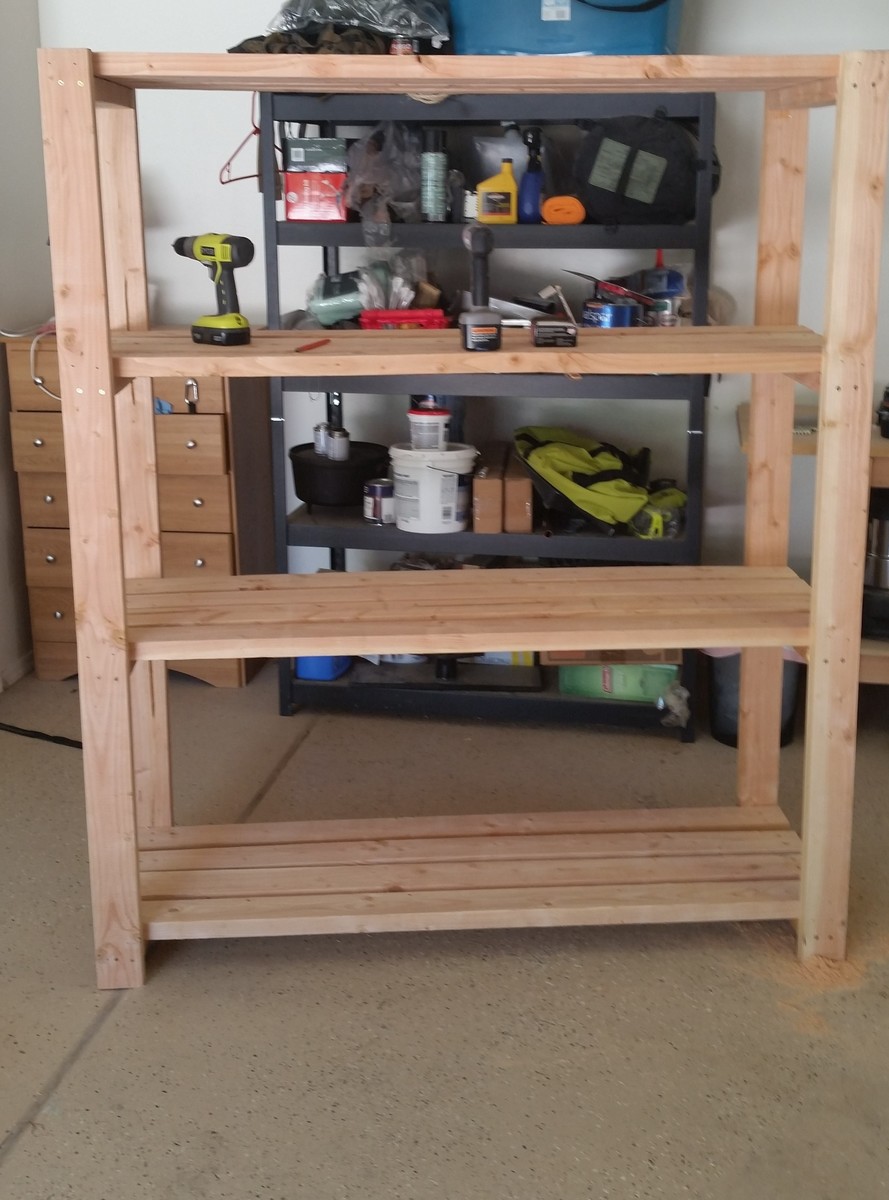
I built this to fit inside a closet that I have in my garage to store all my camping stuff. I built it 5 feet long so I only had to buy 2x4s that were 10 feet long. I also built the bottom shelf closer to the ground to allow just a little bit more space between the first and second shelf. All in all it was a very easy and fulfilling project. I was a little worried about how sturdy the shelves would be but they are very solid. Thanks Ana!

Estimated Cost
$60
Estimated Time Investment
An Hour or Two (0-2 Hours)
Recommended Skill Level
Beginner

Comments

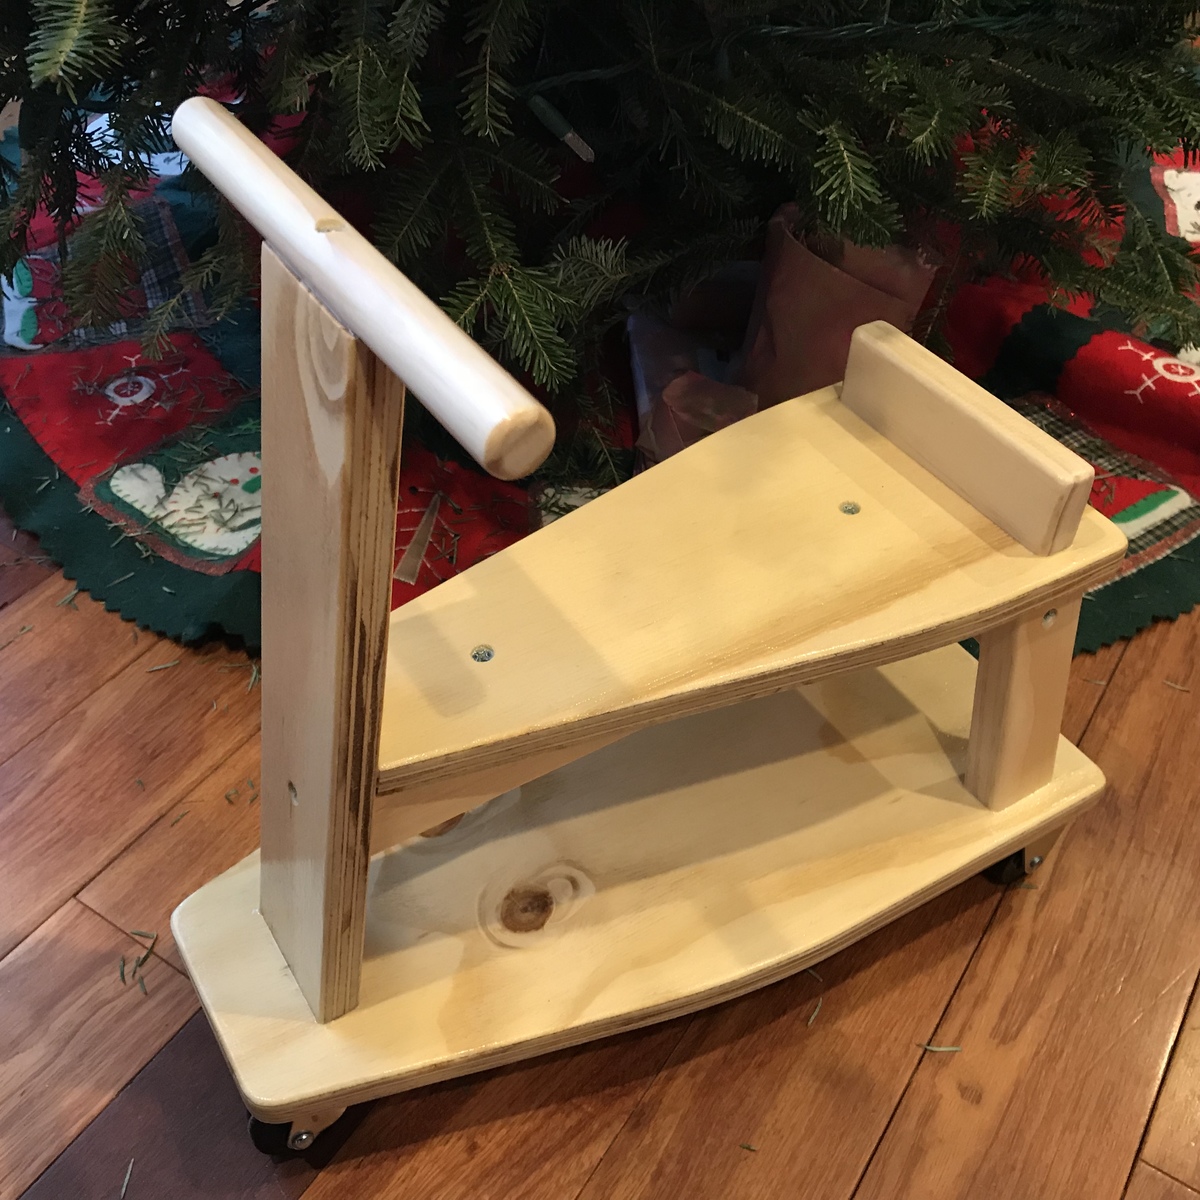
Scooter for Christmas

Great plan! I curved the edges with a French curve and a bench sanding disk, and then used a router on all exposed edges. I used a dremel router table with a small bit for the small pine pieces and a full sized router for the two main platforms. If I were to do it again I’d be far more careful with angle accuracy.. I think my miter saw is a little off. My table saw was spot on for the plywood cuts. I also used smaller wheels and only have spinners on the front, preventing collision.

Estimated Time Investment
Afternoon Project (3-6 Hours)
Recommended Skill Level
Intermediate

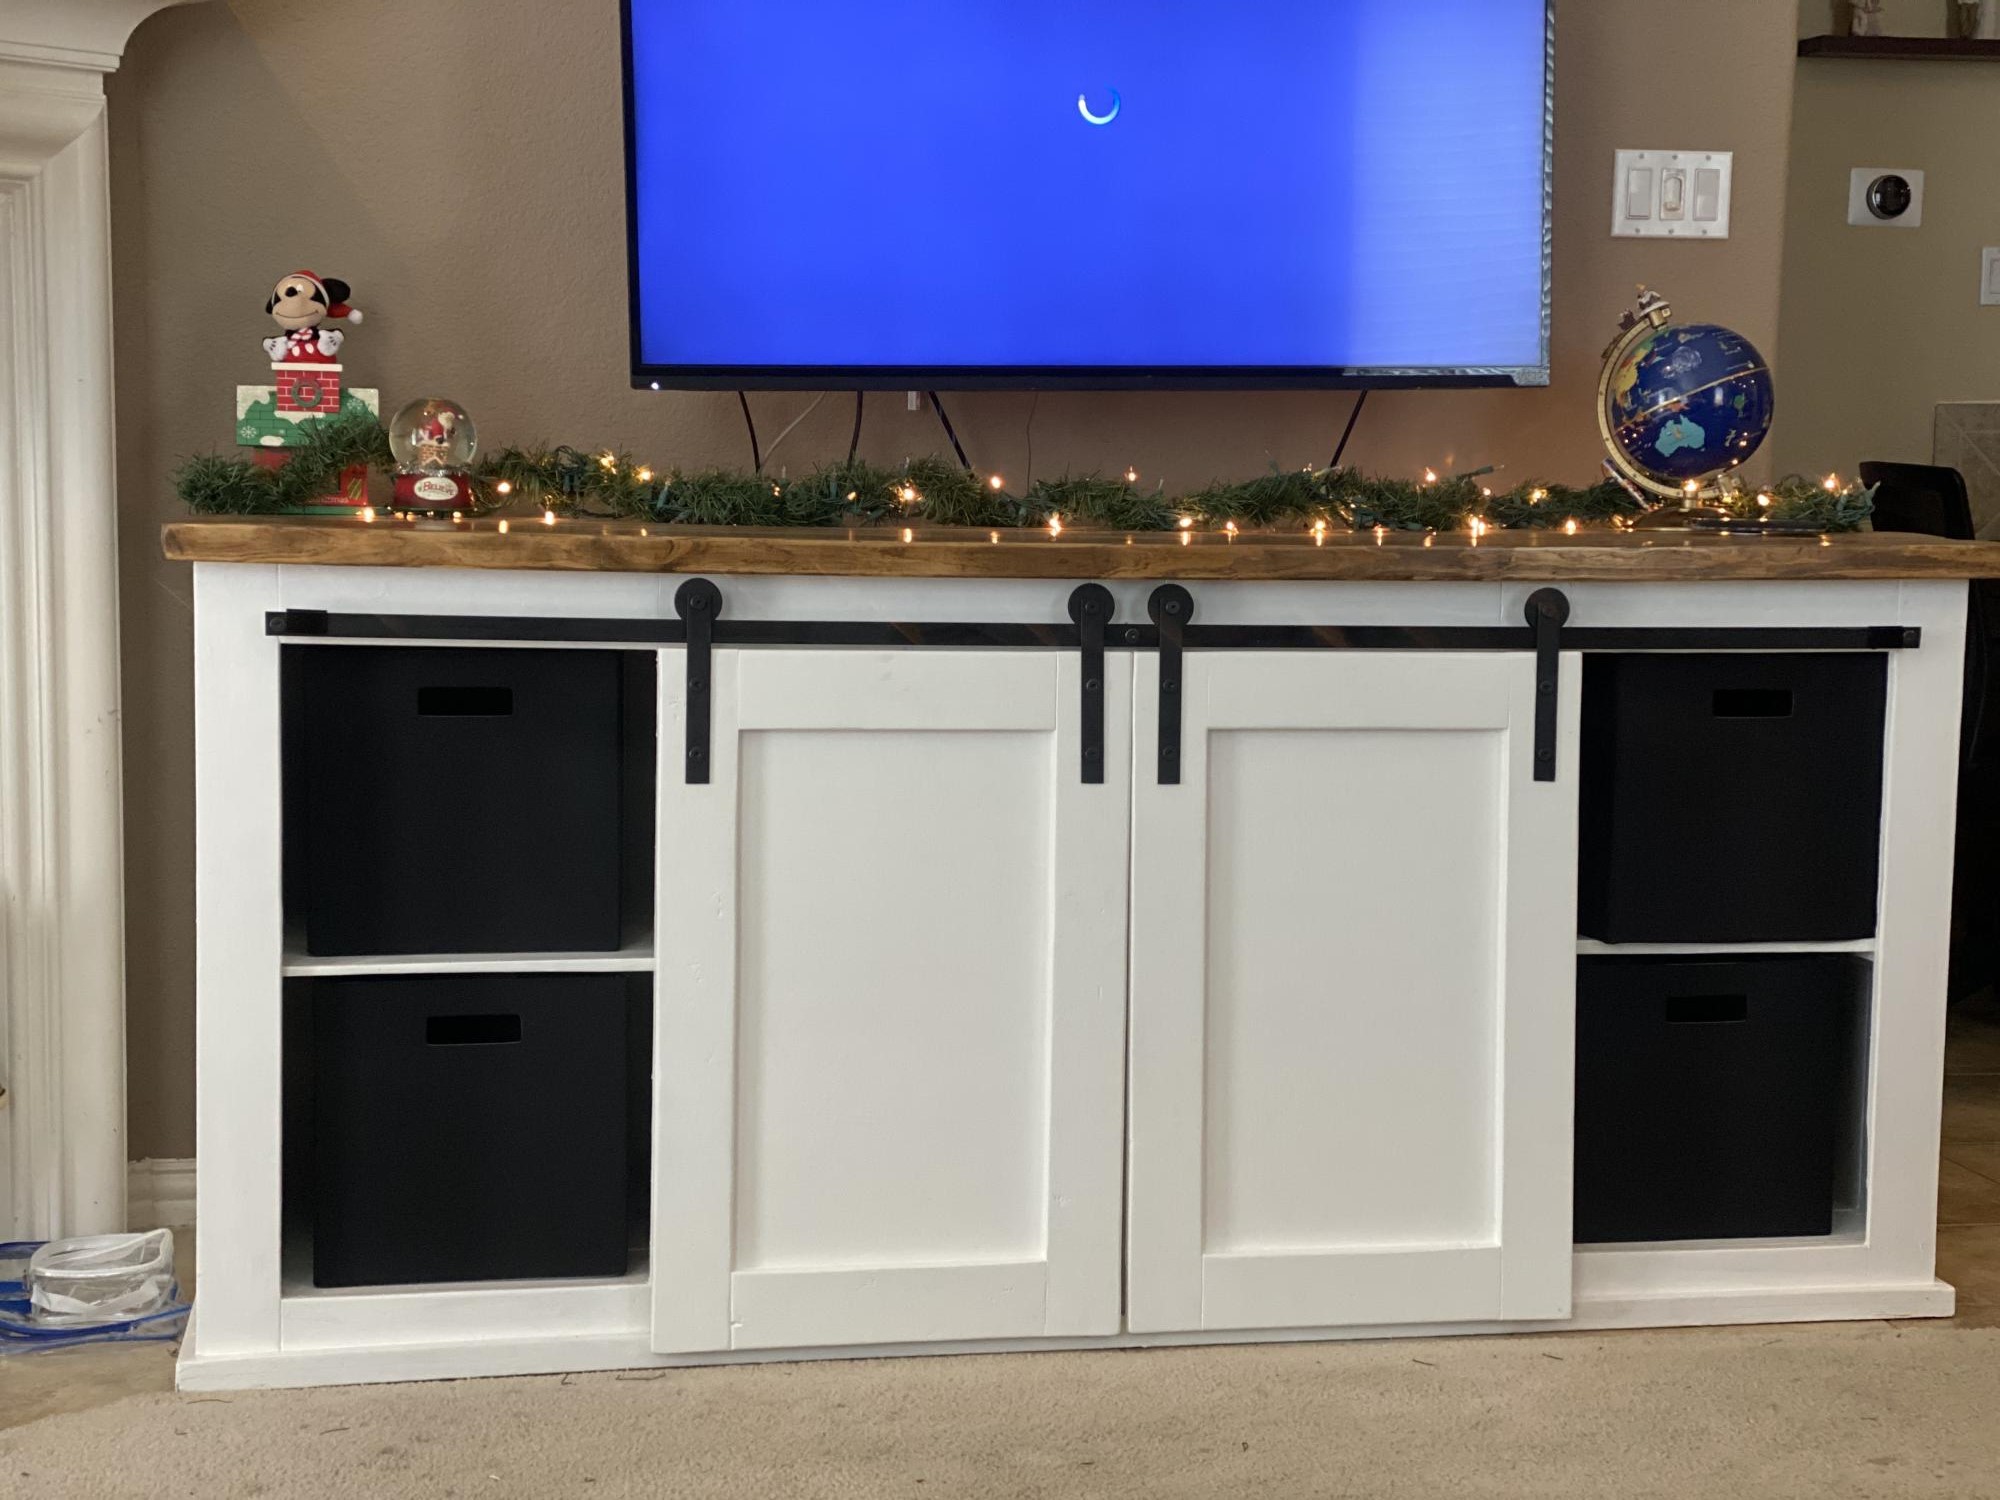
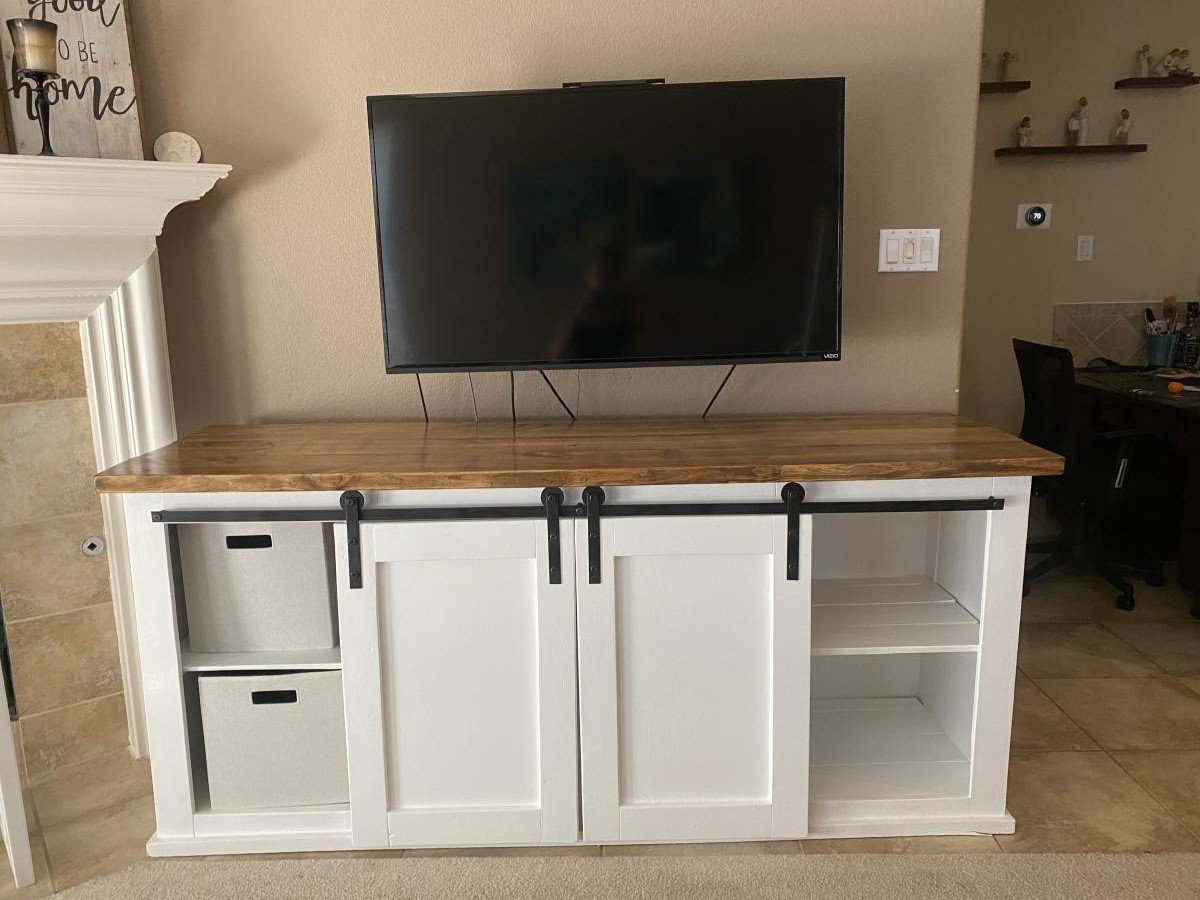
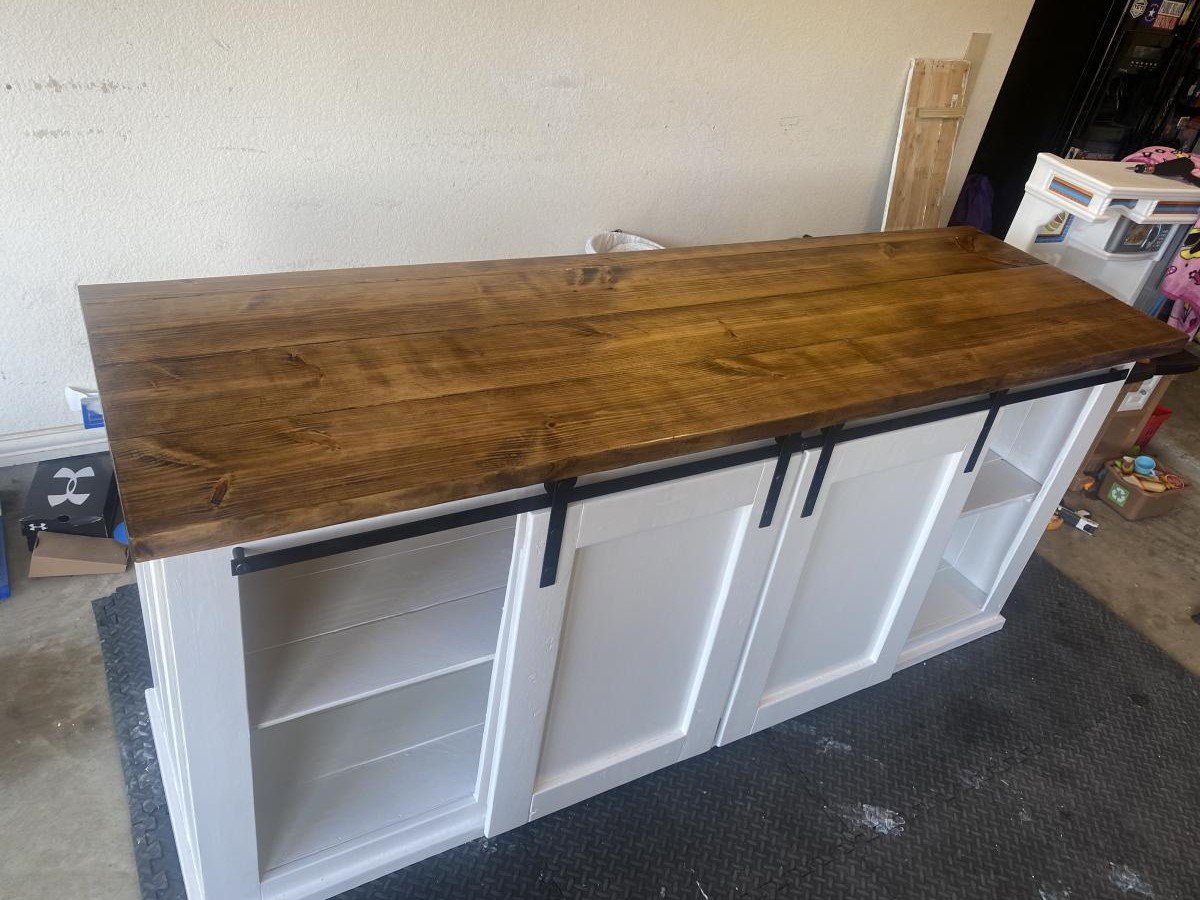
Barn Door Console Table

Submitted by Anonymous (not verified) on Thu, 12/09/2021 - 19:57

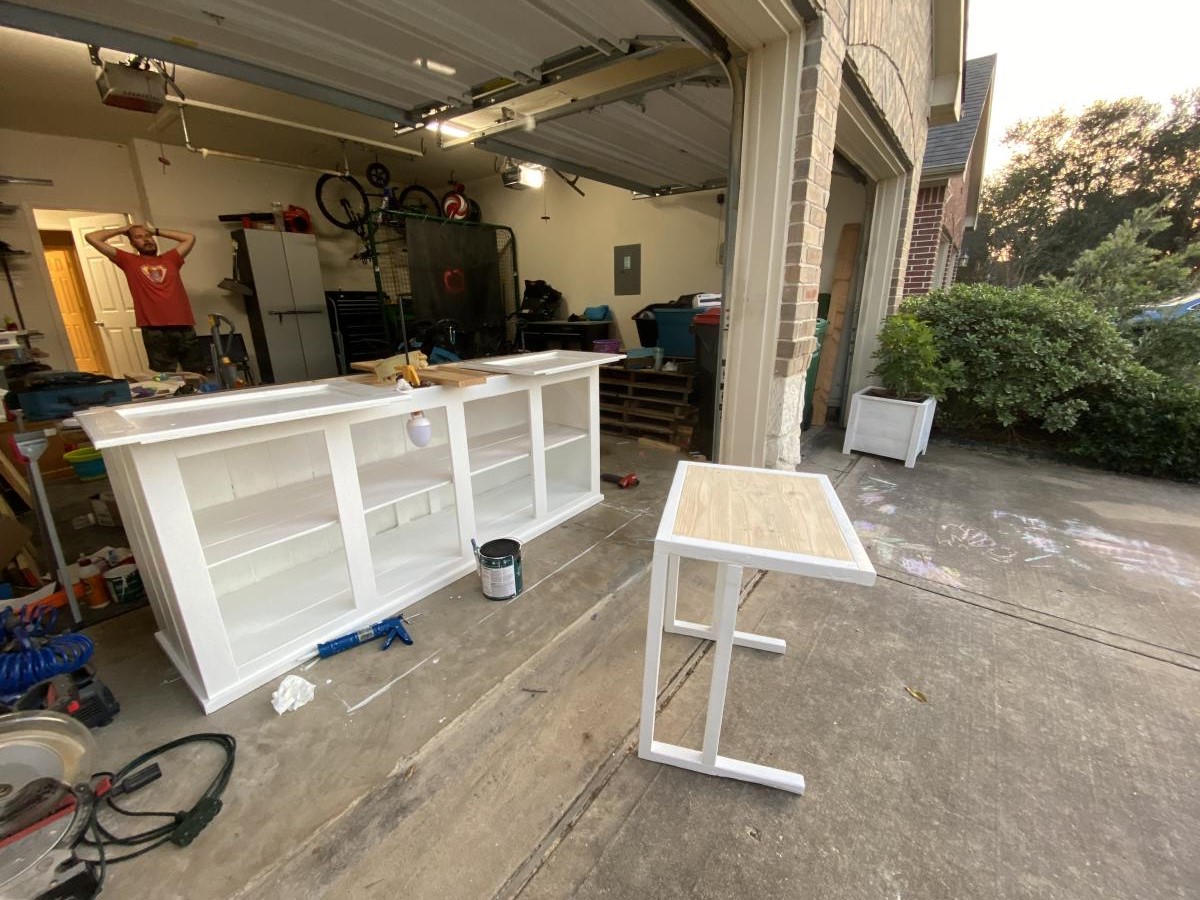
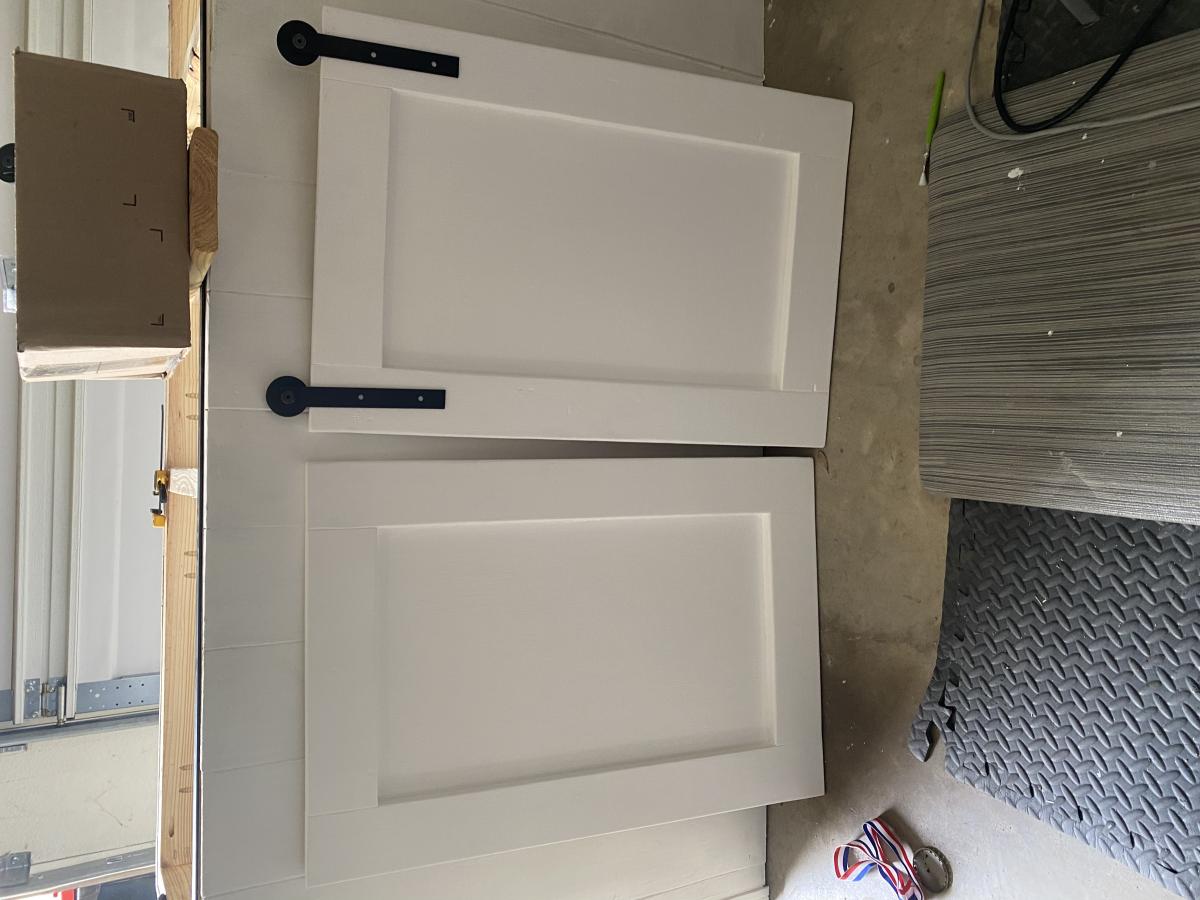
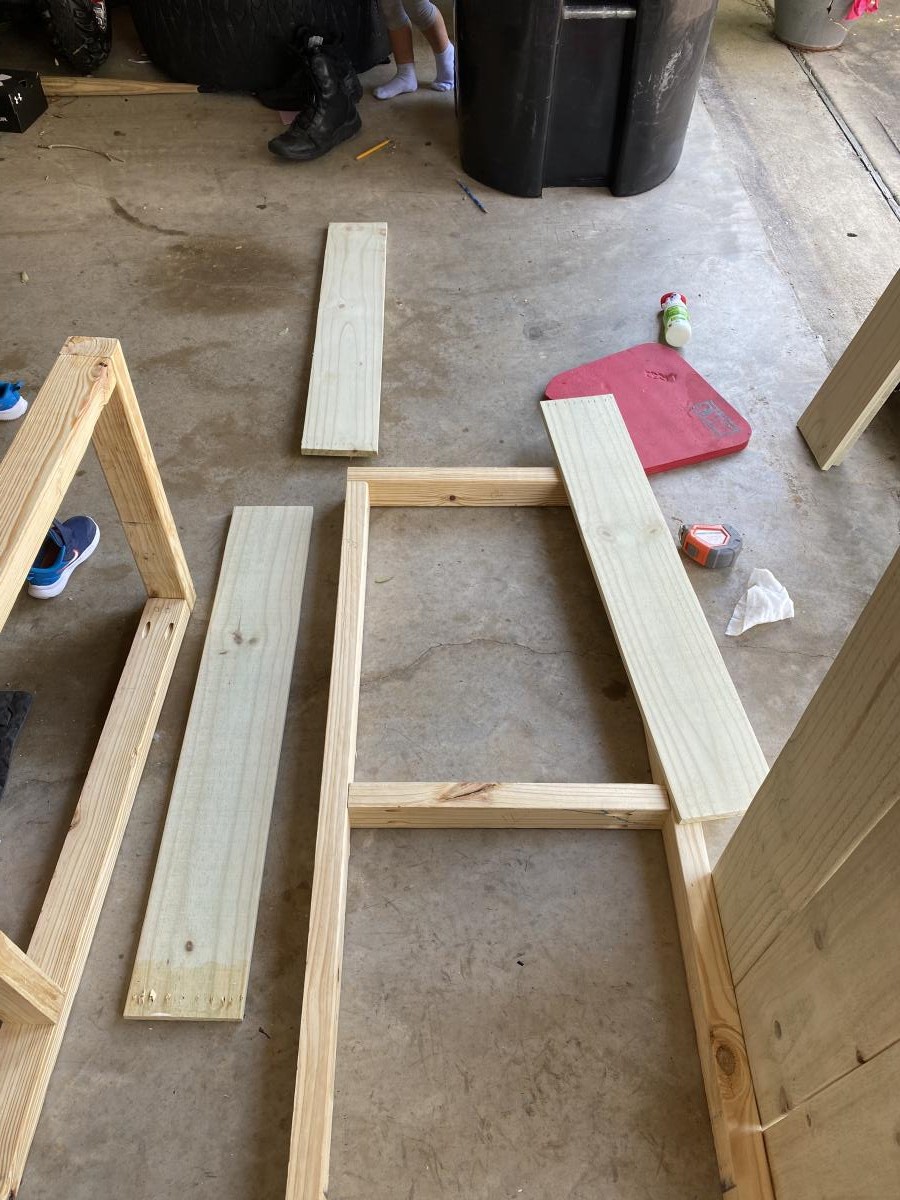
This is my 1st wood project and I wouldn’t have tried it without your plans, thank you!

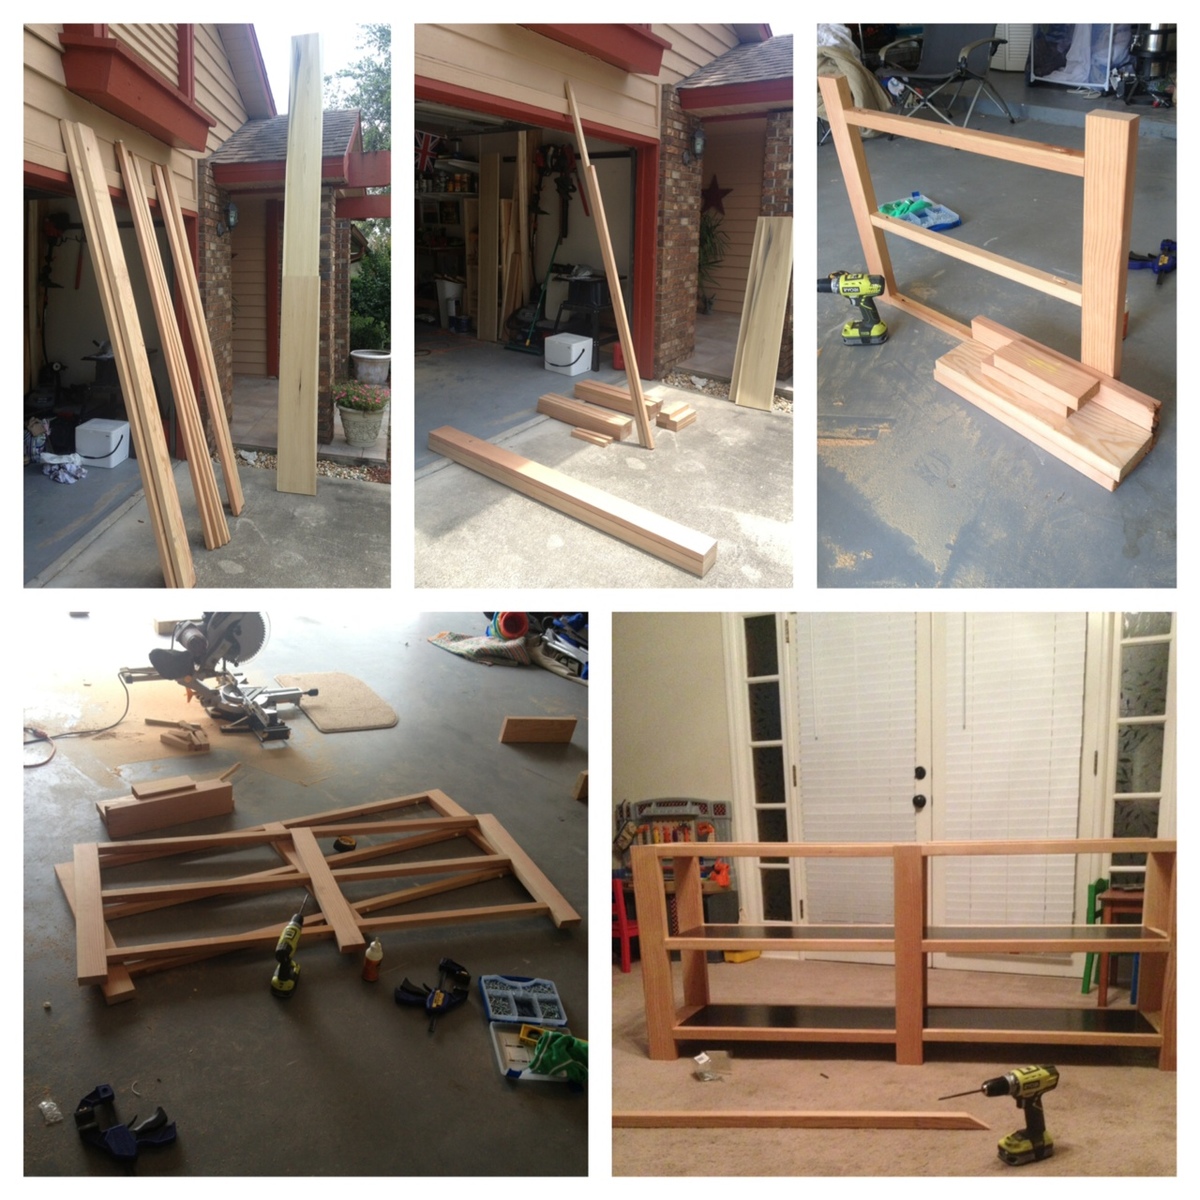
Took about 3 weeks between work and 3 kids. (My 2 year old wanted attention and pulled down what I put up in one pic) I also made some planter boxes in the middle to complete something and a side table that slides under the couch to test the finishes on before I completed this massive entertainment console.

Built from Plan(s)

Comments

Maple/Cherry Coffee Table

Submitted by tctaylor79 on Mon, 04/11/2011 - 07:02

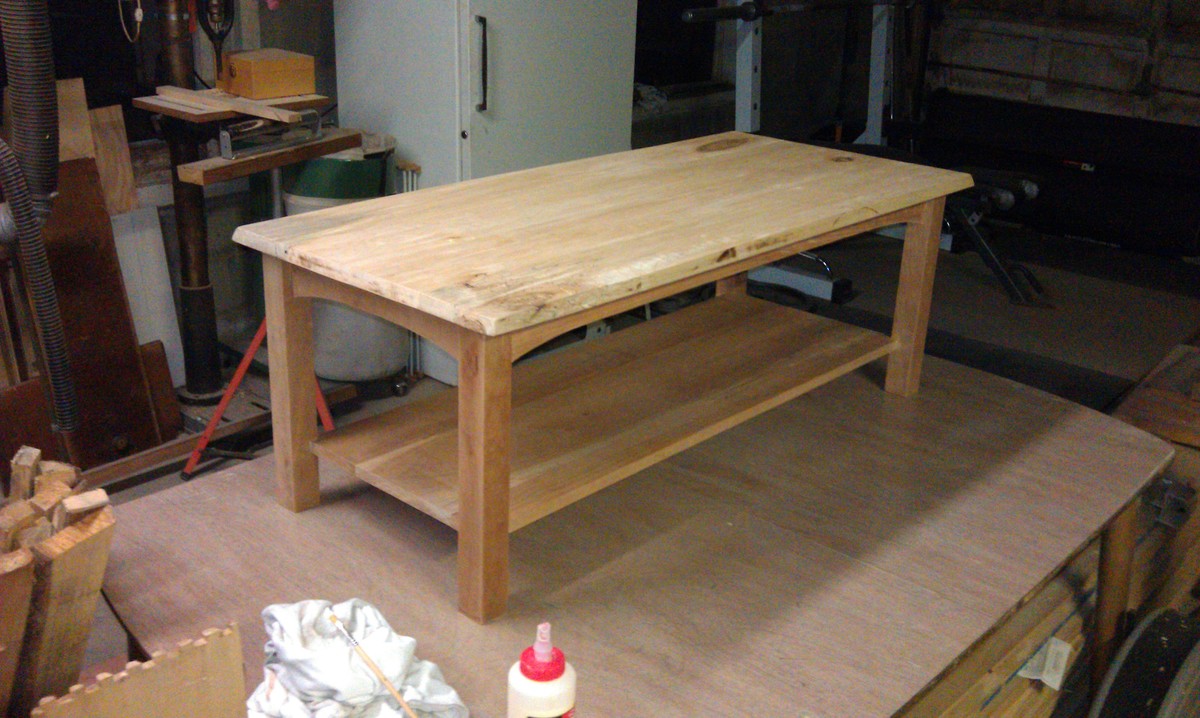
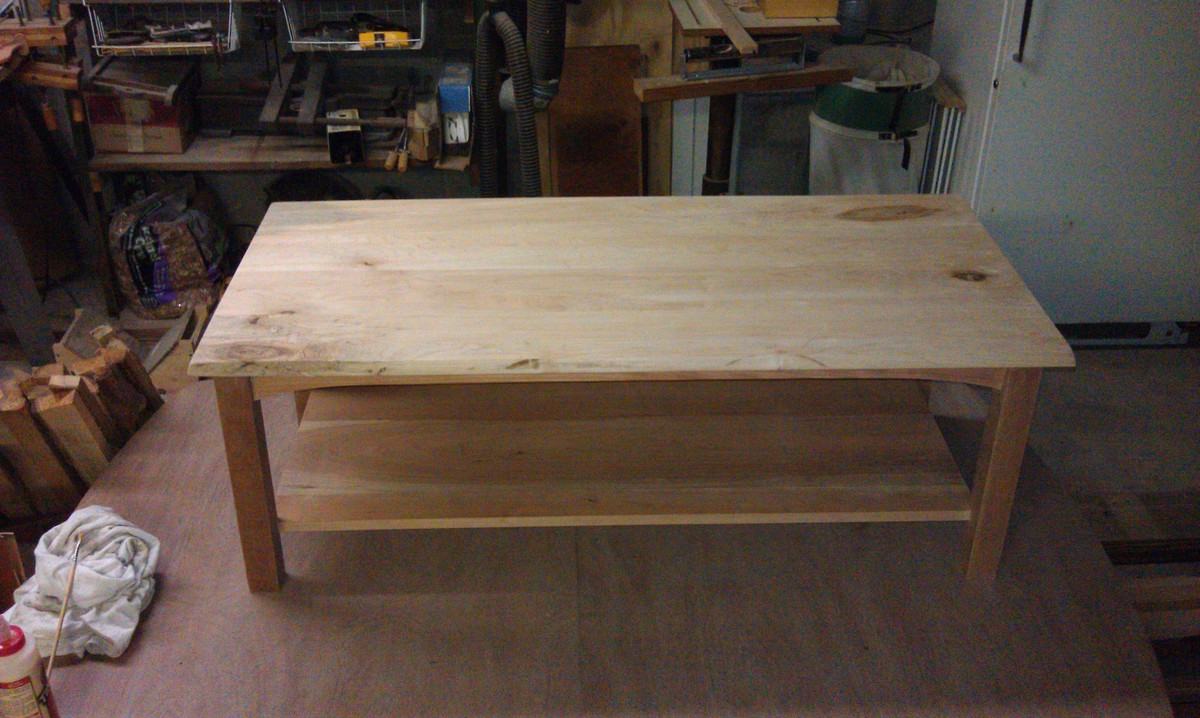
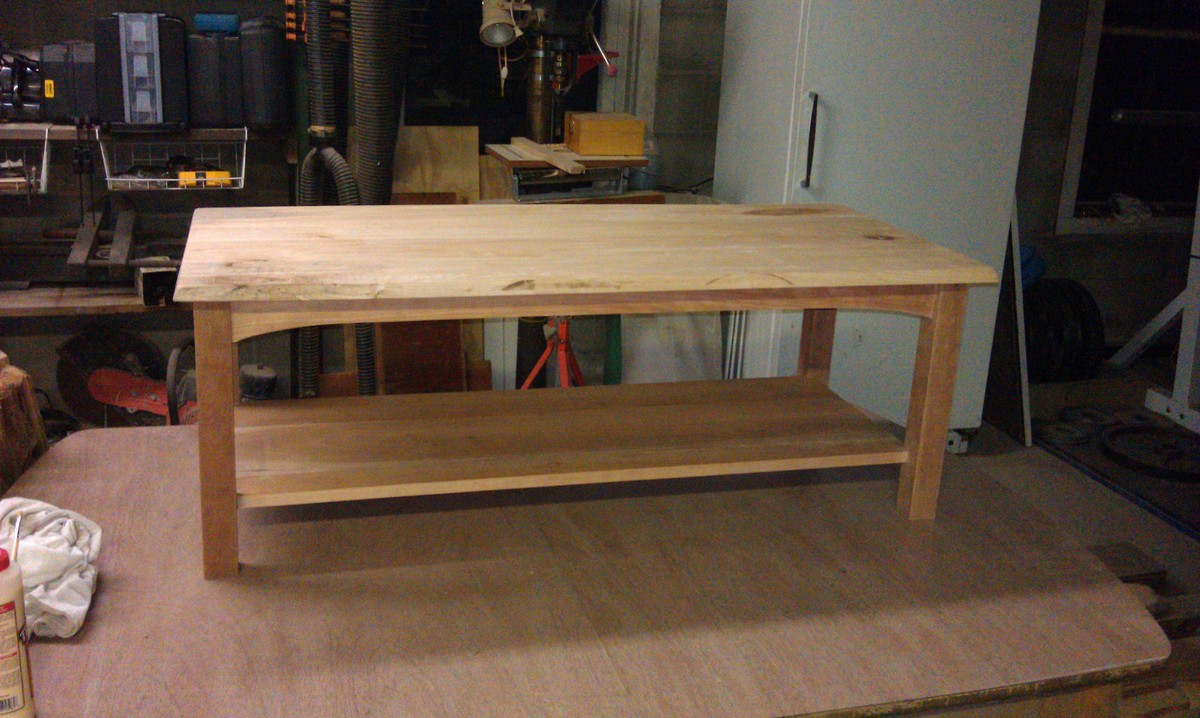
This has been a work in progress for about 4 years.  My wife and I started this project before we were married.  Between a wedding, moving into our first house and having our first child we've had a real hard time getting in the shop to finish this project.  I'm proud to say that's it's finally together and just needs a few coats of poly. Any feedback would be greatly appreciated.

Built from Plan(s)
Estimated Time Investment
Week Long Project (20 Hours or More)
Finish Used
None yet, Poly will be applied in the near future.
Recommended Skill Level
Intermediate

Mid Century Modern Changing Table

Submitted by Mizthng67 on Tue, 06/18/2013 - 08:54

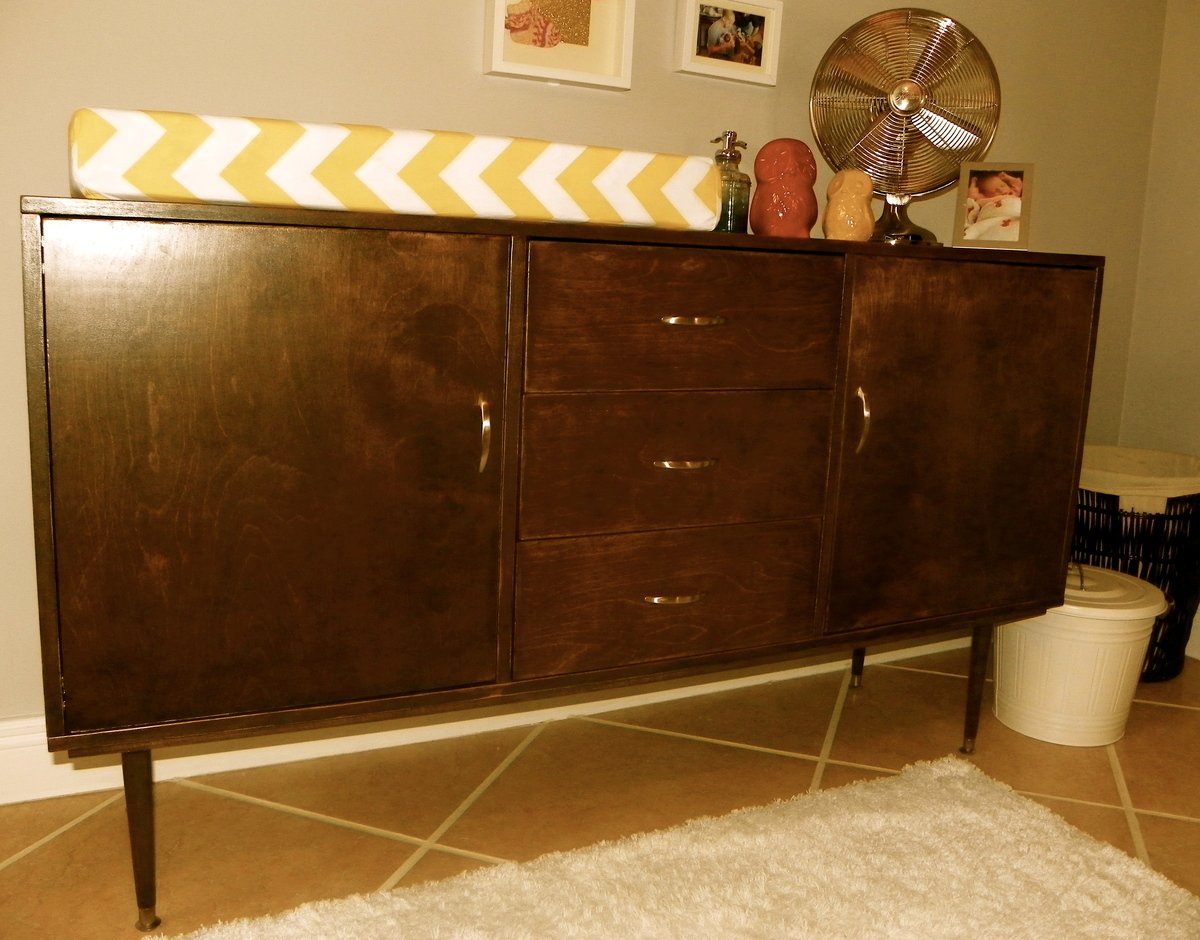
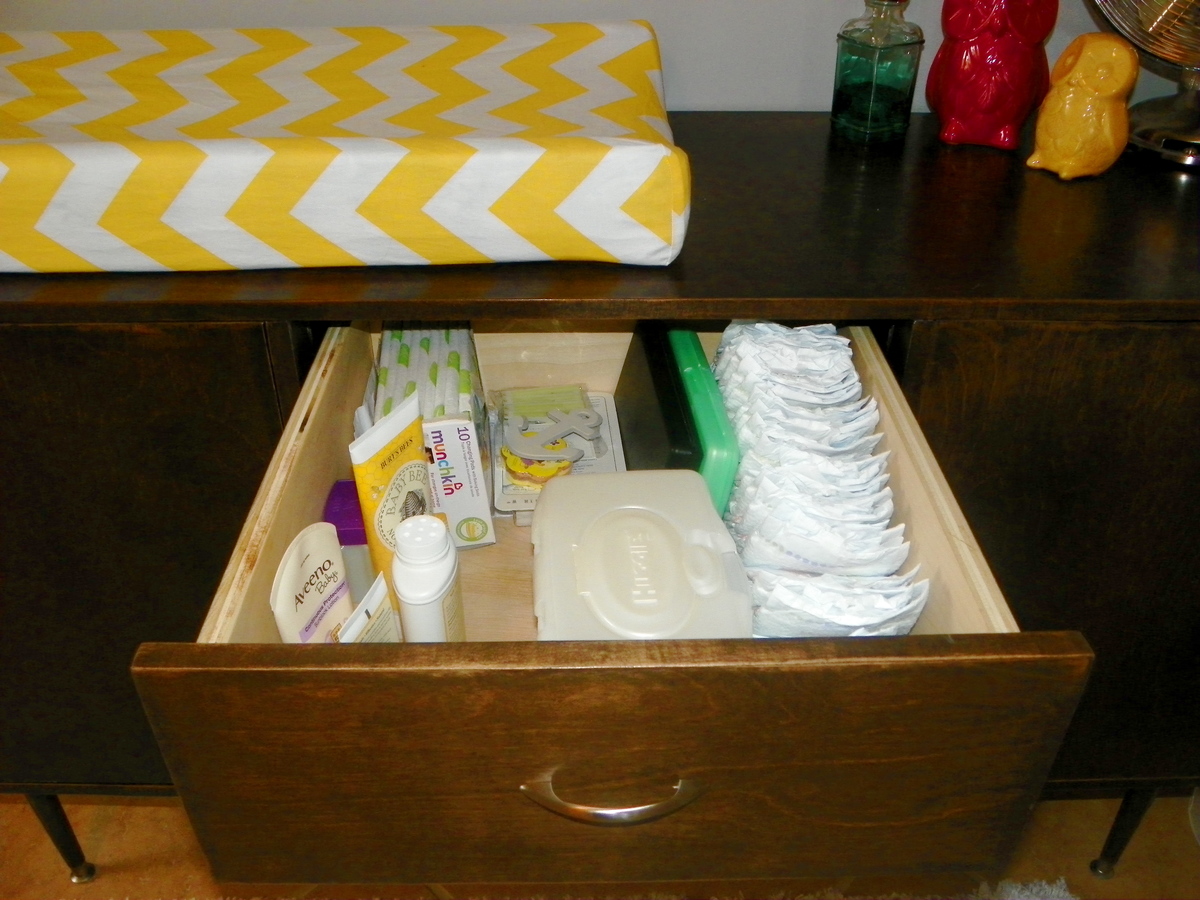
I had been looking everywhere for an antique Mid Century Modern buffet table to use as a changing table for my daughter but found that these vintage pieces ran about $1200 to $3000 and still needed refinishing. That was out of my price range so I came here and found plans for a console table that had the look I was going for.

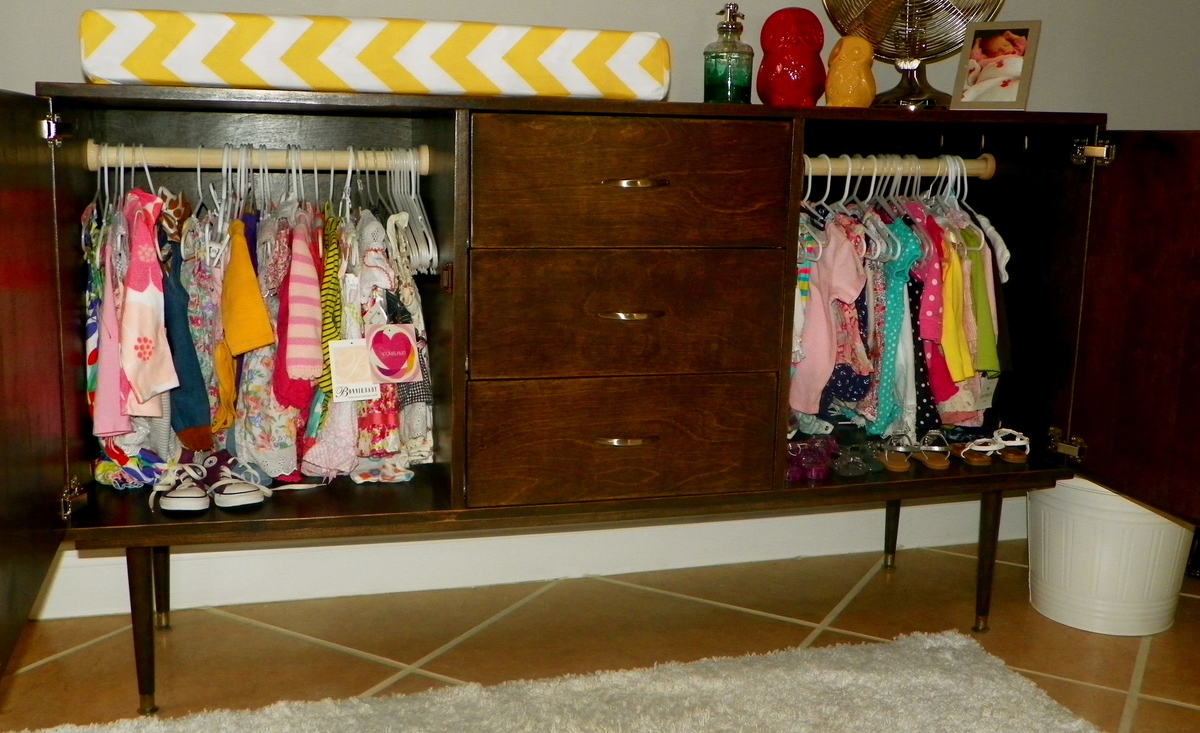
The plan I found was too short in length and height so I reworked them a little to fit my needs. I just added a second cabinet in the same dimensions as the first onto the other end of the drawers to increase the length and bought 12" legs instead of 6" ones to increase the height. I used the same hardware that was recommended in the original plans but added a magnetic door stopper to make the cabinet doors flush with the frame when closed. I also added dowel rods in the cabinets because my daughter doesn't have a closet and I needed a place to hang her clothes.

It is great to have 2 cabinets because the left side holds clothes that are too big for her and the right holds all of the clothes she wears now. The drawers are nice and deep so I can put all her changing stuff like diapers and lotion in the top and fit all her socks, diaper covers, and pajamas in the other drawers.

I will say that I used 1x6's to make the drawers first but found that I am really bad at picking straight boards as there were a lot of gaps between the sides and the bottom of the drawer. I went back and used scrap pieces of 3/4" plywood for the drawer sides and they came out much better with no gaps, plus, the exposed top of the drawer sides look better.

This was a fairly fast project. I put it as a weekend project due to the down time between staining and poly coats. It was my first time working with edge banding and I loved it. It was super easy and kind of relaxing! Over-all, this project was easy and fun! This table meets all of my needs AND it looks great! Thanks Ana for the plans and thanks Brooke for the inspiration and tips!

Estimated Cost
$200
Estimated Time Investment
Weekend Project (10-20 Hours)
Finish Used
1 coat of Rustoleum Ultimate Wood Stain in Kona followed by 3 coats of matte poly.
Recommended Skill Level
Beginner

Comments

dyank021

Tue, 09/23/2014 - 11:05

I am so impressed. Where did you get the beautiful hardware and gold rimmed midcentury feet?

Parsons desk

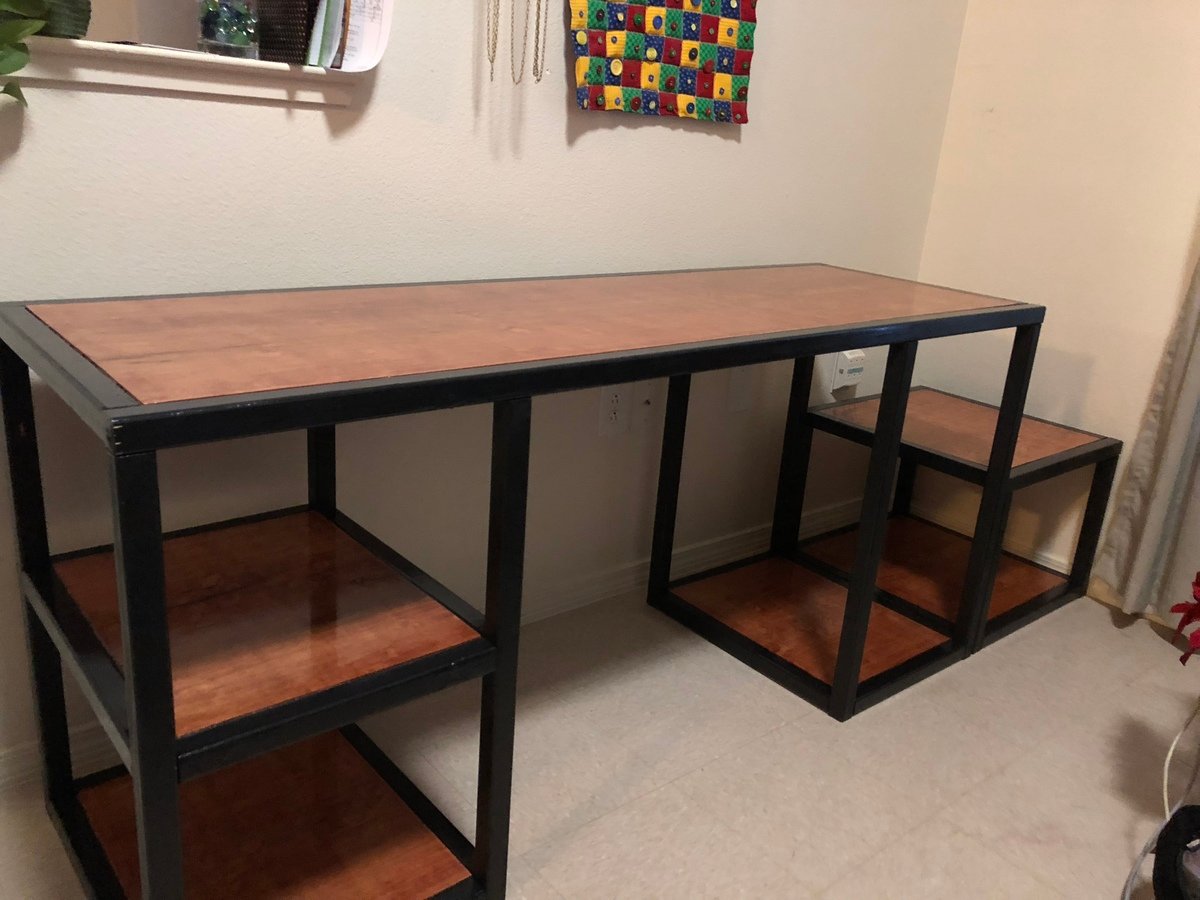
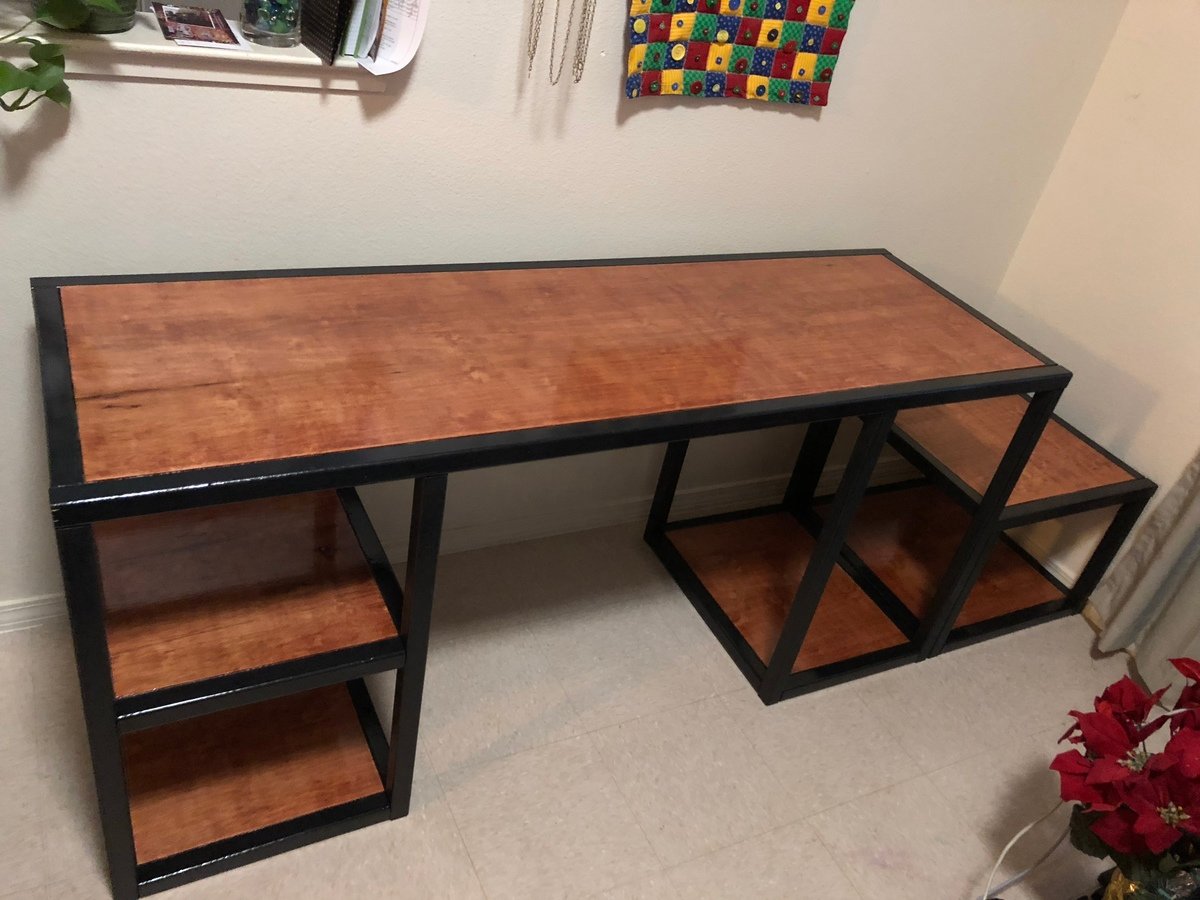
I added an additional detached shelf so we can change the setup anytime. I also increased the space between the two main shelves to 30 inches and extended the depth to 22 inches overall. I left one shelf off to make room for the computer tower. The top is made from maple with a gunstock stain. This desk will mainly be for my kids gaming station. 

Built from Plan(s)
Estimated Cost
$130
Estimated Time Investment
Week Long Project (20 Hours or More)
Finish Used
Minwax gunstock and Pro Finisher crystal polycrylic.
Recommended Skill Level
Beginner

Outdoor Sectional

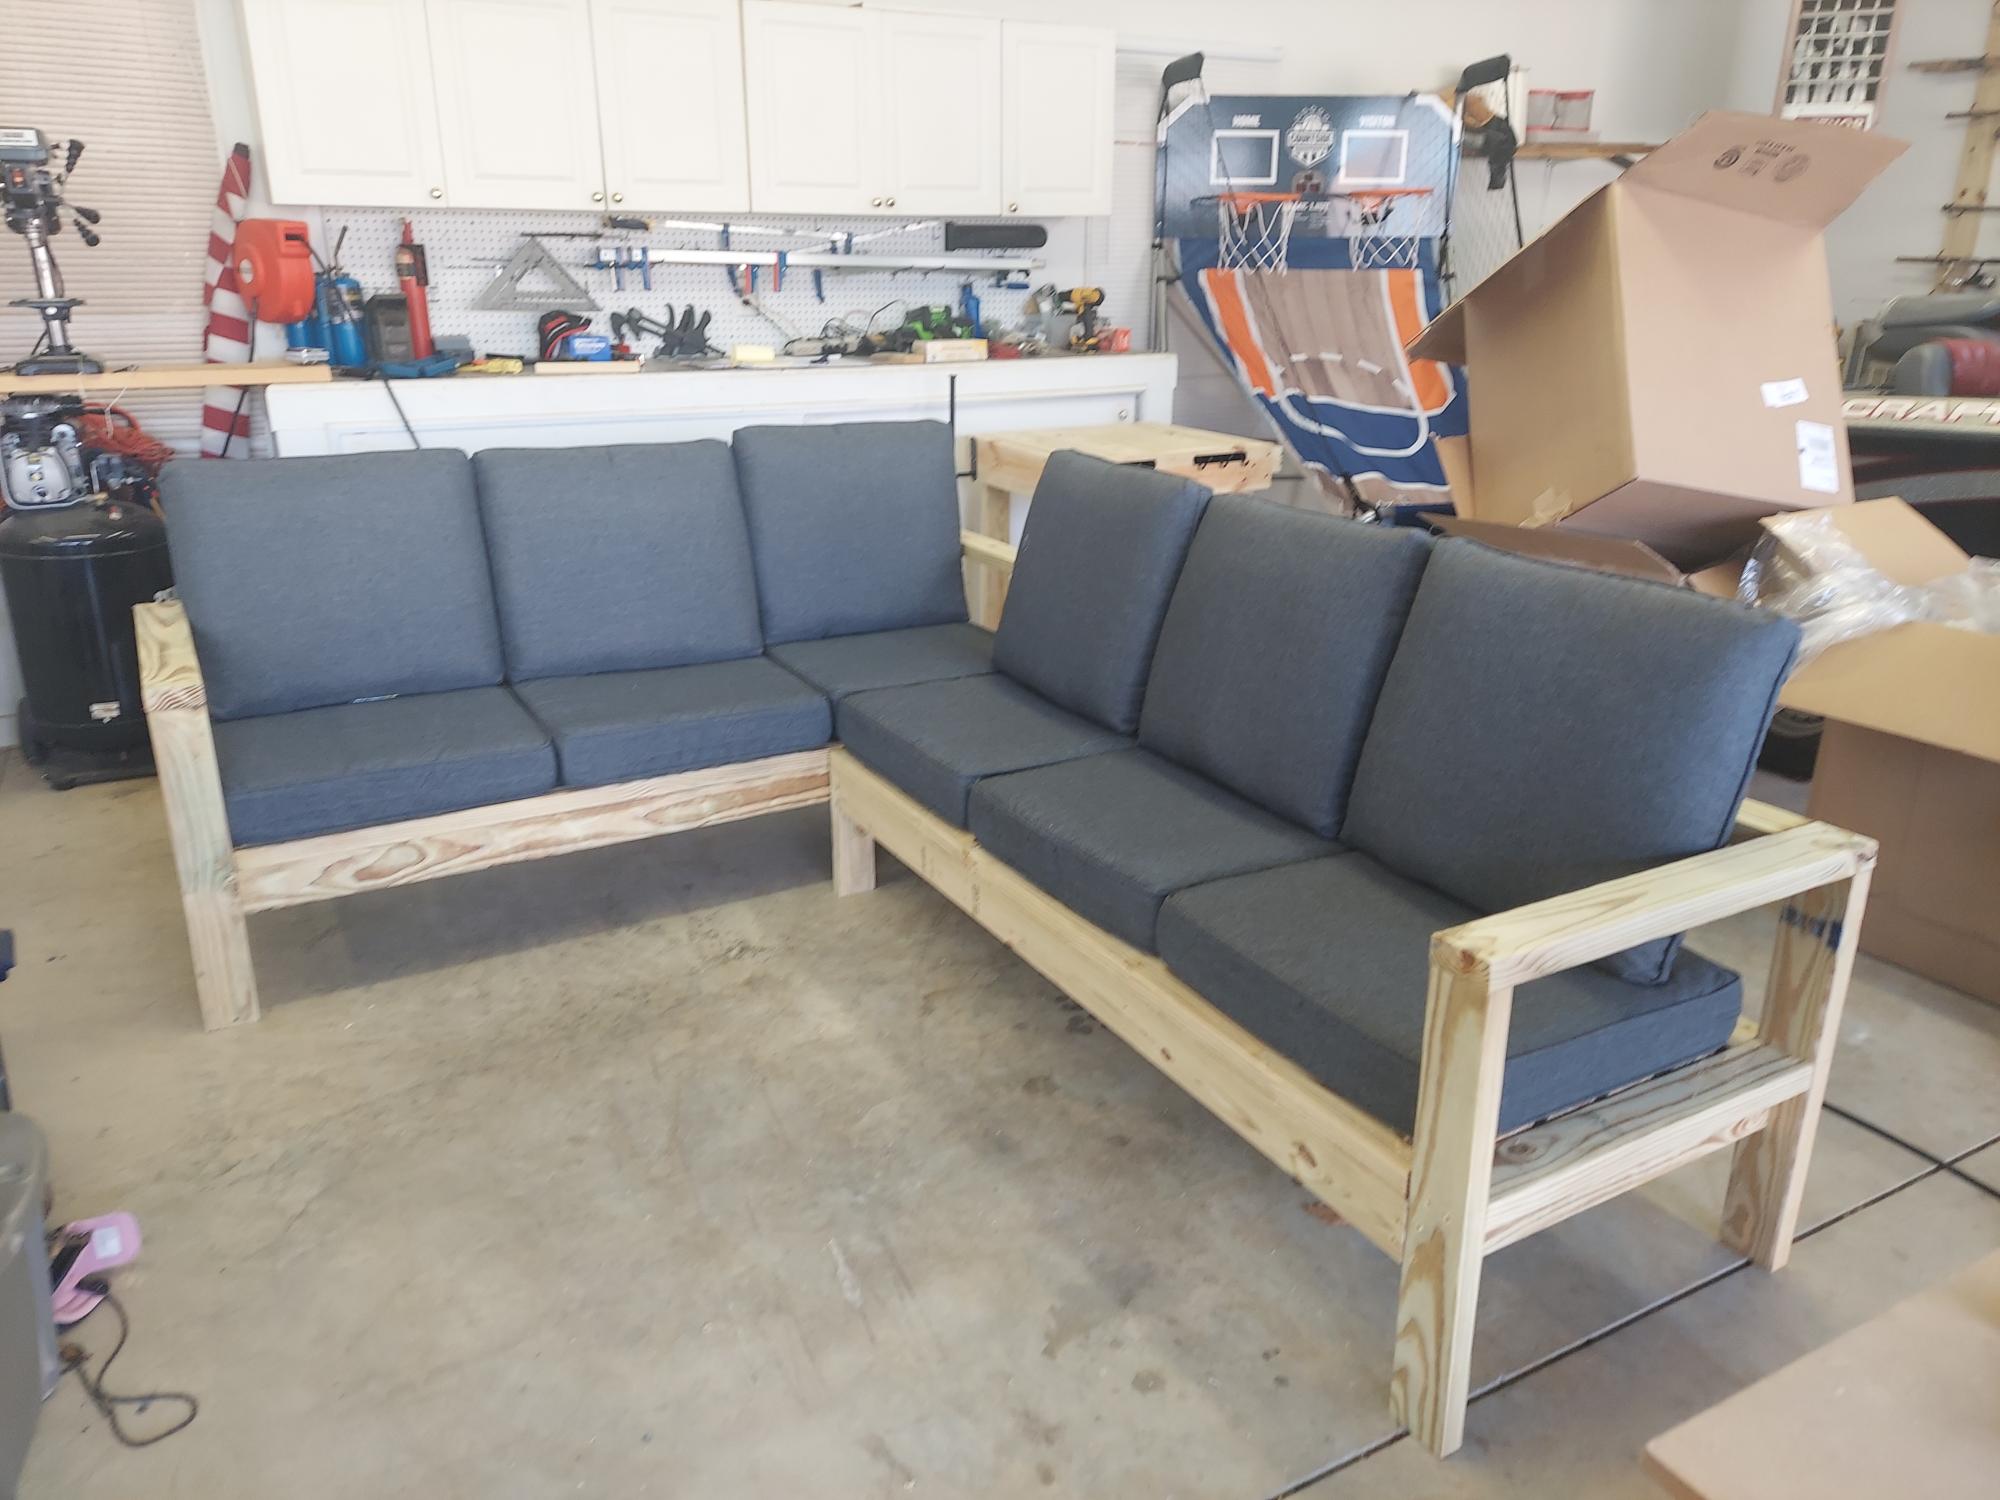
Submitted by Anonymous (not verified) on Thu, 12/16/2021 - 13:18

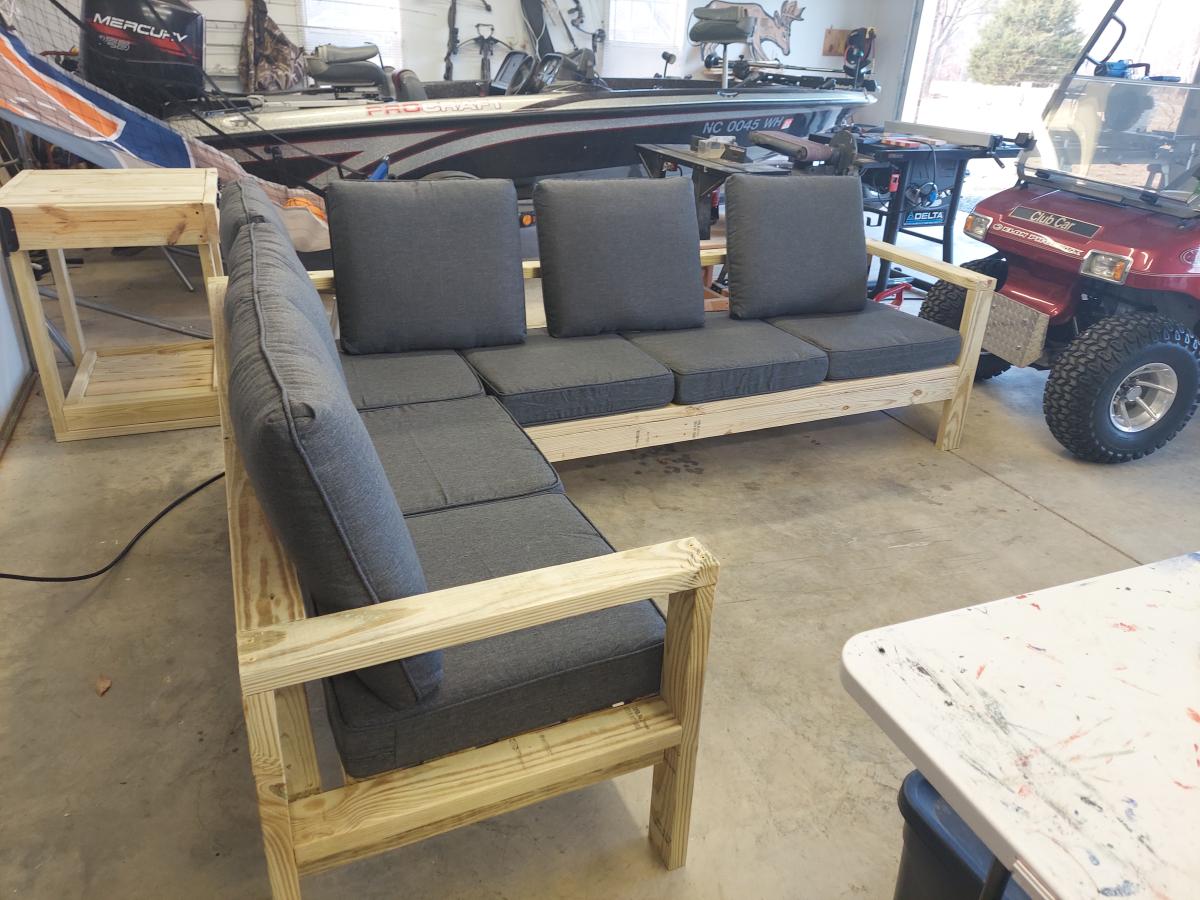
Built this for my daughter in law for Christmas. Turned out awesome. Plans and directions were great!

Comments

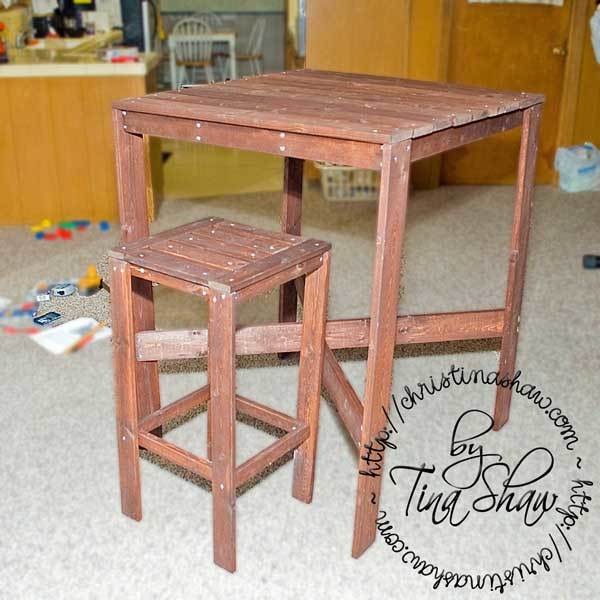
My still unfinished Outdoor Modern Bar Table, X Base

Submitted by biz_kid1 on Thu, 04/14/2011 - 11:33

I still need to level the legs out, file down 2 screws I put in backwards, fill some spots, stain and apply poly coat, but this is a start!  =)

I don't know how long it took - a little bit here and there for a few weeks!  Plus dry time for stain, etc.  And there's still a little more to go!
Estimated Cost
$50 plus finishing & supplies
Estimated Time Investment
Weekend Project (10-20 Hours)
Finish Used
Minwax Red Mahagony #225 Wood Stain; will also have a clear poly coat
Recommended Skill Level
Beginner

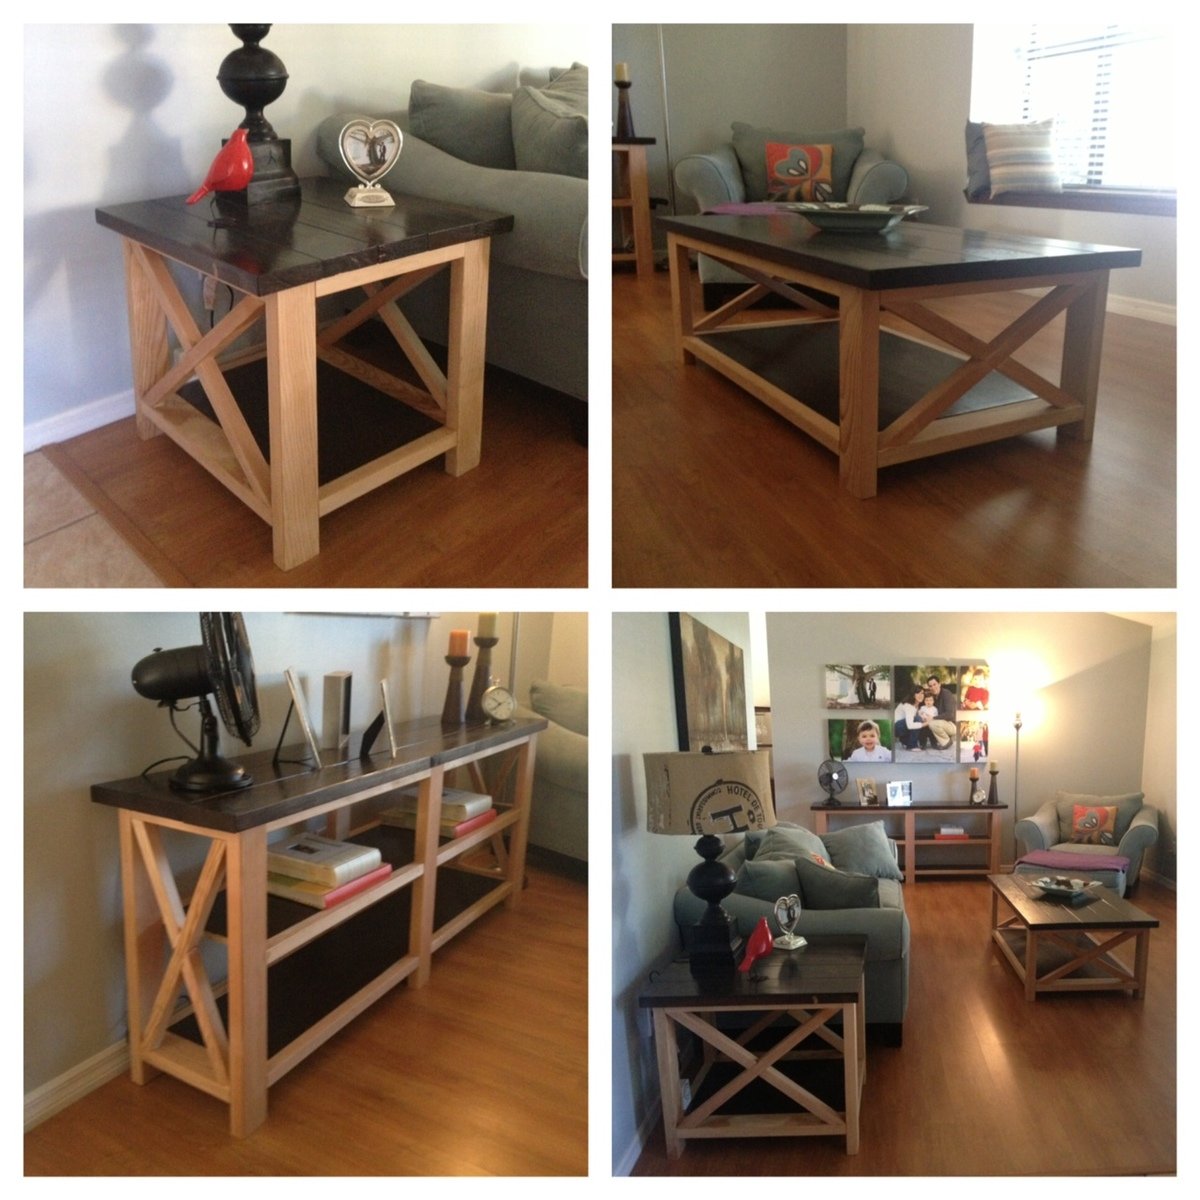
Rustic X Coffee Table, End Table and Console

Submitted by jbayer80 on Thu, 06/20/2013 - 07:07

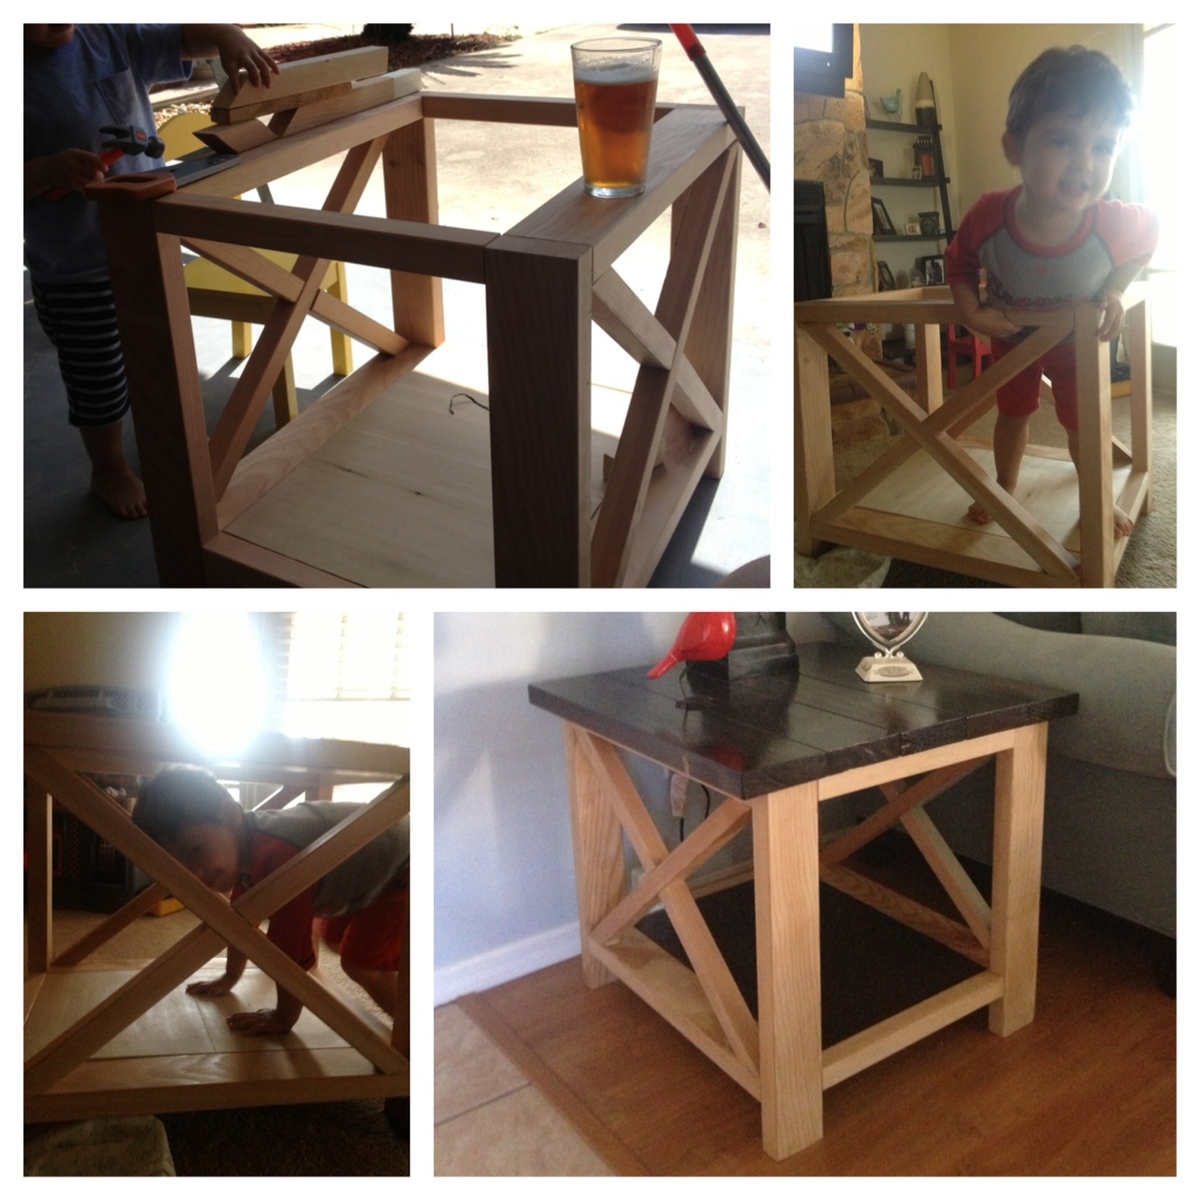
This was a blast to build. This was all a gift for my wife since the traditional 5th anniversary gift is wood.

The coffee table and console are both awesome! The only thing I would change/modify is the end table, because its kinda big and doesn't really look its part of the set other than the "X". I would maybe take about 2 or 3 inches off all sides or maybe 3 off the sides so its not such a box.

Estimated Cost
$500
Estimated Time Investment
Week Long Project (20 Hours or More)
Finish Used
Kona on top and shelf (s) with 4 coats of polyurethane. Currently there is nothing on all other parts because I wasn't sure what I was going to do. I think I'm just going to put a few coats of poly on the "naked" parts and call it a day. I thought about painting the other pieces but that would hide the beautiful grain in the Douglas Fir. I don't like the idea of the entire thing being Kona because it looks too dark on the others I've seen on here (for my house only), then I thought about a very light stain but think I settled on it being naked with the poly. I would honestly love to hear what you guys think as I have not touched it yet.

Actually I was thinking it would be nice for Anna to have a section with a "poll" for someone like me who is kinda stuck on a finish to post a picture and have other vote on a few options....thoughts??? Anna??
Recommended Skill Level
Beginner

Comments

Val Manchuk

Thu, 06/20/2013 - 07:31

I'll start one! Go for the poly. You're absolutely right, it will bring up the beautiful grain, and show off the "X" accents. Nice work, by the way!

Val Manchuk

Thu, 06/20/2013 - 07:32

I'll start one! Go for the poly. You're absolutely right, it will bring up the beautiful grain, and show off the "X" accents. Nice work, by the way!

spiceylg

Thu, 06/20/2013 - 08:39

Beautiful builds! Wow, they look wonderful. What an amazing gift! From the pics, the end table looks fine, too, as the furniture isn't a small scale. I love the two-tone so I say go for just the poly!

WorkShopWendy

Thu, 06/20/2013 - 12:08

I think you did an amazing job :) love the contrast of the two tones. Using poly for the rest would be beautiful. I cant wait to do this project myself.

JoanneS

Thu, 06/20/2013 - 15:47

What a wonderful gift! These tables are beautiful, great job on this build! I love the two-tone - One more vote for the poly! :)

jbayer80

Fri, 06/21/2013 - 13:04

I'm going to go with only the Poly over the bare wood. Thanks for the comments and advise! It will be a few weeks due to work and travel but I'll send updated pics once its done.

Jbird

Sat, 02/24/2018 - 21:18

I like the naked/poly look too. The other option I think would look good would be painting it white. The contrast between the white frame and darker kona top and shelf would be cool. 

Becca Trunk

Submitted by Linda7 on Fri, 05/29/2015 - 13:39

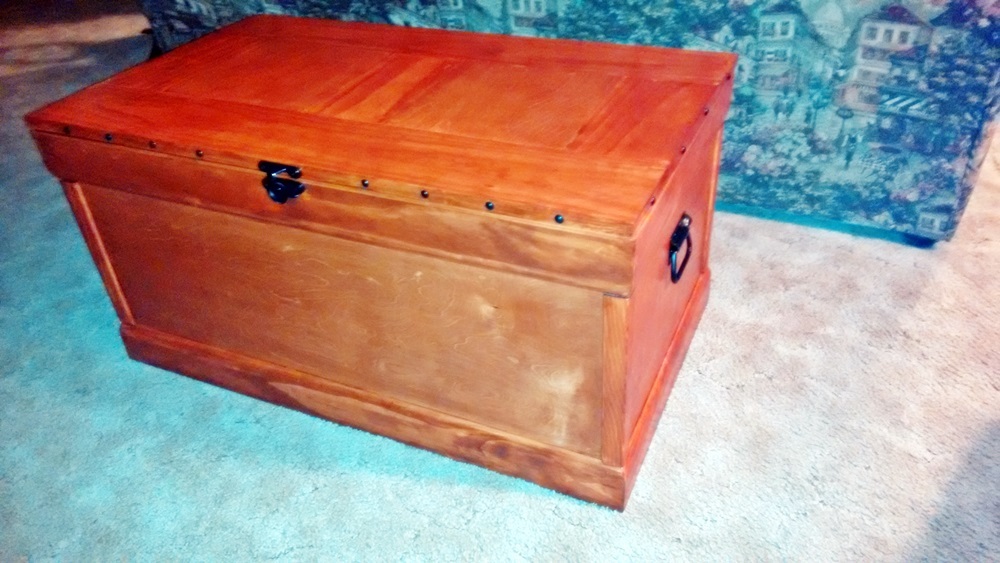
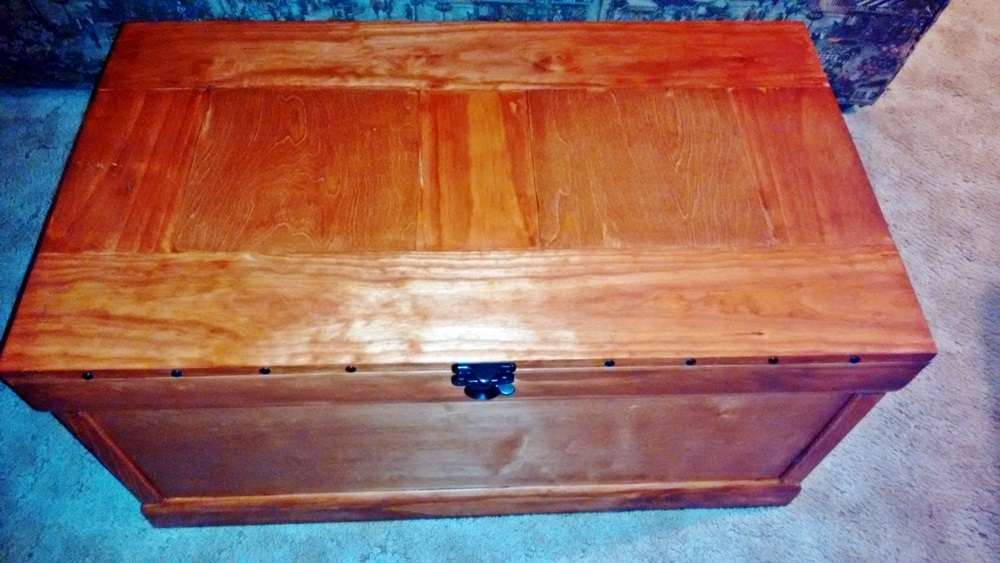
I built this trunk for my grandson’s high school graduation, and filled it with a lot of things he might need as he begins his life in the U.S. Air Force. Here are a few hints:
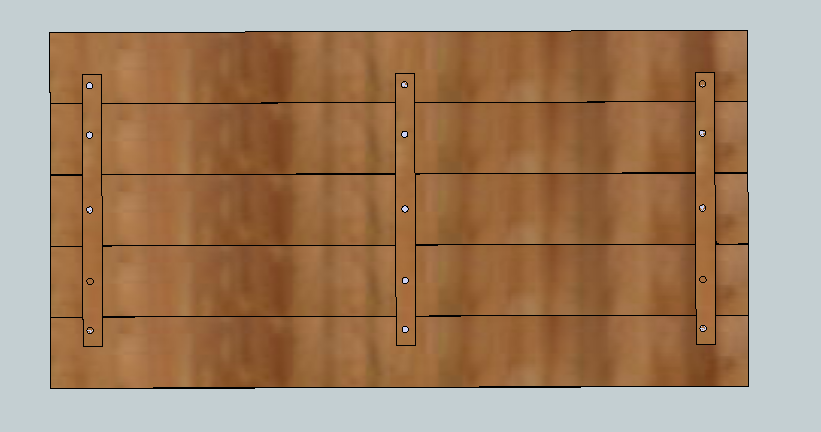
• Build the top after you place the moulding around the top of the box so you can measure exactly how long and wide the top needs to be.
• Don’t forget to measure the width of the 1” x 6” boards; if they are not exactly 5 ½”, adjust the length of the vertical boards on the trunk top or it could be slightly too small.
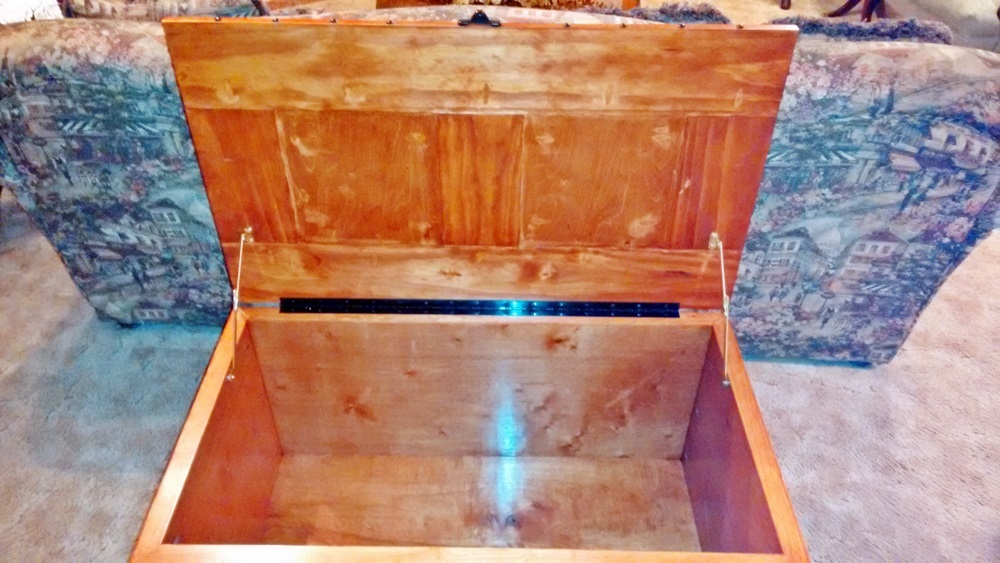
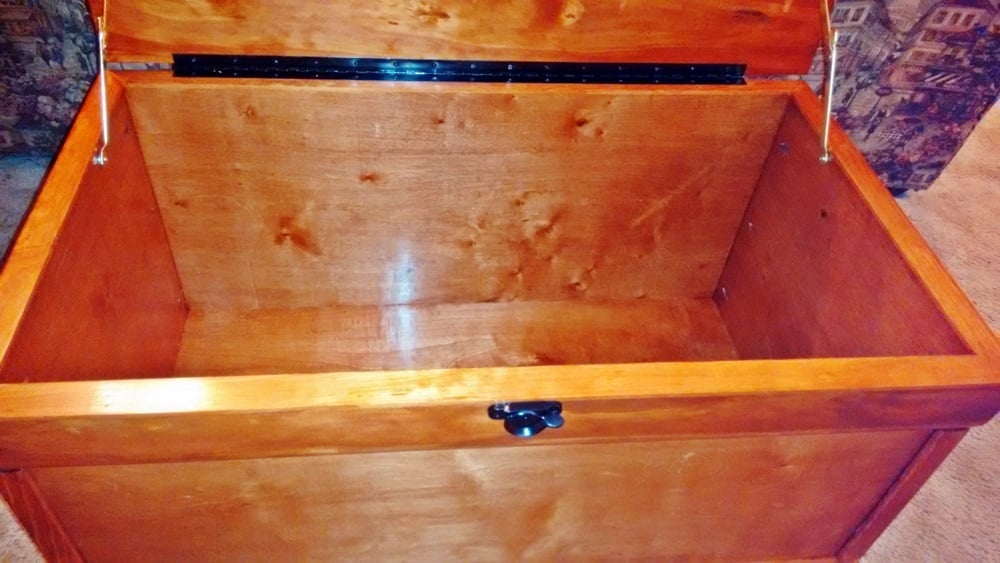
• Because of the extra width the moulding creates around the perimeter of the box, use narrow utility hinges, piano hinges, or Beverly of bzhays used black decorative strap hinges from Amazon.com.
• I used black handles from Amazon.com: Reliable Hardware Company RH-0540BK-2-A Set of 2 Chest Handle, Black
• For a more finished top on the inside, I filled the holes with wood putty and sanded it smooth, then stained and polyed like the outside of the trunk. The kreg holes are still visible, but not too much.
• Before screwing the box together, I recommend finishing the inside surfaces first; cover the edges that will meet with painter’s tape so the glue will have bonding surfaces.

I love the rustic look most have used in their finishes, but since I used a traditional stained finish, I used the ideas from Justin of jeverette1 who covered the exposed plywood edges with scrap. Since I didn’t have that, I used corner moulding for the corners, and lattice strips to cover the top edges of the box. This gives the trunk a more finished look if you are not going for the rustic/distressed look. I notated below a week-long project - I spend a lot of time in the finishing and do so over several days. Others could certainly finish in a weekend.

I’d like to thank Ana for the wonderful plans, and Whitney of Shanty 2 Chic for the great step-by-steps. Also, a big thank you to Beverly of bzhays and Justin of jeverette1 for responding to me with my questions; you were both so helpful.

Built from Plan(s)
Estimated Cost
$150.00 - I used better pine and stain-grade burch plywood to avoid hours of sanding.
Estimated Time Investment
Week Long Project (20 Hours or More)
Finish Used
Stain: Rusteoleum “classic cherry”; one coat and it took every drop of the small can. Finish: Minwax wipe-on poly, one can is enough for several coats. The pictures were taken at night with a flash, so it appears much shinier than it really is, plus the color is off too - not as "orange-ish" as it appears. I also had to paint the sash lock black (couldn't find any in black) and the piano hinge. The decorative tacks were found at Lowe's in the hardware section among the nails and they come in several finishes.
Recommended Skill Level
Beginner

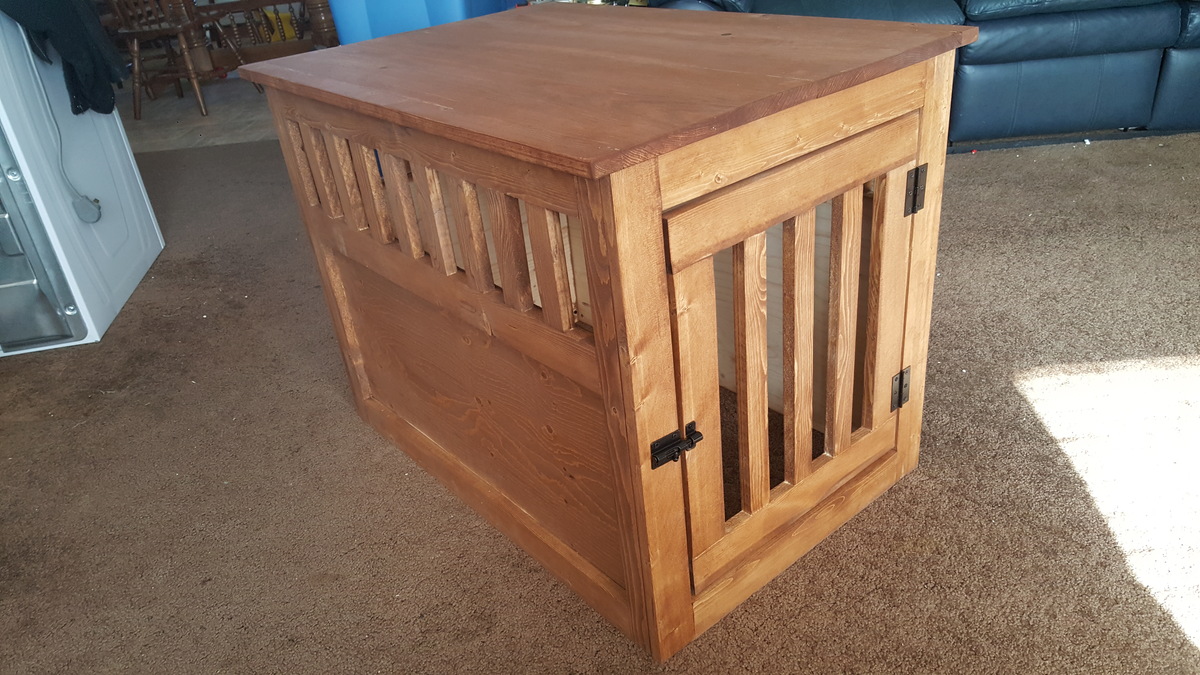
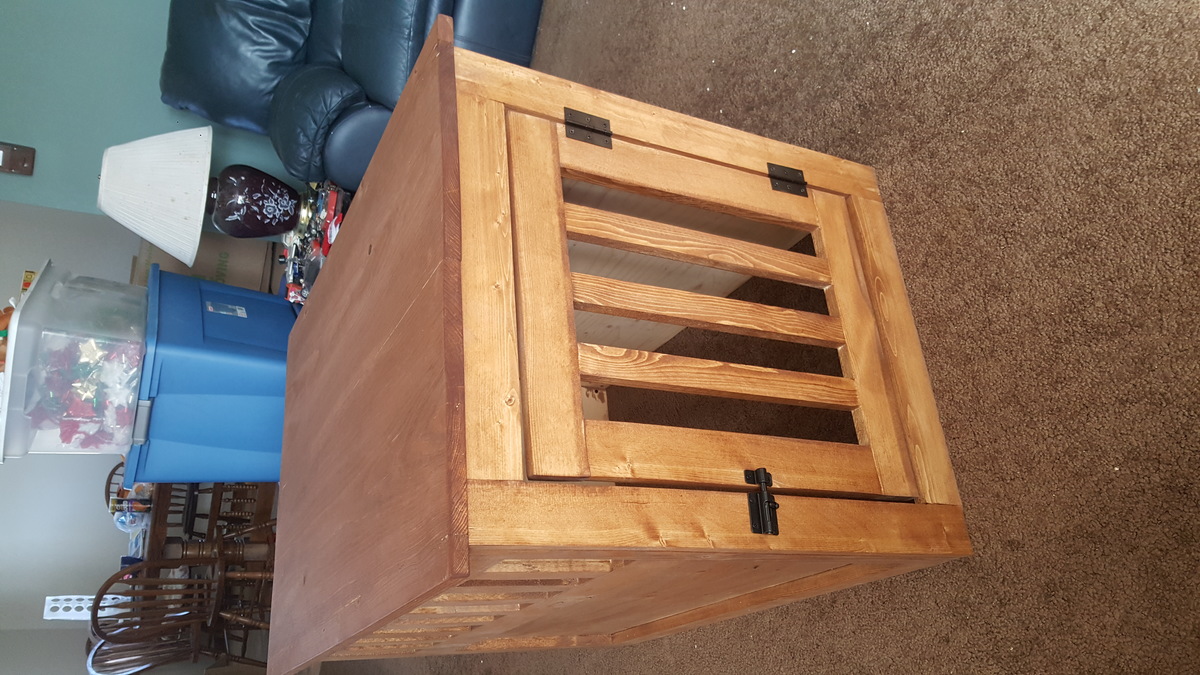
Mission Style Dog Kennel

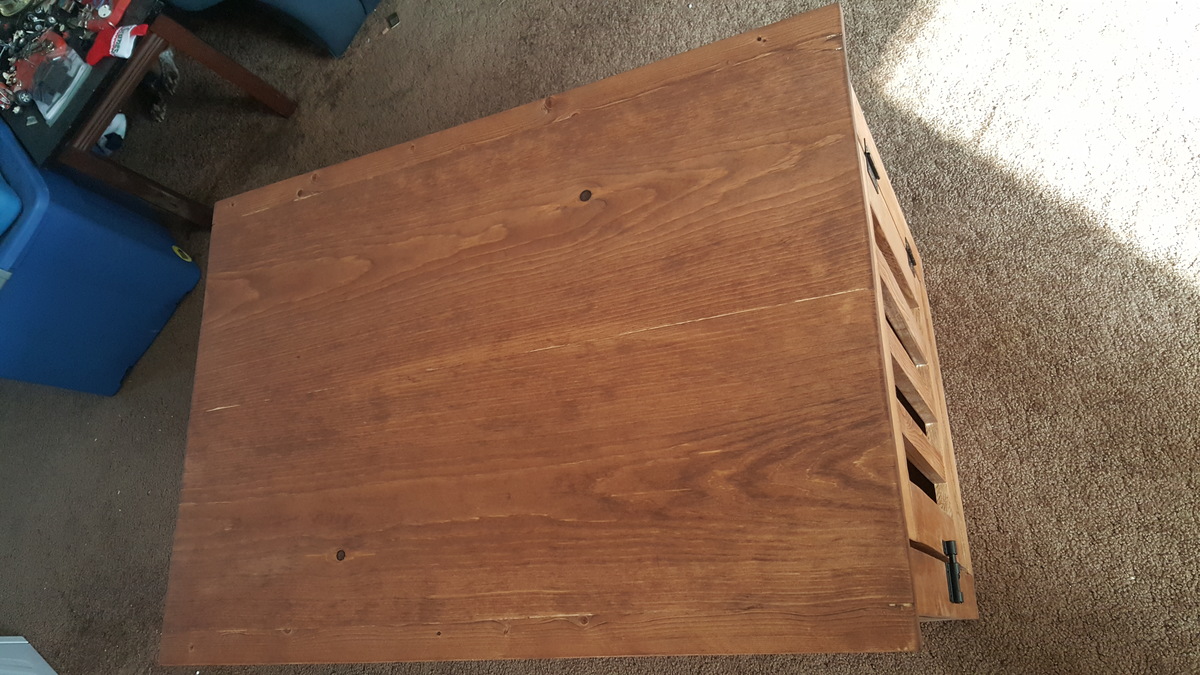
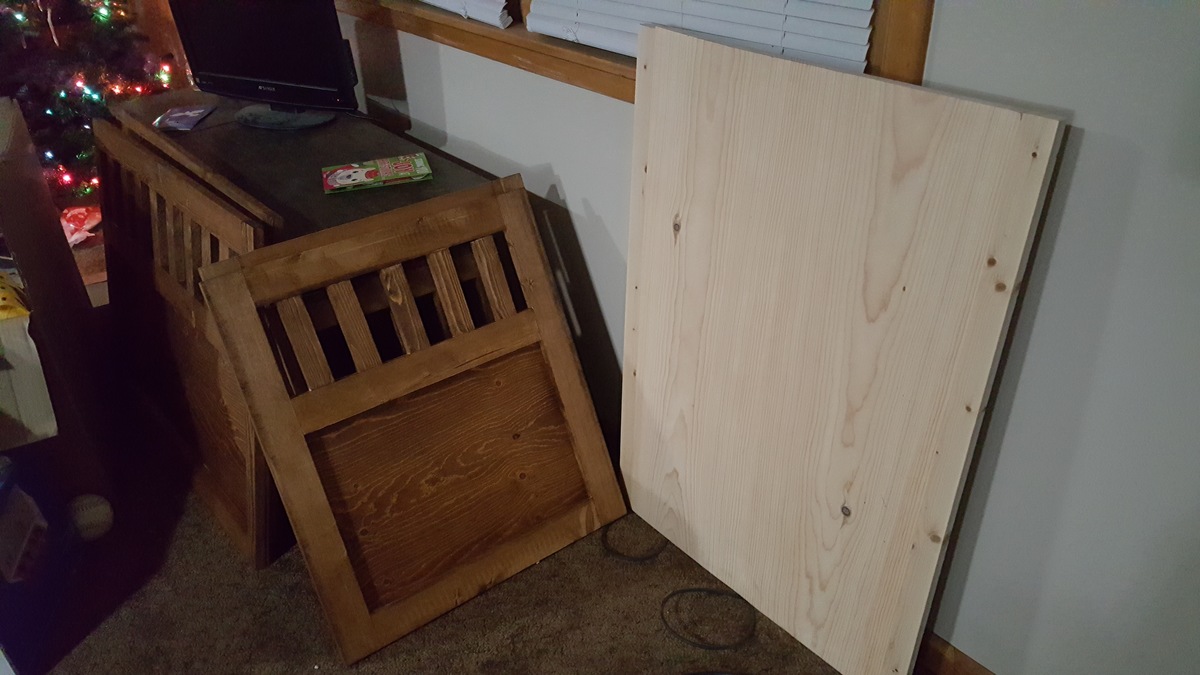
This project was really pretty easy. The hardest part was holding the pieces just right so they ended up where we wanted once the kreg jig hole screws went in. Also, we had to be sure not to overtighten the screws and cause splitting.


We did have to make two adjustments to the plans. I think the first was a typo...where it says 2 - 1x2 @ 15 3/4" (door sides) they should actually be 1x3 based on the images.

The second adjustment was the plywood for the back 17 3/4" x 21" ended up too wide for the end to fit on, so we made it 17 3/4" x 20"

Built from Plan(s)
Estimated Cost
$100
Estimated Time Investment
Weekend Project (10-20 Hours)
Finish Used
Early American stain and satin polyurethane.
Recommended Skill Level
Intermediate

Comments

Knox11

Sun, 12/24/2017 - 17:17

This was my first wood working Project! I learned alot about what to do and not to do for future projects. We are excited about how it turned out!

Spice Cabinet

Submitted by Anonymous (not verified) on Fri, 12/24/2021 - 20:39

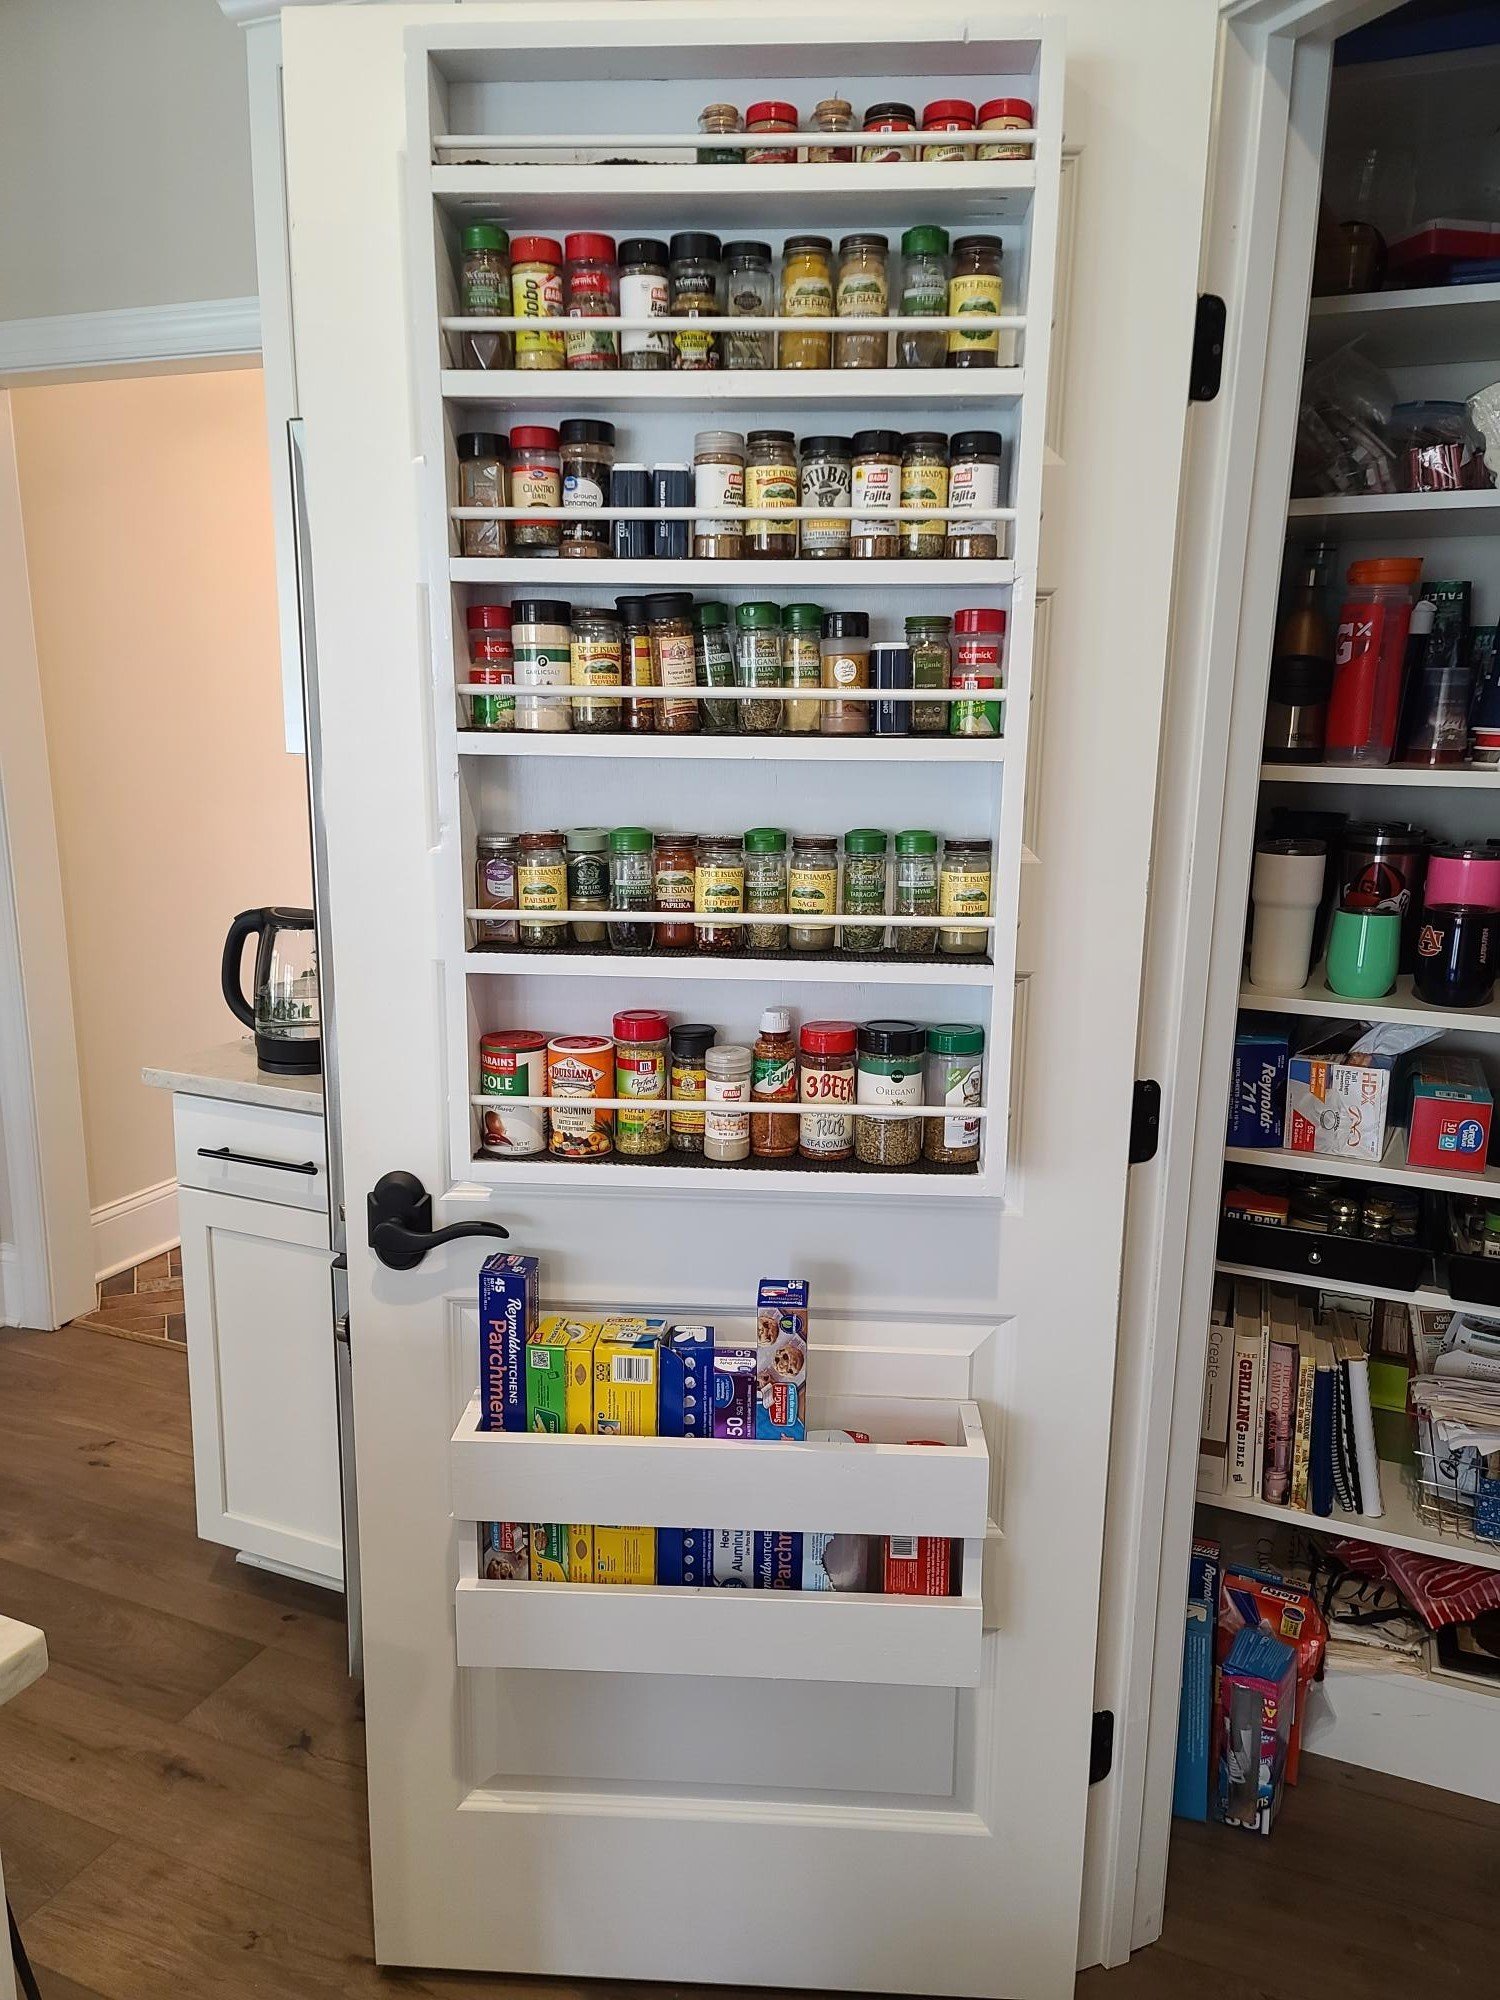
Love to cook, didn't have enough space in the pantry for all my spices. Used the spice cabinet plan and it was perfect.

Built from Plan(s)

Comments