Community Brag Posts

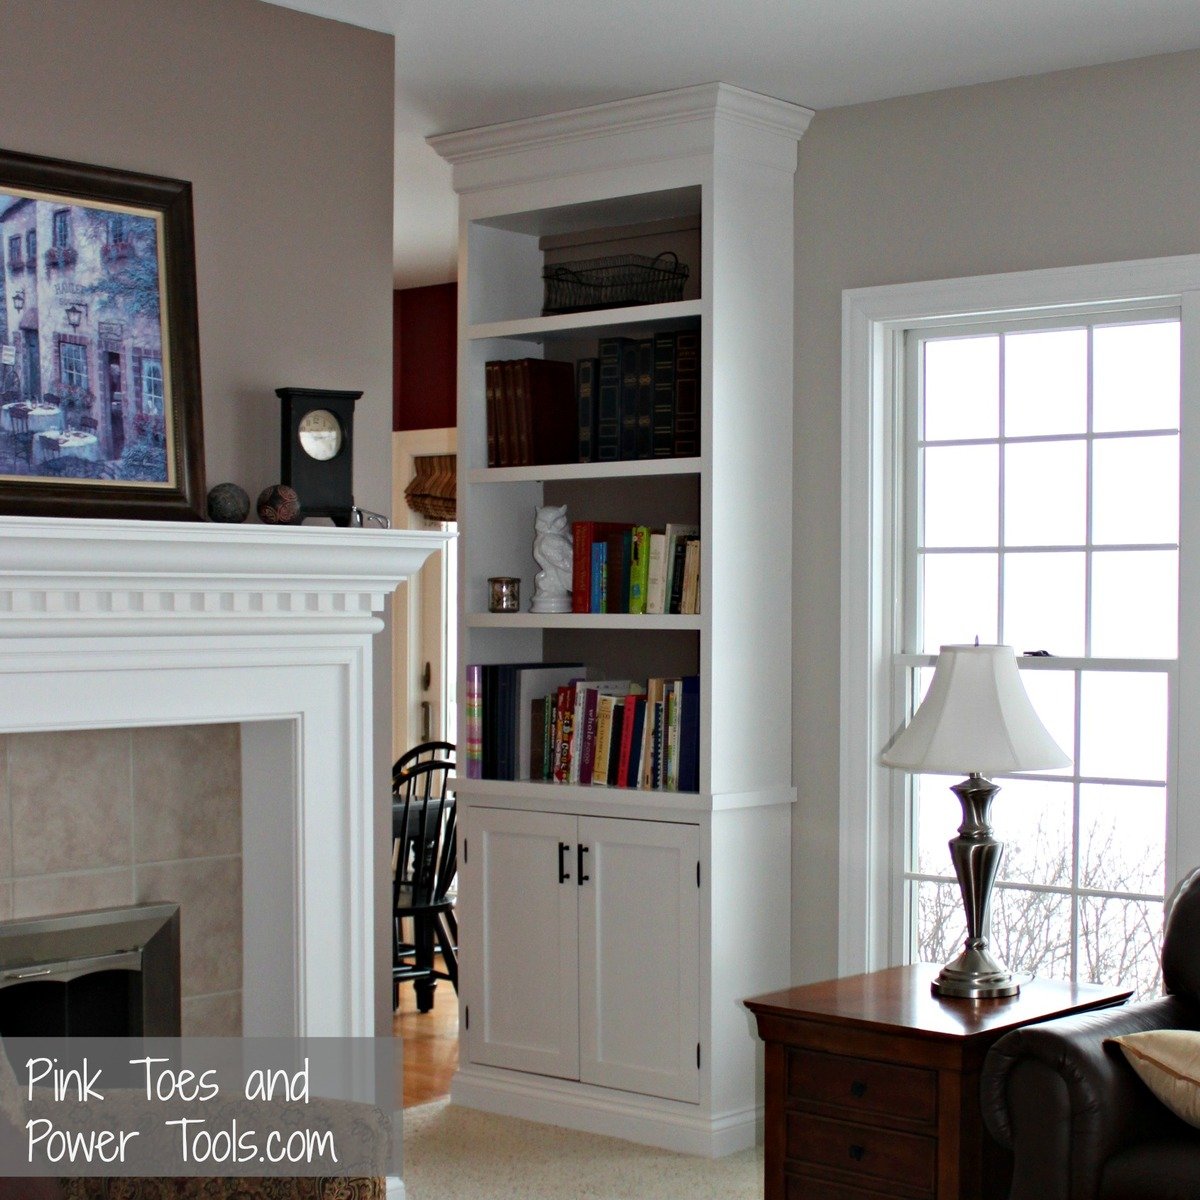
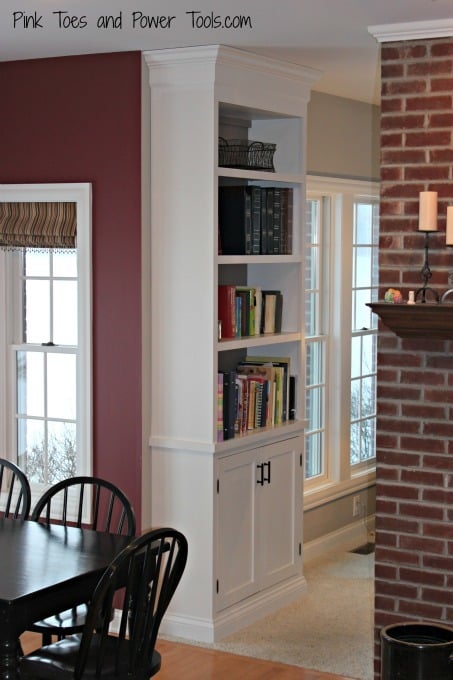
Built In Cabinet and Bookshelf
Submitted by kristen on Wed, 12/26/2012 - 21:54

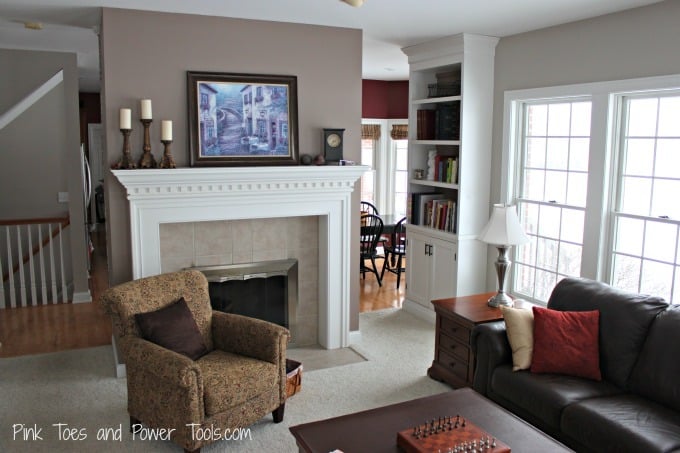
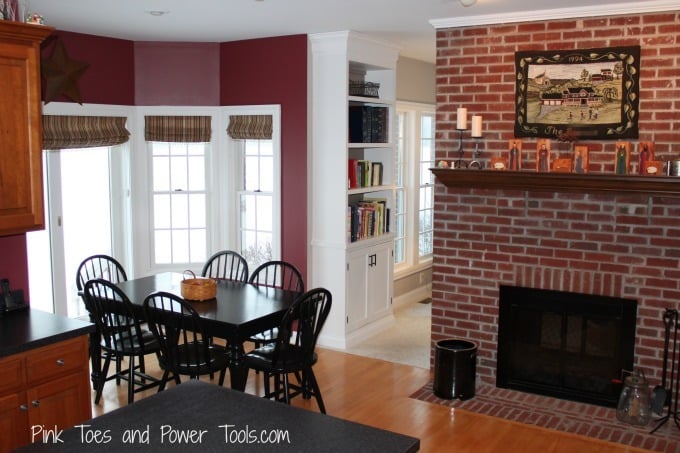
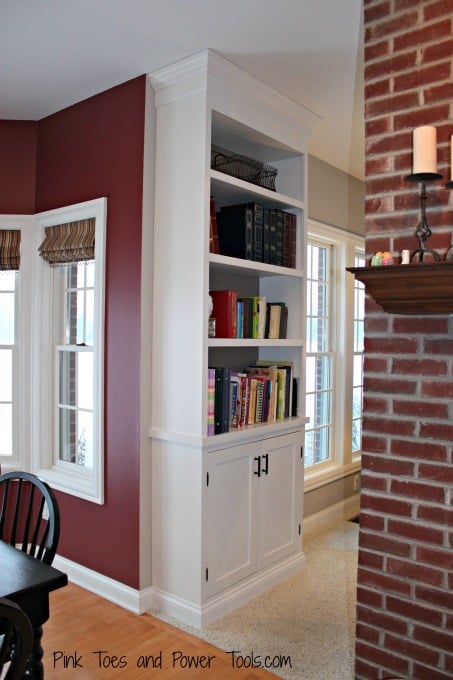
I didn't really follow any of Ana's plans for this build, but it is a result of using her plans up to this point in my woodworking journey that enabled me to complete this one! I don't own a table saw, so this was constructed using a circular saw, miter saw, Kreg jig, and a nail gun. It was the first time I've had to cut and attach crown molding, and I also learned how to cope baseboard trim using a Dremel. Another first was using a router to rabbet out the back so the plywood back wasn't visible from the sides. I learn something new every build :)

I'm thrilled with the change in the room with this new project. We had two narrower bookcases side-by-side in there before, and they were about the height of the windows with a stain color that didn't match any of the other wood pieces in the rooms. This cabinet looks like it belongs in the room.

Estimated Cost
around $200
Estimated Time Investment
Week Long Project (20 Hours or More)
Finish Used
Primer, off-white paint in satin, Polycrylic topcoat in satin. 320 grit sanding in between all paint and topcoat coats.
Recommended Skill Level
Intermediate

Comments

moosmani

Thu, 12/27/2012 - 07:54

Very well done. It fits right in and looks absolutely beautiful. I am working and practicing to reach your skill level so I can do amazing things too!

Cindy from Indiana (not verified)

Thu, 12/27/2012 - 09:14

Love this! Really great job!

Greek Key

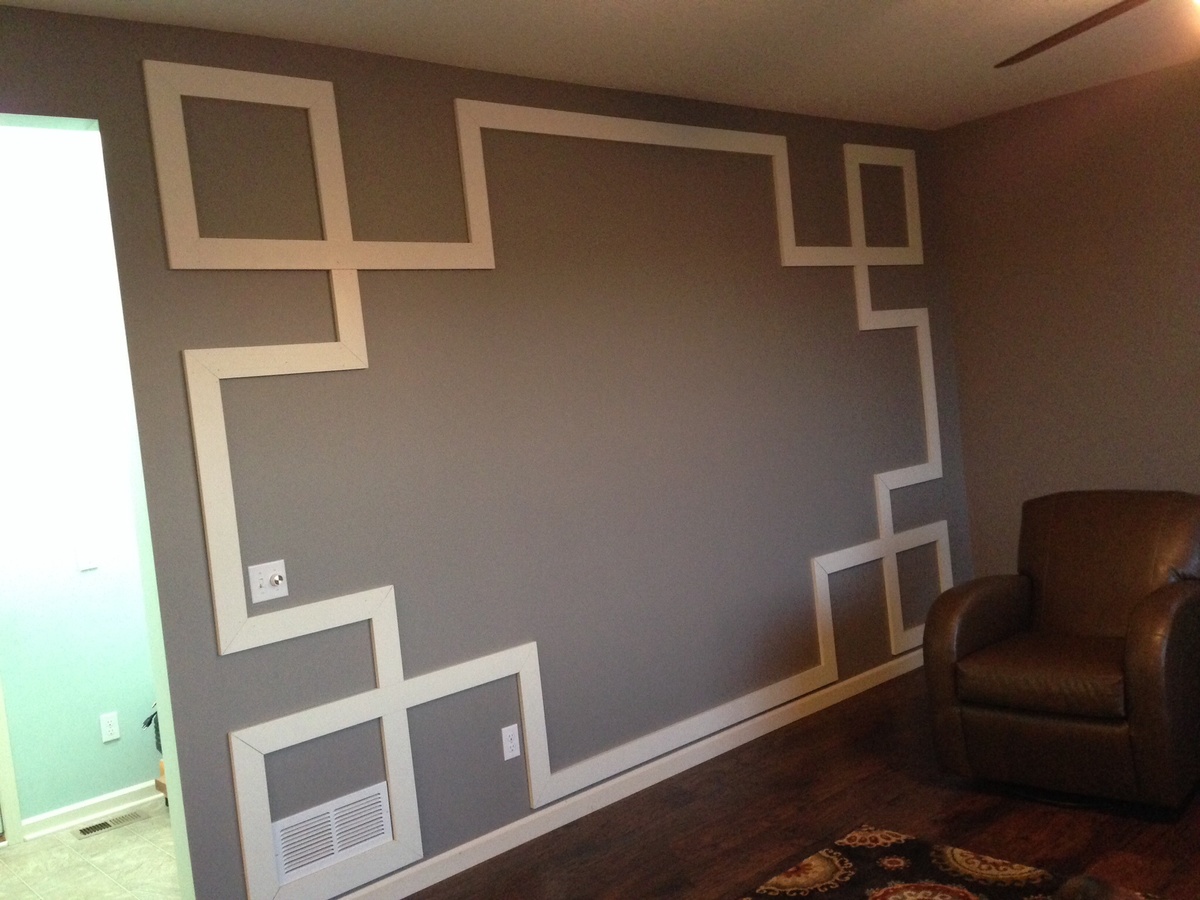
Modified plans it fit our wall.  Looks great and only took a few hours start to finish. 

Estimated Cost
$50.00 (already had the paint)
Estimated Time Investment
Afternoon Project (3-6 Hours)
Finish Used
Painted the same color as the trim
Recommended Skill Level
Beginner

Comments

A little carried away.....

Submitted by Anonymous (not verified) on Sat, 01/21/2017 - 05:01

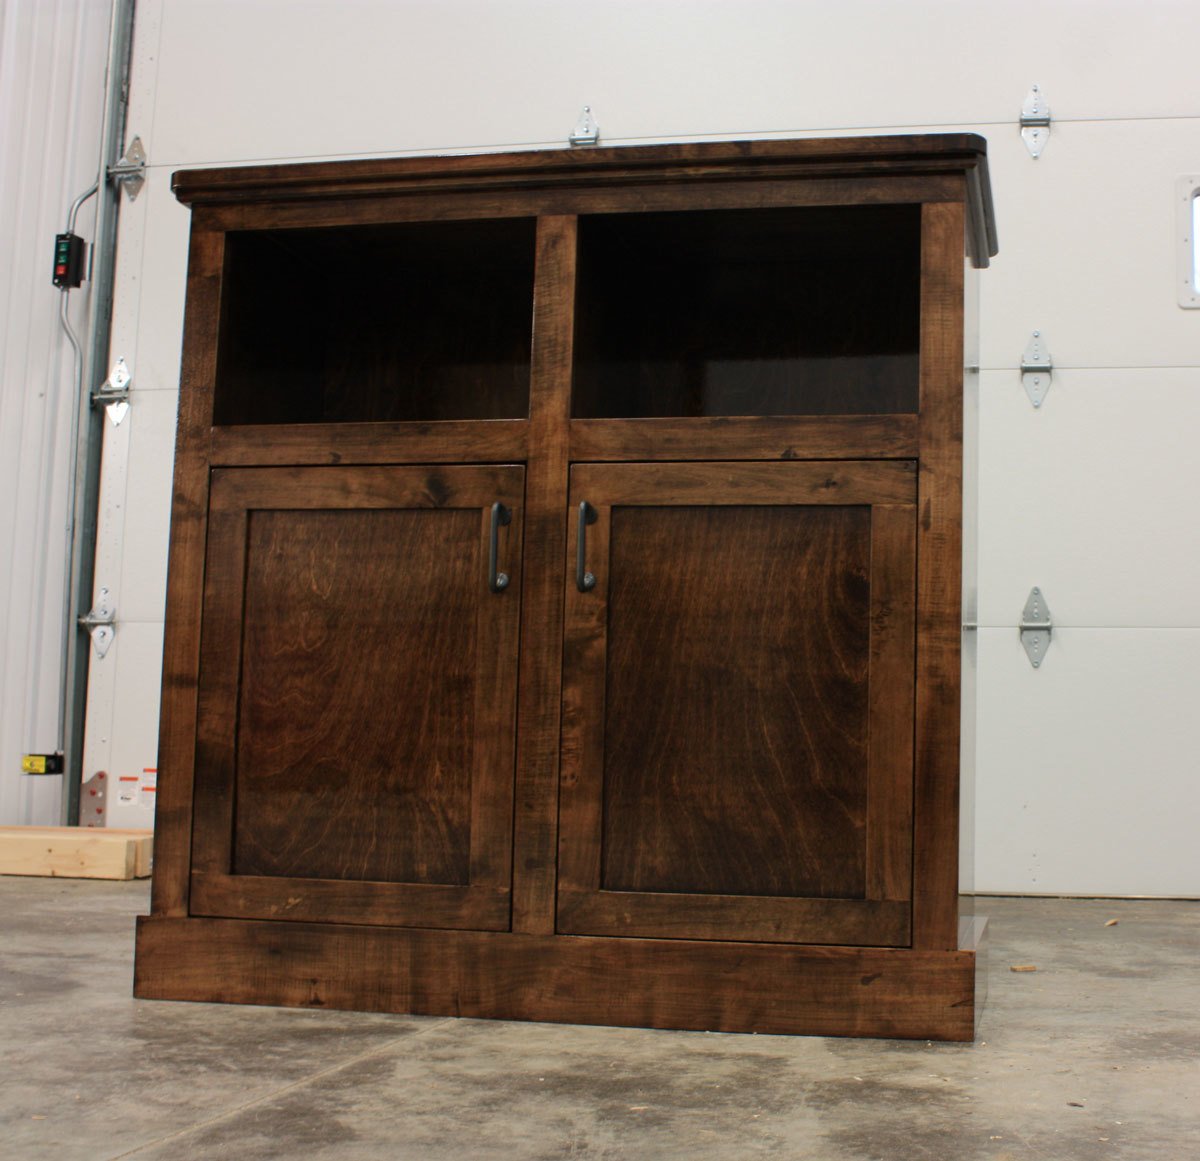
Friend needed a hutch to store some overflow kitchen stuff and I needed a first project for my new woodshop. I changed the top openings to accomadate what she needed to store and went with milled lumber because I have the tools needed to finish it out.

I think it turned out great in the end, Thanks for the plan Ana!

Built from Plan(s)
Estimated Cost
300$
Estimated Time Investment
Week Long Project (20 Hours or More)
Finish Used
Minwax expresso stain & Minwax polyurethane
Recommended Skill Level
Beginner

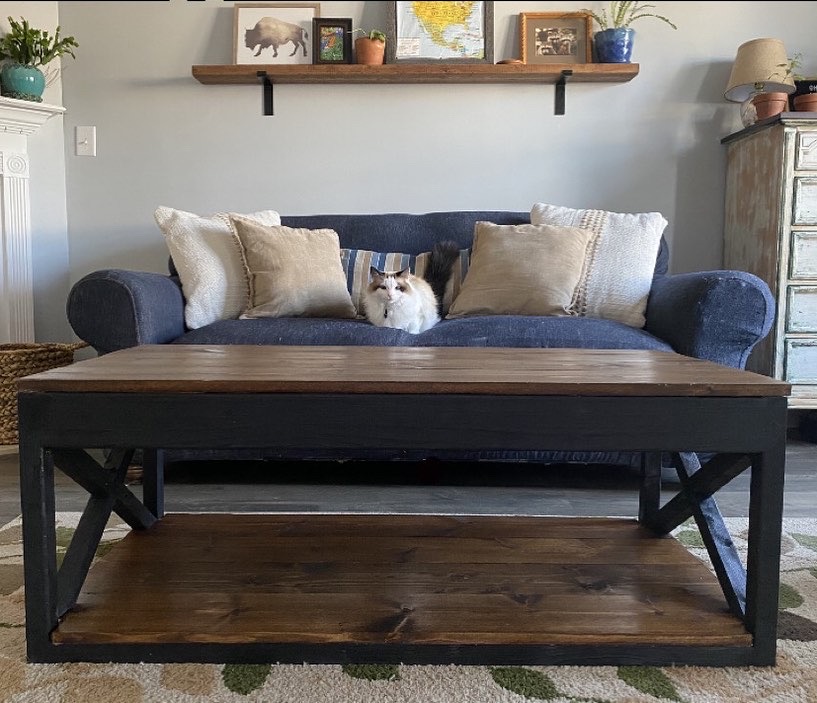
Rustic x coffee table

Submitted by Keldani5 on Wed, 10/07/2020 - 14:58

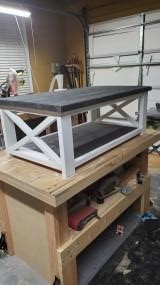
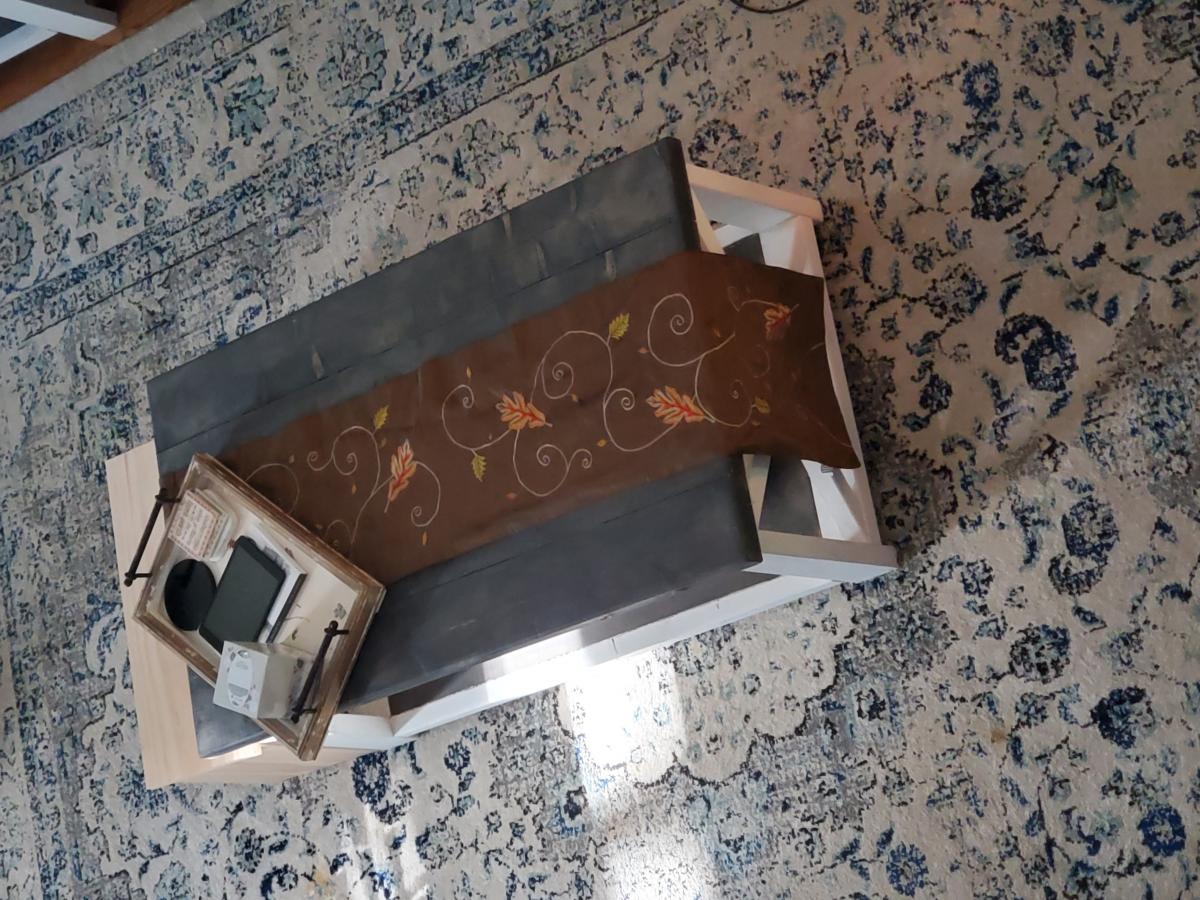
This project took regular pine, pocket whole screws. This took a weekend to build

Built from Plan(s)
Estimated Cost
80
Estimated Time Investment
Weekend Project (10-20 Hours)
Finish Used
Stain with a wax coat and white satin paint
Recommended Skill Level
Intermediate

Large Cubby Bookshelf With Adjustable Shelves

This was my second project that I completed to go along with the Daybed With Three Trundle Drawers For Storage that I made for my son.

The original plans for this bed state that you need three 1 x 12 x 8's, but you actually need 4. The two middle 42 3/4" boards on the inside are missing from the cut list, but you can see them in the diagram.

I am so happy with the way this turned out! It was a little more challenging with the wider width boards--I had to force them on the line because they weren't perfectly straight. But overall, I am very happy with this.

When I drilled the holes for the shelf pins using the Kreg shelf pin jig, I used the 1" inset on the outside 2 columns, and the 2" inset on the center column. This way I avoided have holes that were drilled all the way through the board.

Between this and the storage daybed, I have really freed up so much space in my son's small bedroom! Happy building!

Built from Plan(s)
Estimated Cost
$70
Estimated Time Investment
Weekend Project (10-20 Hours)
Finish Used
First, I used Minwax's water-based pre-stain wood conditioner. After waiting about 15 minutes, I sanded the wood again using 220 grit sandpaper. Then I used about four coats of Minwax's water-based "Sangria," to get the darkest color with that particular stain that I could possibly get. You have to allow 2 hours drying time between coats, and 3 hours after the final coat. Finally, I used 3 coats of Minwax's water-based polycrylic, again allowing to dry two hours between coats. I also lightly sanded with 220 grit sandpaper between coats of the polycrylic.
Recommended Skill Level
Intermediate

Comments

Jake

Tue, 01/01/2013 - 18:13

Your first two projects are very professionally done. KUDOS for such a great job. Keep it up and your kids will soon be in the shop with you and it will become a family affair.

Tiny bathroom wall system

Submitted by RebeccaGB on Sun, 10/12/2014 - 17:17

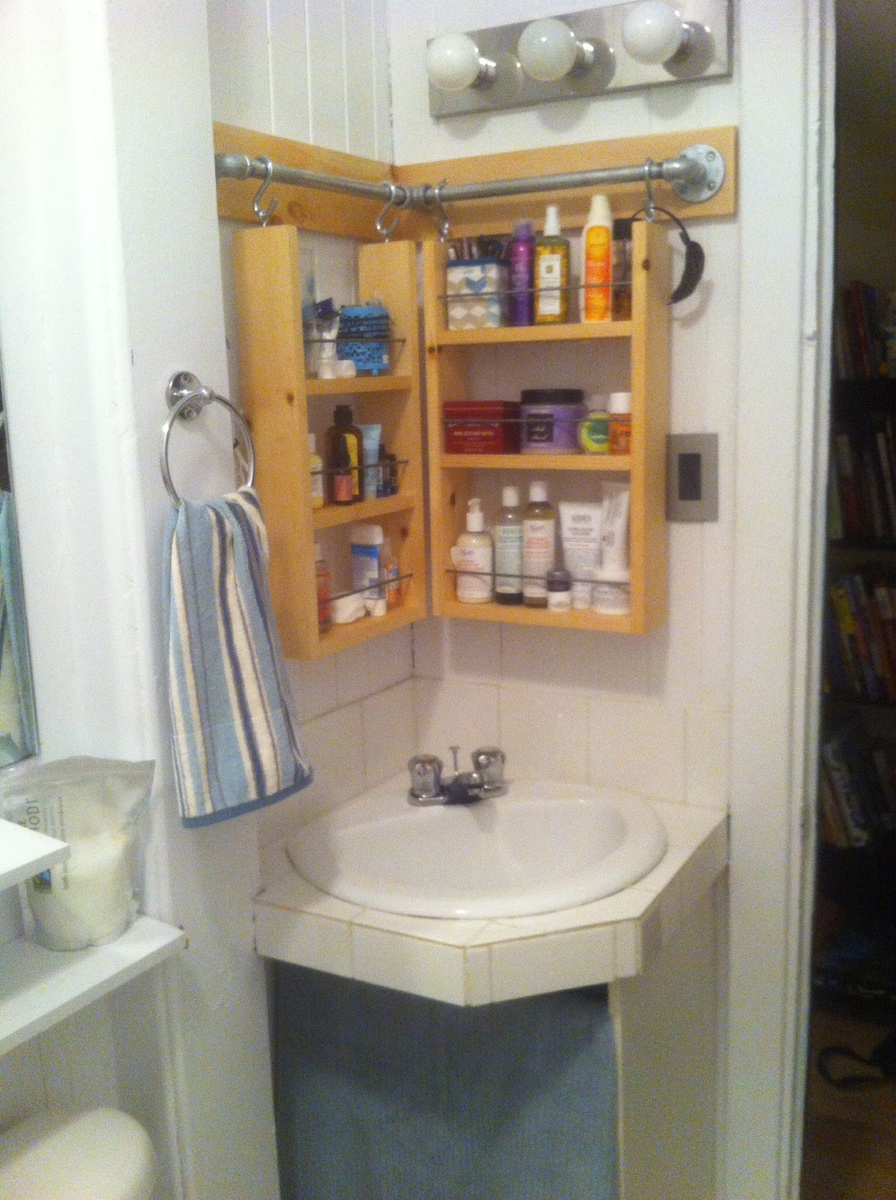
This project was not as simple as I expected! For this little bathroom, the mirror is offset, leaving lots of wasted space above the sink so my friend asked me to build some storage. I thought this would be a great solution that could maybe move with her later on, and it turned out pretty well. My two problems were 1- I had to cut the steel pipe to fit the space and 2- my hardware store did not sell S-hooks that would fit over the steel bar.  I used 1/2 in steel bar, so I cut it with my Dremel rotary cutting wheel. It was a bit slow but it worked and once I cut halfway, I could just bend the pipe to break it at the cut. The two cut ends are not threaded so I had them each end into one side of a 3/4 T fitting. For the S-hooks, I bought ones that were about the right size, then bent them open wider using a large screwdriver and a crow bar as a wedge. Two large screwdrivers might work as well. Instead of the straps, I used a thin steel bar, drilled through one side. I am happy with how it turned out, took about an afternoon not including all the time thinking it out! Finished with butcher block oil.

Estimated Cost
$35
Estimated Time Investment
Afternoon Project (3-6 Hours)
Finish Used
Butcher block oil
Recommended Skill Level
Intermediate

Our console/sideboard table

Submitted by Anonymous (not verified) on Mon, 01/23/2017 - 19:19

Decided to make this on a whim, and we are very pleased with the results!

Estimated Time Investment
Afternoon Project (3-6 Hours)
Recommended Skill Level
Beginner

pirate ship loft bed

Submitted by Anonymous (not verified) on Mon, 10/12/2020 - 21:10

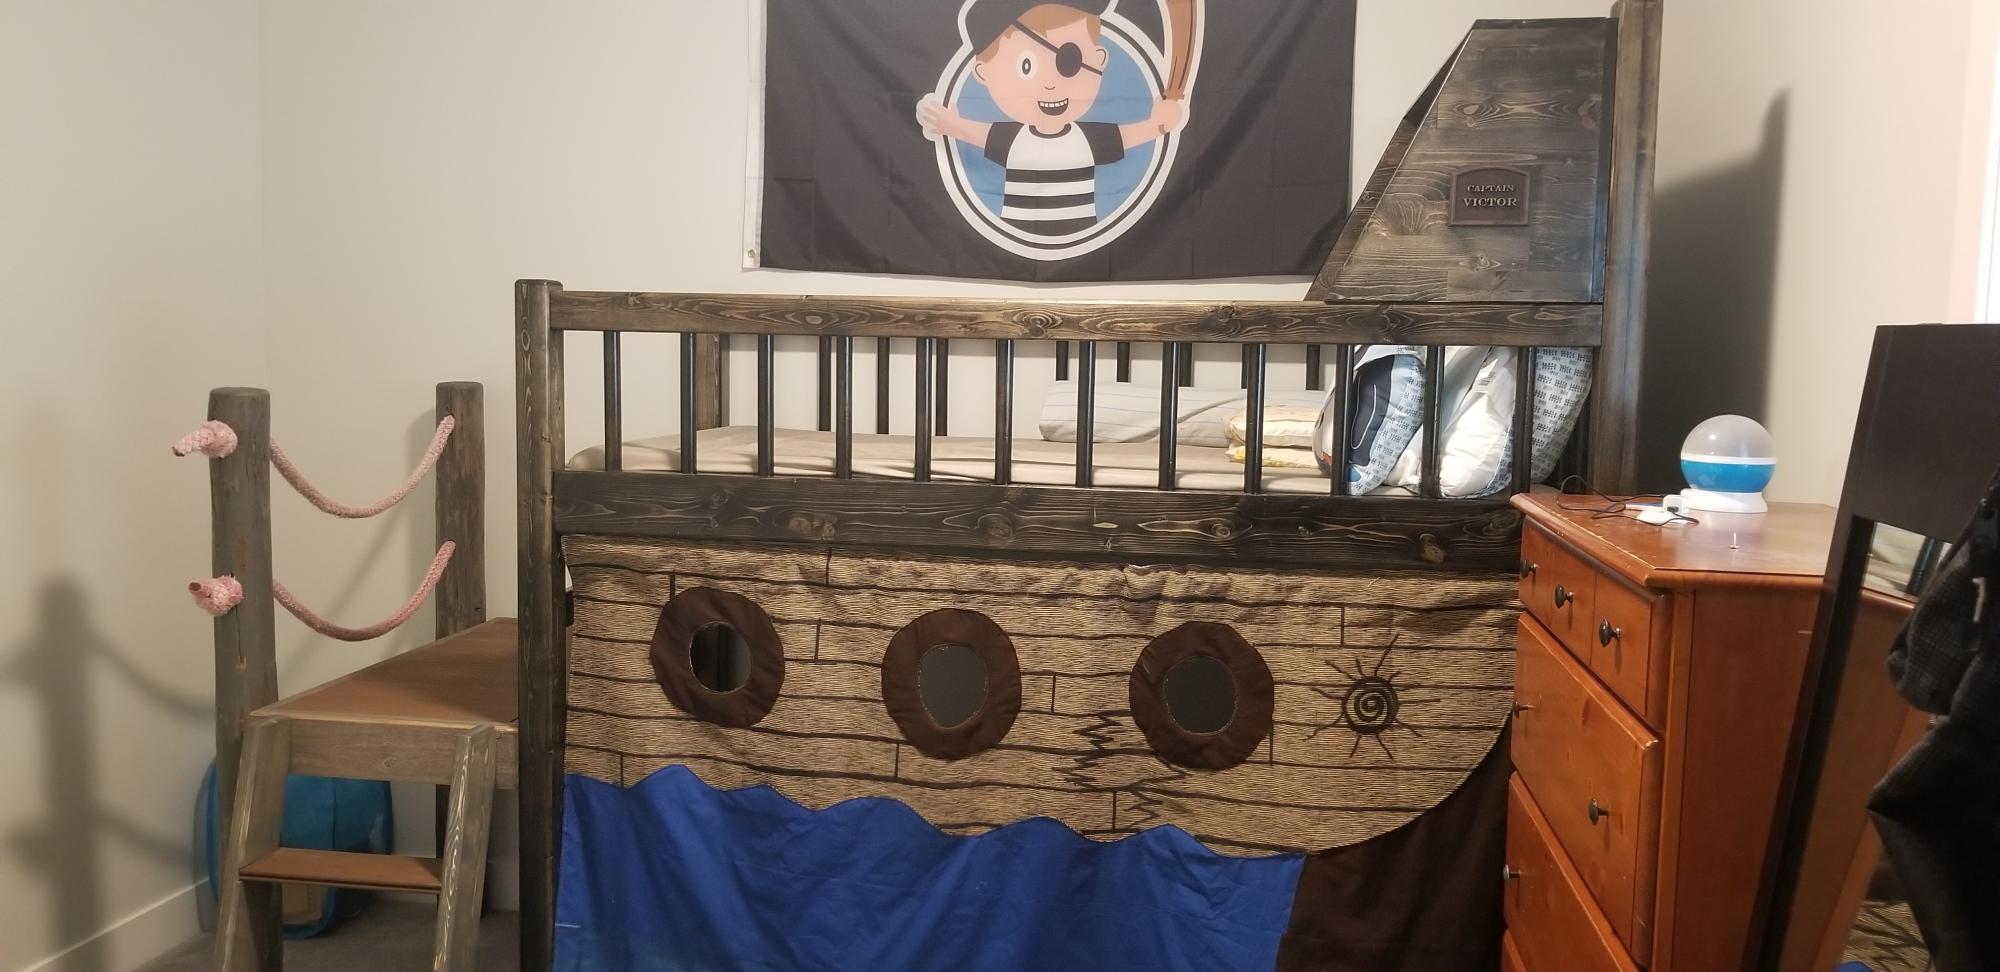
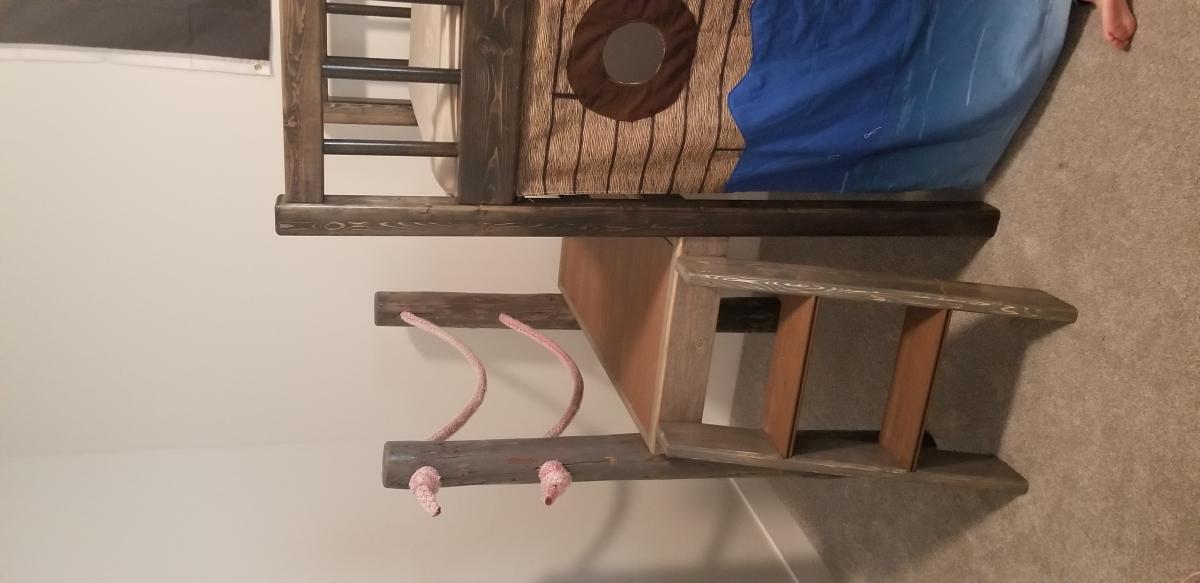
based on the loft plans. like other mods, I made the step a bit different. more vertical.
no screws. all bolted together. 3/8" bolts. the posts for docks were made from cut trees. neighbor did the sewing from my design. posts are 2 2x4s glued and dowel and cut down in size to be different. Everything overdone. vertical dowels are supposed to make it ship like. the galley is a bookcase. the nephew and my in-laws love it. way too much time went into it.

Estimated Time Investment
Week Long Project (20 Hours or More)
Finish Used
dark ebony stain.
Recommended Skill Level
Beginner

Comments

Modified kitchen island off Michaela's kitchen island

Submitted by Jessjeeper on Mon, 12/31/2012 - 22:51

My husband and I built this counter height with specs of 351/2" high x 25" wide x 48" long. We are using it in our kitchen as a prep island.

Estimated Time Investment
Weekend Project (10-20 Hours)
Finish Used
We made our own stain with vinegar and steel wool for the top and shelf, painted the body with Valspar Mermaid's Song. Poly over the stain to protect it from water and heat.
Recommended Skill Level
Beginner

Comments

Jake

Tue, 01/01/2013 - 05:09

I think you guys did a wonderful job on the kitchen island. I like the fat legs and the 1x4 aprons. Did you consider adding a drawer since you have deep aprons? Is the top a butcher block or did you construct the top yourself? If you did build the top is it suitable for use as a cutting board?

Custom 3 Shelf Kentwood Bookshelf

Submitted by tlyles1 on Fri, 10/17/2014 - 06:34

My wife needed a new bookshelf in her classroom so I took this plan and customized it.  She wanted three shelves and to be able to fit a three ring binder on the shelves upright.  I mitered the top to have a finished edge all the way around the top.  I ripped about 1/4" off the back of the two middle shelves so I could put the back planking inside and flush.  I patterened 1x2's and 1x4's on the back to give a cool look.

Estimated Cost
$65
Estimated Time Investment
Day Project (6-9 Hours)
Finish Used
Minwax Jacobean and Minwax Semi-Gloss Poly
Recommended Skill Level
Intermediate

Navin's play house

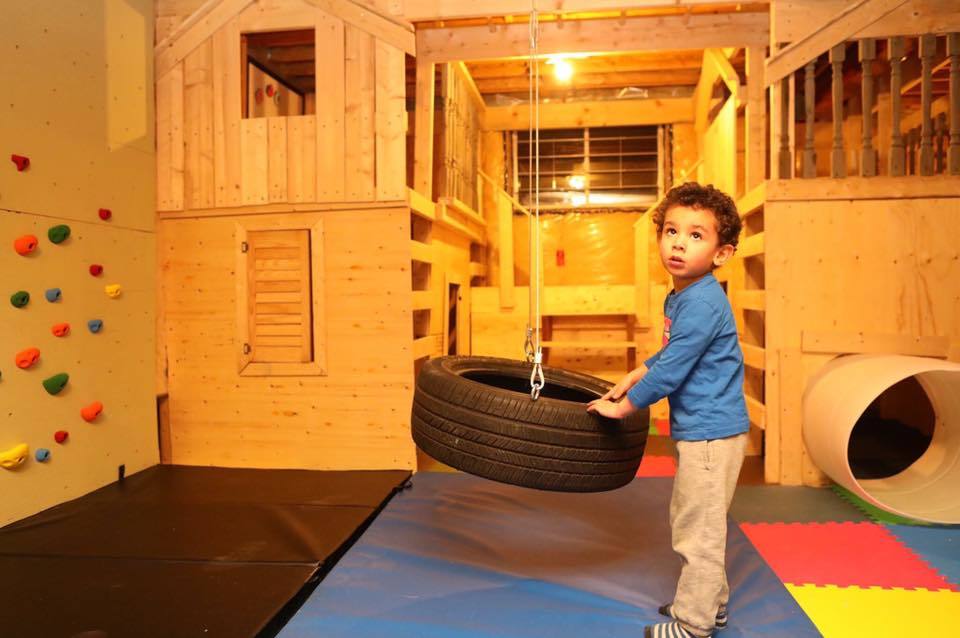
We added a few things, like a tunnel, climbing wall and tire swing.  The unveiling was quite the reaction to watch.  

Estimated Cost
$1500 (including the mats, climbing wall, etc).
Estimated Time Investment
Week Long Project (20 Hours or More)
Recommended Skill Level
Beginner

Comments

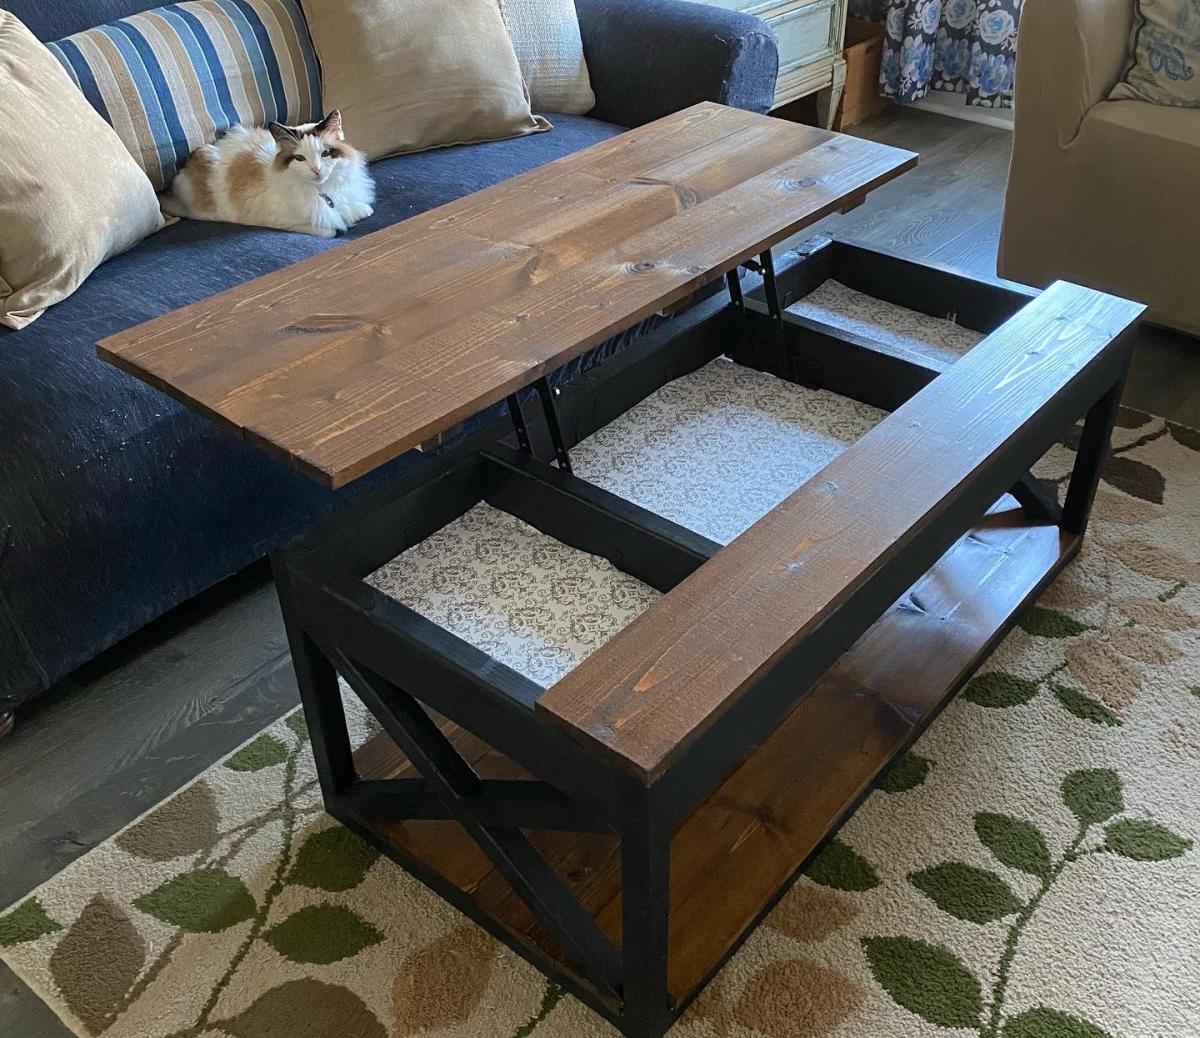
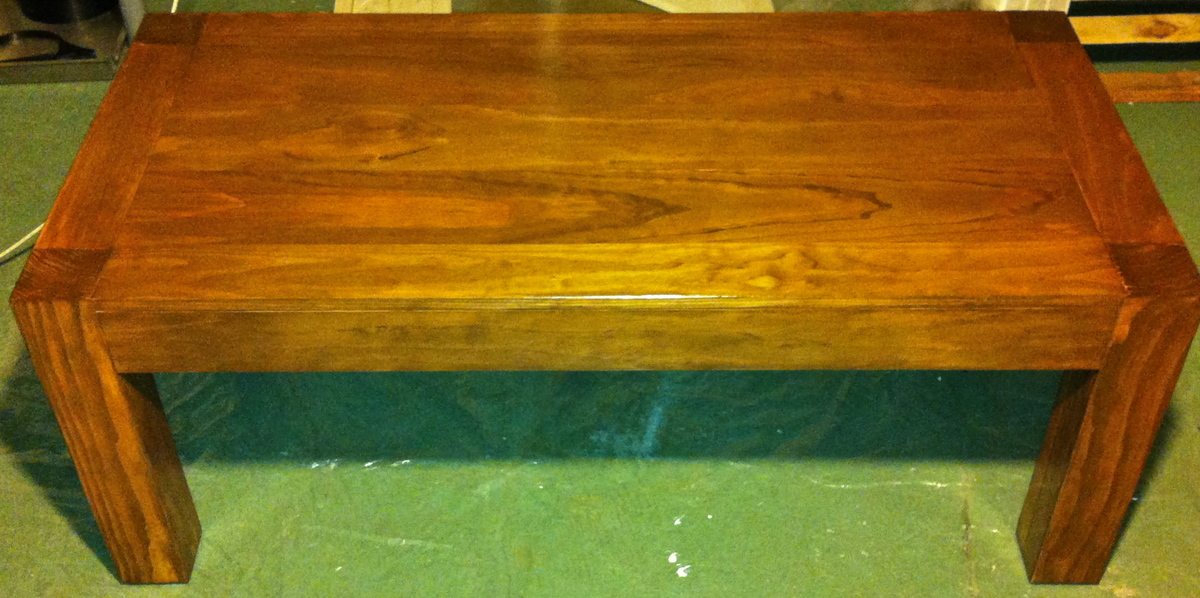
Lift Top Coffee Table

Loved this plan! Slightly modified to include a shelf.

Estimated Time Investment
Day Project (6-9 Hours)
Finish Used
Stained with honey. Finished with semi gloss polyeurthane.
Recommended Skill Level
Intermediate

Comments

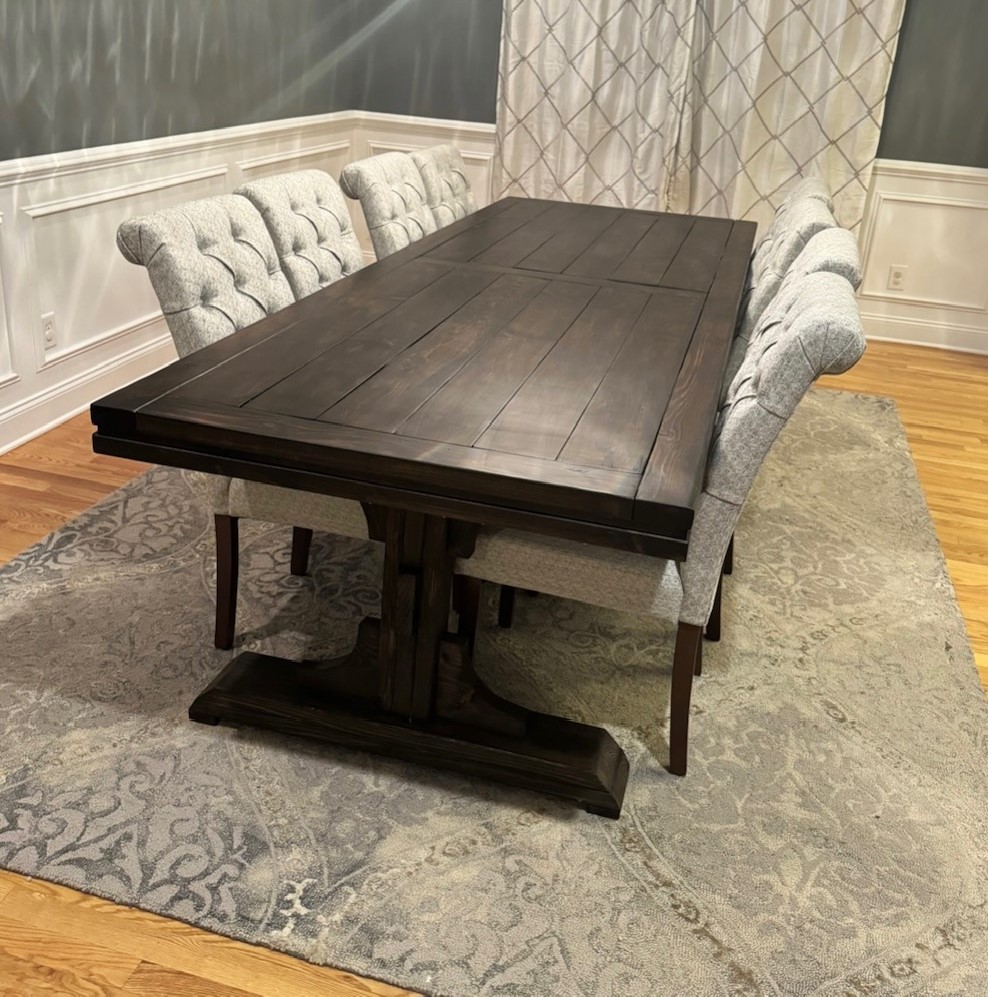
Pedestal Dining Table

Submitted by Anonymous (not verified) on Mon, 11/25/2024 - 13:46

Perfect table for thanksgiving! After staining I did a coat of epoxy on the tabletop to prevent dents and scratches to the soft 1x6 pine boards. Turned out great! - Kristen P.

Built from Plan(s)

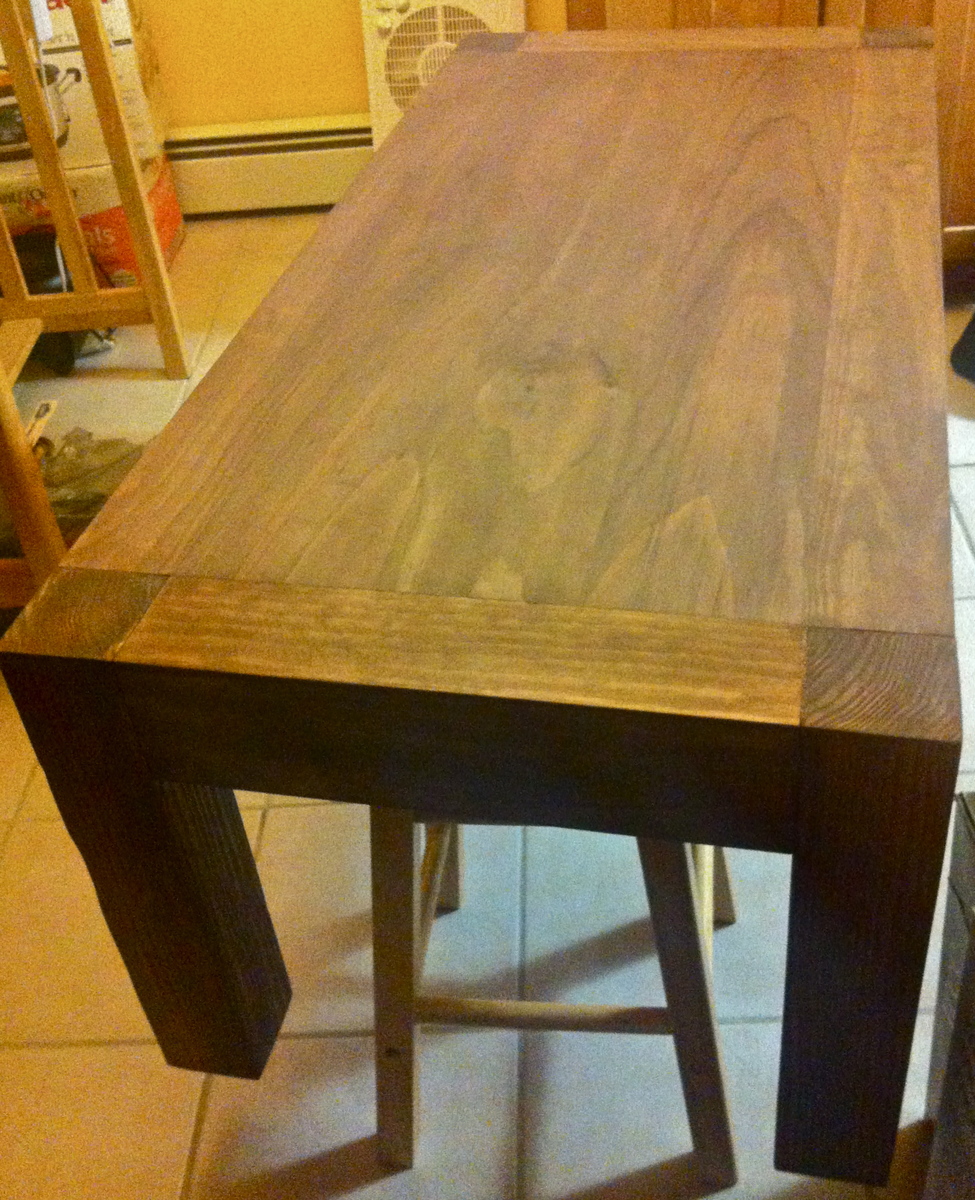
iTable

Submitted by Ice Man on Tue, 01/01/2013 - 19:51

My first ever project. Gave it to my parents as Christmas gift. I had a lot of fun building it. Next time I will go easier on wood glue, because some areas that glue got squeezed out did not get stained.
Next project - corner cupboard.

Built from Plan(s)
Estimated Time Investment
Day Project (6-9 Hours)
Finish Used
Rust-oleum early american stain, and 4 coats of Minwax® Polycrylic® Protective Finish
Recommended Skill Level
Beginner

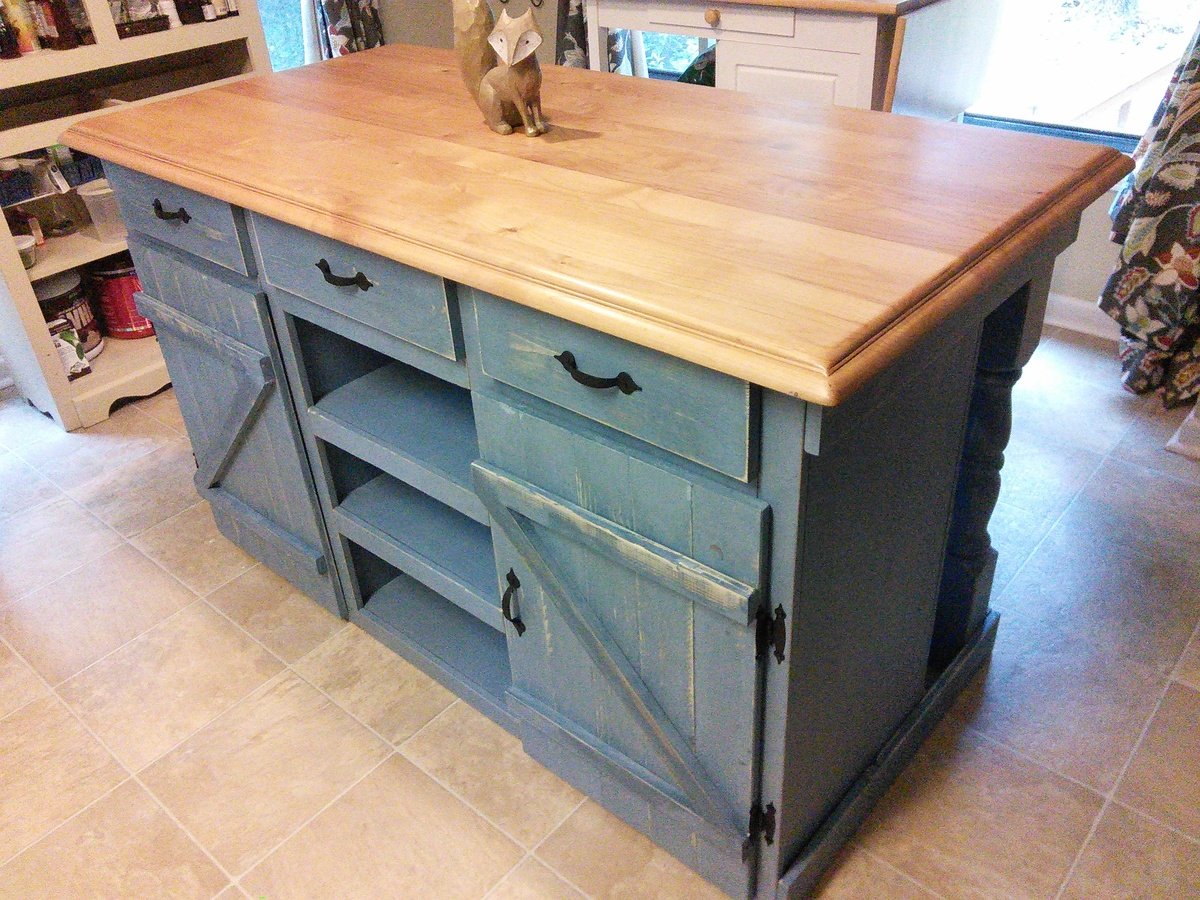
Farmhouse kitchen Island

Submitted by Scrapwood on Mon, 10/20/2014 - 11:26

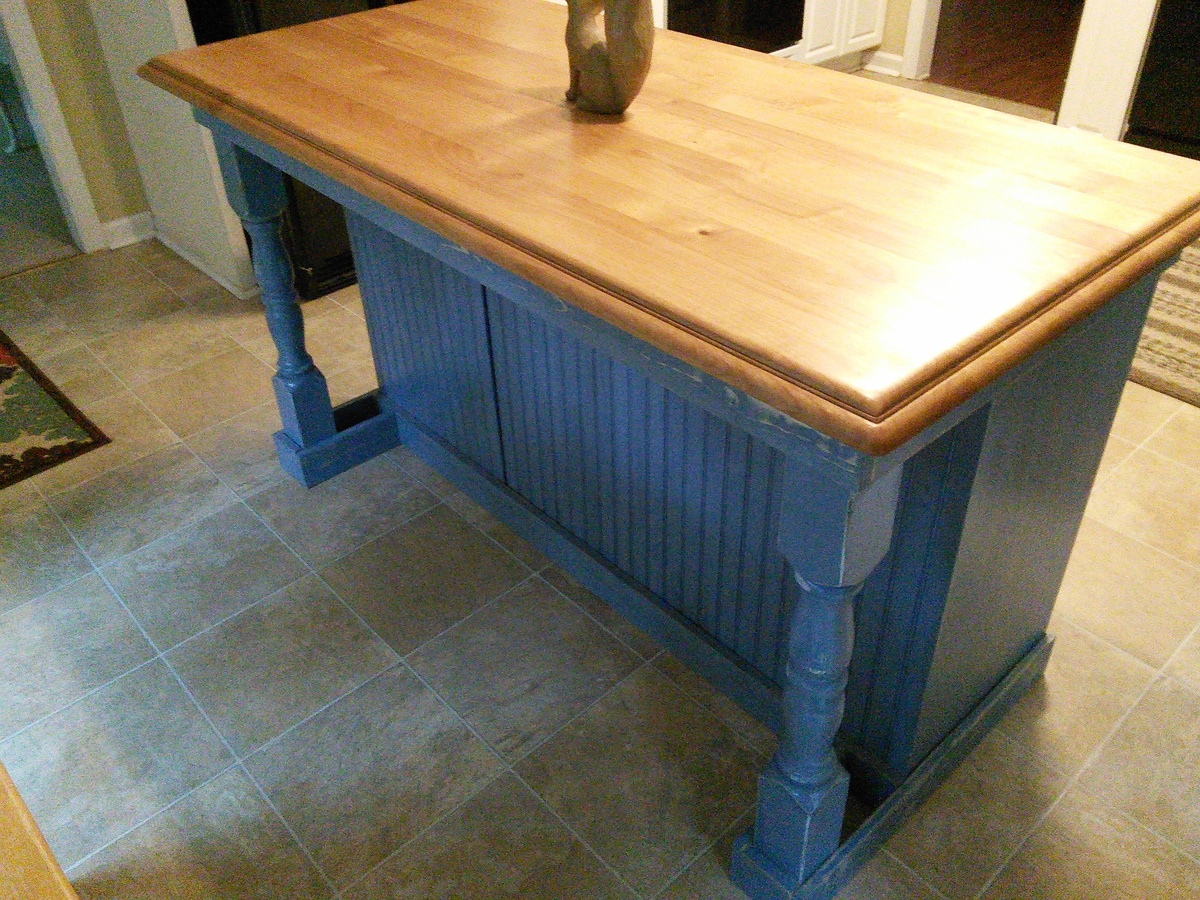
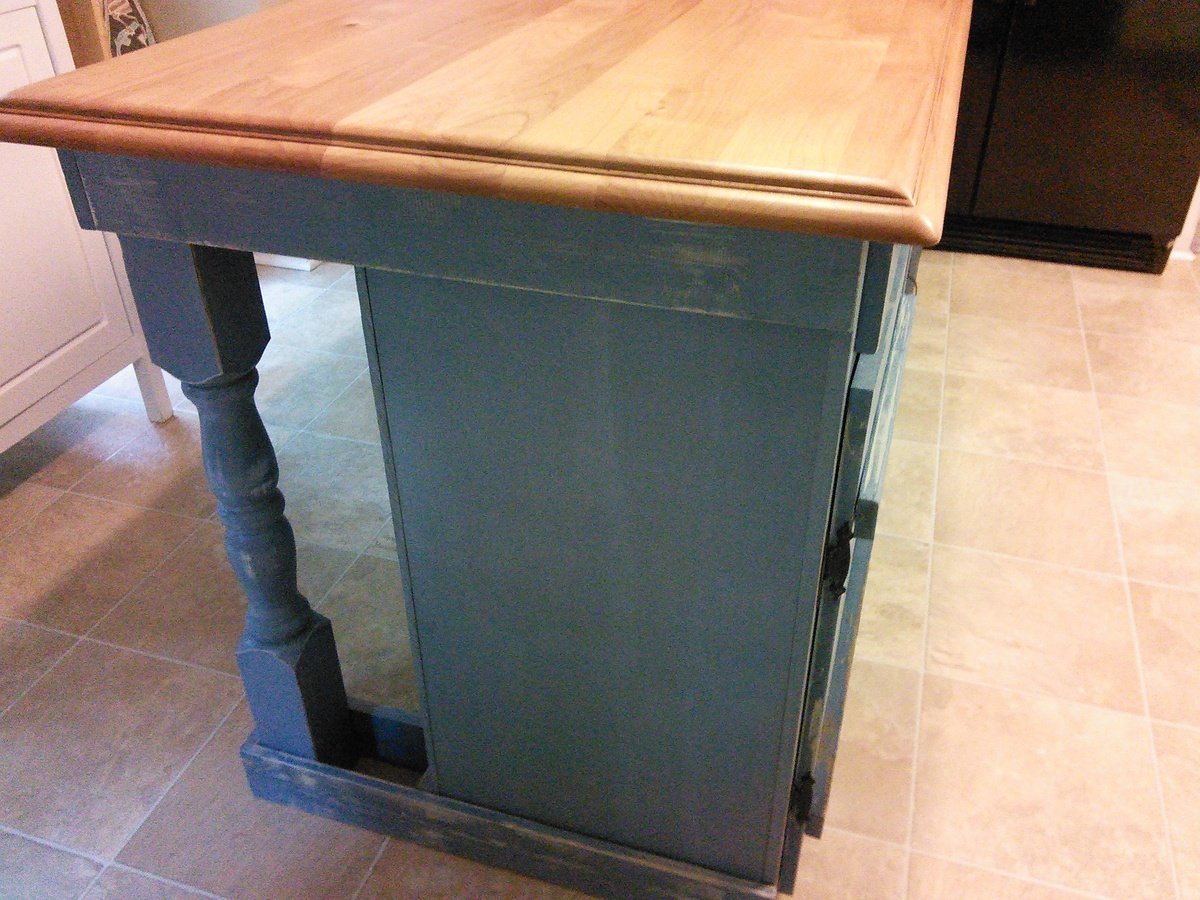
I used the Ana White "Country Kitchen Island" plans to build.  The only changes I made was the table top, bead board instead of pine planks, three drawers, and mostly 3/4" plywood.  For the island top, i used the top of a maple desk and applied butcher block oil.  To make things easier I used plywood to keep everything square and used bead board (very easy to install) instead of having to join boards together.  After putting the shelves together I just used pine boards to cover the edges of the plywood.  I also installed three drawers for convenient storage.  

Estimated Time Investment
Week Long Project (20 Hours or More)
Recommended Skill Level
Intermediate

Comments

hbharshman

Wed, 10/26/2016 - 13:48

Do you have more details on how you did the drawers? demensions, etc? Did you just extend the divider vertical bards that are inside all the way up? Or did you build cut 3 holes out of the front facing horizontal board? If you did that were you able to add tracks? 

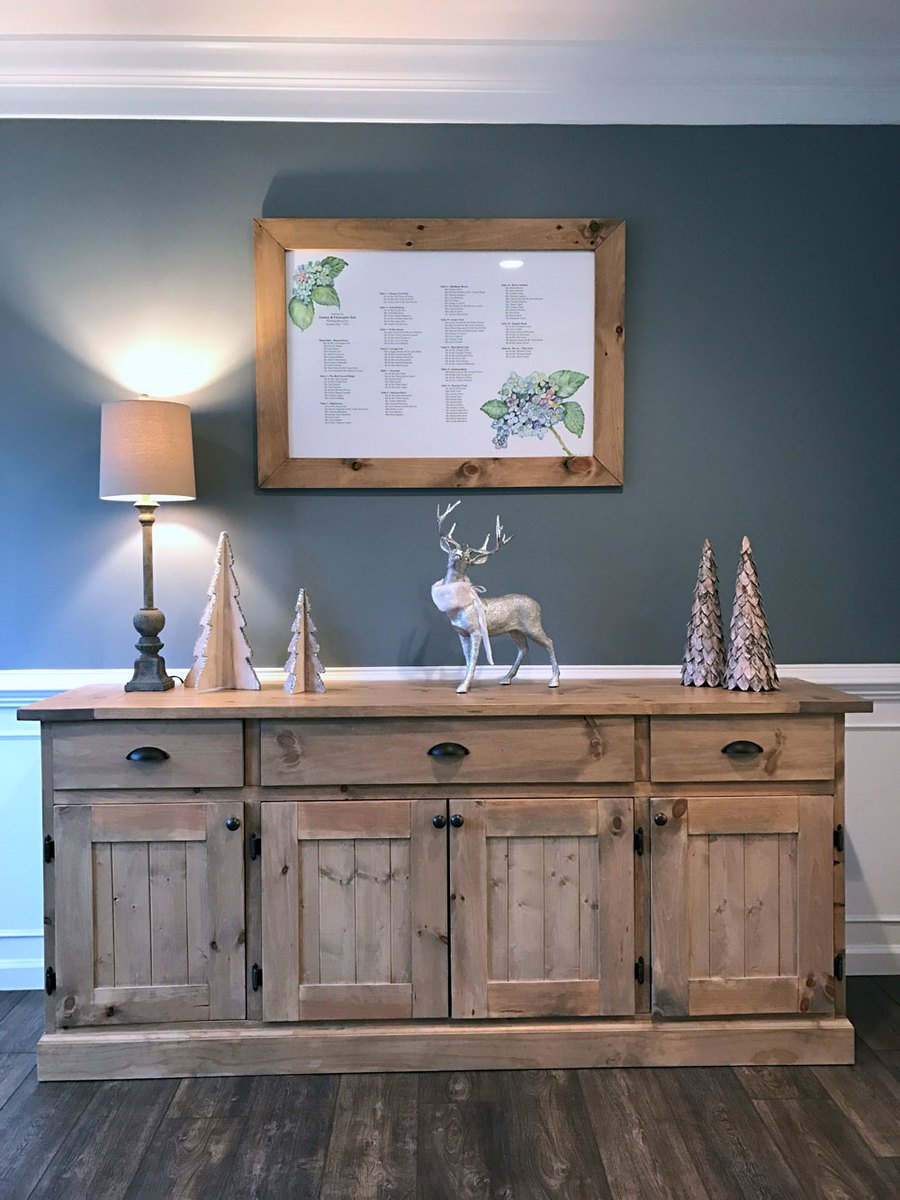
Dining Room Buffet

We built this huge 7' buffet for our living/dining room area.

Built from Plan(s)
Estimated Cost
$300
Estimated Time Investment
Weekend Project (10-20 Hours)
Finish Used
Custom stain blend
Recommended Skill Level
Intermediate

Comments

Seasonal And Holiday

Wood Sleigh

Submitted by DMax2010 on Thu, 01/03/2013 - 08:50

I thought this wood sleigh was so cute, I made it for my mom for Christmas! It turned out cute, it was a good jigsaw exercise! I made it smaller, would probably make it bigger next time, but it's a good size for a table top. She loved it!

Built from Plan(s)
Estimated Cost
nothing-from scraps
Estimated Time Investment
Afternoon Project (3-6 Hours)
Finish Used
Rustoleum spray paint, minwax soft touch poly. I painted pieces prior to assembly
Recommended Skill Level
Beginner

Comments

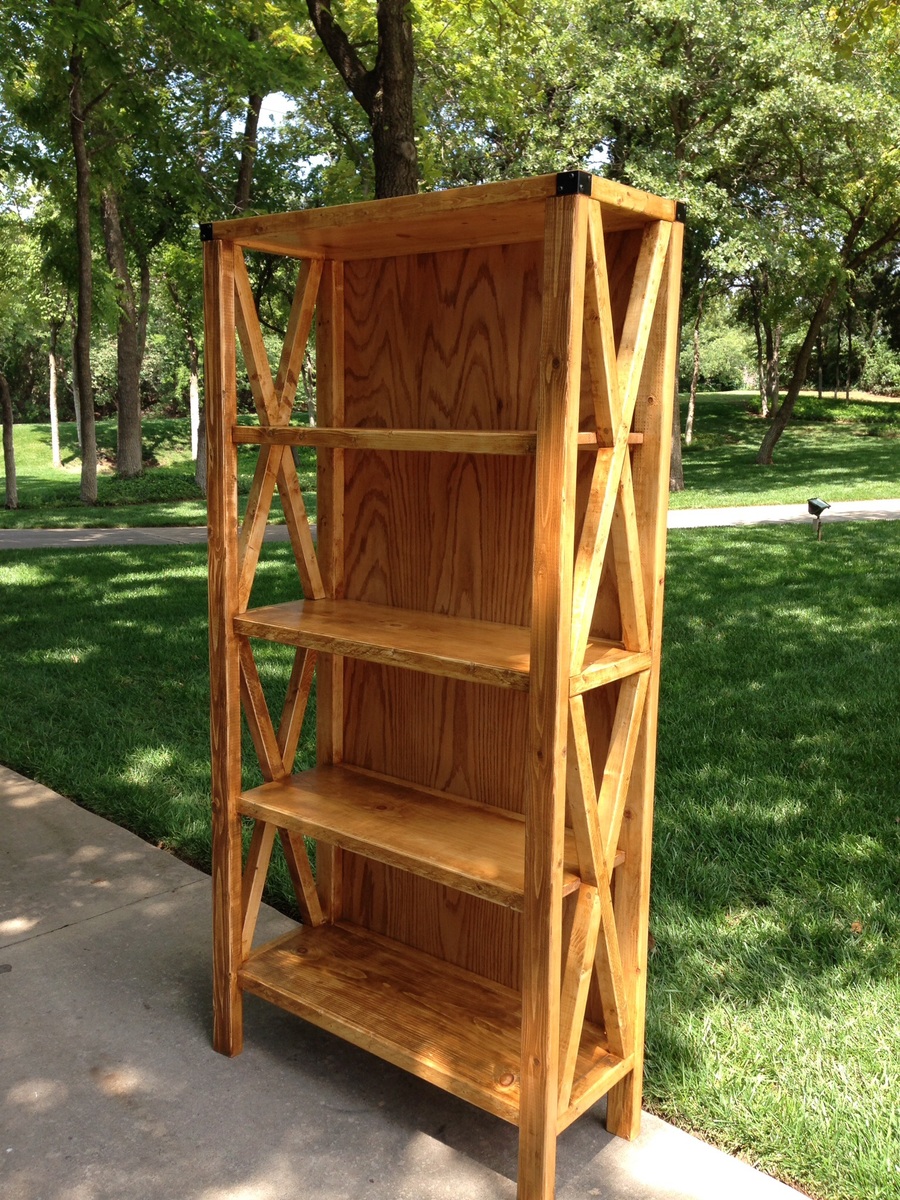
Henry Bookshelf

Submitted by ctay on Wed, 10/22/2014 - 19:36

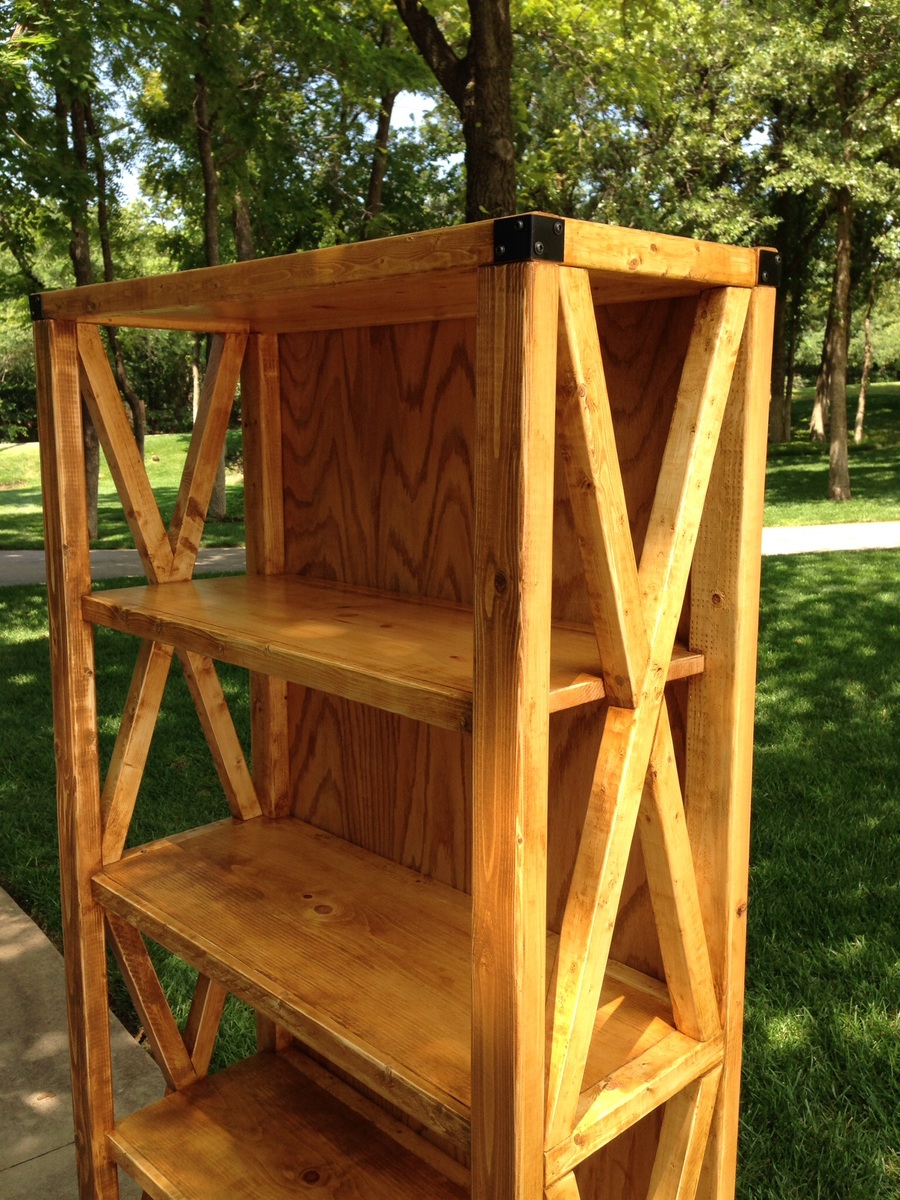
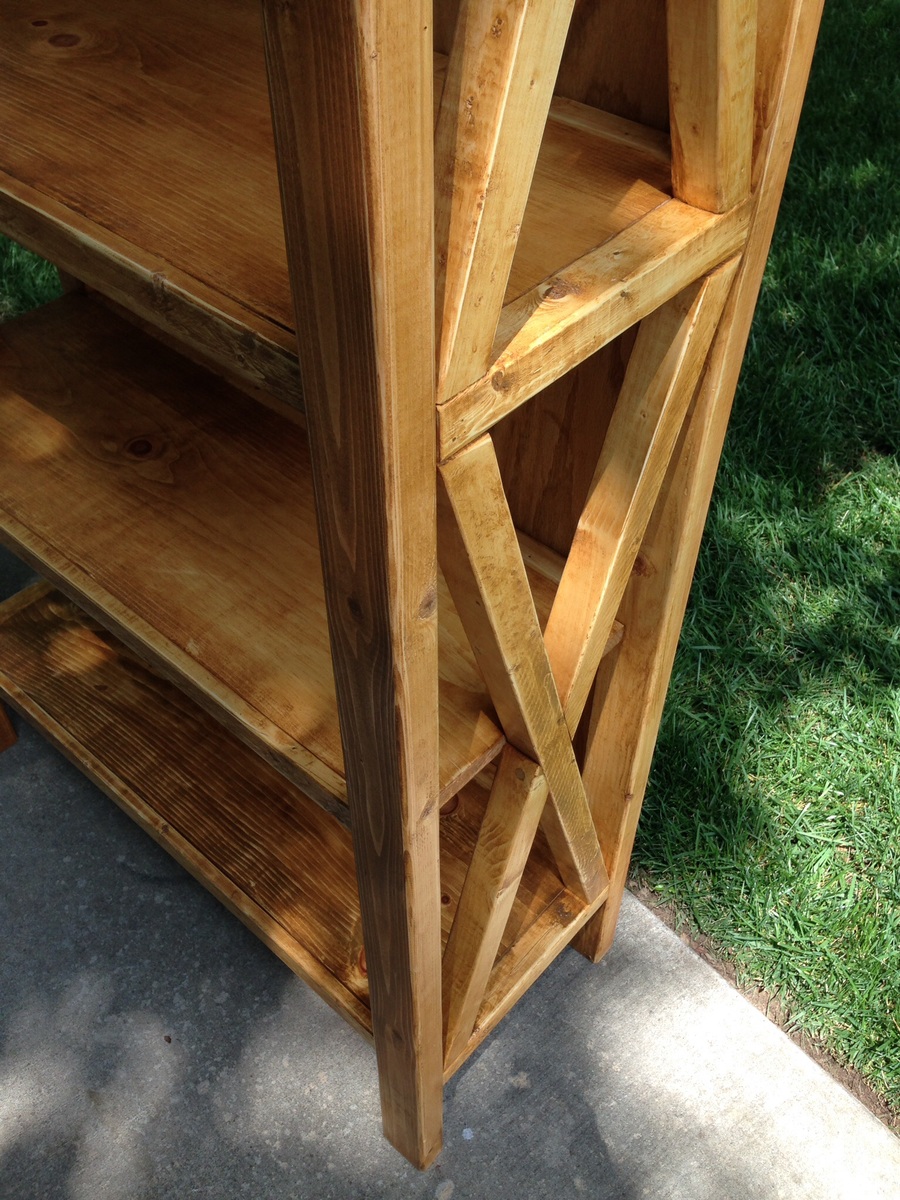
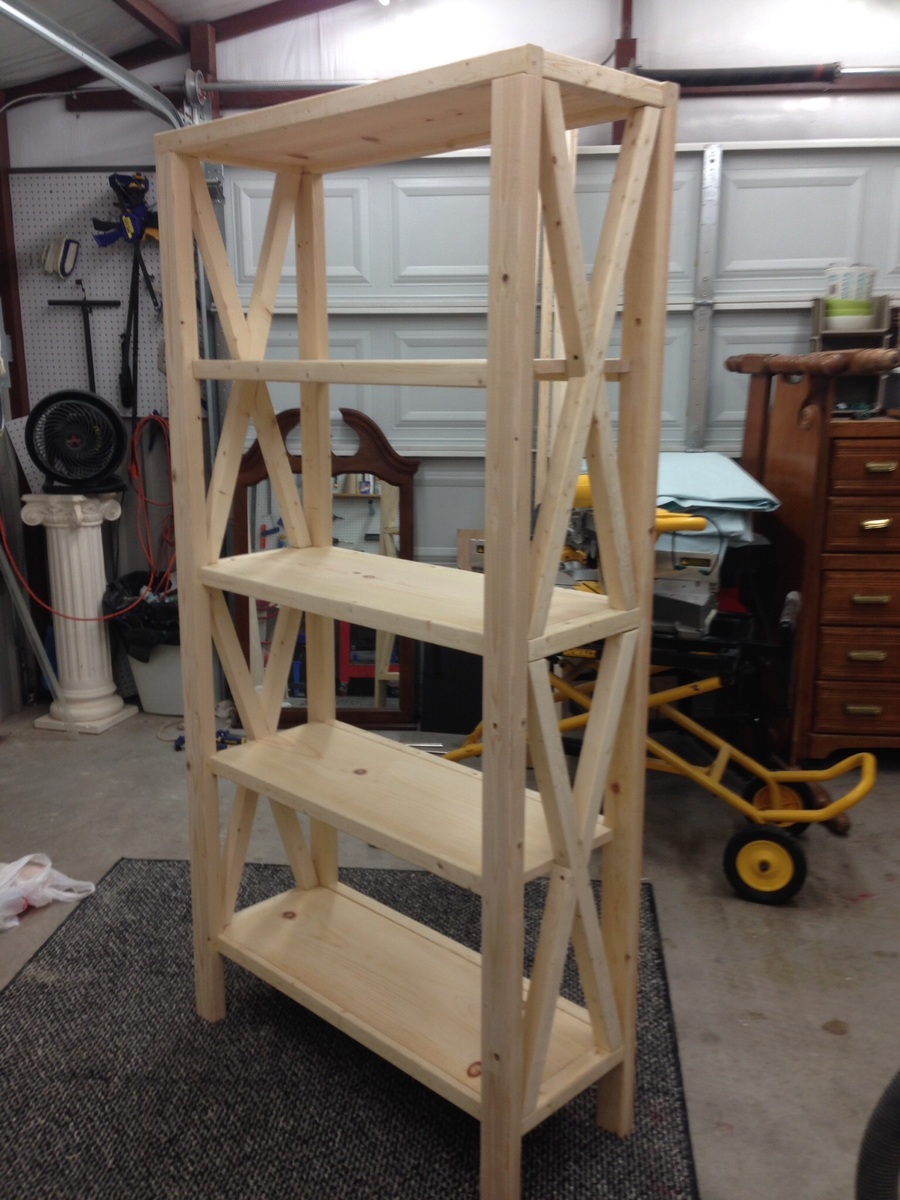
Built this bookcase for my daughter, only modification was to add the X's on the side. She needed to be able to store all of her books on it.  Love it!  I now have another family member that wants one just like it!

Built from Plan(s)
Estimated Cost
Under 100.00
Estimated Time Investment
Week Long Project (20 Hours or More)
Finish Used
Rustoleum Wheat color with general finishes poly clear coat in semi gloss.
Recommended Skill Level
Intermediate

Tv Console

Submitted by Anonymous (not verified) on Wed, 02/01/2017 - 09:31

Tv console with sliding barn doors and an electric fireplace insert. Measures 83" wide x 31.5" tall x 18" deep. 

Built from Plan(s)
Estimated Time Investment
Week Long Project (20 Hours or More)
Recommended Skill Level
Intermediate