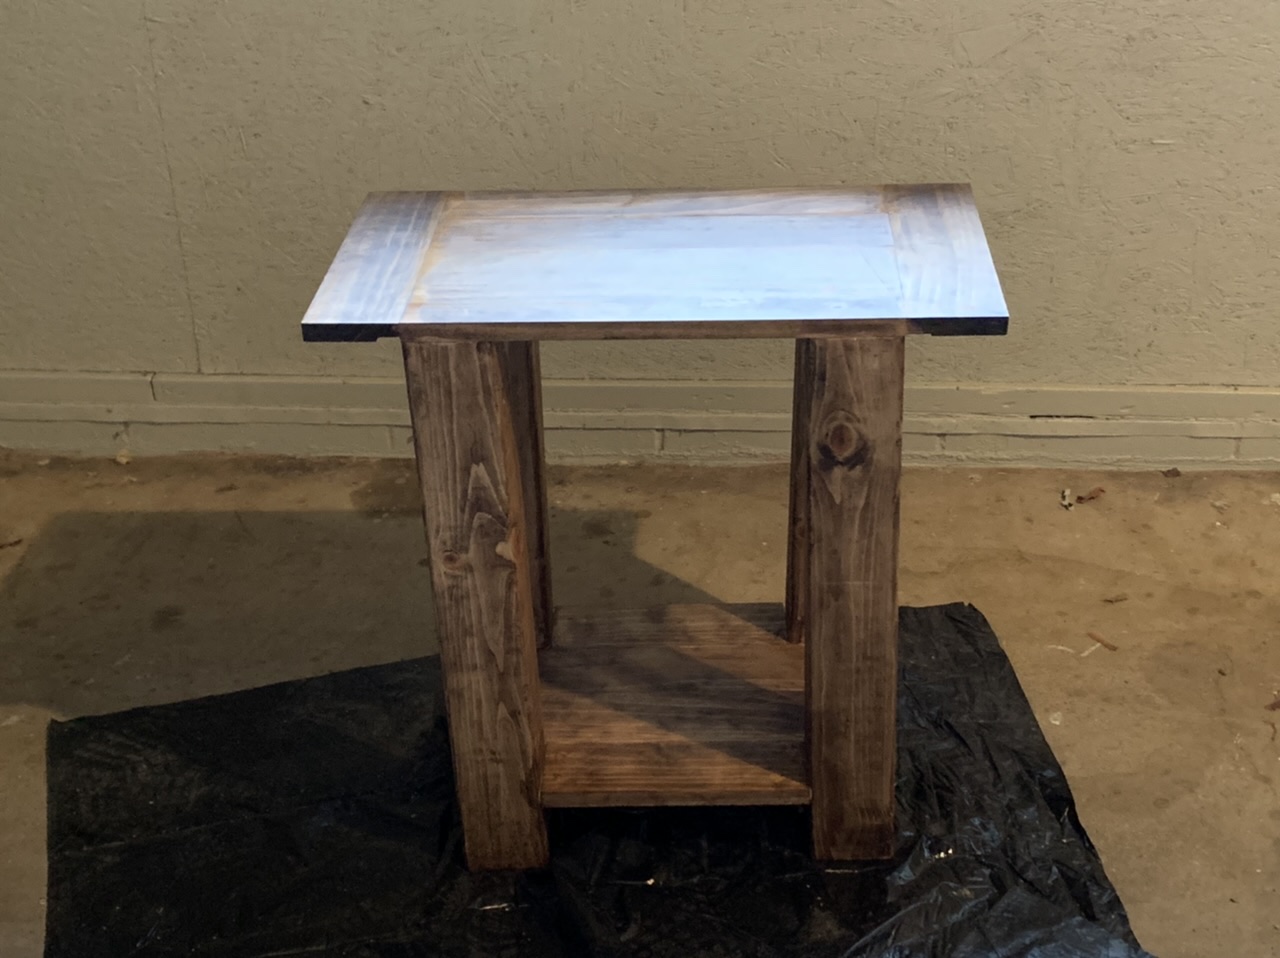
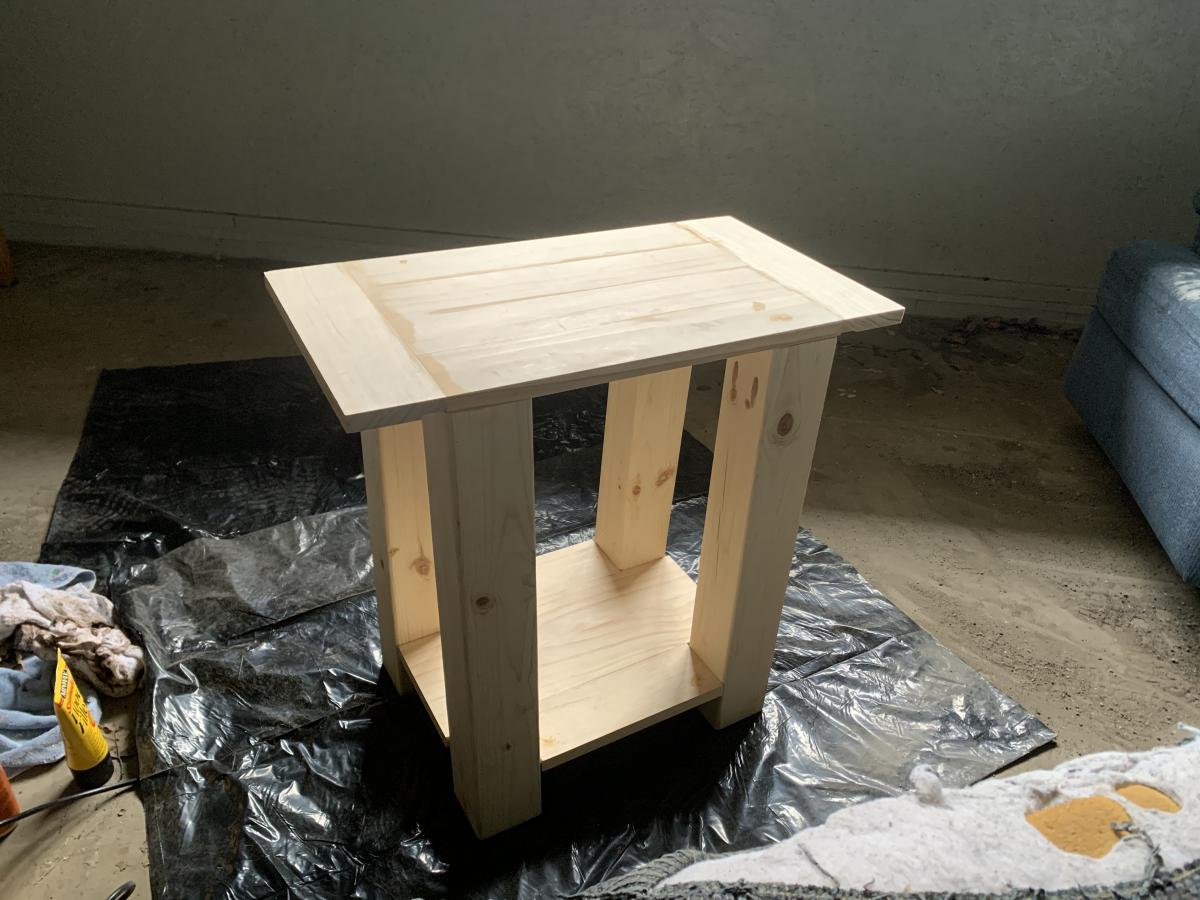
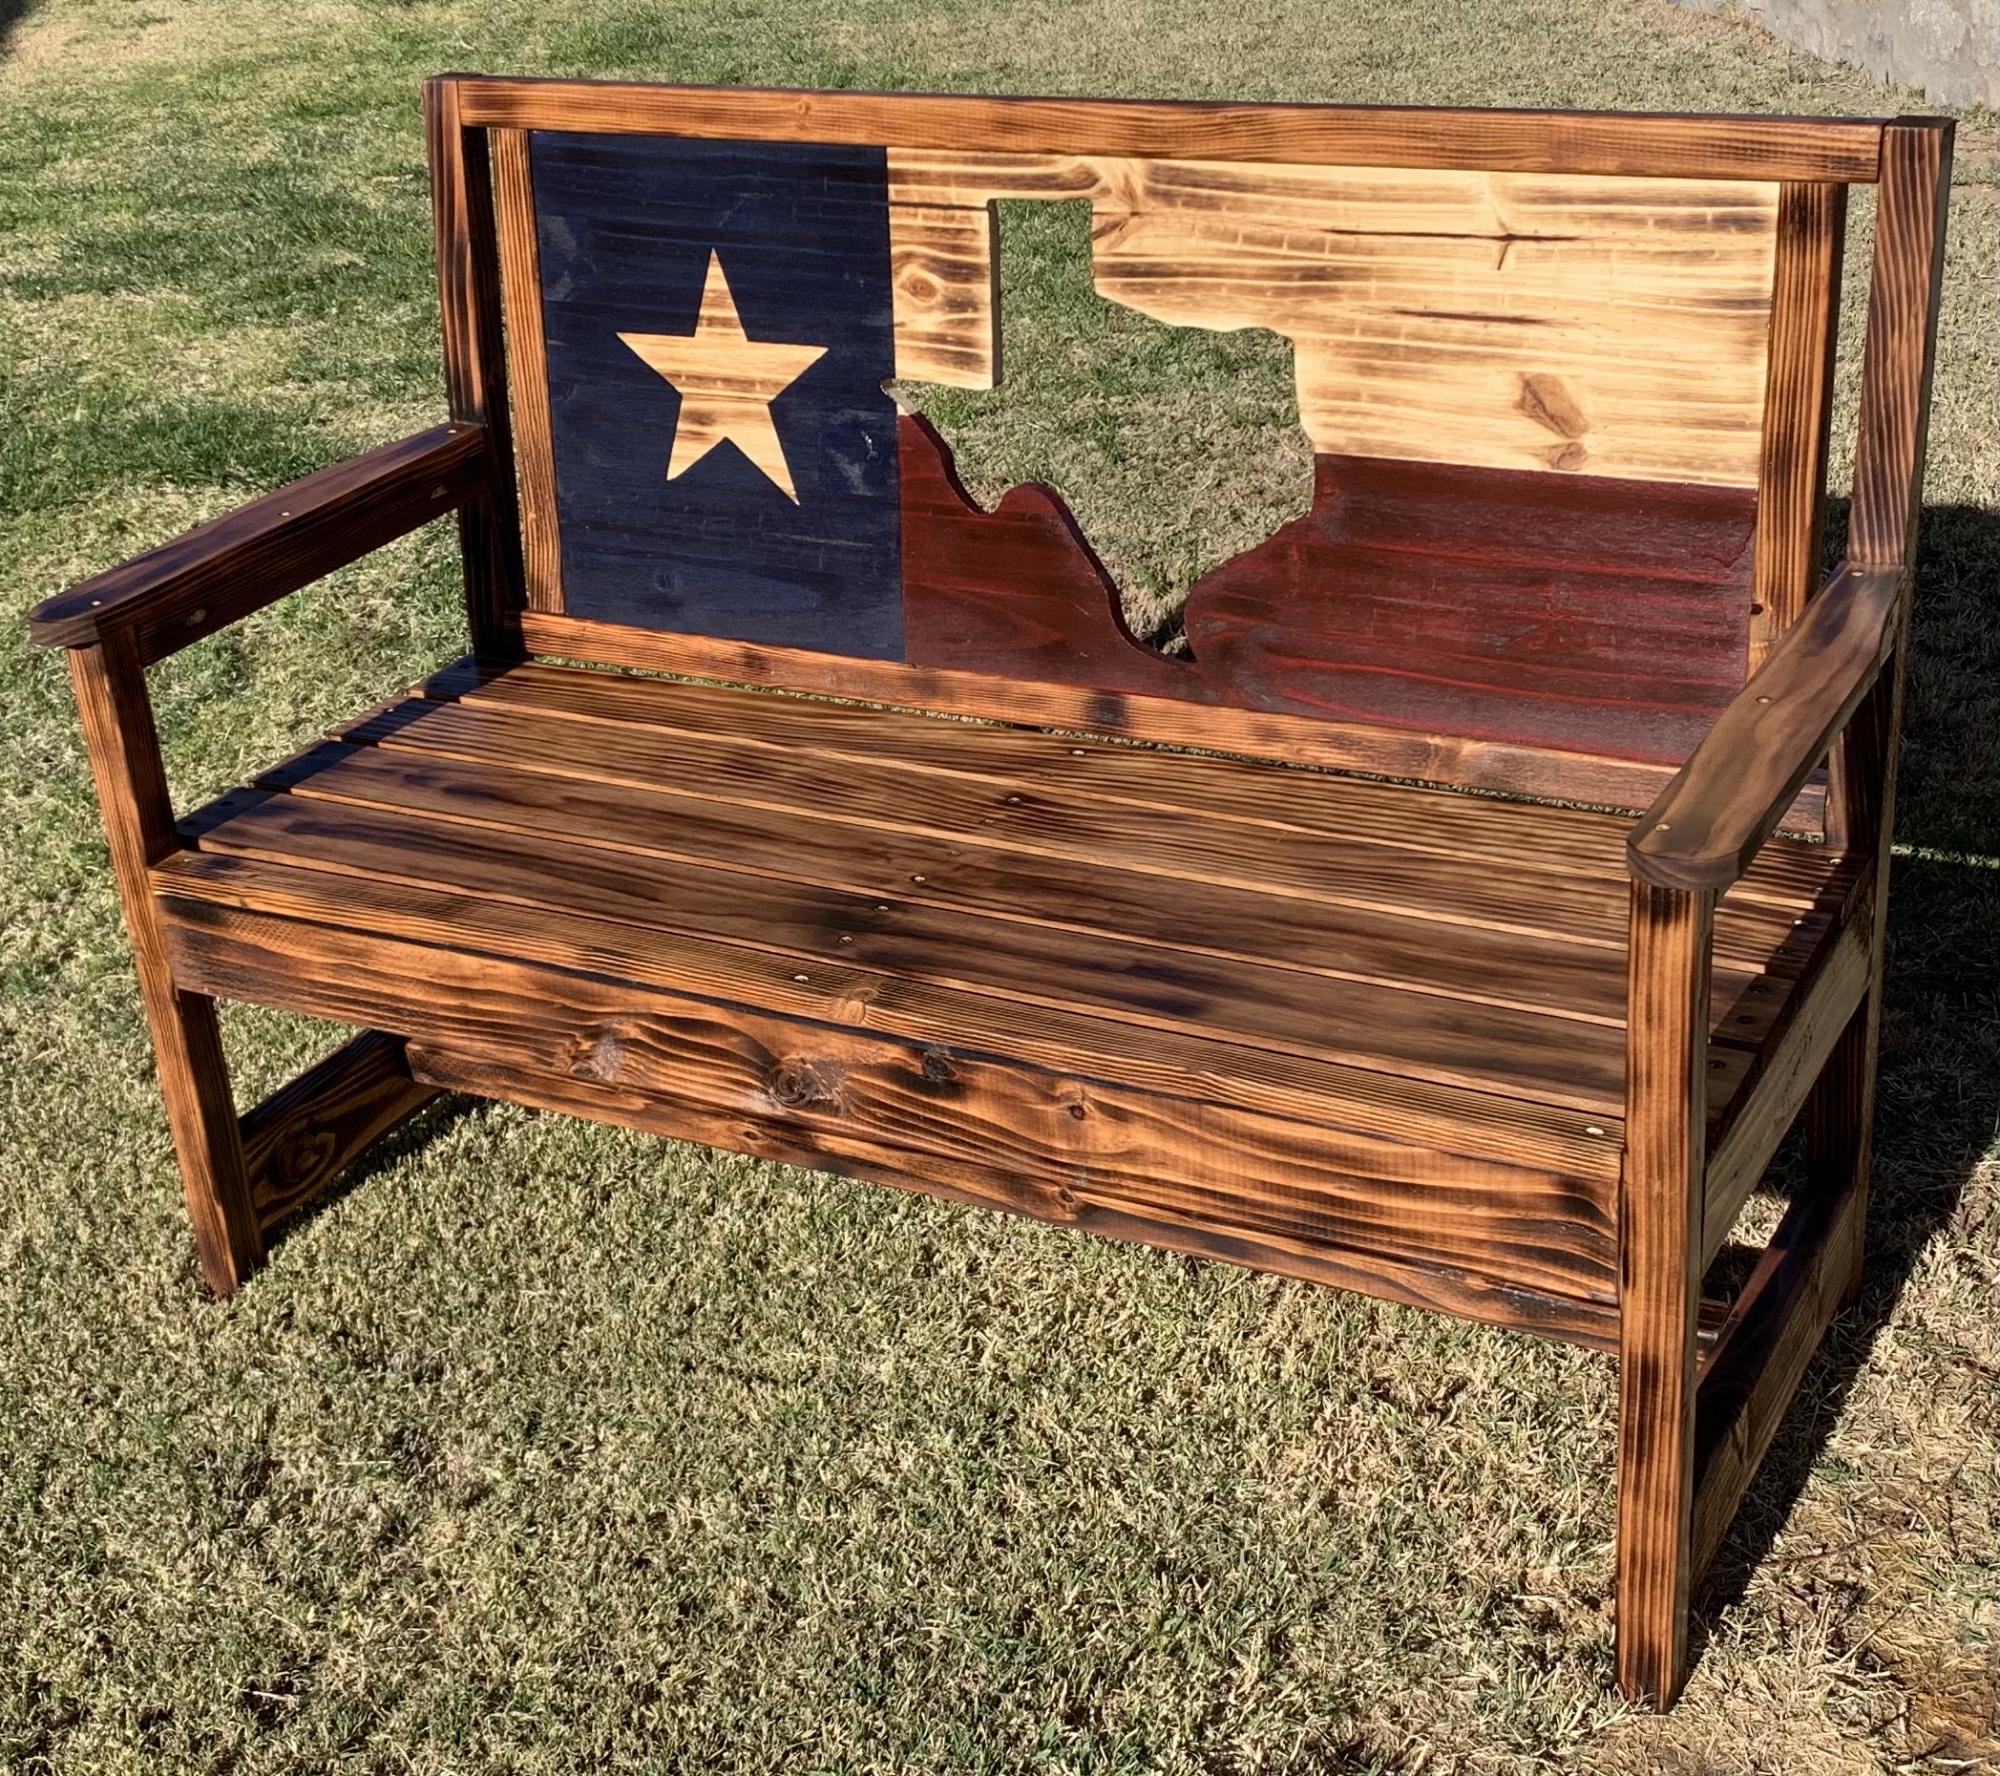
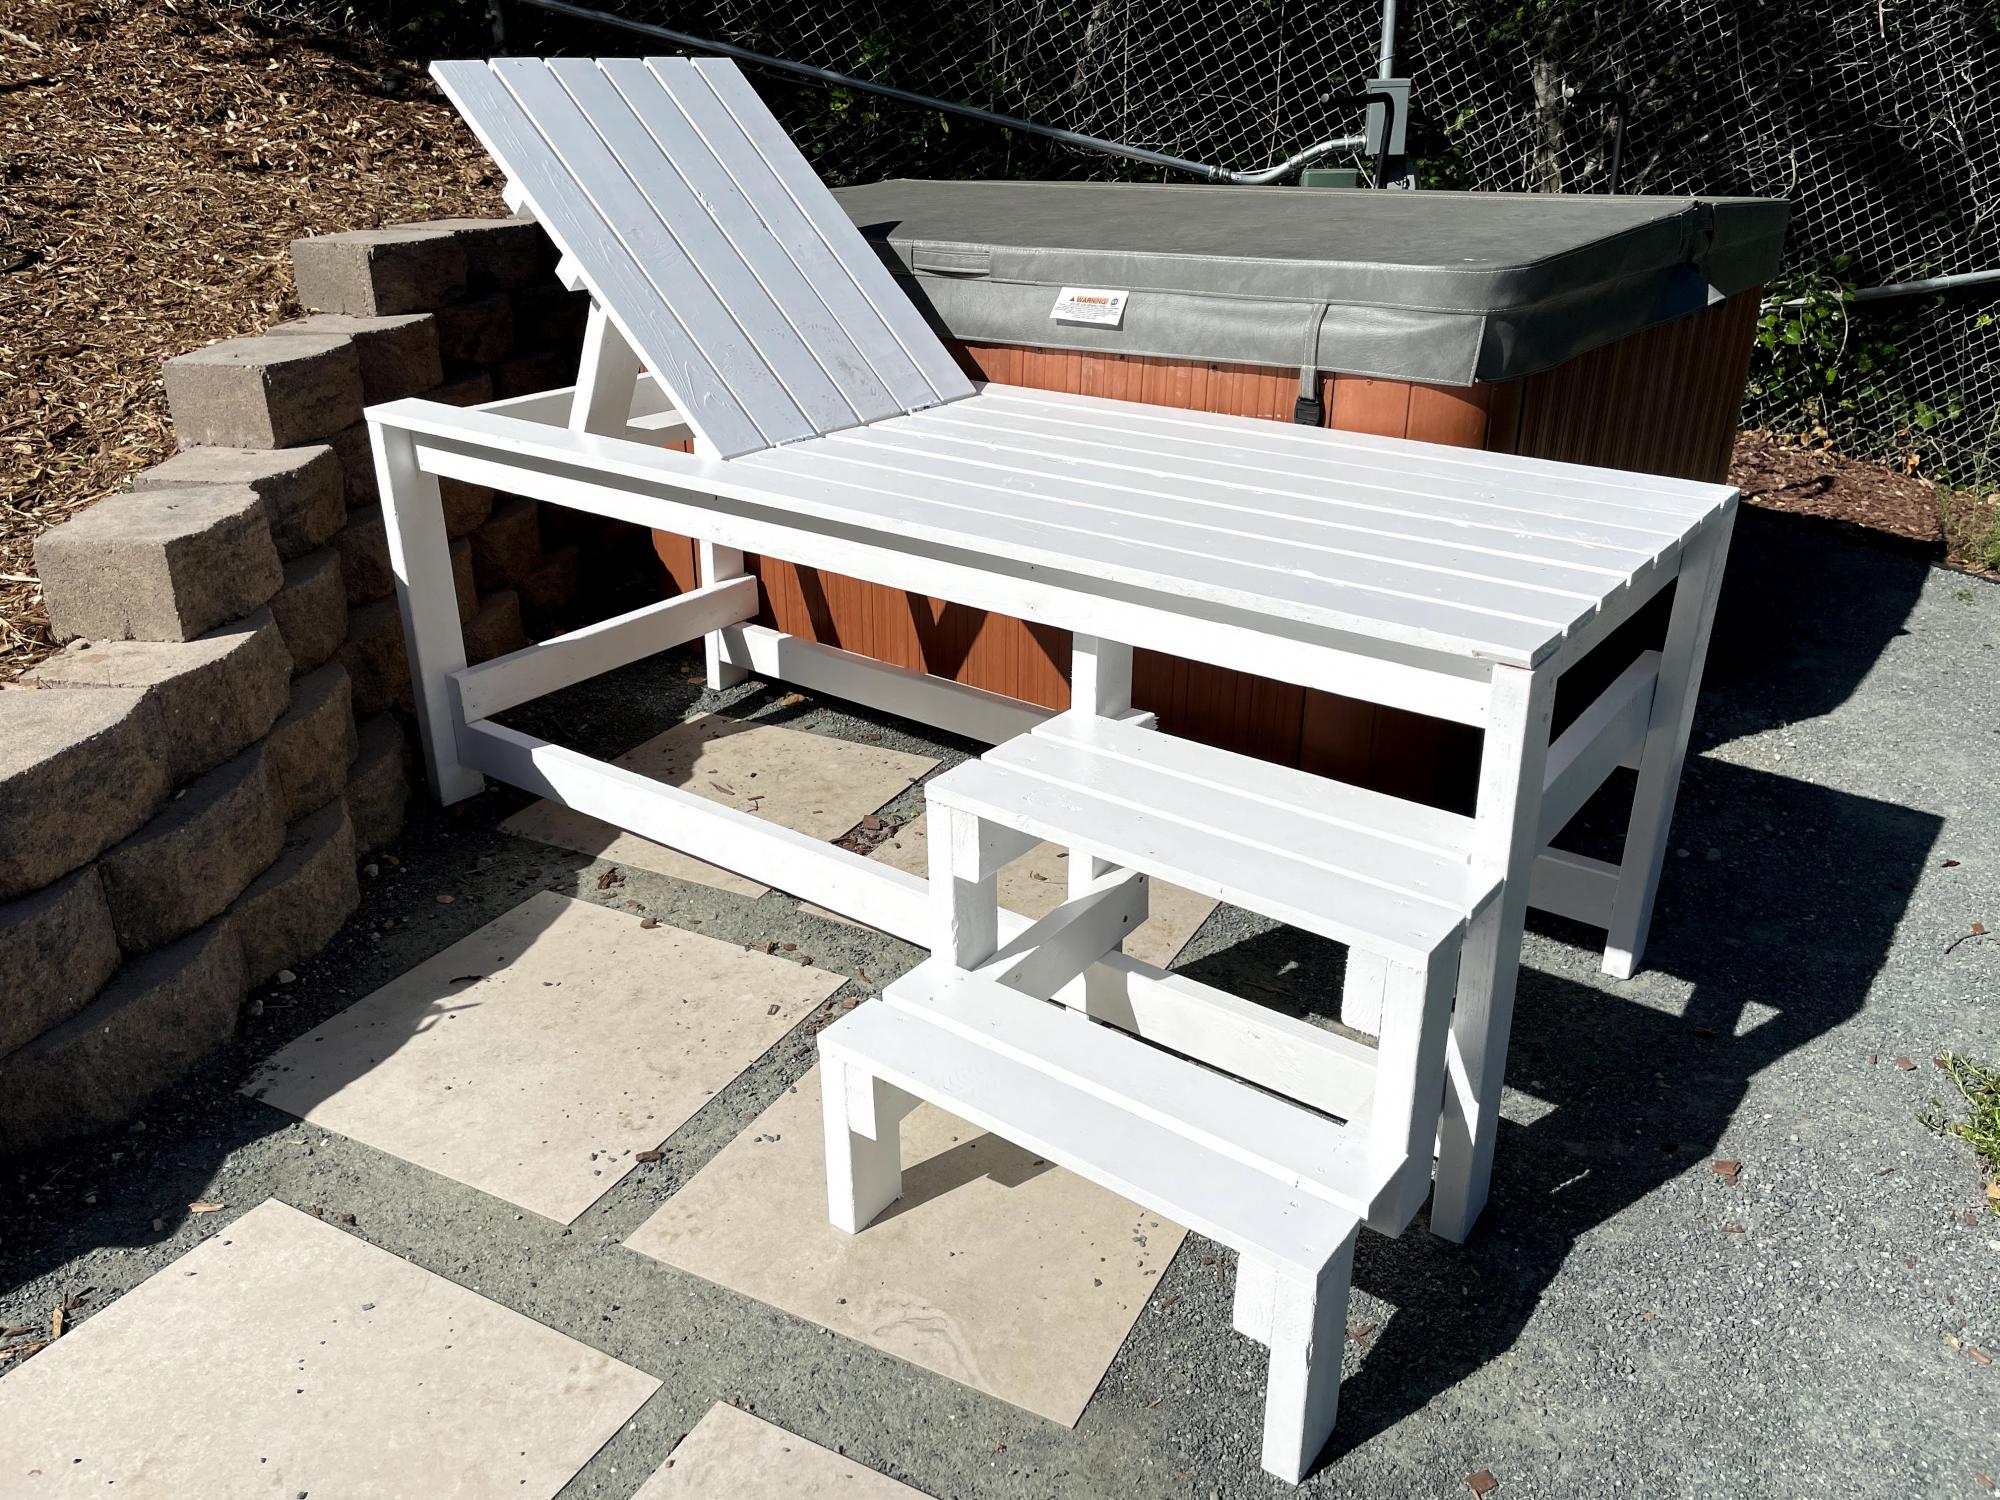
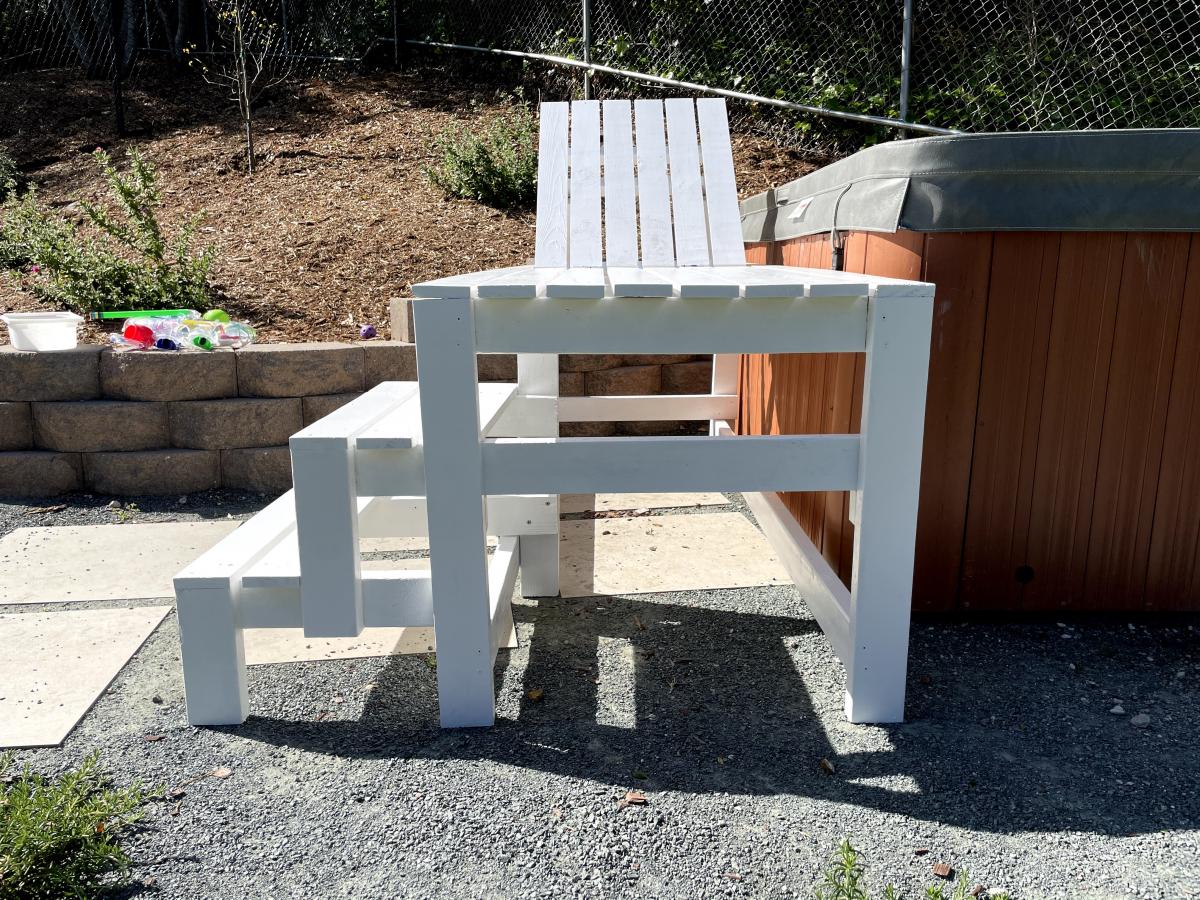
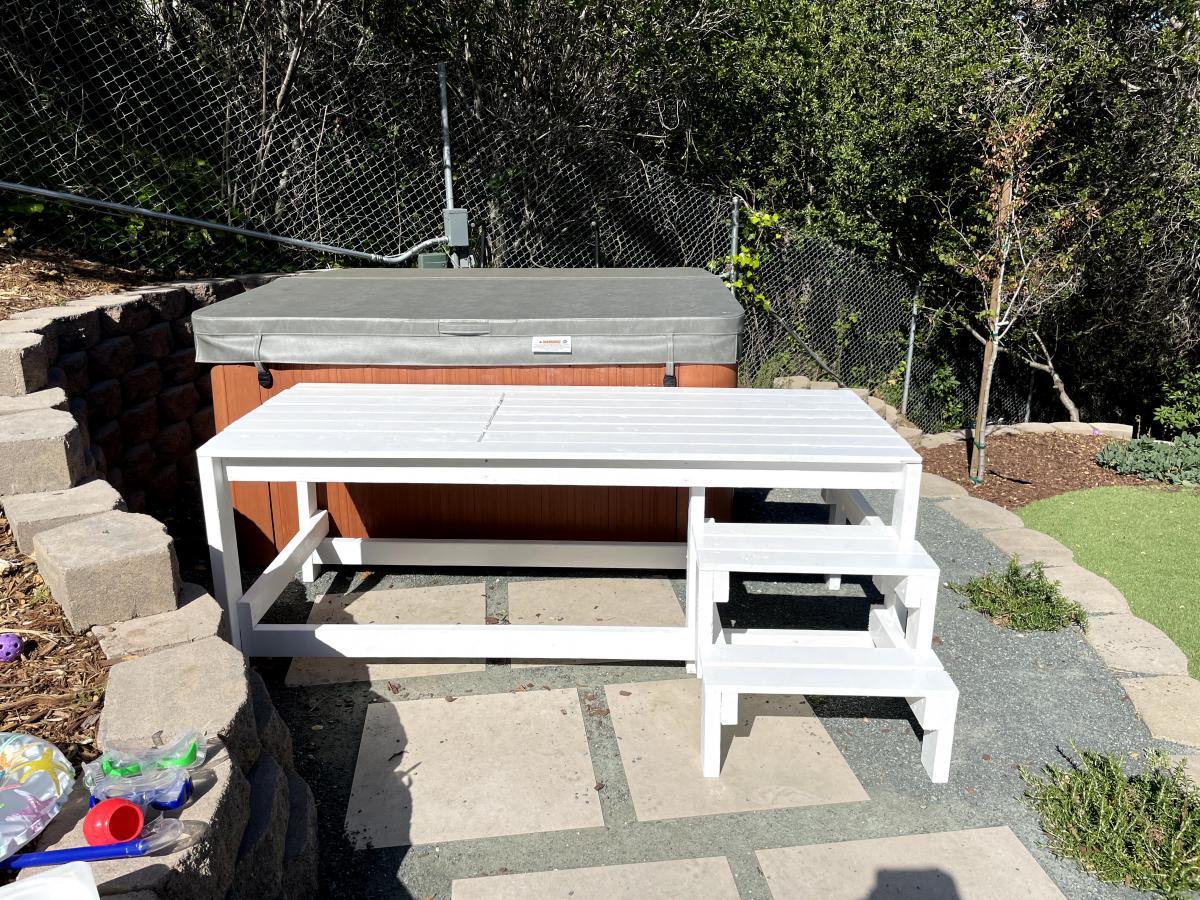
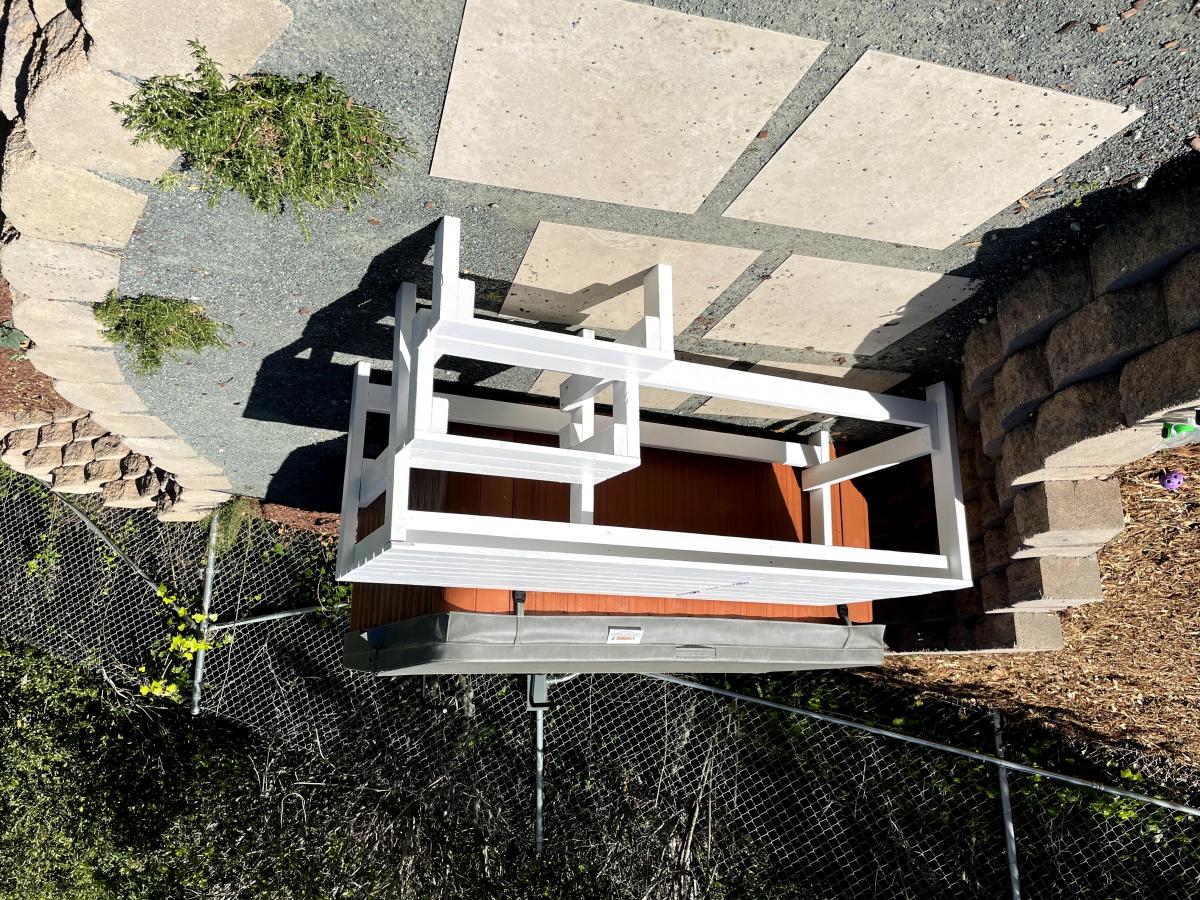
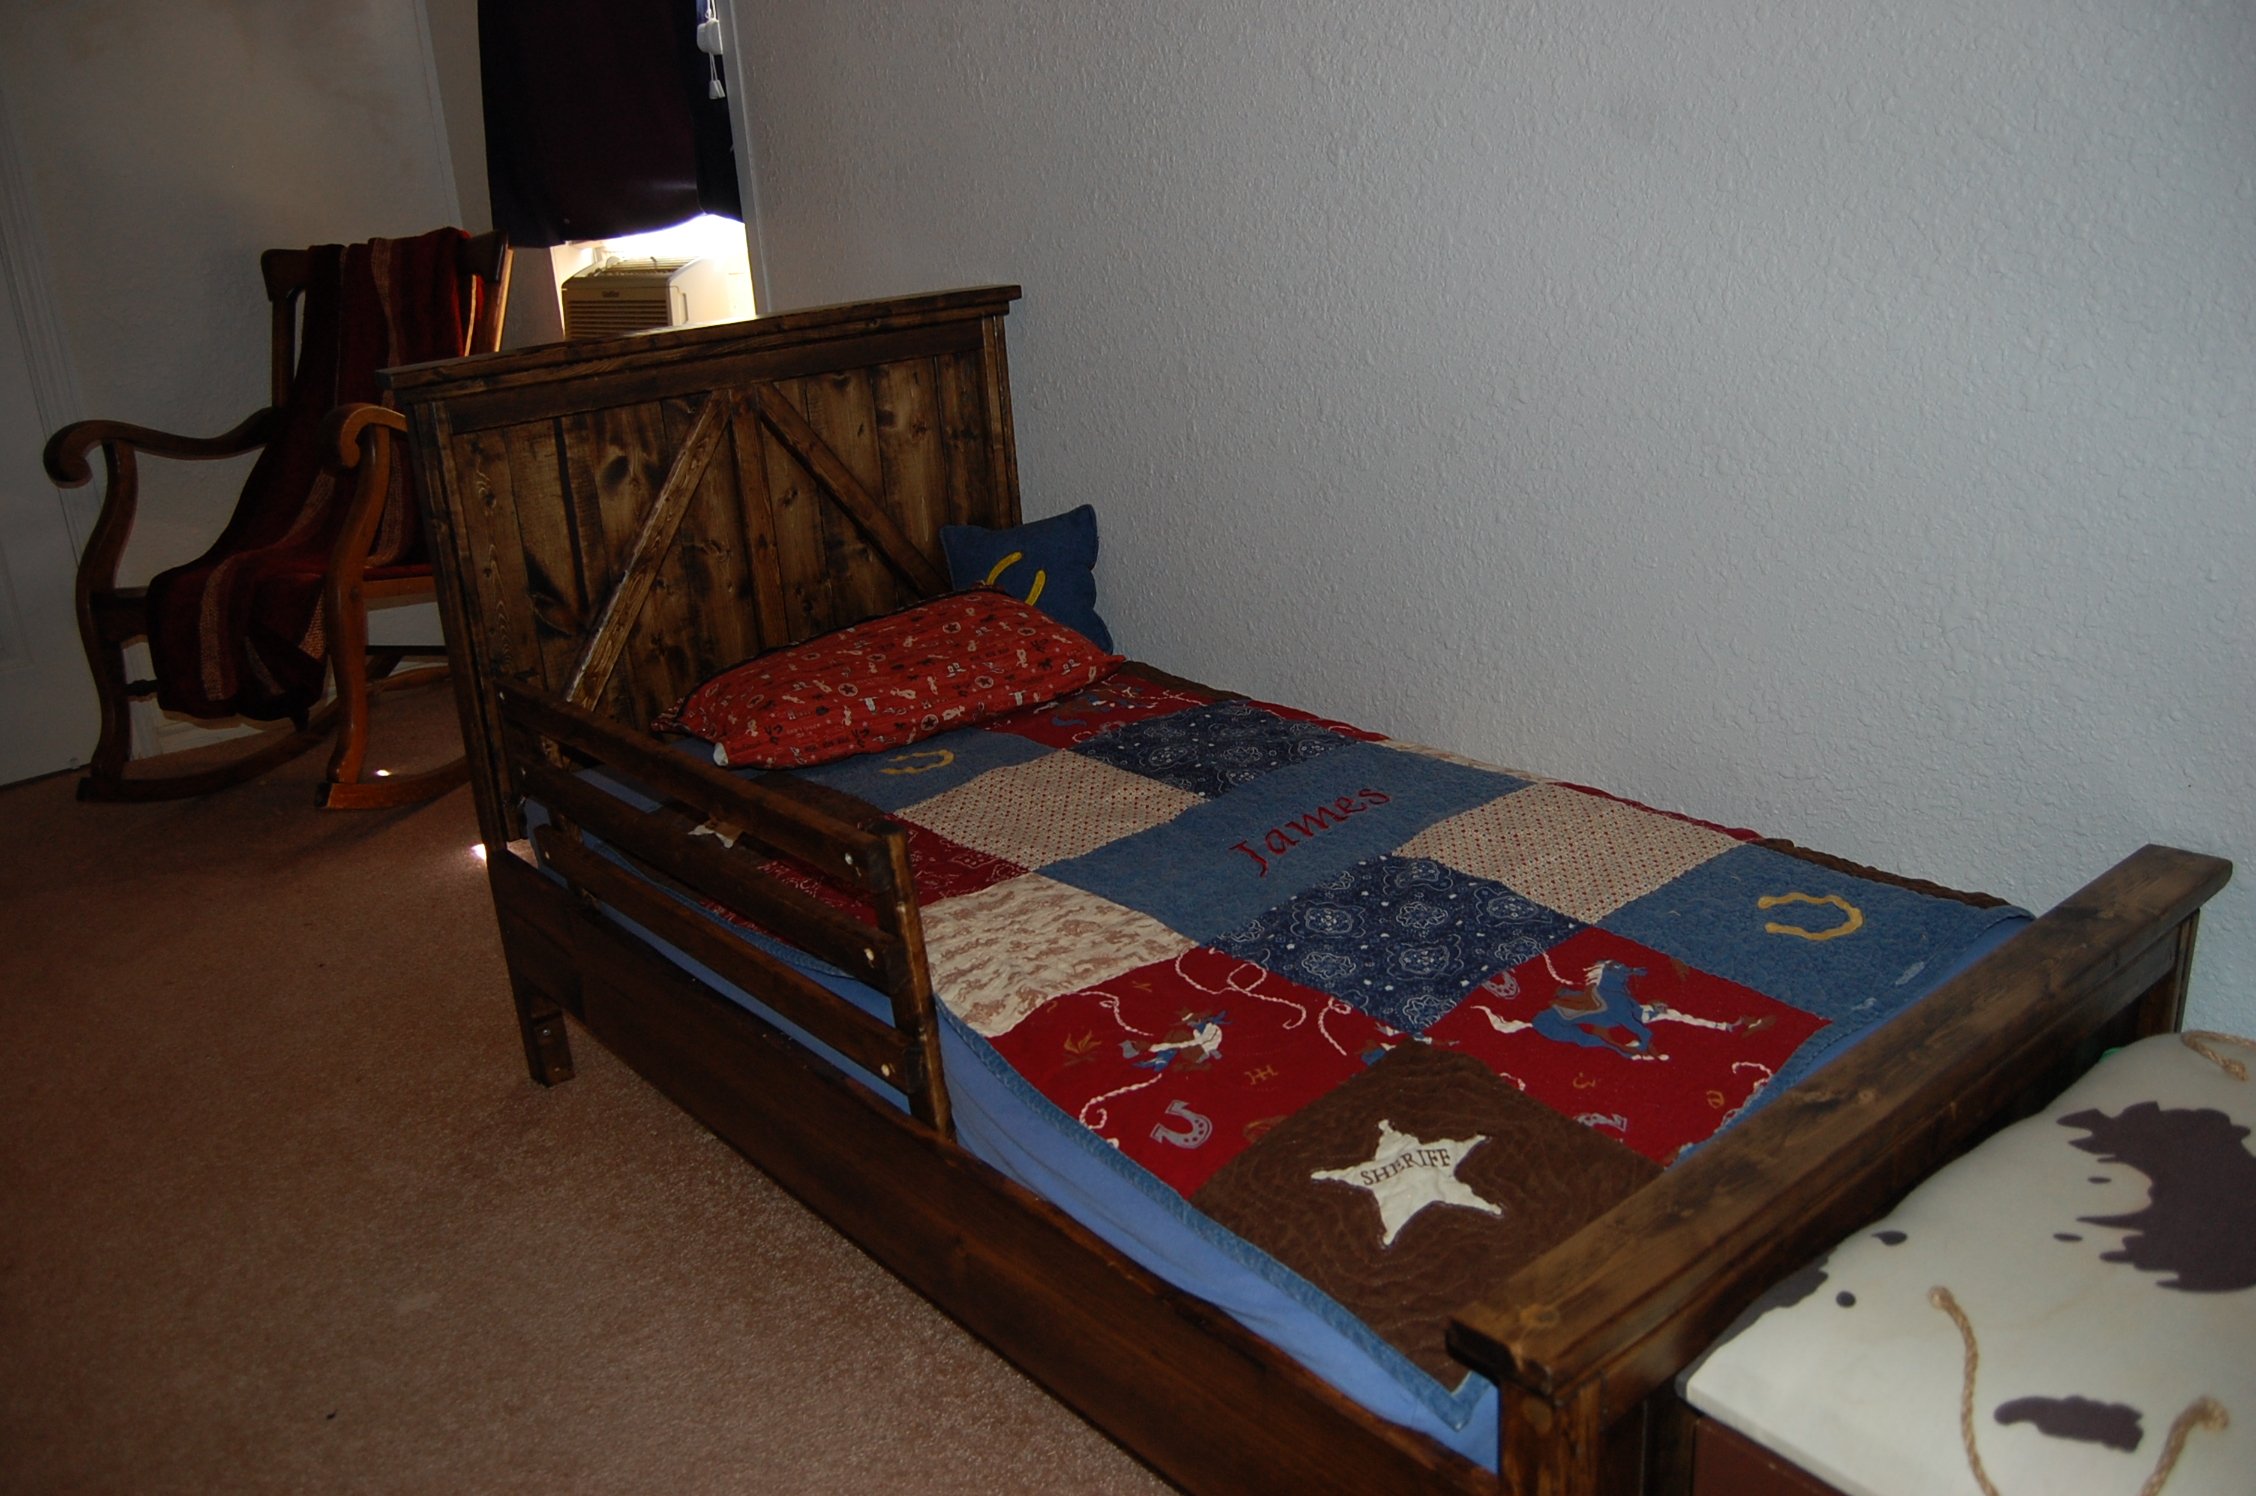
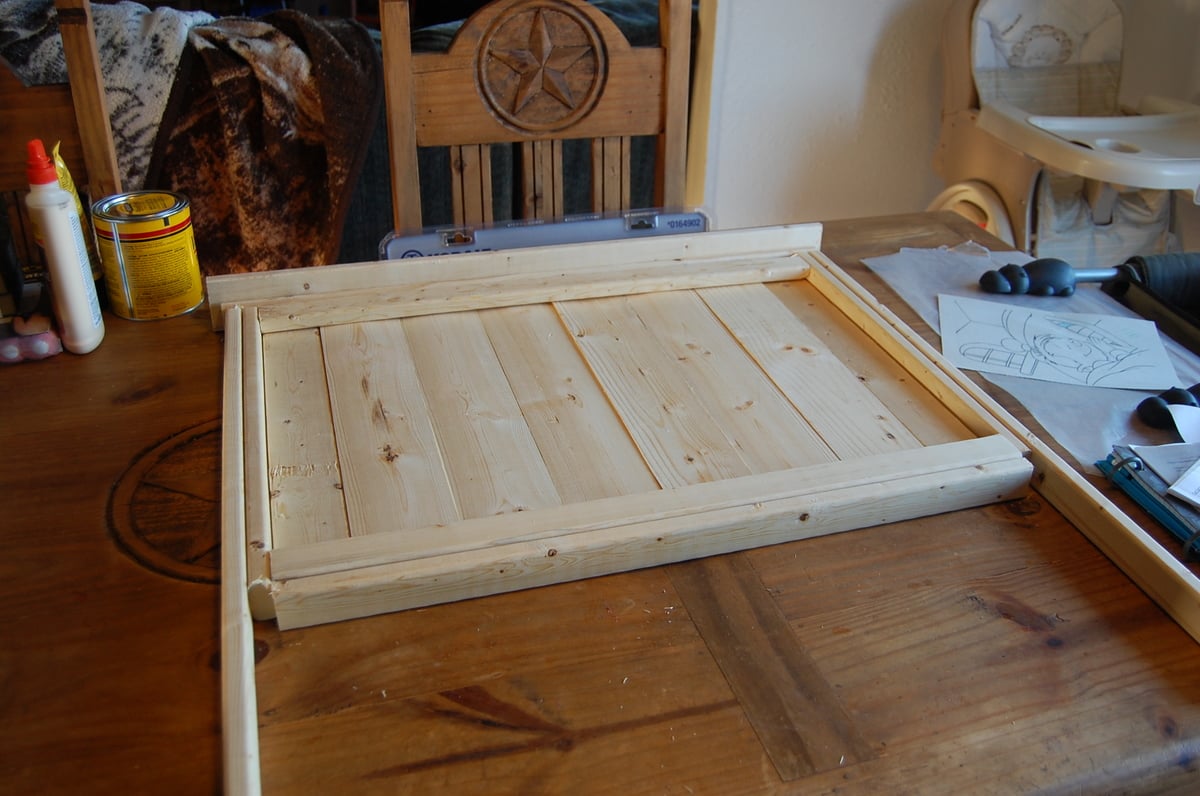
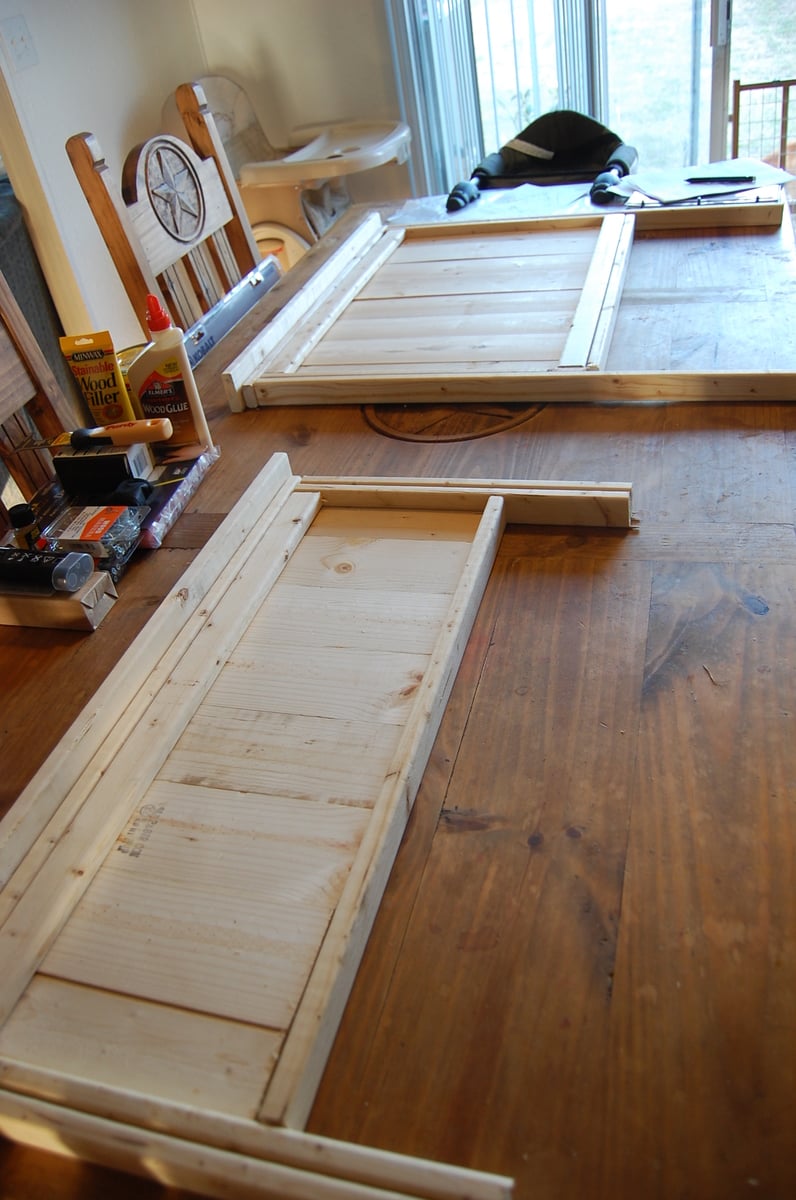
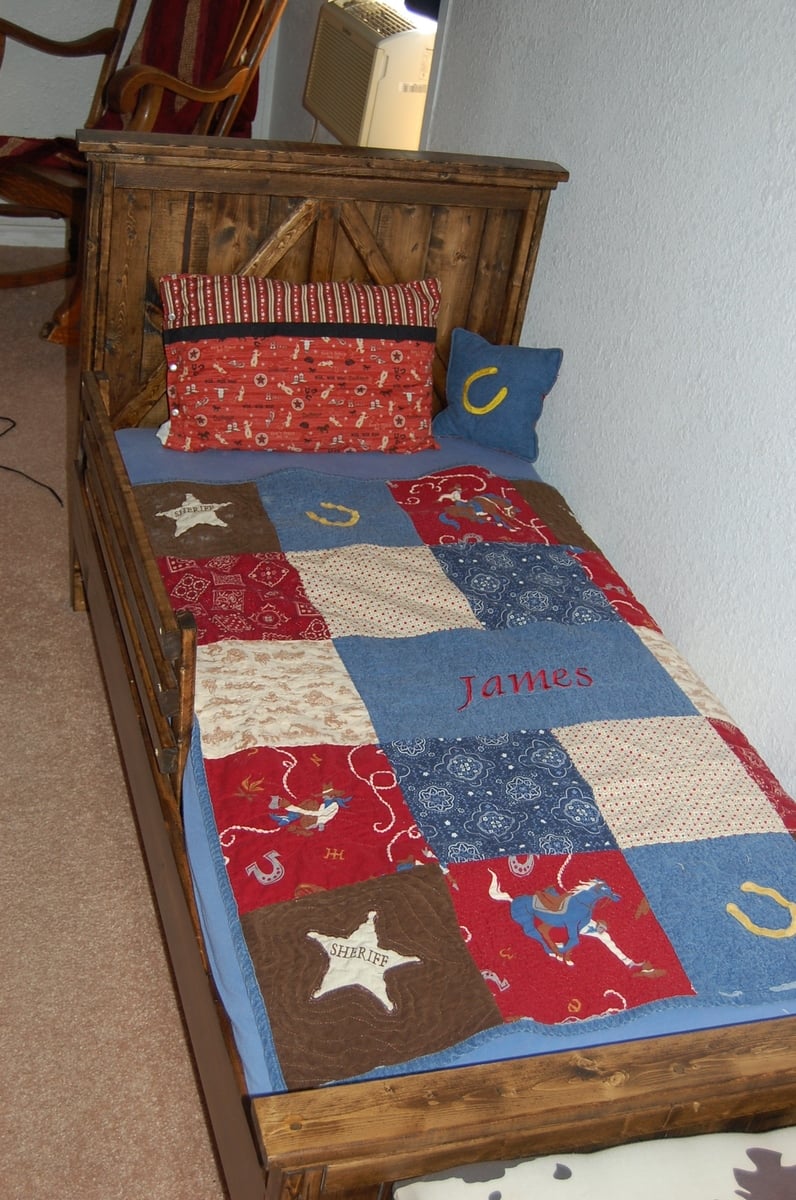
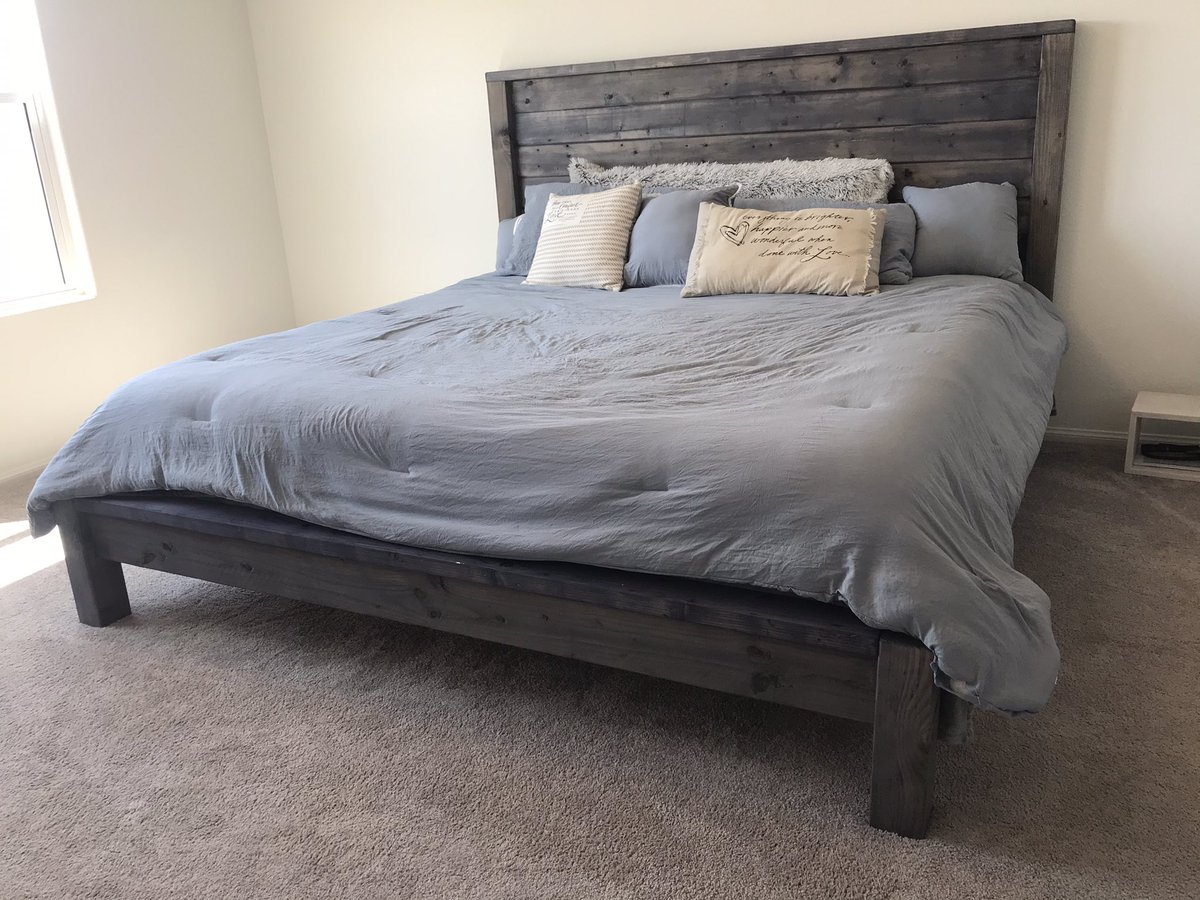
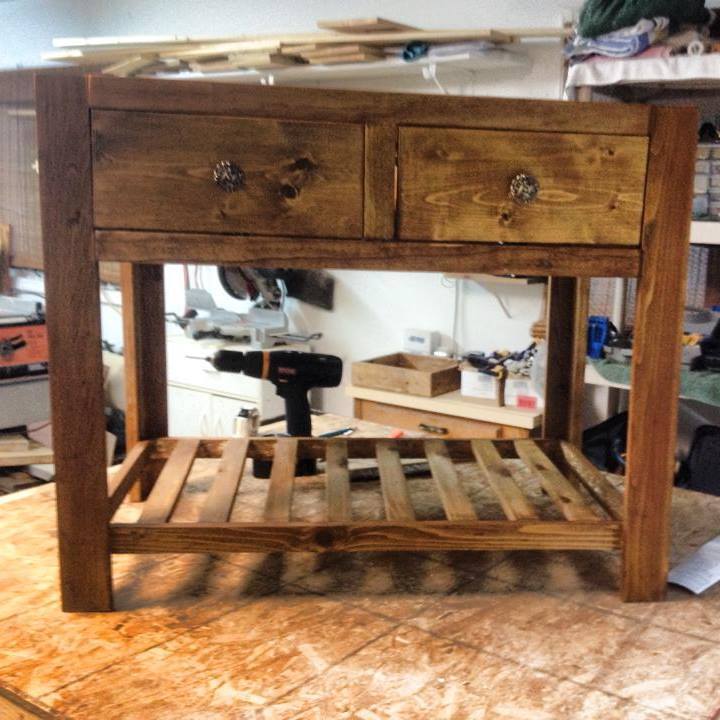
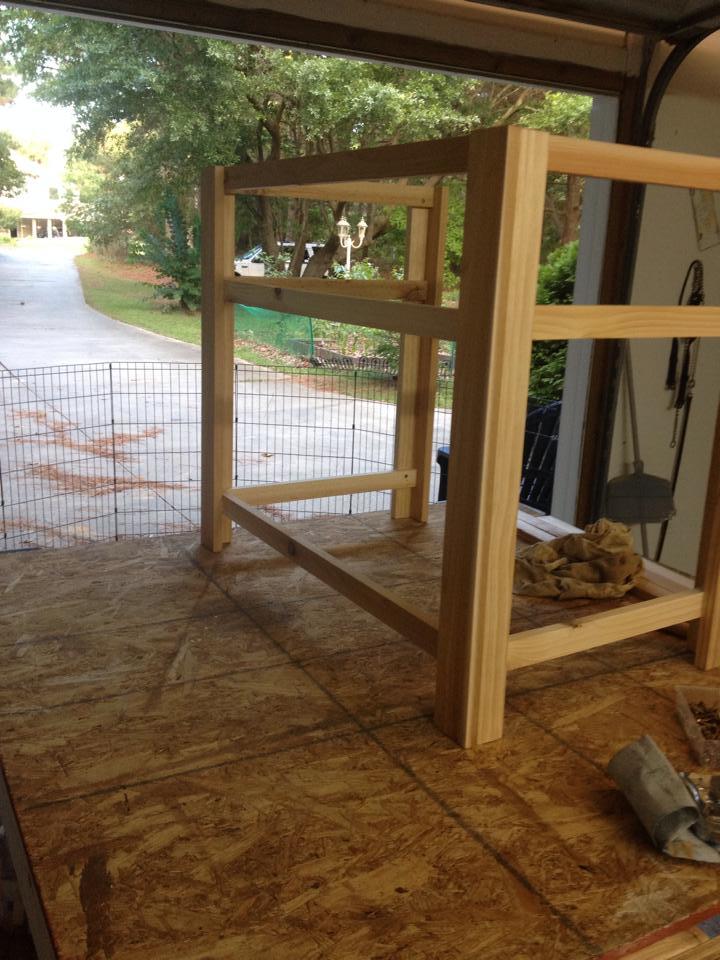
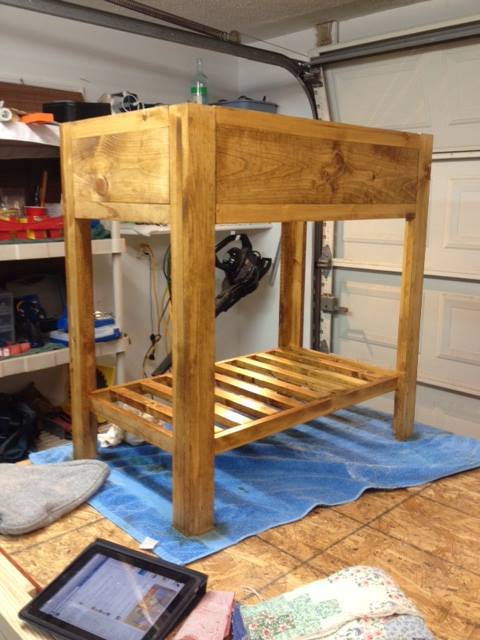
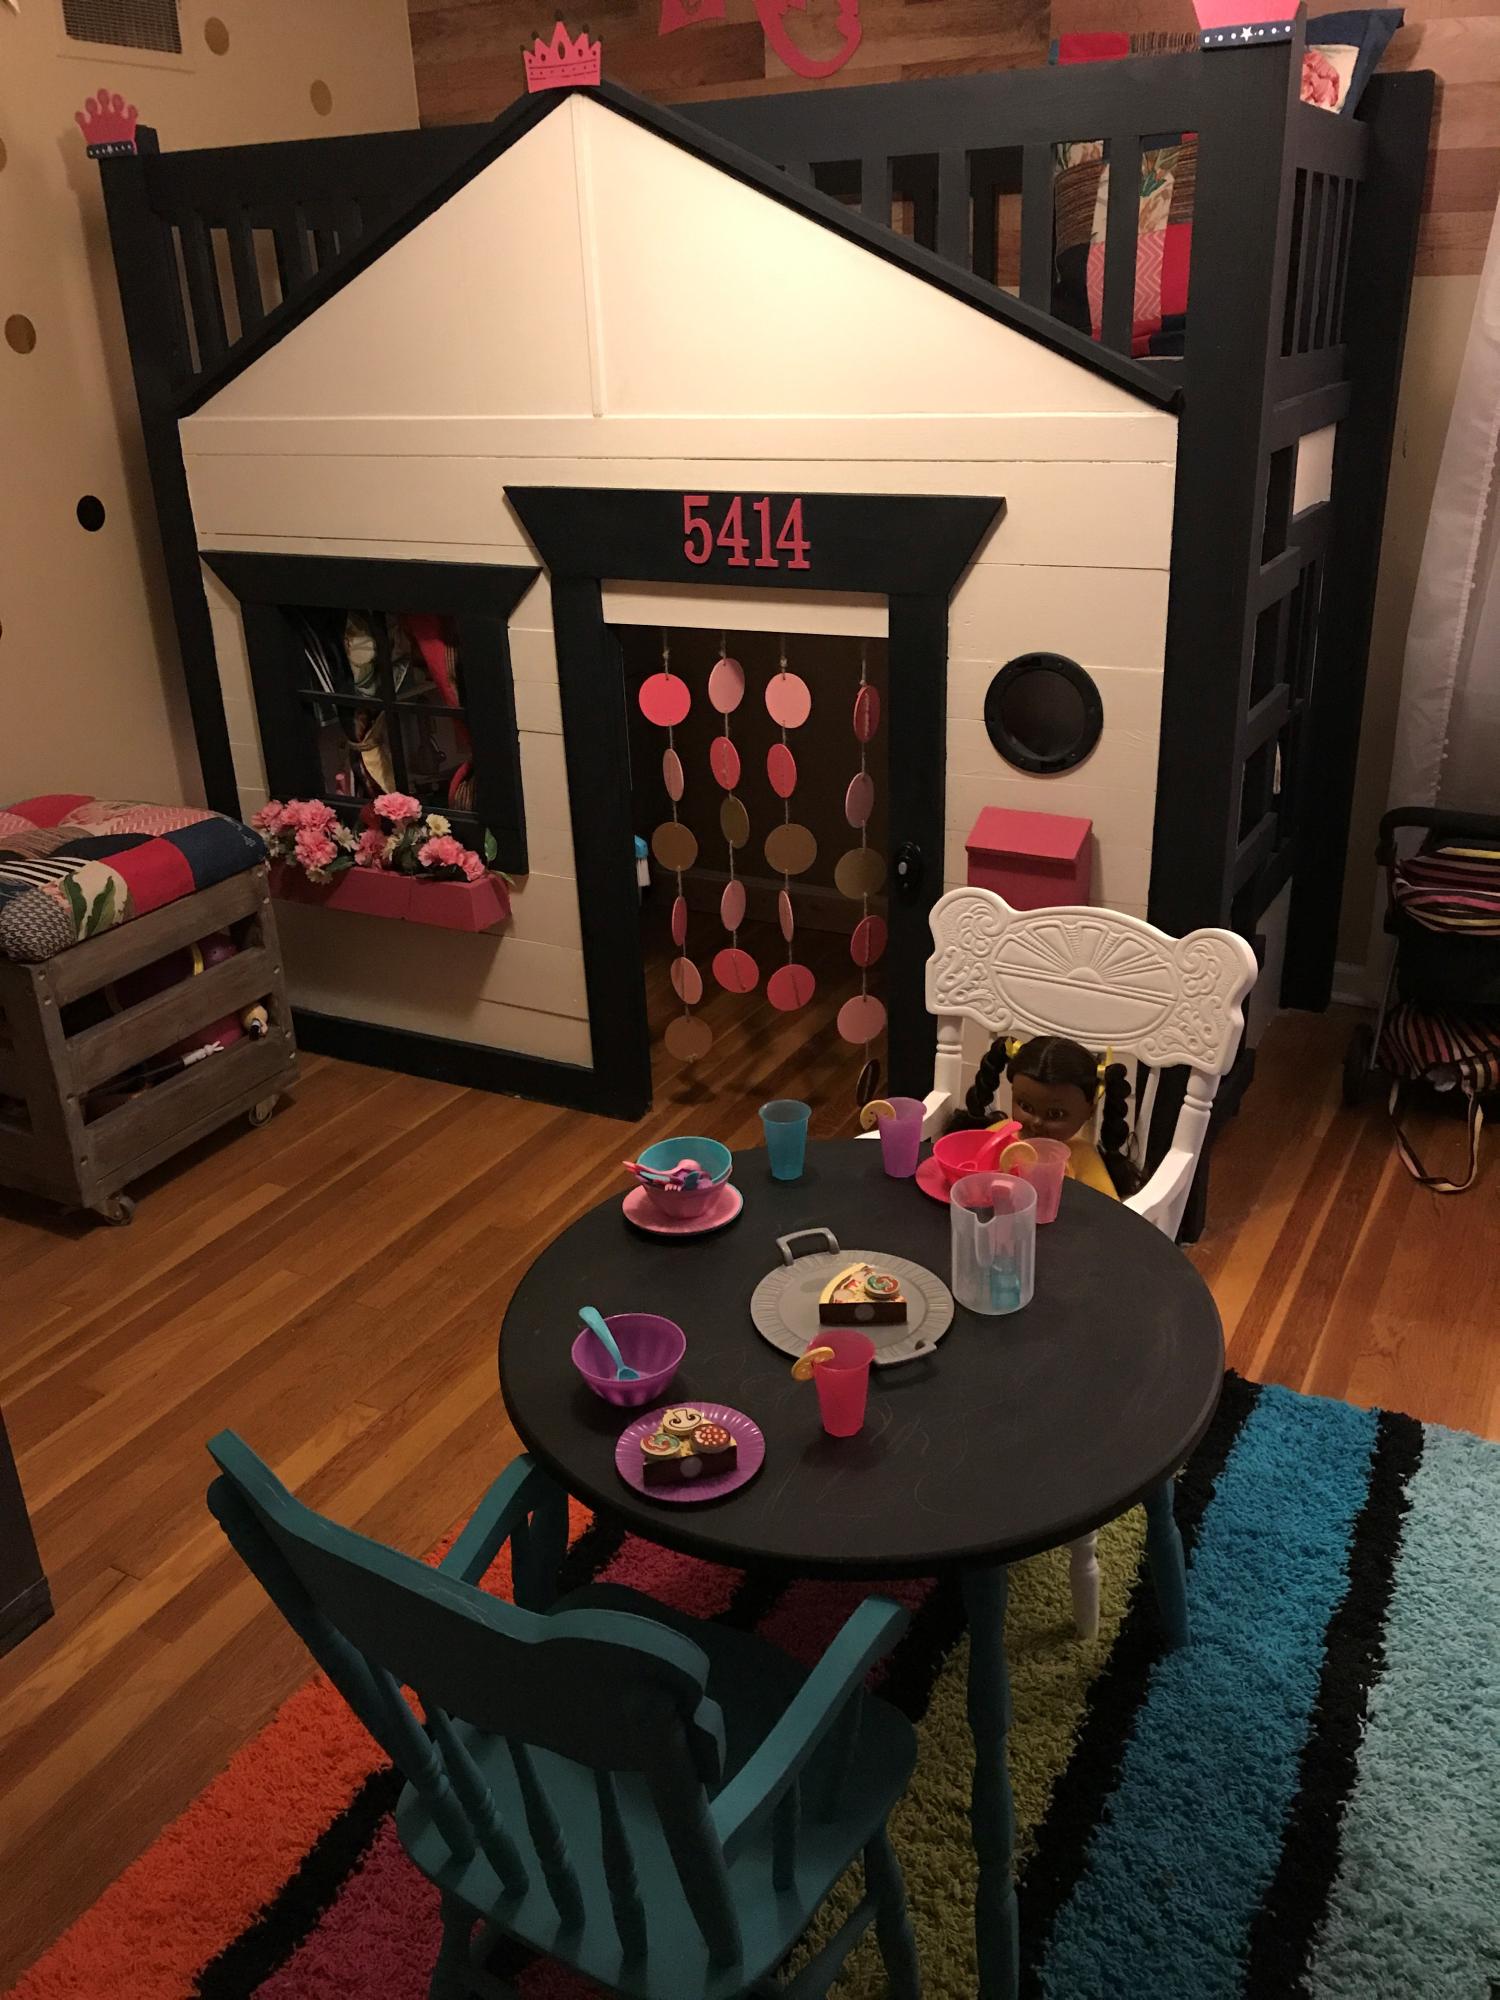
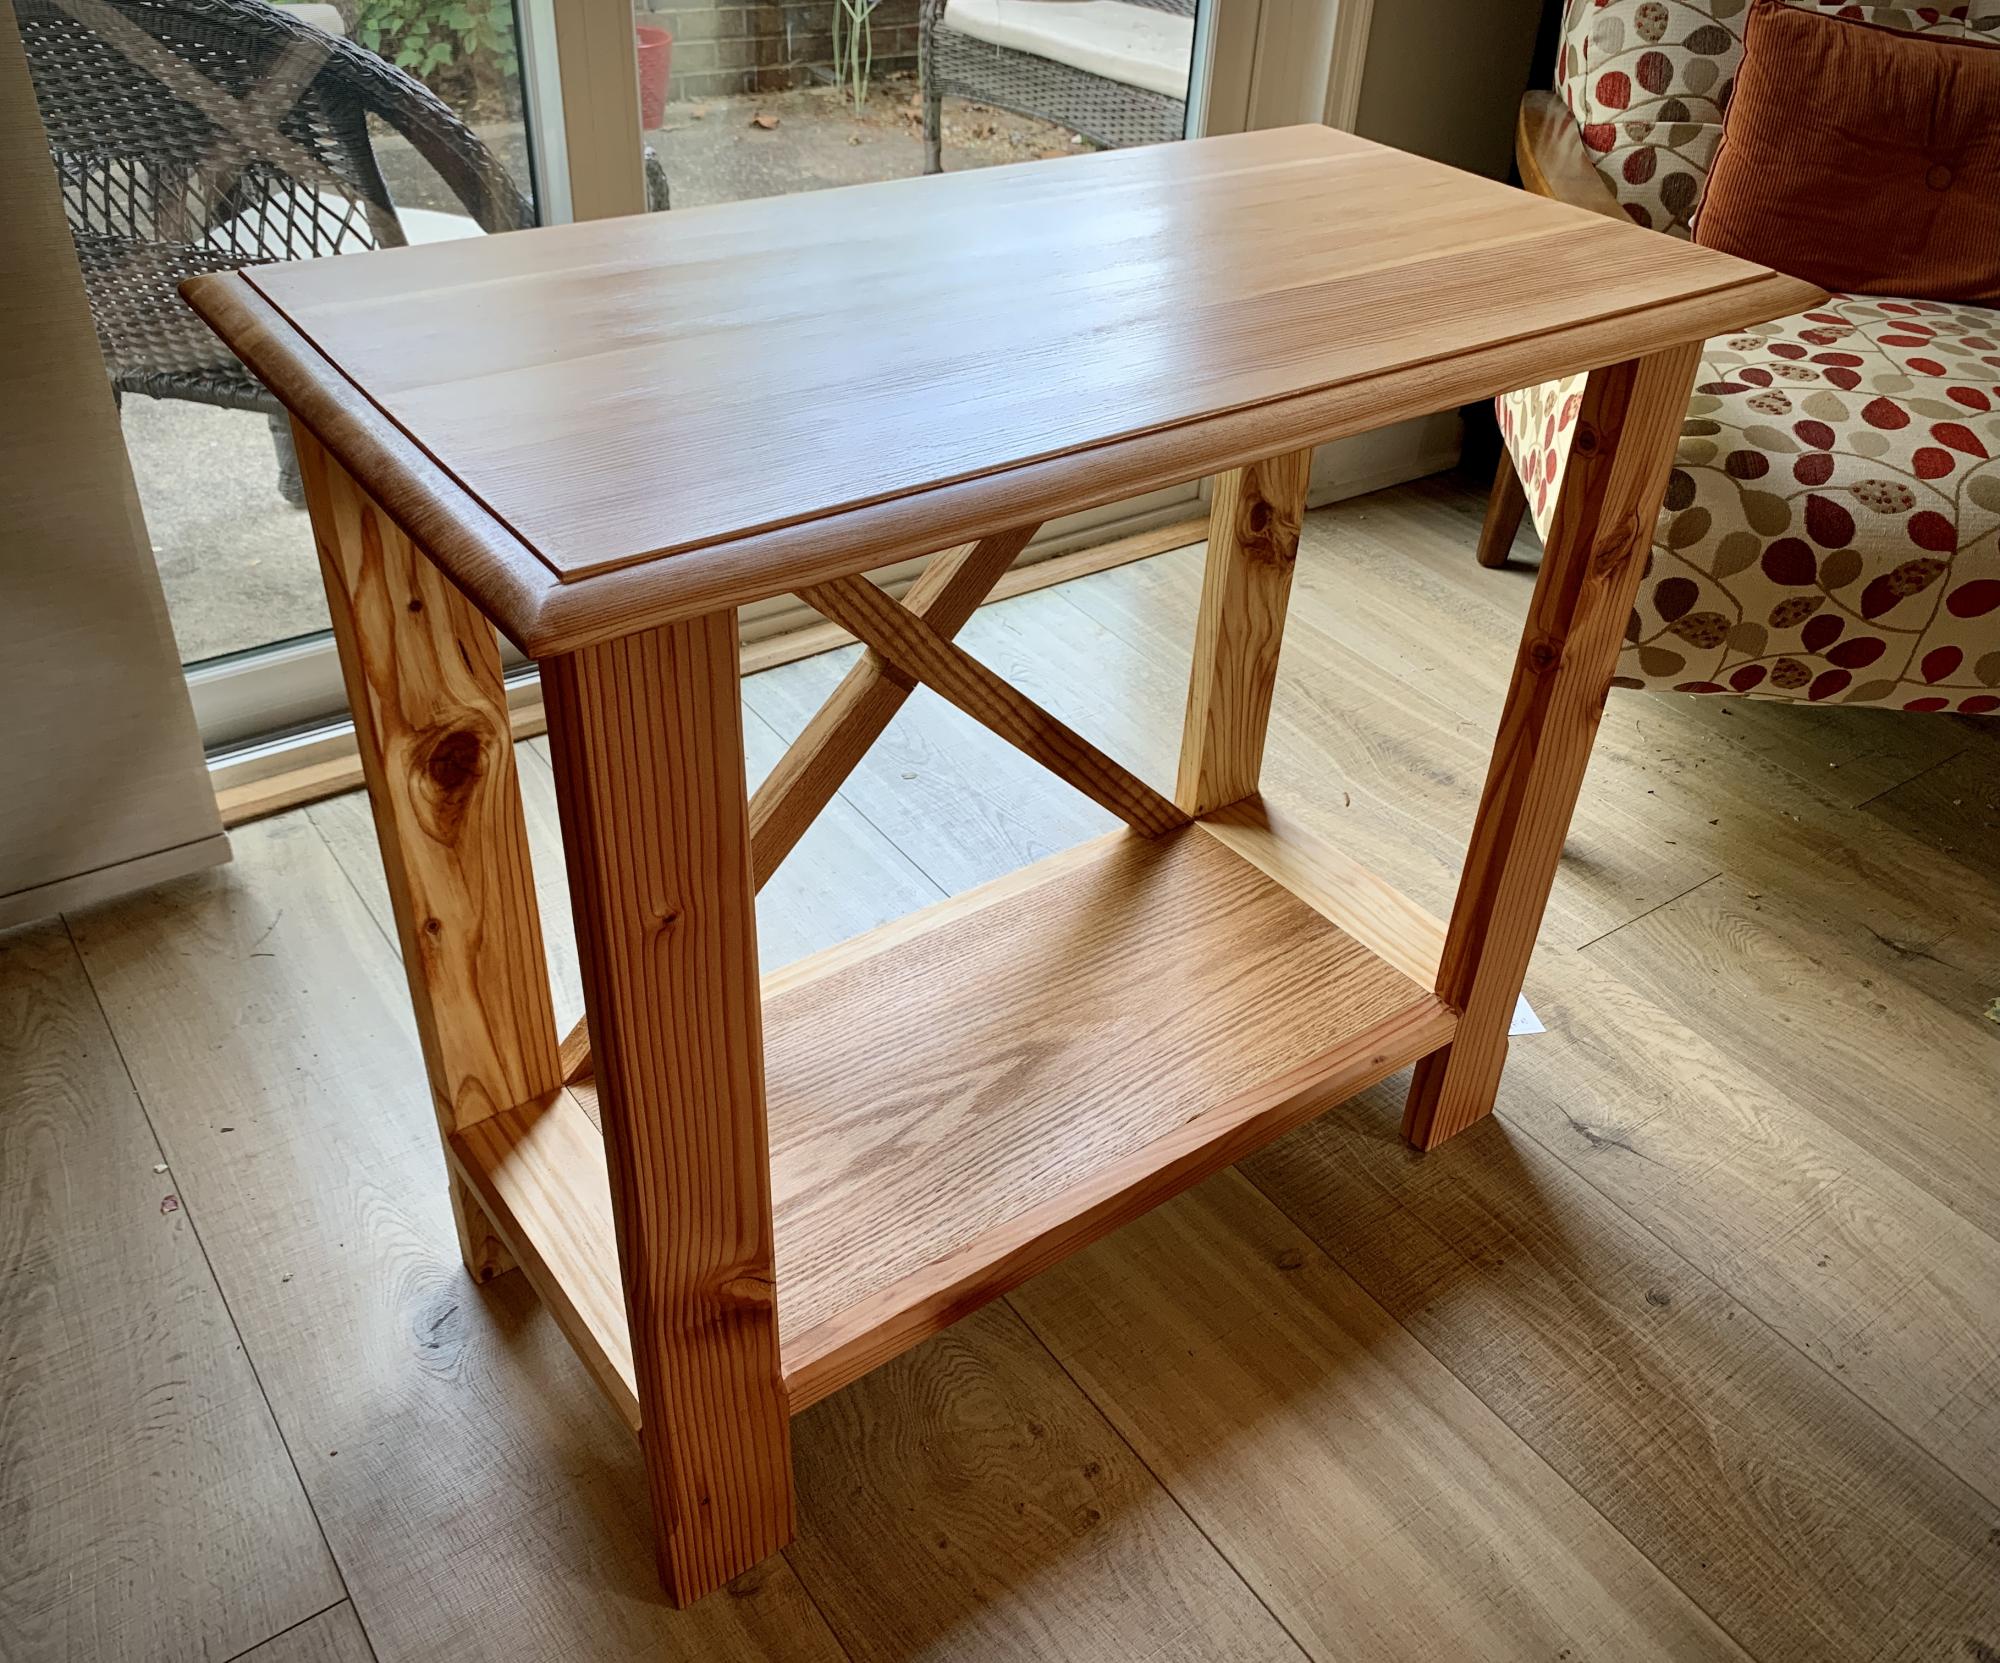
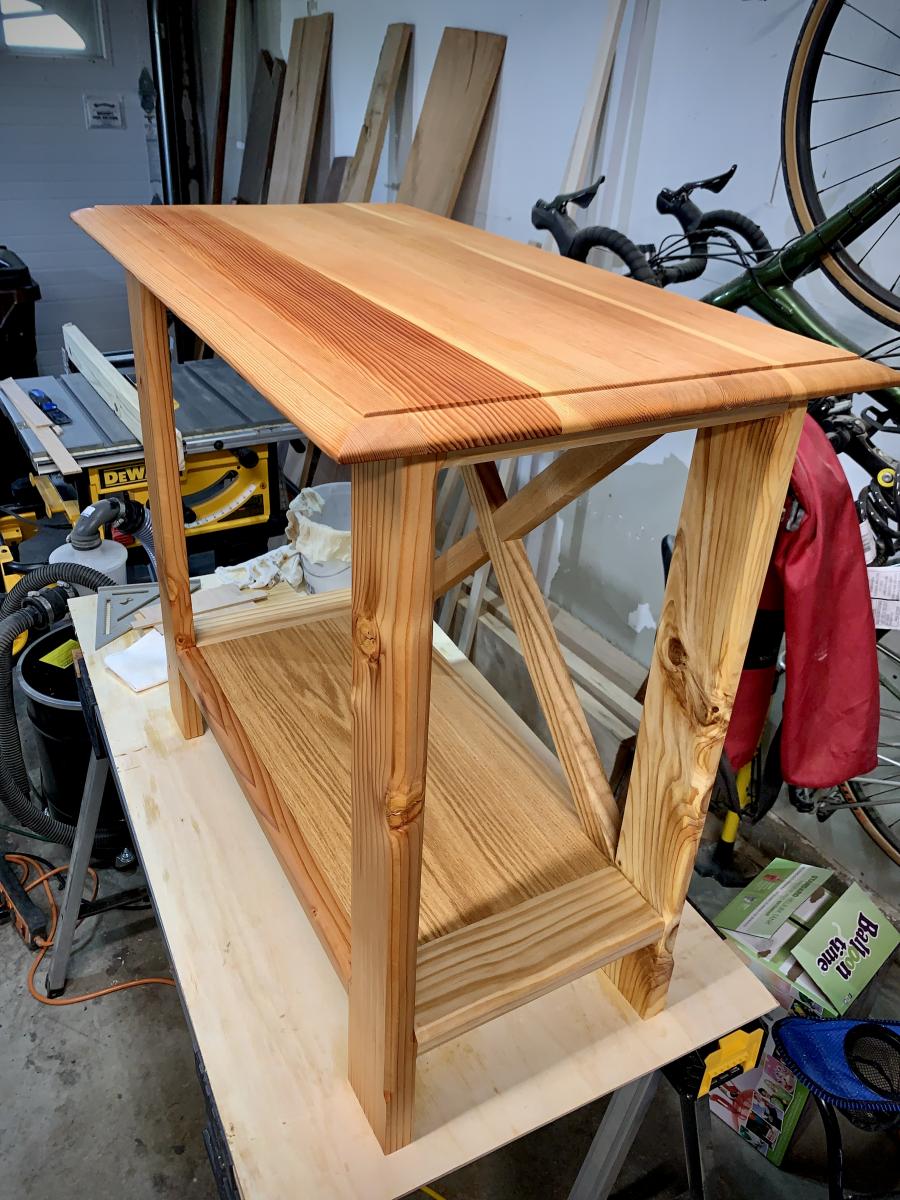
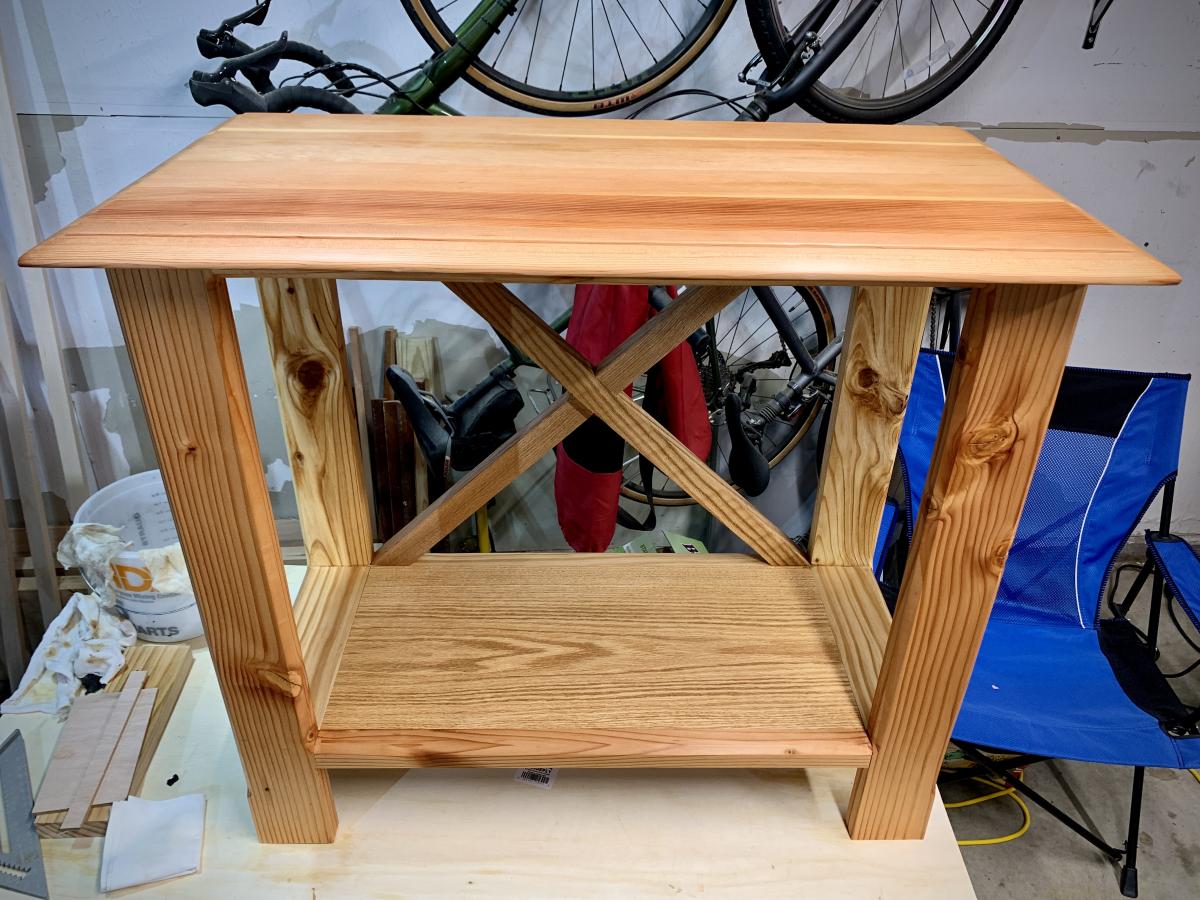
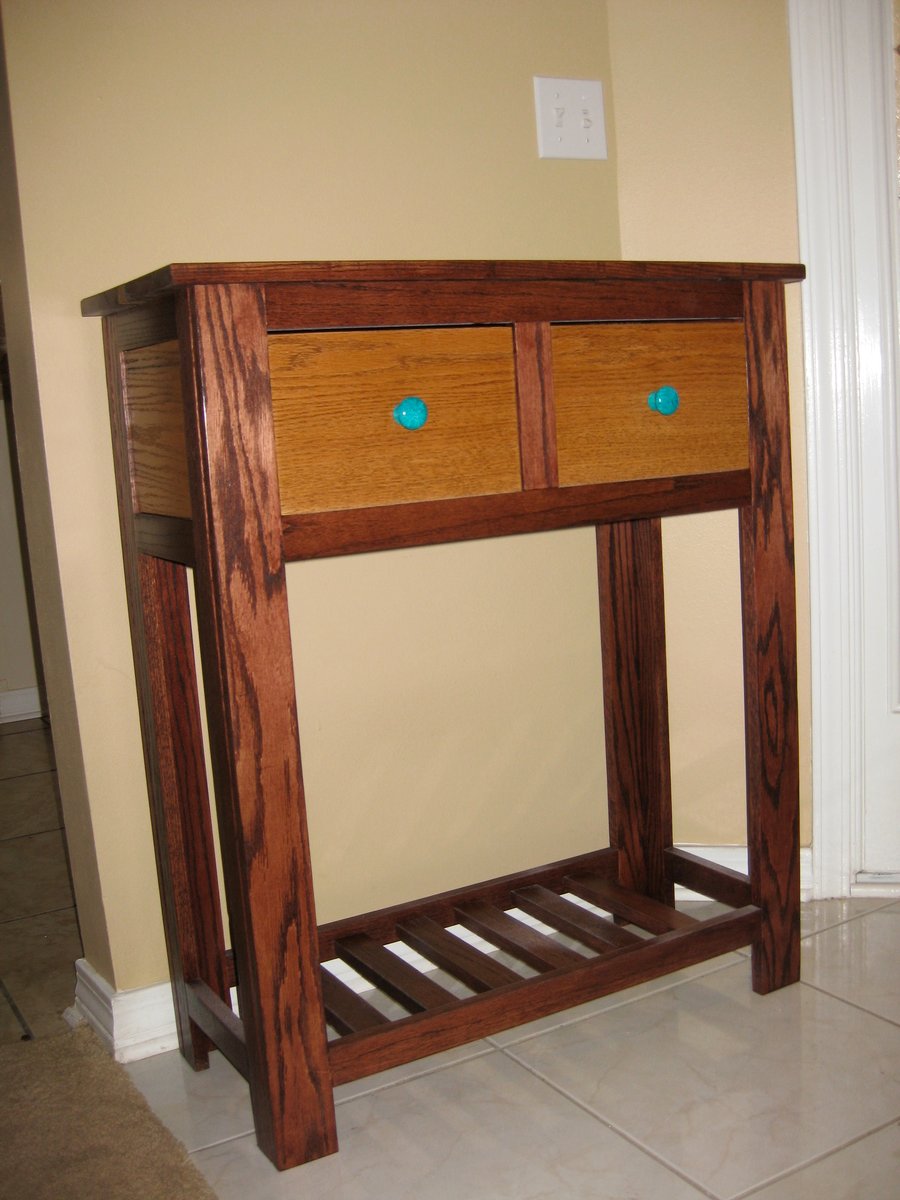
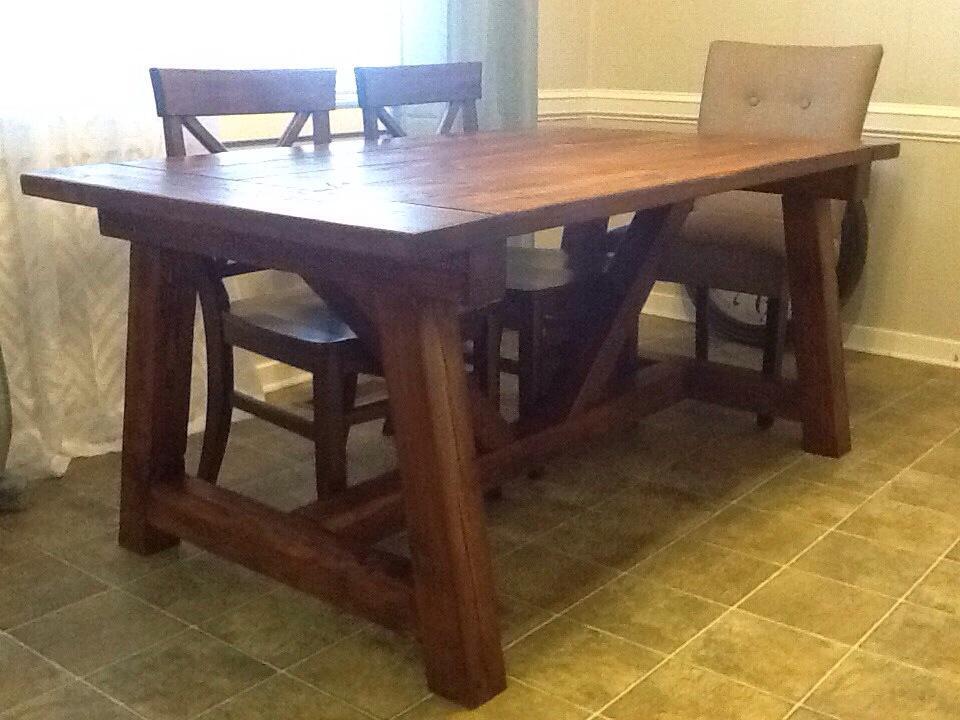
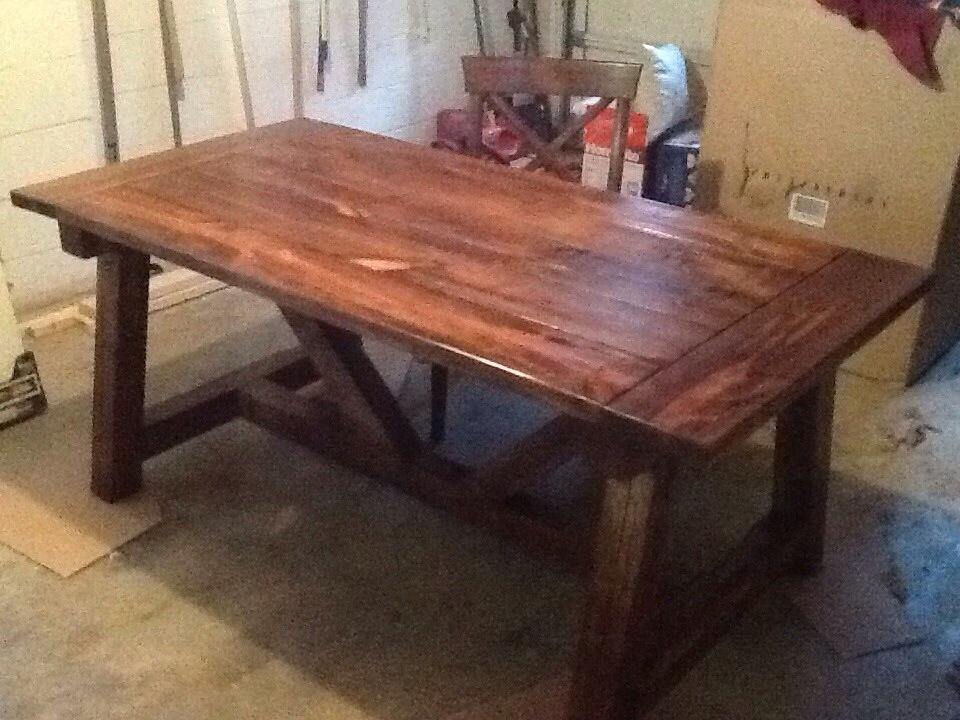
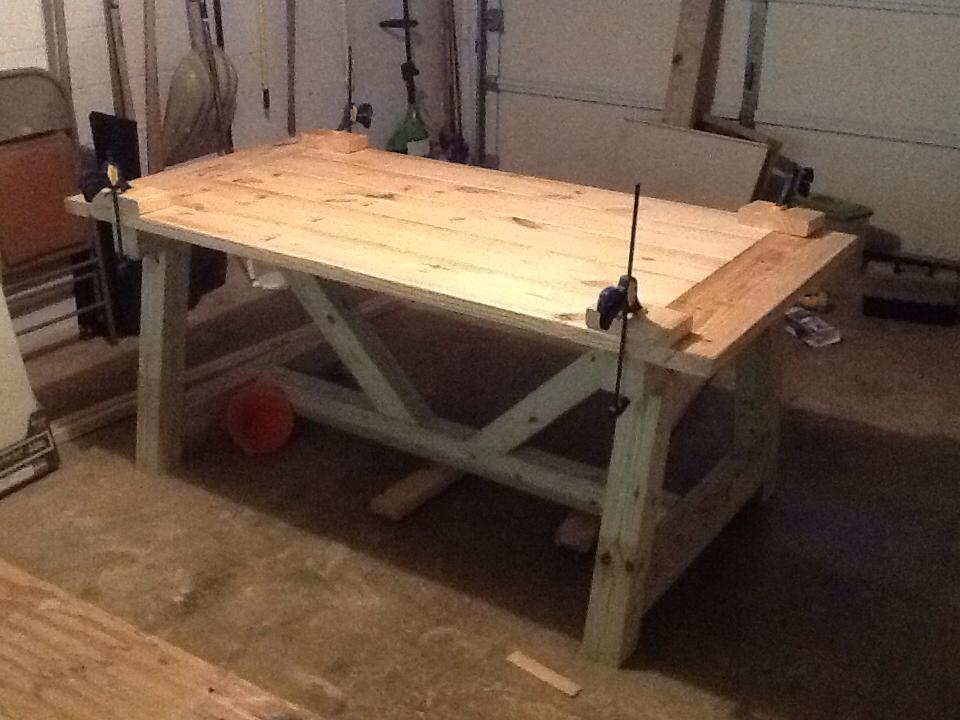
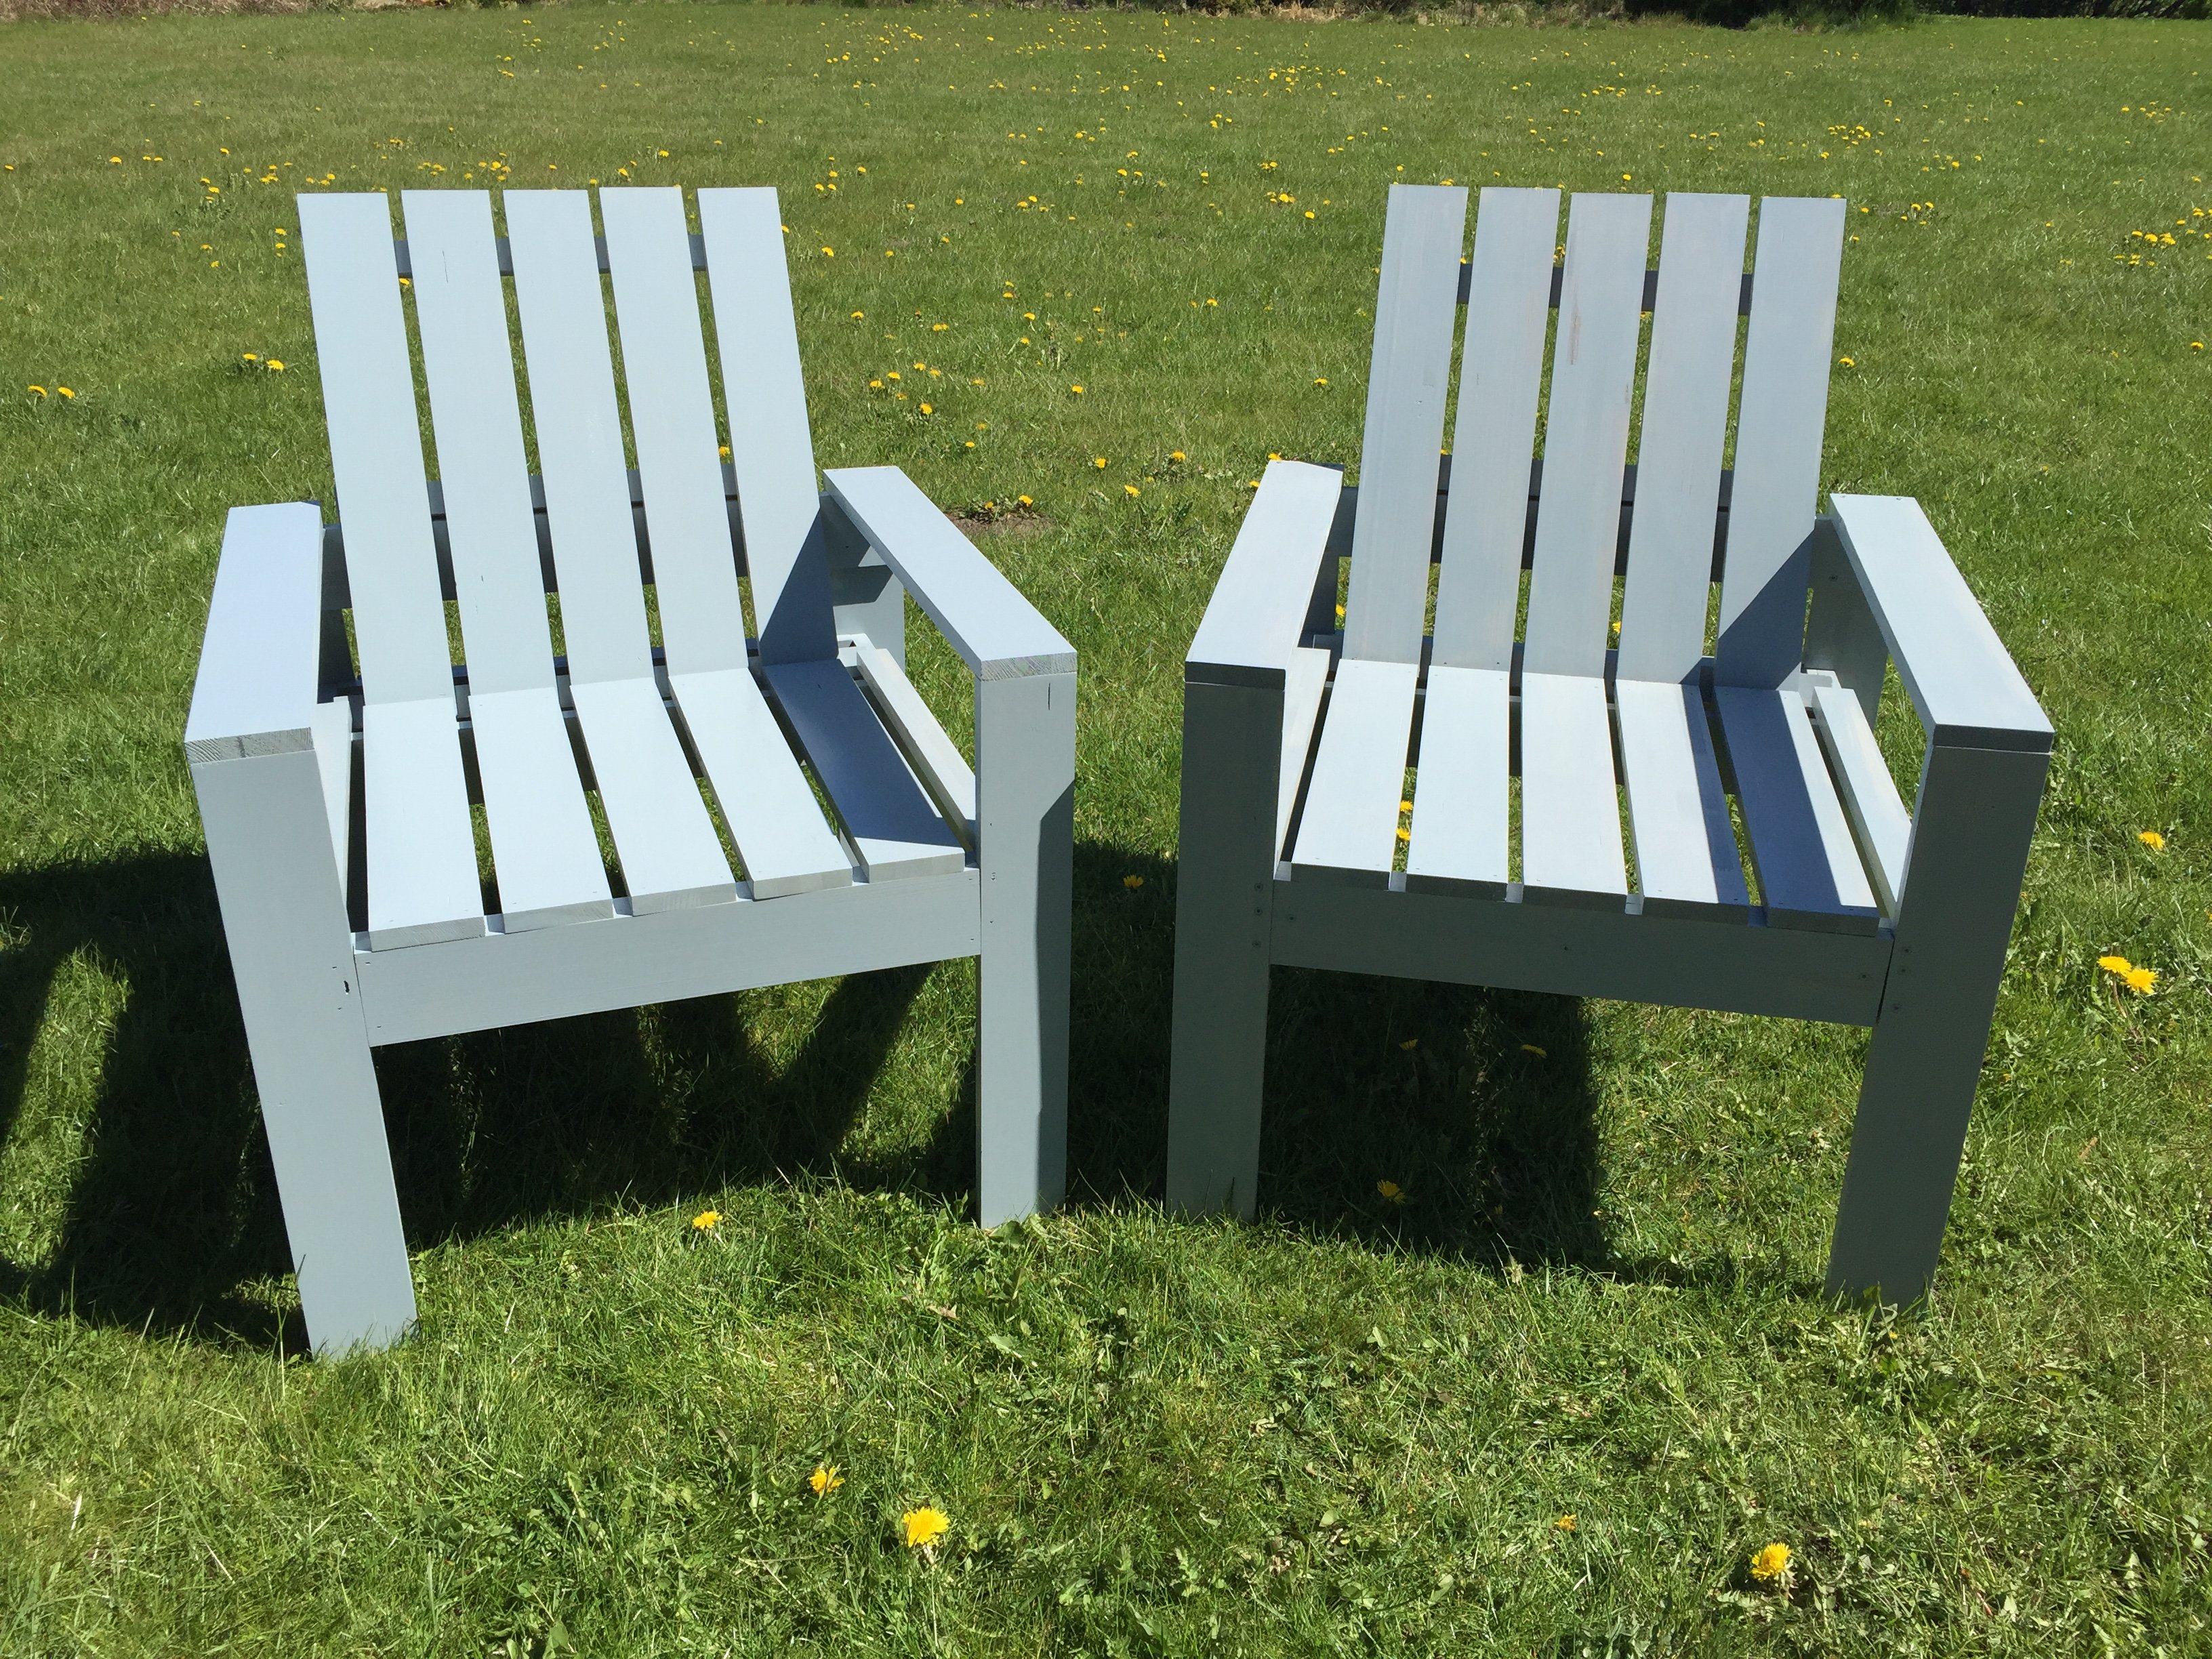
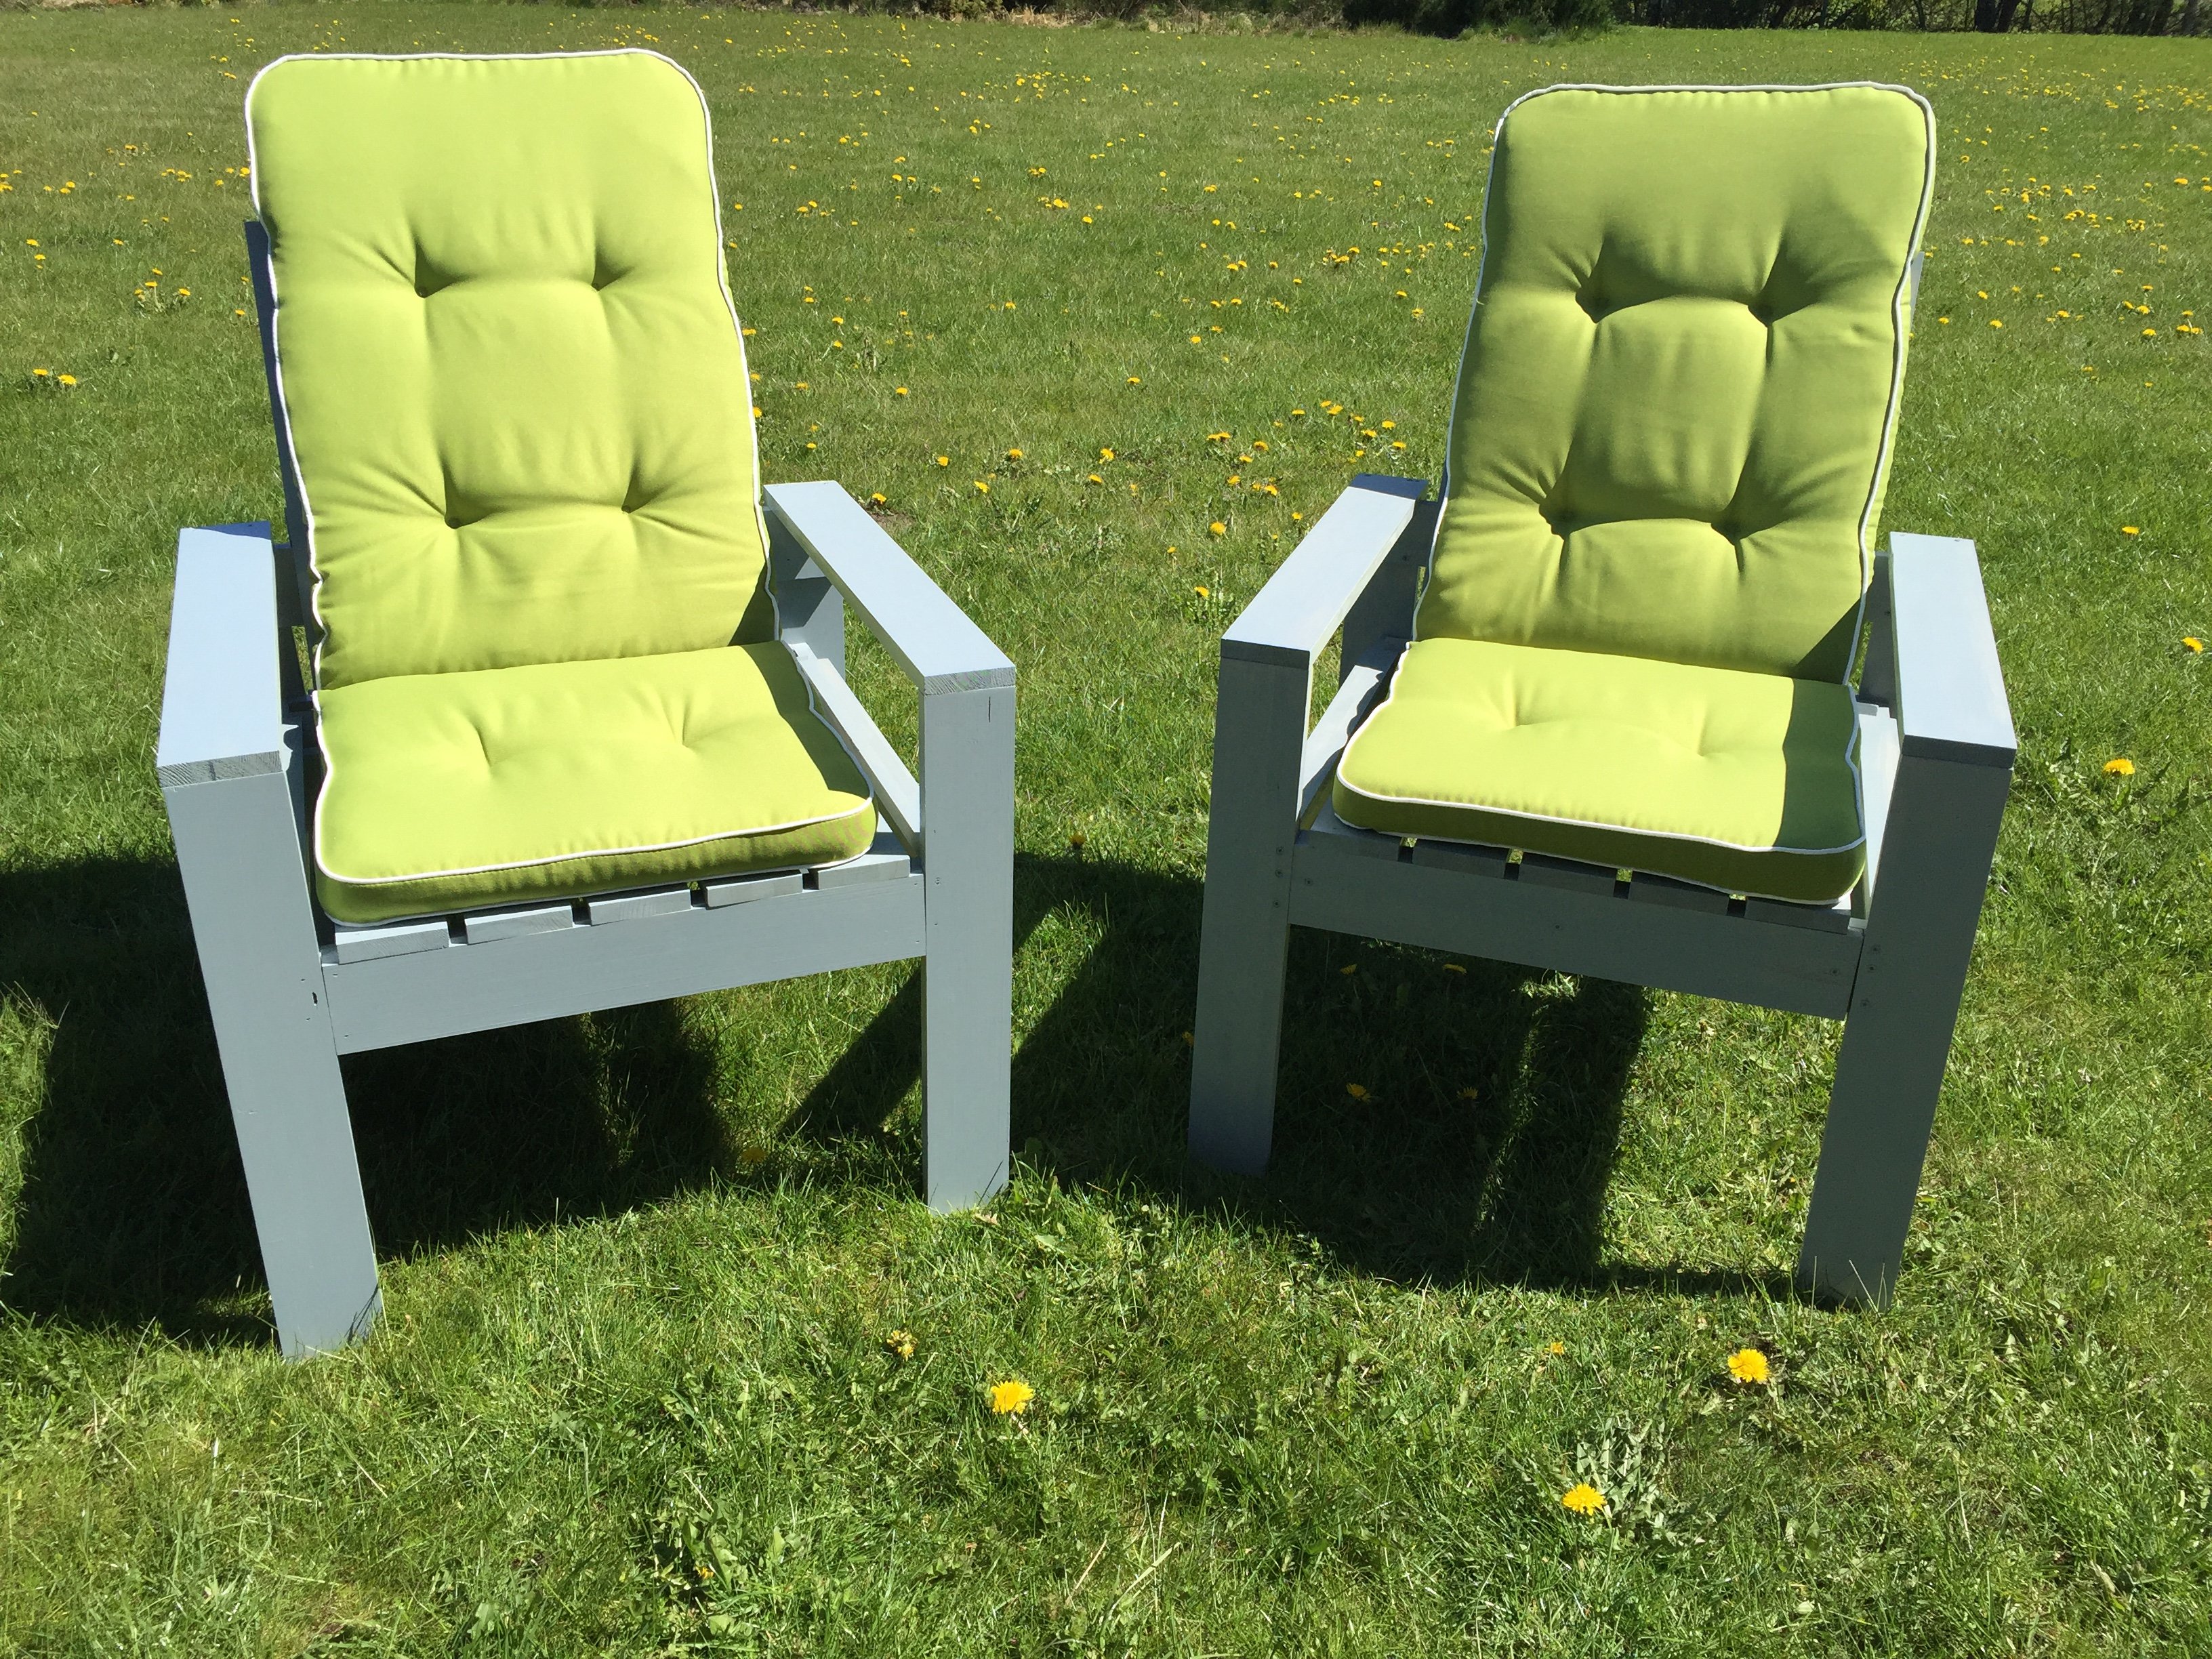
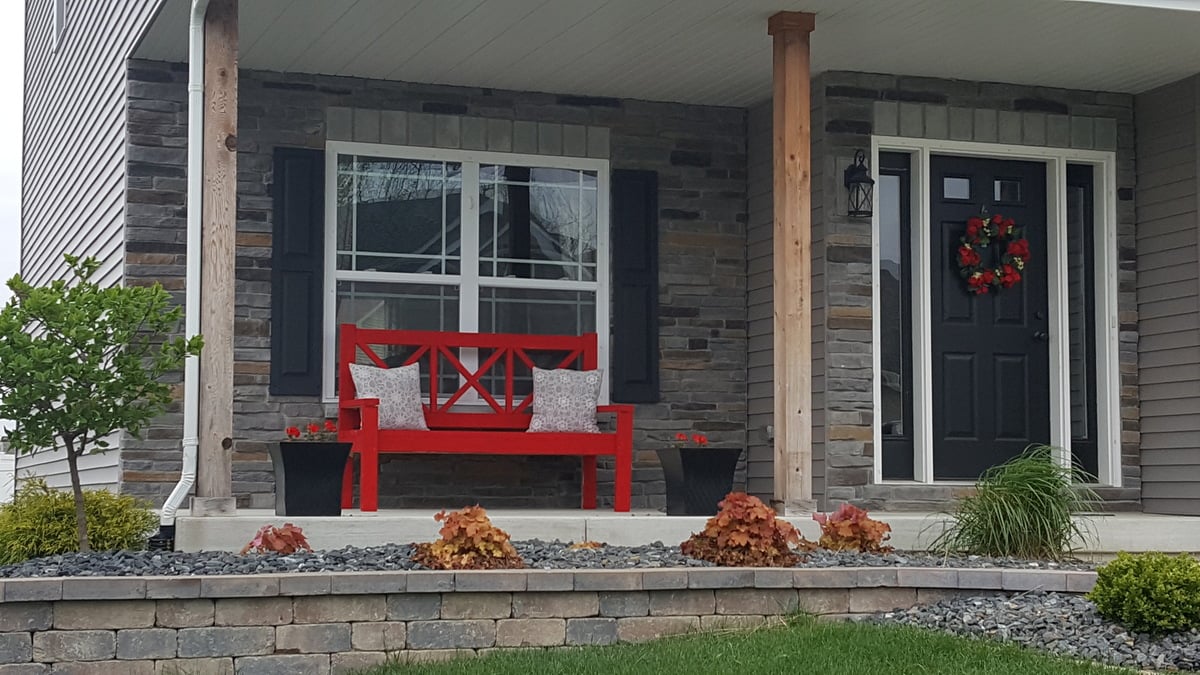
Large Porch Bench - NW Indiana
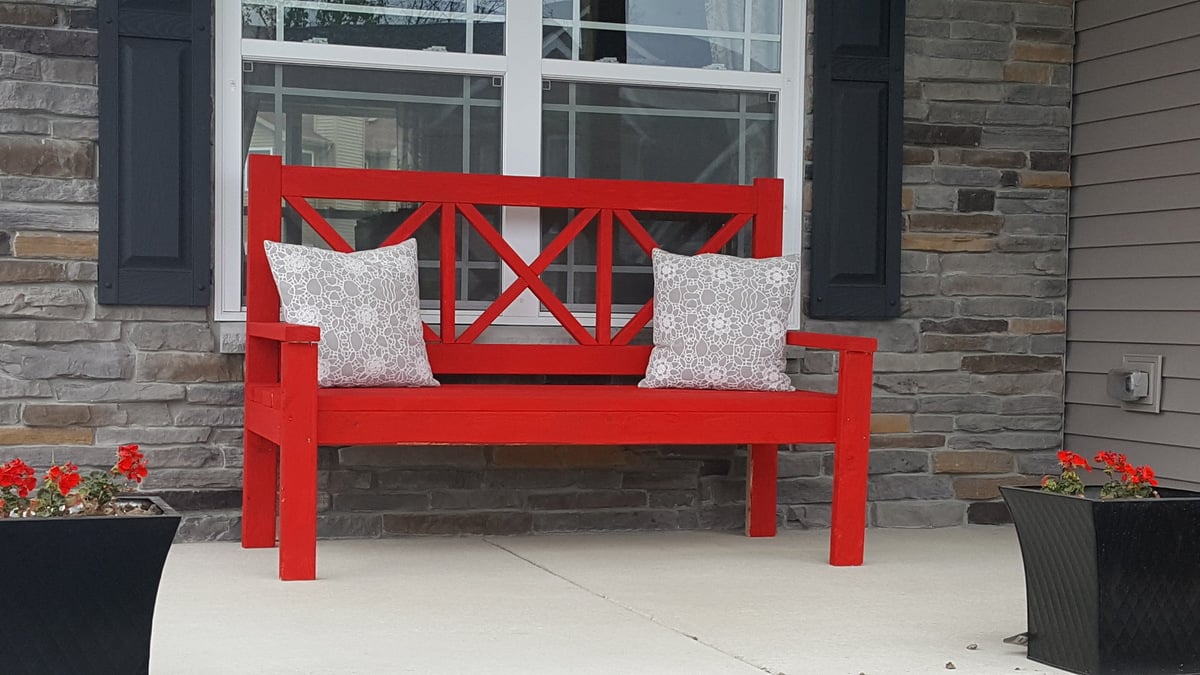
Instructions were very easy to follow. I got wood at Home Depot and had it cut to size there as well (fit better in car that way). Without help it will take longer than if you can get a person to help out. I needed to go buy a Kreg jig, Kreg nails, and a c clamp. I used chalk paint from Joanne's. Done in 2 days.
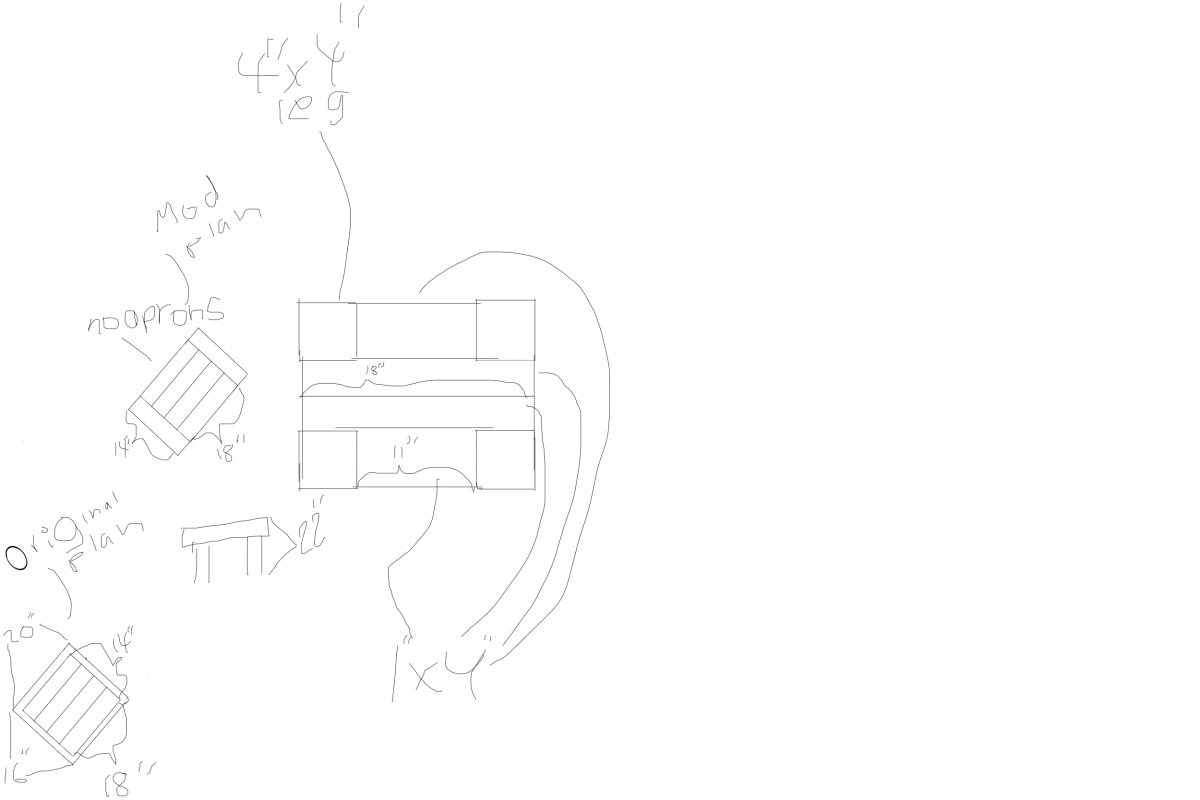
Built from Plan(s)
Estimated Cost
$55
Estimated Time Investment
Day Project (6-9 Hours)
Recommended Skill Level
Beginner