Work Bench
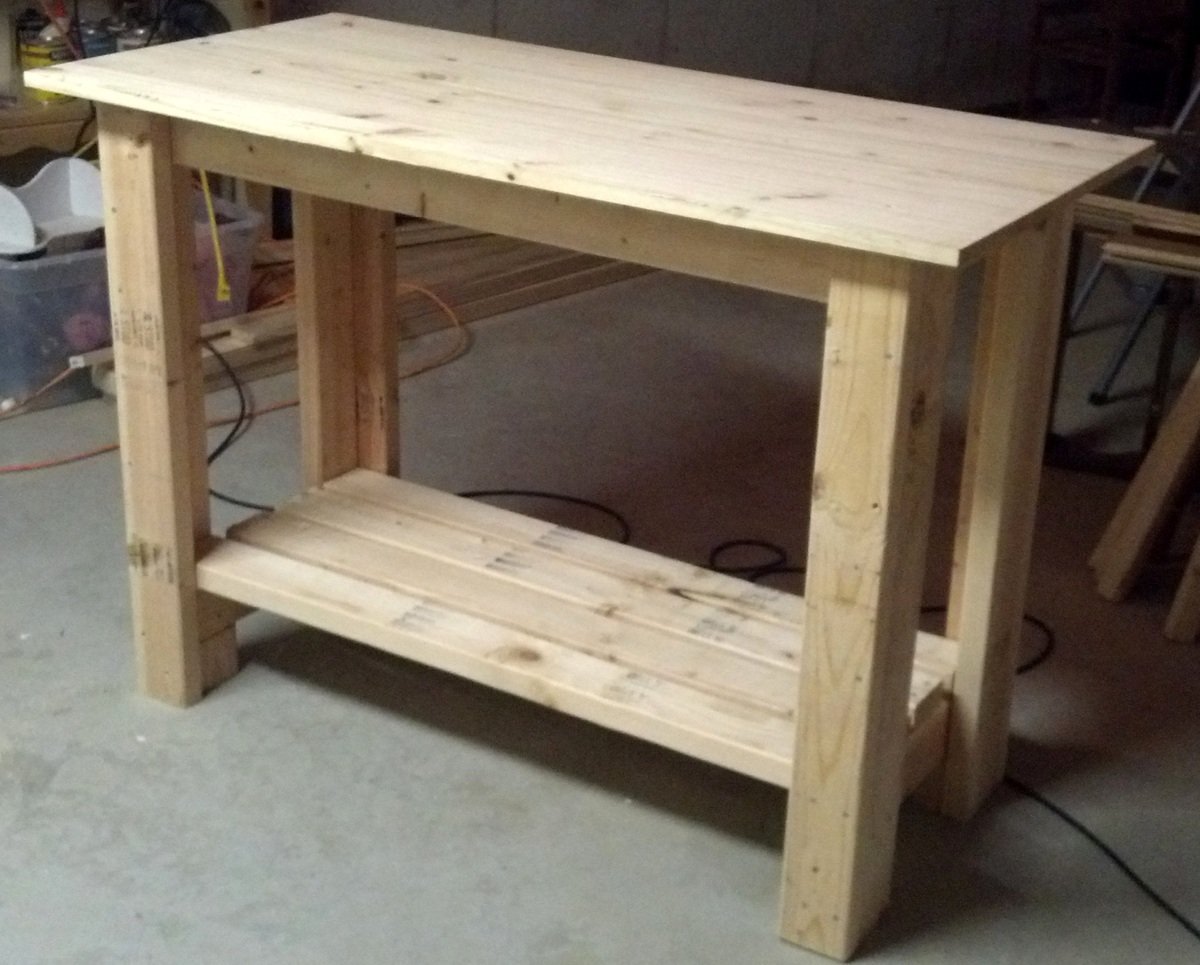
I figured the first thing I should make was a bench to work on :)

I figured the first thing I should make was a bench to work on :)
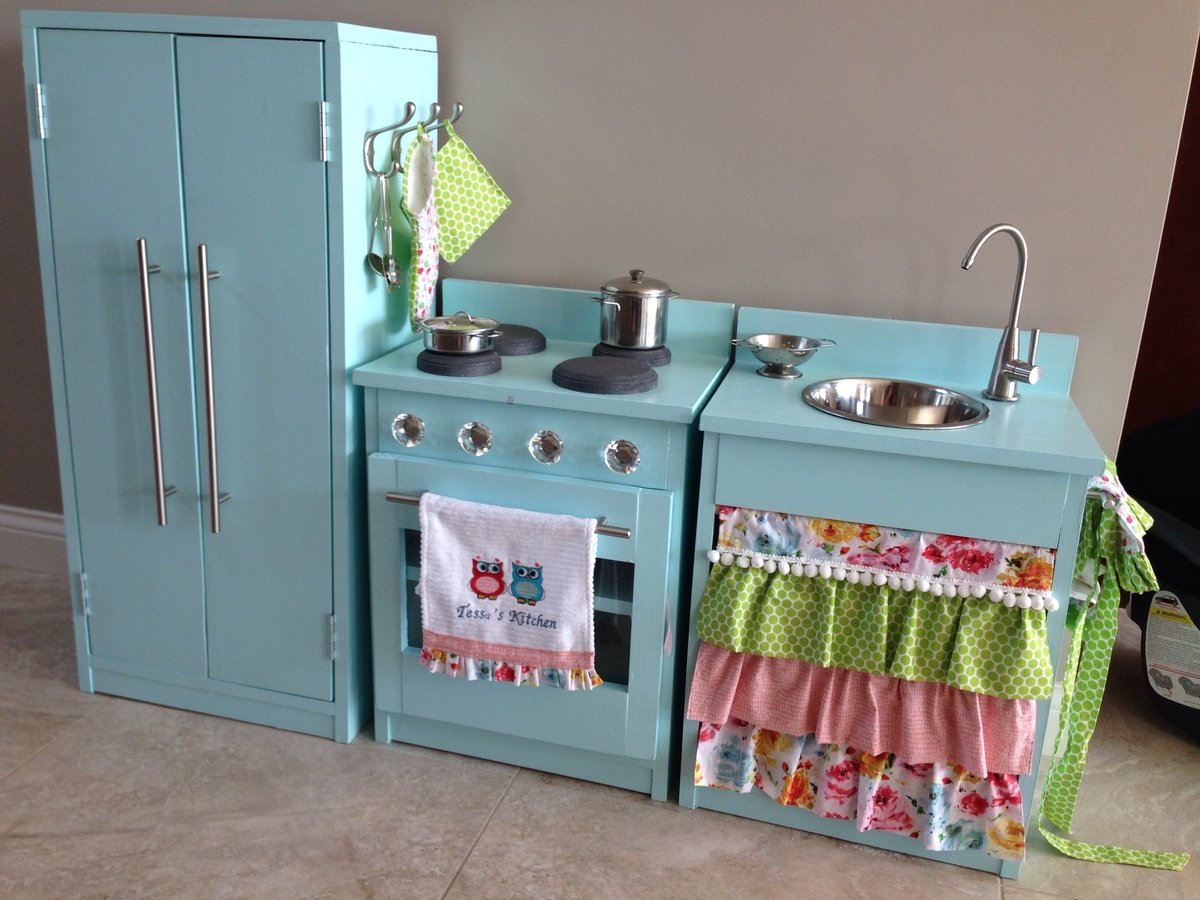
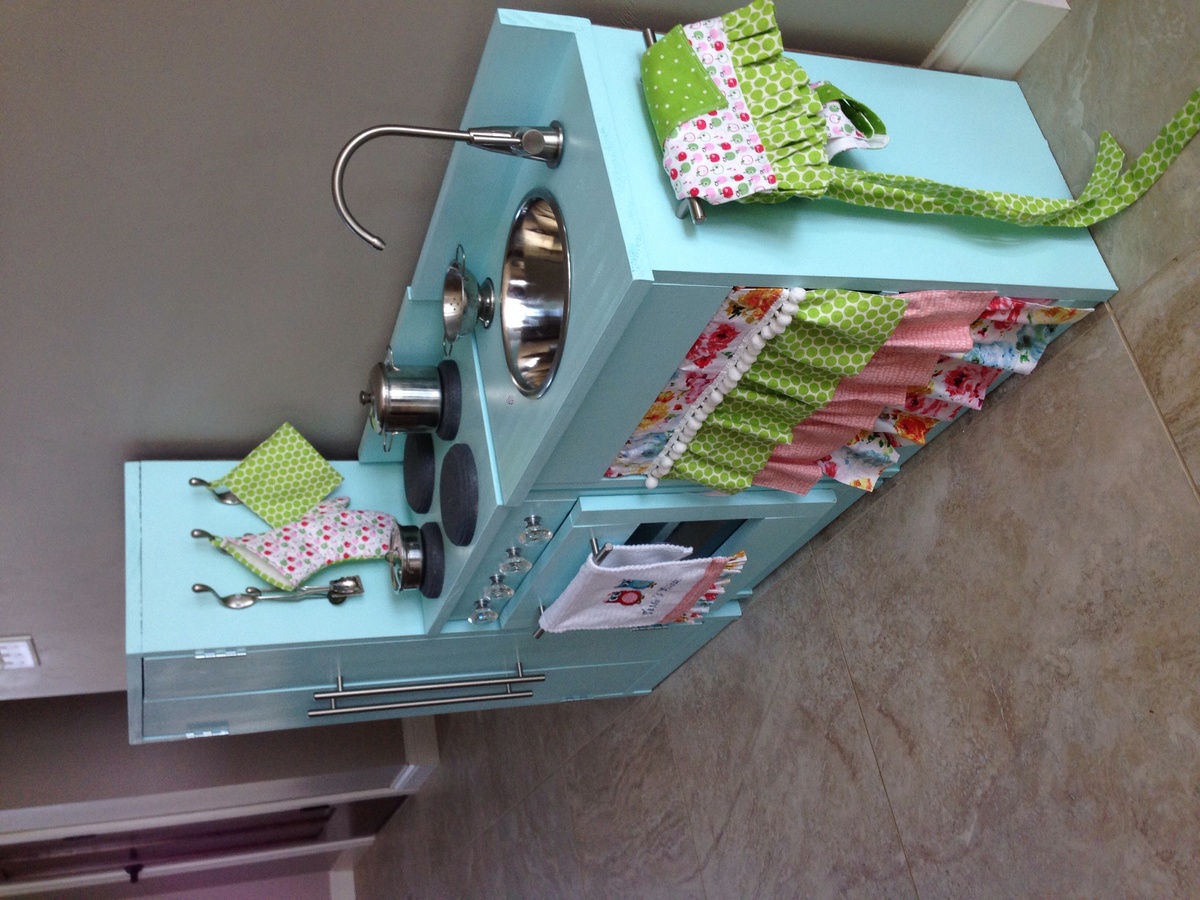
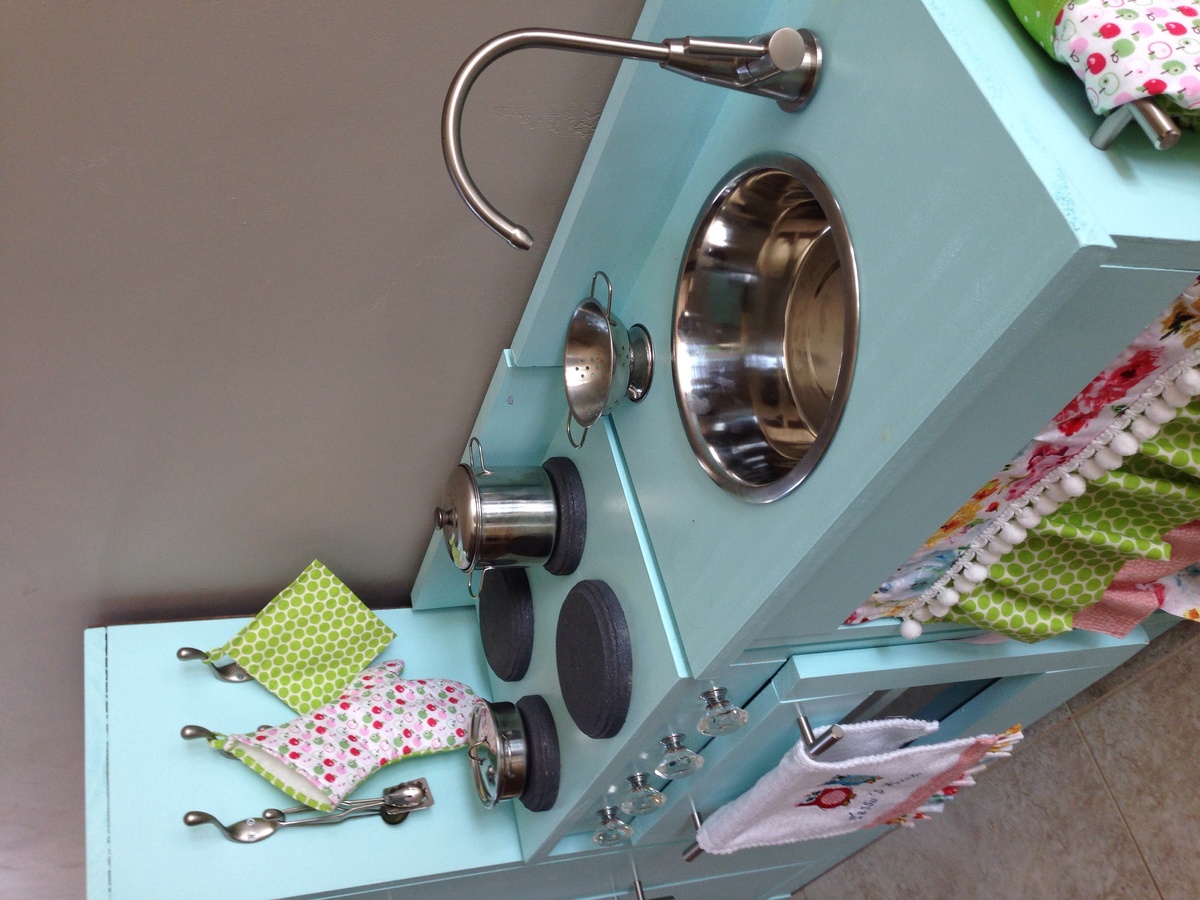
I built this play kitchen for my daughter's second birthday during my newborn son's short naps or often with him strapped to me in his baby carrier. I spent more money on higher quality wood to save myself time and effort sanding the wood down. I splurged on a drinking faucet as it was the perfect size and a mini version of my real kitchen faucet. I used magnets on the fridge doors and oven door and a simple ribbon to prevent the oven door from opening too wide. I have built a few things befor-shelves, table, baby gate but consider myself a beginner who is still learning a lot about woodworking.
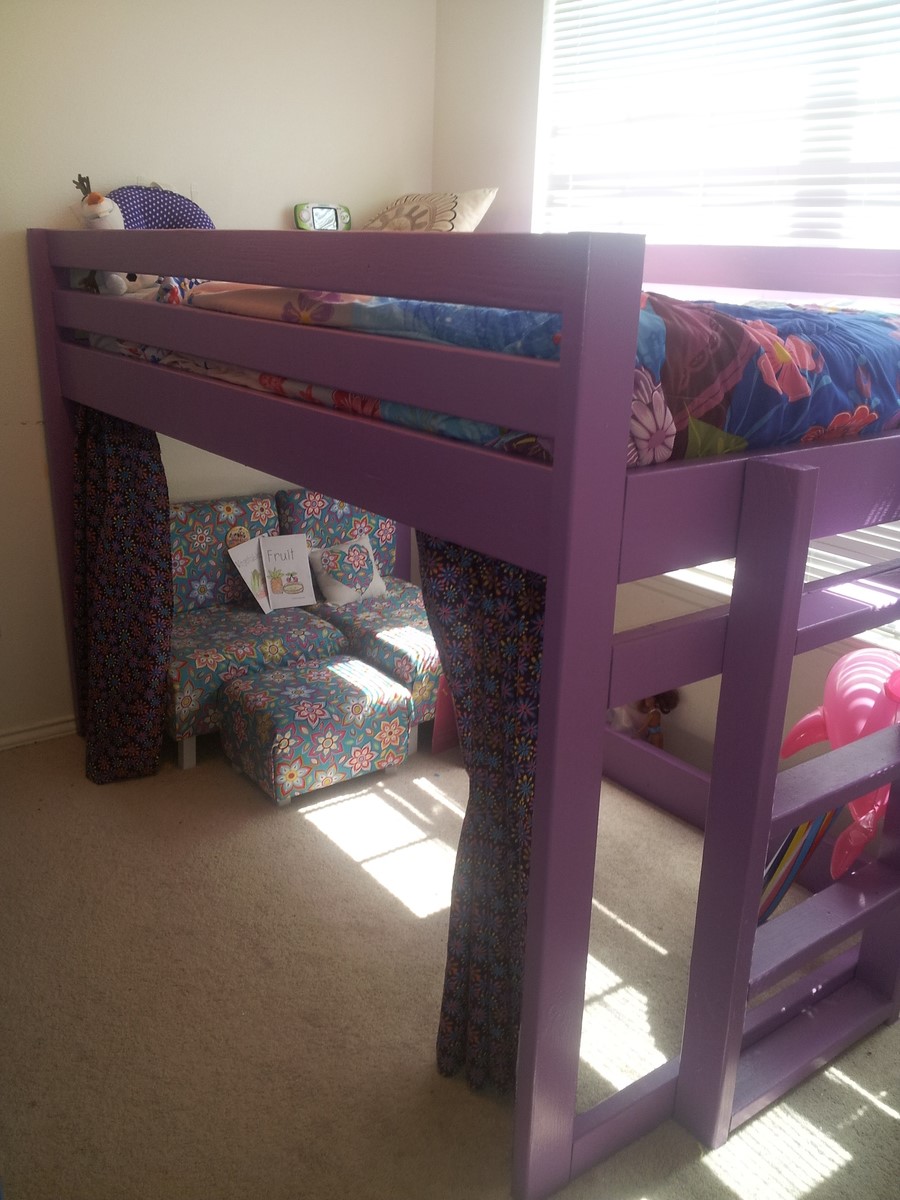
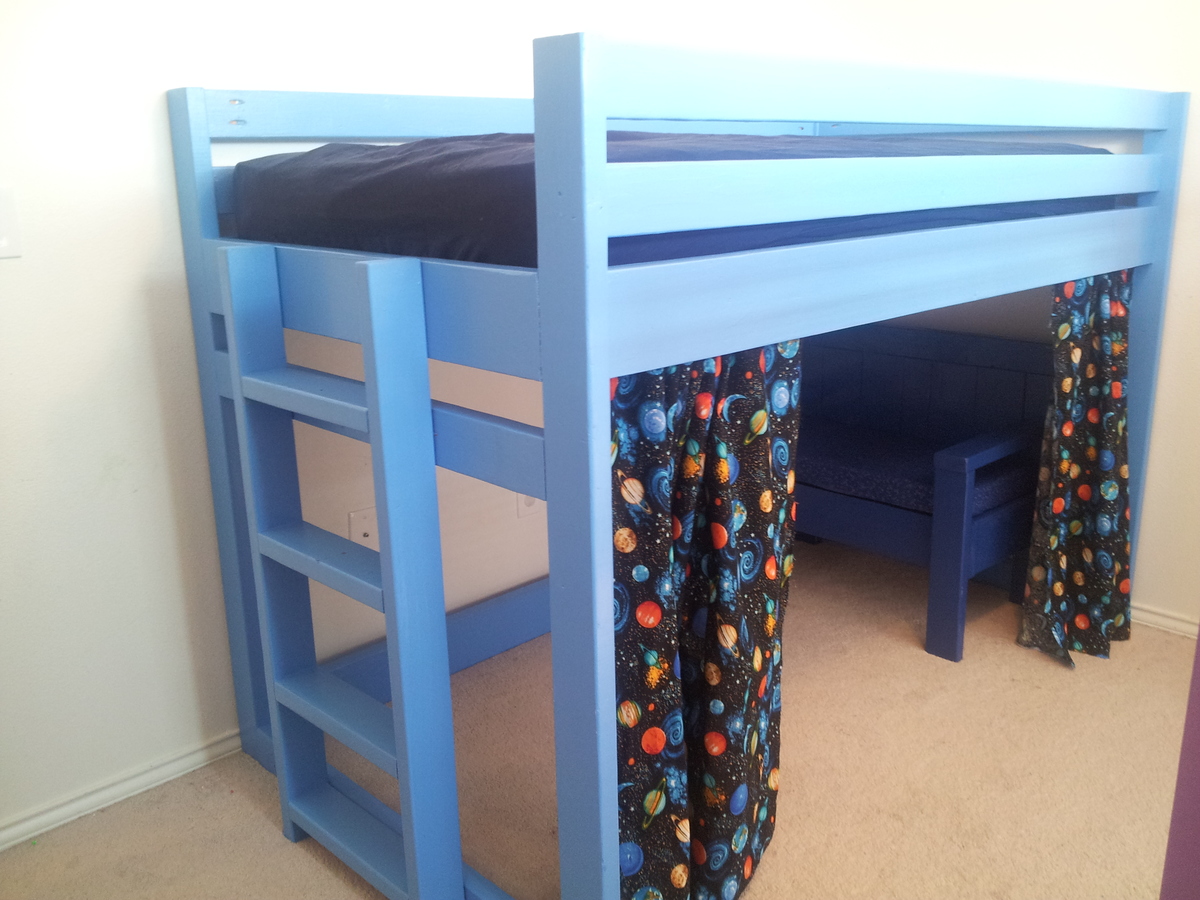
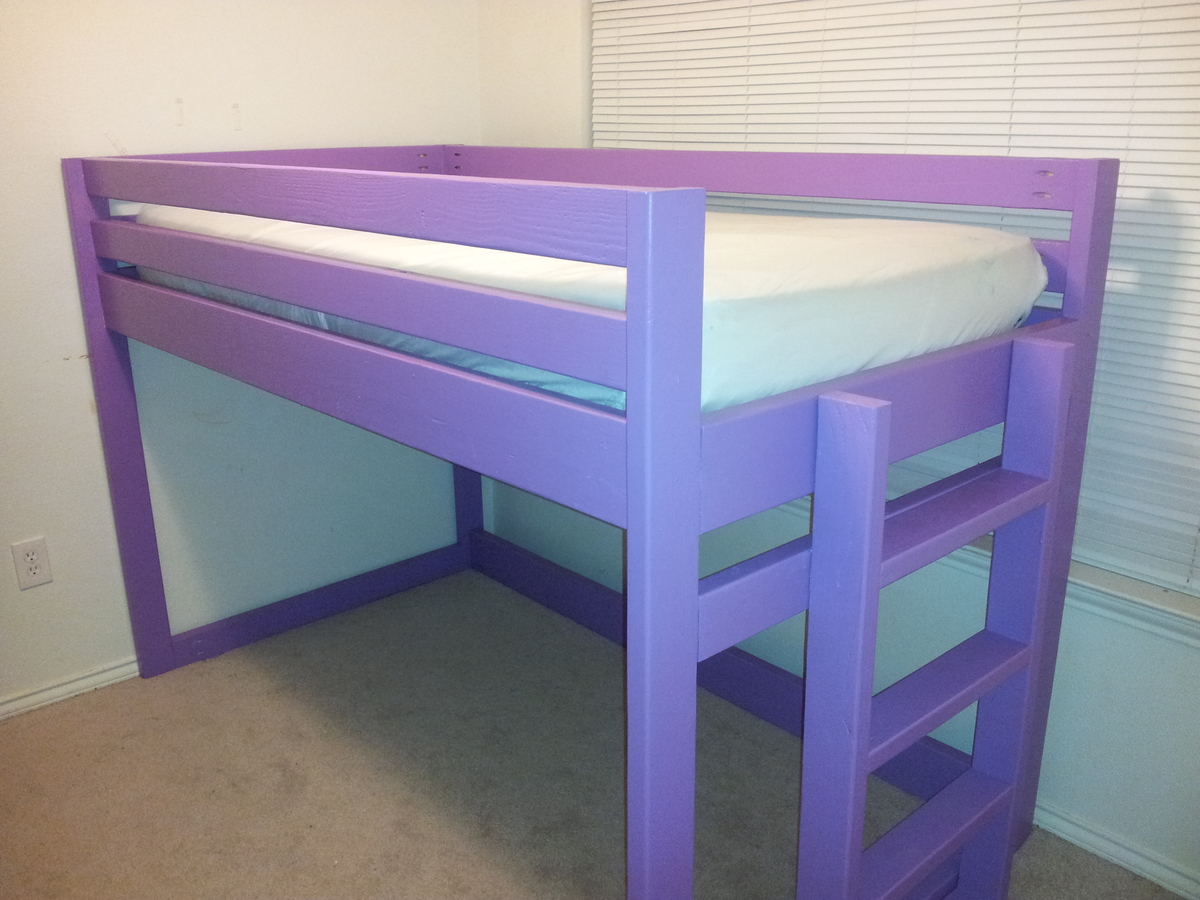
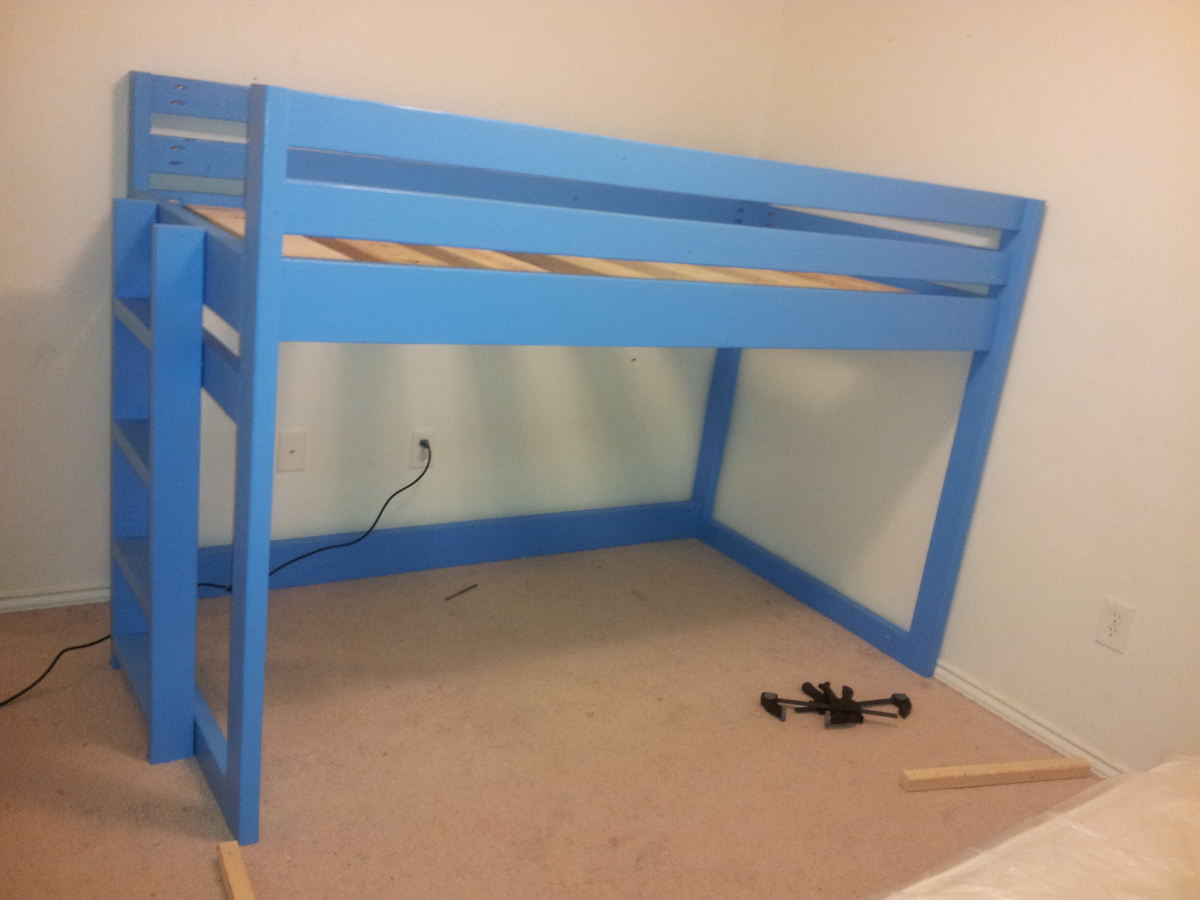
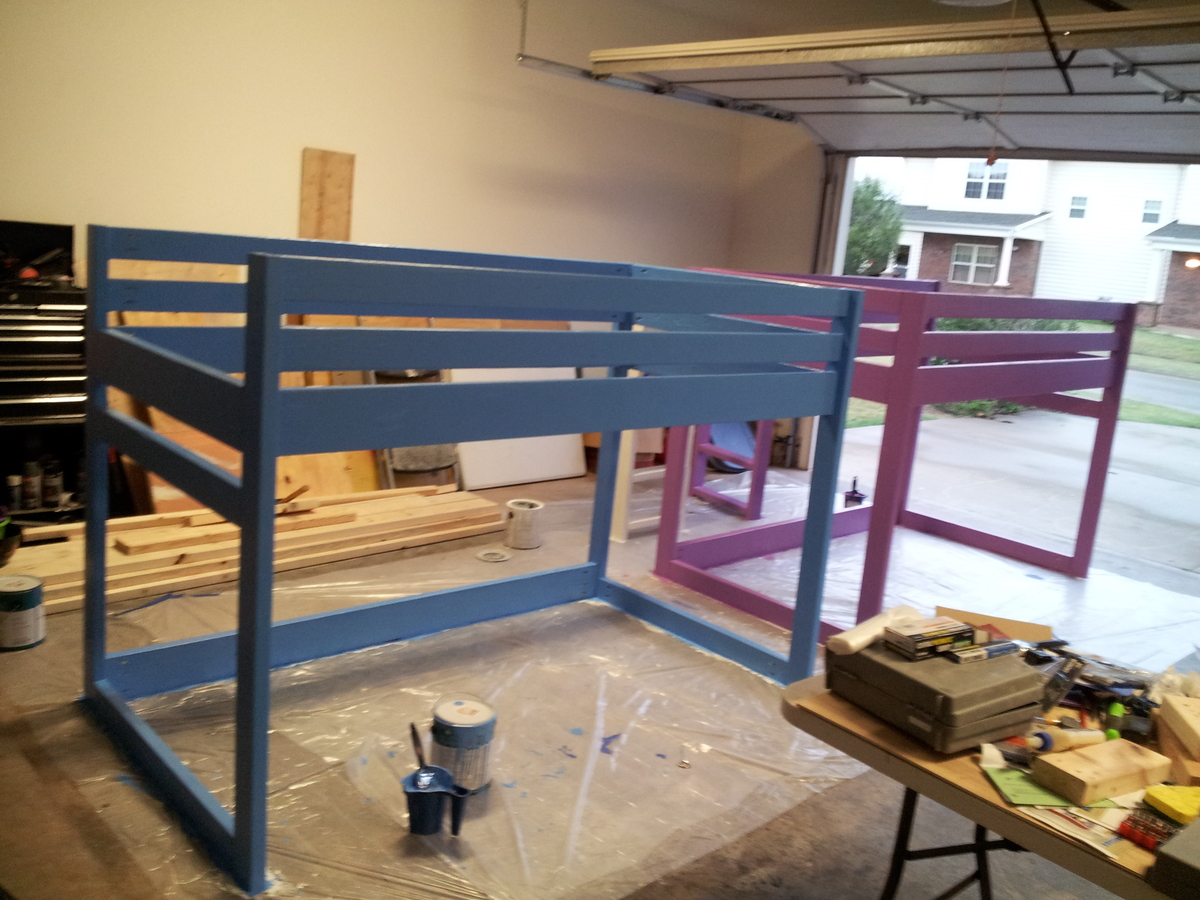
I built these beds for my son and daughter. They picked out their paint color and fabric for the curtains. I apologize for the picture being side ways. It uploaded up that way for some reason.
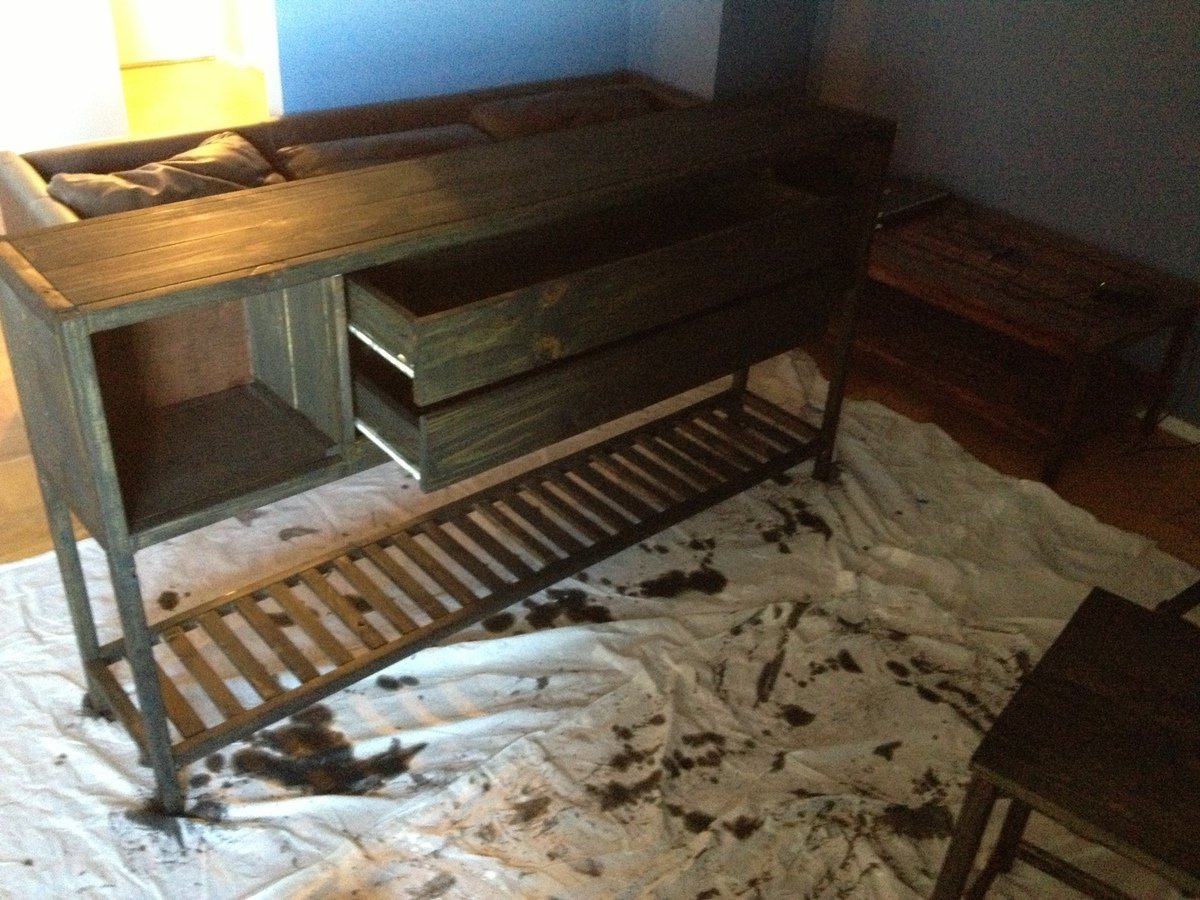
I just wanted to thank Lady Goats for the idea for this project. I got the plans from http://ana-white.com/2011/12/plans/rhyan-console-table and made some modifications. I wanted to use the table as an entry table, so I made it taller and longer to fit the space I had for it. I still have to poly it and will post more pics as it comes along.
As far as cost, I used 1x6 instead of 1x12 to reduce the cost for the project. I think at the most it came out to 90 (including stain, poly, screws, brushes).
And yes, I built it in the living room of my small apartment.
Thanks again!
Tue, 09/25/2012 - 15:15
I immediately though of the rhyan console when I saw this, but wondered if there was another plan out there! Looks great (but don't thank ME! Ana did the plans!!).
Beyond impressed with the mods! And the fact that you built it in your living room!
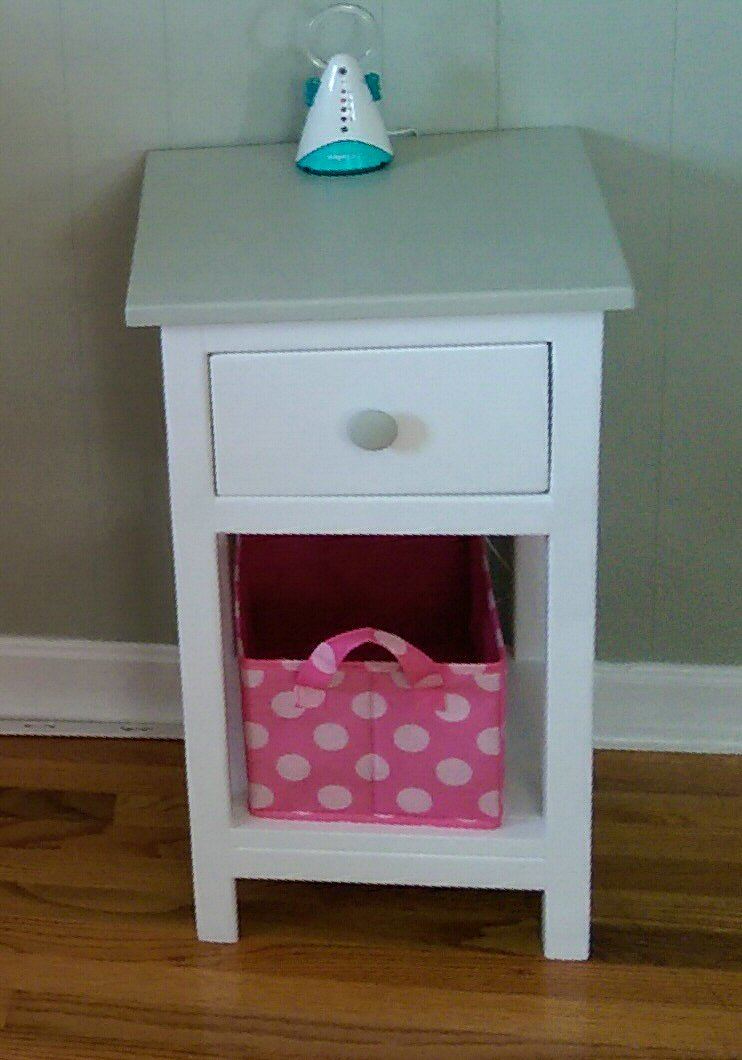
Built this table for my daughter's nursery. She is going to be here next month so I'm trying to make sure her room is perfect for her.
This table was easy to build. I've been doing woodwork for about a year now so if I can do it you can do it, just make sure you have all the tools for the job :-)
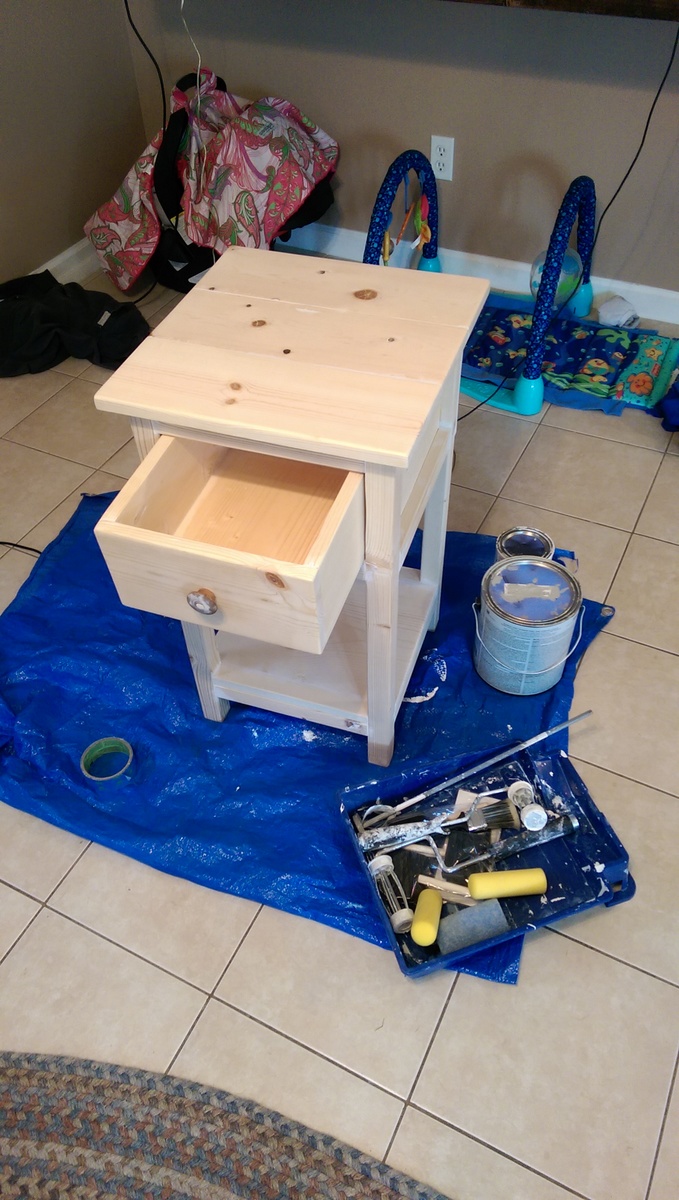
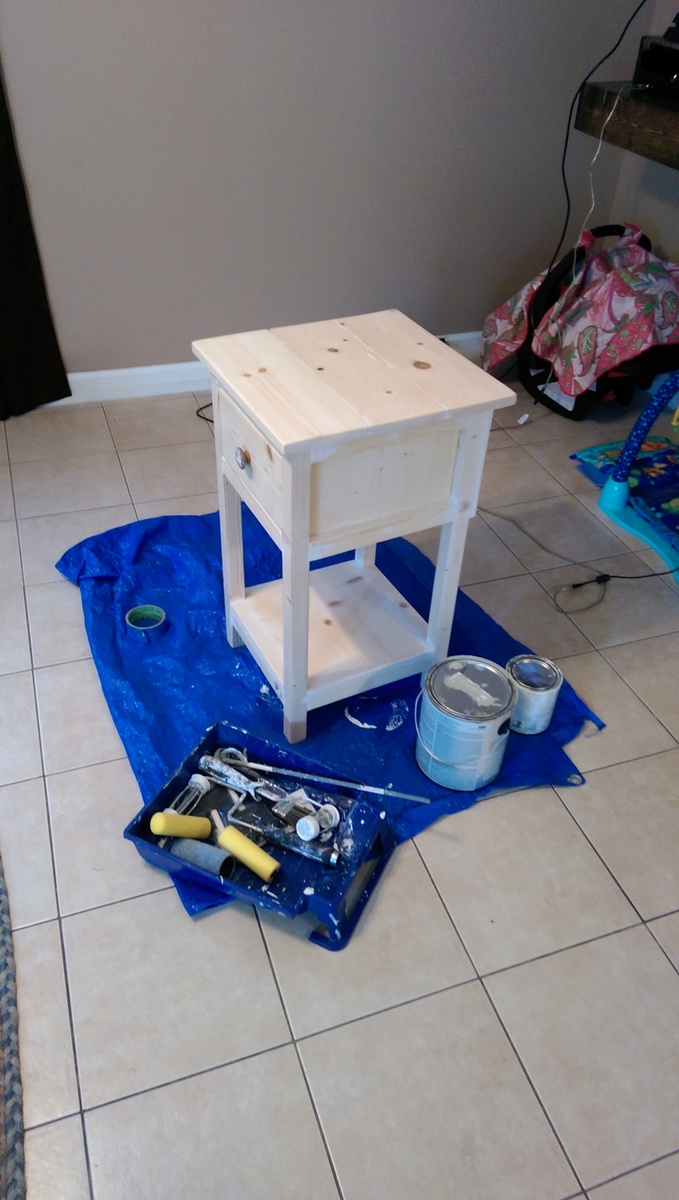
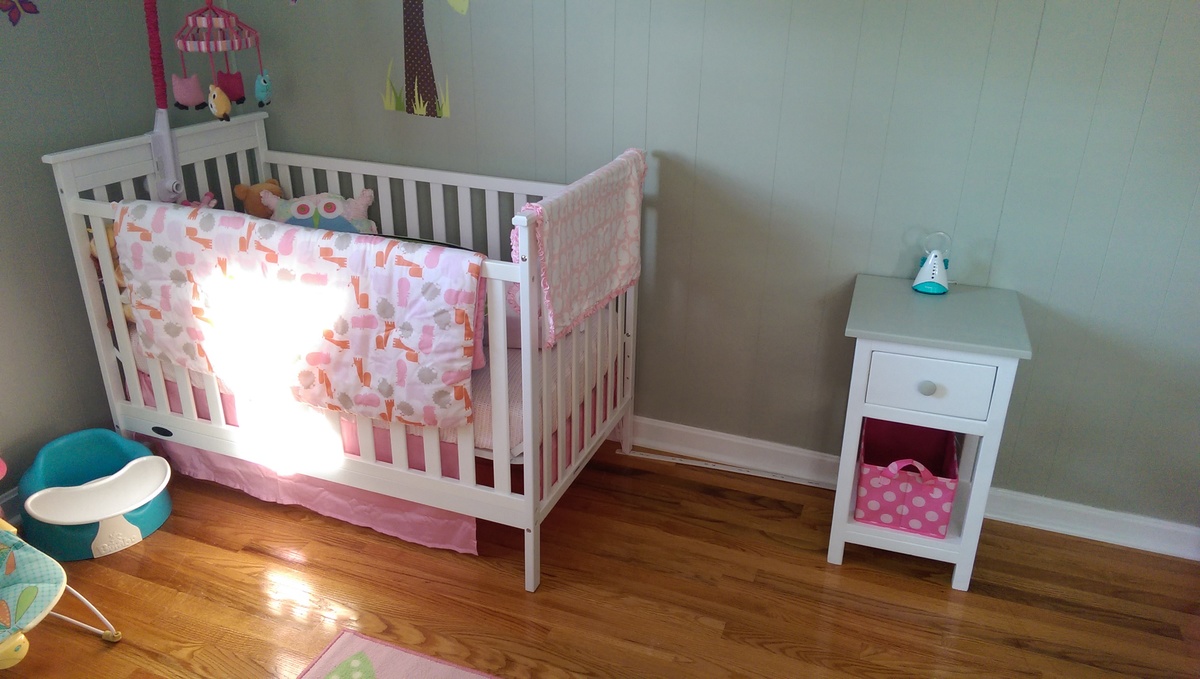
These plans are easy to build. Built it in about a day. It was around $100 plus paint.
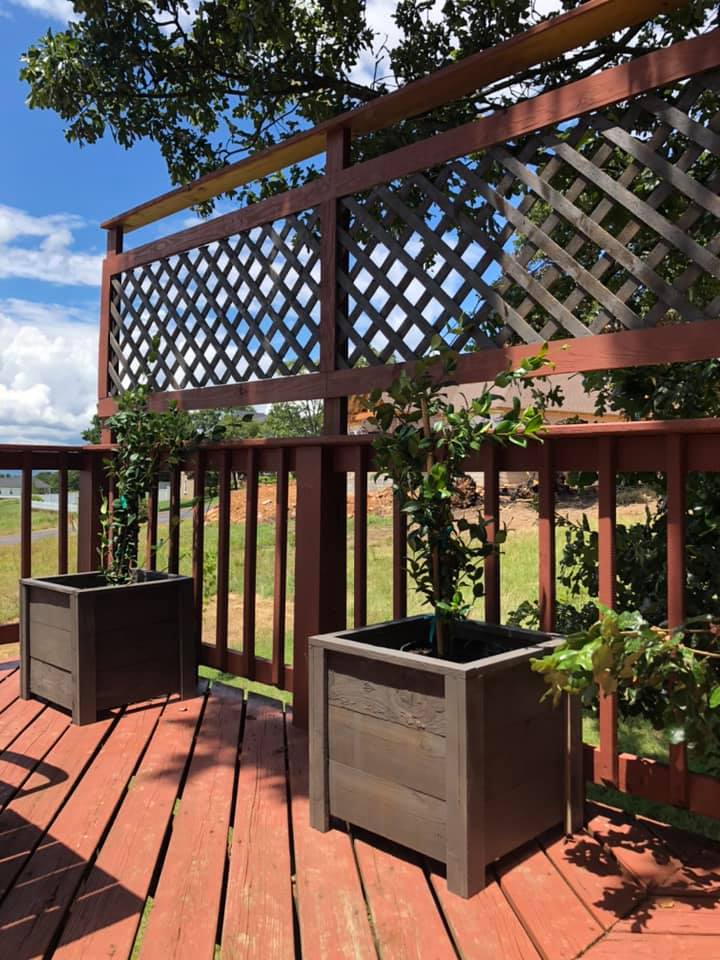
Love how these turned out! Knocked them out pretty quick too. Perfect for my jasmine that I'm training up my lattice.
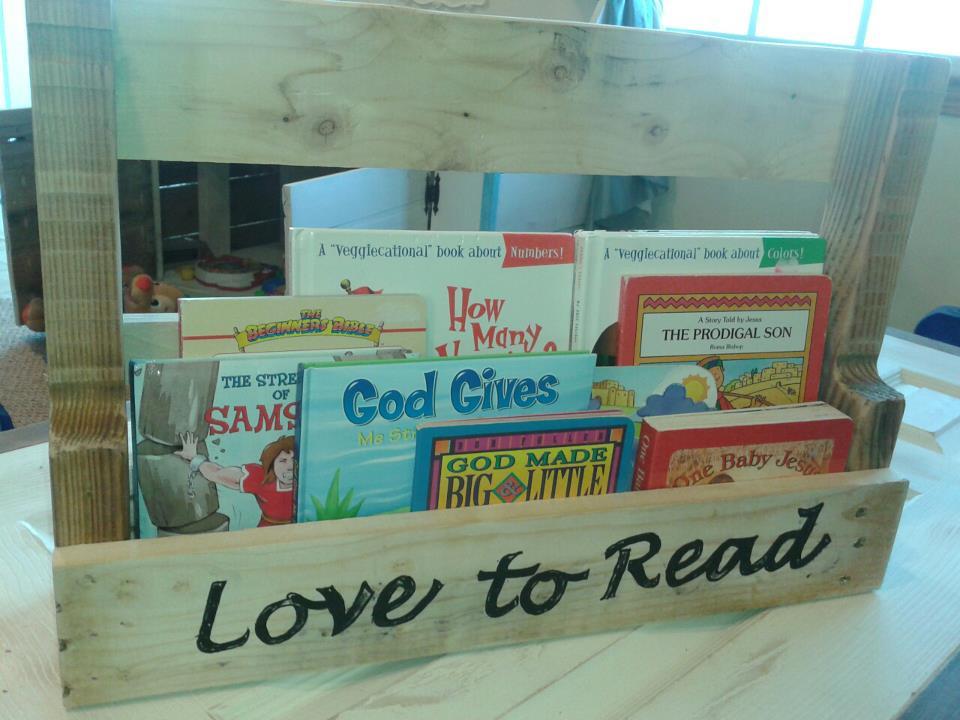
Very simple, very easy book holder. Come to find out, it makes a great wine bottle holder as well. The picture alone can suffice as the plans. Enjoy!!!
Fri, 09/28/2012 - 12:19
This particular one is made of 1x4's (4) and 2x4's (2). The notches in the 2x4's were already there. Attach one 1x4 on the front and three evenly spaced on the back. And Done! Add stencils for creativity!
I needed a step stool for my son to be able to reach the bathroom sink to brush teeth and wash hands. This plan was exactly what I was looking for. As I do with all first time projects, I built this out of inexpensive pine. It is very sturdy, and holds me without a problem. I routed the edges of the treads, and used 1x3 material for the braces as opposed to the 1x2 called for in the plan. The plan was easy to follow and the cutting list worked perfectly. The most challenging part was creating the curves with the jig saw, but truly wasn't bad at all.
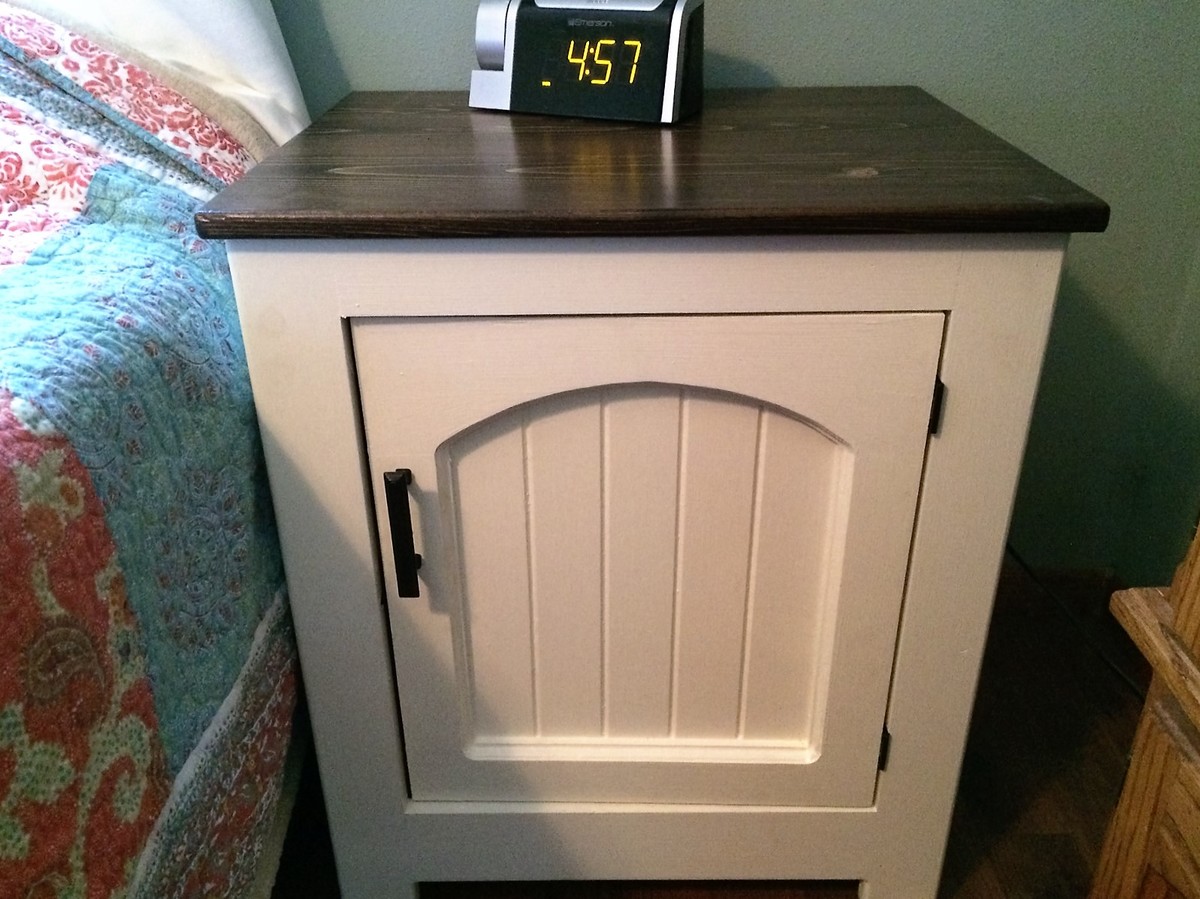
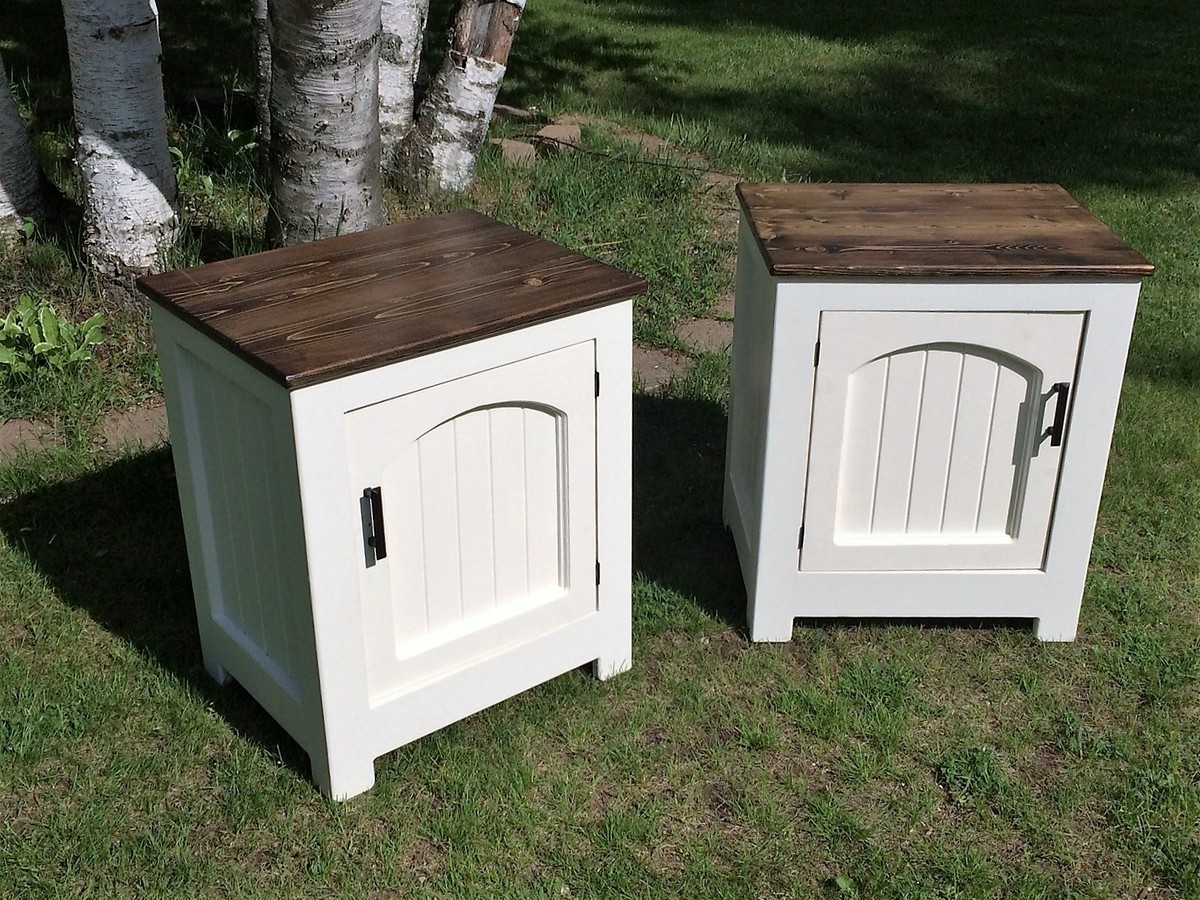
I finished these night stands this past spring. I followed the Kentwood night stand plan from Ana-White, but made a few design changes. I decided to arc the doors to give the tables a little more character. The material I chose was 3/4" pine. The table bases are finished off with 3 coats of Sherwin Williams paint, and the tops are walnut stained with 3 coats of poly. The contrast between the base and the top came out great, the stands look beautiful in our bedroom and offer lots of storage.
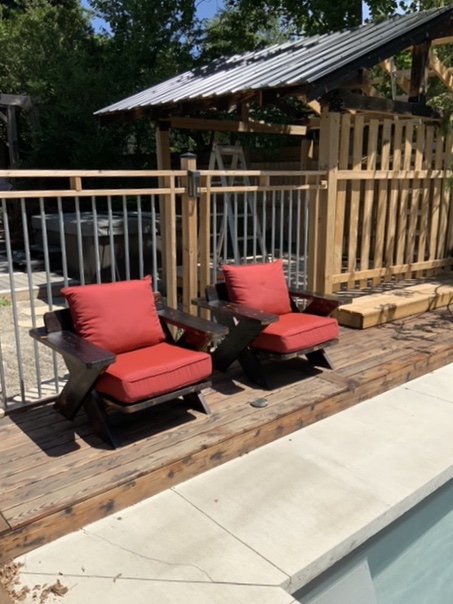
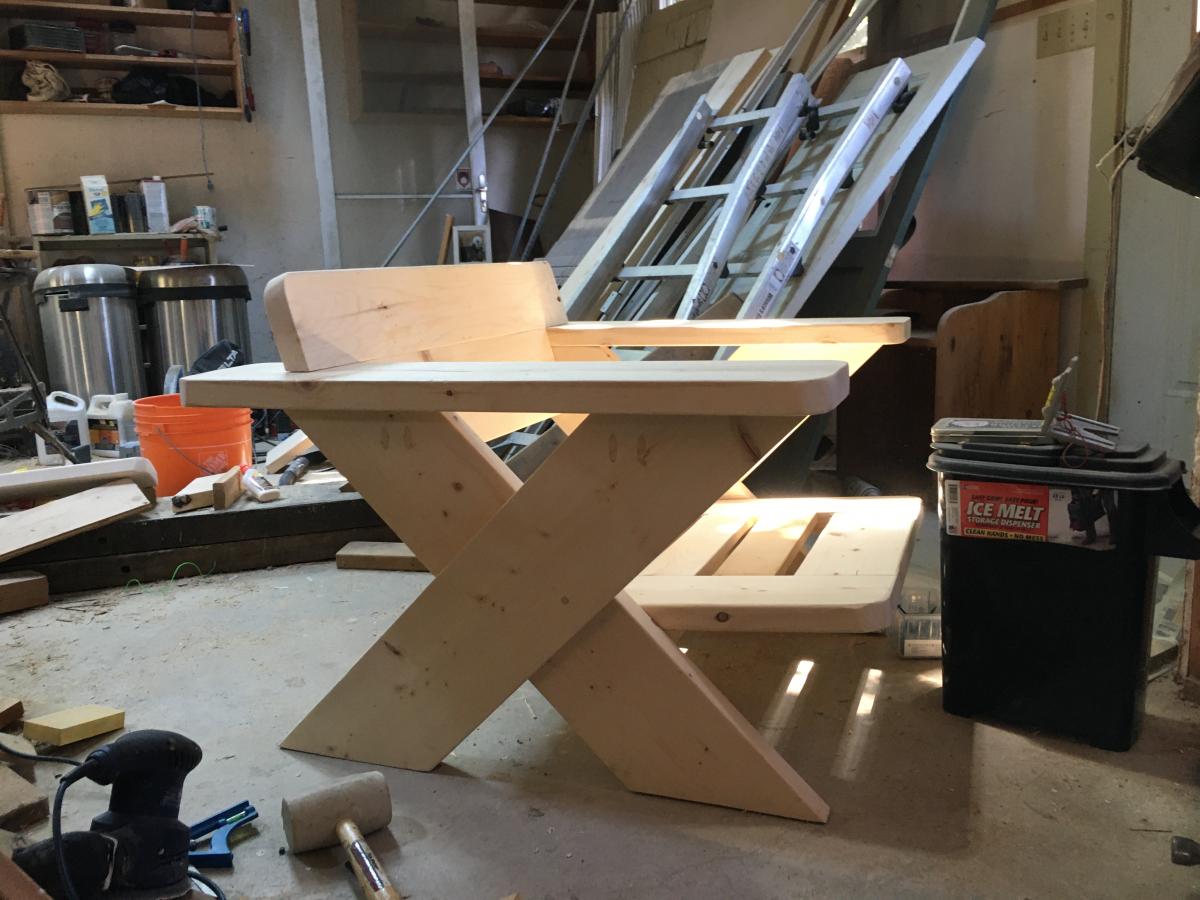
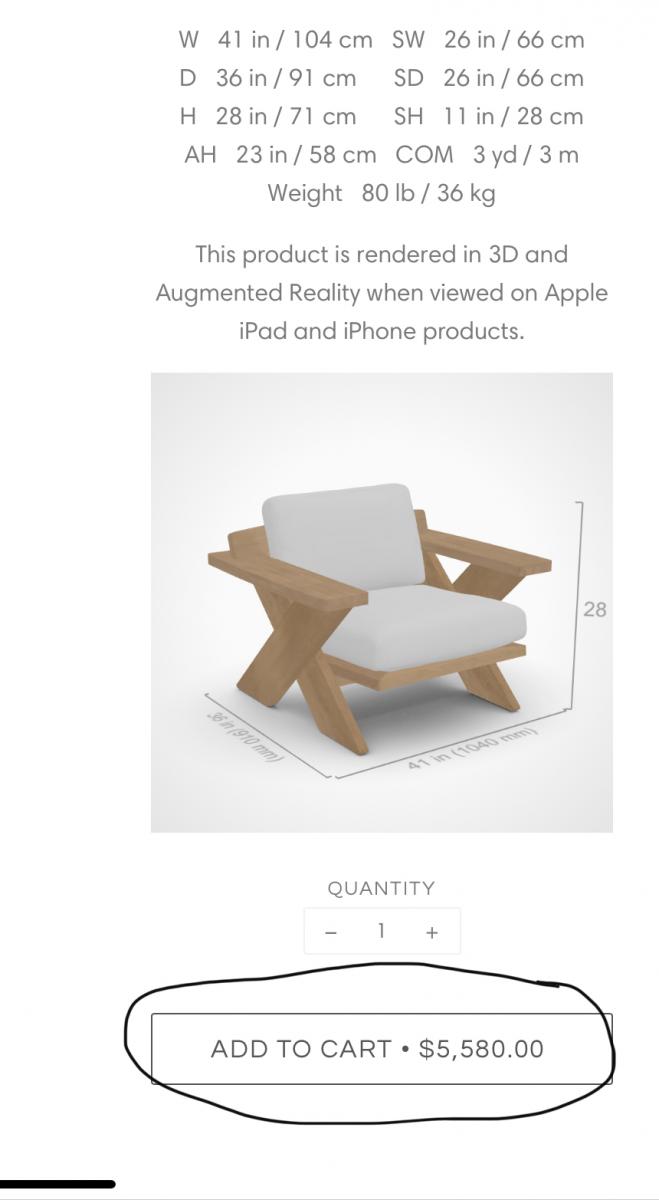
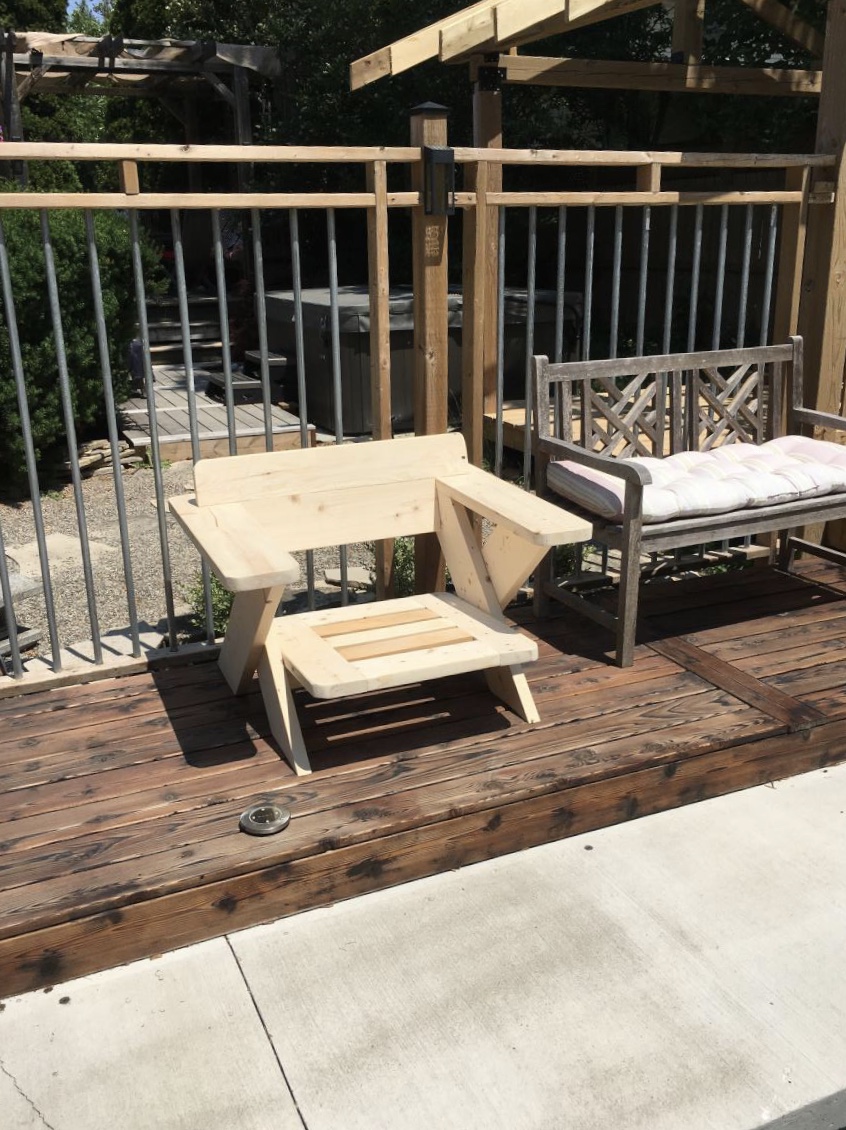
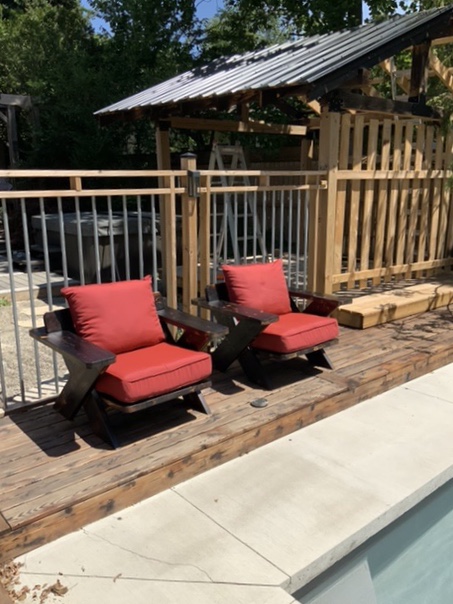
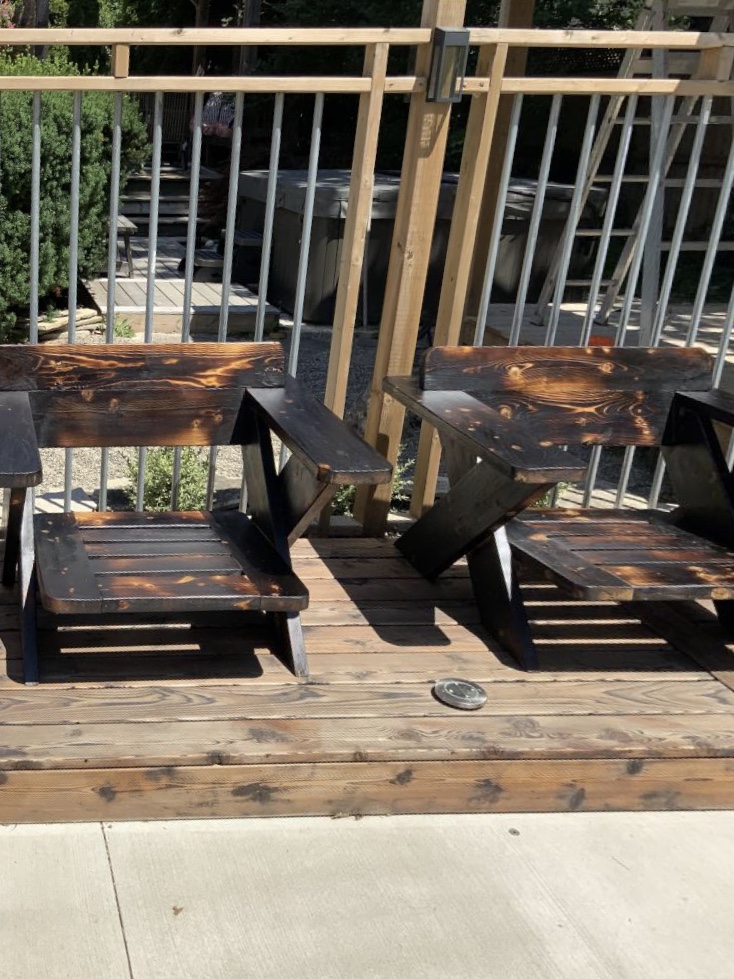
I saw these chairs online at a cost of $5,580 each . I thought they were very nice, but way too expensive. Using the online photo and dimensions I was able to more or less figure out the way it was made. The tool required are a mitre saw, table saw, kreg pocket hole jig, drill and palm sander. The chairs were then burned with a torch to waterproof them and bring up the grain in the wood. 3 coats of spar varnish cut with mineral spirits were applied to finish the project. The cost was about $130 Canadian each including the cushion, around 2% of the chair seen online.
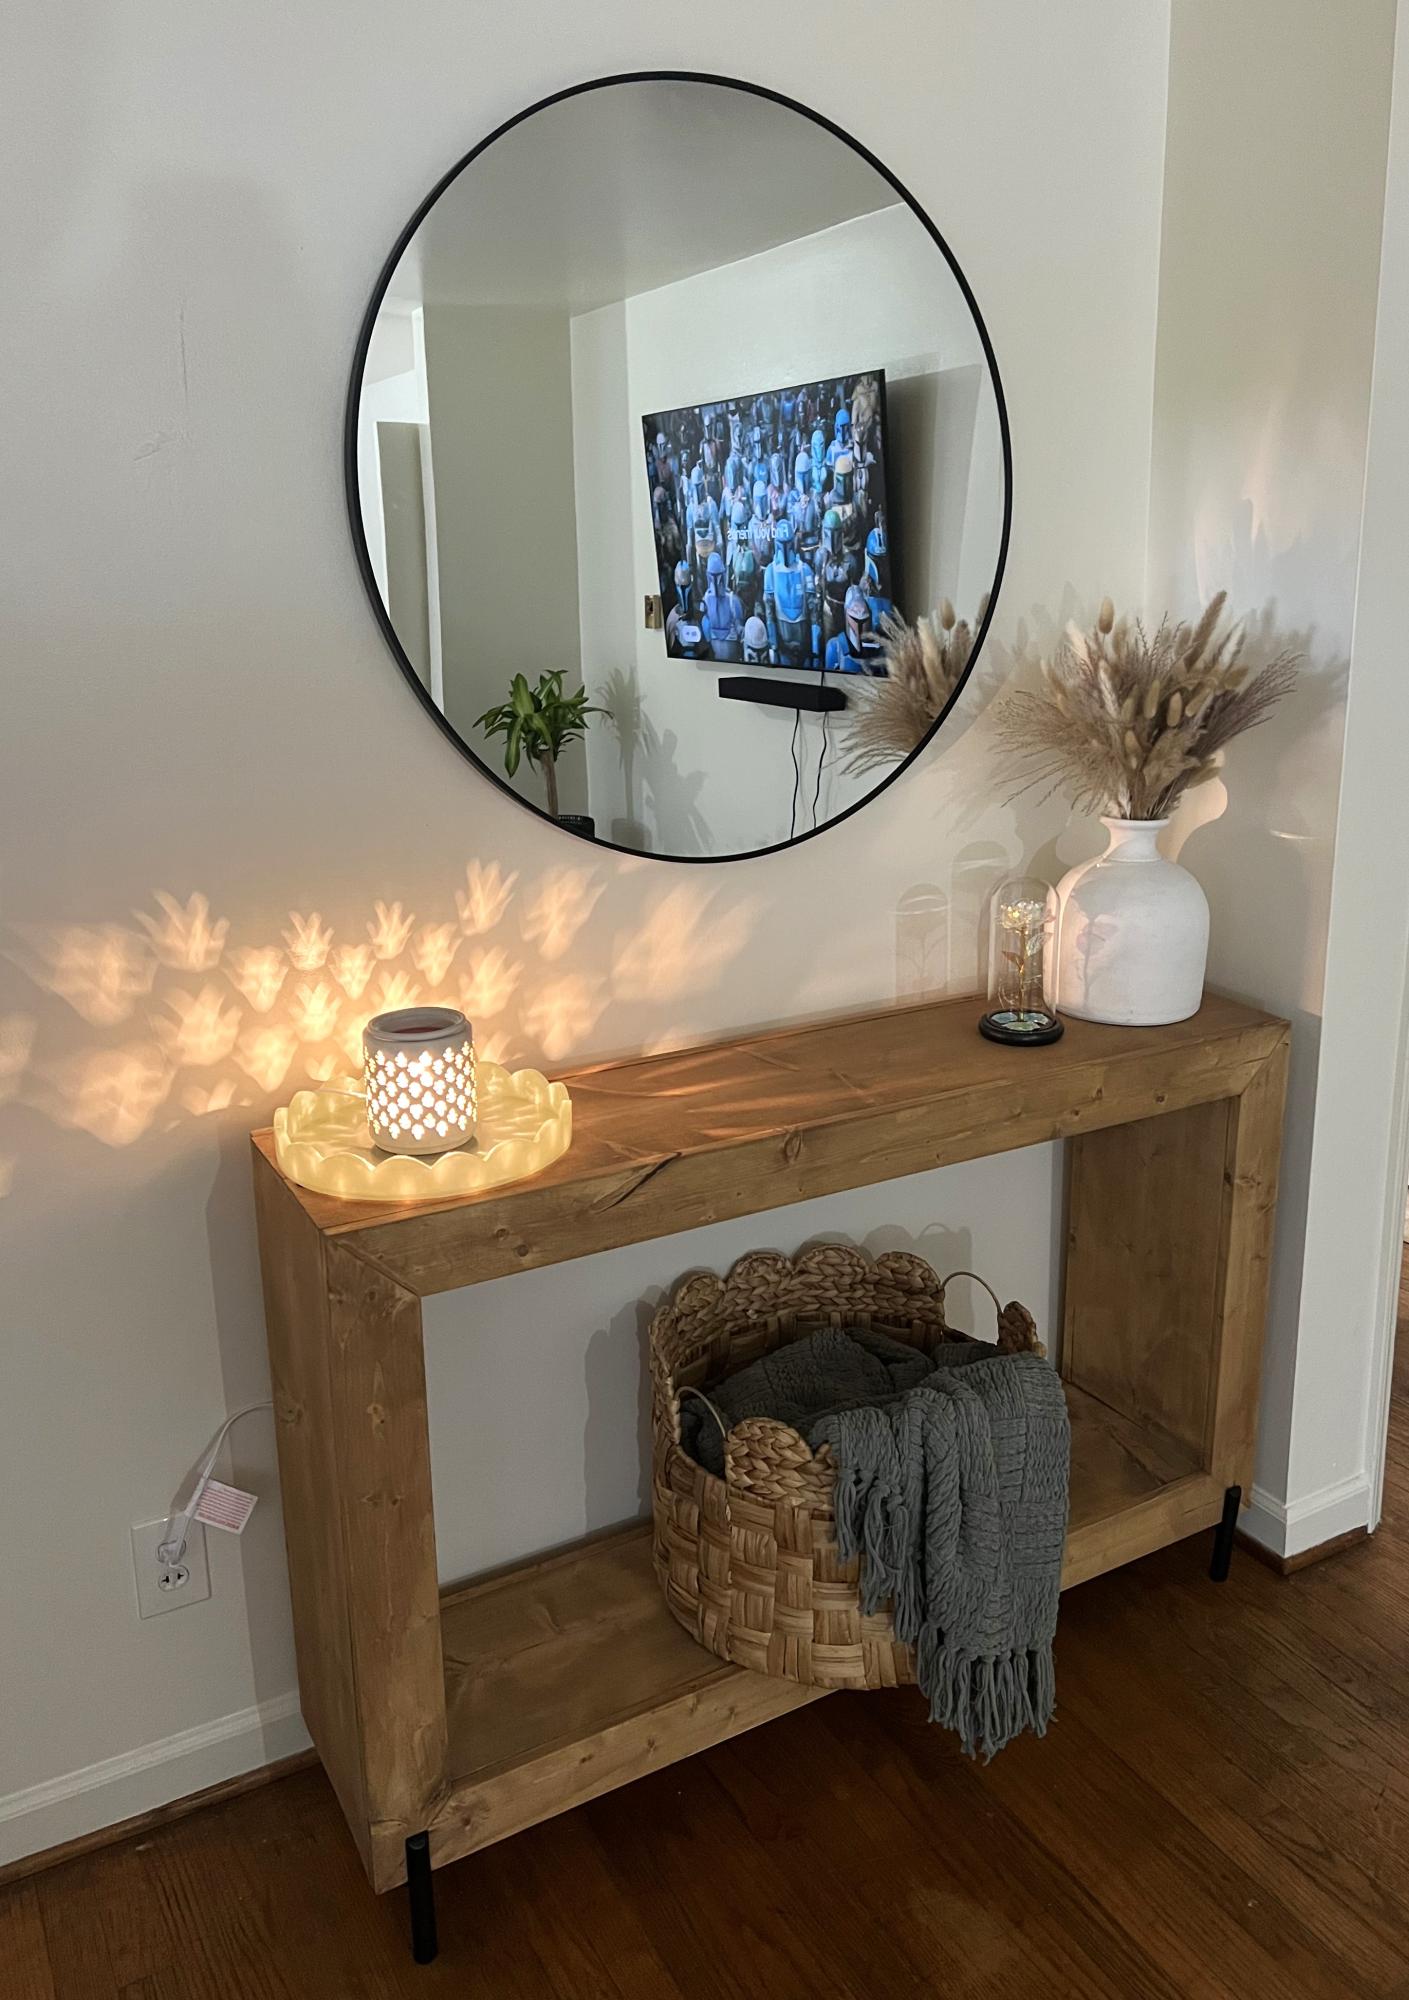
DIY Wood Waterfall Console Brandy Robinson @beautylikebran on IG
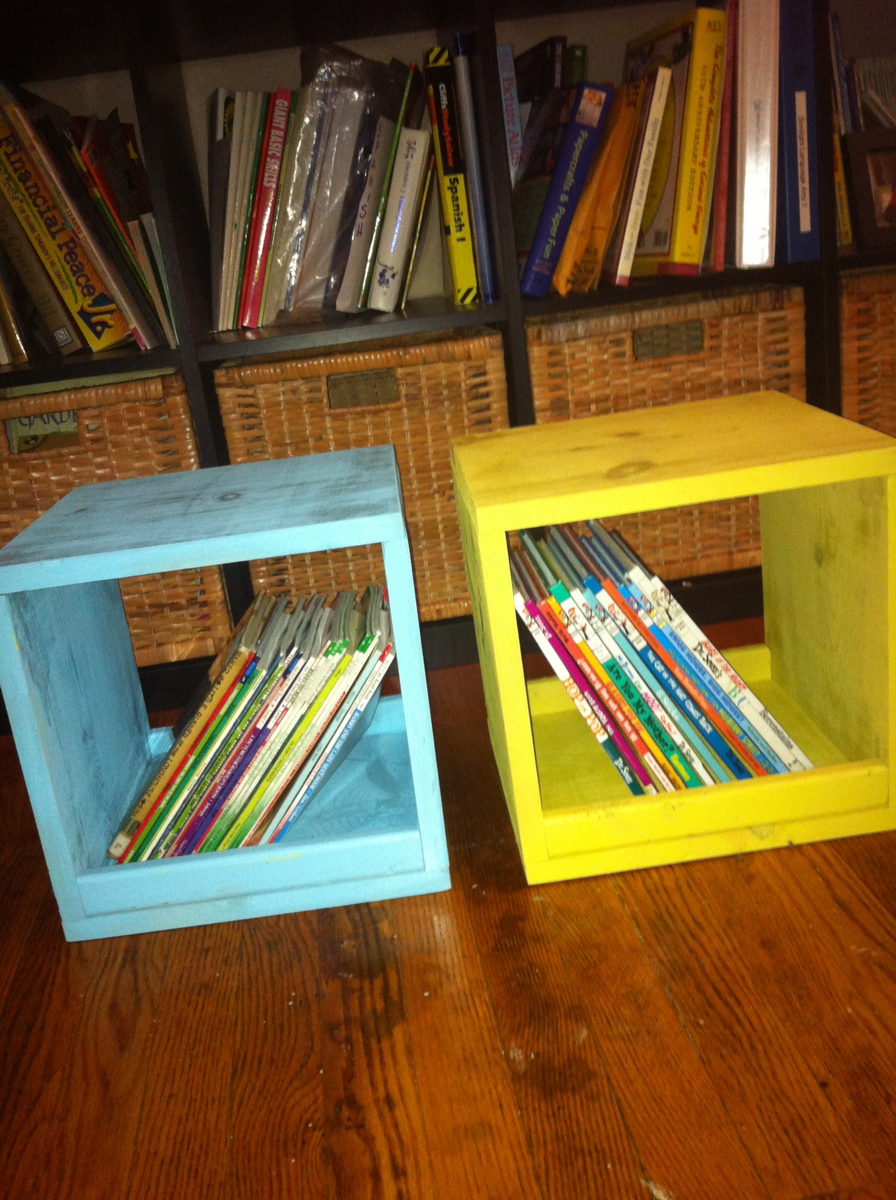
These are the cubby seats featured on Shanty 2 Chic's site along with Pottery Barn inspired Trestle table. This was a lot of fun to make because it was the first project I did using my hand saw. I normally have the wood cut at home depot. But now I can do it on my own!! you can check them out on my blog: goldhoopstochickencoops.blogspot.com
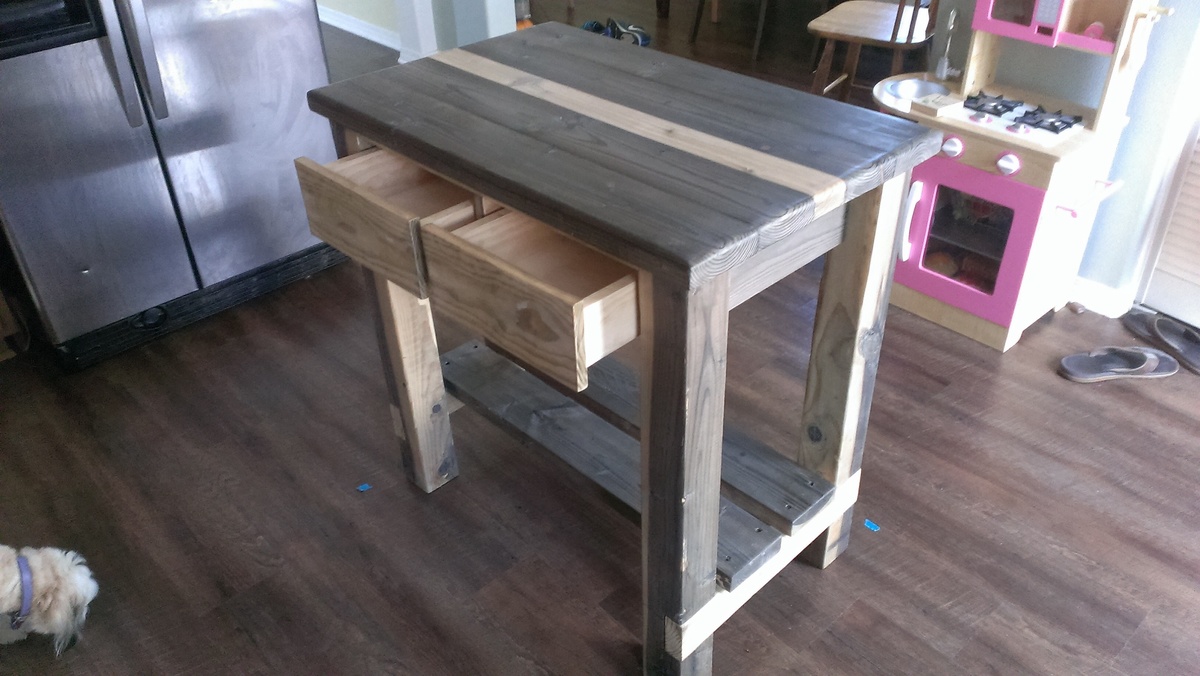
I used Ana's Gaby Kitchen Island plans and shortened the island to fit our small kitchen. I did not have reclaimed wood, so I used a vinegar and steel wool solution to transform the fir and pine into a completely unexpected look. For the top, I trimmed the edges of the 2 x 6s with my table saw to get a smoother top surface, then routered the edges with a 1/2 inch round over bit (thanks Steve Ramsey). I used white pine down the middle to make up for the edges I removed which looks like a cool custom stripe. (I also used the white pine for the side supports so hopefully there's some cohesion.)
Thank you Ana for the inspiration and great project! Can't wait for the next one :)
This was my first ever time building anything, even though I've wanted to for a really long time! It was great! I love this website. Wish I had a nailgun at the time I did this project, but I did get one after I realized how much I love carpentry. Thanks Ana!
Sun, 09/17/2017 - 20:49
How did you attach rails? I still cannot figure out the best way to do it...
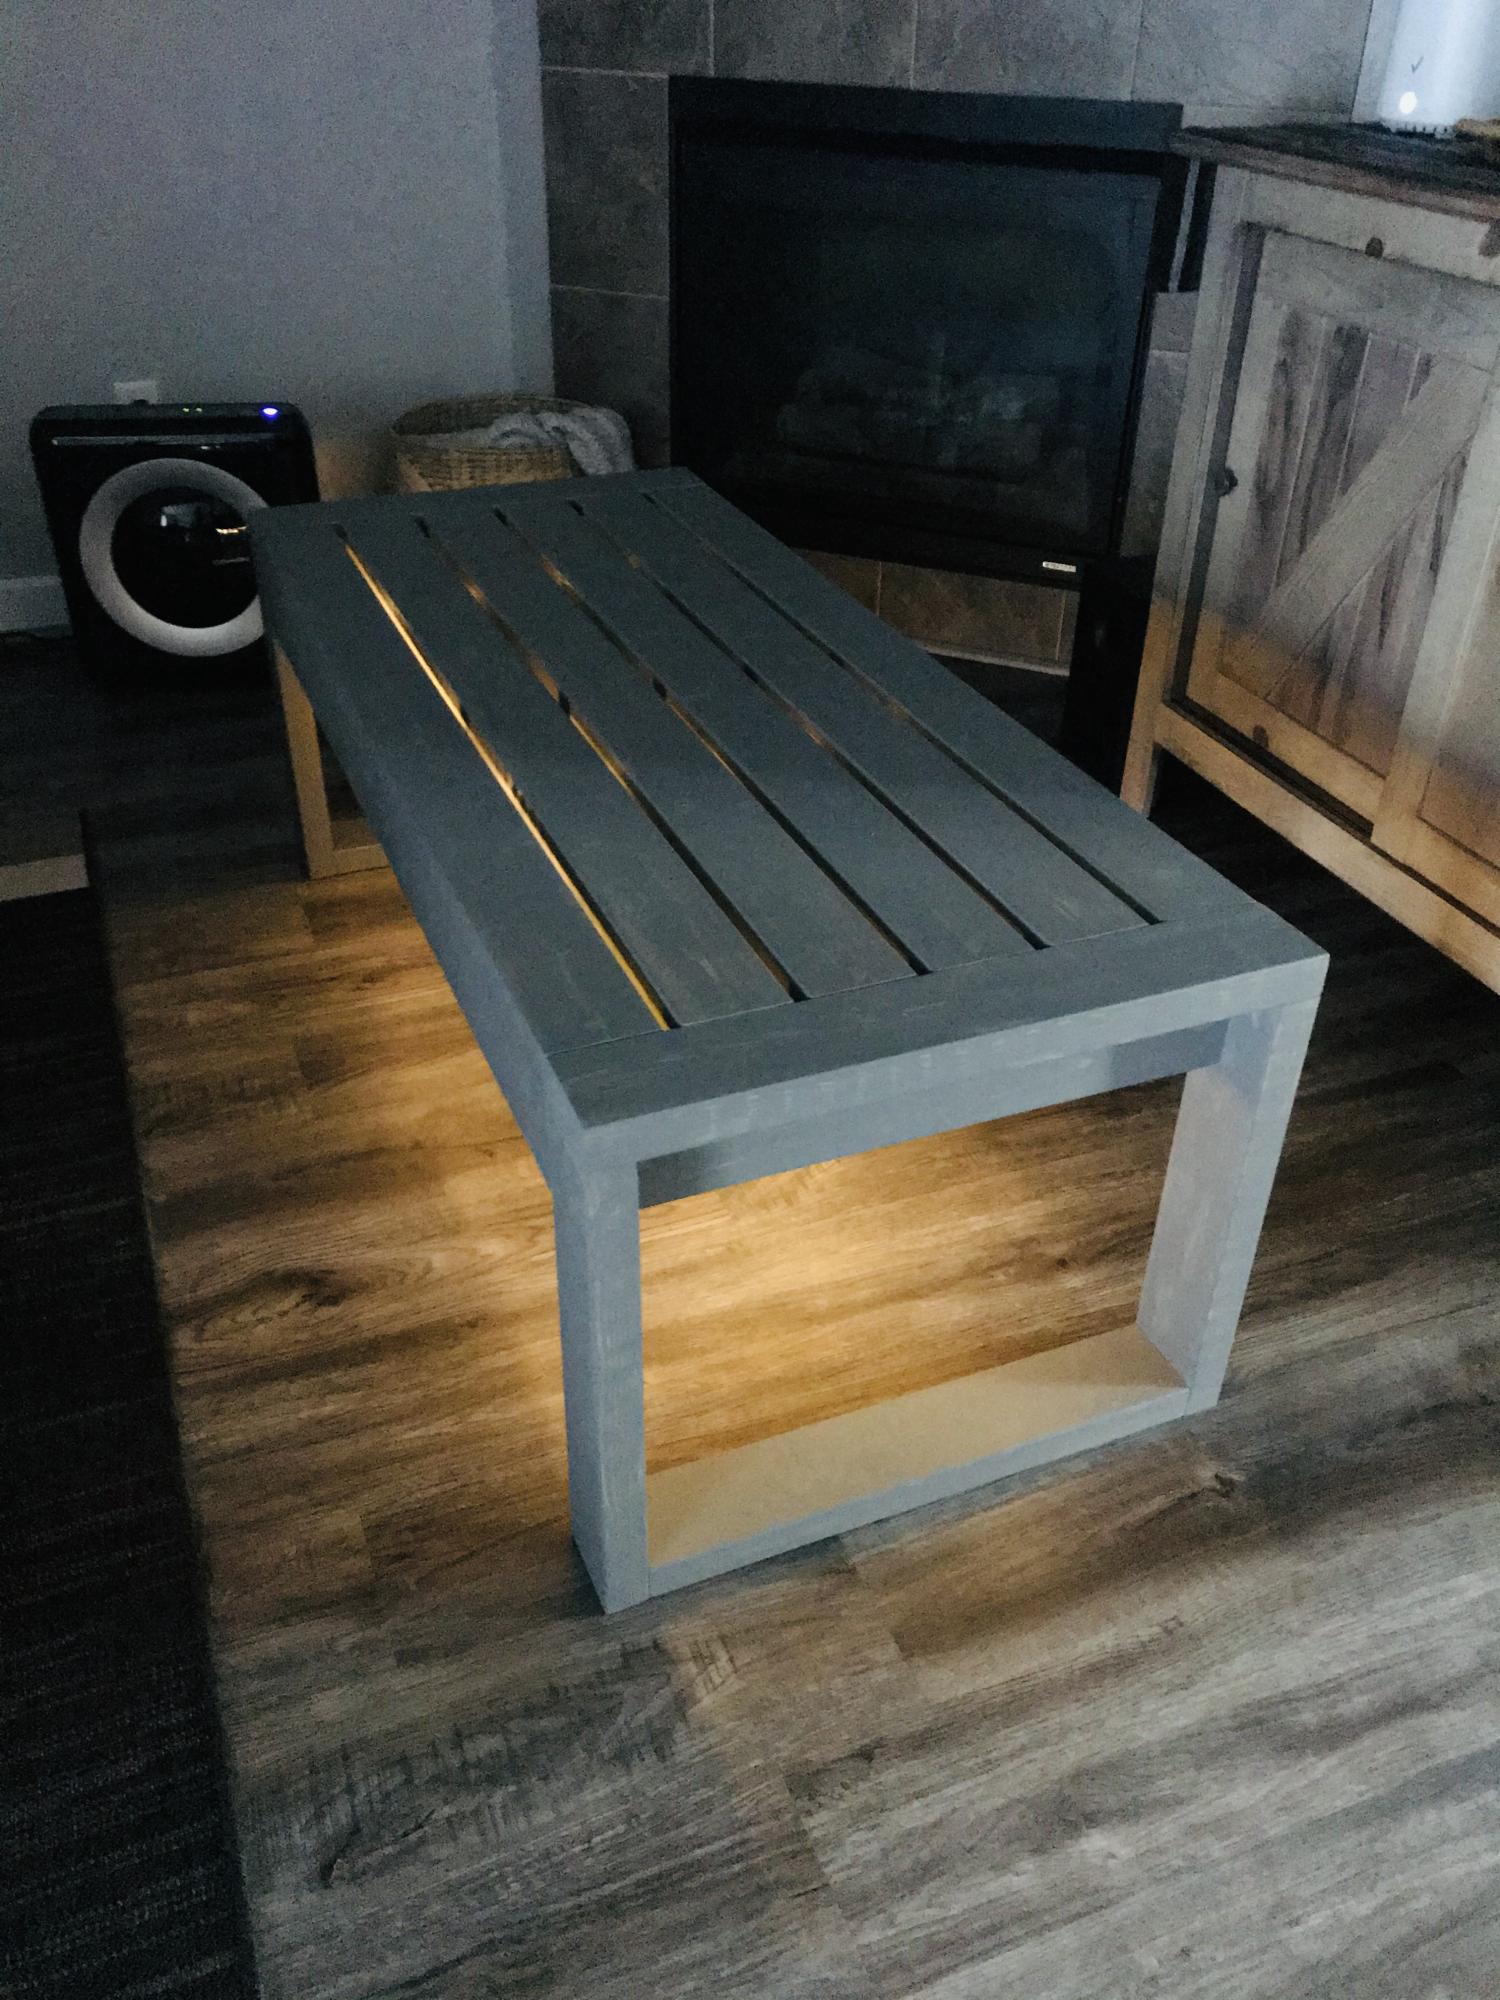
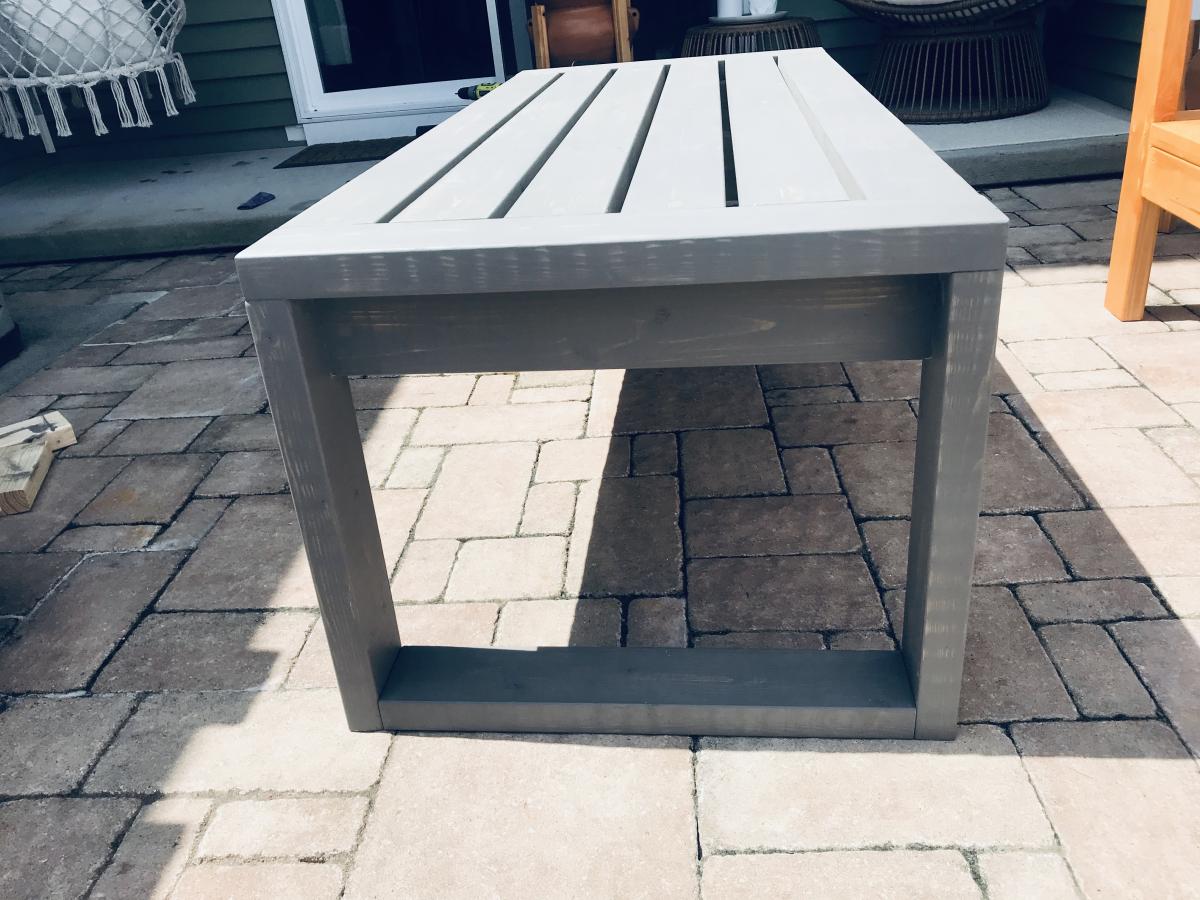
Modified some measurements and squared the legs. Also added LED lights under it for night mood setting.

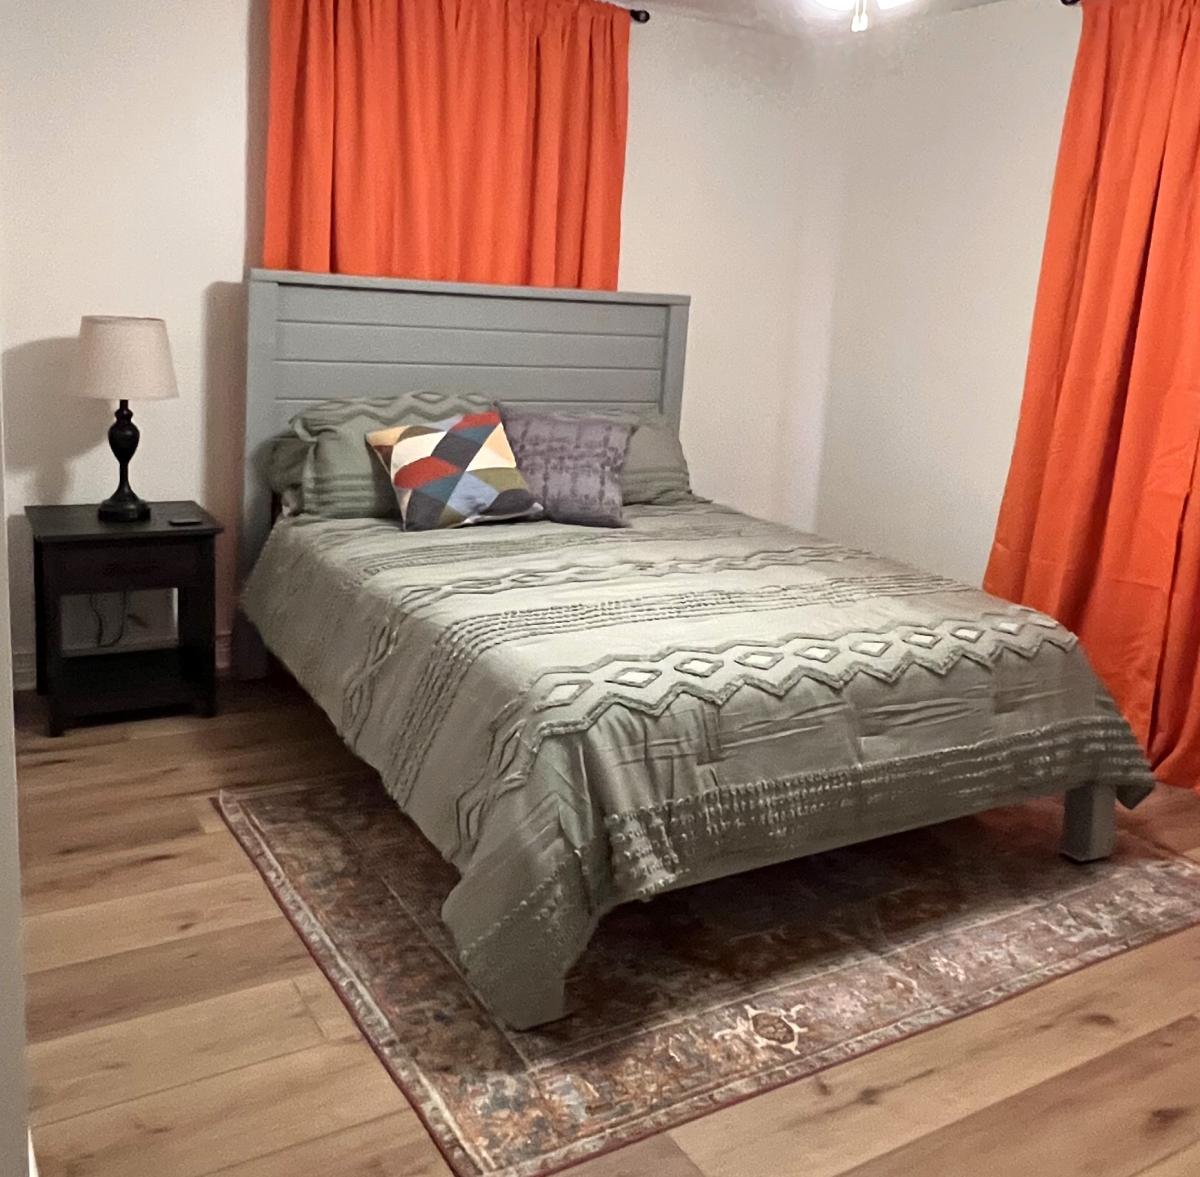
I enjoy all of your plans that you make available. I made these beds with a few minor adjustments.
Debra
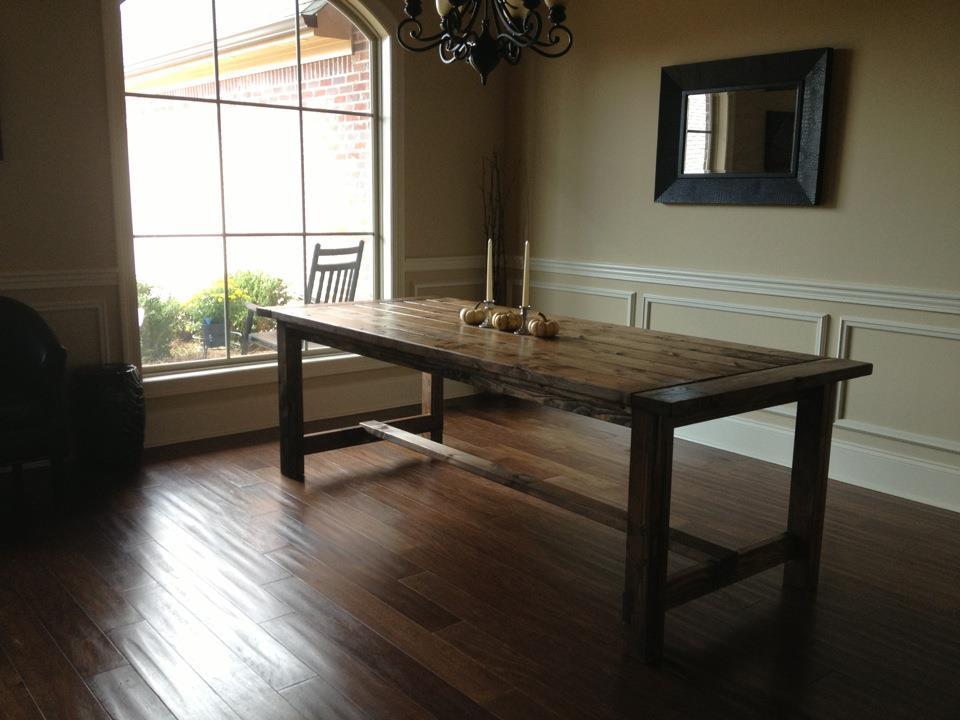
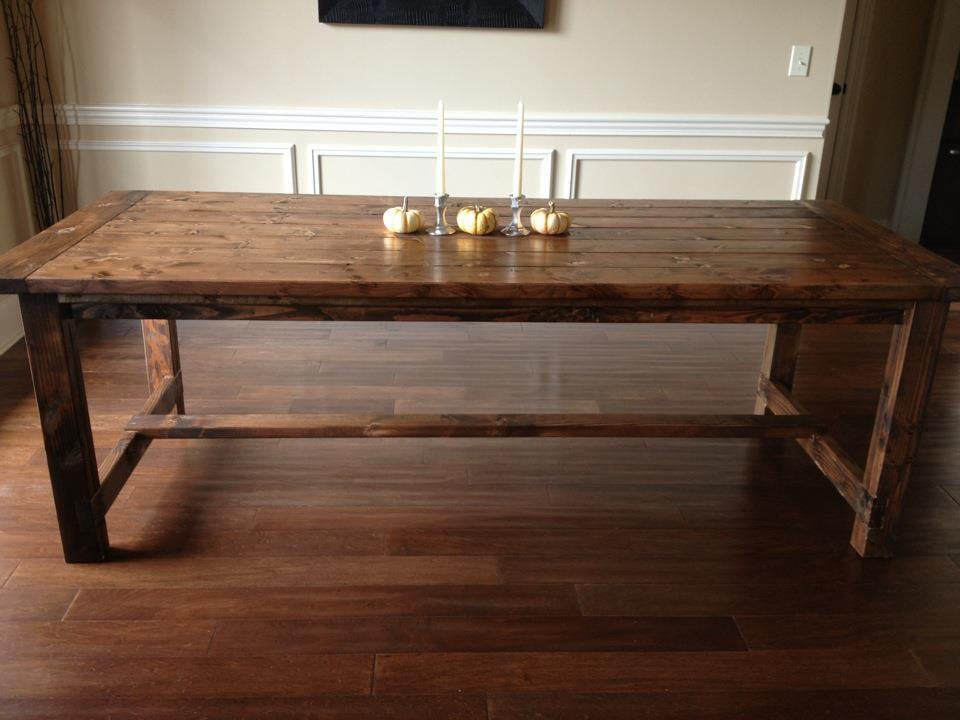
I loved the plans for this table. My husband and I spent about 5 hours making it yesterday. The plans and instructions are well planned and easy to use.
I've made a few projects from Ana's website, it's always so easy to understand and such beautiful projects.
Sun, 11/18/2012 - 20:08
Thank you so much. We love this table. I'm still looking for two special chairs for the ends.
We are currently almost done building the farmhouse queen bed.
Built from plans from diyPETE.com.
One day project (another day for poly)
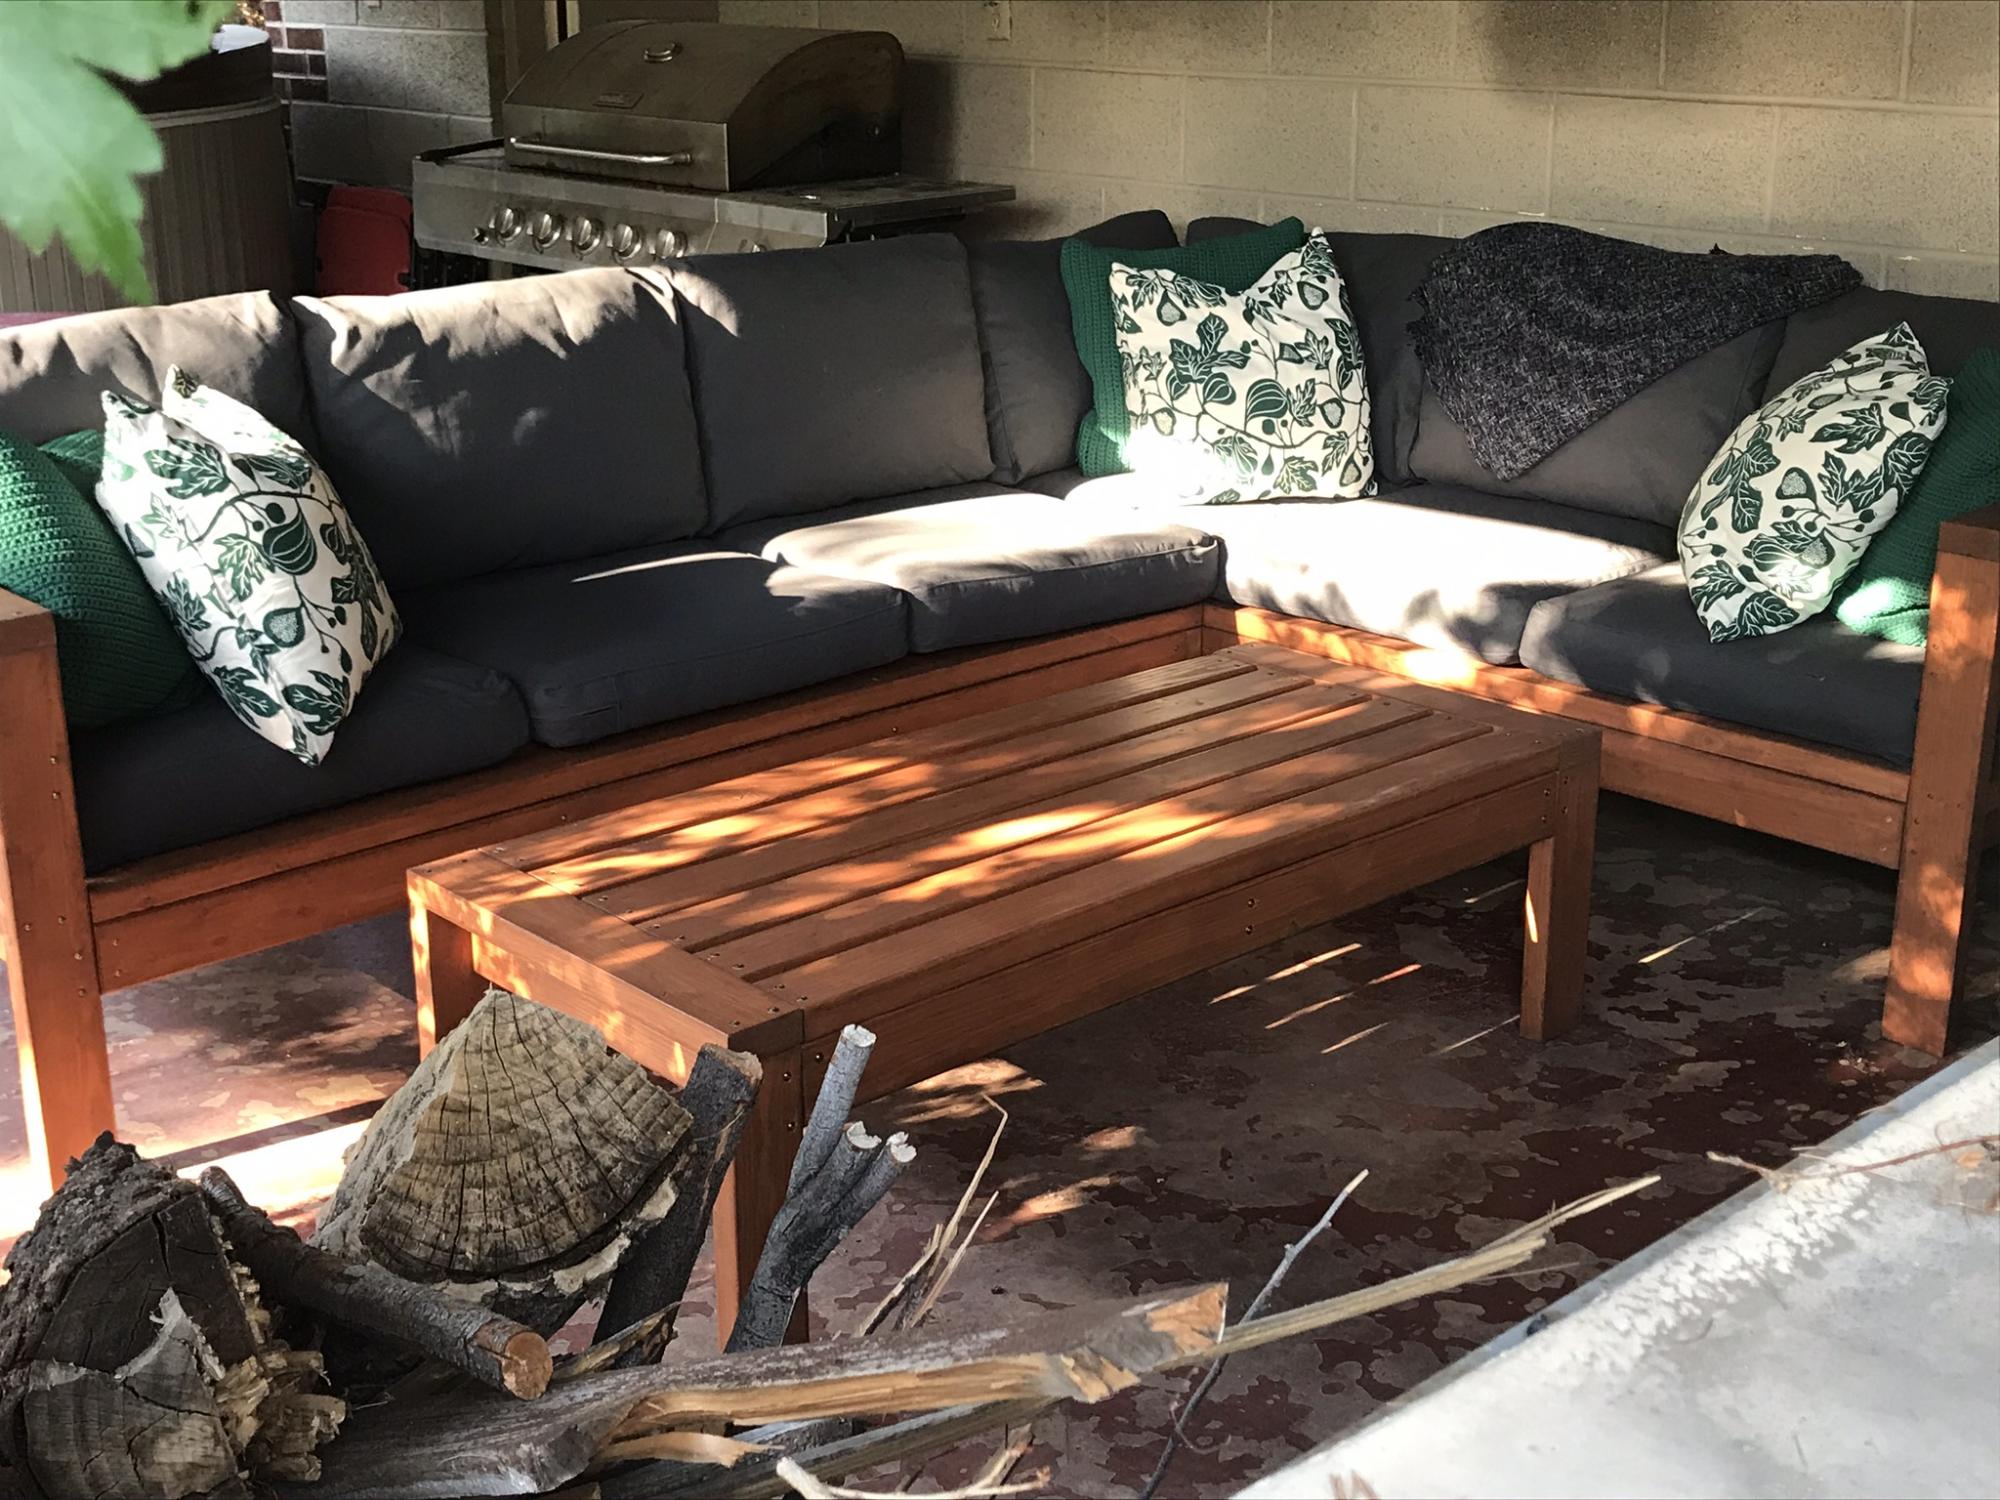
This project took a while. Stained everything before assembly which made it easier. Plans are easy to follow. Thank you for making them available. Our property is starting to look a lot like your website.
Mon, 08/02/2021 - 08:35
Looks amazing! What method did you use (pocket holes, dowels, deck screws, etc) to join the visible portions like the arms?