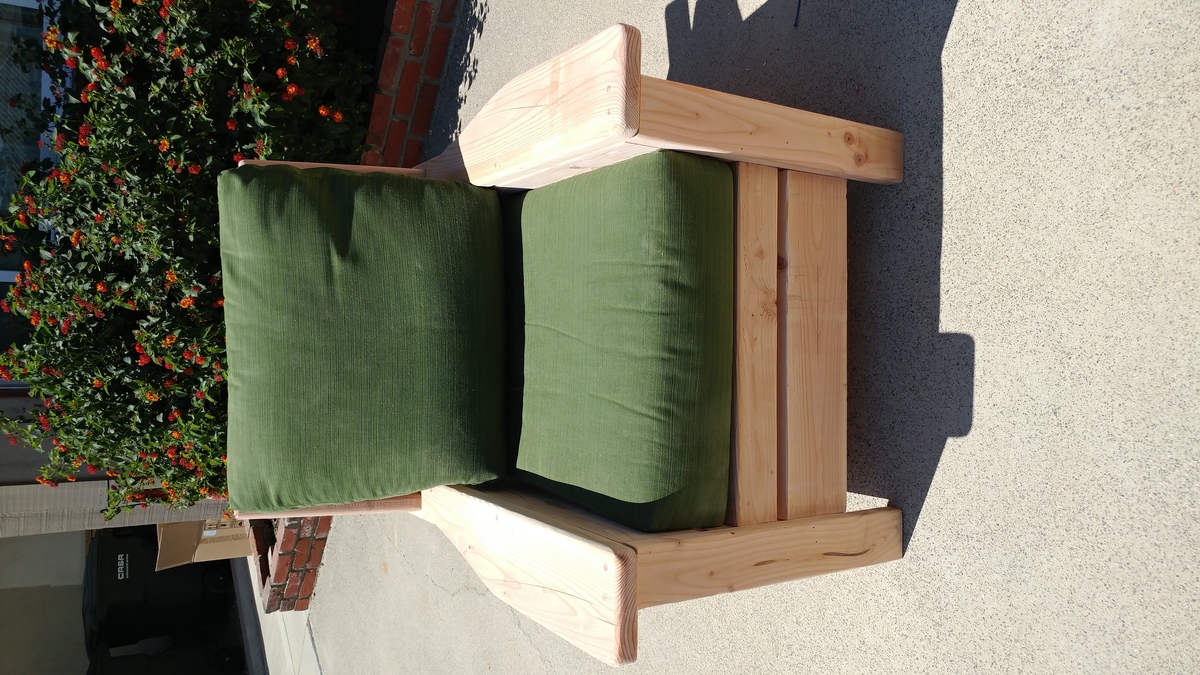
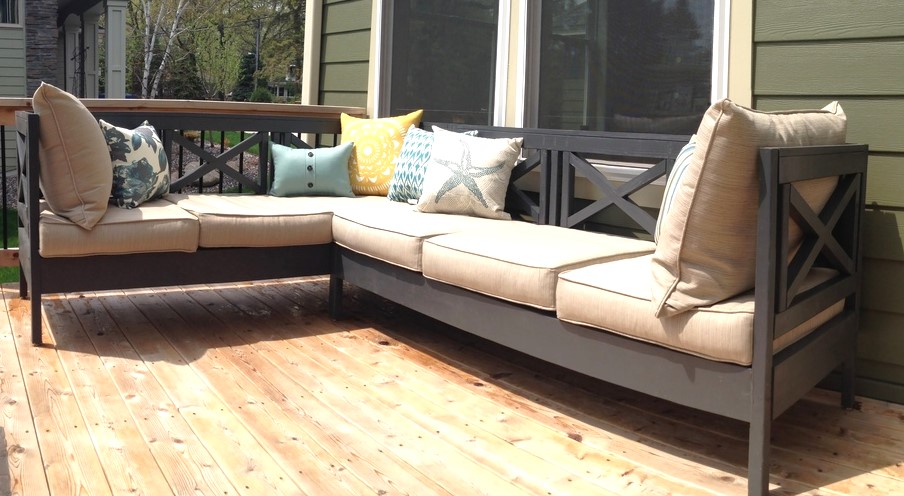
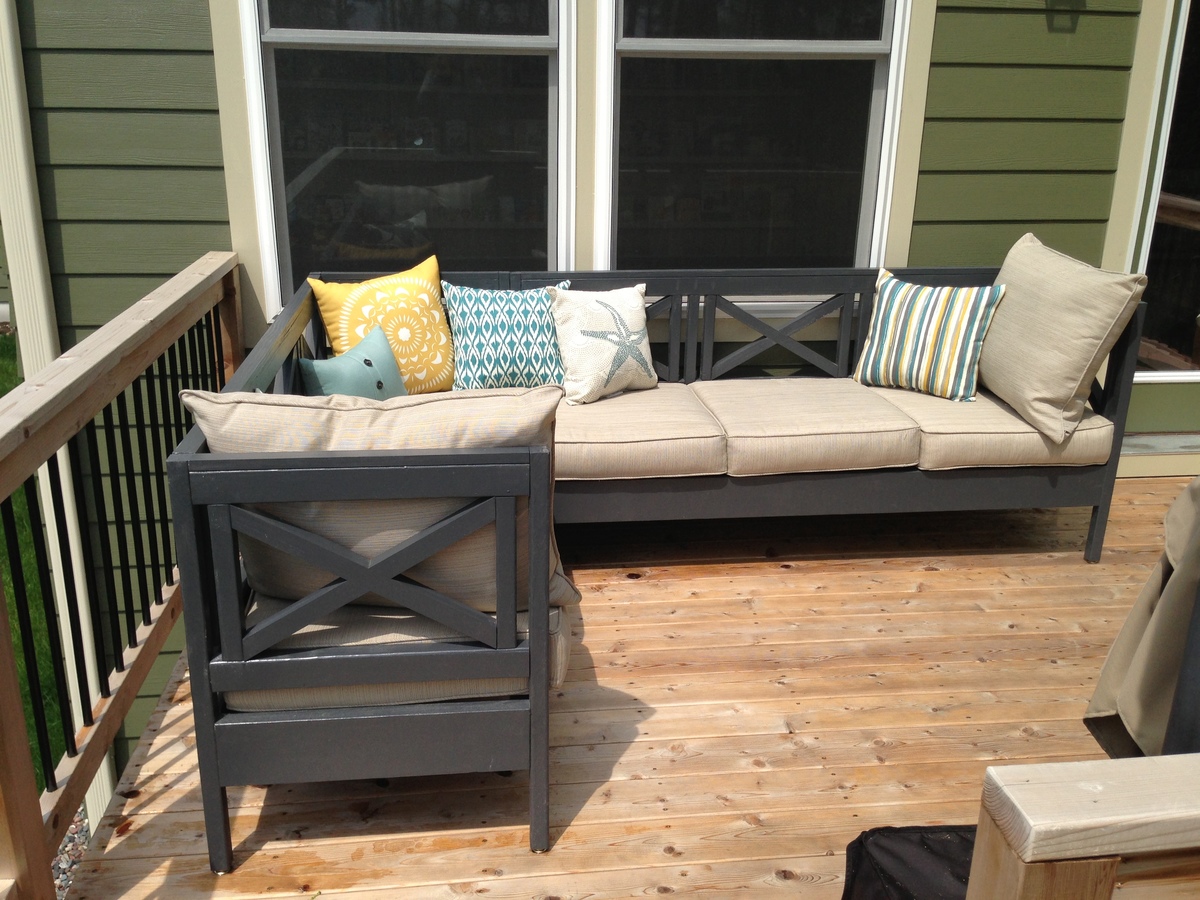
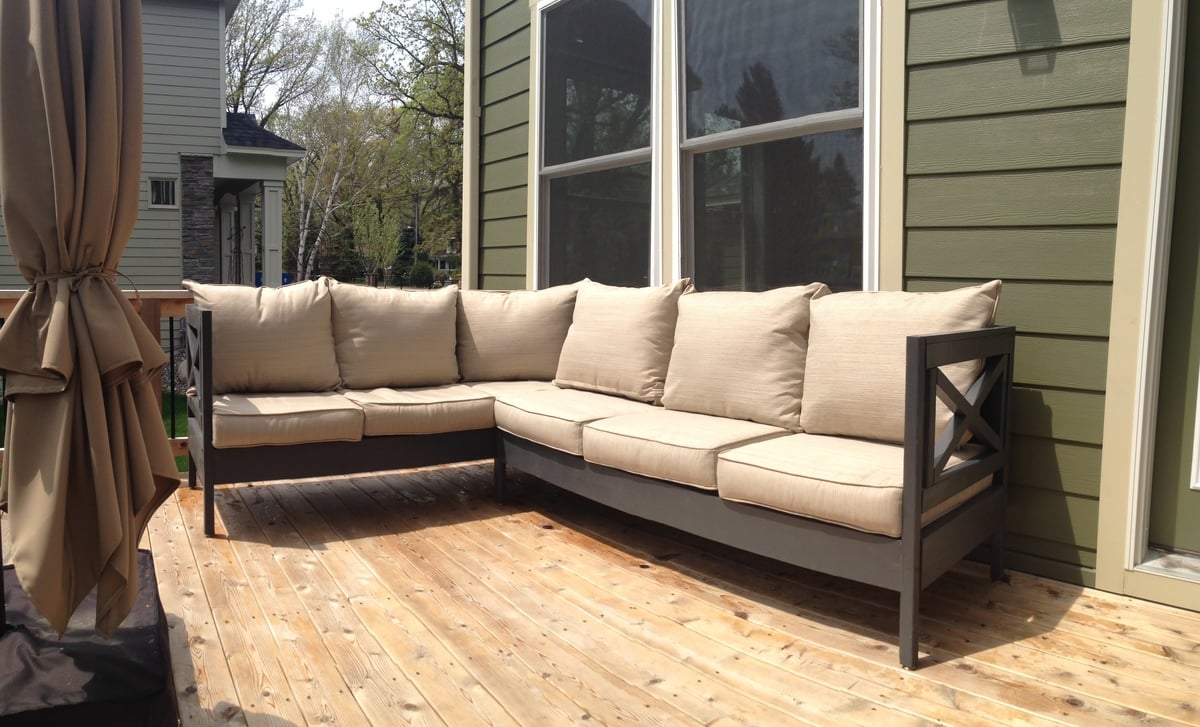
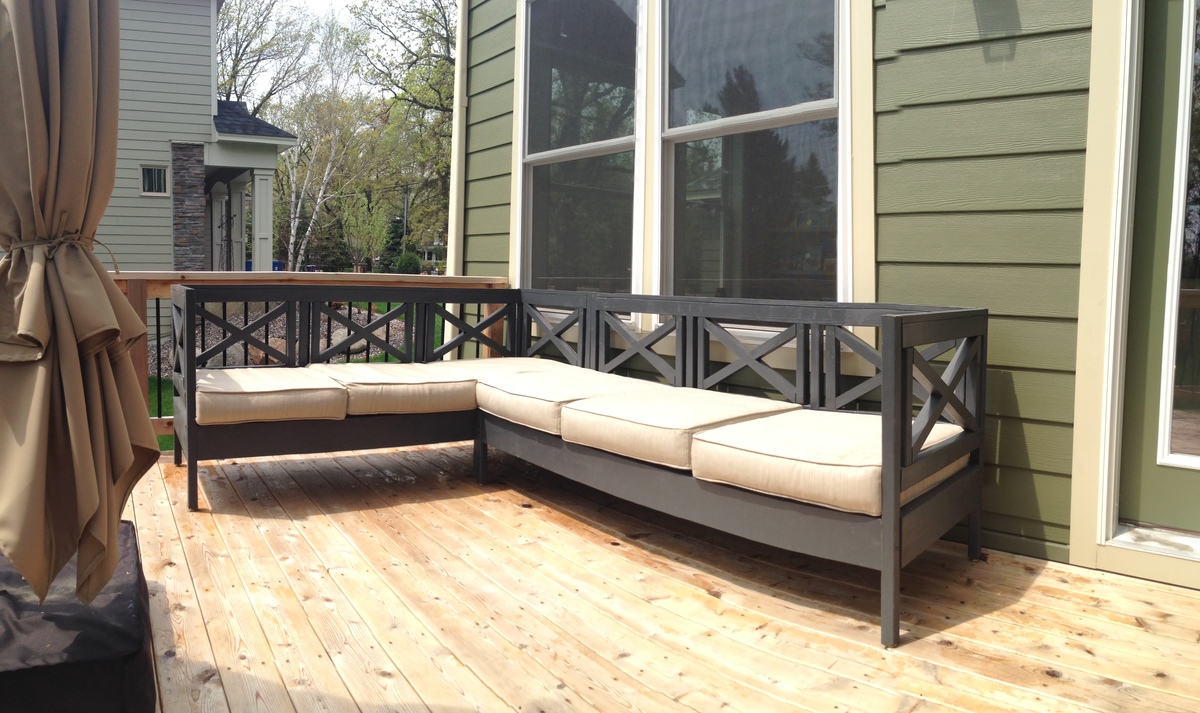
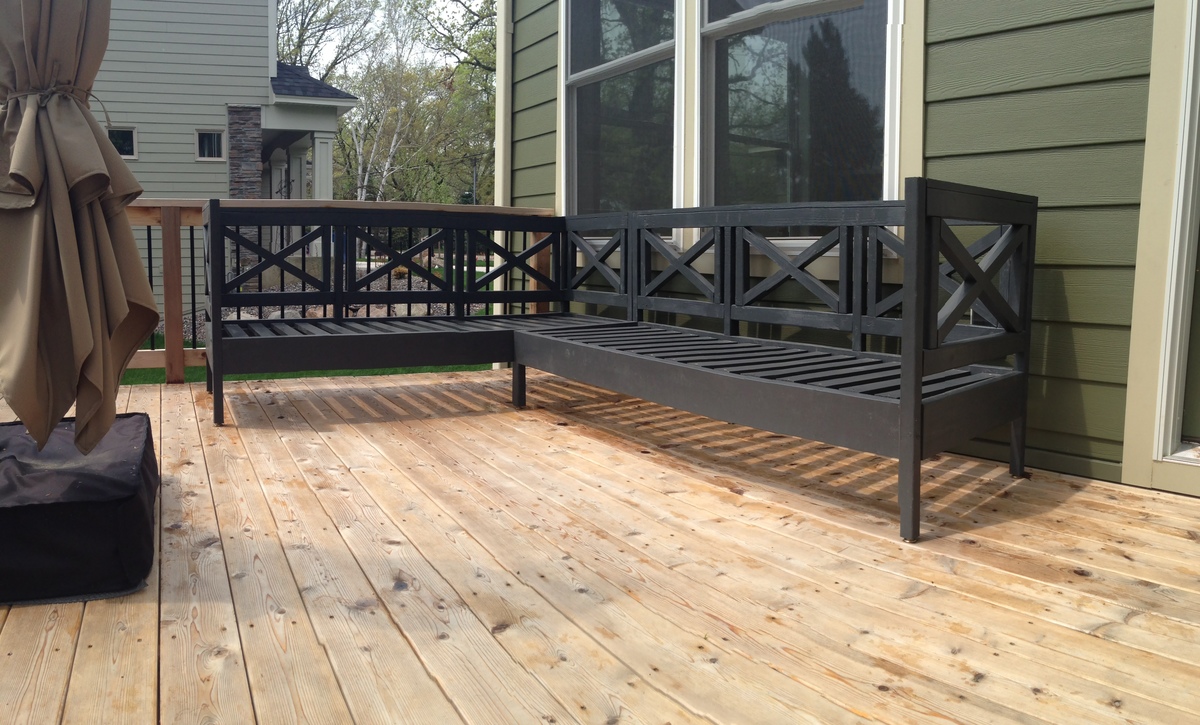
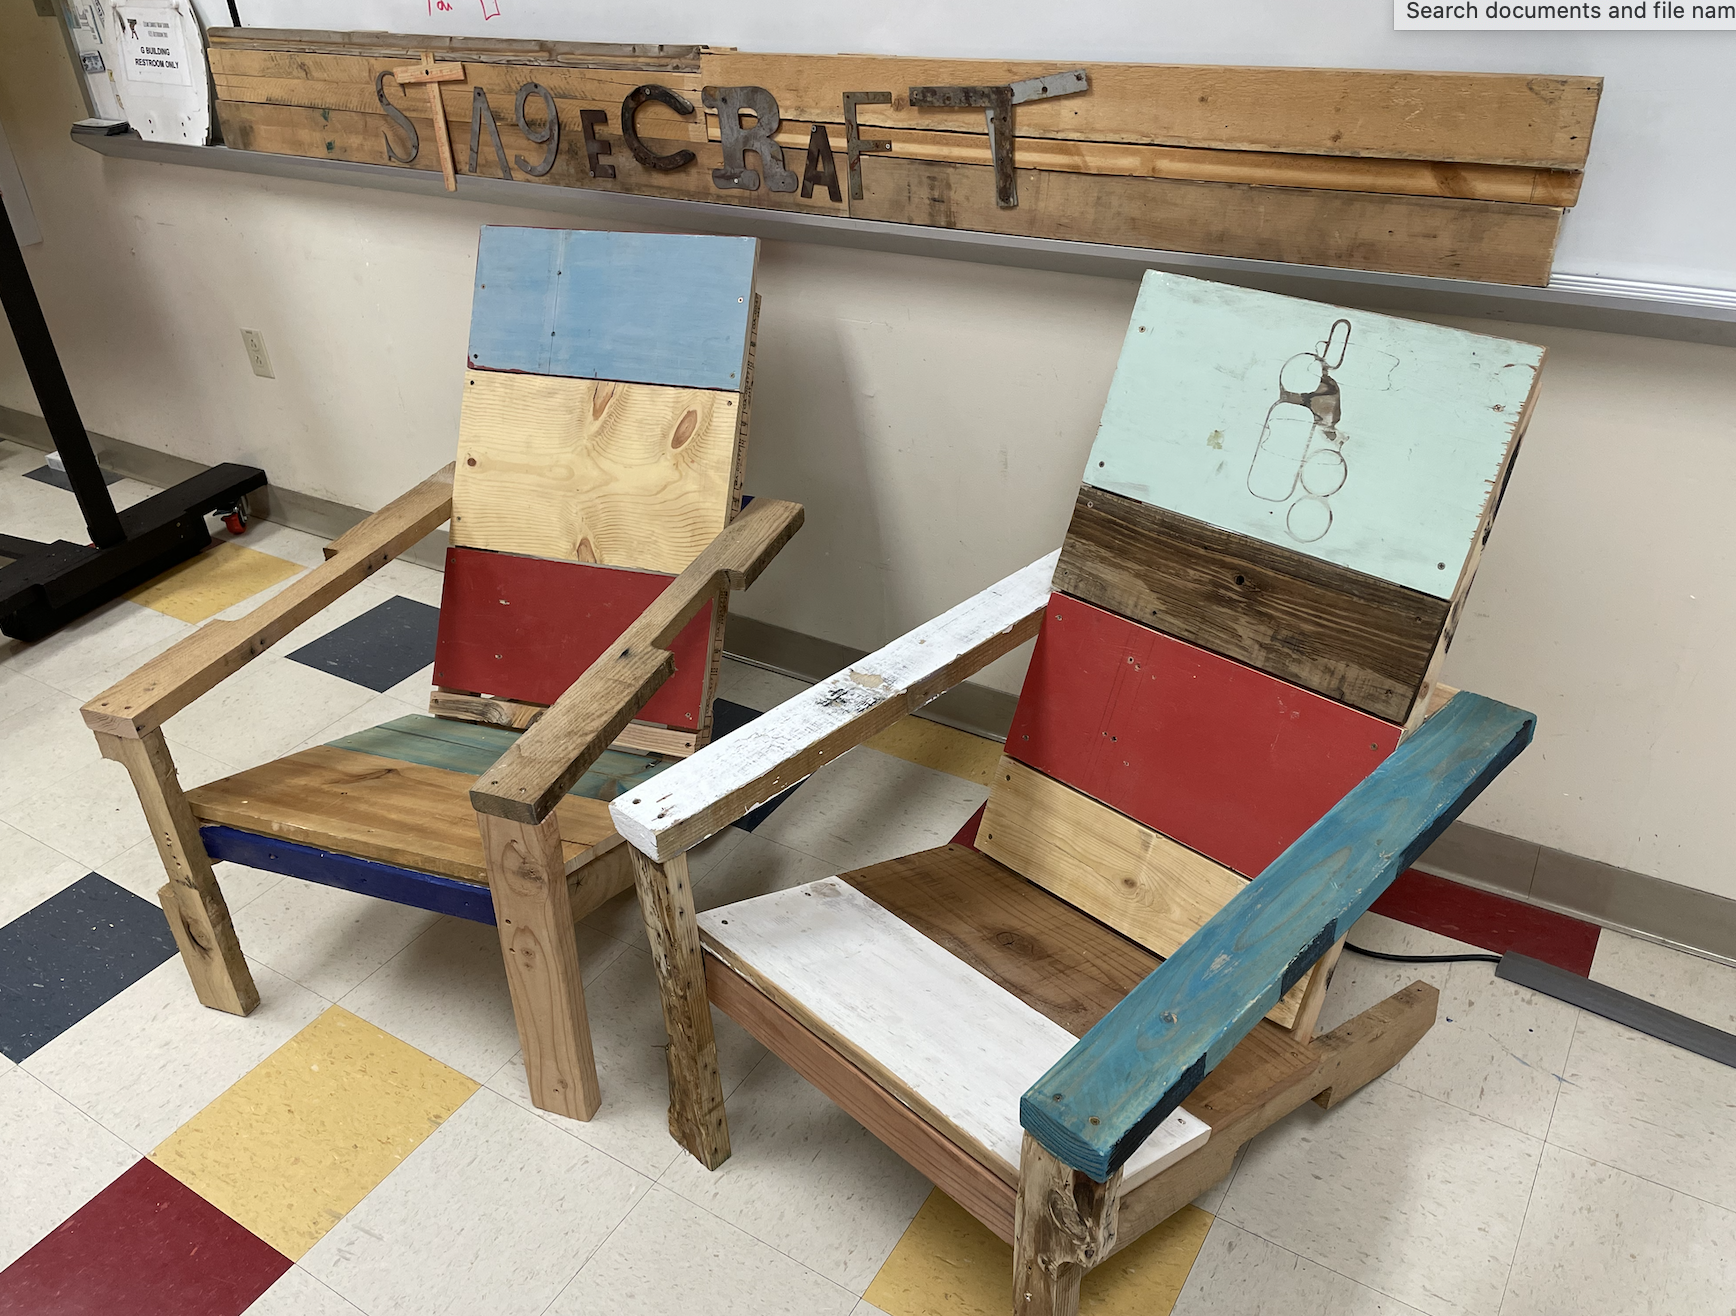
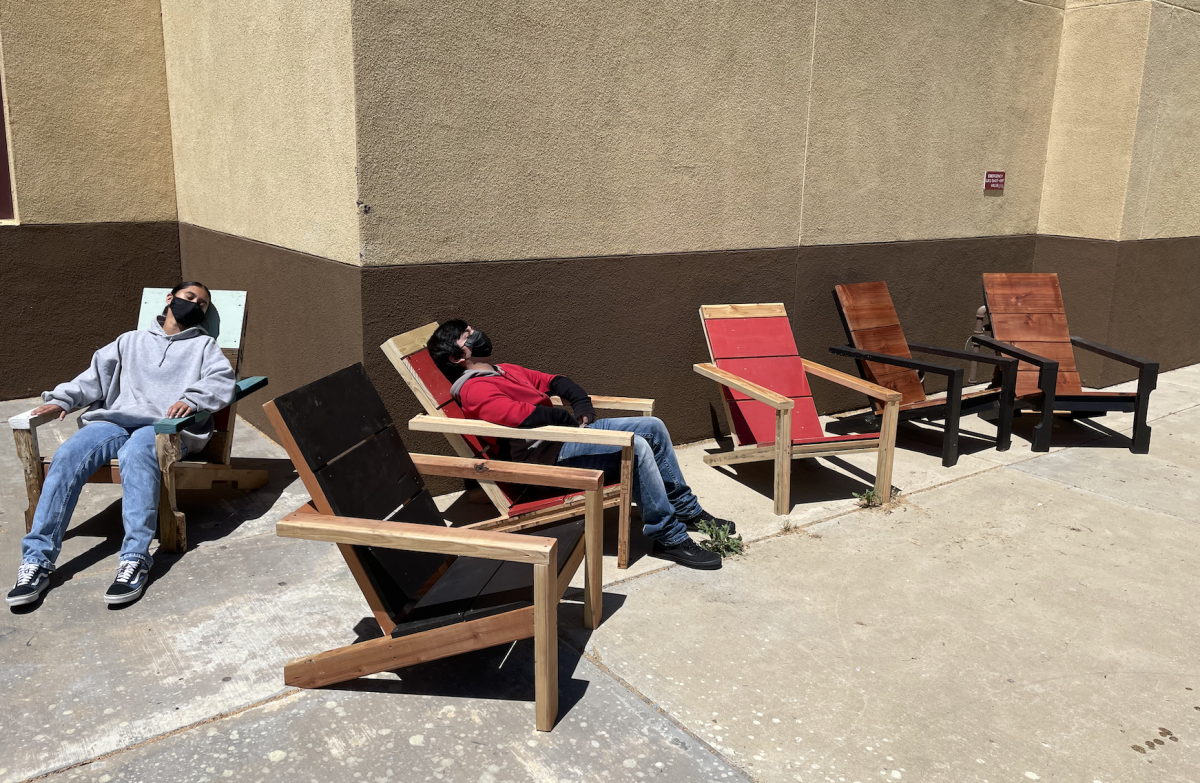
Modern Outdoor Chair with a twist
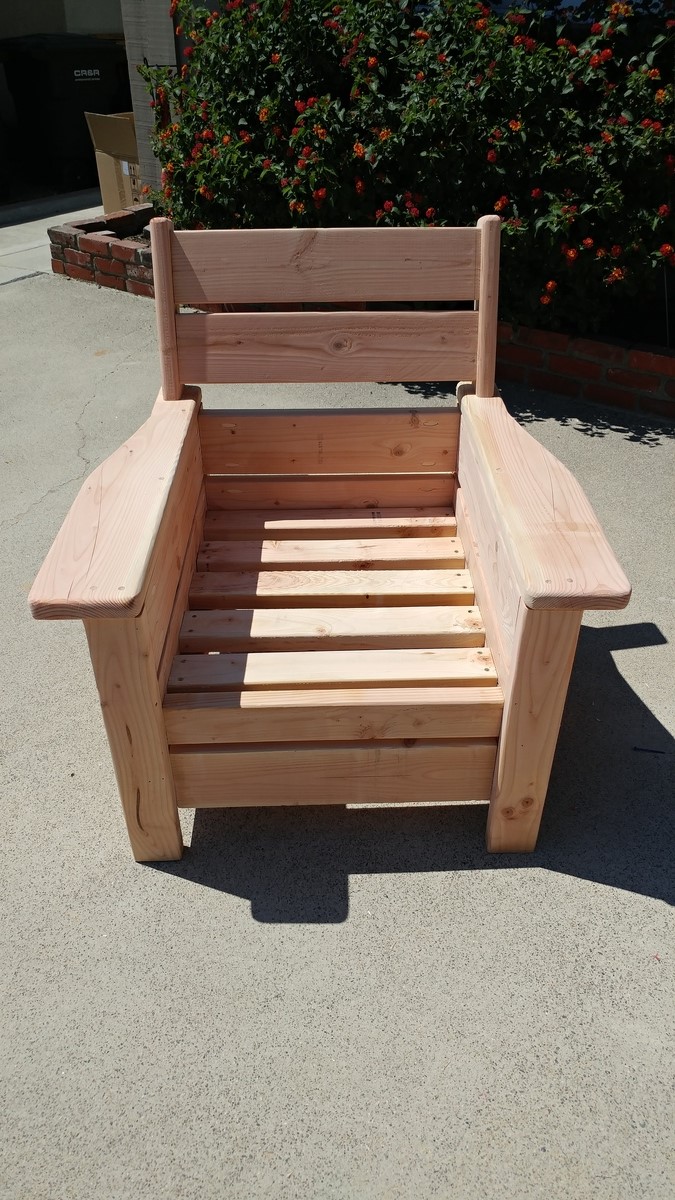
Taken from the Modern Outdoor chair project and added a back. Then decided that I love the andorak style chair arms and thus the Andrmodern chair was born..
Estimated Cost
$35.00
Estimated Time Investment
Afternoon Project (3-6 Hours)
Finish Used
Will use the Behr two in one
Recommended Skill Level
Beginner


Comments
cmctavish
Mon, 12/14/2020 - 10:02
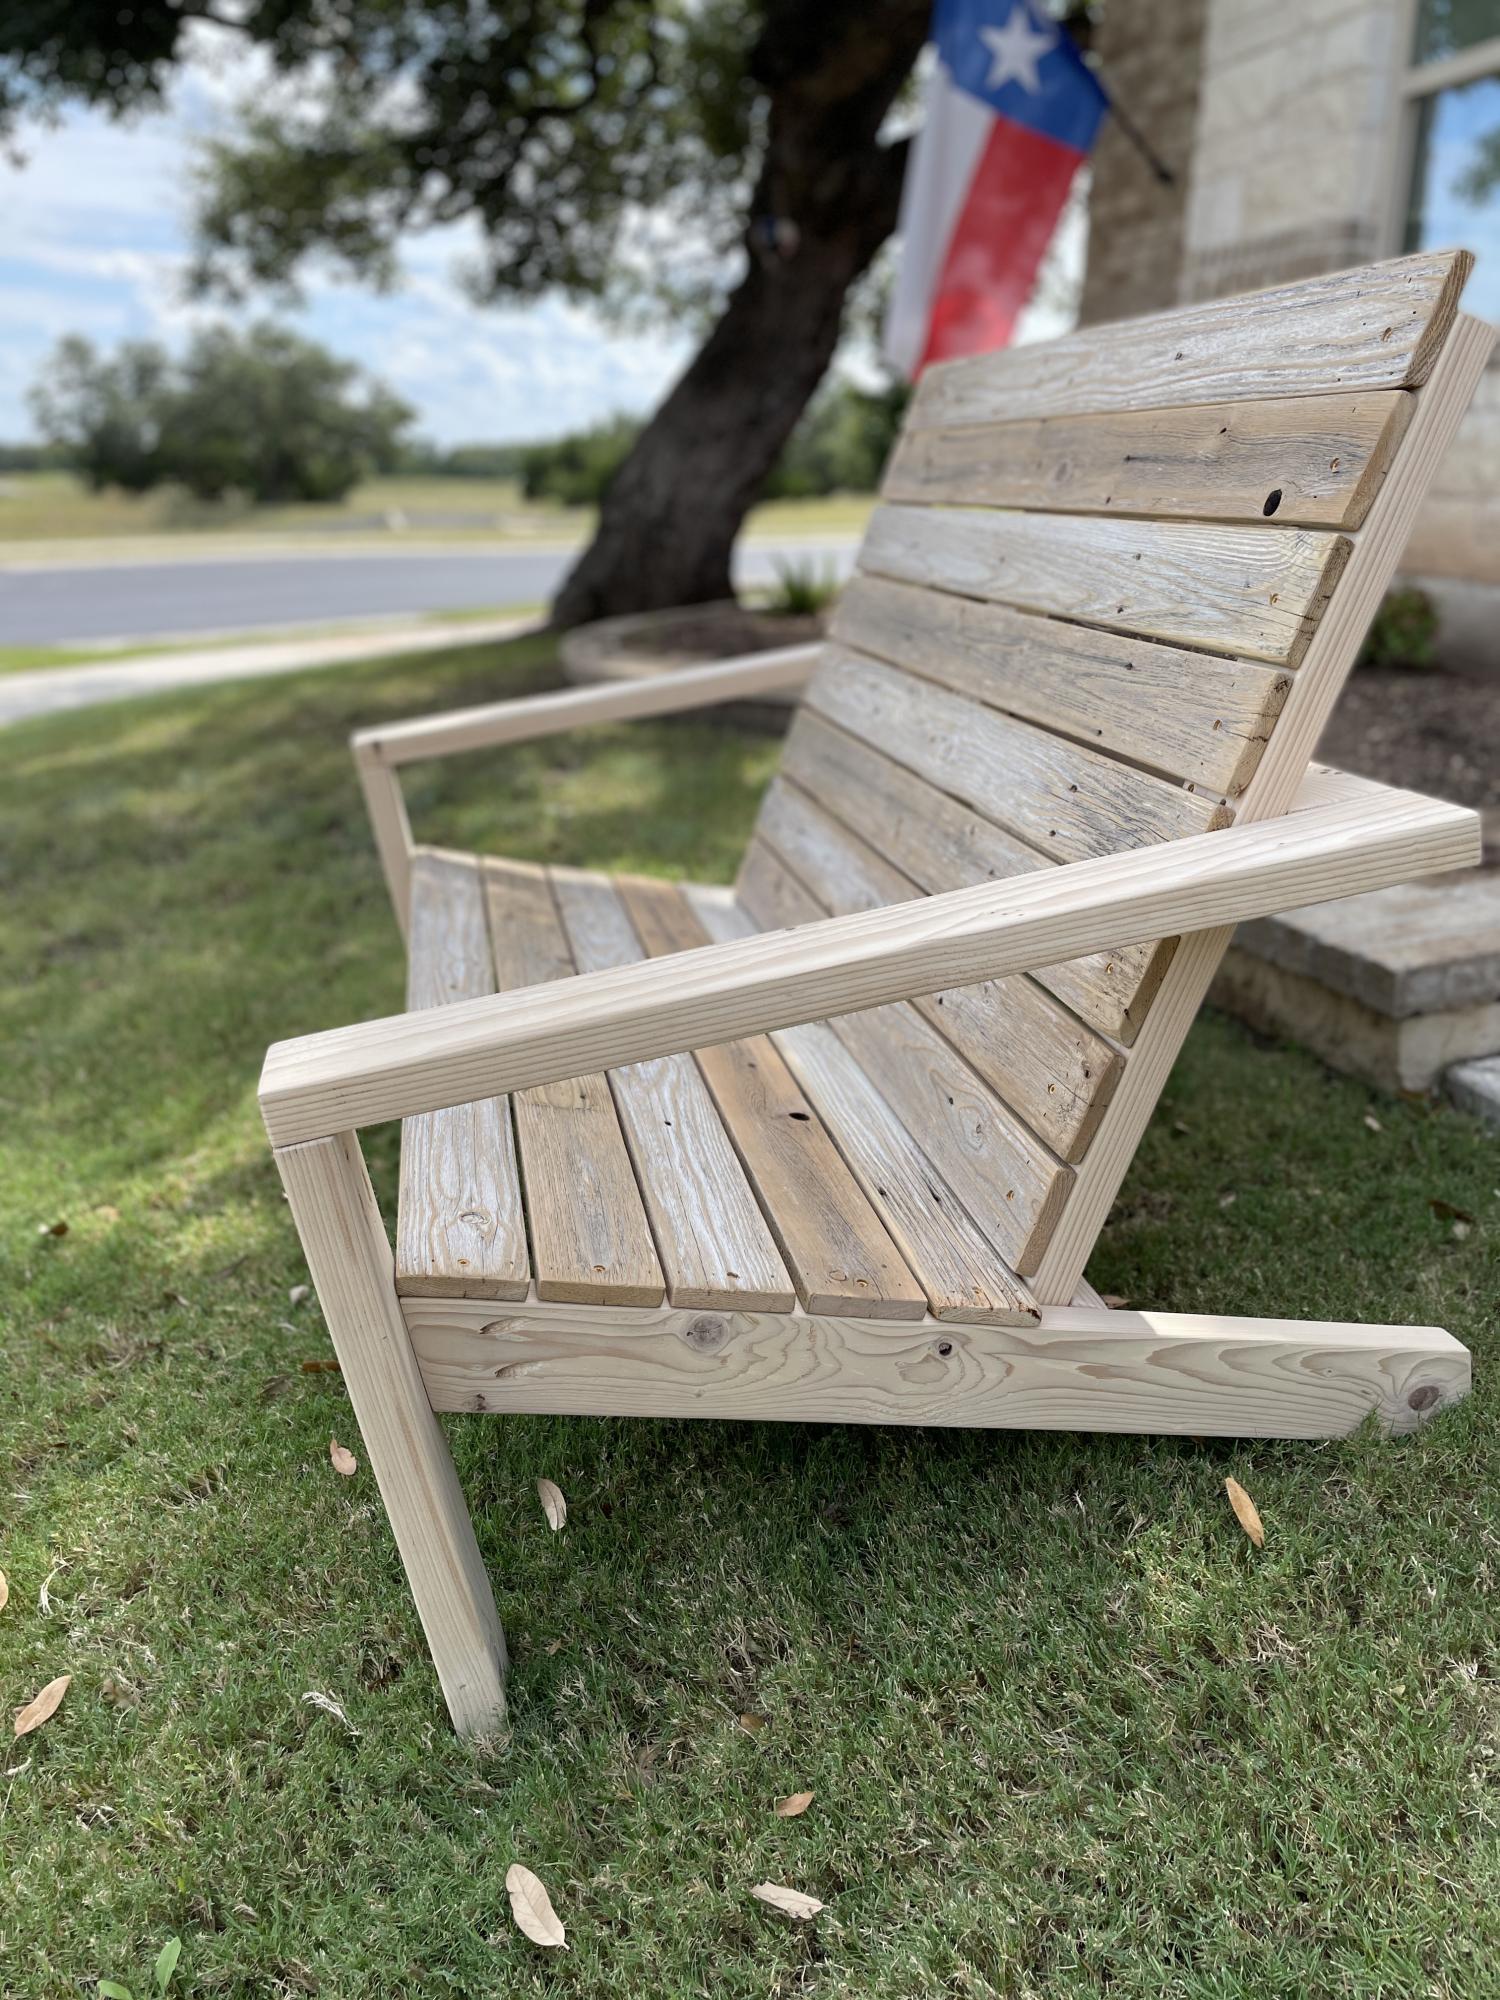
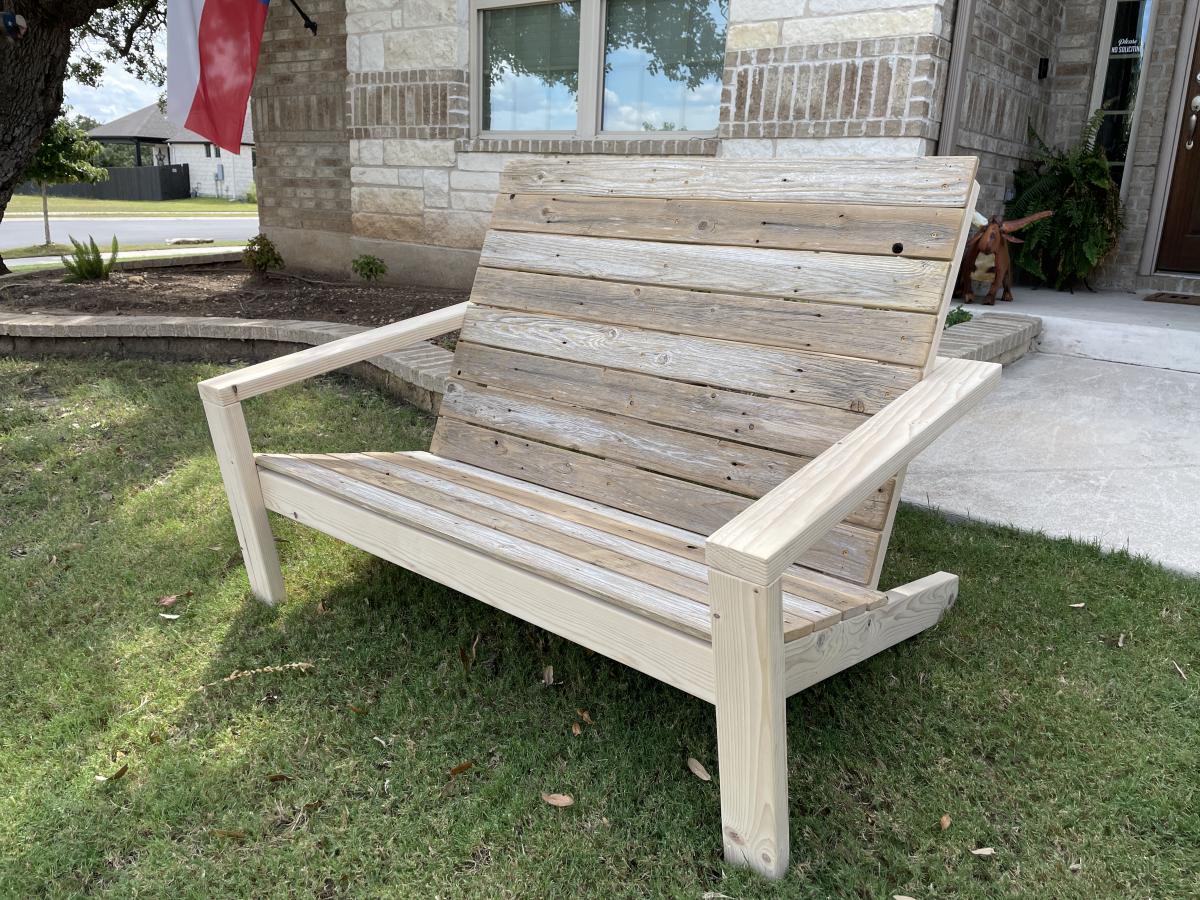
Wood living room chair
Wood living room chair
Proudcanuck86
Sun, 04/18/2021 - 17:17
Plans?
Do you have plans for this chair? Thanks