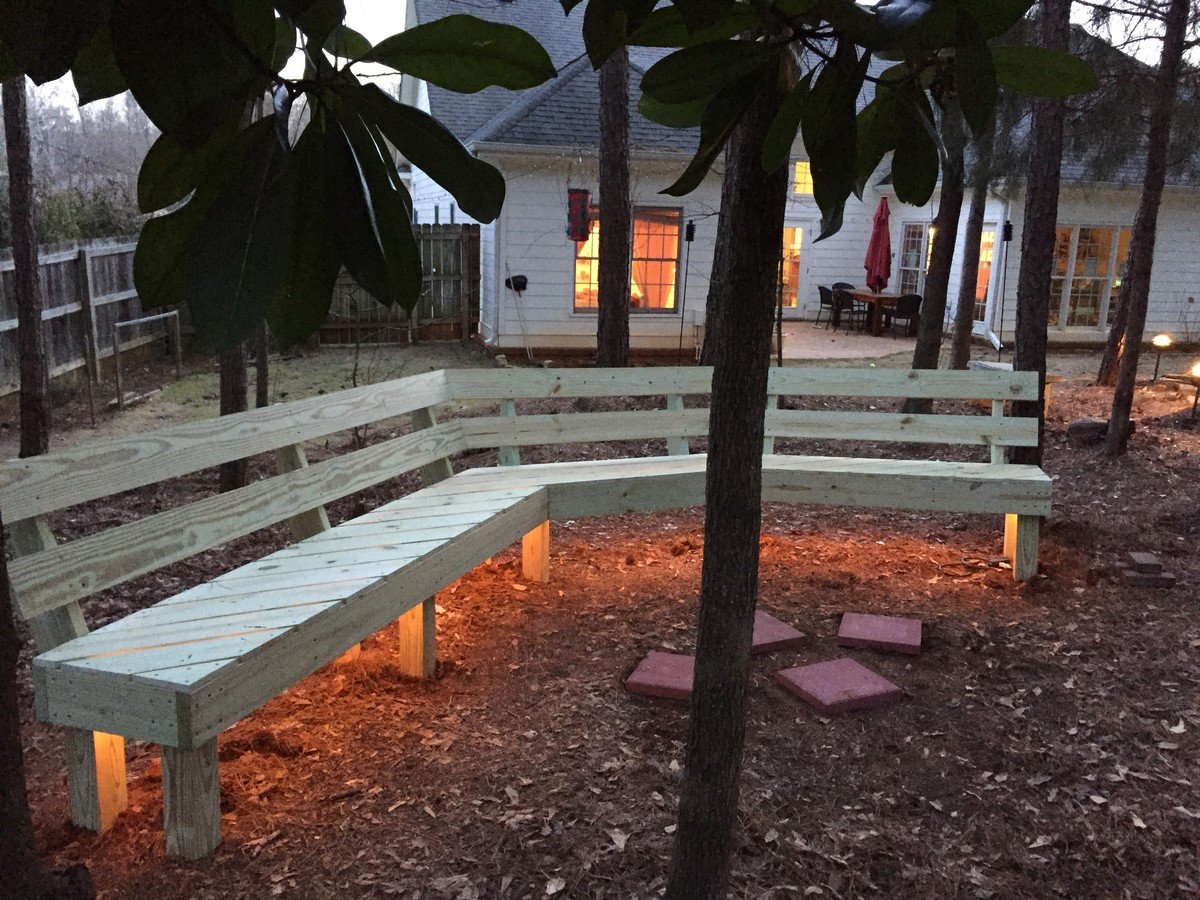
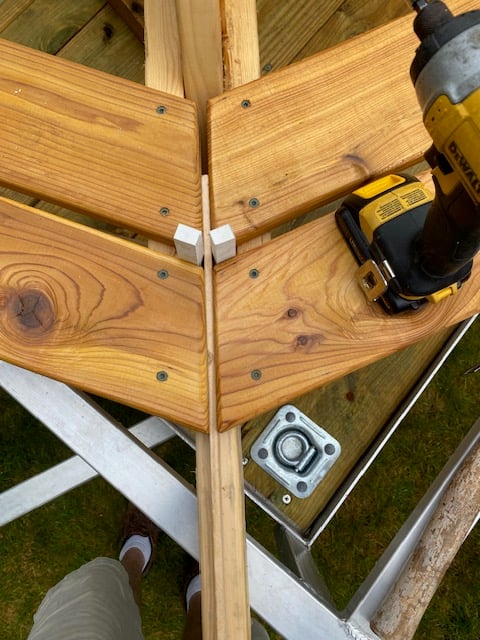
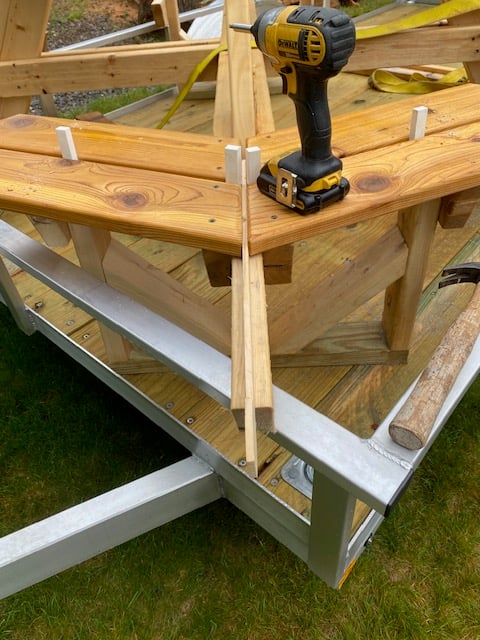
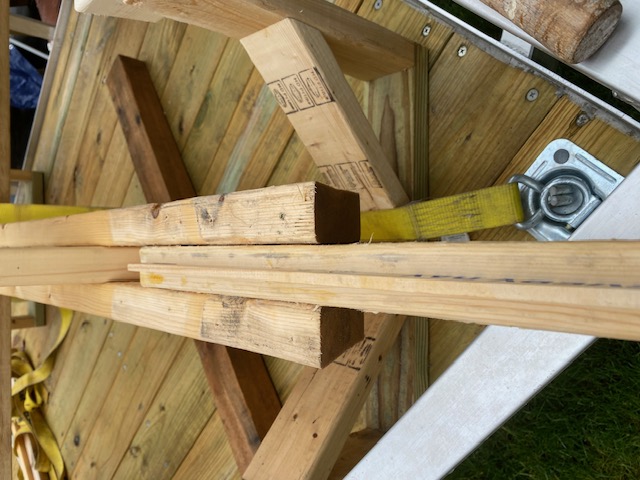
Fire Pit Bench
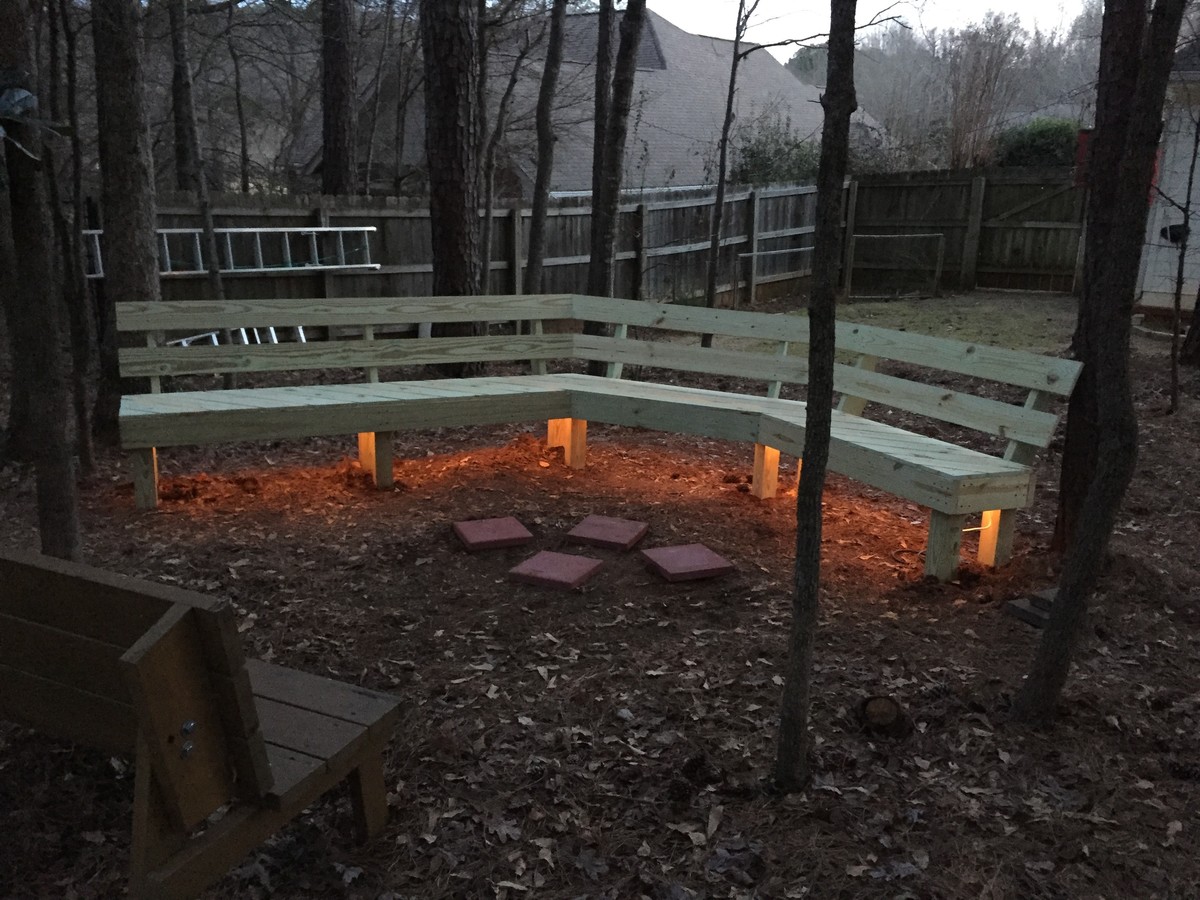
Modified the plans slightly to make a bigger bench, especially on one end. Added rope lights underneath for a cool effect.
Built from Plan(s)
Estimated Cost
$225, including rope lighting underneath and having to buy screws and glue
Estimated Time Investment
Weekend Project (10-20 Hours)
Recommended Skill Level
Intermediate


Comments
docfin02
Mon, 02/15/2016 - 09:20
x
x