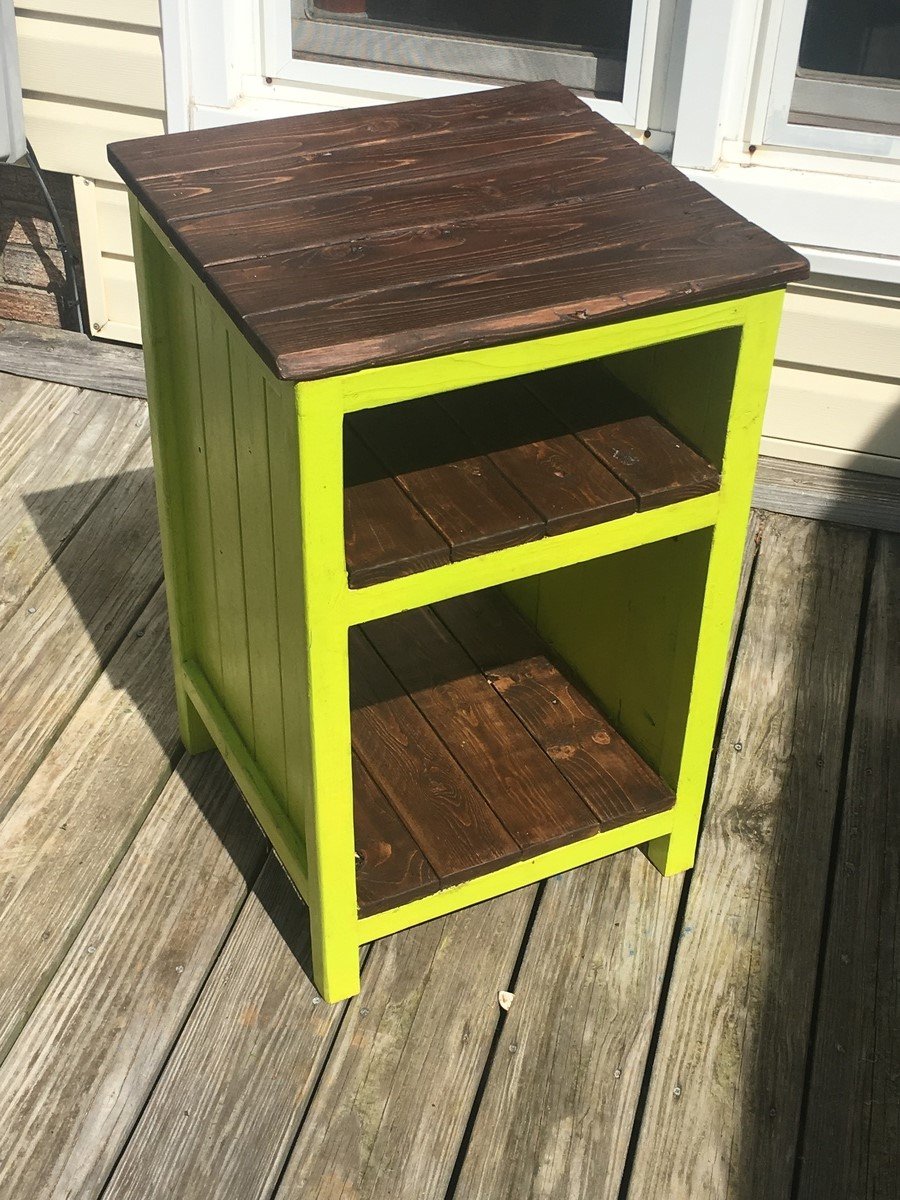
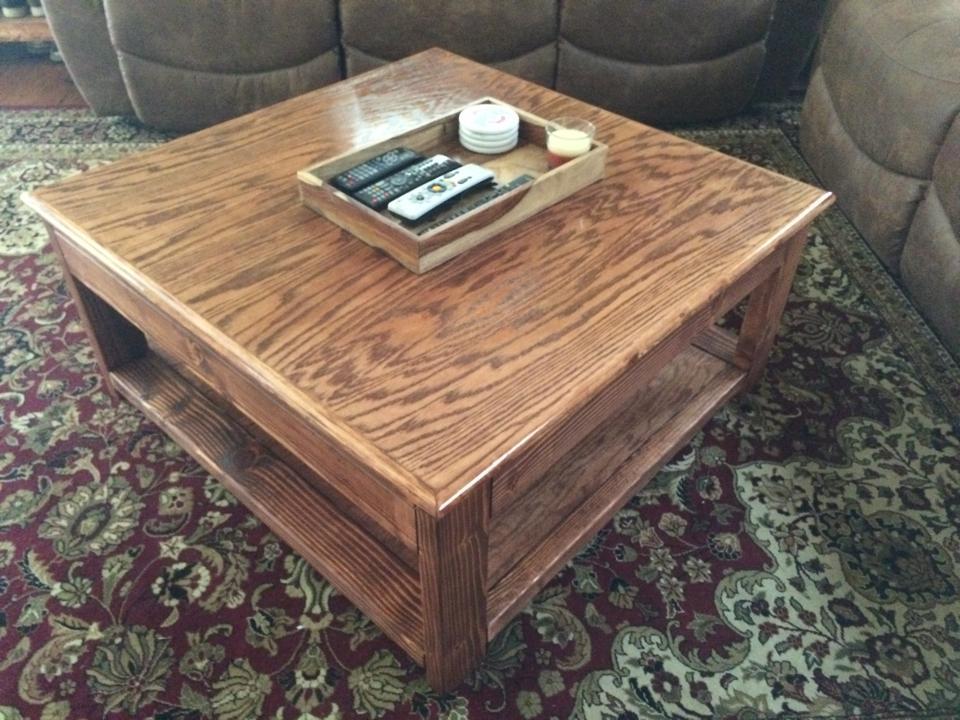
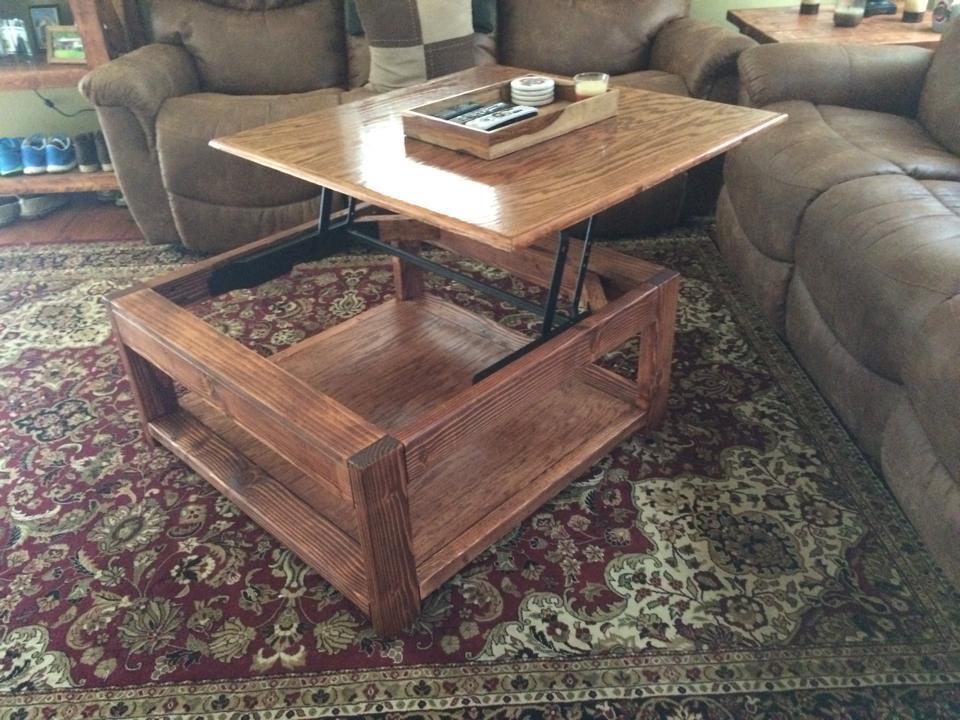
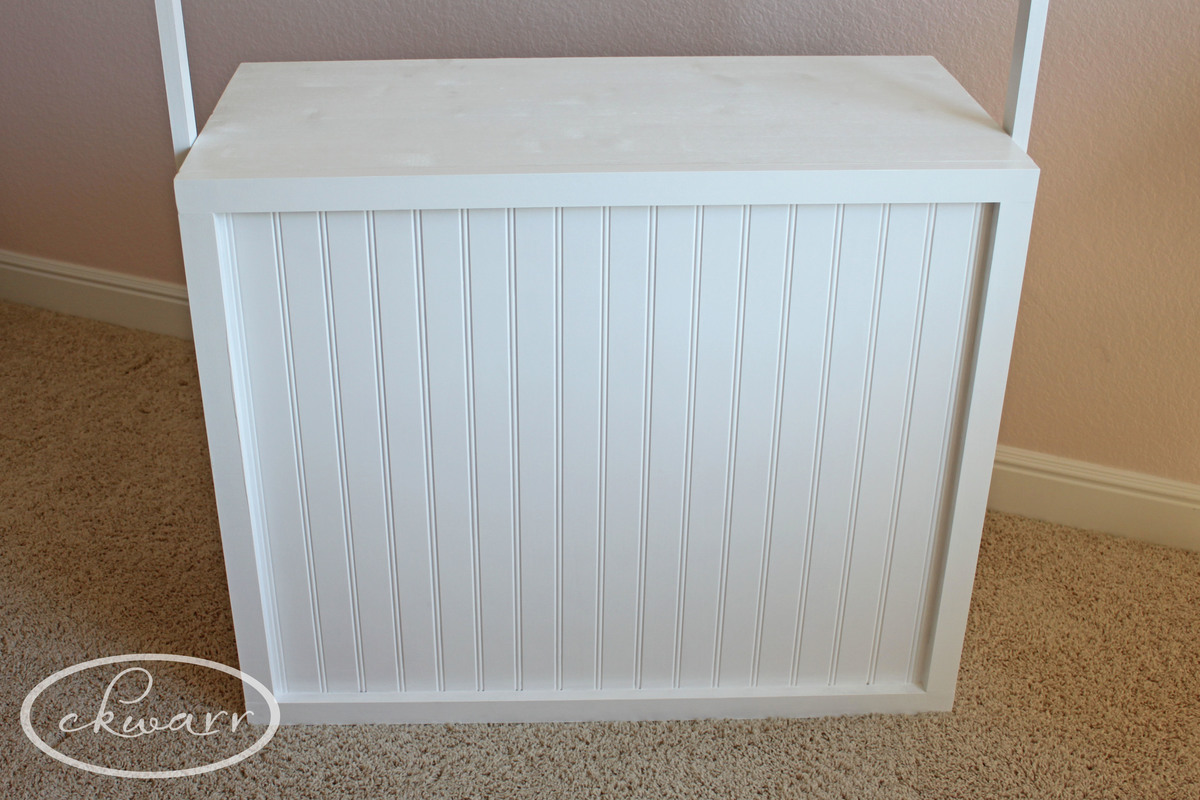
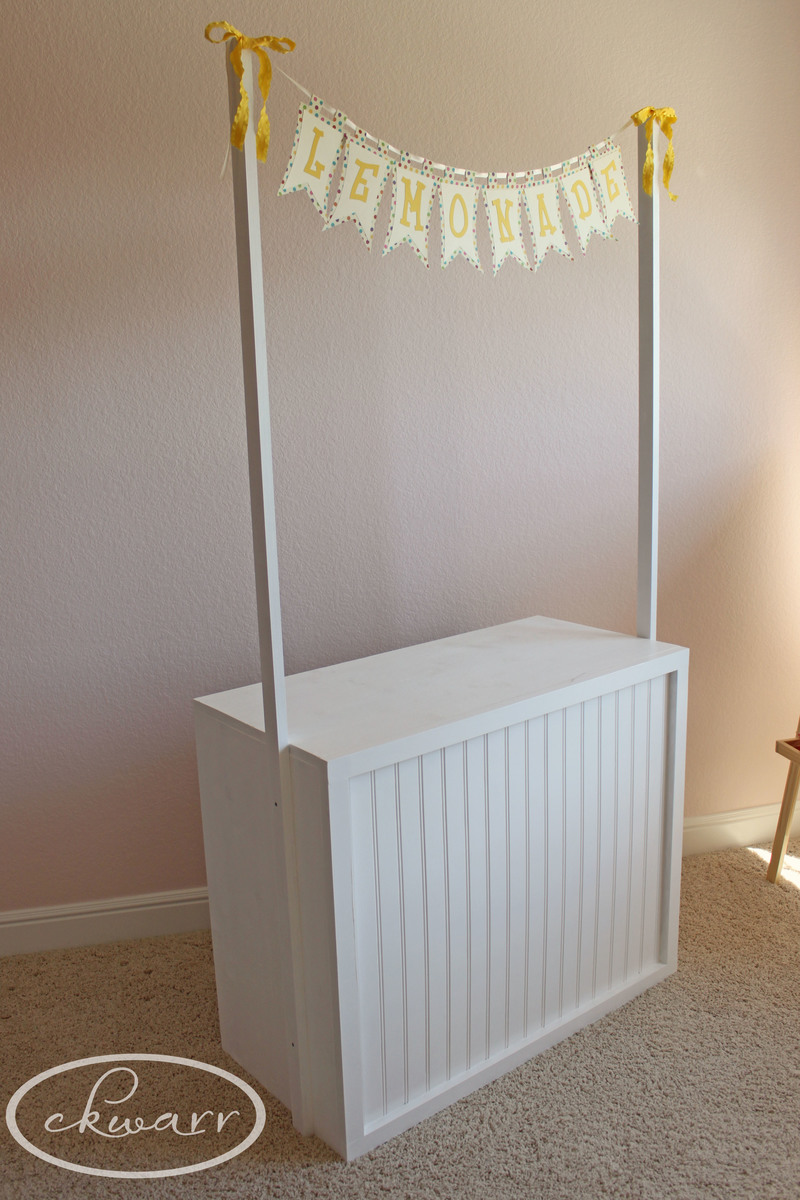
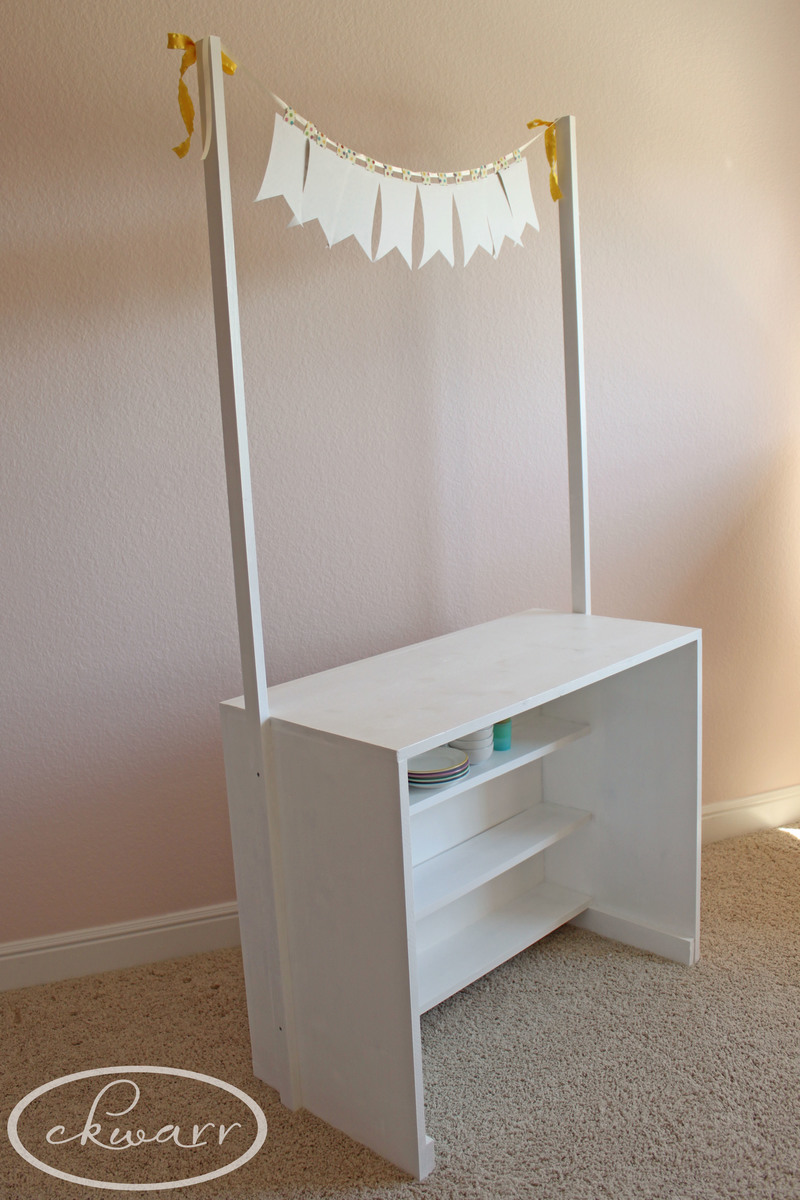
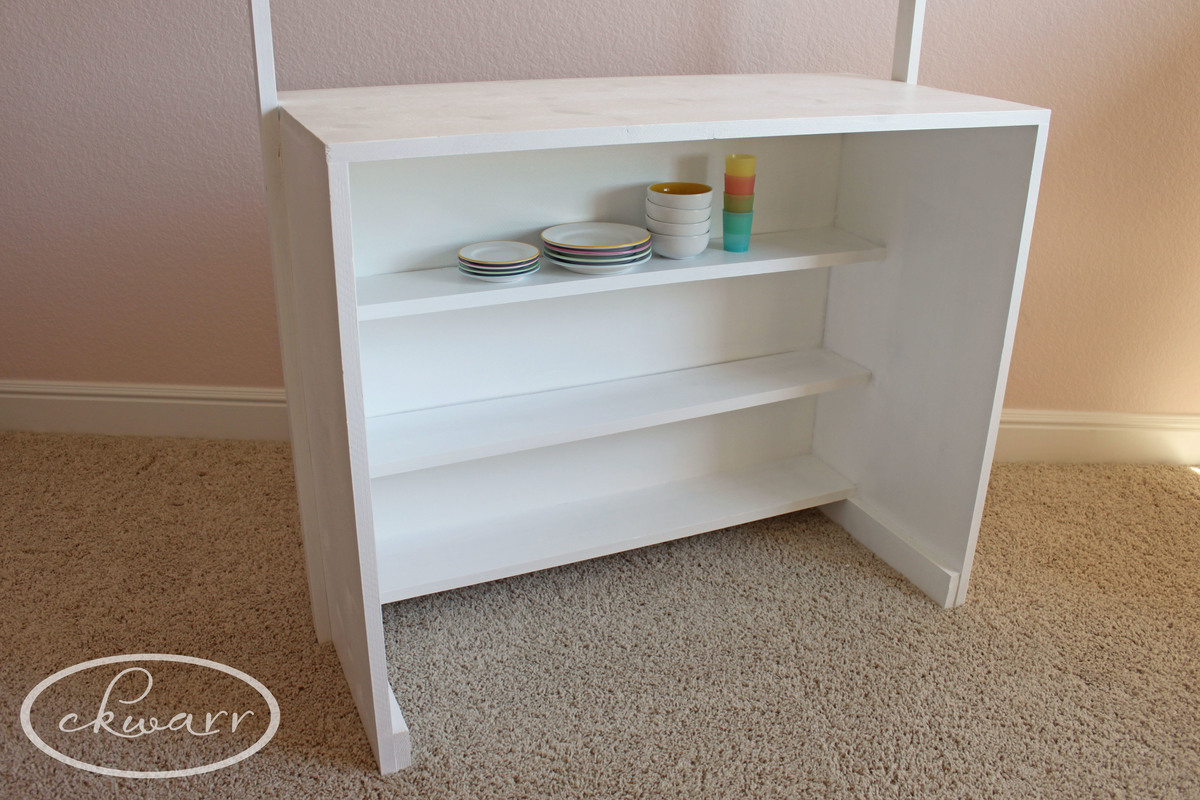
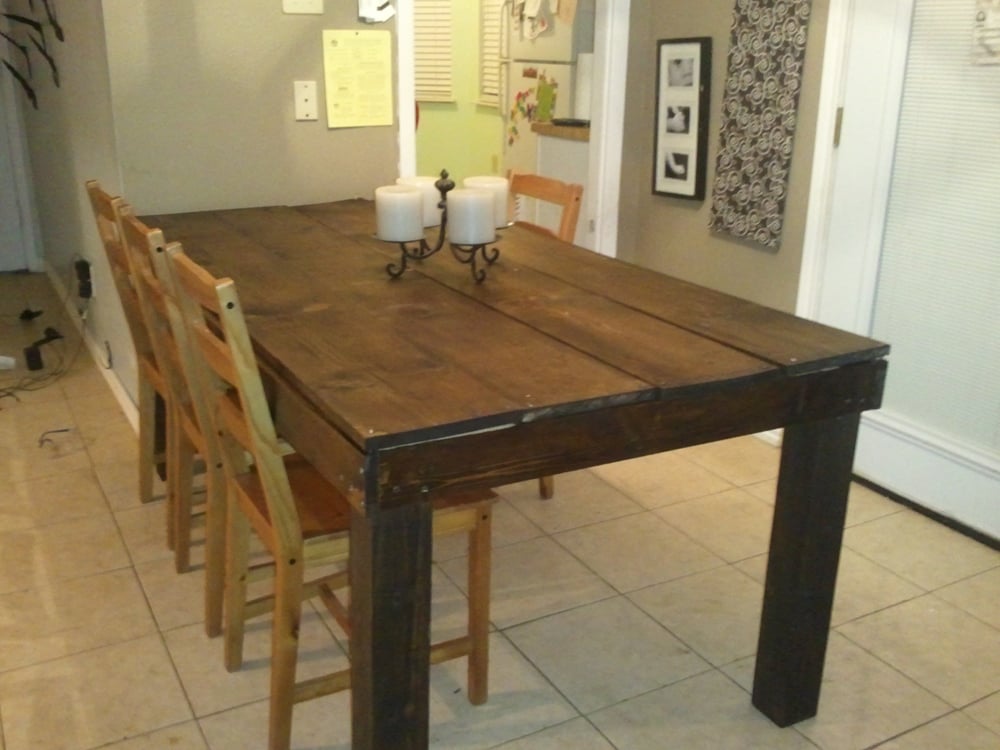
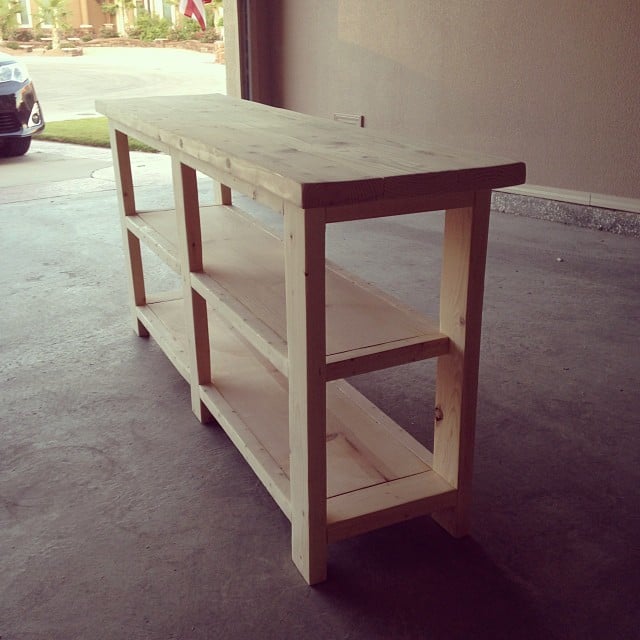
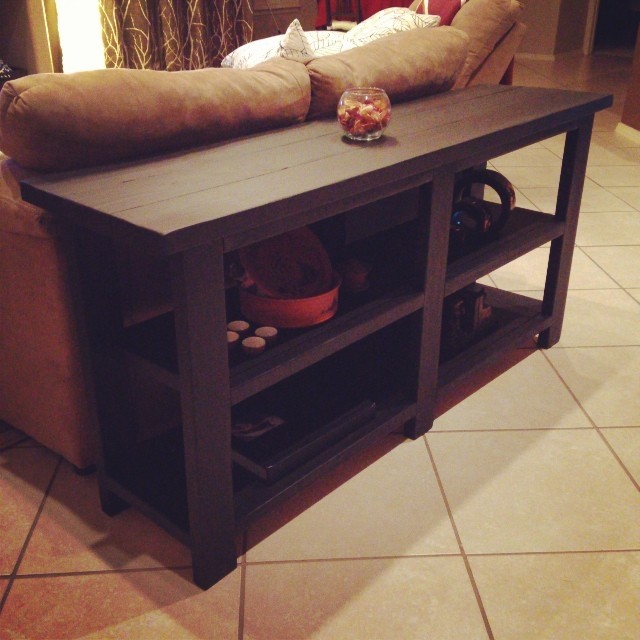
Rustic X Console Table
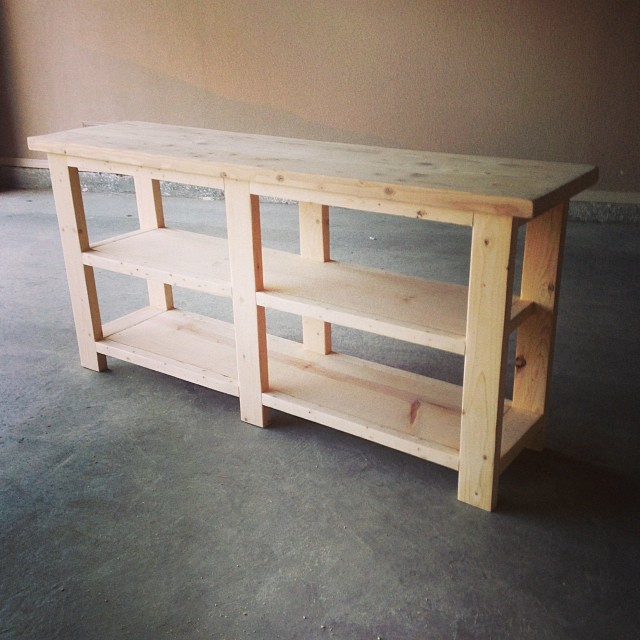
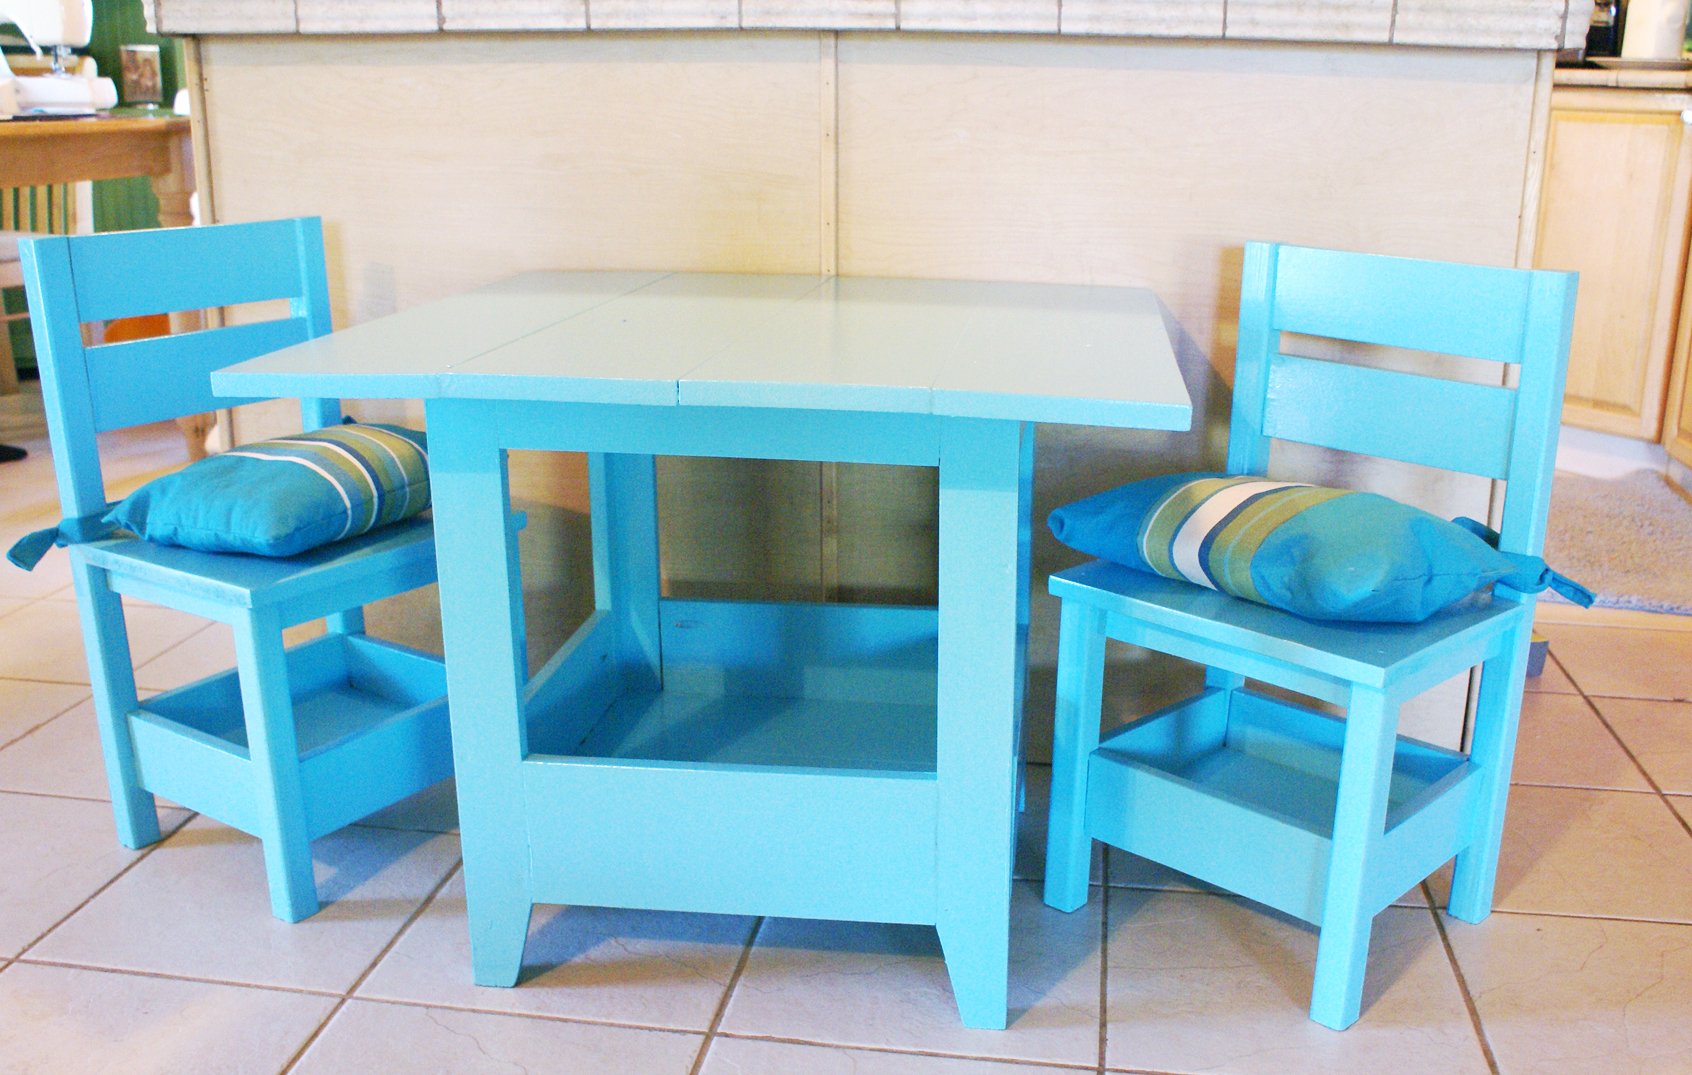
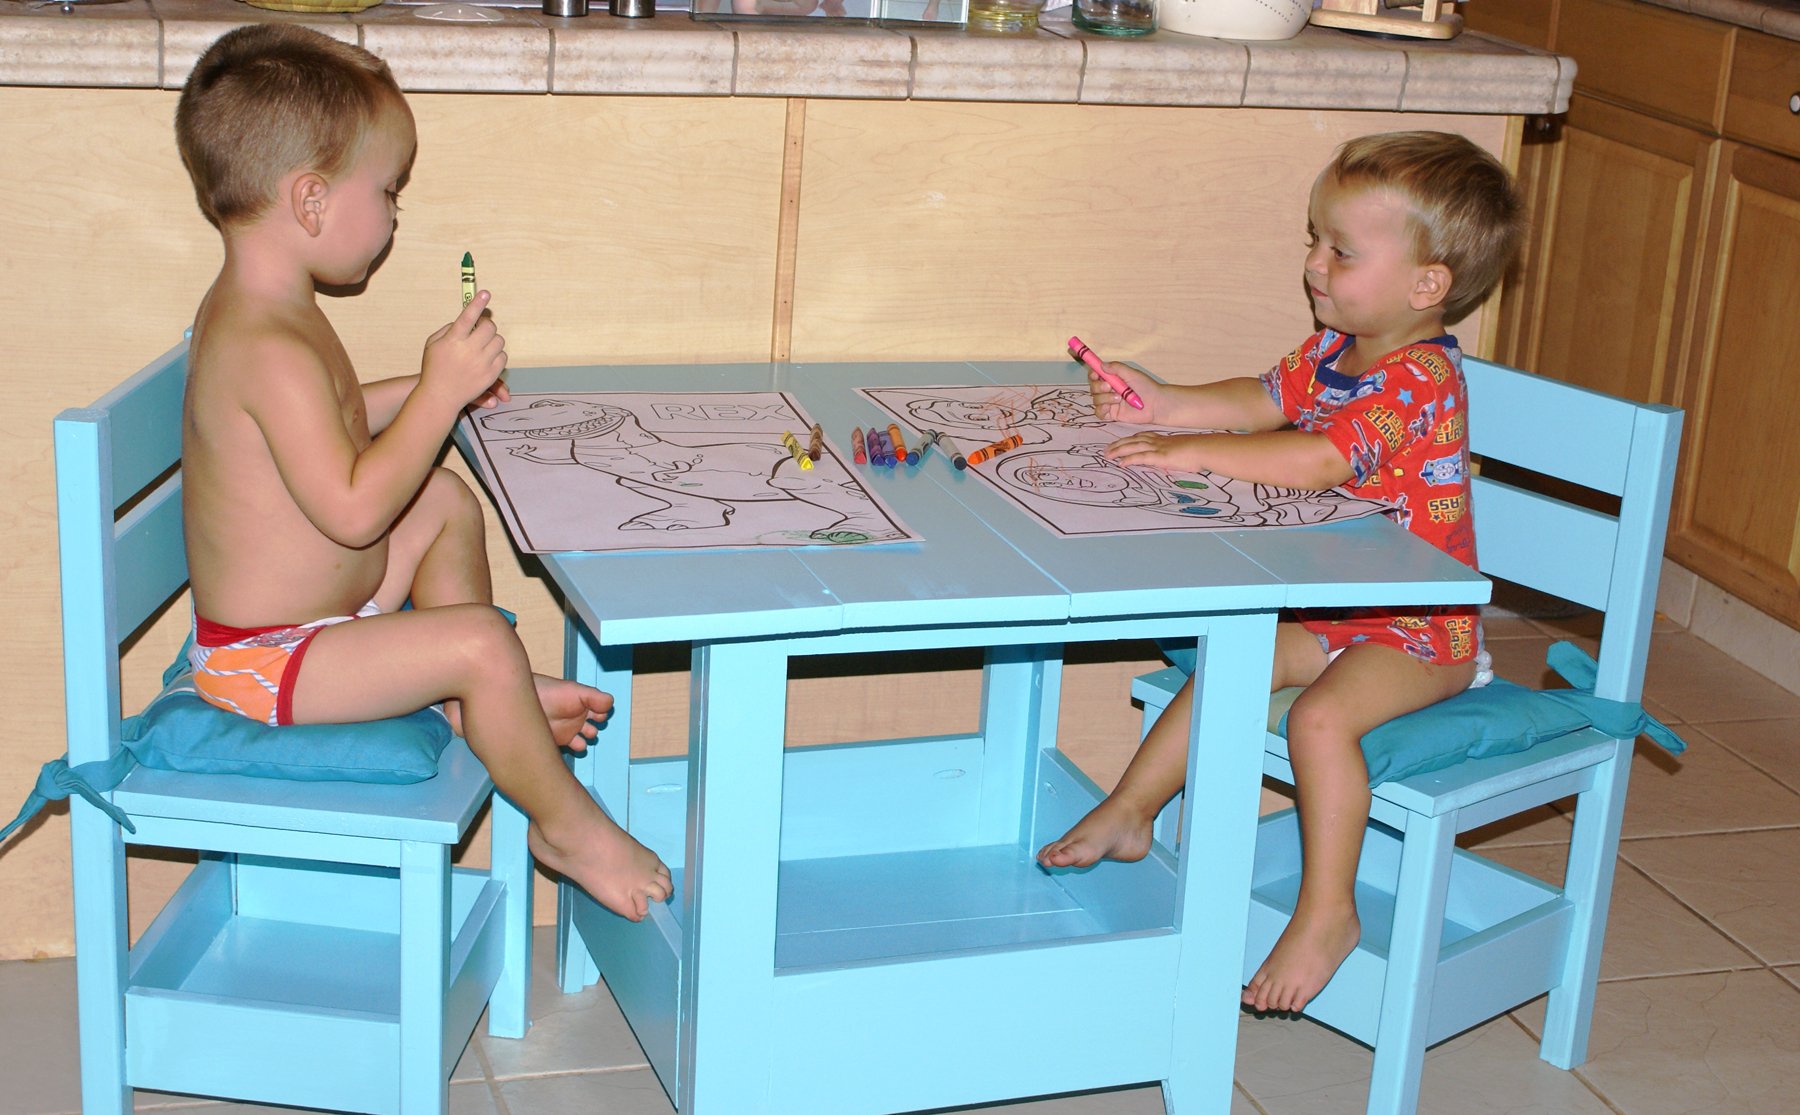
We built this console table after the rustic X coffee table and end table. We have learned from previous experience to cut the "X" last, marking them against the frame instead of measuring to cut. This time, my husband made a suggestion to leave the X's out and it was great! The console table still goes very well with the rustic X coffee table and end table, but without the X, it also fits well into other rooms we can use it for. In the end, we are very happy with the result!
Built from Plan(s)
Estimated Time Investment
Day Project (6-9 Hours)
Finish Used
Conditioned, stained in Kona, and matte finish
Recommended Skill Level
Beginner