How to Build a Laundry Pedestal
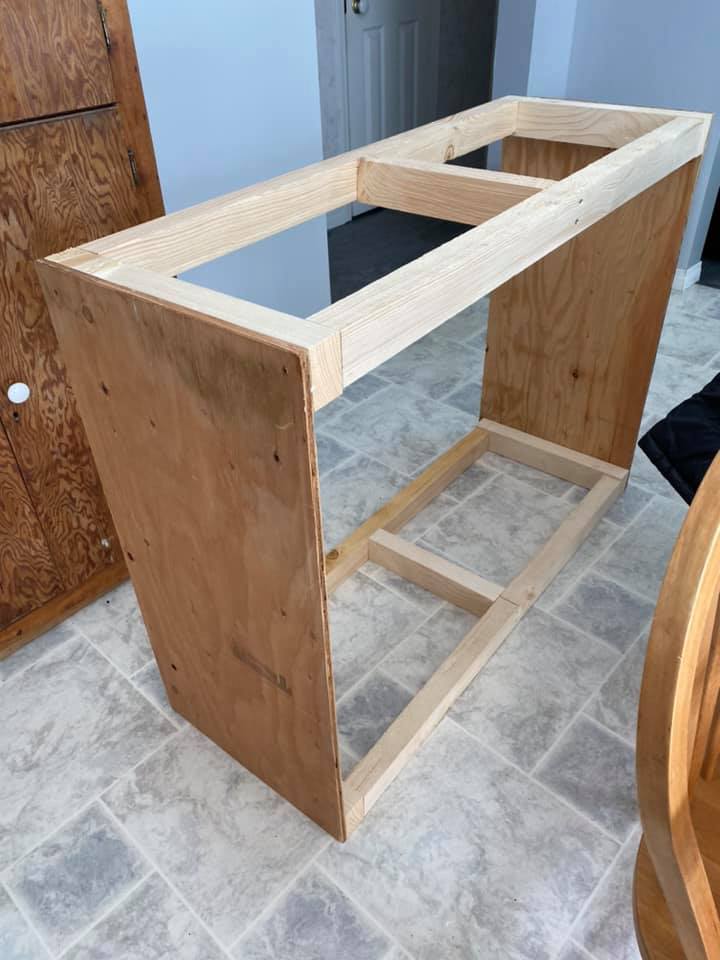
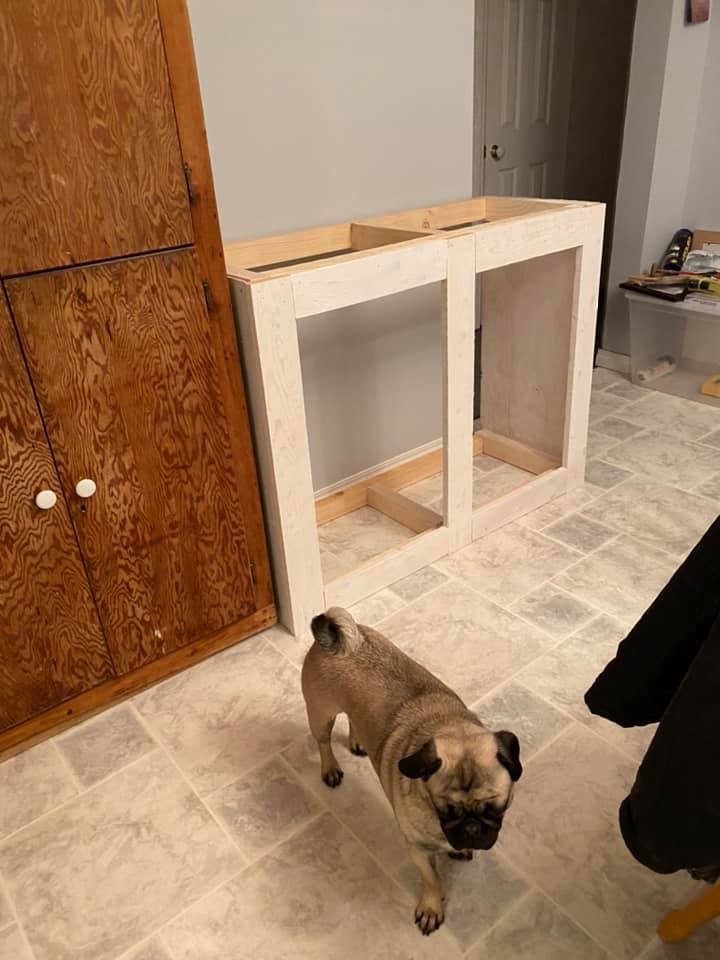
I was tired of stooping to do laundry with my front-loading washer. I used the plans for Sausha's washer/dryer pedestals and tweaked them a bit.
I was tired of stooping to do laundry with my front-loading washer. I used the plans for Sausha's washer/dryer pedestals and tweaked them a bit.
This was my first woodworking project ever. No woodworking experience at all and very little experience with power tools. I am super inspired now and have tons of other ideas lined up.
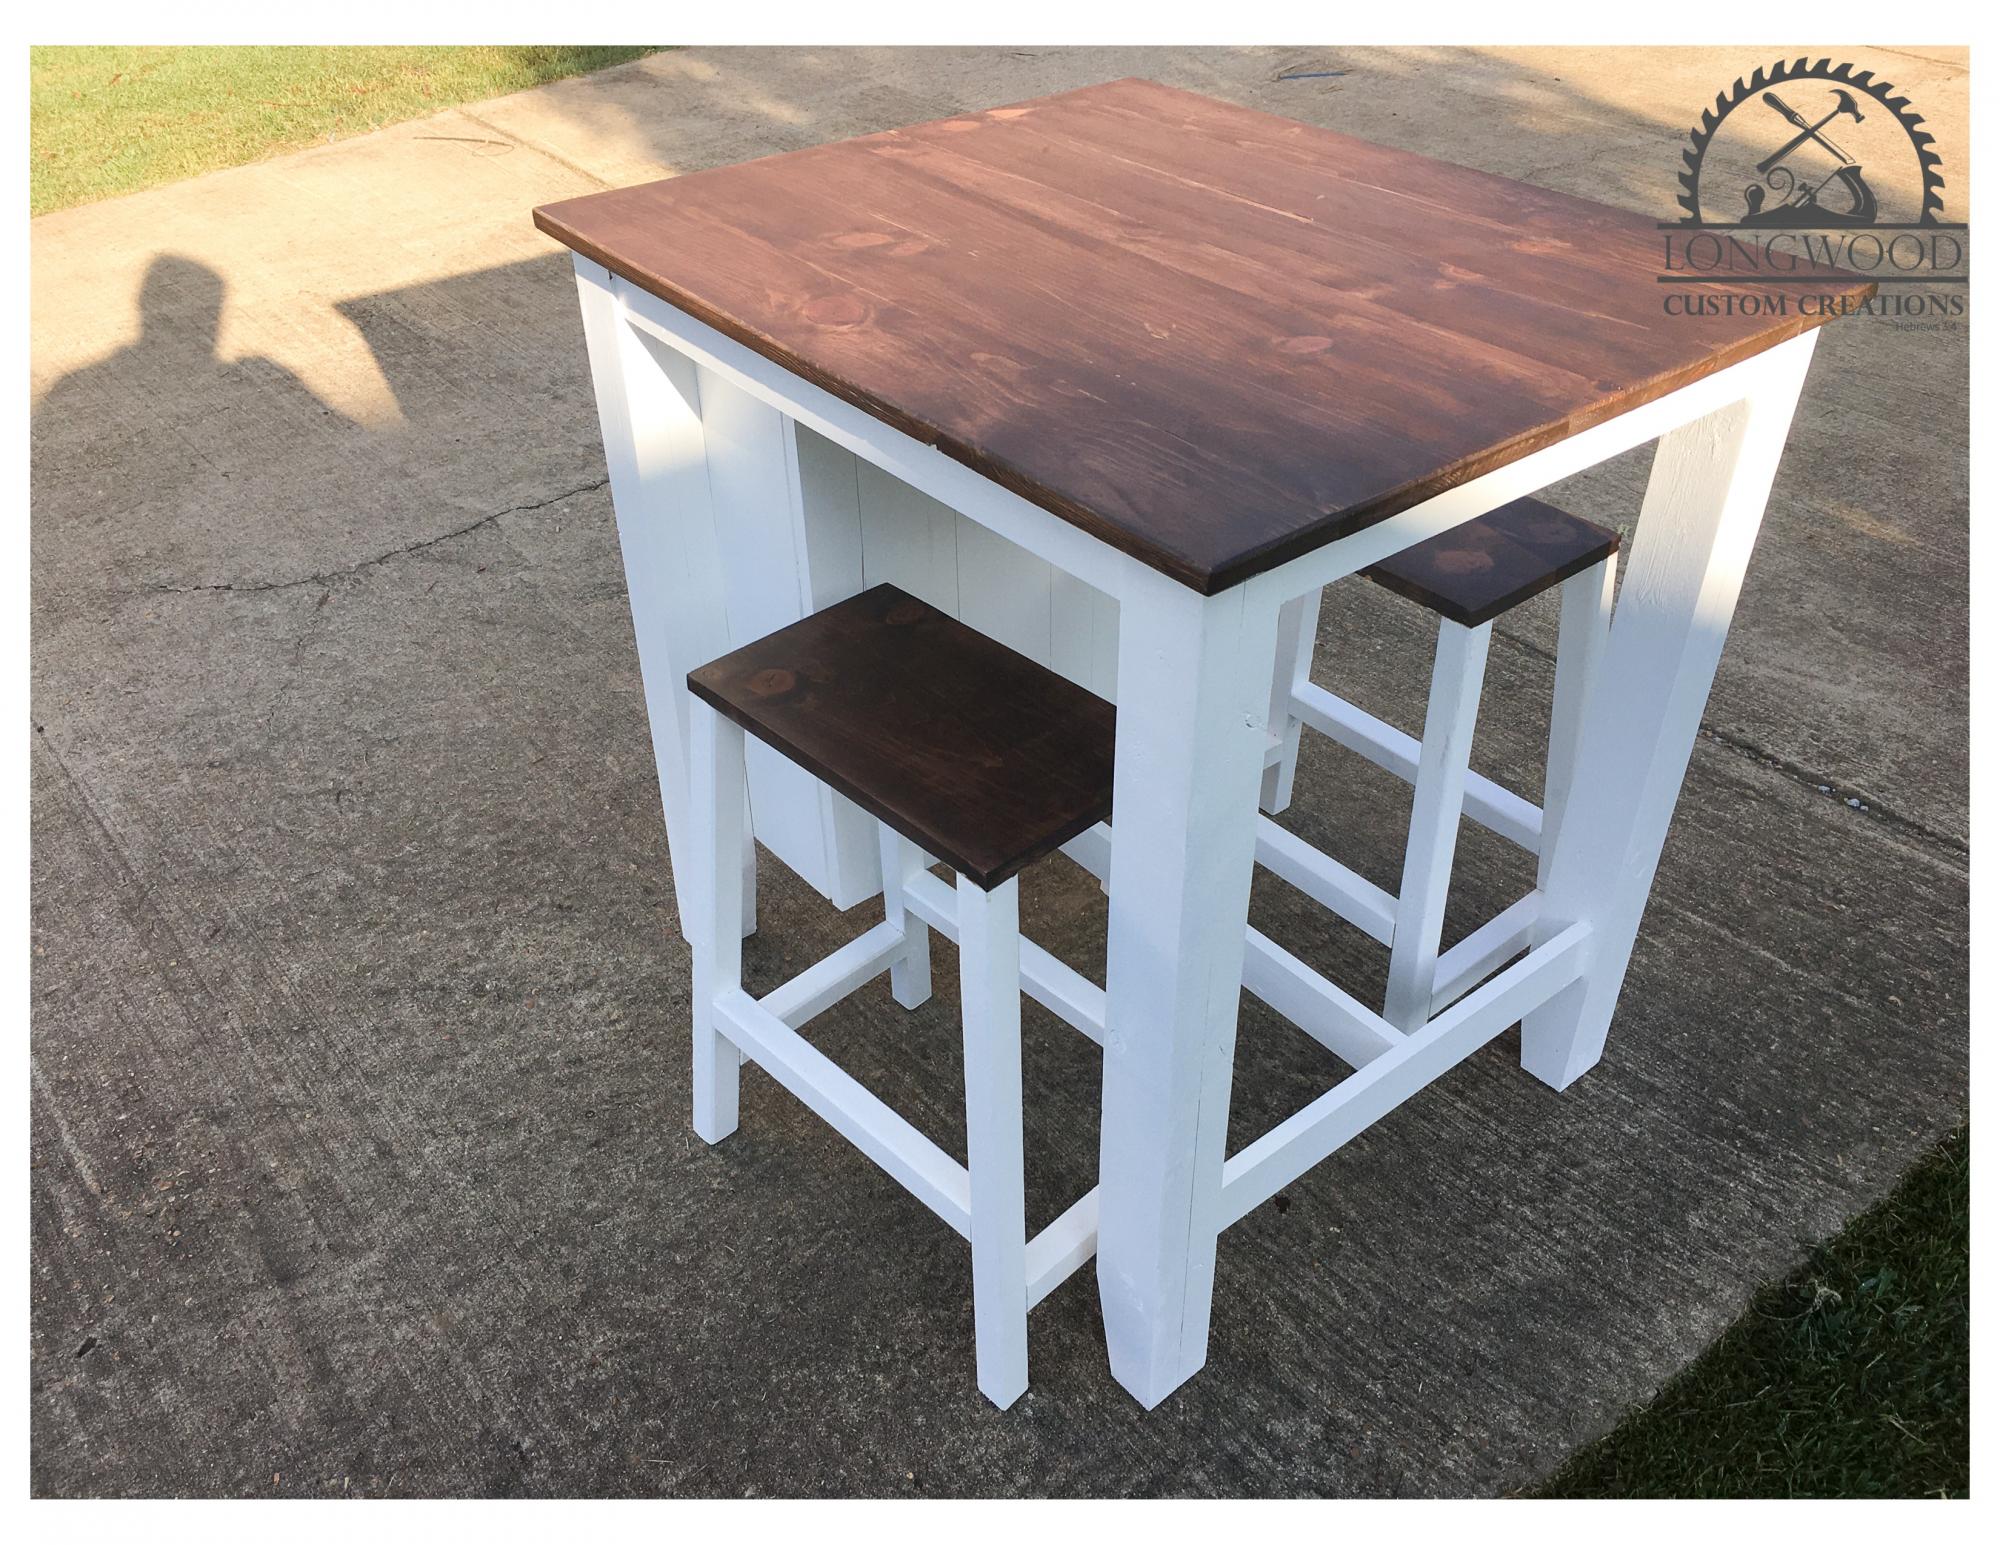
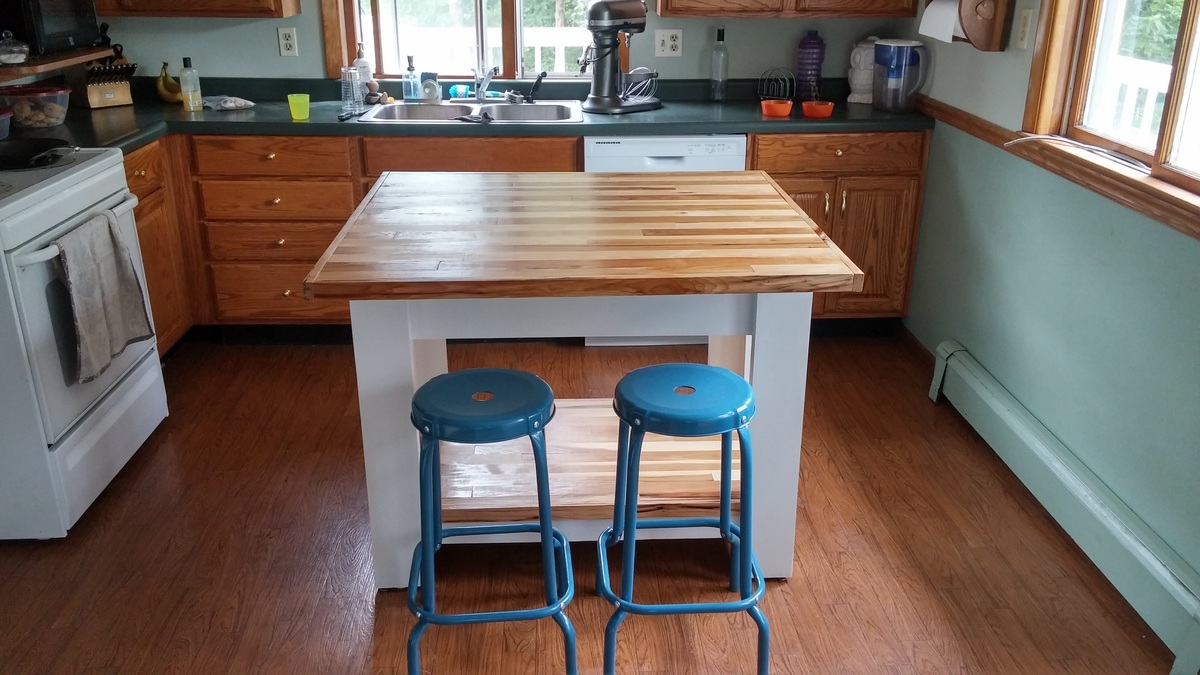
I had a friend who was interested in a small island with two stools that looked like this offered by a fancy home interior store. The reviews weren't all that great, even for the half off sale price. They needed something small to fit their space that would basically serve as a dining area for her and her husband. It is build out of spruce and whitewood lumber. White paint and dark walnut stain, with poly on top. The legs are two 2x4s glued together , then ripped each side to square it off making it an actual 3" x 3". The stools came from Ana's farmhouse counter stool plan. The island I just went with overall demensions and built it from there. Pocket hole screws and finish nails.
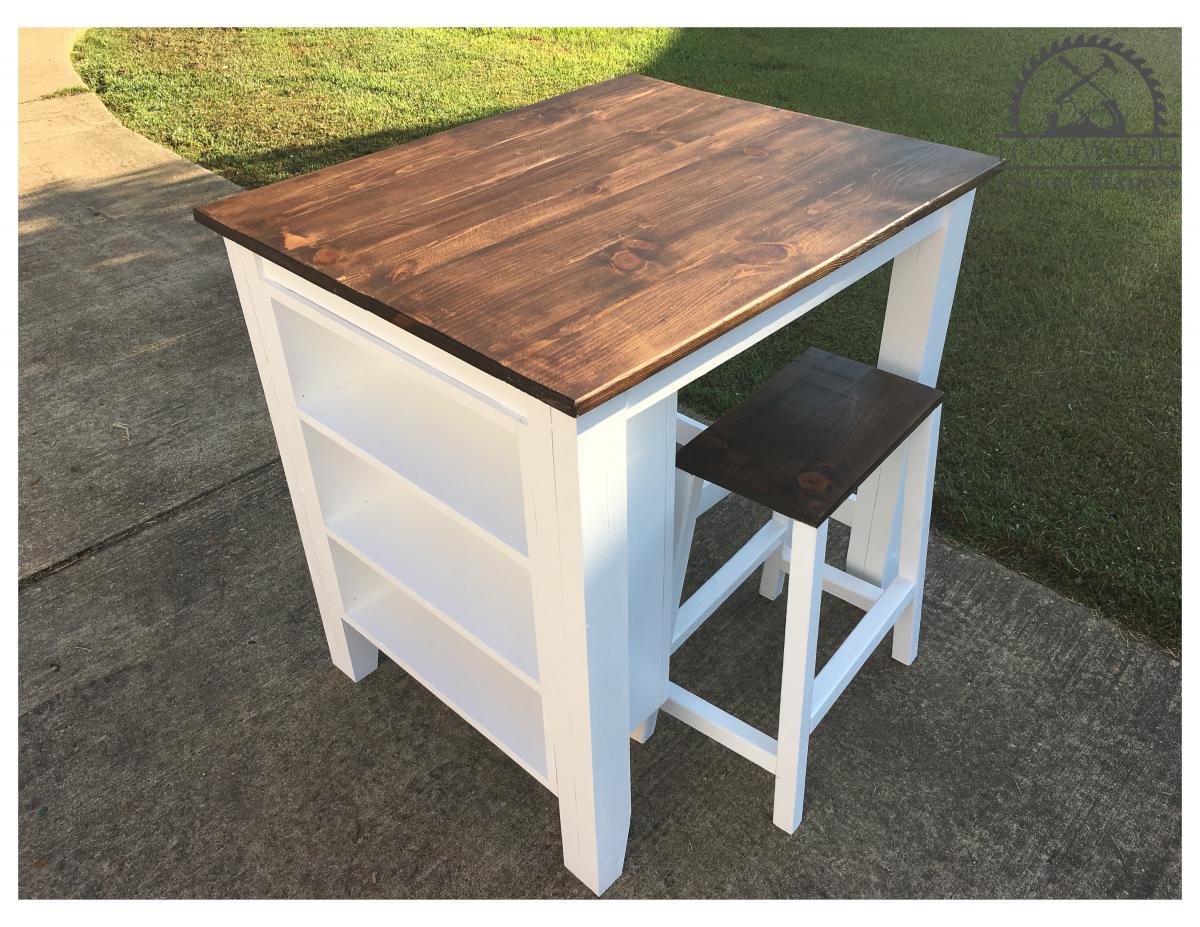
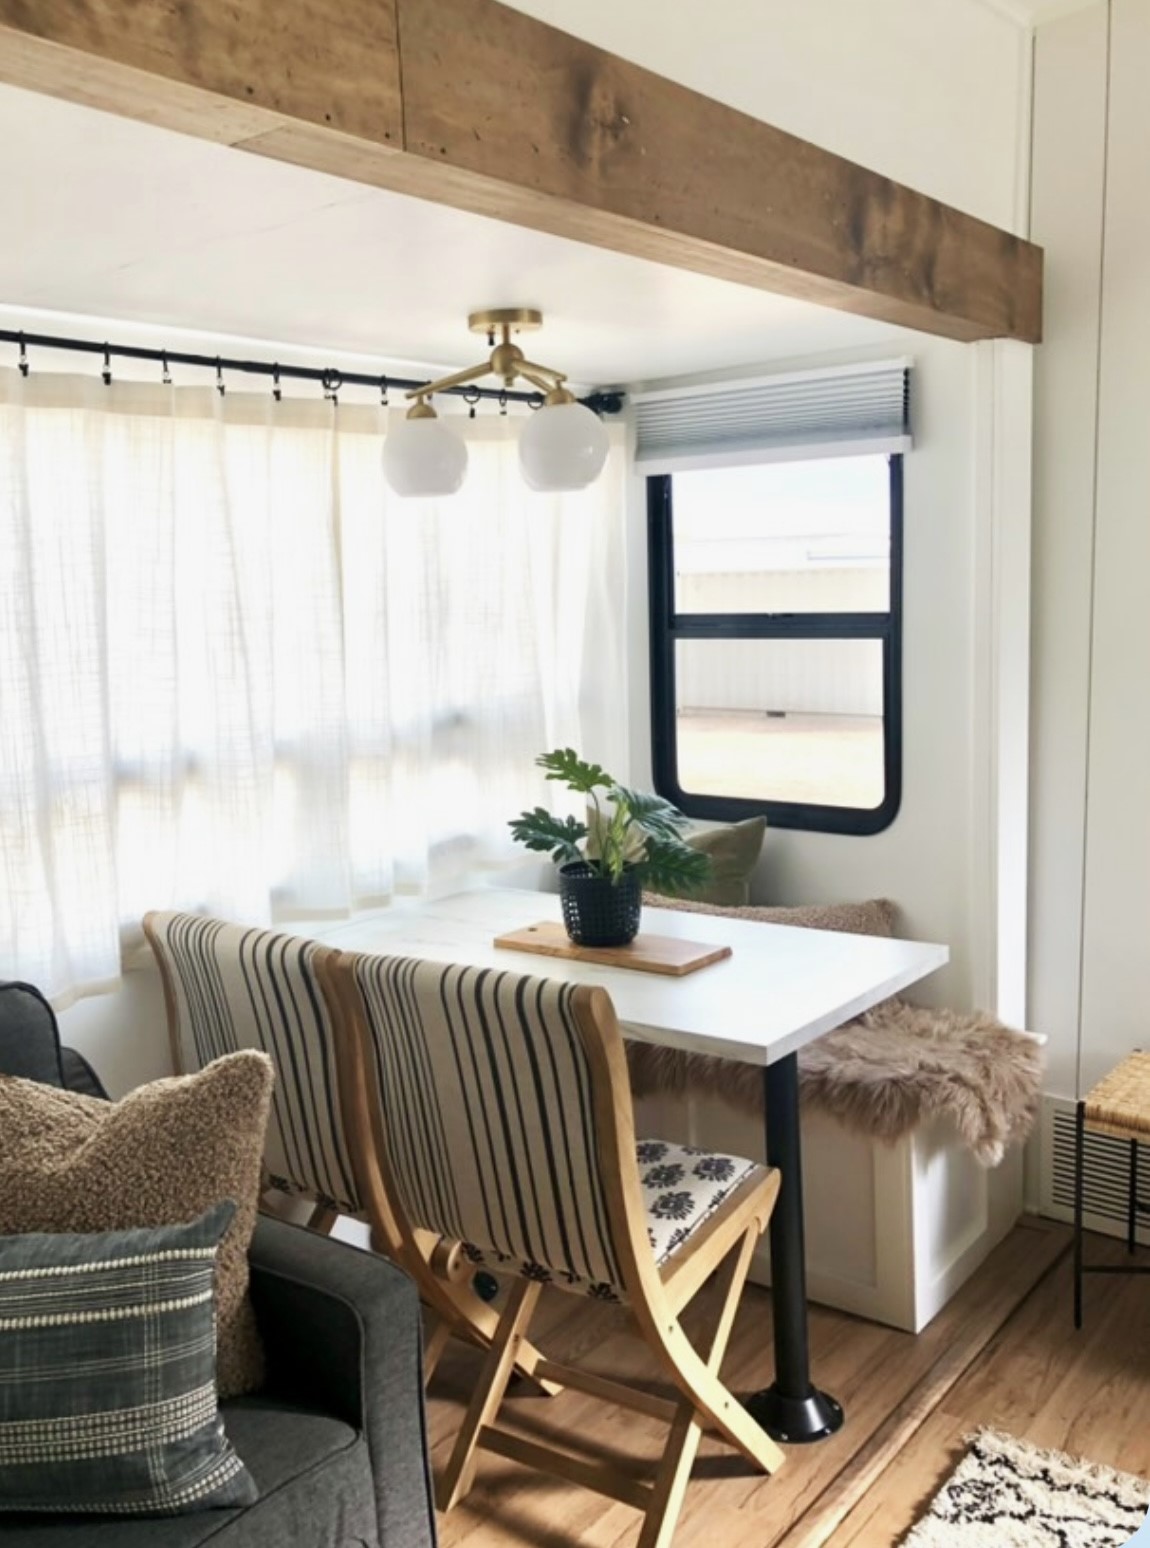
These banquettes are one of my favorite signature pieces that we put in our RV’s. 🌿 They are FULL of great storage, especially for extra bedding and large kitchen appliances. I design them around cushions that I buy off the rack...creating a super custom look at a fraction of the cost. - RV Fixer Upper
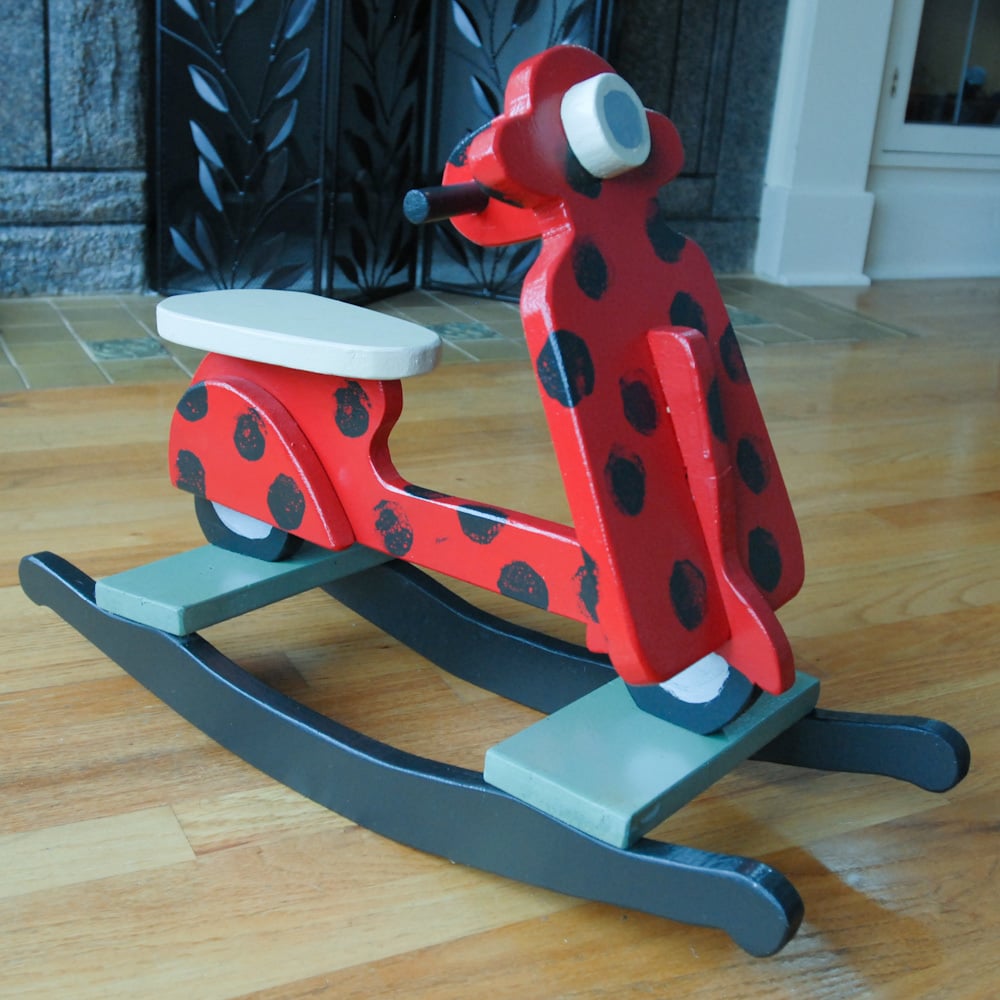
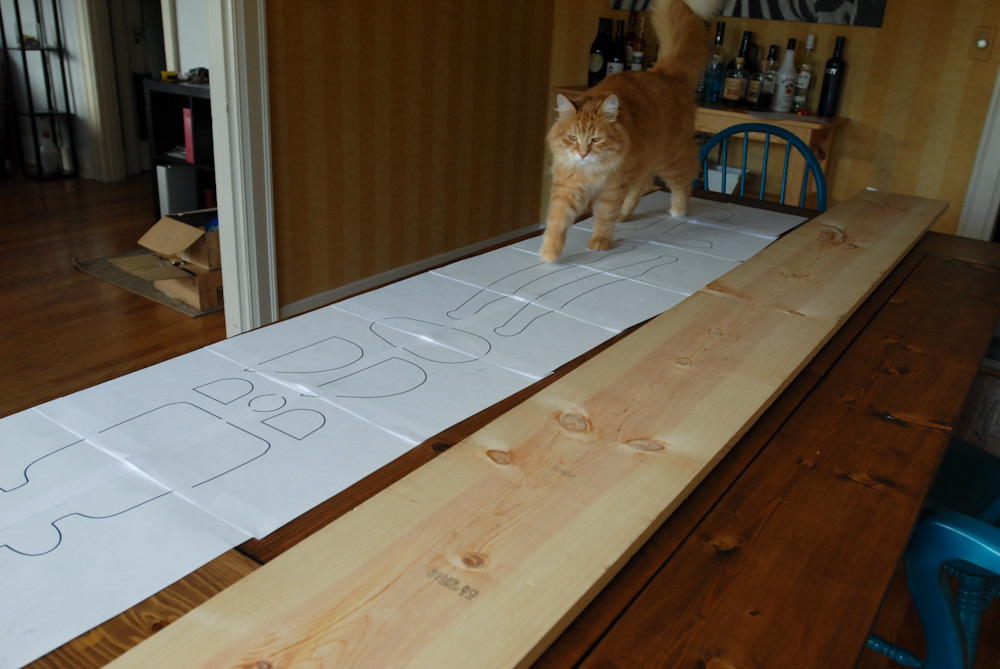
There were some parts missing from the plans. I wrote out what I did to build this rocker on my website.
http://www.domesticated-engineer.com/1/post/2012/12/ladybug-moped-rocke…
Make sure to use hard wood! My rocker broke within the first hour. Wood glue fixed it but it gave me a good scare!
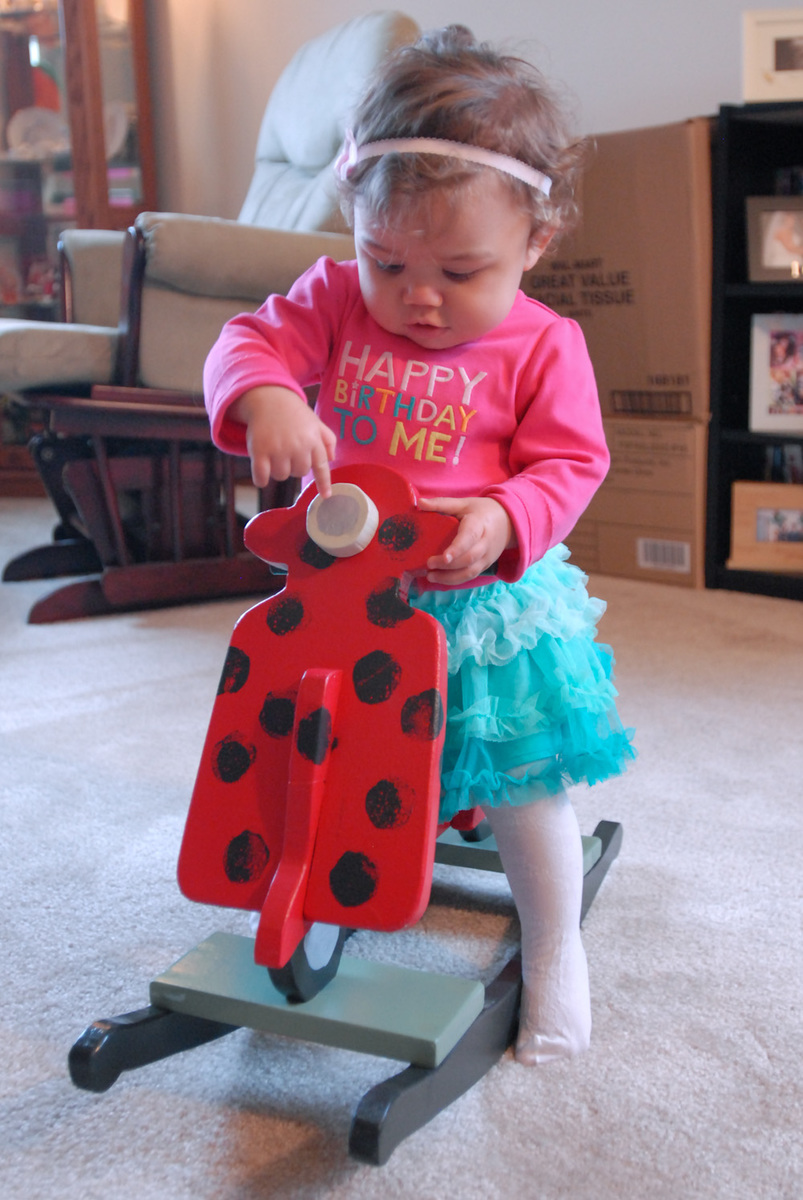
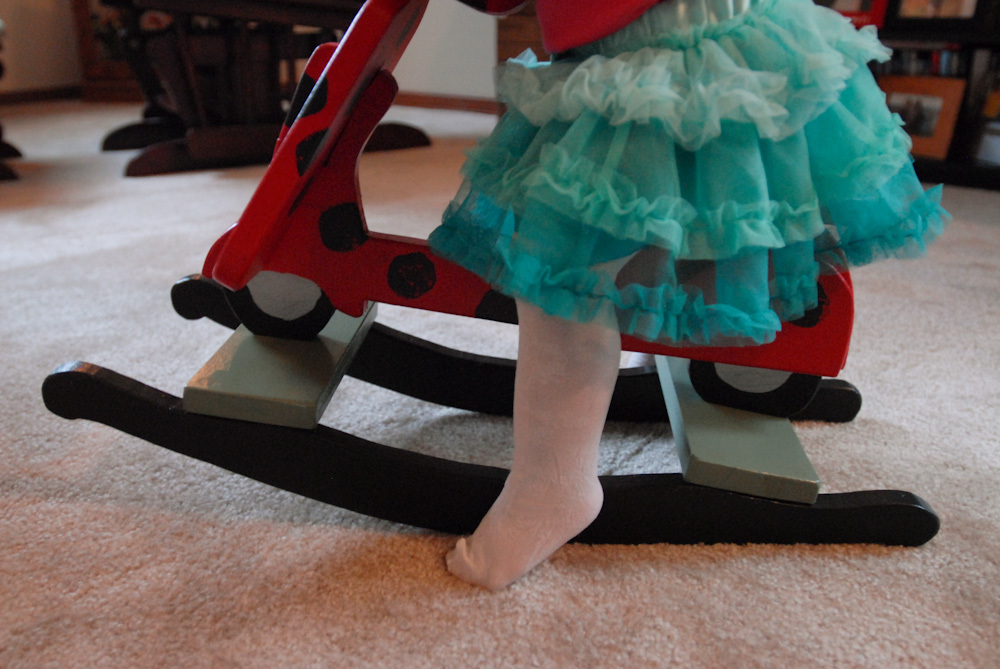
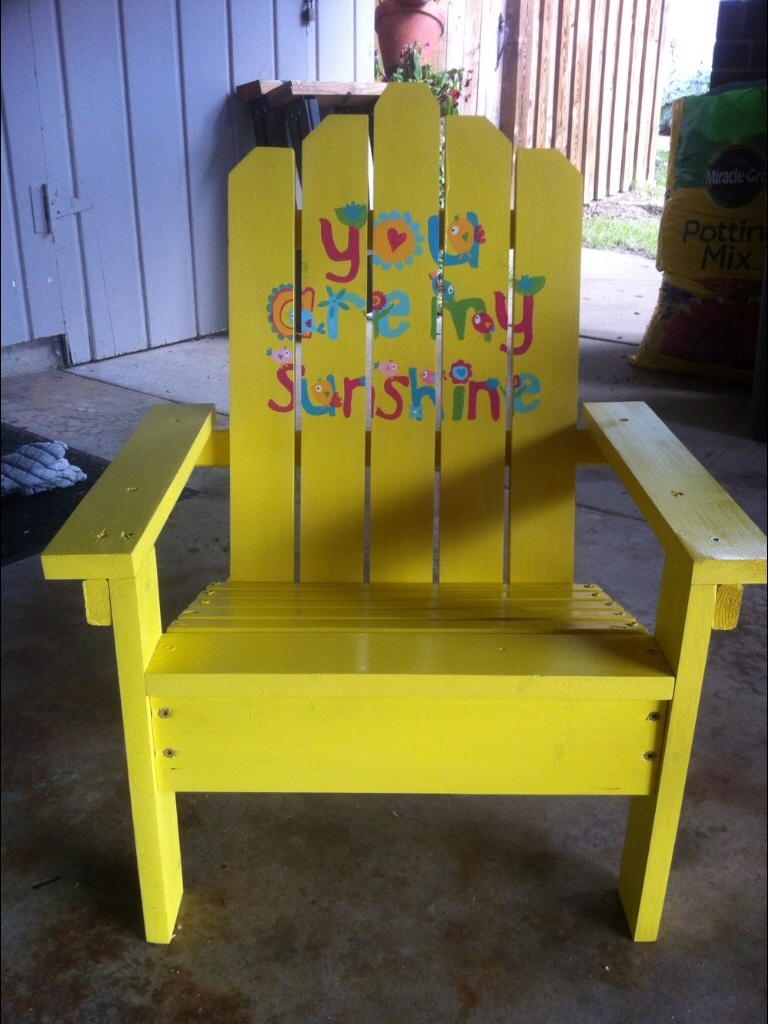
Just changed the back a tiny bit. My nieces and nephews love these! Thanks for the great plans.
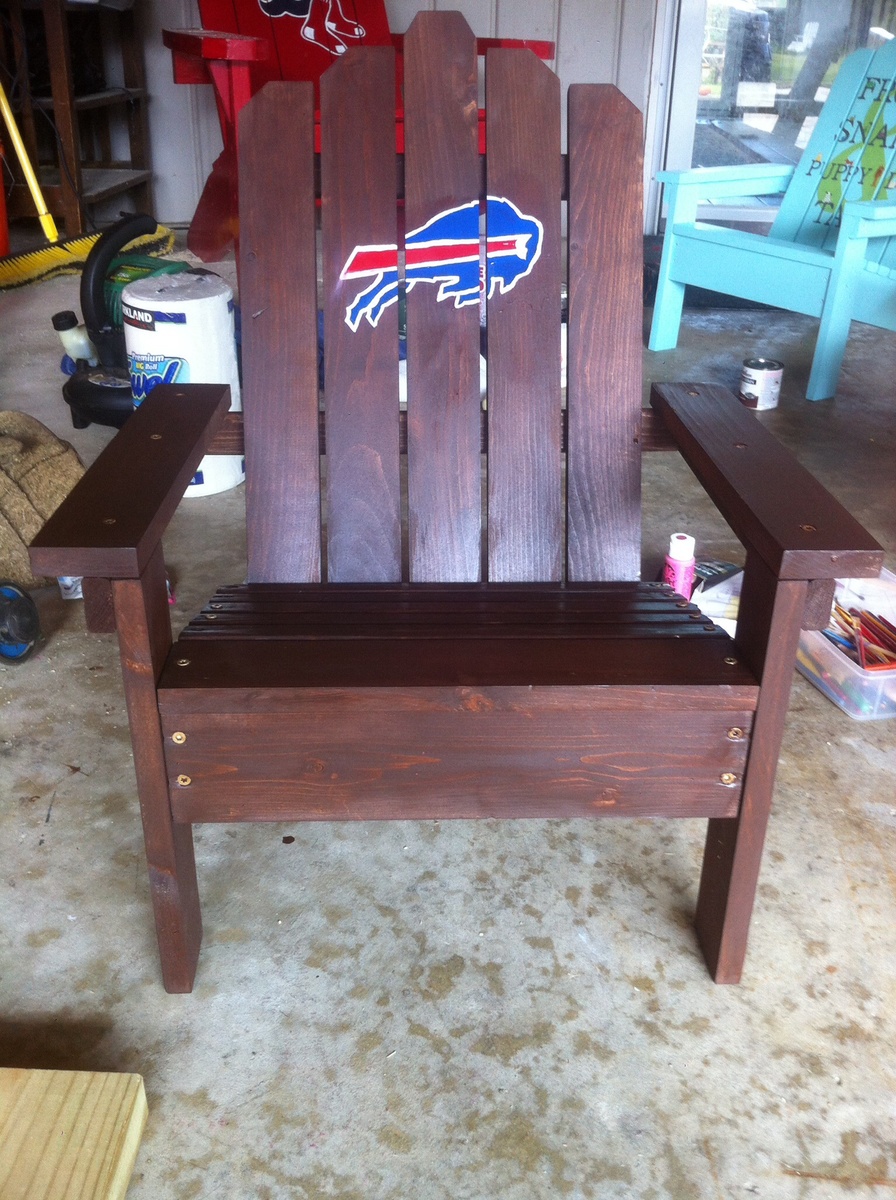
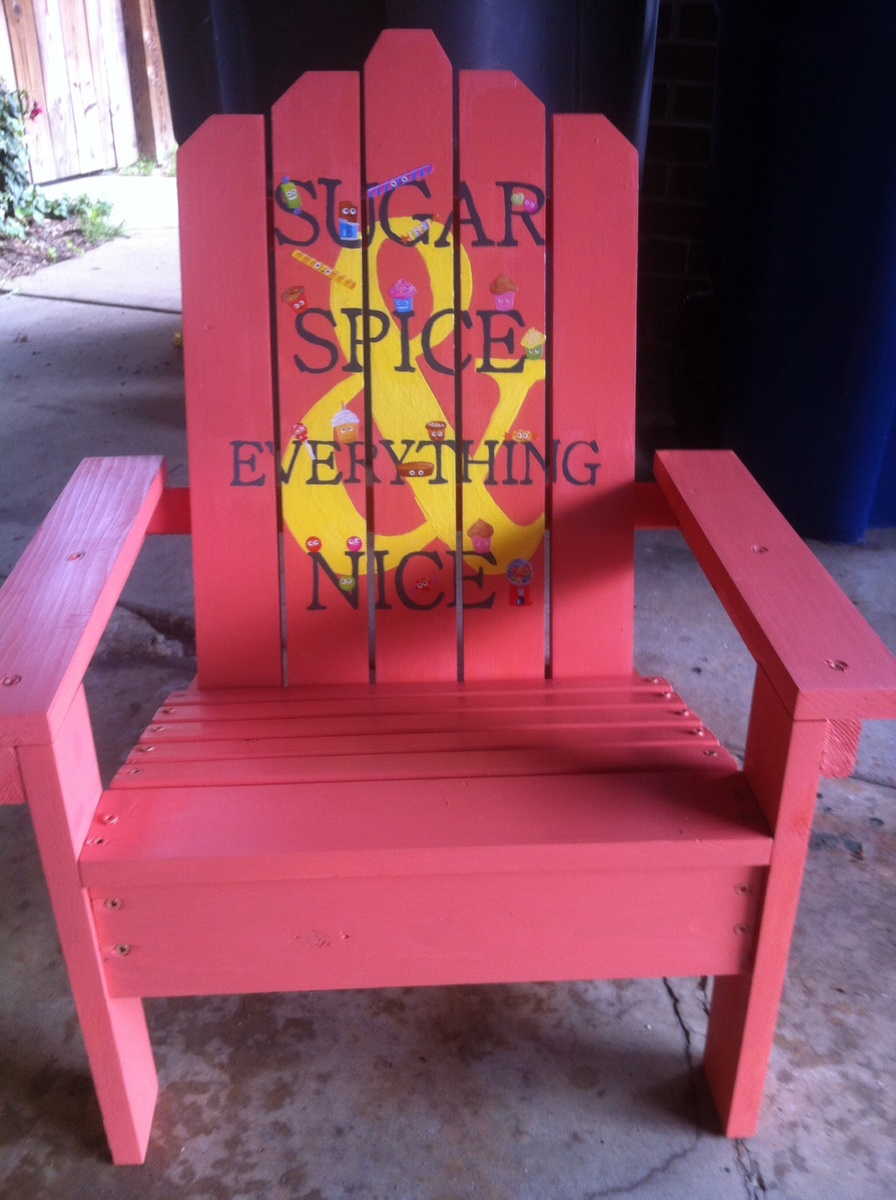
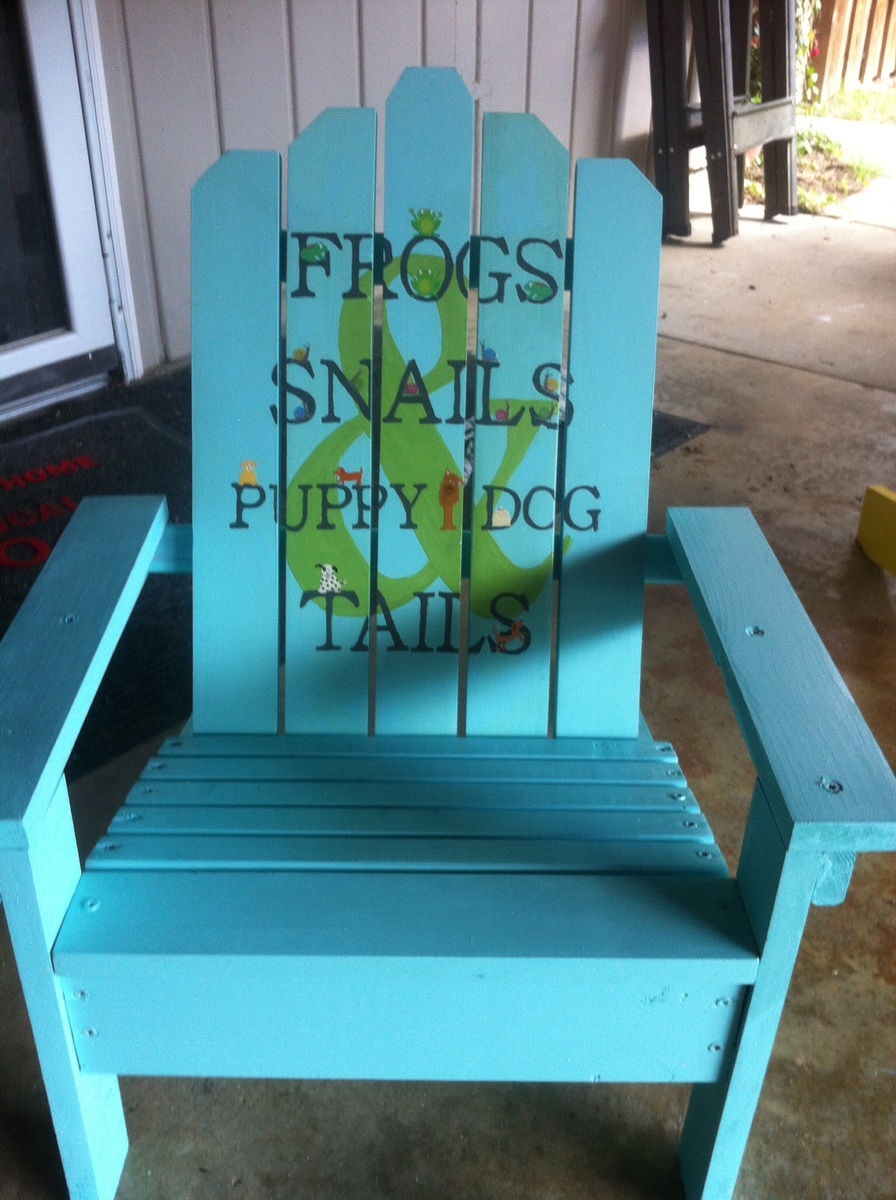
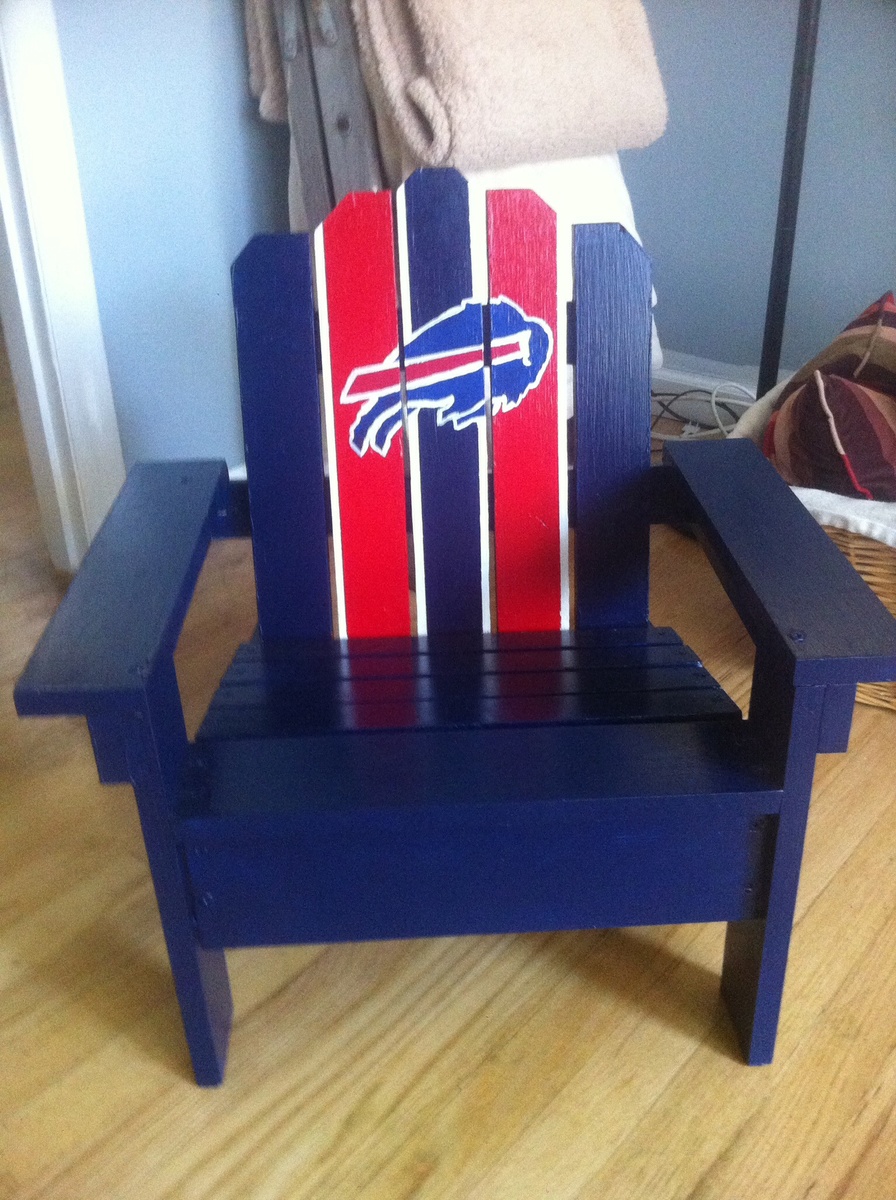
Wed, 09/17/2014 - 15:25
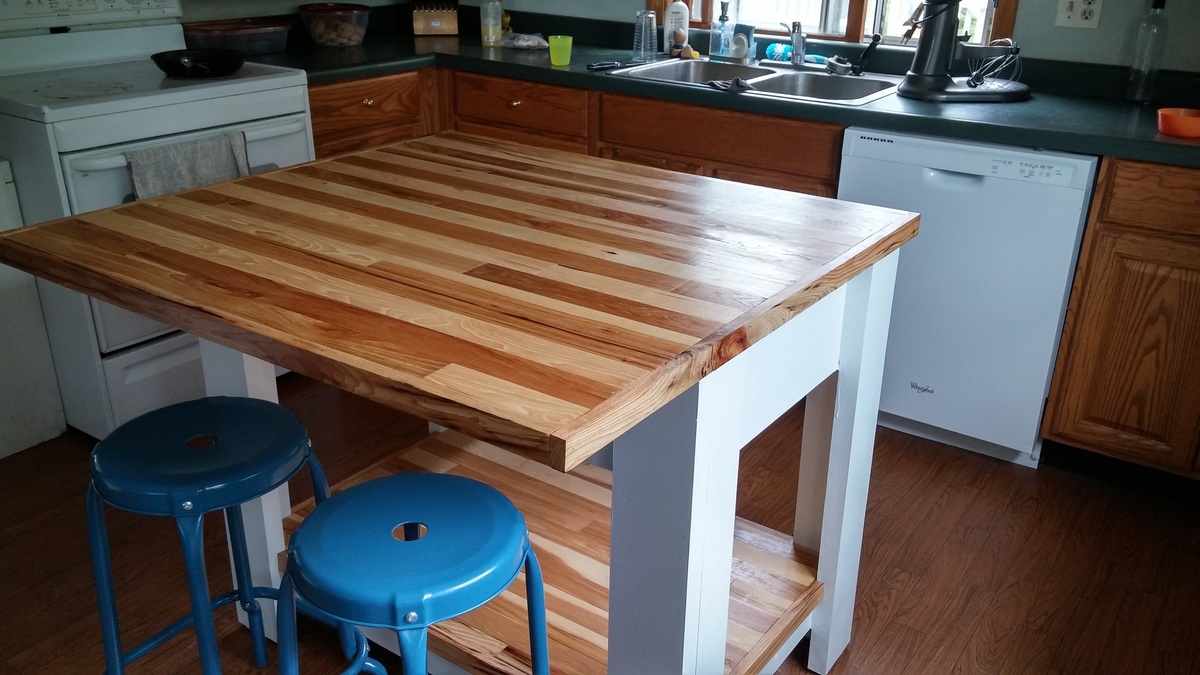
Basic kitchen island
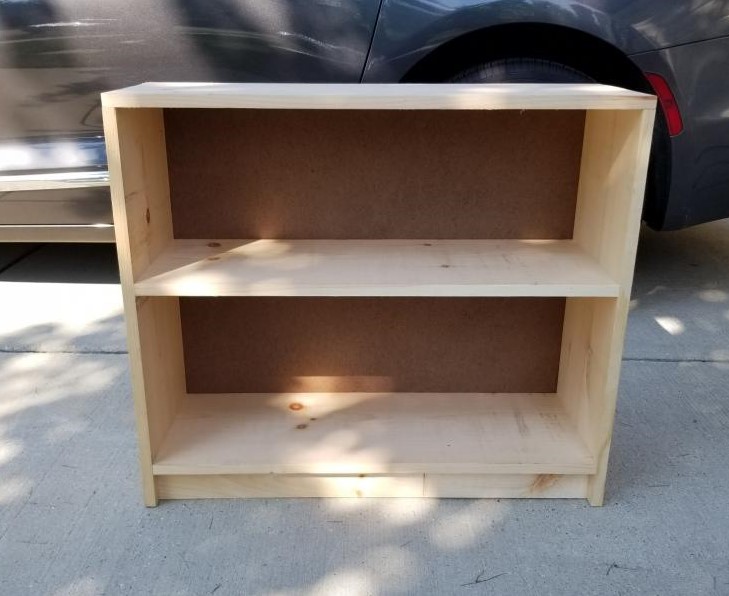
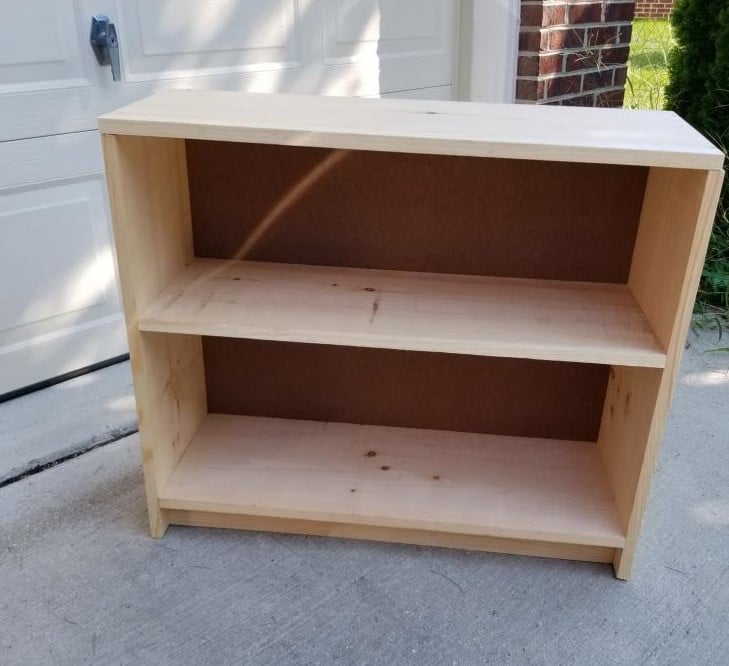
2 bookcases for my family, storage and organization. Left raw for them to customize. Current vision is purple and pink or maybe an ombre stain like we saw on Good Bones. Hopefully I can add update of final decision.
Combined a few different plans from Ana White and made a tiletop coffee table and matching end table.
TV console is next :)
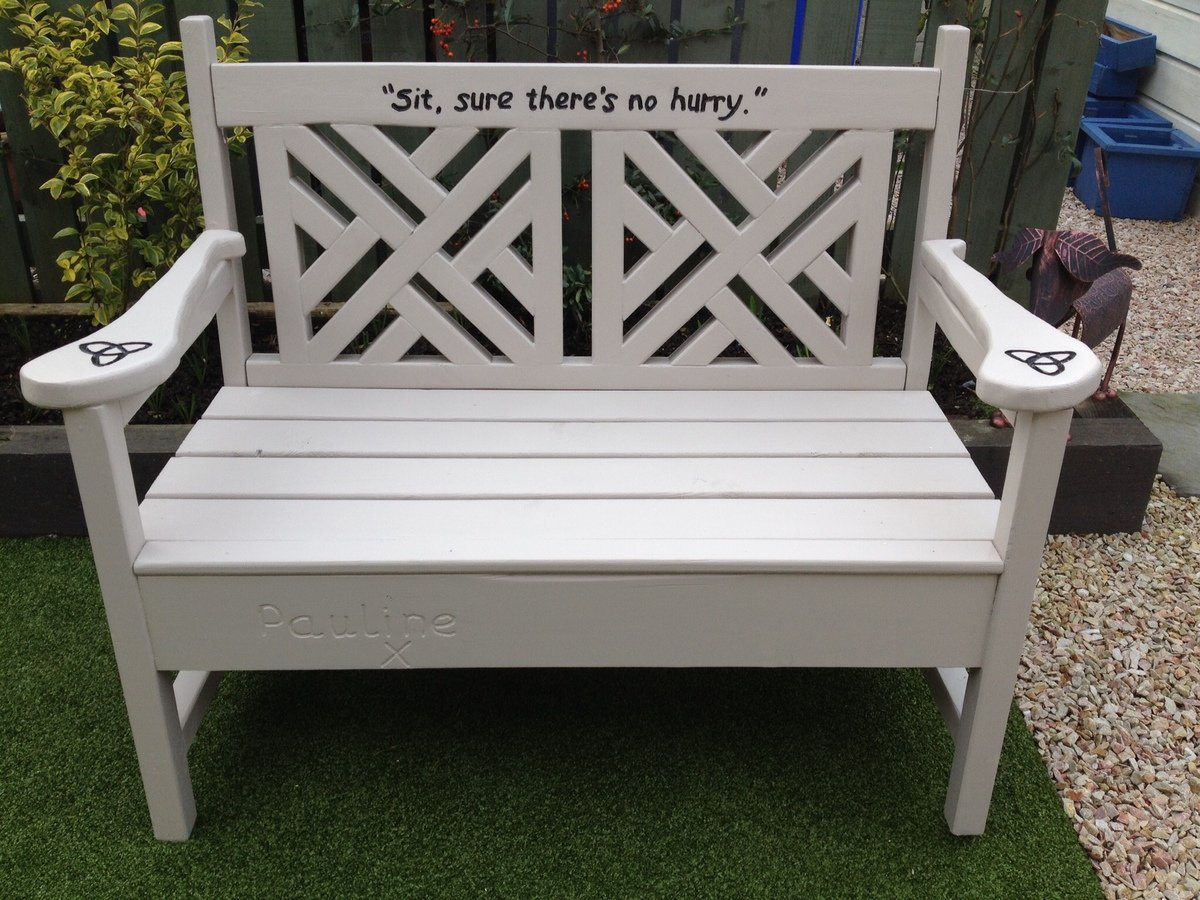
I built this as a memory bench in honour of my father who died on 27th January 2016. Because of you Ana you gave me the confidence to start building furniture. But because of him I had the skills and desire.
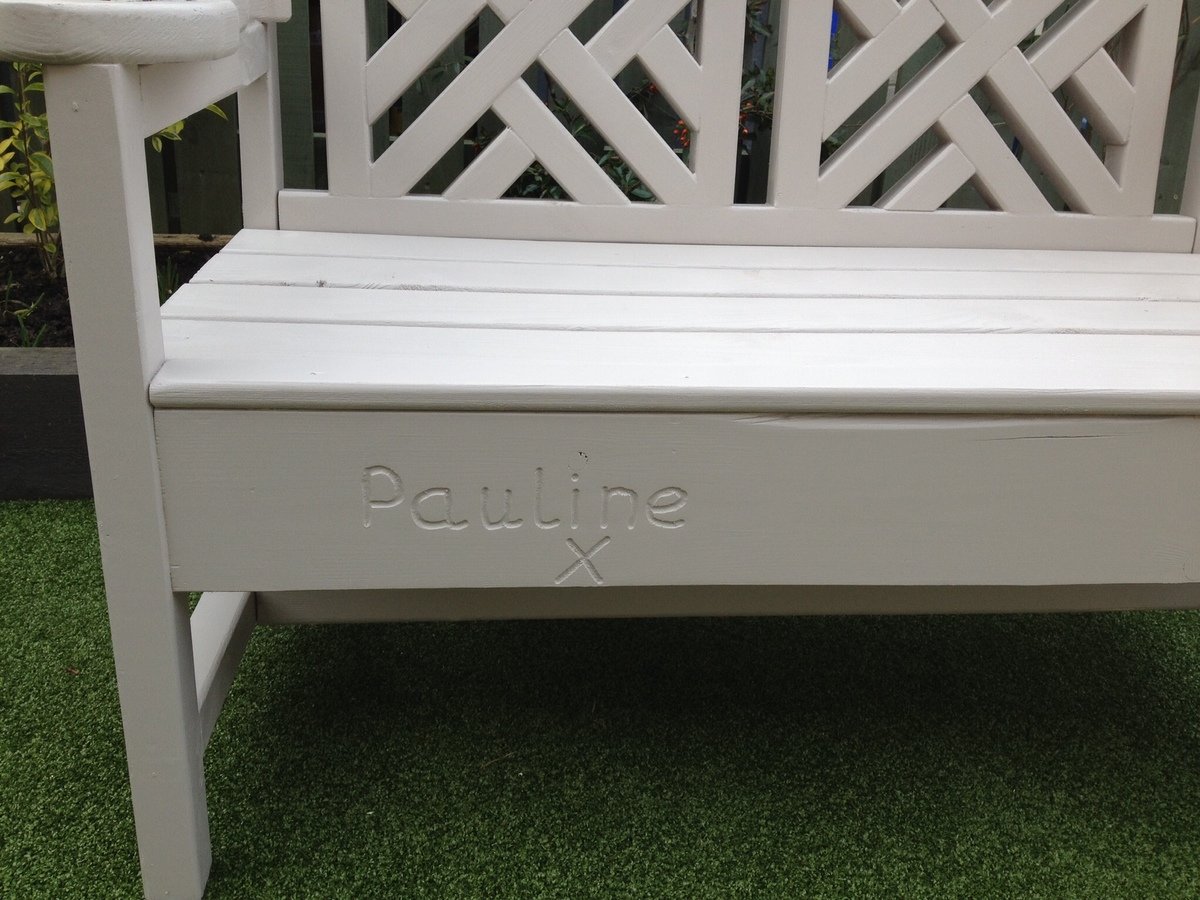
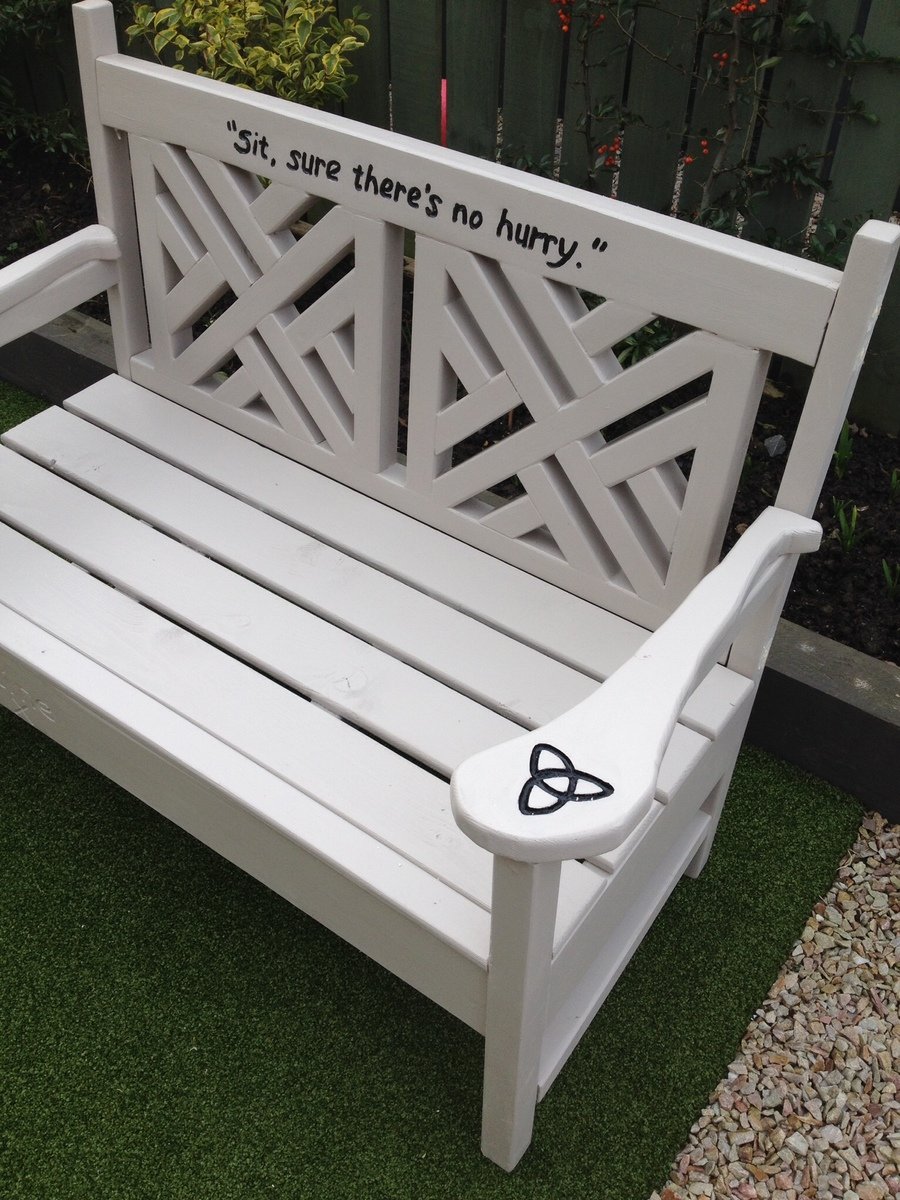
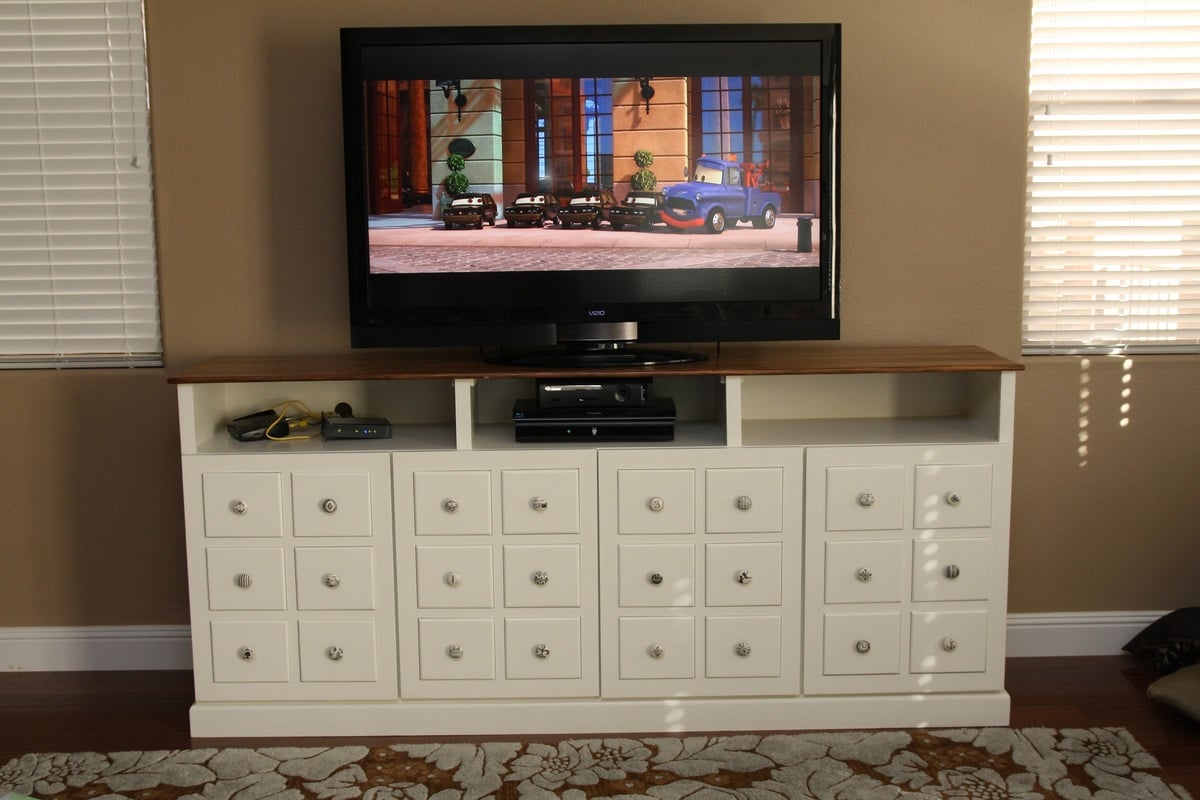
This is my first wood project. It was probably a bit ambitious for a first project, but what can I say other than Ana White inspires me.
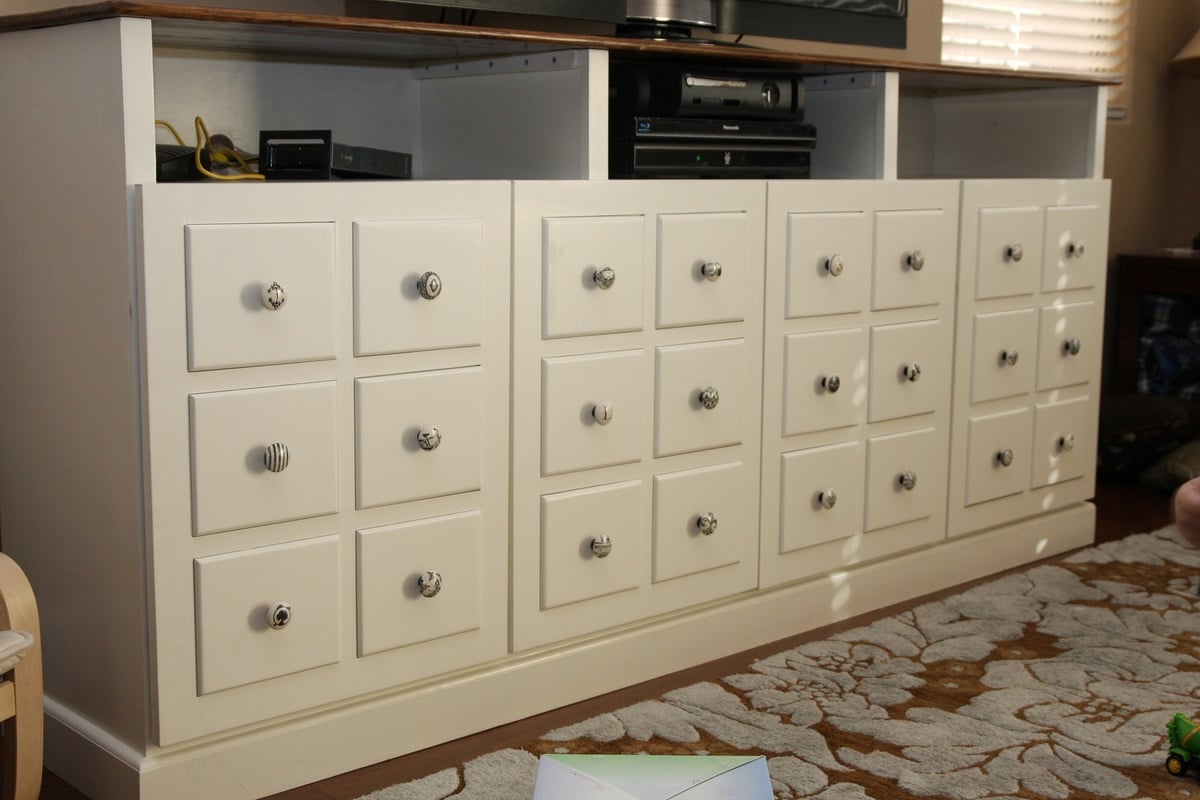
It all started with buying that big ol' TV. We had a chunky armoire that wasn't going to work anymore and I really liked Ana's Apothecary Console and I REALLY liked kayleentheobald's take on the Console in the brag posts. My wife went out of town for the week and I had redhead_61 help me take the design and make it bigger to fit between our windows and be big enough for my son's bigger toys. I was going to be the good husband and surprise her with a finished product when she got back. So I went to work, every night after work with redhead_61 and got the carcass put together pretty fast and really the only thing we needed was the top and the doors. I decided to pack it all up in the back of the truck and ask my neighbor for help on the doors.
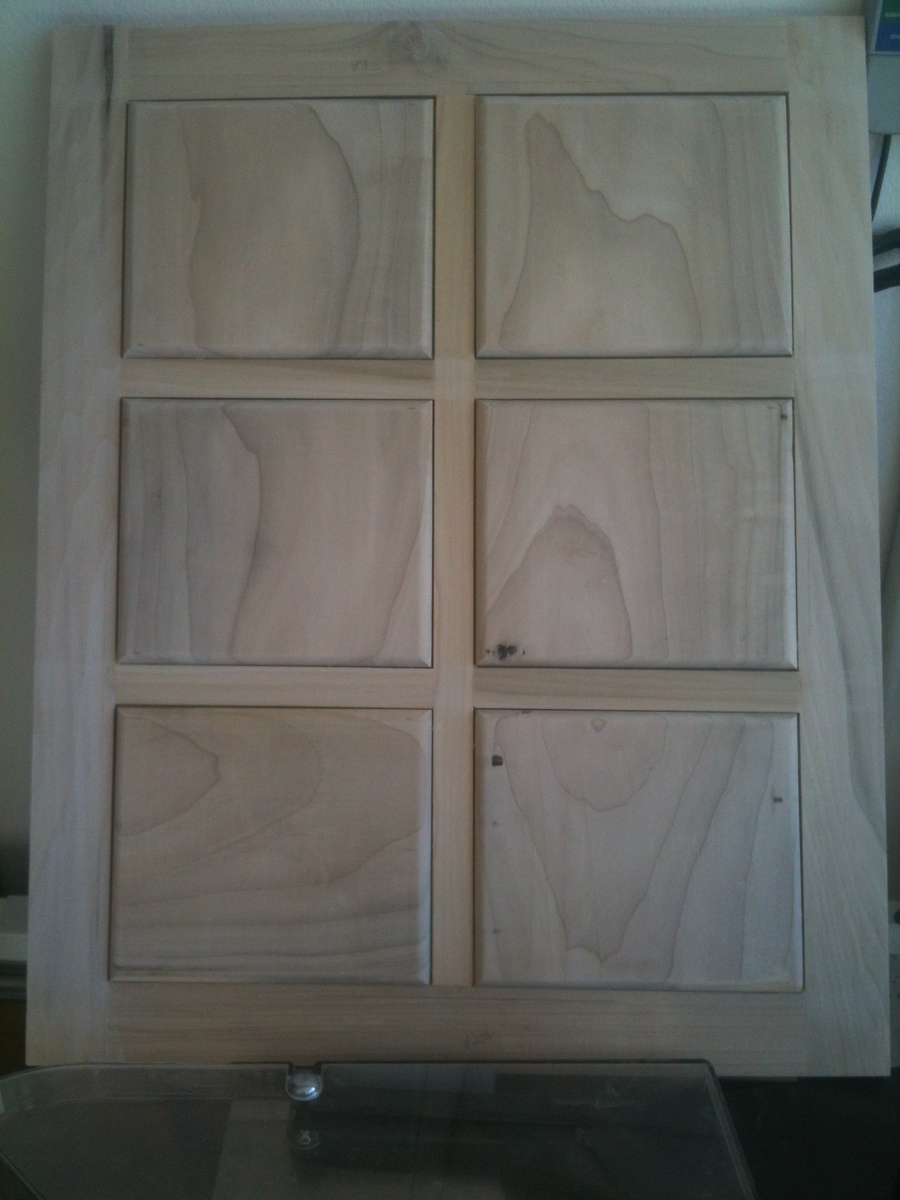
Now this is where the amount of time I put into the project got a little out of hand (BTW there is no button for "way more than a week" for estimated time investment). I told my neighbor that I wanted my faux drawers to look a lot more like an apothecary cabinet with smaller drawers, so we came up with a plan to make 6 panels per door all done tongue and groove using muntins and styles (like window panes) and do it without any screws or nails. If we knew what we were doing maybe we would have got the doors done in only a few days, but it took closer to a few weeks spread over a couple months due to work and other obligations.
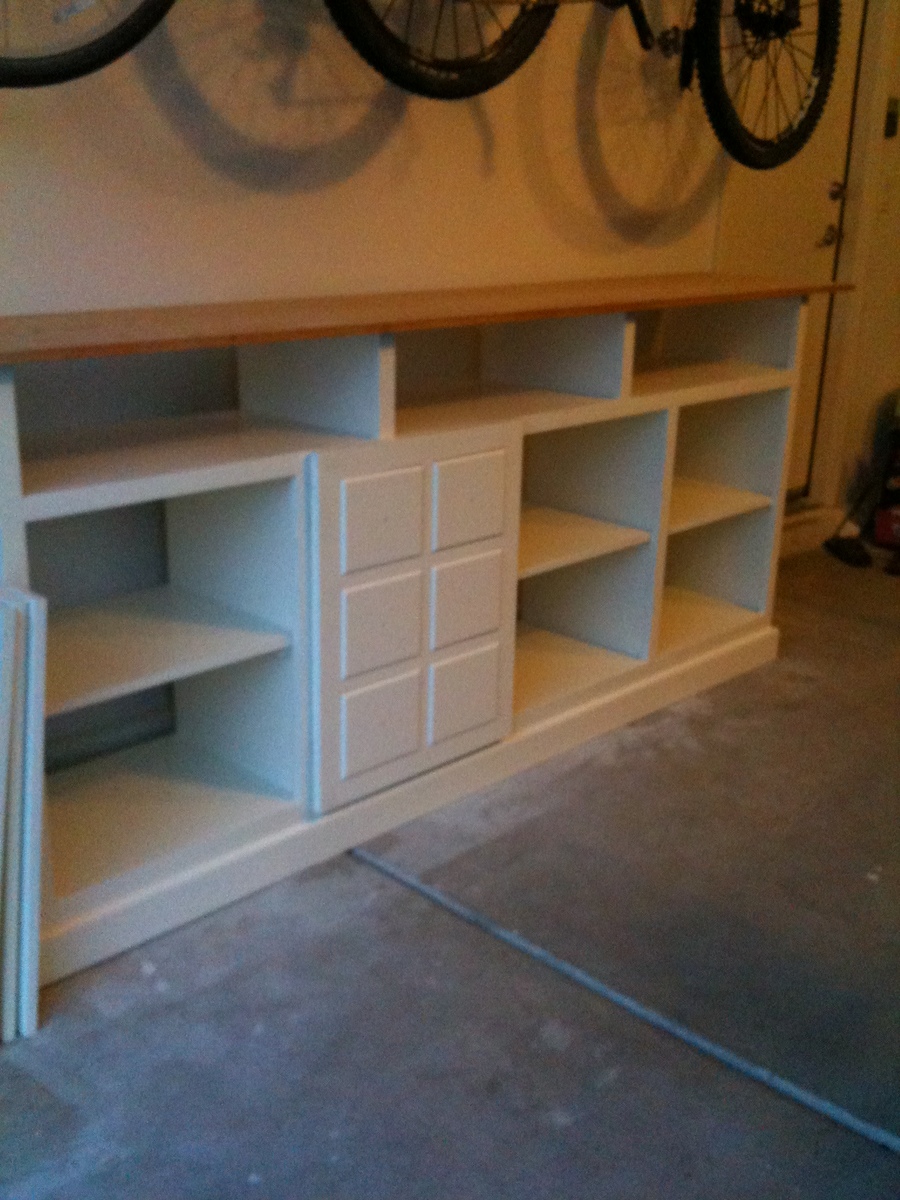
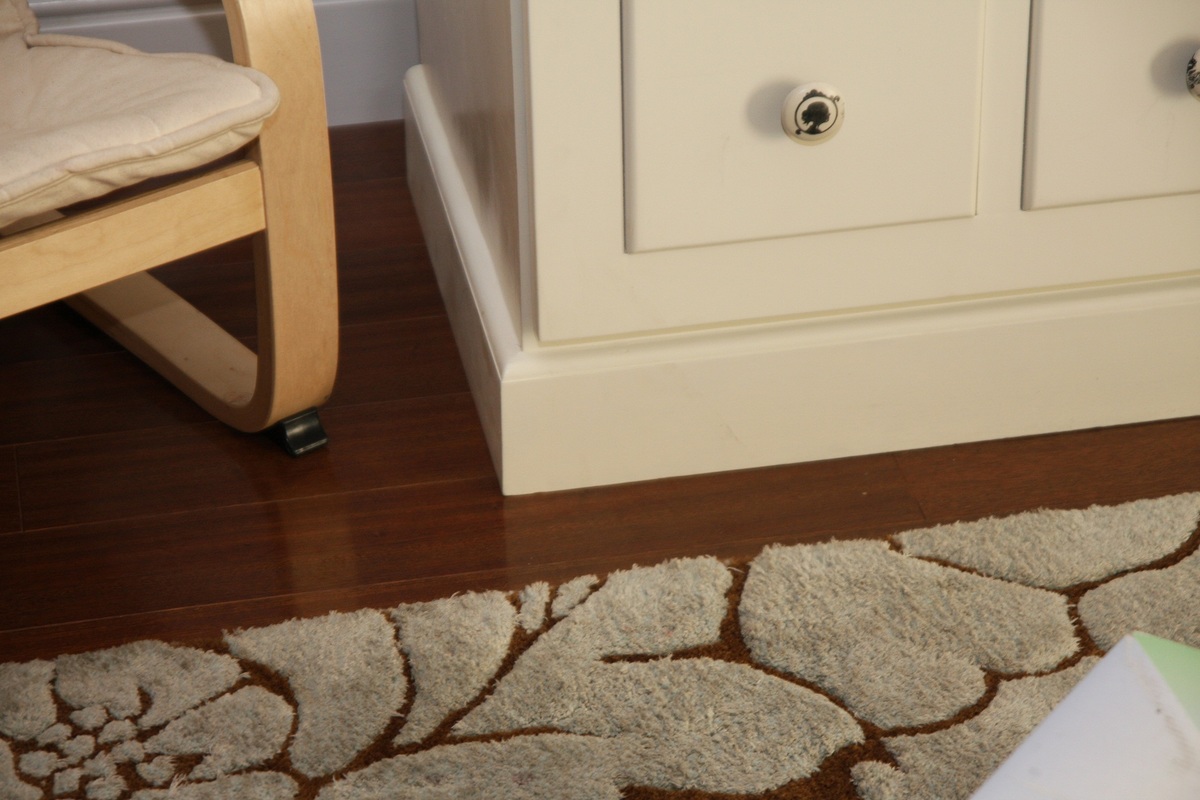
Building the base is not that hard; just square everything up and use wood glue and screws. We added a little molding at the bottom for some aesthetic appeal.
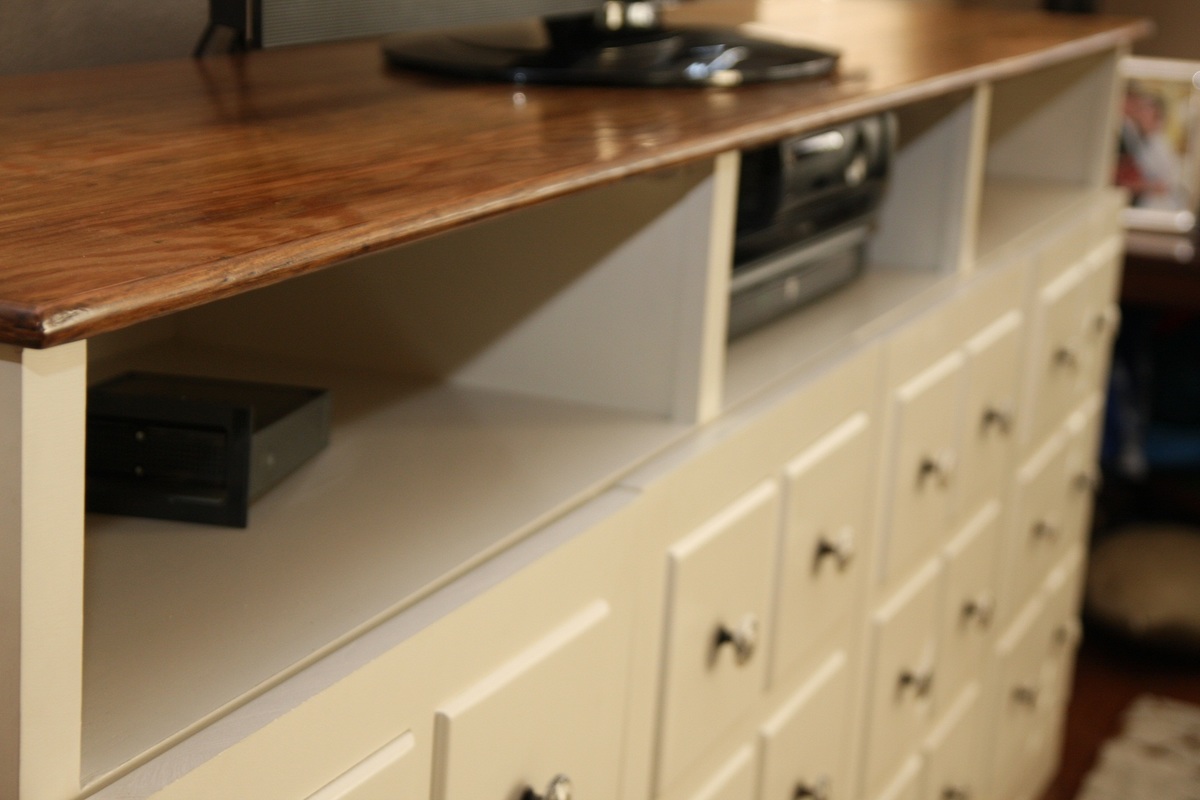
The real time came in the finishing I described below. After I had spent several weekends building the thing I no longer wanted something I could just throw in the family room and put a TV on top; I wanted a real piece of furniture that would last forever. This is where my wife interjects, "well it better since you took over a year to finish it." I love you too, honey.
I wood filled, primed, sanded and repeated many times over until I had it just right. (BTW if you're going to use plywood, take the time and effort to find a place that sells good high quality stuff that is meant to build furniture not the construction grade crap I got from Home Depot - it'll only save you about 100 hours of wood filling, priming and sanding)
Finally, after 14 months (I didn't work on it constantly - being a lawyer and a dad kind of sucks up disposable time) I could haul my masterpiece into the house put the TV on top, sit back and admire the work. I can tell you it was worth every moment. Thank you Ana White for inspiring me to bite off more than I could chew. That said, I think my next project is going to be a shelf or something.
Wed, 12/12/2012 - 08:33
I love the whole design....it fits perfectly in your space, the colors are perfect, and the detail is amazing. As someone who takes a long time to finish a project, I appreciate your 14-month timeline! It's awesome!
Thanks for all the detail on how you did it.
Wed, 12/12/2012 - 11:38
I love what you did with the knobs! That is one beautiful piece of furniture!
Wed, 12/12/2012 - 14:20
So beautiful! It will last forever, I love it all (esp. the doors), I am sure you family does as well!
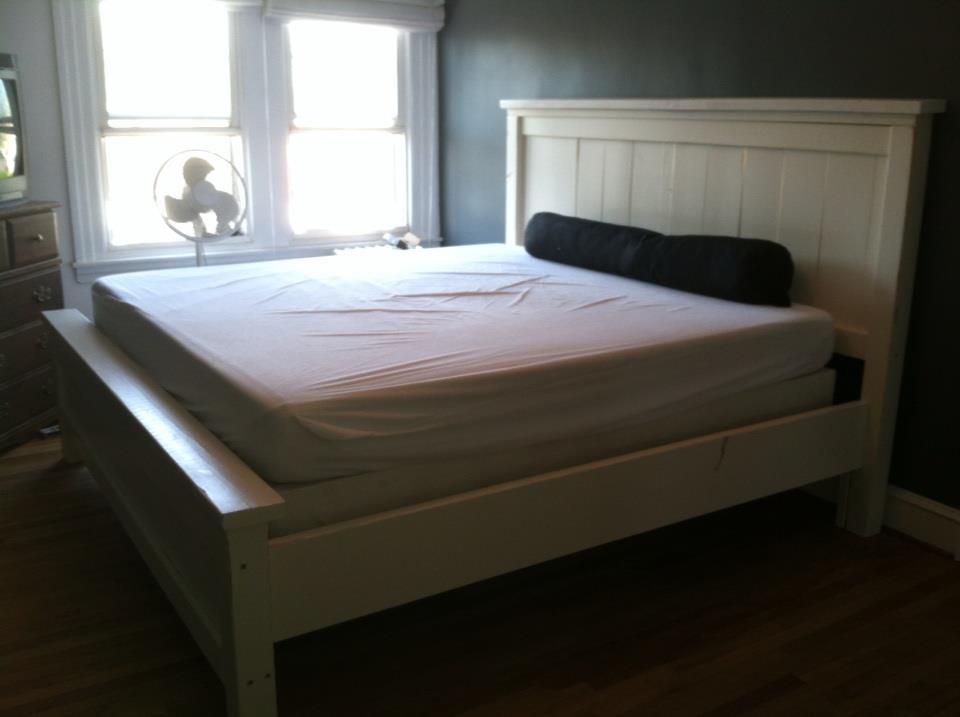
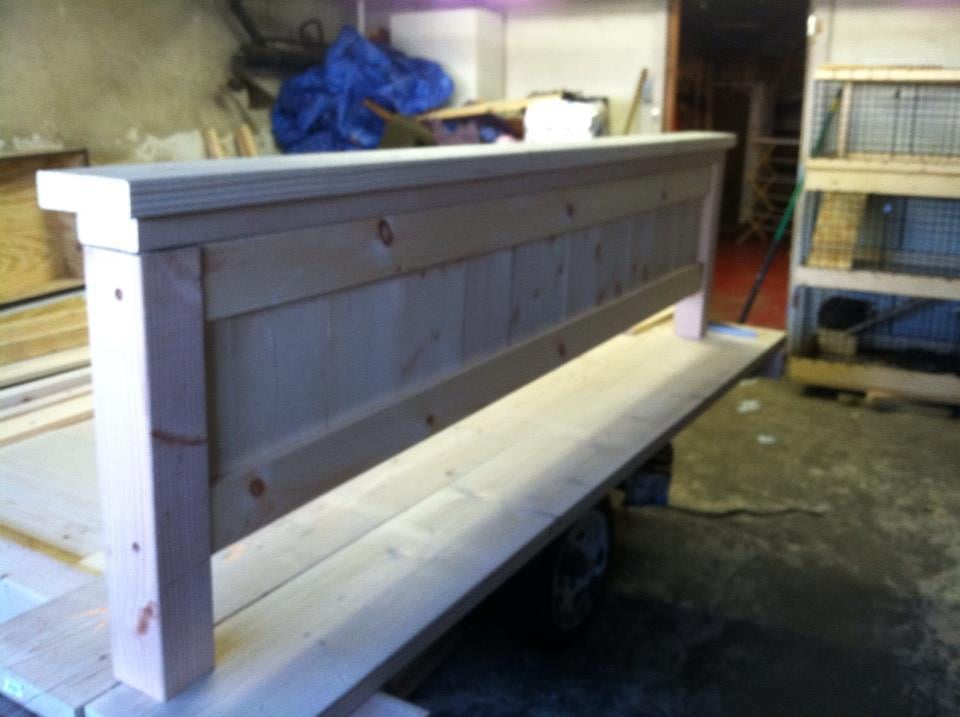
just had to make a small change to get it to be a king , It was a long weekend project
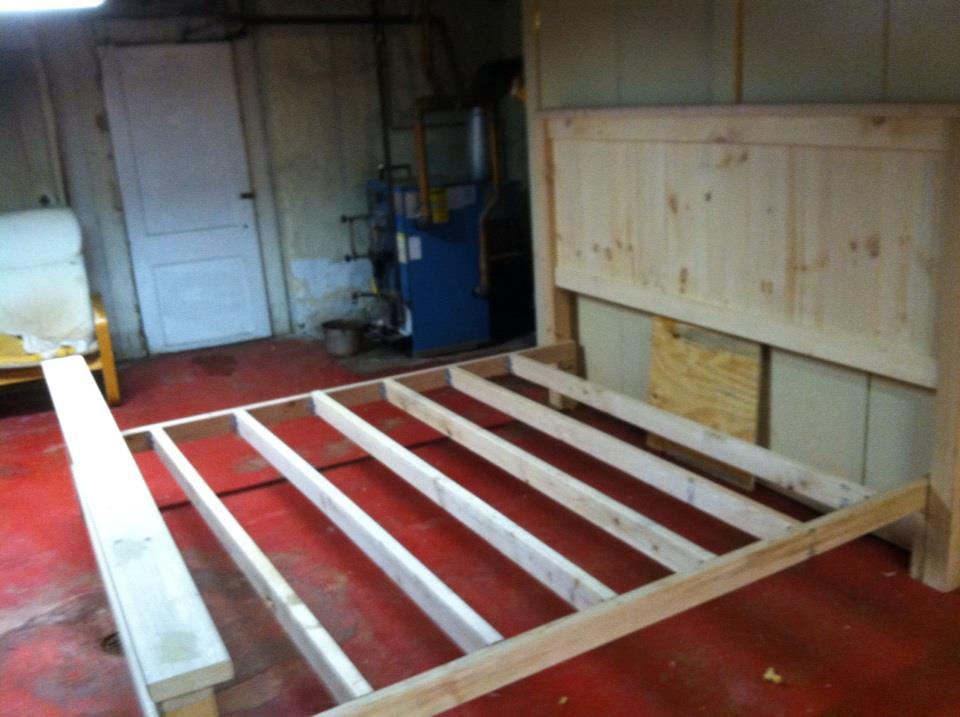

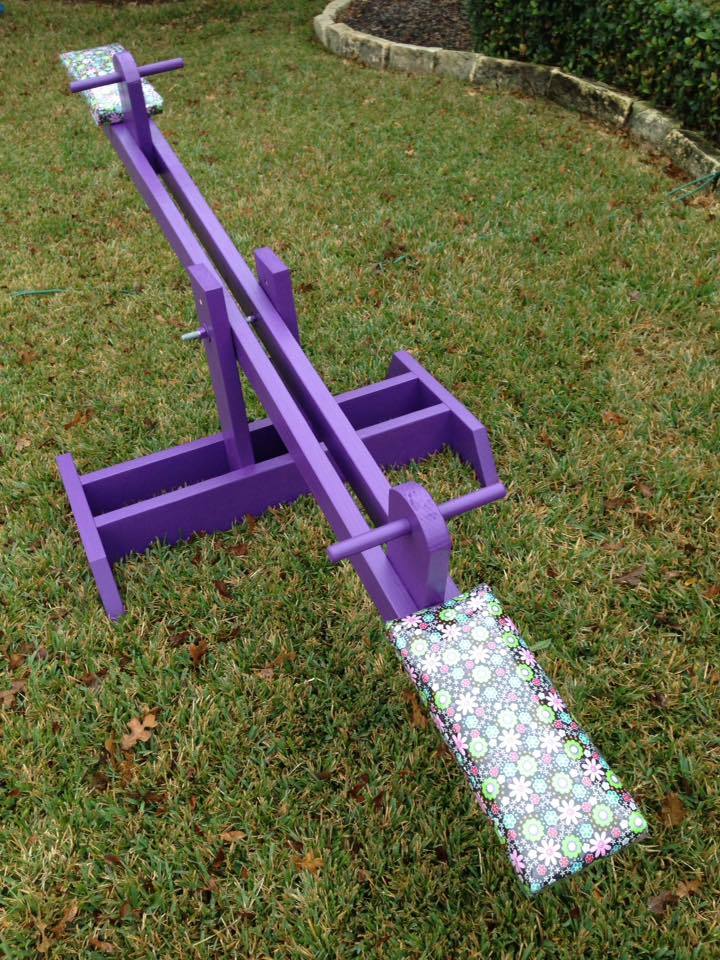
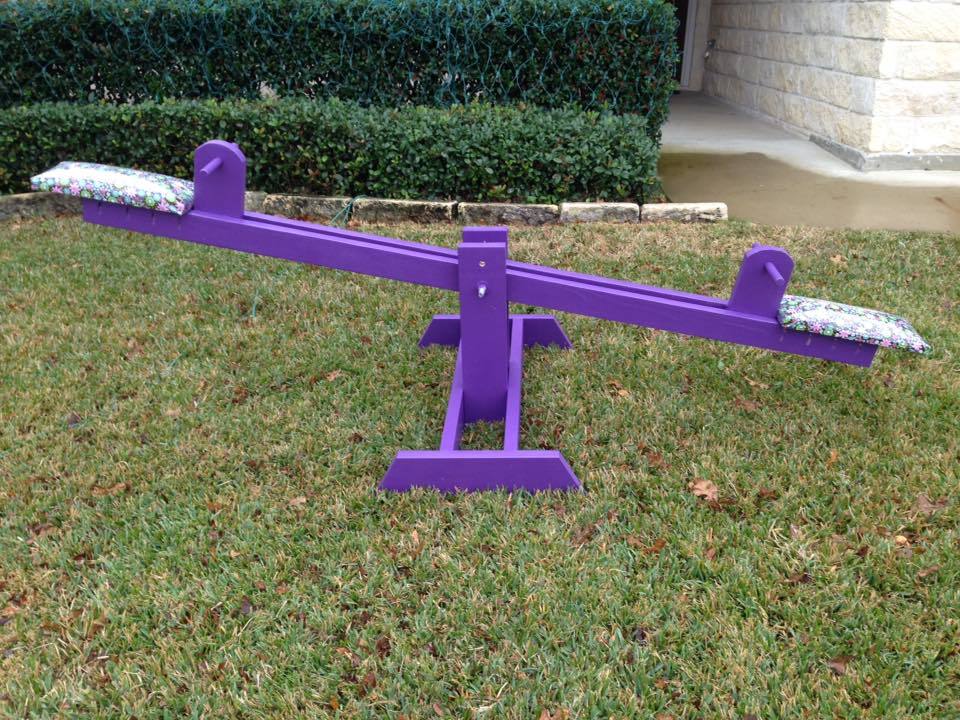
I built this for my daughter for Christmas this year. For the seats I used 2" foam wrapped in decorative fabric. Then I covered that with a thick plastic that I found at the local hobby store, to make it waterproof.
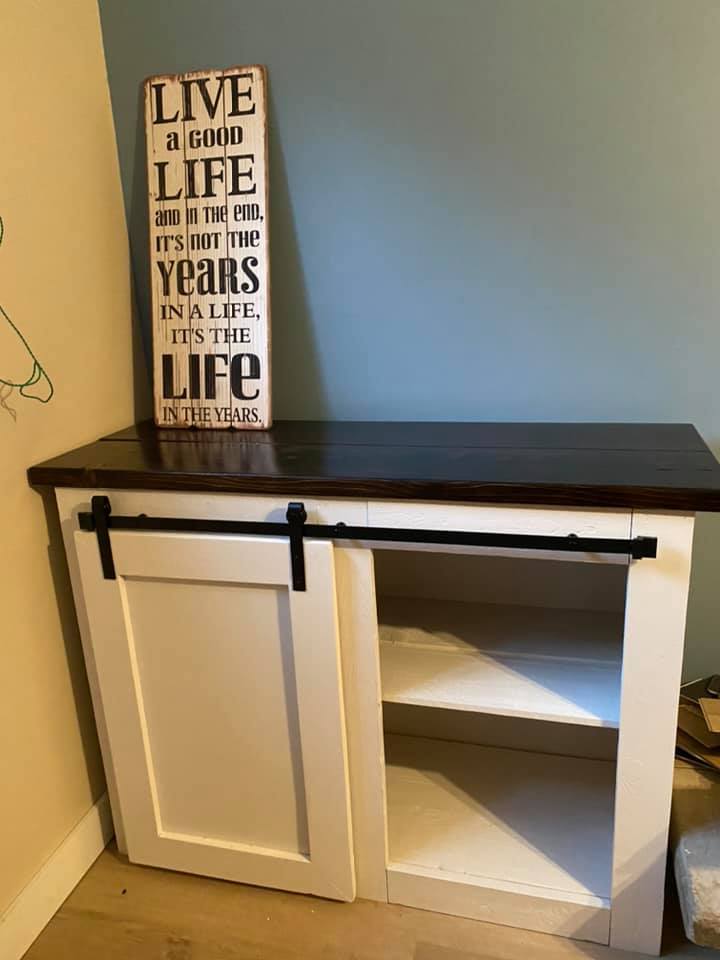
Use the plans from Grandby Barn Door Console to create this two-door cabinet for my sister. Modified plans to fit specific space. Rough Cost including mini barn door hardware, and finishing paint/clear coat is $150 Canadian dollars.
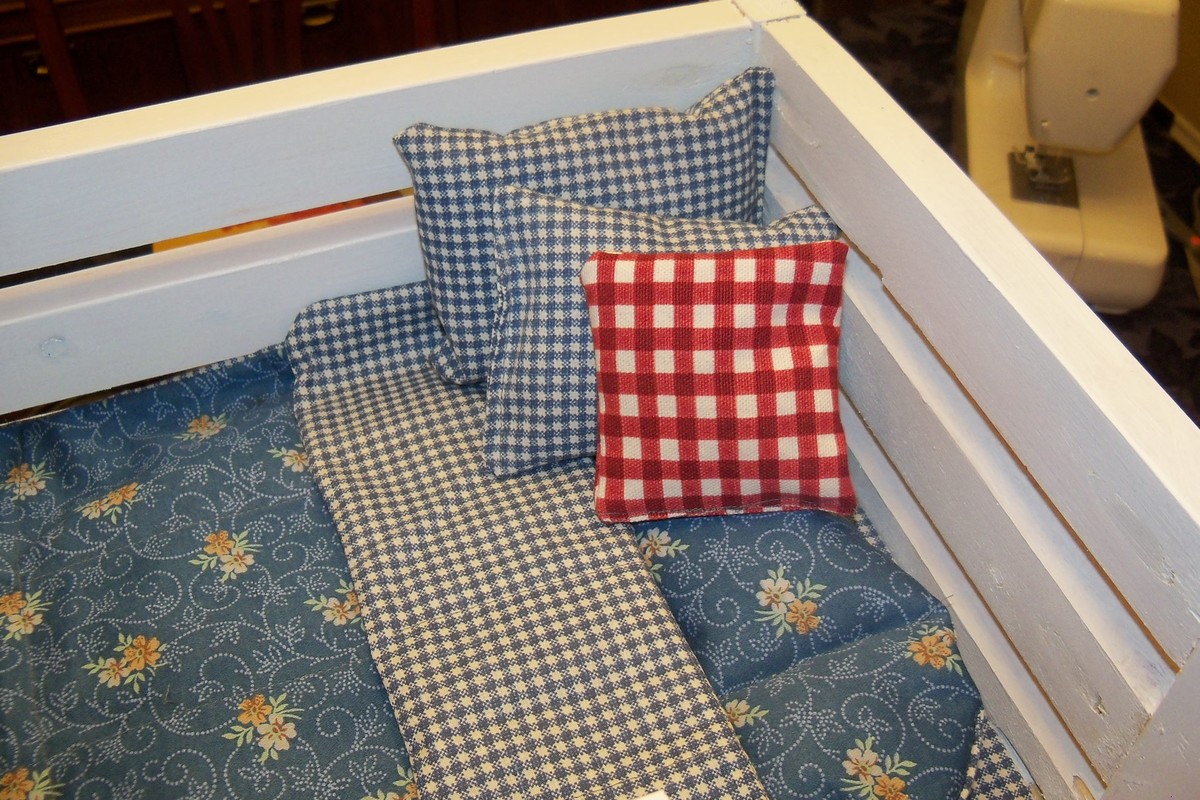
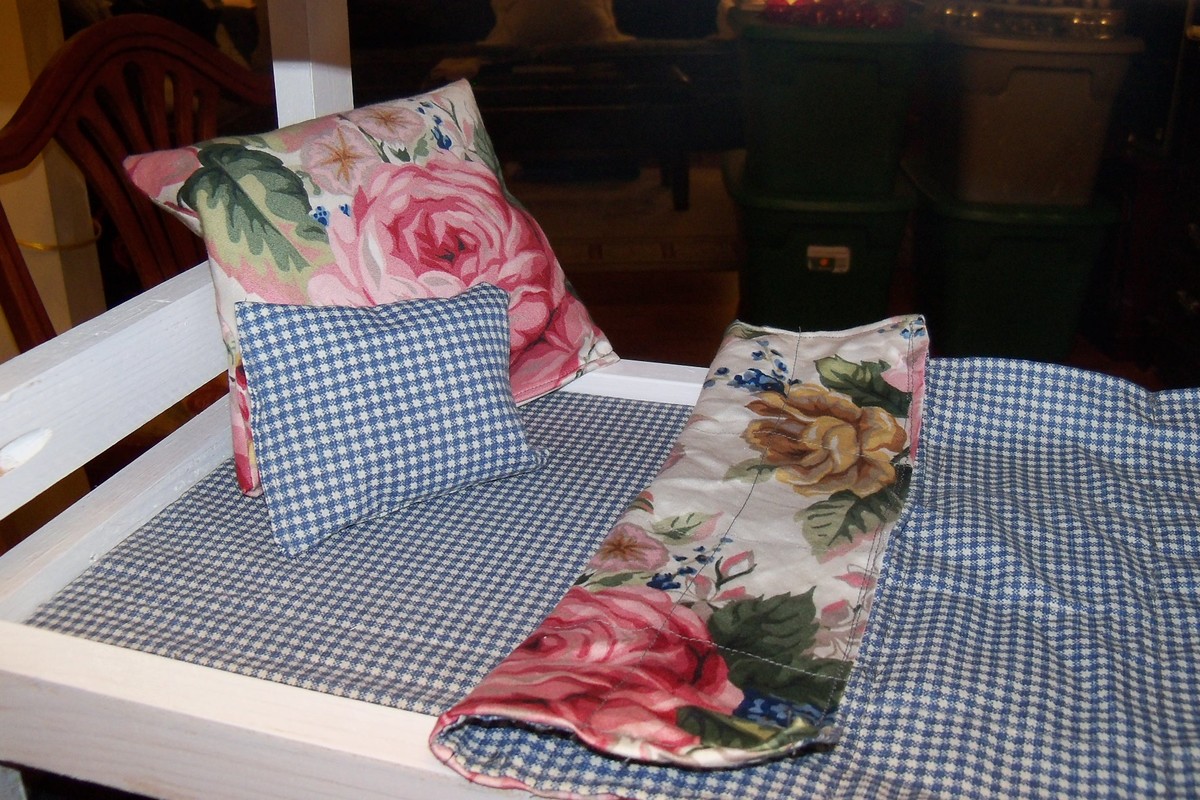
Doll Bunk bed, this was a lot of fun to make the plan was laid out well and very easy to follow.
This was a gift to a friend's 10 year old and it really made her happy.
I enjoyed sewing the bedding. It was just an over all load of fun.
I made it very quickly, I think the filling, sanding painting took longer.
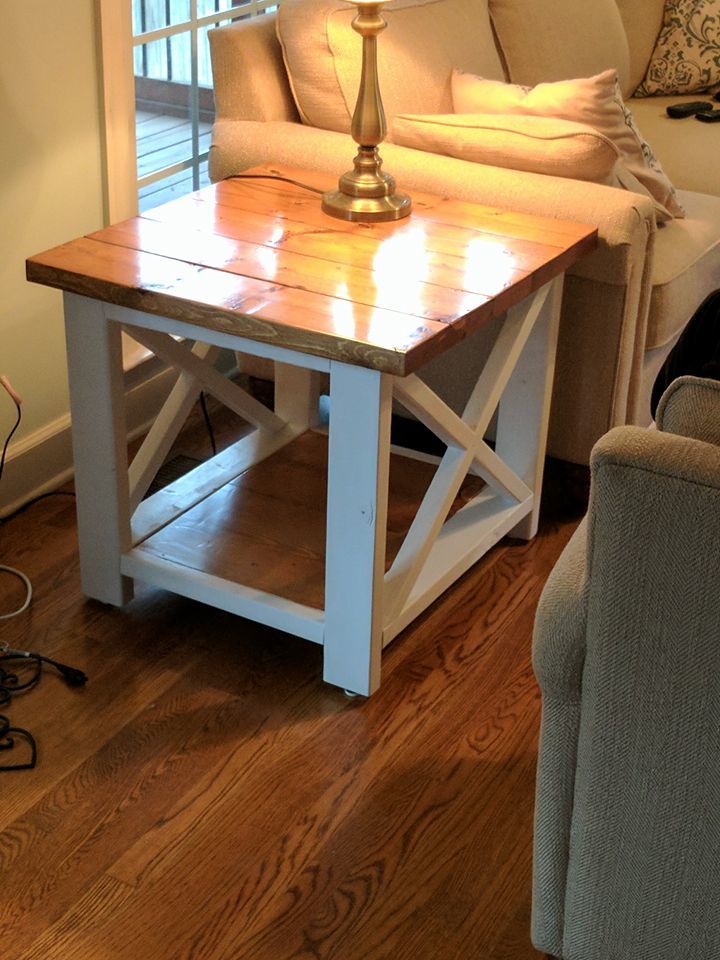
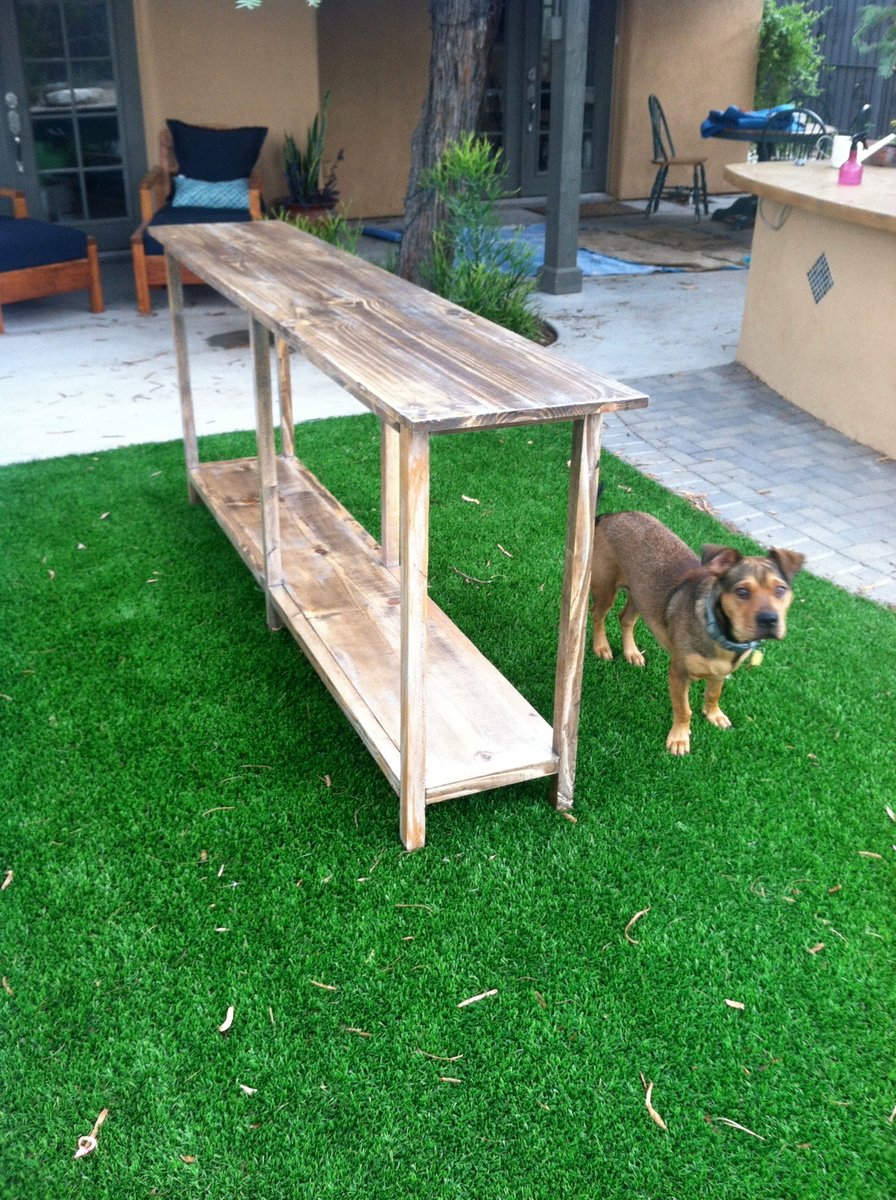
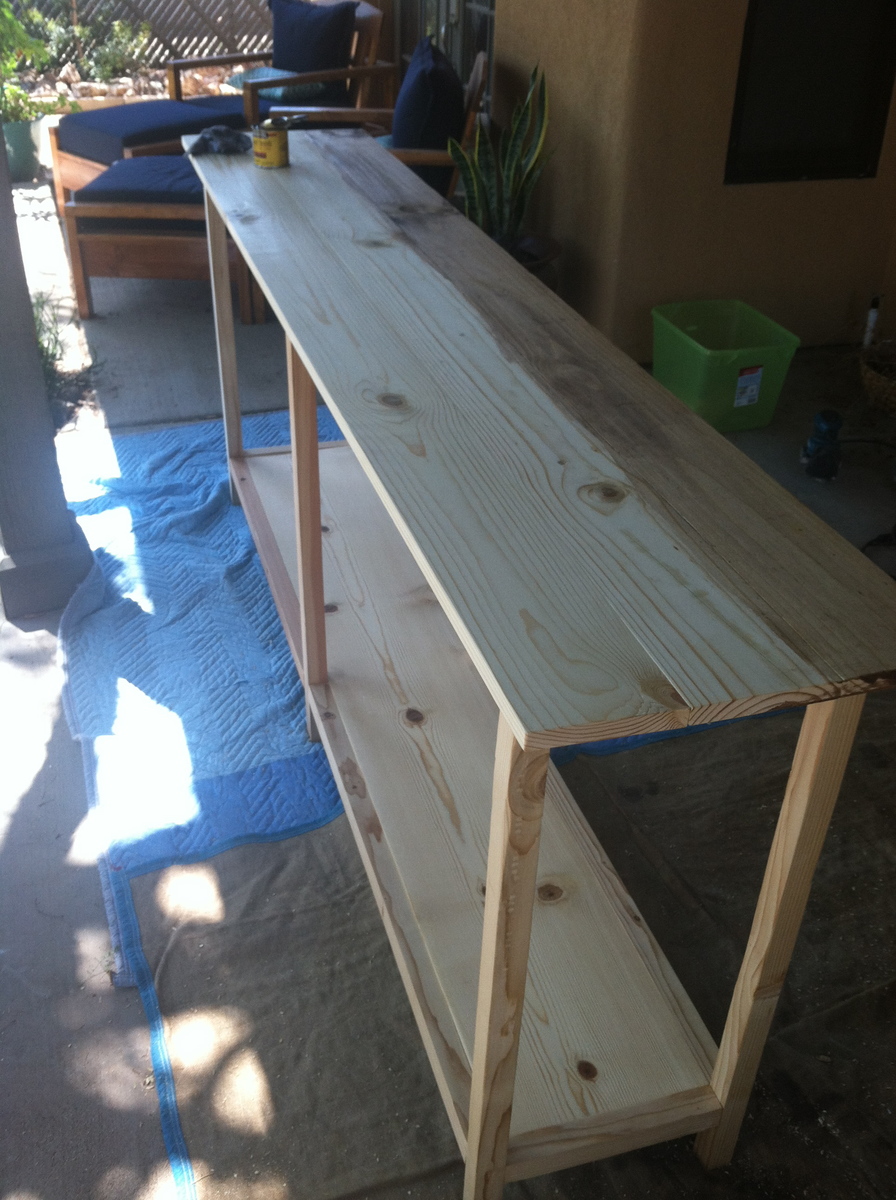
I made this table to sit between a sofa and a wall with a window. Used the Rustic X Console plan as my jumping off point. I increased the height to meet the window sill and increased the width to the width of the sofa. I used 2x2s instead of 2x4s for the legs, and 1x6s instead of 2x6s for the top. I dd not include the middle shelf. Since the table is sandwiched between a sofa and a wall only the sides are exposed, so I left off the Xs. Because of this it now serves as a tunnel for the cats and dog.
All in all it basically turned out how I wanted it, though I could have worked on the stain a bit more.
This designed was modified to specifically fit a wine fridge. Same height and depth, but measuring 80" long. Drawers replaced with cubbies. All of the wood is reclaimed from wood we took out of the adjacent living room which used to be a sun room - 125 year old pine, fir, oak beadboard.
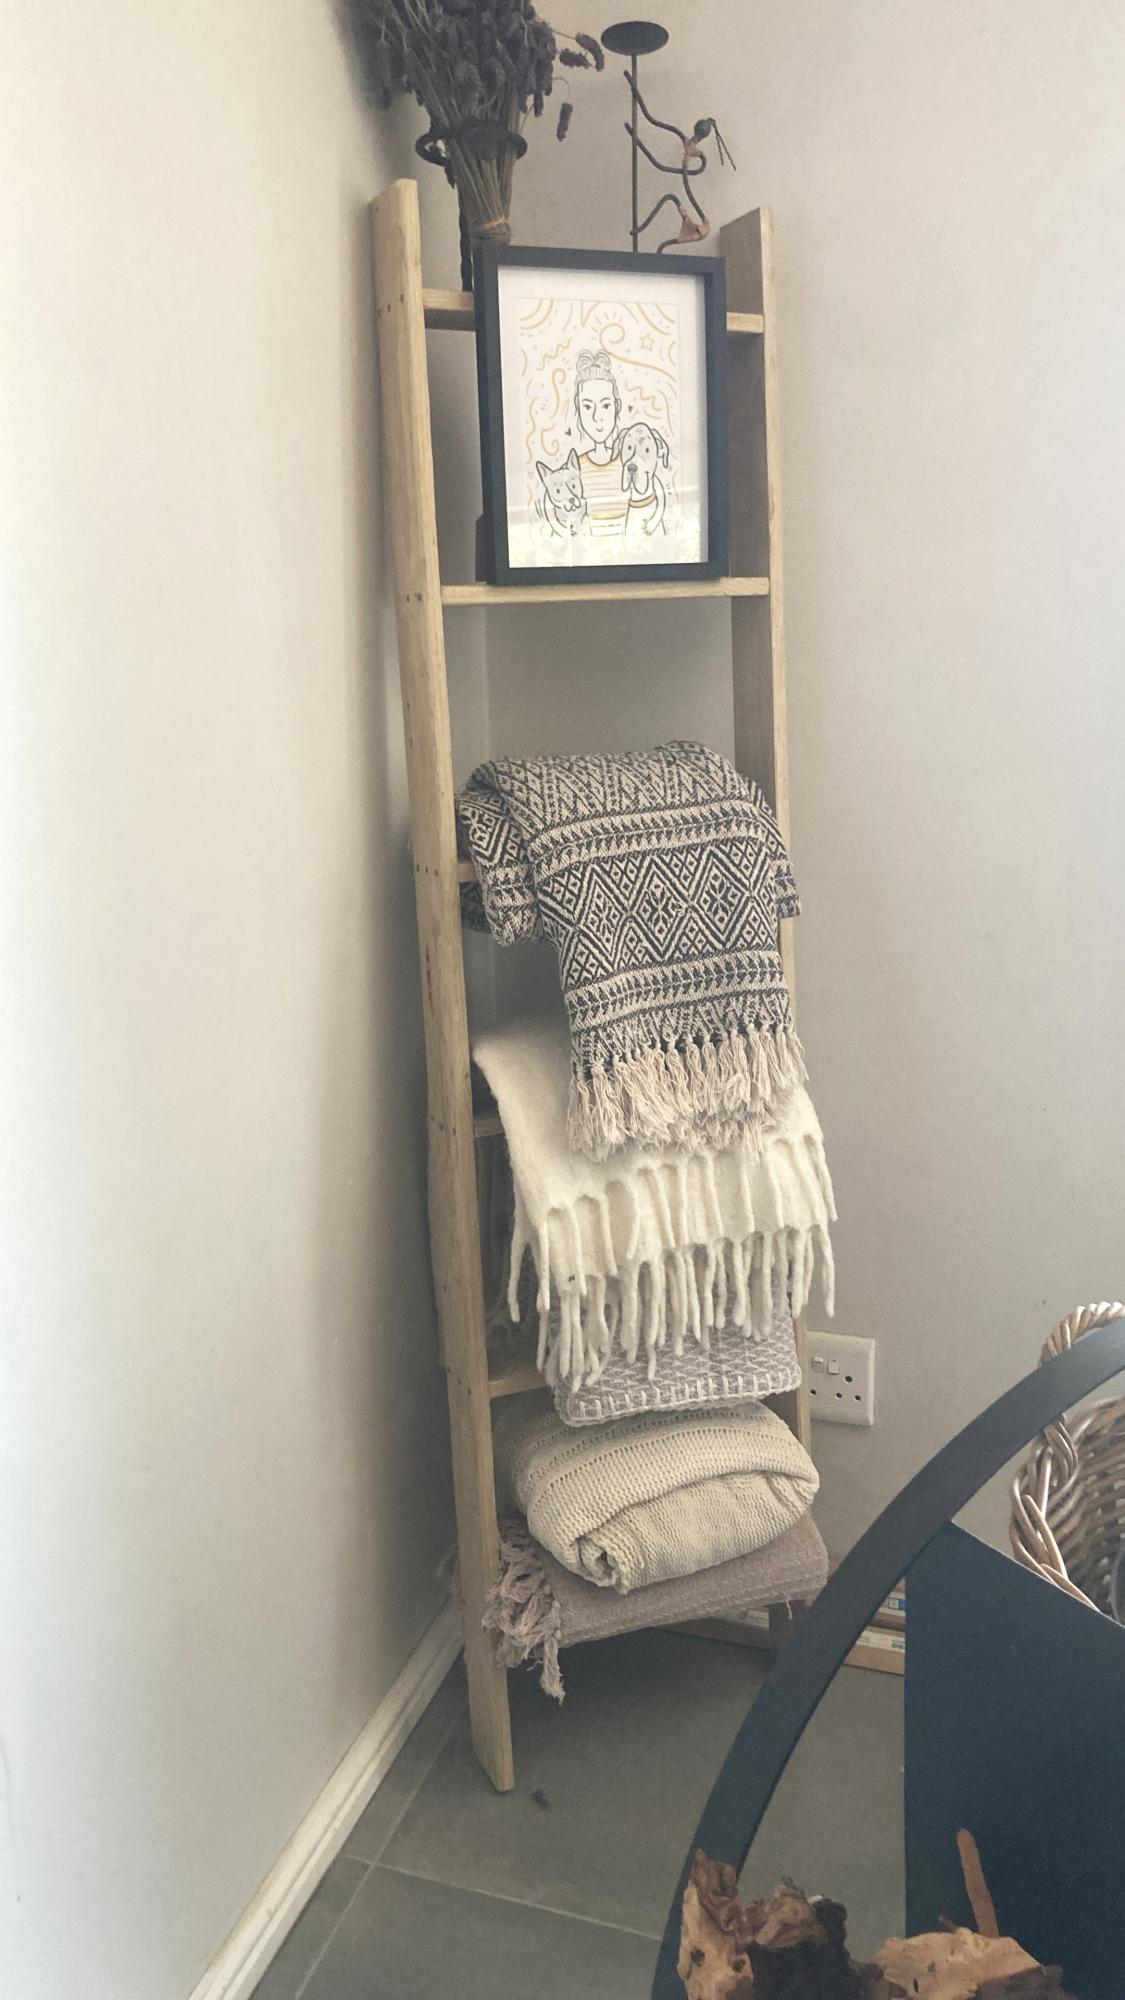
First Project from you😊 ...total woodworking newbie and very impressed with myself and your plans...can't wait to spruce up my whole house with your projects🤩 - Denise
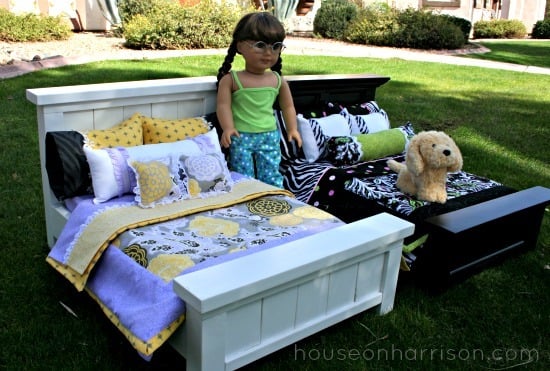
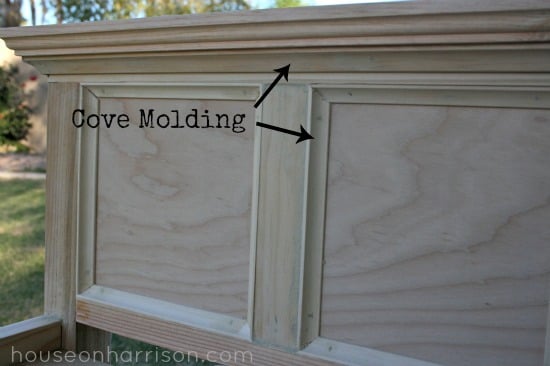
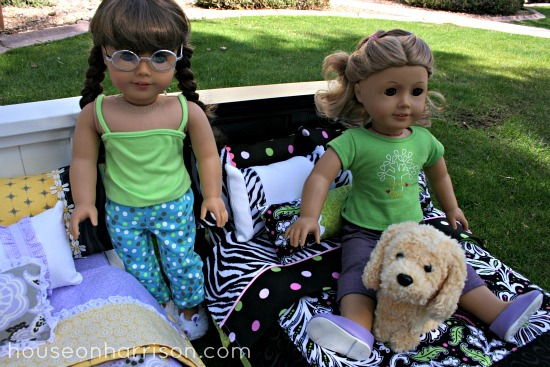
I made these two American Girl doll beds for my nieces. For one bed, I followed Ana's plans exactly. For the other, I used plywood and cove molding in place of the 1x3 slats.
You can find more details about the build and finish I used on my blog.
From our blog, 1885 Prospect Hill Renovation:
Annie and I have four kids. One of the most amazing things about Annie is that three of them are not biologically hers, but she is an intensely loving and caring parent to them. I brought them with me into our relationship and she never saw them as "baggage", but as more outlets for her seemingly unending displays of love and affection. We bought this house, in part, because it was big enough for our family. One of the best features was this "bonus" room between the dining room and the kitchen.
Now most houses of this period have a front entryway, a front parlor, a second parlor, a side room and a kitchen. For some reason, the builders of our home stuck an extra room that we lovingly call our "family room". This is where the kids play. Where they do their homework. Where we have our family game nights. Where we sing happy birthdays. It is the heart of our home and we needed a table worthy of accommodating these things.
Now, Annie doesn’t like to spend money on things. Ever. So it was up to me to build this table. So I leaned on my favorite website, the queen of all DIY projects, Ana White. She has plans for many great projects, and she makes them easily accessible and affordable. My favorite was for her Farmhouse Table. It was big and it was doable.
I used stock wood from my favorite lumber place in Western New York, Lenco Lumber. Using my new compound miter saw, my grandfather's old dado blades on my table saw, and about 1,000 screws, I built this guy. It is so sturdy the kids can all dance on it and it won't budge. It is now a permanent fixture in our home and when we die, it stays behind.
We painted the legs white and stained the top a dark red oak. Because we wanted it to be durable and stand up to anything the kids could throw at it or spill on it, we gave it a thick epoxy bar coat. This was a challenge. We had to mix the two parts and spread evenly across the table, letting the epoxy drip over the edges to cover the sides. Then came the blow torch. Heating the wet epoxy forces the bubbles to the surface and allows them to burst, leaving a smooth and even finish.
We built a bench to match, also thanks to Ana White's design.
Finally, we found some chairs on Craigslist from a family that was moving. They look pretty old and needed some reinforcement, but we think they look great! Oh, and we also painted the walls to a brighter, more playful color. Now it is truly a Family Room that we love!
Tue, 09/30/2014 - 21:52
Annie and Jeff your table is just lovely. I thoroughly enjoyed reading your post, so I jumped over to your blog. You have done amazing things with your home. The history of the home is so interesting, and I'm sure your family will be the custodians it deserves throughout your tenure there.