Community Brag Posts

Jacob's new bed

Submitted by Pammylaine on Wed, 08/08/2012 - 06:52

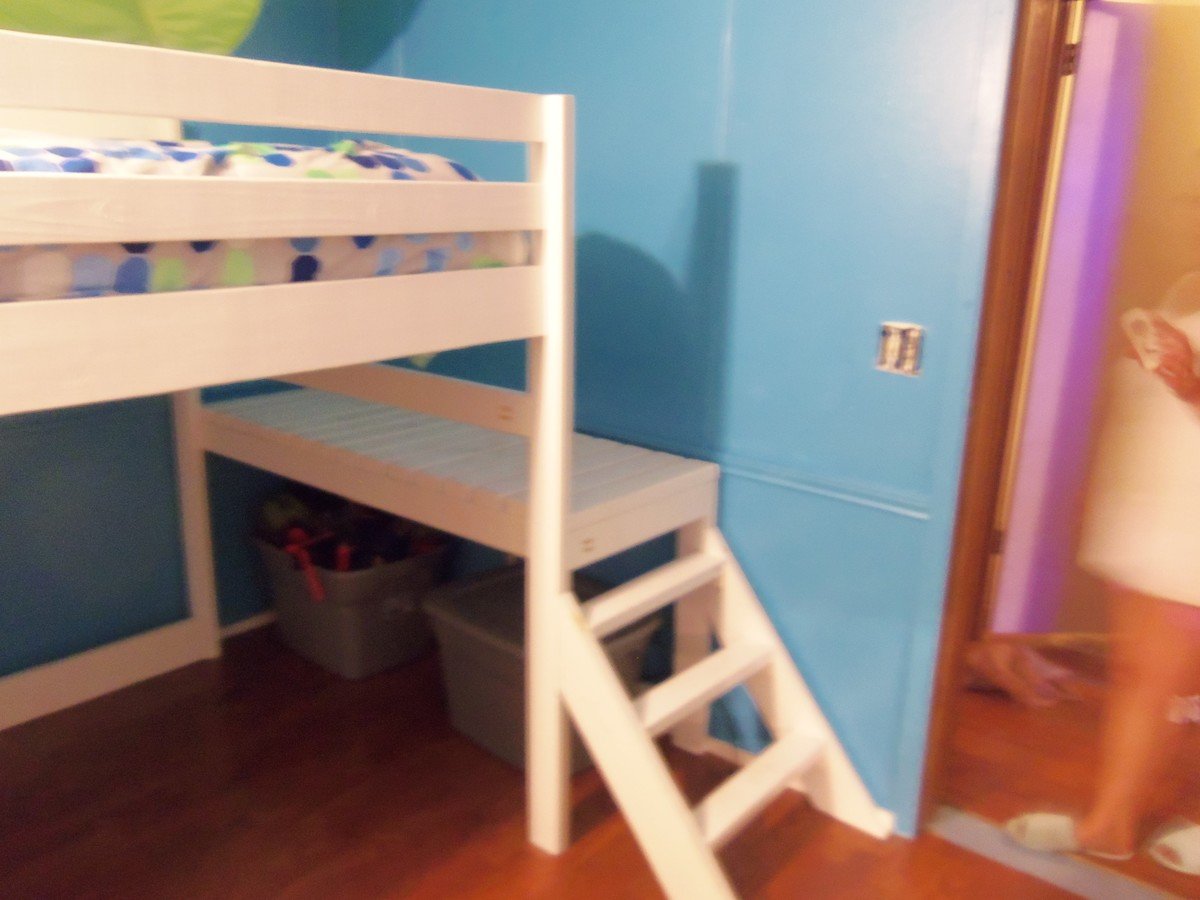
I built this bed for my 4 year old son over the weekend....I'll admit to a LOT of help from his Mamaw and Pawpaw. We converted it to a full-size bed instead of a twin...simply so I didn't have to buy new mattresses. We LOVE the way it turned out and he thinks he's King of his own personal "castle". Thanks for the plans!

Estimated Cost
$57.00 for lumber plus cost of paint
Estimated Time Investment
Weekend Project (10-20 Hours)
Finish Used
All I used on the bed was a good coat of Kilz primer (since it was new wood that hasn't had anything on it) and followed it with Valspar Bistro White in a satin finish. I would have LOVED to stain it but, the walls are pretty dark and the white really helps to brighten up the room.
Recommended Skill Level
Beginner

Comments

Pammylaine

Wed, 08/08/2012 - 06:53

I should have mentioned that we're not quite done yet. I still have to fill in holes and do a bit more touch up painting on the bed. And there is still stuff going on in the room. I just wanted to get some pictures up on here.

Pammylaine

Thu, 09/27/2012 - 08:10

Thank you :) We had to do some rearranging, the leaf blocked his small television, but it ended up looking really cute. We used lots of green (it's his favorite color and he wasn't too pleased with me for painting the room blue) and that shade really pops against the blue and white.

Chris Nelson (not verified)

Sat, 09/08/2012 - 05:48

I have a couple questions...

1) how is the mattress supported? It's not really part of the directions in the original plan? Are the boards included in your cut sheet?

2) when did you paint?

3) how much sanding did you have to do?

4)What are PH screws and PH holes?? I was thinking Phillips head, which makes sense for the screws, but not the holes.

Thanks!!! This is awesome!

Pammylaine

Mon, 09/10/2012 - 12:07

Hi :)

To answer your questions....
1.) We used 2X4's to support the mattress...They are not included in the cut sheet, they were just left overs that we had. We used 7 2X4's cut at 55 inches as supports. You will want to measure the width of your bed on the inside to make certain you have the appropriate length.

2. and 3.) We cut the boards and sanded (it felt like a lot, but with two people sanding it wasn't too bad) and painted the same day. My parents sanded and then I painted. That cut down the work time. We did have to go back the next day and do another coat on one or two boards but, it wasn't bad.

4.) I took PH Screws to be Phillips head as well, and that's what we used. 2 and 1/2 inch long ones to be exact...we got them at Lowe's...they were kind of a grey color, not the black one. PH Holes are pilot holes. We invested in a Kreg Jig Jr to make our pilot holes. It drills a hole at an angle which allows your joints to be stronger. That way your screw is biting into more wood. The Kreg Jig was about $40.00 and completely worth it. Just make sure you have a C-Clamp if you get one. We did not use a Kreg brand C-Clamp but, the next time we do a project, I'll get one.

We weren't real sure how to use the Kreg Jig so, we searched on YouTube for an instructional video..it's amazingly simple to use and the added security of having strong joints is totally worth 40 bucks.

bhoppy

Tue, 09/25/2012 - 08:09

I loved how your bed turned out! My daughter also has a full sized bed and I don't want to have to get a new mattress so I really appreciate you taking the time to post such detailed instructions on how to convert to a full sized:-)

I could be wrong, but I always thought PH stood for Pocket hole screws... They are actually a little different than phillips head because they are "self tapping” you don't have to predrill a pilot hole into the joining board in order to keep it from splitting... I usually buy the Kreg brand ones that they sell at Lowes but I have read on this site that you can buy them online that aren't the Kreg brand and they will work.

Pammylaine

Thu, 09/27/2012 - 08:08

You're probably correct about the screw thing. When I first read it that was my assumption as well. However, I was told by my dad that I was incorrect, but what does he know?! I tried to make the information that I shared as detailed as possible because I know it can be a bit of a pain in the rear end to have to try to modify something without really being sure of what you are doing.

Good luck with your build if you haven't already finished it. I'm sure she will love it as much as my son does. My only real down side to the bed is that even at 5 feet 8 and 1/2 inches tall I have to stand on my tiptoes to give my son his goodnight hug and kiss. But, whats a little stretching going to hurt? I figure I may as well get as many as I can before he decides he's too cool or old to kiss his mama.

Play Deck/Fort

Submitted by seeca13 on Sun, 06/01/2014 - 10:06

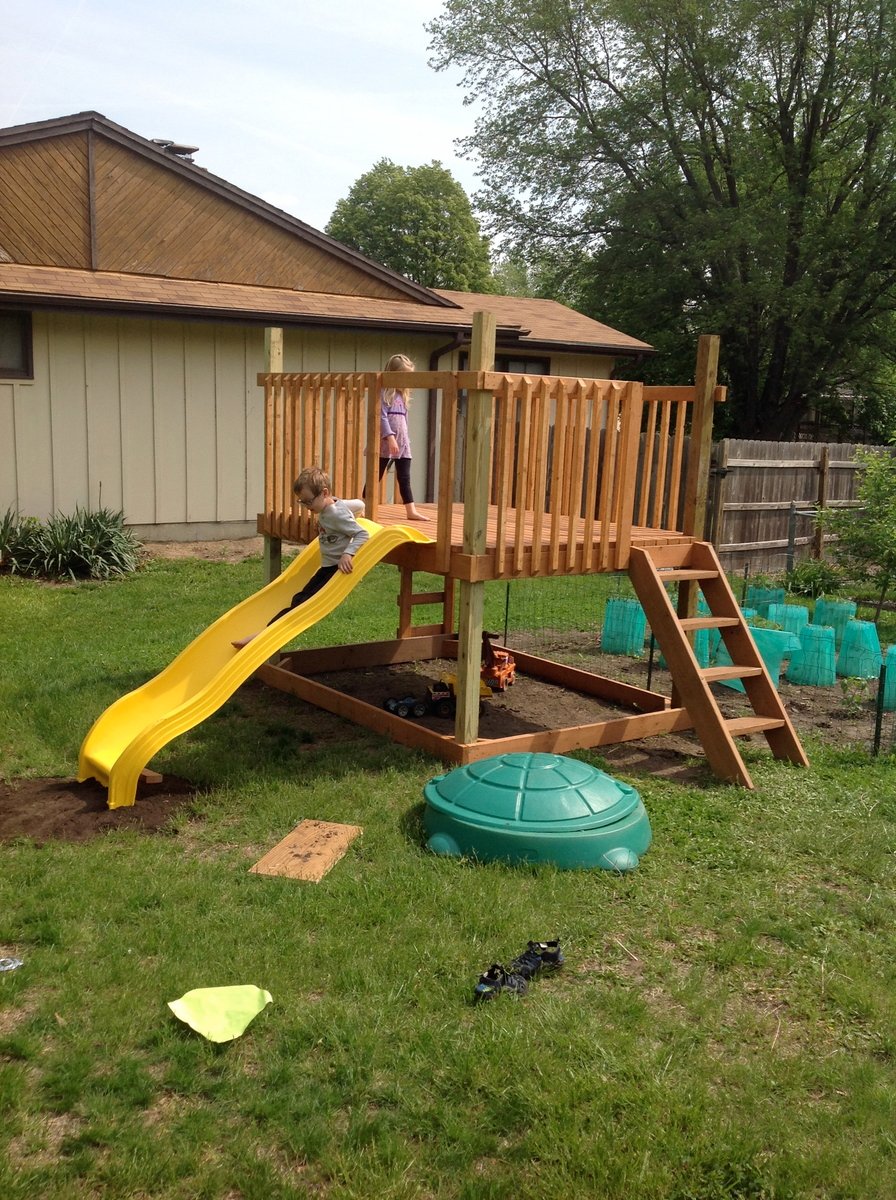
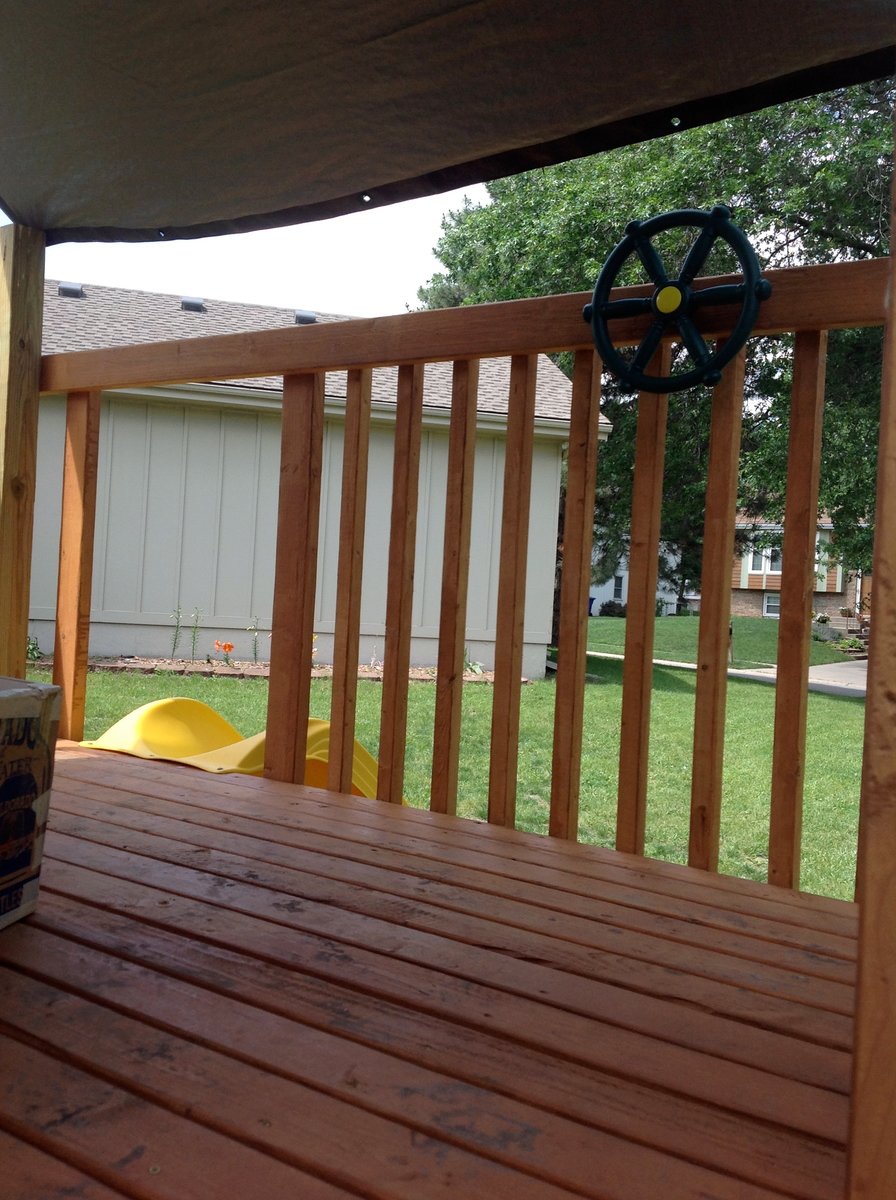
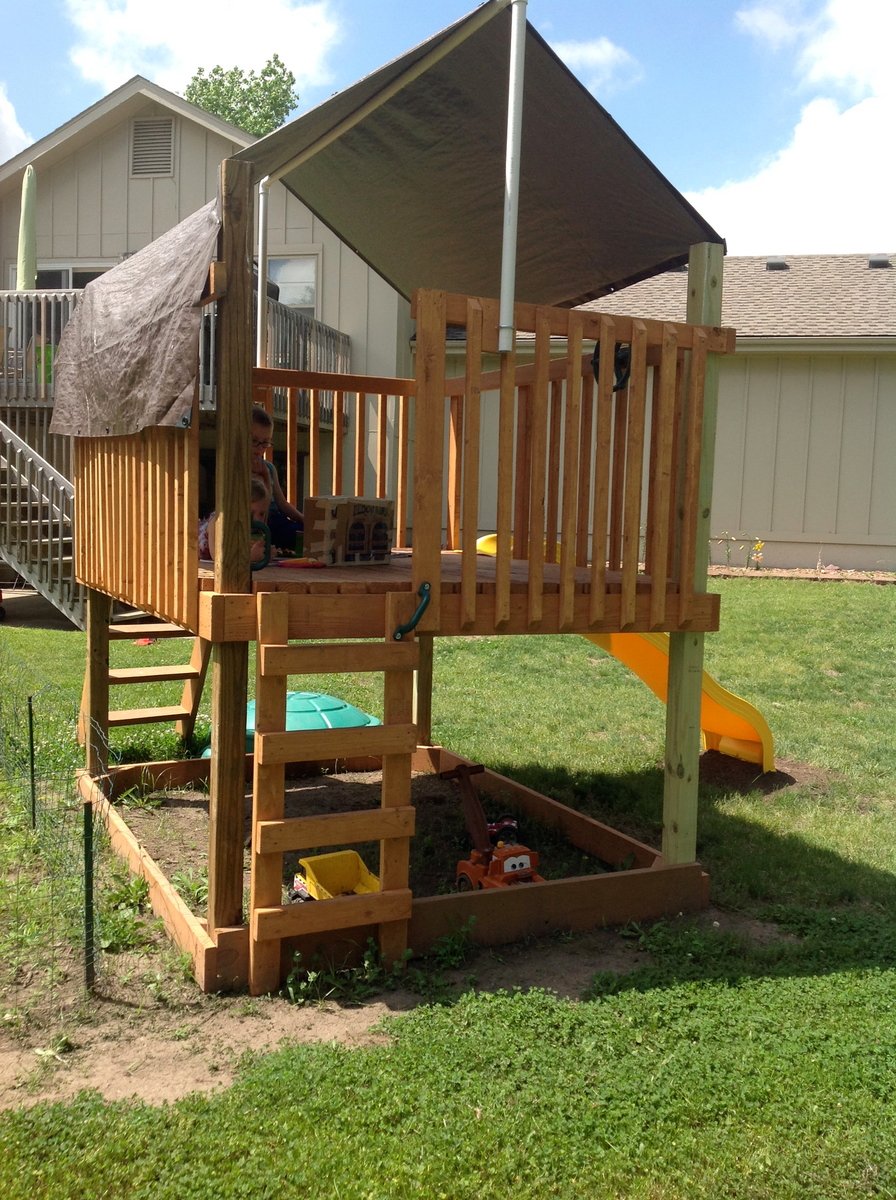
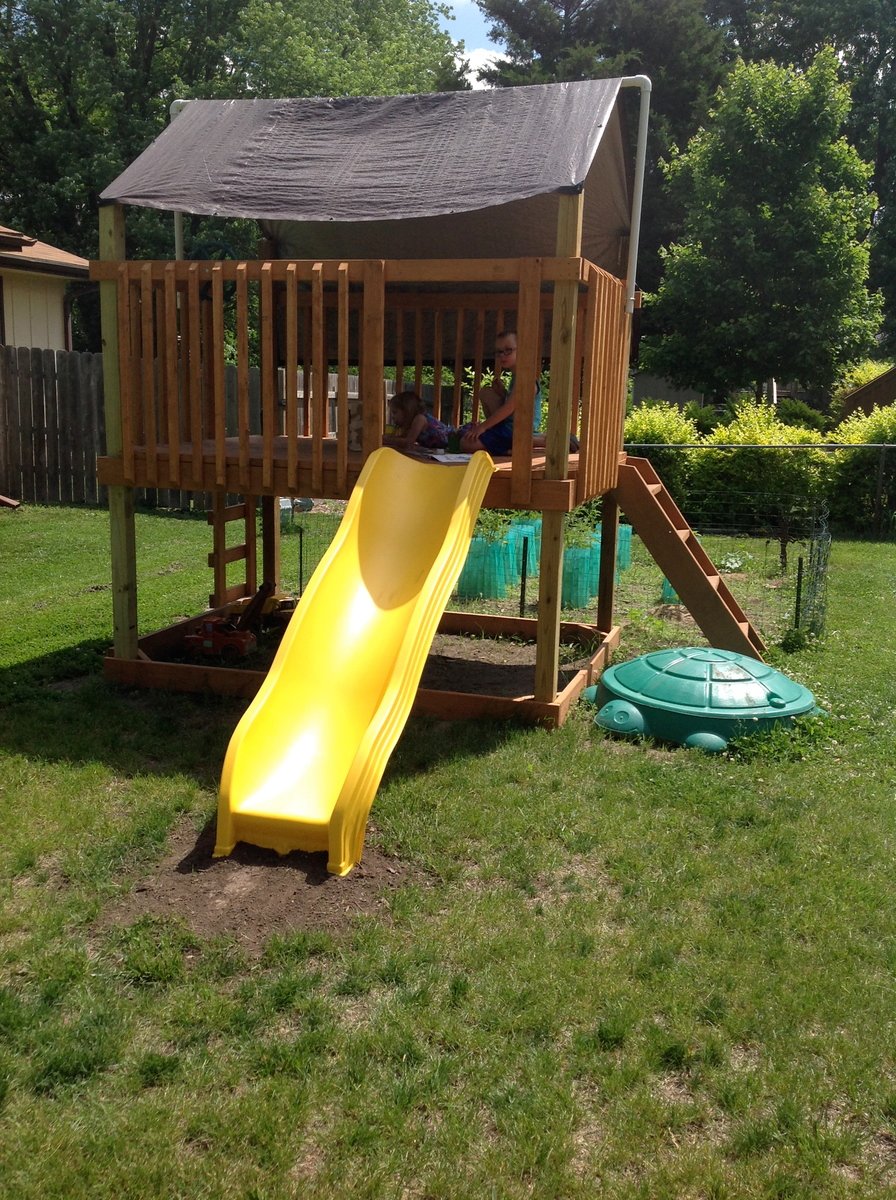
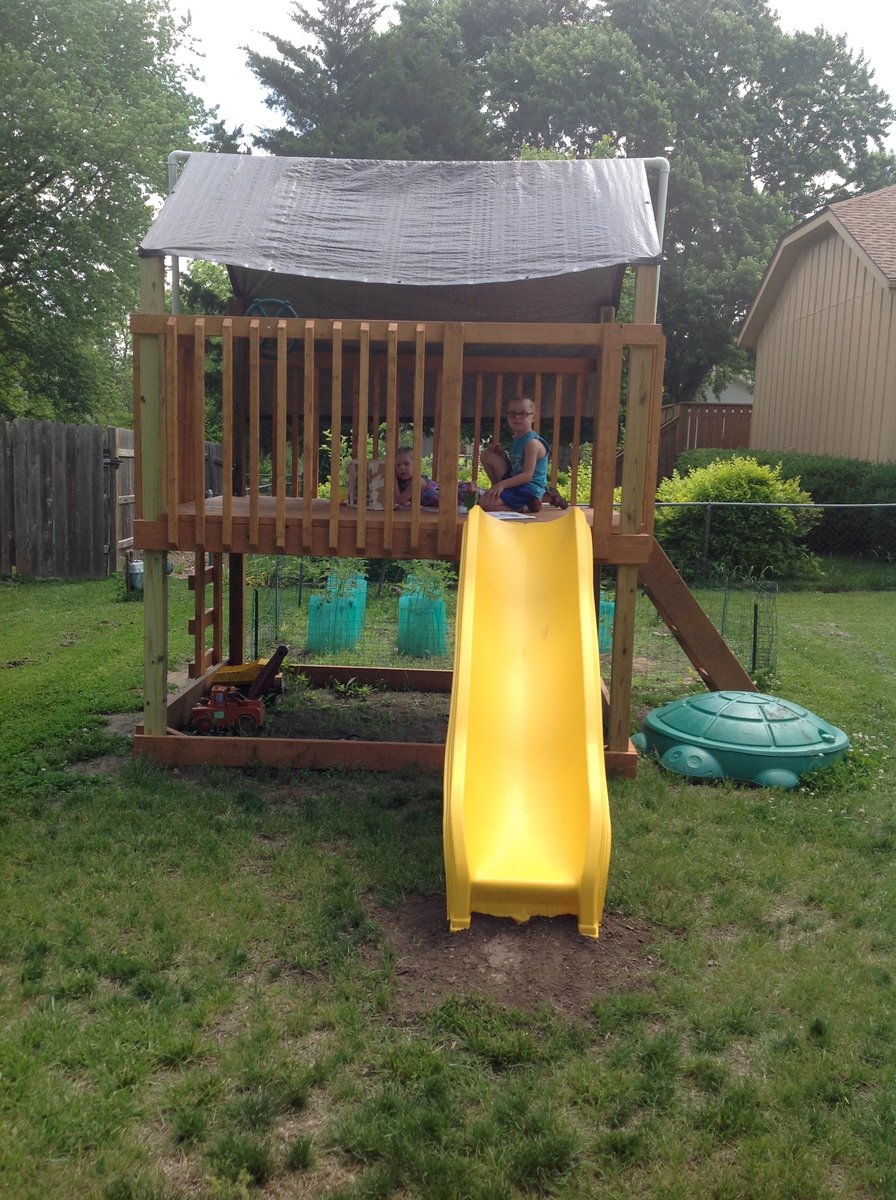
I wanted to build a structure for the kids to play in, but not include a playhouse. I used the playhouse deck design and made it slightly smaller (6 feet by 8 feet). The "roof" is removable to provide shade when it's sunny. It's just PVC and a tarp - pretty simple, but it does the job. I used treated posts and untreated lumber for the rest of it. I painted everything in my garage before assembling it. Once all of the wood at been painted, but came together pretty quickly!

Estimated Cost
$300 (including screws and paint)
Estimated Time Investment
Weekend Project (10-20 Hours)
Finish Used
Thompsons deck stain
Recommended Skill Level
Intermediate

Twin farmhouse

Submitted by Anonymous (not verified) on Sat, 09/03/2016 - 14:23

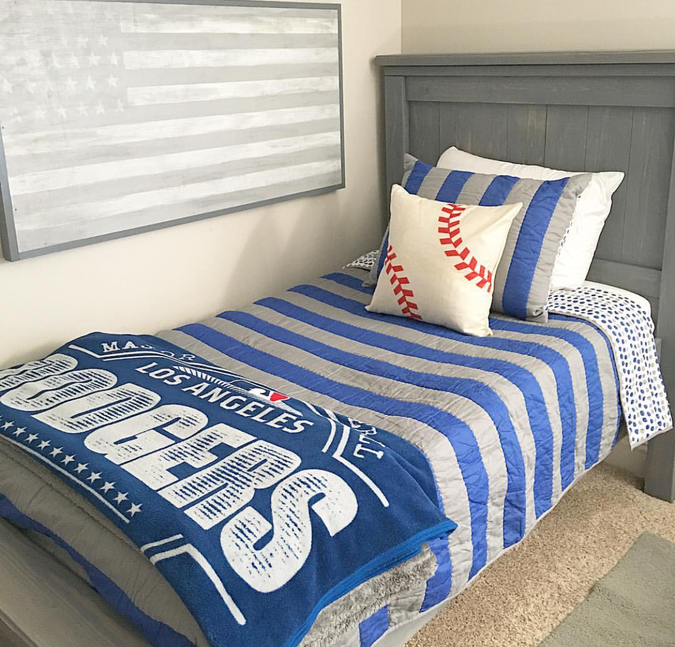
Made two of these for our twins! Lots of steps and measuring but pretty simple! 

Built from Plan(s)
Estimated Time Investment
Day Project (6-9 Hours)
Finish Used
Weathered grey stain
Recommended Skill Level
Intermediate

Comments

Doggiemama09

Sun, 01/21/2018 - 16:32

I'm making these beds and love your stain! I have tried several sample stains and cannot find one I like. Where did you find your stain?

Seasonal And Holiday

Farmhouse Table

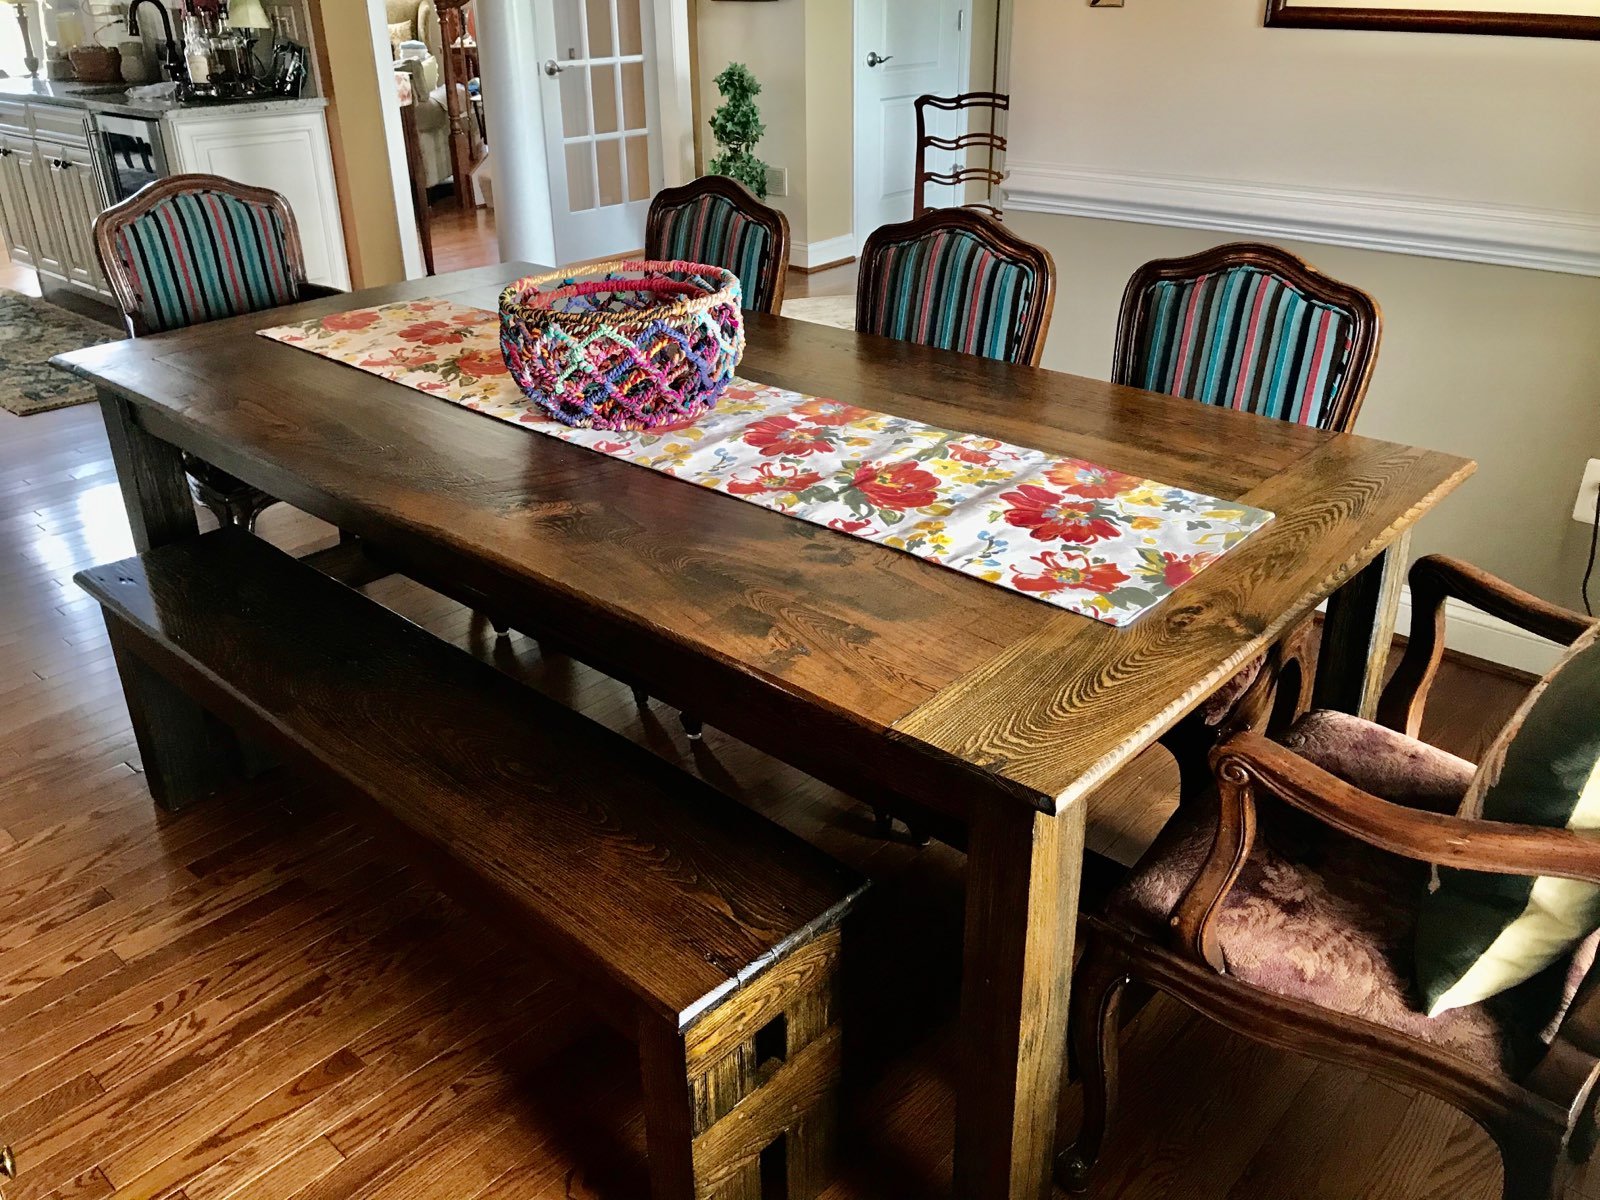
I used the farmhouse table plans but substituted almost 100 year old wood from our family farm. Pocket hole joints on the table top and lots of sanding...! The bench was made from the same wood and followed roughly the plans for the dining bench.

Estimated Time Investment
Week Long Project (20 Hours or More)
Finish Used
Minwax pre-stain and oil based Minwax Jacobean and finished with oil based satin spar varnish.
Recommended Skill Level
Intermediate

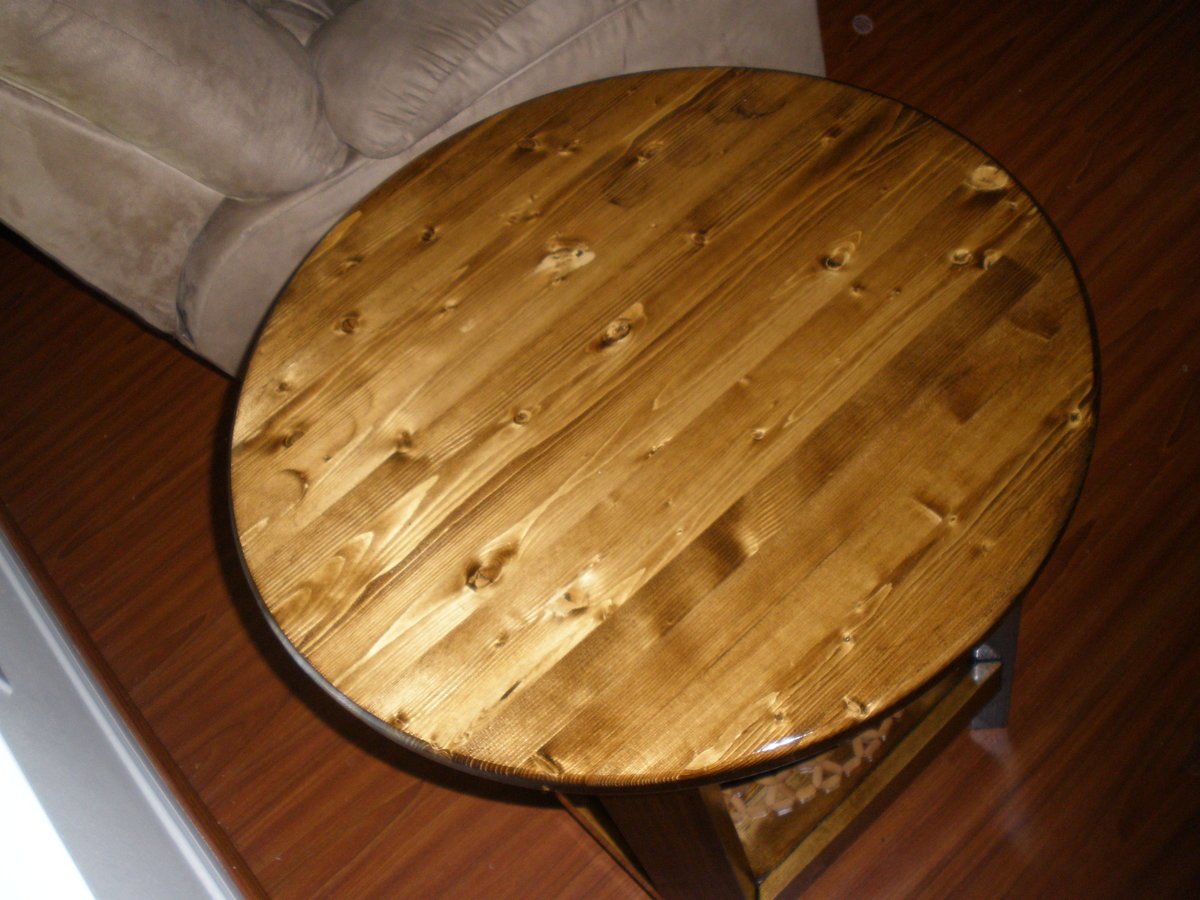
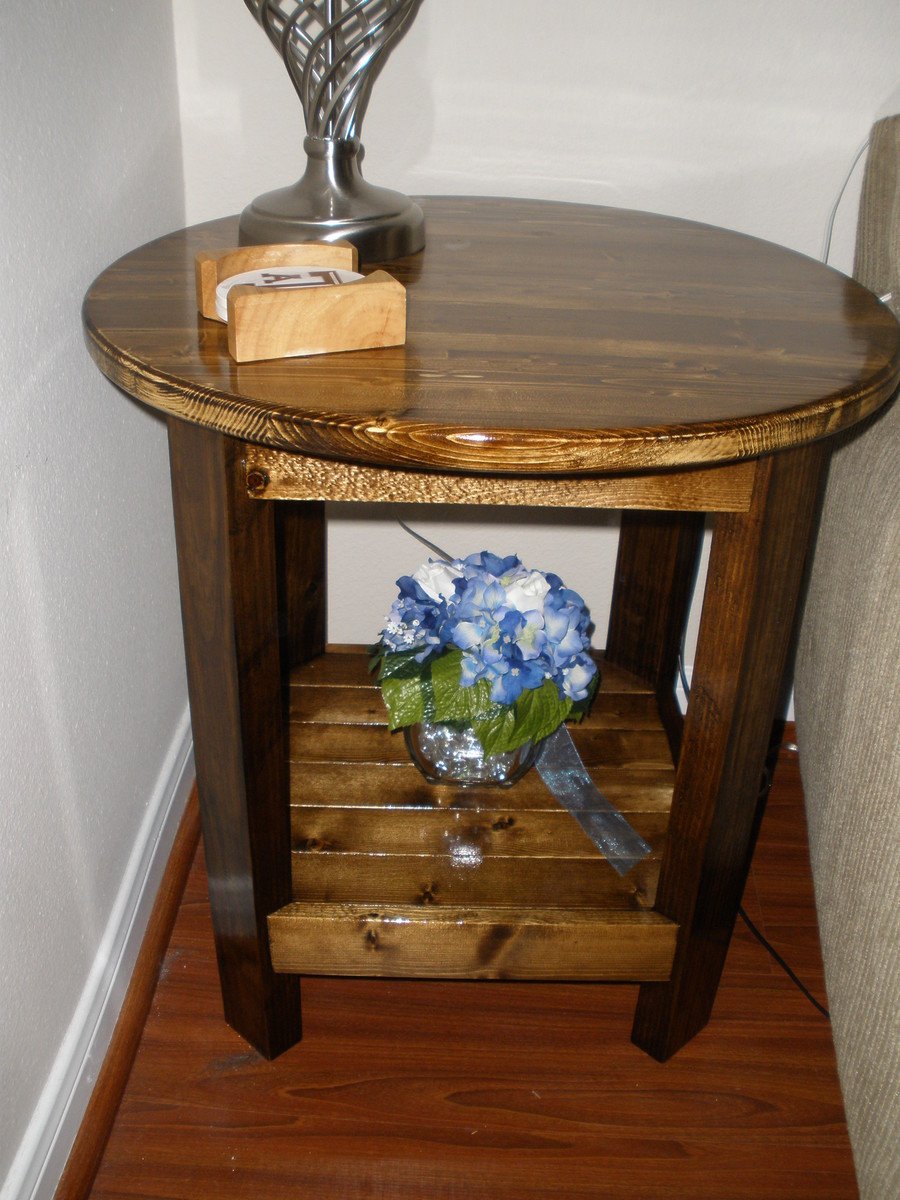
Benchright Round Side Table

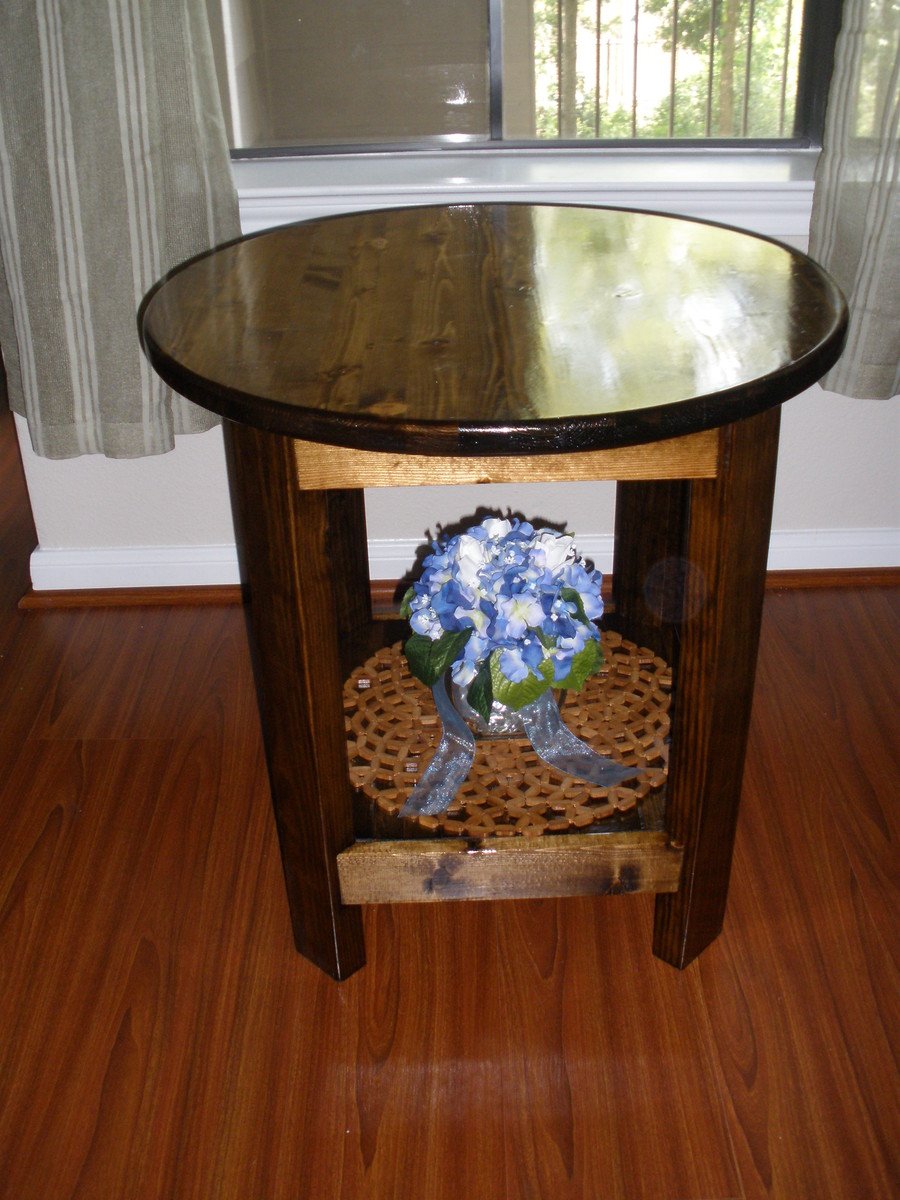
These tables are part of the Benchright collection. They are not terribly hard to make, especially if you buy the 24" diameter round table top from Lowes.

Built from Plan(s)
Estimated Time Investment
Weekend Project (10-20 Hours)
Finish Used
Minwax Dark Walnut and Semigloss poly.
Recommended Skill Level
Intermediate

Comments

jrankintamu

Sat, 08/11/2012 - 20:18

Good lord my camera was dirty. I promise it wasn't the floor. Doesn't help that I am NOT a photographer.

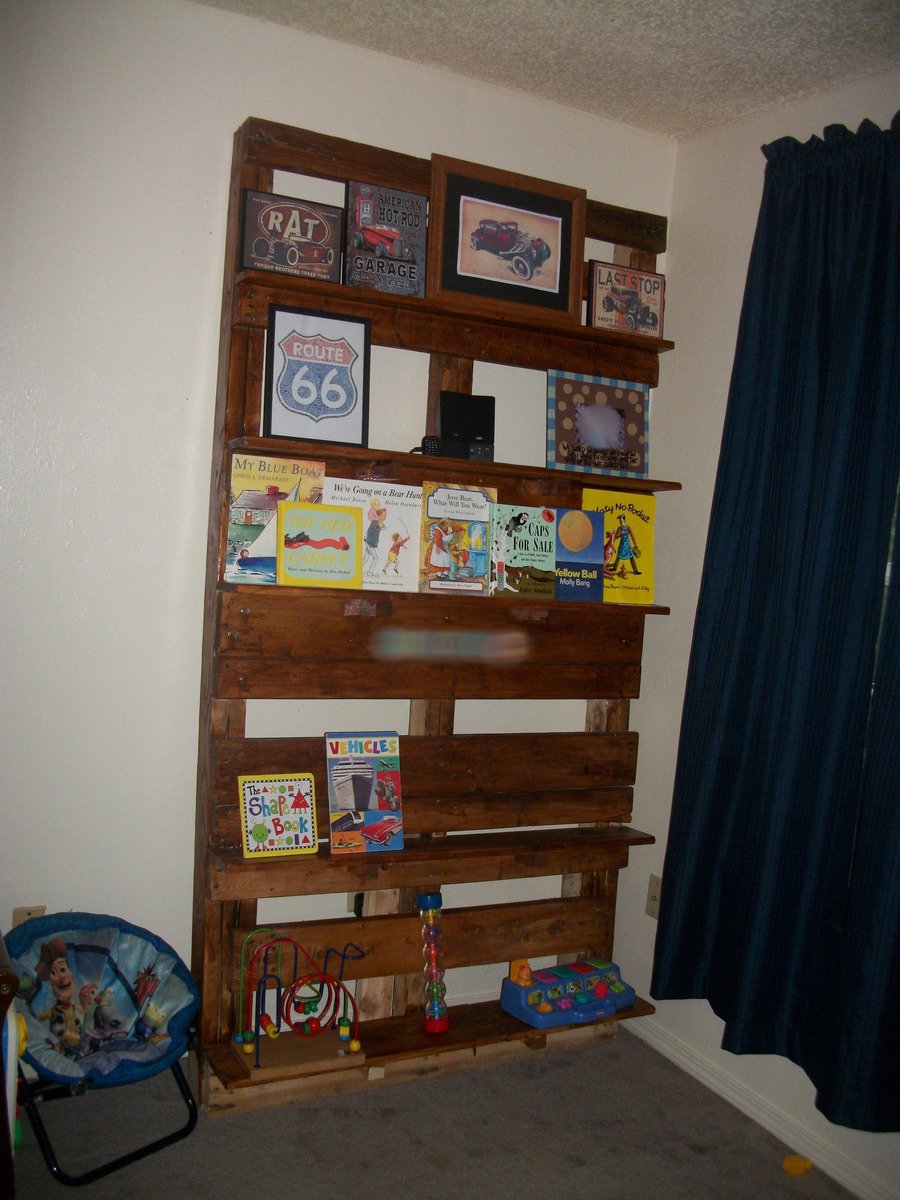
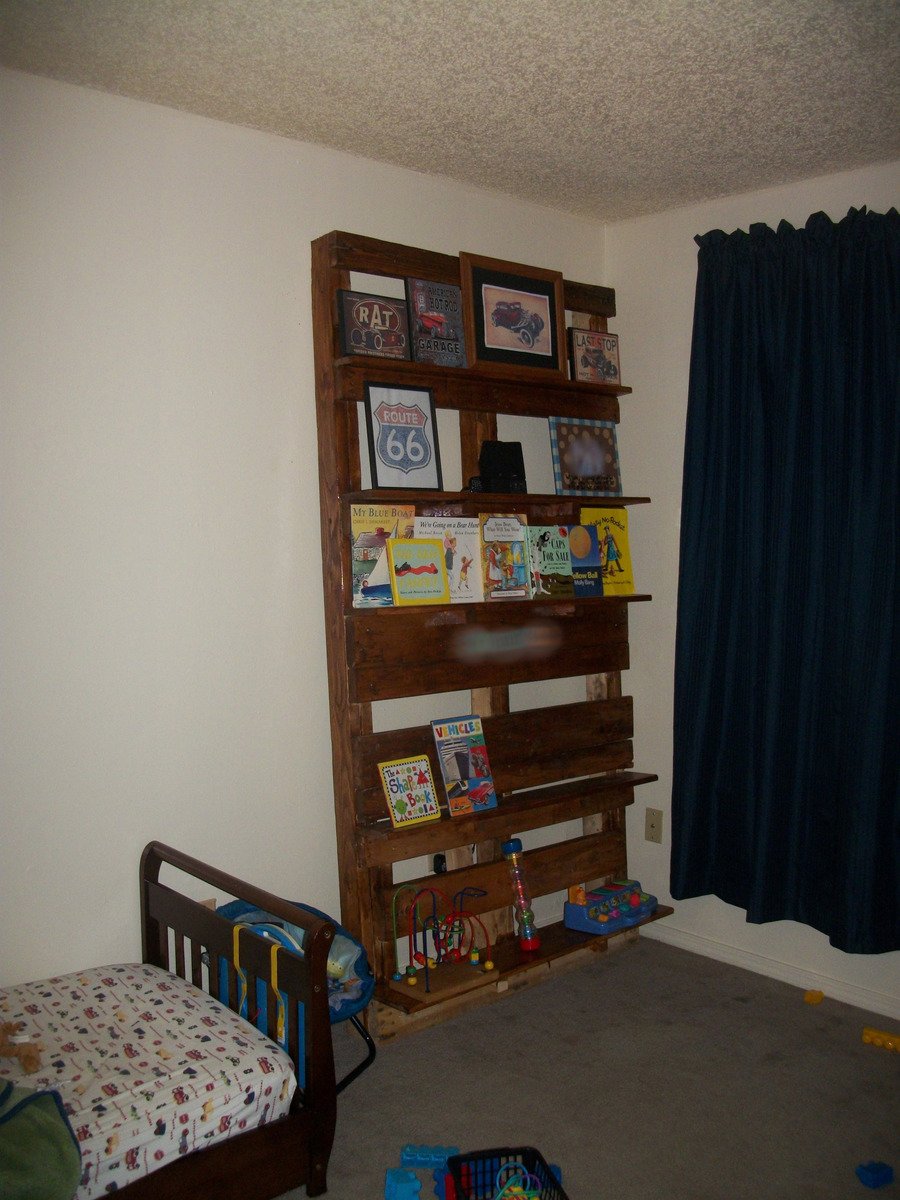
Pallet Book Shelves

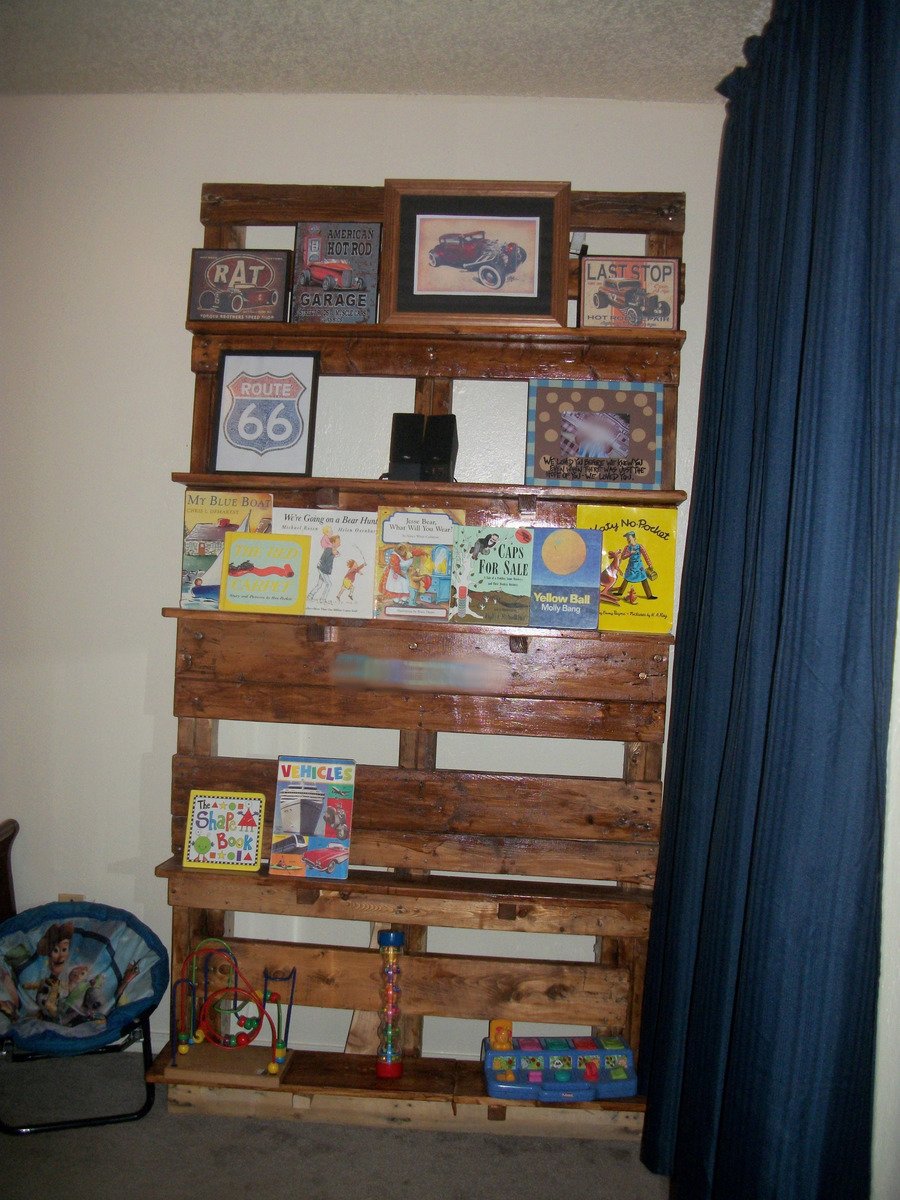
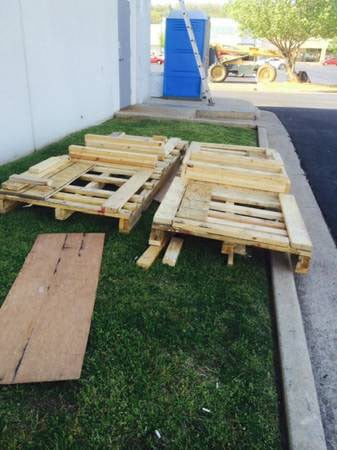
I found an ad in the Craig's List free section advertising two pallets on a first come, first serve basis behind the new pizza place near our apartment. I talked my dh into going a checking it out and there was one left when we got there. These pallets were HUGE! Nine feet long! It hung a good 3 feet over the end of the tailgate on my husband's truck! The manager of the pizza place wandered out while we were loading up and told us that their new pizza ovens had been delivered on the pallets. Cool story to tell our son about his bookshelves!

We got the pallet home after a quick stop at Lowe's for a crow bar. Dh taught me how to use a crow bar to remove the excess wood used to stablize the pizza oven on the pallet during shipment. I also learned that they use an insane amount of nails to put these things together! After pulling off about 40 pounds of useless scrap wood (literally, 40 pounds, these suckers were HEAVY!) I used some of our own scrap boards from other projects to make the shelves. We live in an apartment complex. People wandering by all day asked what I was doing. Even dh didn't understand exactly what I was trying to do but he went along with it and helped when I needed extra hands.

After getting it all put together, I used some left over poly-and-stain-in-one that we had left over. I got most of it stained with that but then I ran out. I haven't gotten around yet to getting some more. That will be the only cost associated with this project, the rest was free. Oh and the letters used for my son's name on the shelves. I blurred it out in the picture but I used dollar store vinyl letters to put his name on the shelf.

We anchored the shelf to the wall, it's stable and sturdy but I never doubt the ingenuity of a small child and even with the 40 pounds of wood we removed from this sucker, it is still H-E-A-V-Y!!!! Since it's going in a toddler's room I figured better safe than sorry. I went to Lowe's and asked for earthquake straps and I was told that we don't get earthquakes around here so they don't carry them.... I had to explain to her that earthquake straps also keep small children from toppling heavy furniture and she said they might have something in the childproofing area. They did have furniture straps as they called them in the childproofing area. Note to self: we no longer live in an earthquake prone area, people look at you like you've lost your mind if you want to strap your furniture down in case of earthquakes or curious small children.
Built from Plan(s)
Estimated Time Investment
Weekend Project (10-20 Hours)
Finish Used
MinWax PolyShades in Antique Walnut
Recommended Skill Level
Beginner

California King Farmhouse Bed

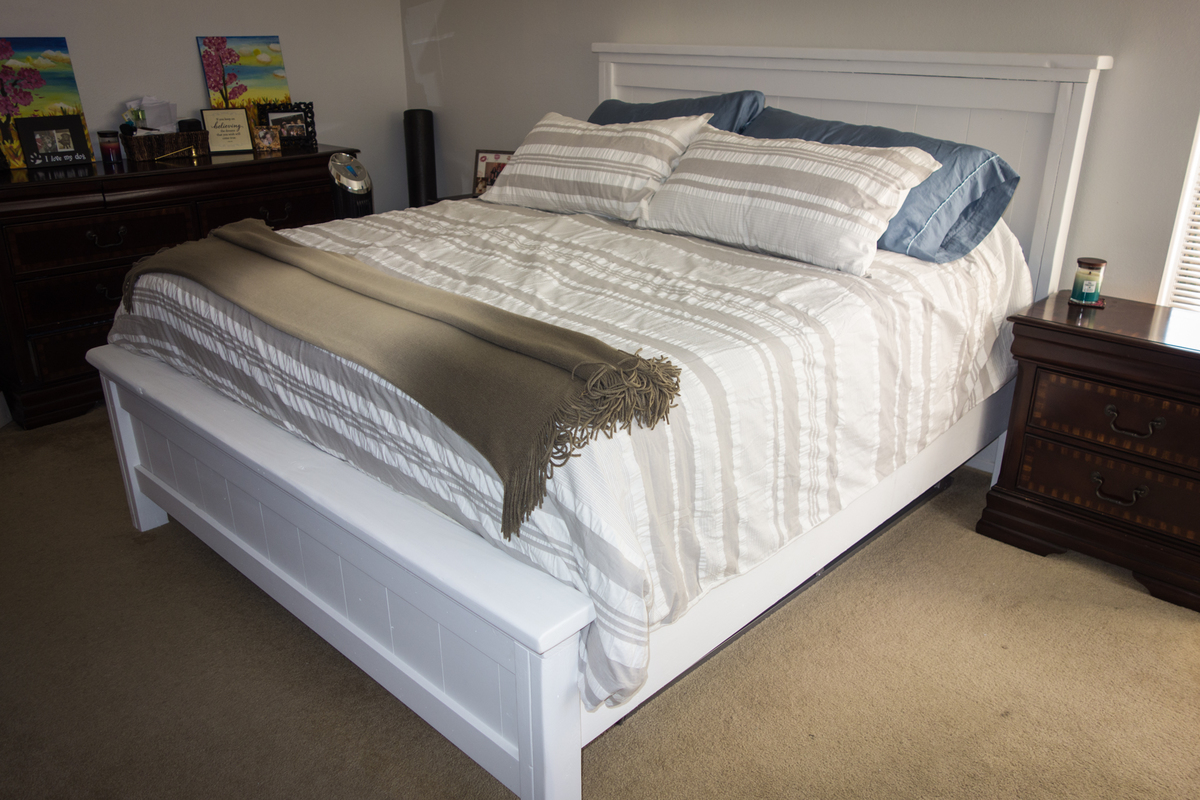
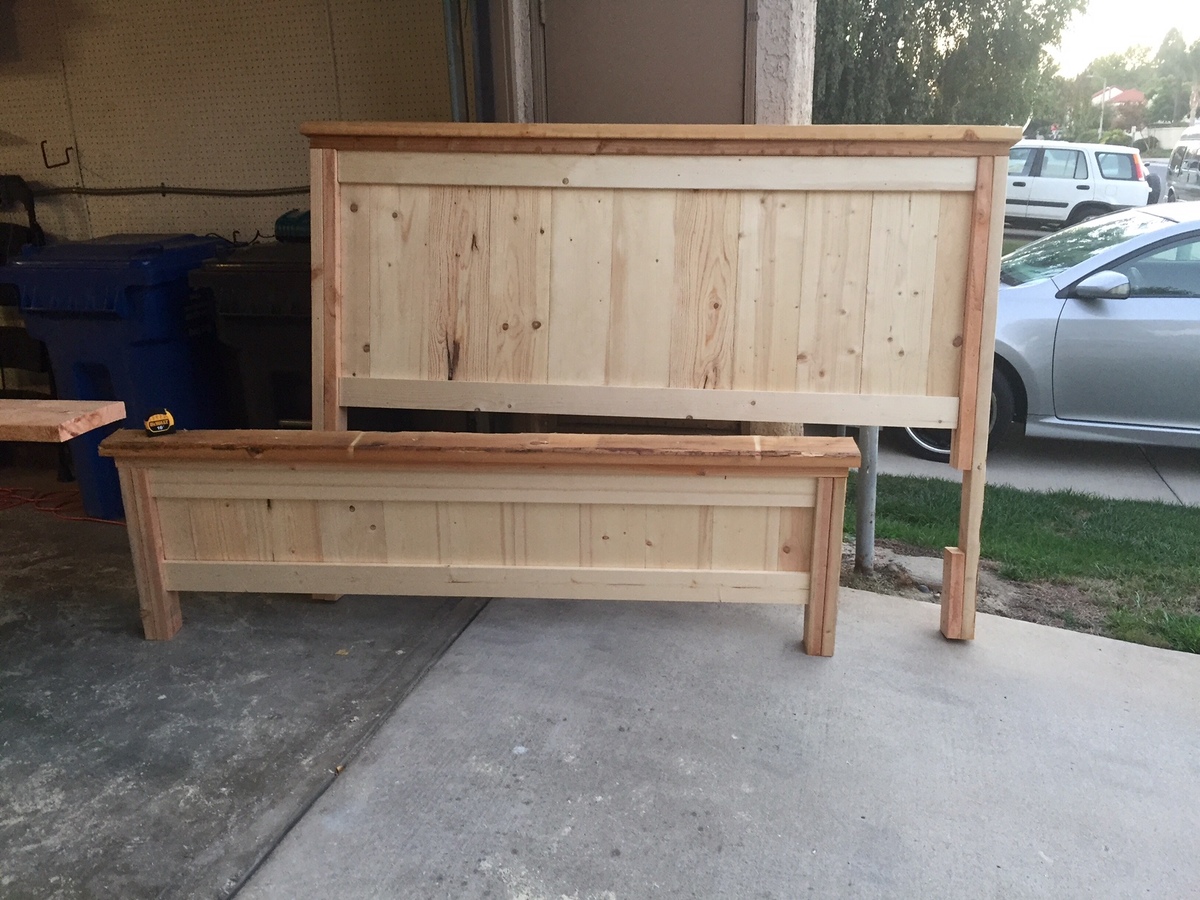
This was my first wood working project, and it came out great!  

Please note - the buy list leaves out the 2x10s needed for the sides.

Estimated Cost
$200
Estimated Time Investment
Weekend Project (10-20 Hours)
Finish Used
Zinsser Bulls Eye 1-2-3 primer, Behr Premium Ultra Polar White paint.
Recommended Skill Level
Intermediate

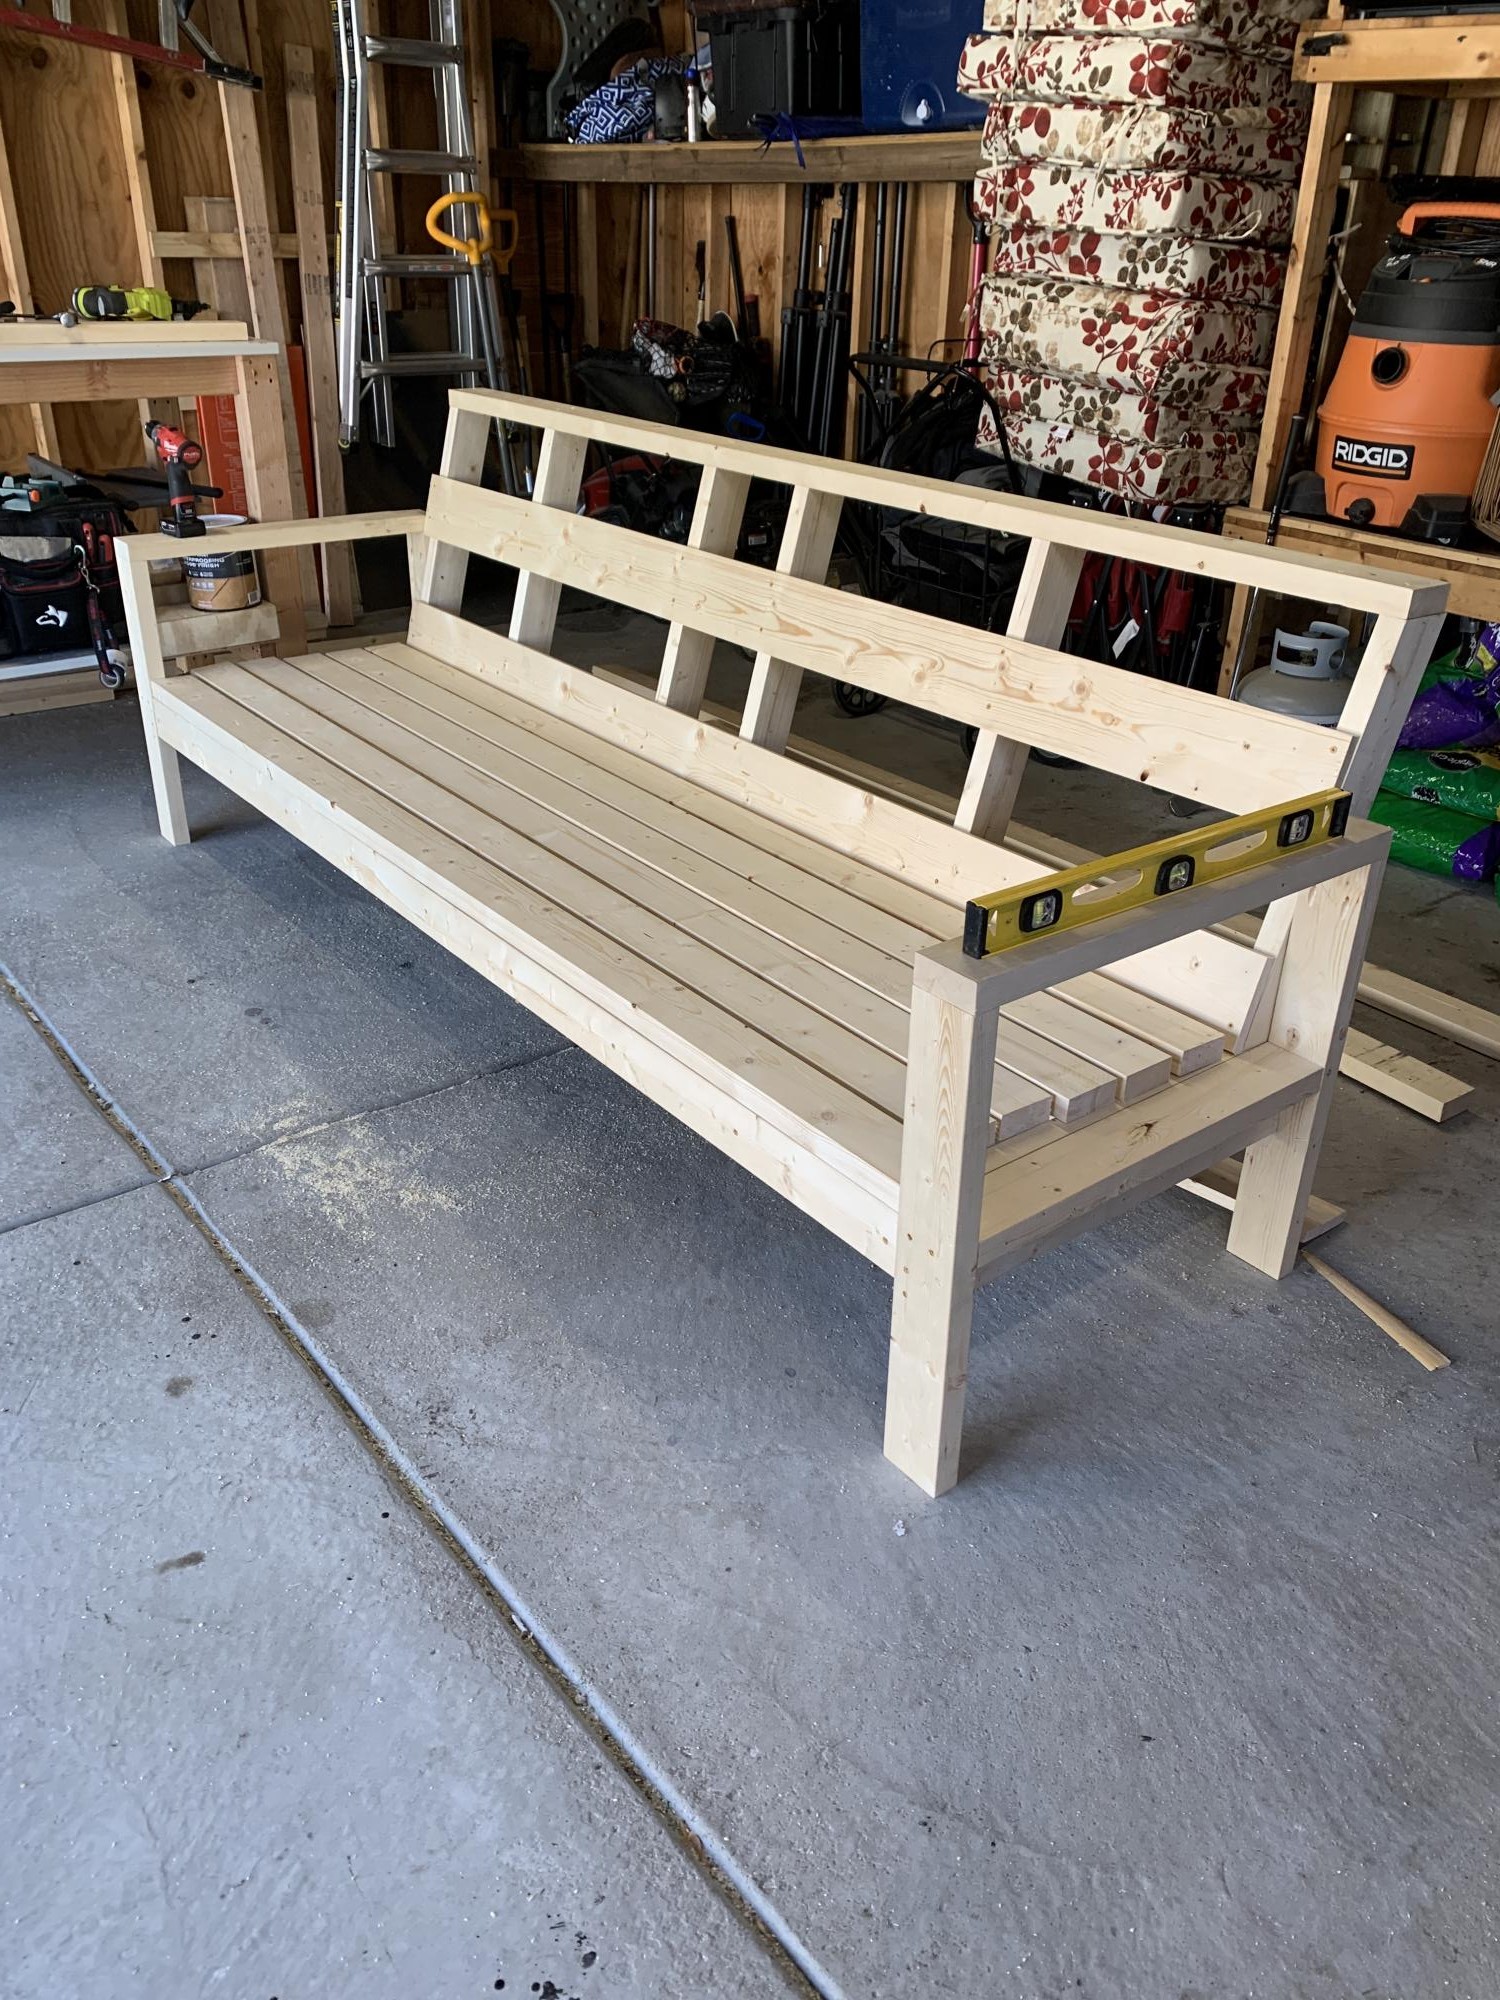
Outdoor Sofa

Submitted by mmendoza on Wed, 06/17/2020 - 18:18

My wife wanted a outdoor sofa, so I did a lot of search for the simplest plan and cost effective for us and I ended finding your youtube post and I said what the heck...lets go for it. Although, I like your plans, I modified it a little, the seat back is a little higher and at a 15 degree angle.

Estimated Time Investment
Weekend Project (10-20 Hours)
Finish Used
Expresso Stain and satin finish poly
Recommended Skill Level
Intermediate

laundry sorter

Submitted by jsa271 on Sun, 08/12/2012 - 21:09

I used the instructions from ana-white's website. Instead of building 2 separate boxes for 6 baskets, I decided to make one big sorter that would hold 6 baskets. The sorter has been an amazing help. We have a family of 6. 3 baskets for dirty and 3 baskets for folded clean clothes. 3 Dirty baskets: whites, colors, and sheets/towels. As for the other 3 baskets: 2 people per basket. The top of the sorter provides counter space to fold.

Built from Plan(s)
Estimated Cost
$35
Estimated Time Investment
Afternoon Project (3-6 Hours)
Finish Used
White paint
Recommended Skill Level
Beginner

Comments

5 tator tots (not verified)

Tue, 08/14/2012 - 08:13

With a family of 7 (soon to be 8) we really need this. Thanks for sharing the uses of each basket. That is what I am trying to figure out. I also need the washer/dryer pedestals for dirty laundry so the dresser could just be for clean, but homeschooling and cooking for all these kids keeps me from jumping in to projects and the pedestals may be a long way off as my (very talented) husband's busy season is starting.

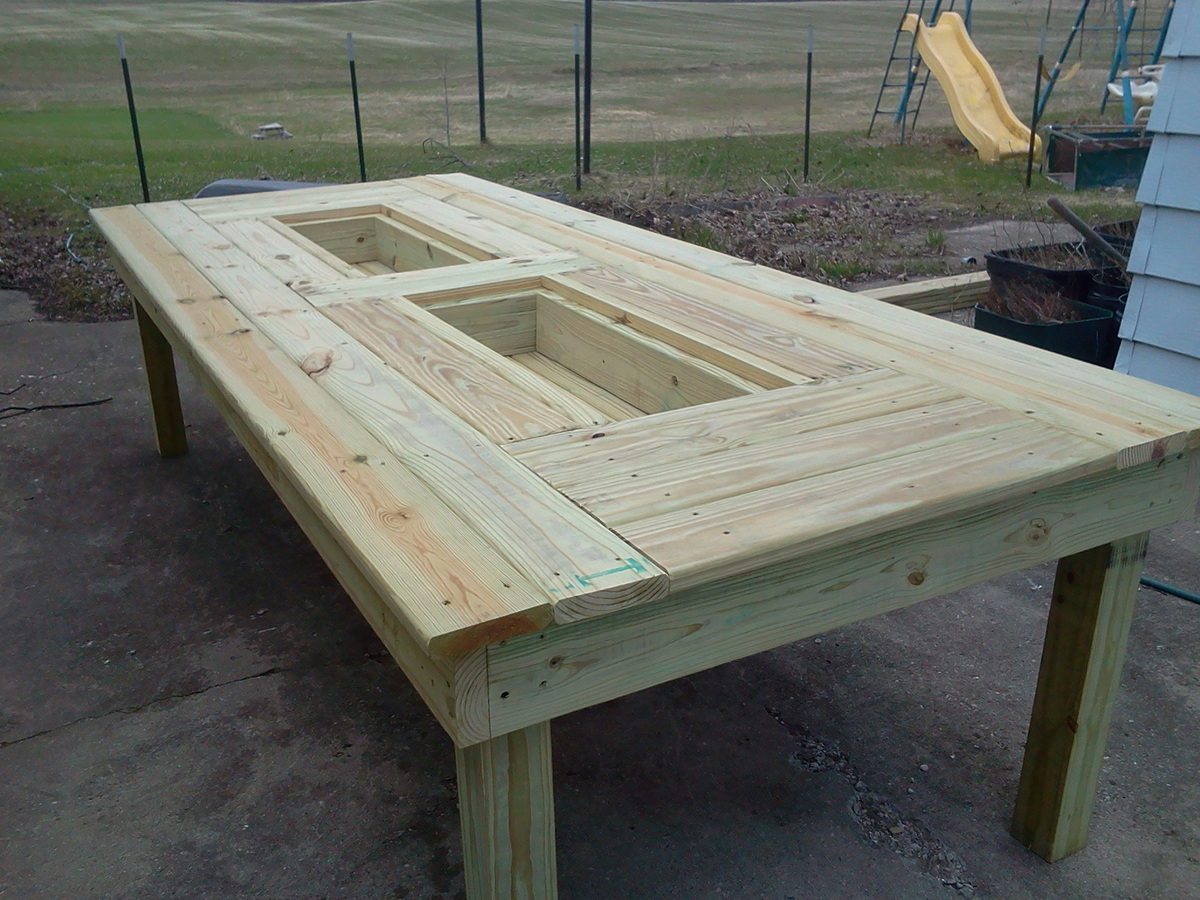
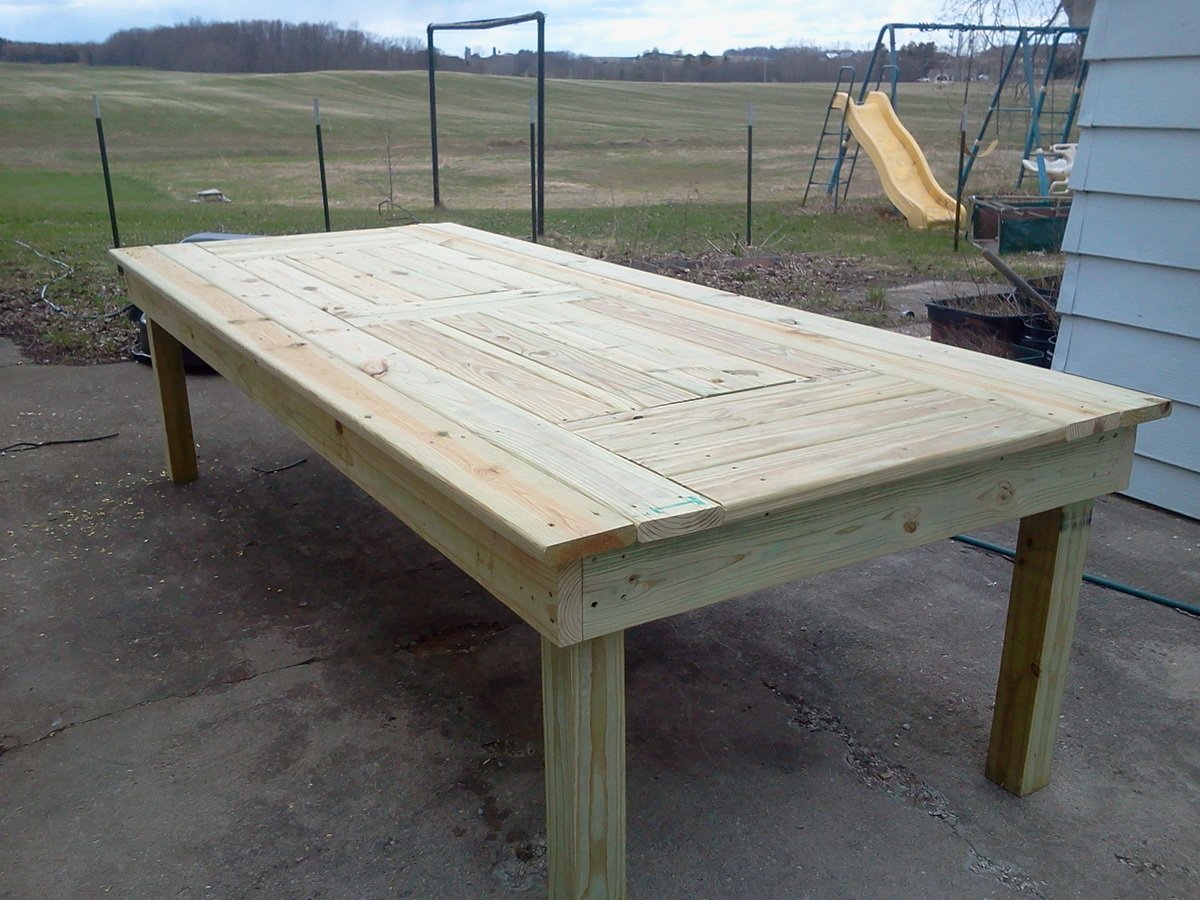
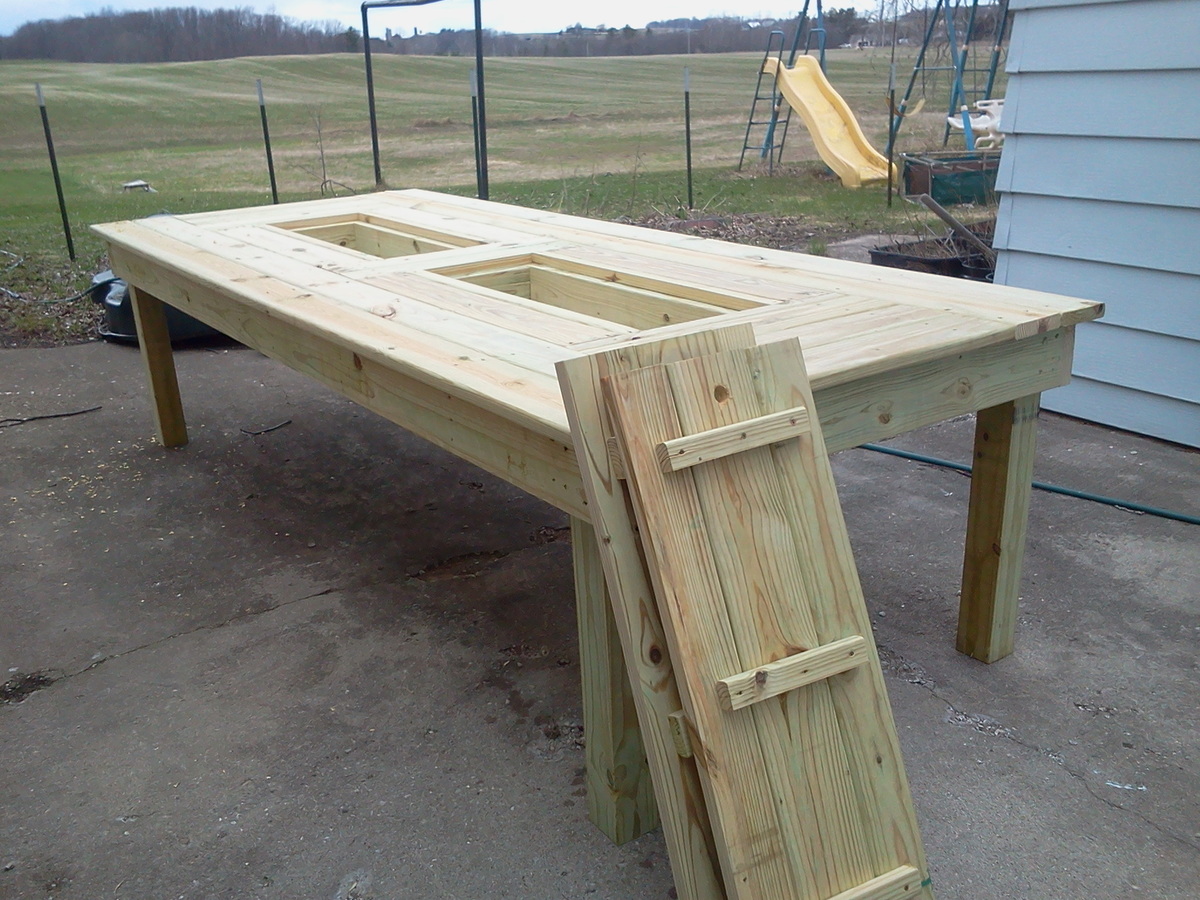
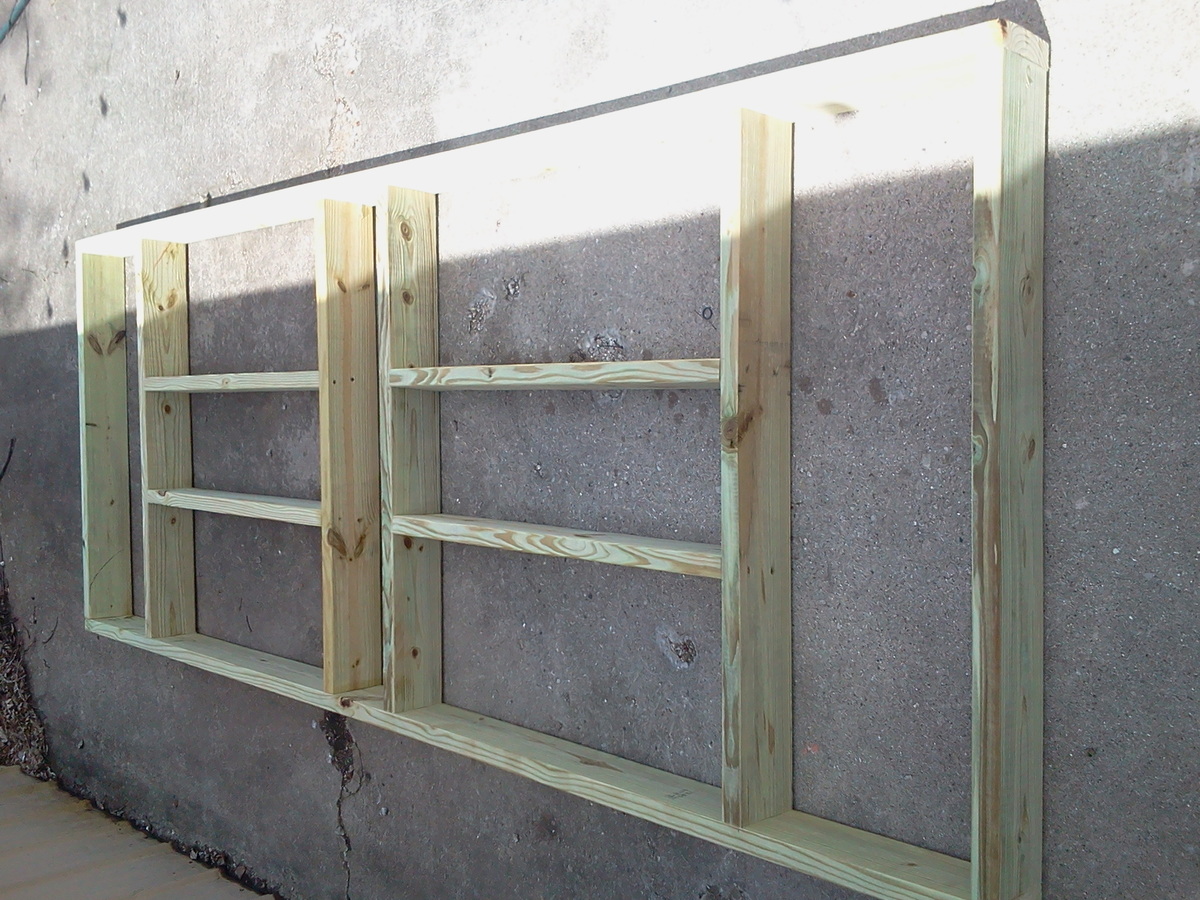
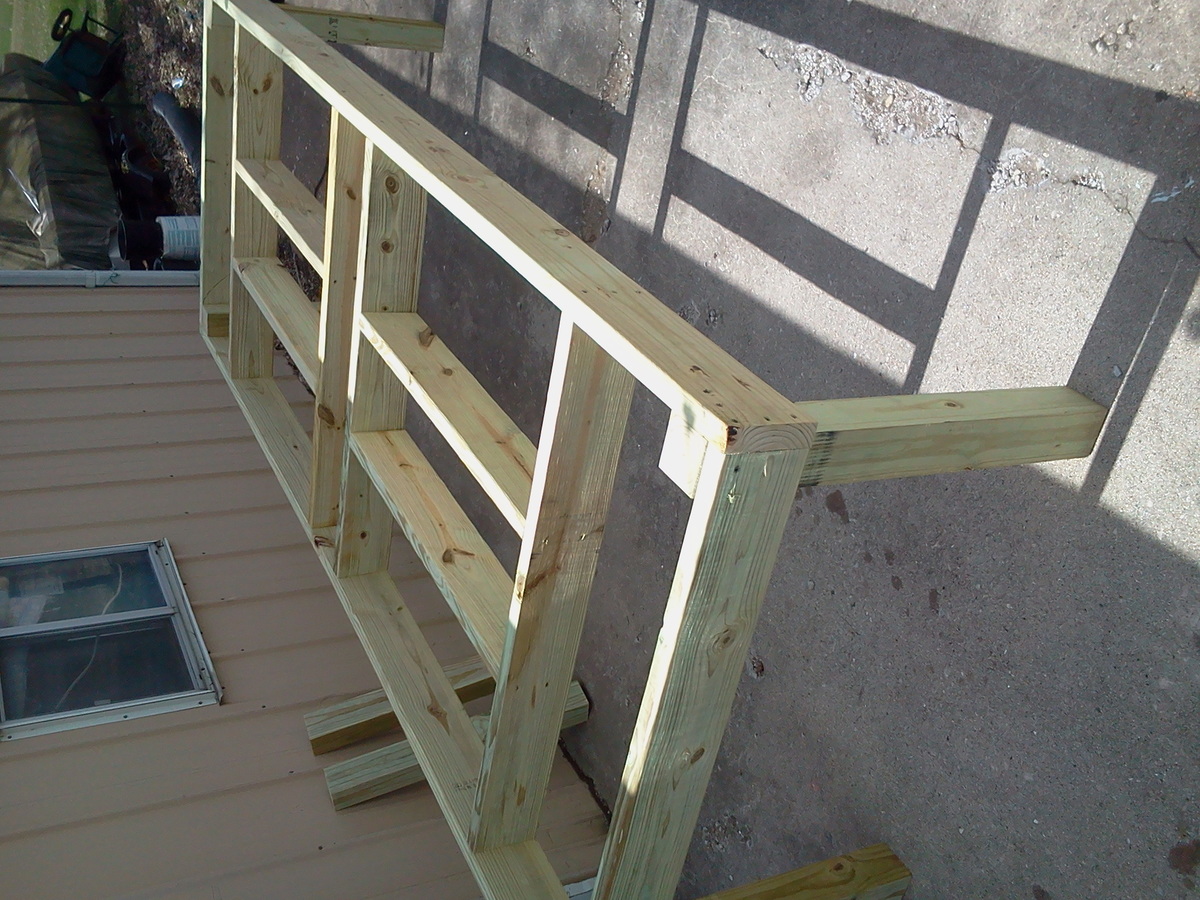
Treated Outdoor Beverage Table

Submitted by Niemann04 on Wed, 06/04/2014 - 12:03

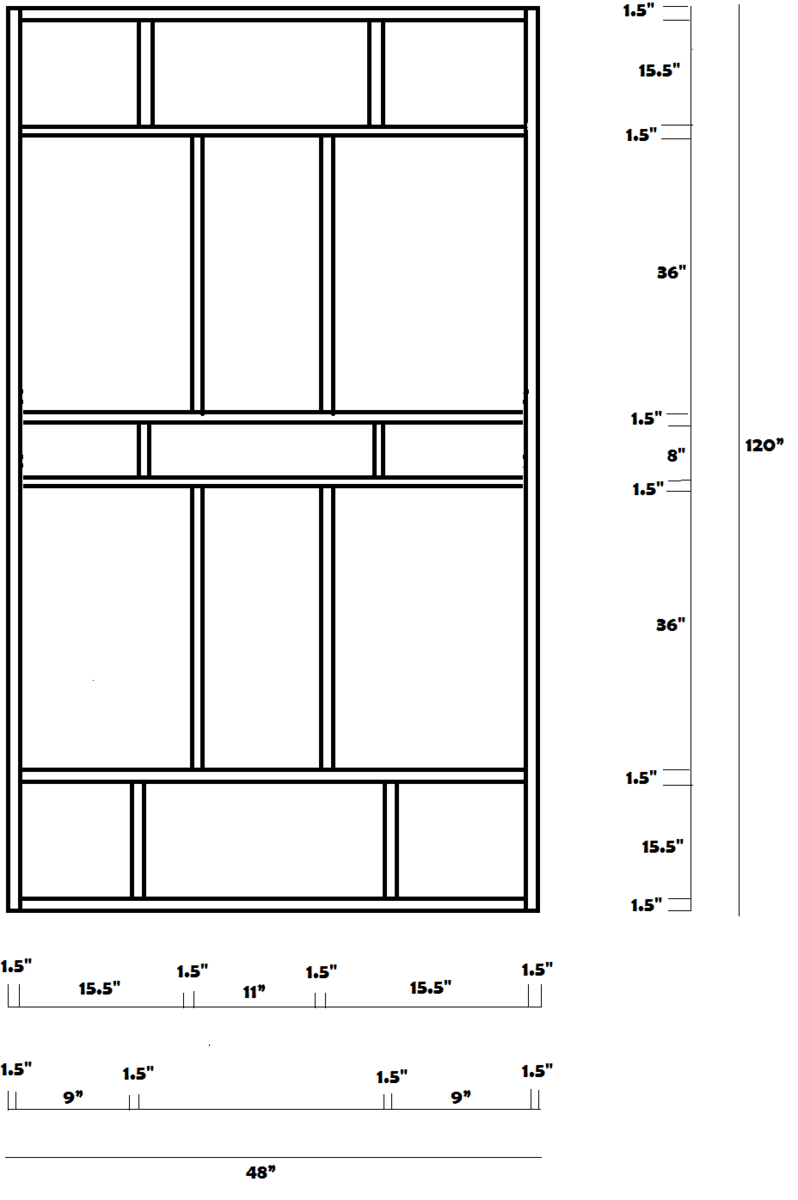
This project was inspired by the post I found on Ana-White.com however I changed some of the dimensions and cut list to make it my own. I built one of these for my Mother and her and her friends keep talking about it to this day.
Estimated Cost
$145.00
Estimated Time Investment
Afternoon Project (3-6 Hours)
Finish Used
Outdoor entertaining
Recommended Skill Level
Beginner

Comments

Arhaus inspired bookshelf

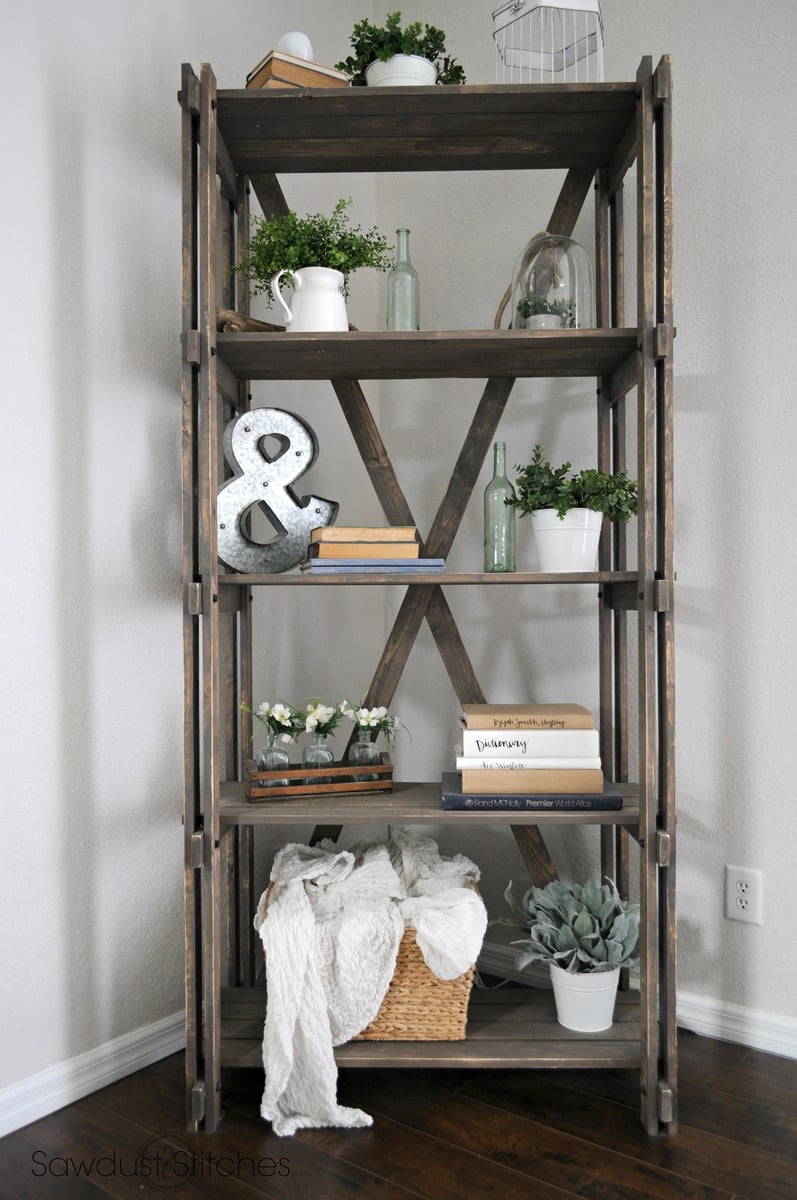
 Awesome rustic book case that was inspired by an Arhaus table. It is a fun twist on a traditional  book shelf with  tons of character! 

Estimated Cost
$55 -$75
Estimated Time Investment
Afternoon Project (3-6 Hours)
Finish Used
Briarsmoke Stain "Varathane"
Recommended Skill Level
Beginner

Modern Bunk Bed - Side Street - Triple Bunk

Submitted by Anonymous (not verified) on Sat, 06/20/2020 - 11:39

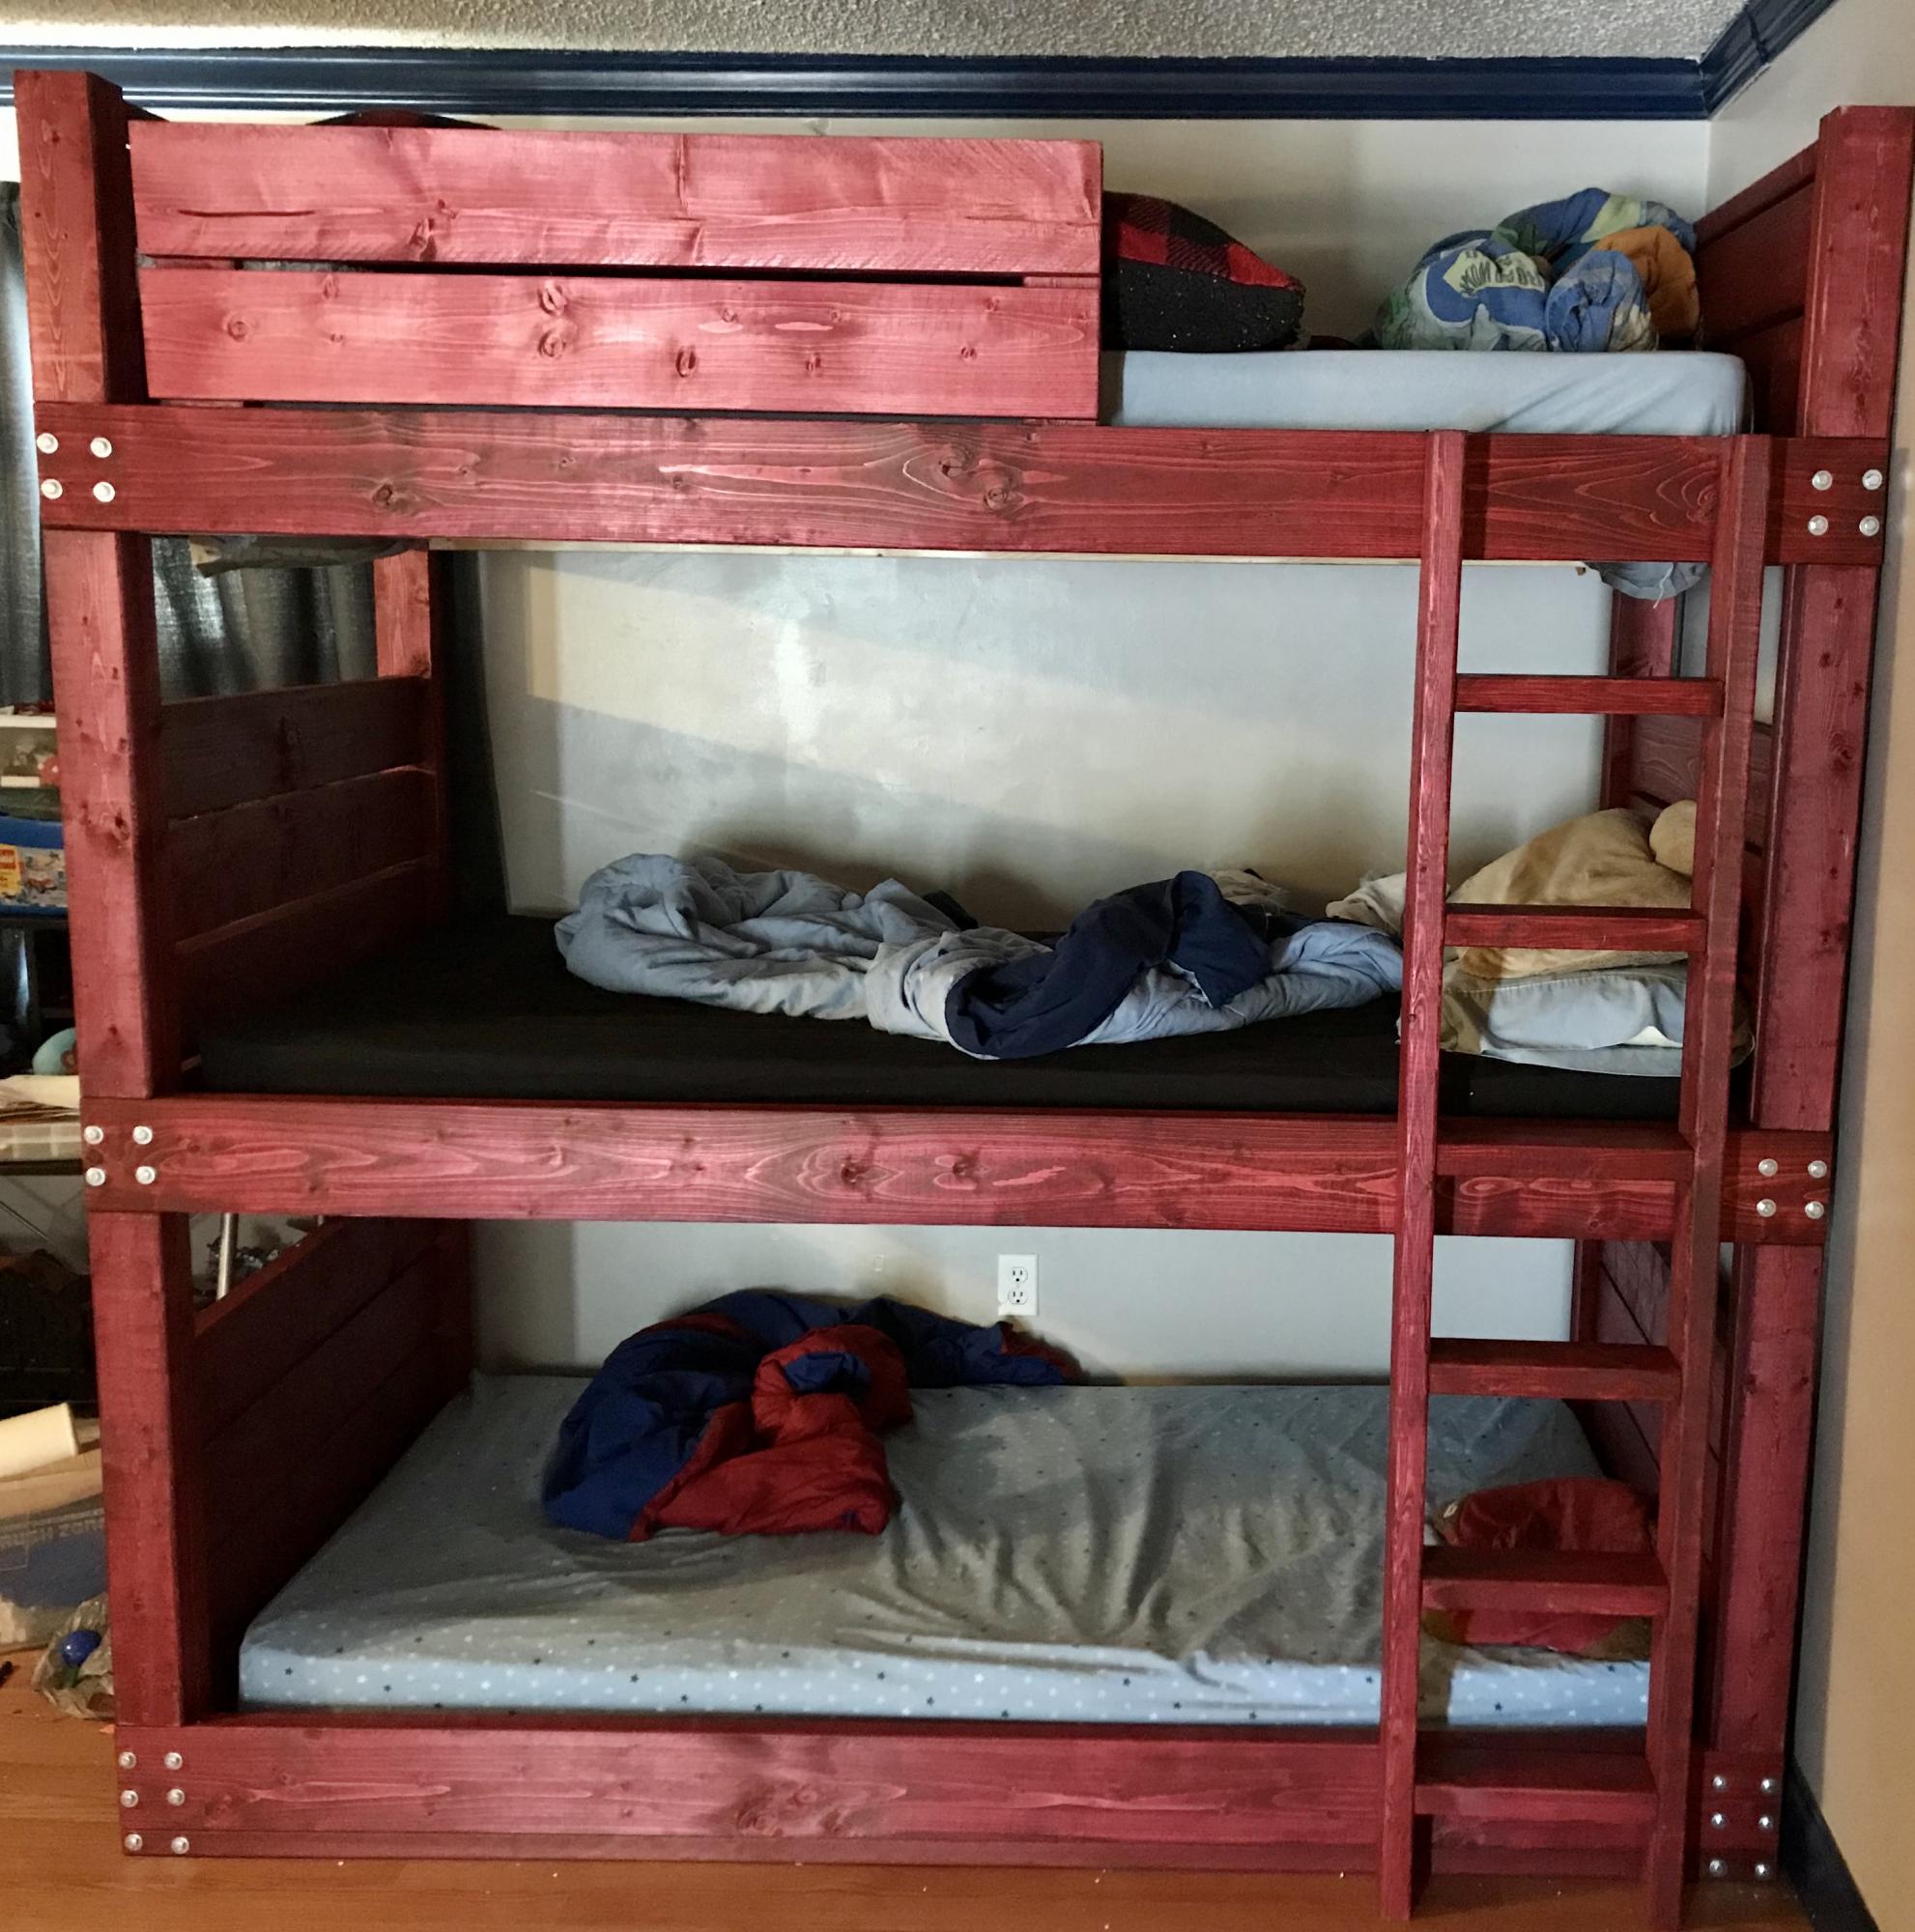
Our four boys matching double bunk beds recently succumbed to being used abused by four boys for 12 or so years, and I have always wanted to make them a pair of triple bunk beds for when friends come over. The broken pieces of a bed that had survived numerous military moves finally gave me the jump start I needed to finally get this job done. After about a day of measuring, pondering, and configuring, I came up with what I thought were good dimensions for the project. I increased the height of the corner posts to seven feet to allow for a higher top bunk, and squished the bunks a little tighter together as well. This ended up giving me a 26” gap between the bunks. When I build the next one, I will cut this down to 24” between each and give a little room room to the top bunk. Trial and error I guess. I added a 2x2 all the way around the bottom because although I wanted it very low, I didn’t want anyone feeling like they were sleeping on the ground, but I also didn’t want some 1” or 2” gap below the bottom bunk for balls, cars, and LEGOs to be lost. The guardrail was shortened a little based on what wood I had left at the end. The ladder I decided to build upright/no angle, which necessitated that I fashion the ladder myself out of some strip of metal that I think is meant for some sort of roofing purpose. Oh well, it worked. I wanted to do this because the bed is meant to be able to be disassembled, and if I had simply screwed the ladder to the bed, it would have gone against the “disassemble-bility” of the project. Last thing to note, the barn red staining was quite messy and a huge time investment, so although I stated it took 10-20 hours, probably 12 of the 20 hours was in the staining. We are all thrilled with the look of it though, so I guess it was worth it in the end. I hope this project was worth the read. Enjoy!

Built from Plan(s)
Estimated Cost
$275 including wood, screws, stain, brushes, etc
Estimated Time Investment
Weekend Project (10-20 Hours)
Finish Used
Minwax Barn Red
Recommended Skill Level
Beginner

Comments

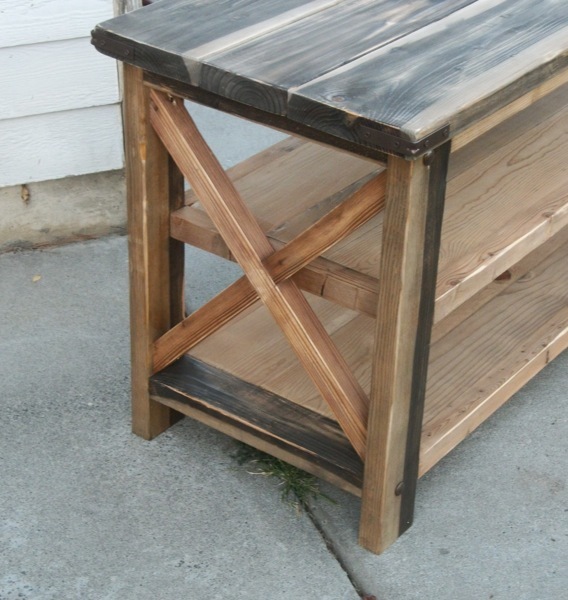
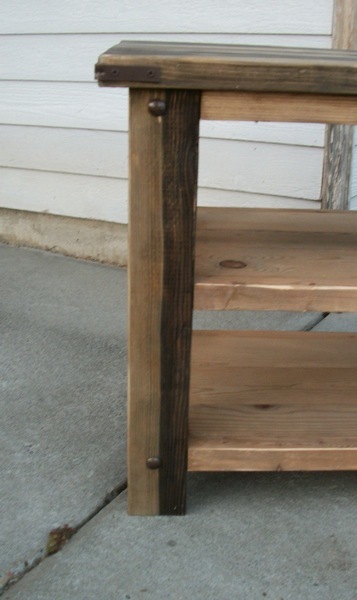
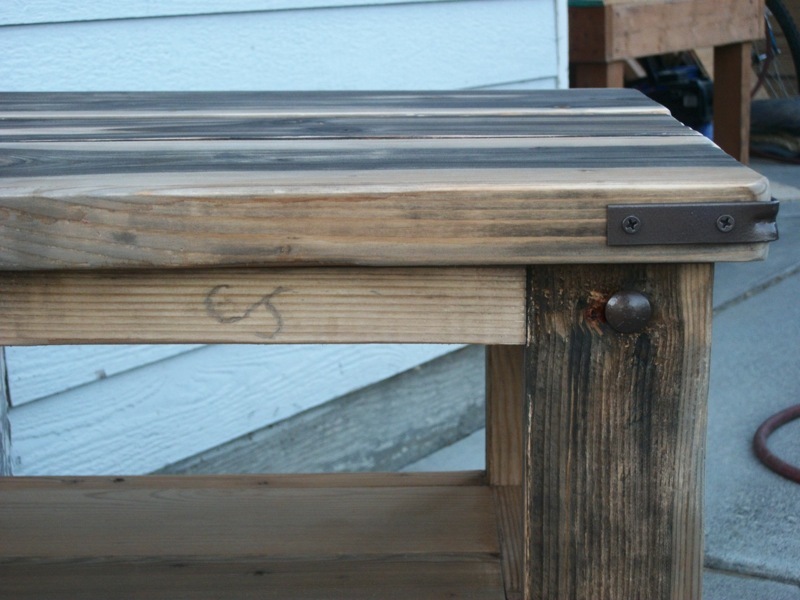
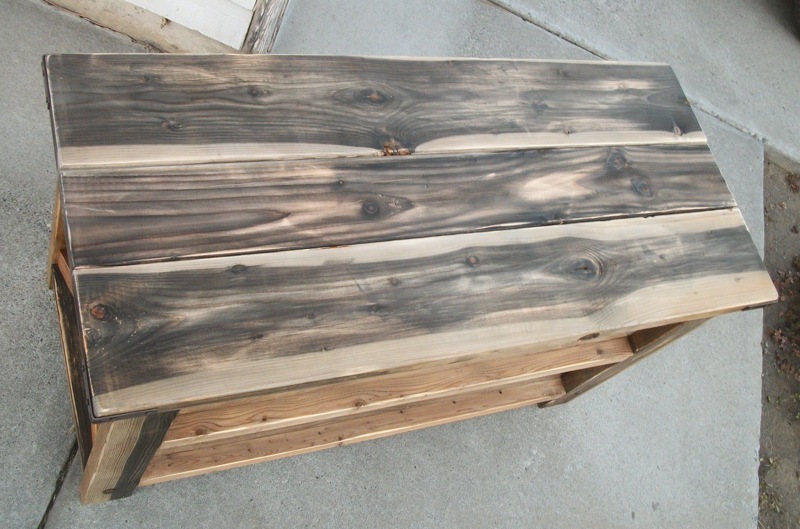
Mom's Rustic X Console

Submitted by tracysmith on Thu, 08/16/2012 - 20:18

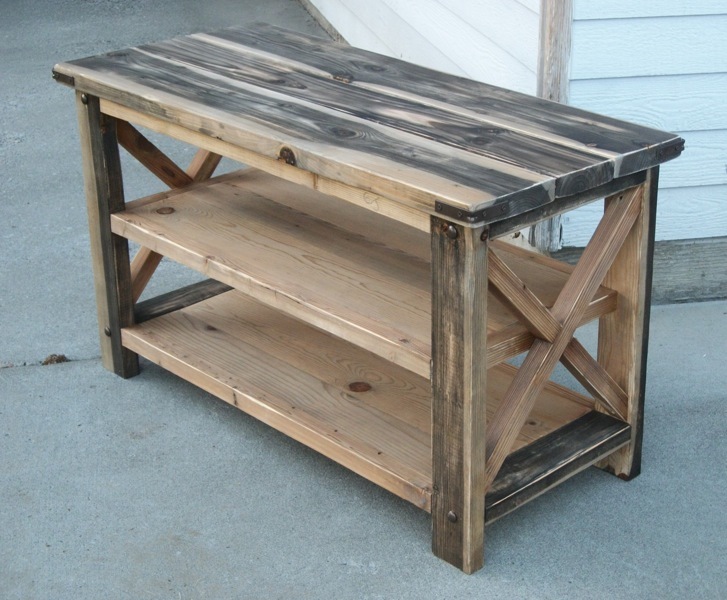
As soon as I saw these plans, I showed my mom who fell in love with the look. She loved it but of course, we had to modify it so that it would fit her needs and fit into her space. I love it too, makes me want to build myself another tv console, but I already built myself one. ;-)

Built from Plan(s)
Estimated Cost
about $100
Estimated Time Investment
Afternoon Project (3-6 Hours)
Finish Used
I used the steel wool/vinegar solution. Cheap easy and oh so beautiful!!!!!!!
Recommended Skill Level
Beginner

Comments

Cyber Sapp

Mon, 04/28/2014 - 09:18

Can you share the dimensions of this cart. I'm looking to modify this similar to what you did. I need a smaller piece than what the plans require. Thanks in advance.

5th Project - Tilt Out Trash Can

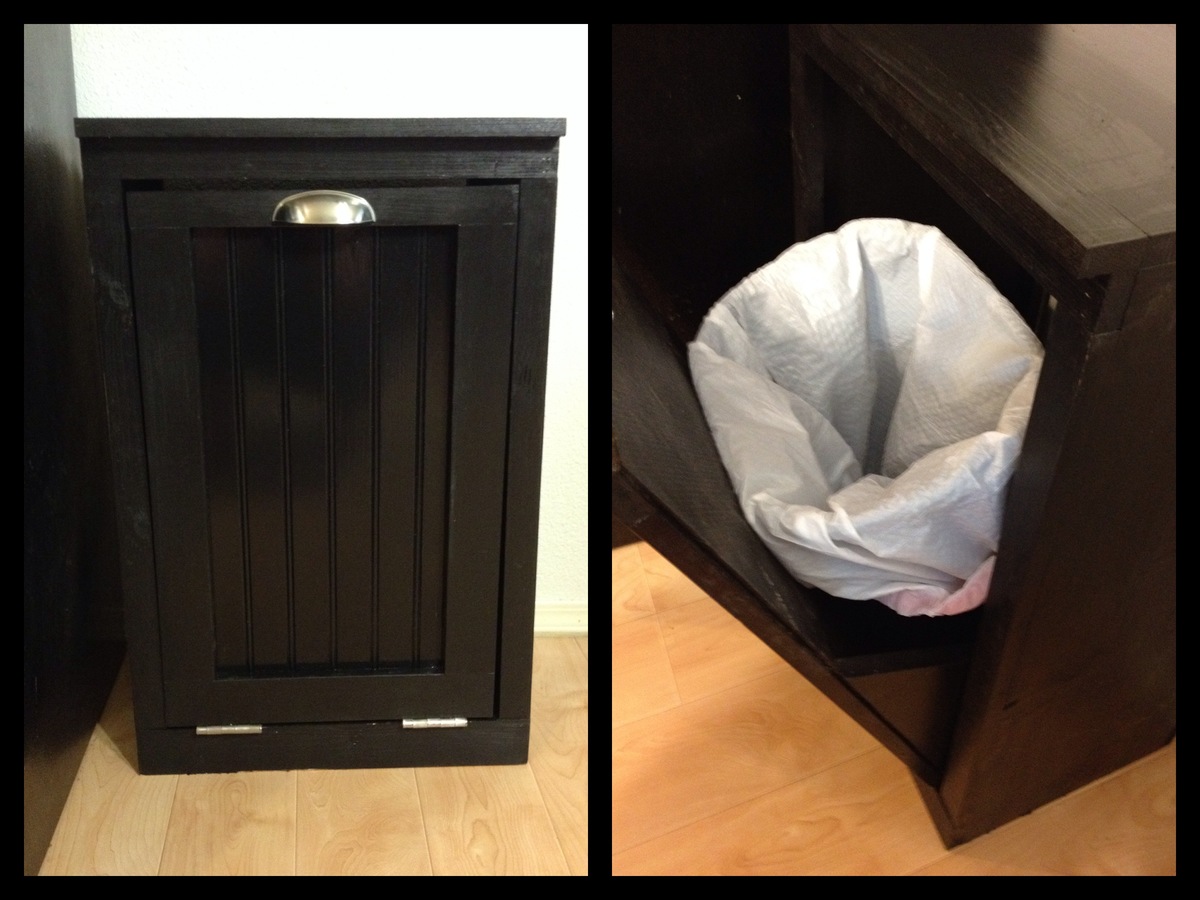
This was my fifth project and it went pretty well. I ended up having to trim a little off the top of the door after I had it assembled because I wasn't paying attention to detail and built it to fit the back opening. It was pretty simple to size it down, though. I finished it off with some leftover black paint that I used for the top of my workbench last summer. Super happy with the way it turned out!

Estimated Cost
$50
Estimated Time Investment
Day Project (6-9 Hours)
Finish Used
Behr black
Recommended Skill Level
Beginner

Using Commonly Lost Garage Spaces for Storage

Submitted by lookitsash on Thu, 09/08/2016 - 11:52

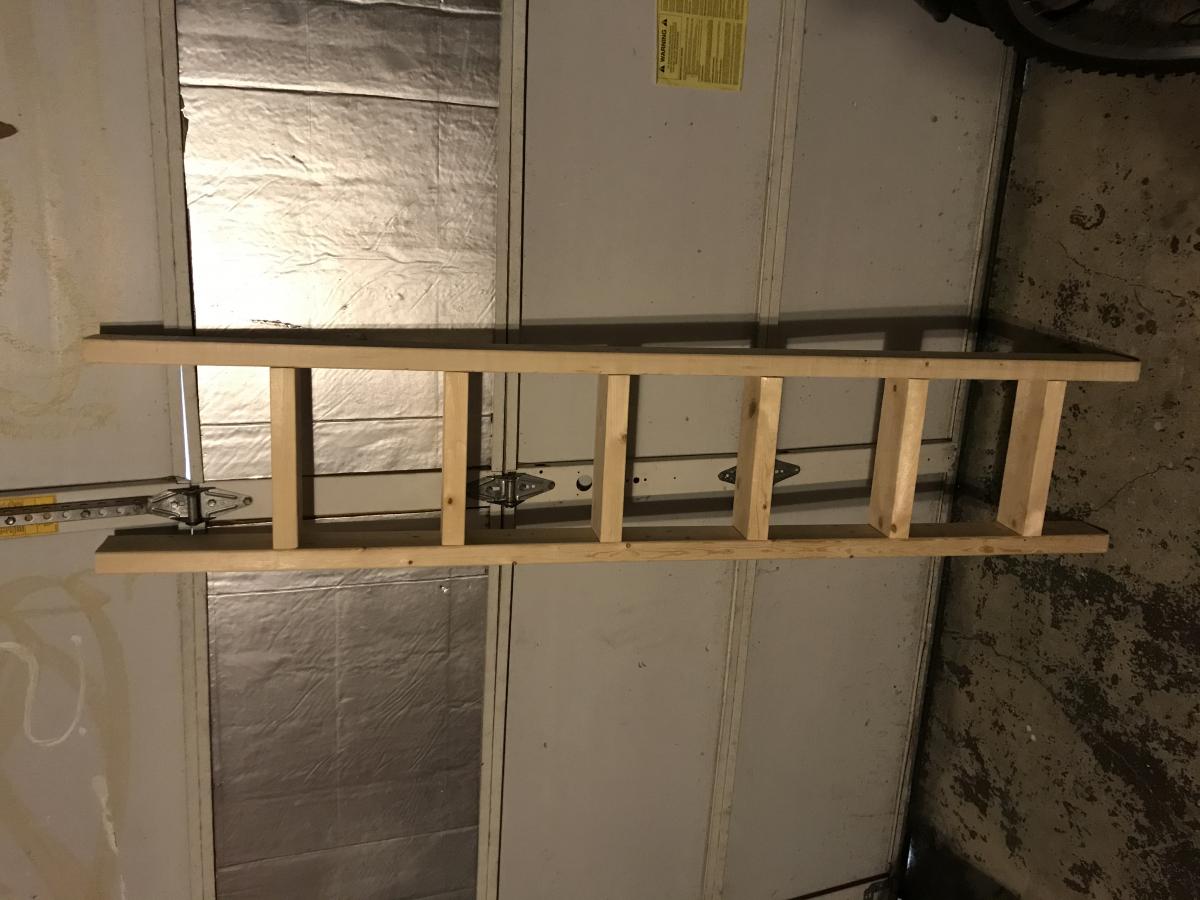
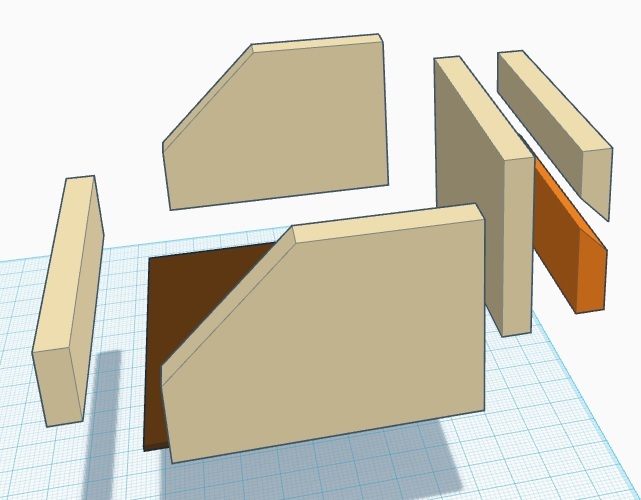
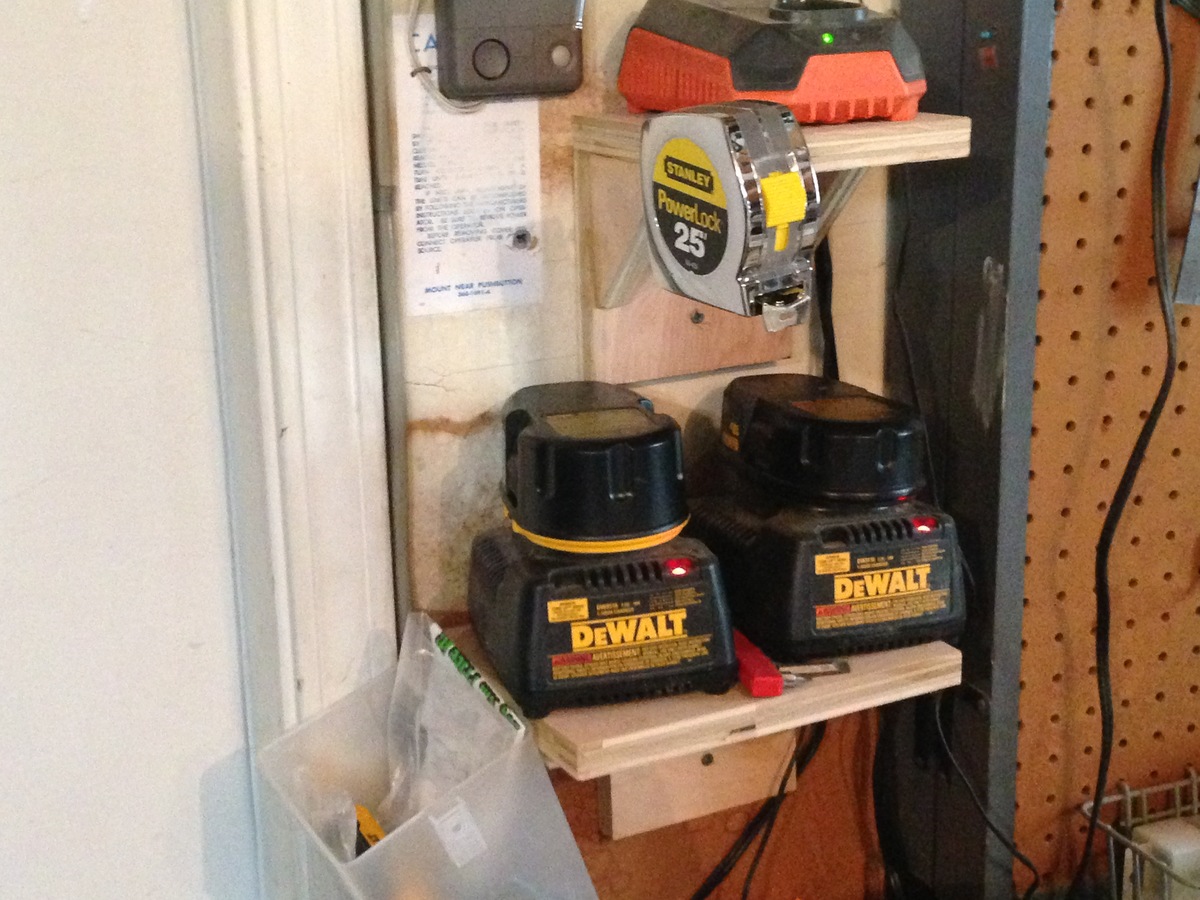
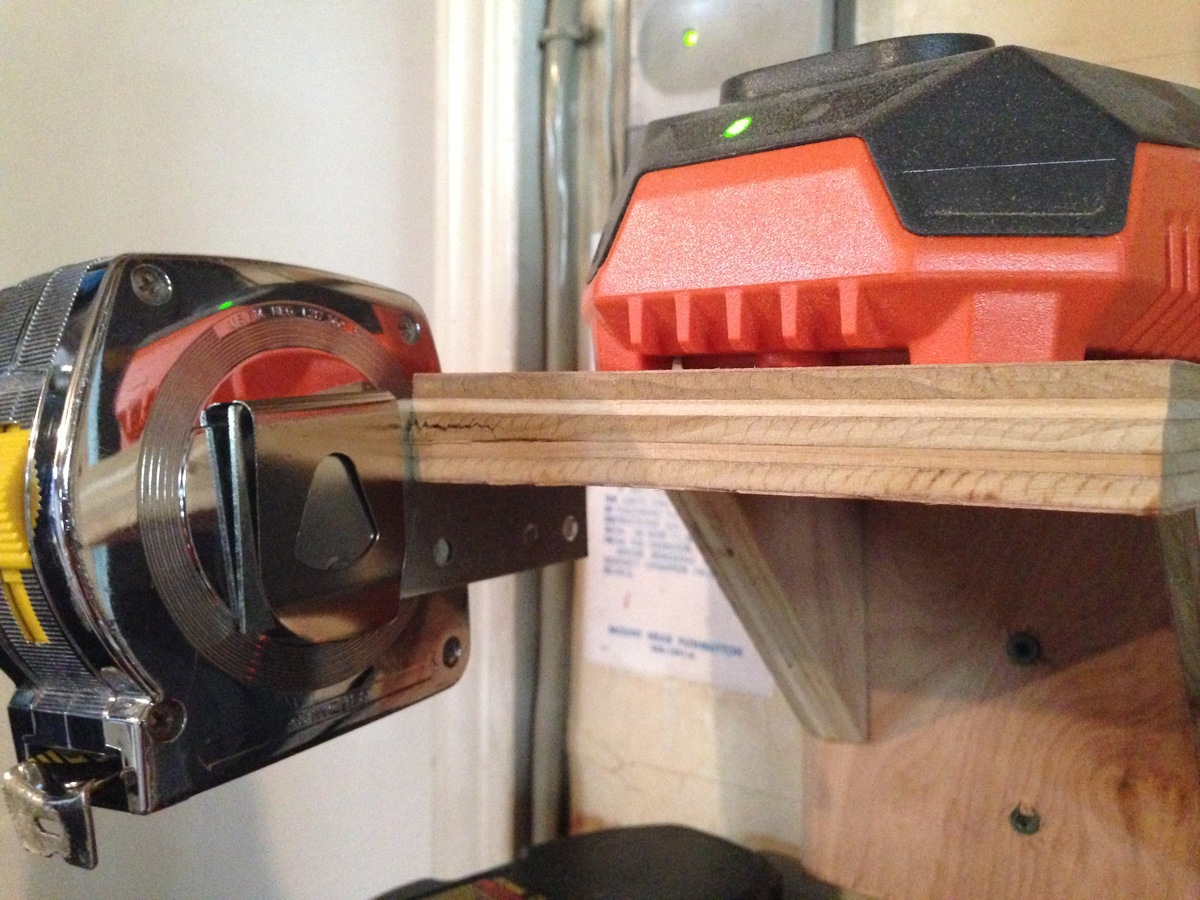
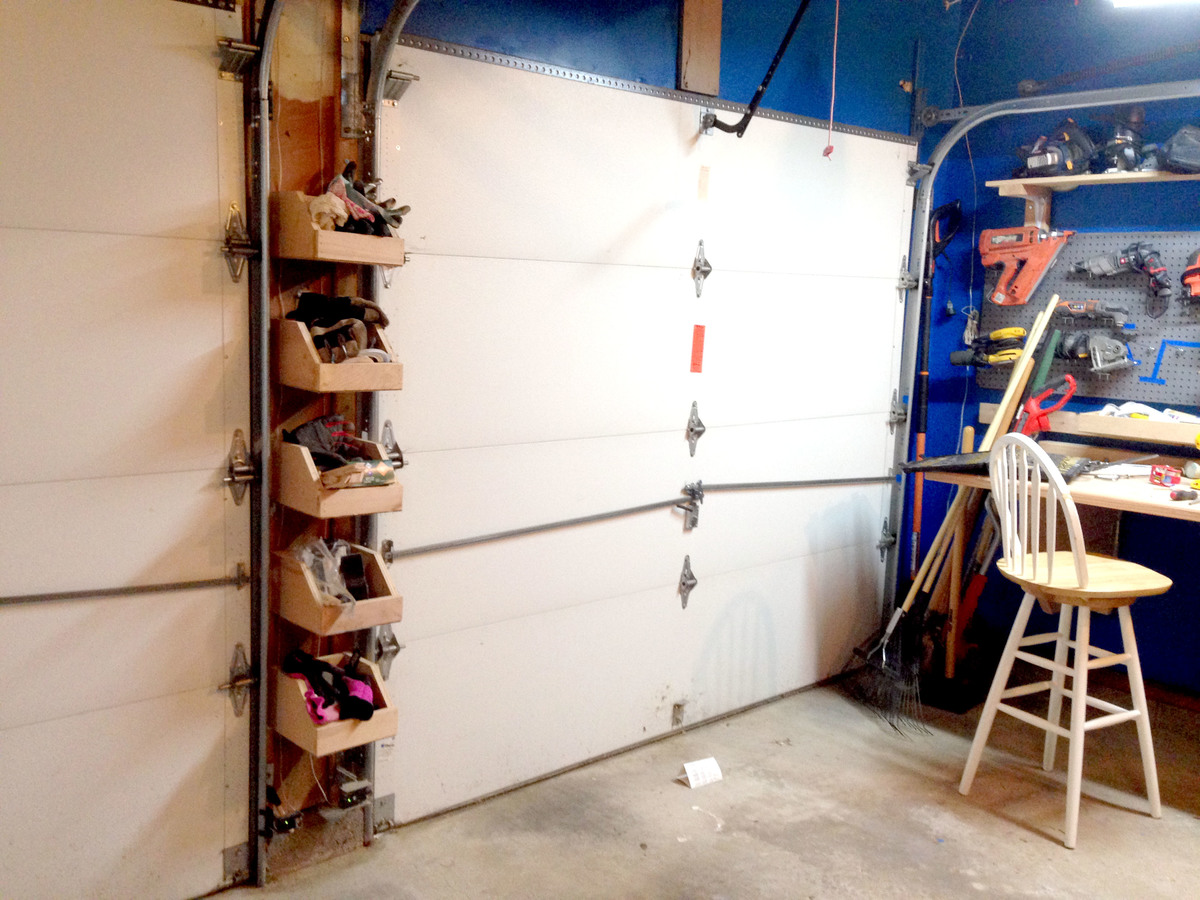
I recently spotted a little gem in the garage - a little space in between the garage doors. It was perfect for building a modular system of small French cleat box shelves. I made them all using scrap wood. I even had extra scrap wood to make a battery charging station in another narrow gap on the wall. You can read all the details about my latest storage adventure on my blog:


http://www.justmeasuringup.com/blog/using-commonly-lost-garage-spaces-for-storage


I'm on high alert for more areas like this that get overlooked easily, and am just waiting for more inspiration to strike!

Estimated Cost
$0 for me as I used all scrap wood, but you're not as lucky, under $20 in lumber
Estimated Time Investment
Afternoon Project (3-6 Hours)
Finish Used
none used, but a nice stain or paint could add some more visual appeal
Recommended Skill Level
Beginner

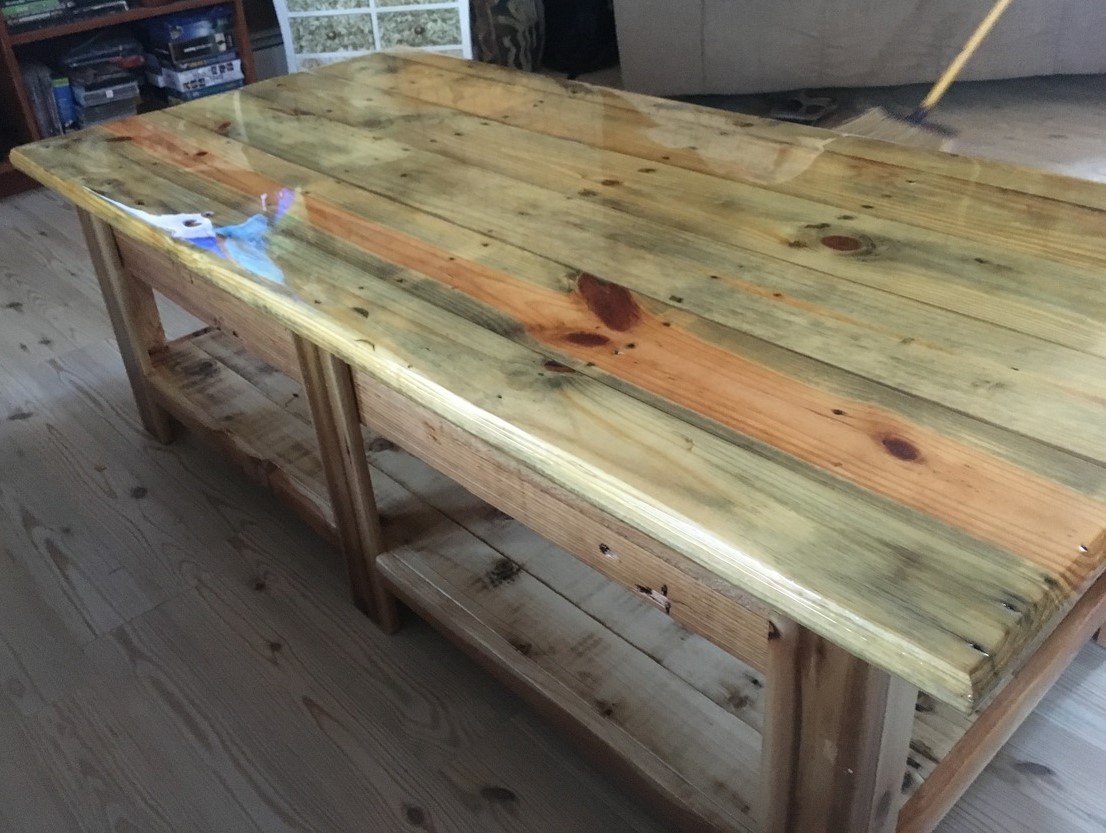
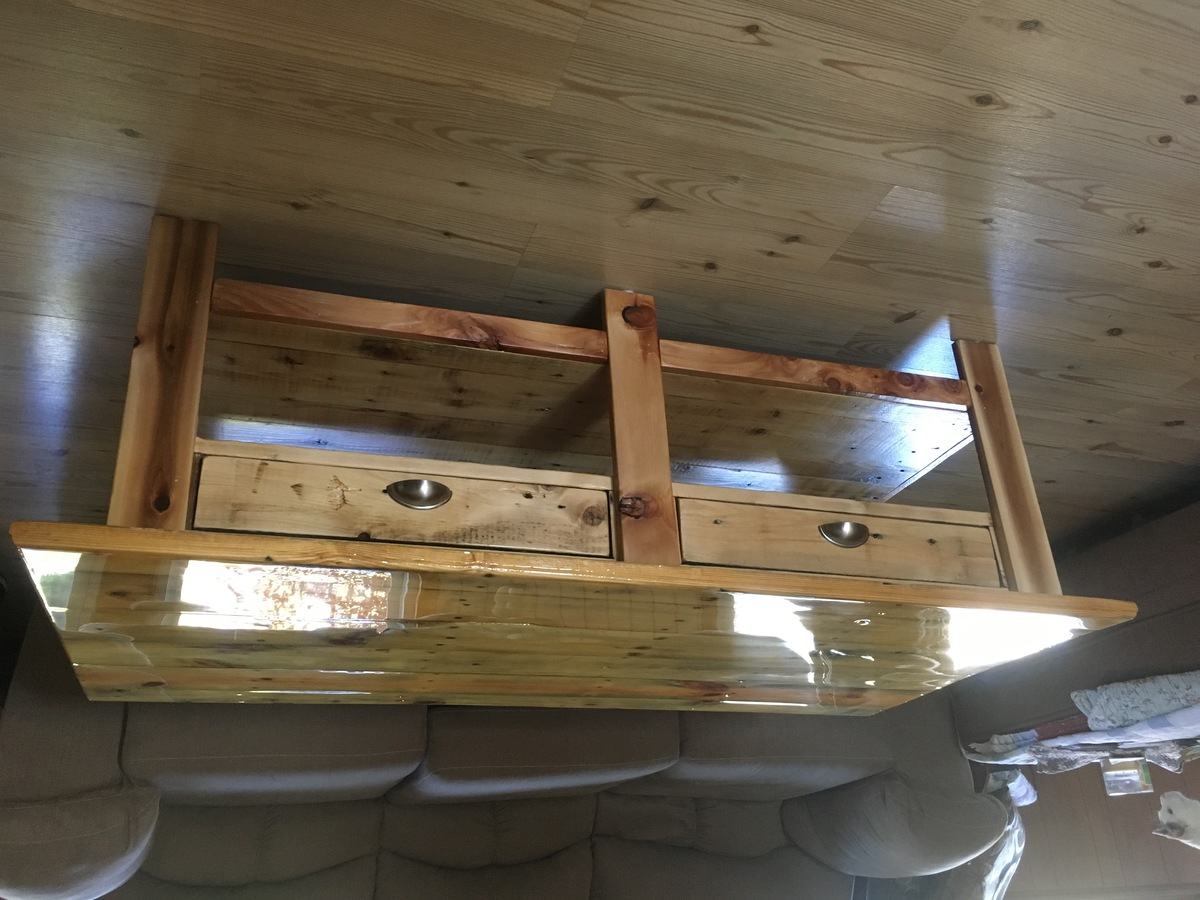
Farmhouse coffee table

Submitted by Anonymous (not verified) on Mon, 06/22/2020 - 10:49

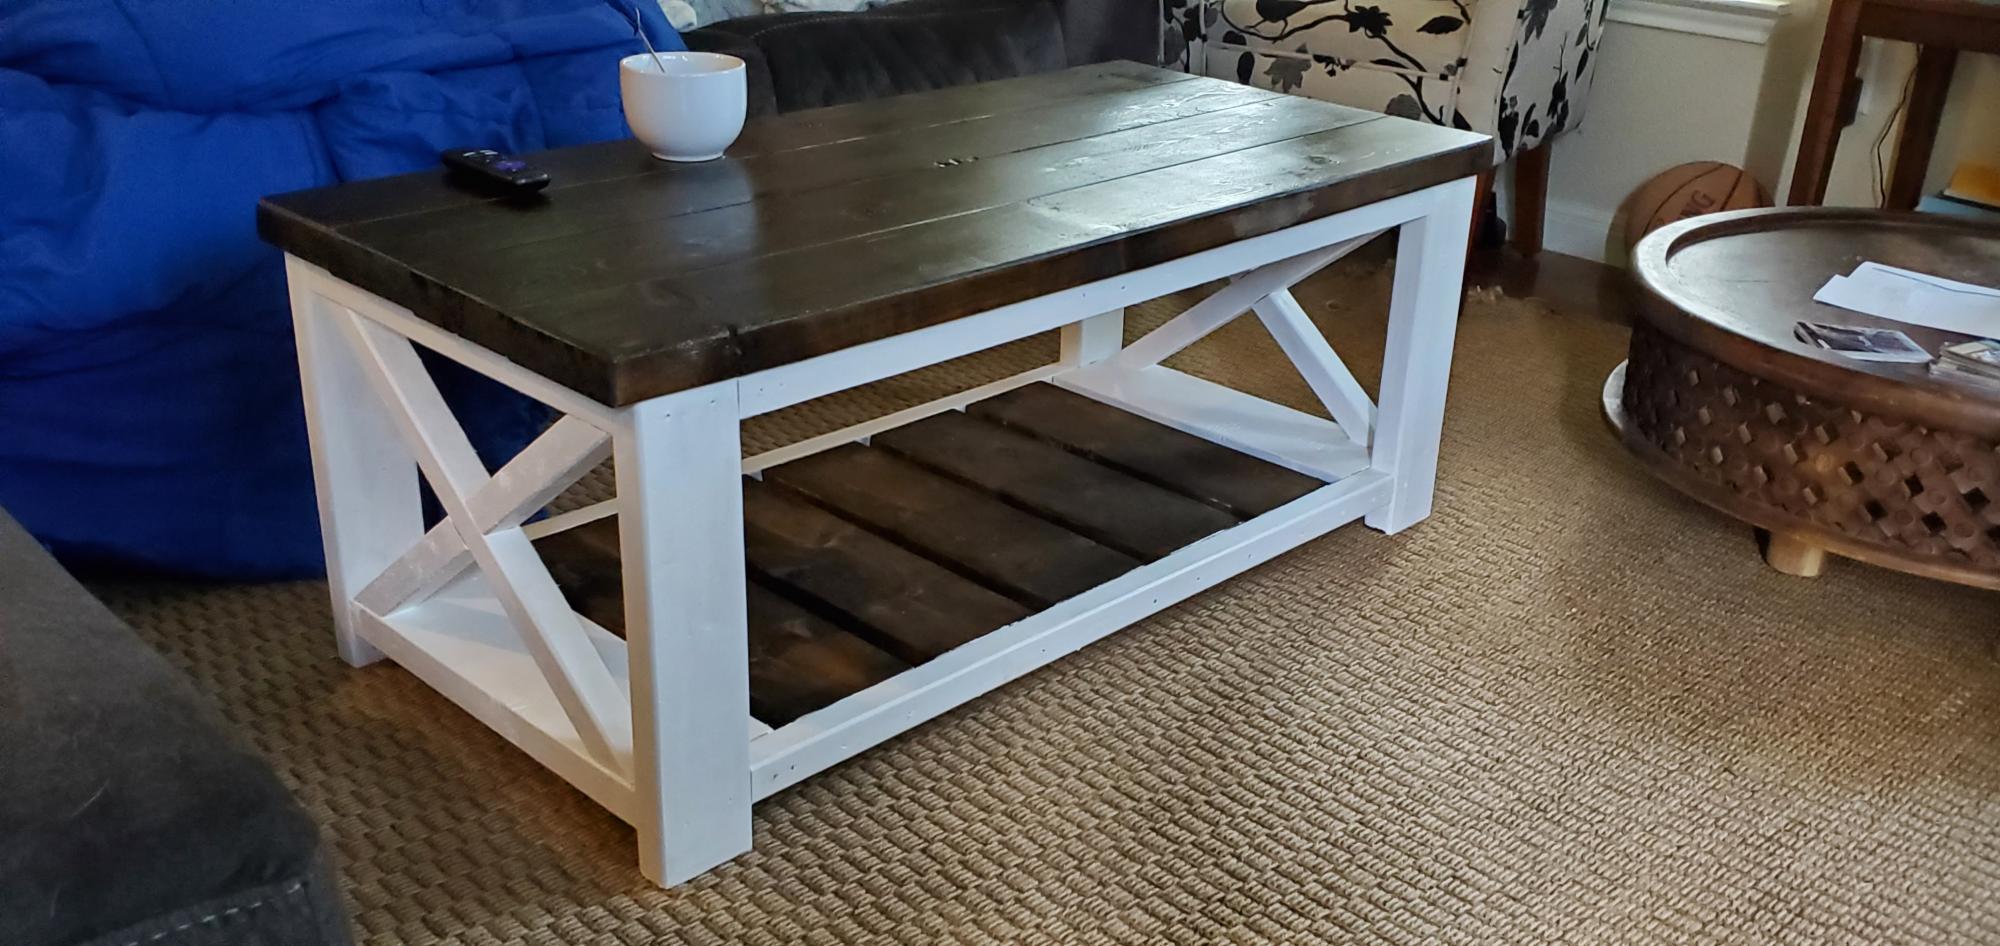
Followed the farmhouse instructions - worked great!!
The two tone finish matches the table I built

Estimated Cost
50
Estimated Time Investment
Afternoon Project (3-6 Hours)
Finish Used
Minwax jacobean with Valspar bright white

Advice - paint/stain everything but the top first to decrease the cracks and crevasses you need to get your brushes into to avoid getting paint on stained surfaces or vice versa
Recommended Skill Level
Beginner

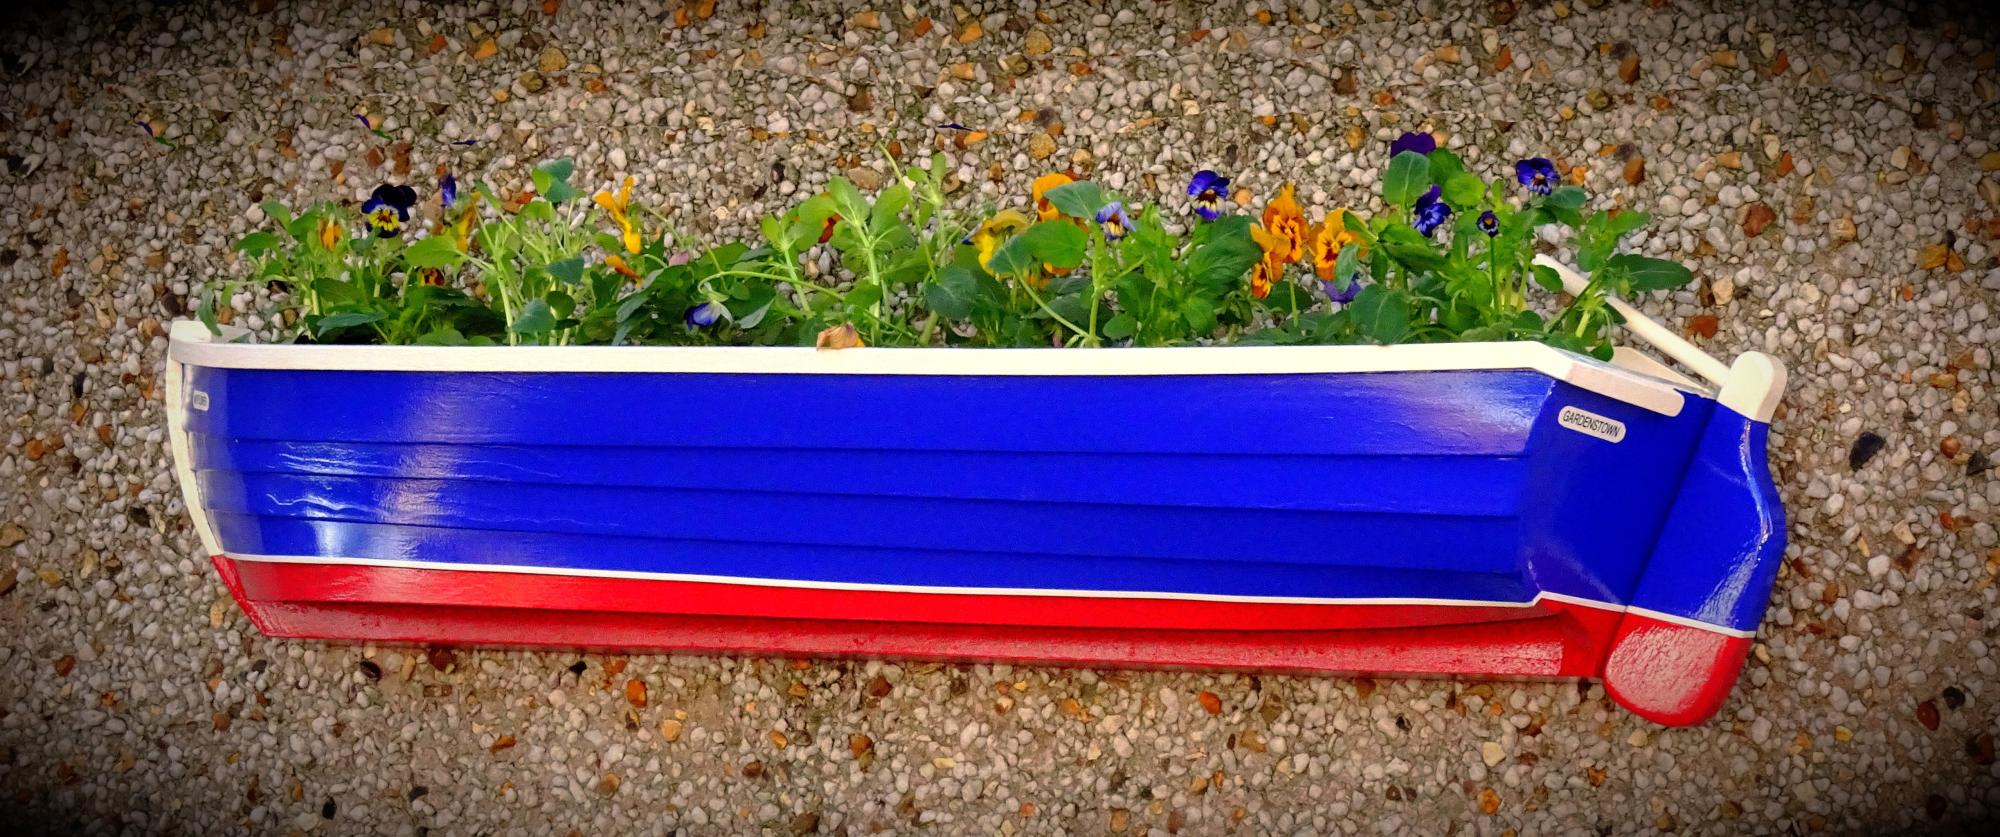
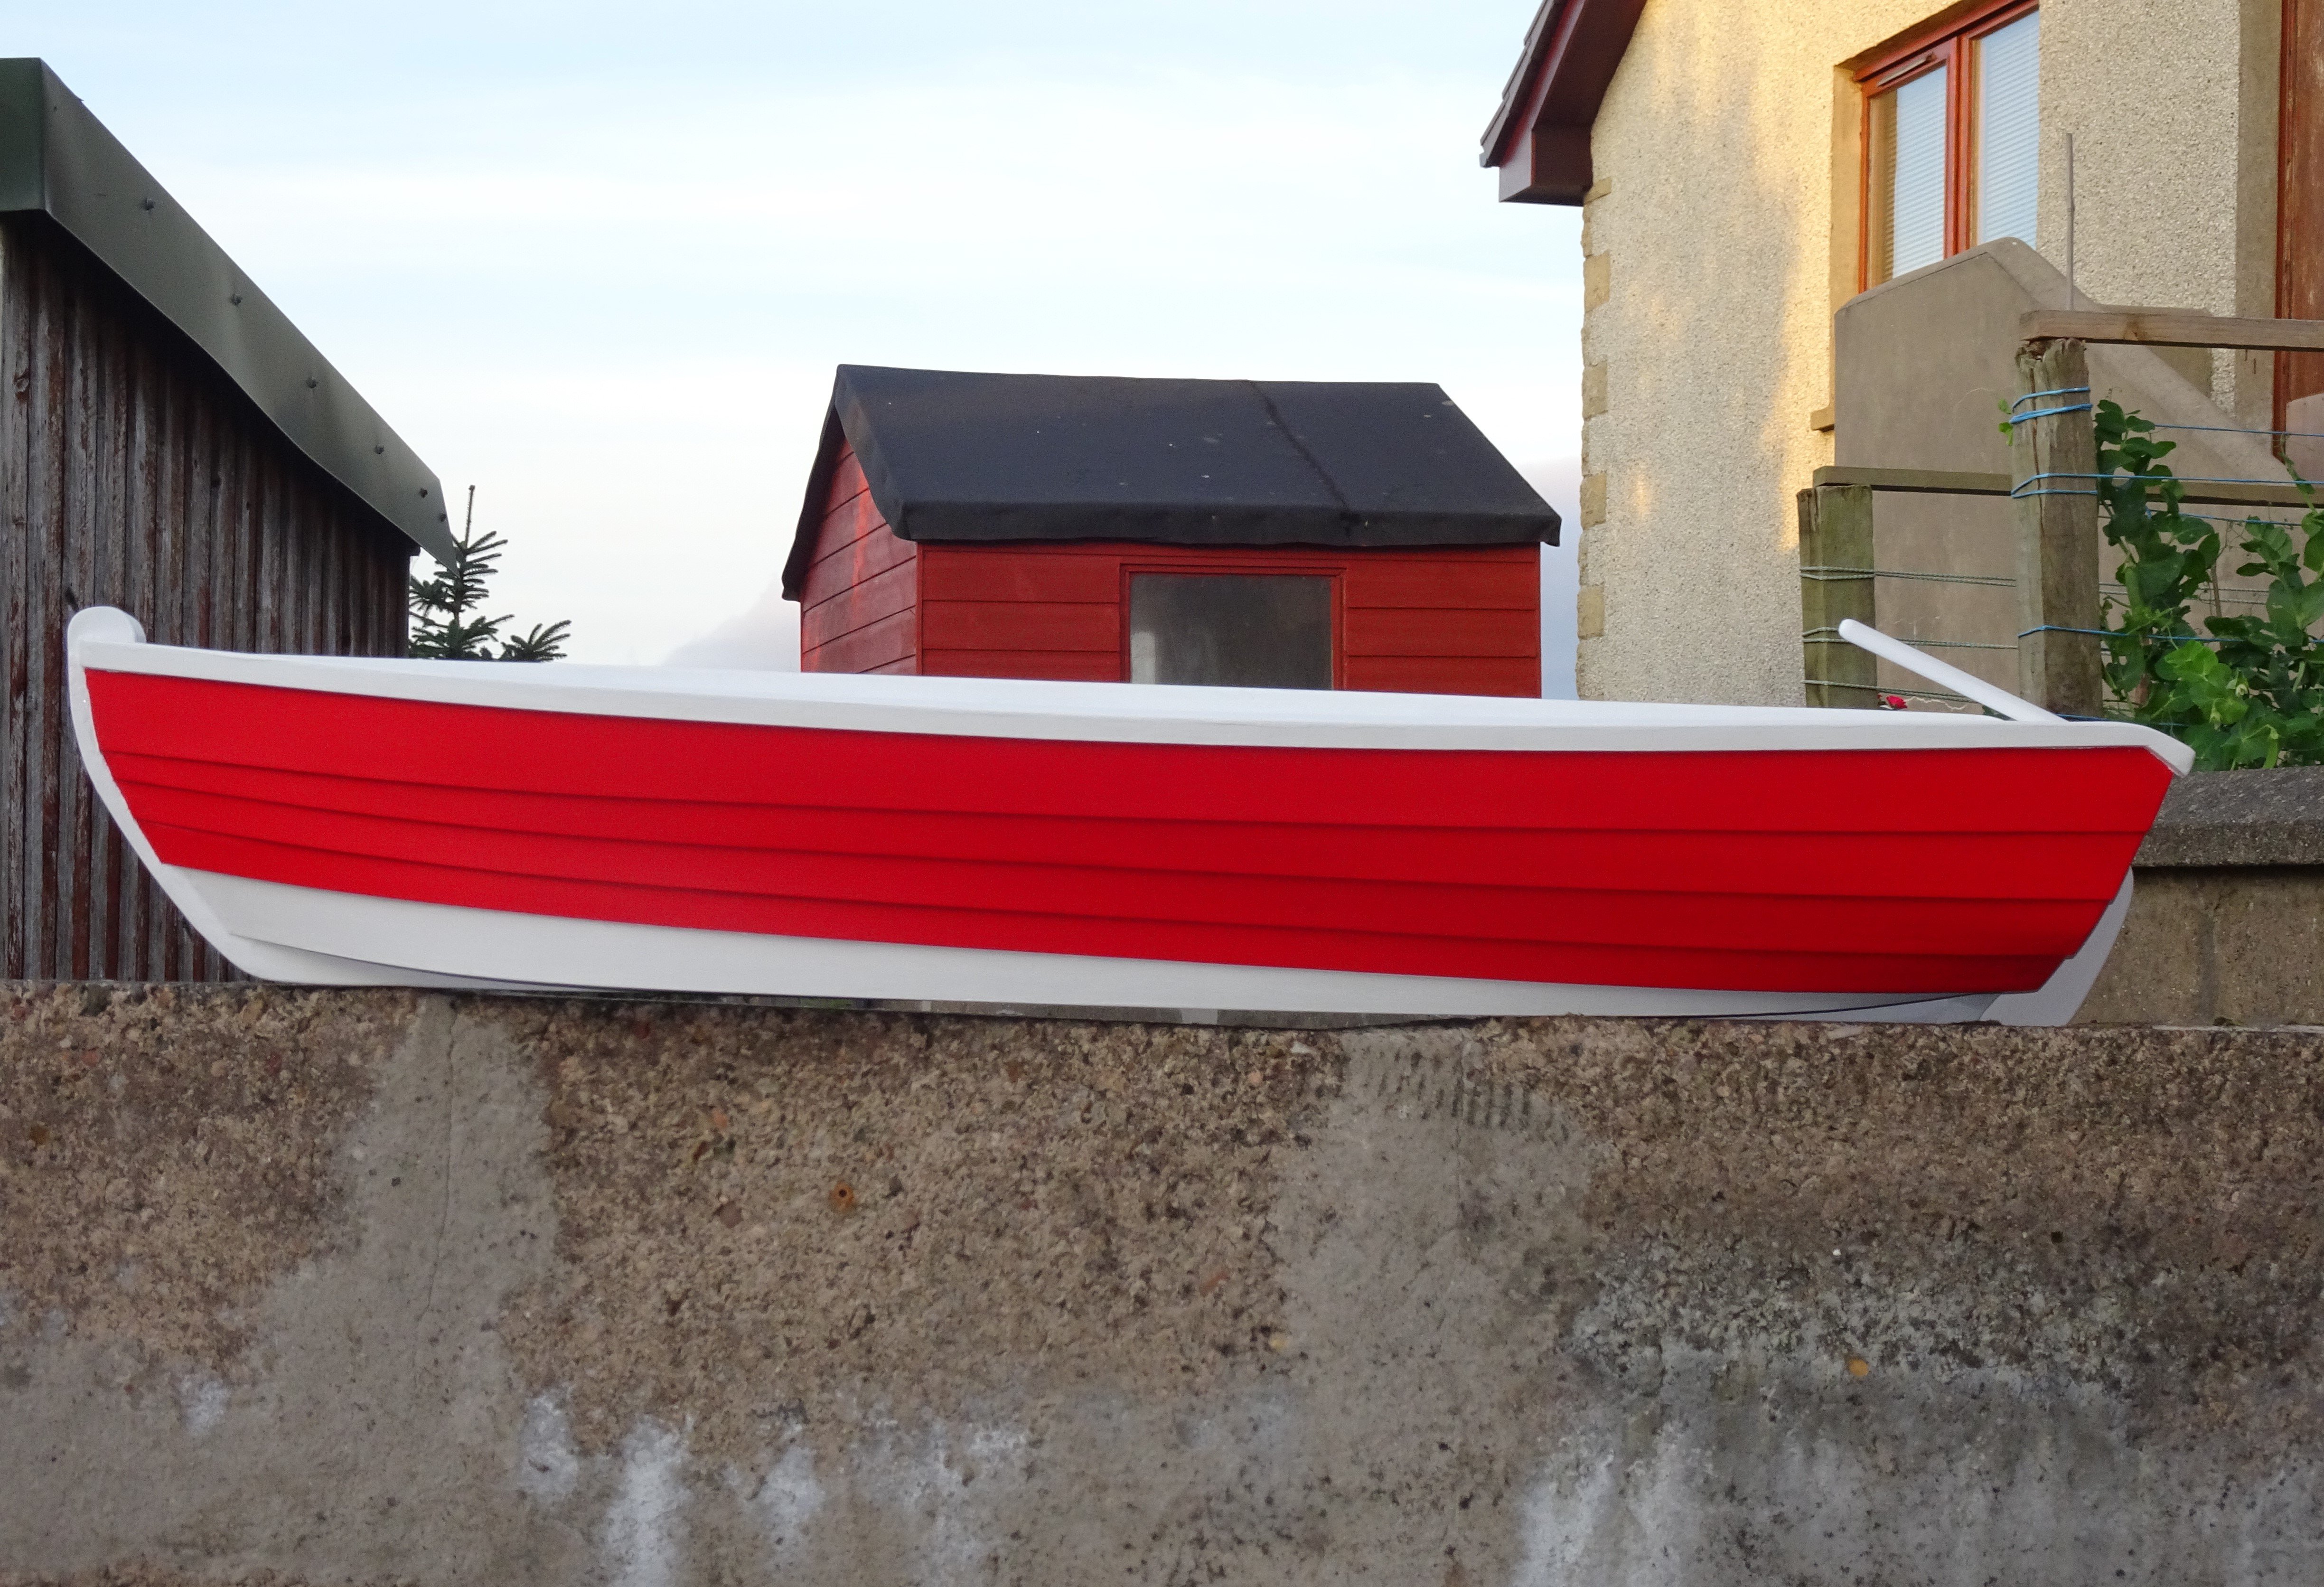
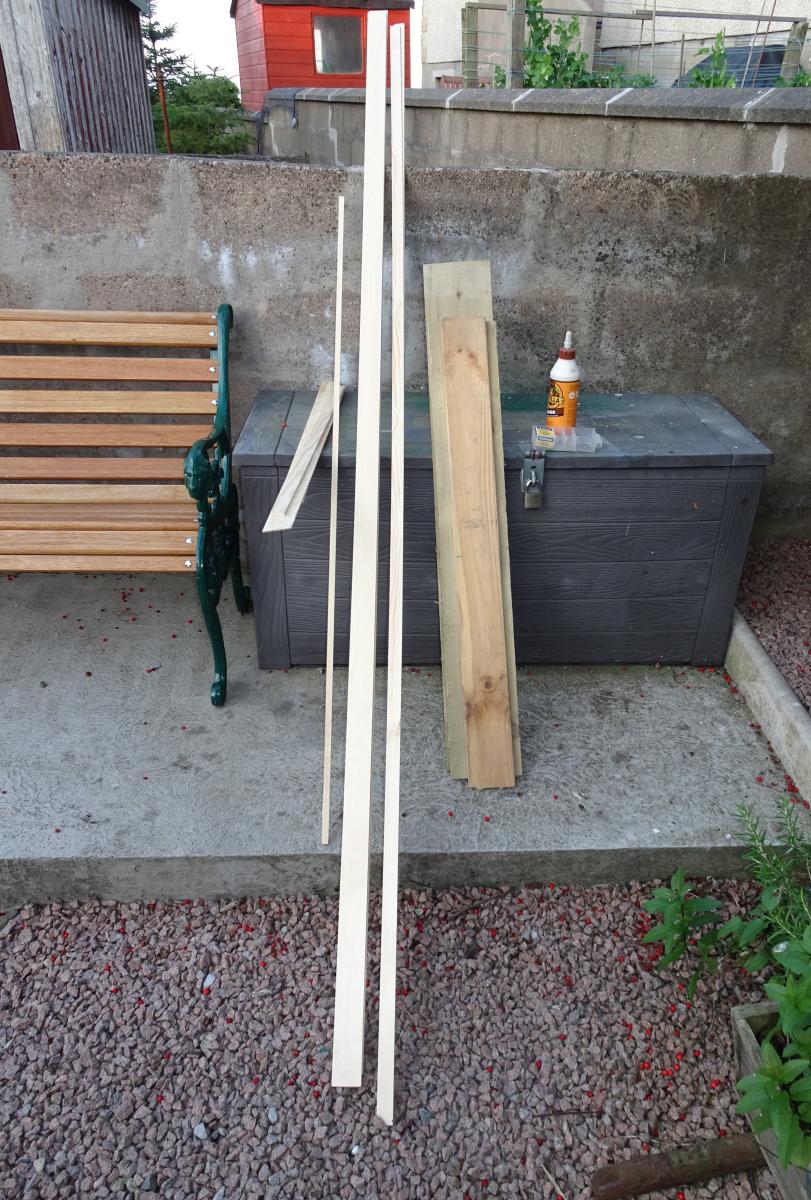
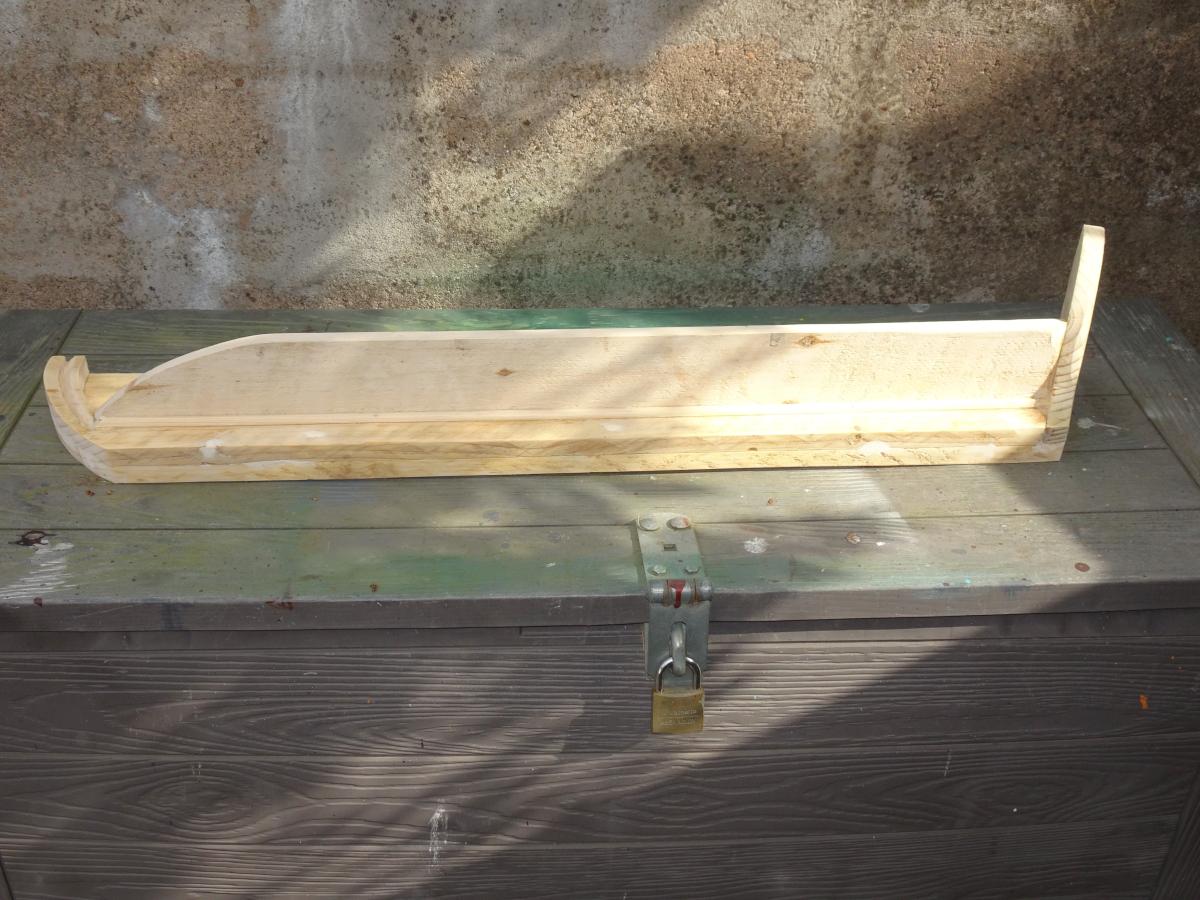
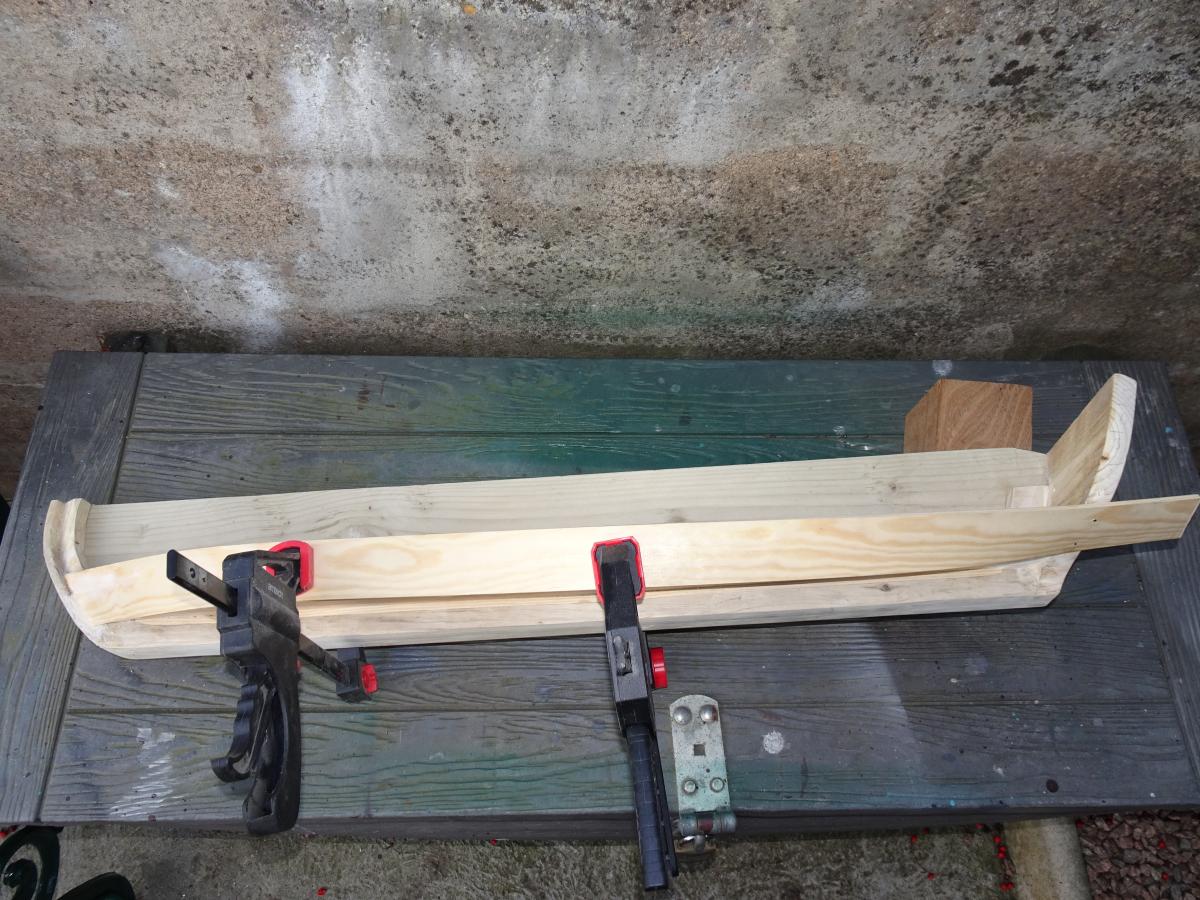
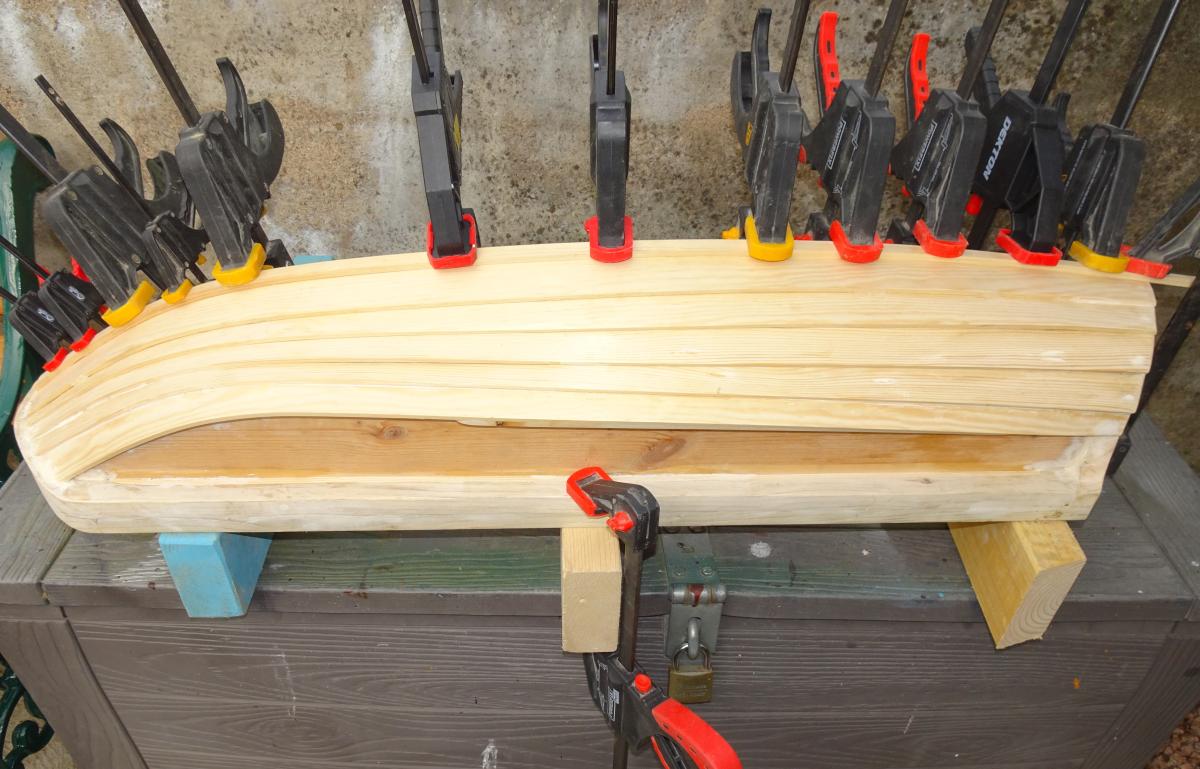
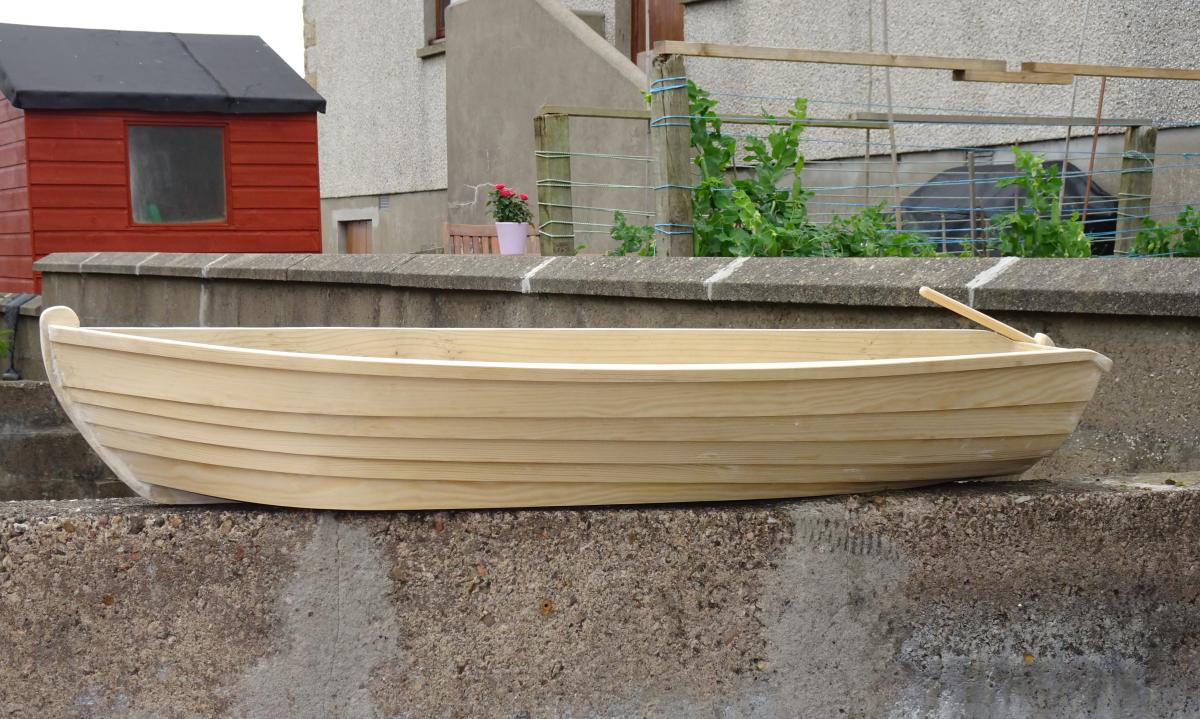
Boat Shaped Planter

Submitted by Saf37y on Wed, 04/03/2024 - 07:39

boat planter

A fleet of 3 wooden boat planters built in the traditional style of a clinker creel boat (Orkney Longliner).

Alex

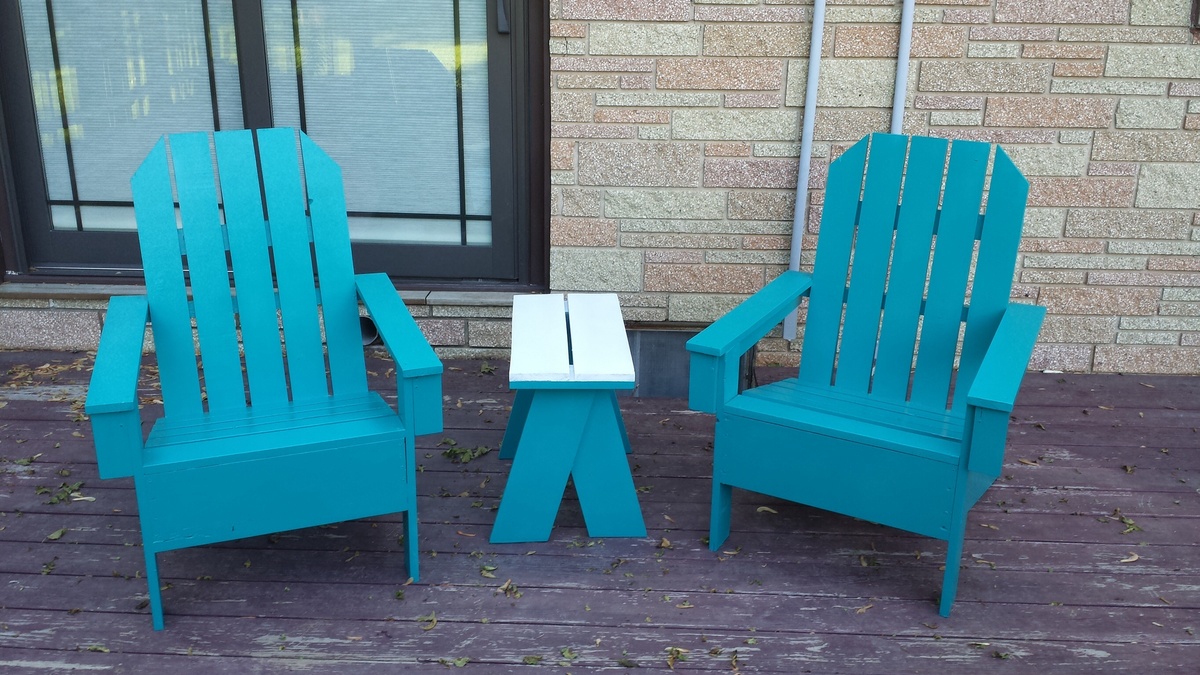
Adirondack chairs

Submitted by Dreifk08 on Mon, 06/09/2014 - 13:14

This site as ever so helpful and vital to the completion of these chairs. Honestly,this project was the first time I had taken stock lumber and constructed something from it. I am handy by my own account,but never attempted anything like this before. Great site. If not for Ana white and this website,I'd have 2 less chairs. It is very rewarding building something from scratch. I'm sure this was the 1st of many projects and ideas I will get from this site. A+++. Thank you very much.

Built from Plan(s)
Estimated Cost
$60.00
Estimated Time Investment
Weekend Project (10-20 Hours)
Finish Used
Primer and outdoor spray paint.
Recommended Skill Level
Beginner
Back