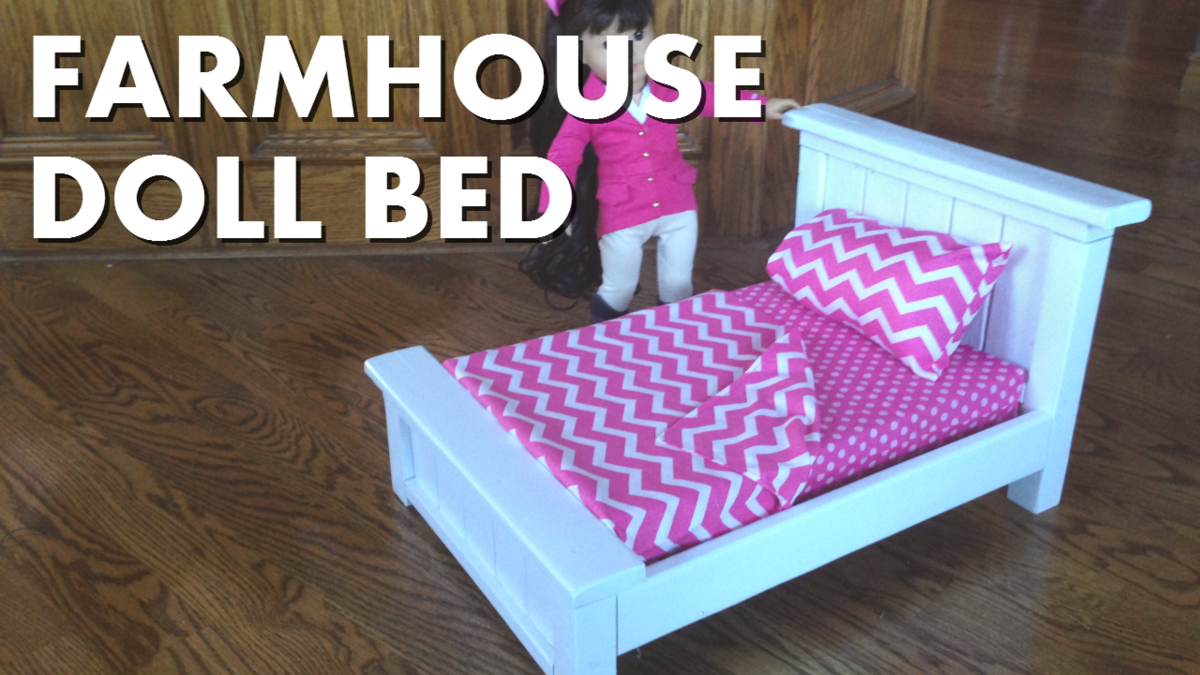
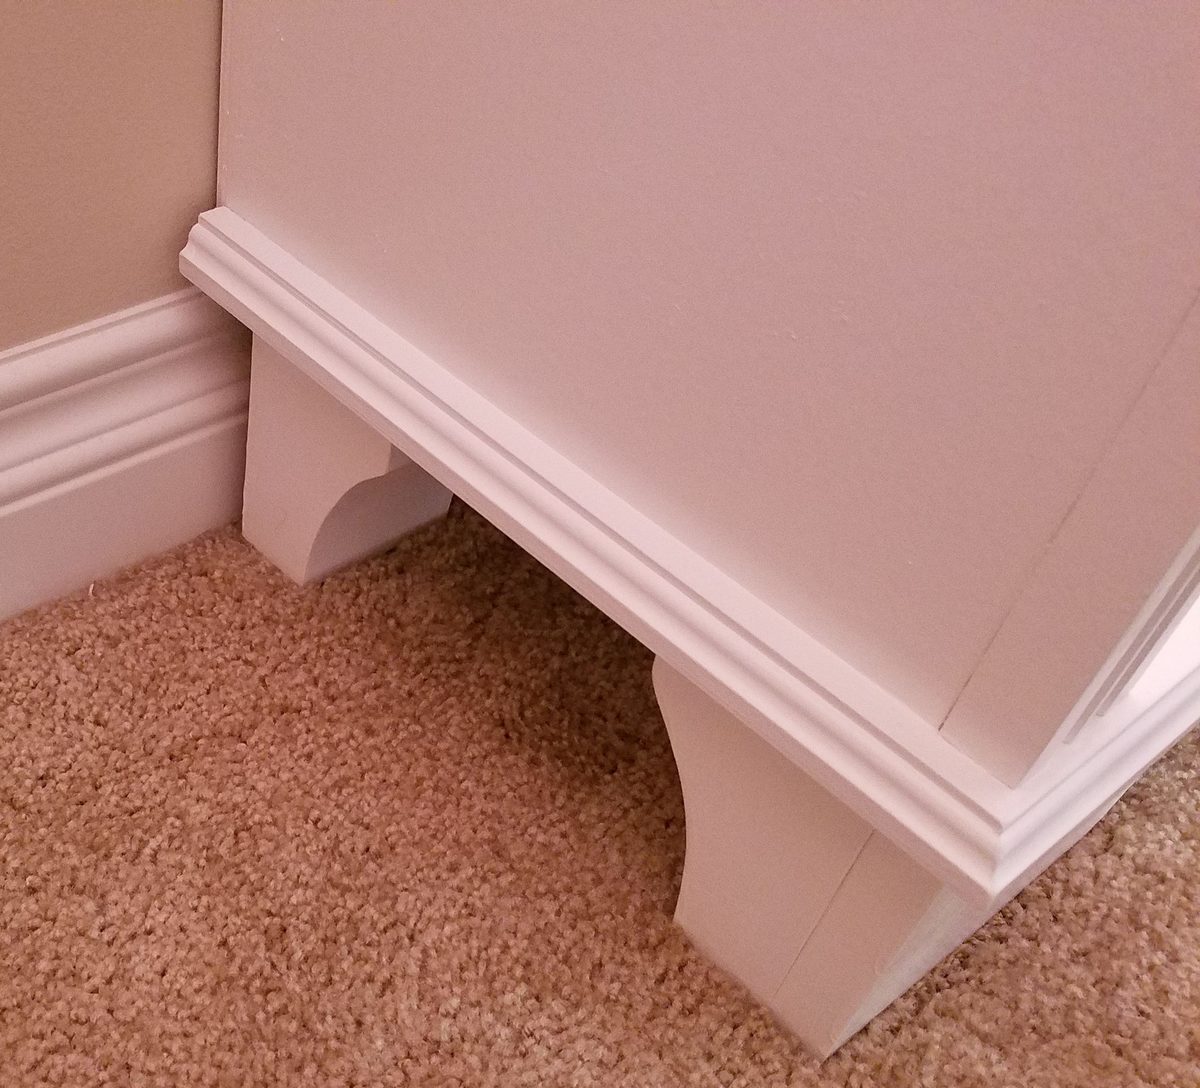
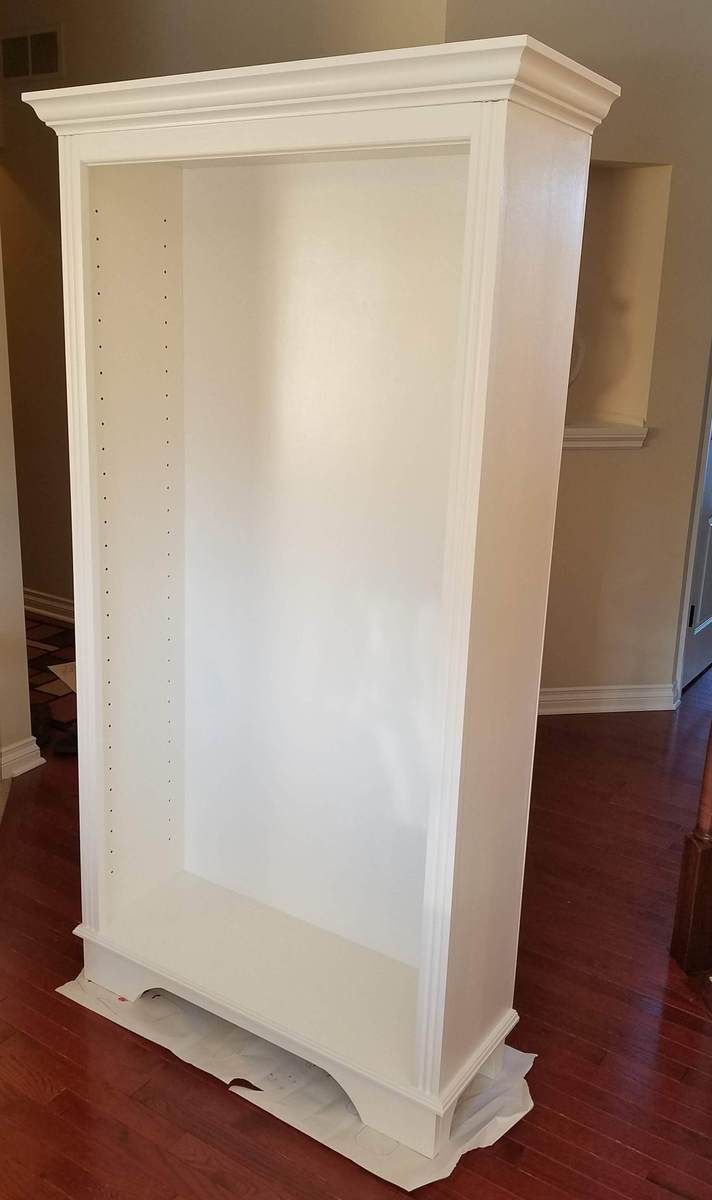
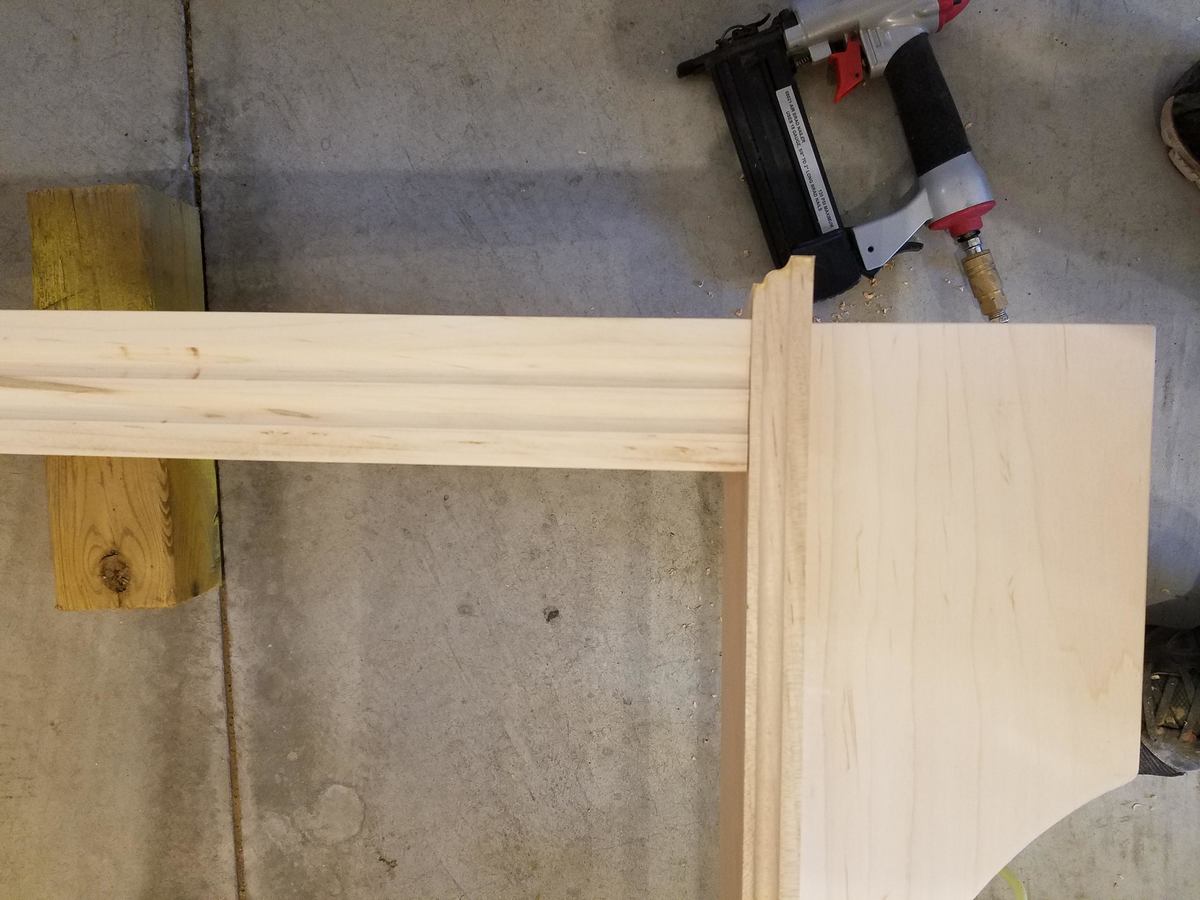
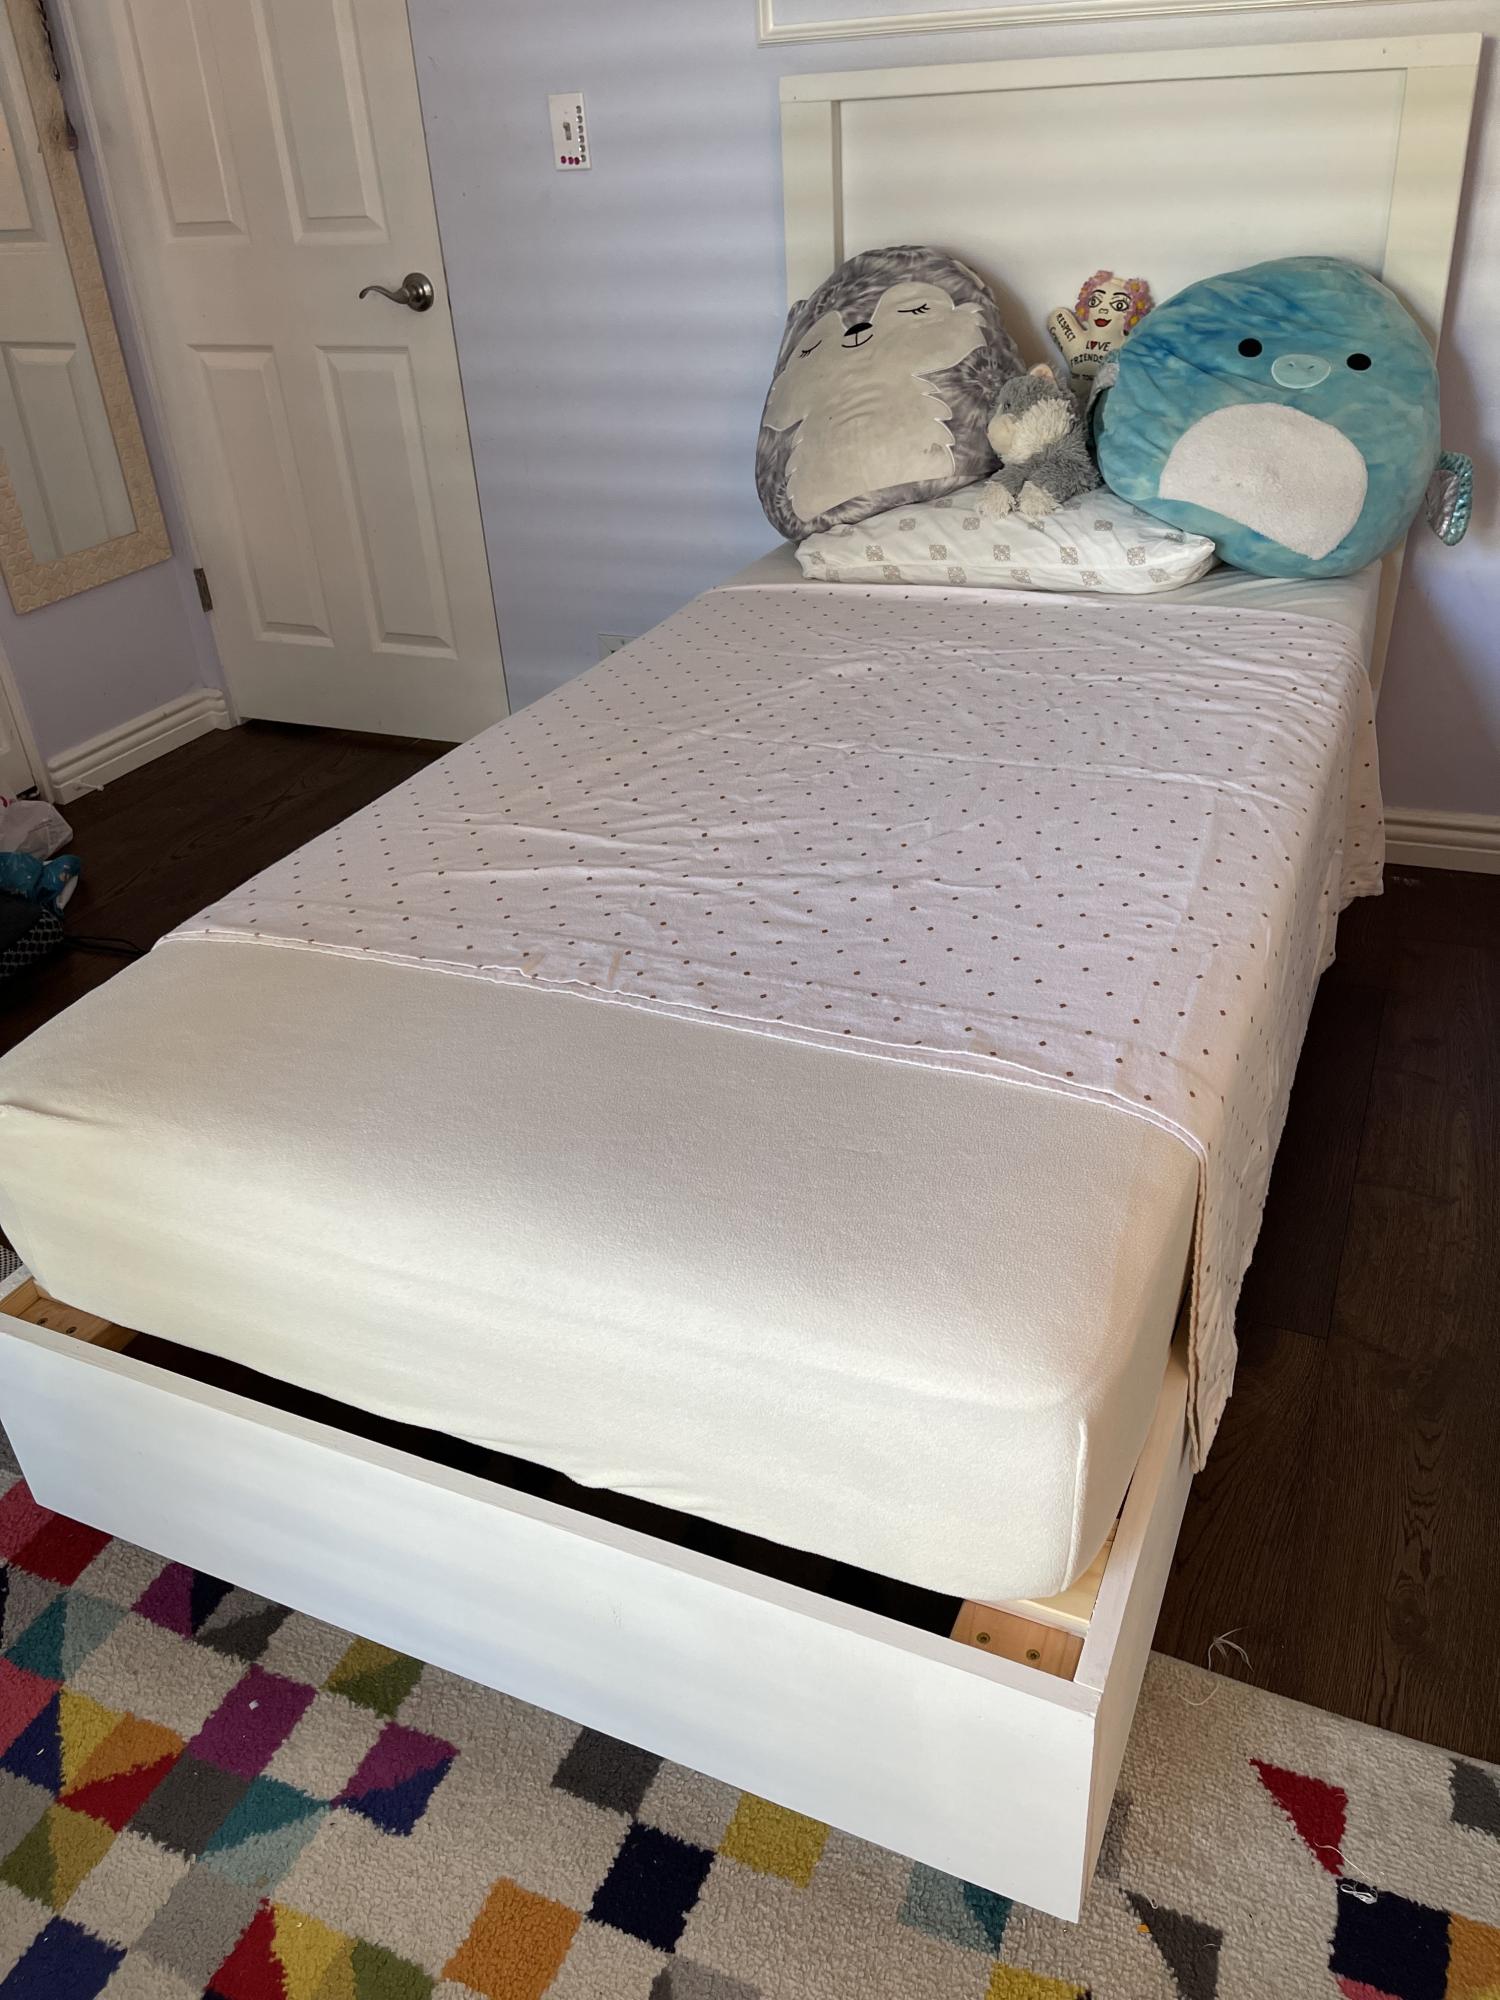
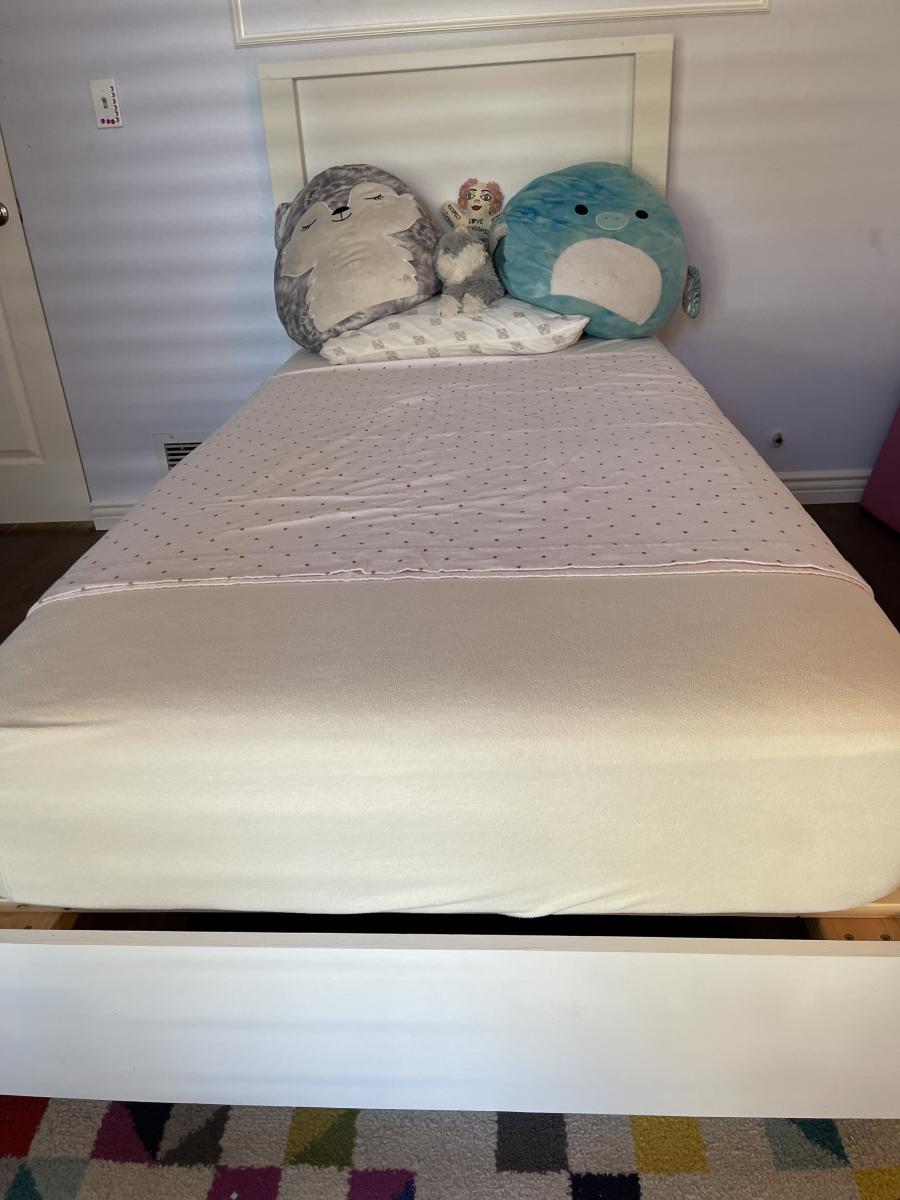
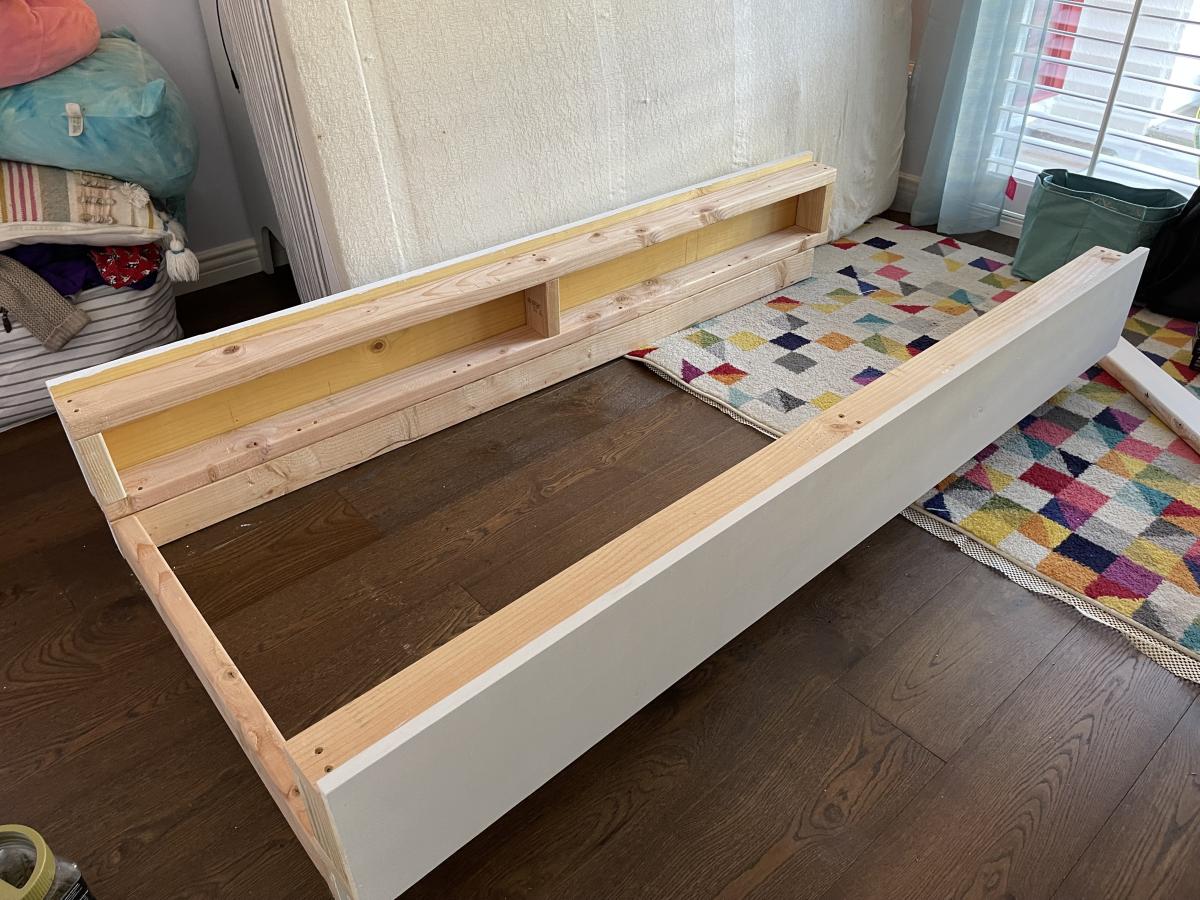
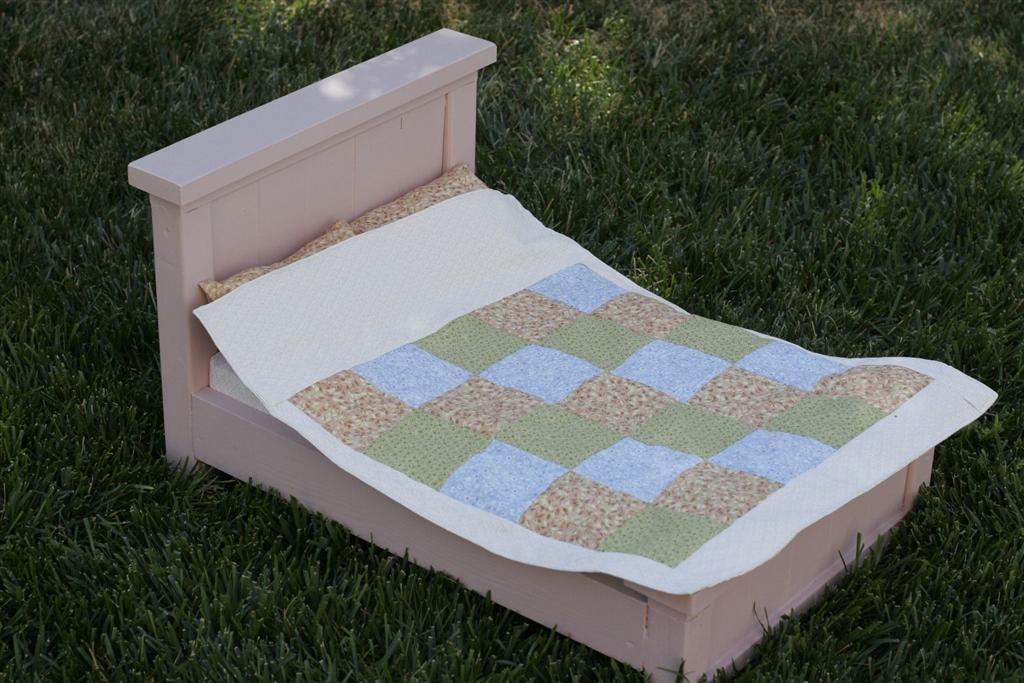
Doll farmhouse bed as a present
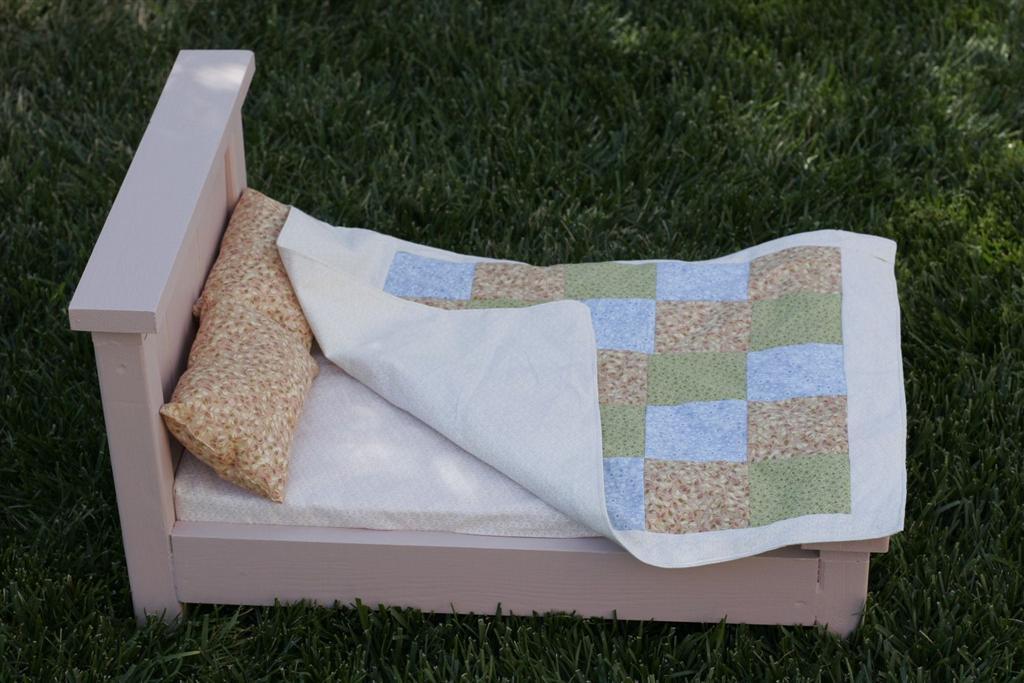
Built this cute doll bed for a friend's daughter's 3rd bday. I hear she loves it :)
The bedding (which took the longest) was made from my stash, followed loosely the plans at
http://fromanigloo.blogspot.com/2010/11/dolly-bed-fitted-sheet.html
and http://fromanigloo.blogspot.com/2010/11/dolly-pillows-and-pillowcases.h…
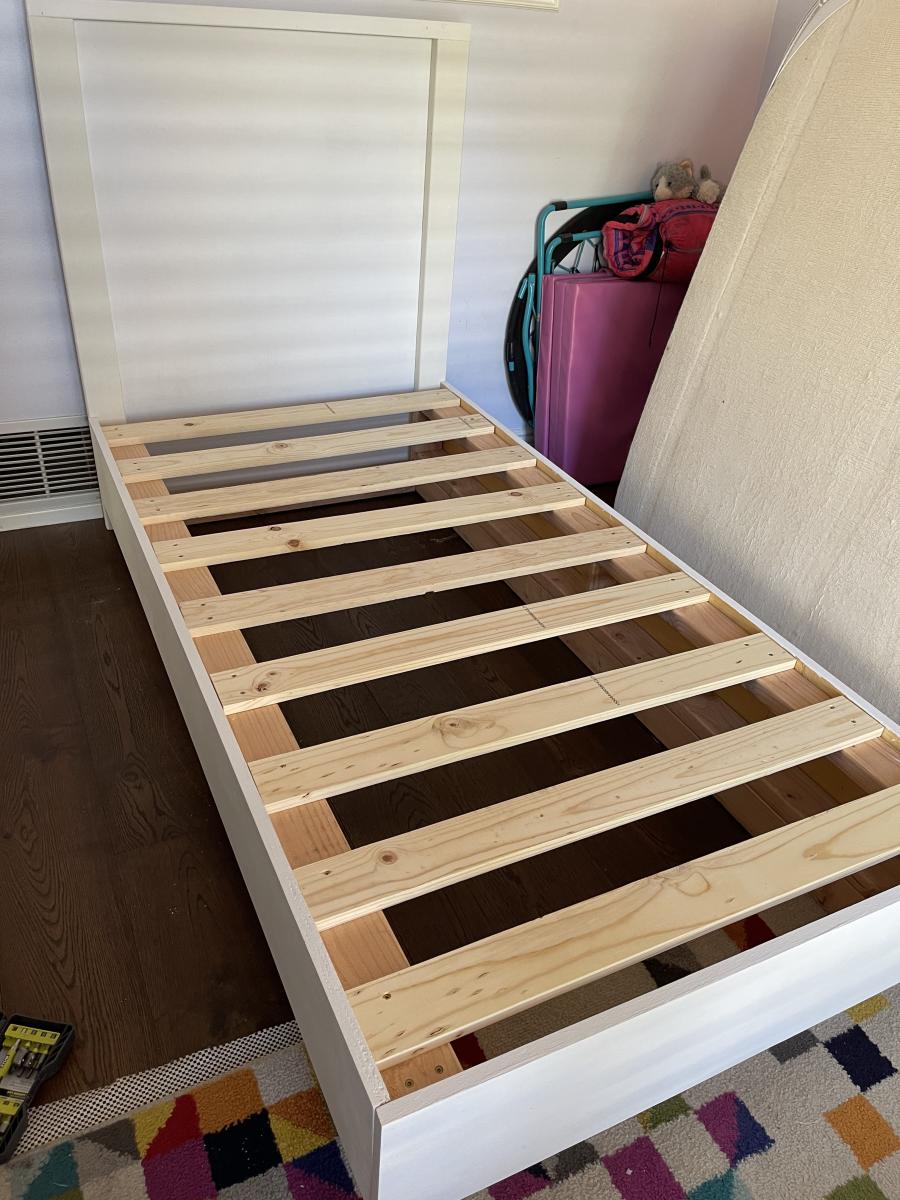
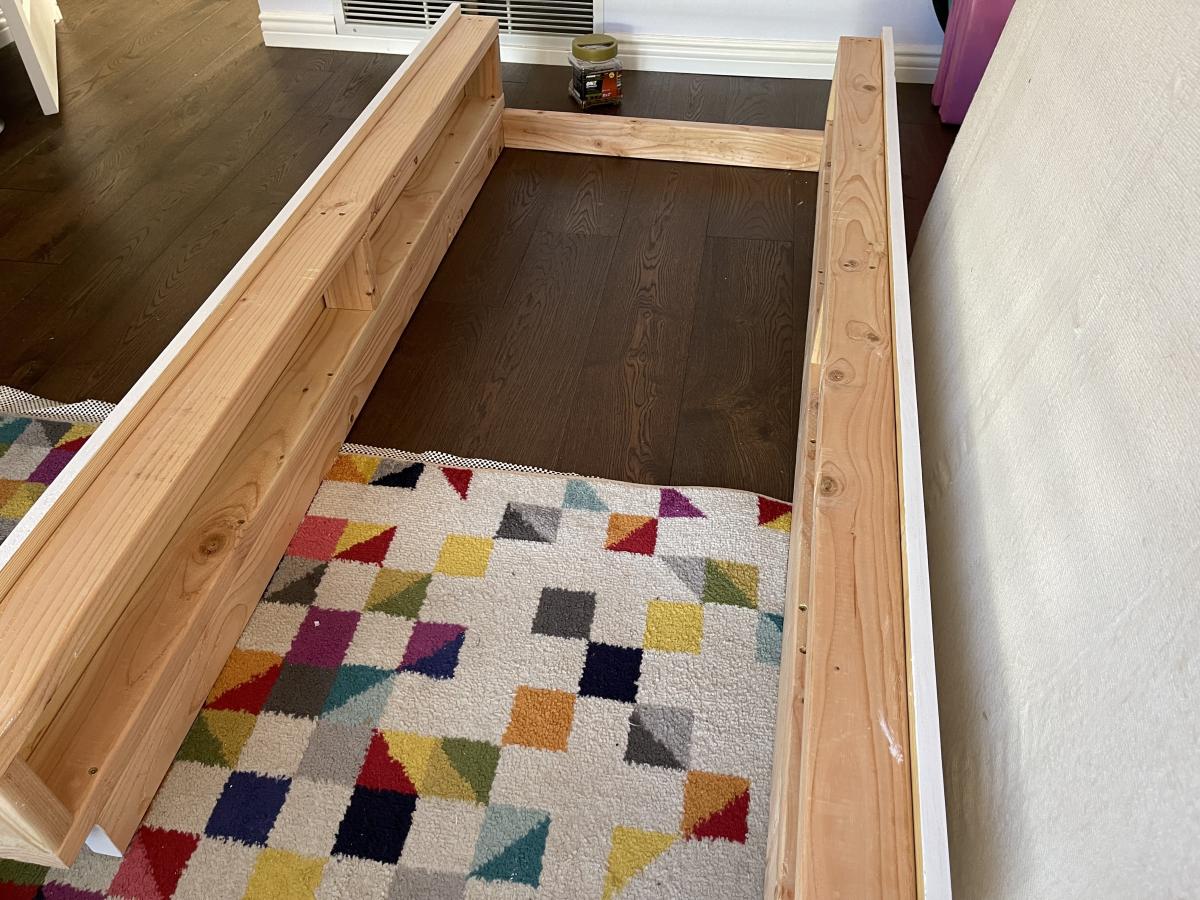
I wish I had a nailer; this project would have been faster with that. Predrilling etc took more than I care.
Mostly used left over 1x3s, and the rest was brand new pine.
Built from Plan(s)
Estimated Cost
$10
Estimated Time Investment
Day Project (6-9 Hours)
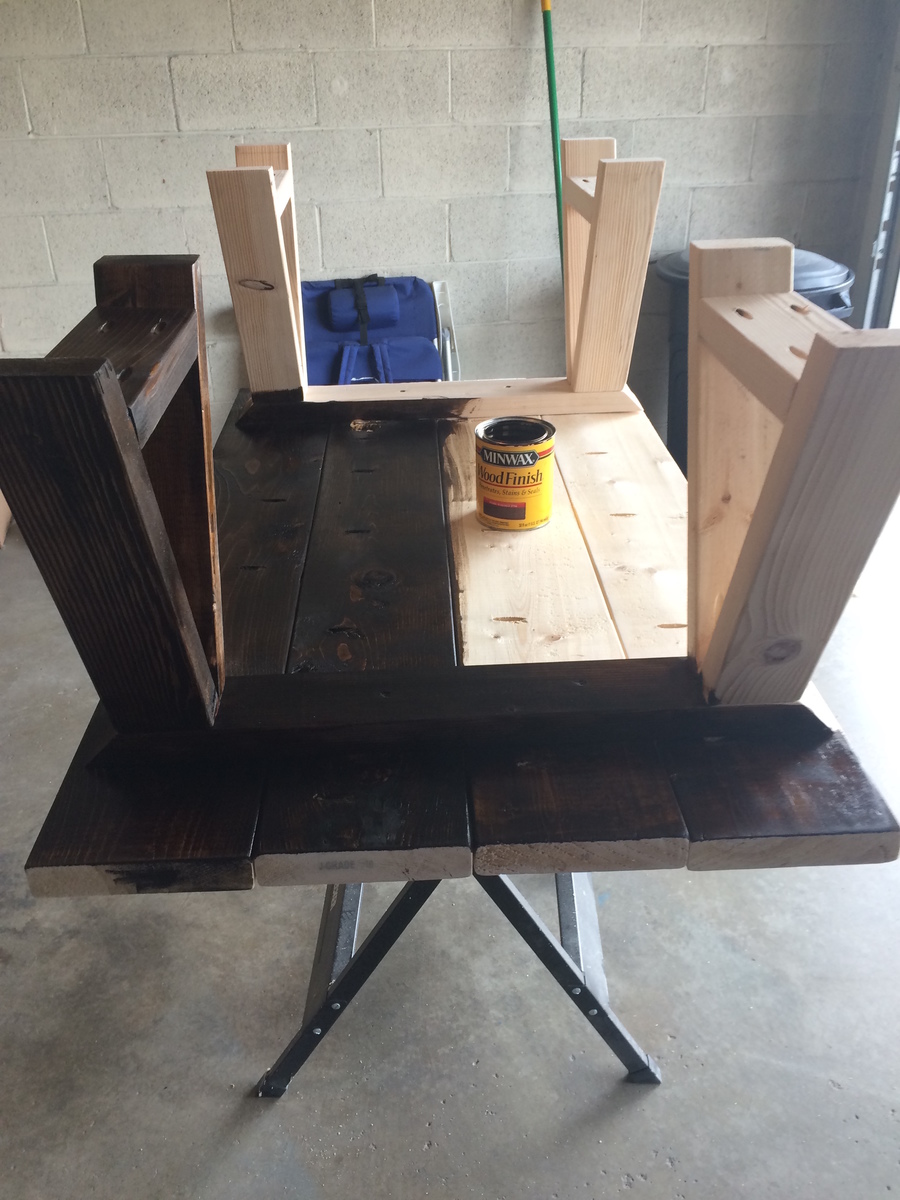
Finish Used
Oops beige paint, tinted with some crazy pink I had to make my own pink mix.
Recommended Skill Level
Starter Project