Community Brag Posts
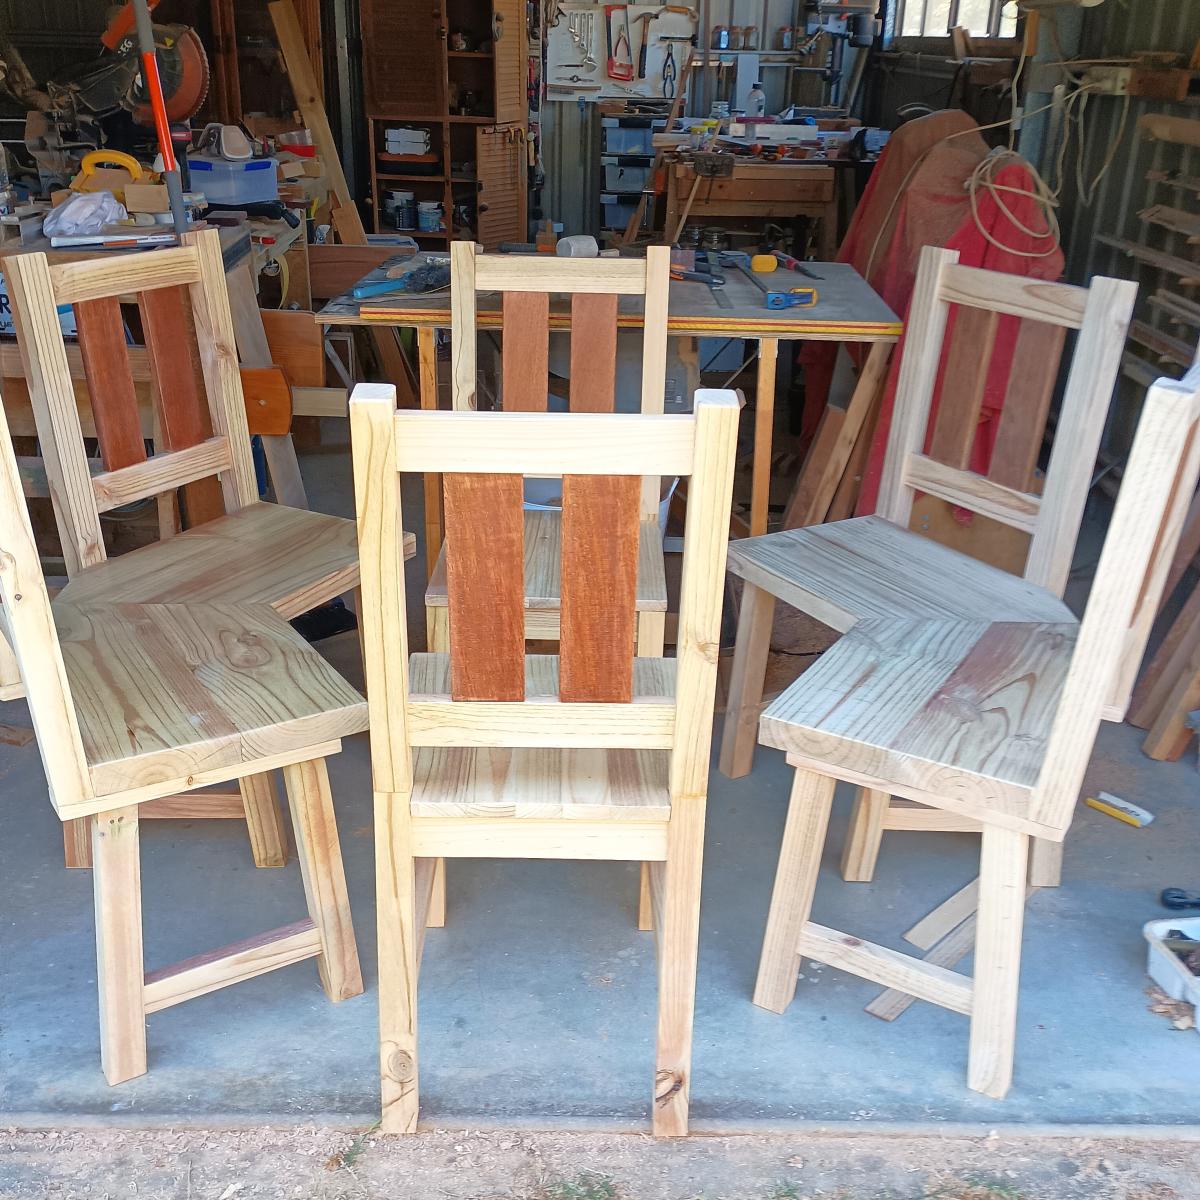
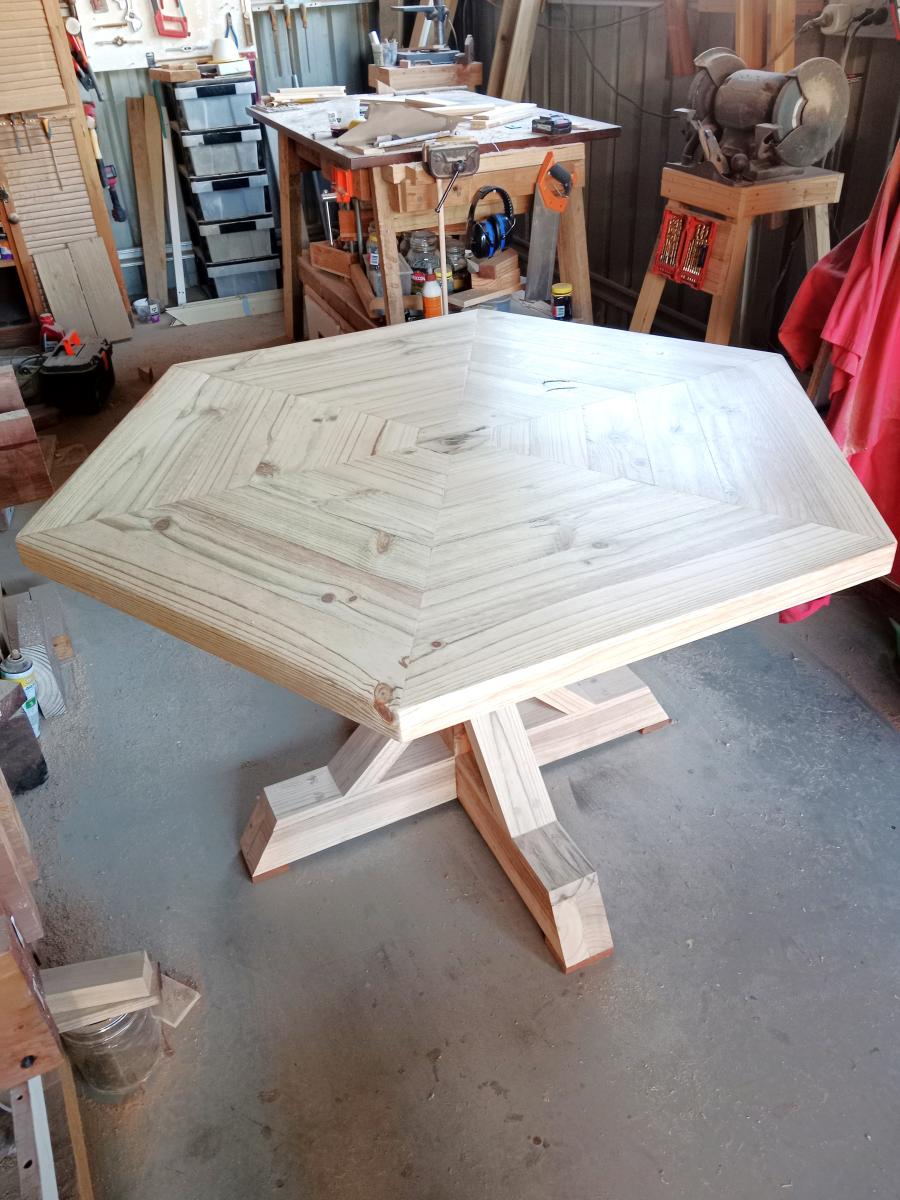
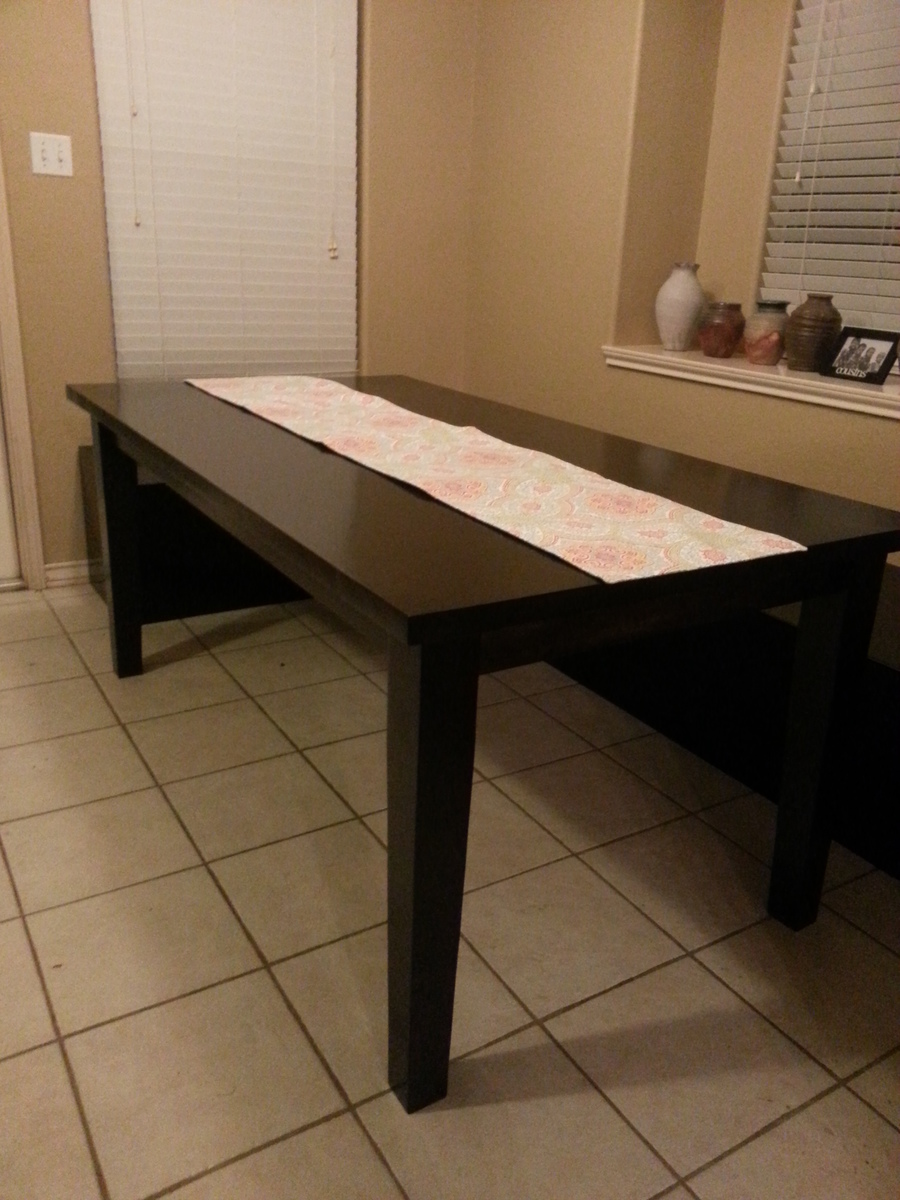
DIY Dining Table and Chairs
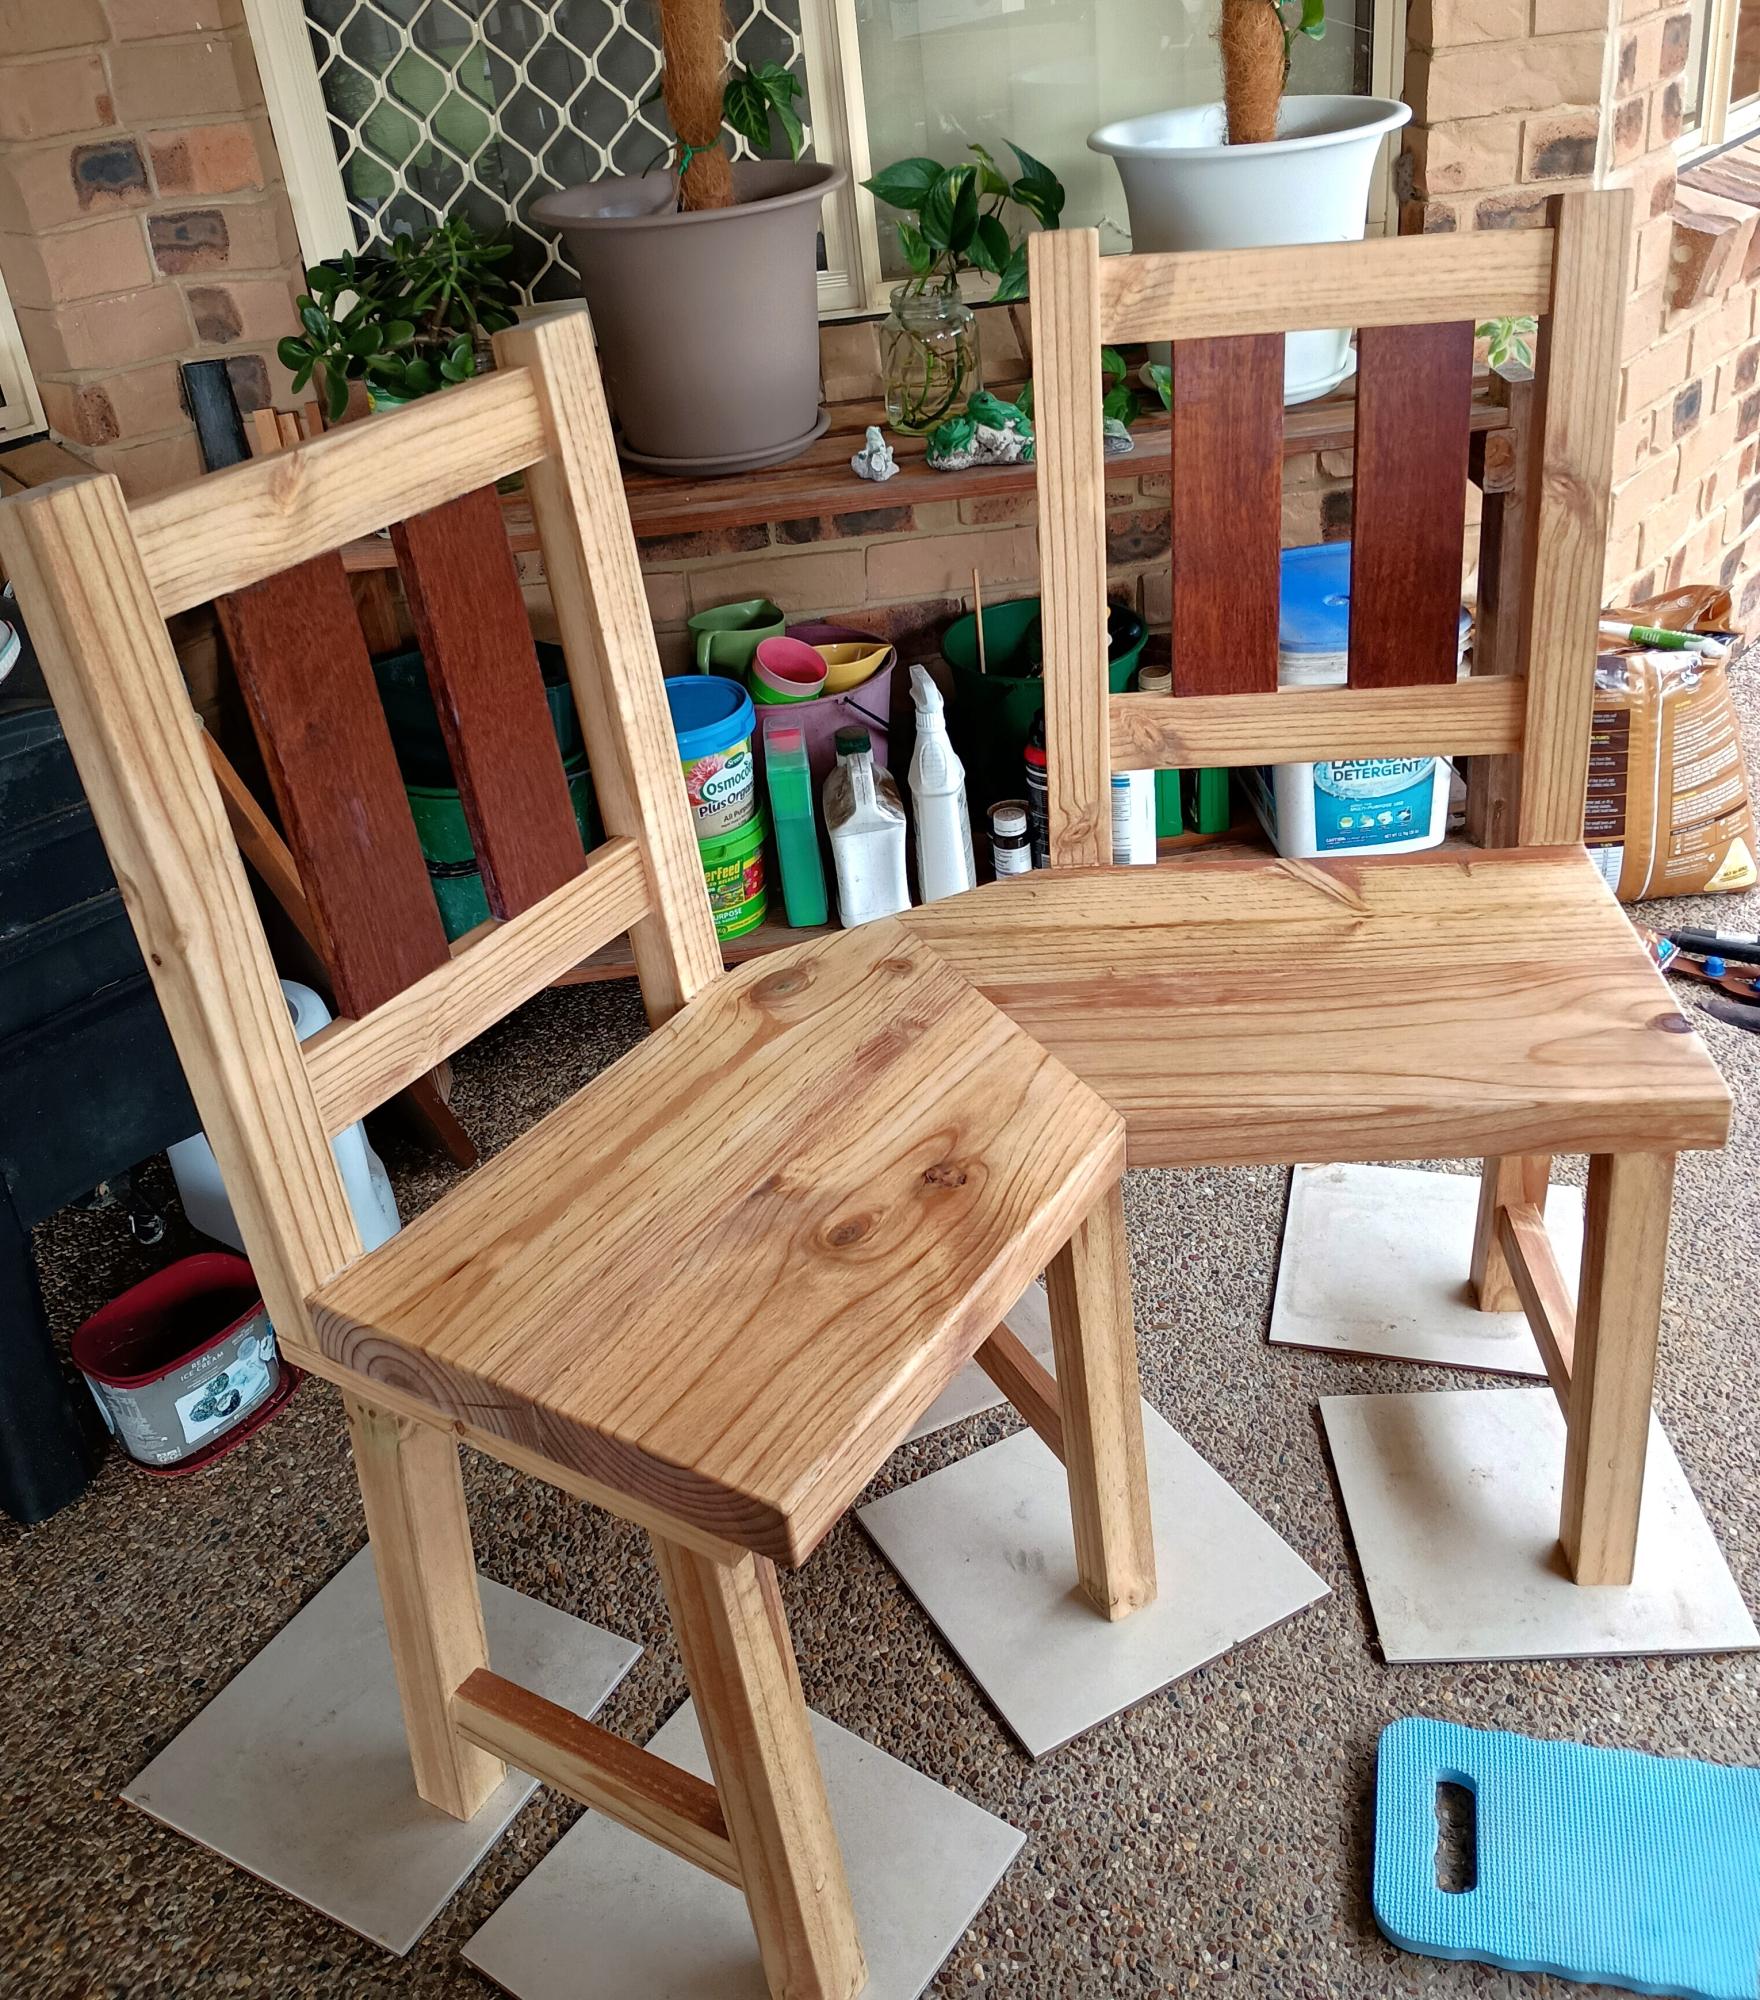
I finally got around to making the chairs for the table i made for my daughter last year.
Built from Plan(s)
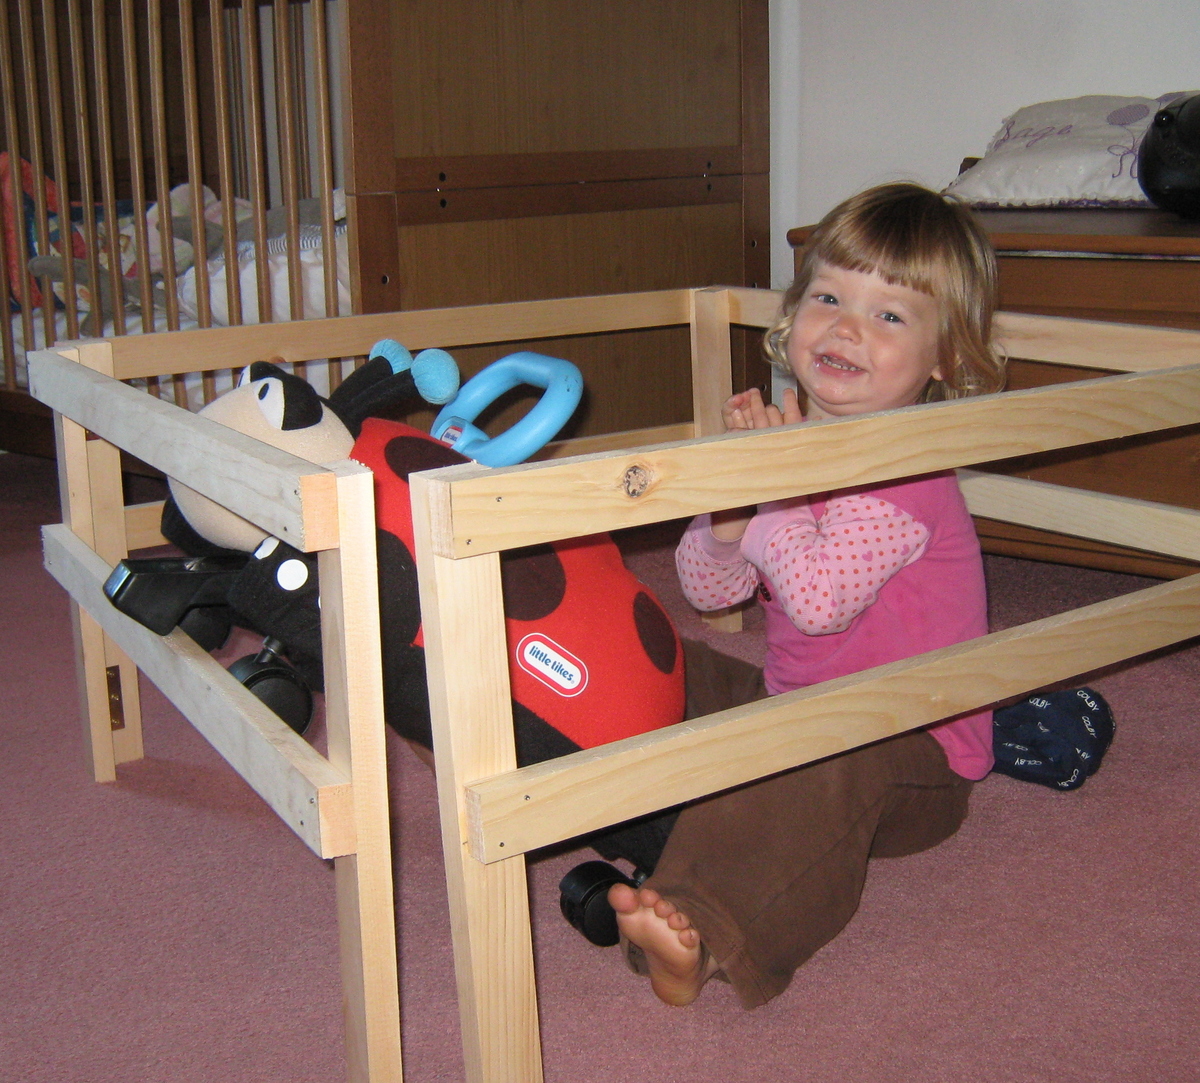
Play Fences
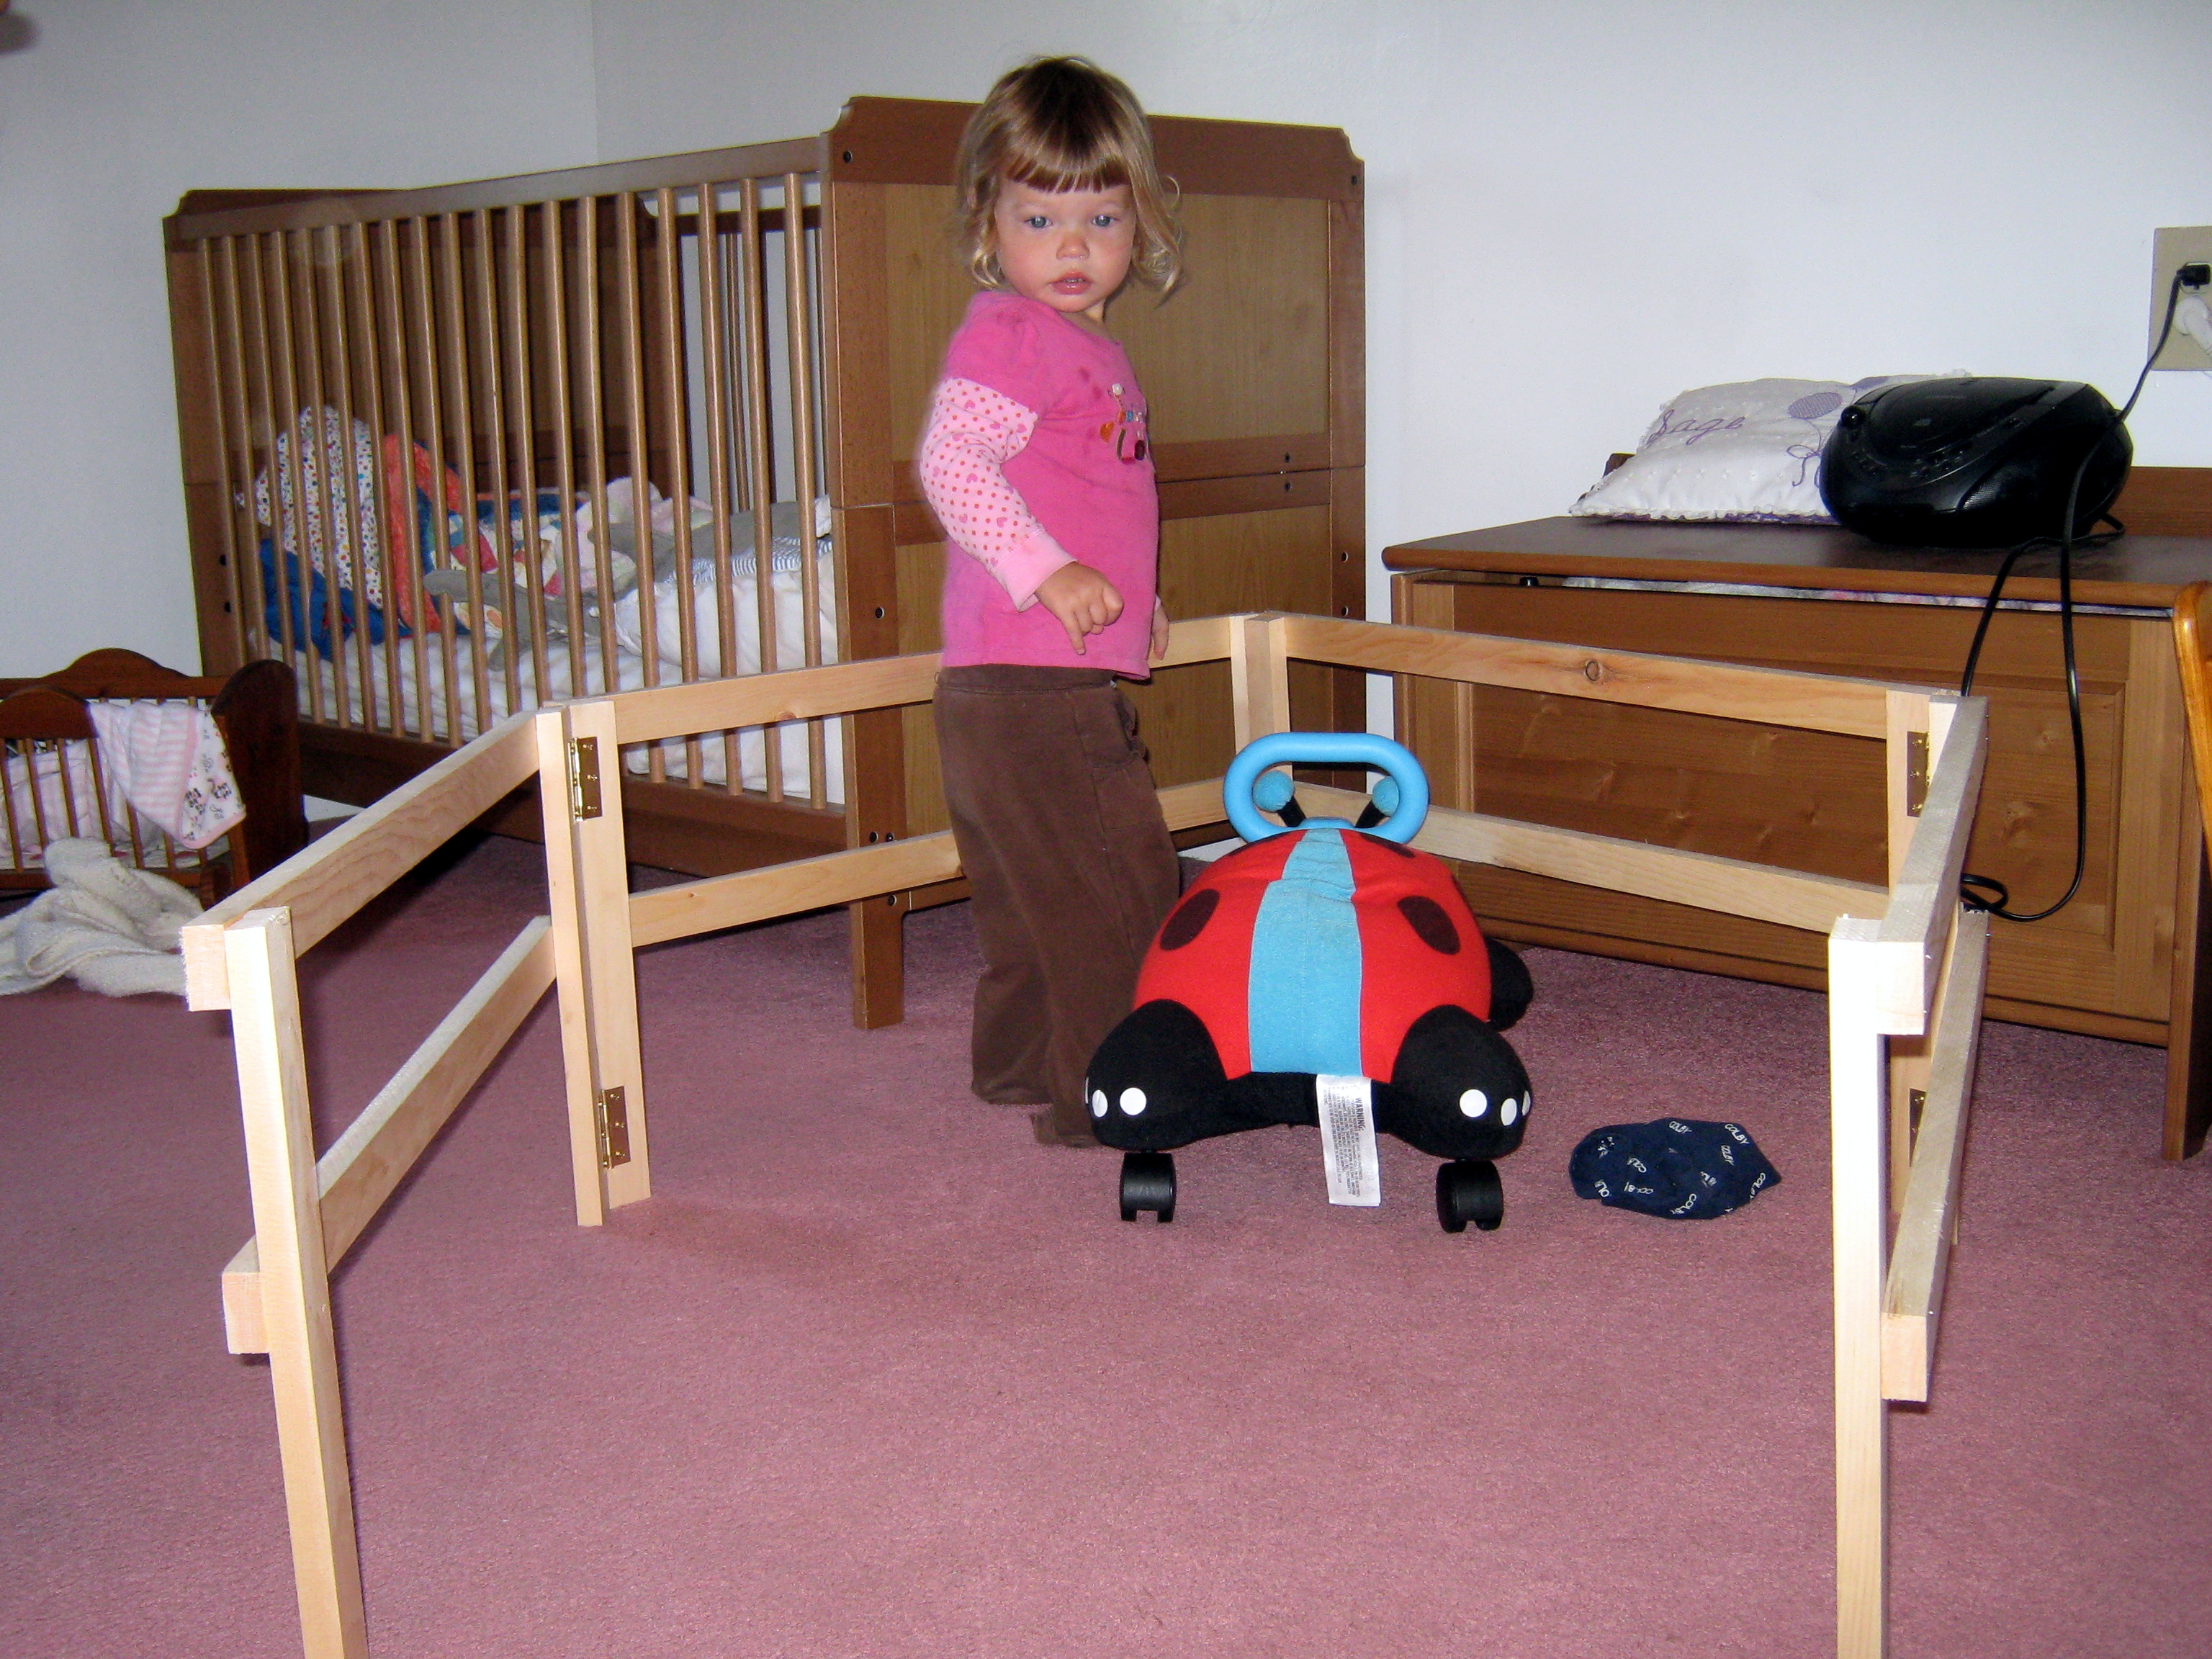
My first ever building project! I learned a few important lessons: it's really hard to make a straight cut with a jig saw, and you have to use large hinges (the tiny hinges I put on there first ripped right out). It was a great learning experience, the fences really were easy to build, and my two-year-old LOVES them! Now I'm ready for my next project. :)
Estimated Cost
$10 for the wood, I had to get some other supplies too!
Estimated Time Investment
An Hour or Two (0-2 Hours)
Finish Used
none
Recommended Skill Level
Starter Project
Comments
Mon, 10/01/2012 - 04:44
straight 90 degree cuts
Use a carpenter's square (shown in the "getting started" section to draw a straight line where you will cut. Now for the secret to straight cuts... line up the blade of you jig saw with the cut line and then slide the carpenter square up to the jig saw base and hold it firm so it acts as a straight edge and make your cut.
Step Stool
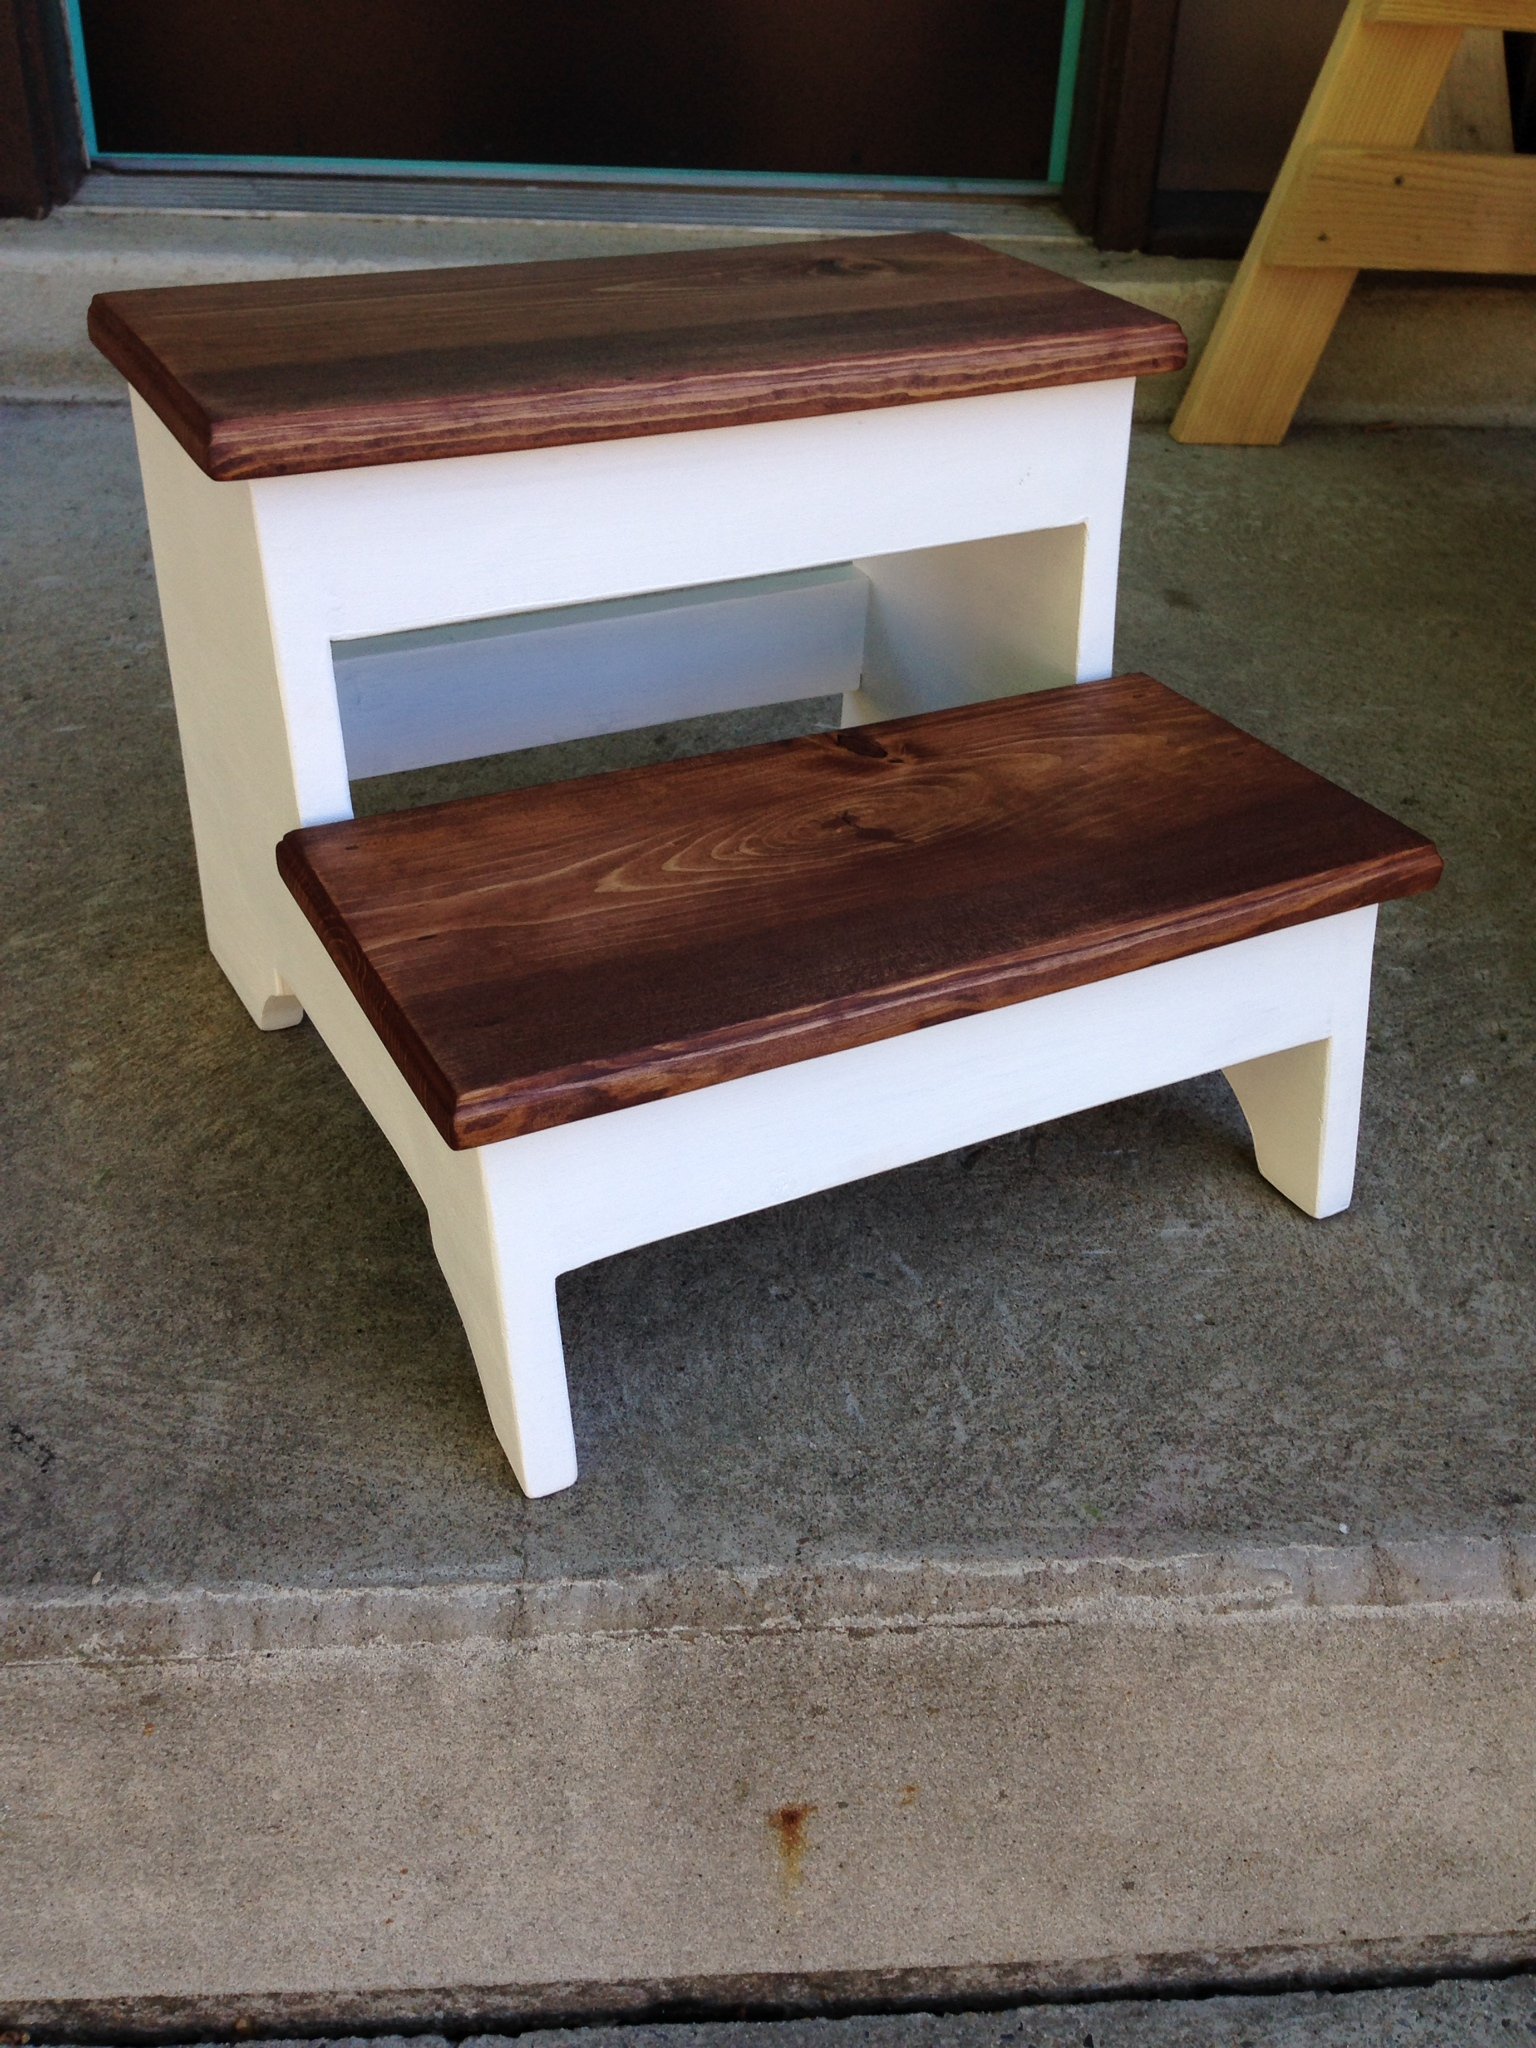
I needed a step stool for my son to be able to reach the bathroom sink to brush teeth and wash hands. This plan was exactly what I was looking for. As I do with all first time projects, I built this out of inexpensive pine. It is very sturdy, and holds me without a problem. I routed the edges of the treads, and used 1x3 material for the braces as opposed to the 1x2 called for in the plan. The plan was easy to follow and the cutting list worked perfectly. The most challenging part was creating the curves with the jig saw, but truly wasn't bad at all.
Built from Plan(s)
Estimated Time Investment
Afternoon Project (3-6 Hours)
Finish Used
As I am contemplating switching out our carpeted stairway to hardwood, I wanted to play with the white and stained look. I used semi gloss Valspar paint, and Minwax English Chestnut stain. I also applied 3 coats of polyurethane to provide added protection from water.
Recommended Skill Level
Beginner
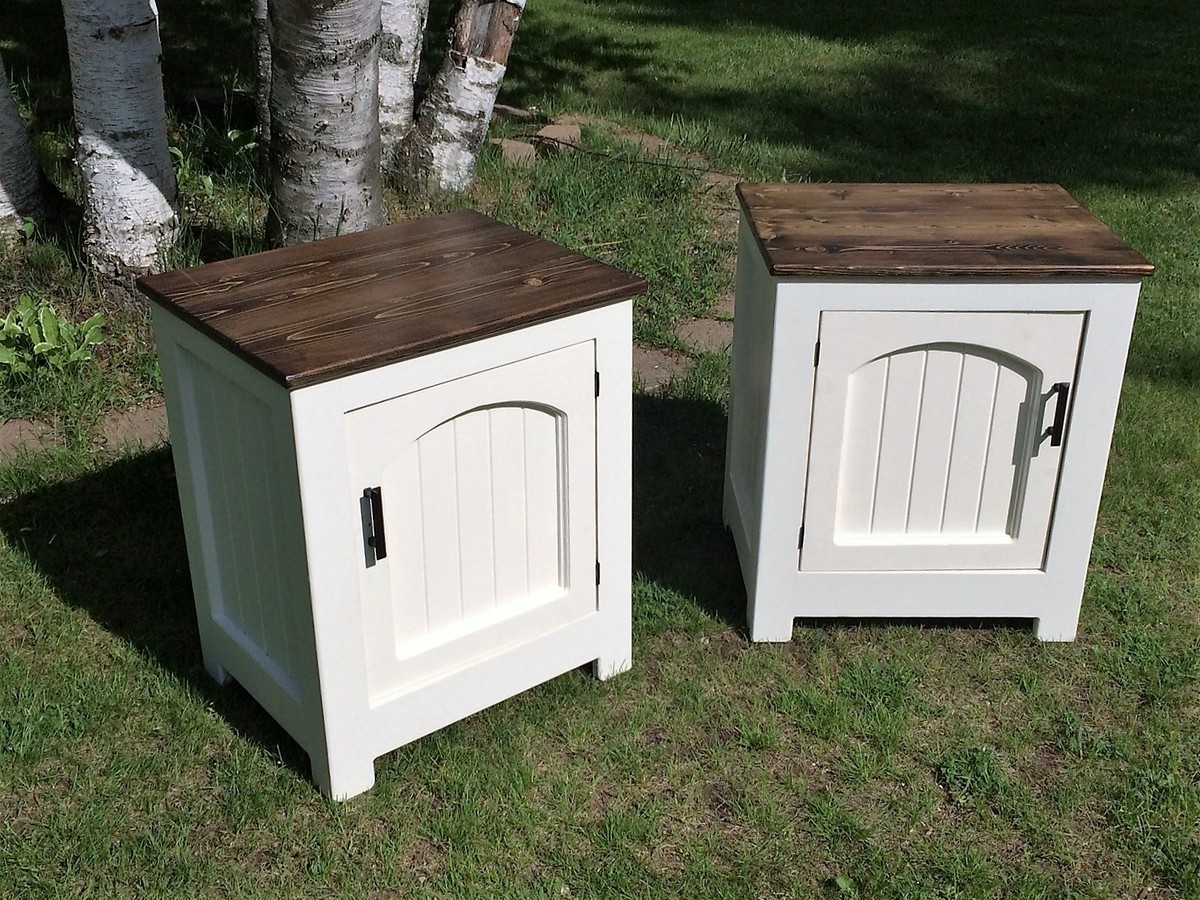
Night Stands

I finished these night stands this past spring. I followed the Kentwood night stand plan from Ana-White, but made a few design changes. I decided to arc the doors to give the tables a little more character. The material I chose was 3/4" pine. The table bases are finished off with 3 coats of Sherwin Williams paint, and the tops are walnut stained with 3 coats of poly. The contrast between the base and the top came out great, the stands look beautiful in our bedroom and offer lots of storage.
Built from Plan(s)
Estimated Time Investment
Weekend Project (10-20 Hours)
Finish Used
Paint, Walnut stain and poly.
Recommended Skill Level
Beginner
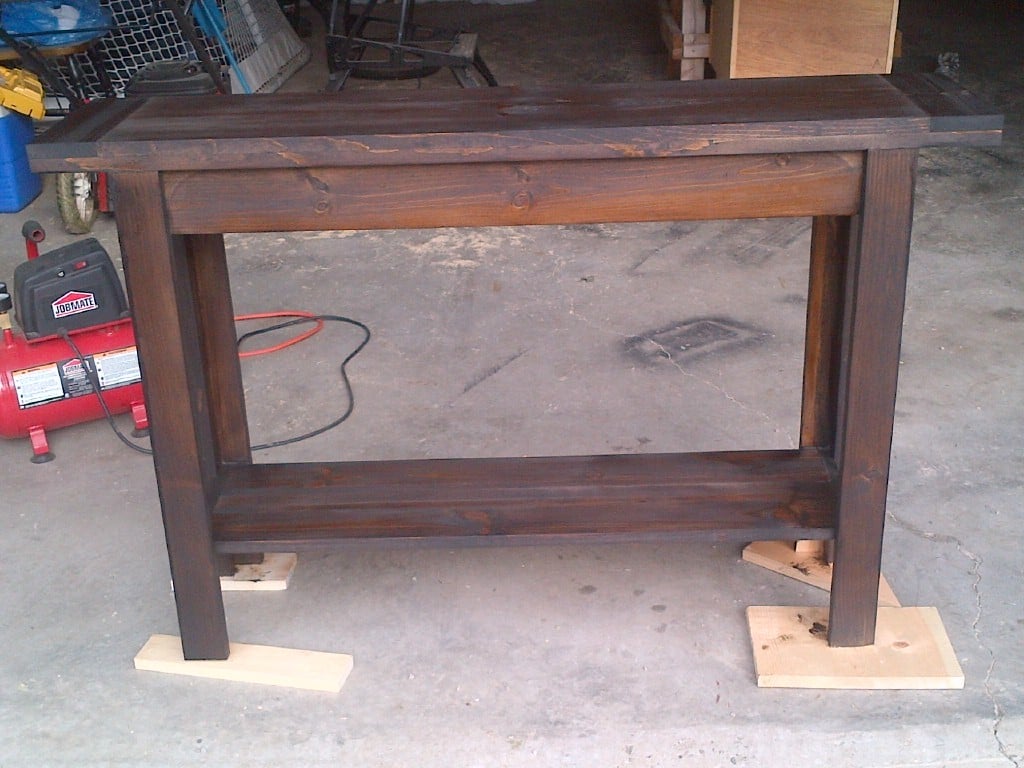
Buffet table
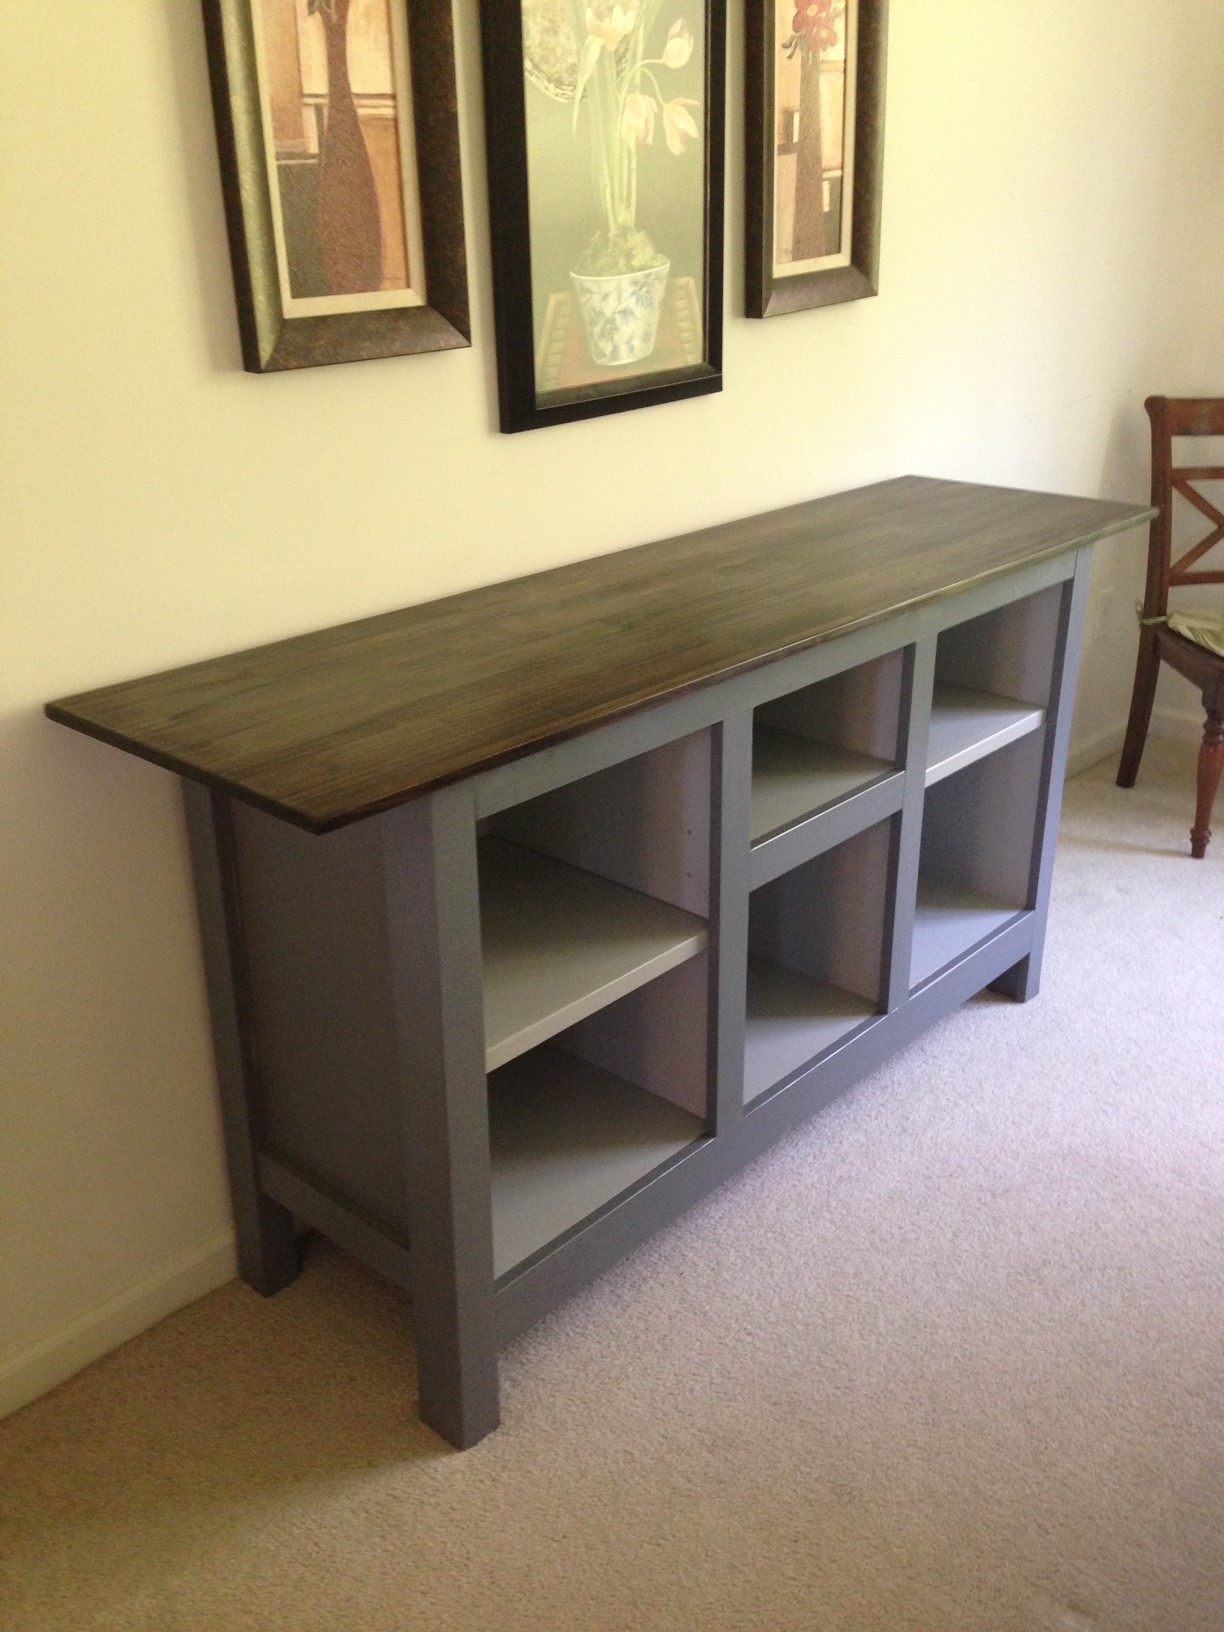
Modified this to use plywood sides shelves with glued up pine top and poplar legs.
Built from Plan(s)
Estimated Time Investment
Week Long Project (20 Hours or More)
Finish Used
Minwax Coastal Gray and Minwax Antique Walnut (top)
Recommended Skill Level
Intermediate
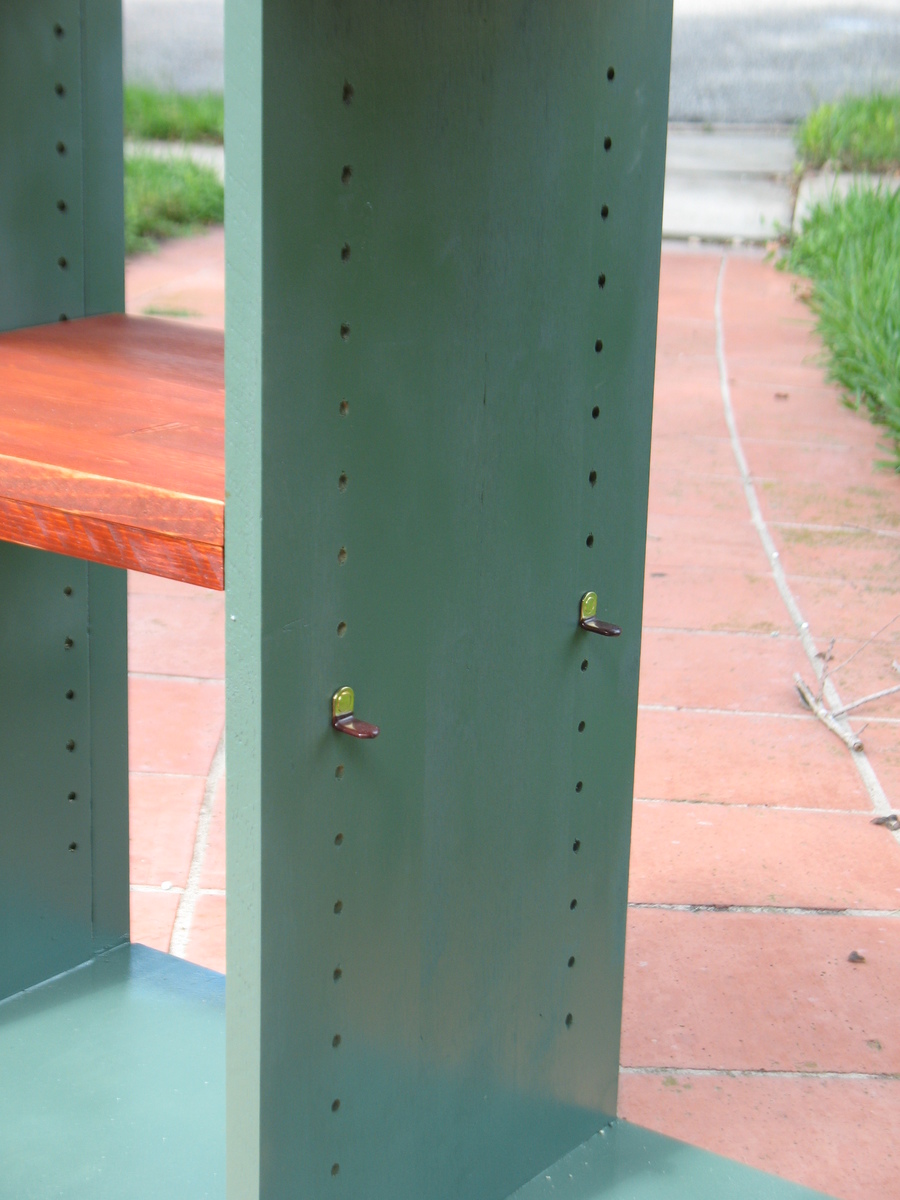
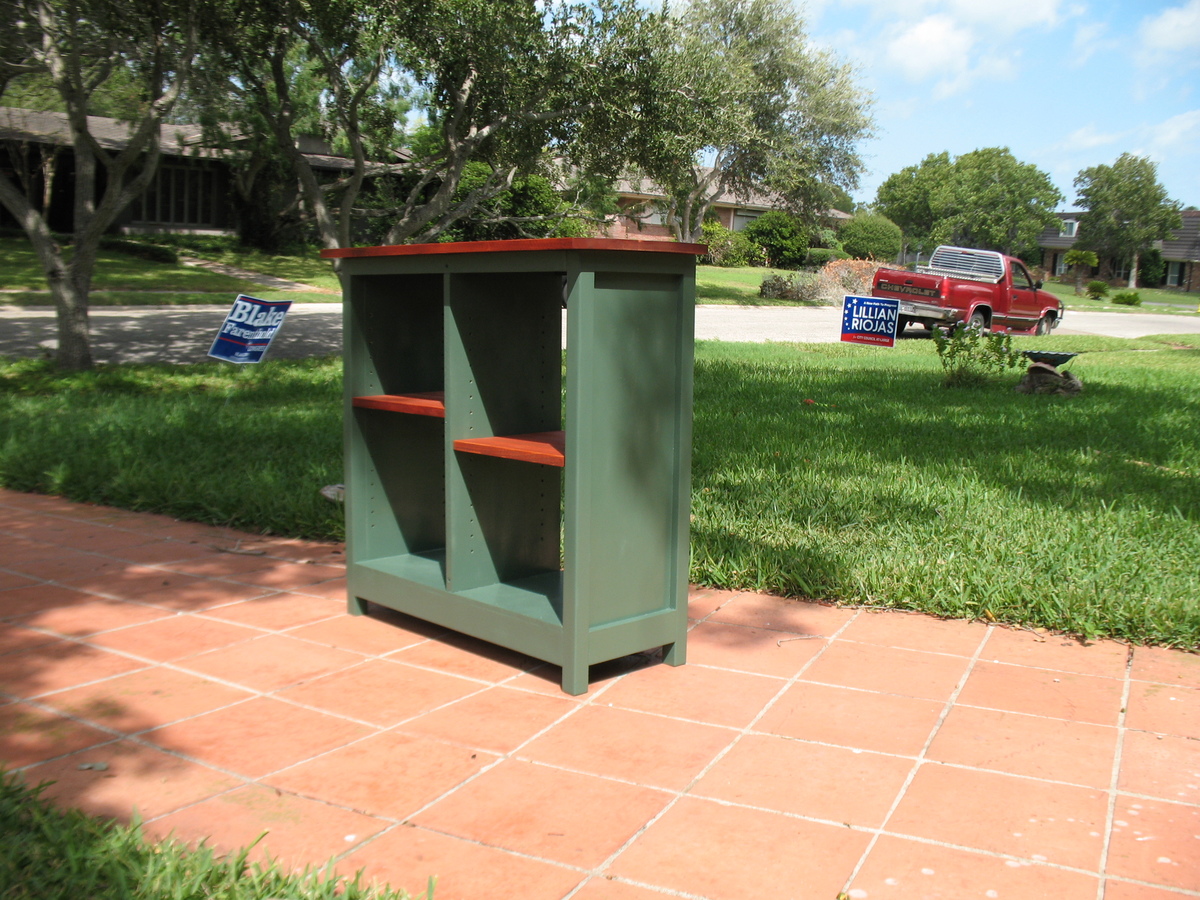
My Version - 4 Cubby Bookshelf
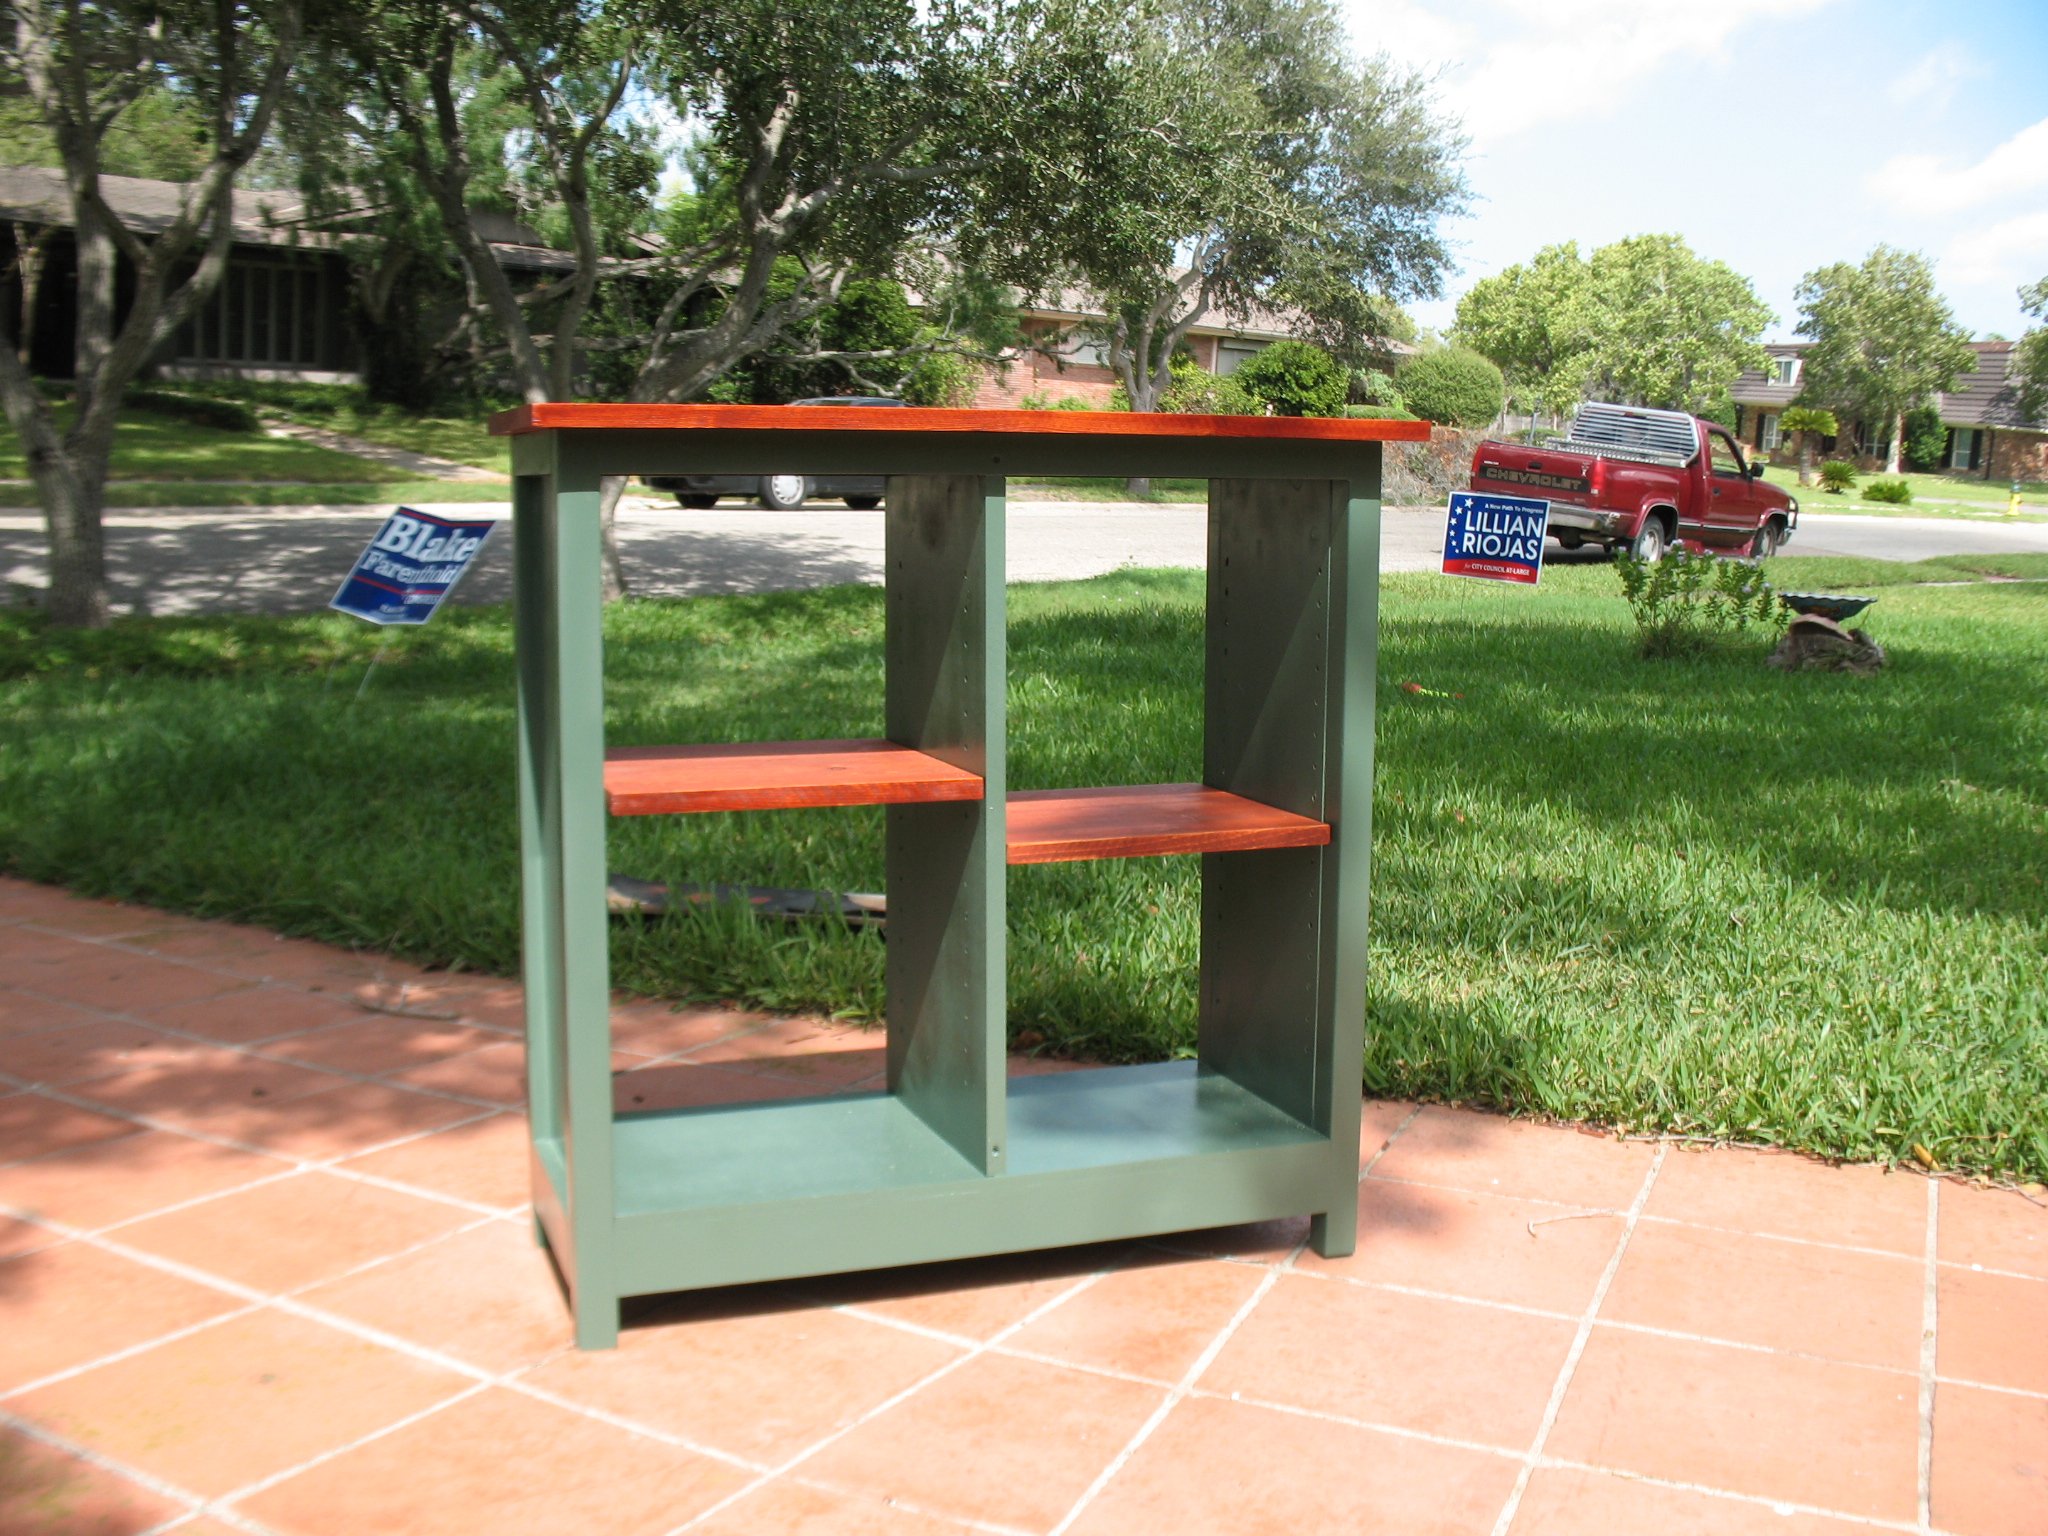
I was inspired by Ana's 4 Hole Cubby Bookshelf and a bookshelf I saw on line one night. So I incorporated the two somewhat. I took stair parts for the corner legs and connected them to form a frame with 1x3 on the bottom and 1x2 around the top. Then installed the inside side walls such that the ends are inset. I added a top with an inch or so of overhang on the sides and front. I also made the two shelves adjustable with my new Kreg Shelf Pin jig. It was so easy and accurate. Dimensions are about the same as the 4 Hole Cubby but I admit I winged it at times. Came out very nice and now the wife wants to add another shelf and I think there is plenty of room.
Built from Plan(s)
Estimated Cost
About $50. I overbought the wood and the legs and top cost $16 so I think $50 is a good guess.
Estimated Time Investment
Day Project (6-9 Hours)
Finish Used
Stain - Minwax Gunstock 231
Paint - Rust-o-leum Moss Green enamel spray
Paint - Rust-o-leum Moss Green enamel spray
Recommended Skill Level
Intermediate
Comments
Fri, 10/05/2012 - 04:50
I Cannot Tell A Lie
If you have not noticed I put the top on facing the back of the bookshelf. How stupid can I be? I'll answer that question. I am often stupid but at least not dangerous. I will add trim to the front to hide the stuff I don't want you to see and then post a new photo.
Gaby Kitchen Island
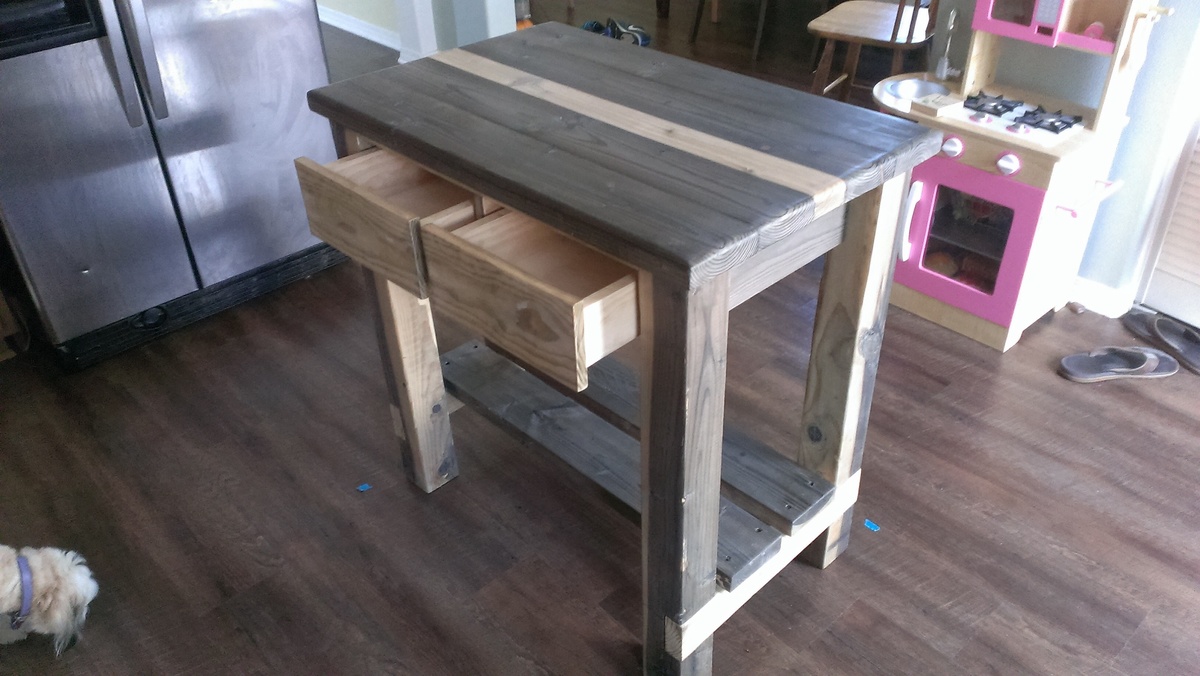
I used Ana's Gaby Kitchen Island plans and shortened the island to fit our small kitchen. I did not have reclaimed wood, so I used a vinegar and steel wool solution to transform the fir and pine into a completely unexpected look. For the top, I trimmed the edges of the 2 x 6s with my table saw to get a smoother top surface, then routered the edges with a 1/2 inch round over bit (thanks Steve Ramsey). I used white pine down the middle to make up for the edges I removed which looks like a cool custom stripe. (I also used the white pine for the side supports so hopefully there's some cohesion.)
Thank you Ana for the inspiration and great project! Can't wait for the next one :)
Estimated Time Investment
Weekend Project (10-20 Hours)
Finish Used
Vinegar and Steel Wool Solution for color; Min Wax Finishing Paste.
Recommended Skill Level
Beginner
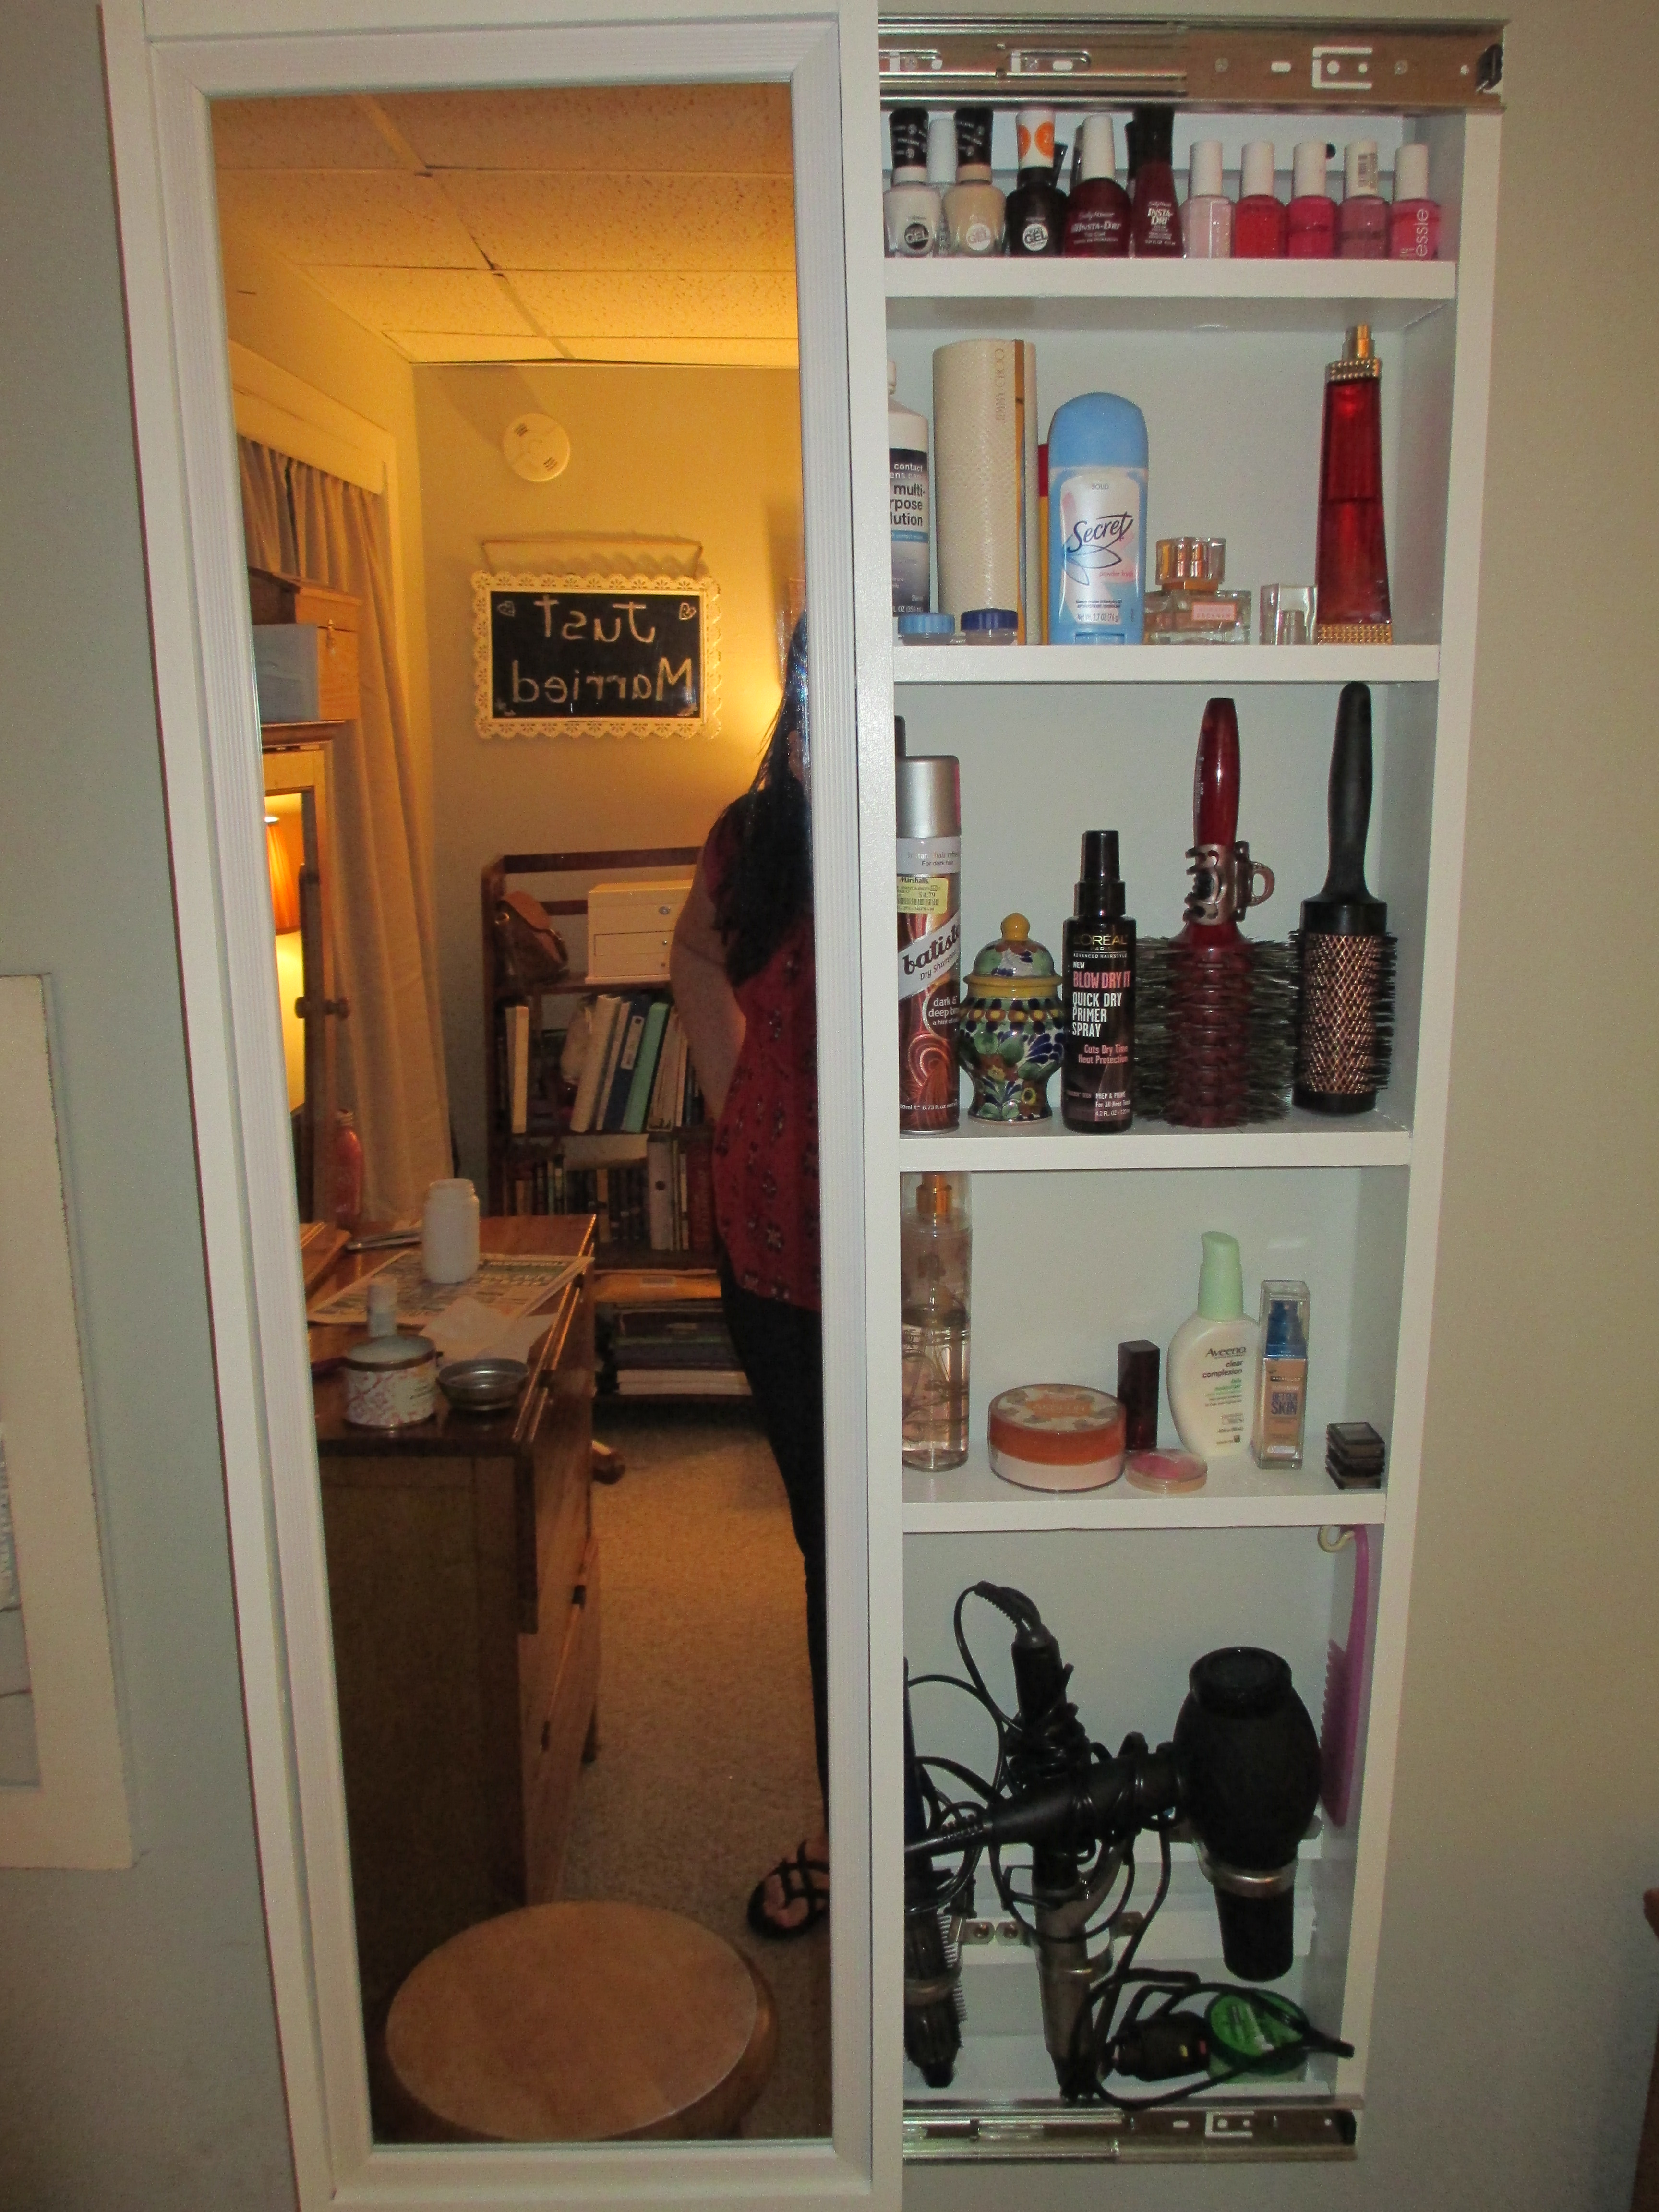
Mirror cabinet
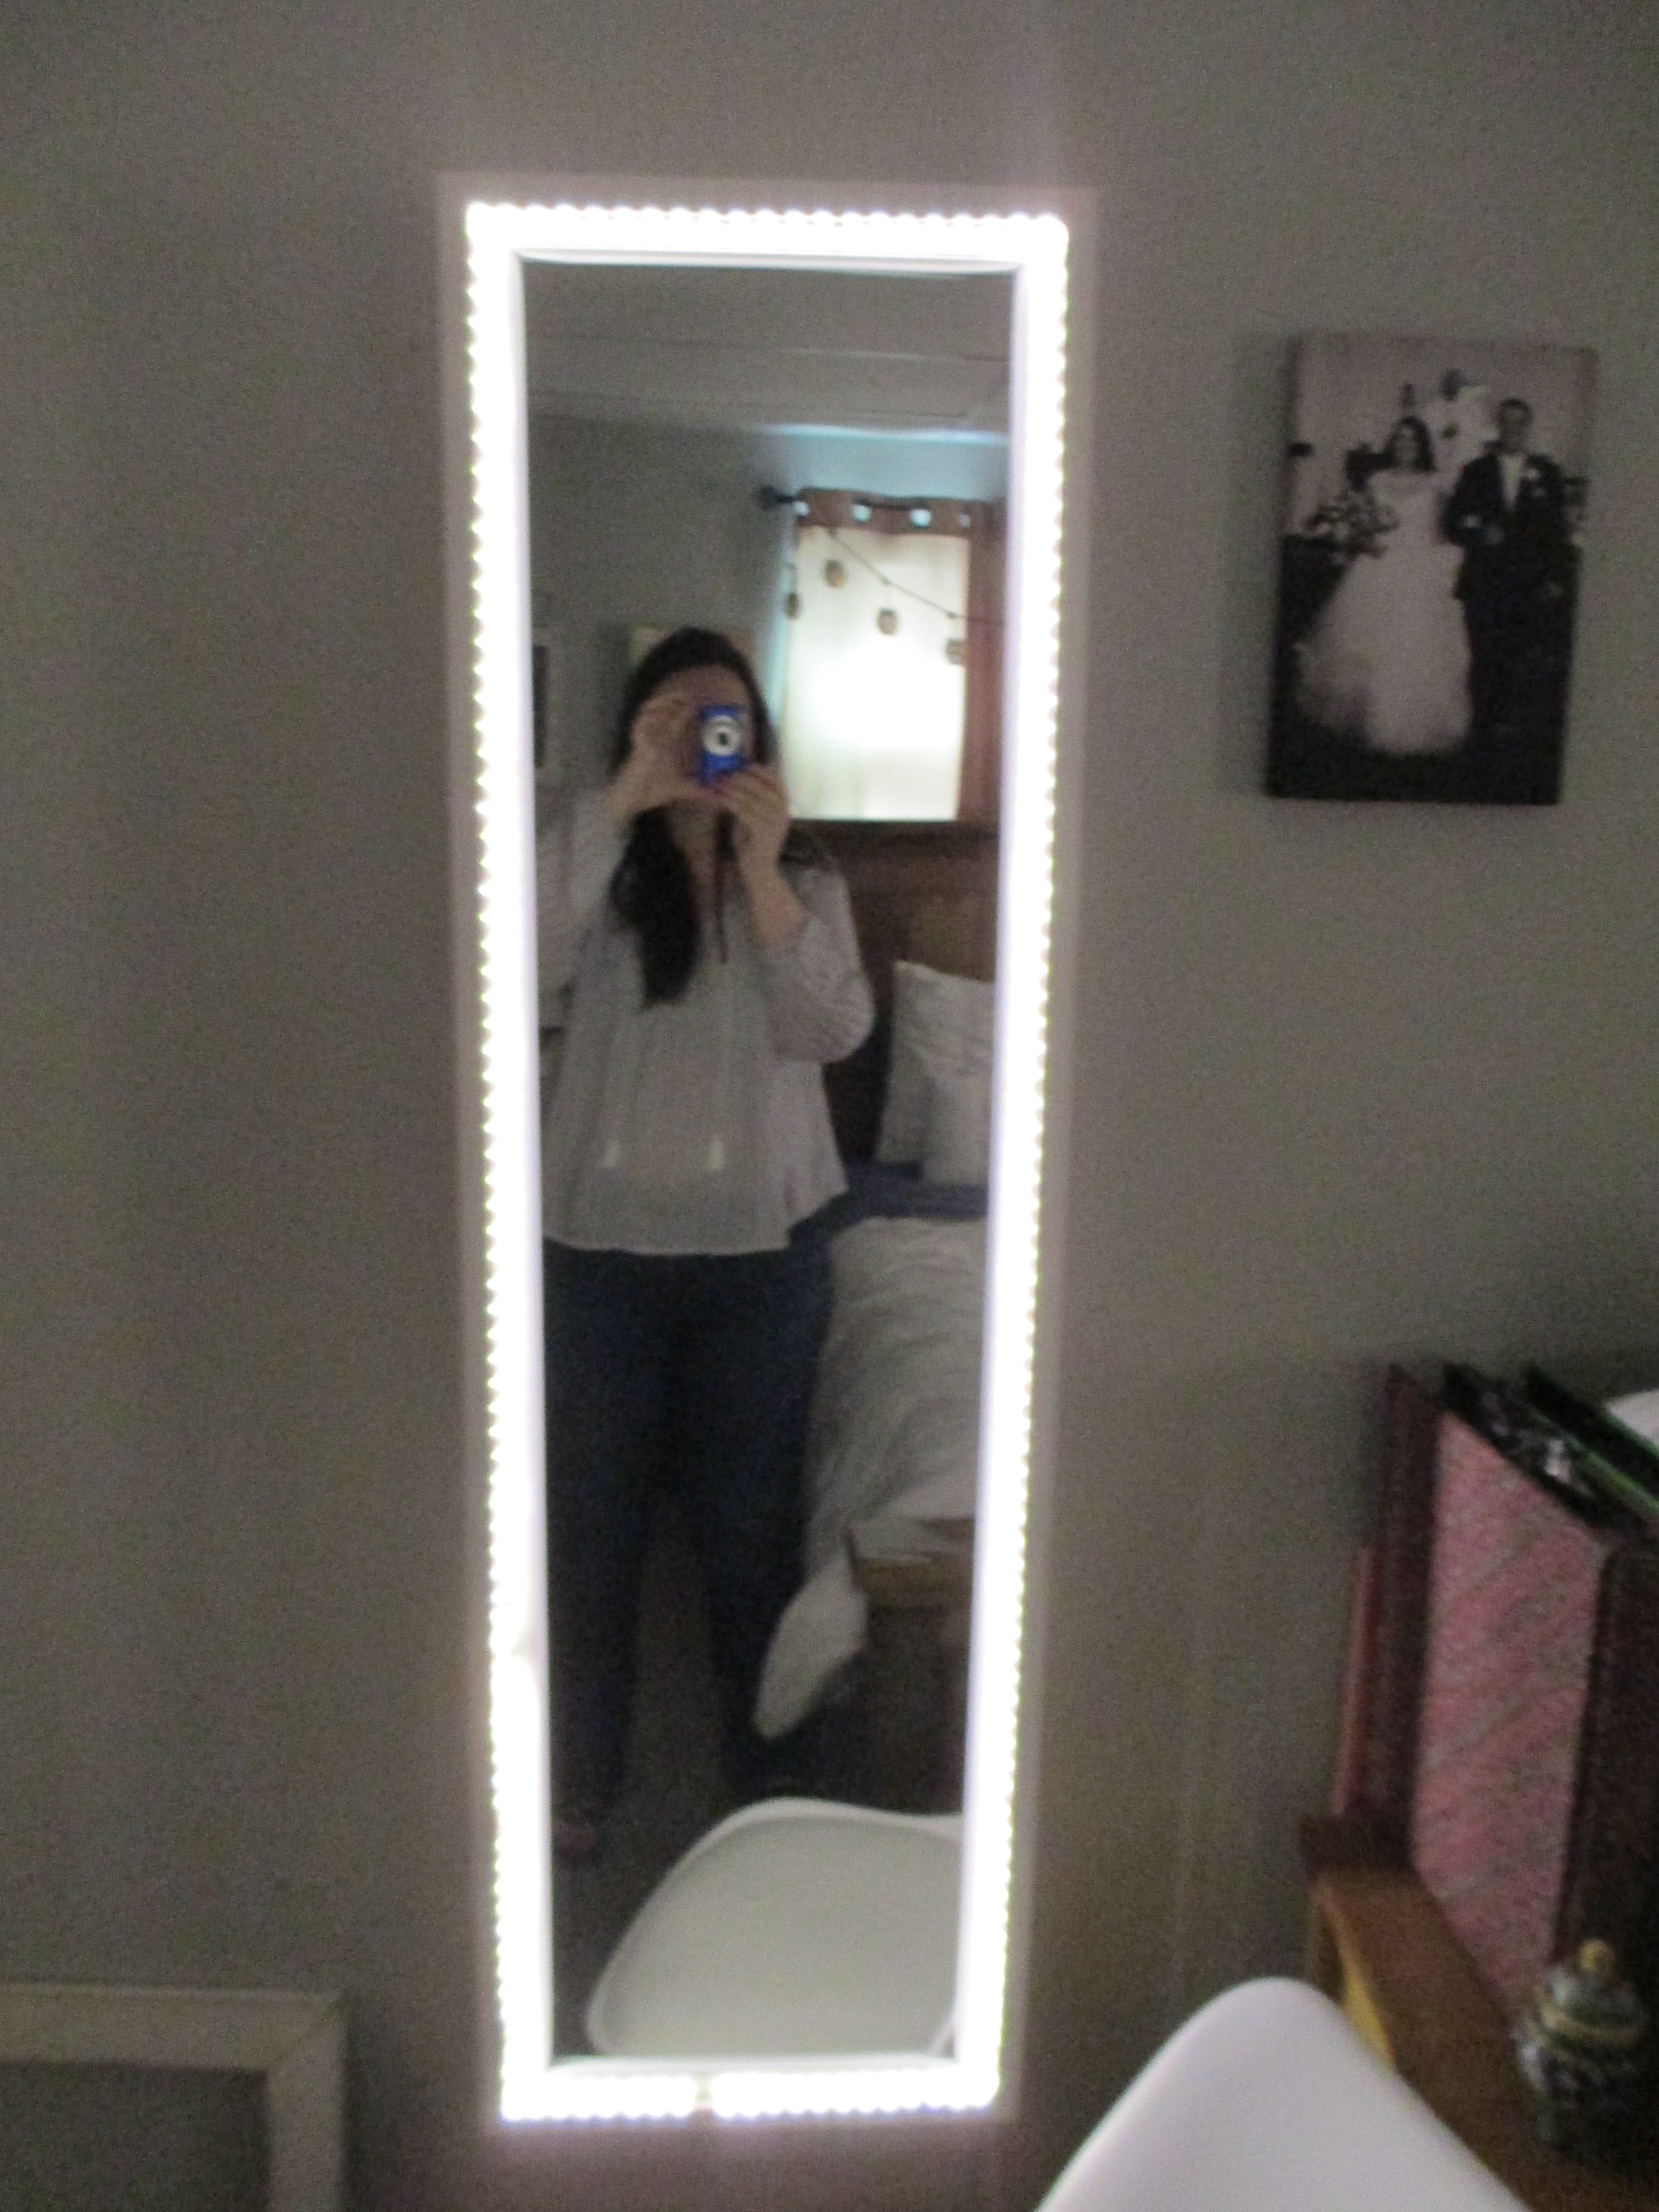
This was my first ever time building anything, even though I've wanted to for a really long time! It was great! I love this website. Wish I had a nailgun at the time I did this project, but I did get one after I realized how much I love carpentry. Thanks Ana!
Built from Plan(s)
Estimated Cost
$75(including the lights)
Estimated Time Investment
Day Project (6-9 Hours)
Recommended Skill Level
Starter Project
Comments
Sun, 09/17/2017 - 20:49
attaching rails
How did you attach rails? I still cannot figure out the best way to do it...
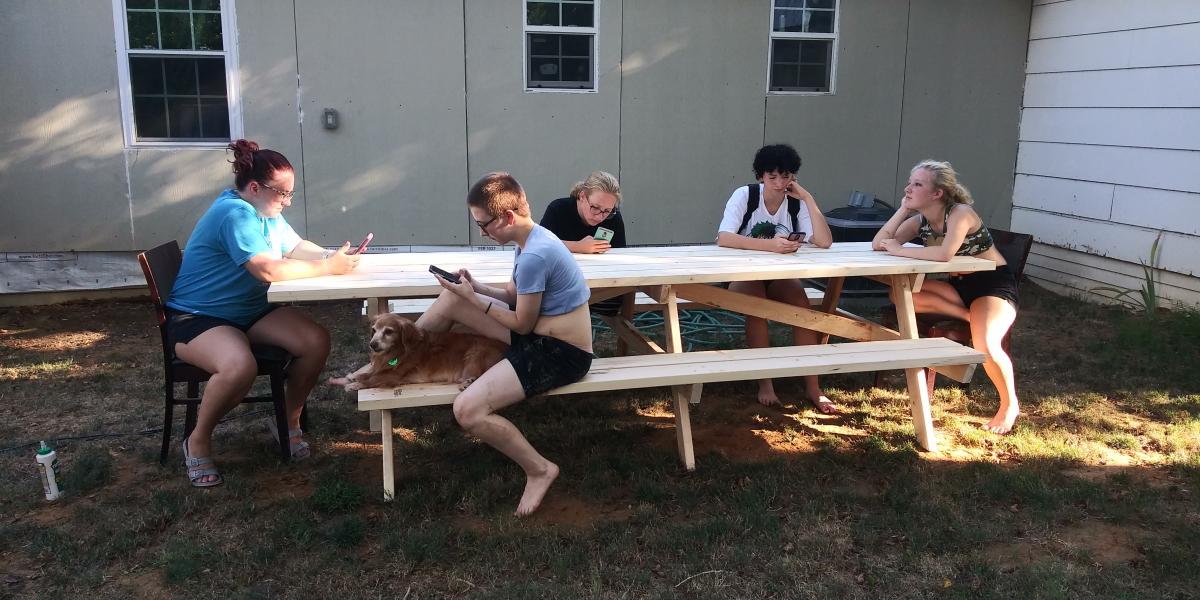
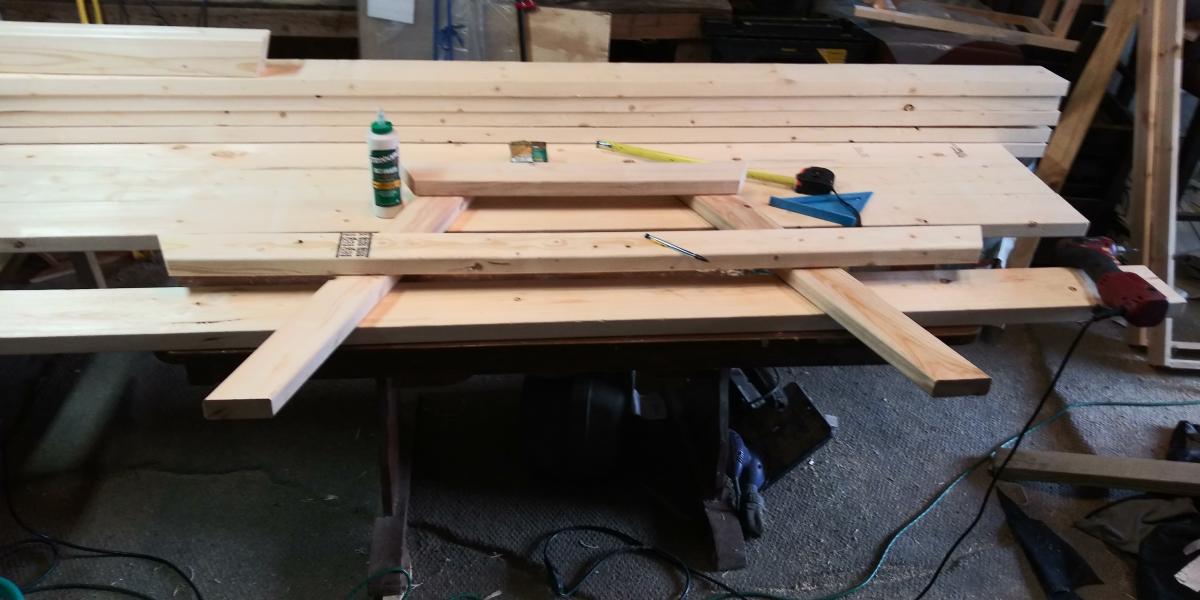
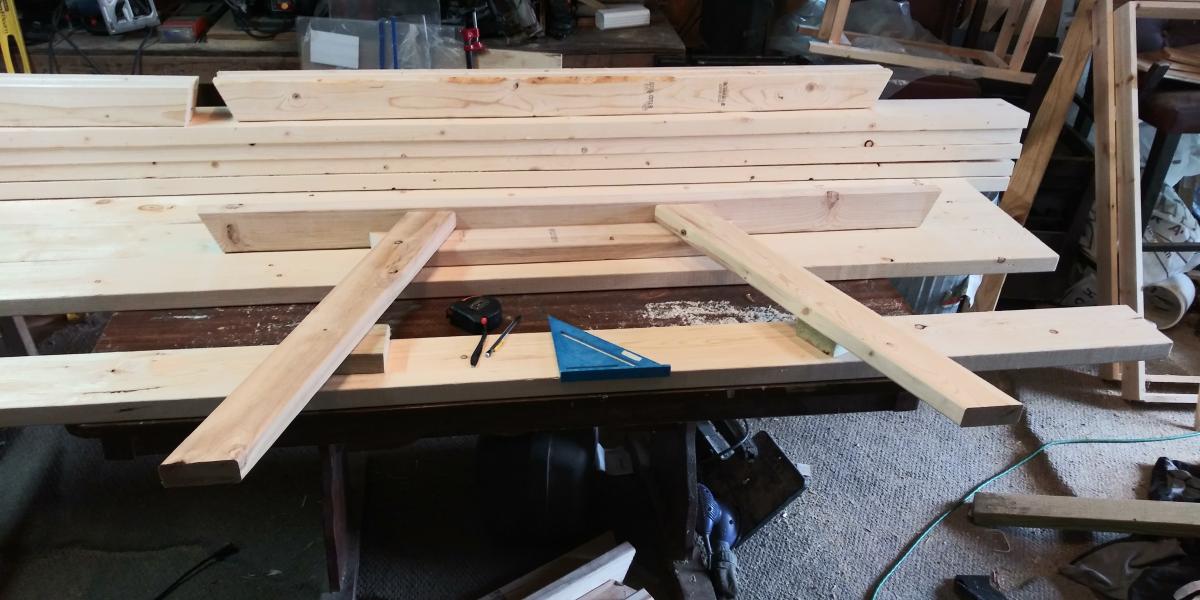
Family Picnic Table
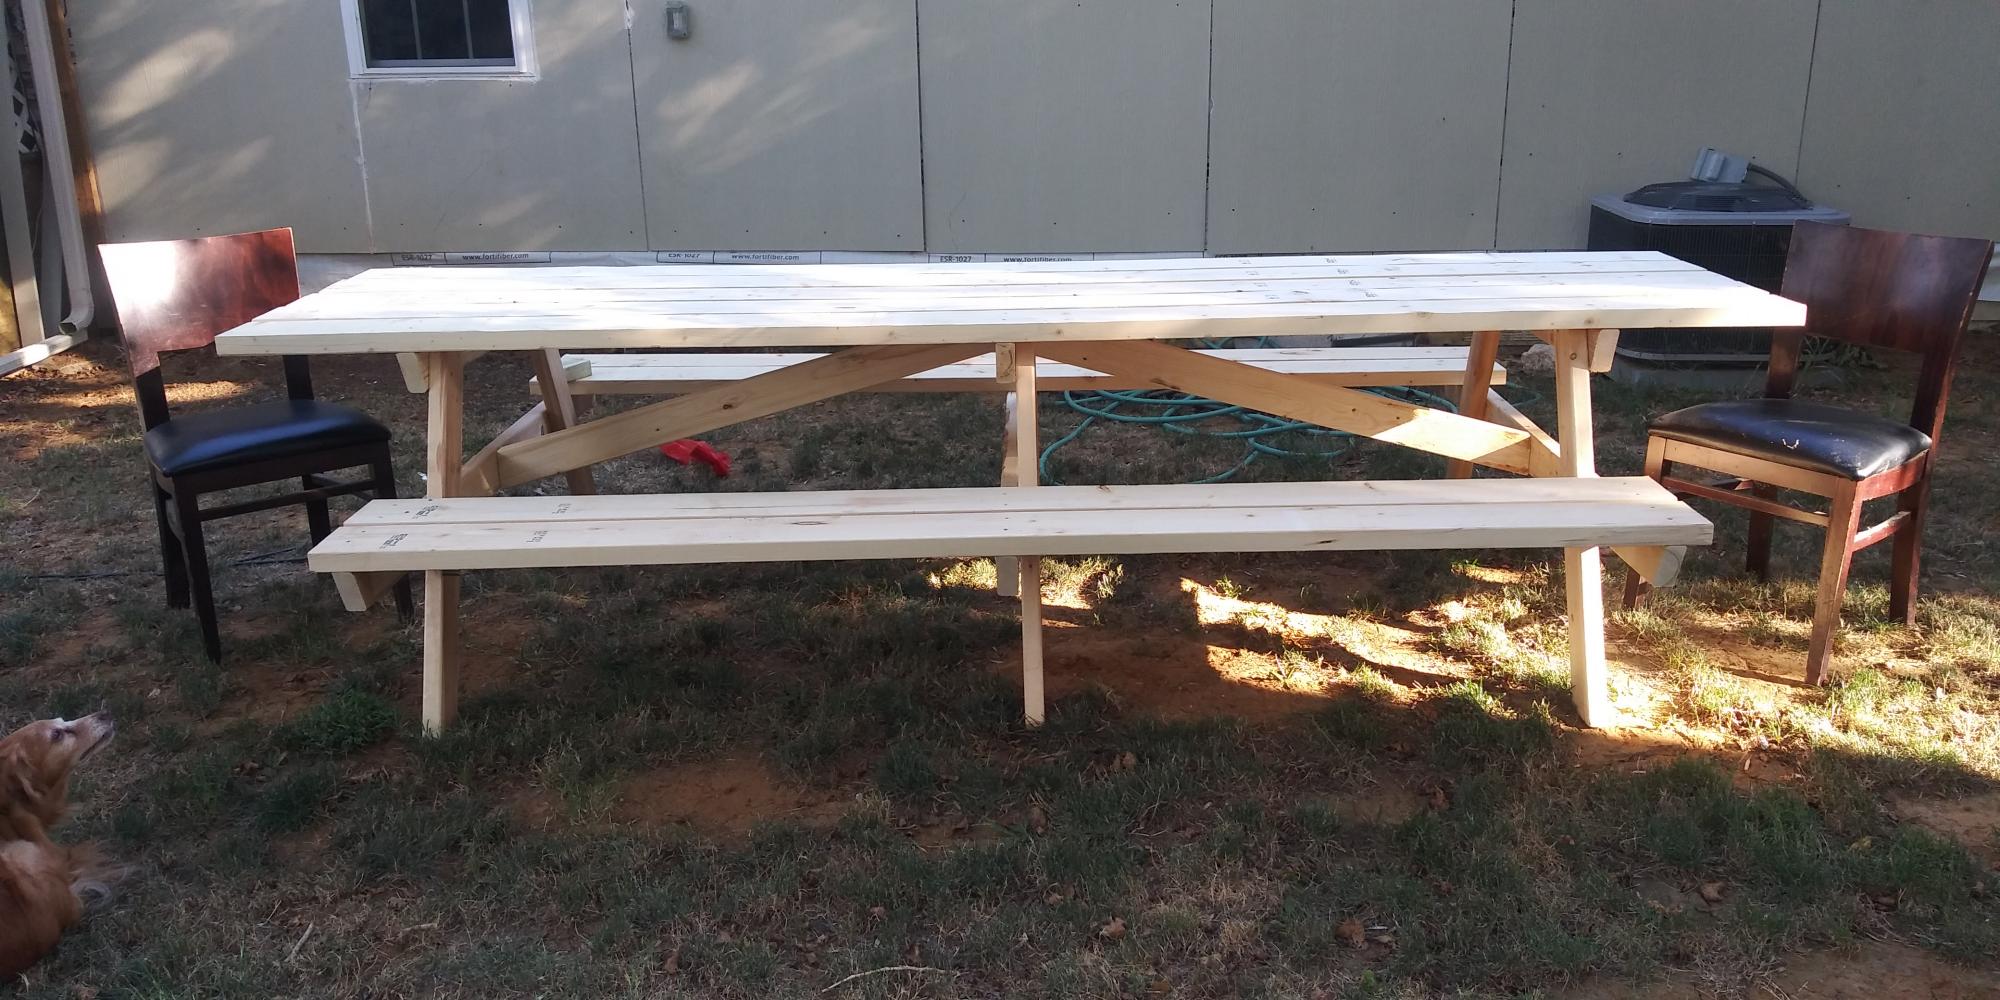
The 8' picnic table plans are great for a family of 8 or less, therefor the only changes that I made to the original plans was to use 10' boards for the table top. I centered the the table boards on top to allow for an extra chair on each end for more seating spaces.
Another alternative with the 10' table top boards would be to slide all of the excess footage to one end of the picnic table to make room for someone in a wheelchair. The original plans are great and turn out just like you would like but don't be afraid to modify your work!


Built from Plan(s)
Estimated Cost
$150.00
Estimated Time Investment
Afternoon Project (3-6 Hours)
Finish Used
Desert Brown Thompson Water Seal
Recommended Skill Level
Intermediate
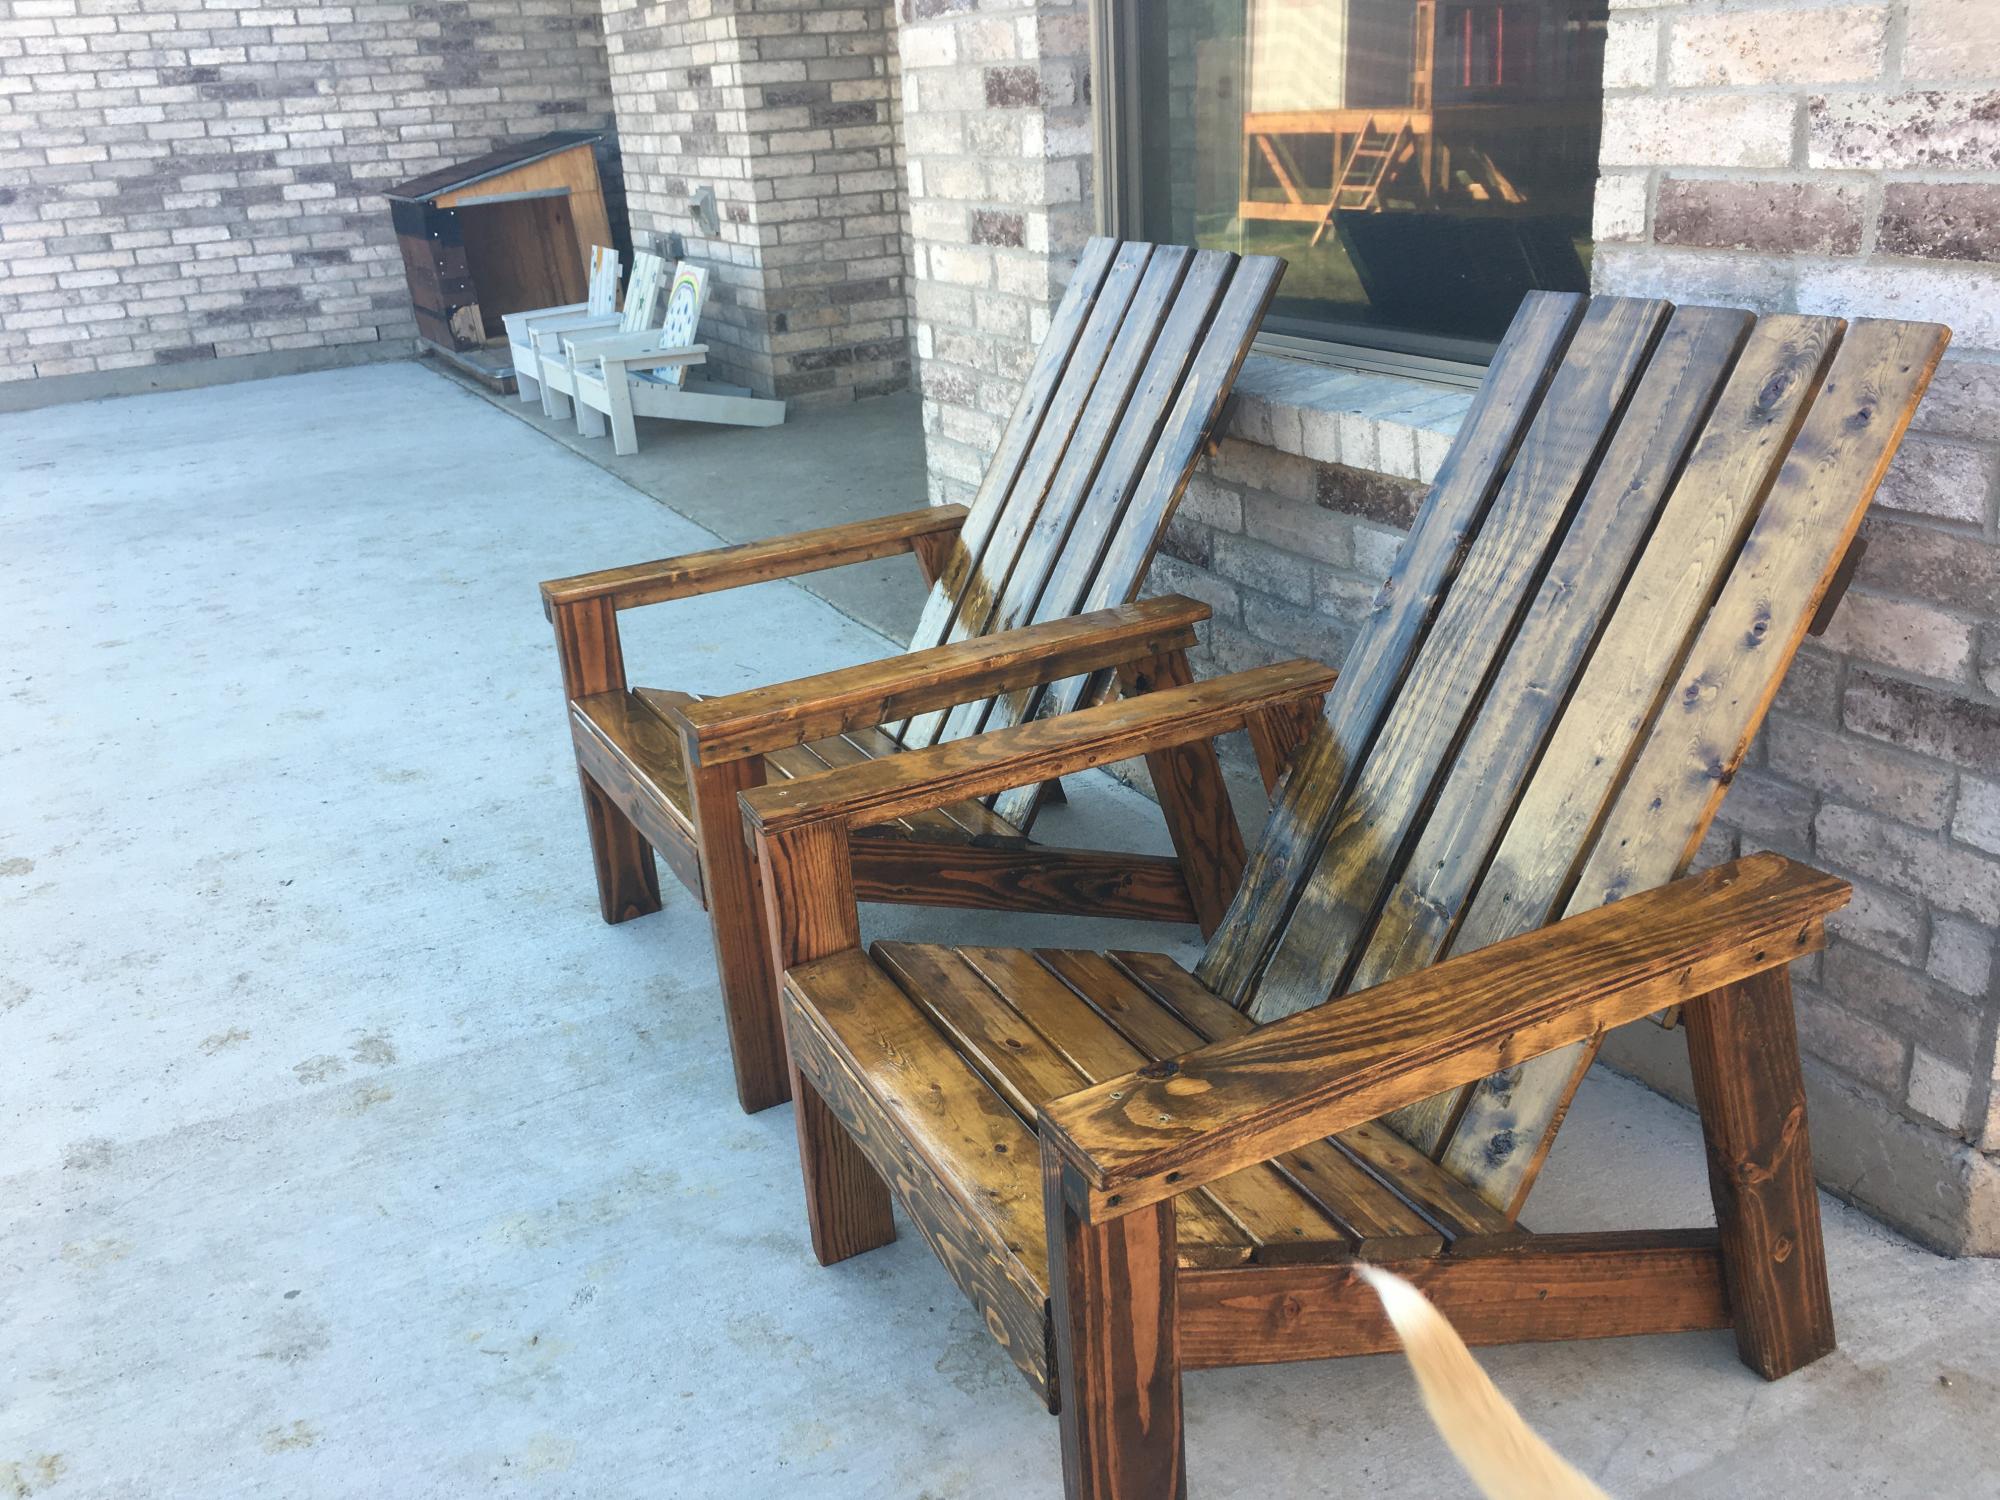
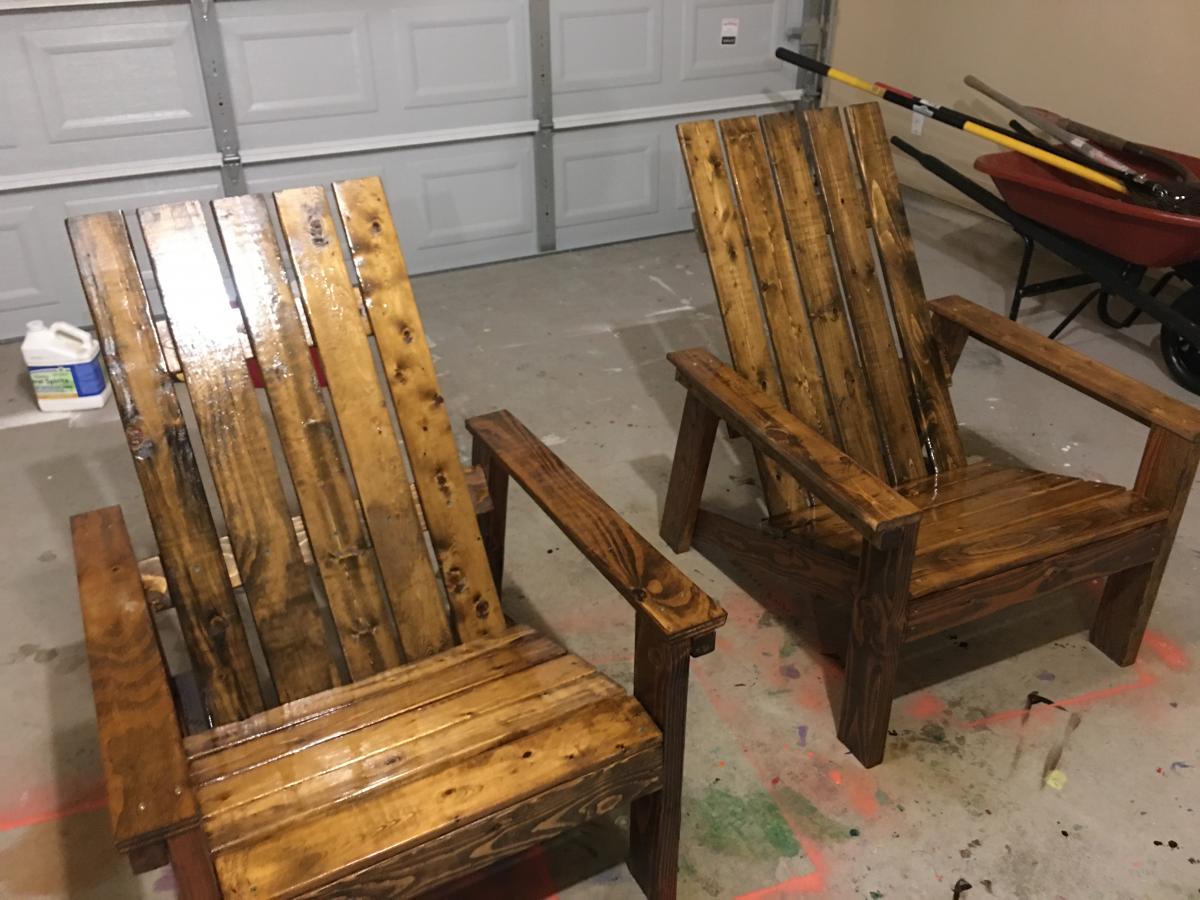
Outdoor Couch with Built-in Side Tables
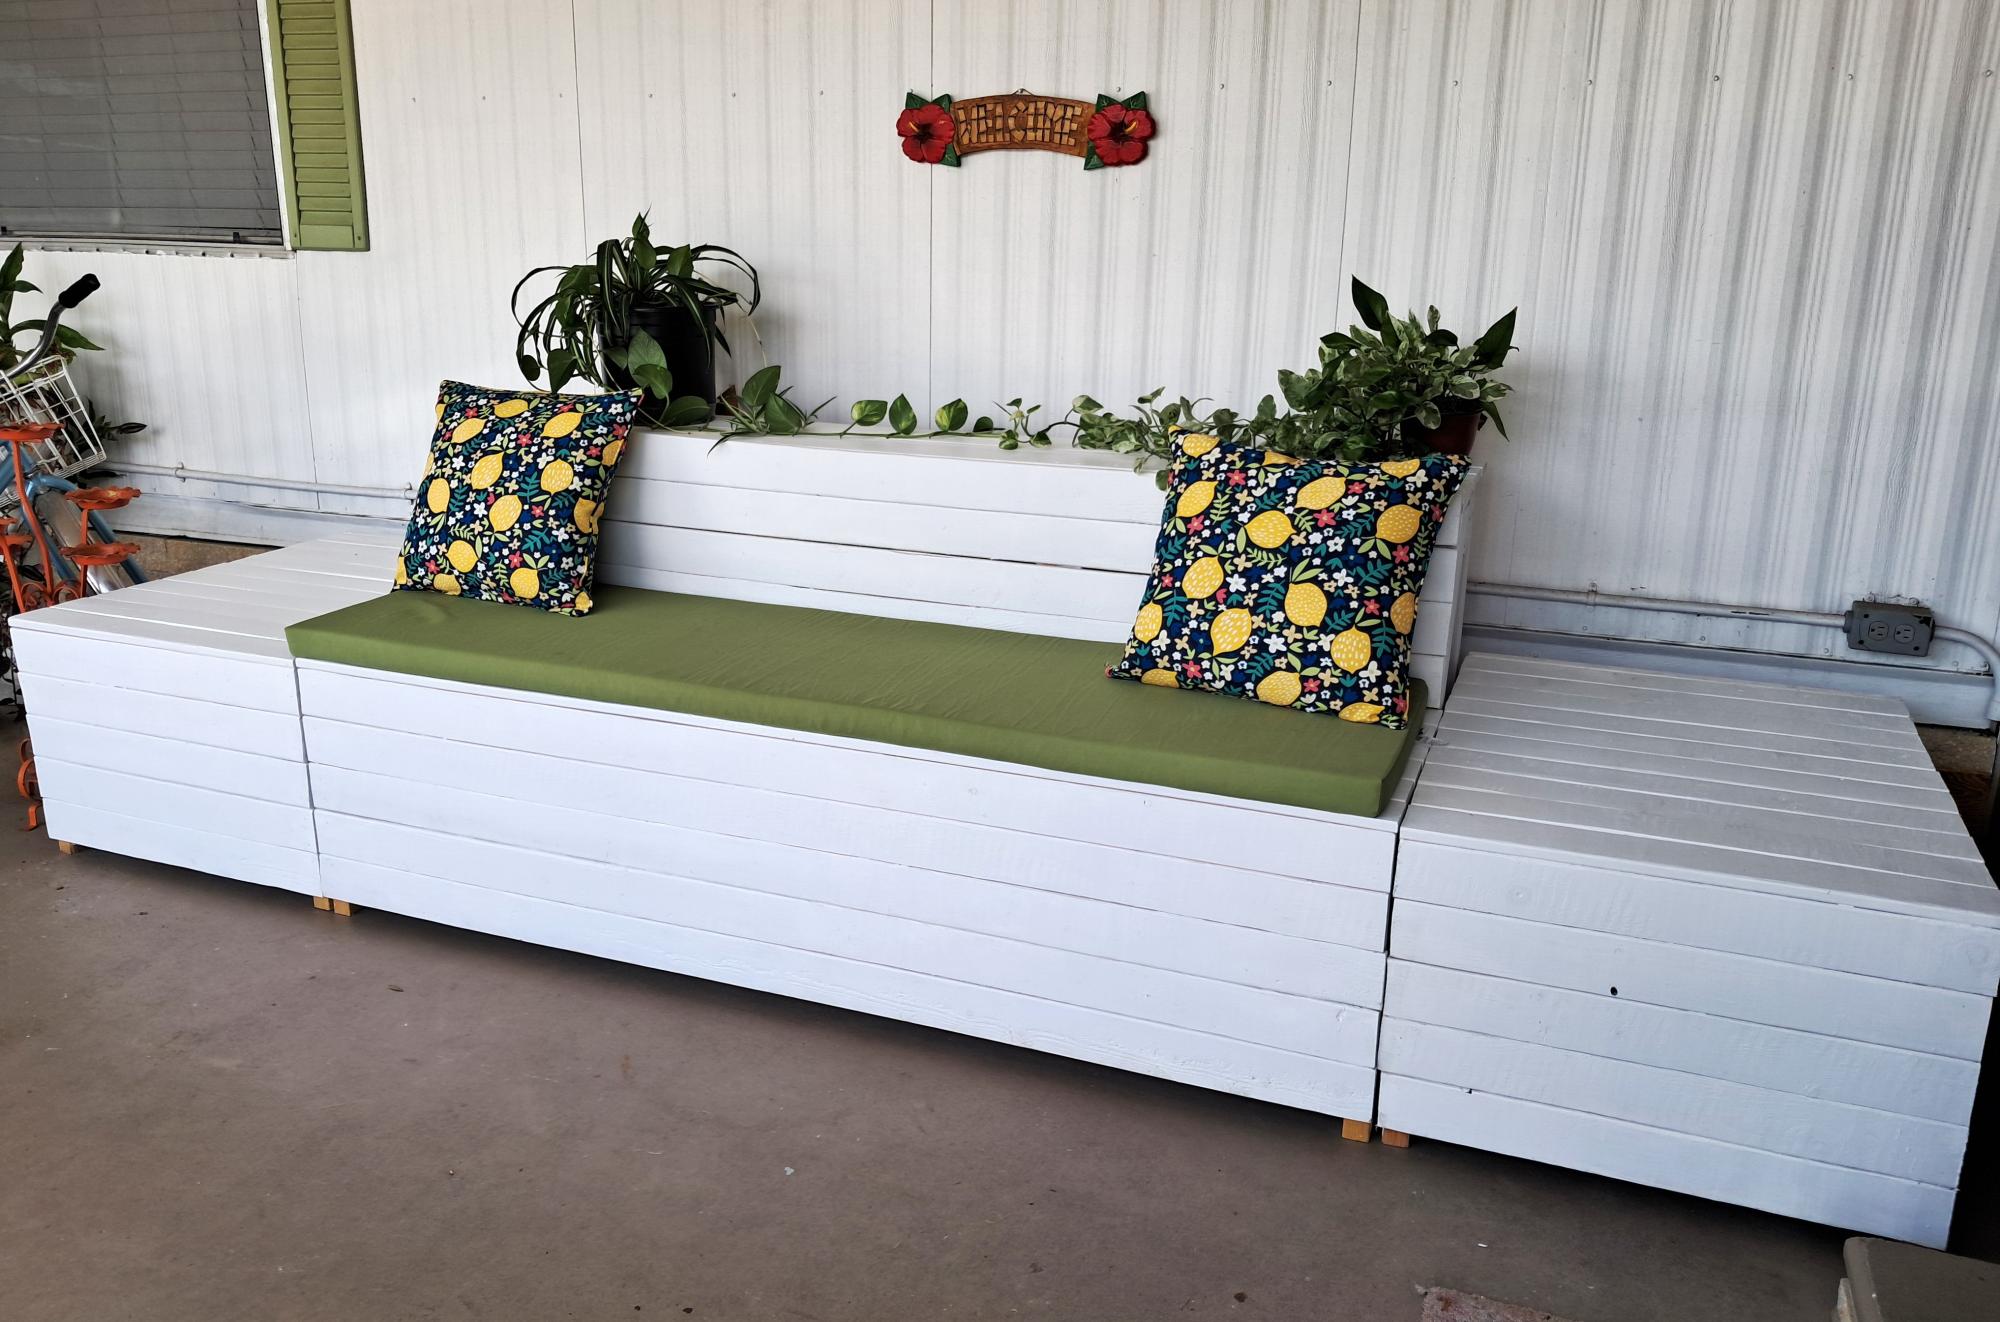
So happy with my first project using your armless couch plans. I adjusted somewhat to have two end tables. Love it. Thank you so much!
Patty
Built from Plan(s)
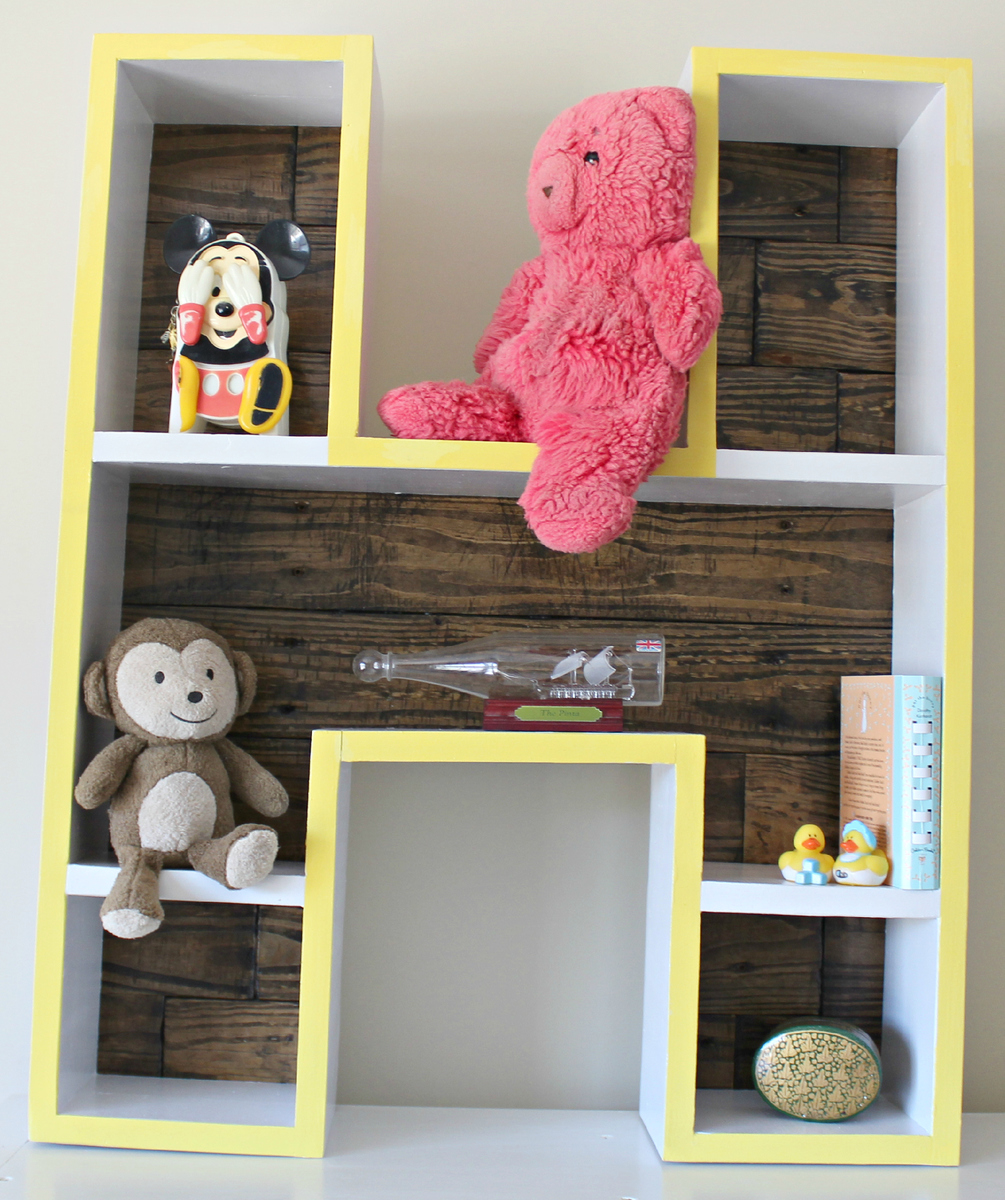
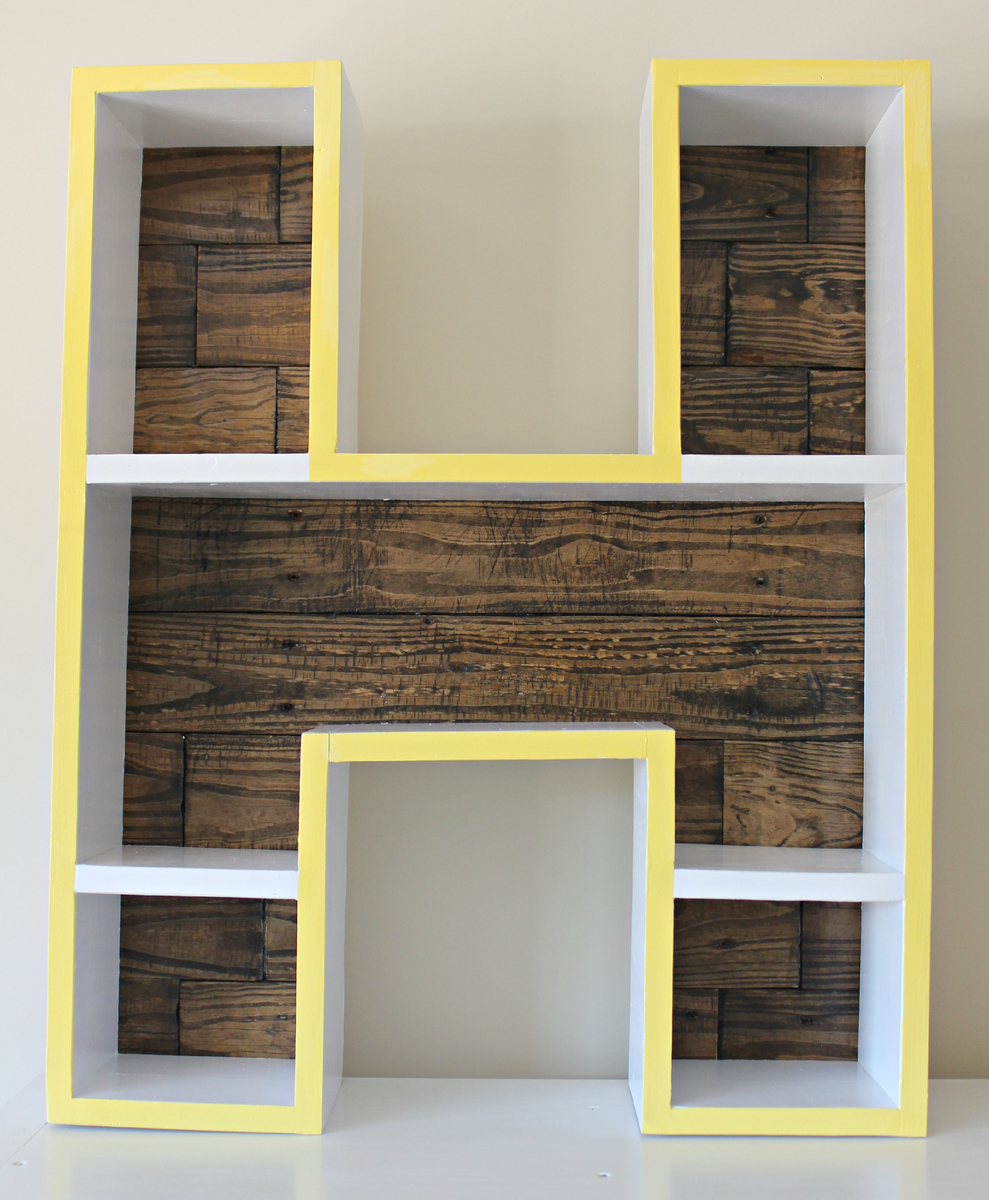
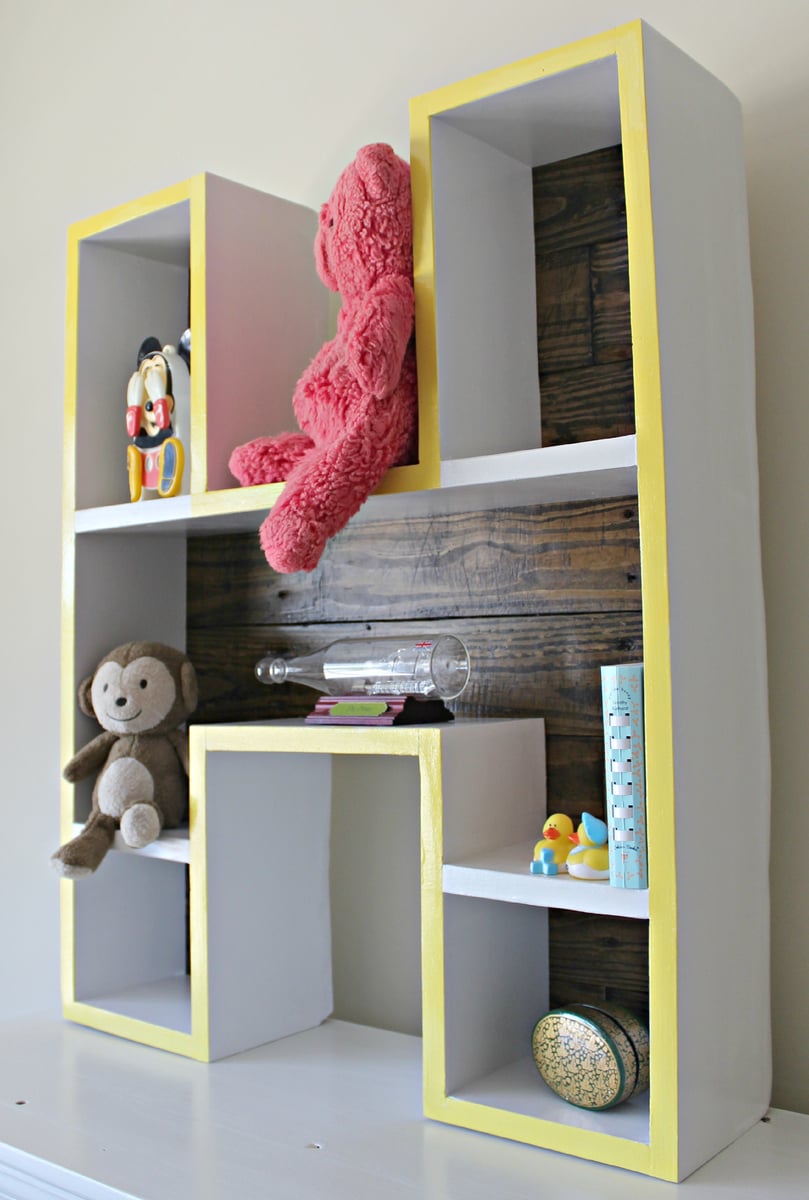
Letter H Shelf
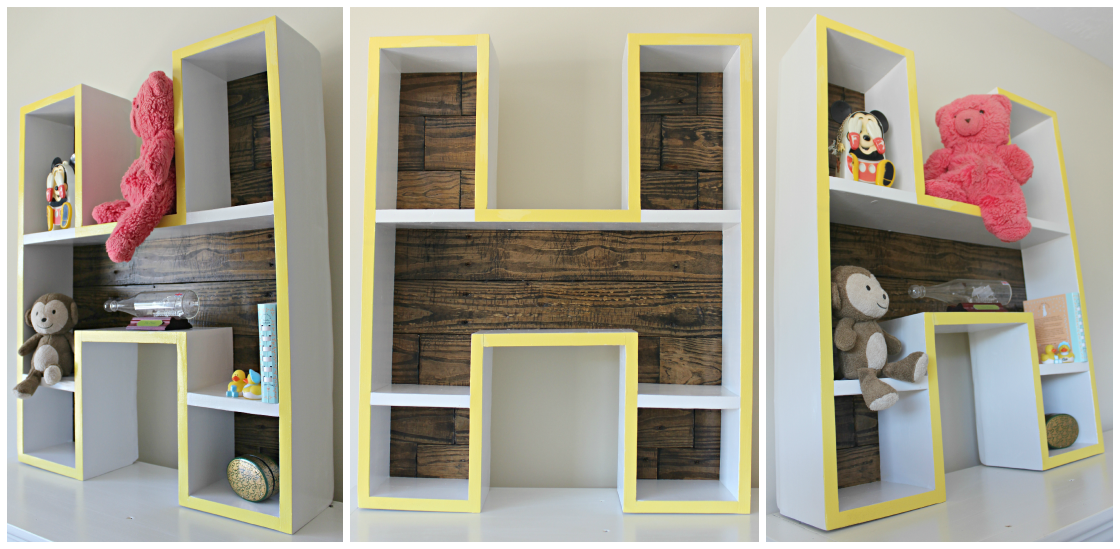
We're expecting a baby in November and we picked this as our first Nursery Decor project!
We were originally inspired by the Letter Z project we found on here on Ana's site. So we went ahead and made our own design on google sketch-up. It was a good first project for us to learn how to use Google sketch-up (although we still aren't very good at it).
We wrote about building the project on our blog here: http://thehuth.blogspot.com/2012/10/brought-to-you-by-letter-h.html
This was a fun project and we love the way it turned out!
Built from Plan(s)
Estimated Cost
25-30
Estimated Time Investment
Day Project (6-9 Hours)
Finish Used
-Behr Paint- Irish Mist
-Polycrylic (We used Minwax Polycrylic Protective Finish)
-Polycrylic (We used Minwax Polycrylic Protective Finish)
Recommended Skill Level
Beginner
Comments

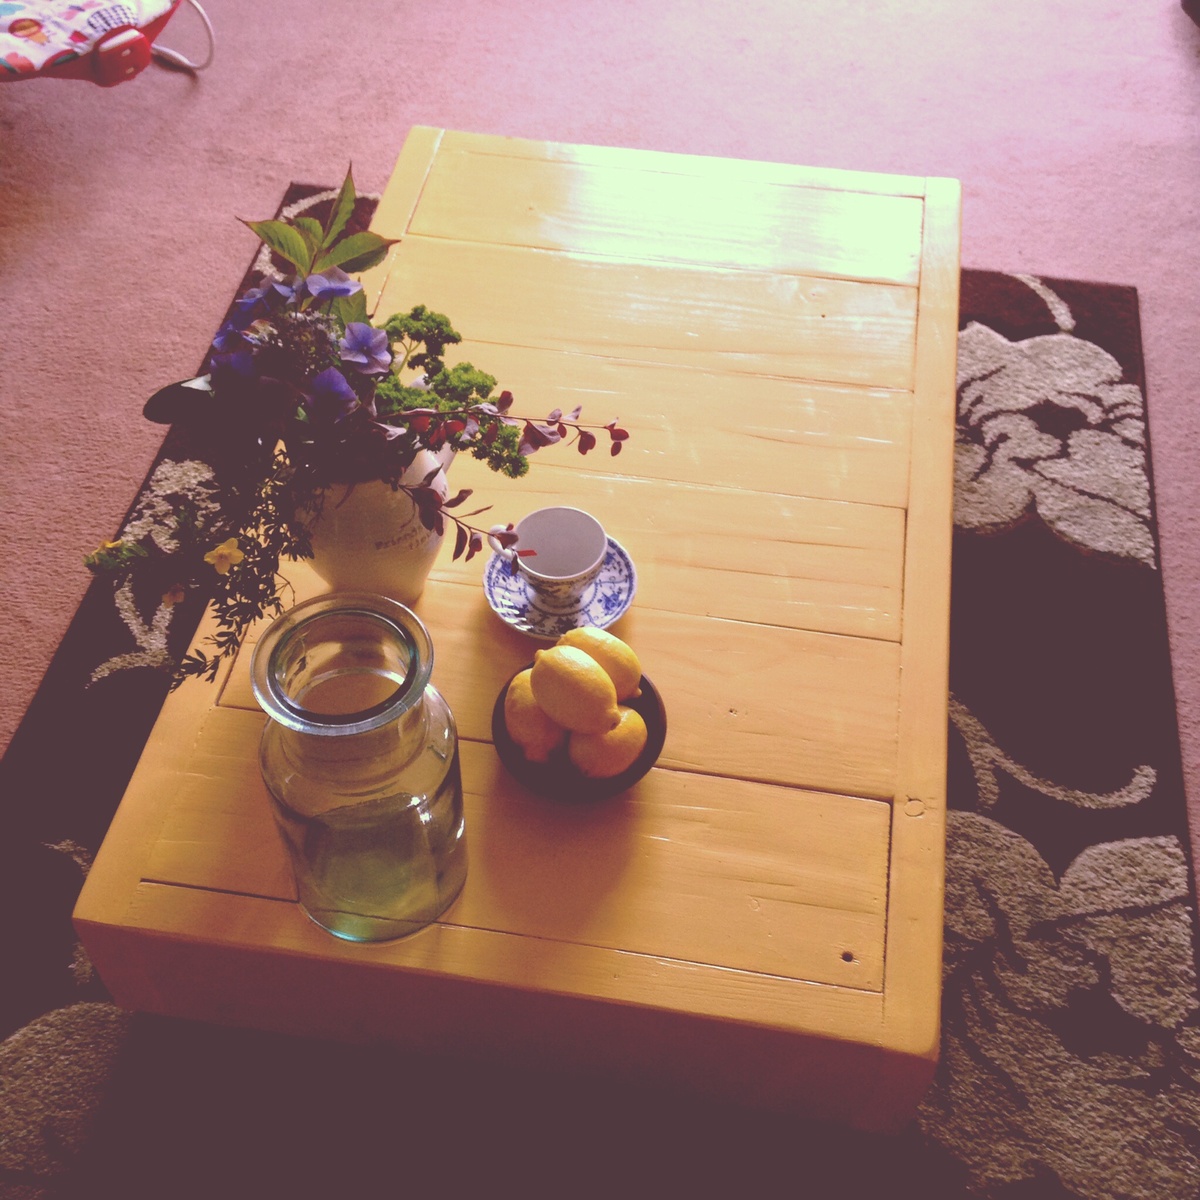
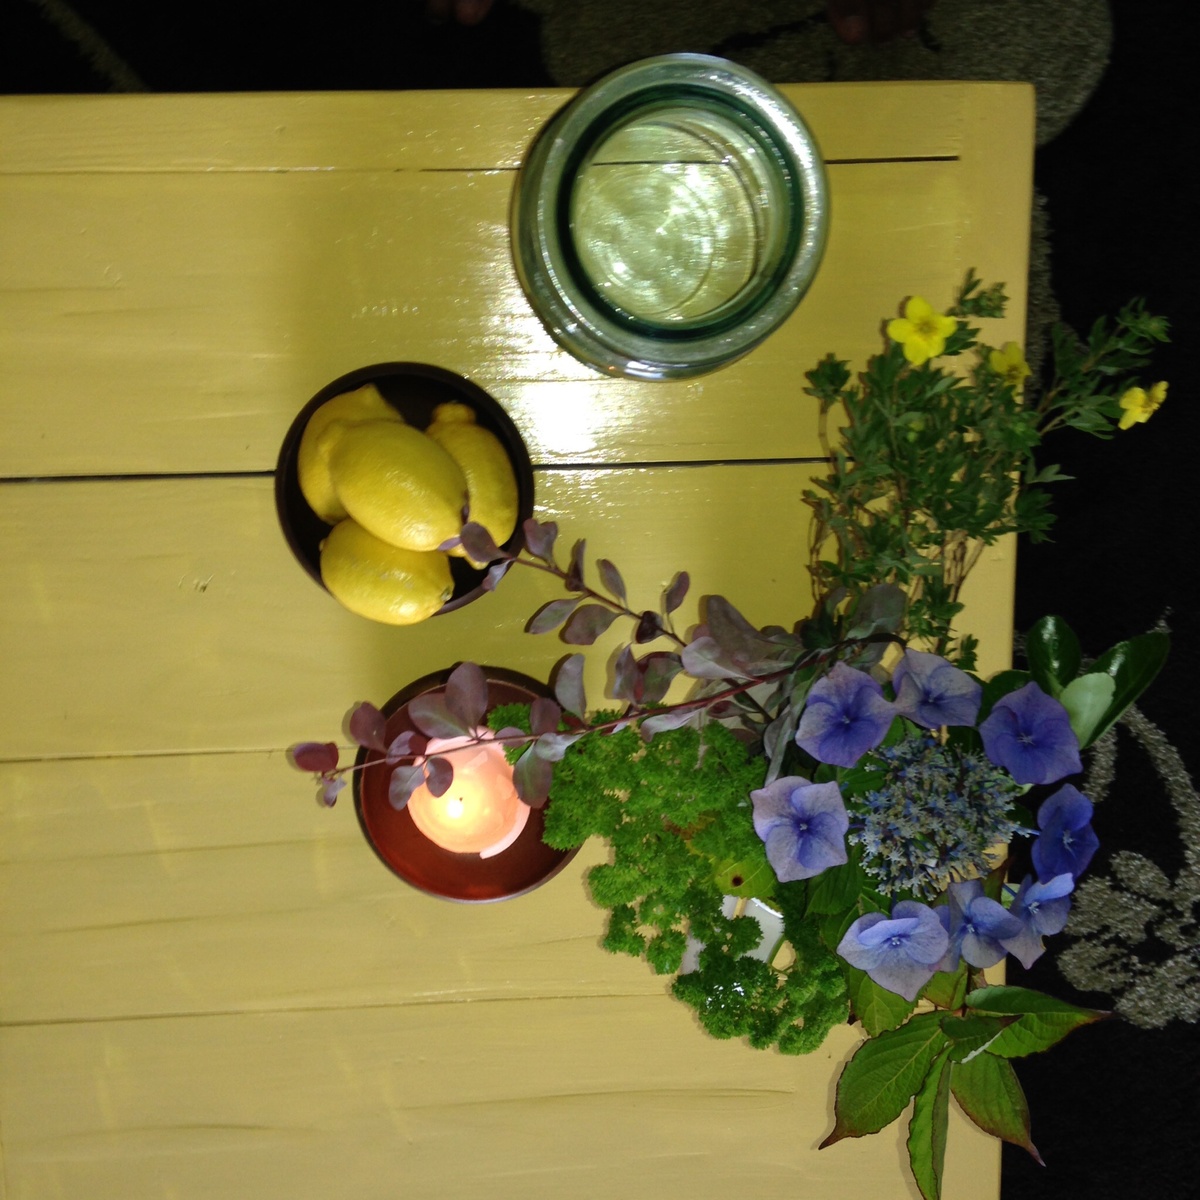
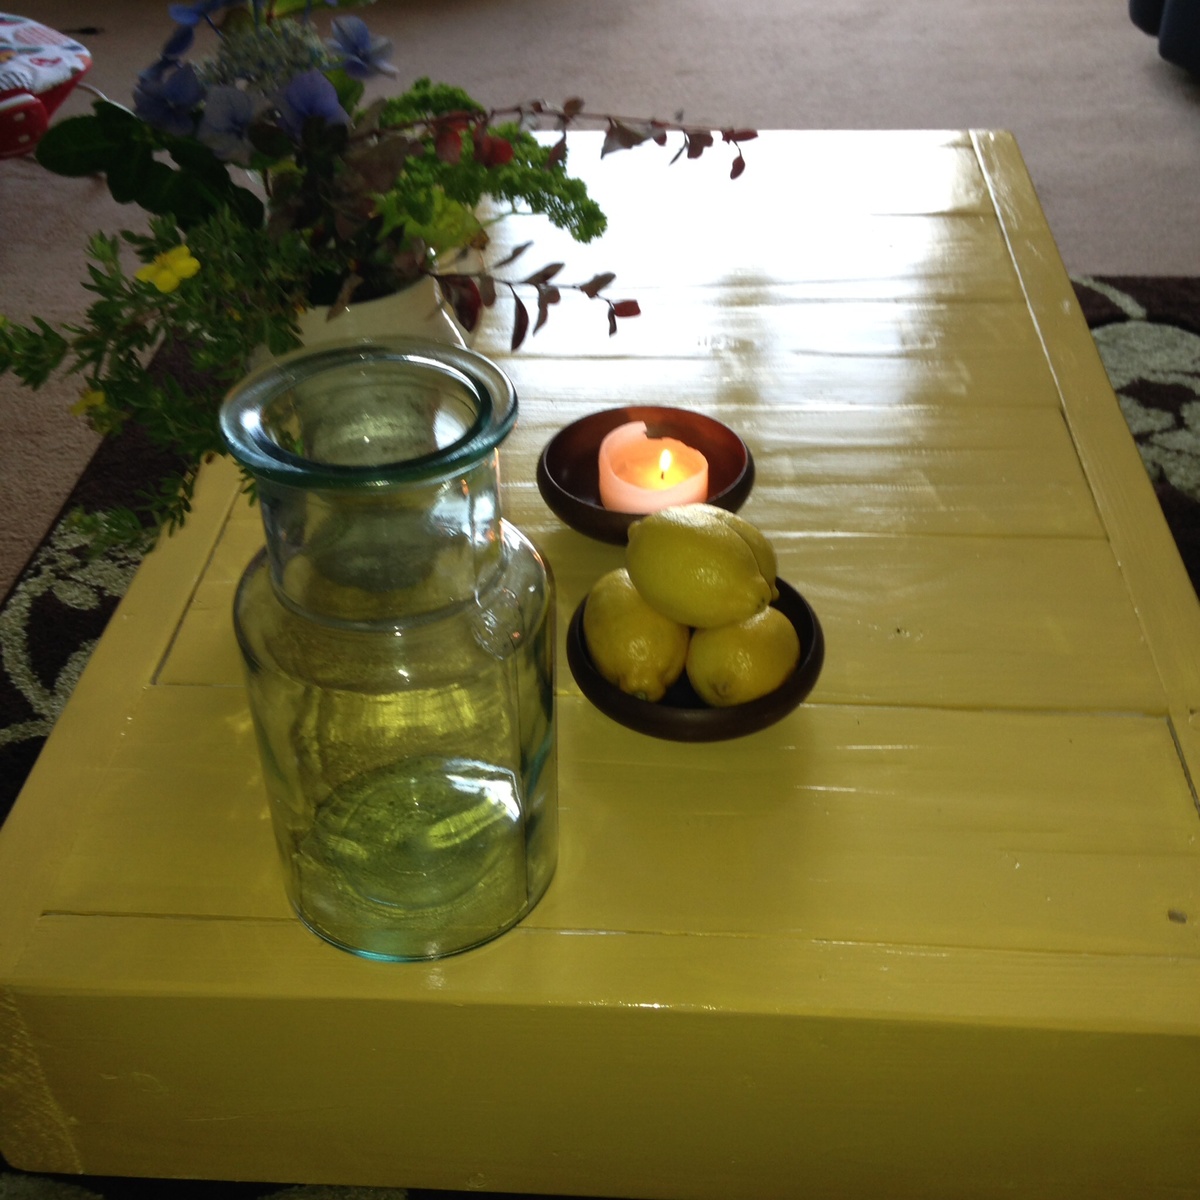
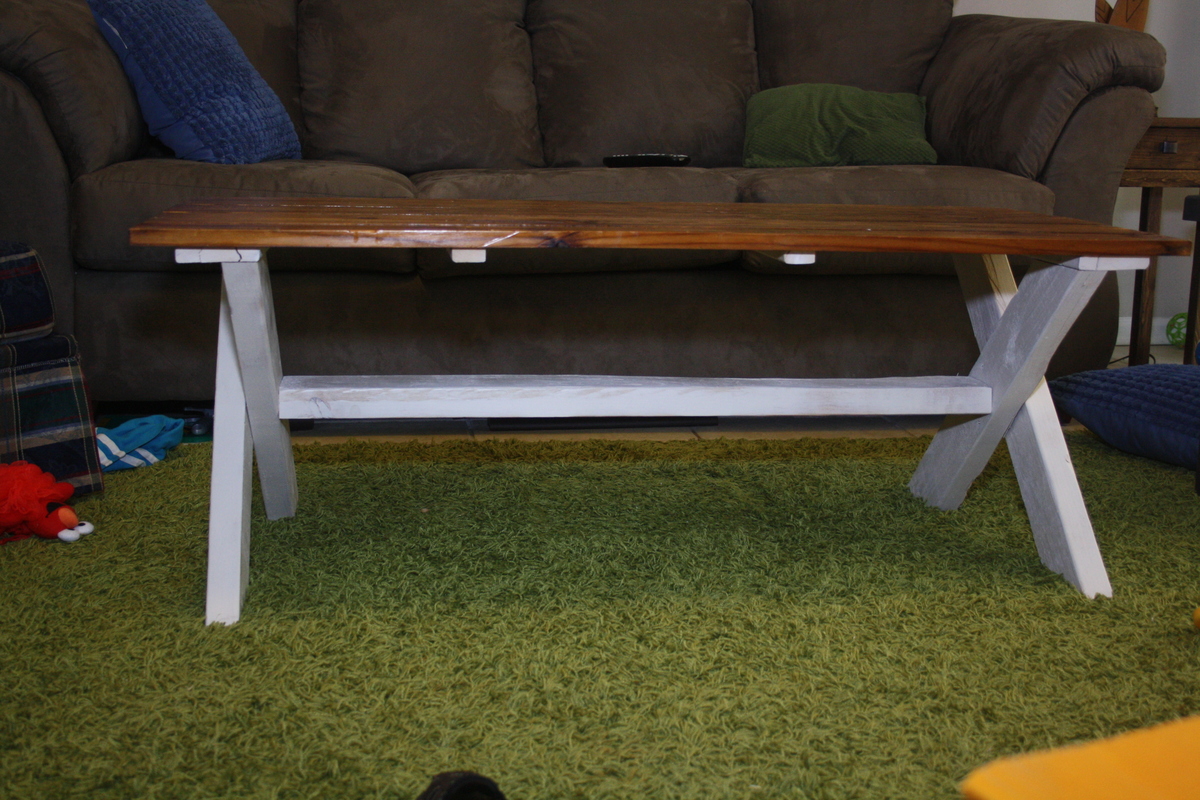
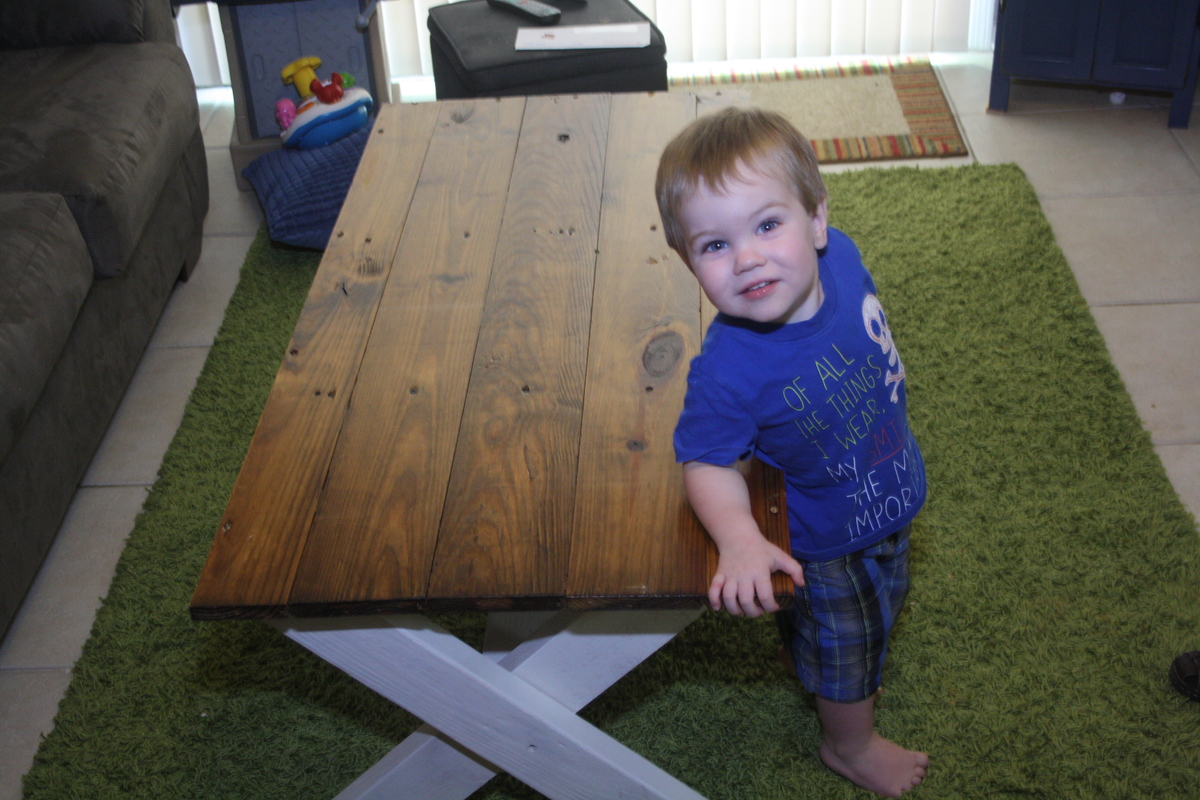
X- Coffee table
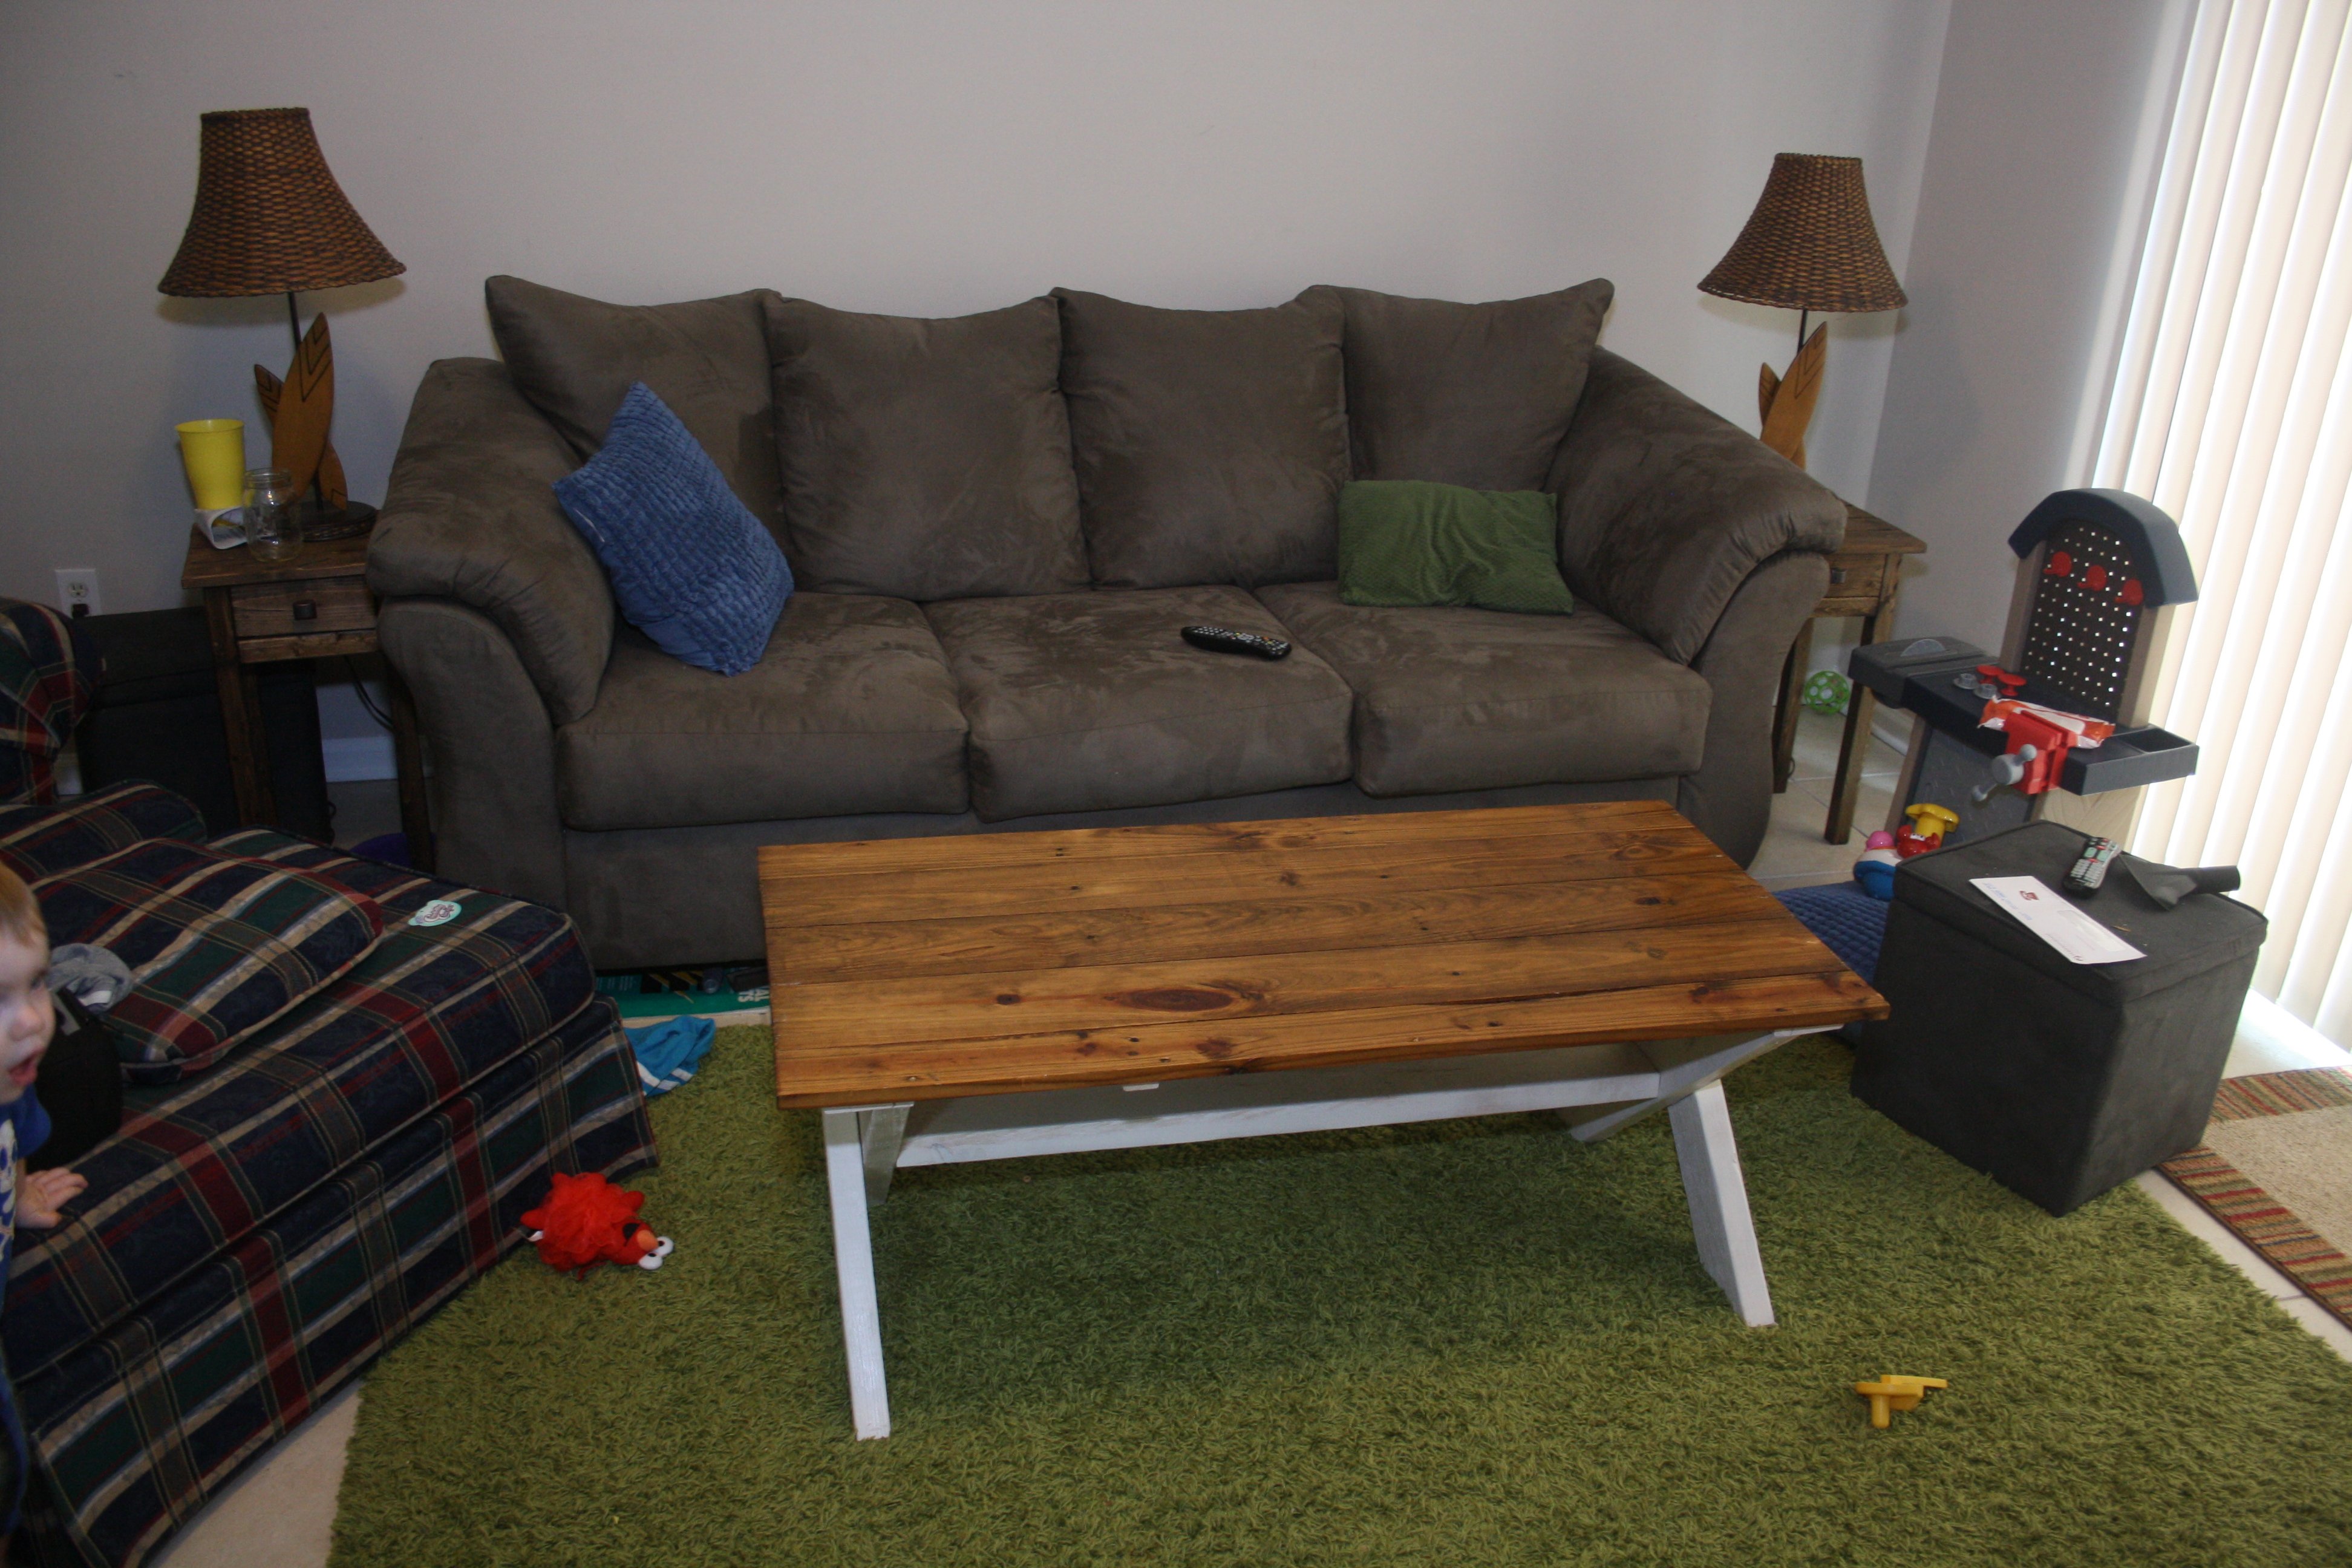
I've been meaning to build a coffee table for a few months now. About a month ago we received a hutch from some family friends. The back of it was made of 3/4" tongue and groove boards. So, I used those boards to make the top of the table and a couple of 2x4's to make the base. It's got a cool rustic feel that goes really well with the beach chic design that we have in our living room. For the design i really liked the look of the x picnic table, so I modified it for a coffee table.
Built from Plan(s)
Estimated Time Investment
Day Project (6-9 Hours)
Finish Used
I just put a polyurethane on the top. The base is Rustoleum Heirloom White with a clear coat top finish.
Recommended Skill Level
Beginner
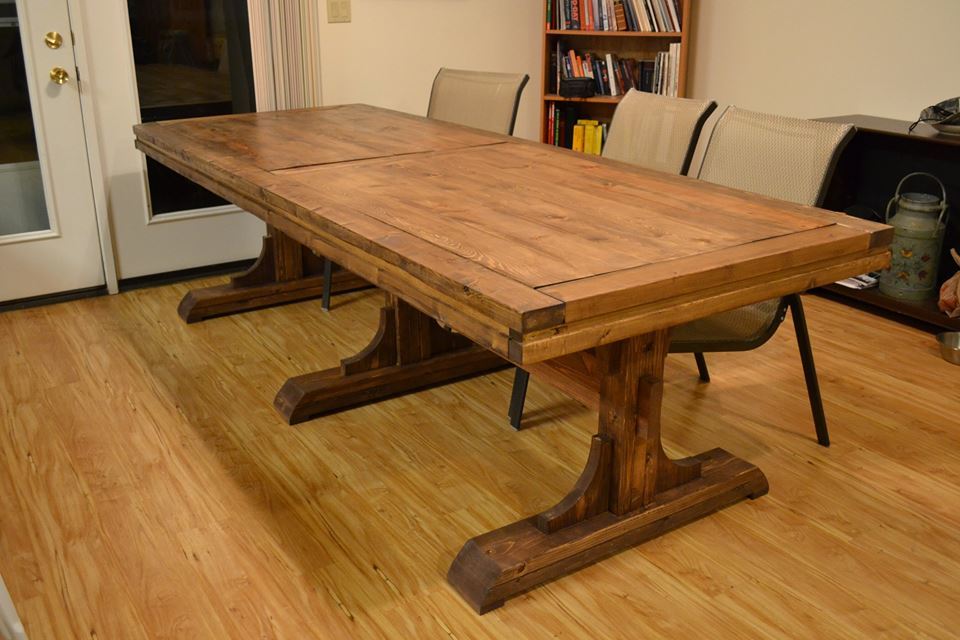
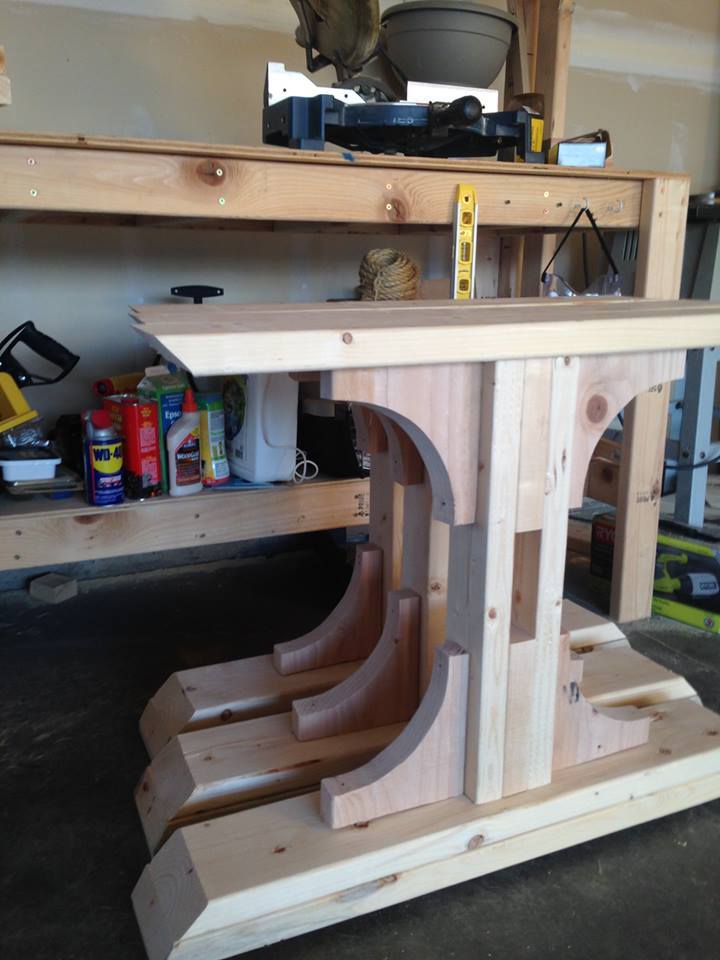
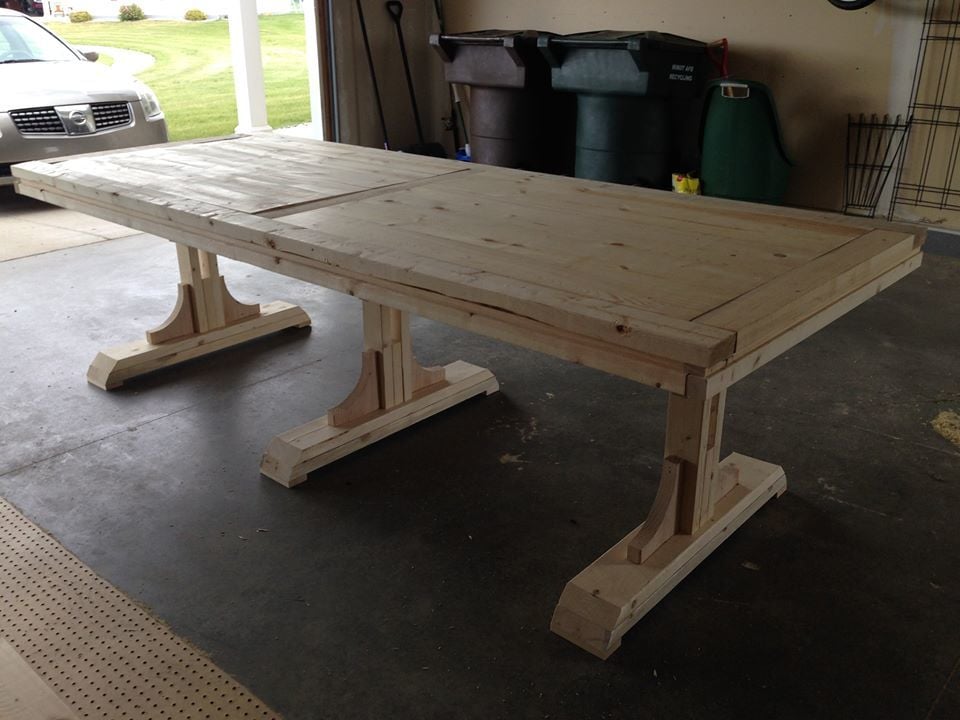
Farmhouse Table Build
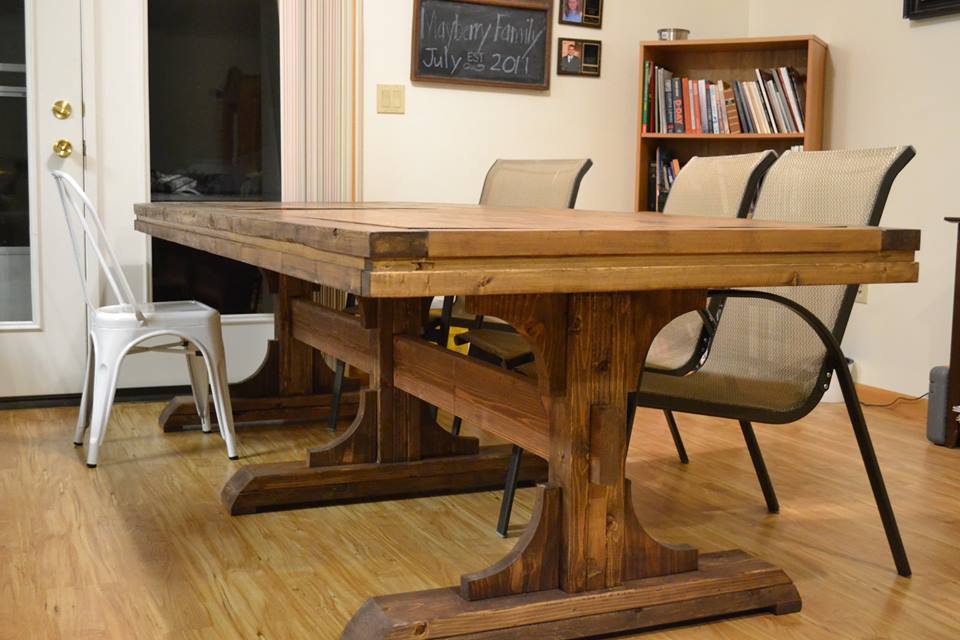
I modified this plan slightly in how I attached the legs to the table top. I put screw inserts into the bottom of the table so I could screw the legs in and not worry about the wood stripping. We move often and I can't move the whole table assembled. Also, I haven't secured the cross beam, so this table will completely flatten and be easy to pack.
Built from Plan(s)
Estimated Cost
$150
Estimated Time Investment
Week Long Project (20 Hours or More)
Finish Used
Special Walnut stain and clear brushing lacquer.
Recommended Skill Level
Intermediate
Water Table
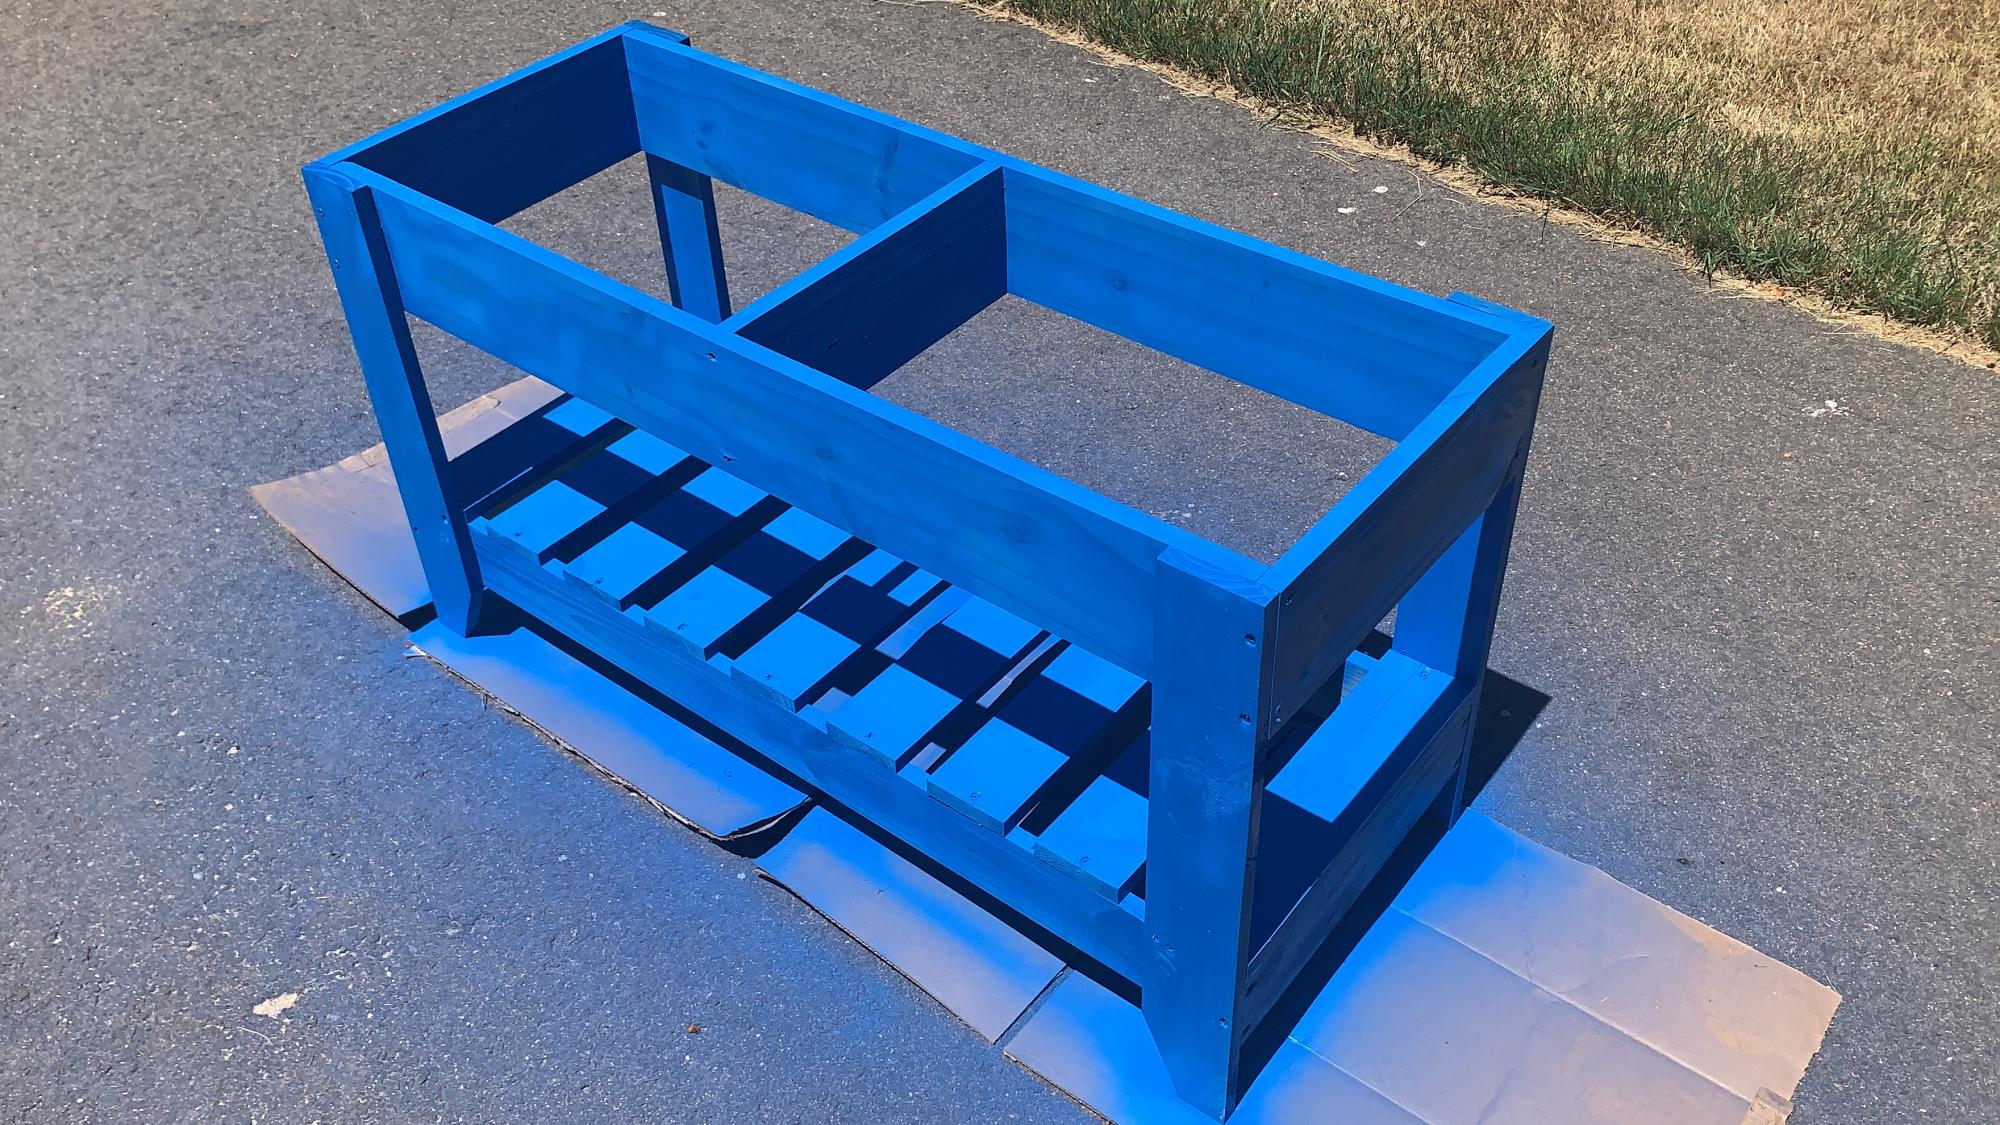
Water/ Sand Table inspired by your build
Built from Plan(s)
Estimated Cost
>$100
Estimated Time Investment
An Hour or Two (0-2 Hours)
Recommended Skill Level
Beginner
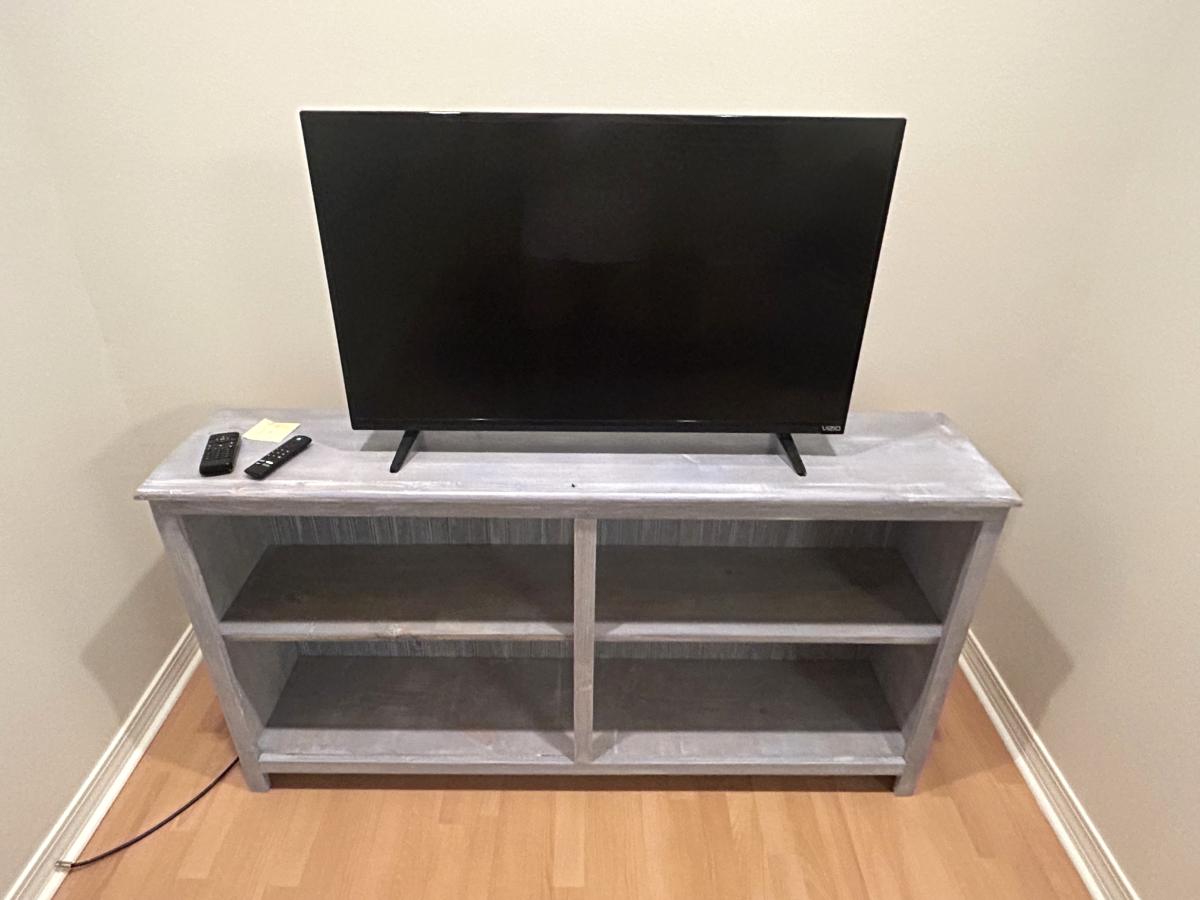
Bookshelf Console
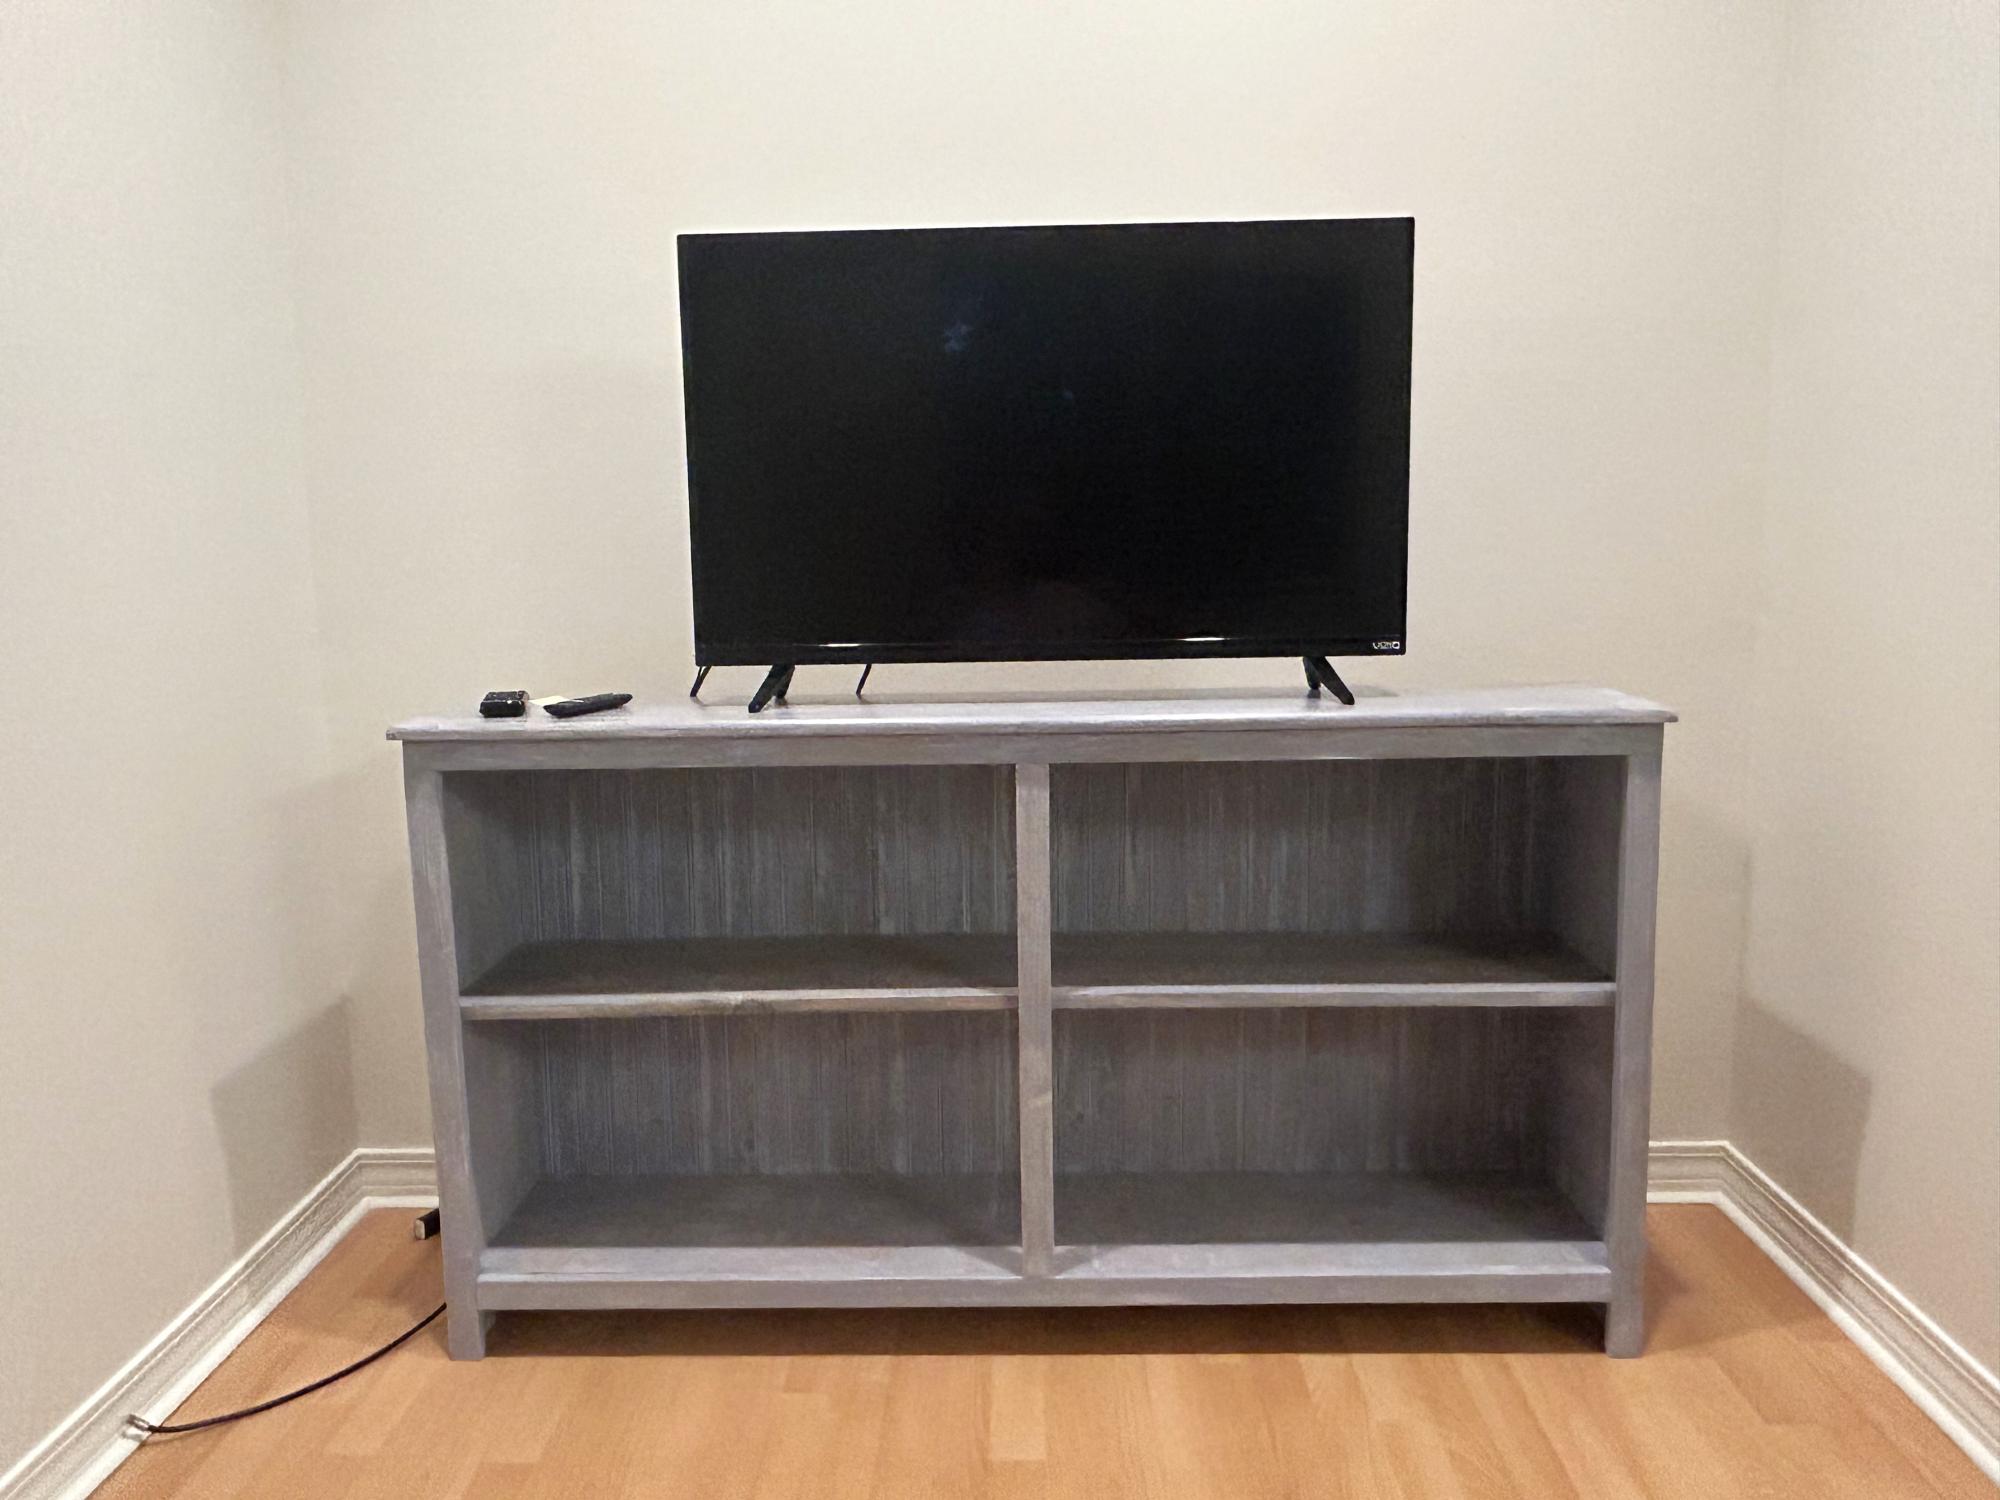
Extra Wide Console- we will use in our beach cottage. A little rustic paint job and tongue n groove back board. The paint job was a tedious process. First coat was Semi transparent gray stain, next was a thin coat of Kilz primer, then a light sanding and finally a baby blue stain.
Dana T
Built from Plan(s)
Big Boy Toddler Loft Bed!
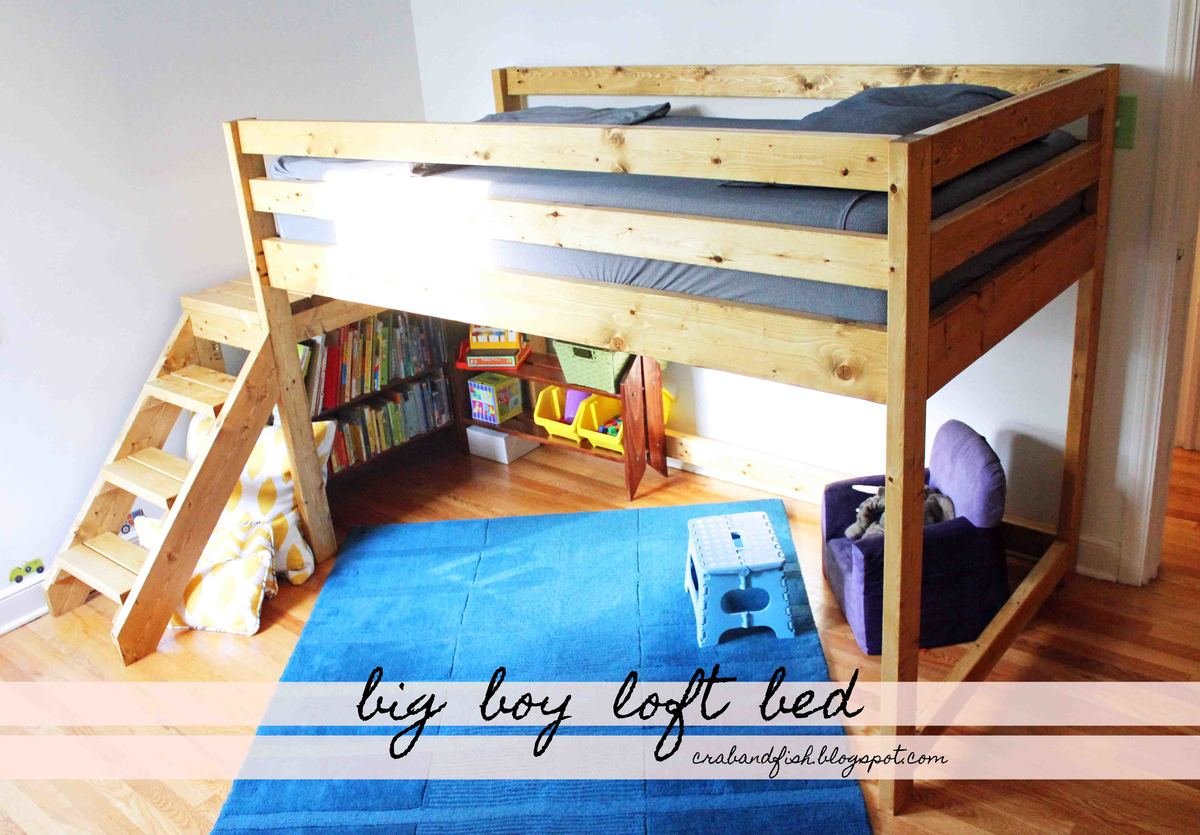
You can see the final project here: http://crabandfish.blogspot.com/2012/10/lil-archers-bed-its-done-its-do…
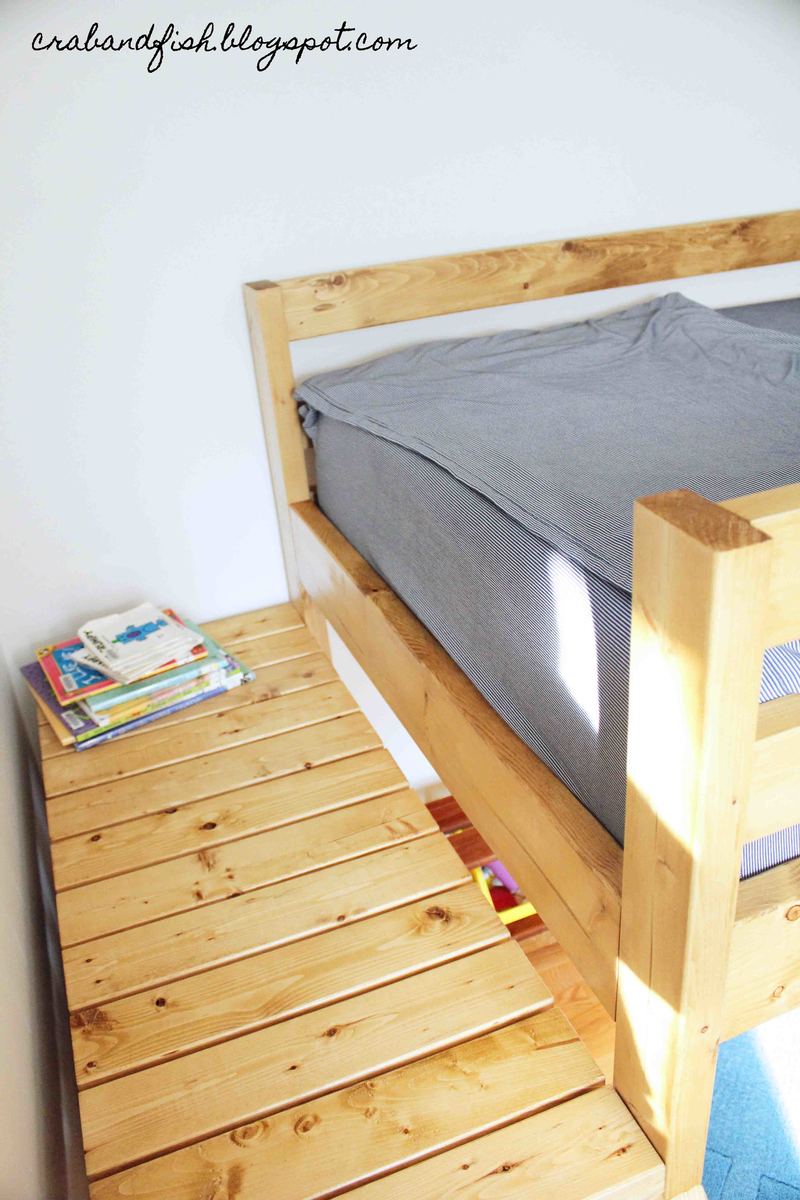
It was time for our son to move to a big-boy bed! We looked at tons of plans, but none were quite what I wanted. In the end, fish modified plans for Ana White's Camp Loft Bed with Stair. We wanted to make it a bit shorter because we only have 8' ceilings and there is a ceiling fan in the room. We spent about $80 for the lumber and invested in a kreg jig as well. The bed is stained with Minwax Golden Oak. We bought a 10" deep twin-sized foam mattress for the bed - if you are adding a coil mattress and boxspring, the bedside rails would definitely need to be higher.
Our son LOVES it! He is almost three and is easily able to navigate the stairs, which I don't believe will become too "baby-ish" as he grows older. If they do, the steps can easily be removed from the frame without losing structural integrity.
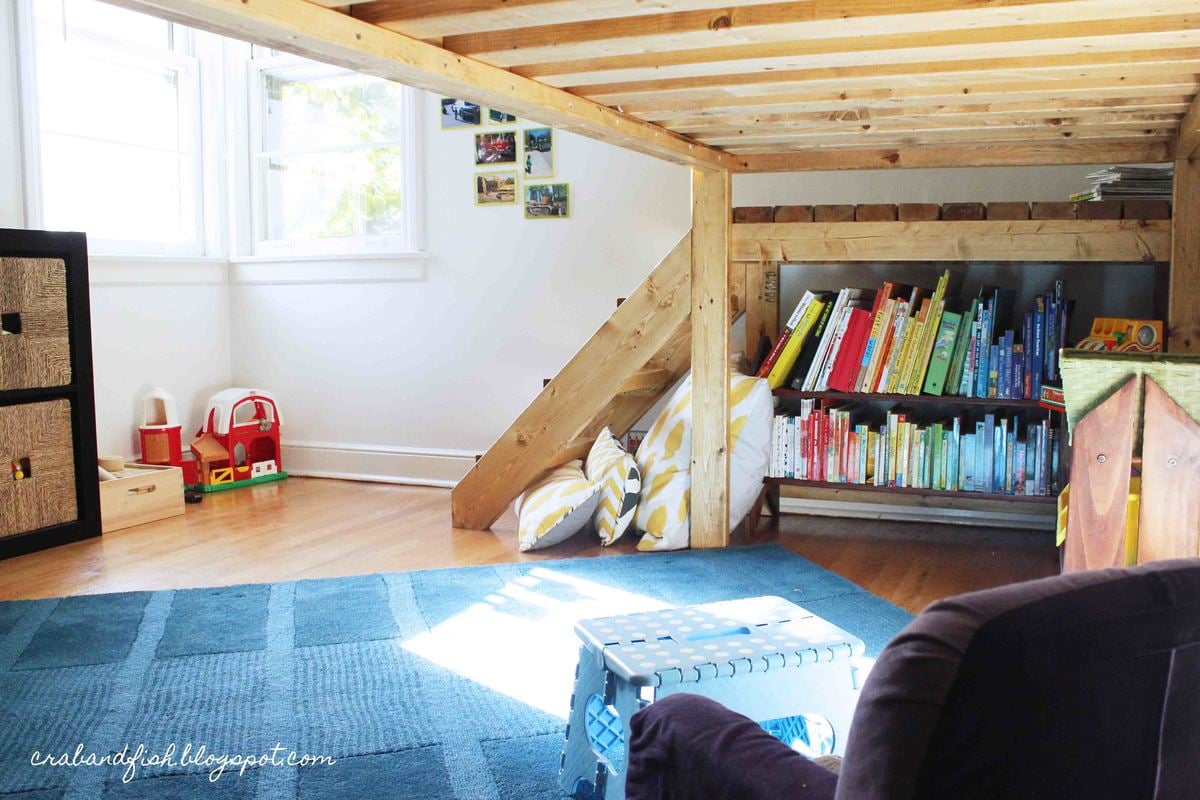
The underbed area has a great "cool" factor - we hang blankets to create forts, and it has become a place our son gravitates to for reading, playing, anything!


Estimated Cost
$100 for lumber and stain. Also invested in kreg jig.
Estimated Time Investment
Week Long Project (20 Hours or More)
Finish Used
Minwax Golden Oak
Recommended Skill Level
Beginner
Comments
Sat, 01/03/2015 - 11:41
Here
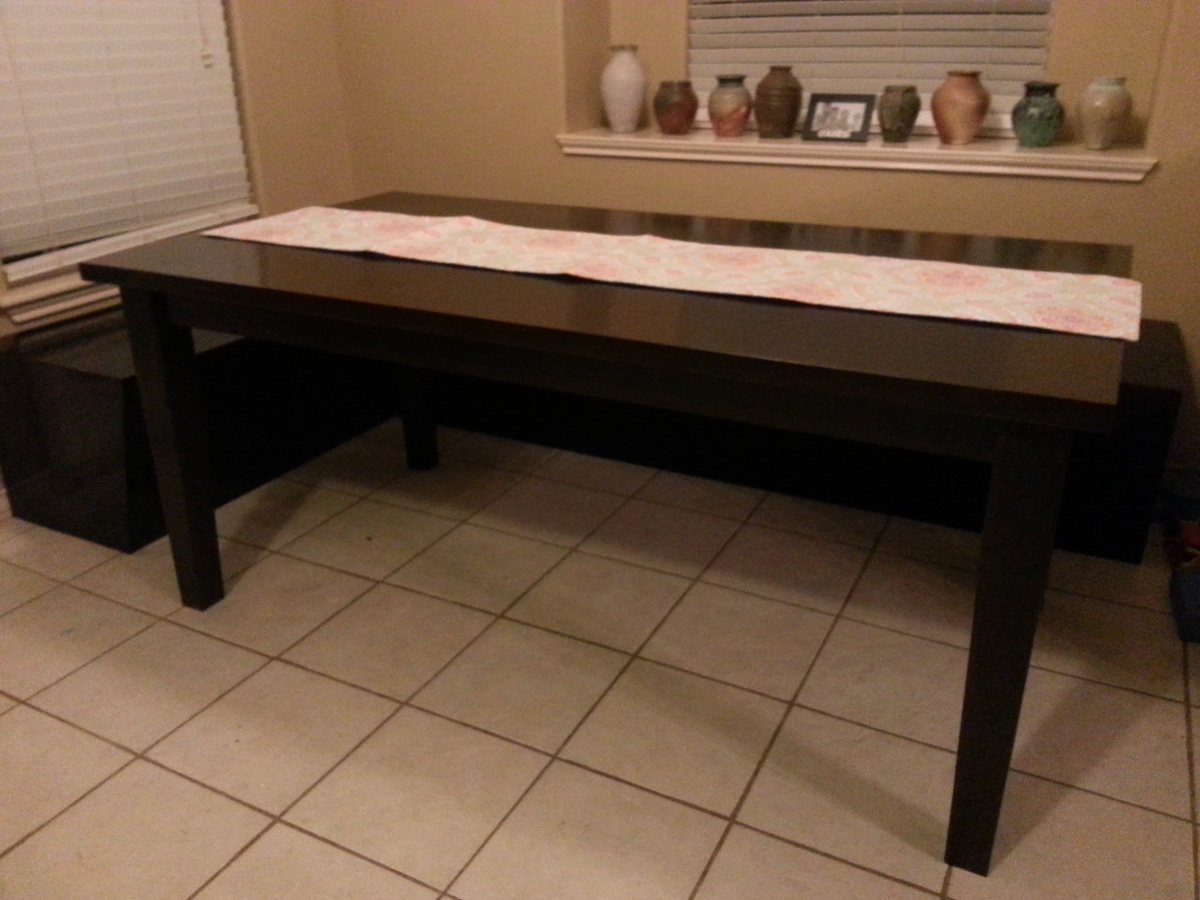
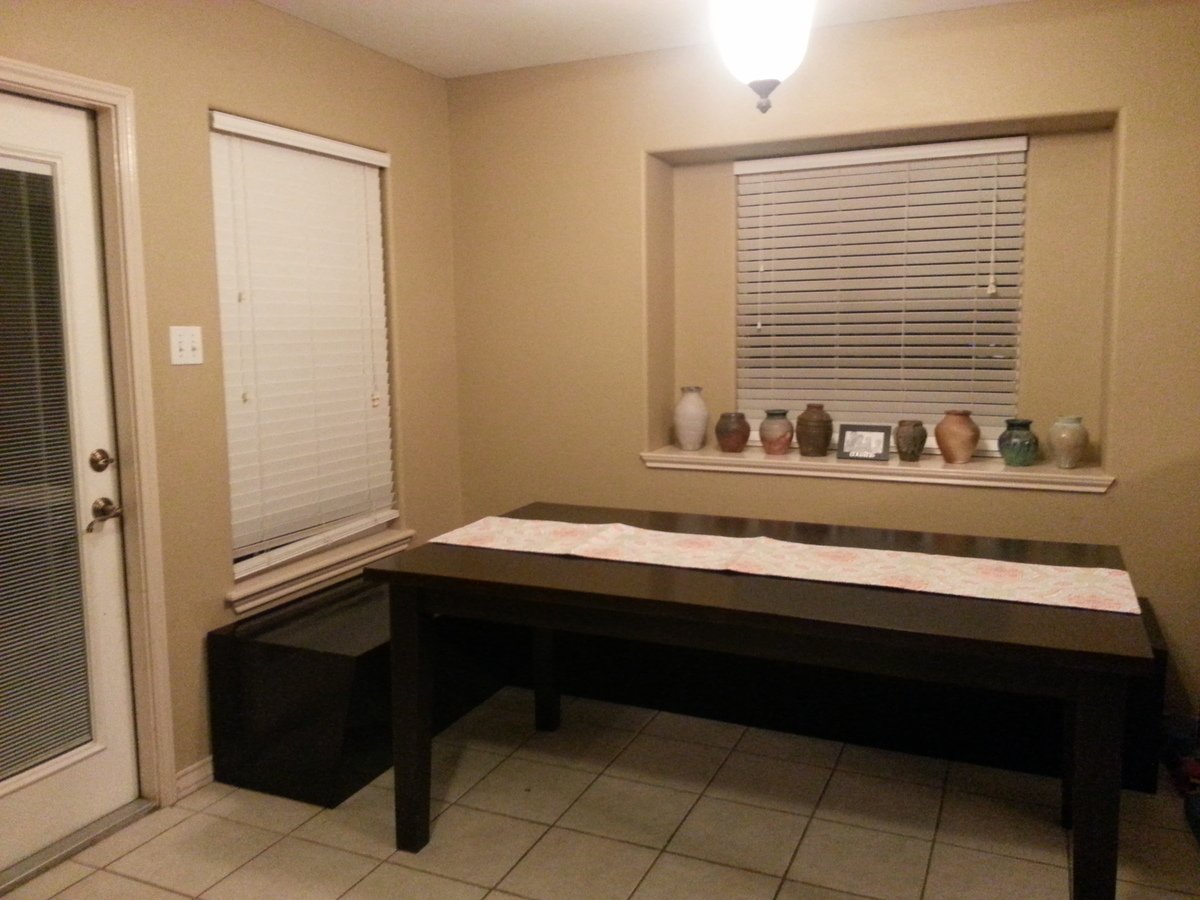
Not so Farm House Table
This table was made using the original farmhouse table plans with pocket holes.I tapered the two inside sides of the 4x4s (25%) and subtracted the bottom support structure. All pieces were glued and screwed using the kreg system. Even without the lower support this table is rock solid. I choose to make this table look a little more traditional then the farmhouse table to match our design plans.
All parts of the table were sanded down smooth to 180 grit and treated with minwax prestain wood conditioner. The table was then stained with cabot premium wood stain and sealer in one(espresso -satin). Warning large surfaces are hard to stain evenly with out brush marks using this product. I used 3 coats in all with a light sanding using 600 grit after the first coat since it is a water based stain. It covered just a little more of the natural wood grain then I would have liked but I did prefer it to the polyshades product I used on the custom bench behind it.
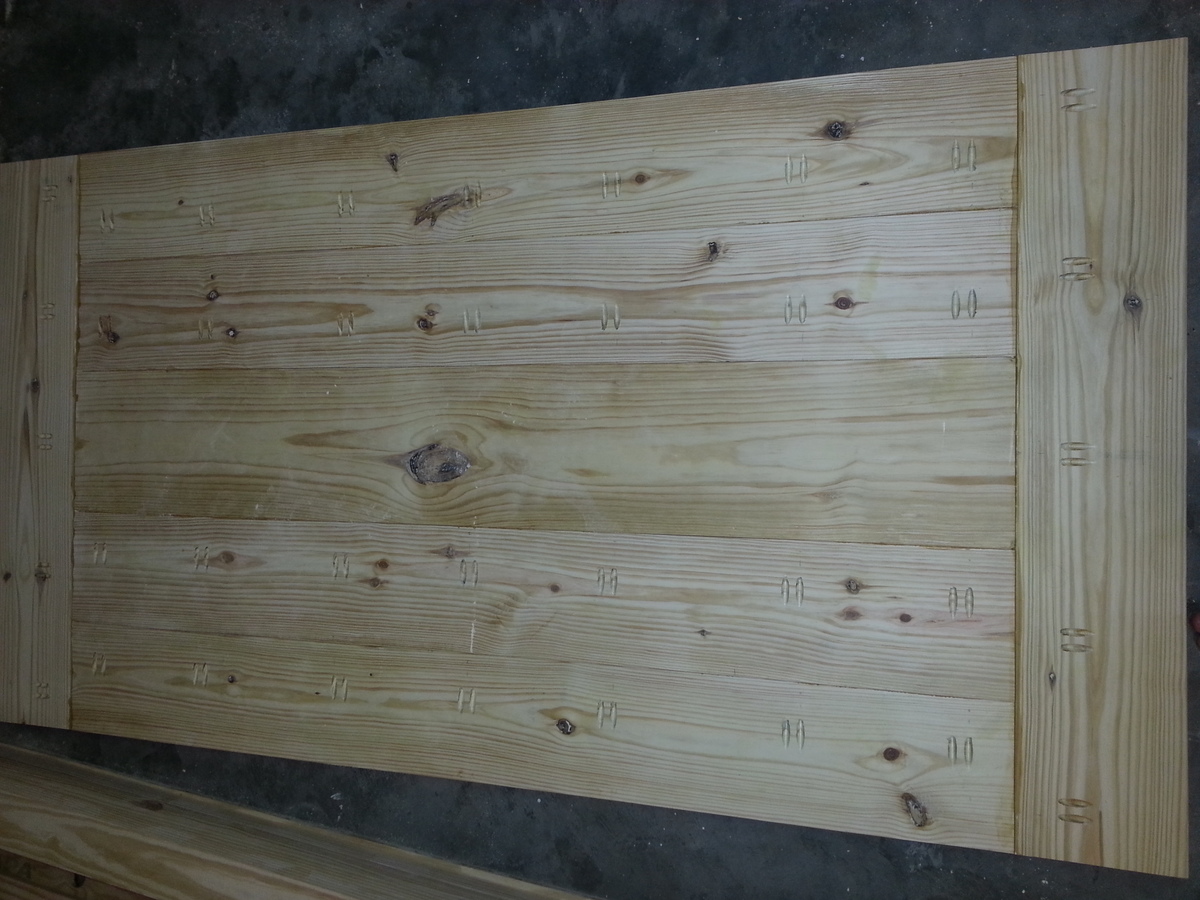
When using pine it maybe best to just go for the distressed look. I am worried that my smooth table top will get destroyed by my son but he knows he isn't allowed to play cars on the table now so I am crossing my fingers. So far the table top is holding up very nicely to any abuse but it is still early on in its life.
I think in the future I will bite the bullet and use hard woods. As long as it takes to build furniture its nice if it lasts a little longer.


Built from Plan(s)
Estimated Cost
$300.00
Estimated Time Investment
Weekend Project (10-20 Hours)
Finish Used
minwax prestain conditioner
cabot premium stain + sealer (Espresso-Satin)
cabot premium stain + sealer (Espresso-Satin)
Recommended Skill Level
Intermediate