Community Brag Posts

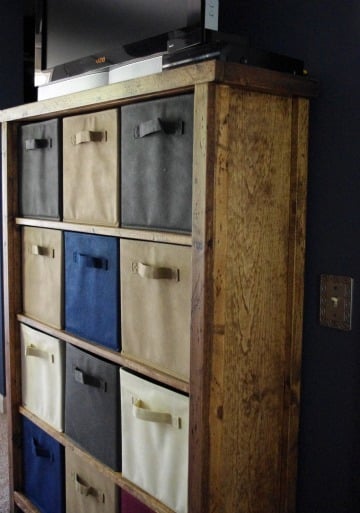
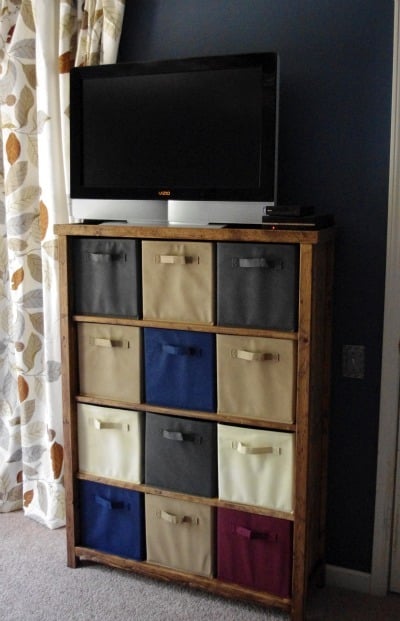
Bedroom Dresser Cubbies / Media Stand
Submitted by Debi G on Wed, 07/27/2011 - 14:08

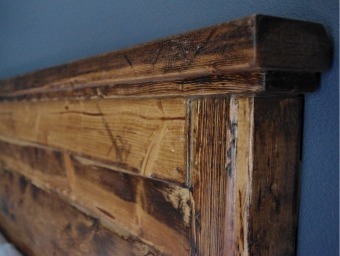
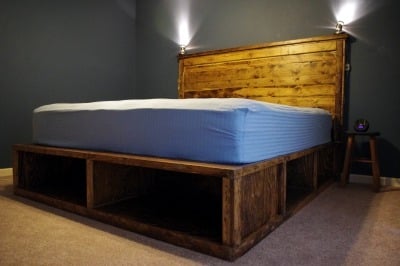
This is inspired by pieces I've seen here, though I sketched it out on paper myself to make sure it would suit the limited space in our room. I built the simple piece to match our bed (made from Ana and her reader's plans, see my photos below).

Originally, I planned to include cabinet doors, but with the limited space we have, this is better for us.

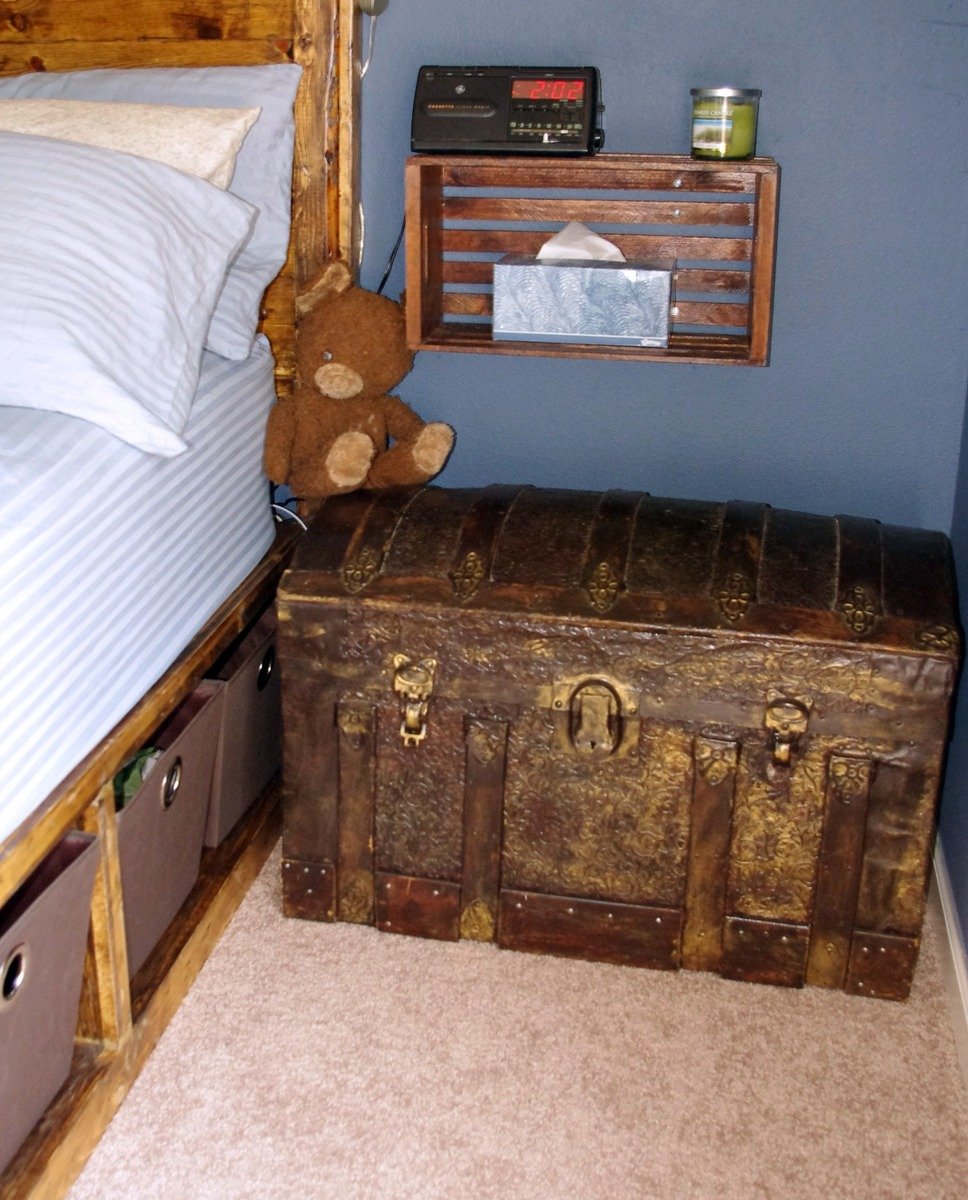
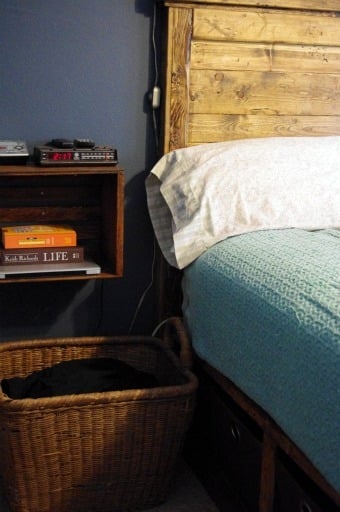
For nightstands, I stained plain wooden crates I had in the basement. Still working on how to hide the cords.

The baskets under my bed are from Bed Bath Beyond. The baskets in the "dresser" are from Target.

Sorry about the poor photo quality.
Built from Plan(s)
Estimated Cost
Built from leftover materials (Baskets $5.99 each)
Estimated Time Investment
Afternoon Project (3-6 Hours)
Finish Used
Minwax Provincial (one coat) and one Minwax water-based poly coat.
Recommended Skill Level
Beginner

Comments

Debi G

Wed, 07/27/2011 - 14:09

I was trying to show that these pieces are a set, but instead the photos look pretty random.

Debi G

Sat, 12/10/2011 - 07:41

Sorry I haven't logged in in so long--the bed follows plans for the king Stratton, combined with the reclaimed wood headboard. The headboard is attached to the wall. We can slide the foot bench part out to hide presents behind, which is really handy (though heavy) to do.

Daun Family Coffee Table

Submitted by stevendaun on Sun, 08/25/2013 - 08:10

This was an excellent set of plans and the finished product looks great in our home.

Estimated Time Investment
Week Long Project (20 Hours or More)
Recommended Skill Level
Intermediate

Wood Crate Coffee Table

Submitted by TMW on Thu, 10/08/2015 - 06:44

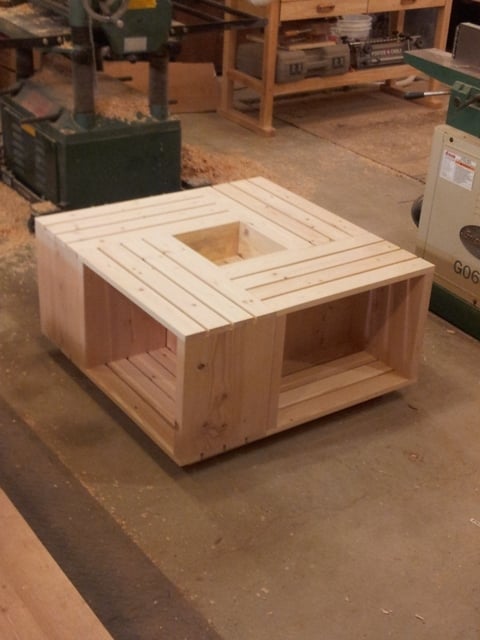
A buddy of mine showed me a picture of a coffee table his wife wanted that he found online. It appeared to be several crates attached together. I came up with this design. I added a base to raise it off the floor a few inches to make cleaning around it easier. Was made using all scrap. It was a very easy project and took about 2hrs. This picture was taken before any finish was applied.

Estimated Cost
$25
Estimated Time Investment
An Hour or Two (0-2 Hours)
Recommended Skill Level
Beginner

Comments

Audrey Wright

Thu, 10/22/2015 - 05:06

I glanced at the picture for two minutes straight, wondering how the heck you designed this layout, before I realised it was premade crates.. Silly me.. Great job !

Farmhouse Bedside (actually entry) Table

Submitted by canterbc on Wed, 10/24/2018 - 16:04

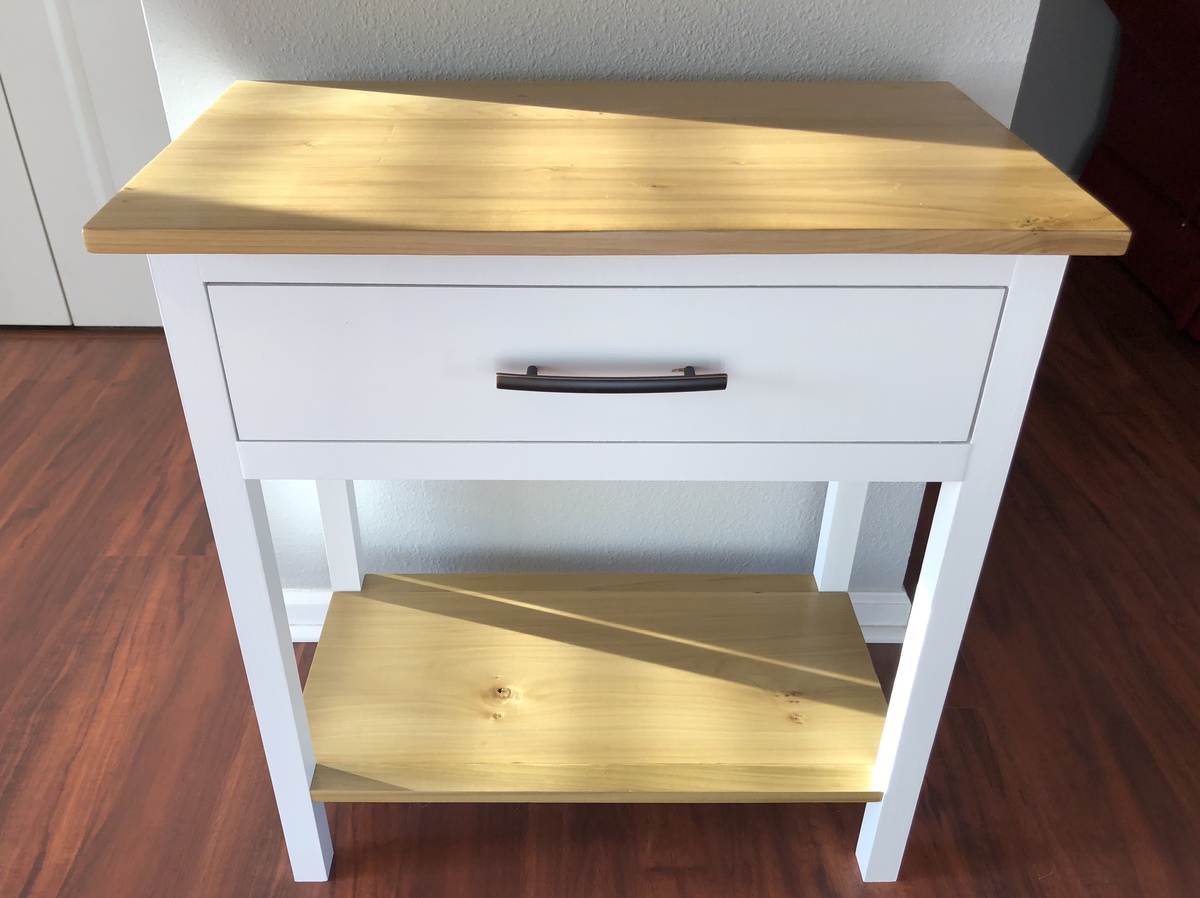
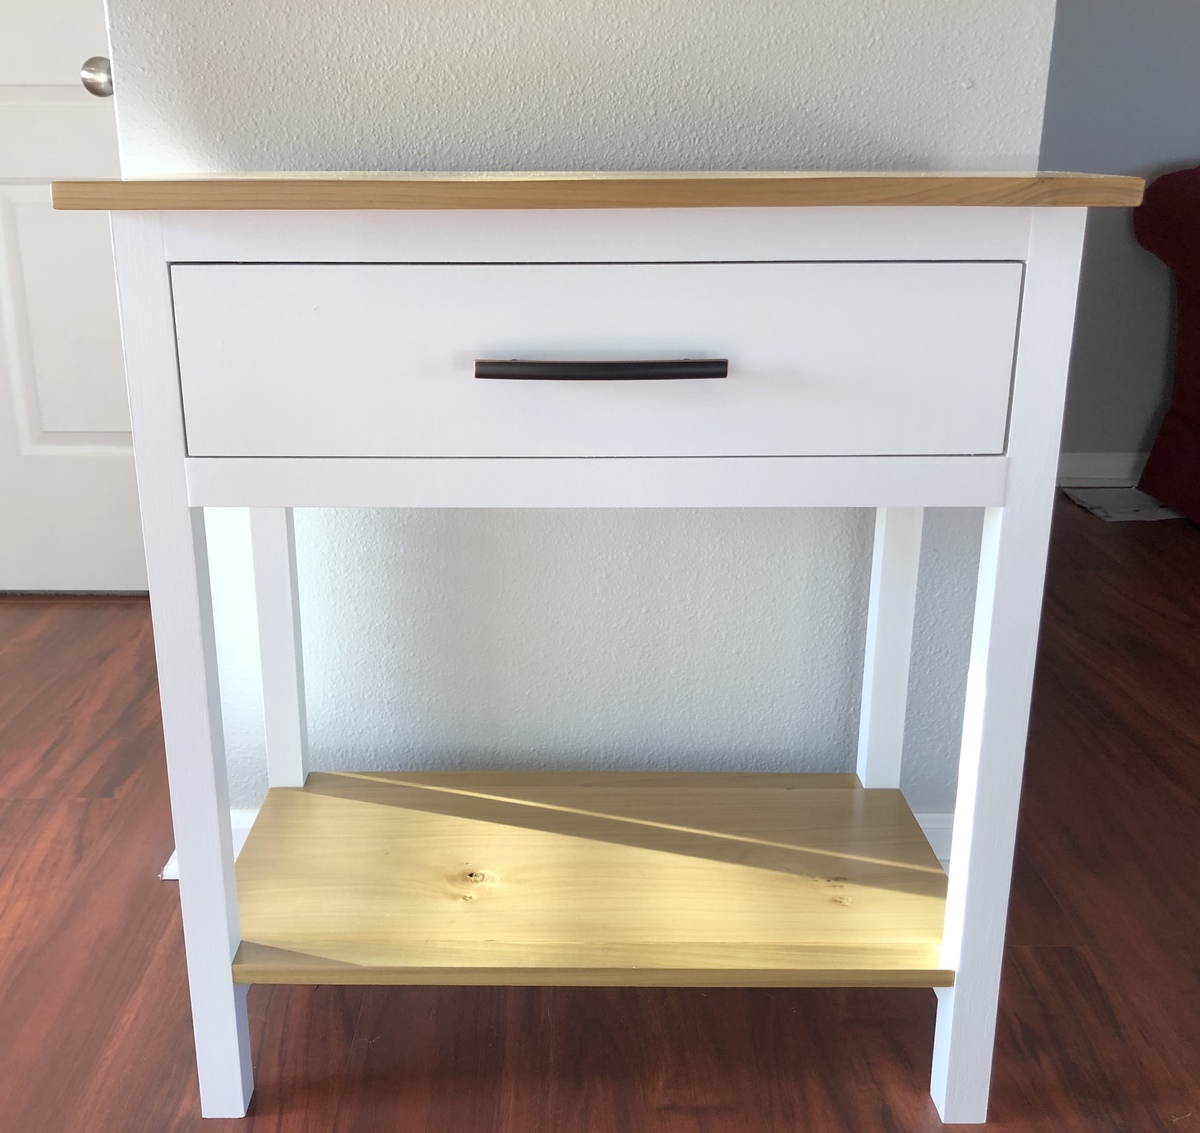
I needed an entry table and when I saw this plan for a bedside table I knew with just a couple of size modifications it would be perfect for me. It is a little taller and wider that Ana's plans, but other than that is true to her design. Couldn't be happier with the new table!

Built from Plan(s)
Estimated Cost
Around $100, maybe a bit more. Higher cost is because I used Poplar. This plan can definitely be done for less if you use regular pine.
Estimated Time Investment
Day Project (6-9 Hours)
Finish Used
I painted the base with Valspar Signature in satin Blanched Pine, one of the 10,000 shades of white. For the bottom shelf and the top, I picked the darkest pieces of Poplar I could find and just used Minwax satin polyurethane on them.
Recommended Skill Level
Intermediate

Slightly modified coffee table

Submitted by Anonymous (not verified) on Mon, 07/11/2022 - 07:59

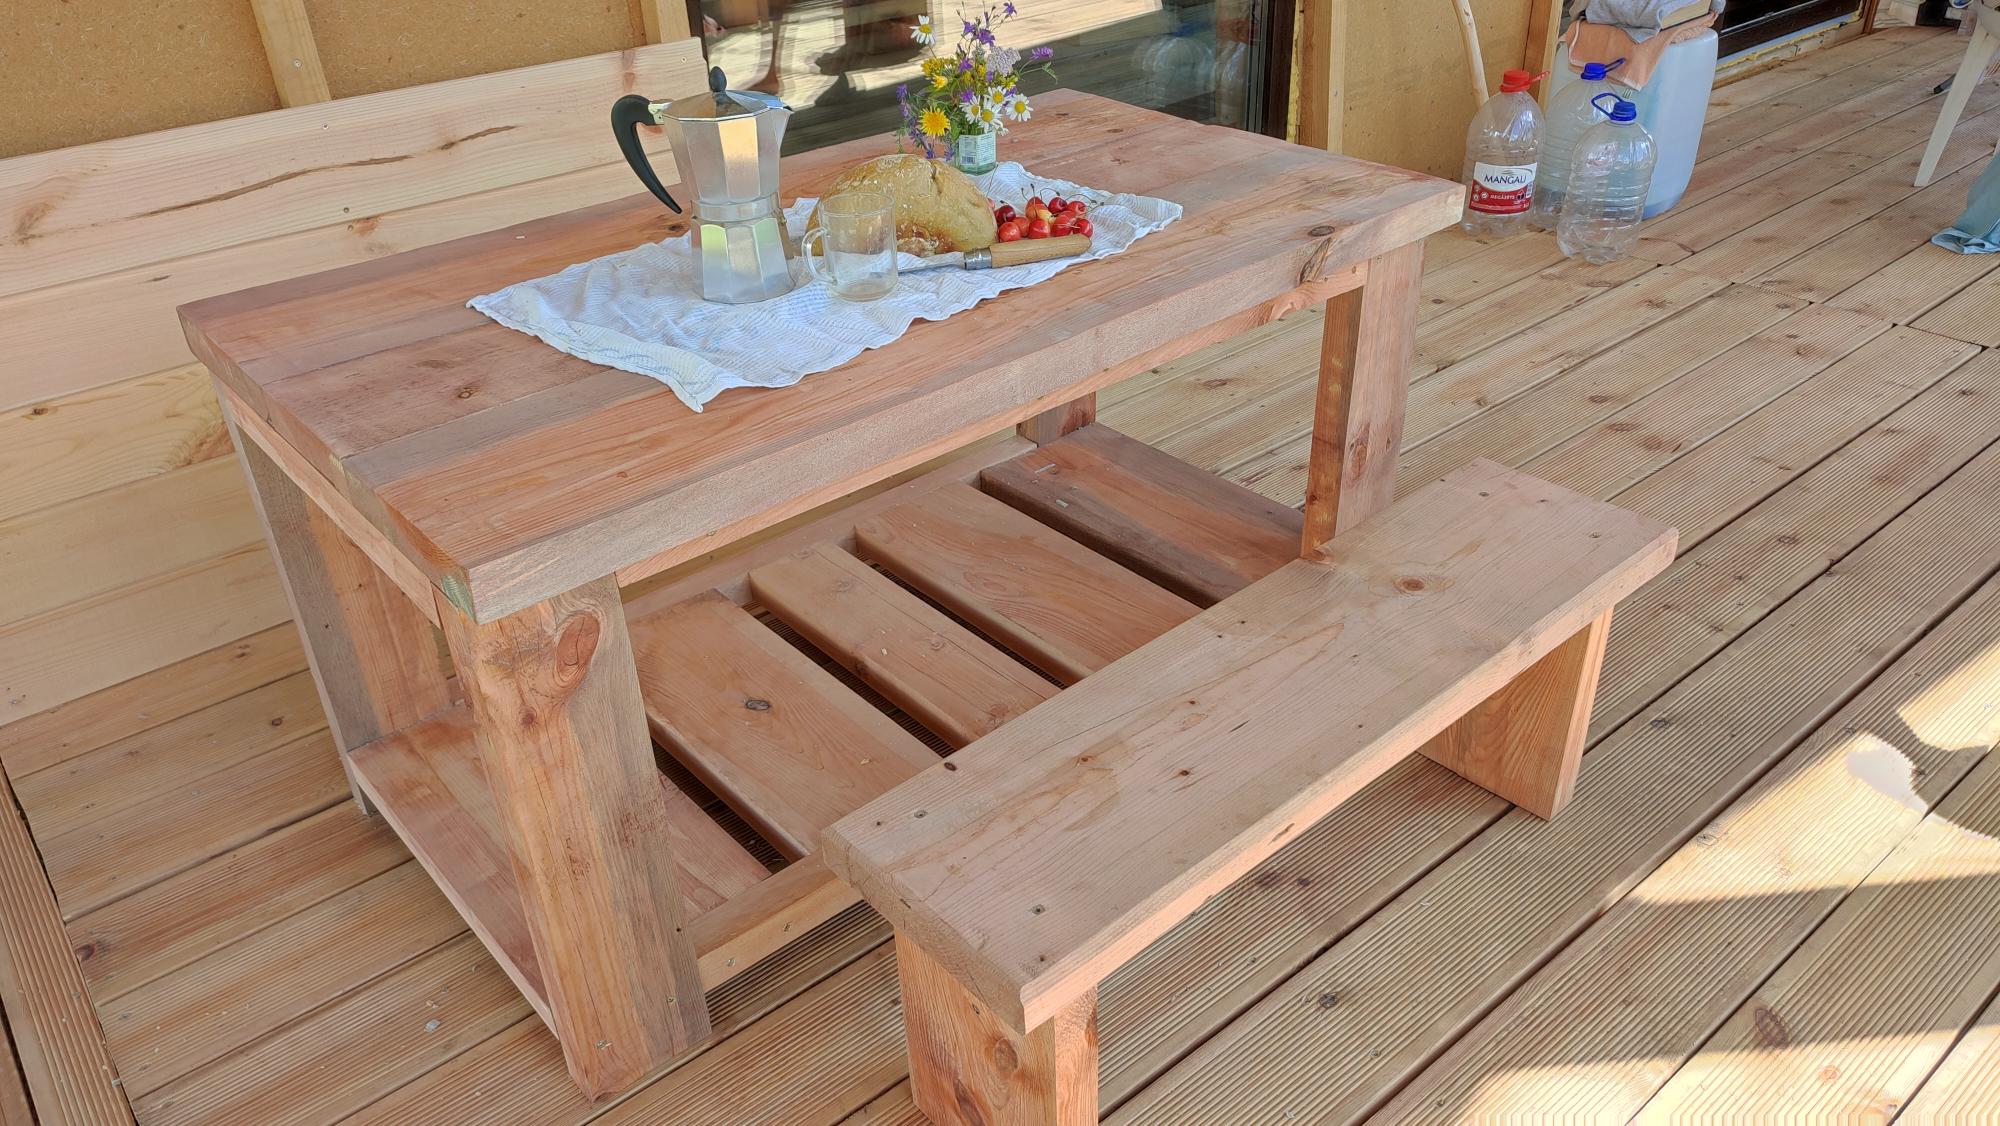
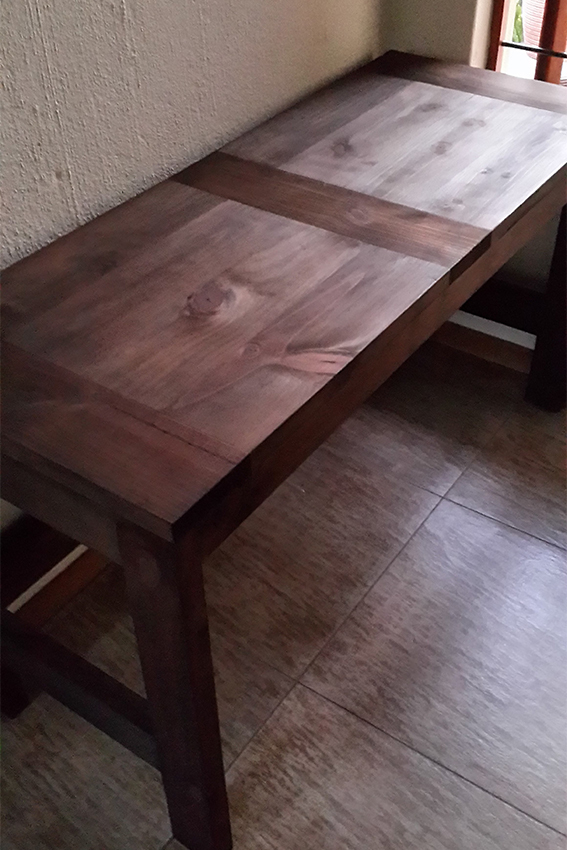
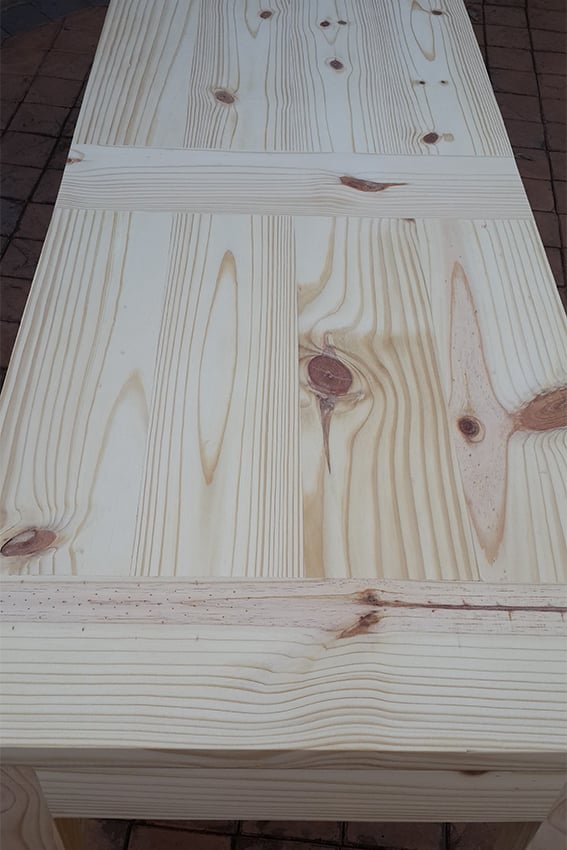
Table, based on Farmhouse coffee table project. Resized to roughly picnic table dimensions (1200*700 mm, 650 mm high), mostly as a means to recycle board cuttings, left over from building farmhouse itself. Didn't install X shaped sides, because there were no more suitable timbers remaining, which, it appears, my toddler greatly appreciated - bottom shelf makes a lovely crawl space. Shape of the shelf planks was a happy accident: what remained was sized 250 - 200 - 150 - 200 - 250 mm. Looks kinda nice doesn't it?

Comments

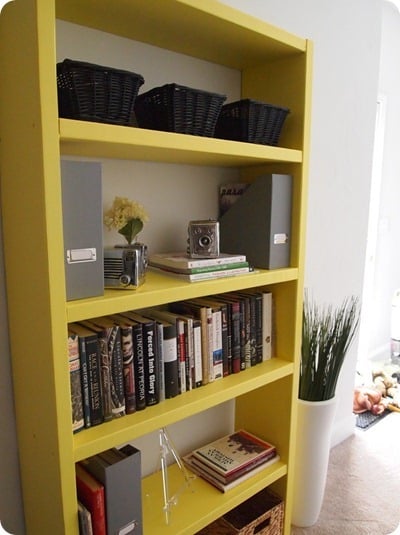
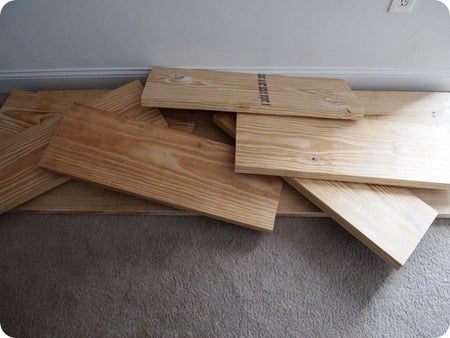
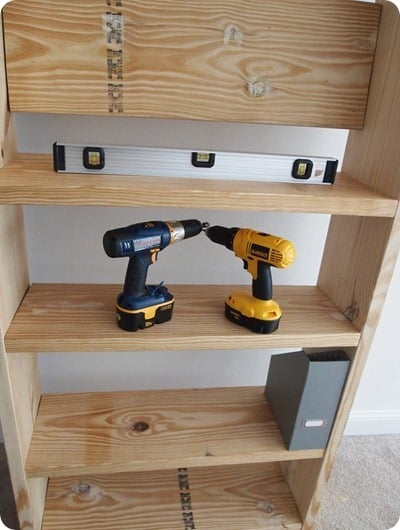
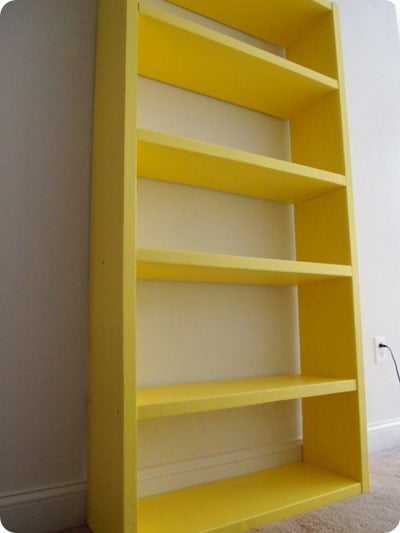
My Ikea Lack Inspired Bookshelf

This was my third project, but it is my favorite to date!

Estimated Time Investment
Day Project (6-9 Hours)
Finish Used
2 coats of Benjamin Moore Natura paint in Banana Yellow
2 Coats of poly acrylic
Recommended Skill Level
Beginner

Comments

joyreneeb (not verified)

Tue, 09/20/2011 - 12:16

Can you give a price estimate on your project? Looks great, btw!

In reply to by joyreneeb (not verified)

CapriciousElle

Fri, 09/30/2011 - 21:21

The lumber was about $25 and the paint I ordered online with a few other colors, but it is listed at $21.99. I only ordered a quart. Everything else I already had around the house. I hope that helps!

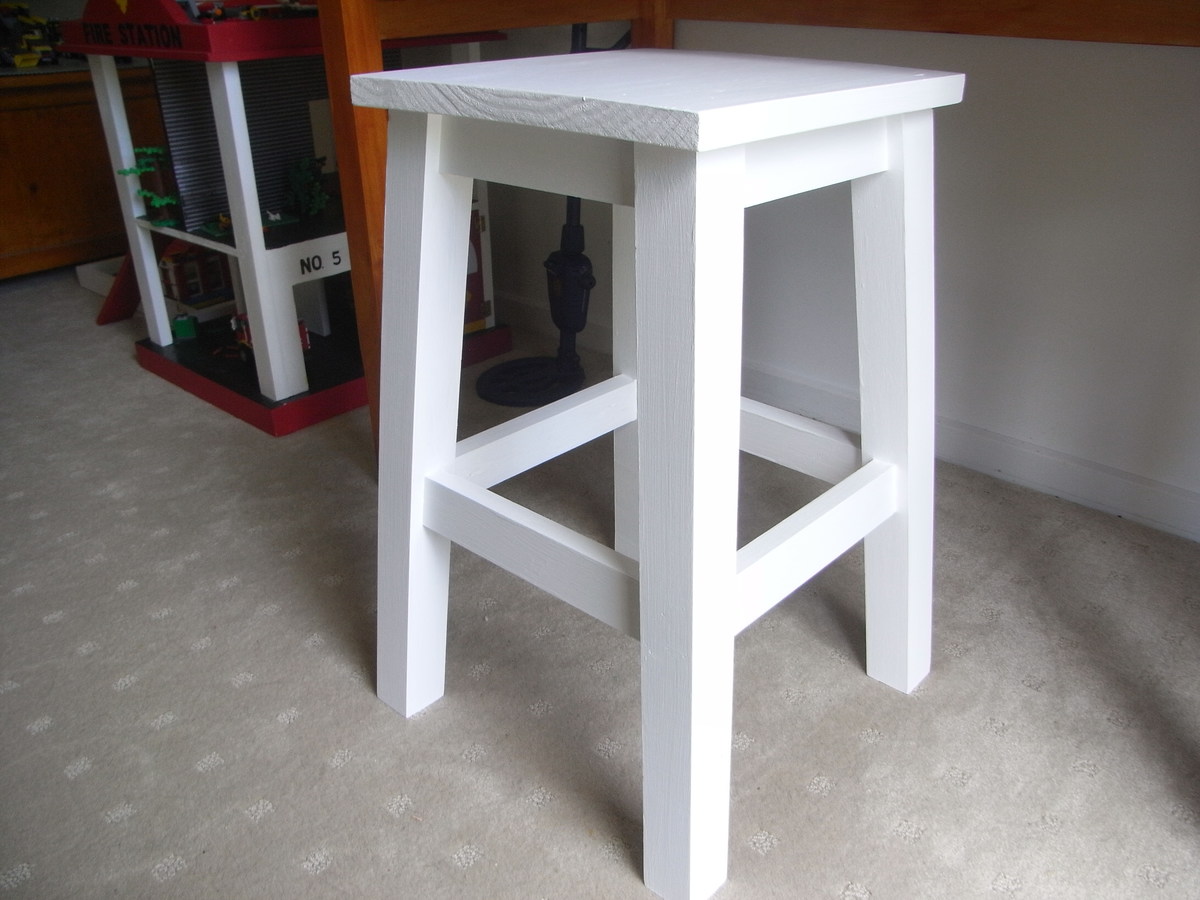
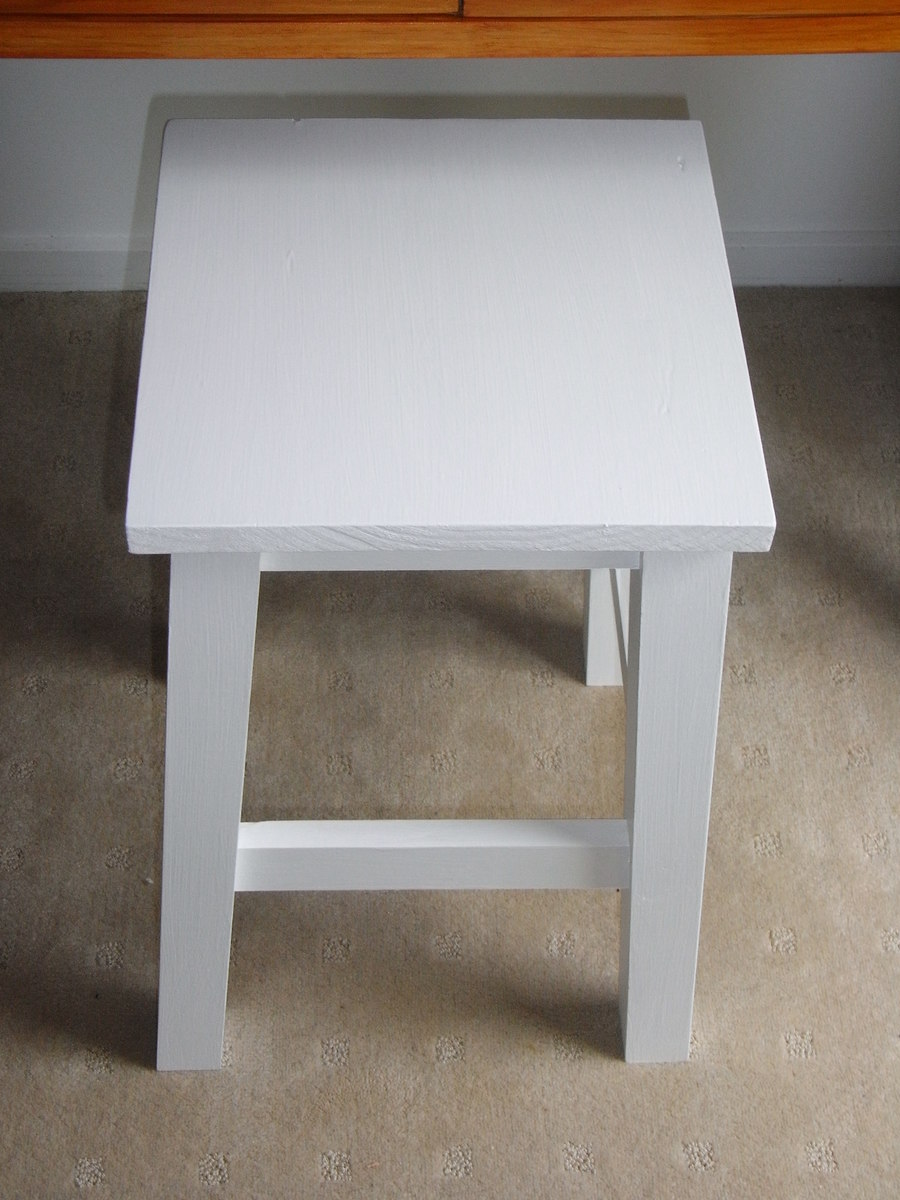
simple stool

Submitted by vic b on Mon, 08/26/2013 - 19:27

I shortened the legs to 20 inches and left the lower rung off.
It lives in the playroom and is just the right height for our sons desk.

Built from Plan(s)
Estimated Time Investment
An Hour or Two (0-2 Hours)
Recommended Skill Level
Starter Project

Corner TV Stand

Submitted by Jeffmp29 on Mon, 10/12/2015 - 07:27

We've searched for a corner TV stand but couldnt find anything we liked. I finally decided to build one. 

Built from Plan(s)
Estimated Time Investment
Week Long Project (20 Hours or More)
Finish Used
General finishes java, 2 coats. several coats of satin for top coat (GF as well)
Recommended Skill Level
Intermediate

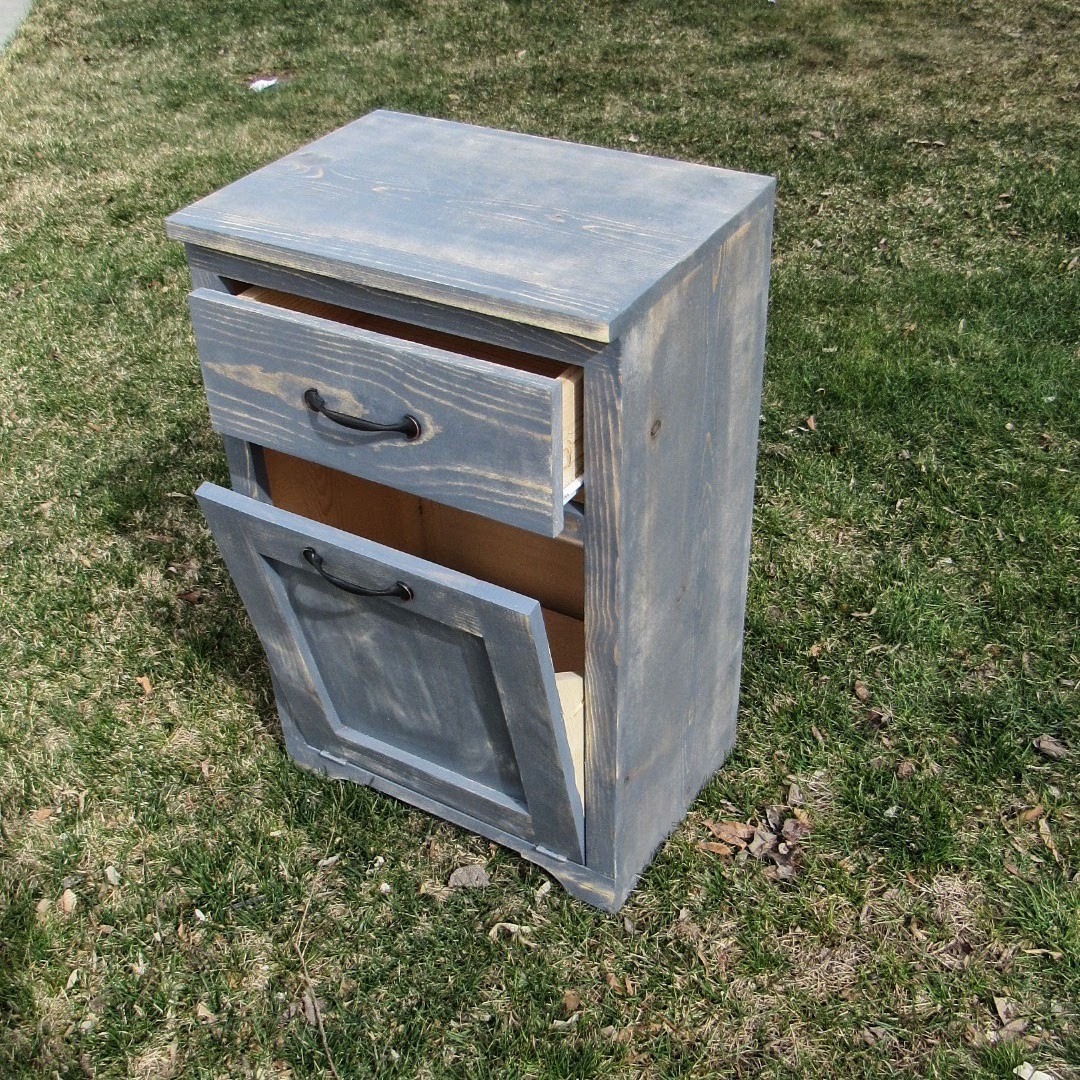
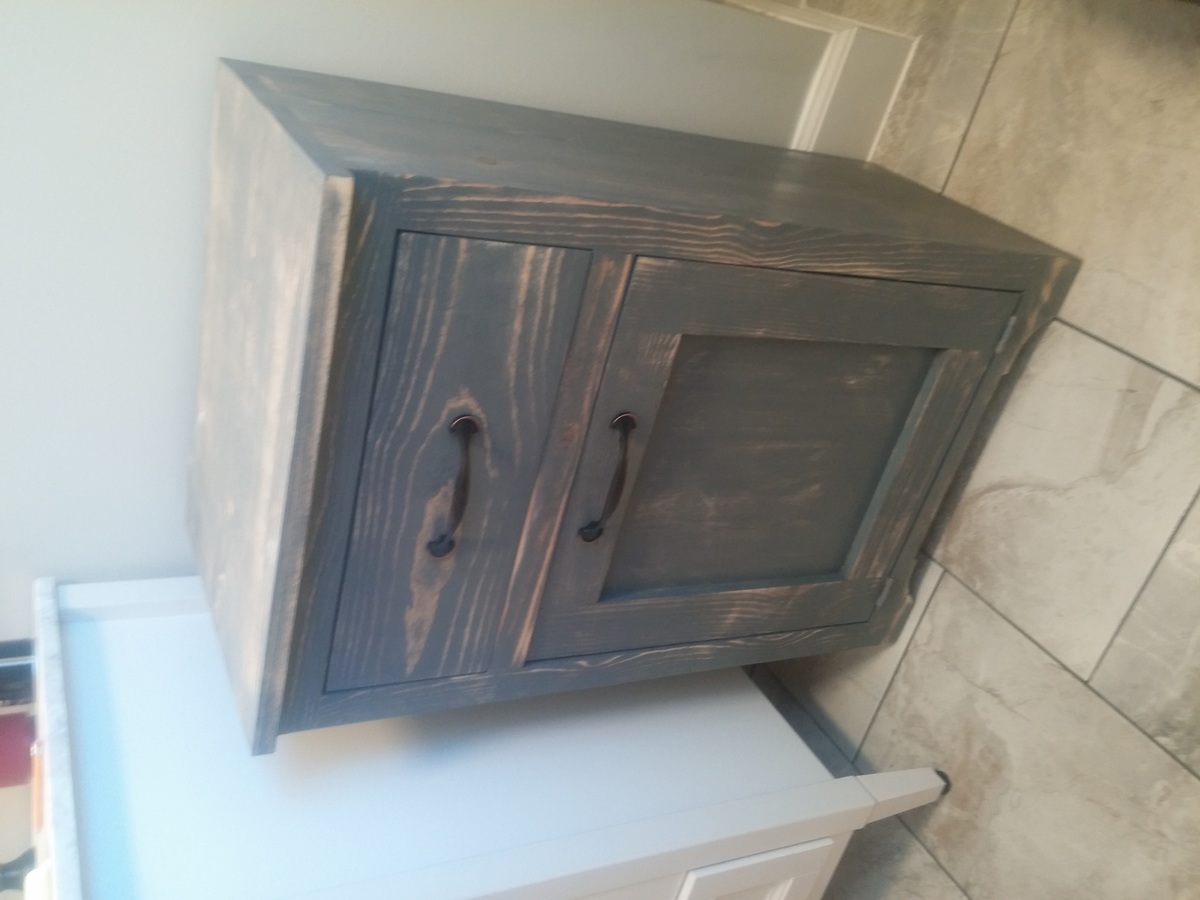
Wood Tilt Out Trash cabinet with storage

Submitted by bcarter_1 on Tue, 10/30/2018 - 04:47

Modified the plans, my can was shorter for the bathroom, so I added a drawer.

Estimated Time Investment
Weekend Project (10-20 Hours)
Finish Used
Rust-Oleum weathered grey stain
Recommended Skill Level
Beginner

Comments

Farmhouse kitchen island

Submitted by Anonymous (not verified) on Mon, 07/25/2022 - 20:39

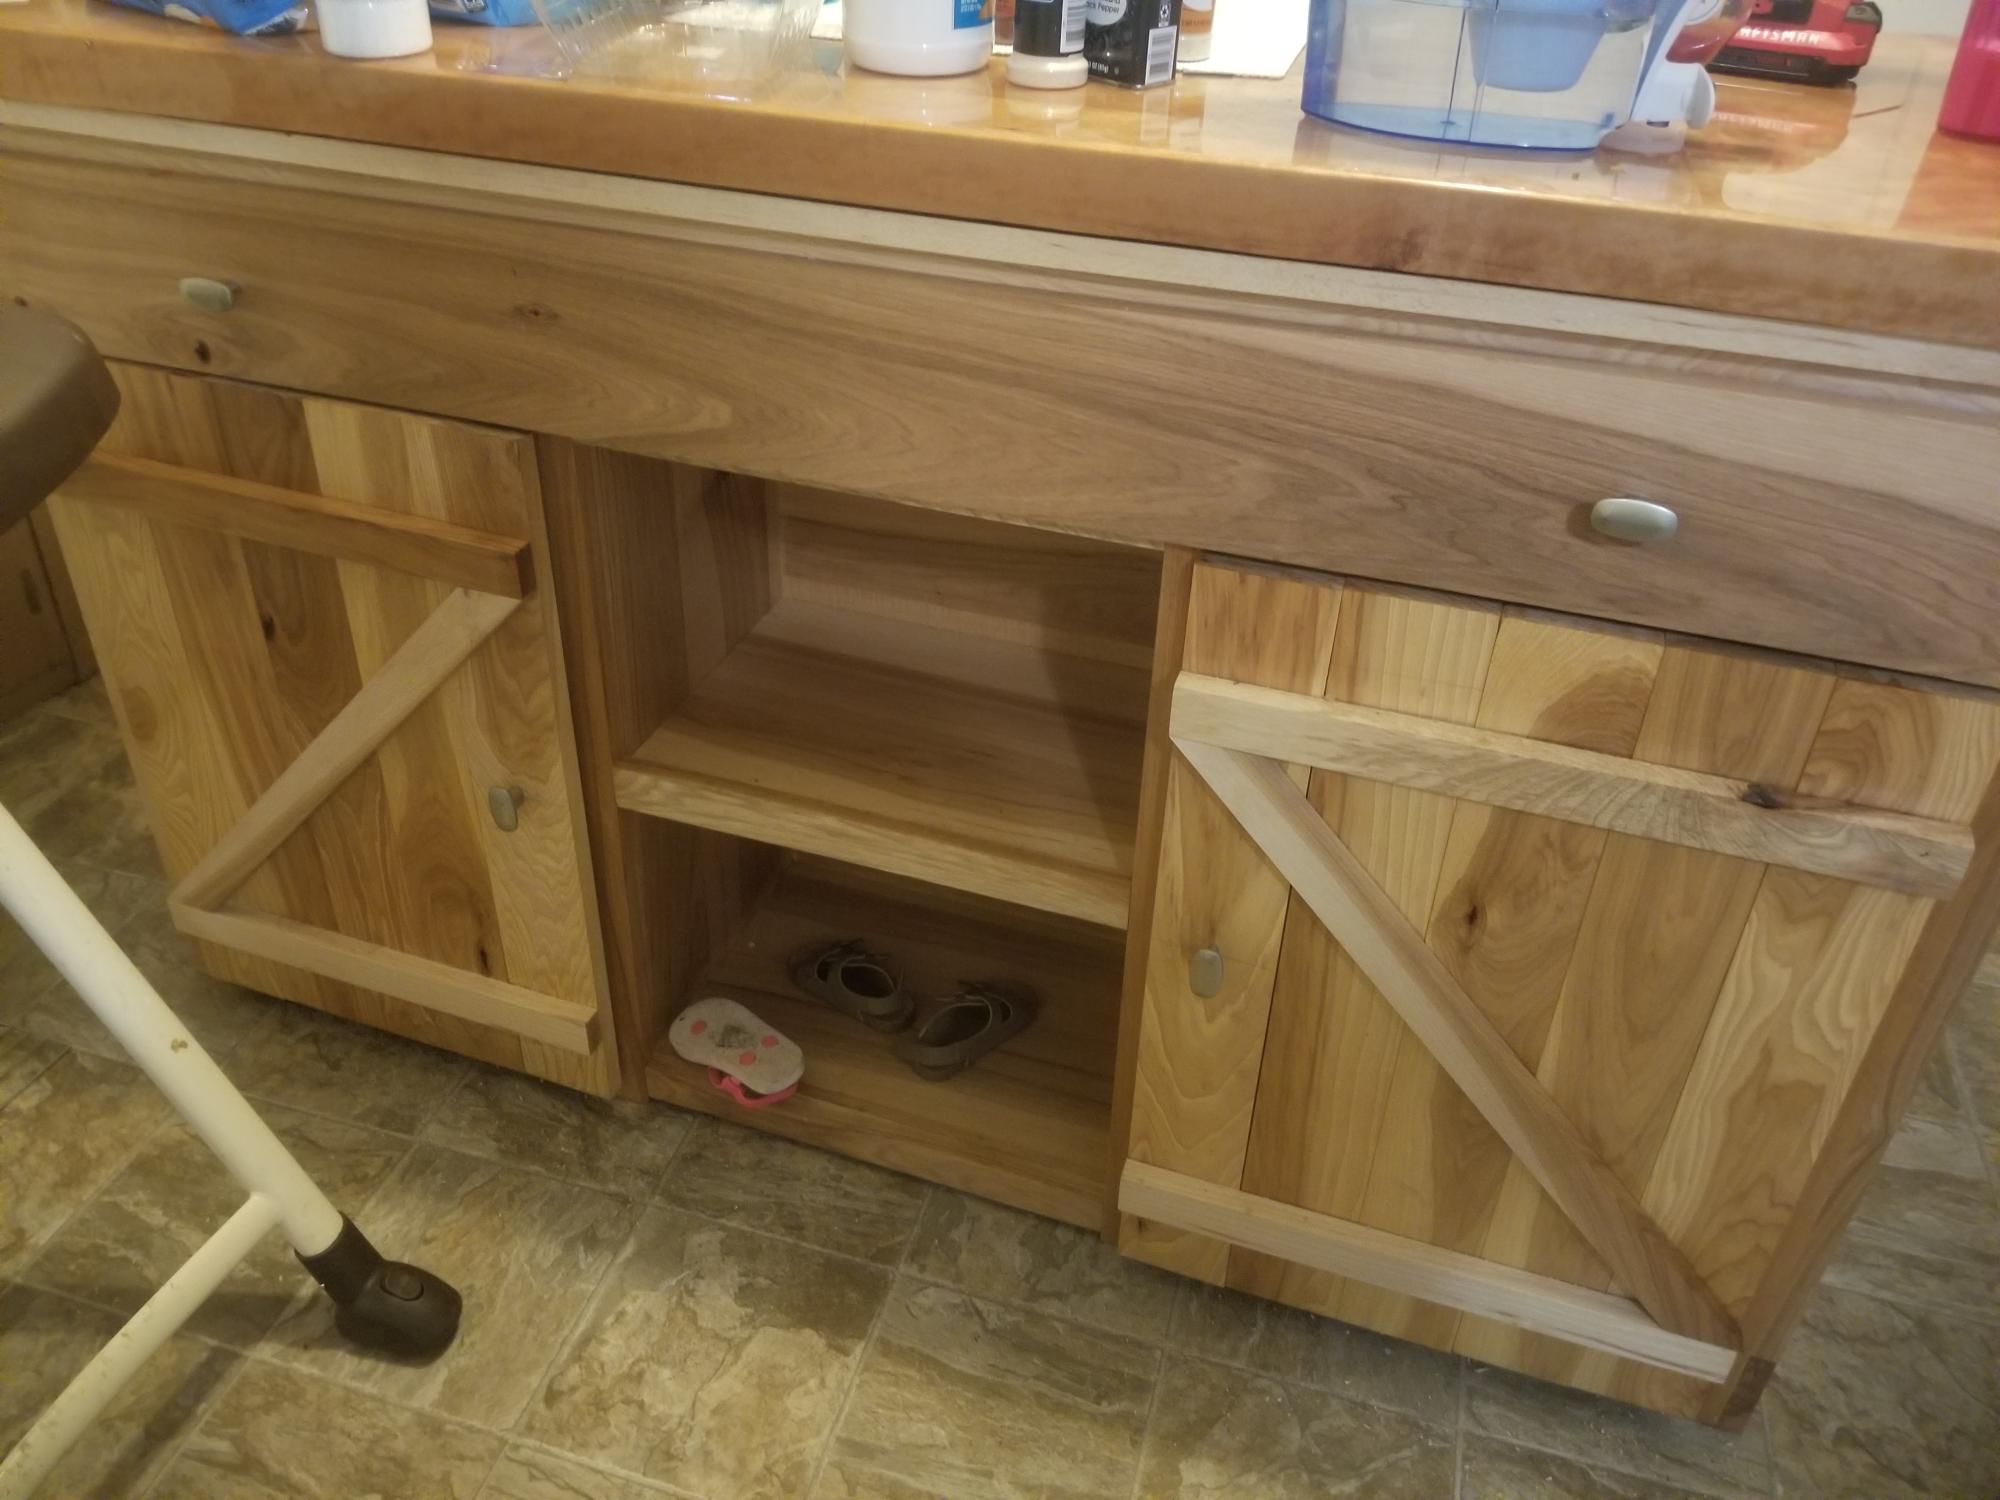
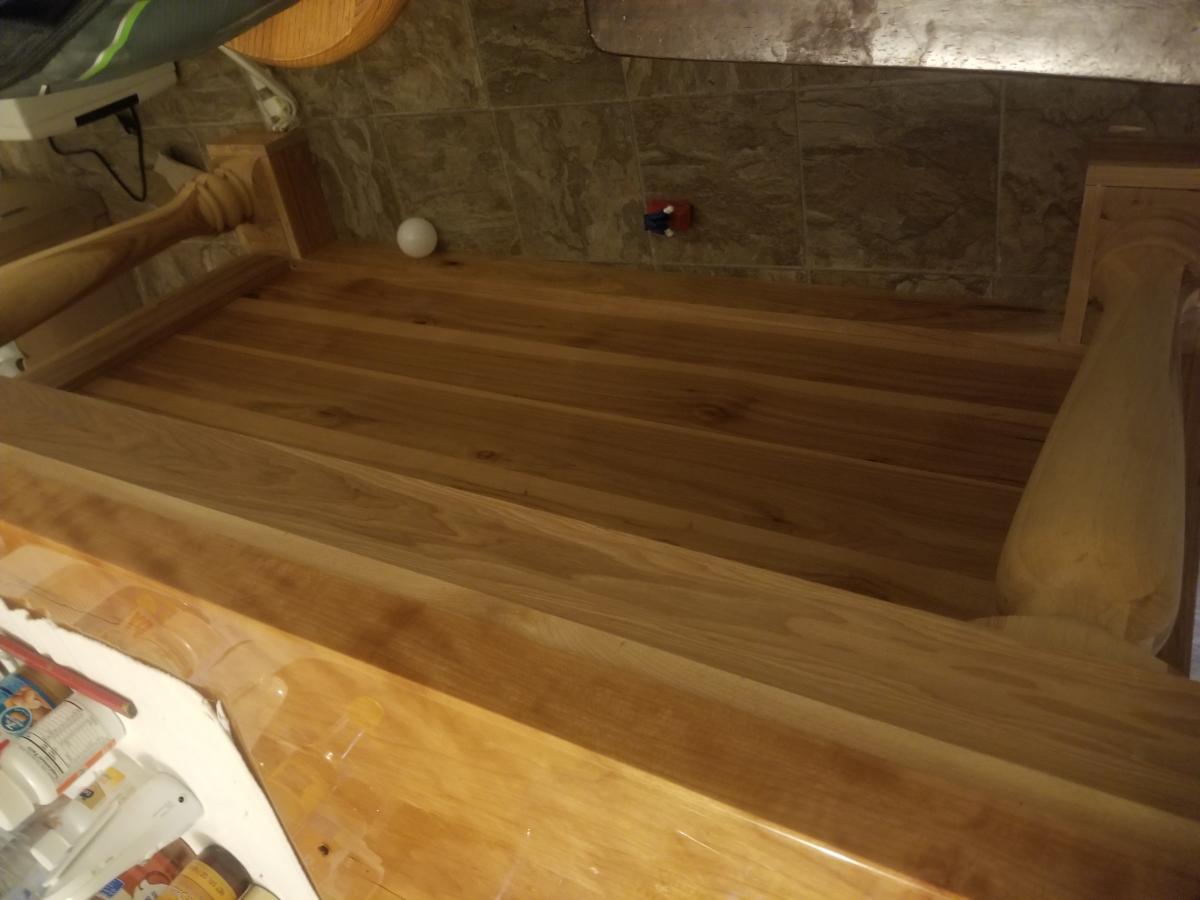
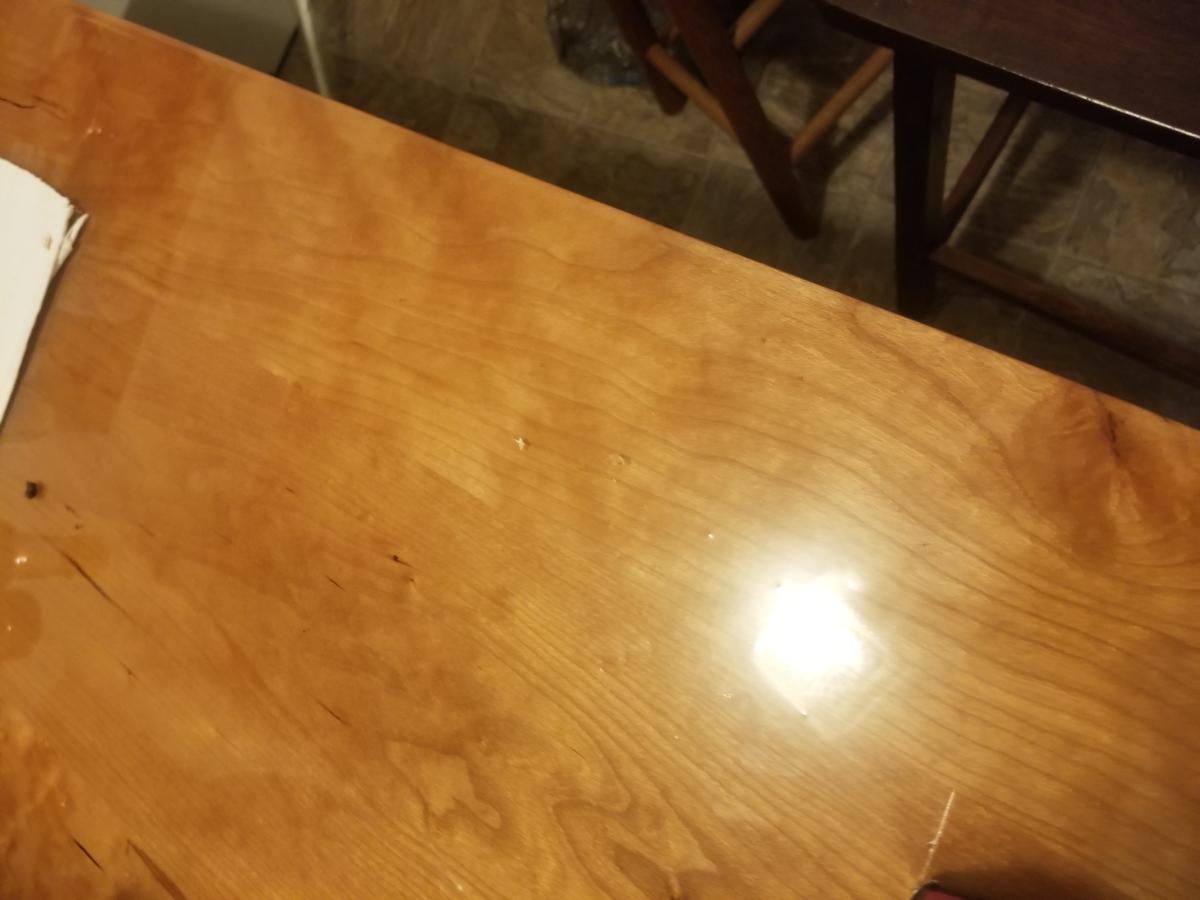
I found plans on here for a farmhouse kitchen island. I built it for my wife. She loves it.

Built from Plan(s)

Comments

Simple Oudoor Dining Table

Submitted by kmatt55 on Wed, 08/03/2011 - 17:15

I know, I know...Where are the legs? Unfortunately, I have to store this until December while our multi-family mountain house is being constructed. This way I can store it up against a wall and save a lot room in storage for more Ana White projects. FYI - The legs will be white 2x4's about 29.5 inches tall. For the top I used 1x4 cedar slats spaced 1/4 inch apart. As for the painted white frame, I used treated pine. Why spend money on nice cedar if I am just going to paint over it, right? The contrast of the white and natural cedar was appealing to me for some reason. I used Thompson's clear wood protector/water sealer on the slats to prolong the natural cedar. BTW, if you can build the simple outdoor bench you can definitely take on this project. The two are not very different. I'll have to take pictures of the finished table with legs when I haul these up to the Blue Ridge Parkway and upload them again. Thanks again Ana!

Built from Plan(s)
Estimated Cost
$100
Estimated Time Investment
Day Project (6-9 Hours)
Finish Used
Semi gloss white, Thompson clear wood protector/water sealer.
Recommended Skill Level
Intermediate

Comments

Casual 2x4 (sort of) Desk

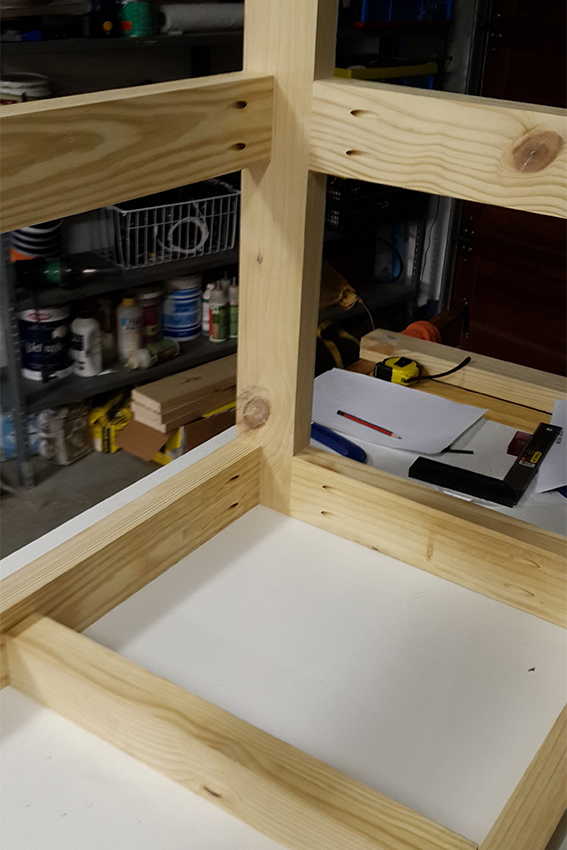
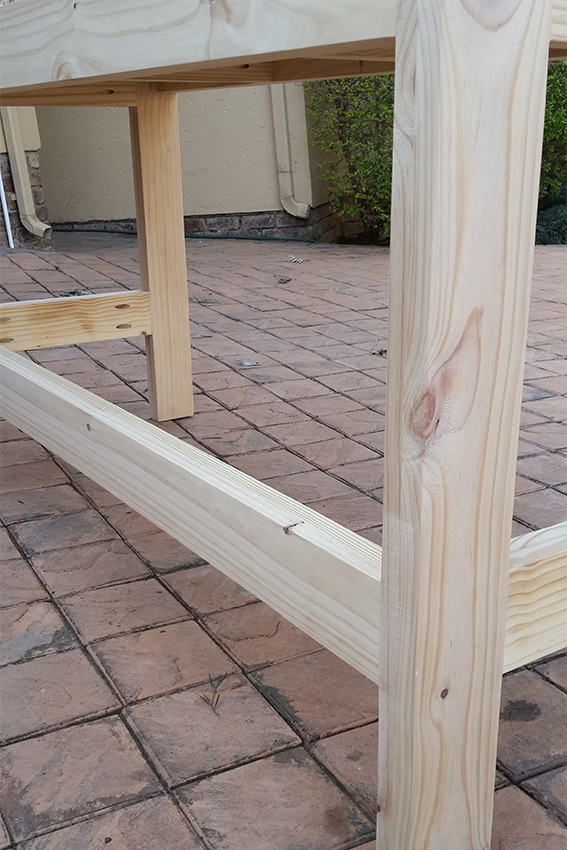
Submitted by Sox on Thu, 08/29/2013 - 03:30

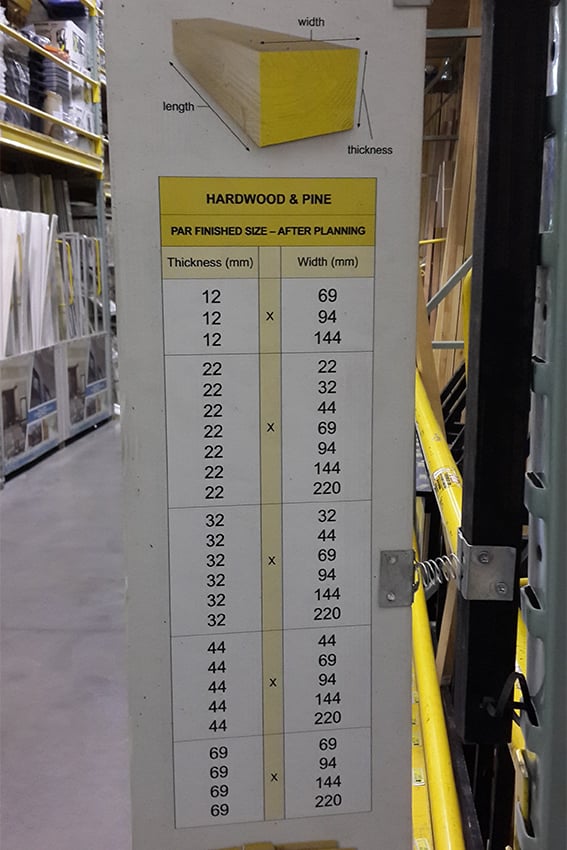
I had to a quick conversion from the original plans as we get metric wood sizes so decided to use the following:-
Desk frame: 44 x 94
Desk frame front: 44 x 69
Desk Top: 32 x 144
I drew up new plans to fit my 1500mm space I needed the desk to fill, with the new wood sizes.
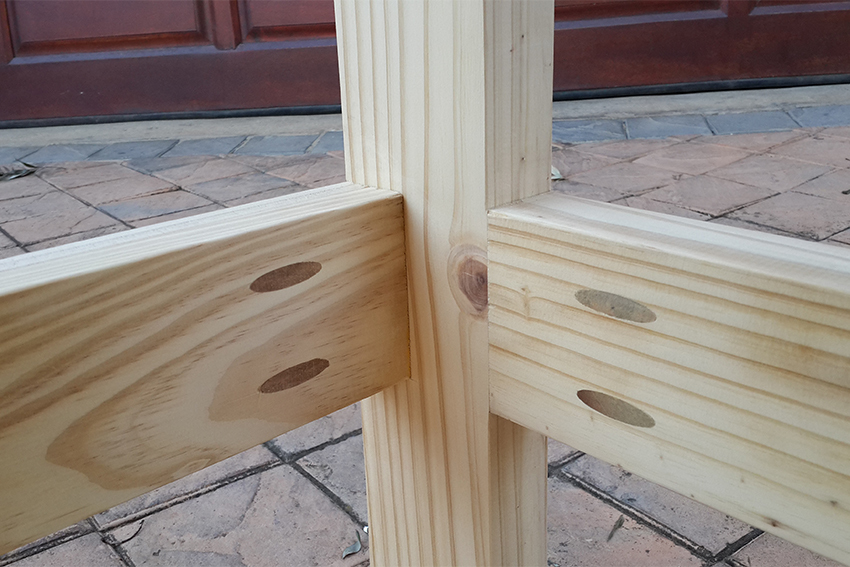
The purchase of the Kreg Jig was my best investment as it made construction so easy.
I finished the desk off in Antique Oak after wanting to add a little Antique White to it, but got scared that I would mess it up!
Total cost for wood and finishing materials was R1,500.

Estimated Time Investment
Day Project (6-9 Hours)
Finish Used
Nova 18 - Novadye (Antique Oak)
Woodoc 10 Indoor Polywax Sealer (Velvet)
Recommended Skill Level
Beginner

Comments

Sox

Thu, 09/05/2013 - 08:39

Many thanks for the compliment. The design is based on the casual 2x4 desk on this site, however I made adjustments and redrew them due to the standard timber size I could get hold of and also a bit of personal preference. I have the plans in electronic format should you wish to have a copy.

Donated bed

Submitted by Medickep on Thu, 10/15/2015 - 08:42

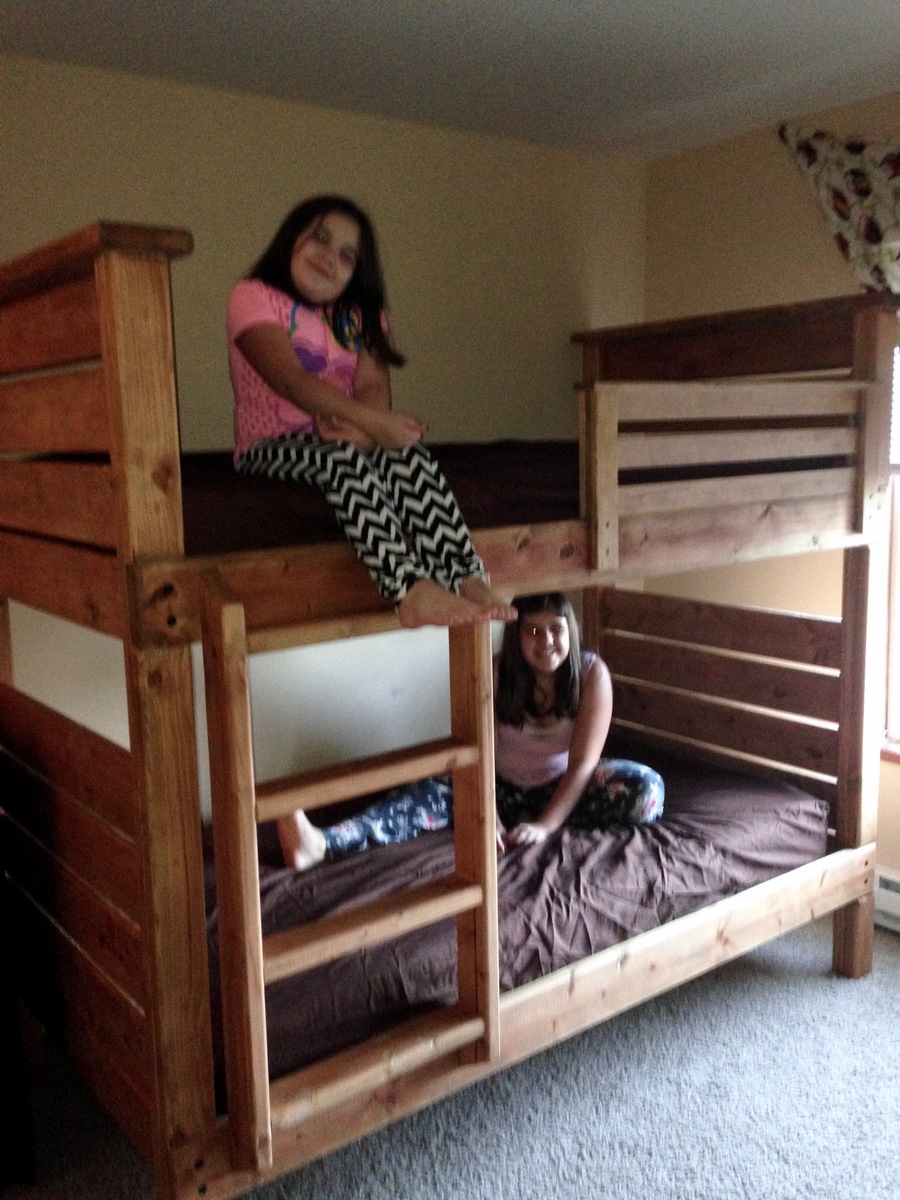
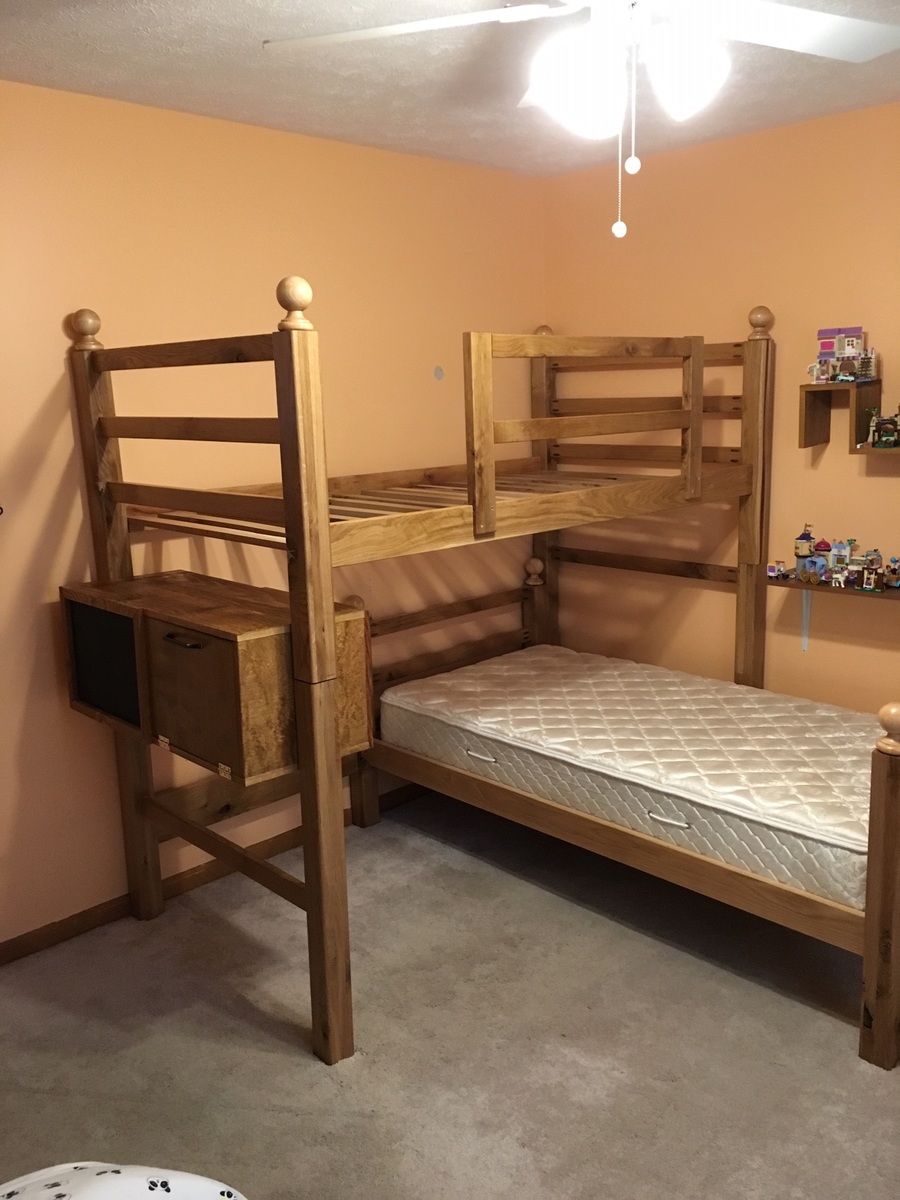
I made another one of these bunk beds for a family near my community.  This time I made all cuts from longer boards 16' + The boards had less nknots, which required less sanding and came out better!
Built from Plan(s)
Estimated Cost
220.00
Estimated Time Investment
Weekend Project (10-20 Hours)
Finish Used
Watco Medium walnut (2 coats)>
Recommended Skill Level
Beginner

Comments

Play Kitchen

Submitted by AnneReid on Fri, 11/09/2018 - 10:11

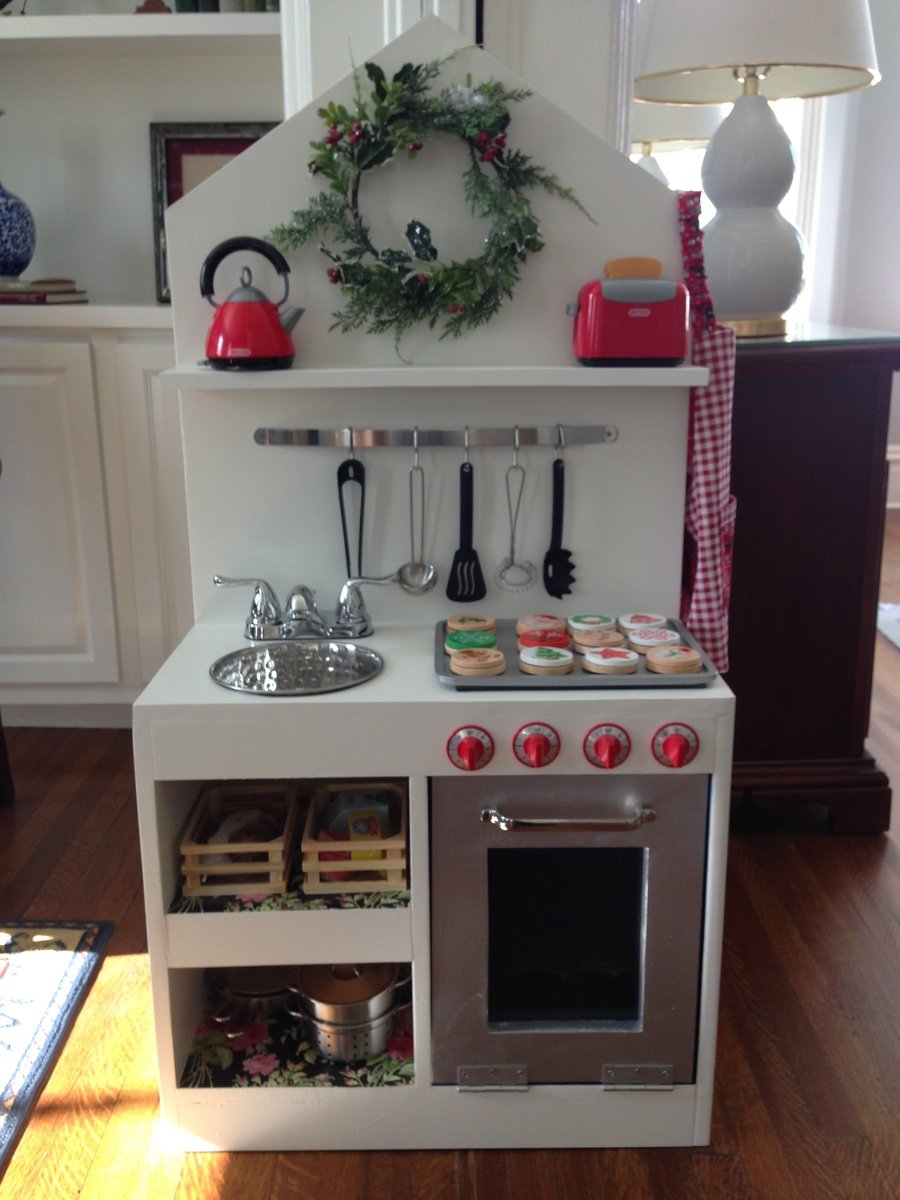
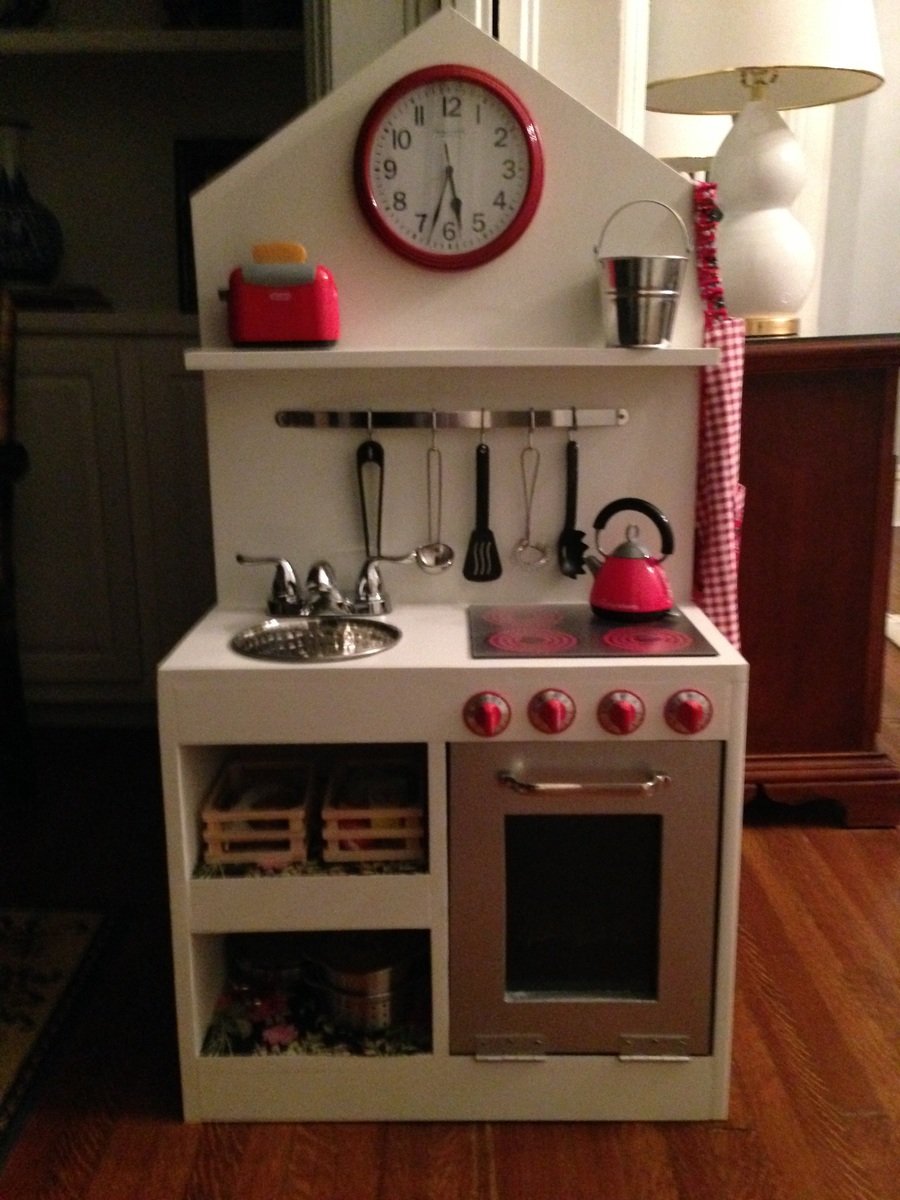
This was a fun build.  I used a dog food bowl from Walmart for the sink, the oven handle is a Restoration Hardware pull from Habitat Restore, stove knobs (spray painted red) and faucet are from Home Depot (I couldn't find either at Habitat, but it's worth trying). The utensil bar is from Amazon. I cut out an oven window and glued a small sheet of plexiglass acrylic from HD to the door.  I put a stick-on, battery operated light inside the oven that turns on and off by pushing it. I wanted the oven to open like a real oven, but I should have saved myself the trouble and just put the hinges on the side. The door bangs to the floor unless you can figure out how to install slide hinges to prevent it. (I couldn't make it work, but I'm sure more experienced DIYers would have no trouble.)  I printed out the stovetop coils free from "printablecuttablecreatables.com" and glued them on a thin sheet of black foam.

Built from Plan(s)
Estimated Time Investment
Weekend Project (10-20 Hours)
Recommended Skill Level
Beginner

Comments

Ana White

Fri, 11/09/2018 - 12:17

This is too adorable!  All your little details really made it amazing!

A small chair or rope can be used to keep the oven door from opening all the way if you want to try that.

First Furniture Console

Submitted by cjohnston on Sun, 08/07/2011 - 14:10

This is my version of the Balin Console, presented by Ana White.

I used knotty pine for the wood and finished the piece first in two layers of walnut stain.

Over the stain, I painted two layers of Vast Sky blue by Sherwin Williams.

To finish it off, I used a polyurethane satin finish varnish--two coats.

Built from Plan(s)
Estimated Cost
$200.00
Estimated Time Investment
Week Long Project (20 Hours or More)
Finish Used
Stain the piece with a dark colored oil based stain--2 layers.

Rub a candle on the corners and edges where you plan to sand to give a distressed appearance.

Coat the piece with 2 layers of polyurethane paint.

Use fine grit sandpaper to sand edges to give a distressed vintage look. The candle wax applied to the stain will protect the wood from the sandpaper--sanding will only remove the paint layer and leave the stain layer intact.

Cover with two coats of a satin finish varnish to protect. Make sure there is plenty of drying time between the varnish layers--2 days +
Recommended Skill Level
Beginner

Comments

debandtom25

Fri, 08/12/2011 - 04:38

It's a very impressive looking piece. It would catch my eye if I saw it in someone's house. Great job!

windjamer812

Thu, 03/22/2012 - 23:25

You did a wonderful job on this project. It looks like it came straight from a 1930's country kitchen.

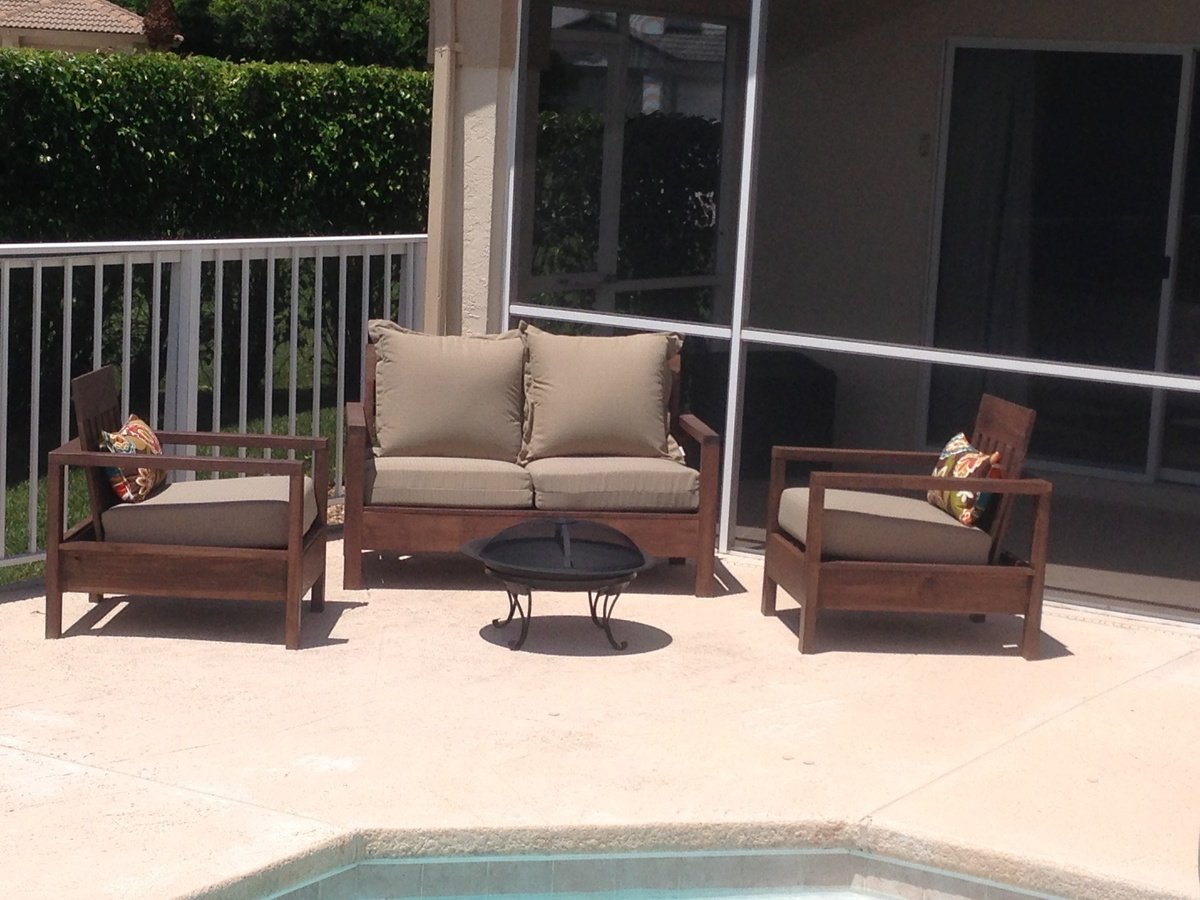
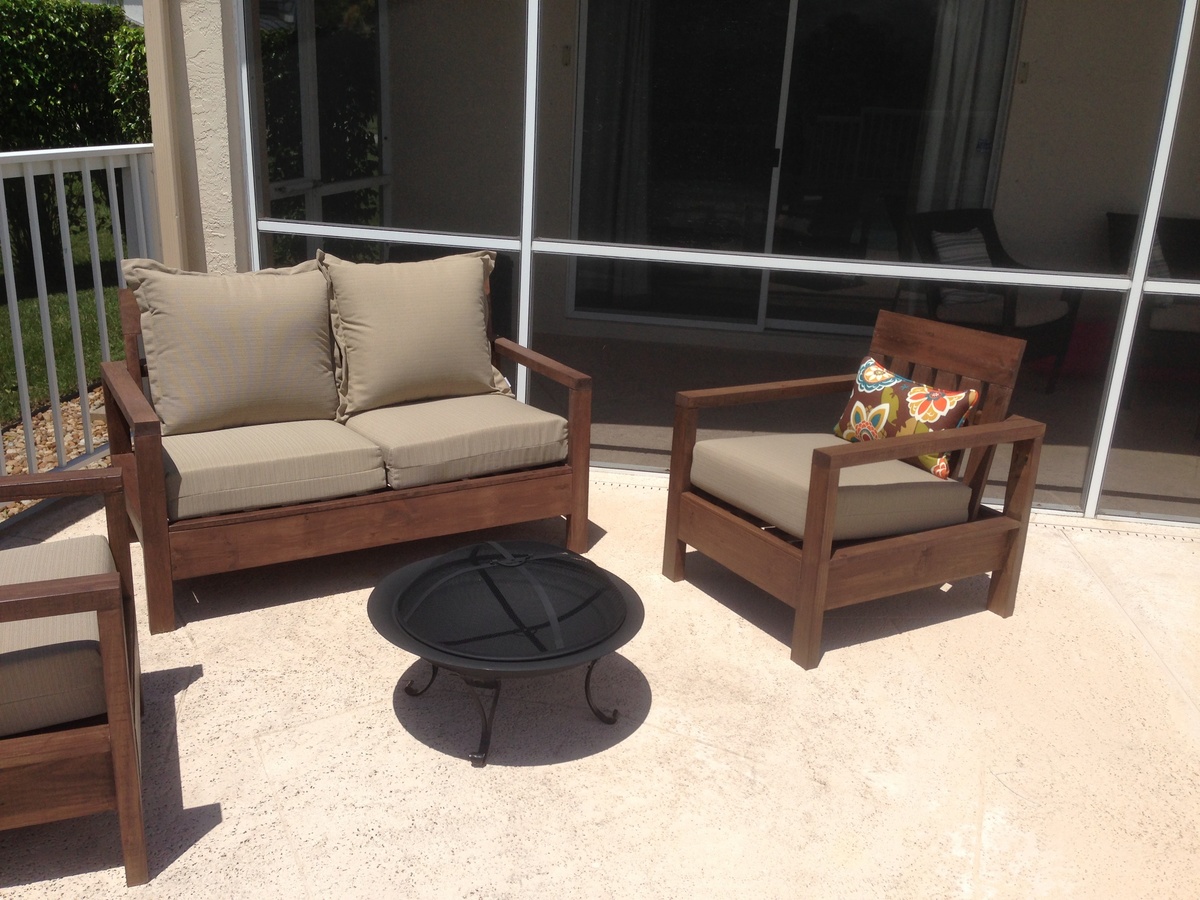
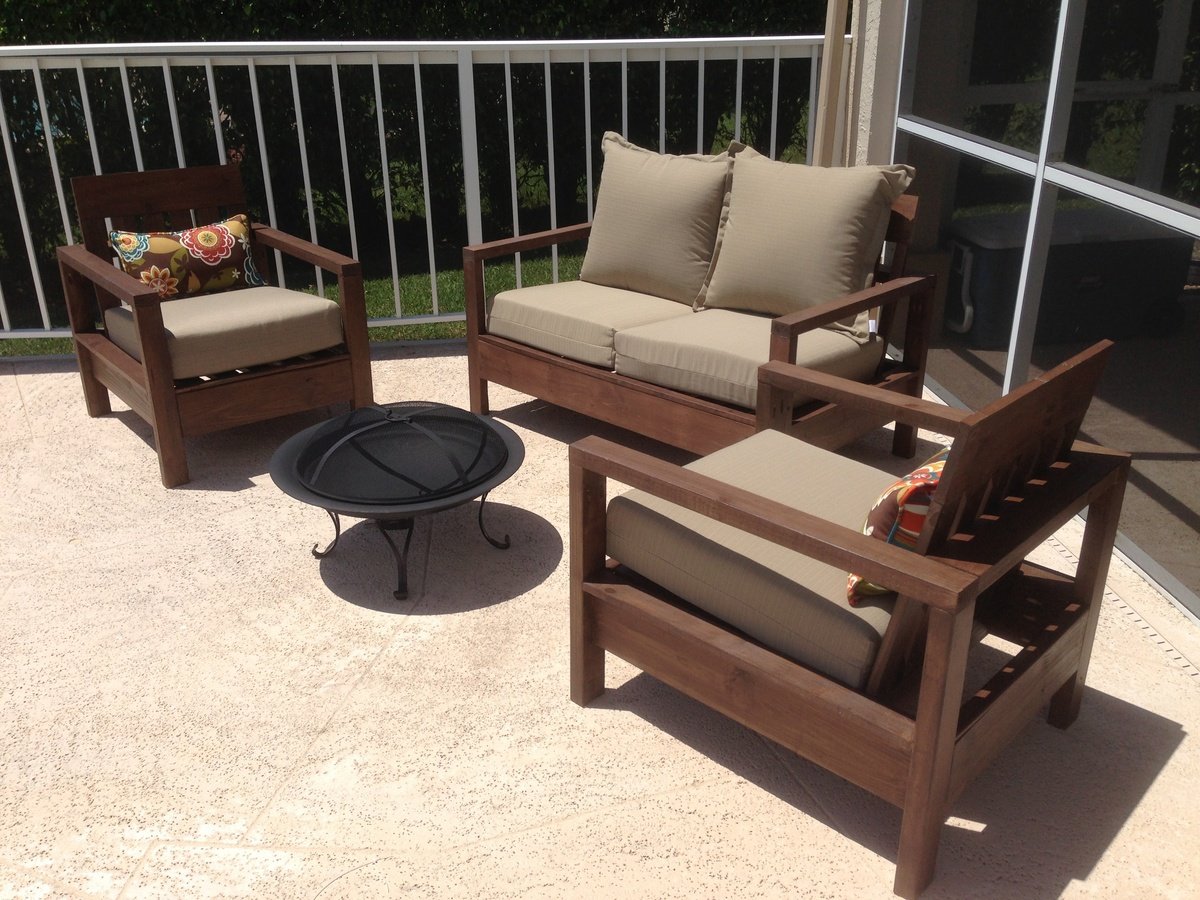
Cozy outdoor seating at last!

This project seemed to take forever, but it was so worth it! We finally have a great cozy outdoor space to gather around the fire pit comfortably. Thanks so much for the plans Ana!
I should mention I used 2x3's instead of 2x2's for all legs because pressure treated 2x2's here are only 1 1/4"??

Estimated Cost
$175 lumber & $225 cushions
Estimated Time Investment
Week Long Project (20 Hours or More)
Finish Used
Behr premium weatherproofing stain in Padre Brown
Recommended Skill Level
Intermediate

Comments

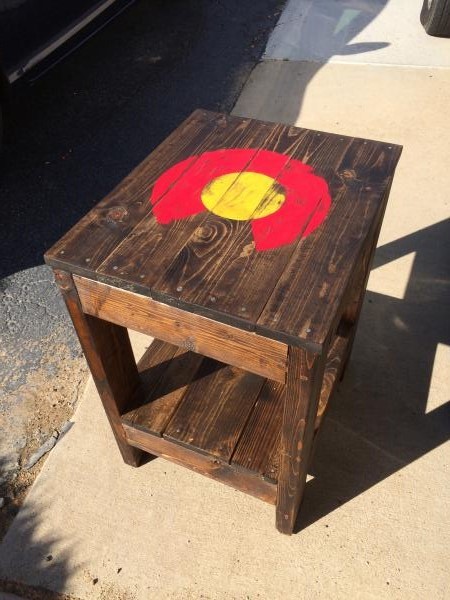
Tryde End Table with a Colorado Logo

Submitted by ajbehrens on Thu, 10/22/2015 - 21:45

Skipped the 2x4 top and shelf and replaced with a 1x4 board. Got lucky with some scraps. The Colorado logo was distressed with a rotary sander. 

Estimated Cost
$20
Estimated Time Investment
Day Project (6-9 Hours)
Finish Used
Dark stain and spray shellac
Recommended Skill Level
Intermediate

Bunk Beds with Dual Desk

Submitted by bullfiter on Mon, 11/26/2018 - 06:14

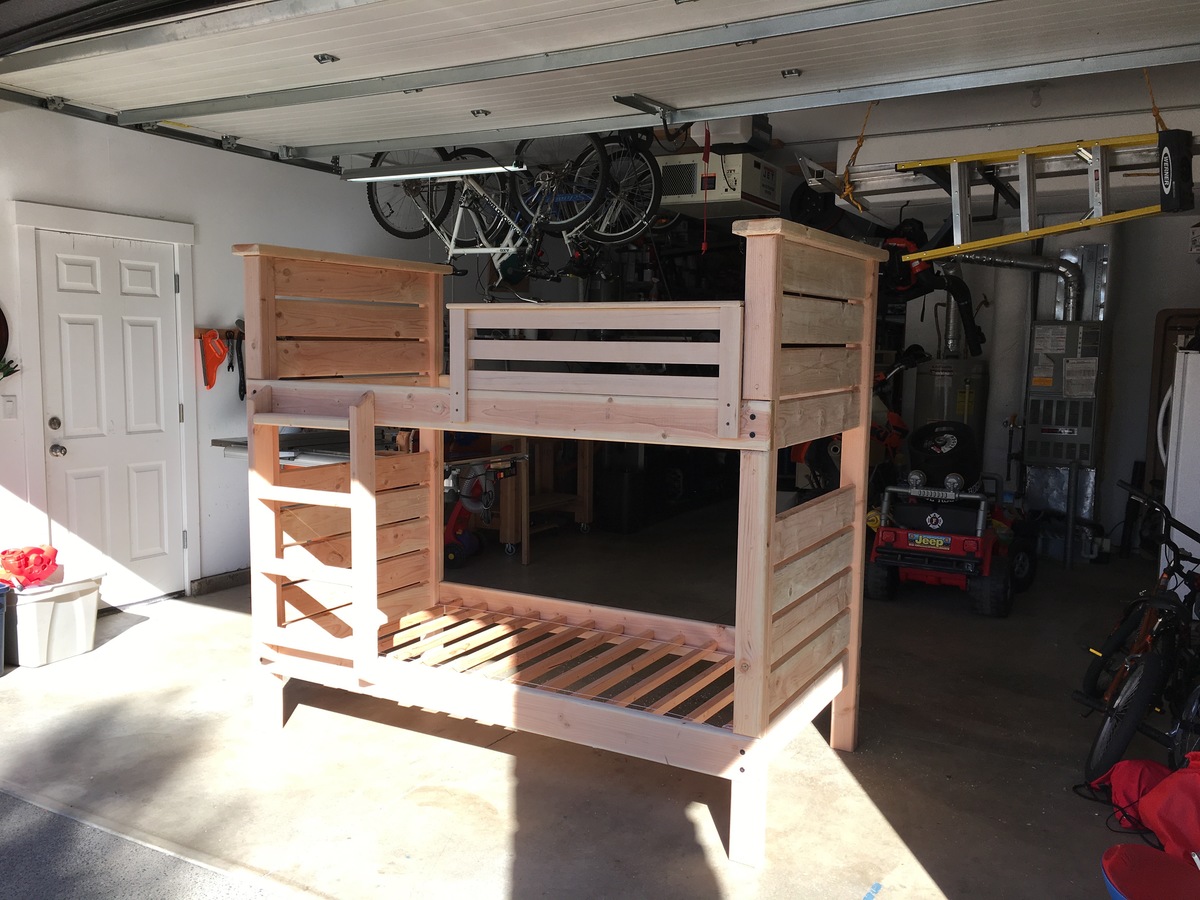
My granddaughters needed new bunk beds and an area to do homework. So I combined the 2 projects into one.

Recommended Skill Level
Intermediate

Farmhouse Coffee Table

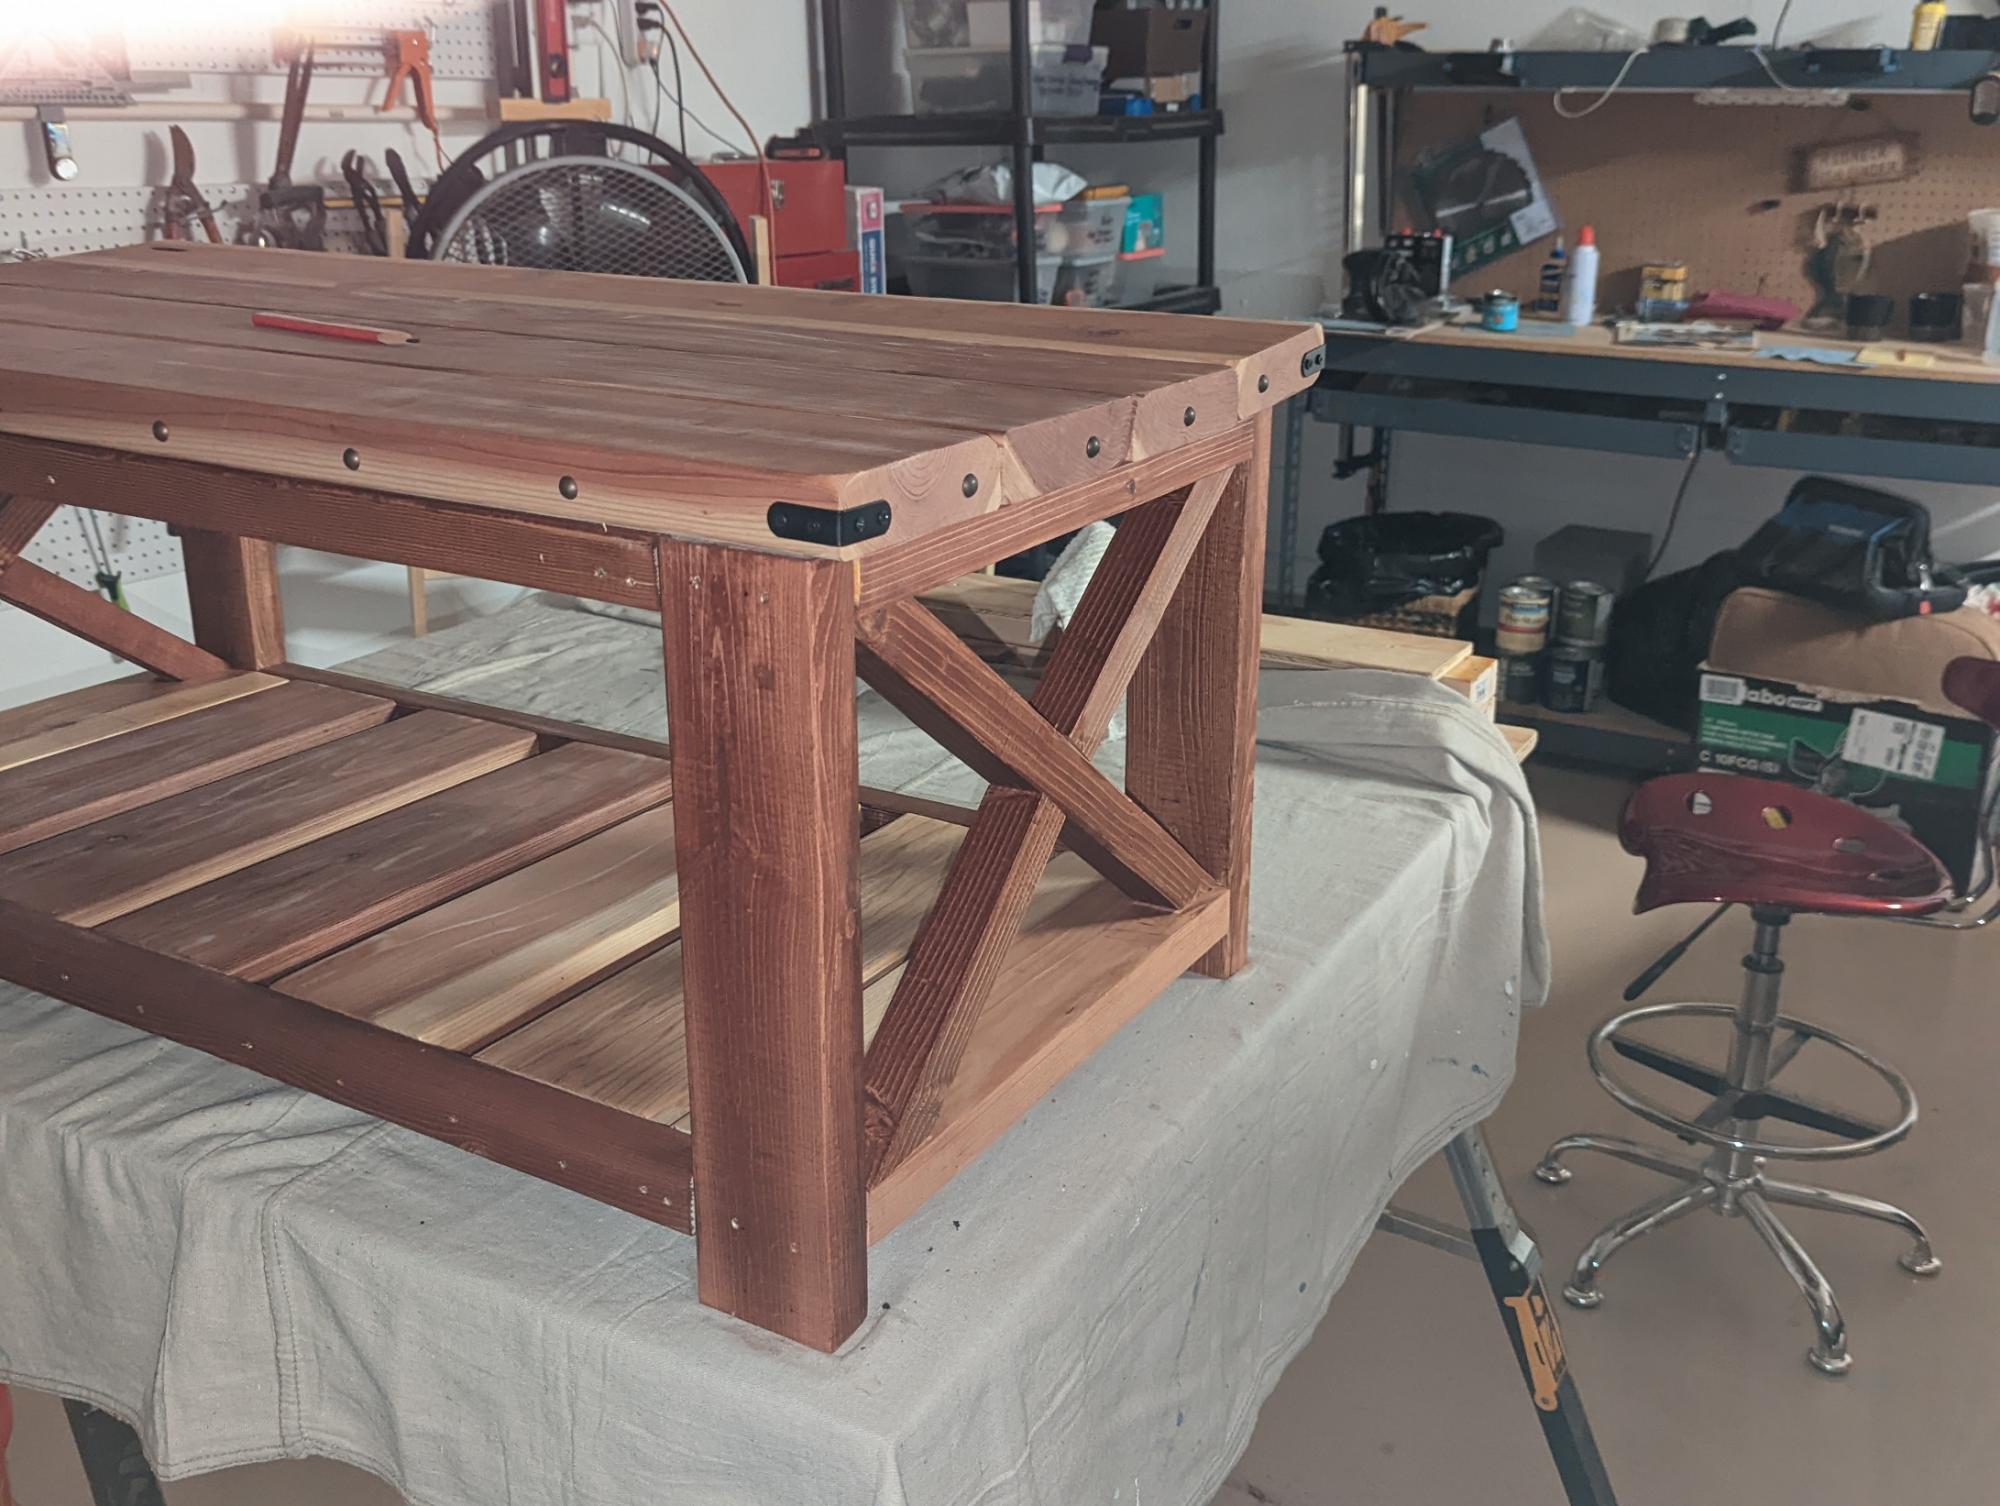
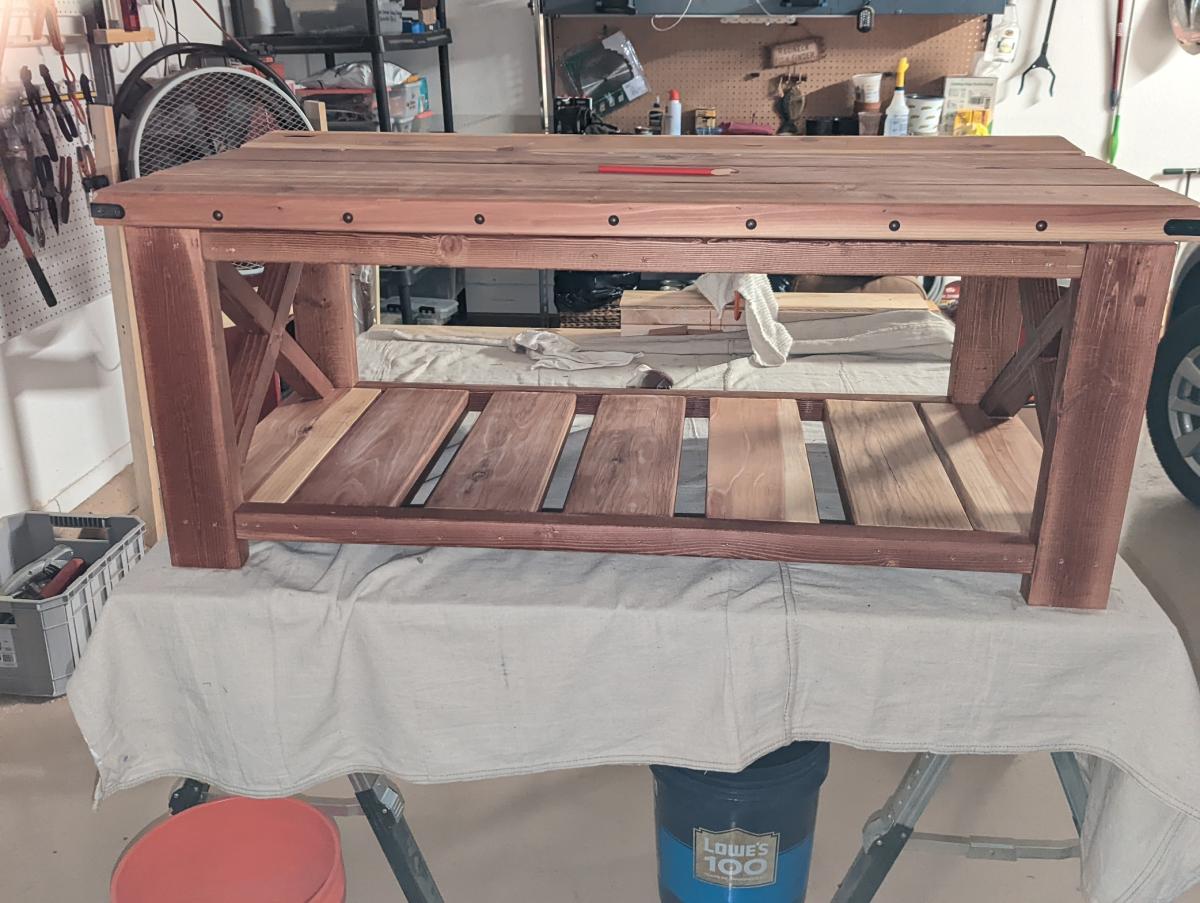
Submitted by BK.Kaehler on Mon, 08/15/2022 - 12:29

I really had a lot of fun with this project Ana, so thank you for both the plans and that YouTube tutorial. Built almost exactly like your plans, with the exception of those nail heads I added around the perimeter. Decided to use redwood for the 2x6's, and that seemed to add more wood beauty, but I also ended up with one board that was slightly bent. I fixed that with some wood filler. Finished with clear shellac.

Comments

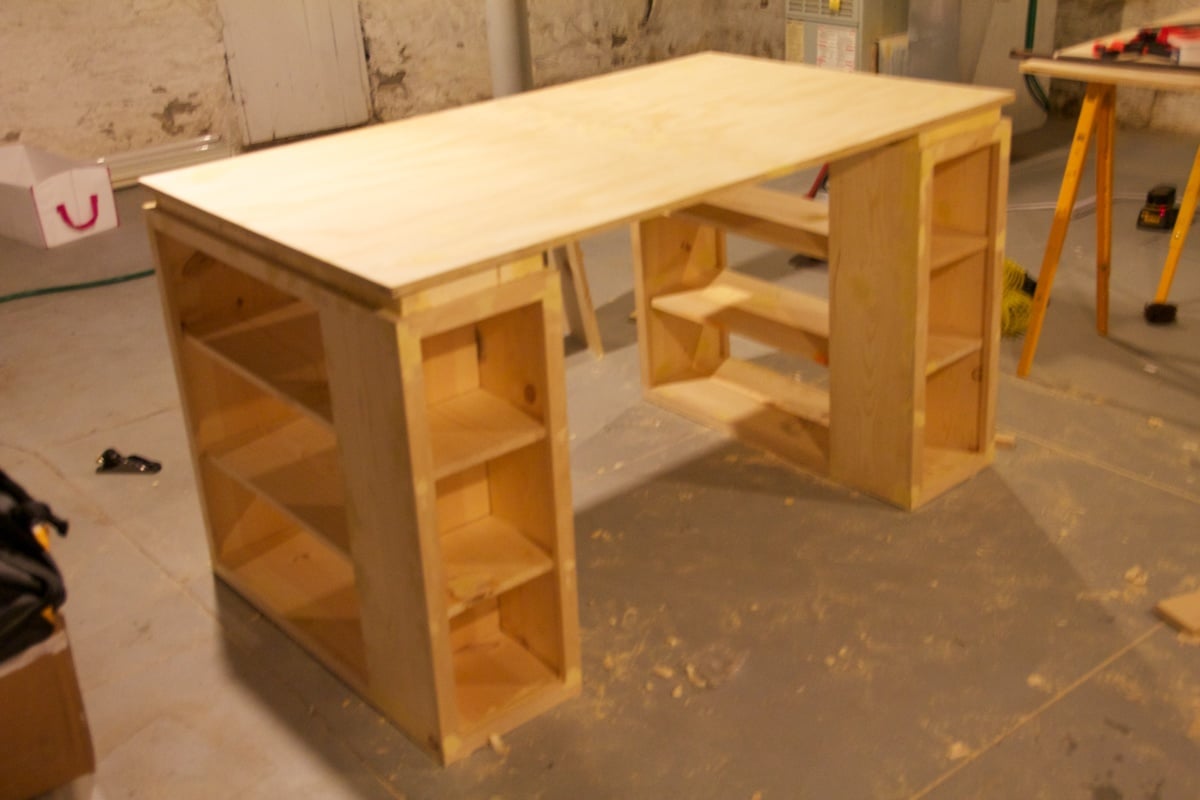
My wife's new Craft table

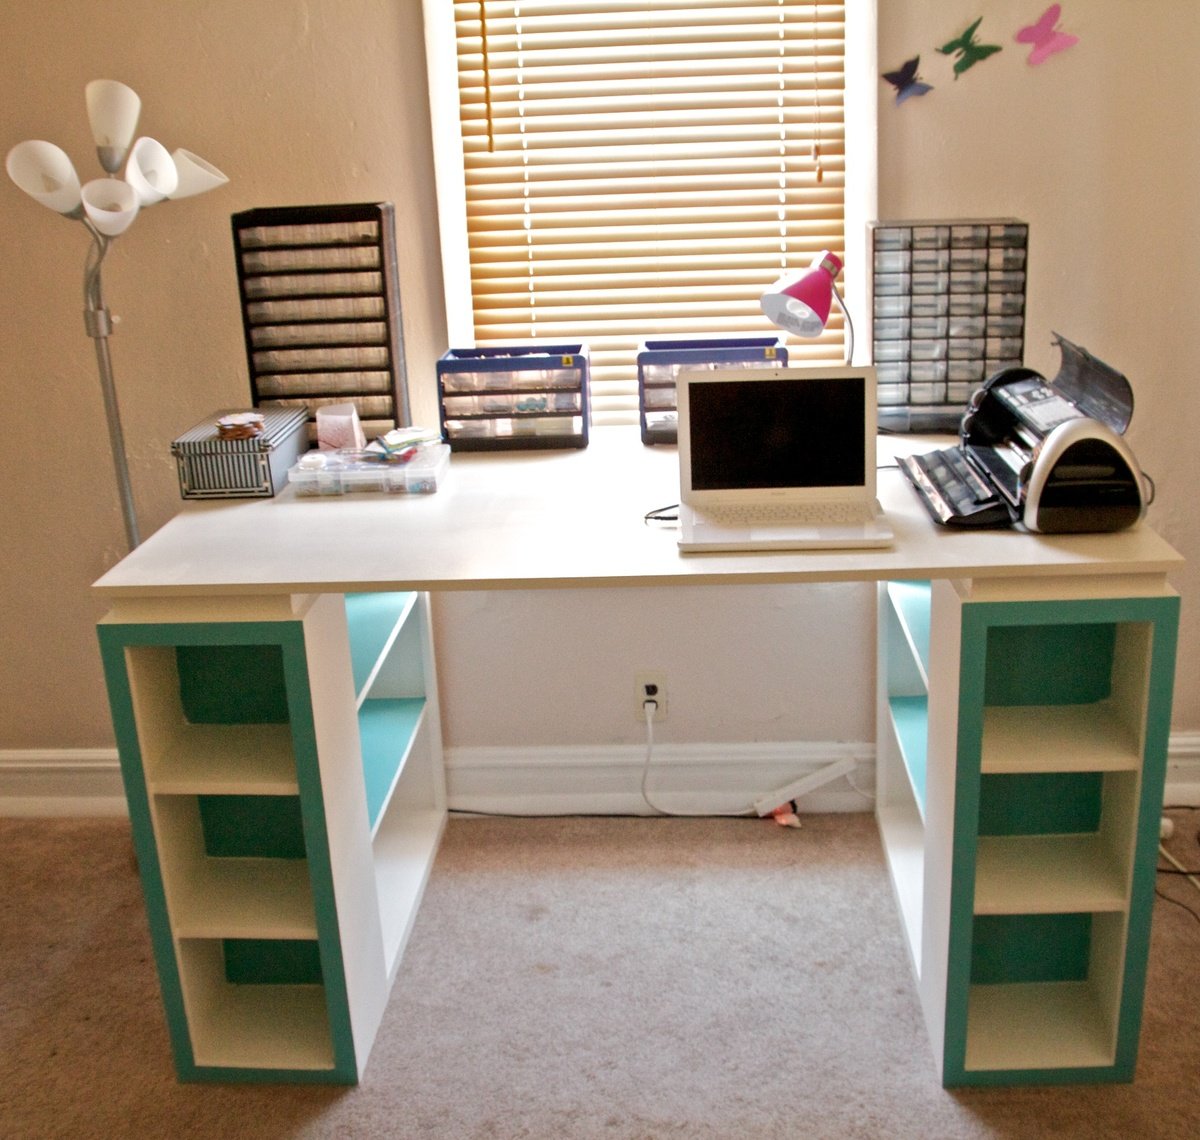
Submitted by MattB on Tue, 08/09/2011 - 23:29

This is actually my third project from your site Ana.

I acctually decided to make this table ten inch wider since my wife has a loooooooot of crafts :)

This project took a little longer then I thought.
It was my own fault!!! I thought I would safe some time and get some of the wood cut buy the clerk at Home Depot. That turned out to be a really bad idea. Most of my cuts were uneven and even after I gave the clerk the exact measurements, a few of the boards were up to 2 inches too long. At the end I had to buy two more boards because I had to cut peaces away to have straight edges.
Lesson learned!!!

I love building wood furniture. And I already got my next plan from your site that I'm going to build.

Built from Plan(s)
Estimated Cost
$160
Estimated Time Investment
Weekend Project (10-20 Hours)
Finish Used
Valspar-Dove tail white(Eggshell)
Behr- Surfer(eggshell)
2 coats of clear Polyurethane Semi-Gloss
Recommended Skill Level
Beginner

Comments

Guest (not verified)

Wed, 09/07/2011 - 04:18

awesome job! im in the middle of making one of these at the moment. but just to be a tad different i have put a small cutout hole on the top, theres a little bin that sits on the shelf under it, so all i have to do when ive finished with all my paper cuts is swipe it down the hole! hehe how nifty. oh and where did your wife get the black cricut machine?? lol