Community Brag Posts
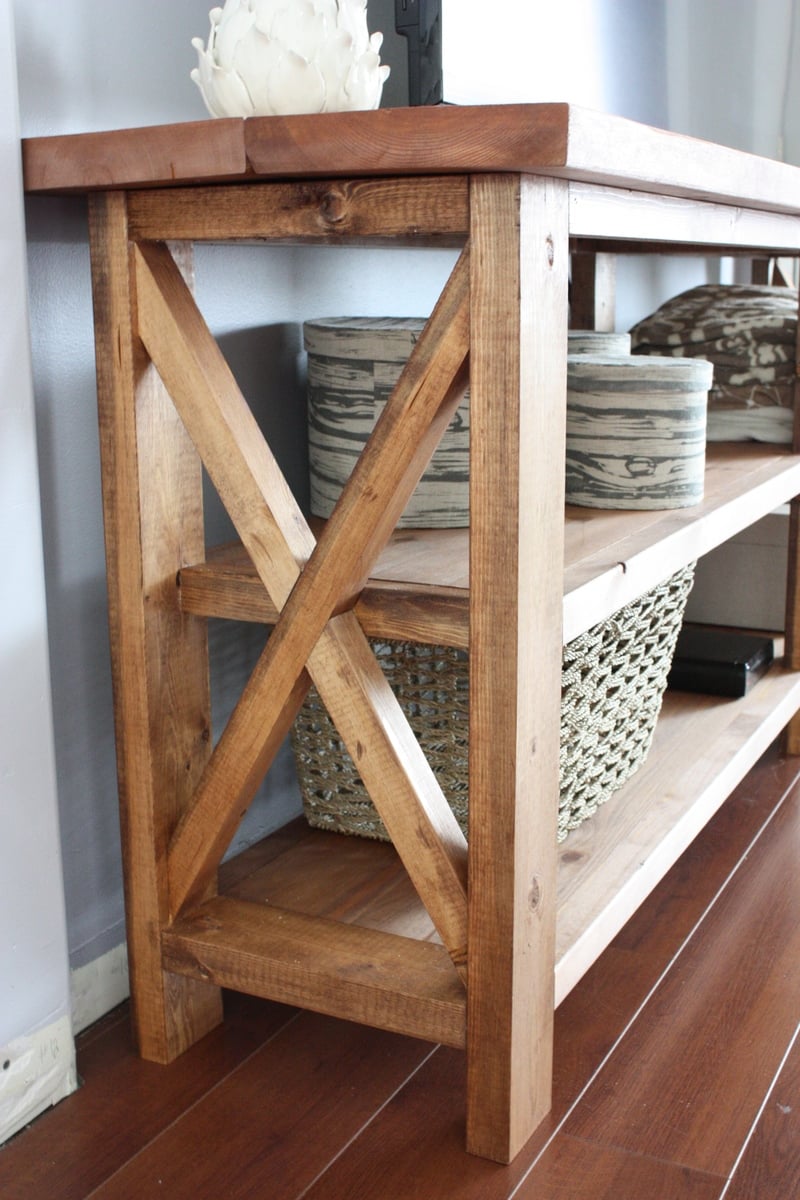
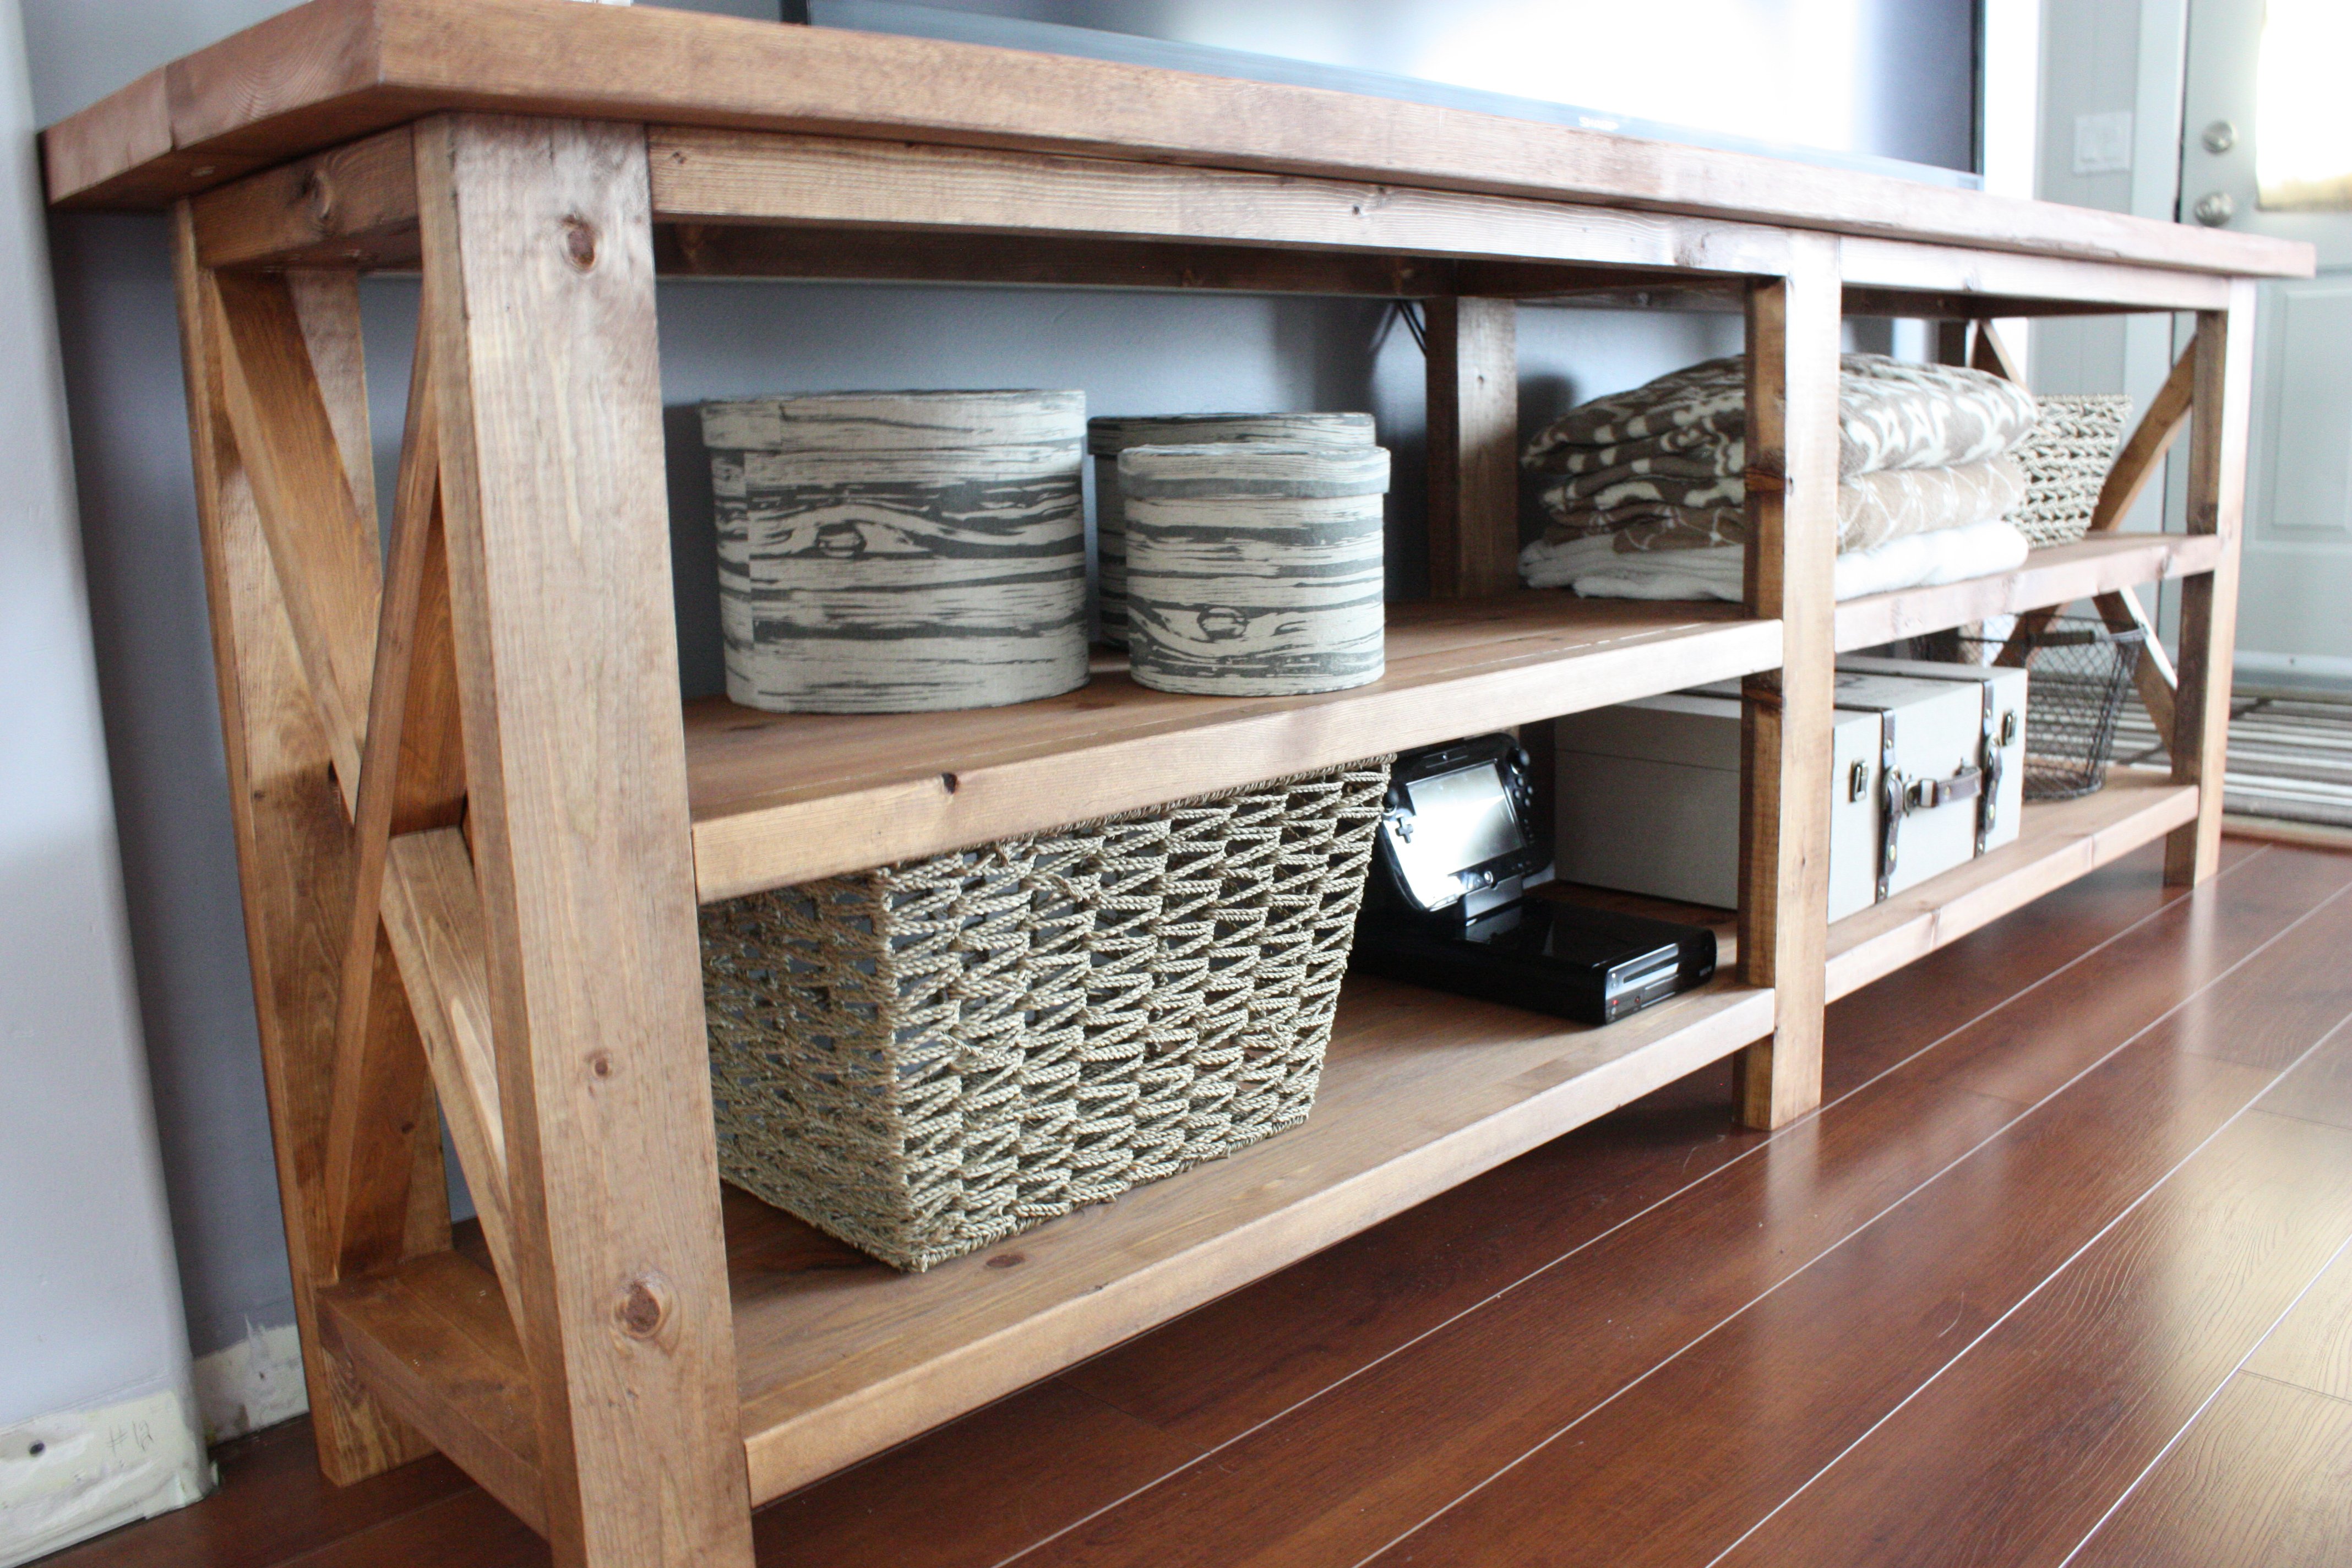
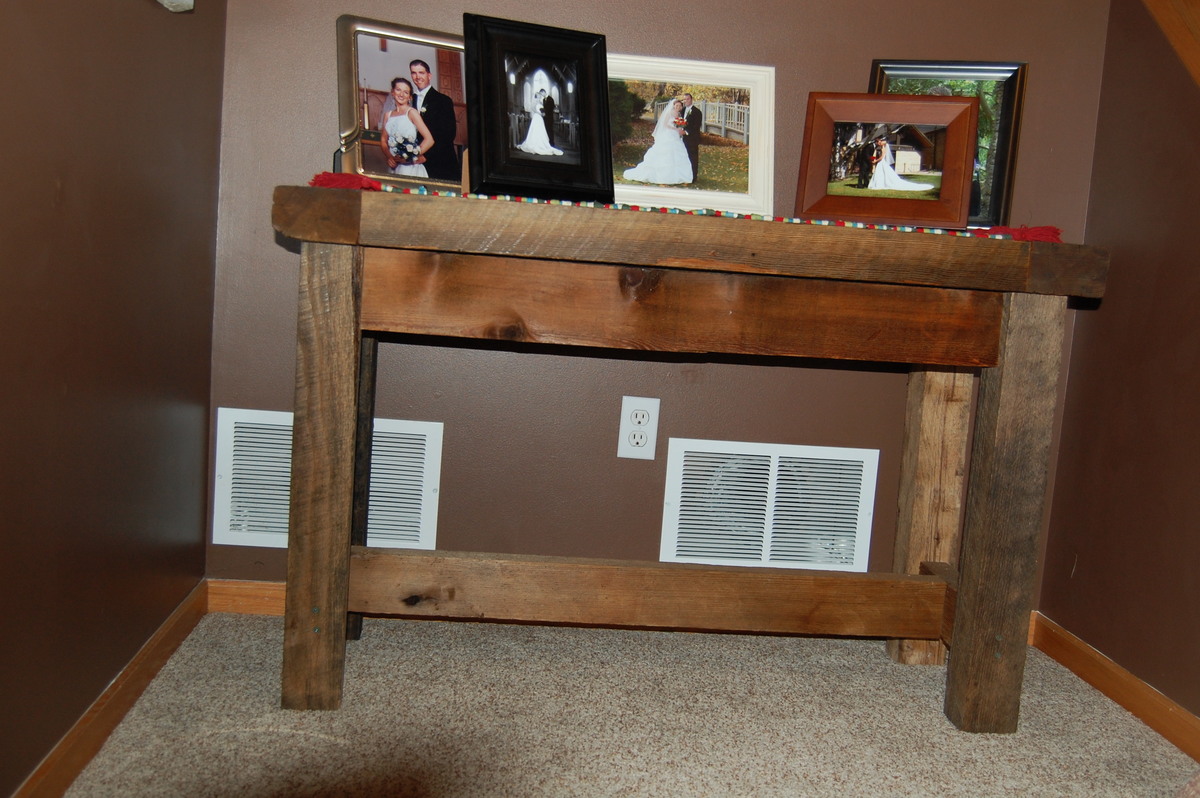
Rustic X Console Table
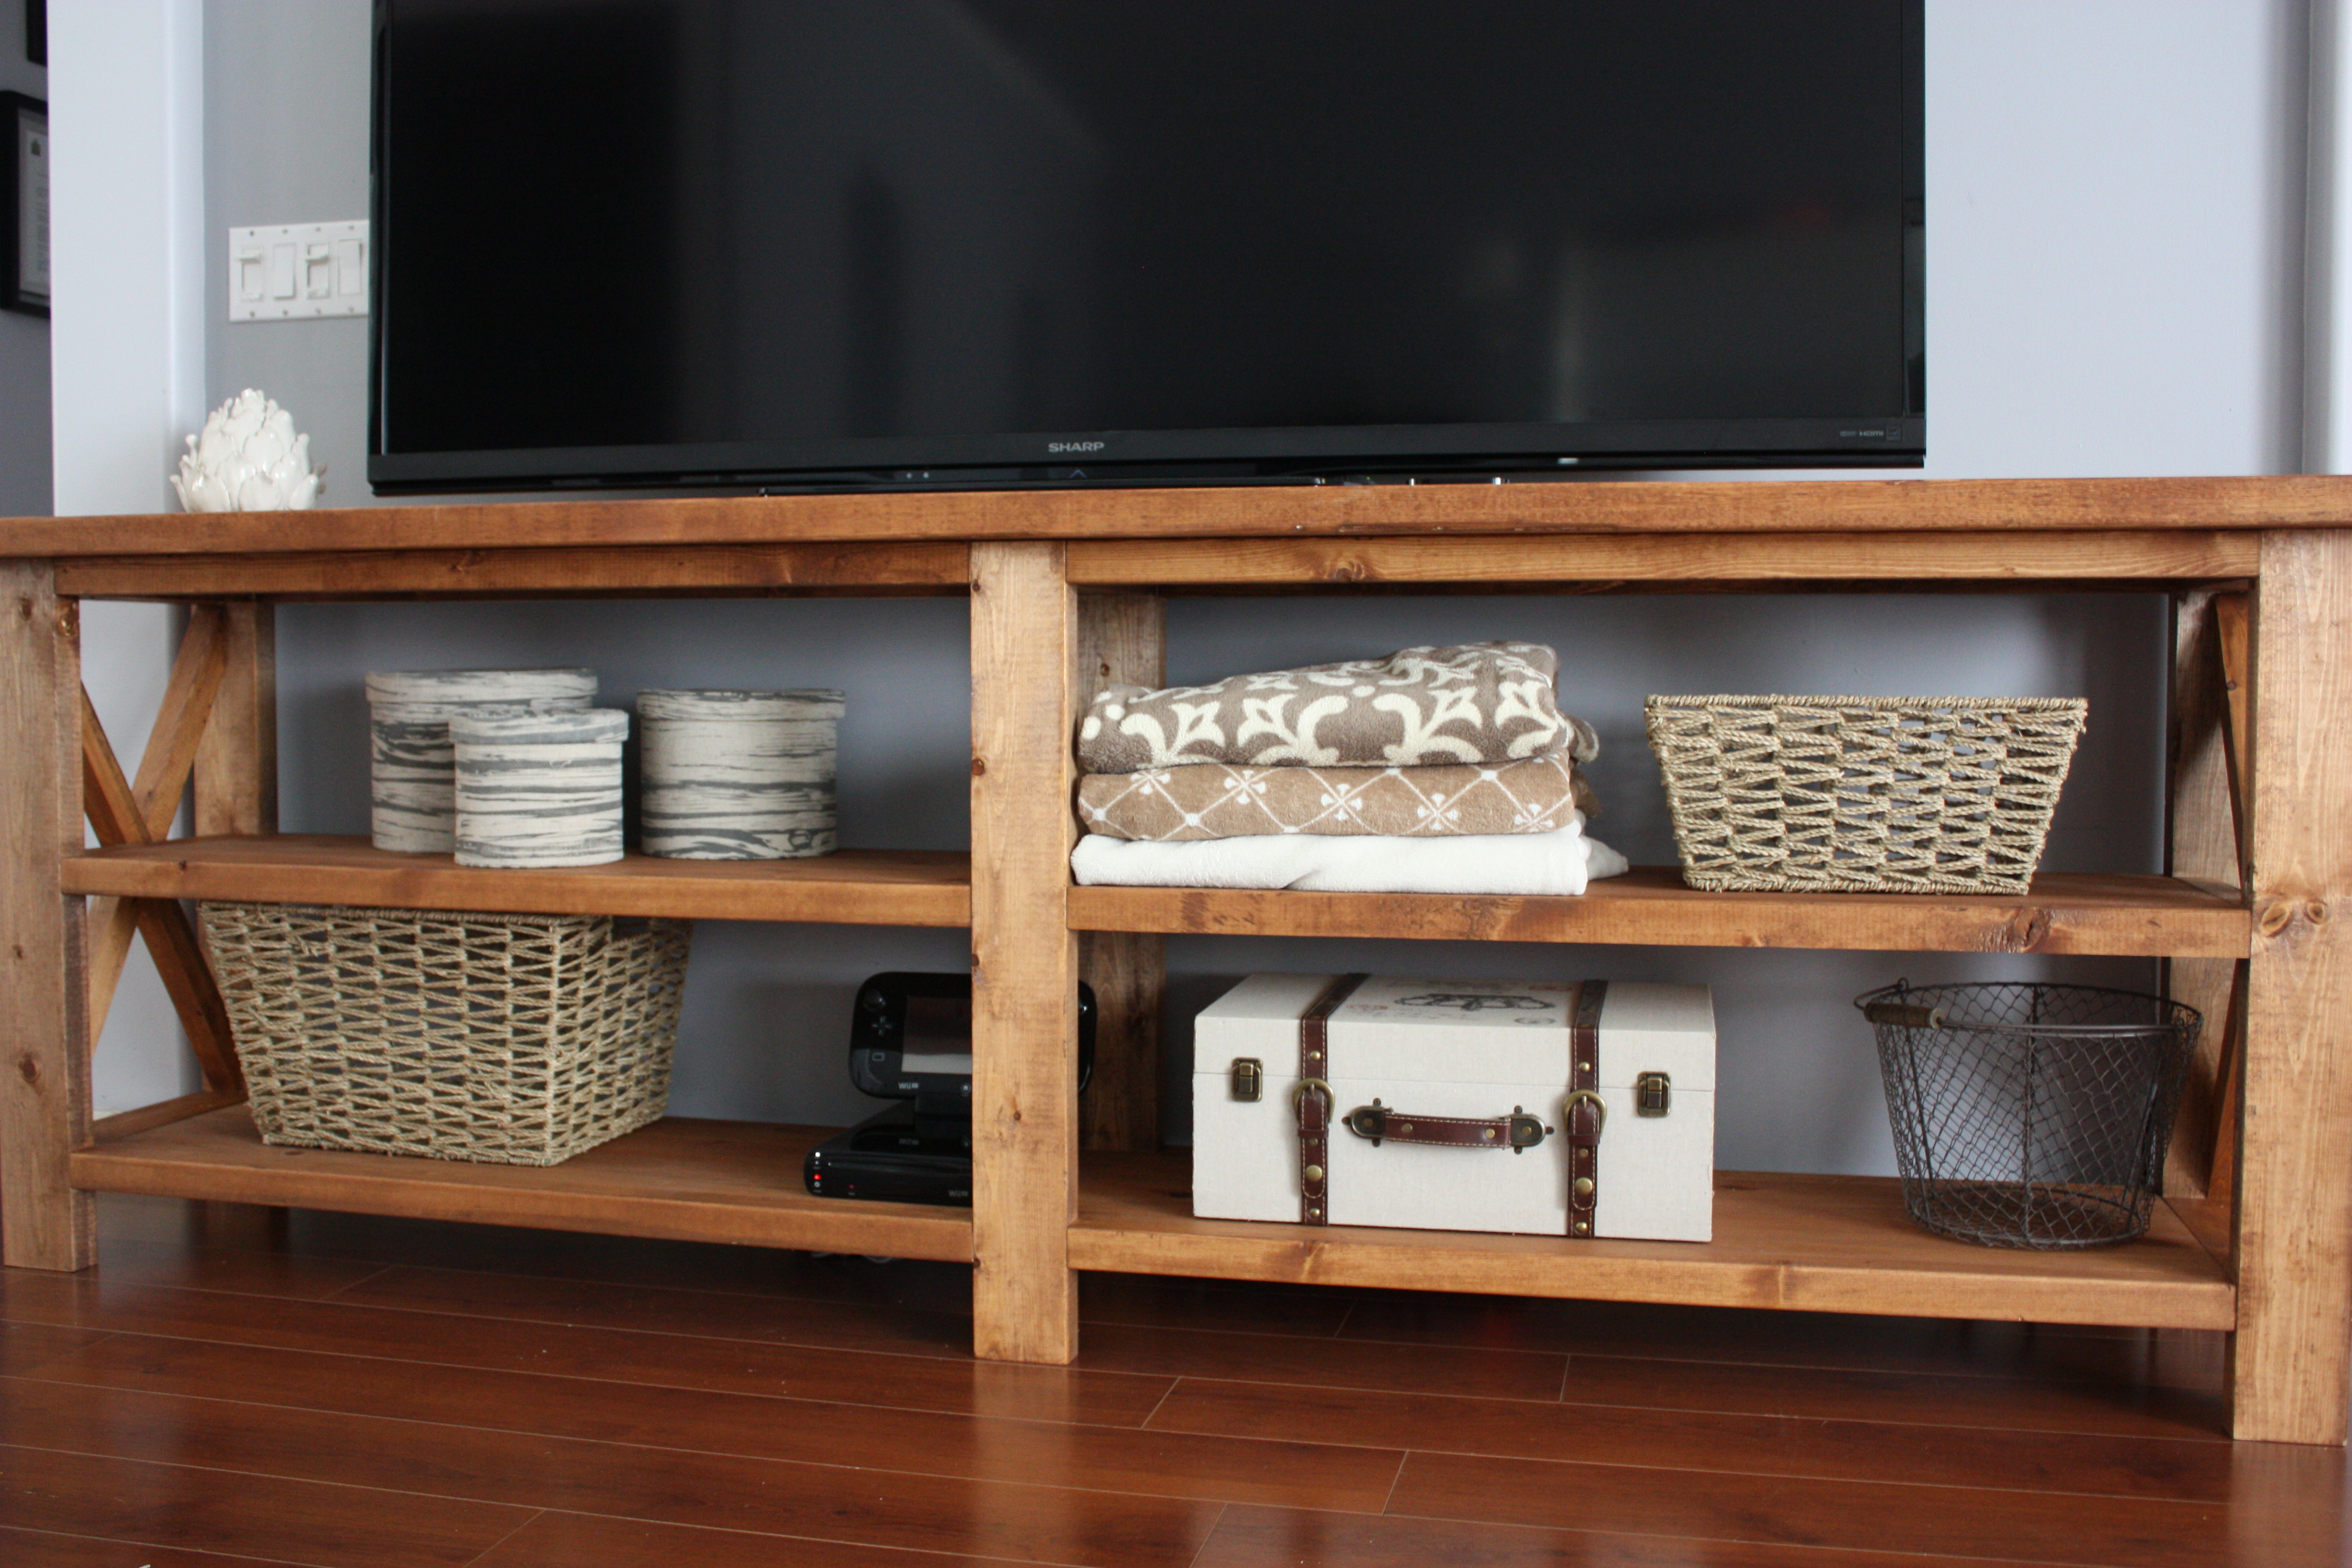
Modified from original plans to fit the area and our 70" TV.
Built from Plan(s)
Estimated Cost
$120
Estimated Time Investment
Weekend Project (10-20 Hours)
Recommended Skill Level
Beginner
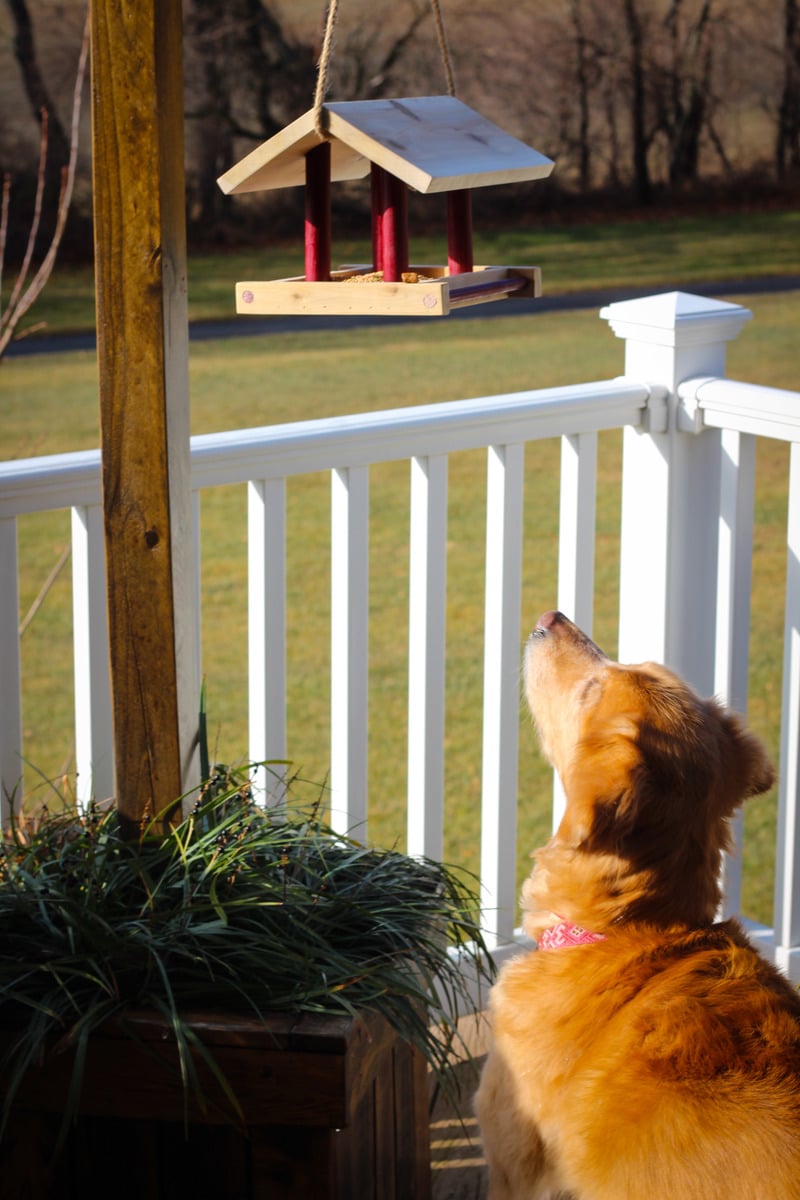
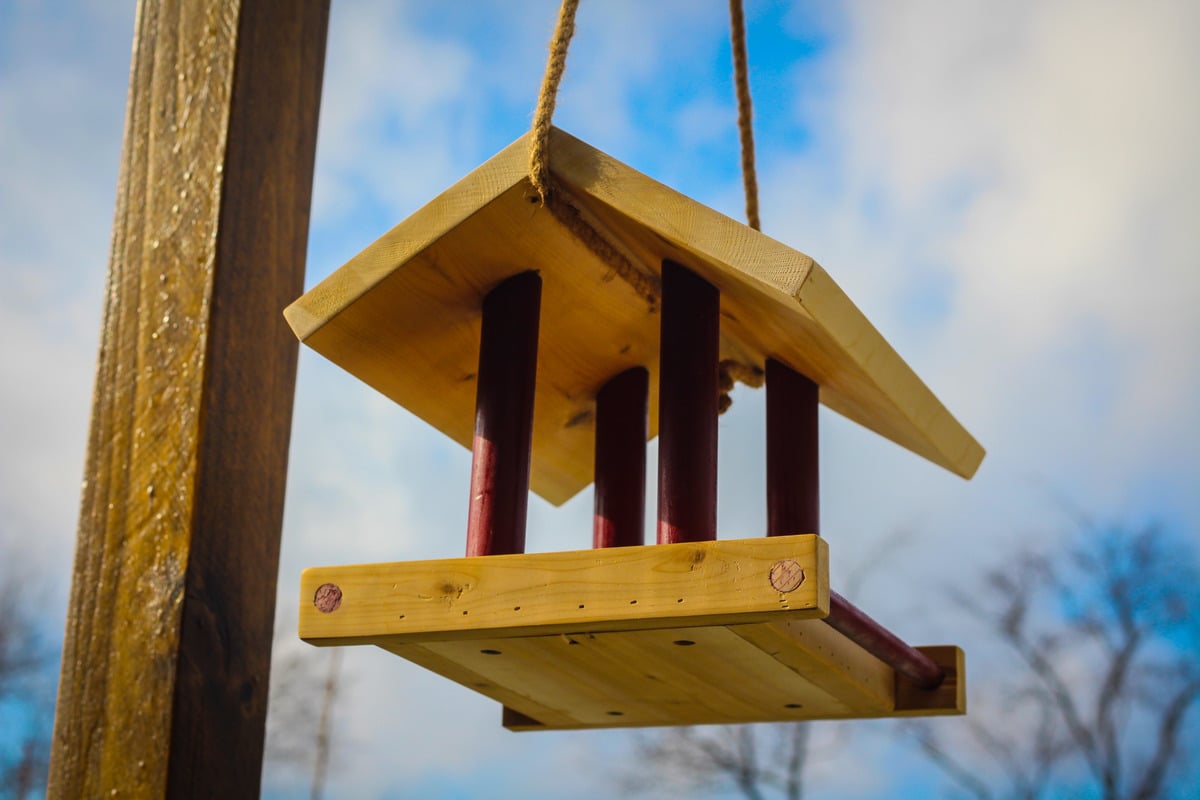
Simple Bird Feeder

This is a simple project for the beginning woodworker. There are a variety of bird feeder designs available on the web but I wanted to try something a little different. Anyway, this is my try at a simple bird feeder.
Build Instructions:
Estimated Cost
$10
Estimated Time Investment
Afternoon Project (3-6 Hours)
Finish Used
Paint for pillars and perch
Recommended Skill Level
Starter Project
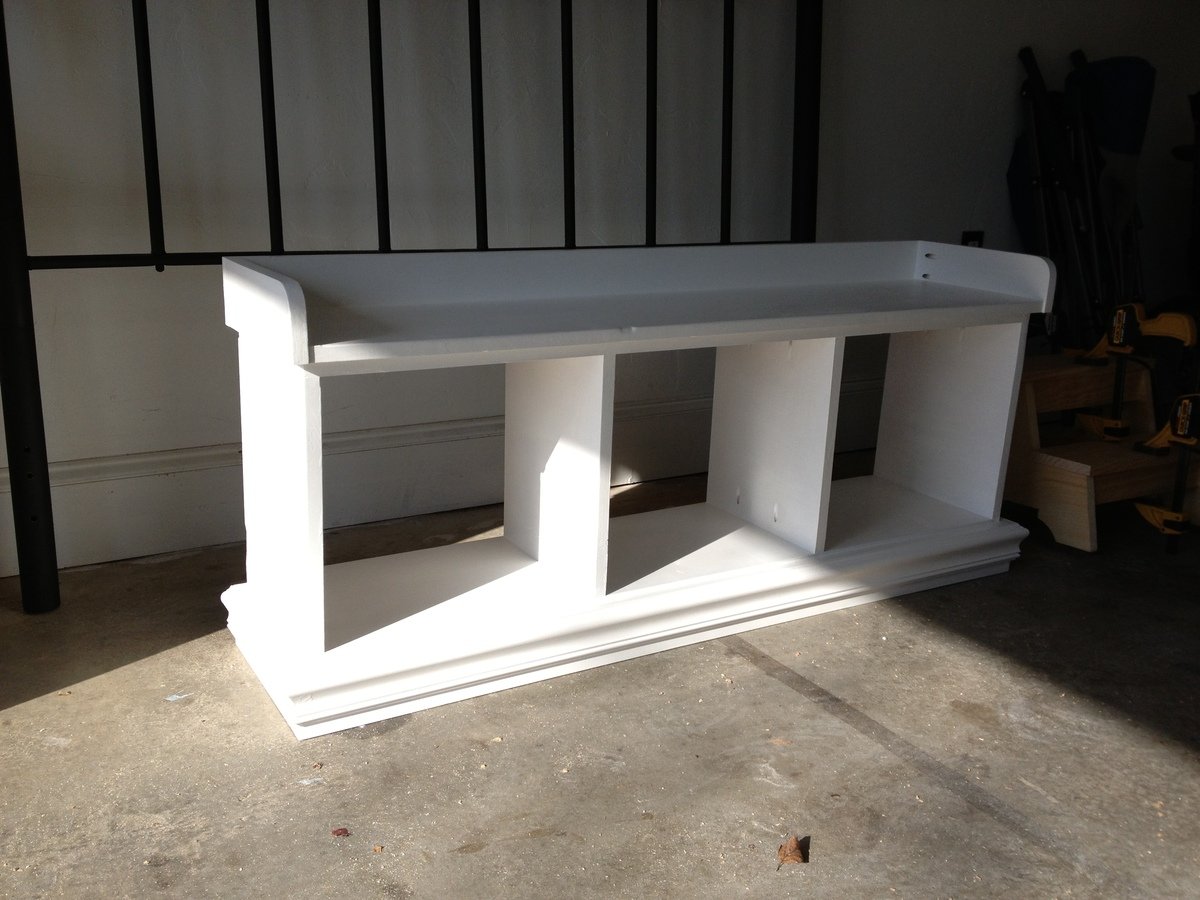
Footboard cubby bench
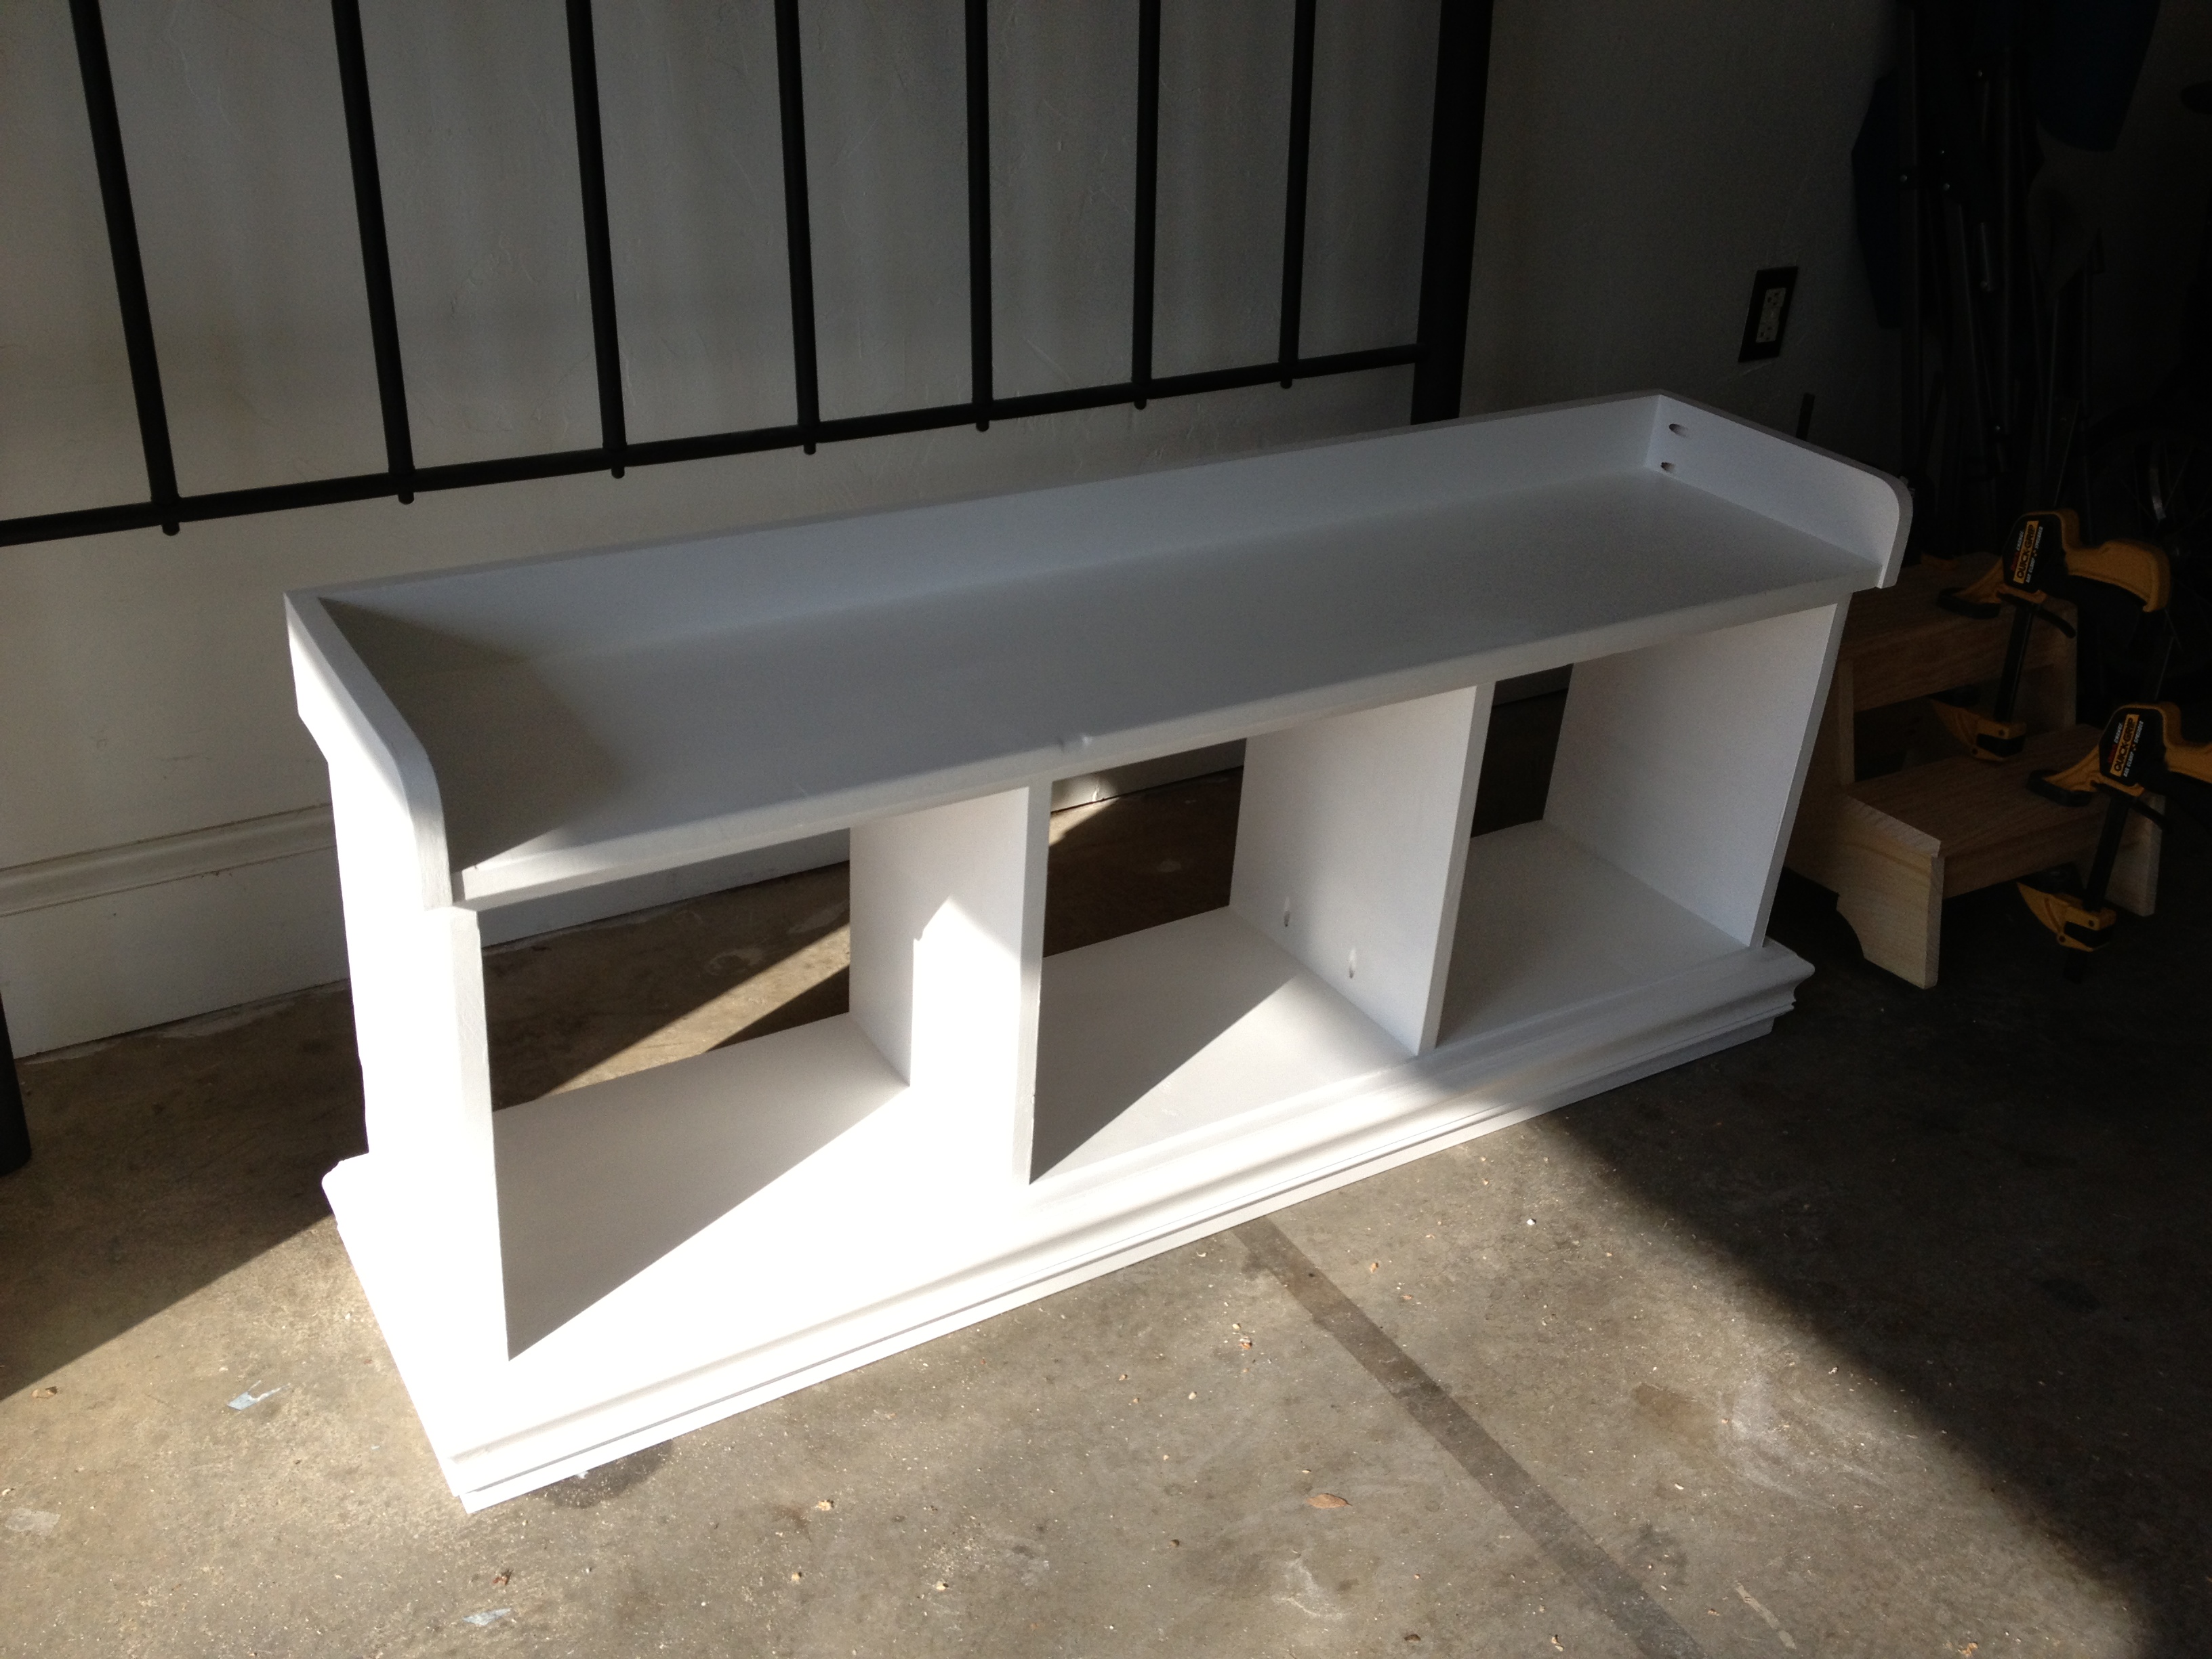
This was basically half of the entry way palns (I didn't make the top piece). I am yet to have a cushion made for the top but it looks great at the foot of our bed.
Estimated Cost
$65
Estimated Time Investment
Weekend Project (10-20 Hours)
Recommended Skill Level
Starter Project
Aromatic Cedar table
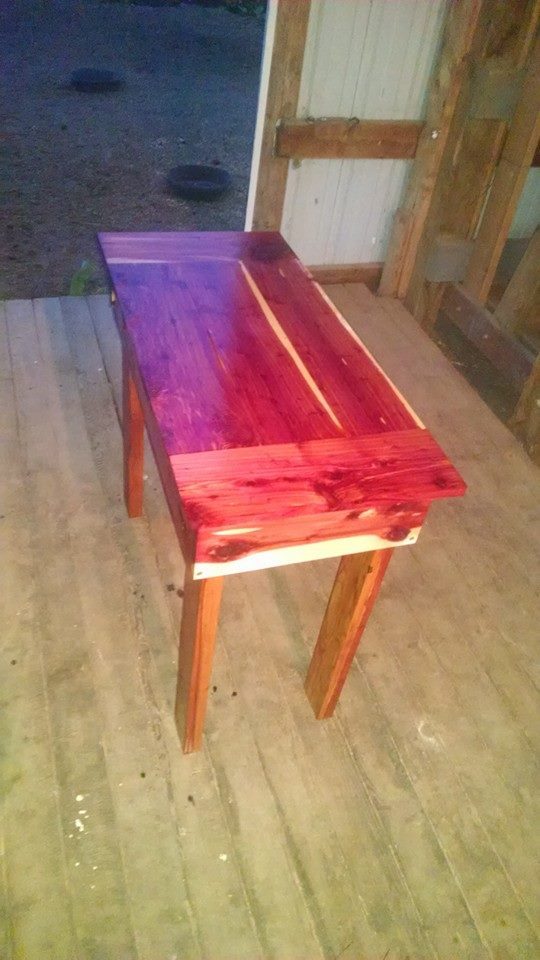
Simple table built with Aromatic Cedar.
Built from Plan(s)
Estimated Cost
$40
Estimated Time Investment
An Hour or Two (0-2 Hours)
Finish Used
Polyurethane
Recommended Skill Level
Beginner
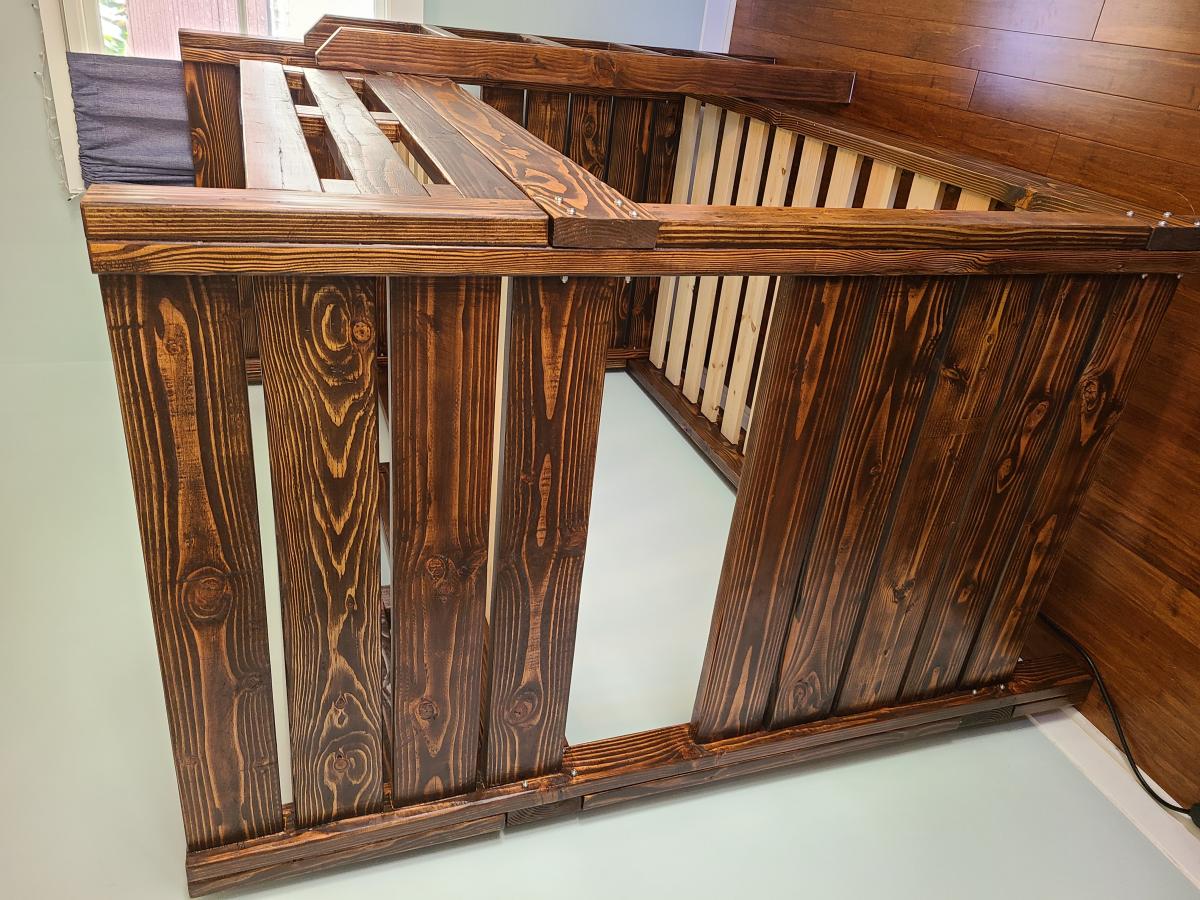
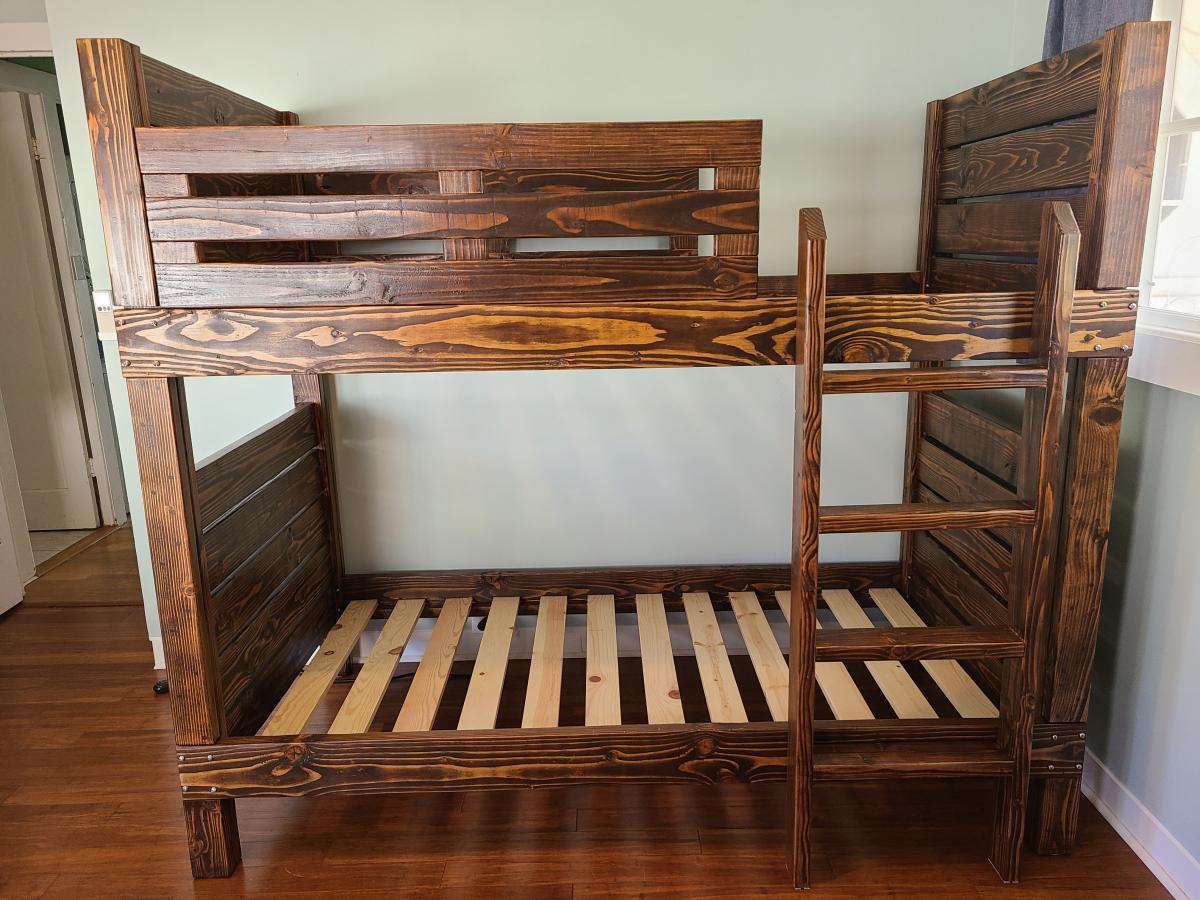
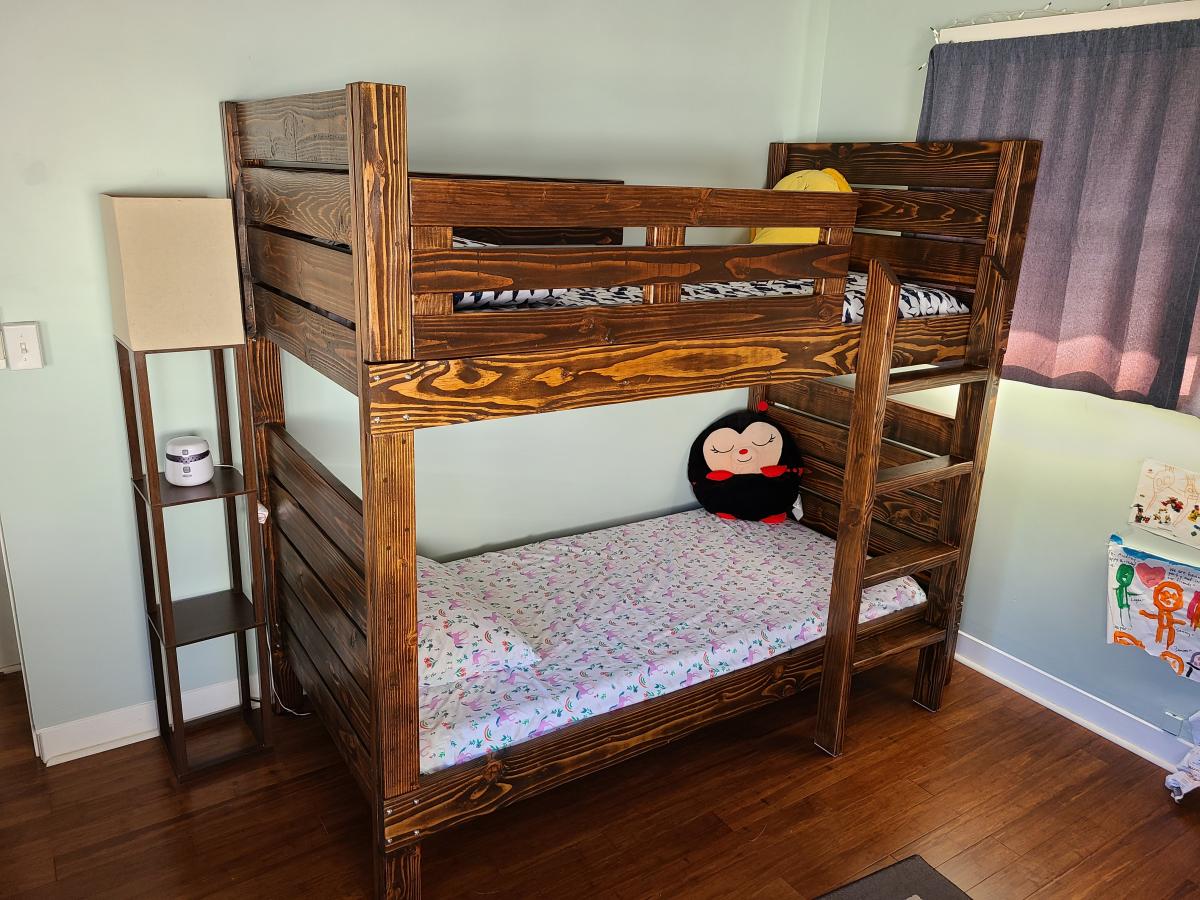
Modern Bunk Beds
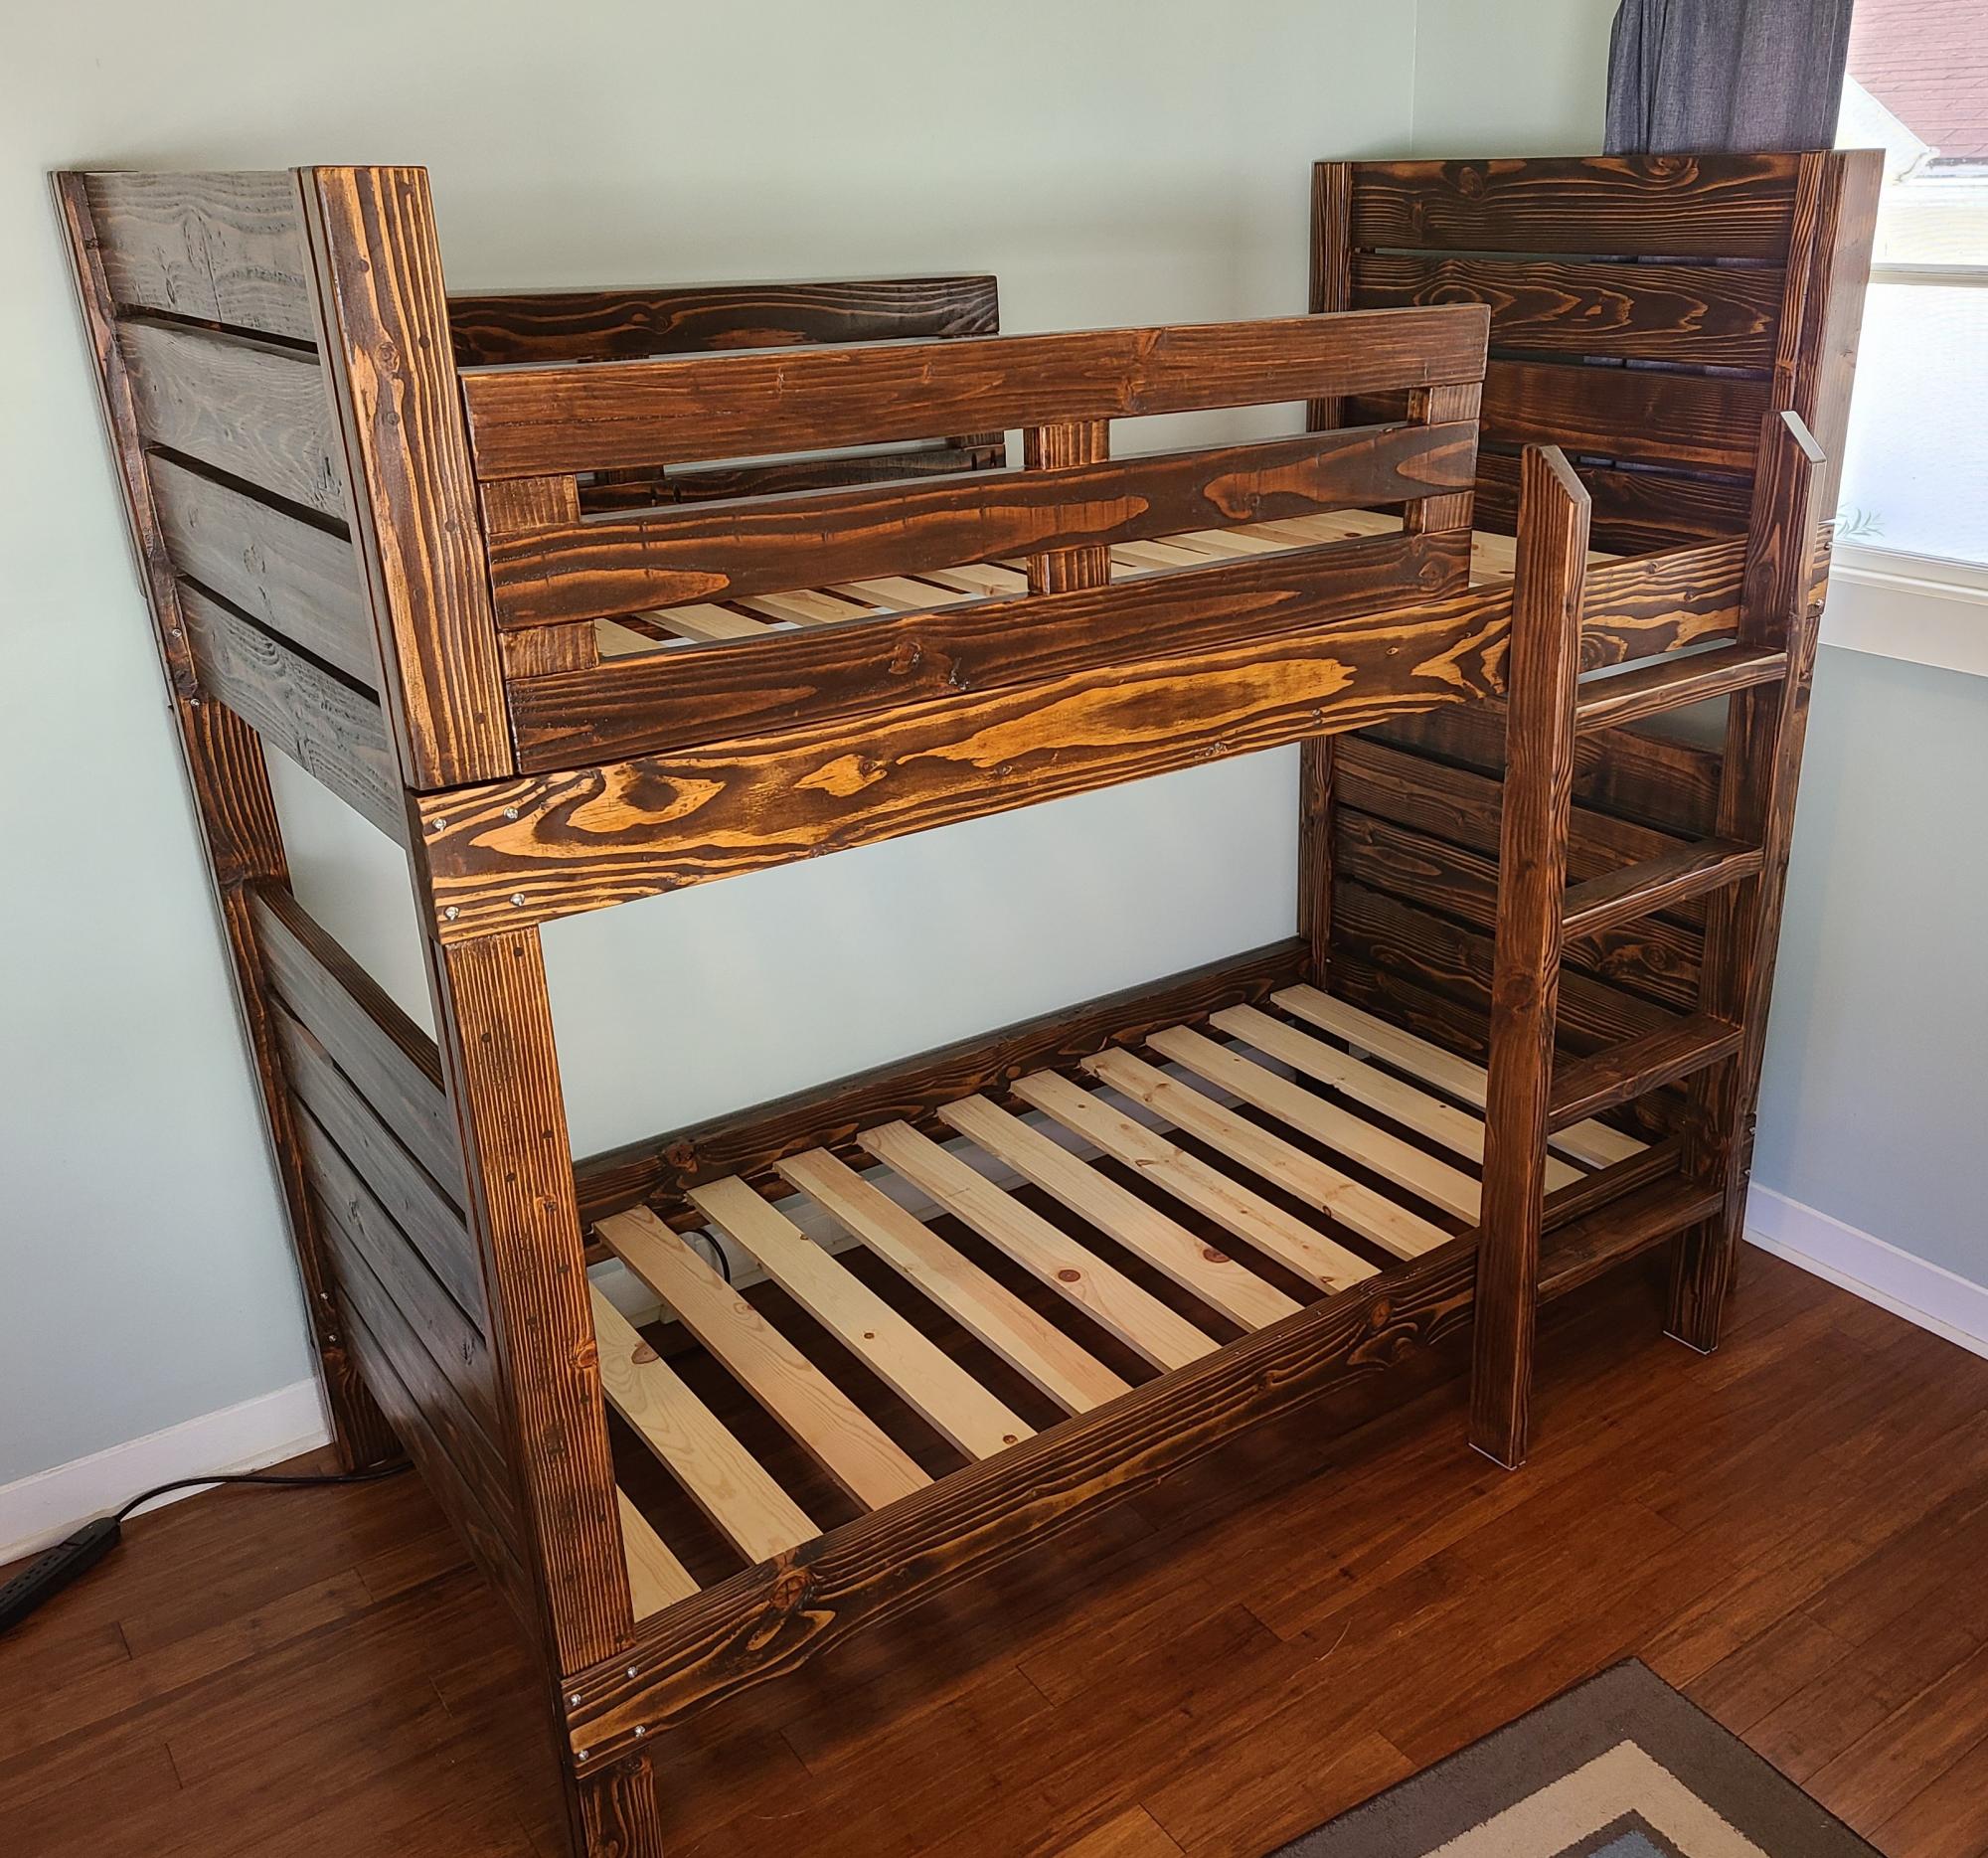
This was my largest project to date. Took me a LOT longer than I thought it would (big chunks of 4 weekends, plus sneaking in some time during the week), but enjoyed the process. The devil is in the details as always. The raw dog 2x6's took me hours upon hours to sand down to an acceptable state of smoothness. For the ladder, I kinda winged it and made it straight. My kids' room is really small, so every extra bit of square footage matters. My oldest is 5 and is fine going up and down. My youngest is 3 and hasn't quite figured it out yet, but that's probably for the best anyway. I also winged it a bit on the guardrails. I used pocket screws wherever possible in the joinery. I was planning on painting this since I knew staining/sealing would be a pain. But in the end, I'm glad I took the time (even though I was hating life during the staining). The kids are thrilled with the results. And I am VERY grateful for the plans you provided Ana! Thank you!
Built from Plan(s)
Estimated Cost
400
Estimated Time Investment
Week Long Project (20 Hours or More)
Finish Used
Pre-Stain Wood Conditioner (Oil based), Dark Walnut Stain (Oil based), Semi-Gloss Lacquer
Recommended Skill Level
Intermediate
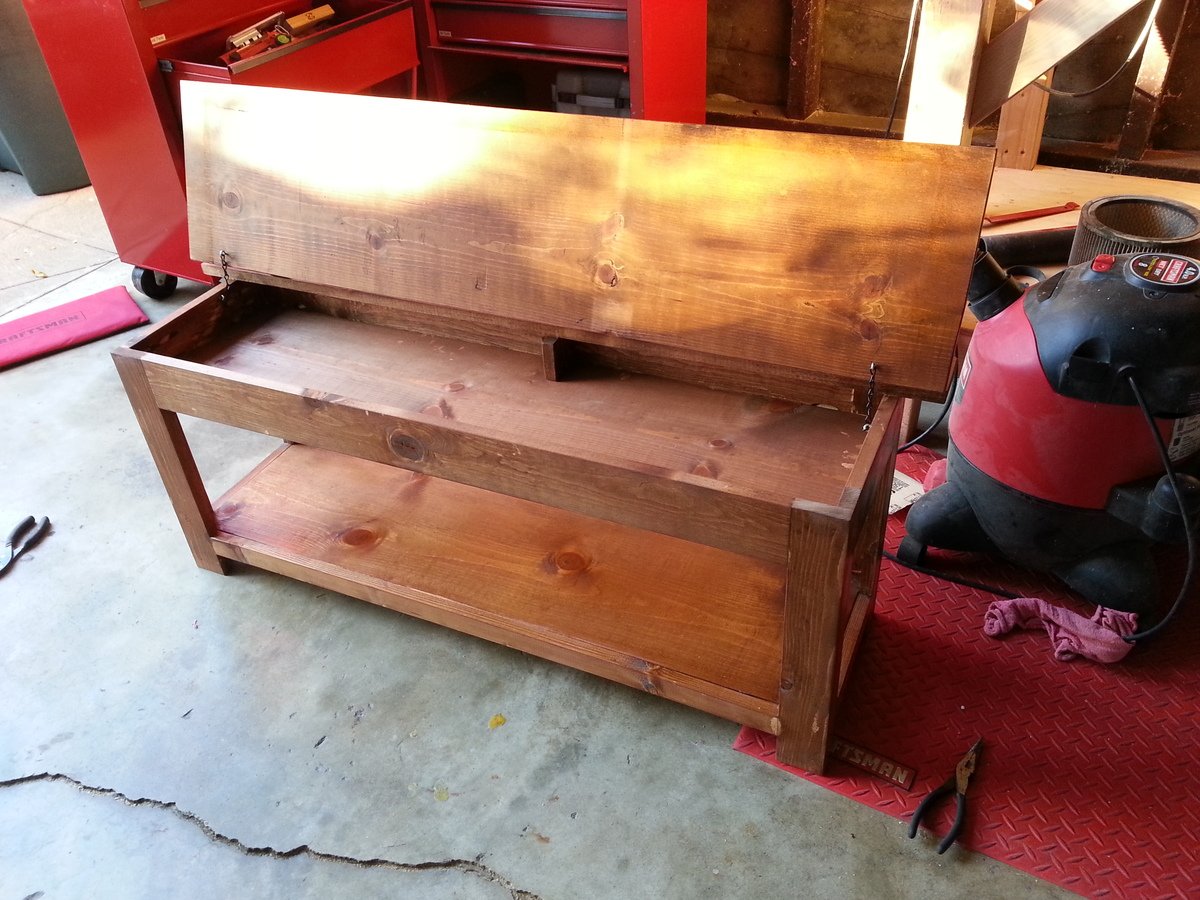
Flip Top Storage Bench
This bench works great as a piano bench with storage inside for all of the sheet music. I added one little 4x4x.75 piece of wood inside in the middle because I found that the 1x12 seat would flex in the center but after adding that piece of wood it was solid. I also added eye hooks and chain for the top so that it does not flip all the way backwards.
Built from Plan(s)
Finish Used
Started with two applications of Minwax wood sealer, then a coat of Minwax English Chestnut and then some spray on polyurethane.
Recommended Skill Level
Beginner
How to Build a Laundry Pedestal
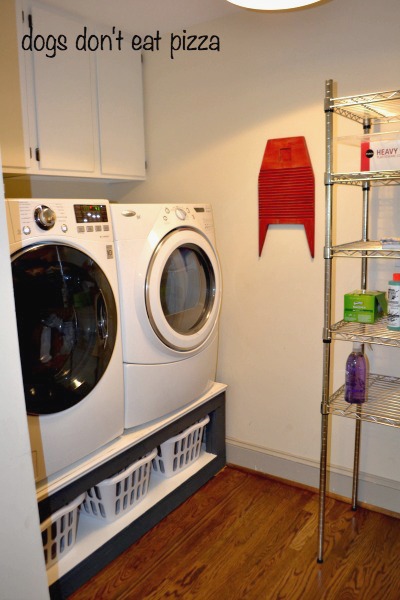
I was tired of stooping to do laundry with my front-loading washer. I used the plans for Sausha's washer/dryer pedestals and tweaked them a bit.
Built from Plan(s)
Estimated Cost
$200
Estimated Time Investment
Day Project (6-9 Hours)
Finish Used
Platform: semi-gloss latex paint + primer; legs and side: chalky finish paint.
Recommended Skill Level
Intermediate
First Woodworking Project Ever
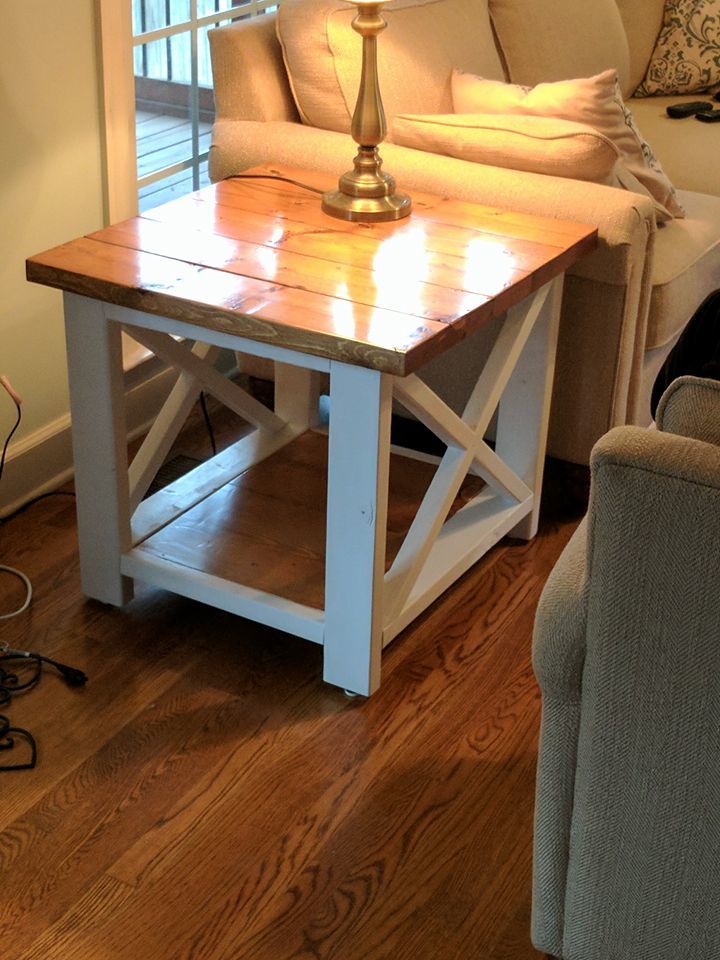
This was my first woodworking project ever. No woodworking experience at all and very little experience with power tools. I am super inspired now and have tons of other ideas lined up.
Built from Plan(s)
Estimated Time Investment
Day Project (6-9 Hours)
Finish Used
Minwax Early American stain, Minwax Satin Polyurethane, and Rustoleum Painter's Touch Ultracover Flat White
Recommended Skill Level
Beginner
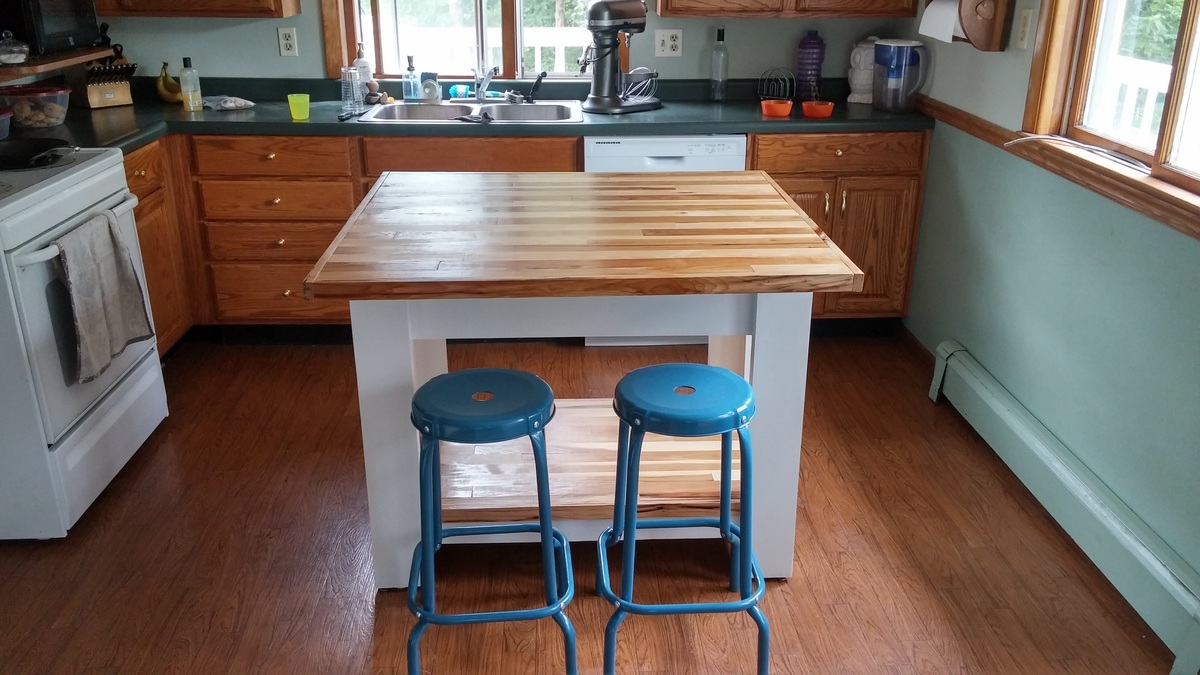
Love this table
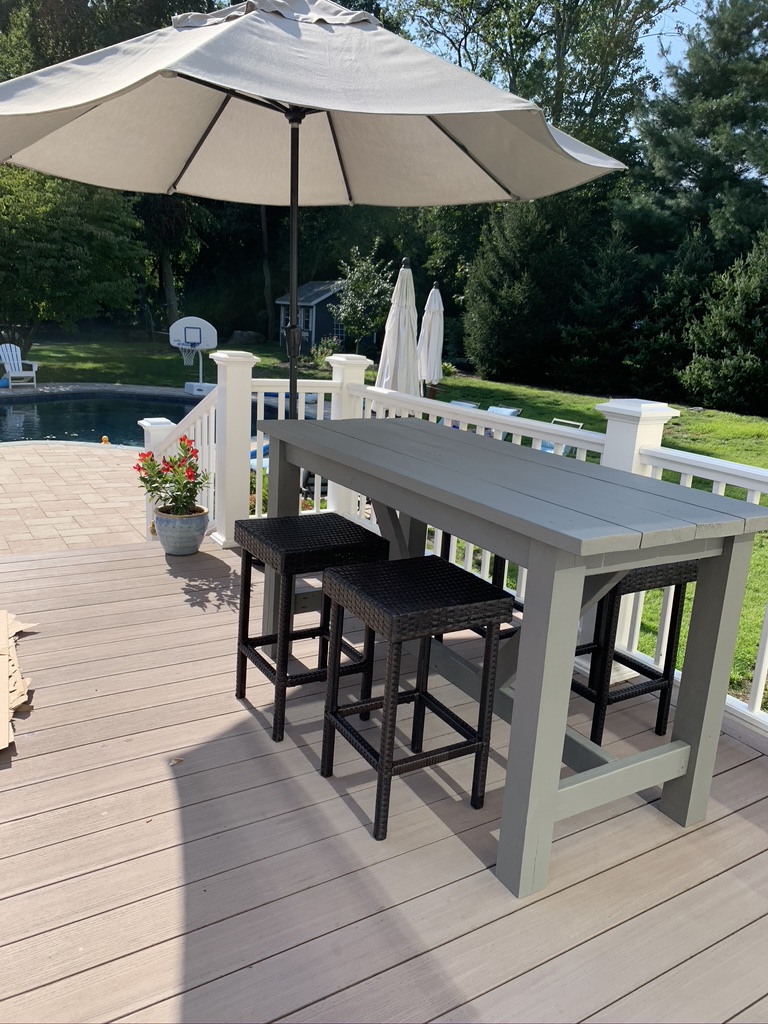
This was my first big project. I made one of Ana's planters to get my feet wet. I changed the dimensions a bit. I made it counter height and shorter in length. I accidentally bought larger wood for the top, so it's a bit heavy. I built the top on the deck after I put the base together to save time and my back. I went with a Behr solid color stain. I had some frustrating moments but I am thrilled with the results. You can't buy a solid wood table for $150!
I absolutely love it. I can't wait to make more furniture.
Estimated Cost
$150
Estimated Time Investment
Weekend Project (10-20 Hours)
Finish Used
Behr solid color stain - pewter
Recommended Skill Level
Beginner
Comments
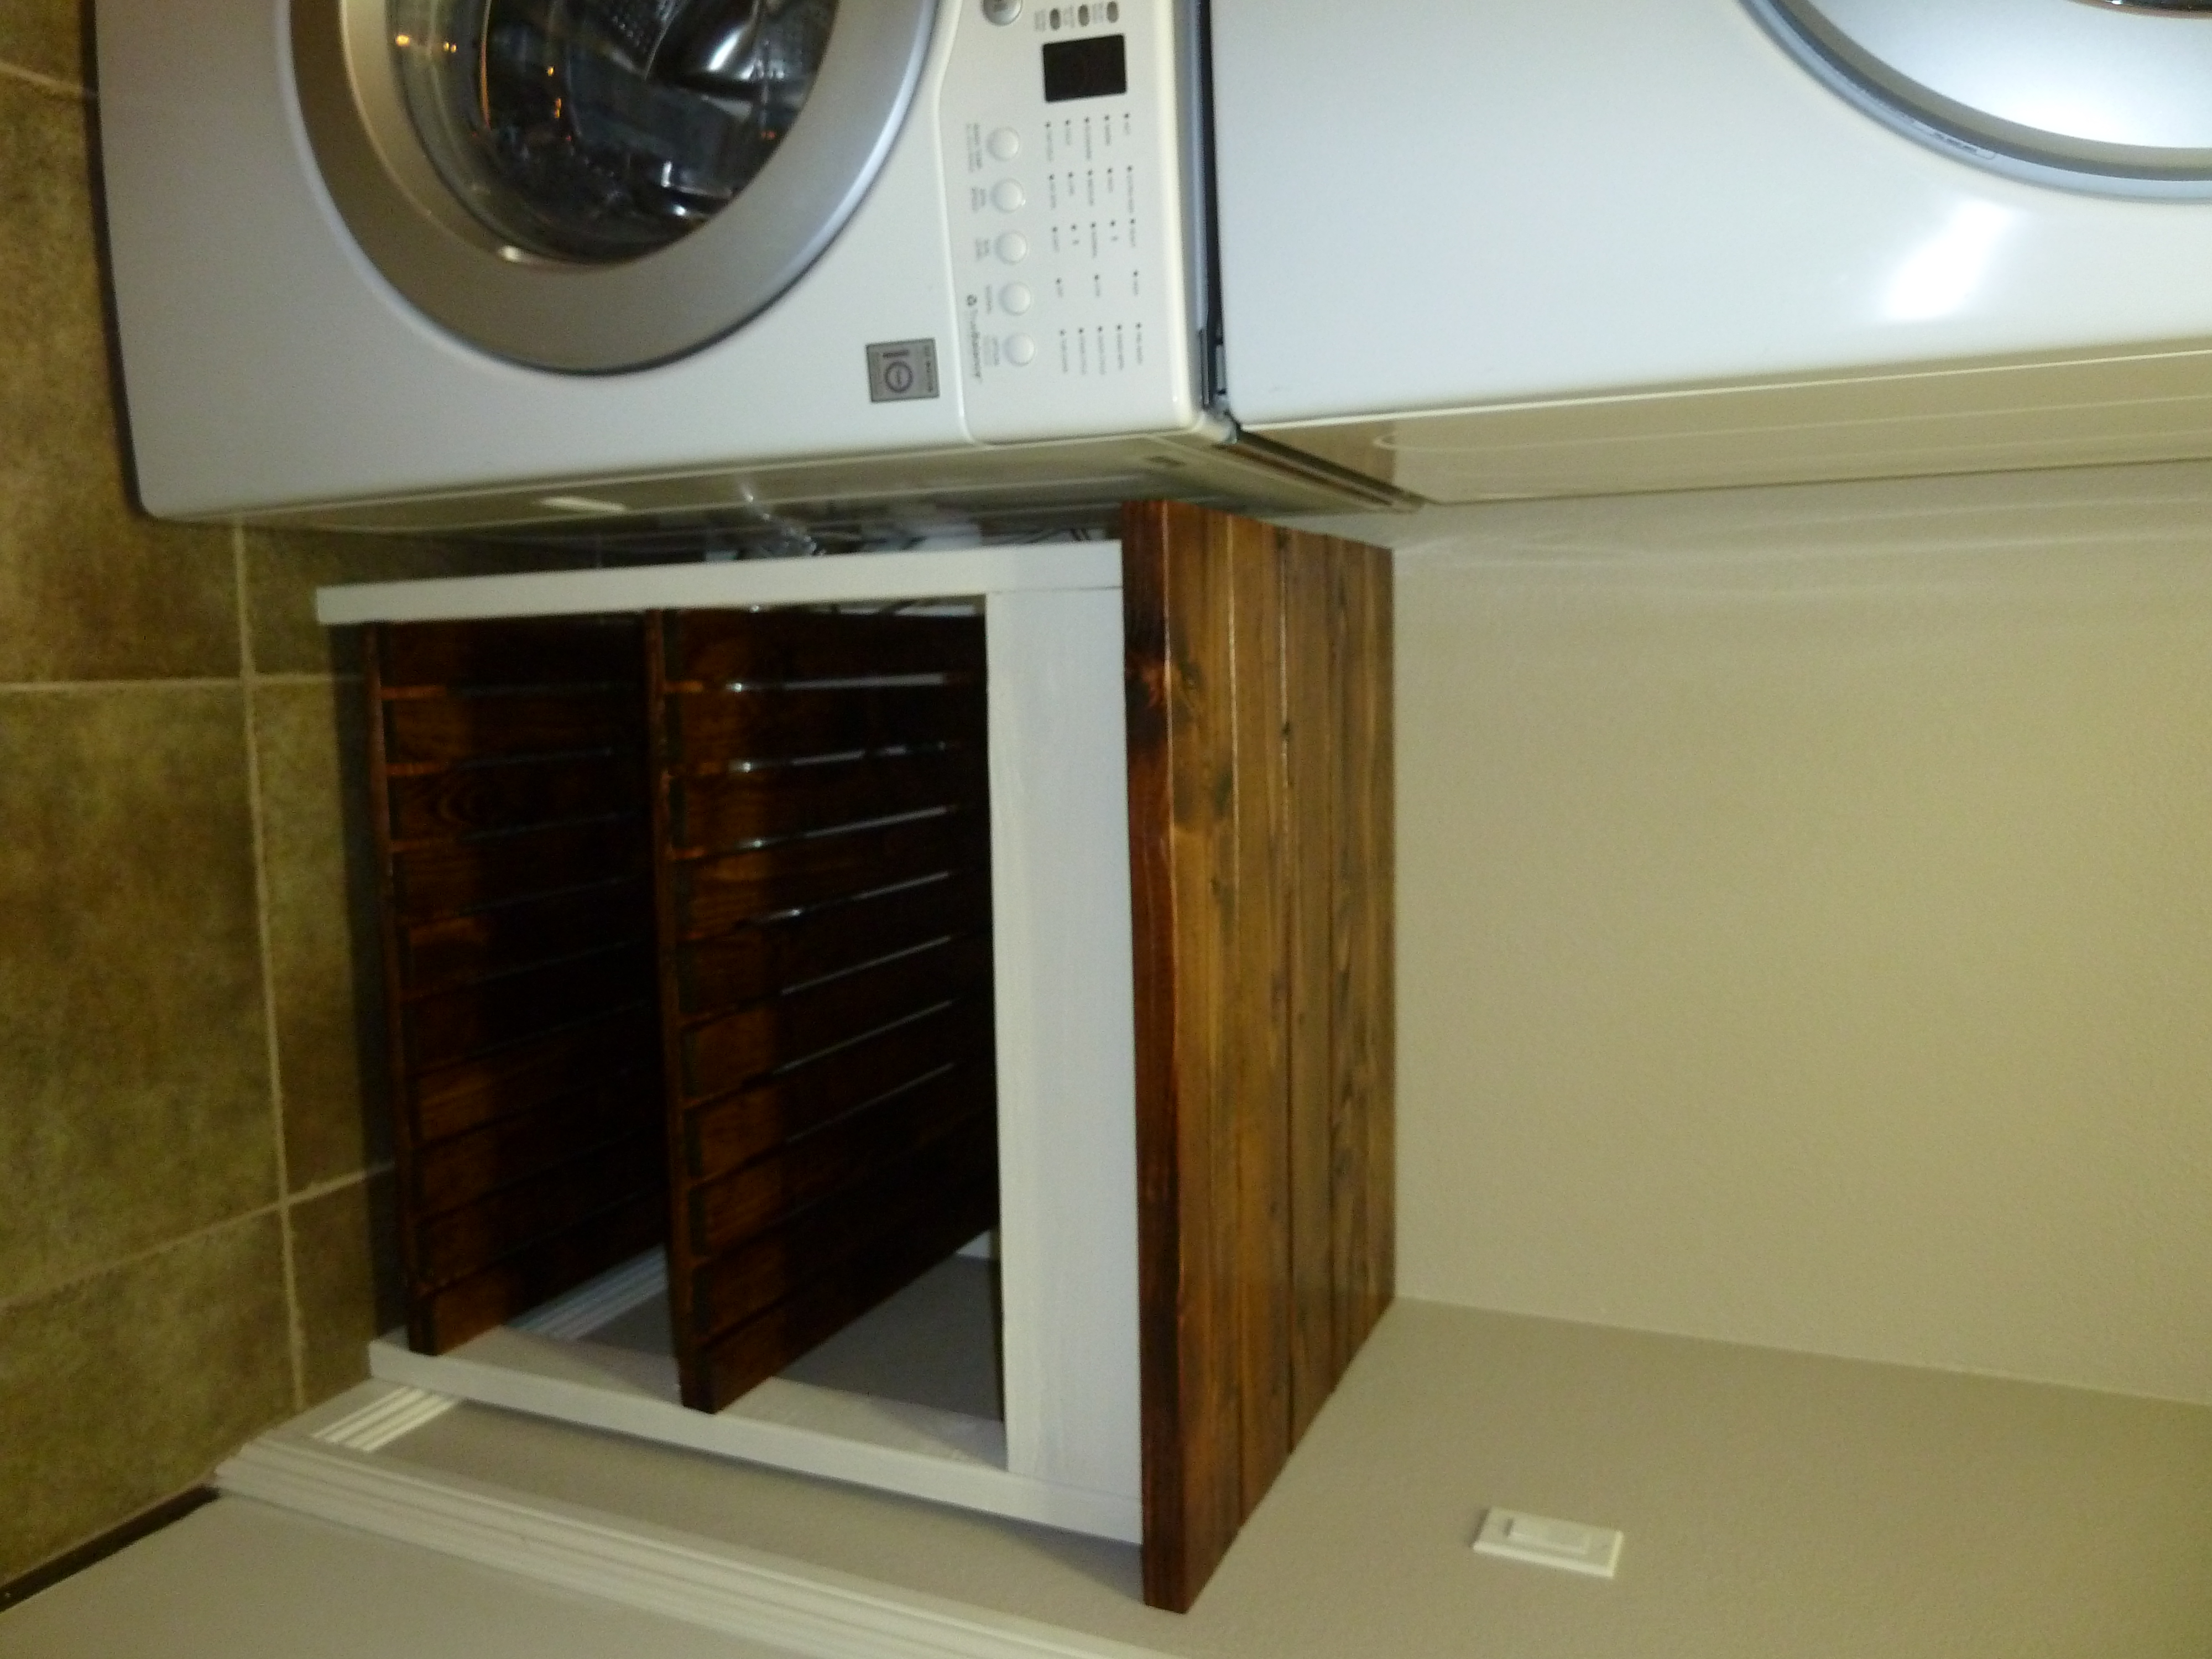
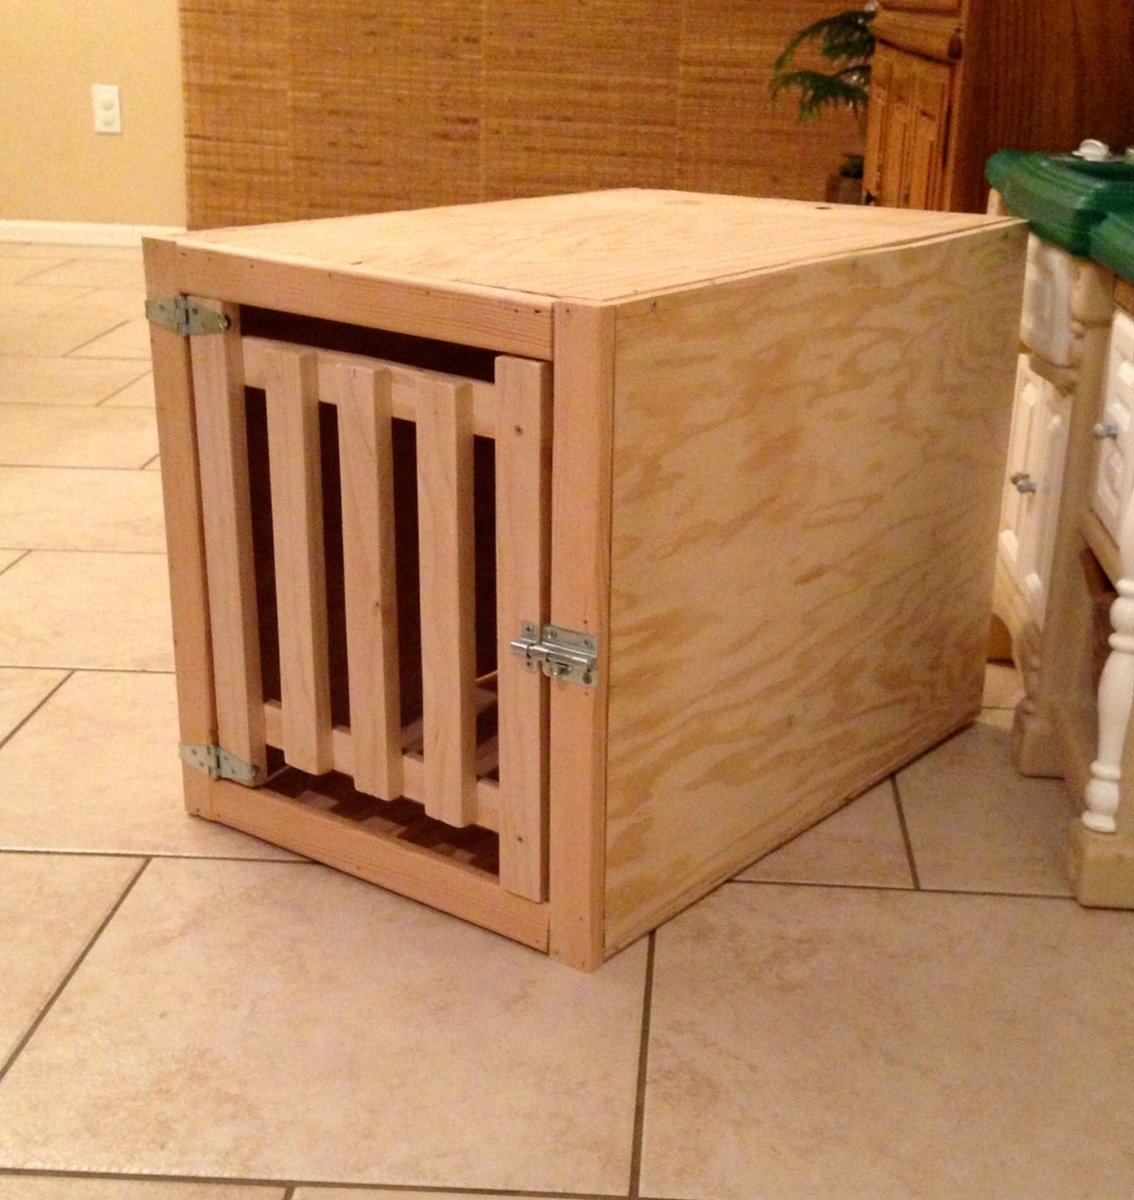
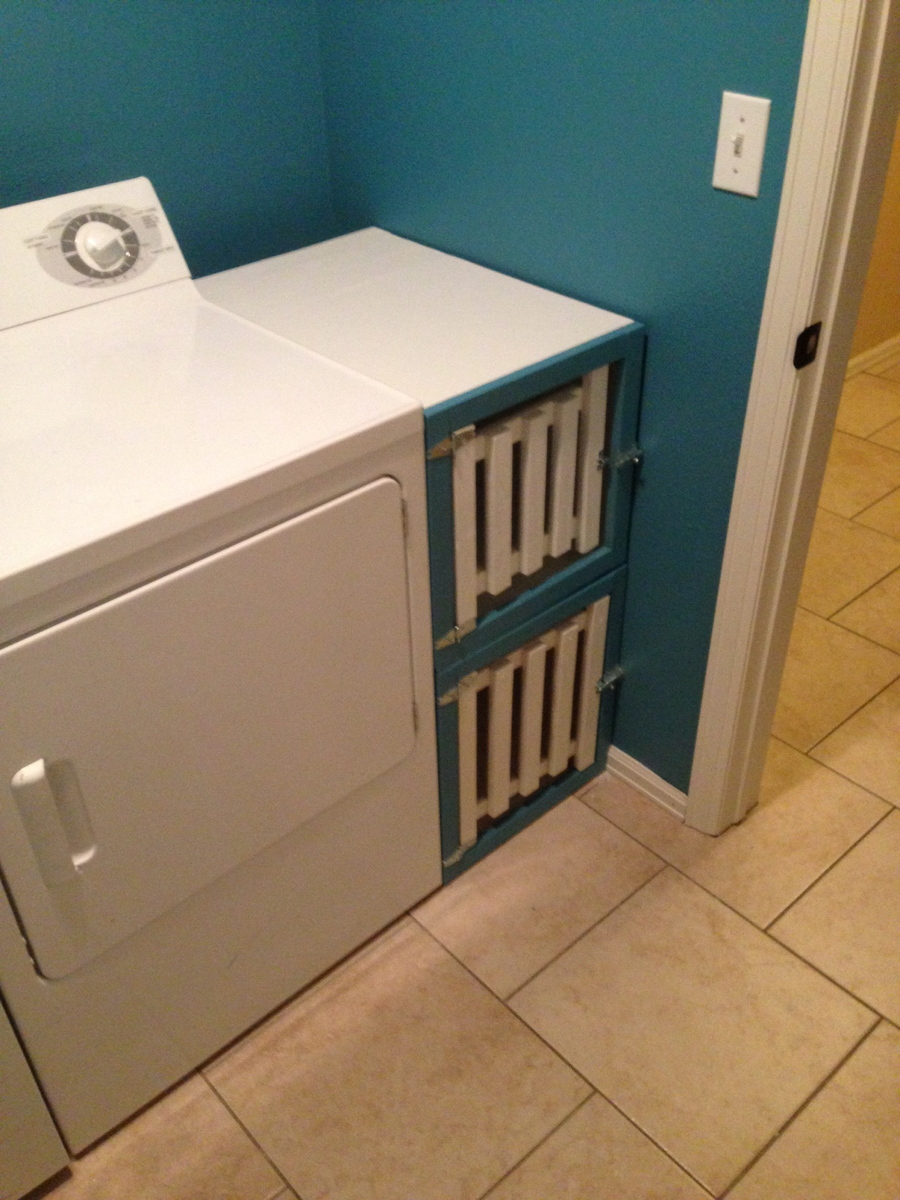
Matching dog crates
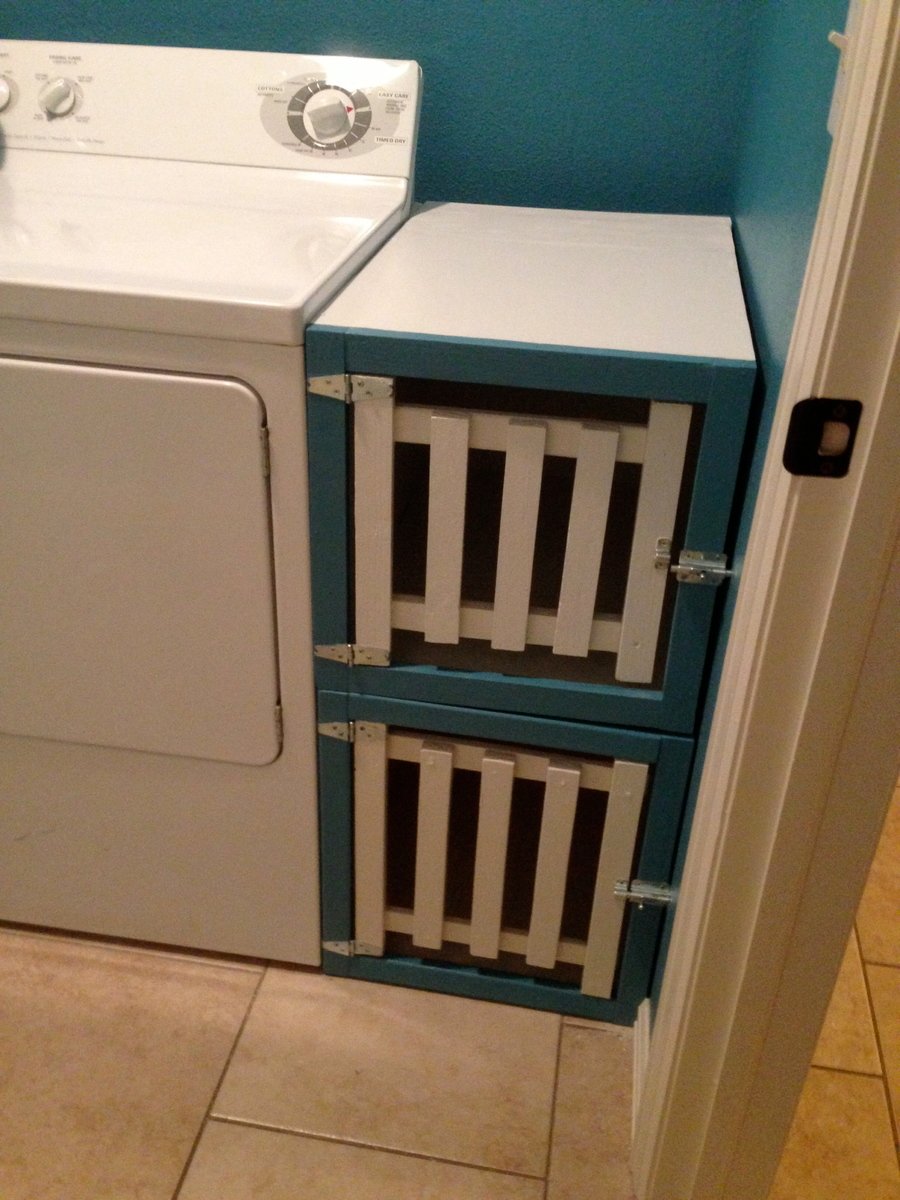
My wife told me she would like a pair of matching dog crates built to fit the space between the wall and the dryer in our laundry room. I built her two crates (25L x 17W x 18H) and painted them to match the colors in the laundry room. They fit the open space exactly and sit on top of each other. The entire project took about 2 days to finish and set me back around $80. They seem to work perfectly for our dogs, both of whom are on the smaller size of medium. They really tie the space together and add a wow factor to an other wise normal laundry room.

Estimated Cost
$80
Estimated Time Investment
Weekend Project (10-20 Hours)
Finish Used
White and Teal satin paint
Recommended Skill Level
Beginner
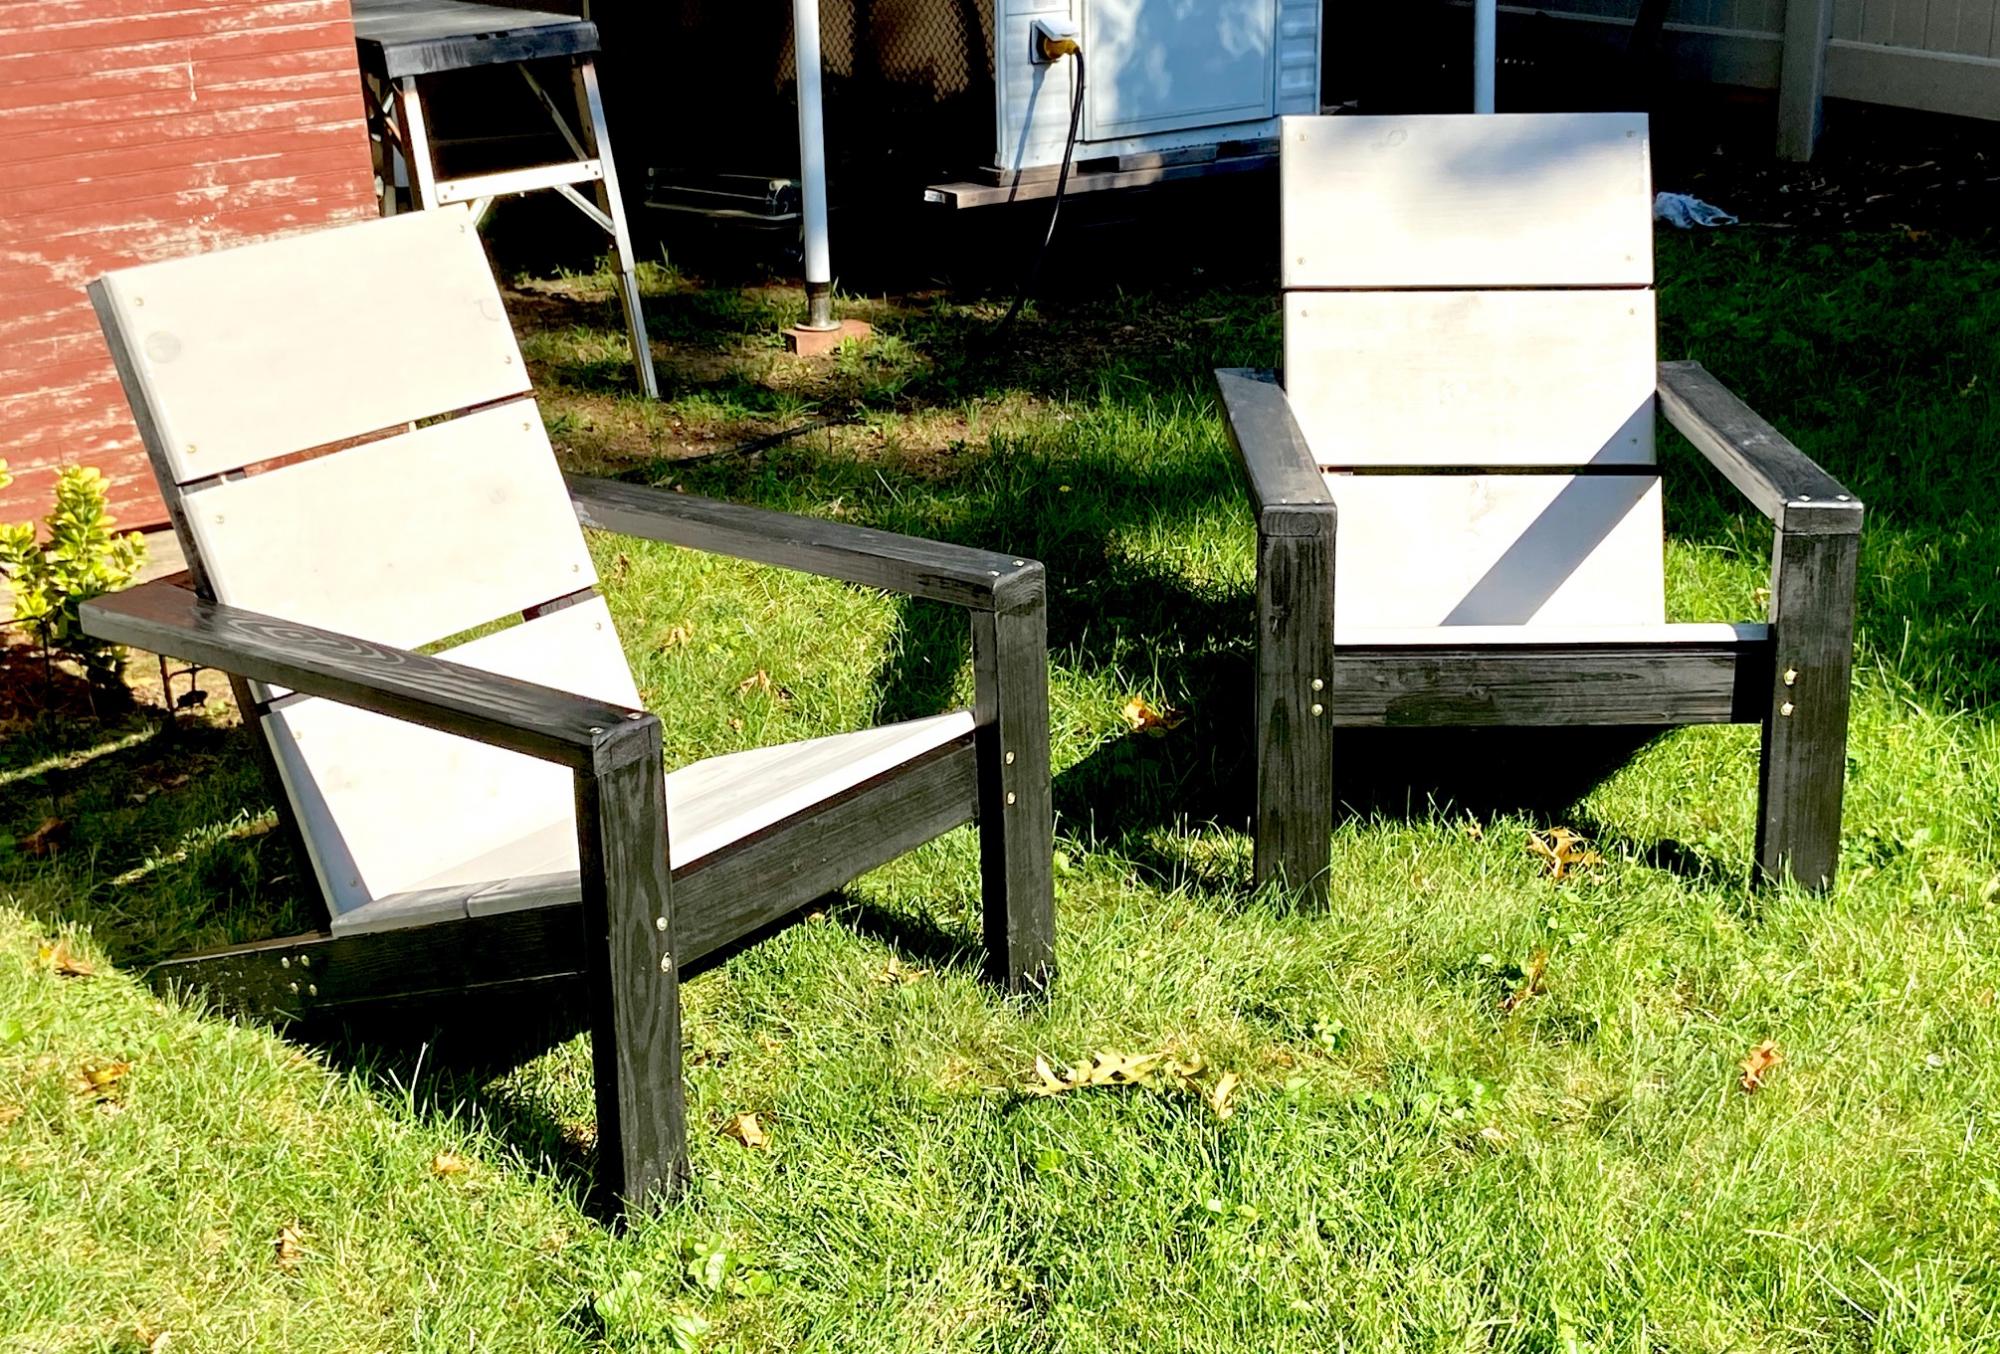
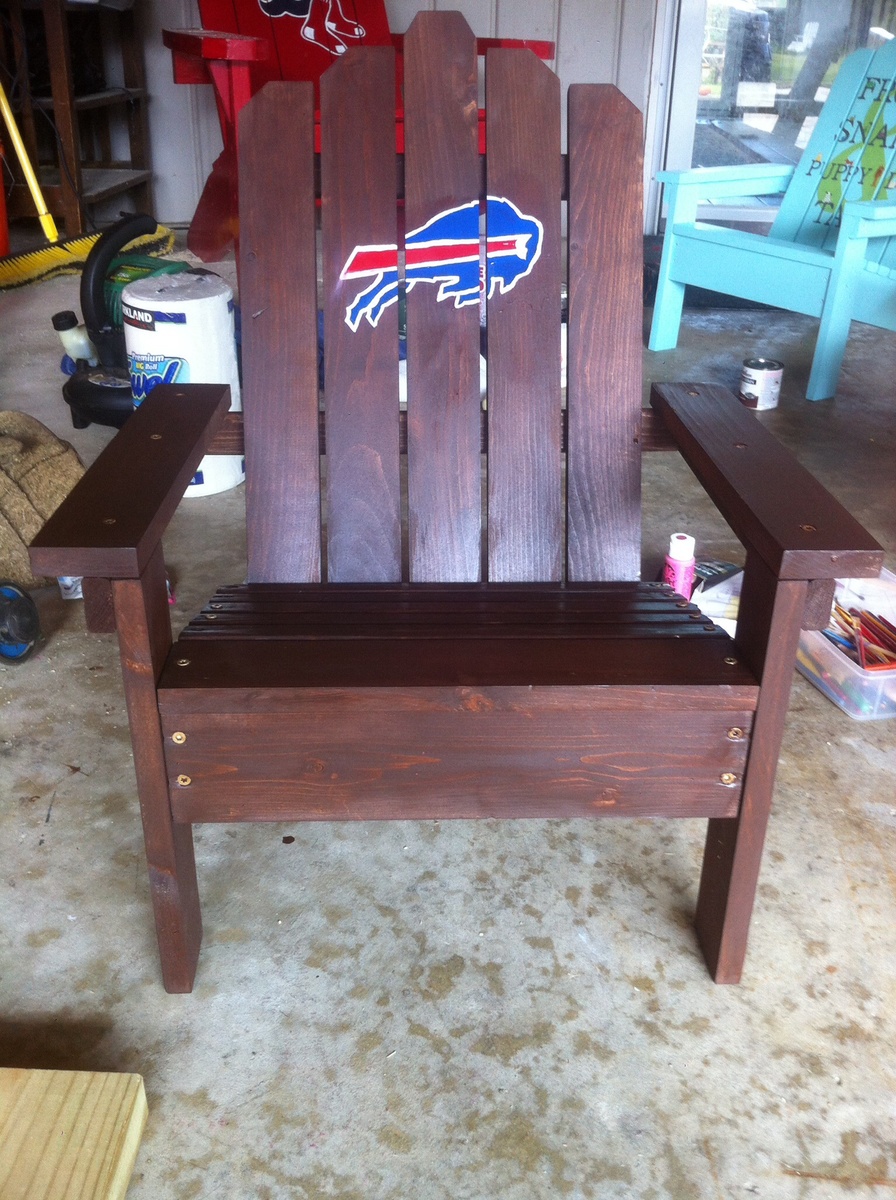
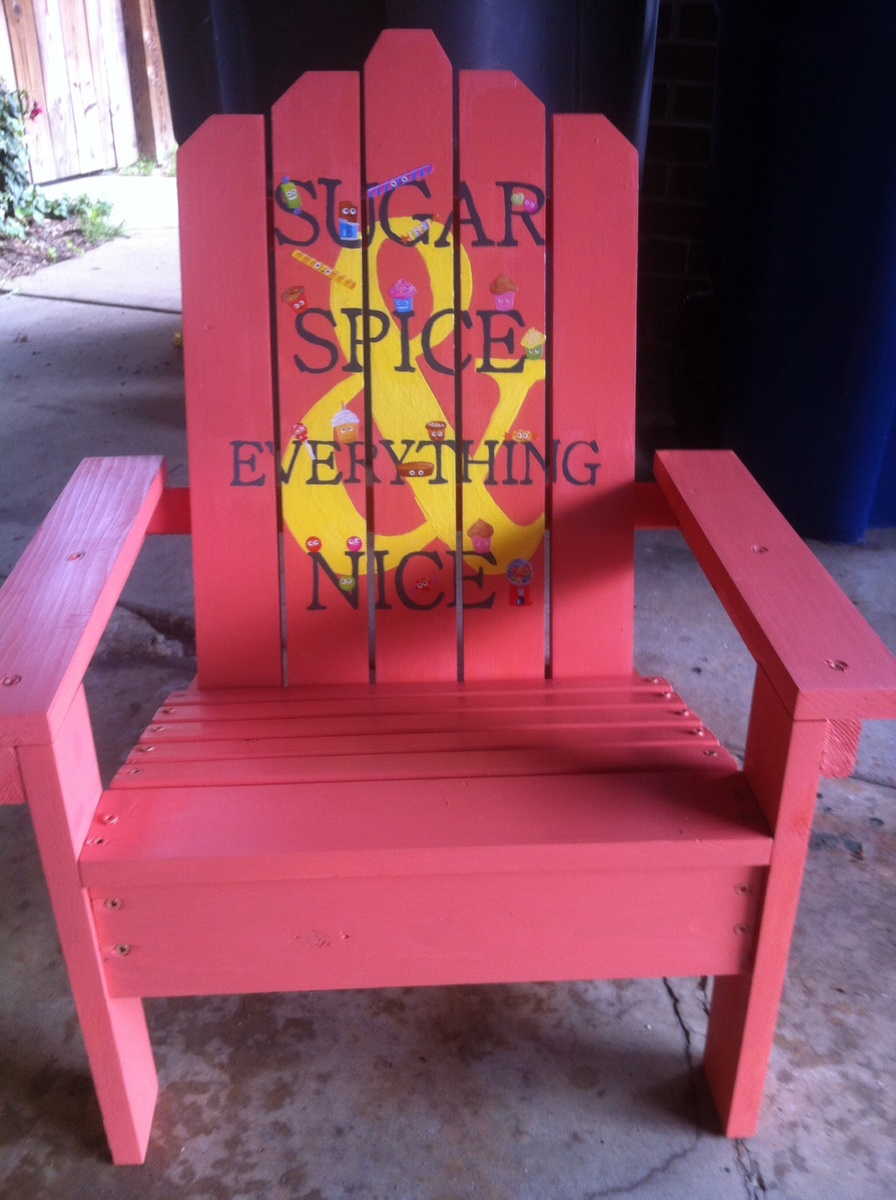
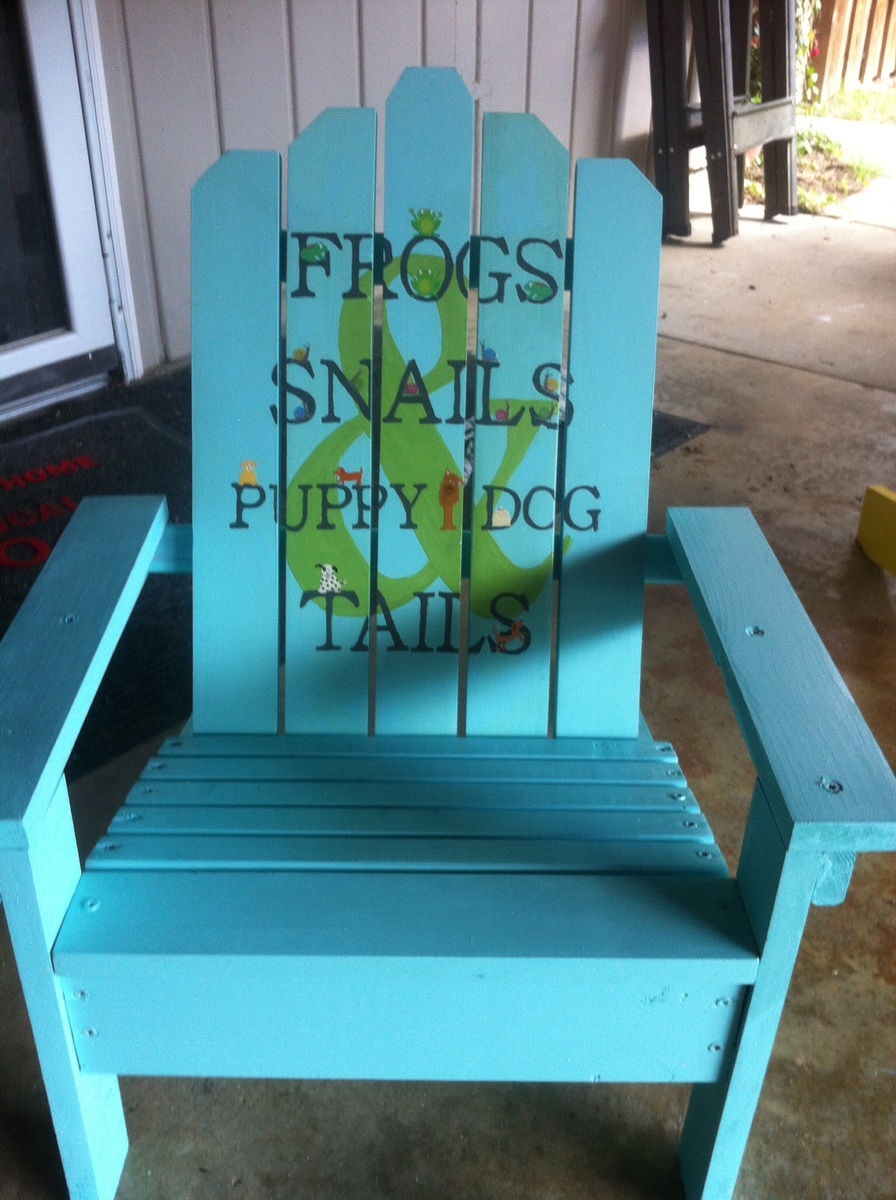
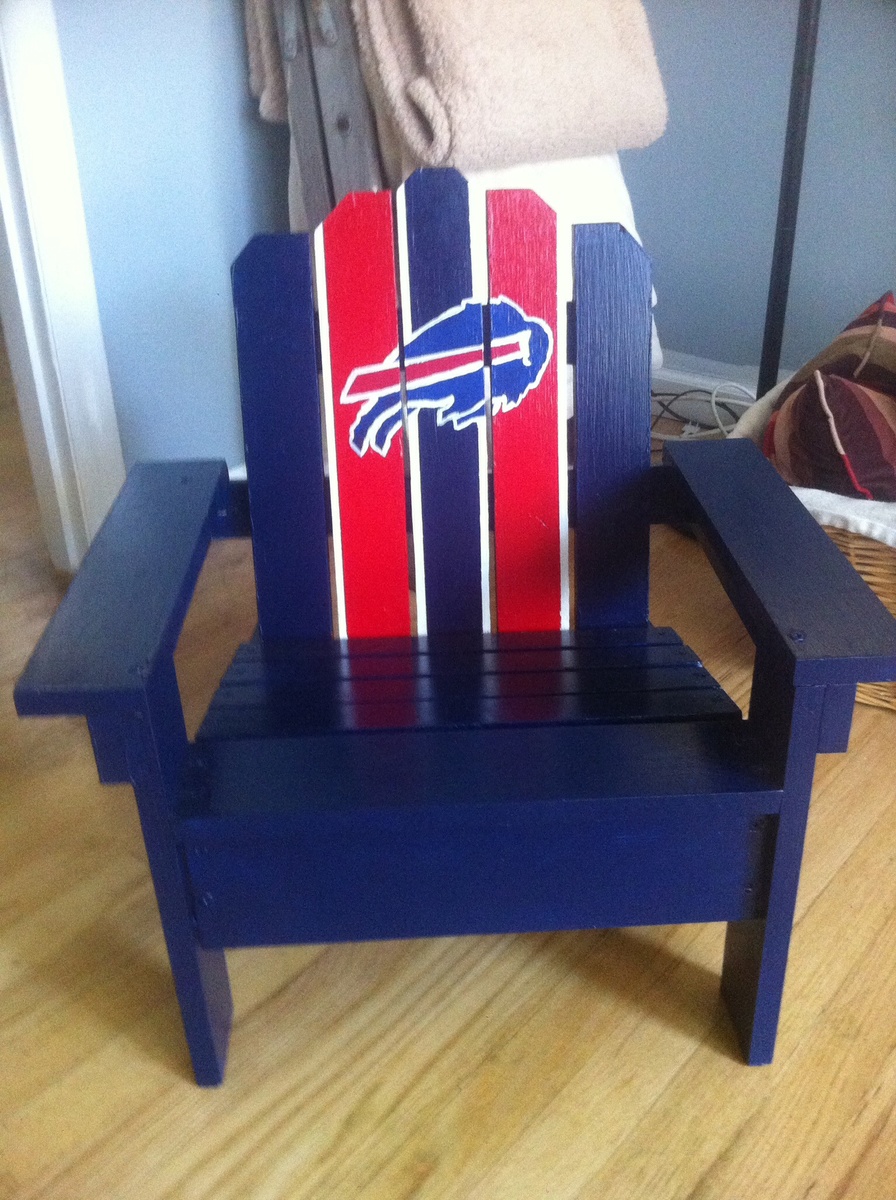
Kid adirondack
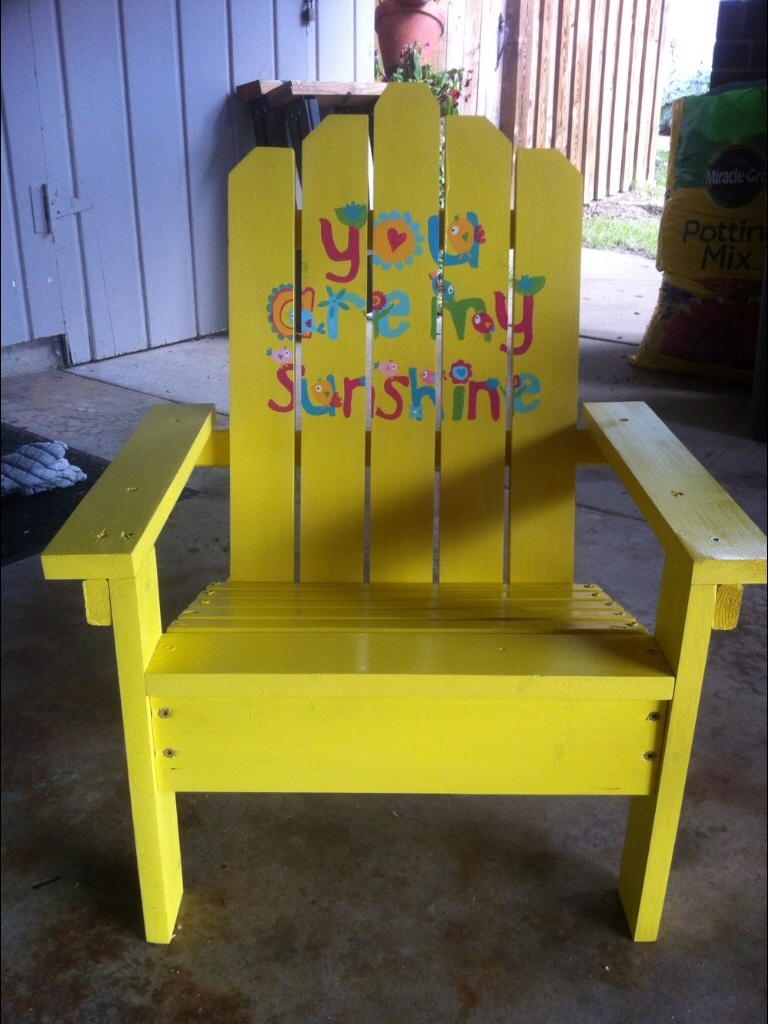
Just changed the back a tiny bit. My nieces and nephews love these! Thanks for the great plans.
Estimated Cost
About $25.00 each.
Estimated Time Investment
Weekend Project (10-20 Hours)
Finish Used
Paints and stain.
Recommended Skill Level
Beginner
Comments
Wed, 09/17/2014 - 15:25
These are the plans I used.
Kitchen Island

Basic kitchen island
Built from Plan(s)
Estimated Cost
250
Estimated Time Investment
Week Long Project (20 Hours or More)
Recommended Skill Level
Intermediate
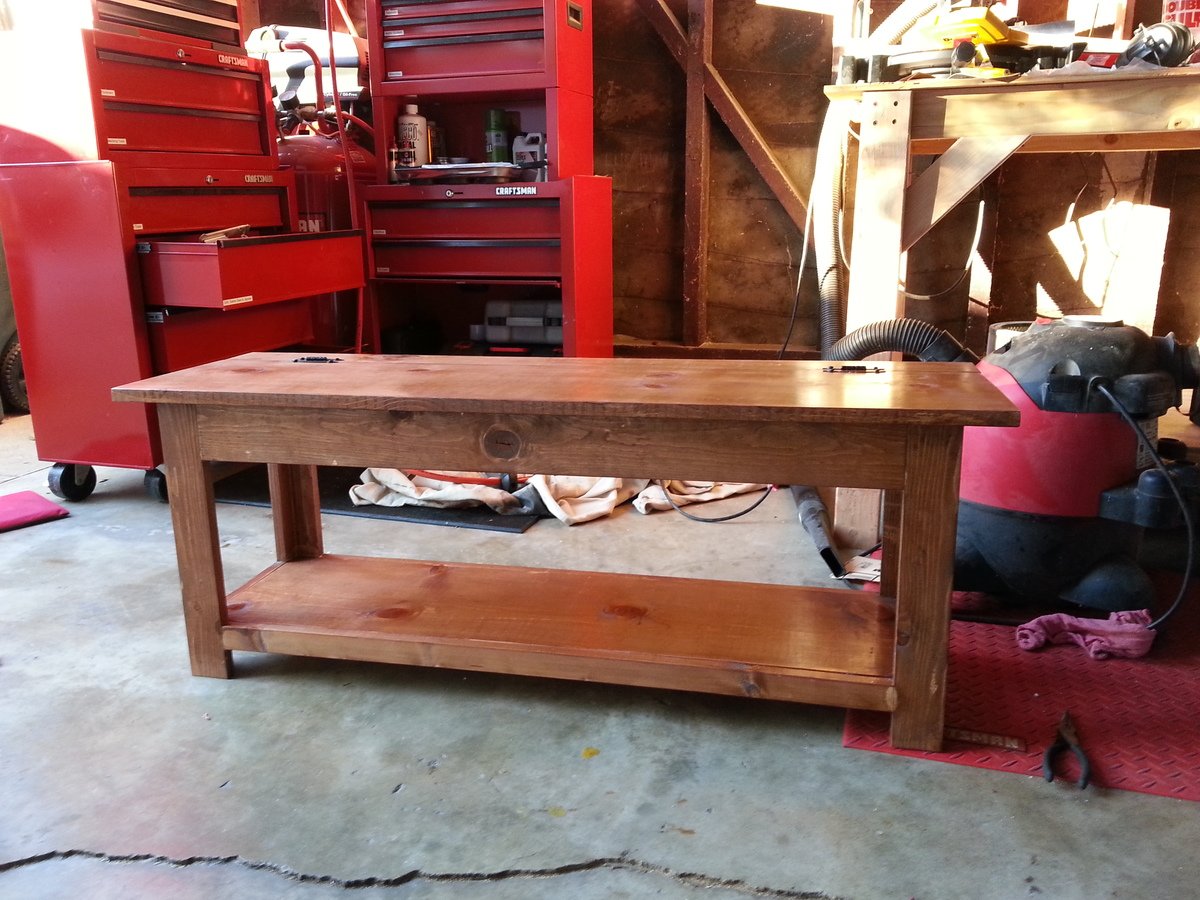
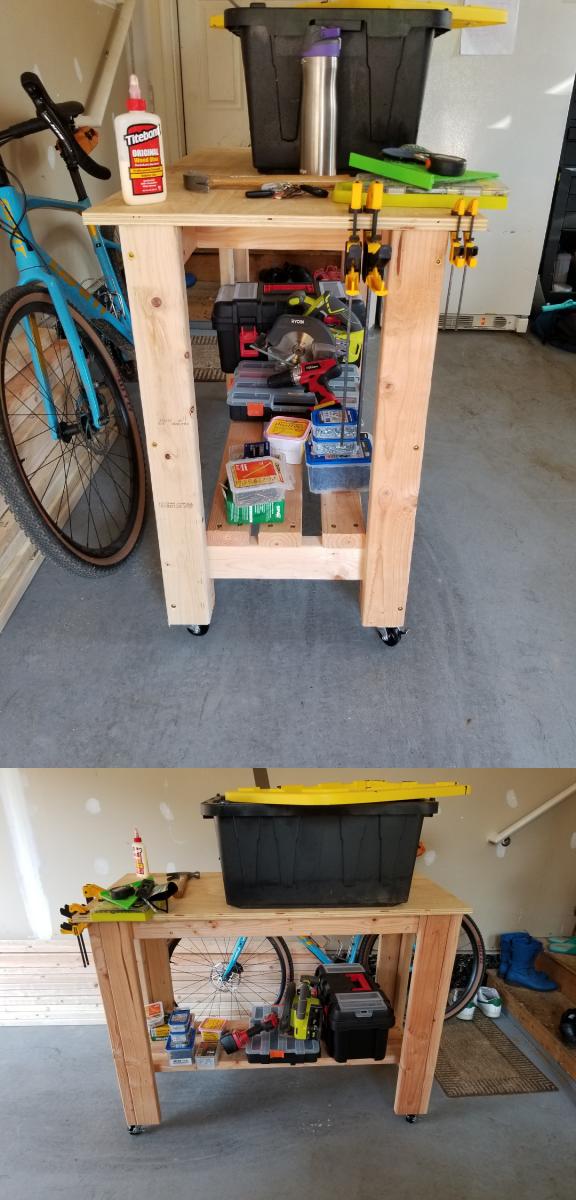
Sturdy Workbench
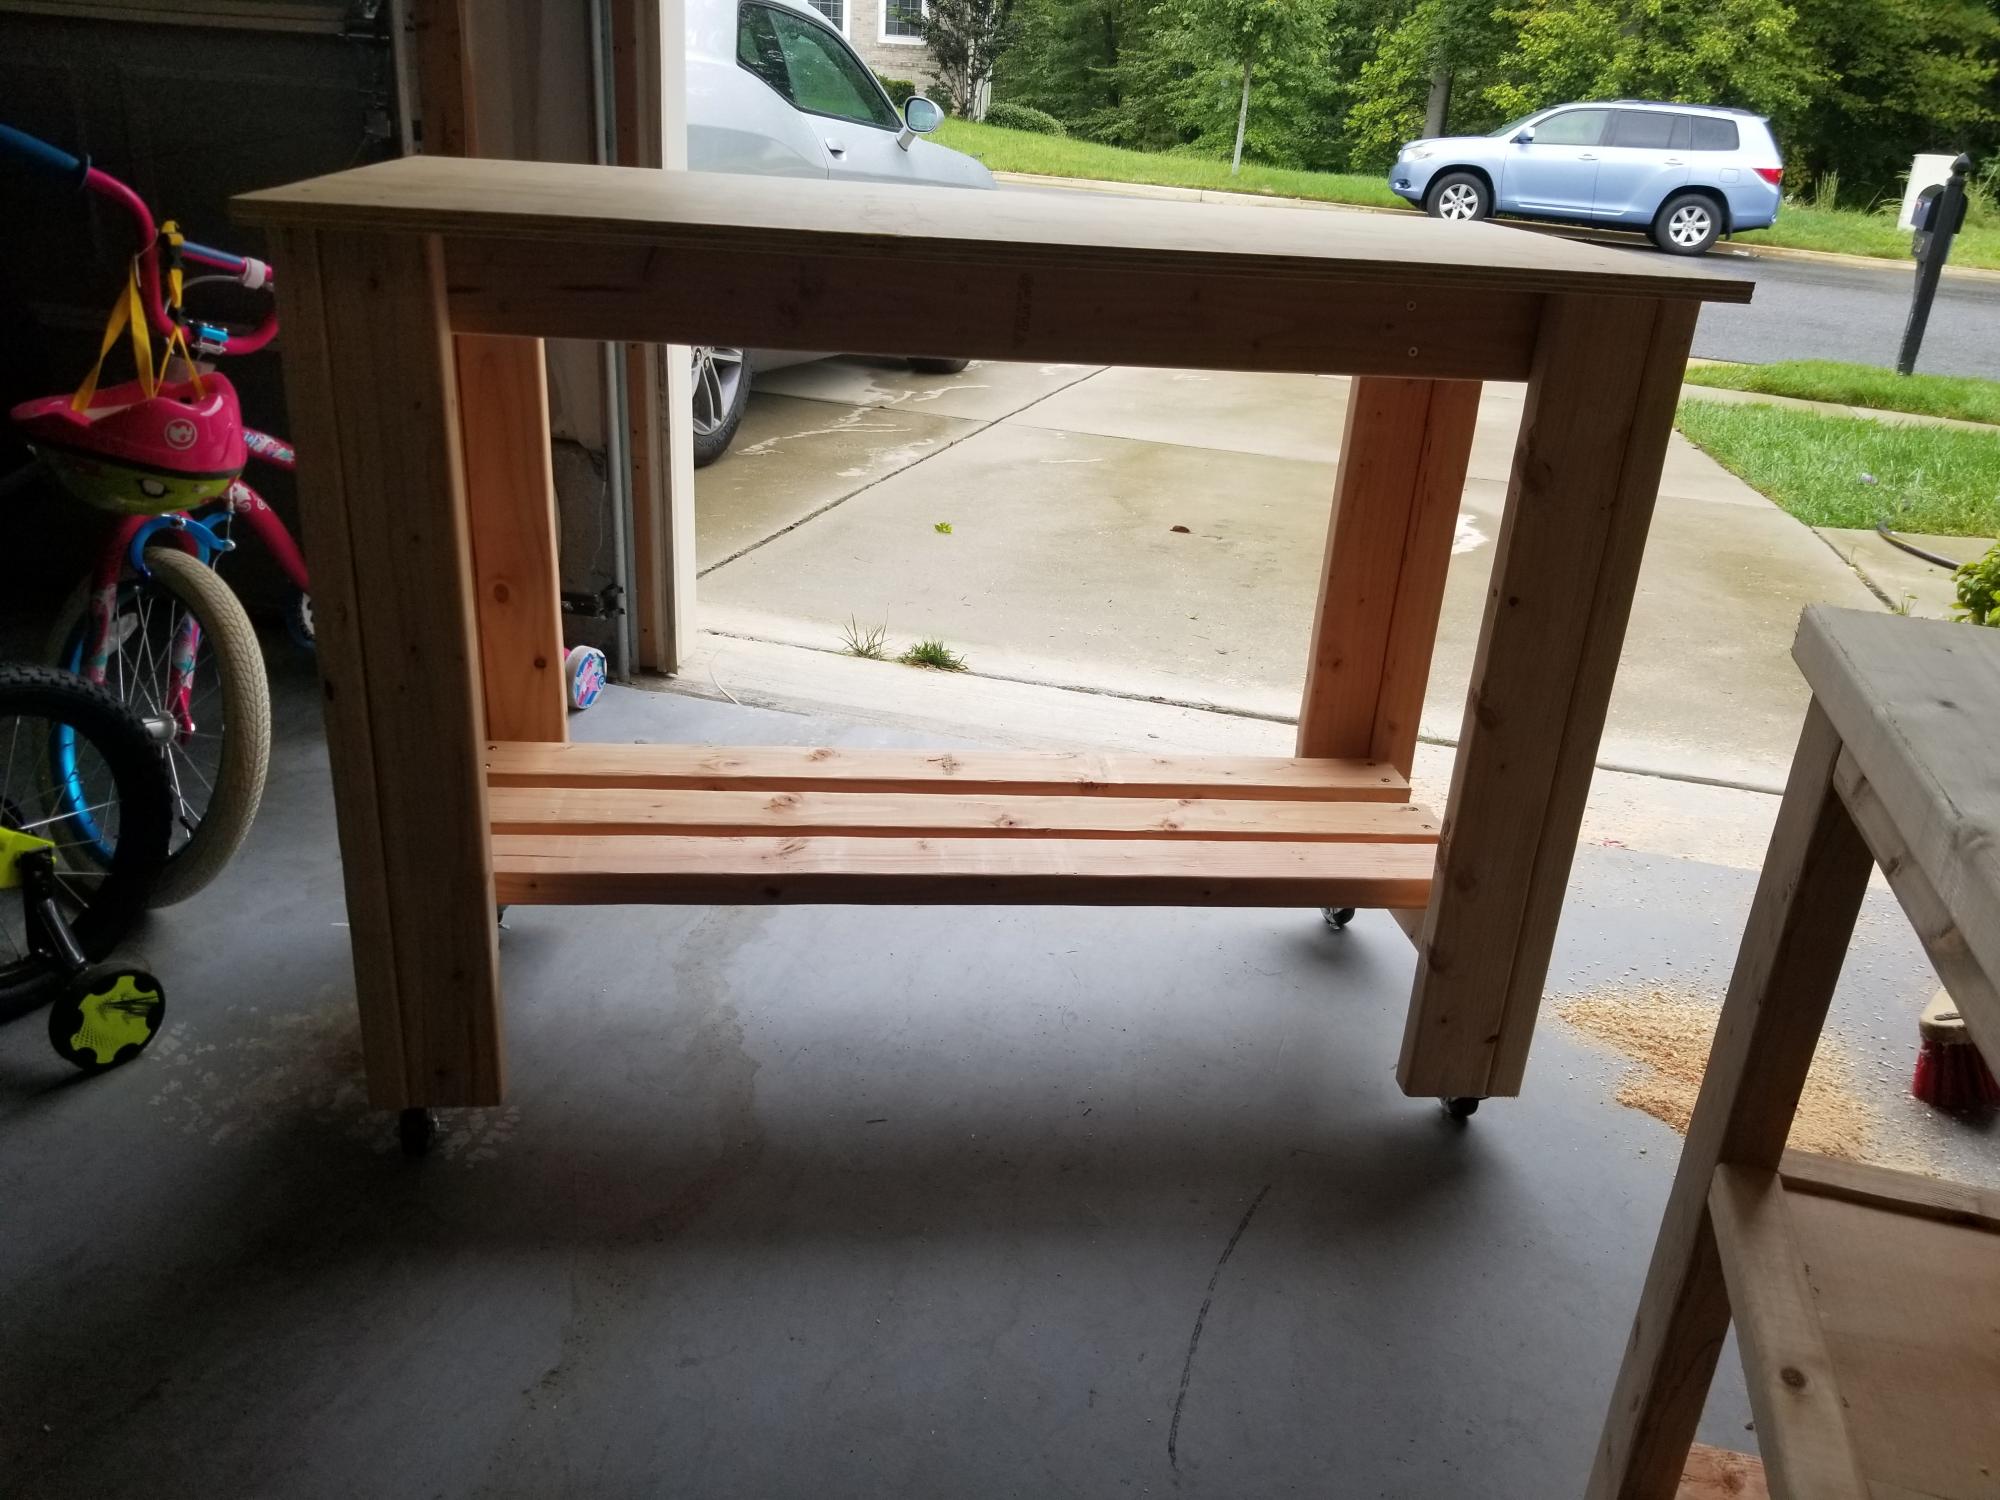
Did a couple builds for my family out of state and quickly realized that working without a station is CRAZY. Addedd wheels for mobility as I left it there.
Built from Plan(s)
Estimated Cost
60 to 75
Estimated Time Investment
An Hour or Two (0-2 Hours)
Finish Used
Raw
Recommended Skill Level
Starter Project
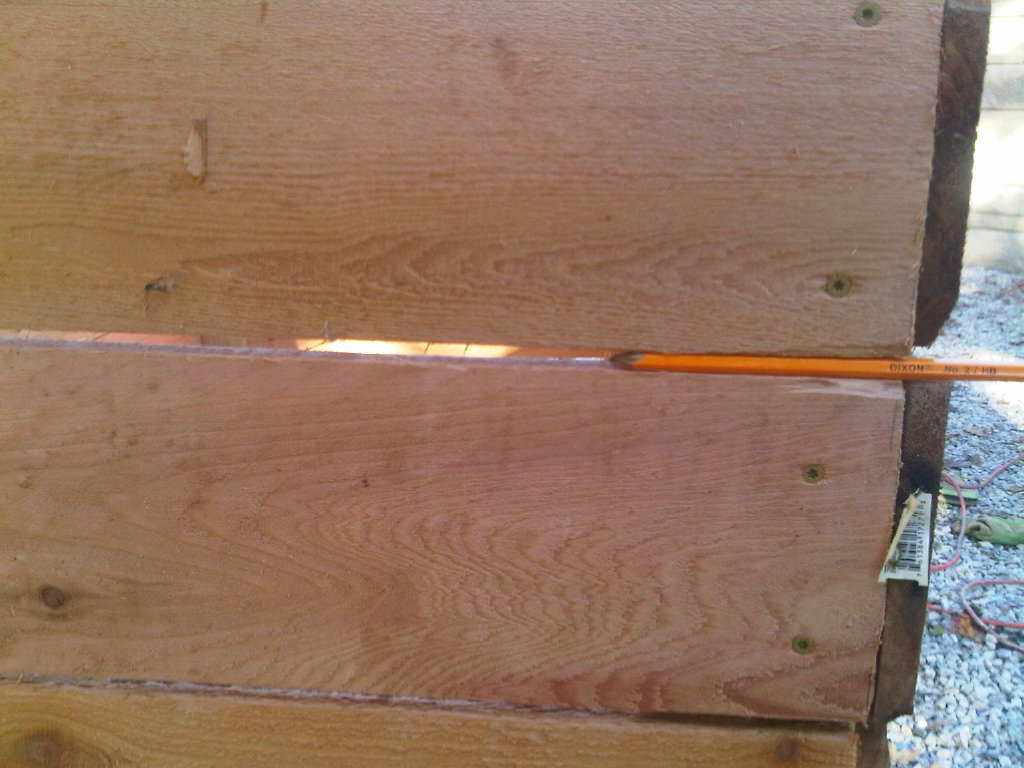
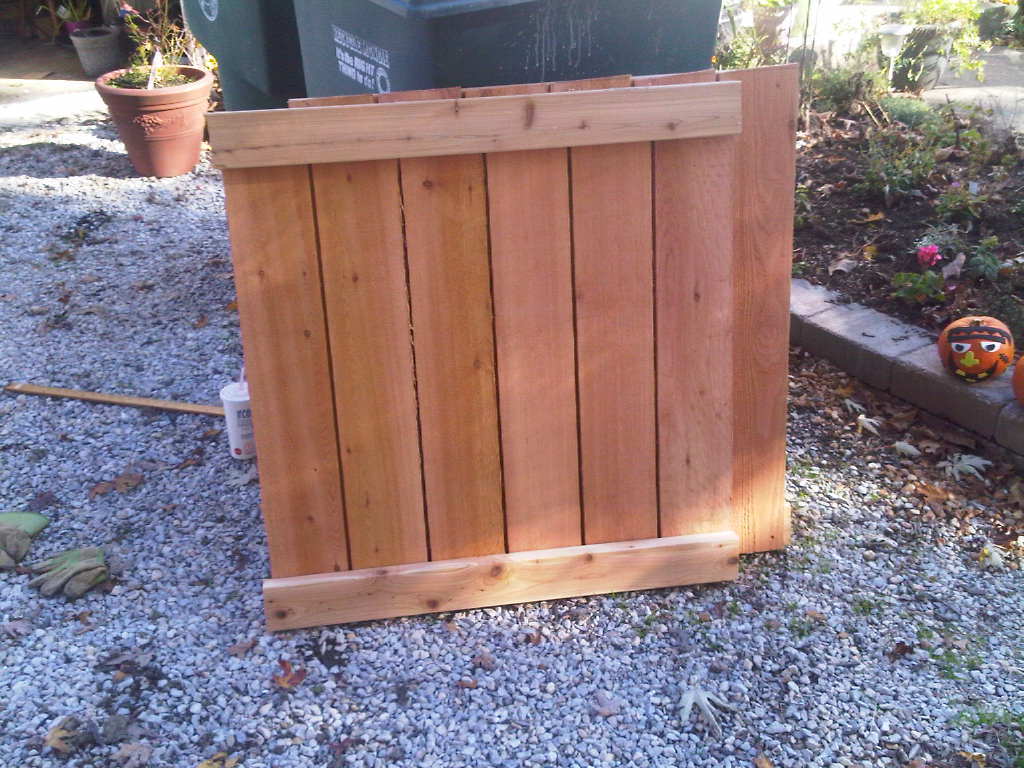
Cedar Compost Bins
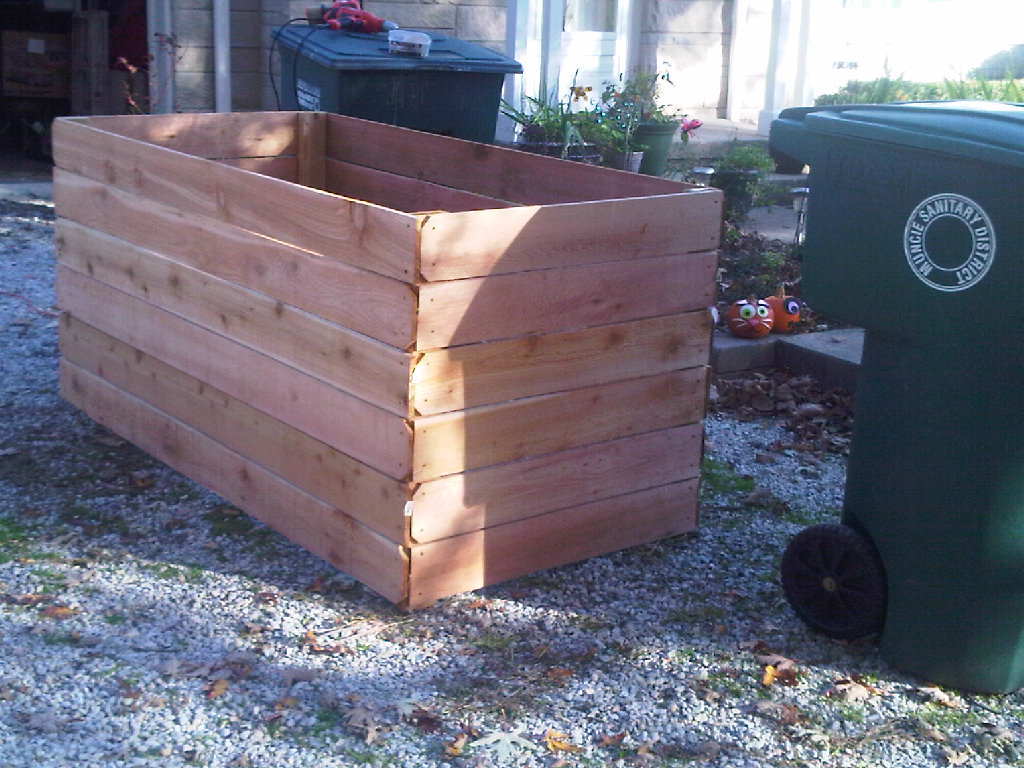
For this project, I used 6 foot cedar fence posts and 8 foot cedar 2x4s. I used a pencil to space the boards and allow extra air flow. More space between boards is acceptable - even to the extent of dropping off one full board and putting an inch between each side rail.
Another option is to make your sides interlocking layers, one or two boards high - http://cedarstackingcompostbin.blogspot.com/
Since I am composting large amounts of leaves and grass clippings, mine is made in one piece. I don't turn my pile often - when I do, I can either lift the whole thing up or move the pile from side to side. I cut the 2x8x8 posts - cut a 3 foot length off of each end. Save the 2 foot center piece to brace the long sides. Affix your 1/2 (3 foot side) and full fence (6 foot side) boards to the 2x4, leaving the desired gap between each board. Affix each board with 2 weather proof screws - I used coated deck screws.
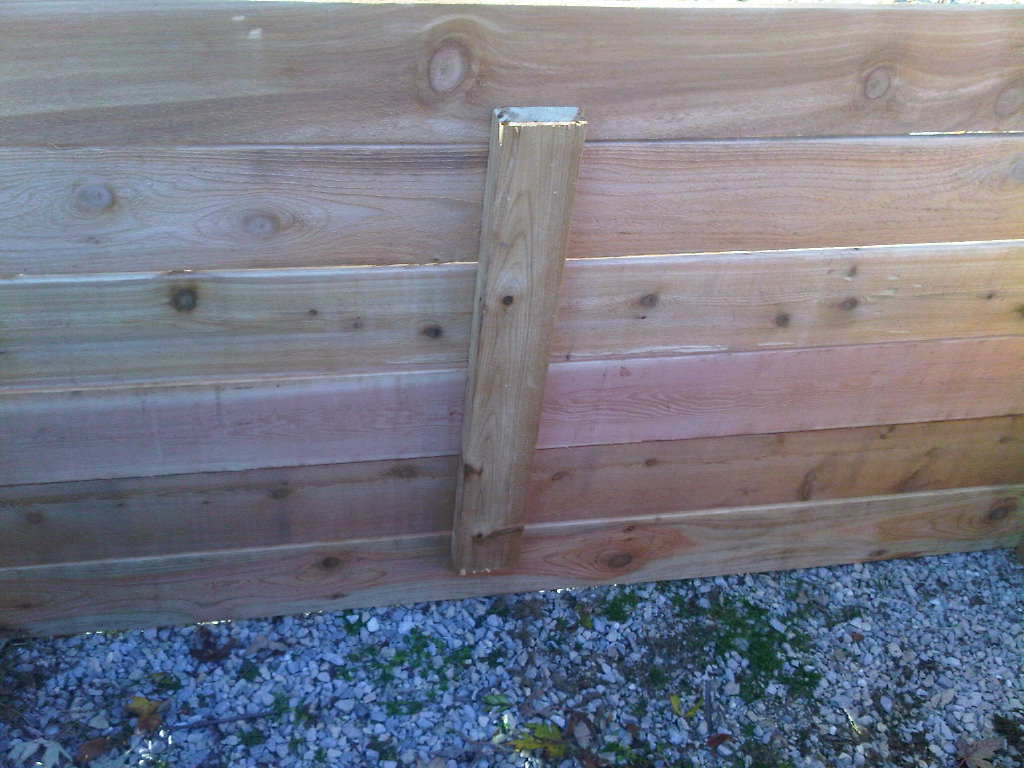
Attach the vertical posts to the inside of the cedar fence boards, including the short 2 foot boards that are just long enough to brace the long sides. I alternated the dog eared sides, so that each corner had one flat and one notched board.
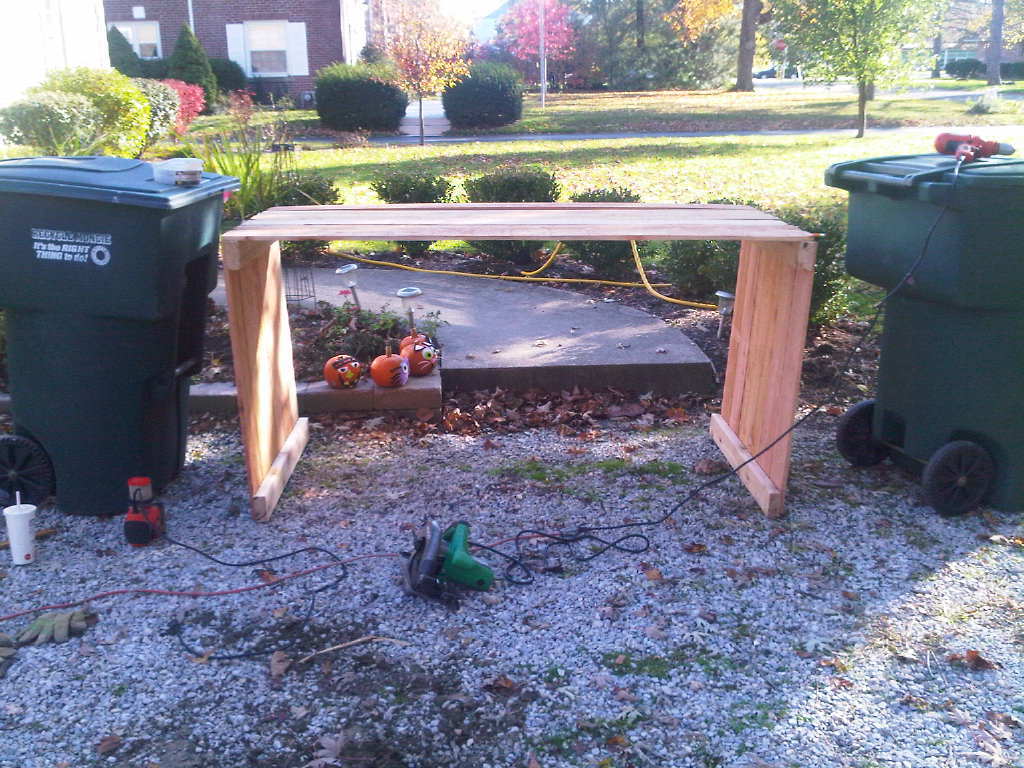
I used 24 cedar fence posts and 16 feet of cedar 2x4. Note, I was able to do this all along. The trash cans acted as supports - no clamps or saw horses needed.
Built from Plan(s)
Estimated Cost
$70
Estimated Time Investment
Afternoon Project (3-6 Hours)
Finish Used
Light sanding, no stain
Recommended Skill Level
Starter Project
Comments
Fri, 12/07/2012 - 18:43
Just fyi...
This is a little heavy when finished. I can easily flip it over to turn the compost, but after building it and tiring my arms out with the cutting and drilling, it was a long haul to the back yard to position it. You might be happy with a 3x3 bin, in which case, I suggest making it 1 board shorter and leaving wider spaces - if you think through the math, you can probably get it down to 10-12 cedar fence posts and 1 longer 2x4. Cost would be about $35 that way - cheaper than most compost bins.
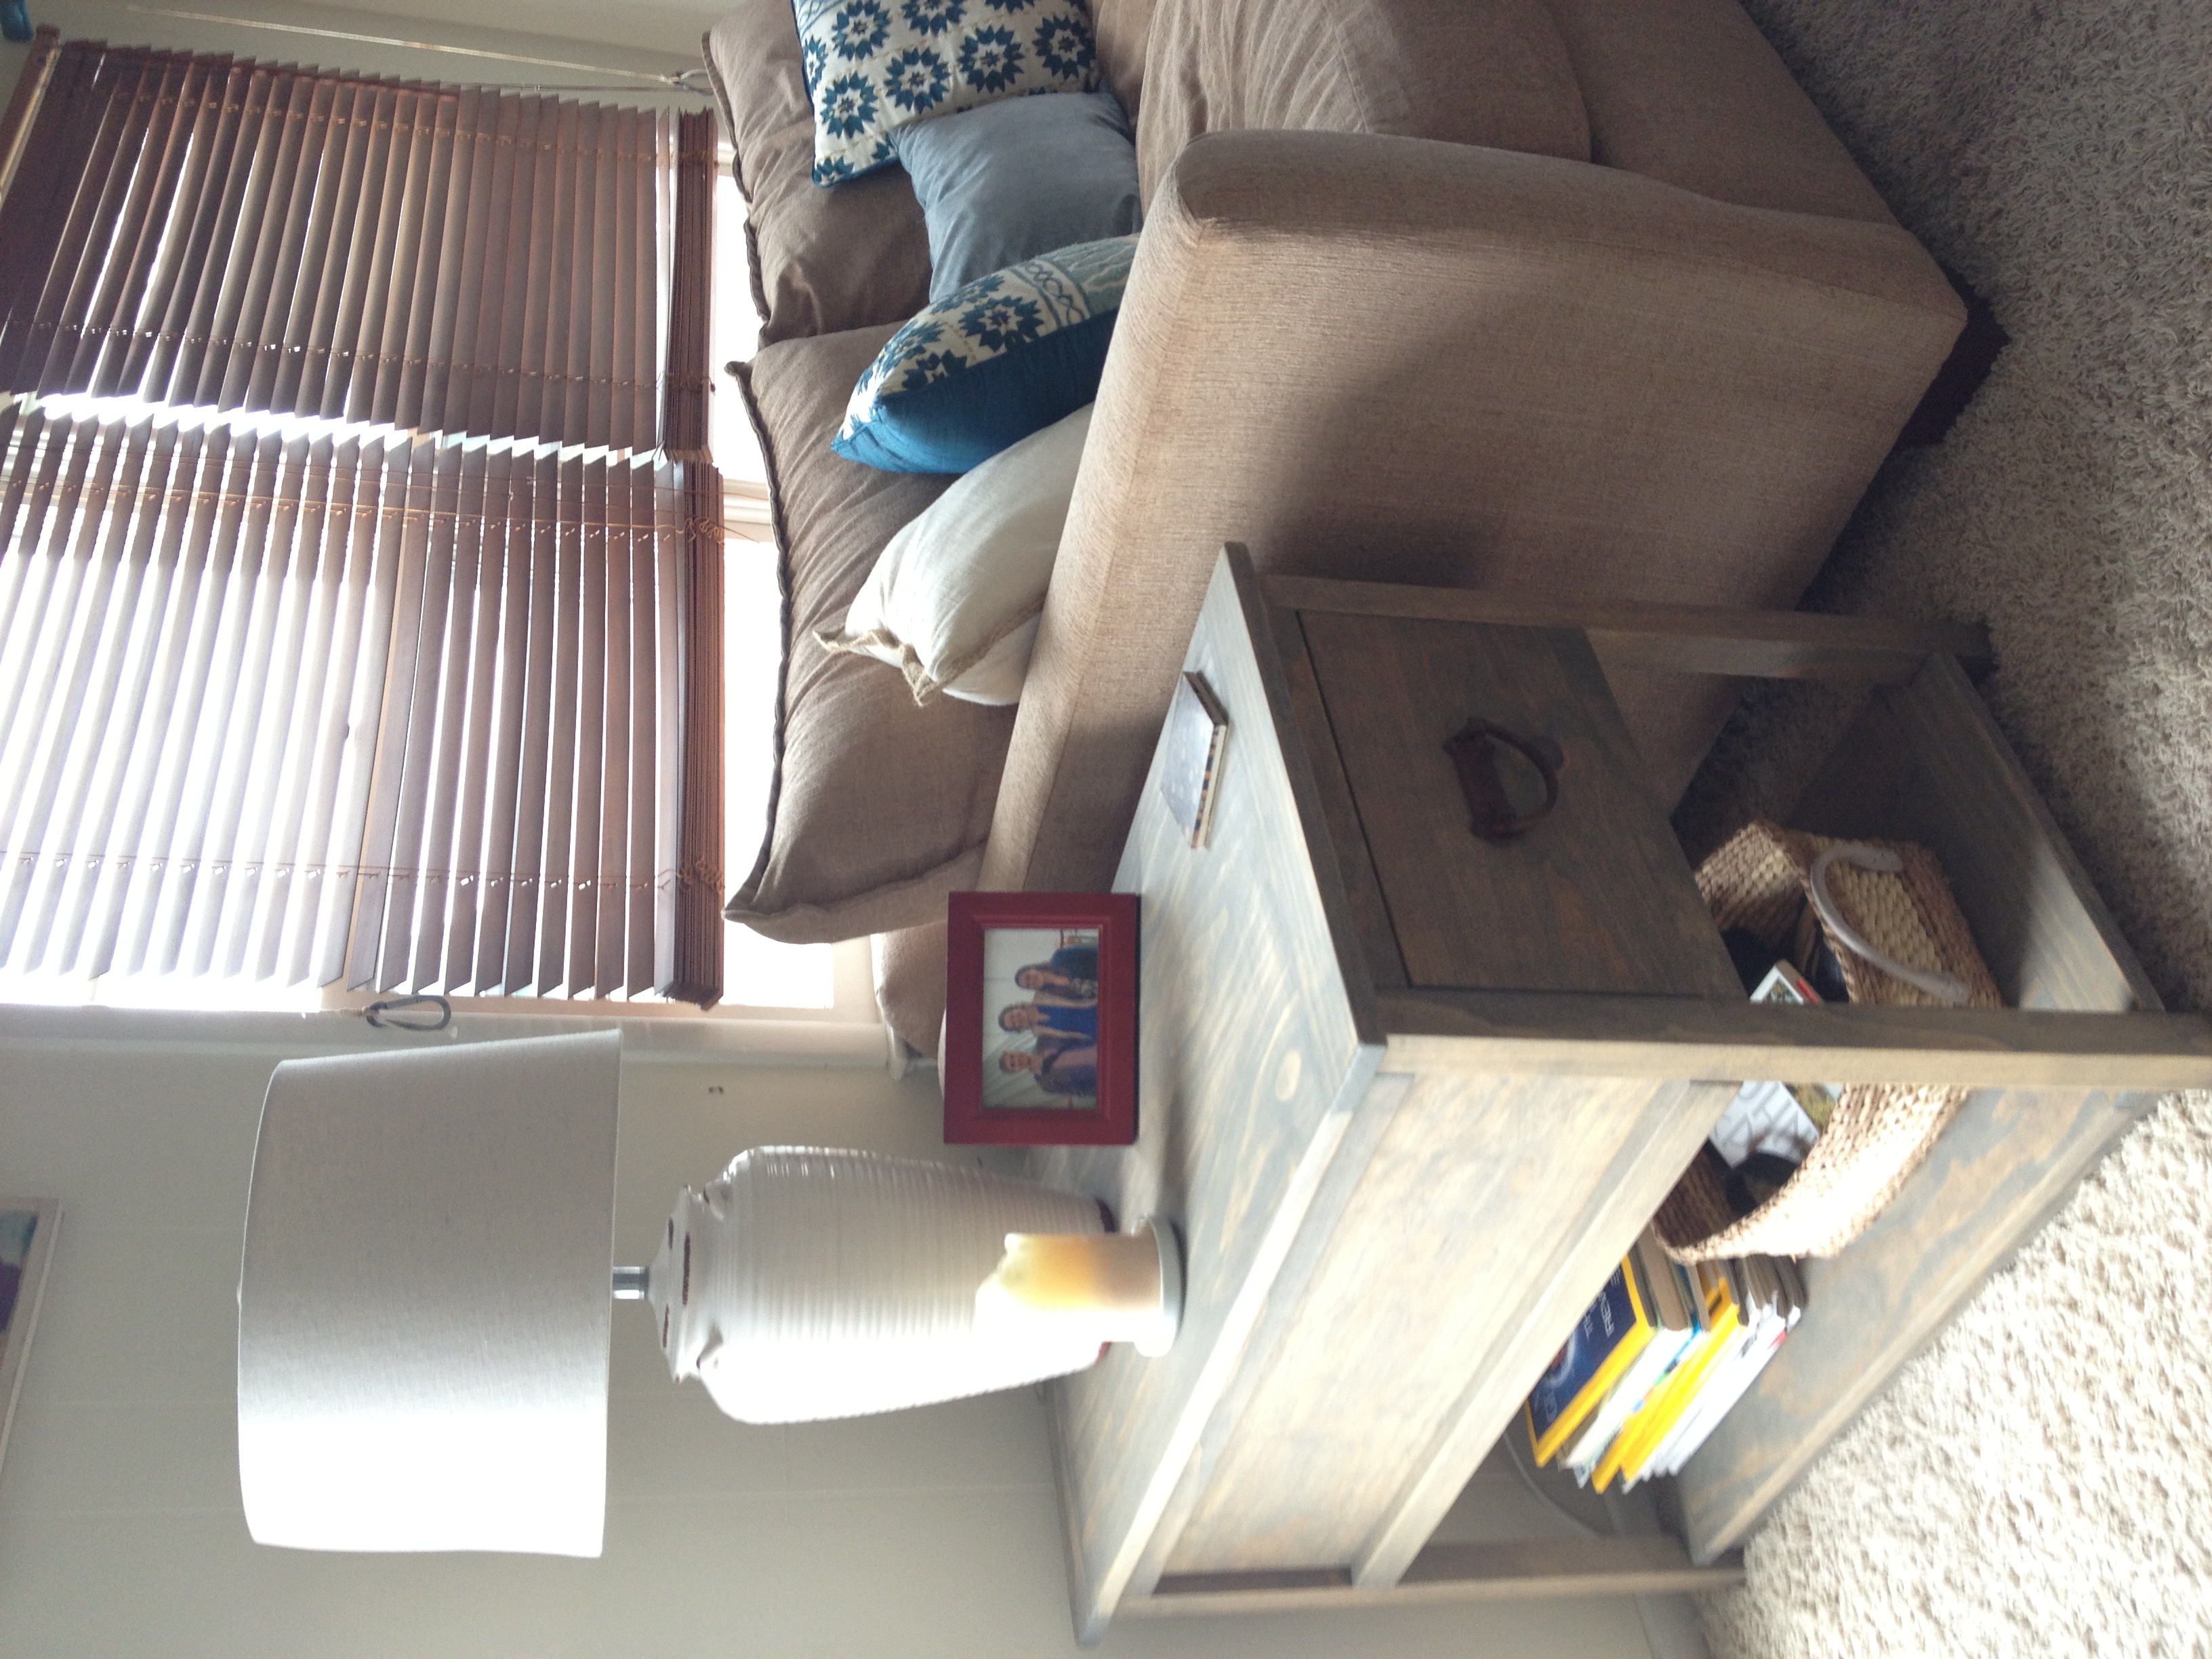
Tile-top Coffee Table
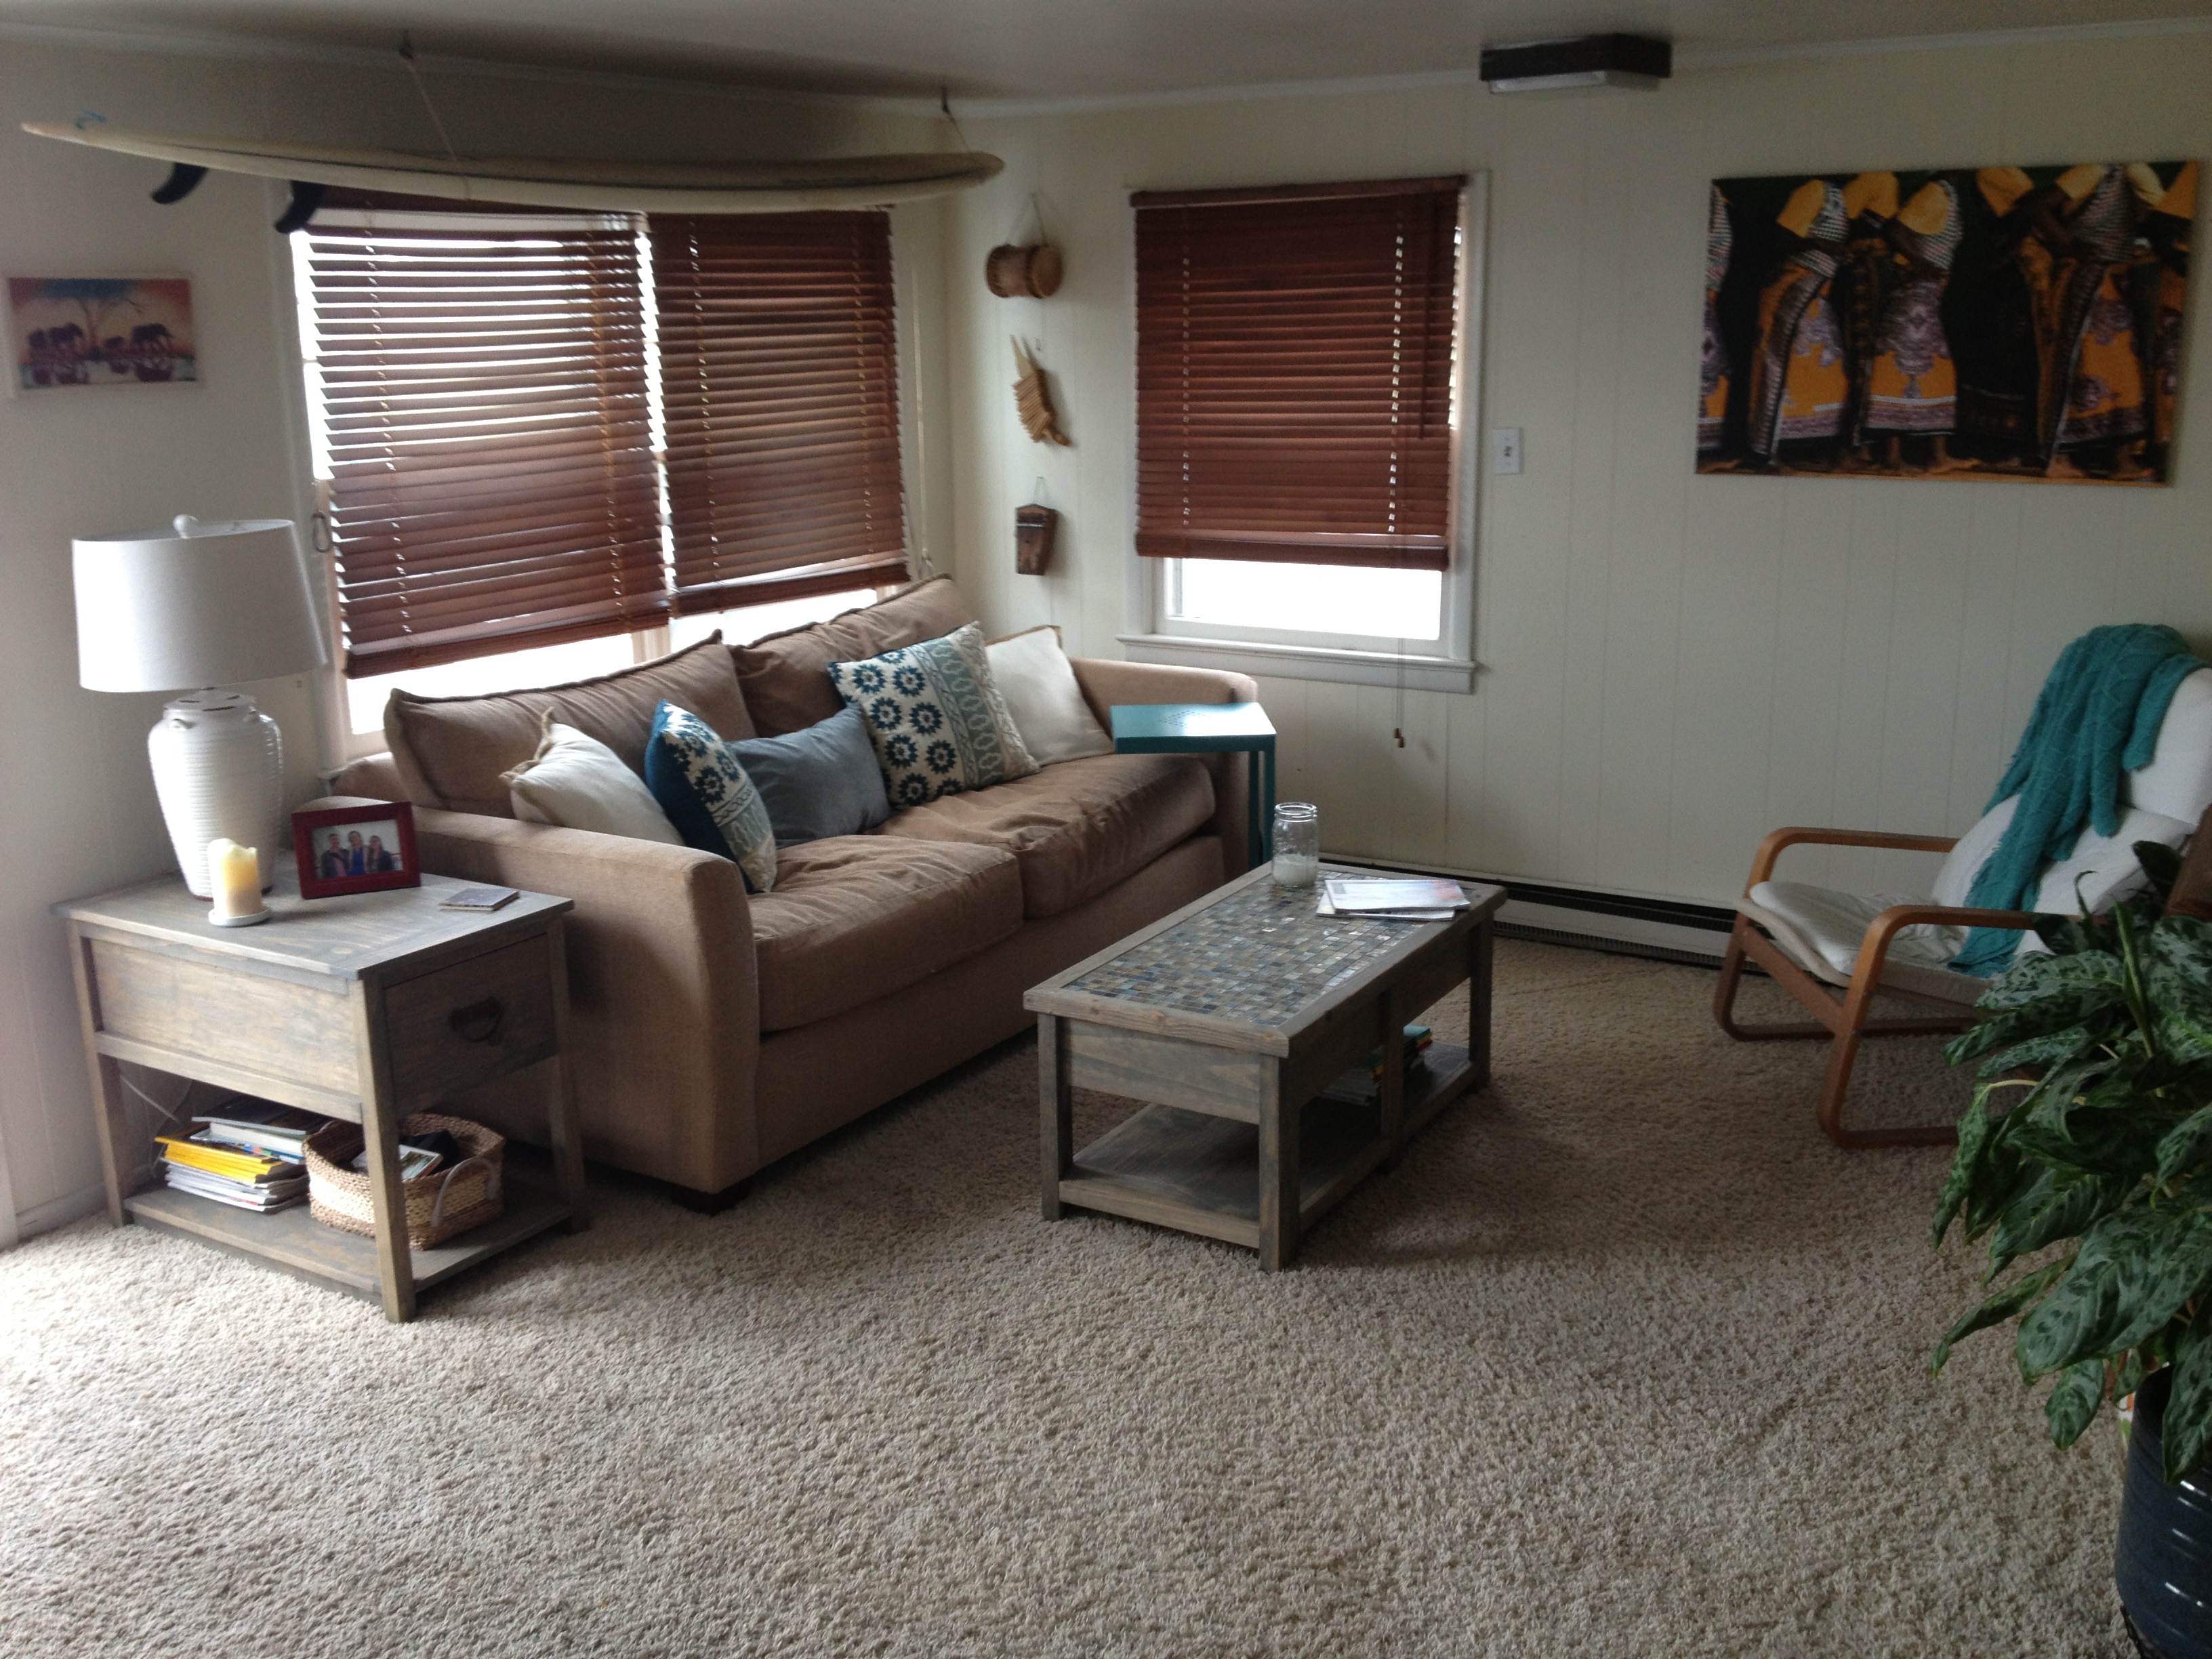
Combined a few different plans from Ana White and made a tiletop coffee table and matching end table.
TV console is next :)

Estimated Cost
$200
Estimated Time Investment
Week Long Project (20 Hours or More)
Finish Used
Minwax Classic Gray, Dovegray Grout, Tried and True Linseed Oil Natural Wood Finish
Recommended Skill Level
Advanced
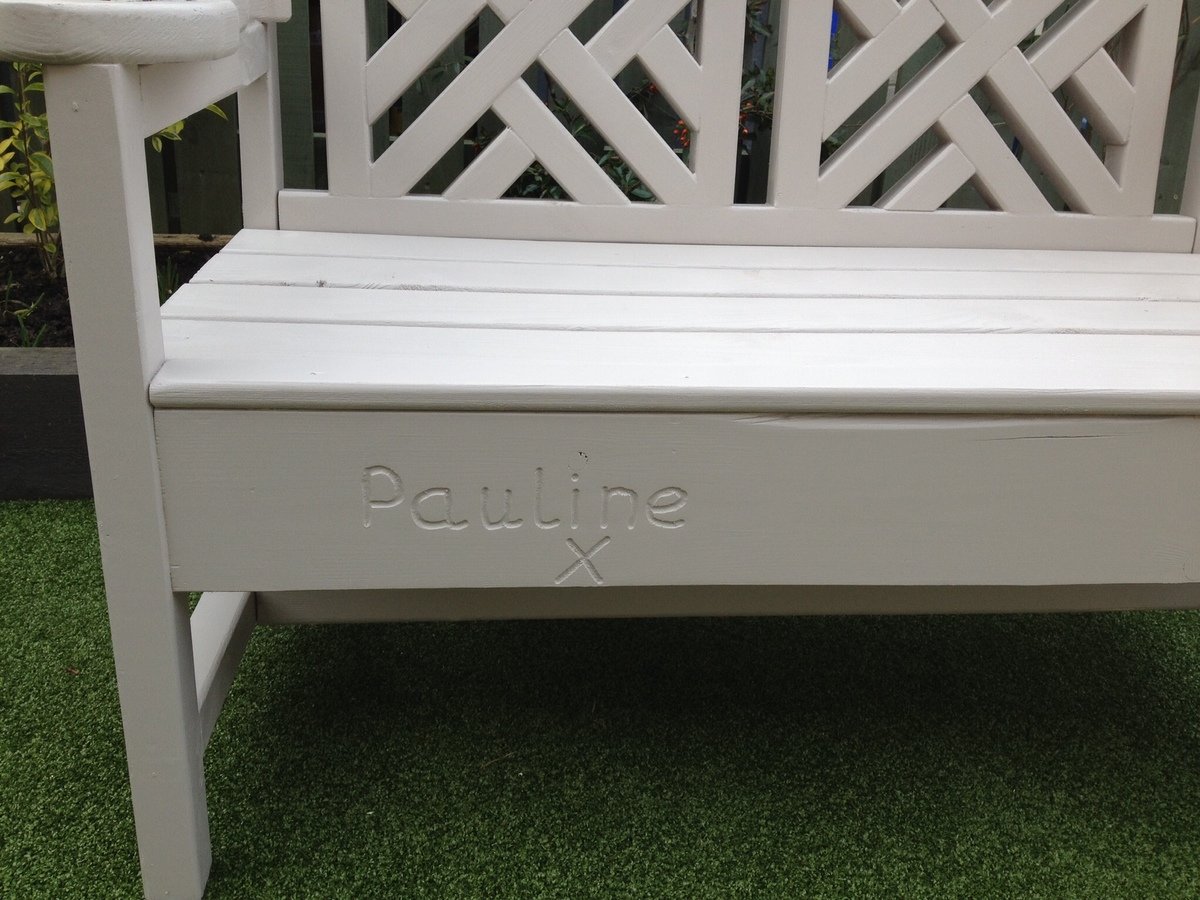
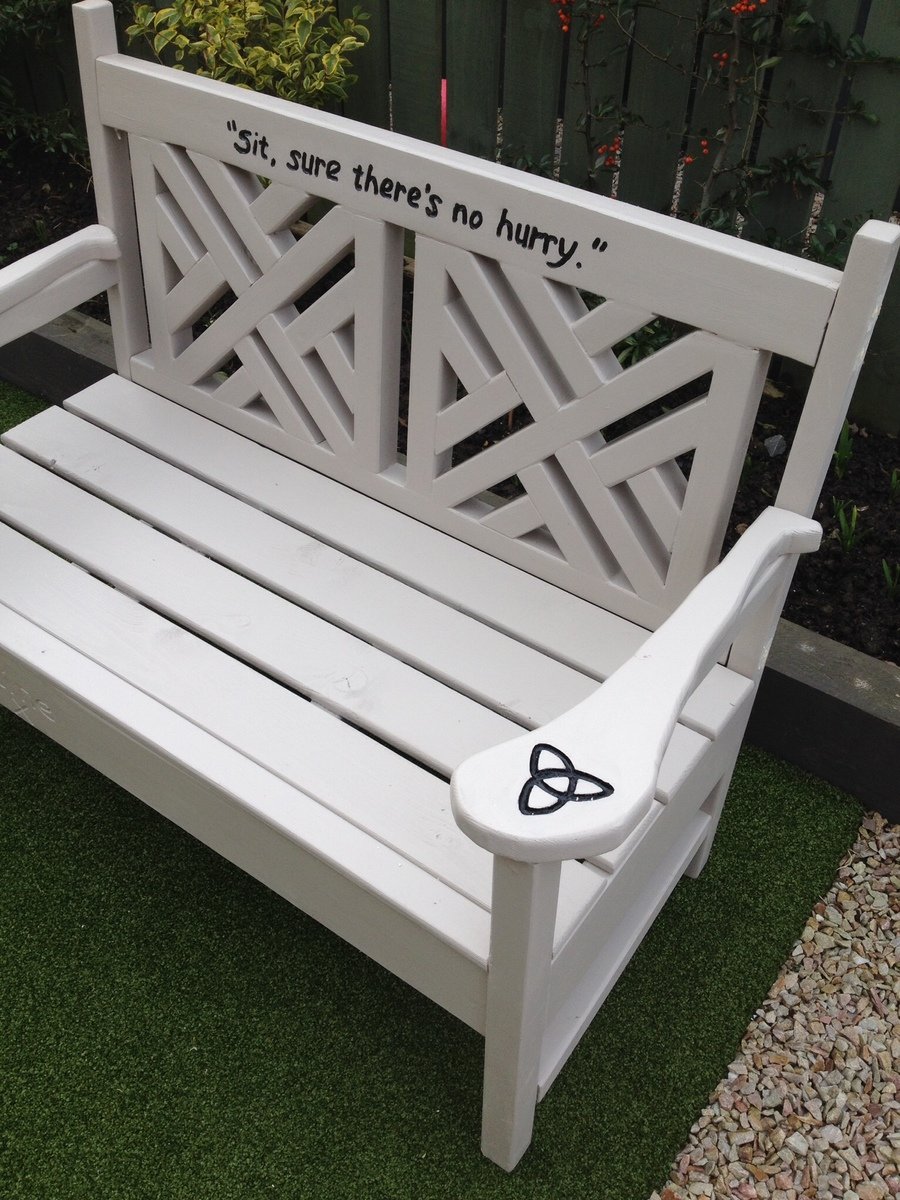
Woven back bench
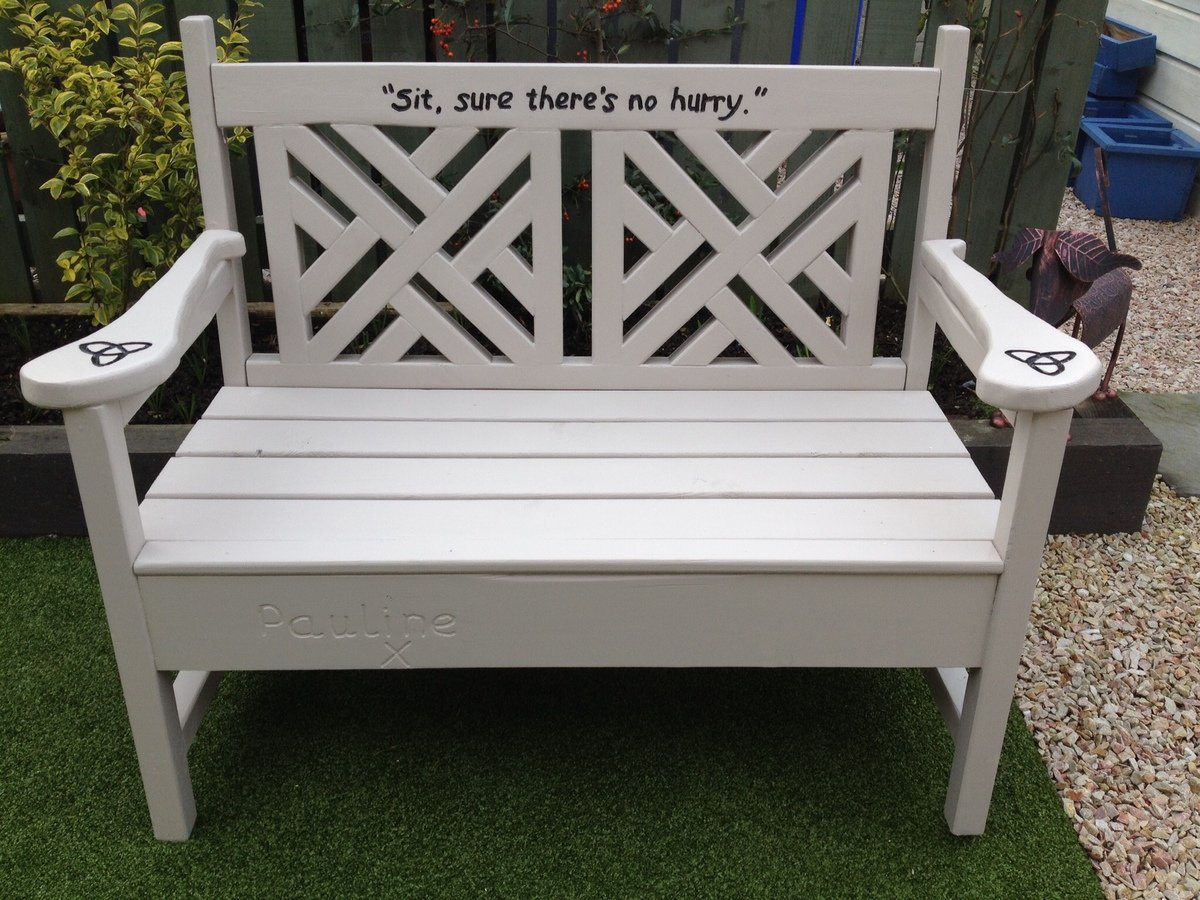
I built this as a memory bench in honour of my father who died on 27th January 2016. Because of you Ana you gave me the confidence to start building furniture. But because of him I had the skills and desire.
Built from Plan(s)
Estimated Cost
€150
Estimated Time Investment
Week Long Project (20 Hours or More)
Finish Used
Out door wood paint cupernol
Recommended Skill Level
Advanced
Emersen-Inspired Nightstand
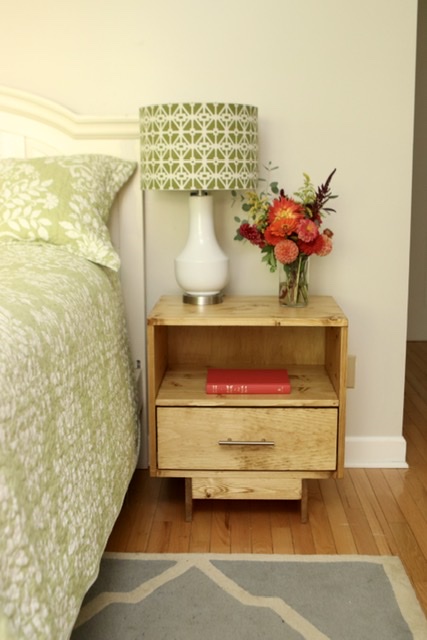
I modified the Emersen nightstand plans to use edge-joined 1x6s instead of 3/4” plywood since I didn’t have a great way to cut 15 1/2” widths of plywood. I eliminated the face frame, used a 1x8 for the drawer face, and used 14” euro slides for the drawer. This was my first time making anything with a drawer and I was a little nervous about it but it works perfectly! One nightstand down, one to go!
Built from Plan(s)
Estimated Cost
$70
Estimated Time Investment
Day Project (6-9 Hours)
Finish Used
Minwax in Golden Oak
Recommended Skill Level
Intermediate
Comments
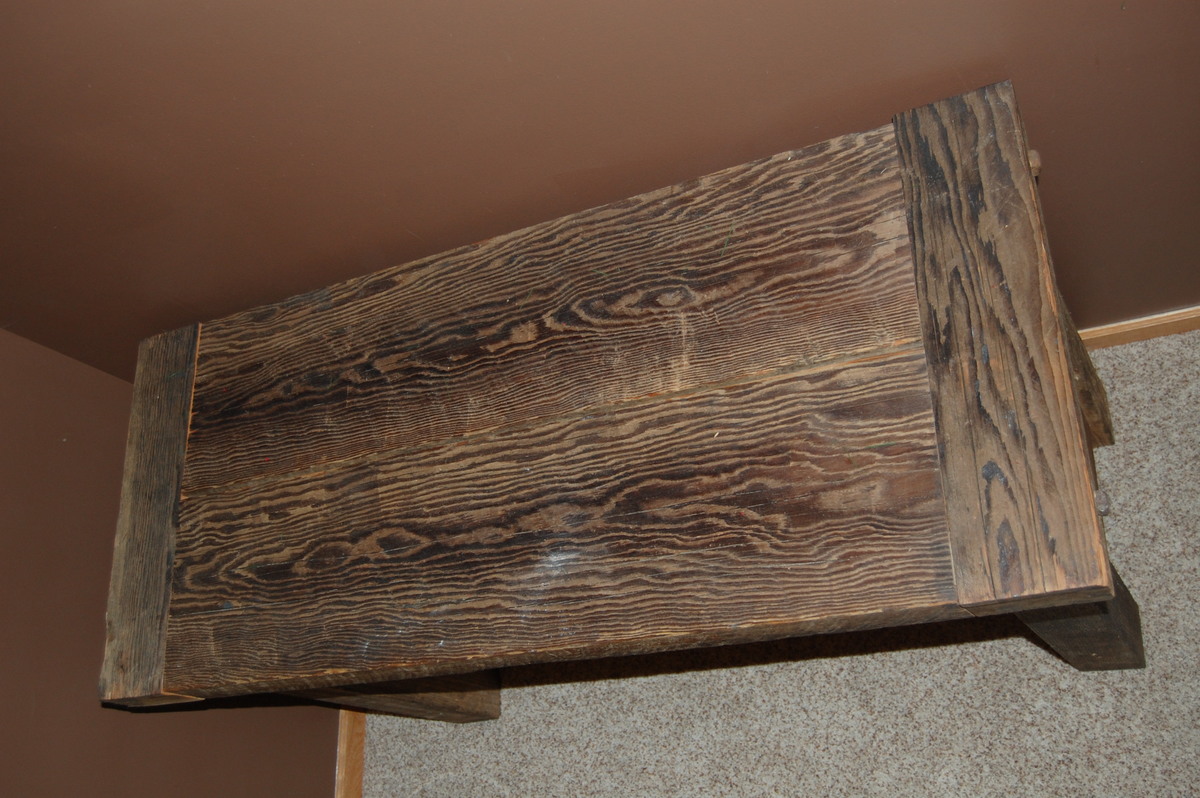
Tryde Console Table
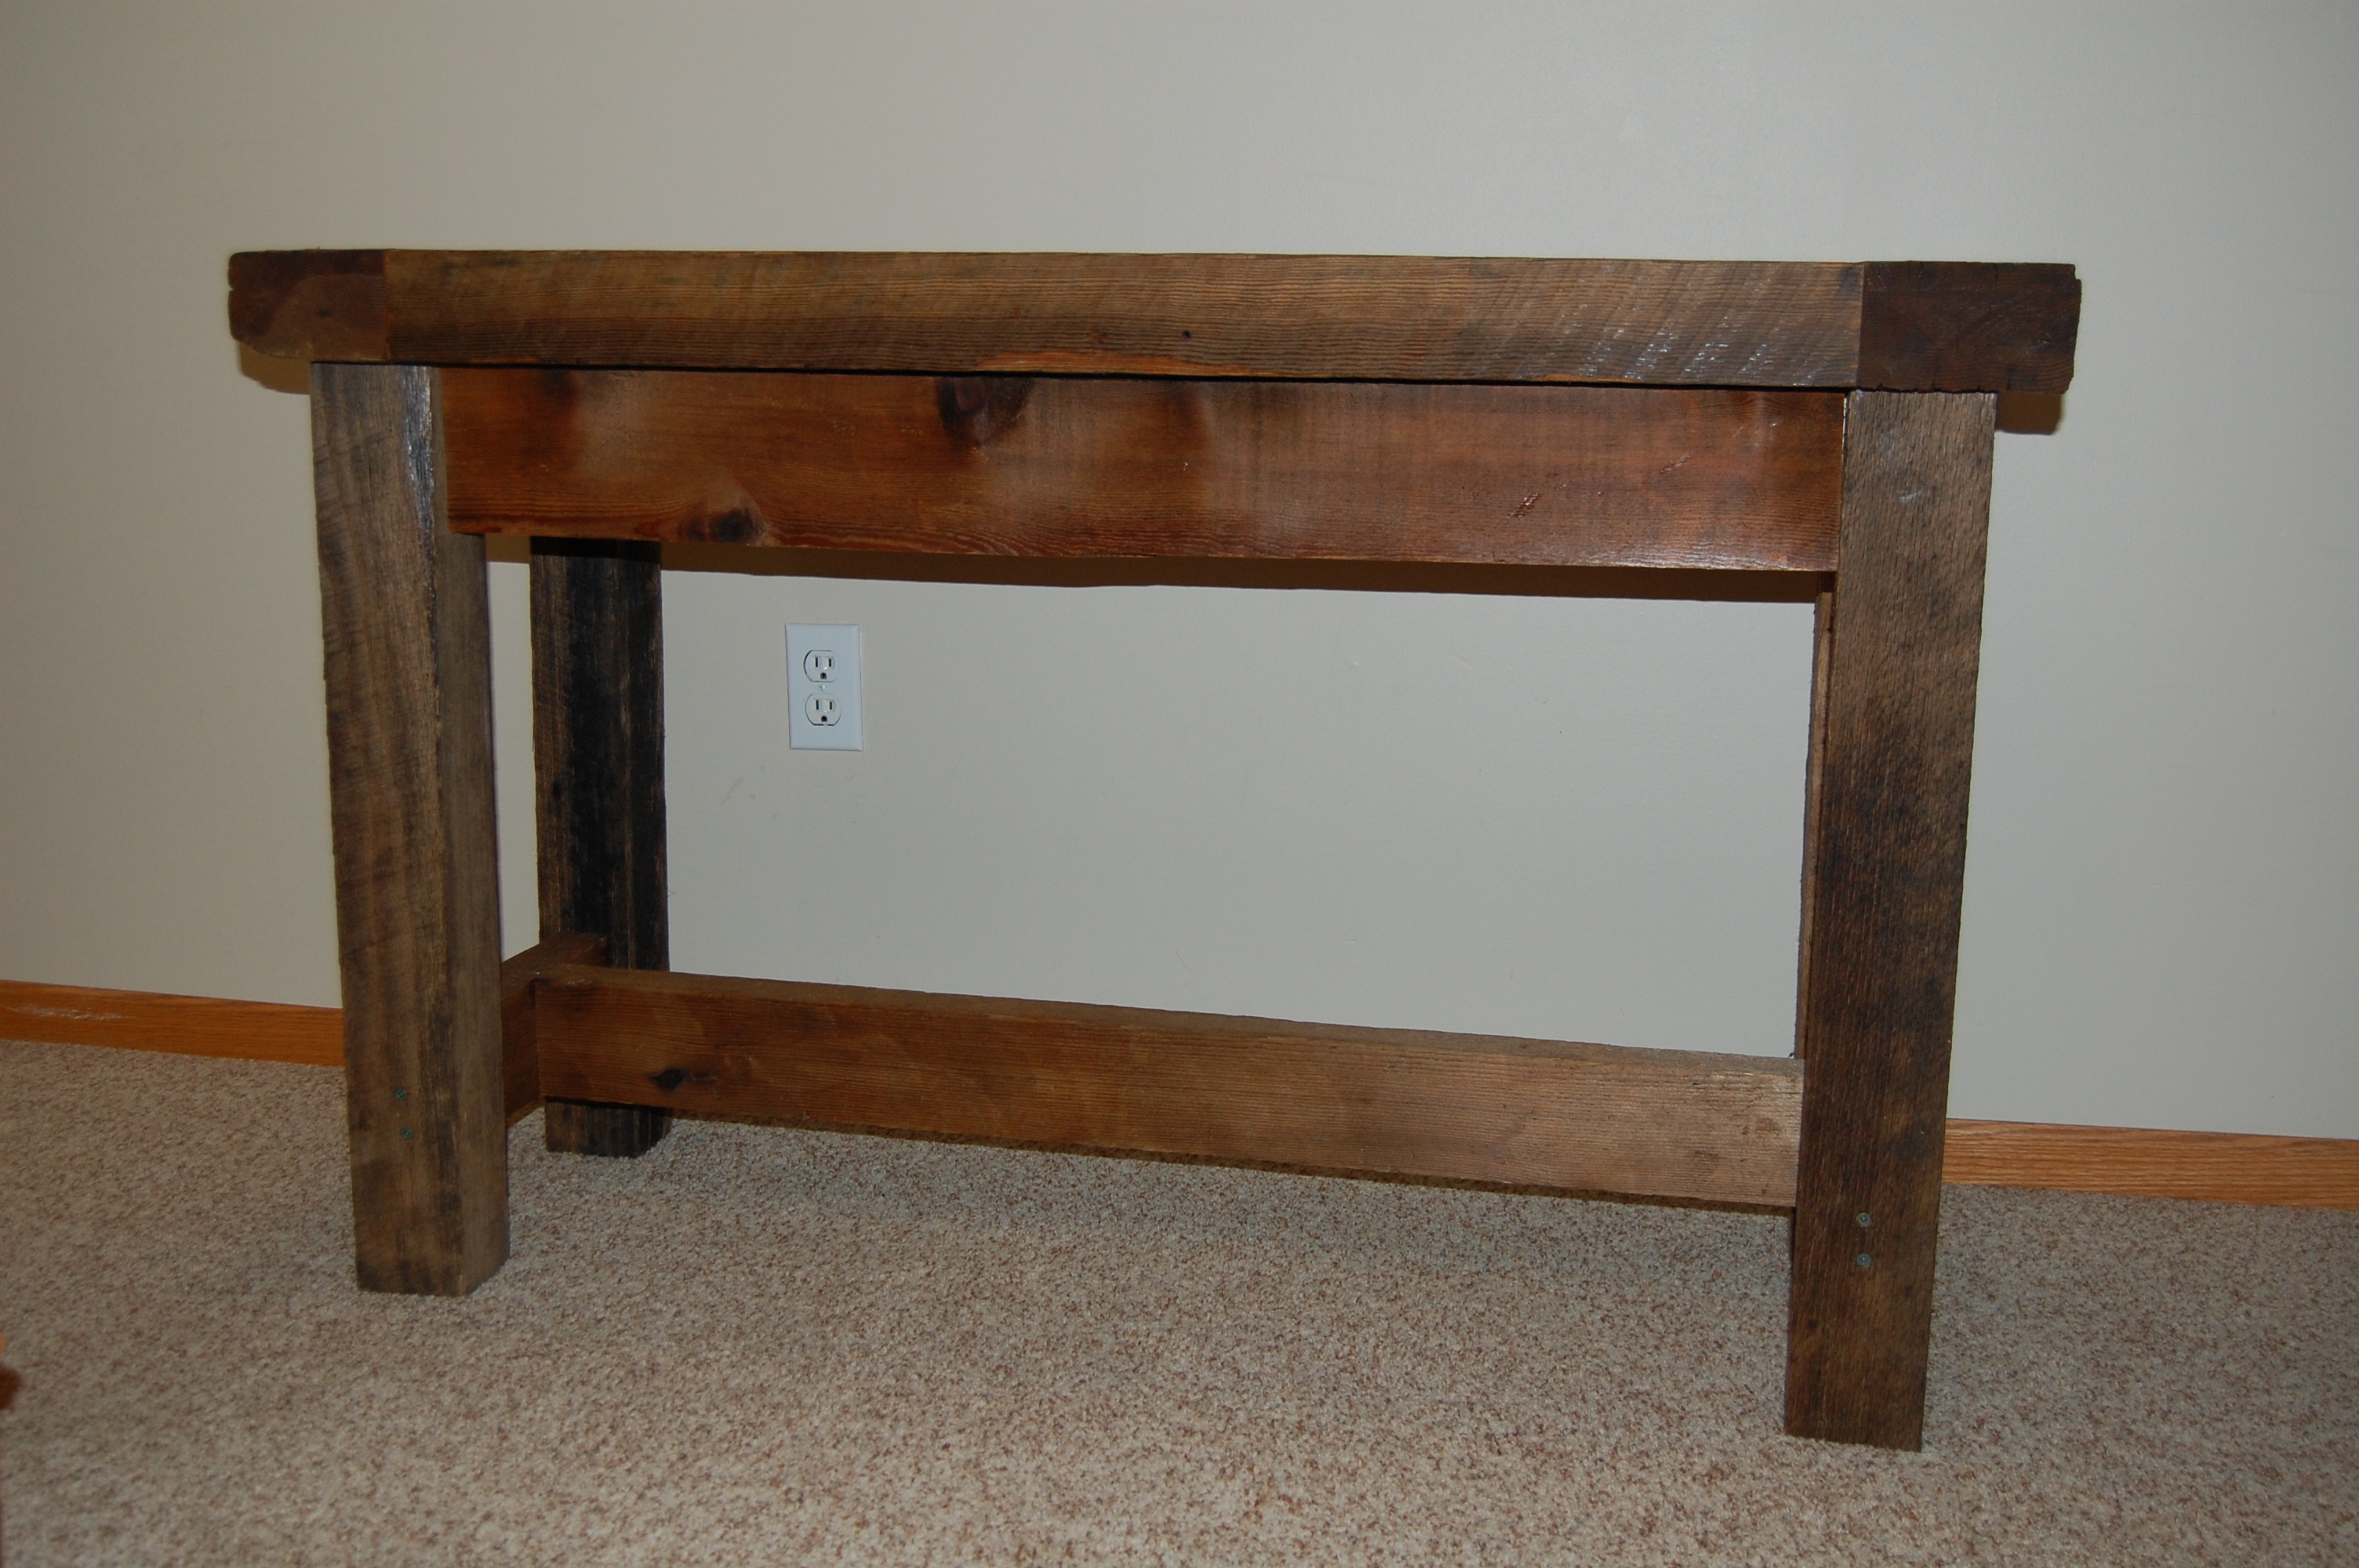
I needed to do something with the empty space at the bottom of our stairs. I was browsing Ana's site and the Tryde Console Table caught my eye. The next trip down to the farm, I scavenged for the wood I would need to build it. I found some beautiful old brigde timbers that were 9 inches wide so we modified the plans a bit to use 2 of the 9" boards instead of the 4 smaller ones the plans call for. The dimensions were close but we needed to tweak the rest of the project a bit as well to make it all work. For the finish, I just rubbed it with Tung Oil as to not cover up the beauty of the old wood.
Built from Plan(s)
Estimated Cost
$20! I used reclaimed wood so I only had to pay for the finish.
Estimated Time Investment
Day Project (6-9 Hours)
Finish Used
Tung Oil
Recommended Skill Level
Beginner
Comments
Tue, 02/12/2013 - 02:51
Perfectly done...Made in
Perfectly done...Made in small period and very cheap price. Good work.