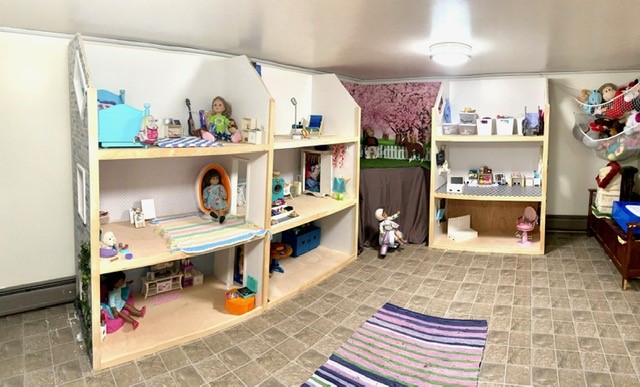
American Girl Dollhouse
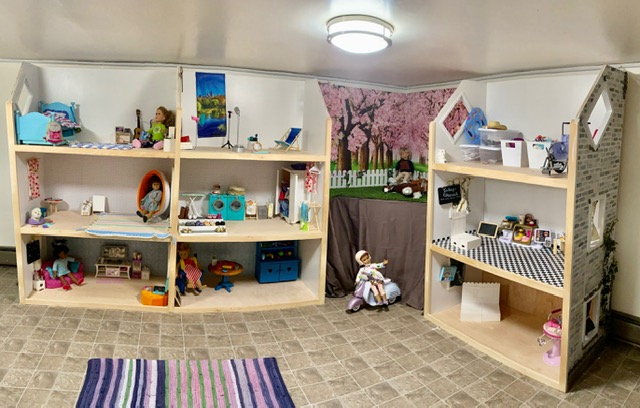
American Girl dollhouse built using PureBond Plywood, Kreg K4, and Ryobi tools!
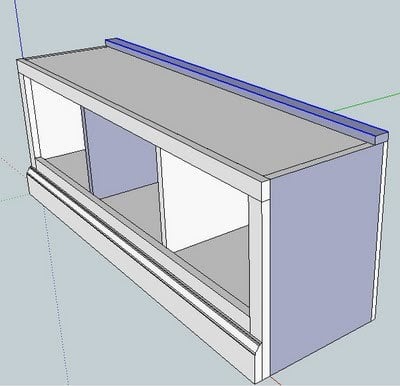
Built from Plan(s)
American Girl dollhouse built using PureBond Plywood, Kreg K4, and Ryobi tools!

I love making thing for our son. i document most of it at http://madeatthisplace.blogspot.com.au/
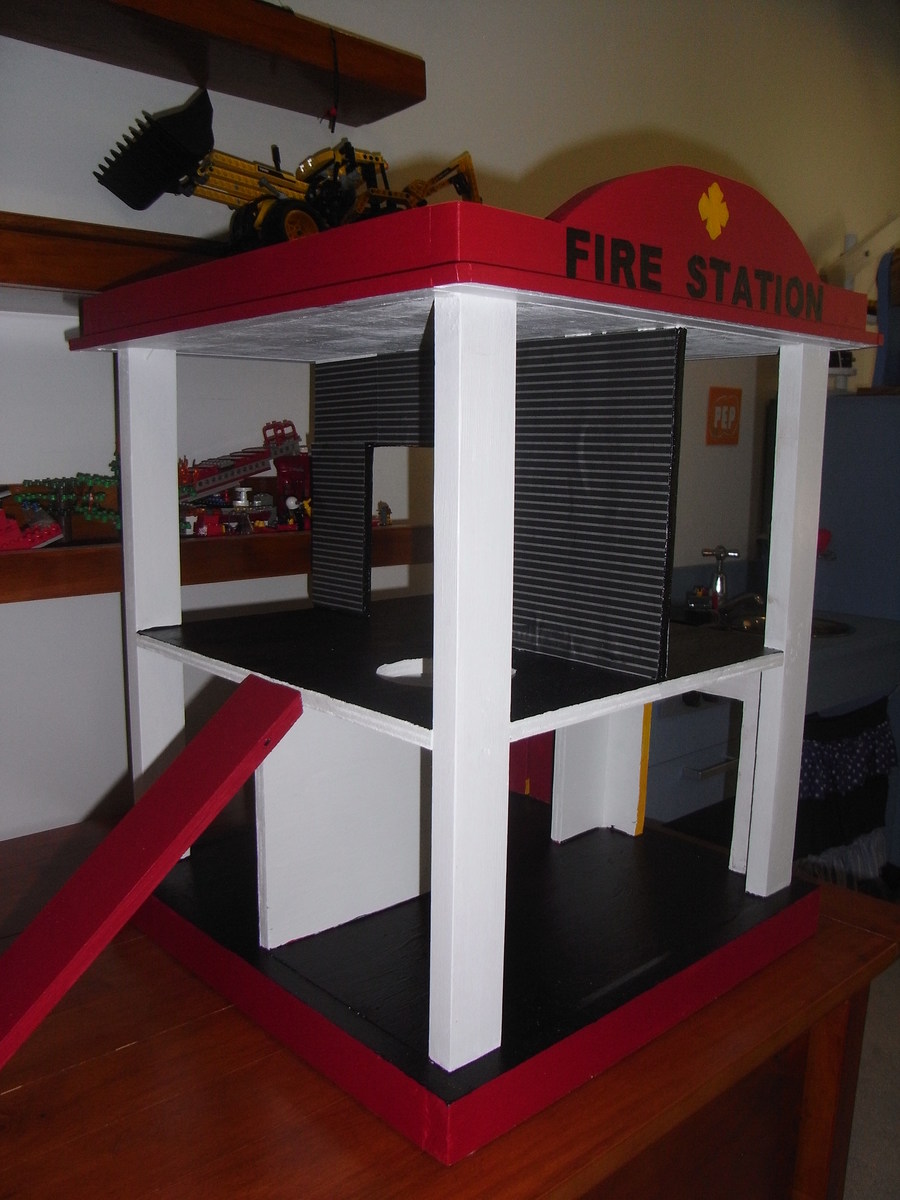
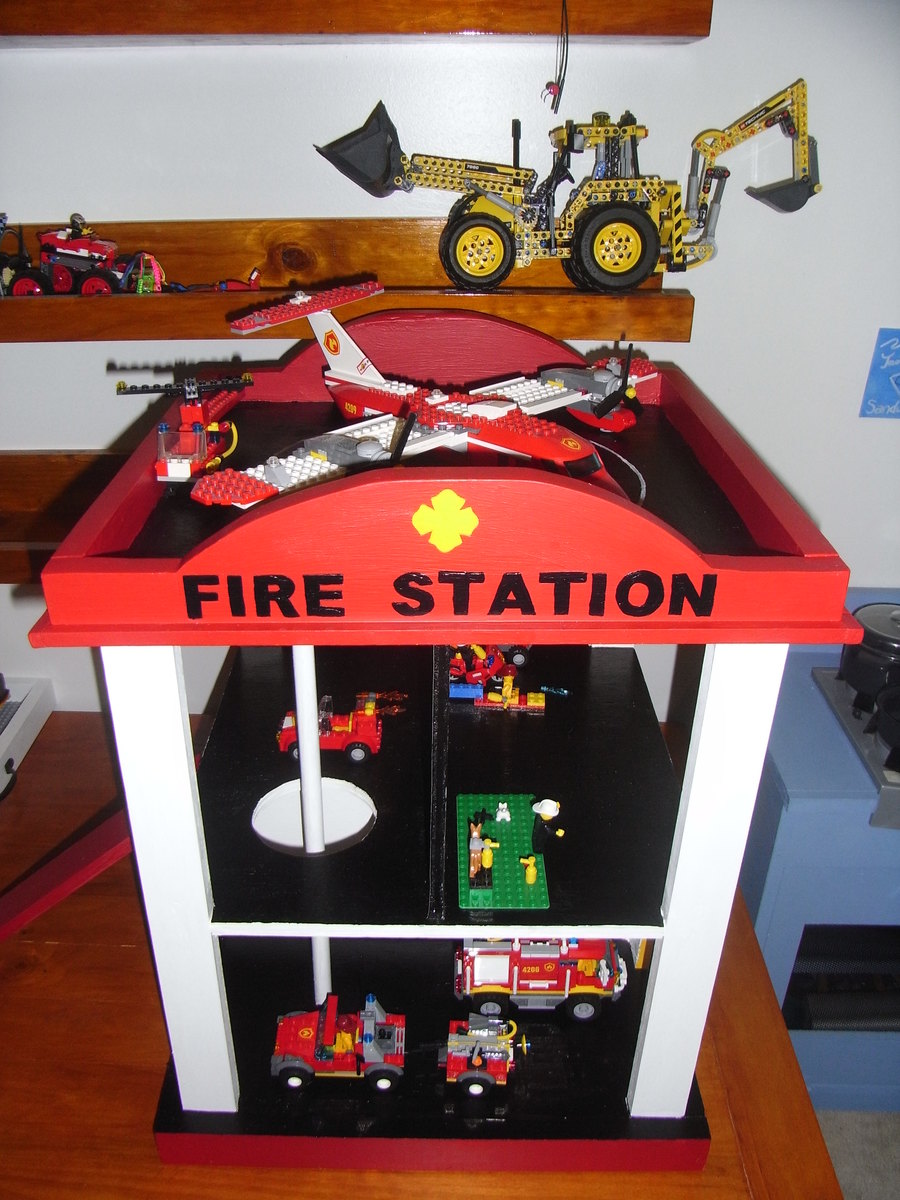
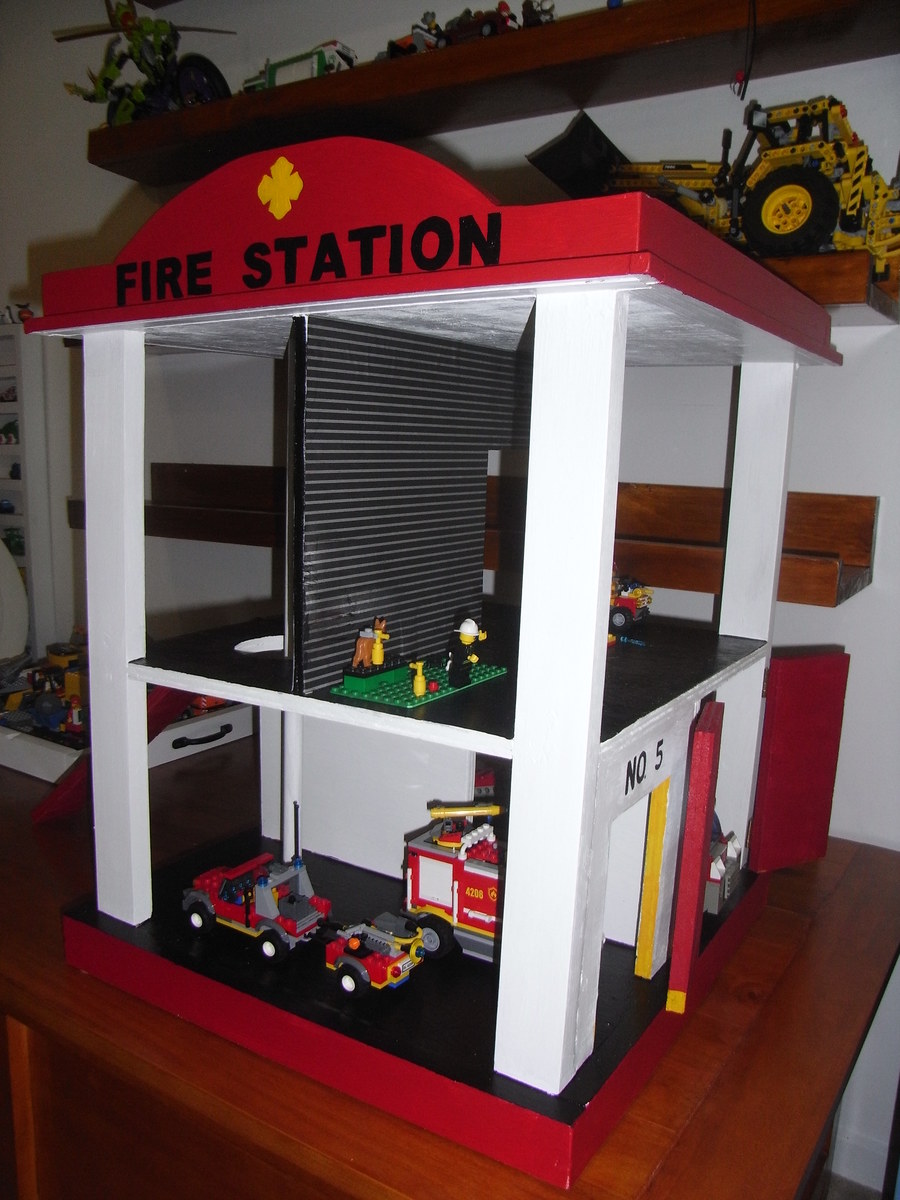
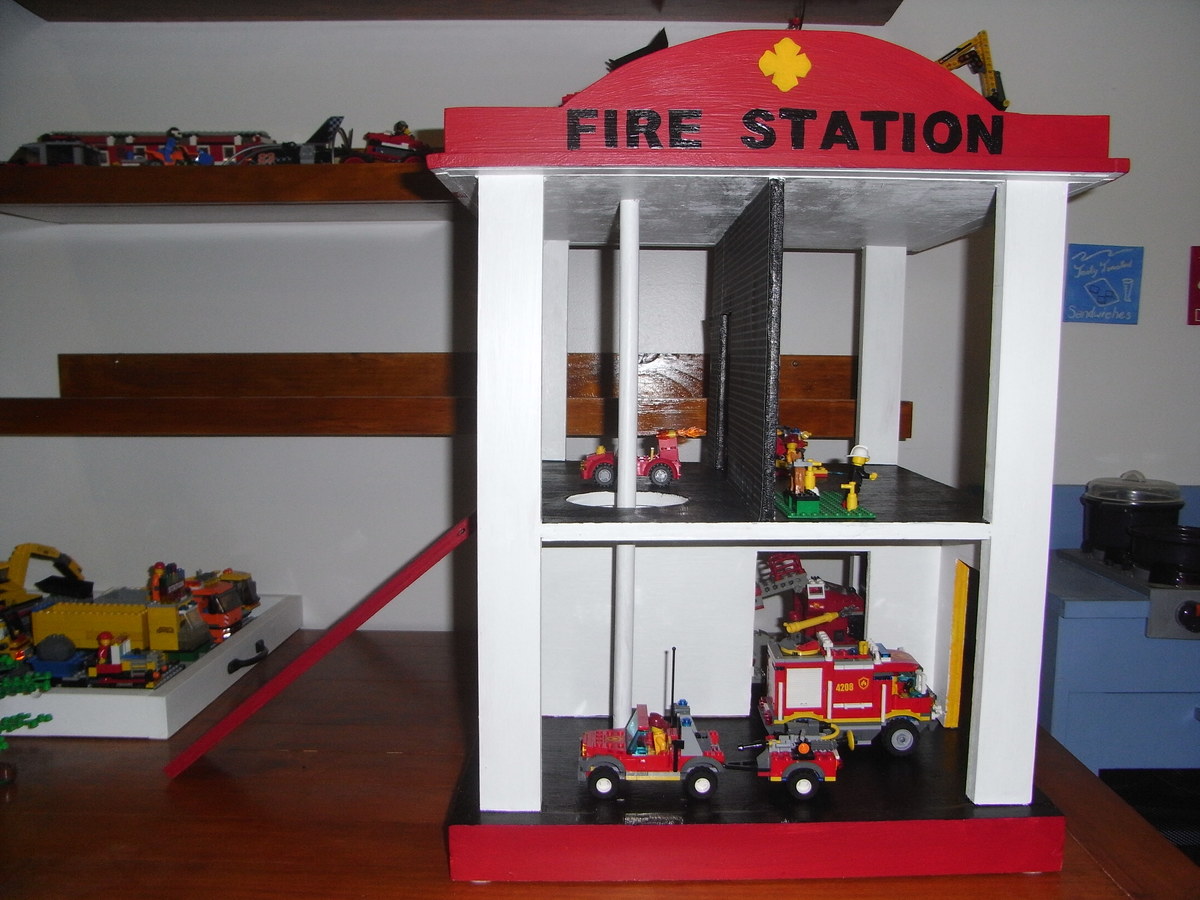
Our son has a lot of Lego, especially fire engine Lego.
It was spread out everywhere and we needed to contain it.
This fire station playhouse was perfect.
I added a ramp so the cars and trucks could get up to the top level and garage doors on one side as our house is more like a garage then a fire station.
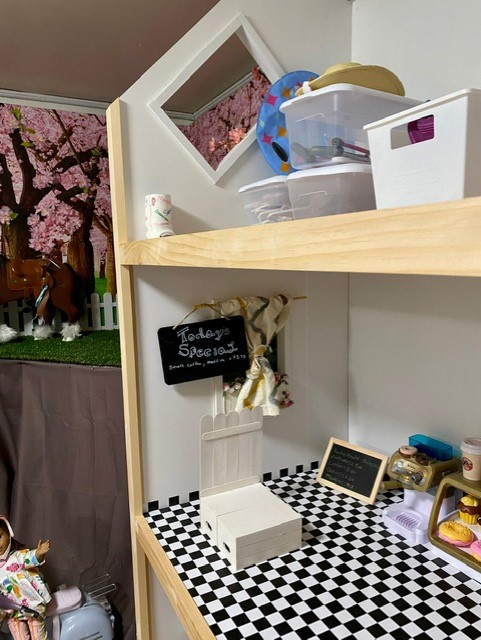
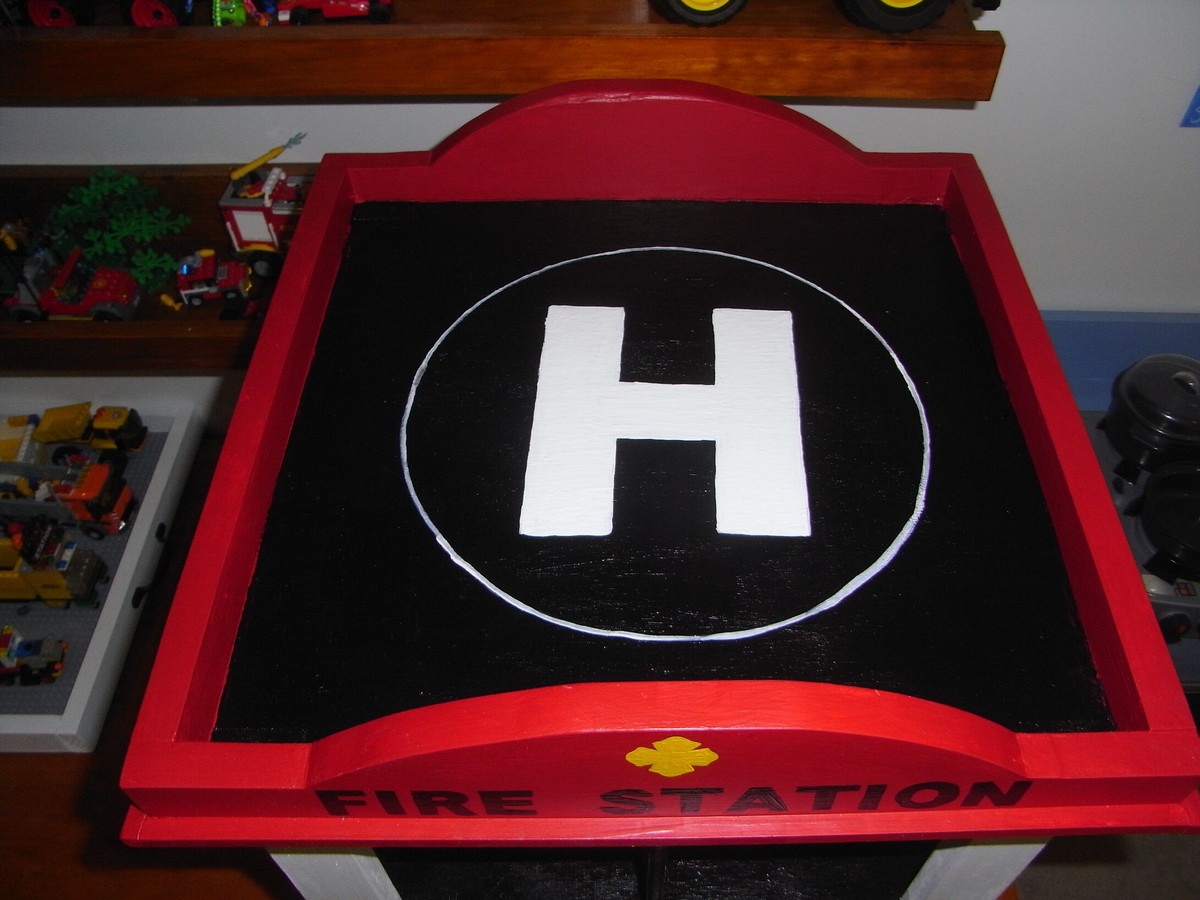
I used scrapbooking paper on the upper level walls and painted a H on the roof for the helicopter. (or in our case a plane).
Mon, 05/06/2013 - 04:31
Awesome job!!! I don't see much built for boys and this is just an awesome playset, I will defiantly be doing something like this for my grandson. I especial like that it's up off of the floor.
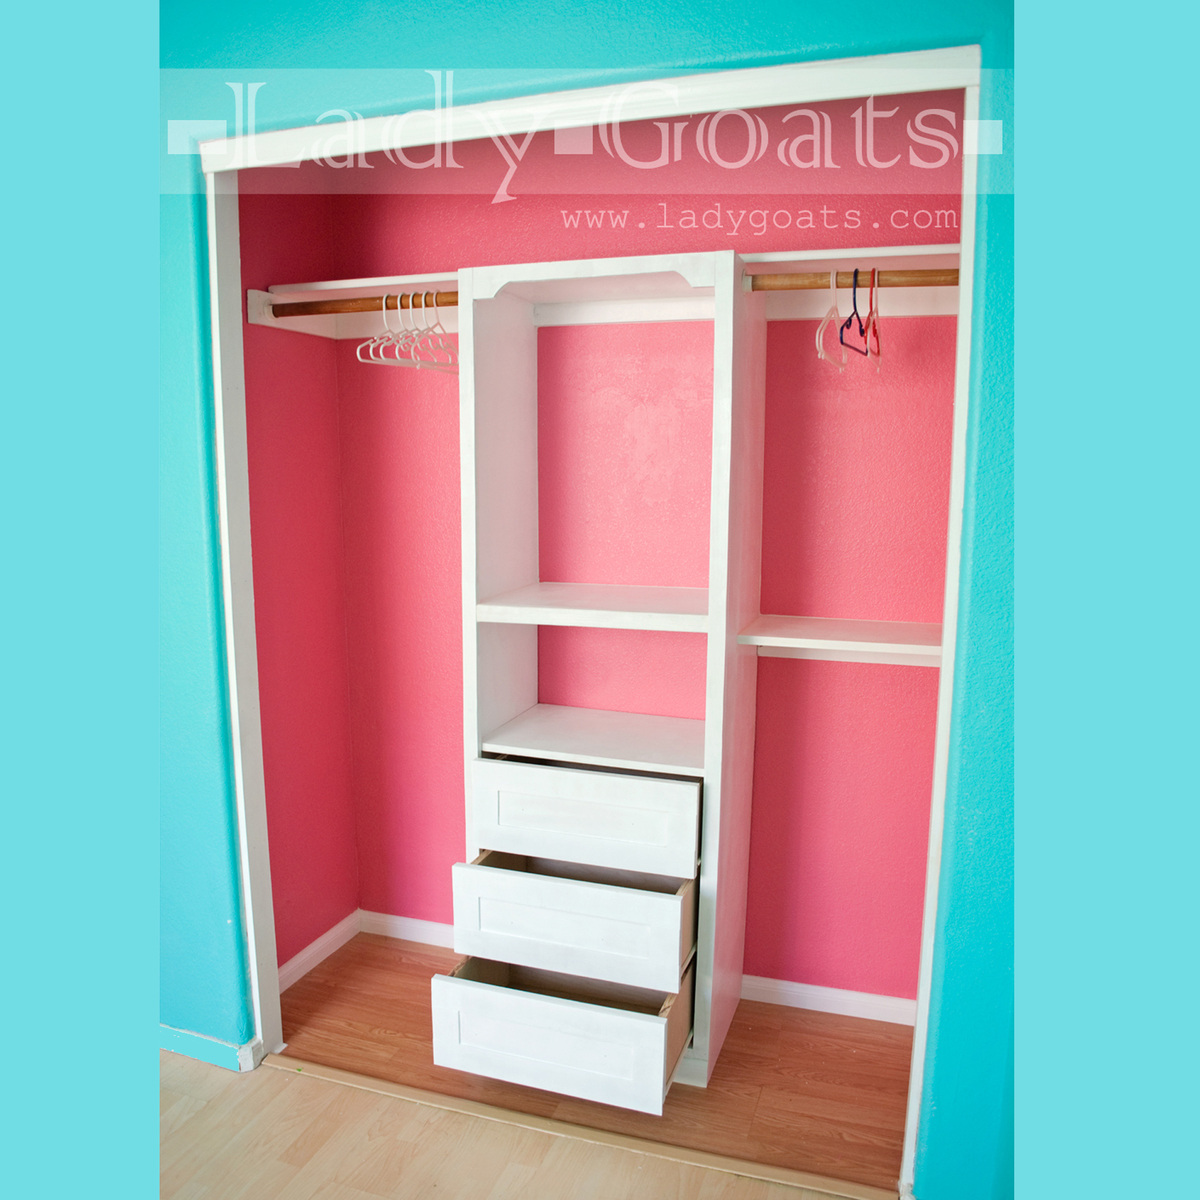
We had issues in Baby Goats' closet, which prompted a big closet re-do! Chose to use the plans for the Closet tower, and I LOVE it! You can read more about it here.
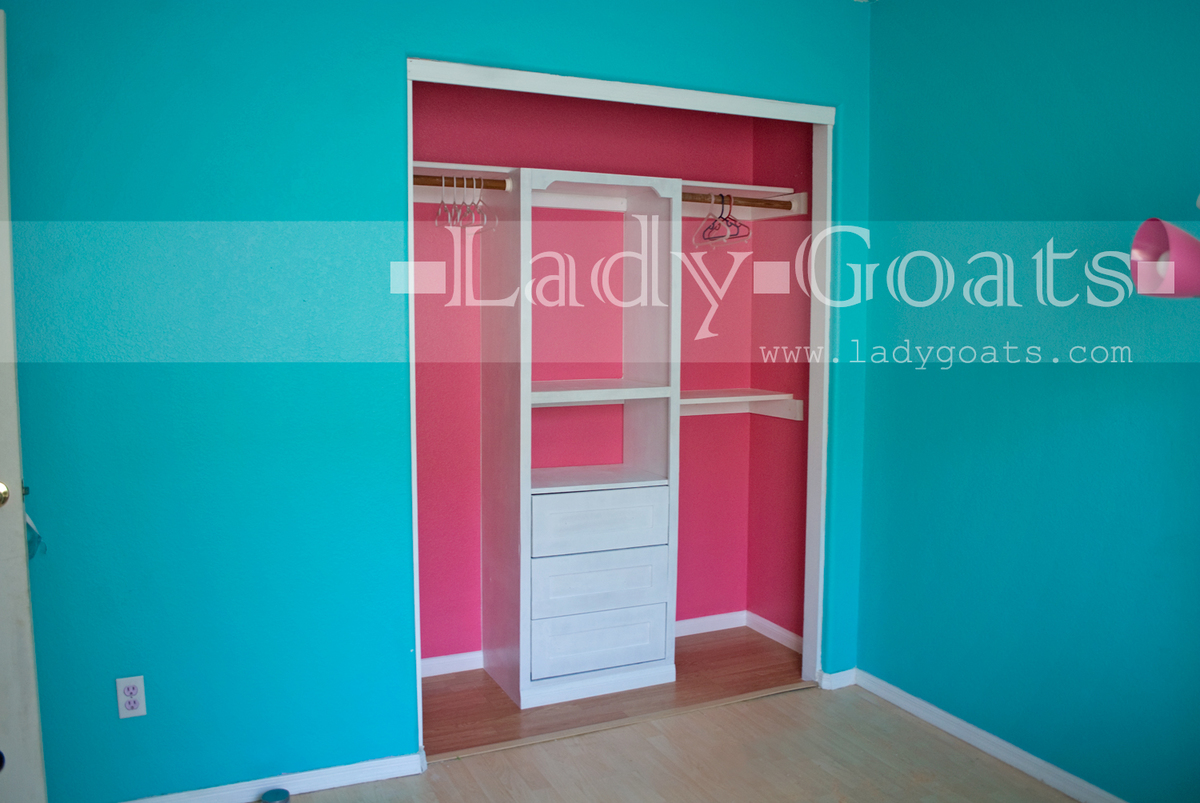

Followed the plans closely. Stained before assembly for the two color look.
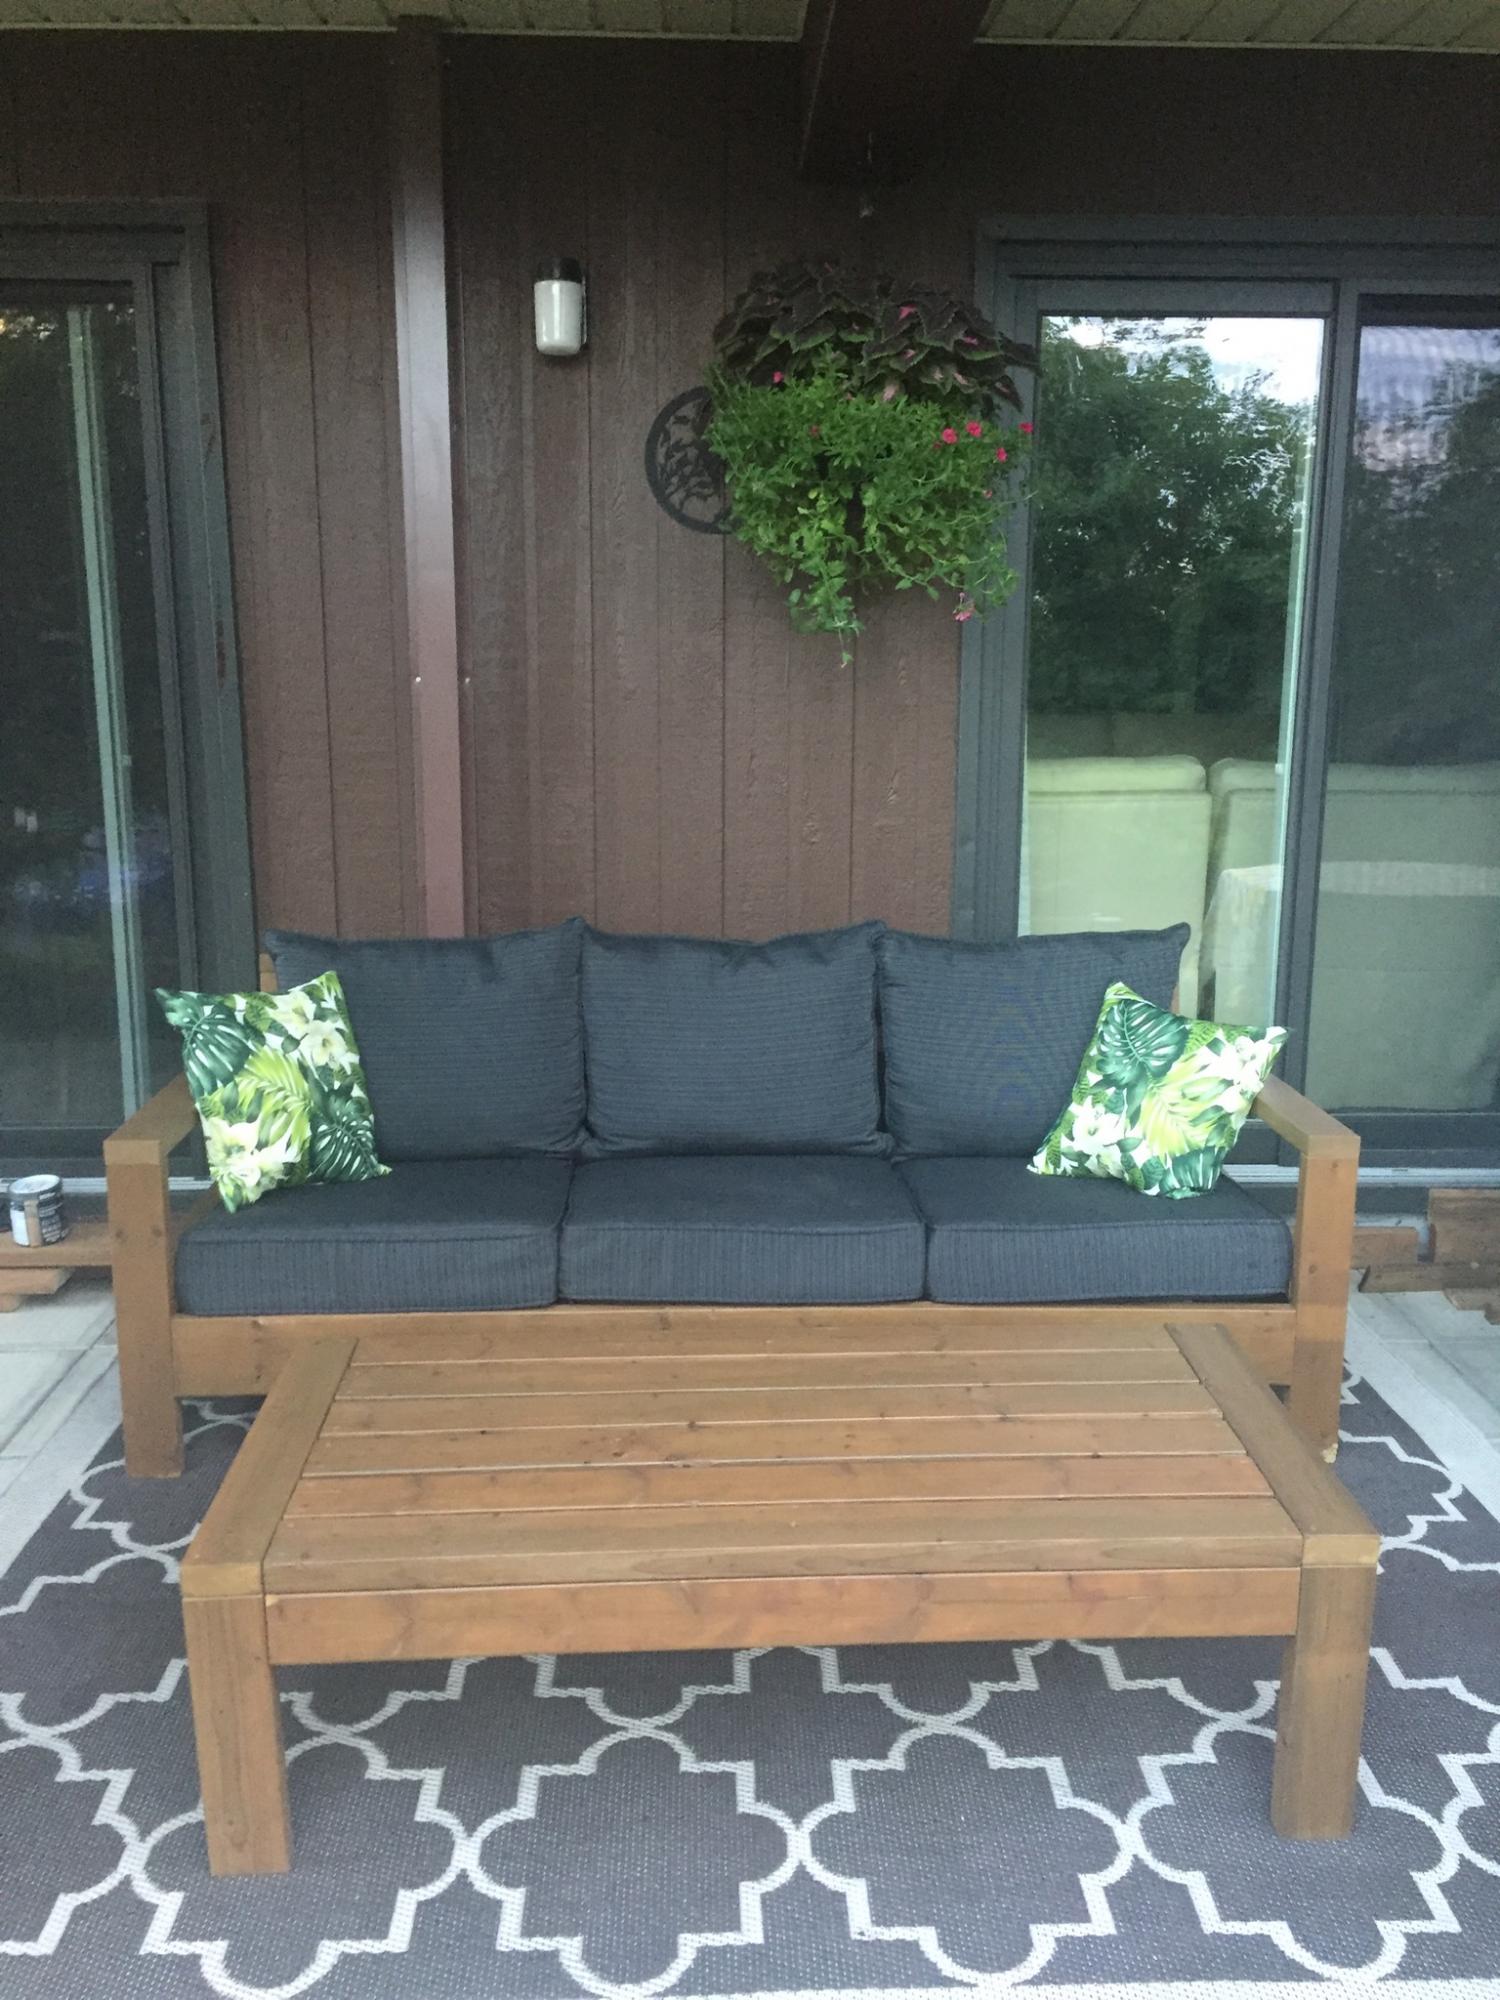
I love my Sofa and coffee table!
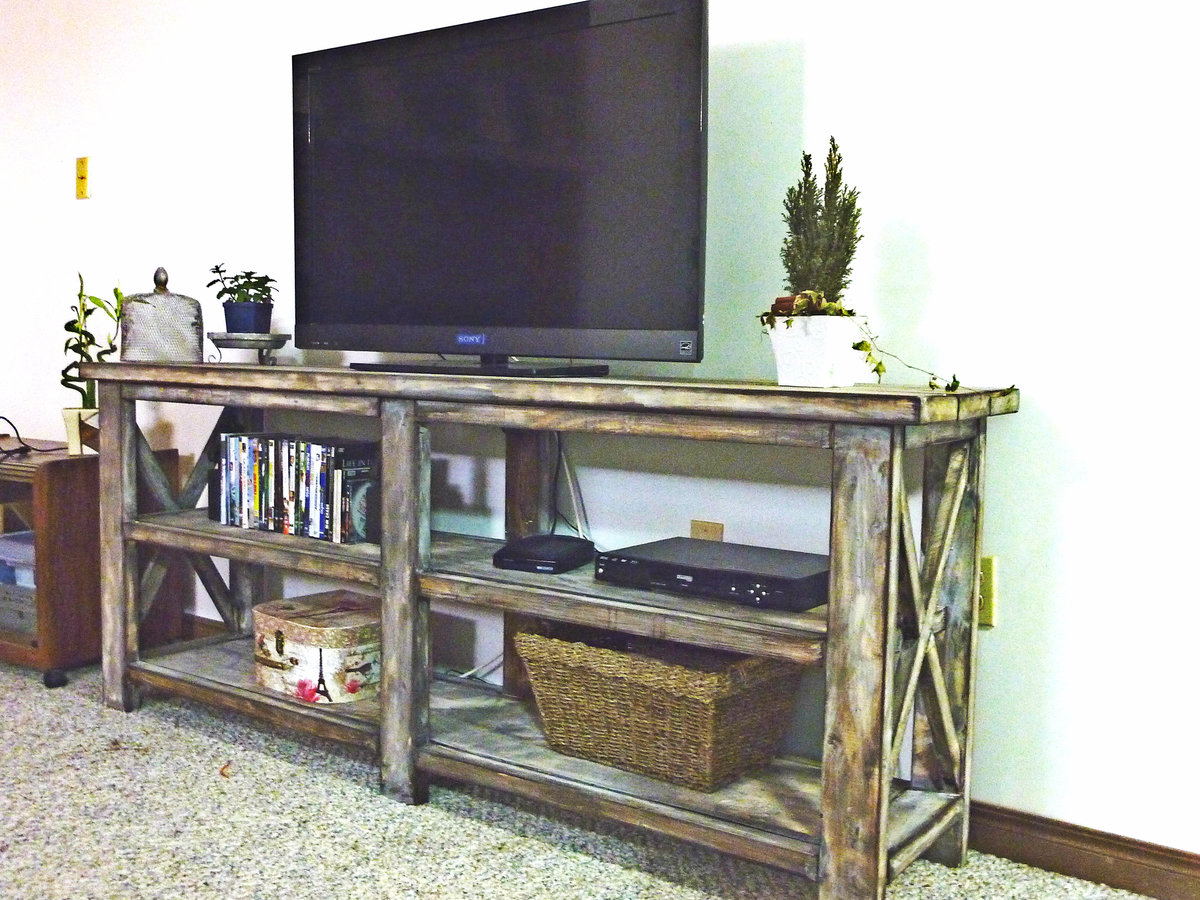
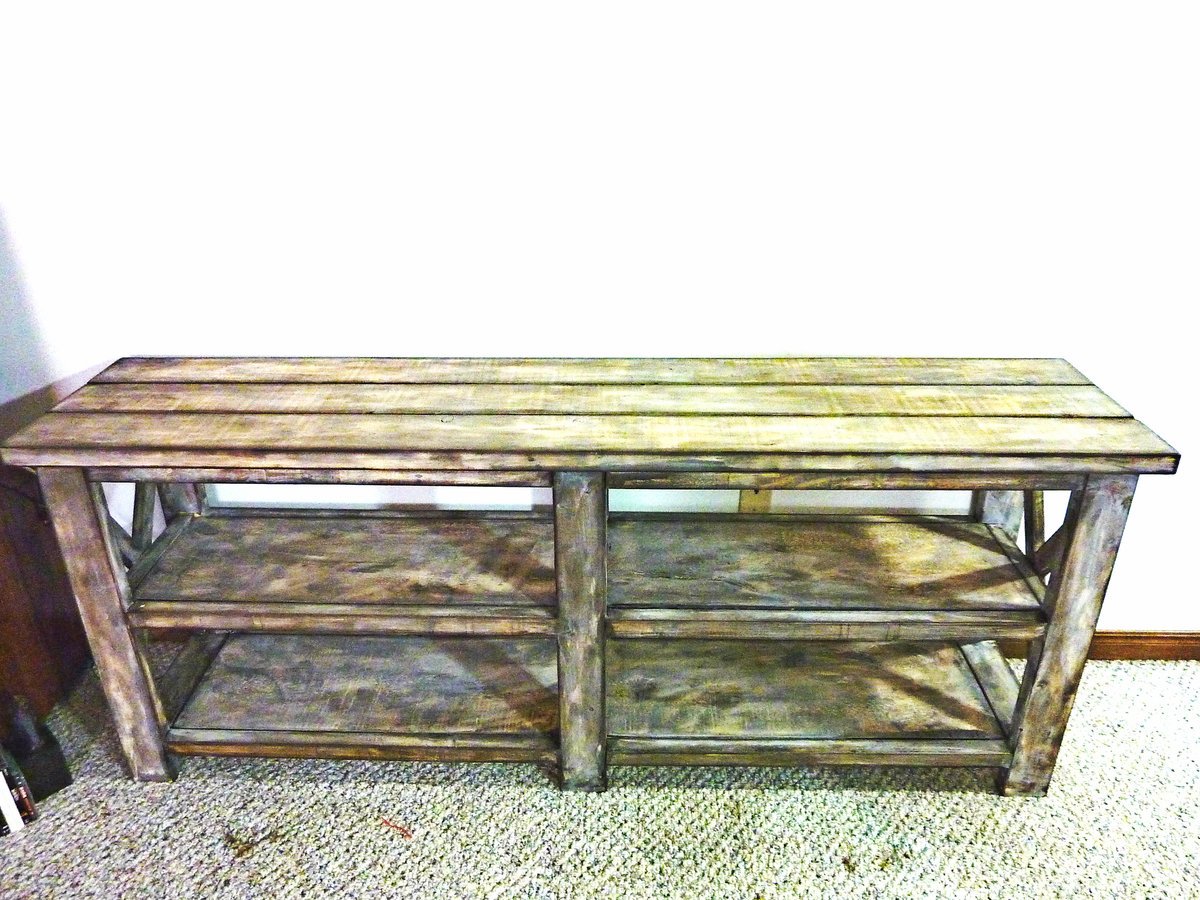
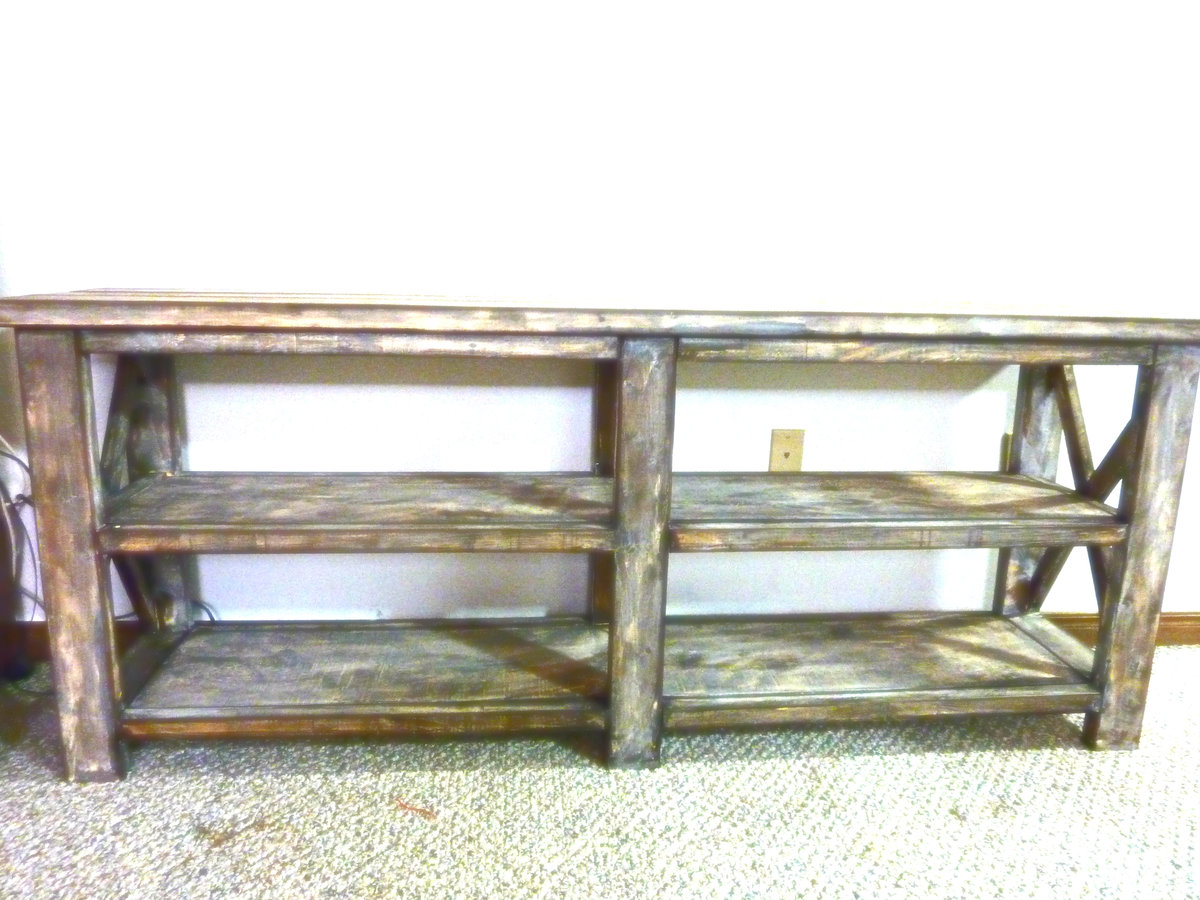
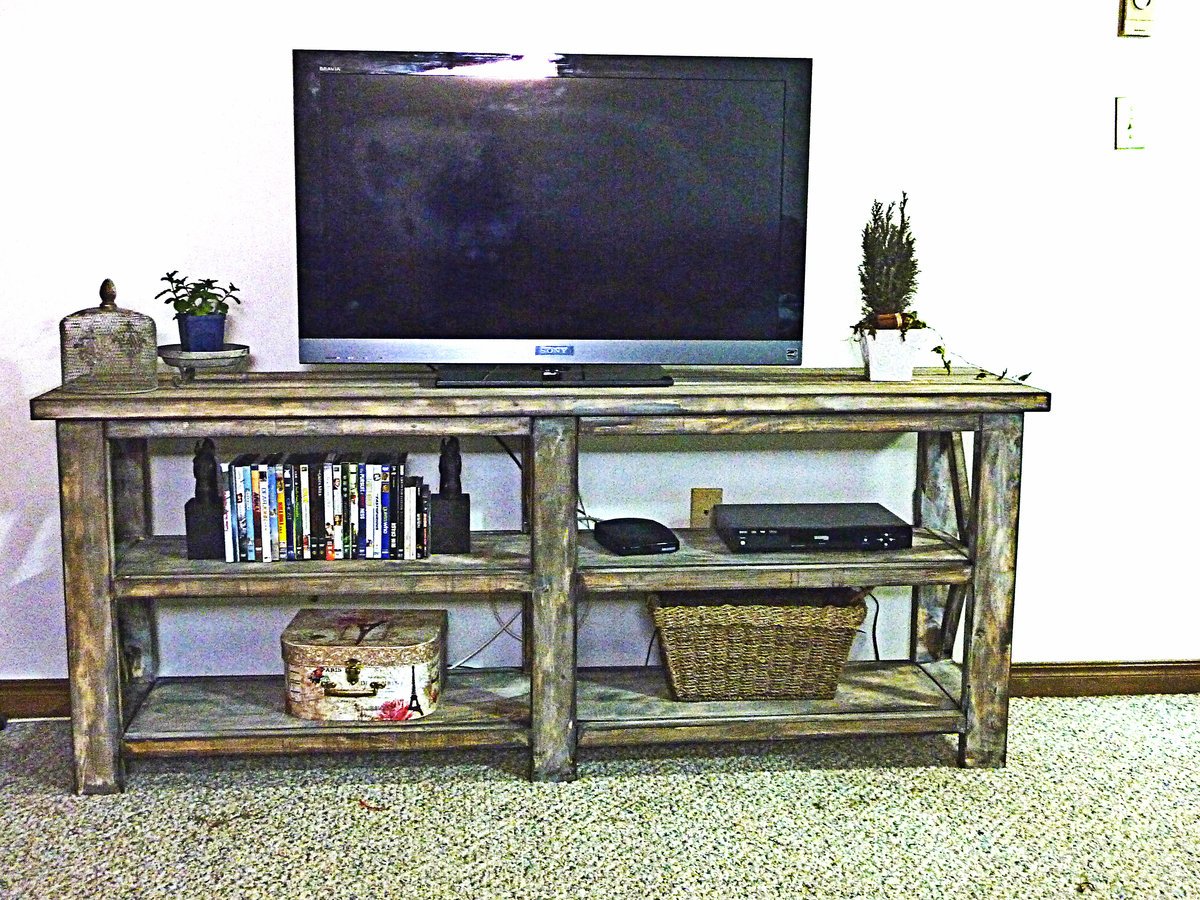
This is my second build and I'm so pleased with how it turned out! I bought a Kreg Jig especially for this project, and I honestly don't know how I ever lived without it!
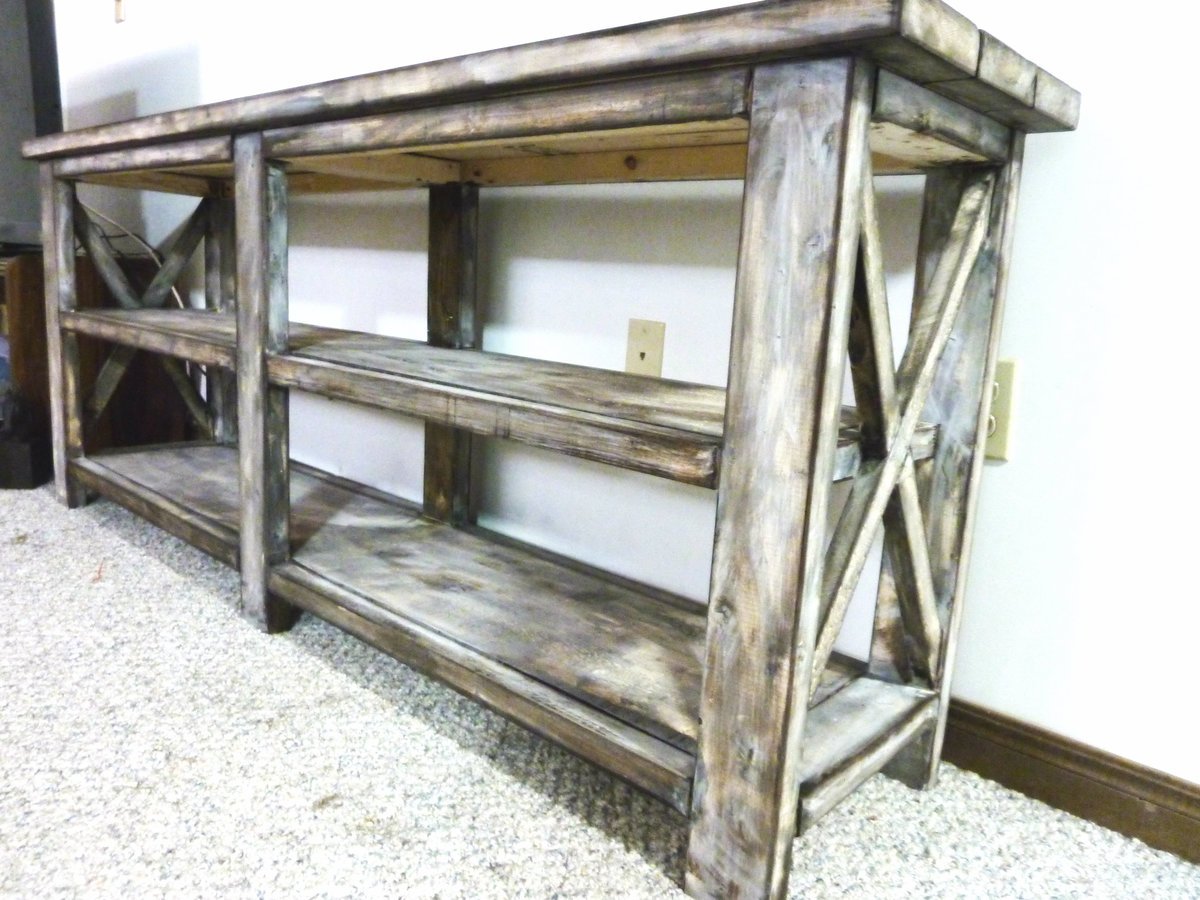
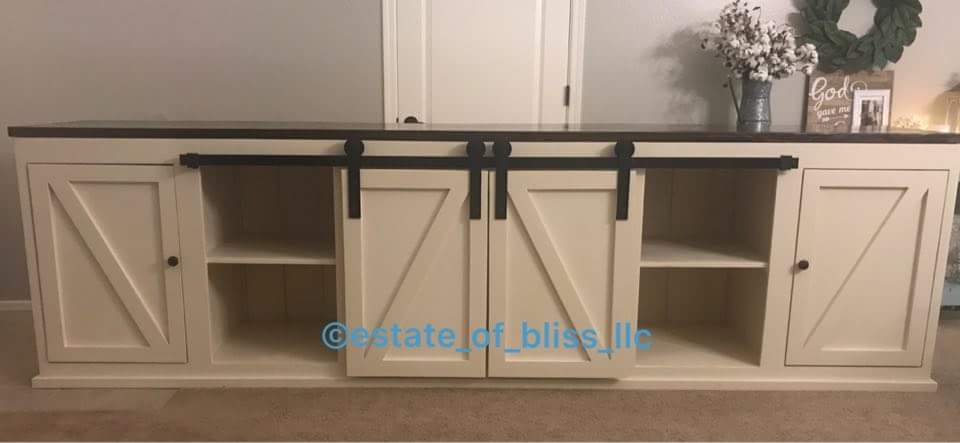
I'd been wanting a new console for our TV and this seemed perfect.


Fri, 08/02/2013 - 06:54
This looks awesome, I wasn't planning on building the console table to match my coffee table, but after seeing how yours turned out I might have to work on this next! I love the cool finish that you did!
Surprisingly simple. We used 4x4s for the diagonal supports because I prefered the look.

My husband and I built this on Sunday- I love how it turned out! The hardest part was finding cushions, and carrying it up a flight of stairs!
Wed, 06/05/2019 - 08:40
I am looking to build something very similar! I was wondering where you purchased your cushions they are beautiful!
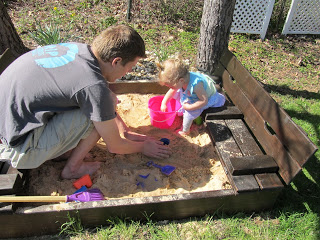
I gave this one to my Dad to do. Of course he made some changes. But she loves her sand box and we love it too! Thought I would share some pictures of the construction after he brought the parts to our house. 400 pounds of sand later.
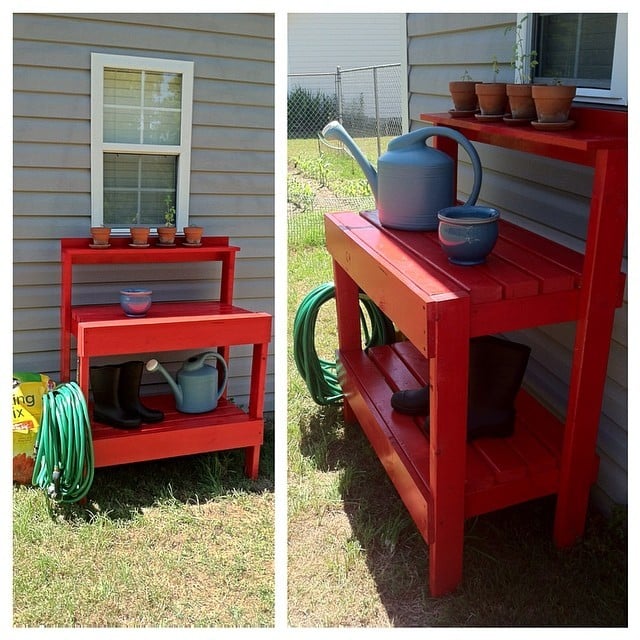
This was the first building project I completed by myself start to finish! I was able to use 2x4s we already had in the garage (sorry husband!) and some scrap wood for the few other pieces it required. The only thing I added to the plans was some trim for the front.
I built this last summer and since then the shelf on the very top has warped a bit. I would recommend adding extra support. It rains a lot here, and I think that contributed to it warping. Other than that, it has held up very well and the shelf can easily be fixed with some brackets.
Overall, this was a great first build for me! The plans were straightforward and easy to follow. And there's just nothing more rewarding than standing back at the end of a day of building and thinking, Hey I made that :)
Sat, 04/04/2015 - 14:15
Thank you!! I loved the red one in the plans and just had to have one of my own!
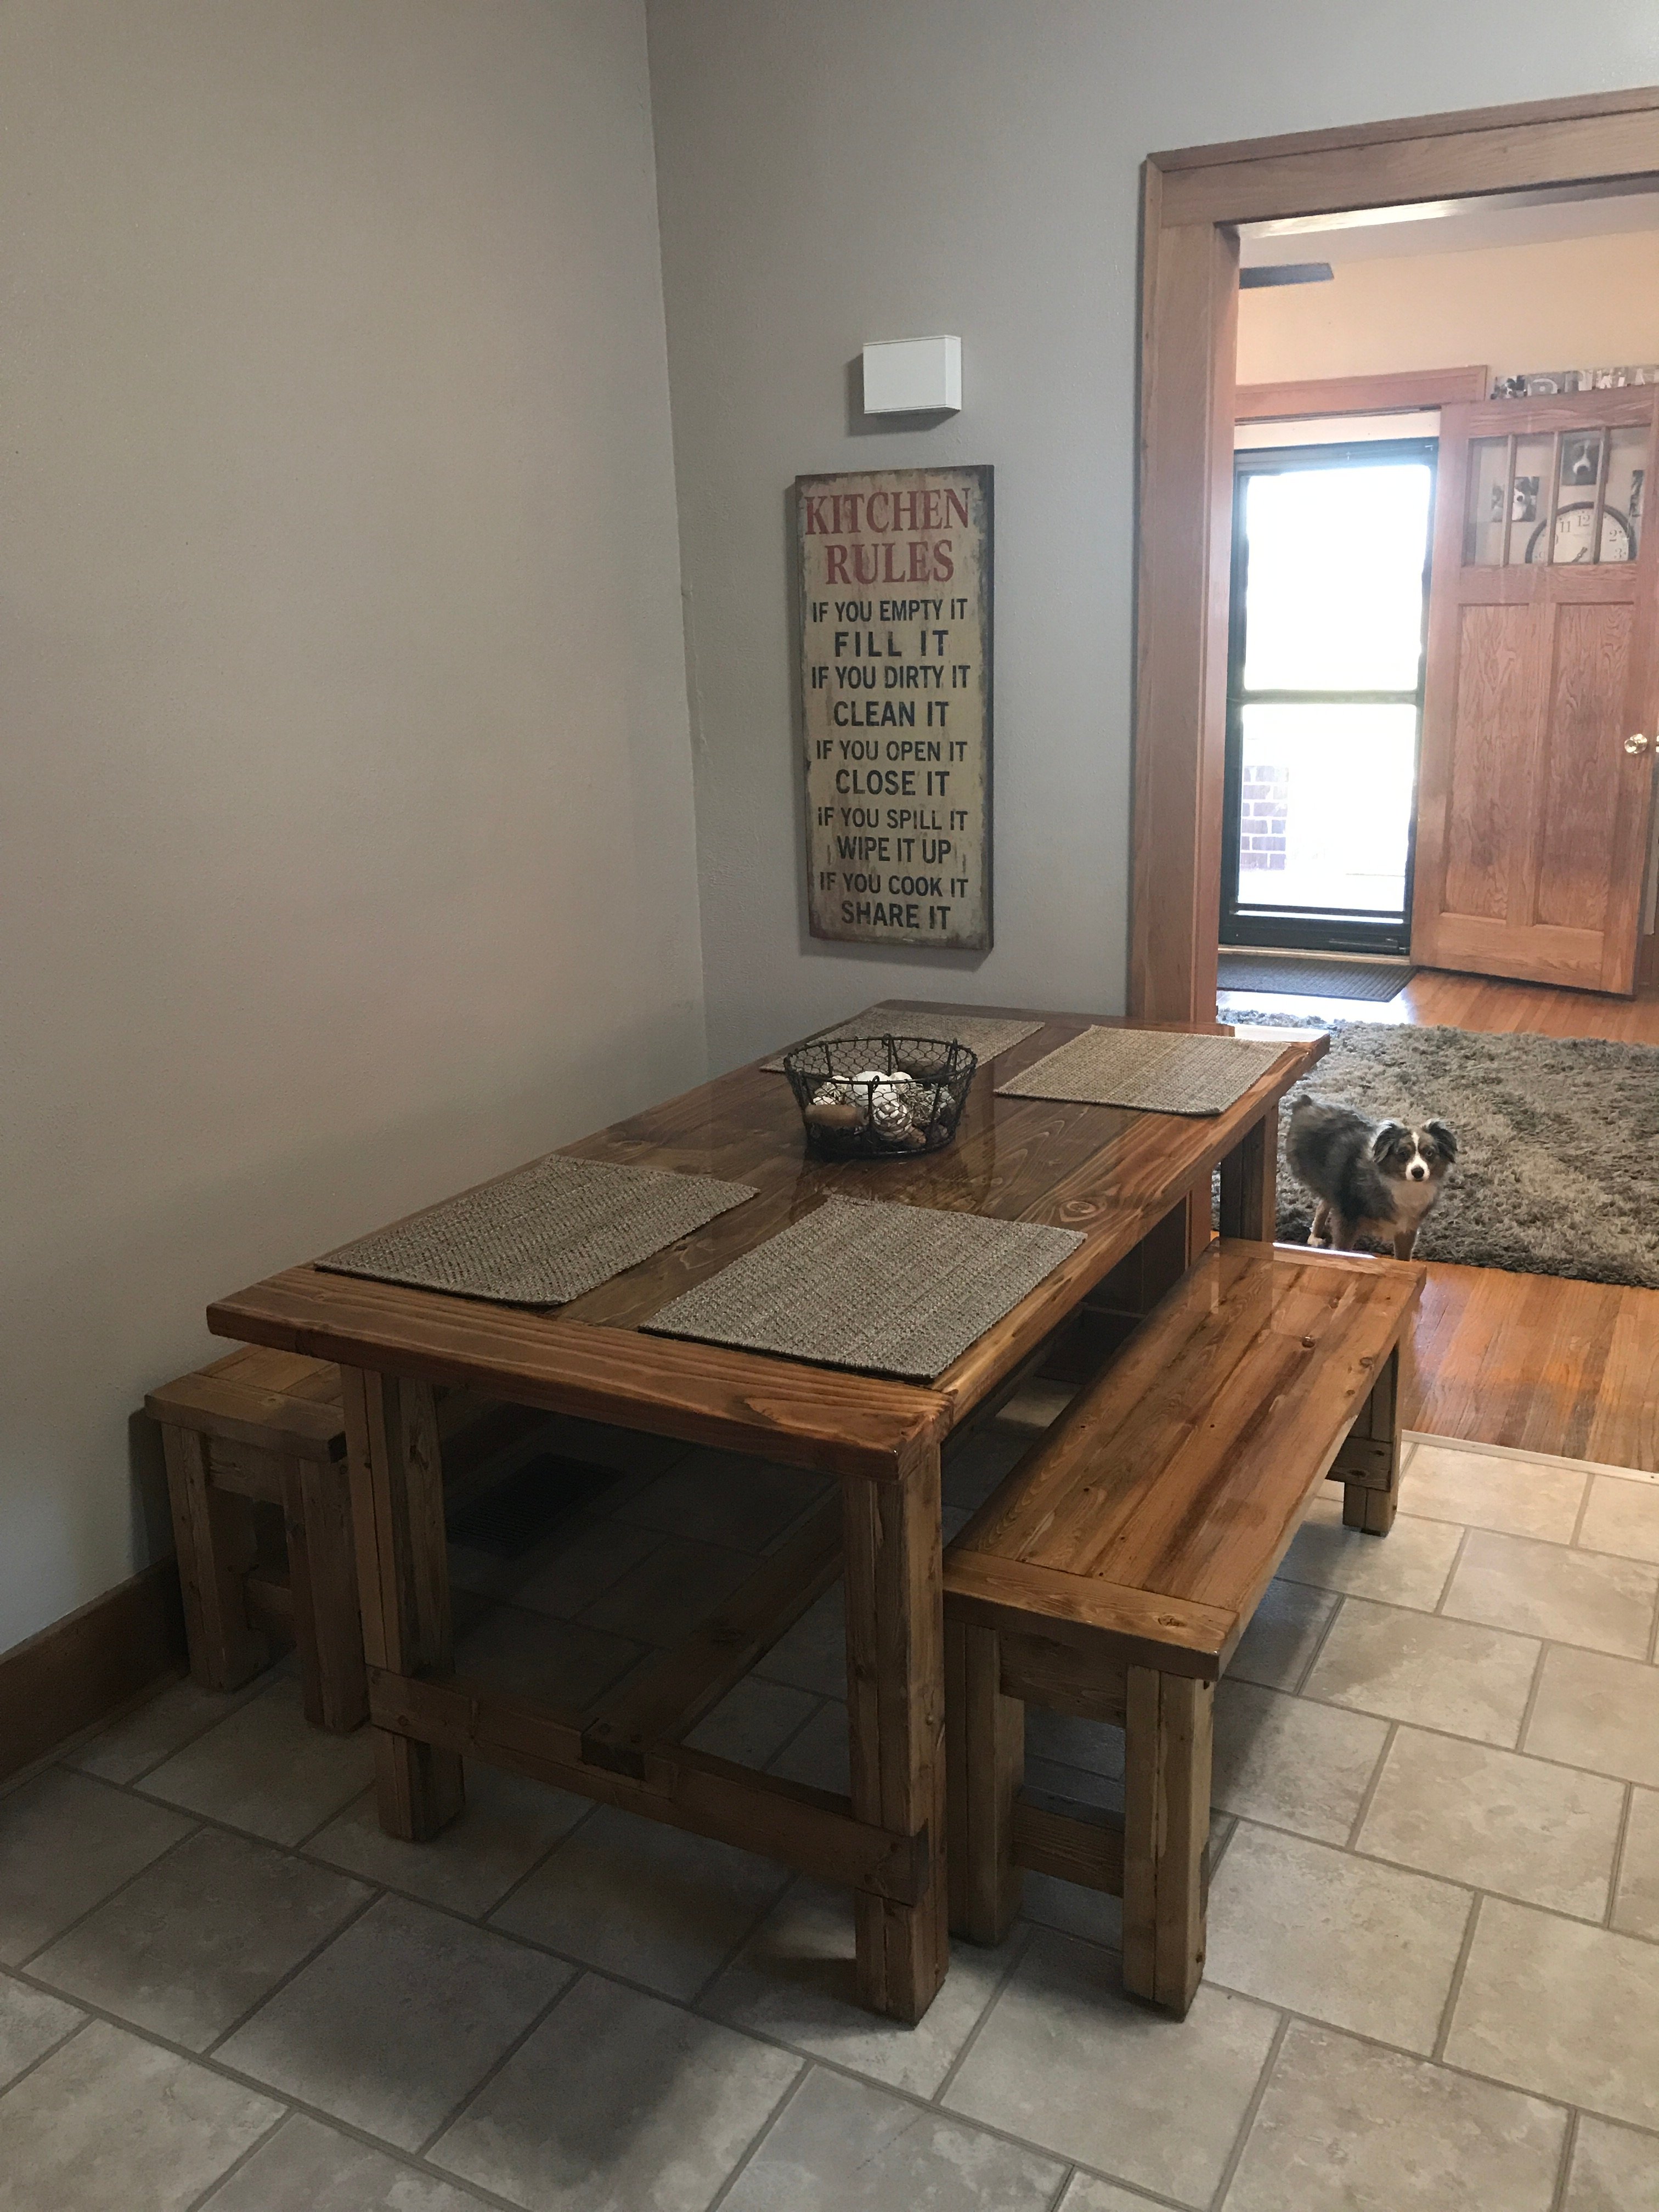
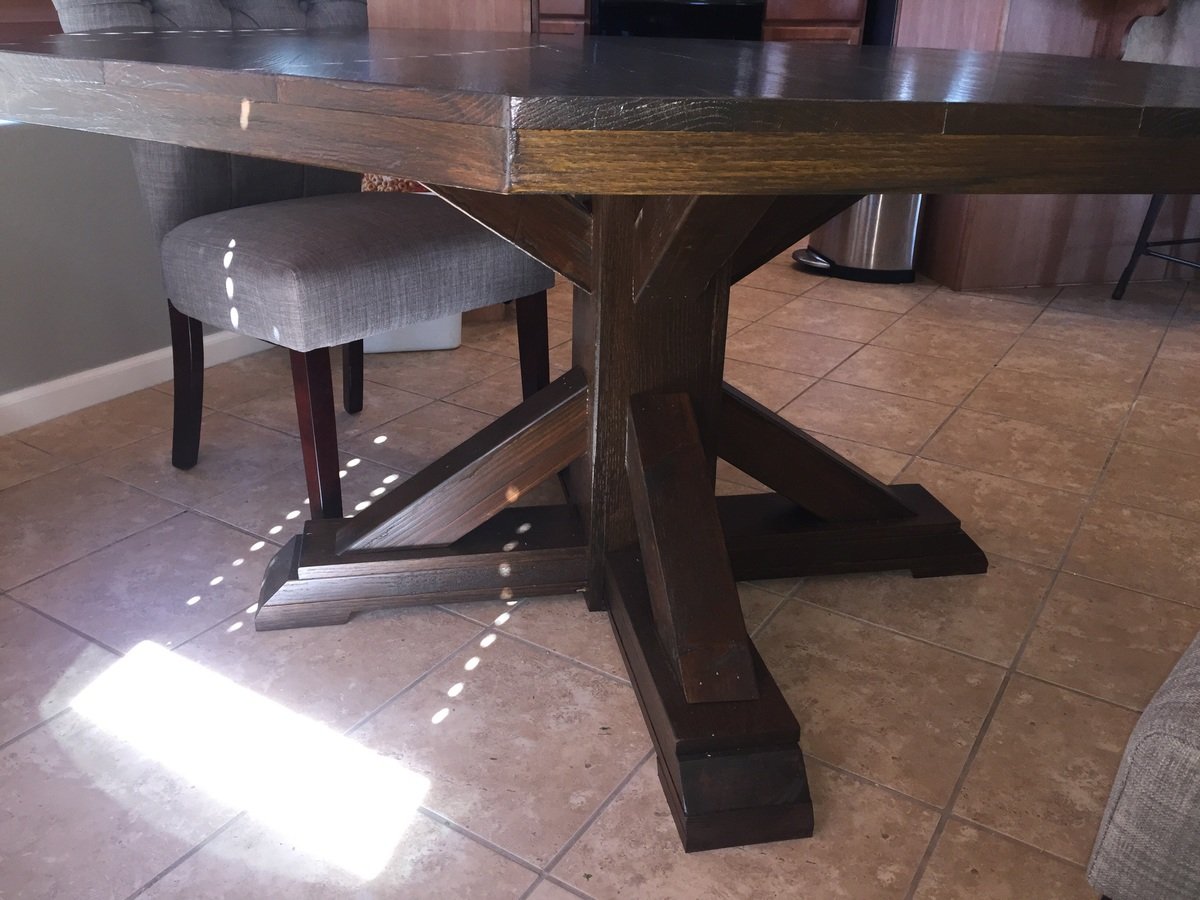
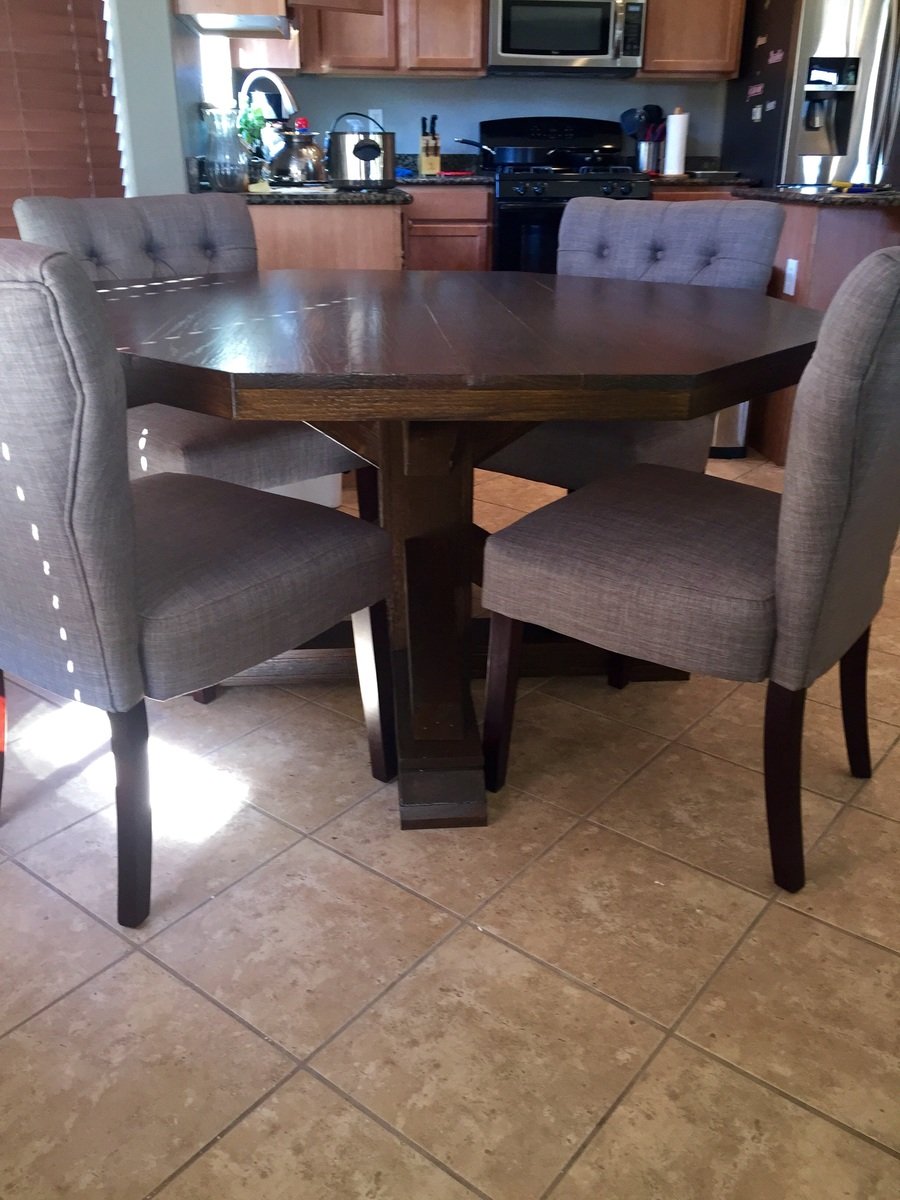
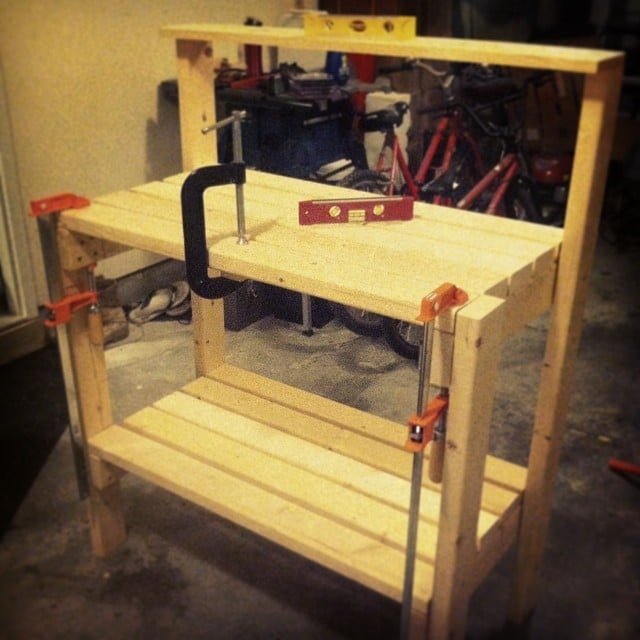
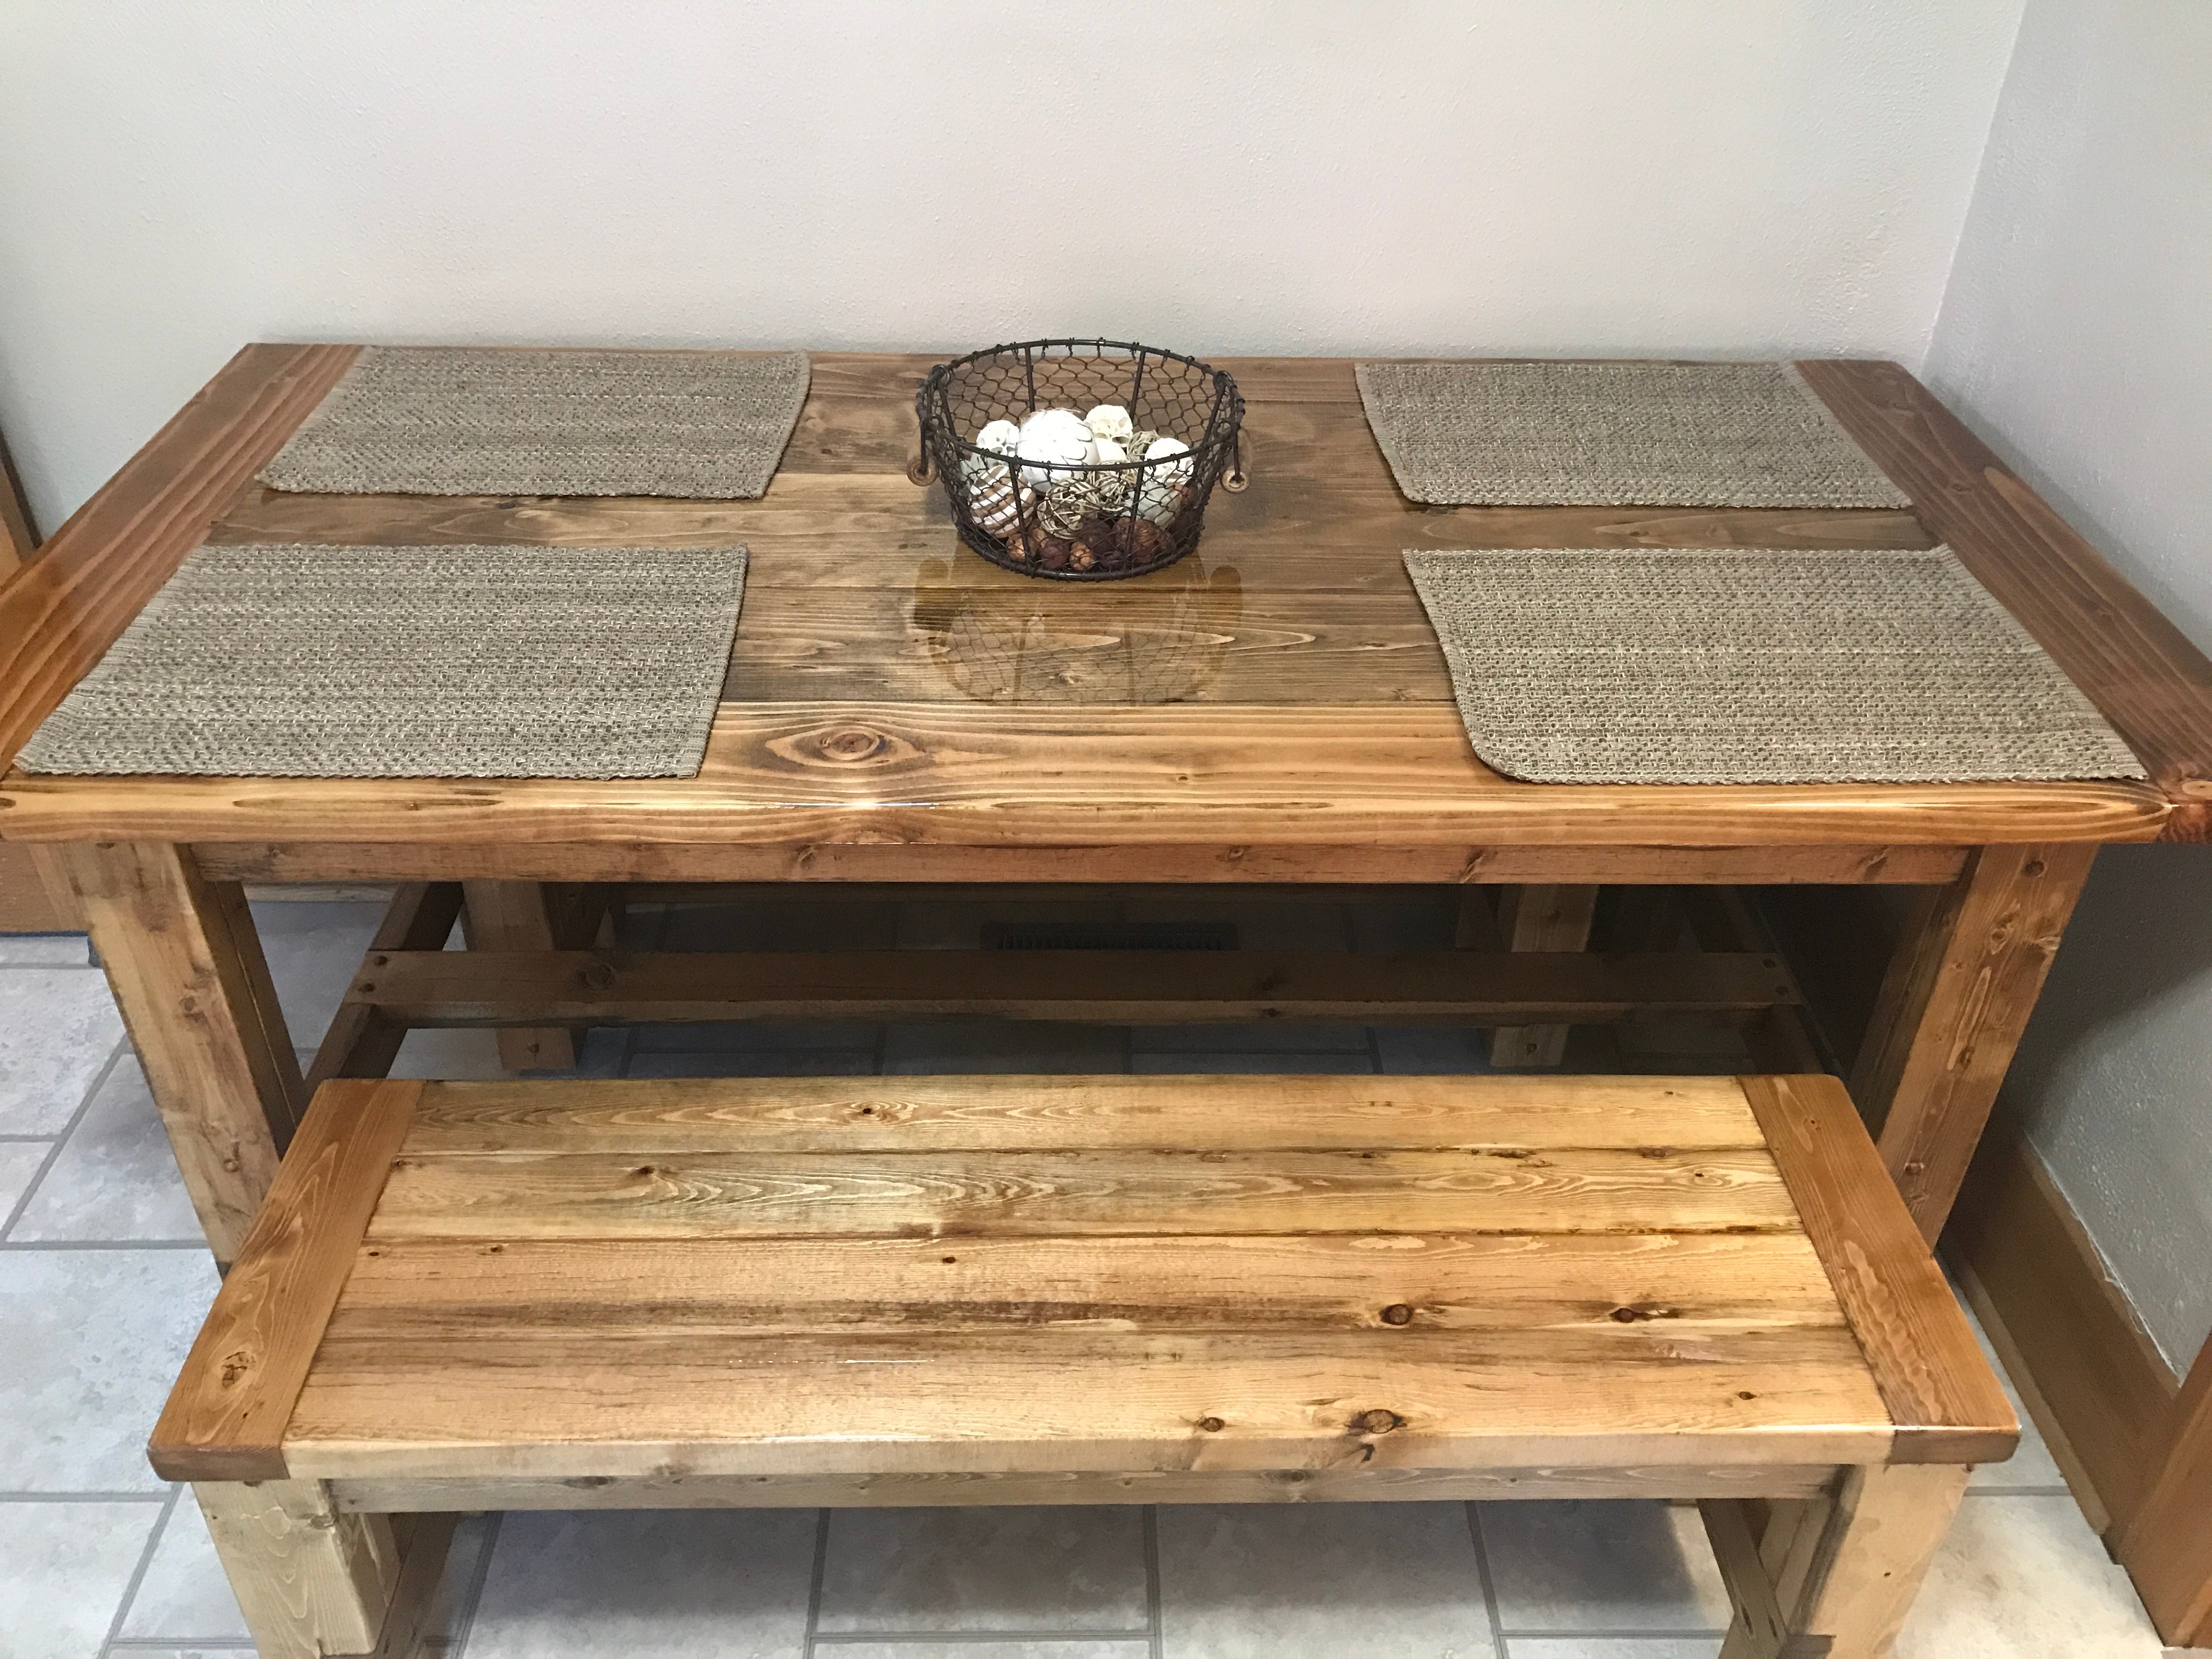
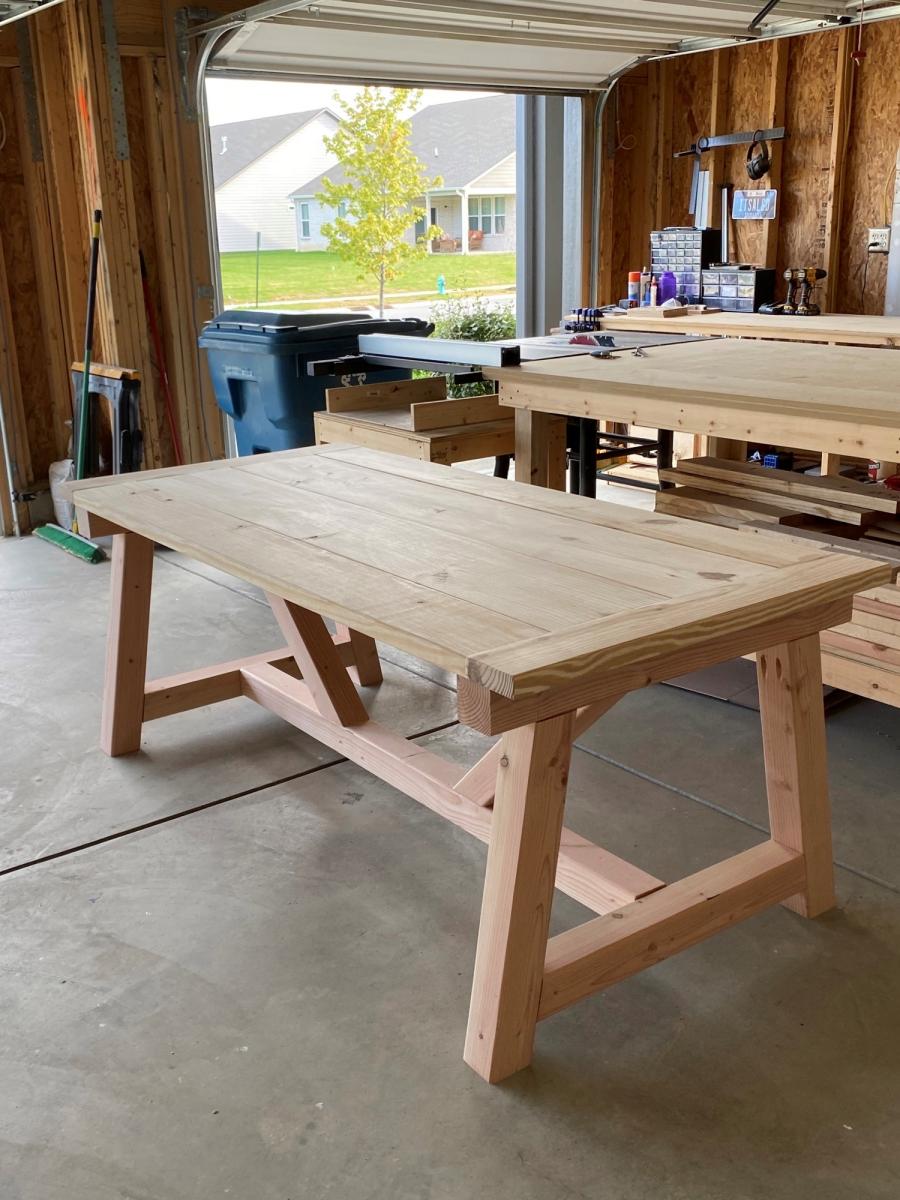
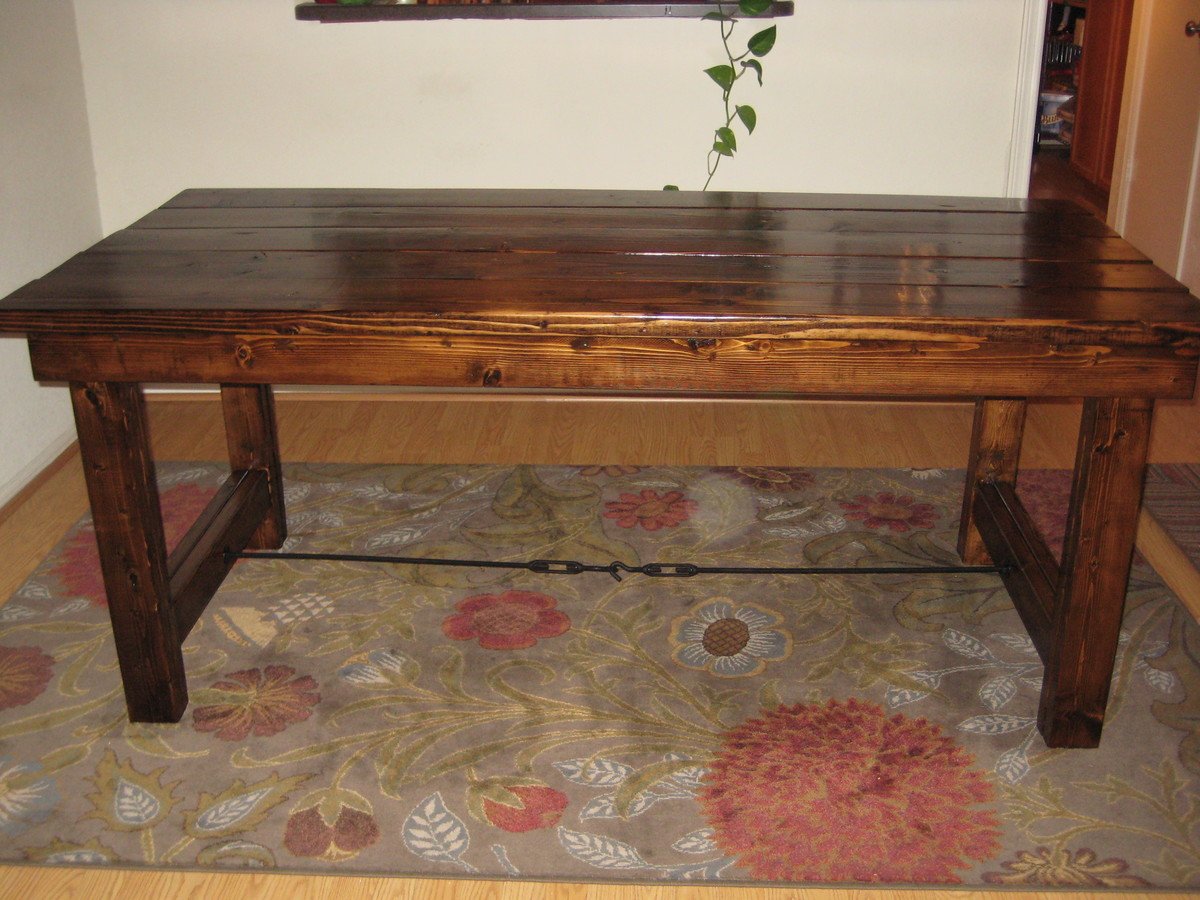
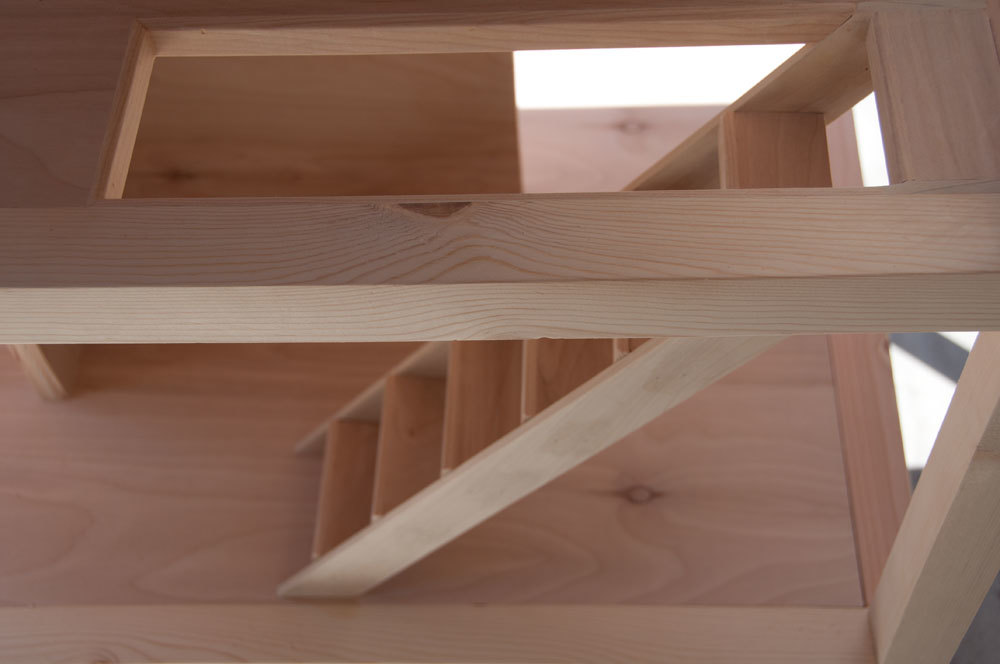
This is the table I made for my wife using 2x lumber...I used the epoxy resin finish and it gives it a beautiful look and finish...my wife, family and friends love it...I'm very pleased with how well it turned out...
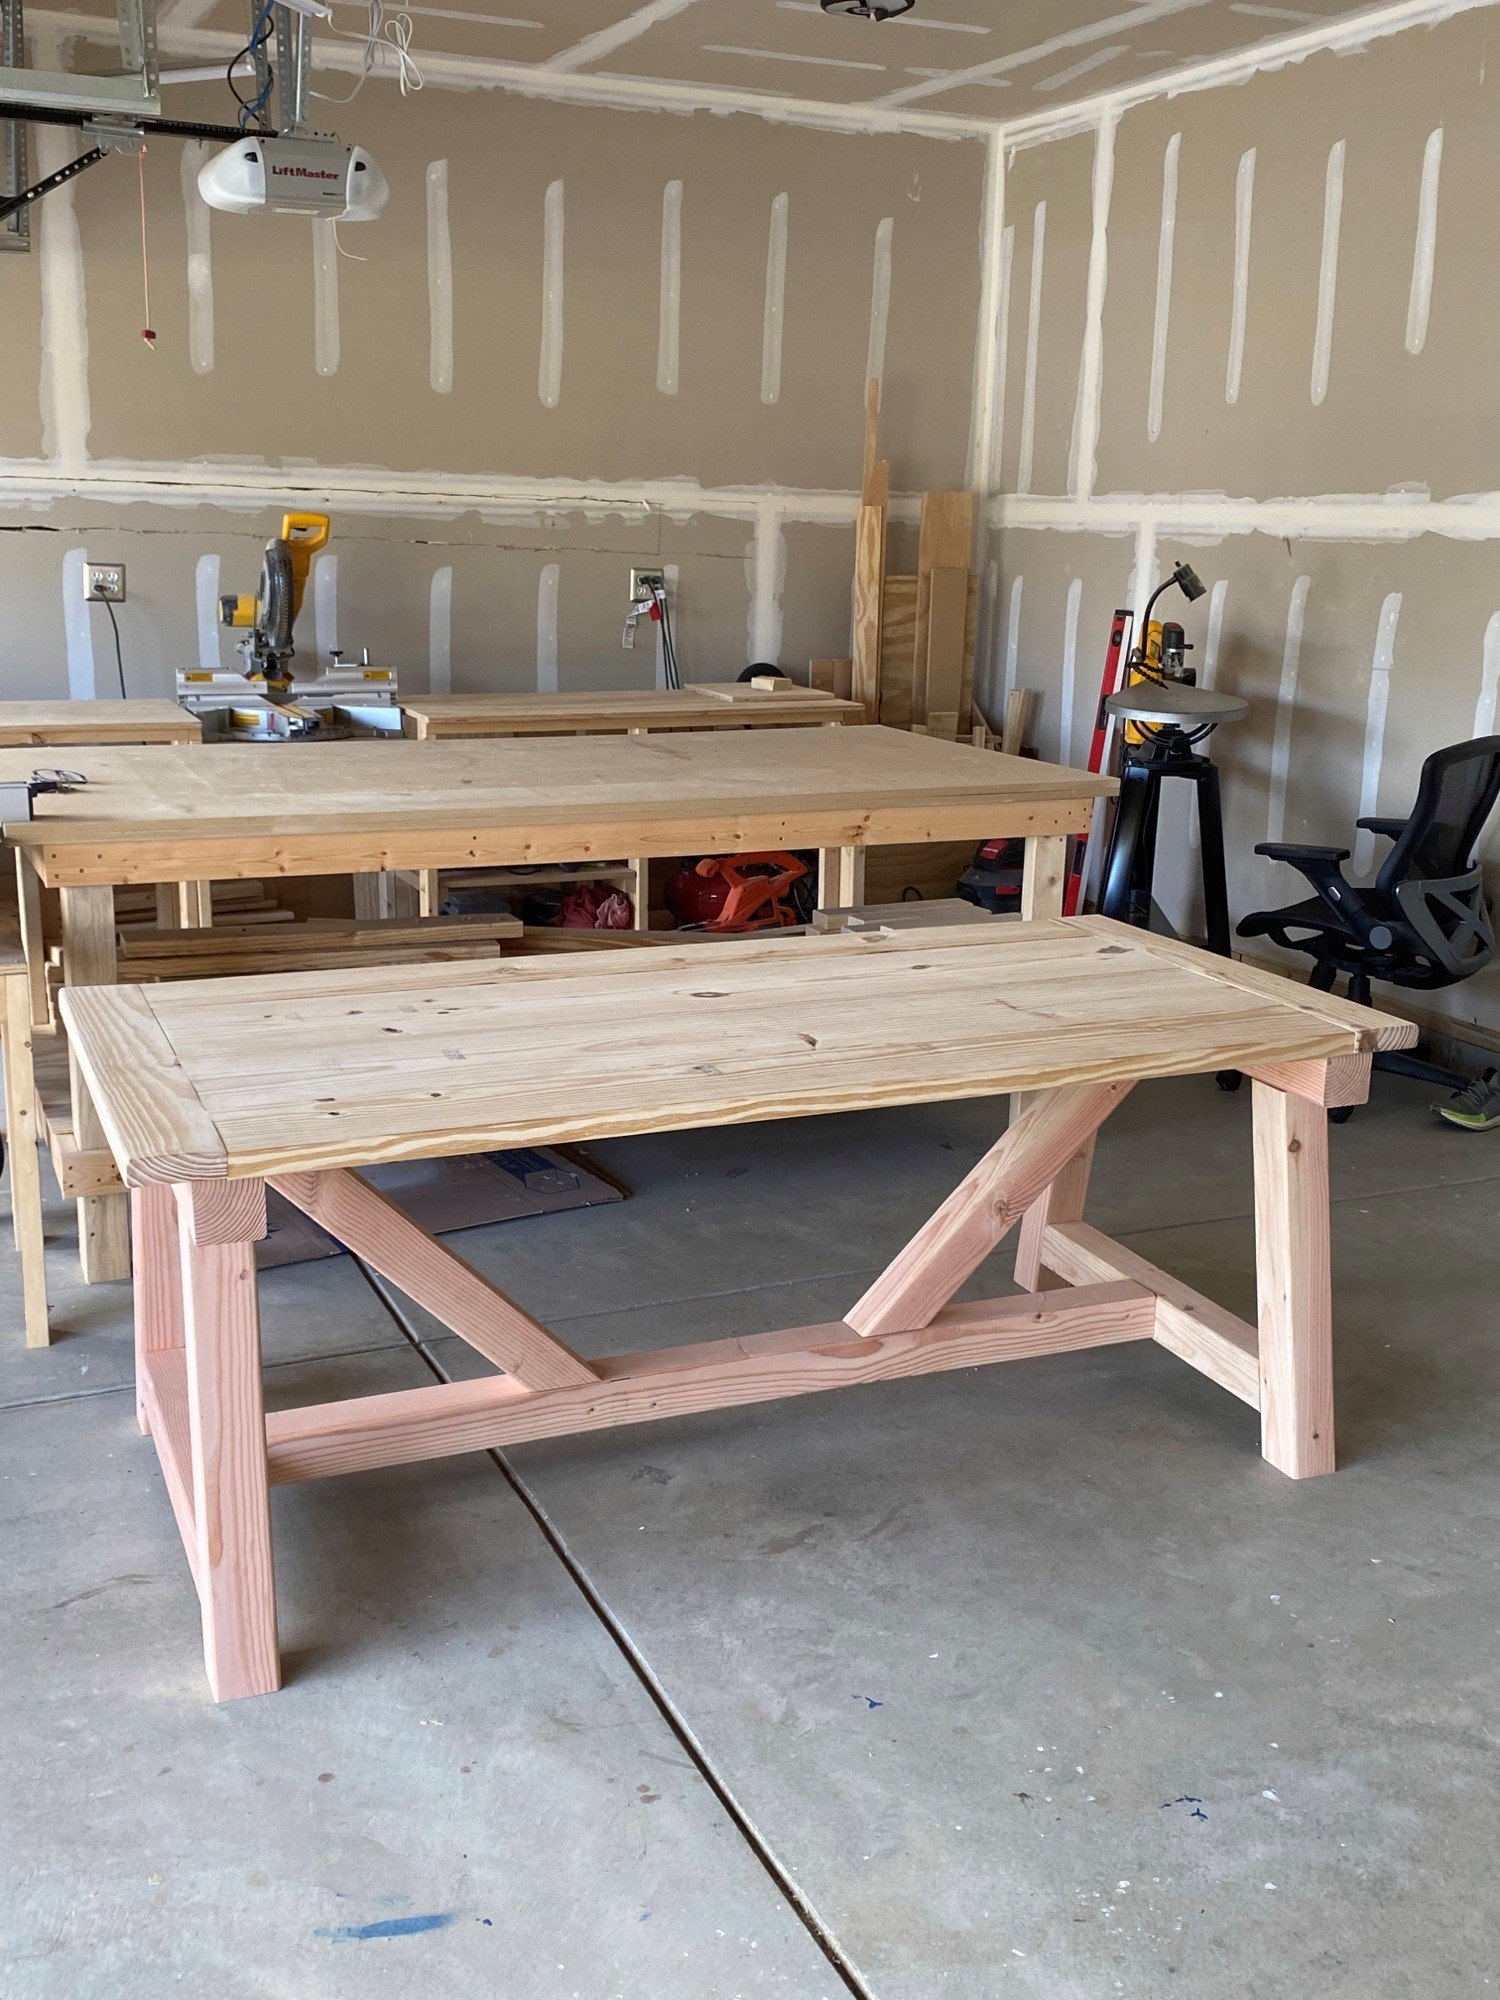
I followed the plans for the 4x4 Truss Beam Table and it turned it out great! I definitely recommend the Kreg Jig HD for the 4x4's. I used non HD Kreg screws for the table top.
It's much easier to build it upside down to ensure you get all your pocket holes underneath. Also, use duct tape to keep the 45 degree angle posts clamped as it's much easier when screwing together.
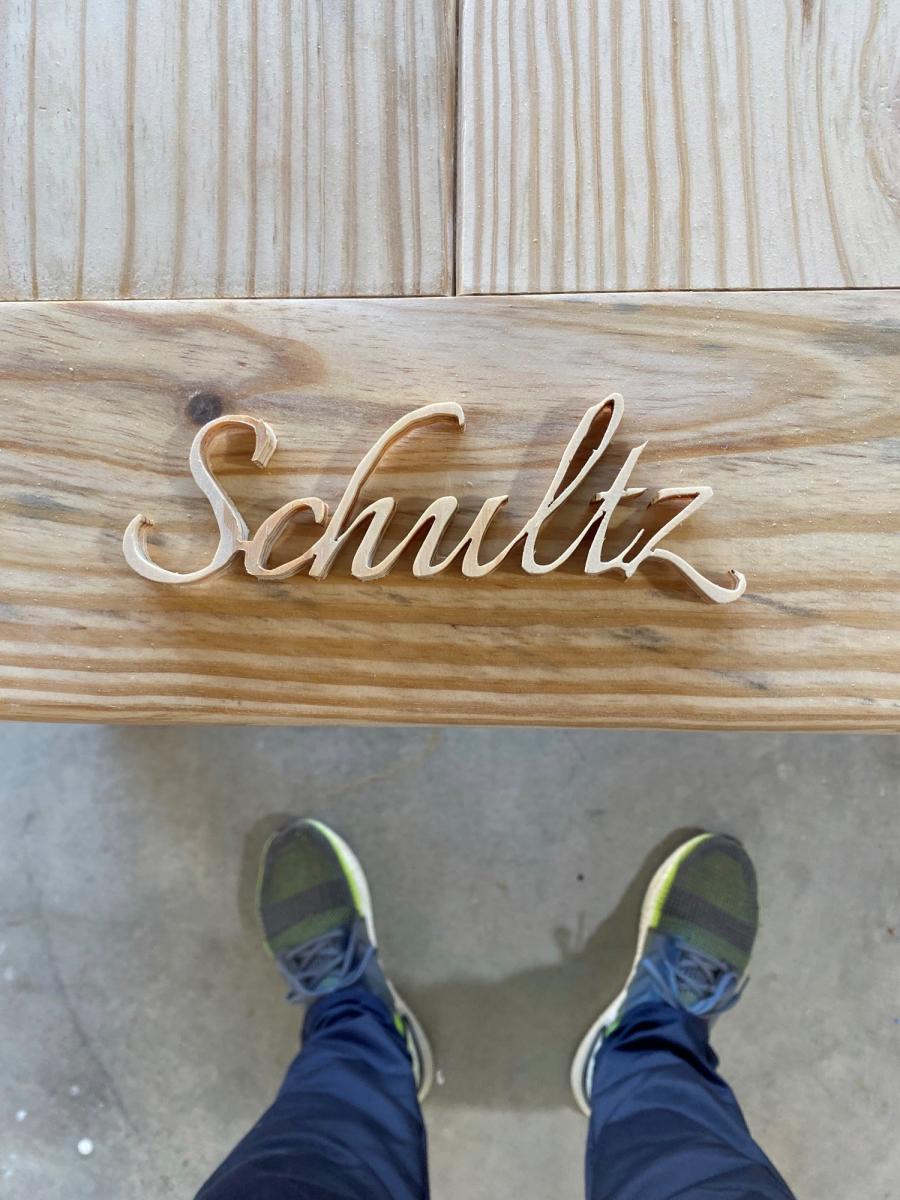
As a bonus for the family I built it for, I cut their name out with my scroll saw and added as a personal touch for the piece.
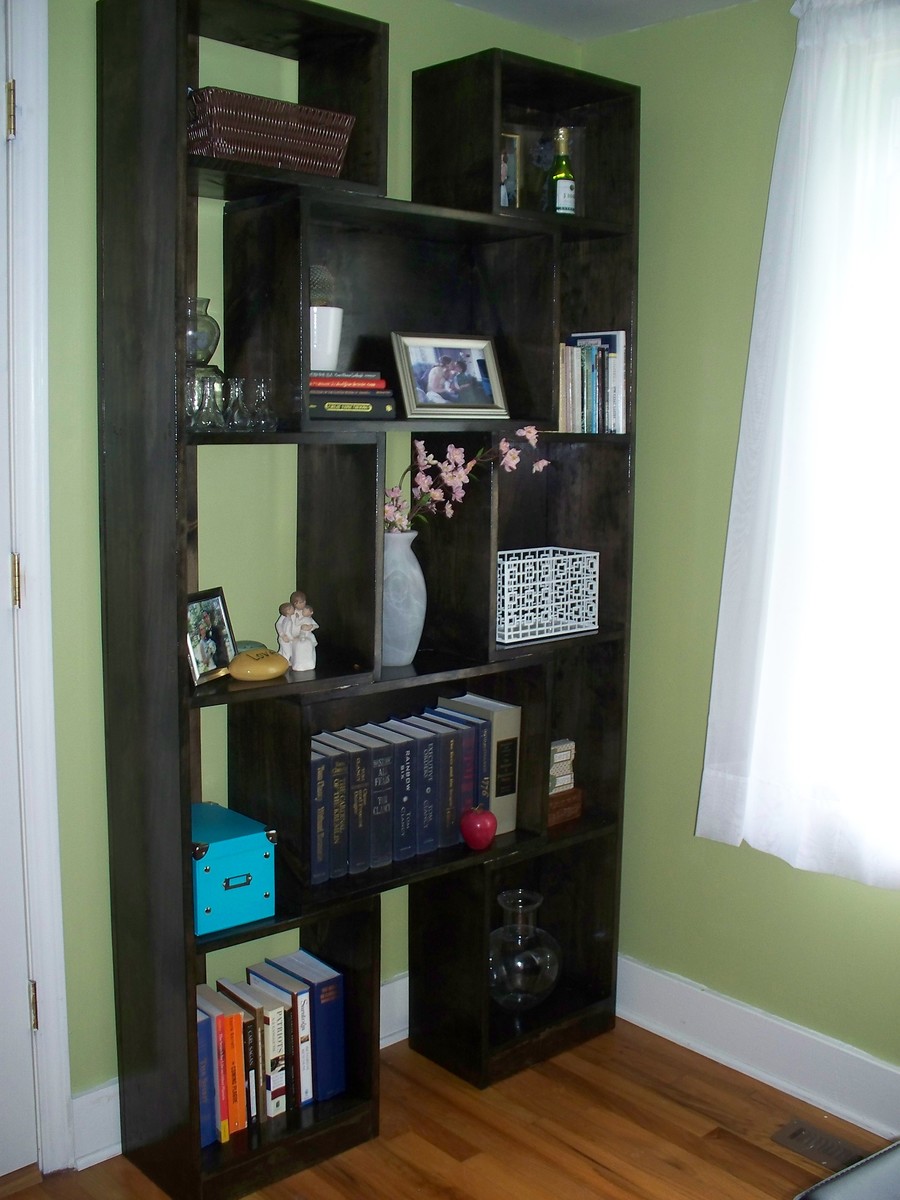
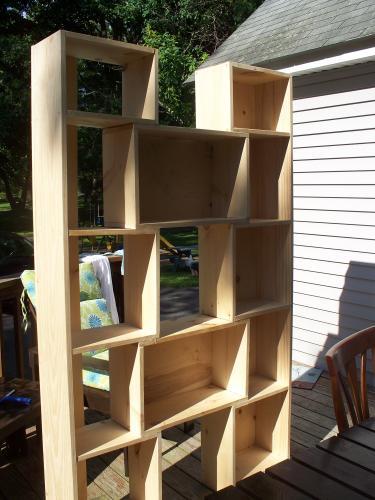
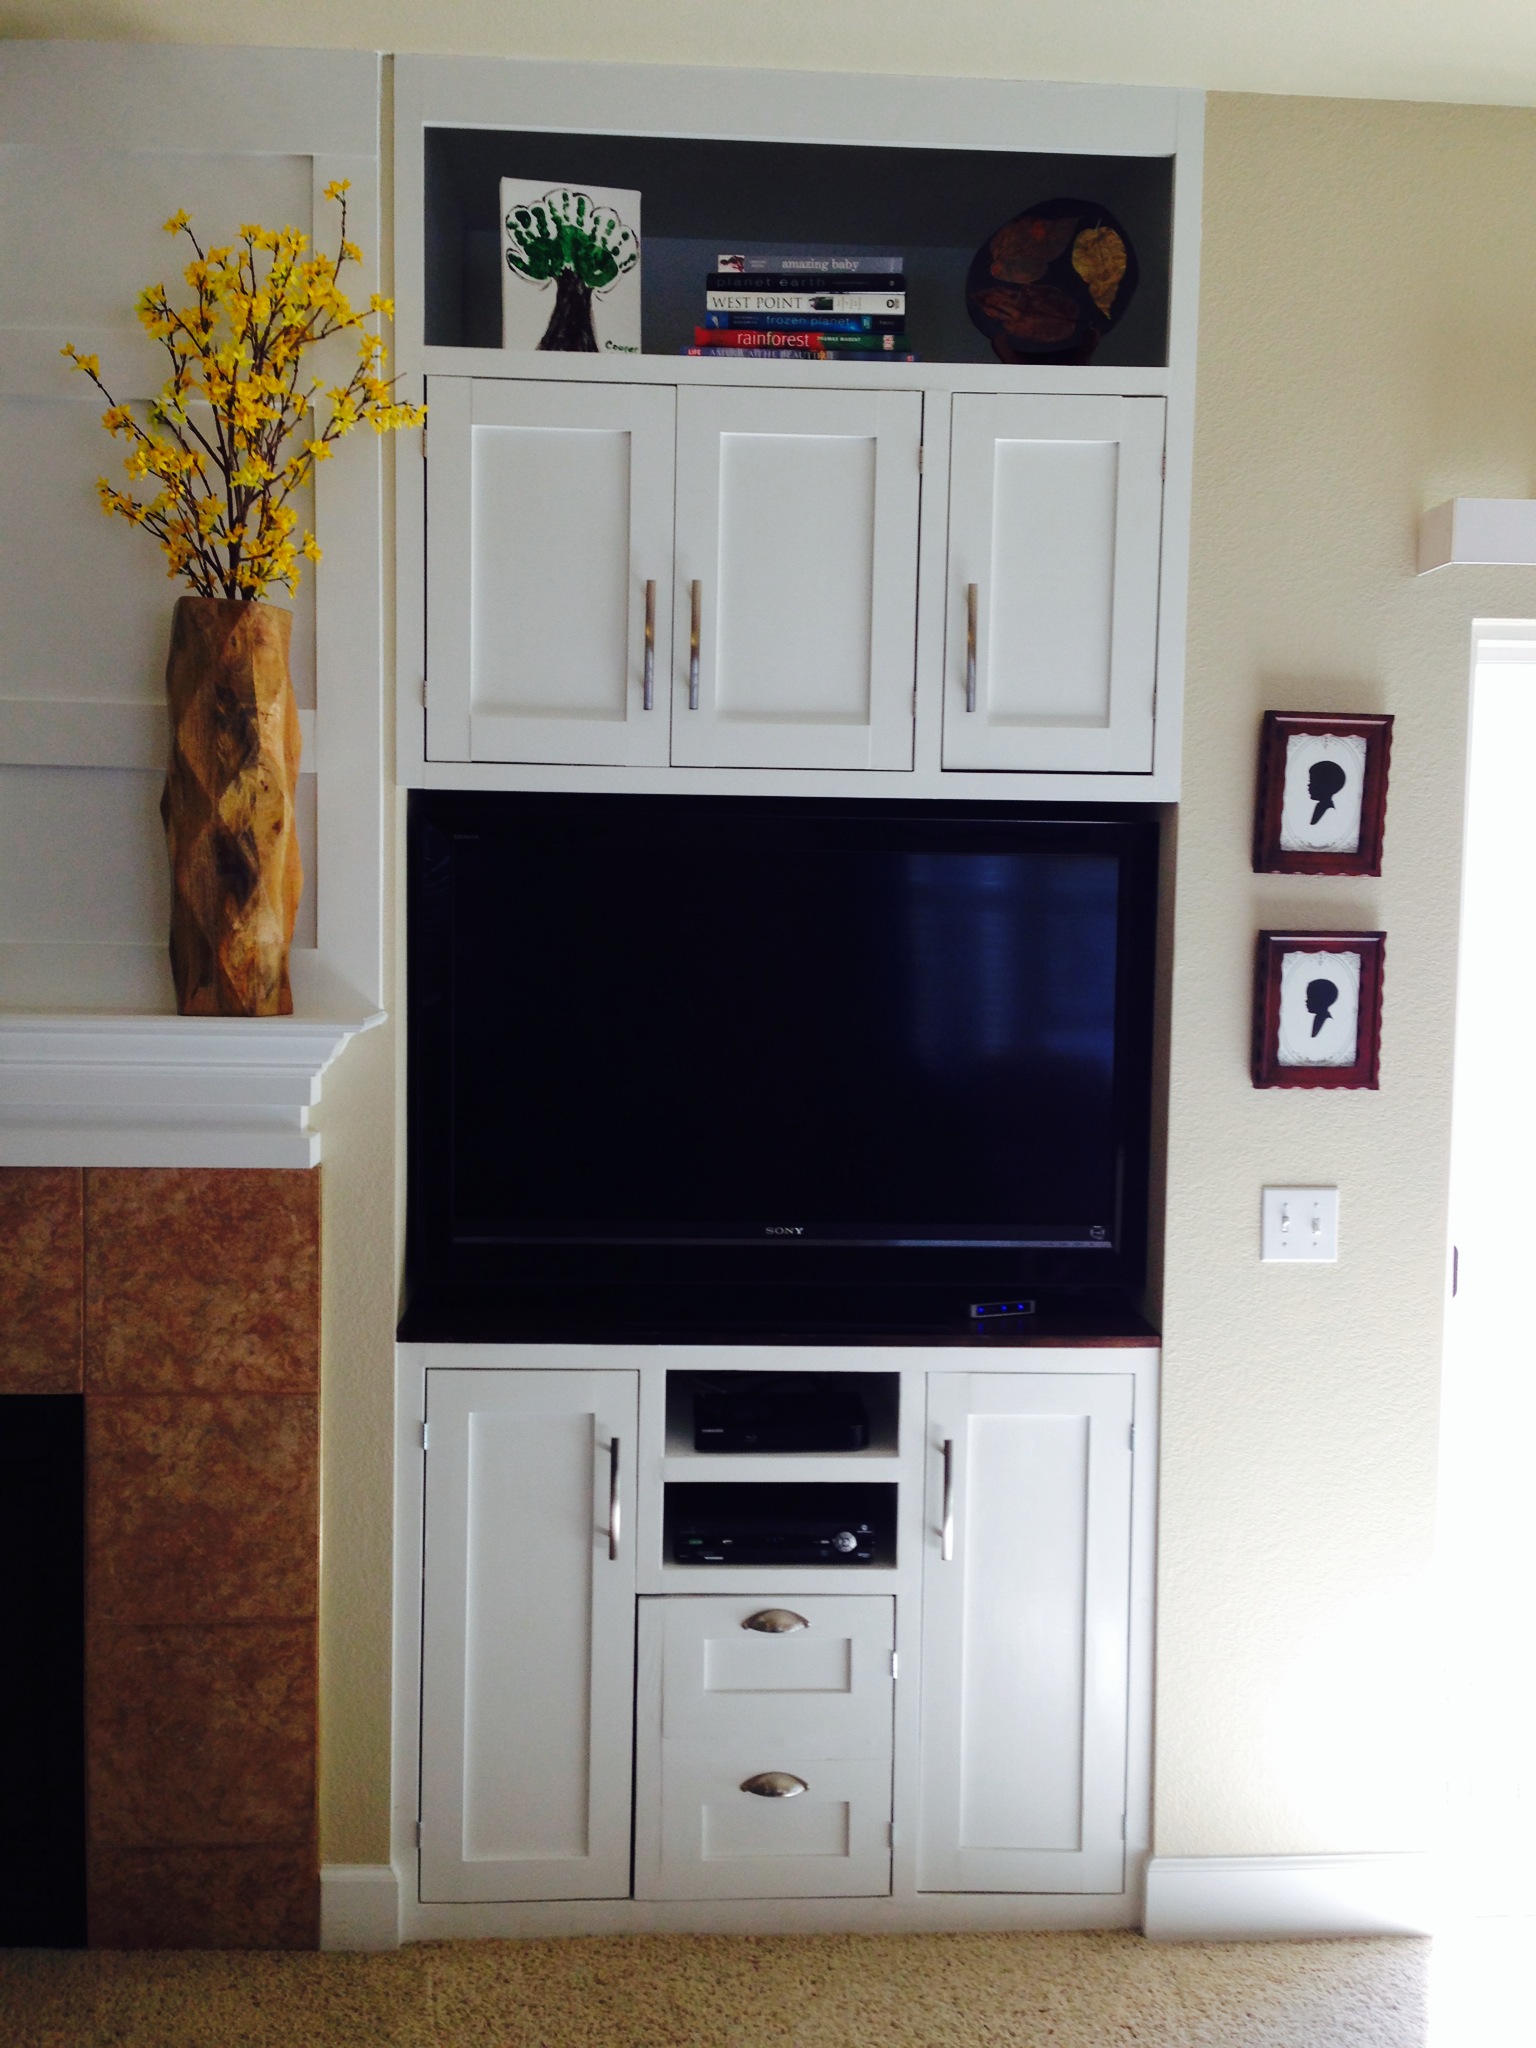
I had to adjust the height and width of this project to fit on my wall in this corner. But I just LOVE how it came out. It's one of my favorite pieces of furniture in my whole house!
MY FIRST PROJECT
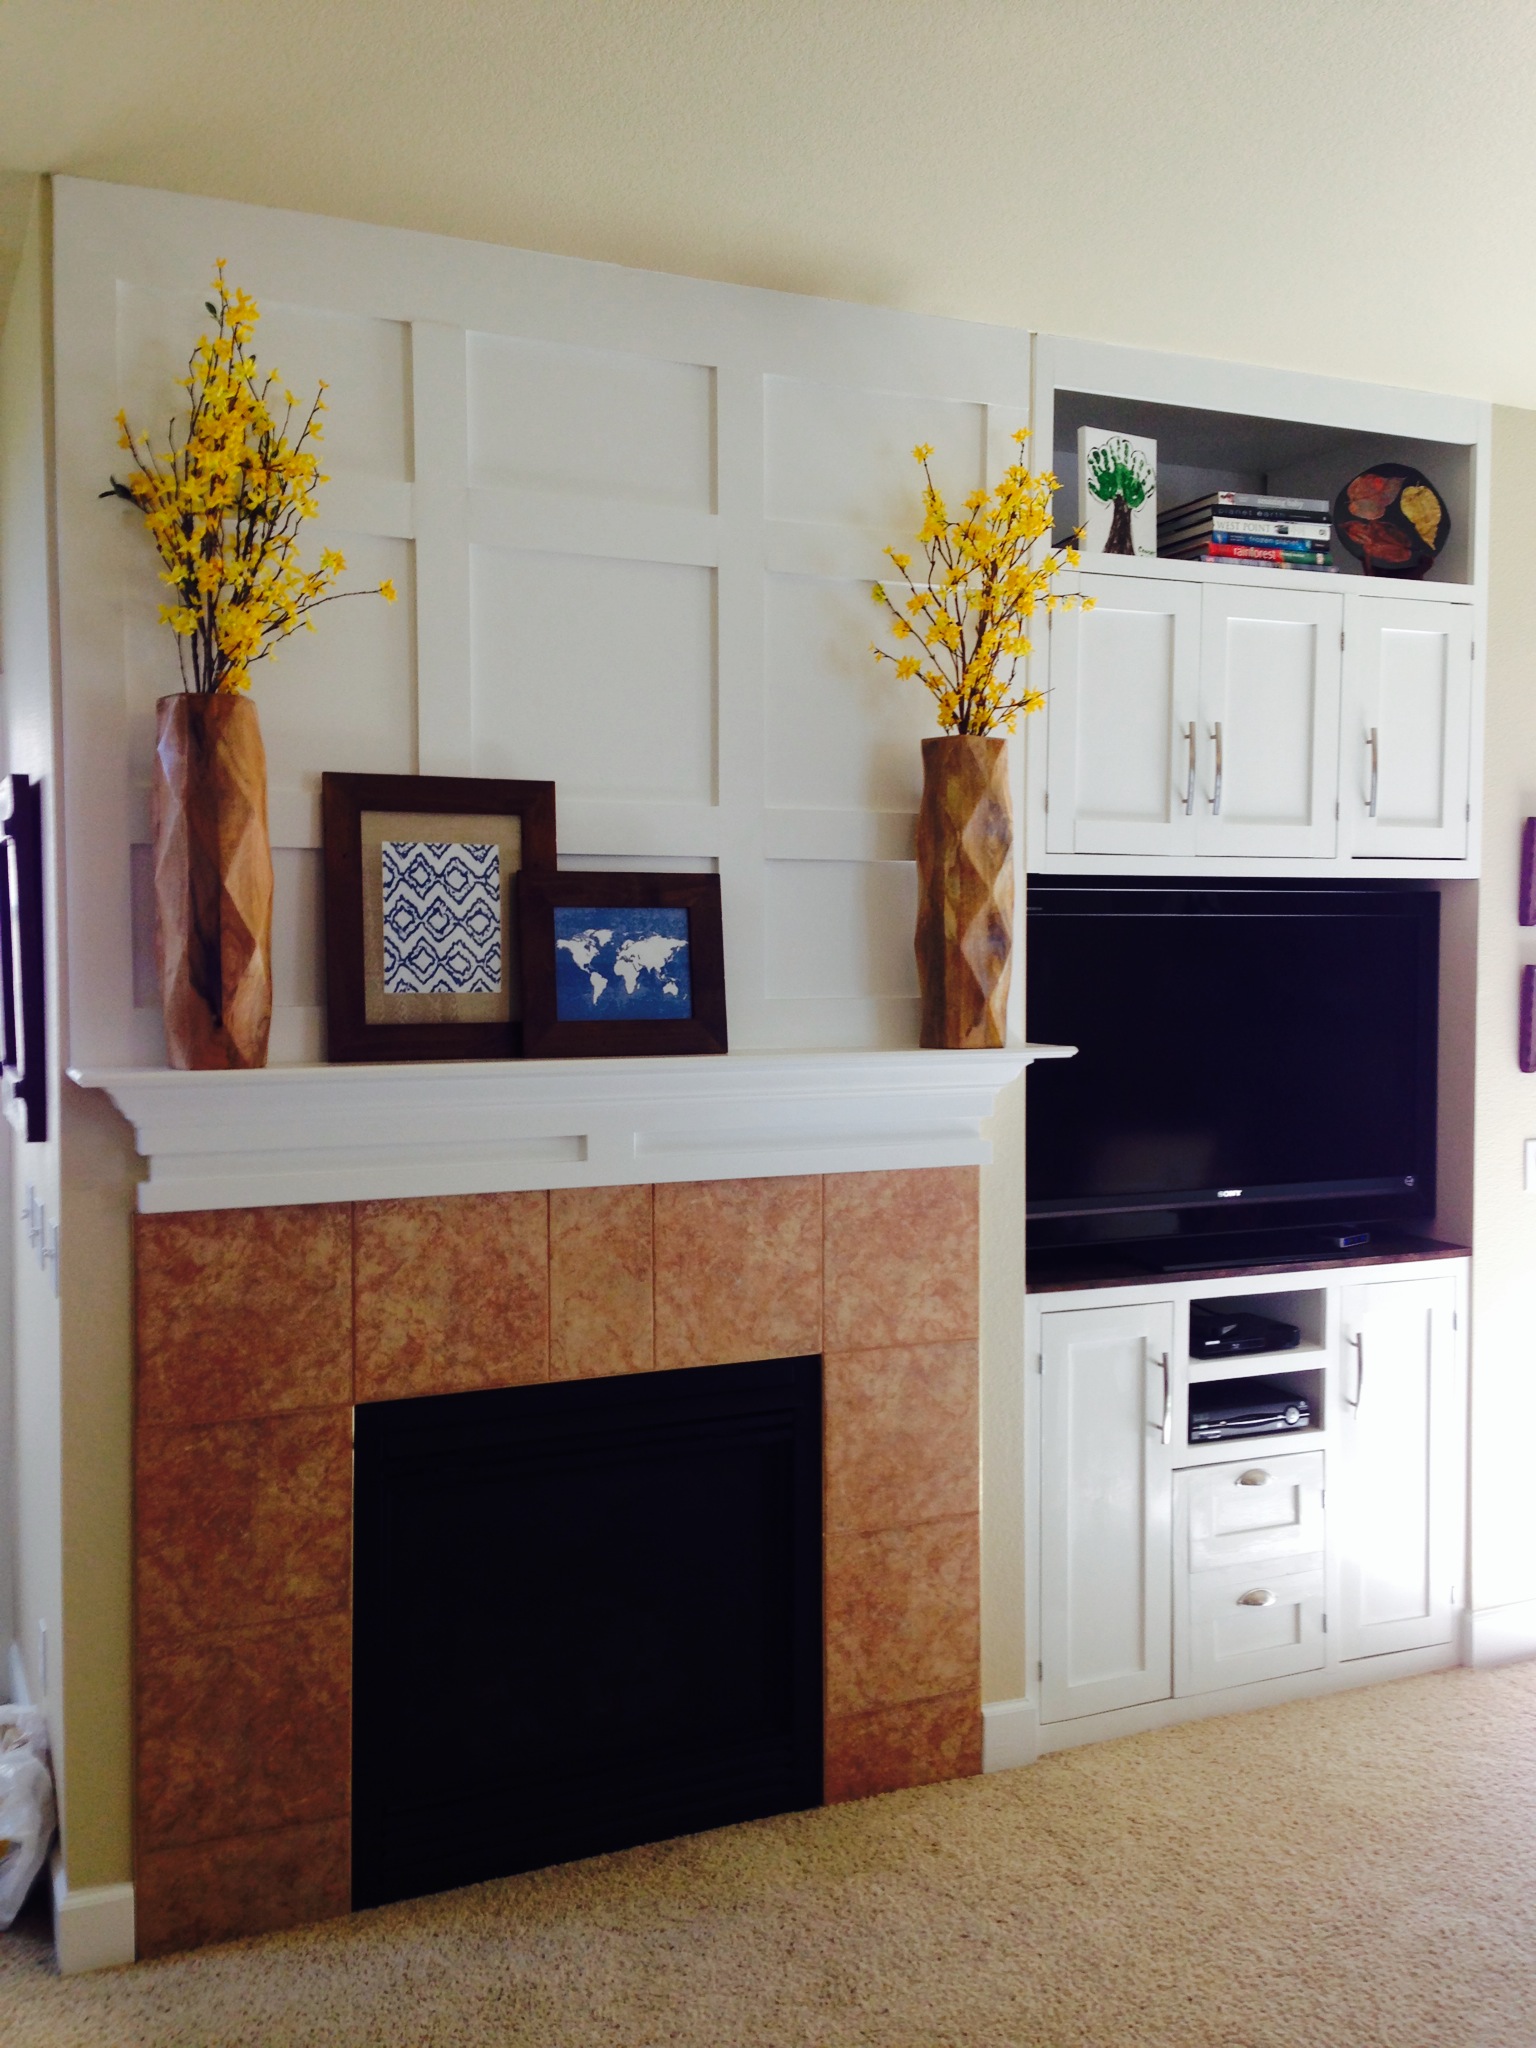
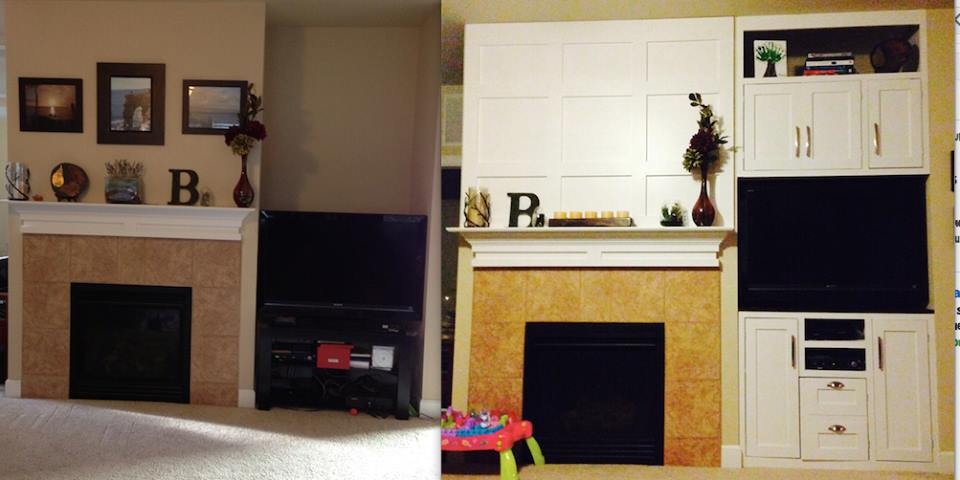
See the before/after pic for the difference. My daughter was pulling everything off our open TV stand so it had to go! I designed this to give us the toy storage we need as well. The niche was over two feet deep so I wanted something to utilize all the space. I also wanted the fireplace to stand out so added the board and batten treatment.

In reply to Great job by TwoCuteKids
Wed, 04/01/2015 - 06:53
Thanks! We just sold our house in under 48 hours and I think they helped. Thanks for all the great plans Ana!
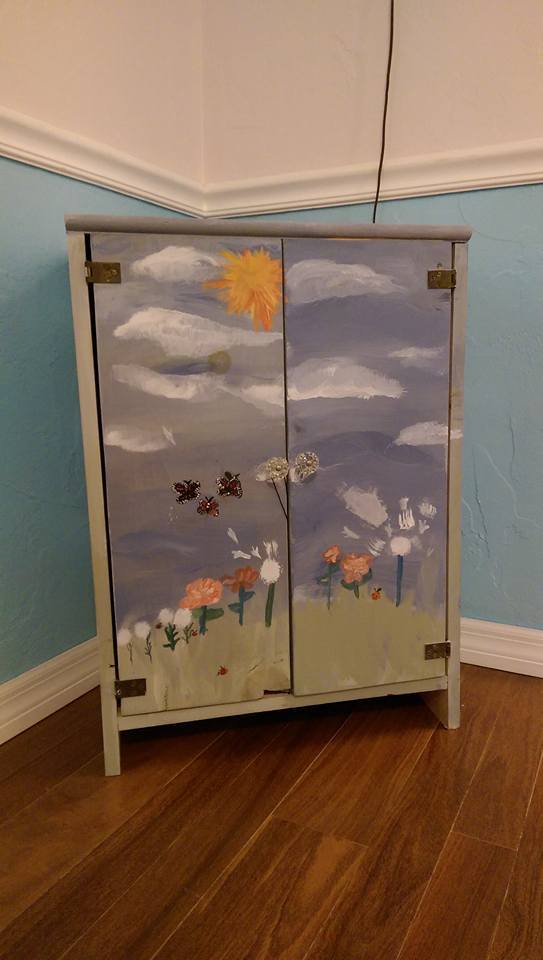
This was fun and easy. I had some of the wood already so I didn't spend that much. My girls painted it to add a personal touch. I would consider adding a magnet to help the doors stay closed a little better. Its been a couple of years and they are still enjoying this. At the time I had no idea how to make a star. Now I know it woudl be easy with a jig saw.
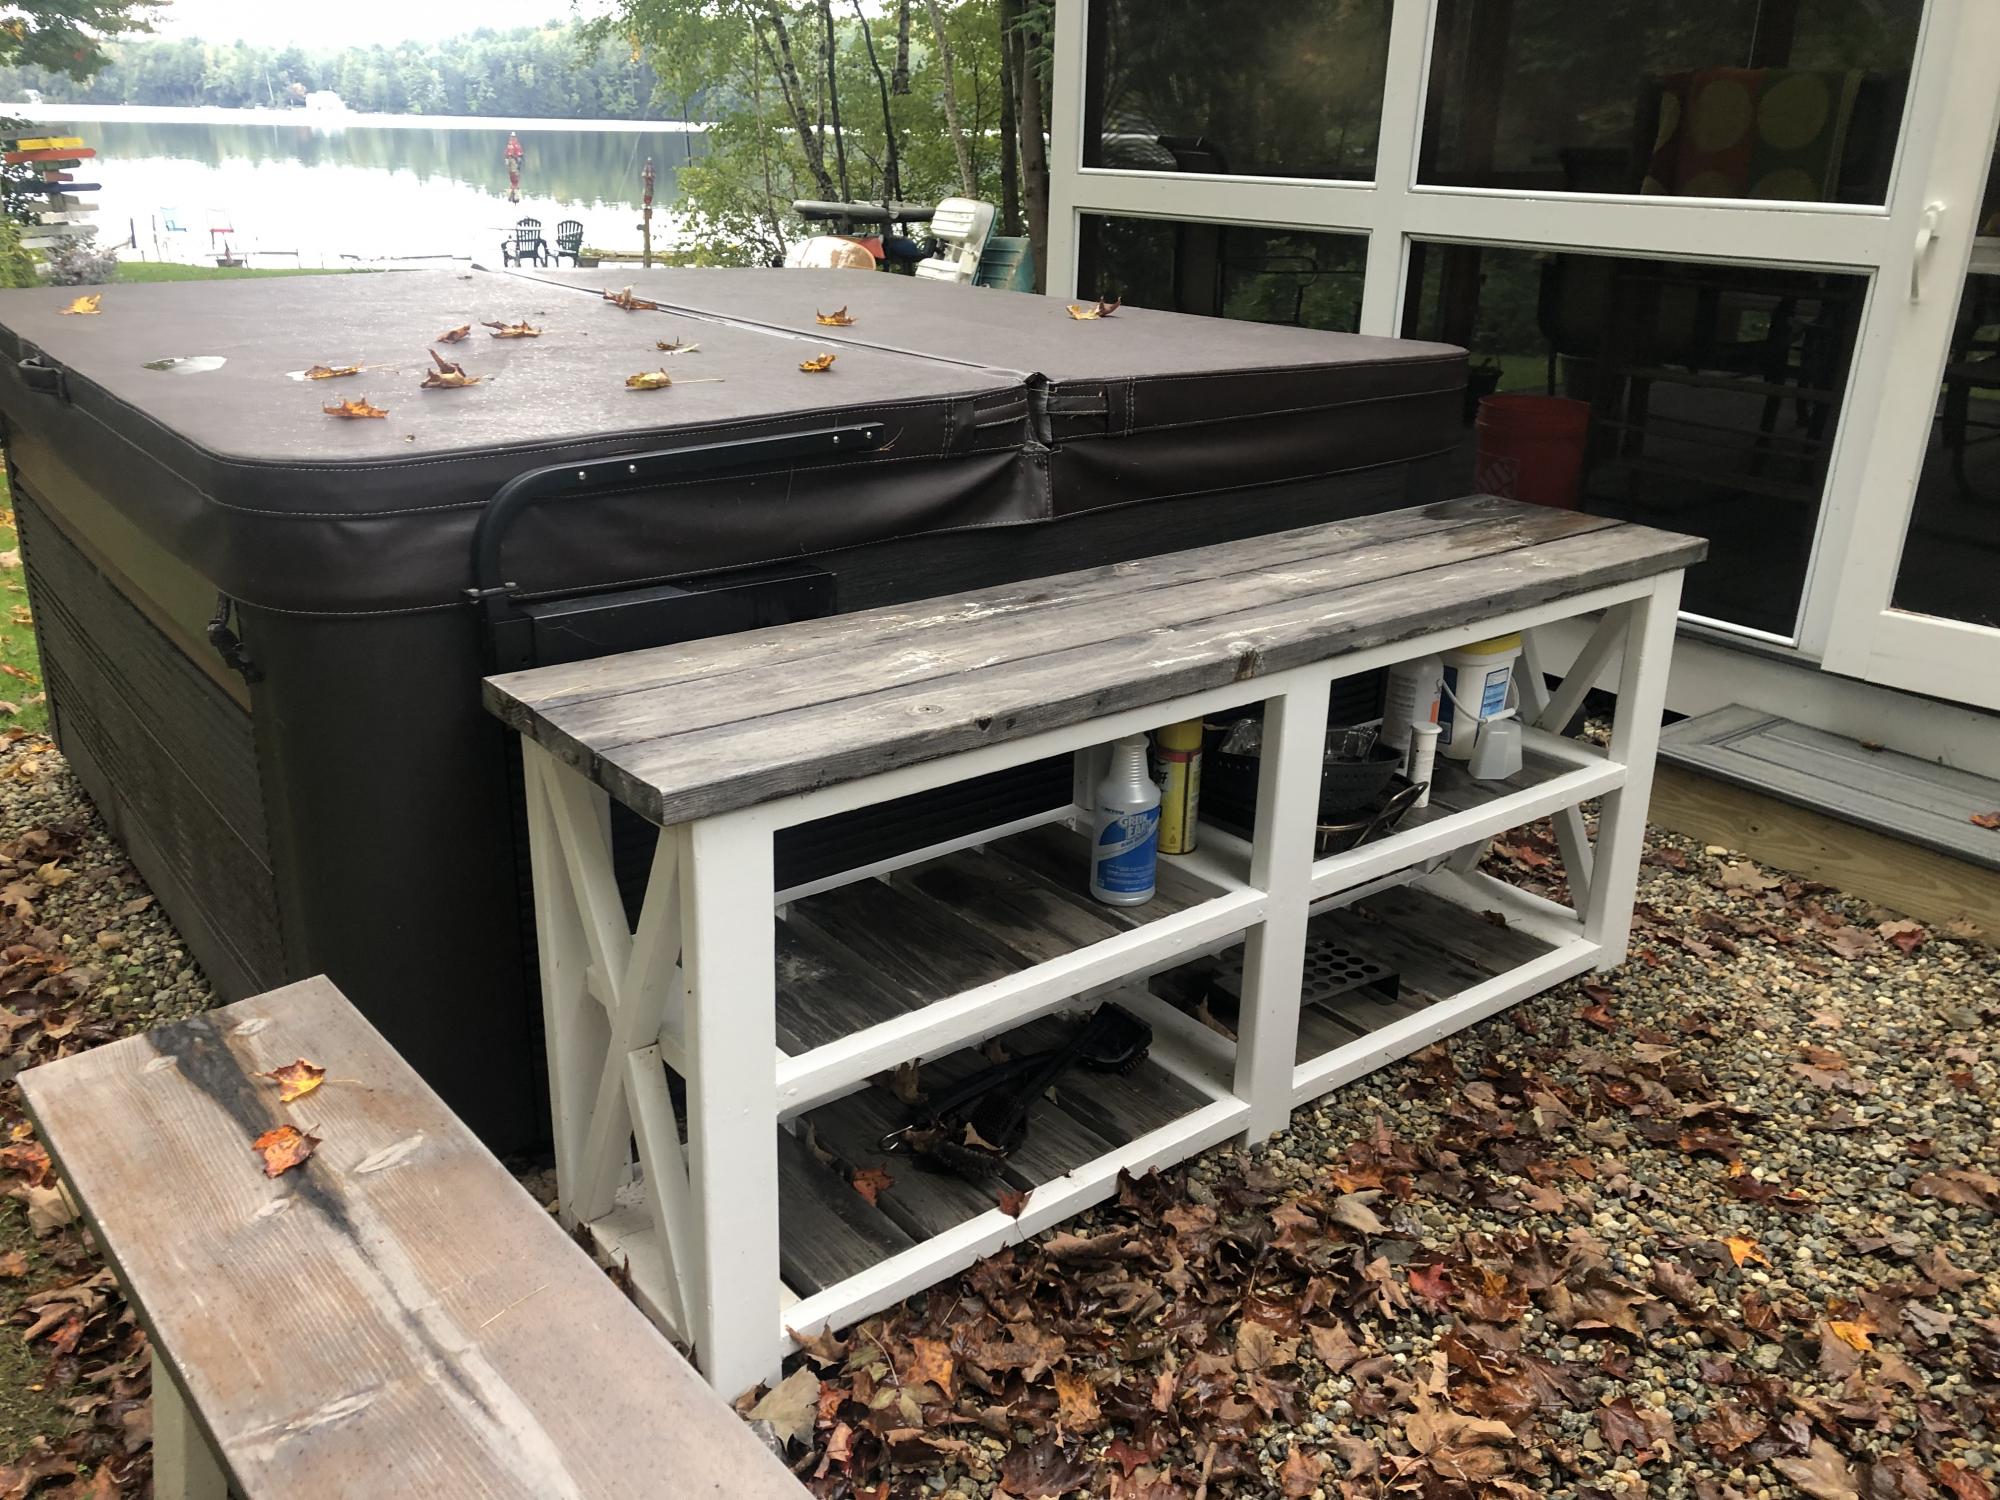
I needed a table along side our hot tub, primarily for drinks or appetizers while using the hot tub. The farmhouse table plan worked out perfectly to its height and how it fit in well with the structure of the hot tub. It also does double duty with my grill directly across from it allowing me some storage shelves or grill items.
Tue, 10/05/2021 - 10:56
YES, love the multiple uses, gotta have a place to set your drink and relax! Thanks for sharing:)
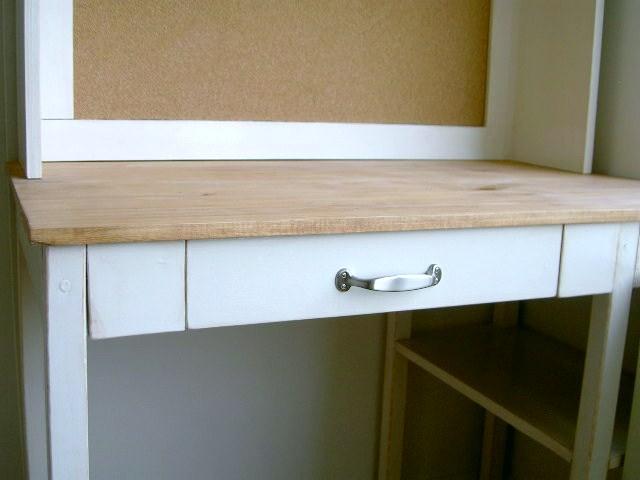
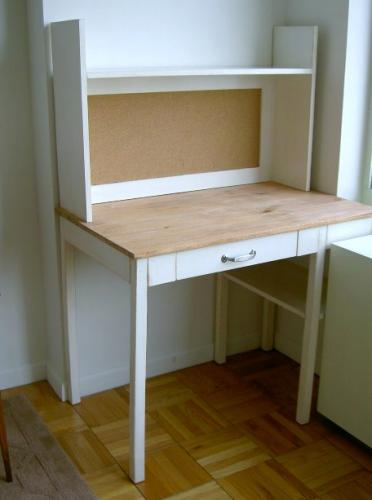
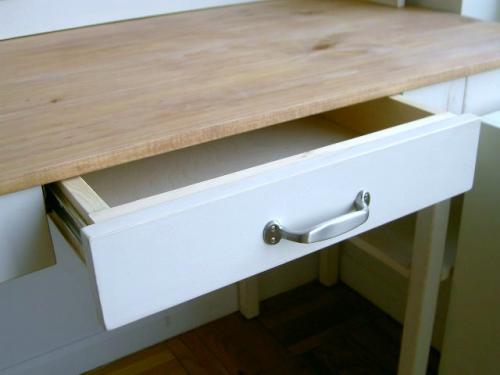
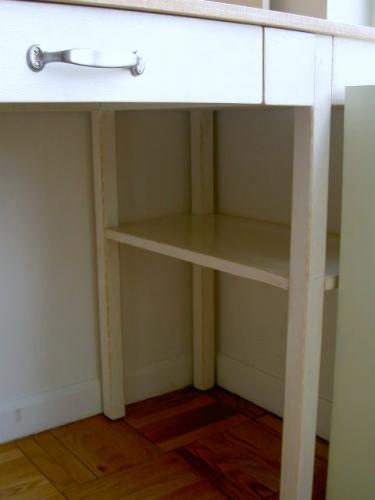
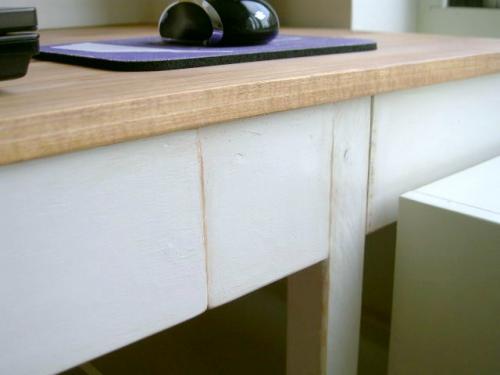
Custom sized desk to fit between a radiator and wall. Combination of cubby desk with added lower shelving and upper hutch with shelf unit.

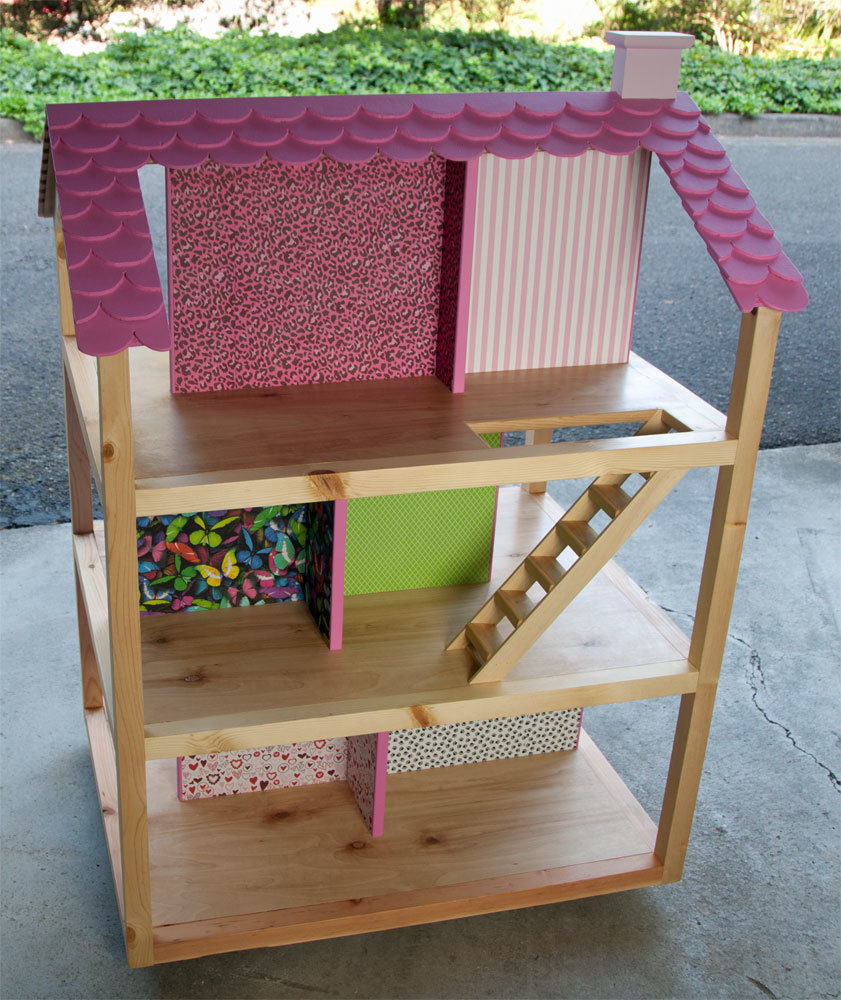
Thank you for your doll house plans!
This was a gift for my granddaughters 5th birthday. I altered the stair design a bit to provide a little more durability.
The only part I struggled with was the wallpaper.
All-in-all the project was a success and she LOVED it!

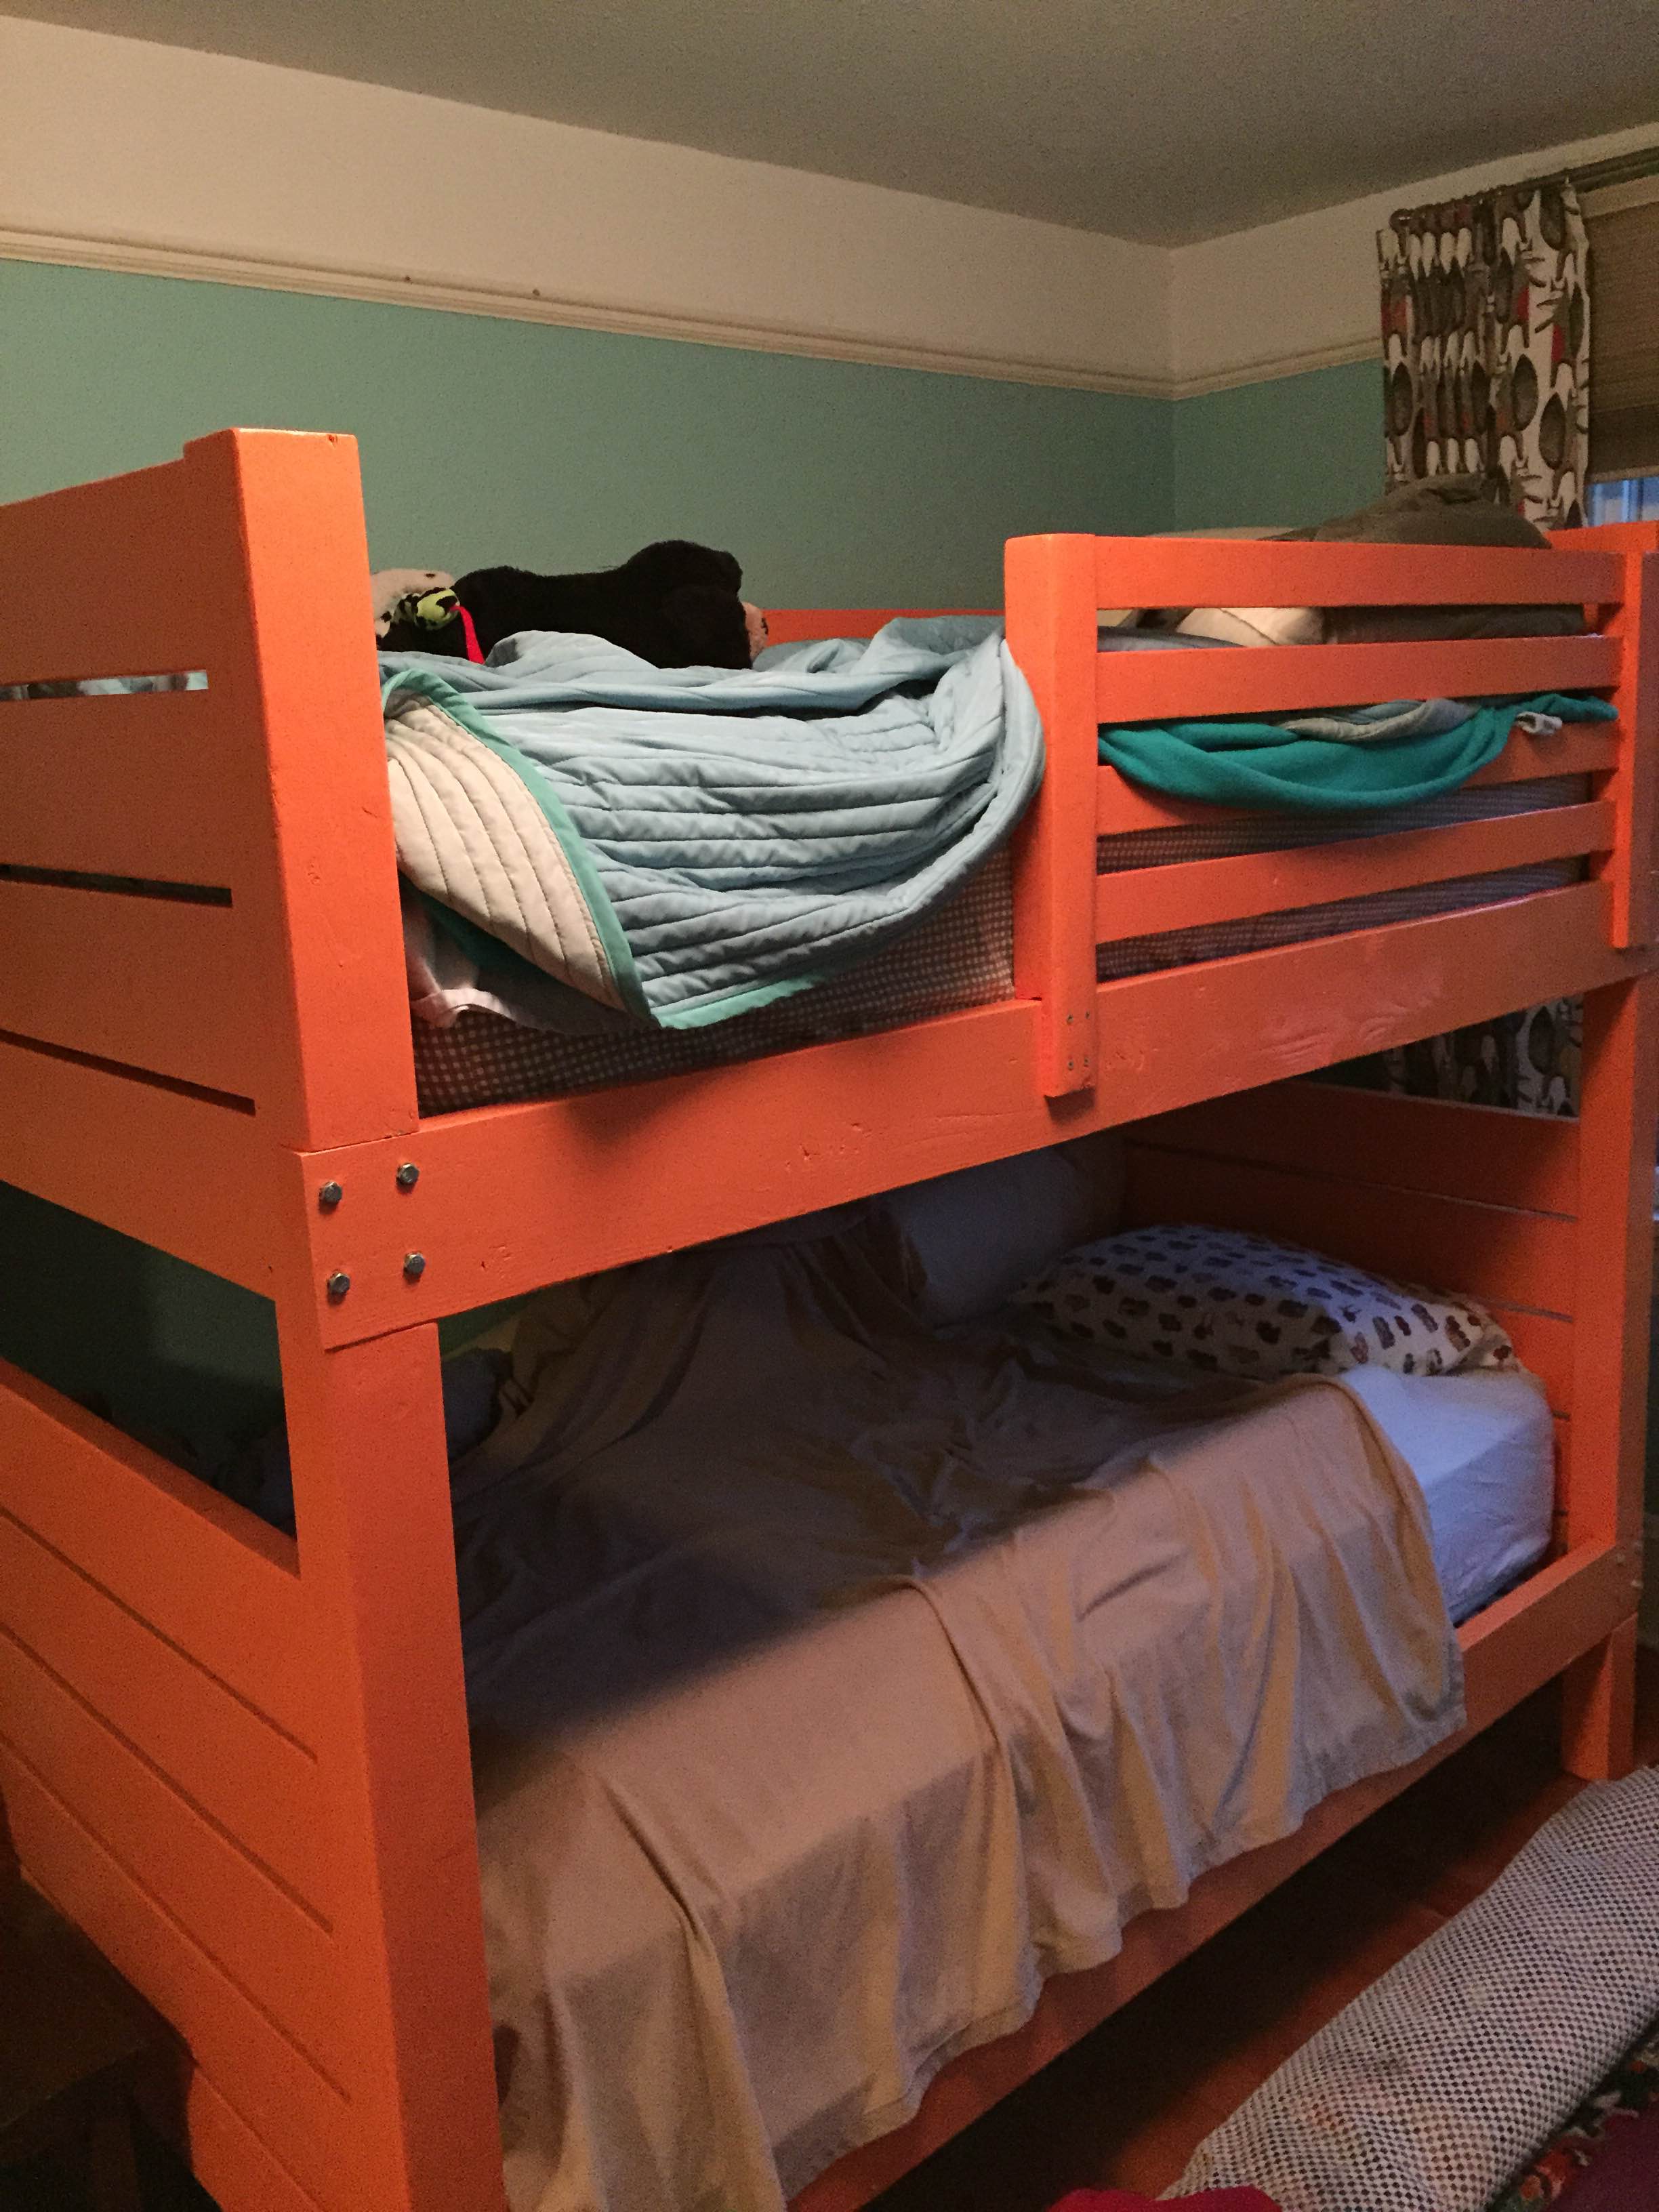
This is my first large project and I'm very happy with the result. Since I knew we were using regular (thick) mattresses instead of thin bunk-style mattresses, I built the guard rails taller than in the plans. The bunk beds are painted Benjamin Moore Citrus Orange http://www.benjaminmoore.com/en-ca/paint-color/citrusorange. The walls are Benjamin Moore Waterfall http://www.benjaminmoore.com/en-ca/paint-color/waterfall.
Helpful Hint: IKEA's LONSET slatted bed base fits perfectly instead of needing to cut your own bed slats. http://www.ikea.com/us/en/catalog/products/80278715/#/30278732


Comments
Ana White Admin
Wed, 09/22/2021 - 19:25
Great details!
Super cute and great builds, thanks for sharing!
pcook67
Wed, 01/25/2023 - 11:11
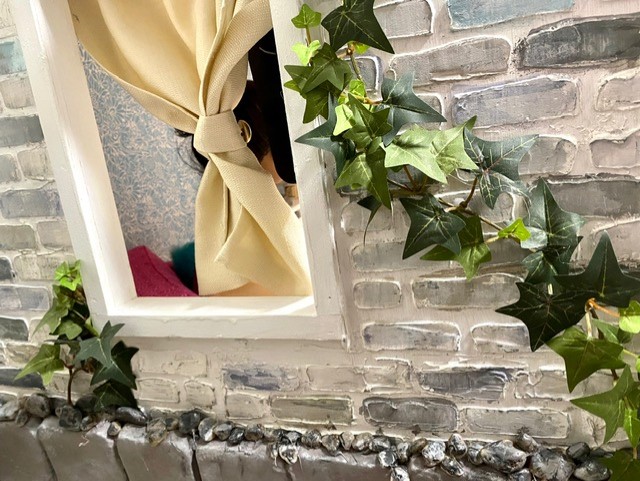
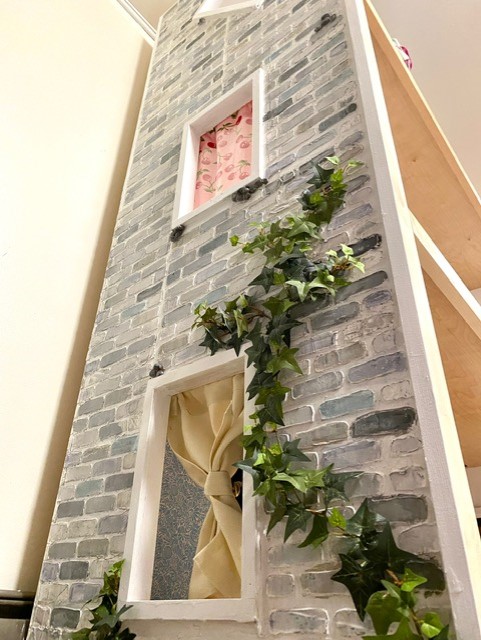
Outside
Do you have more detail on the materials for the outside of the house?