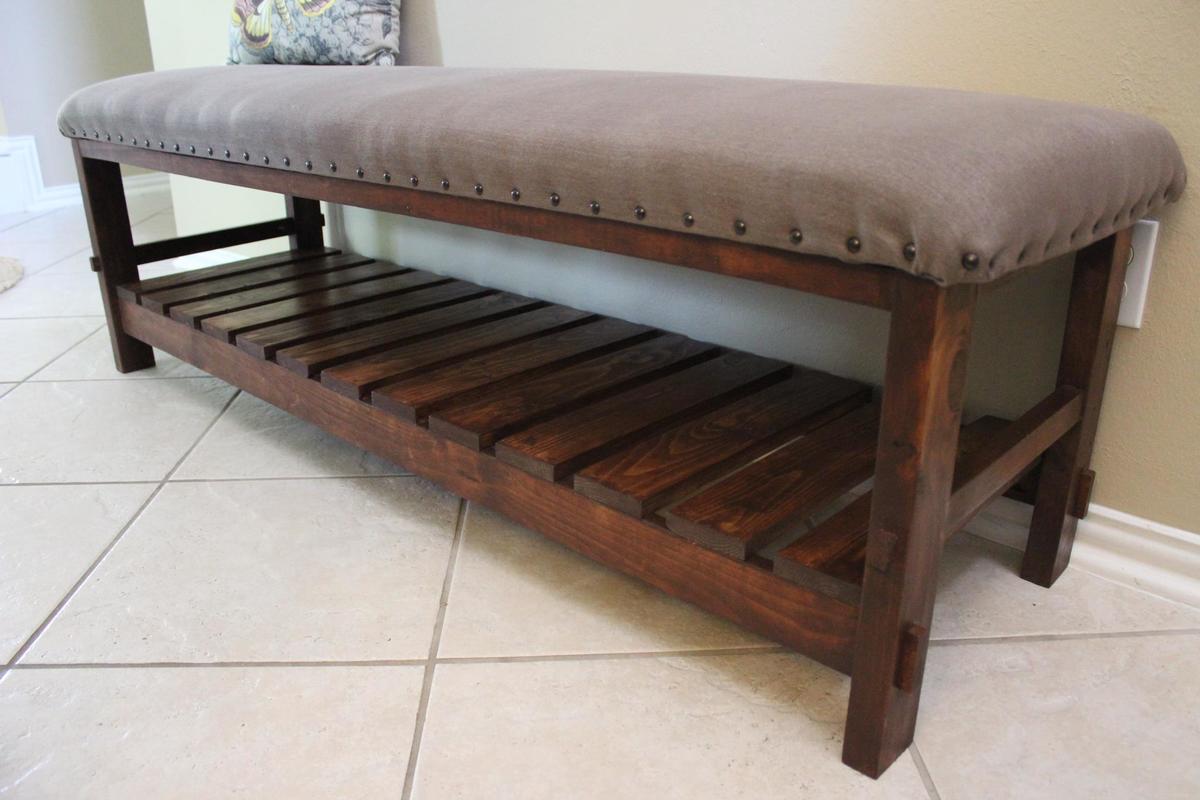
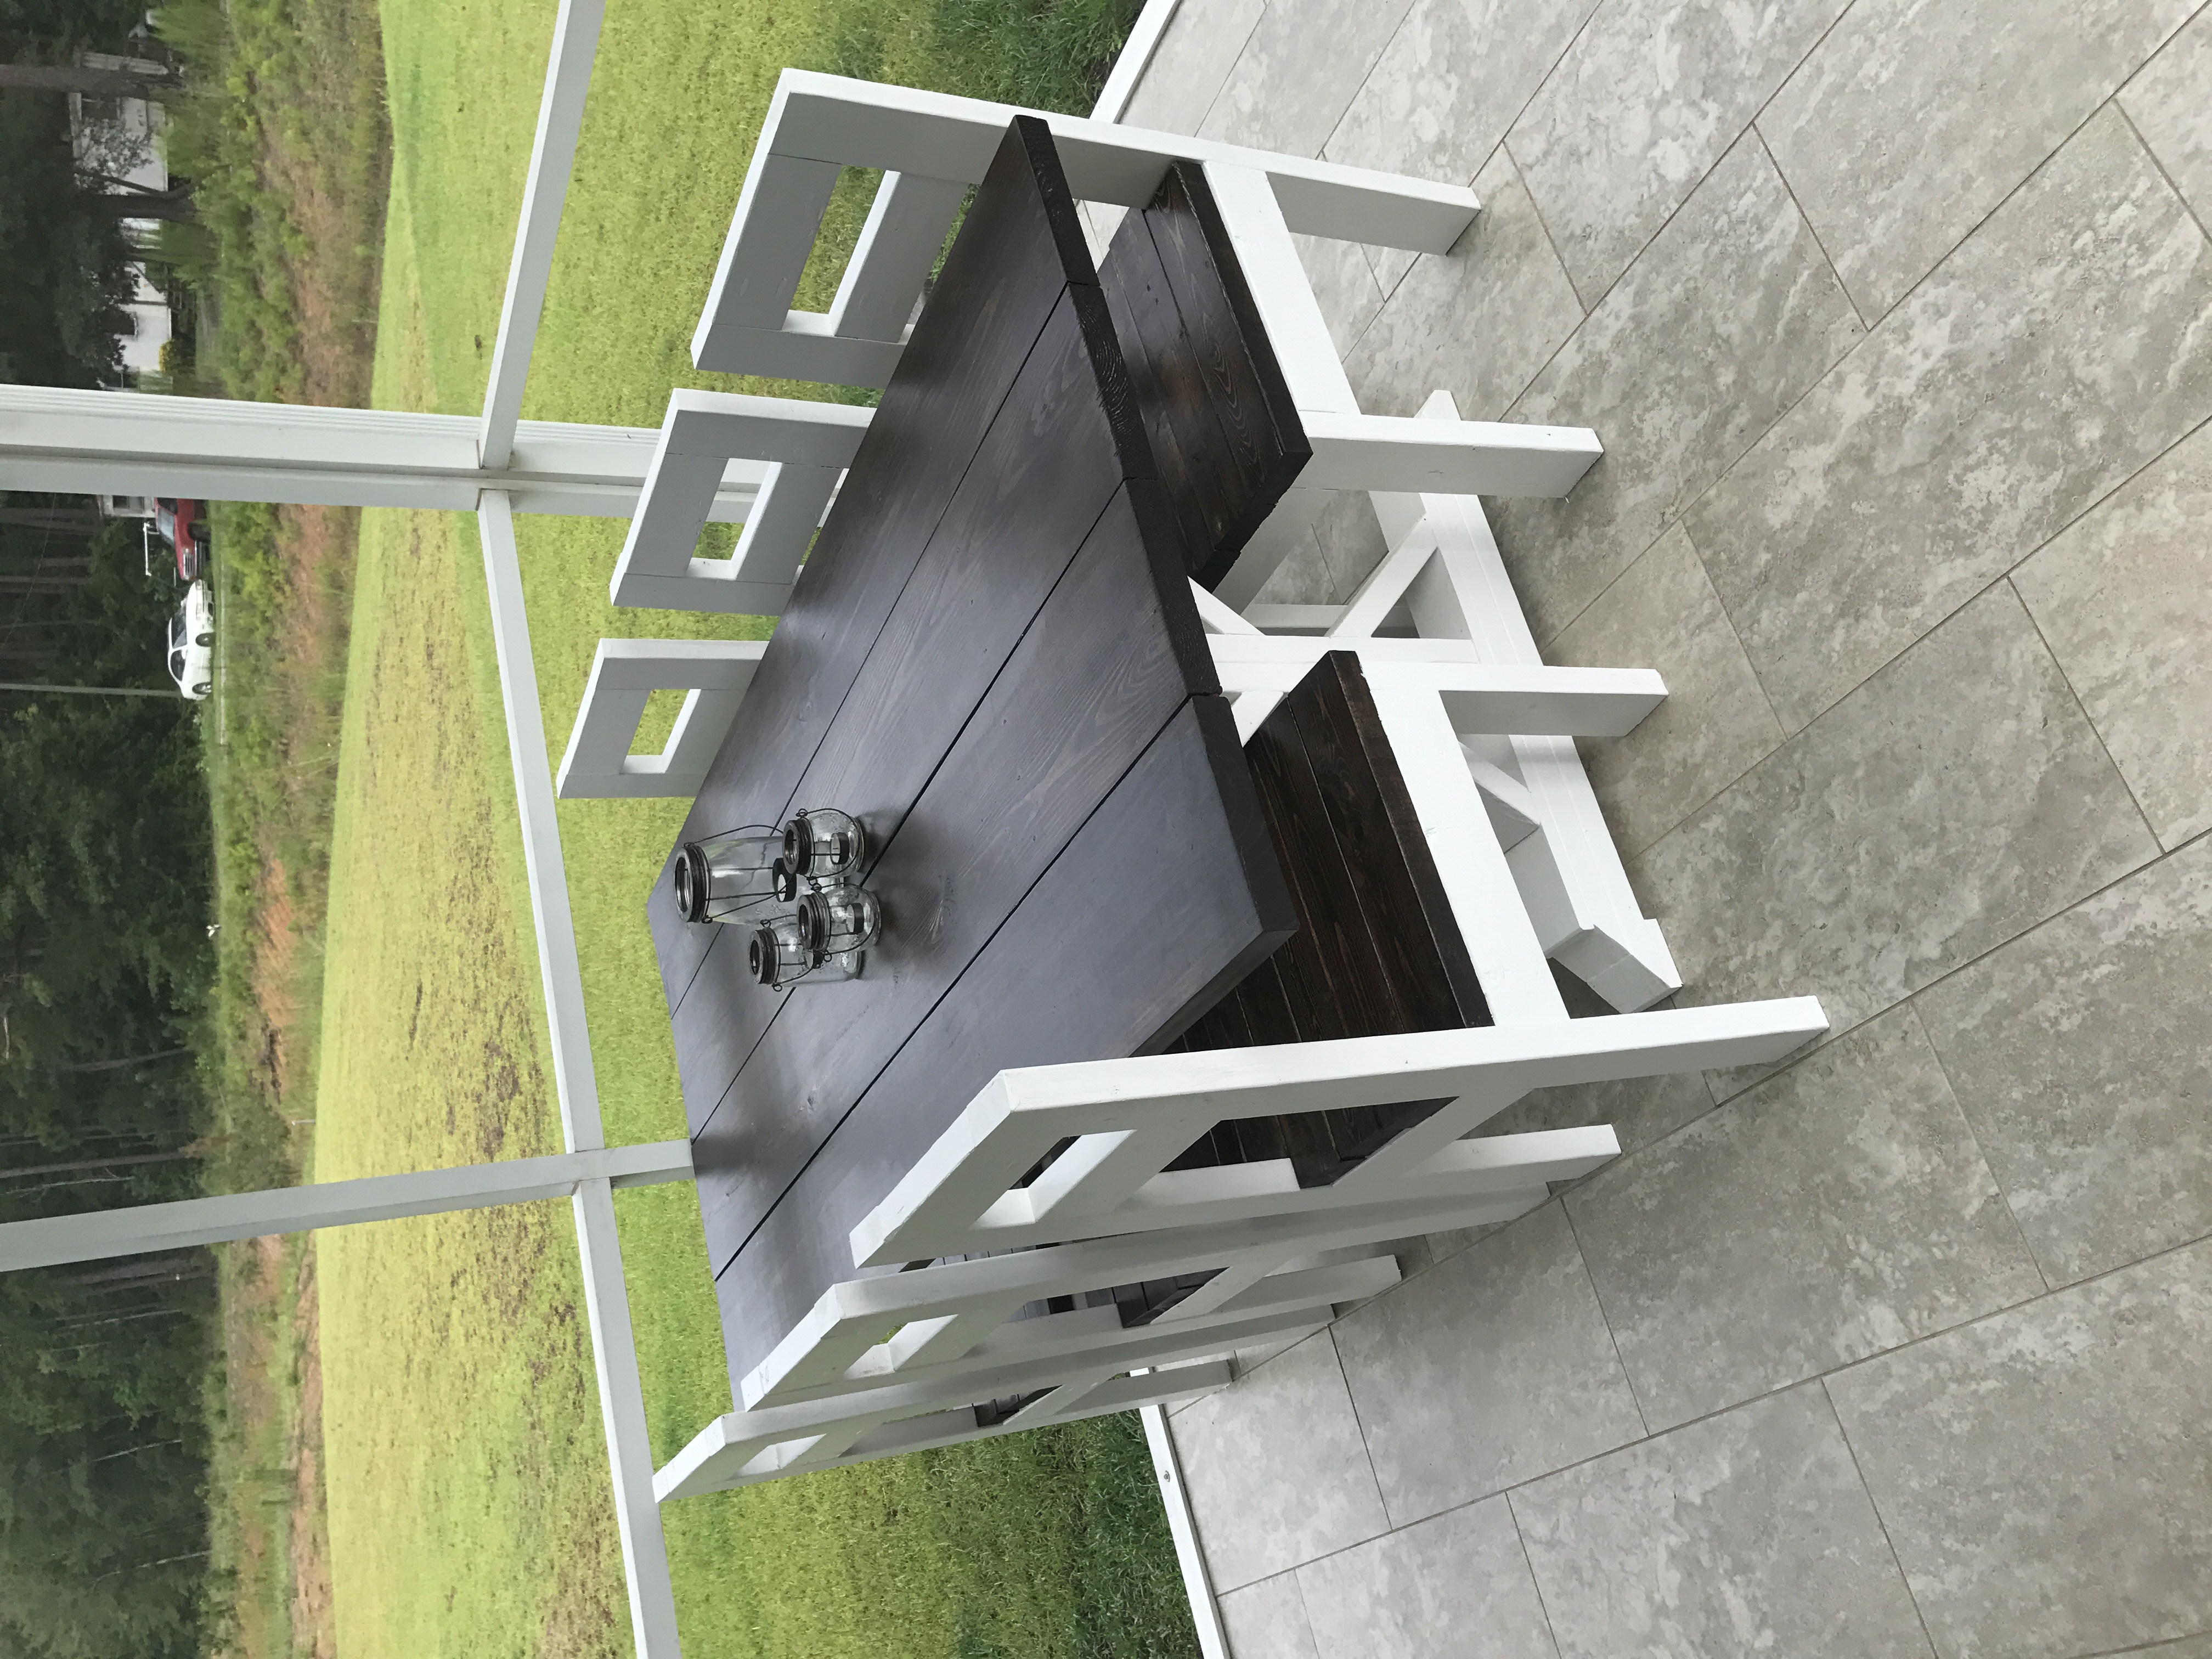
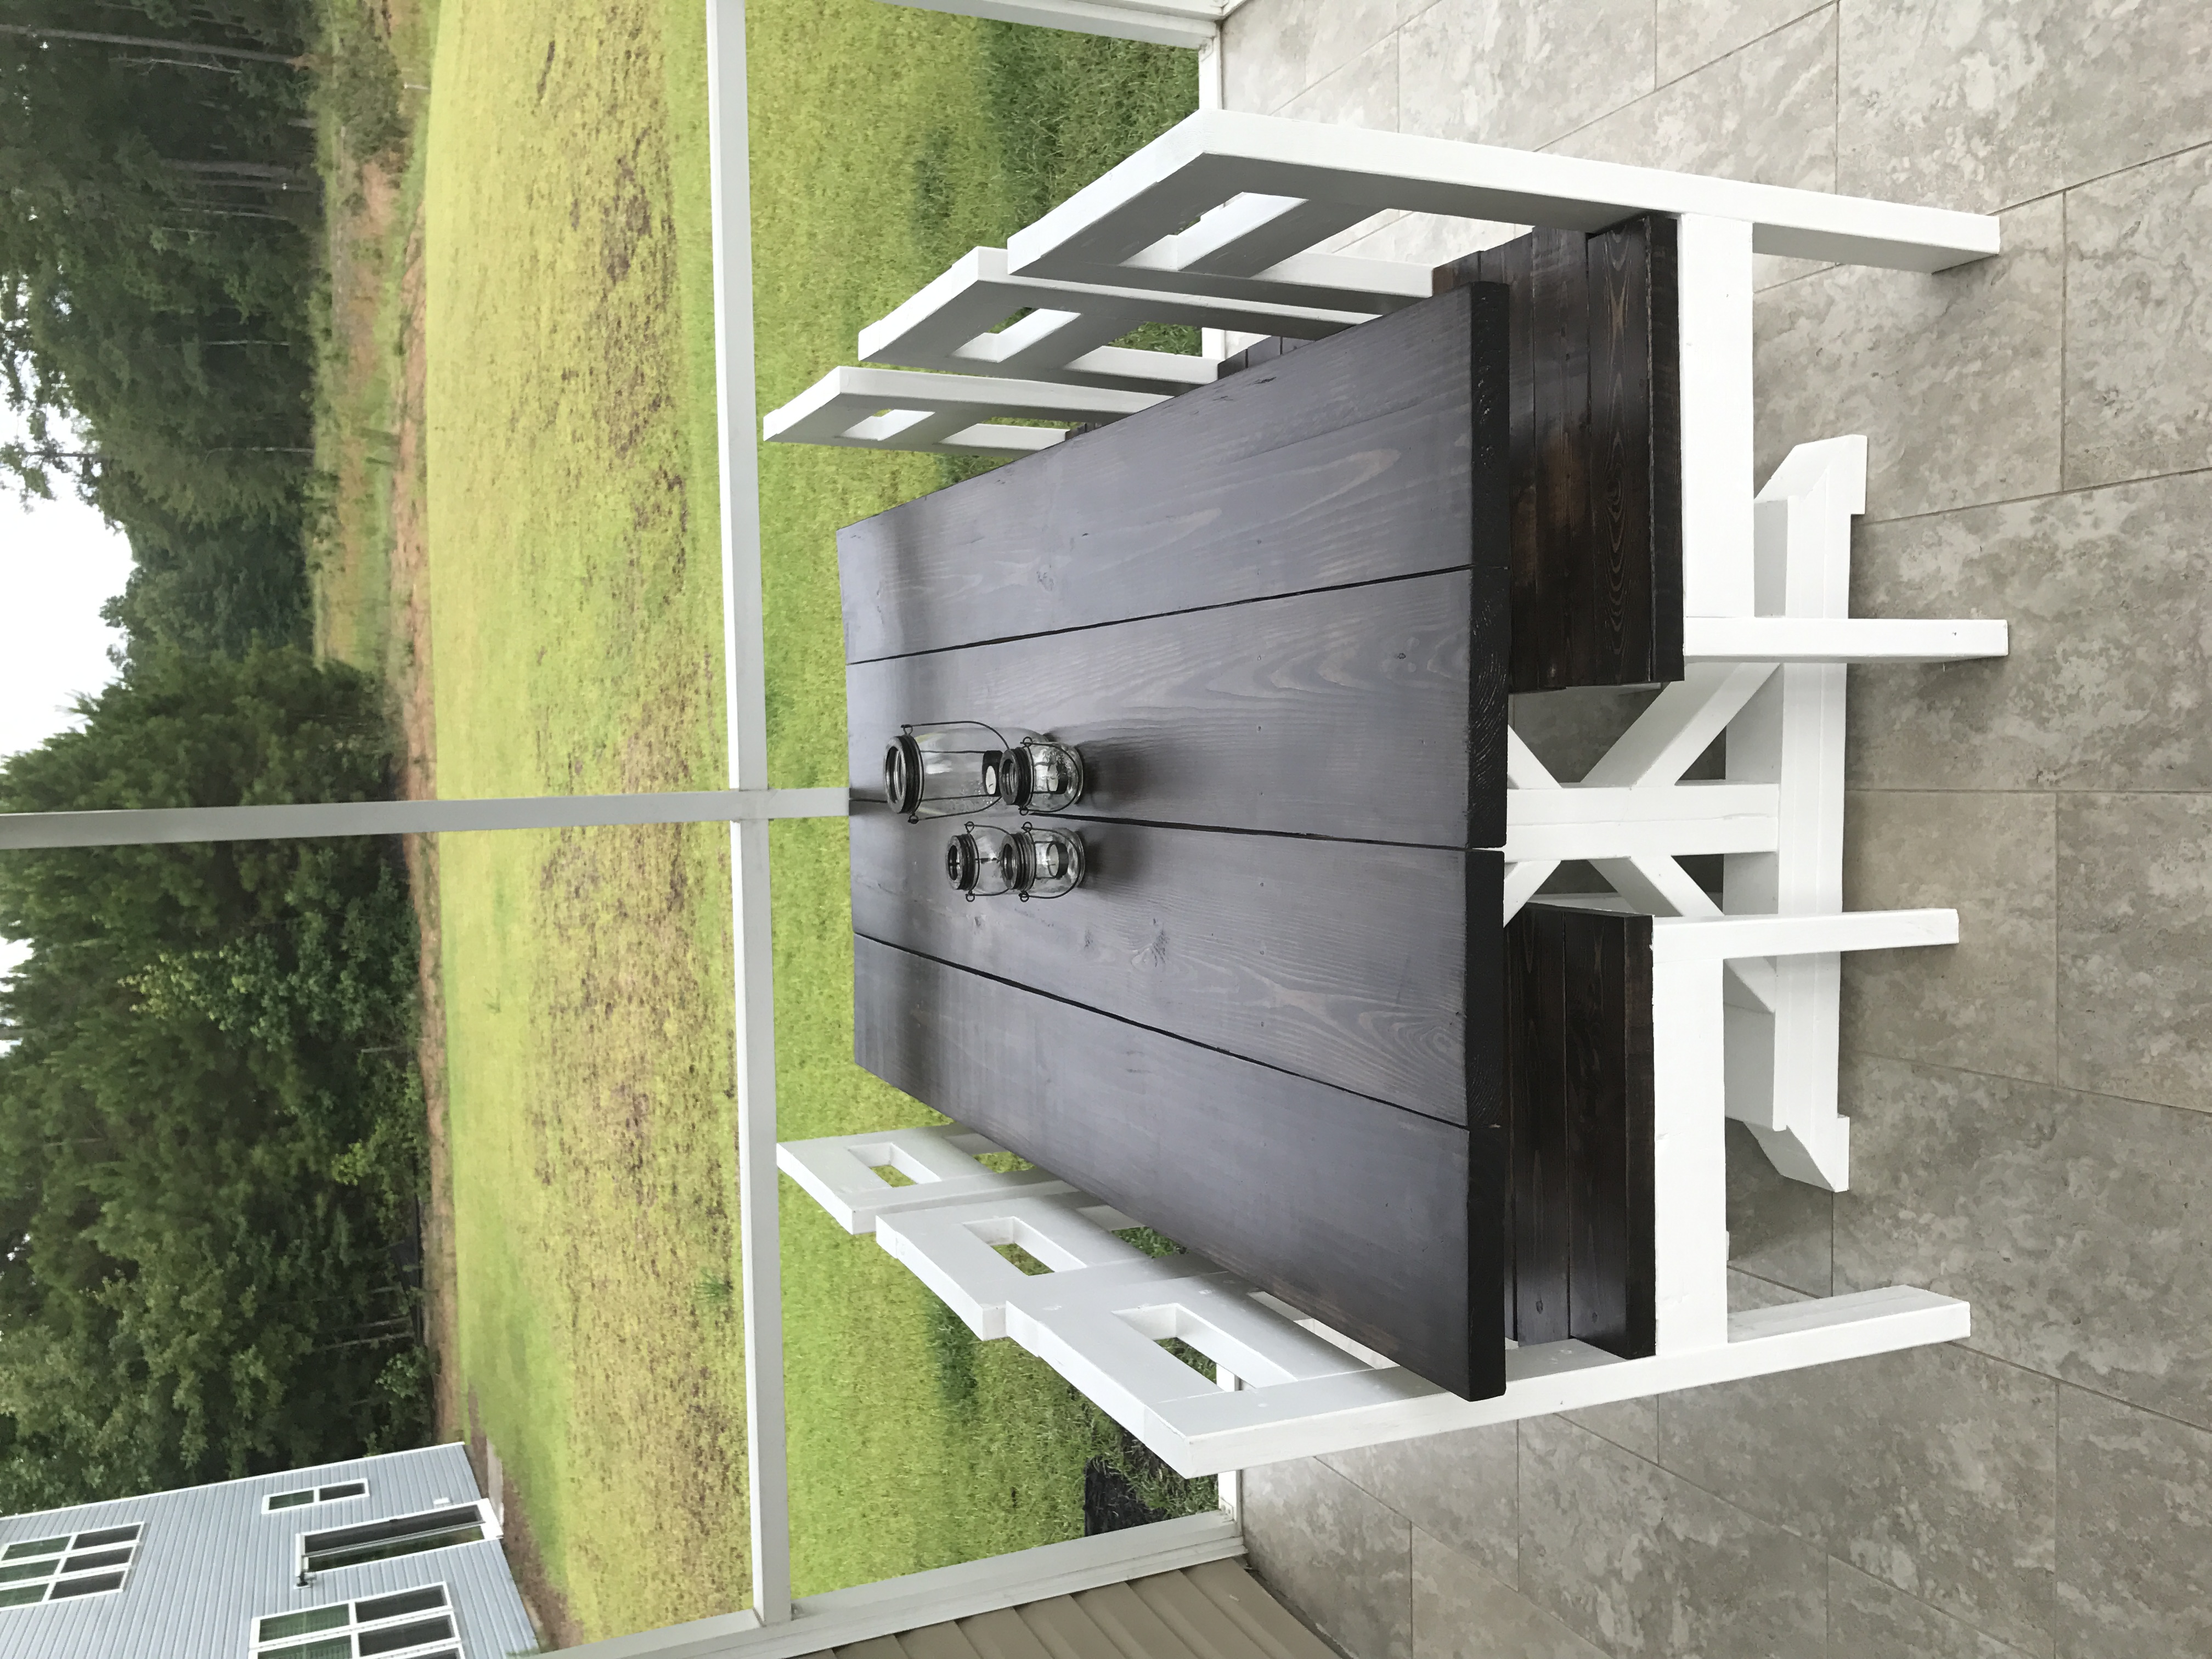
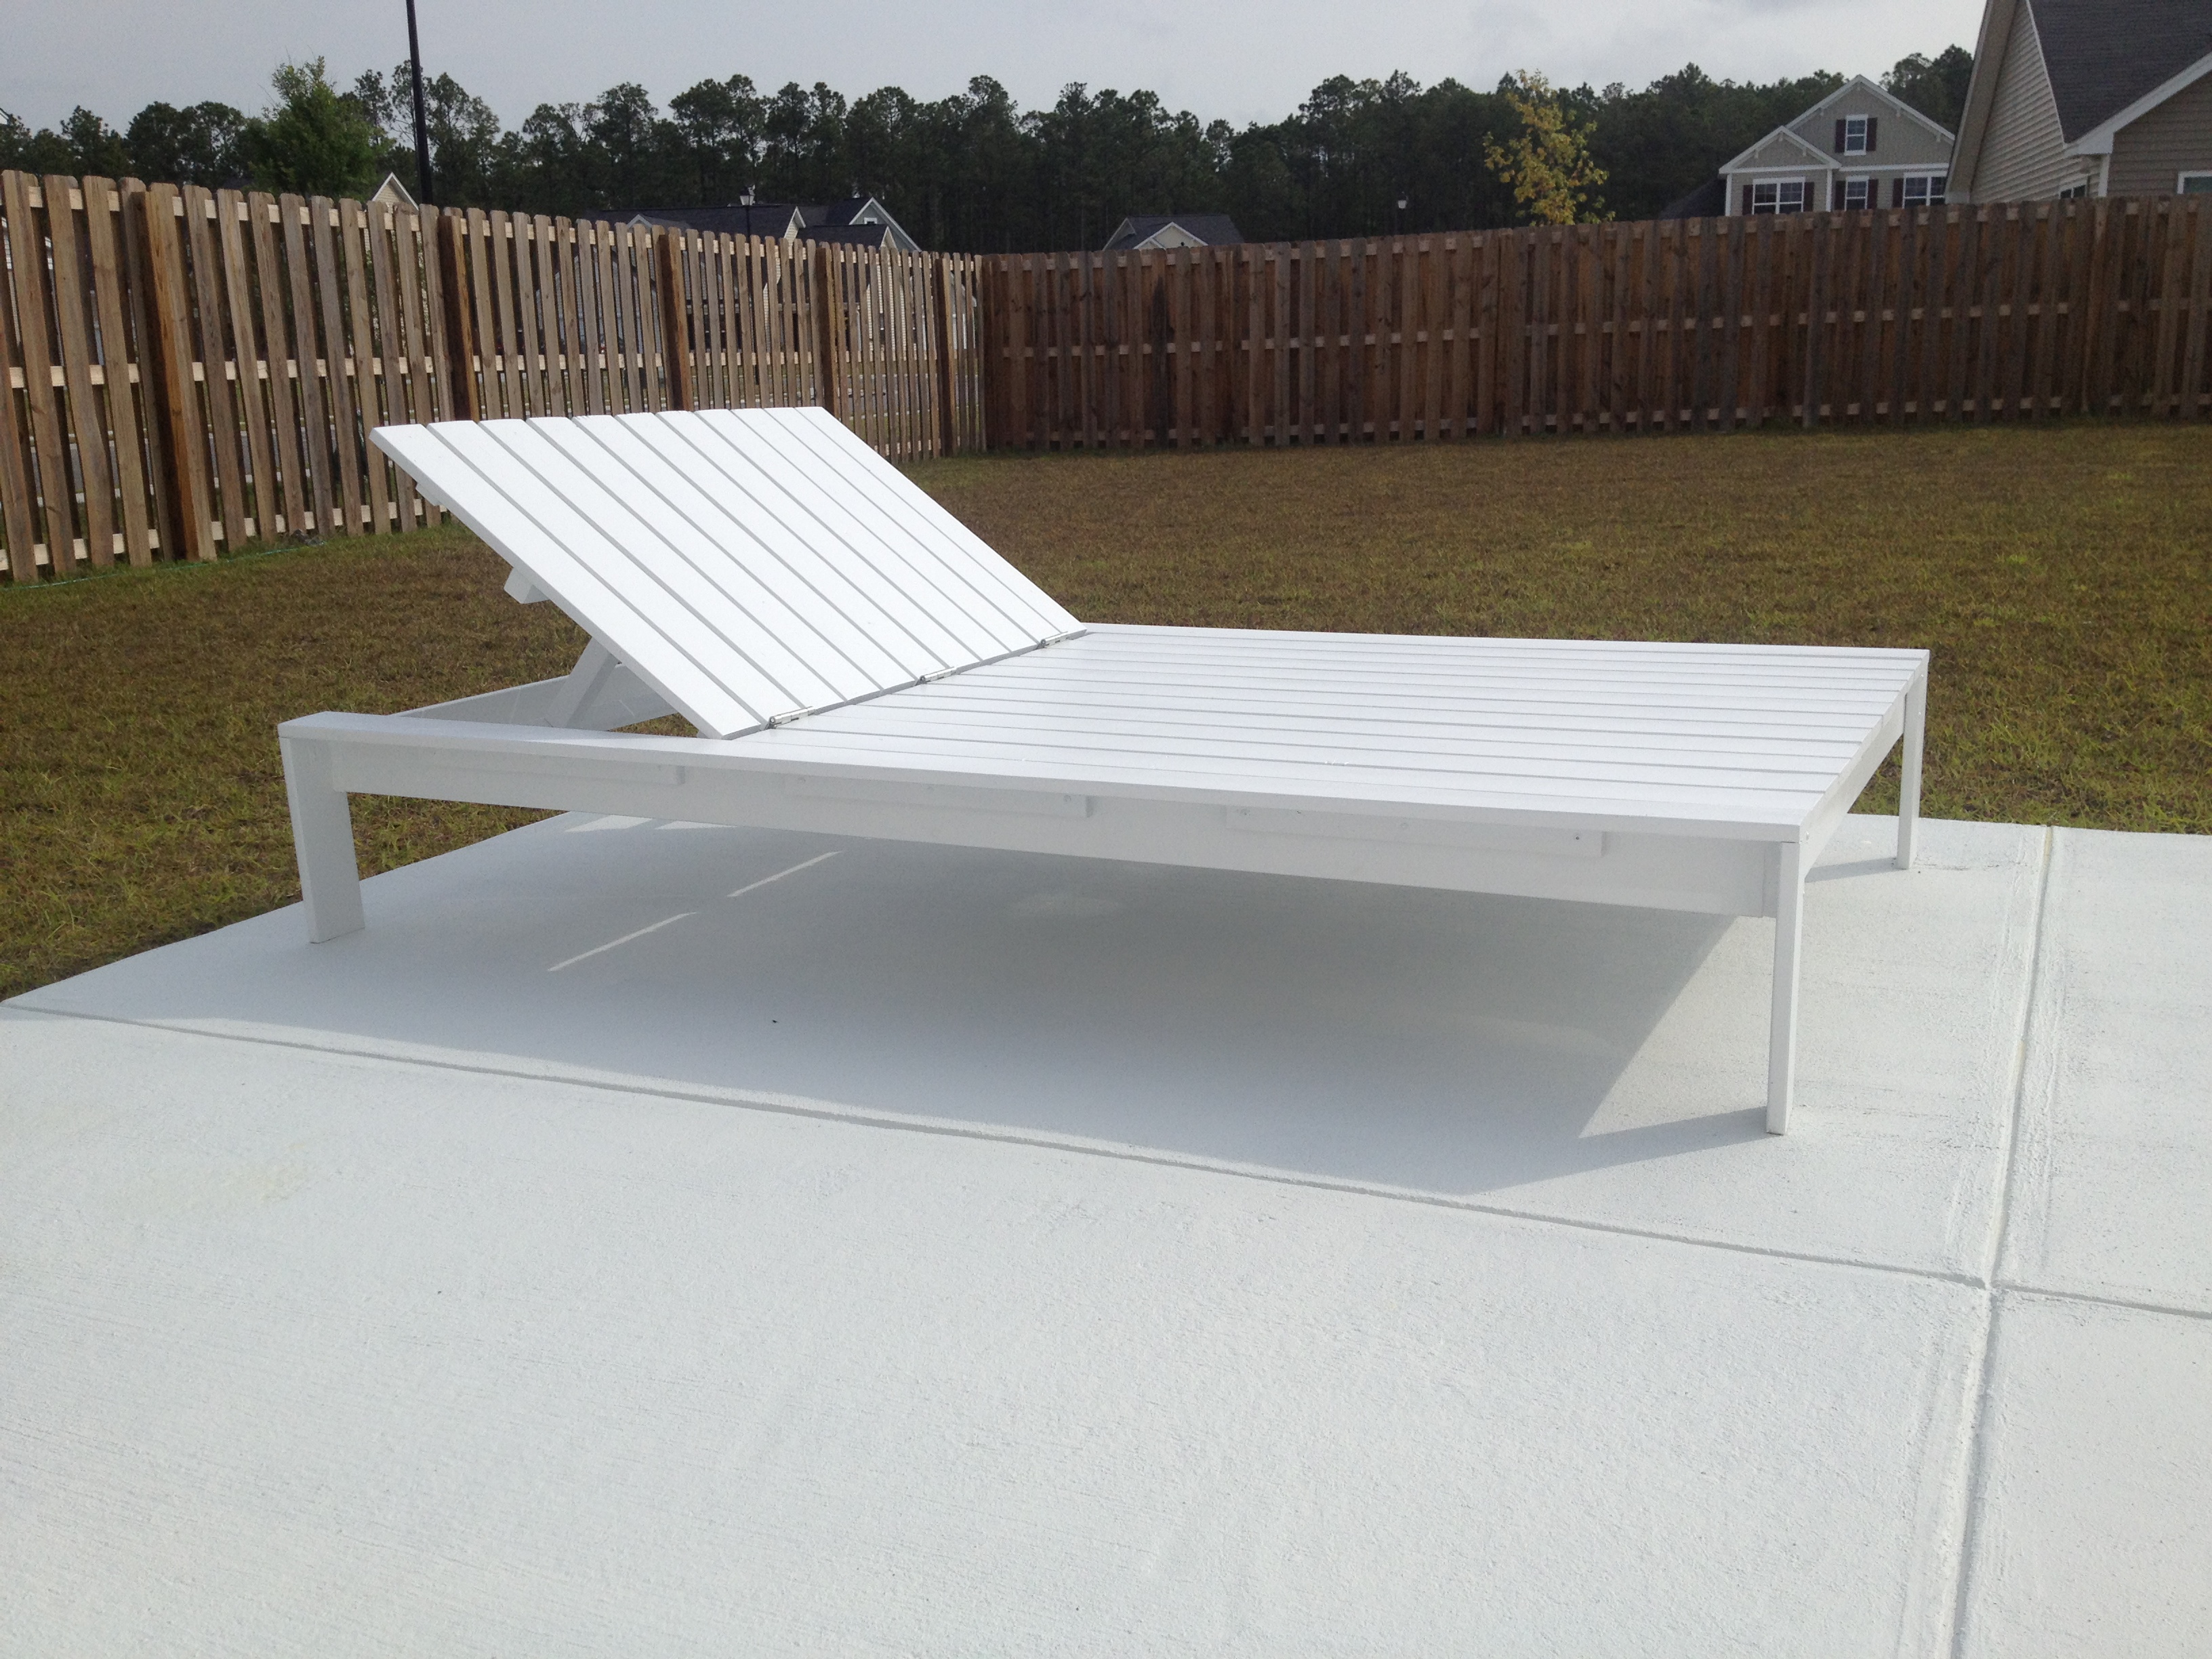
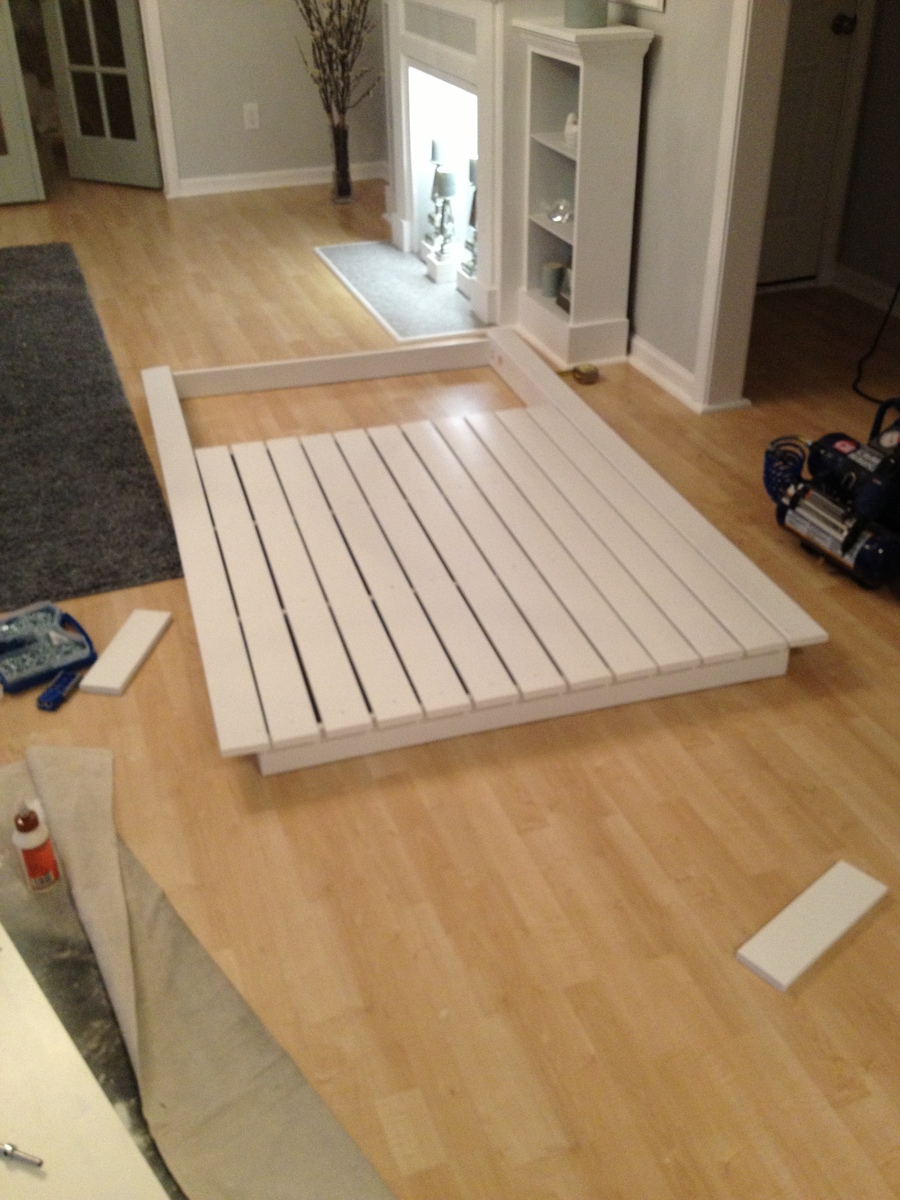
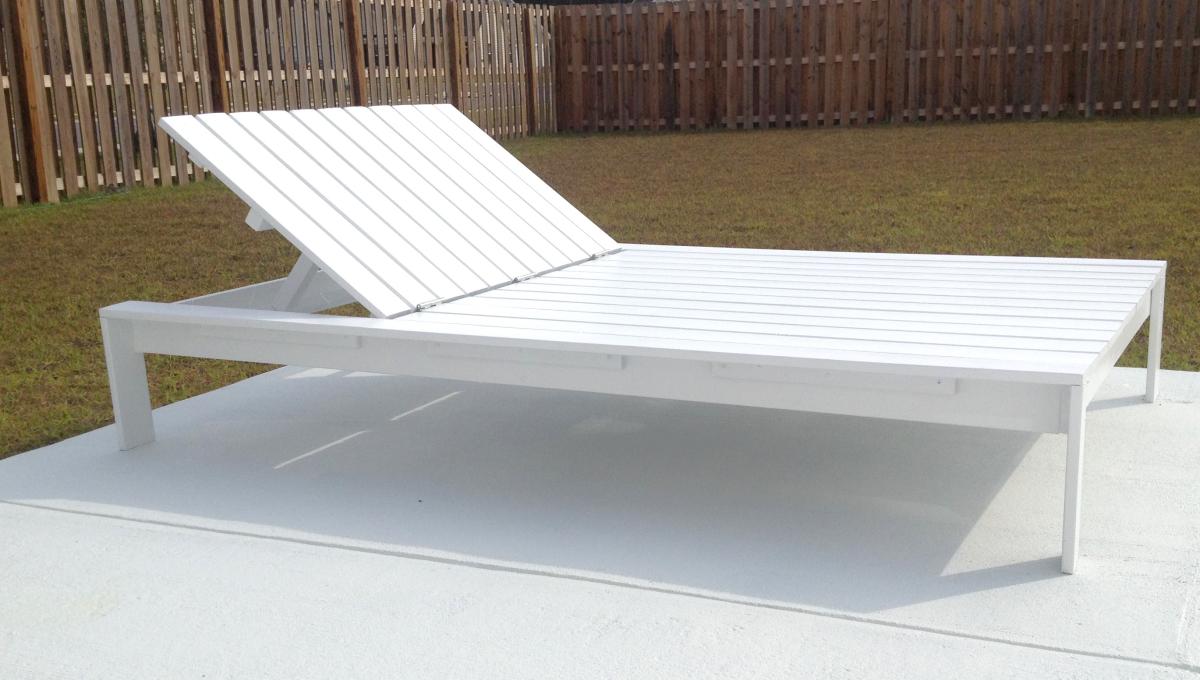
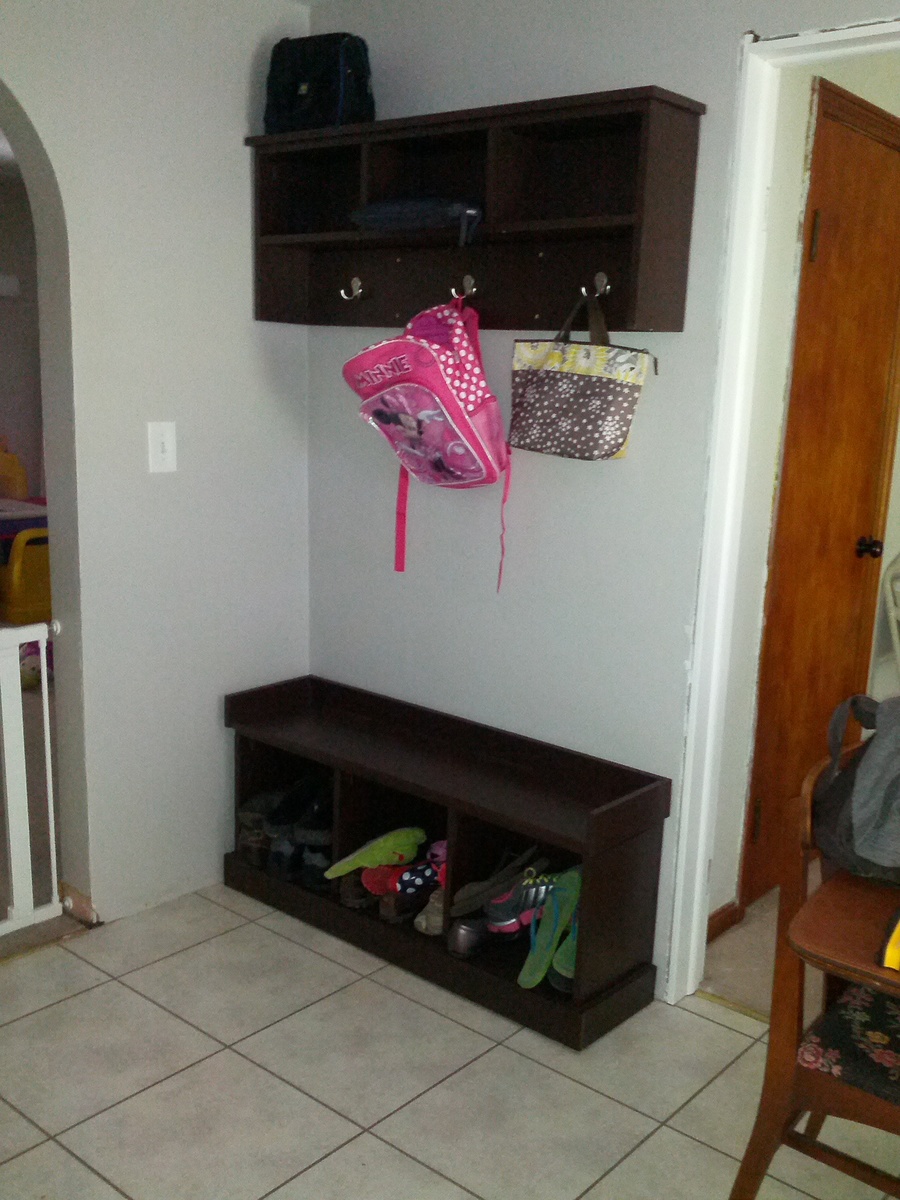
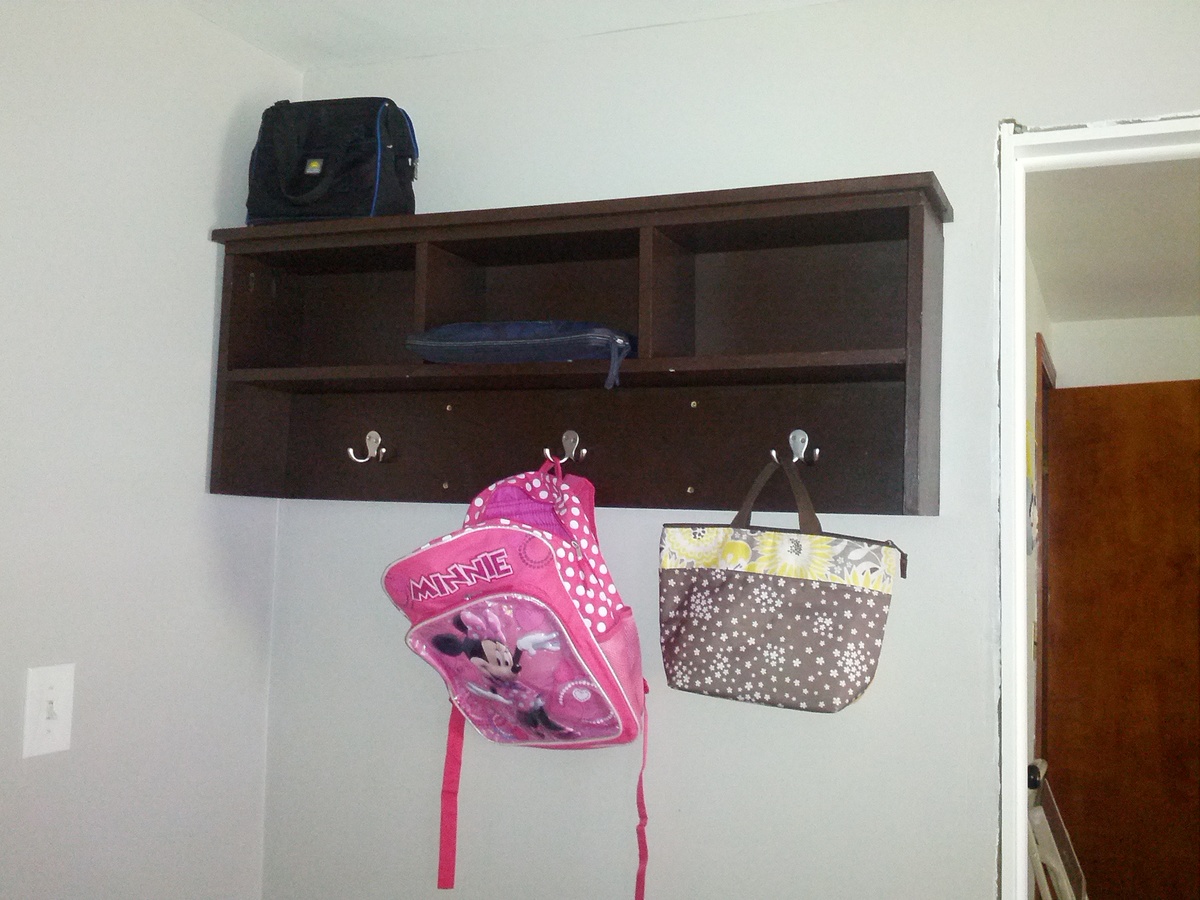
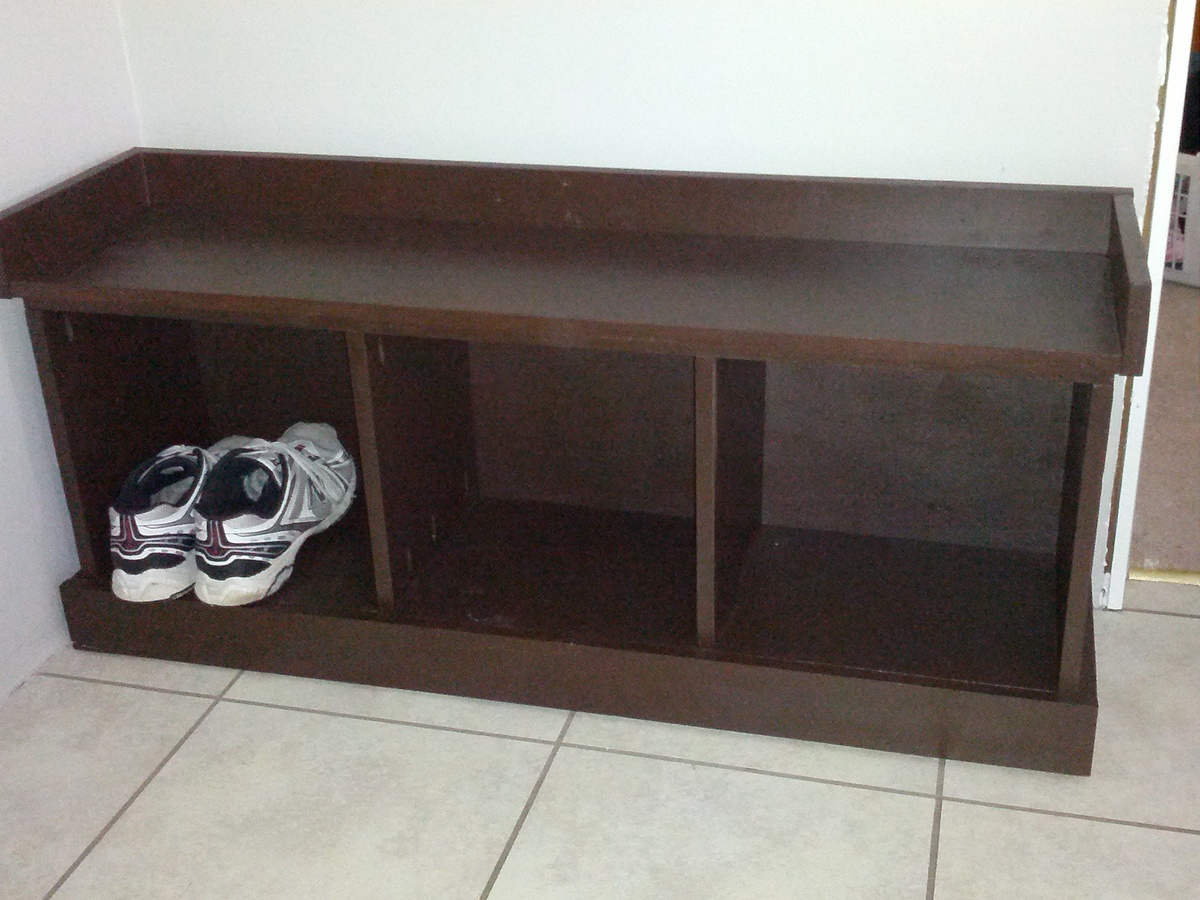
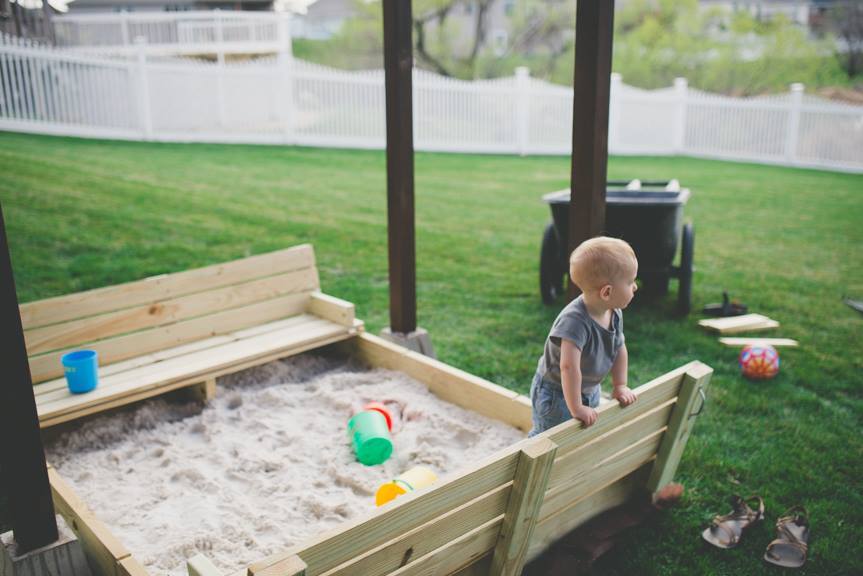
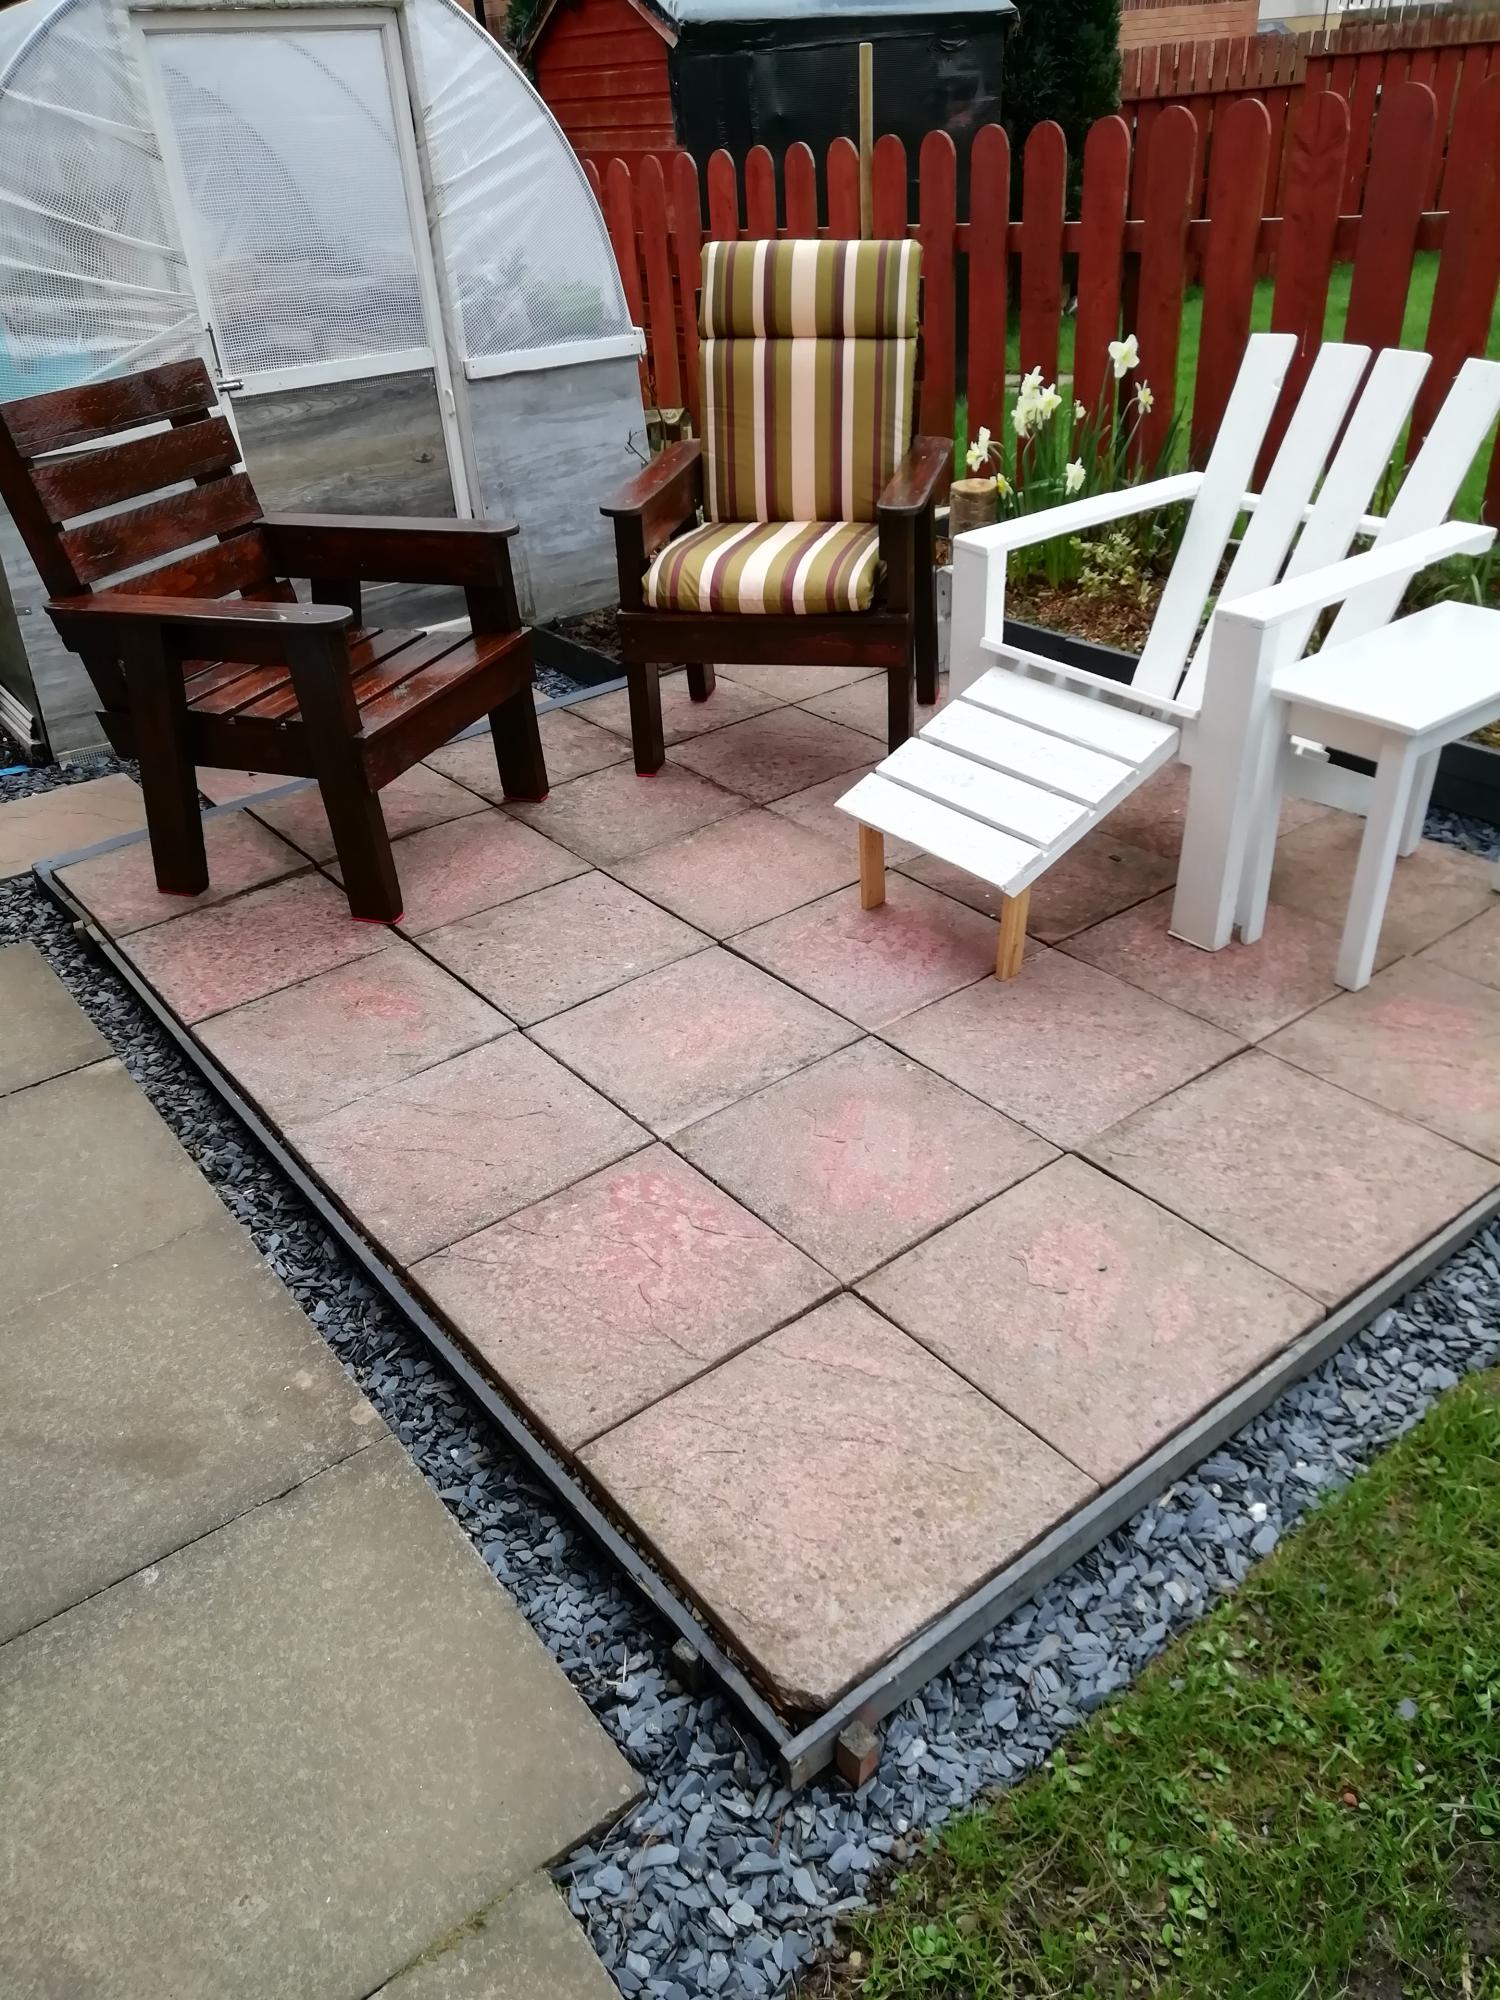
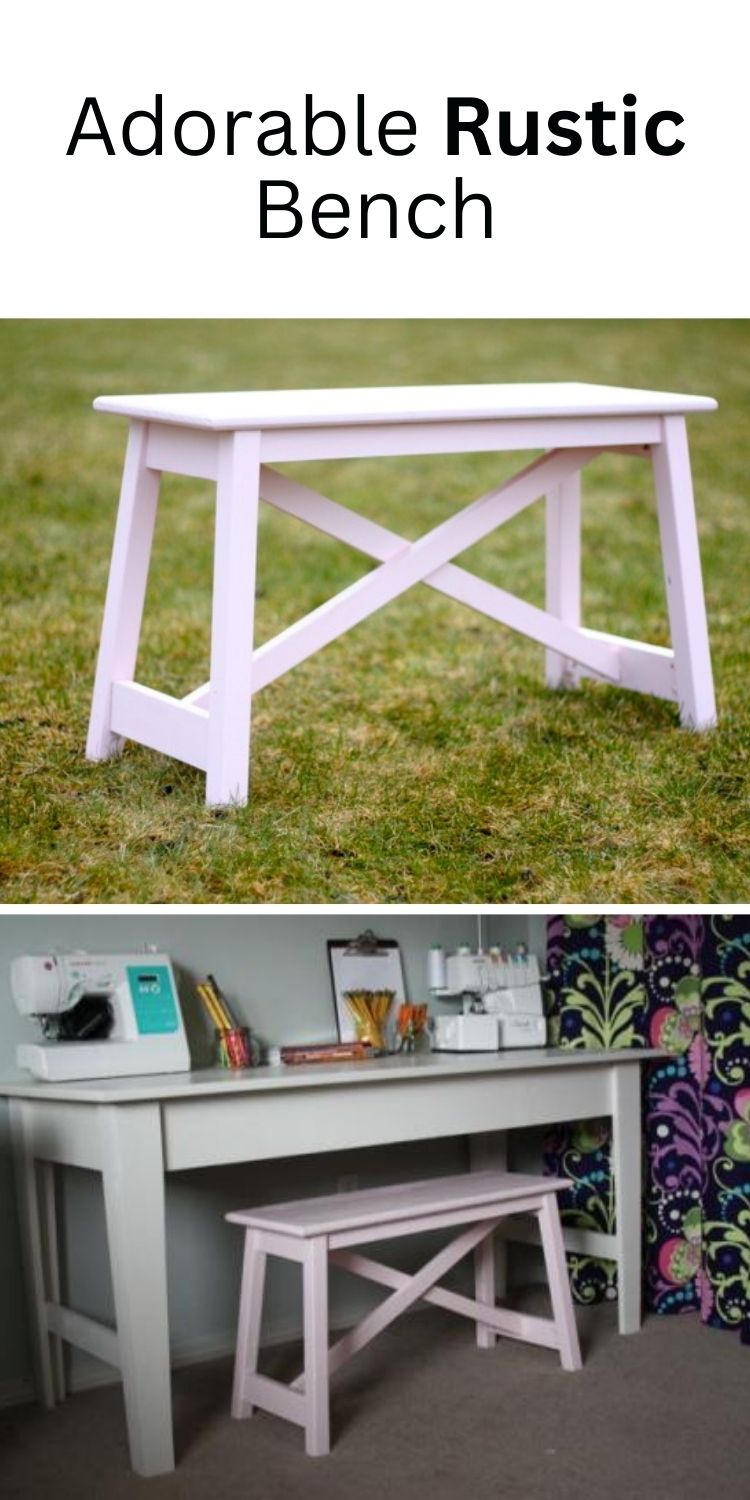
Adorable Rustic Bench

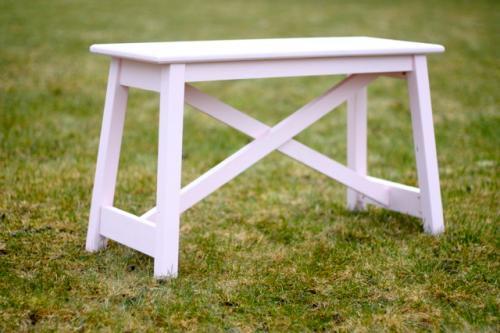
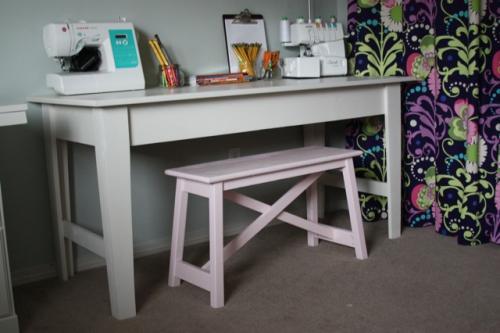
Love the rustic bench! This project took my husband about an hour or two to build and then a little primer and paint and it was ready to use. It was a pretty easy build and we didn’t modify the plans at all. We liked the bench so much that we made another one! My biggest tip is to always read the comments on the plans because people leave great feedback about their experience as well as any tips that they used. It cost us less than $30 to build two benches. Sanded really well and then filled screw holes with wood fill. Primed and painted with Behr’s powdered blush.
Pin For Later!
Built from Plan(s)
Estimated Cost
$15-20
Estimated Time Investment
An Hour or Two (0-2 Hours)
Finish Used
A coat of primer followed by a coat of Behr's Powdered Blush.
Recommended Skill Level
Beginner