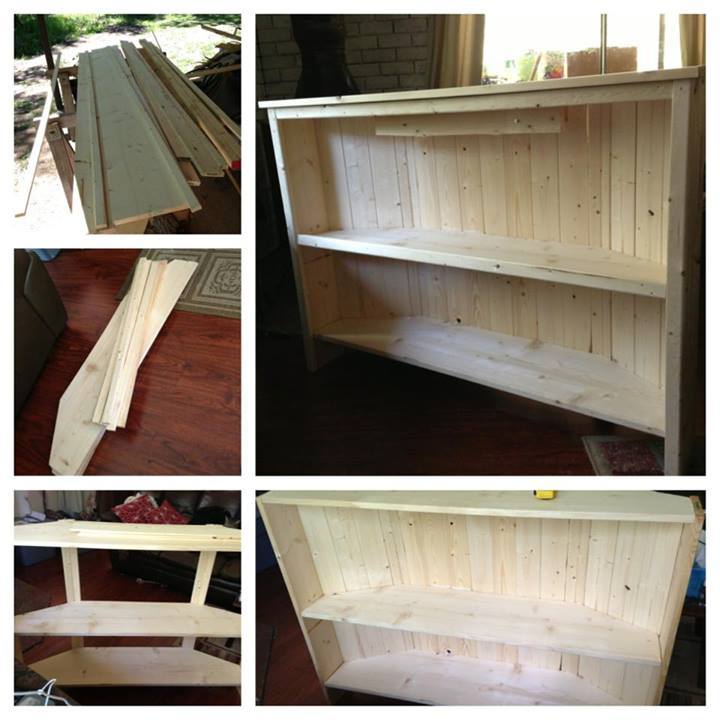
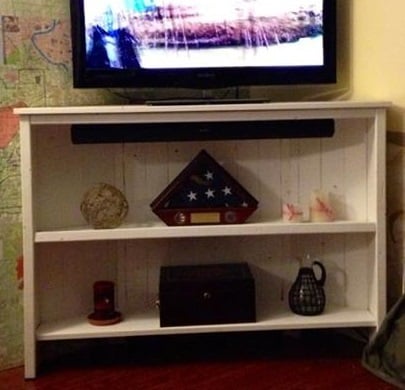
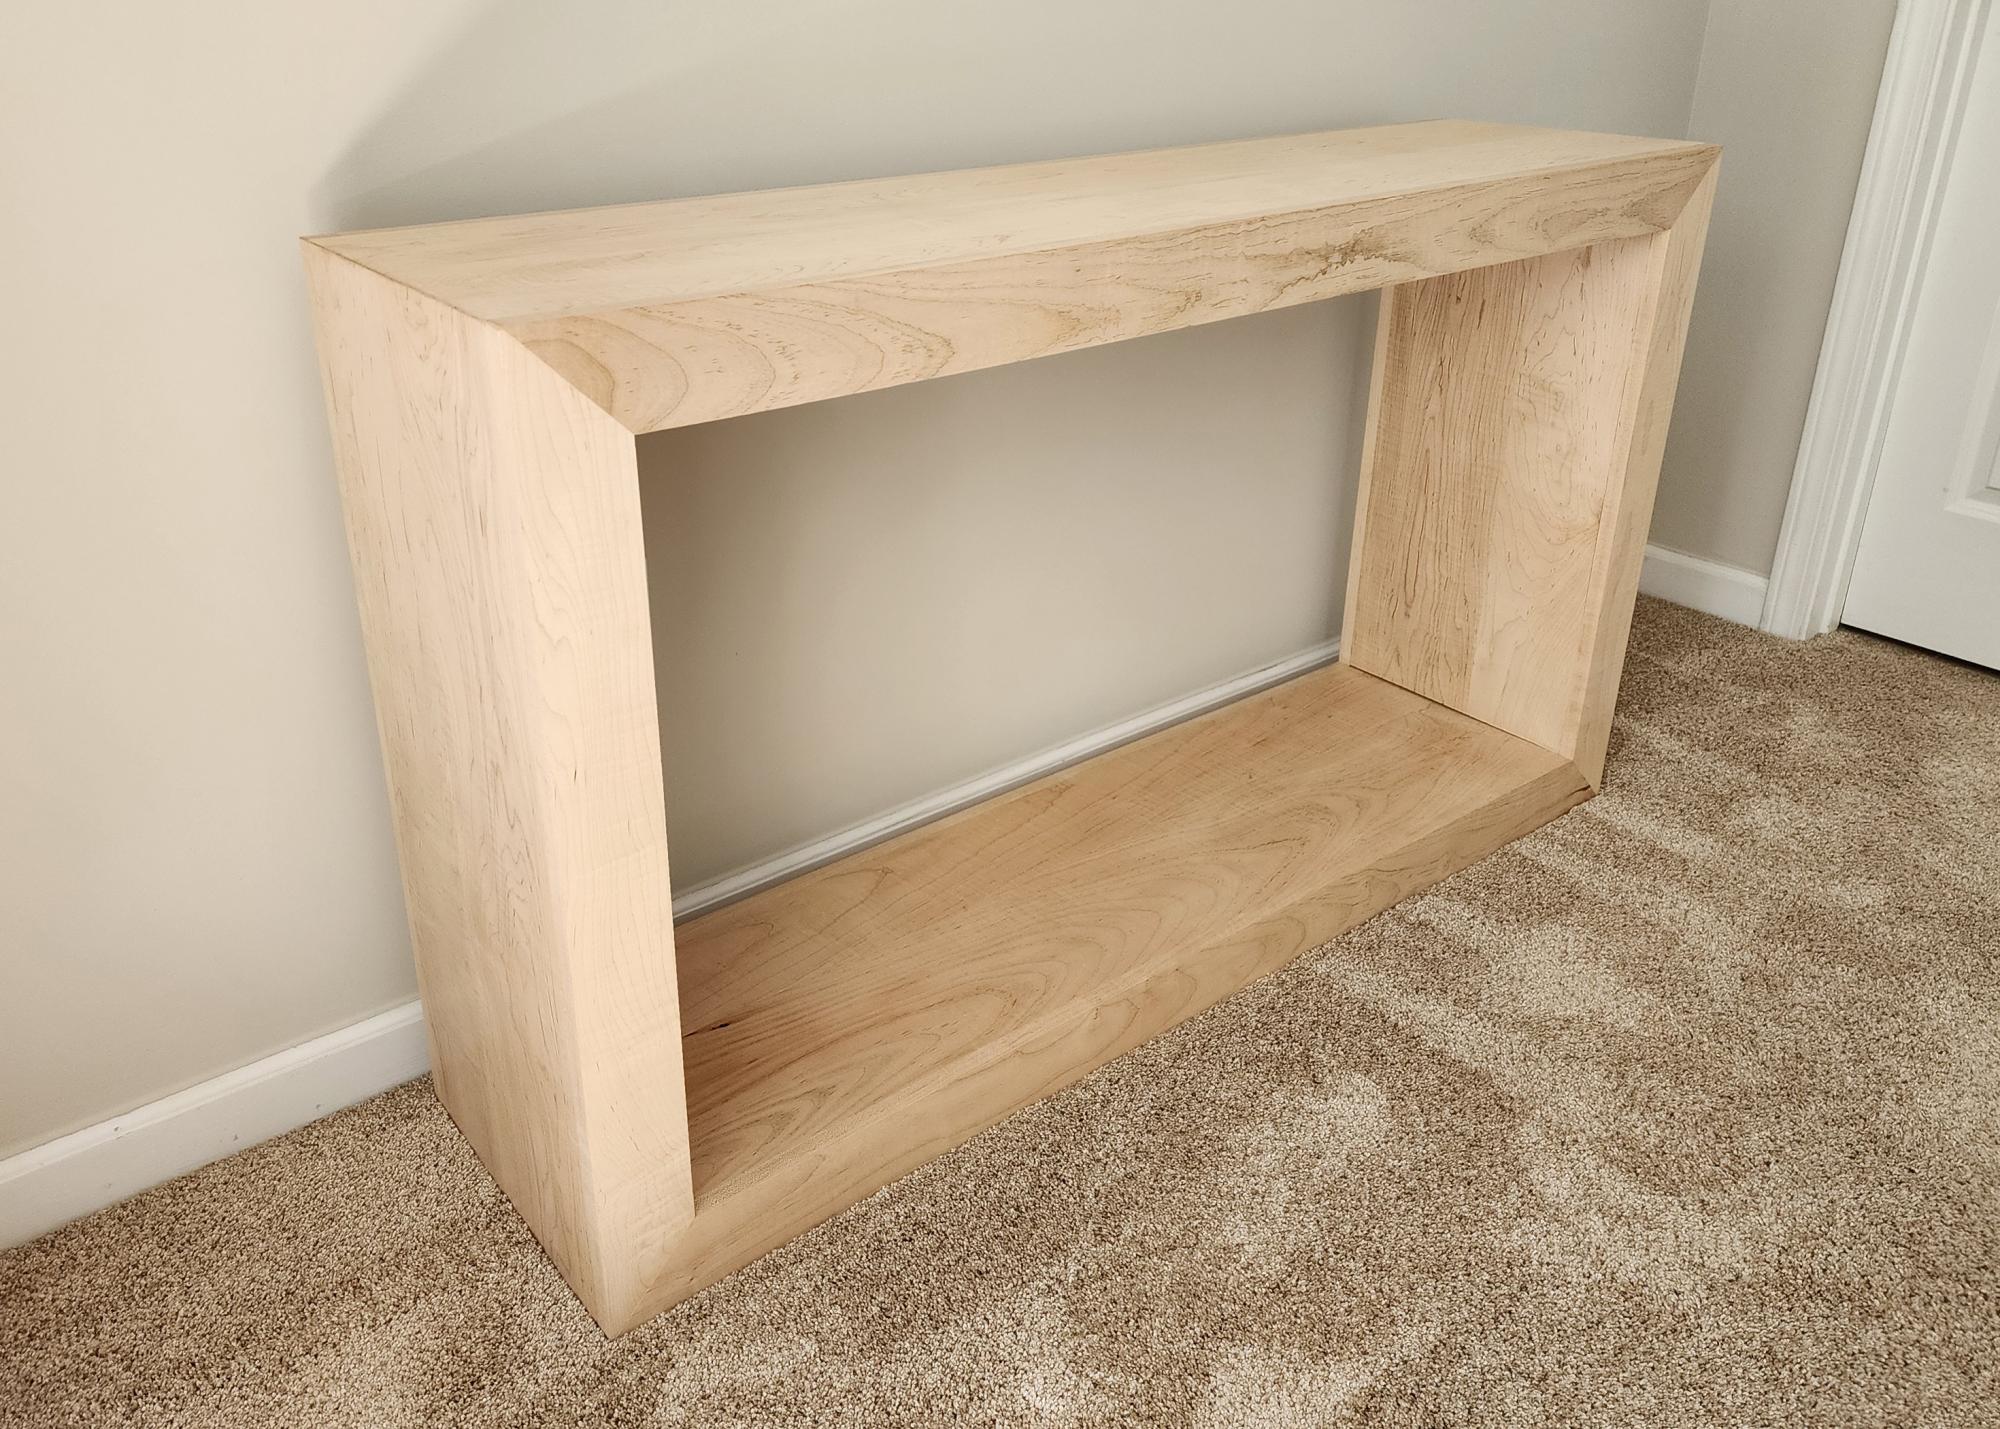
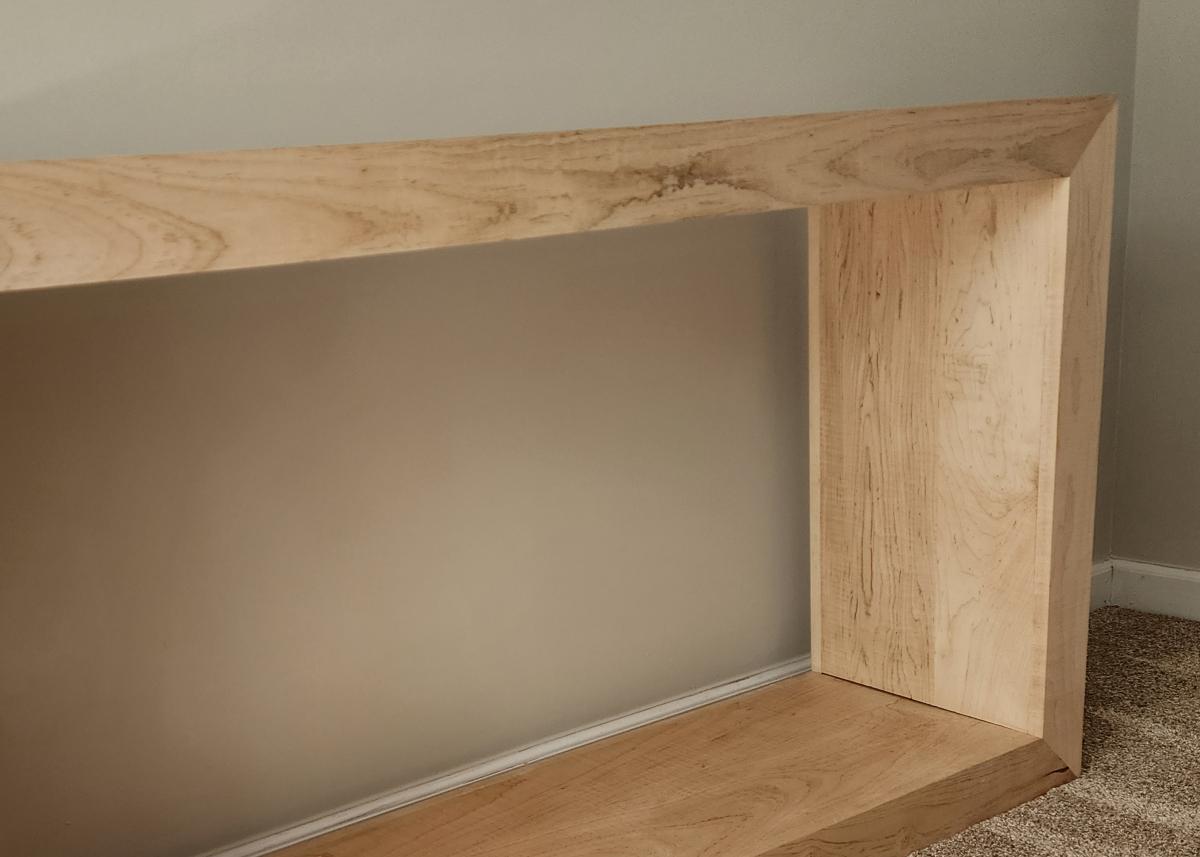
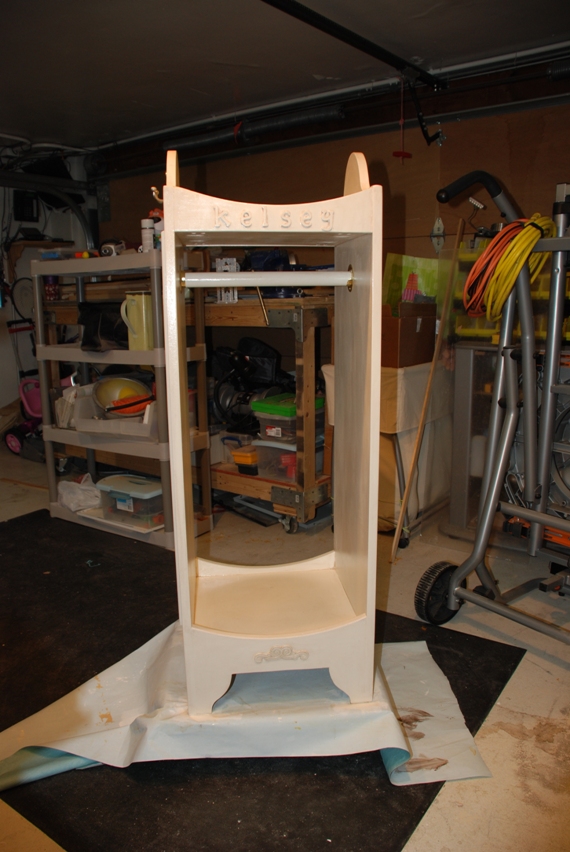
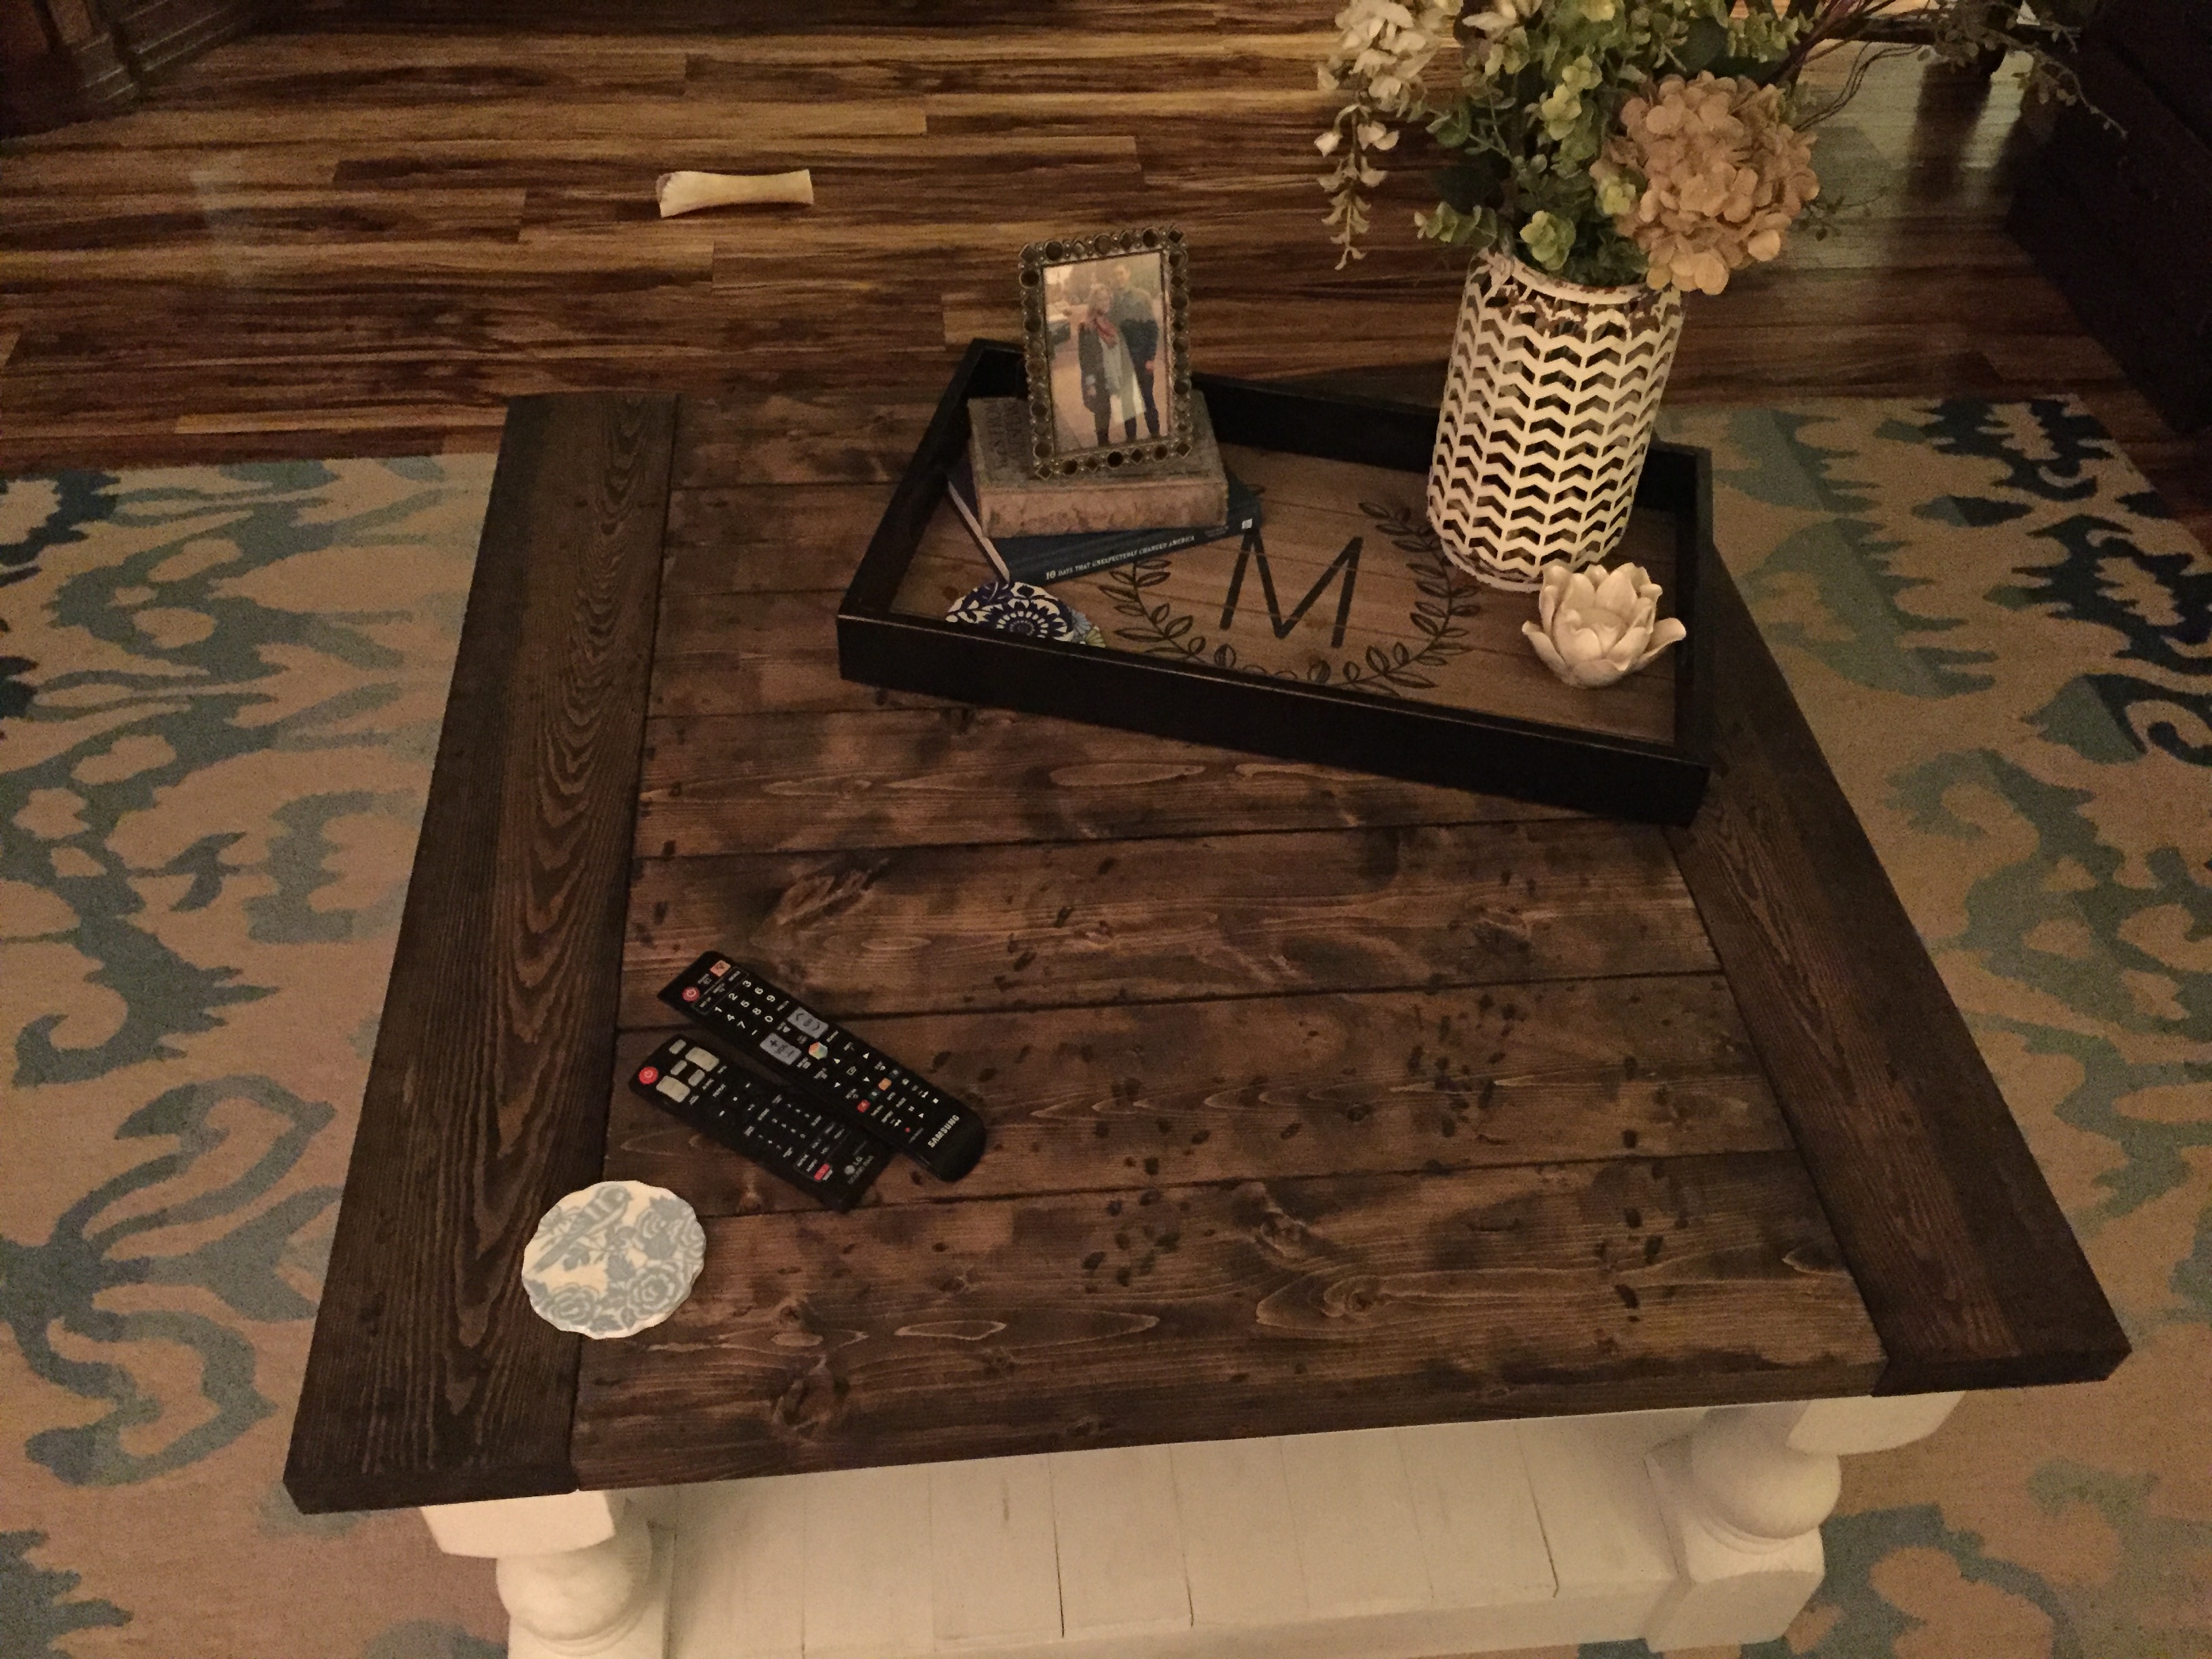
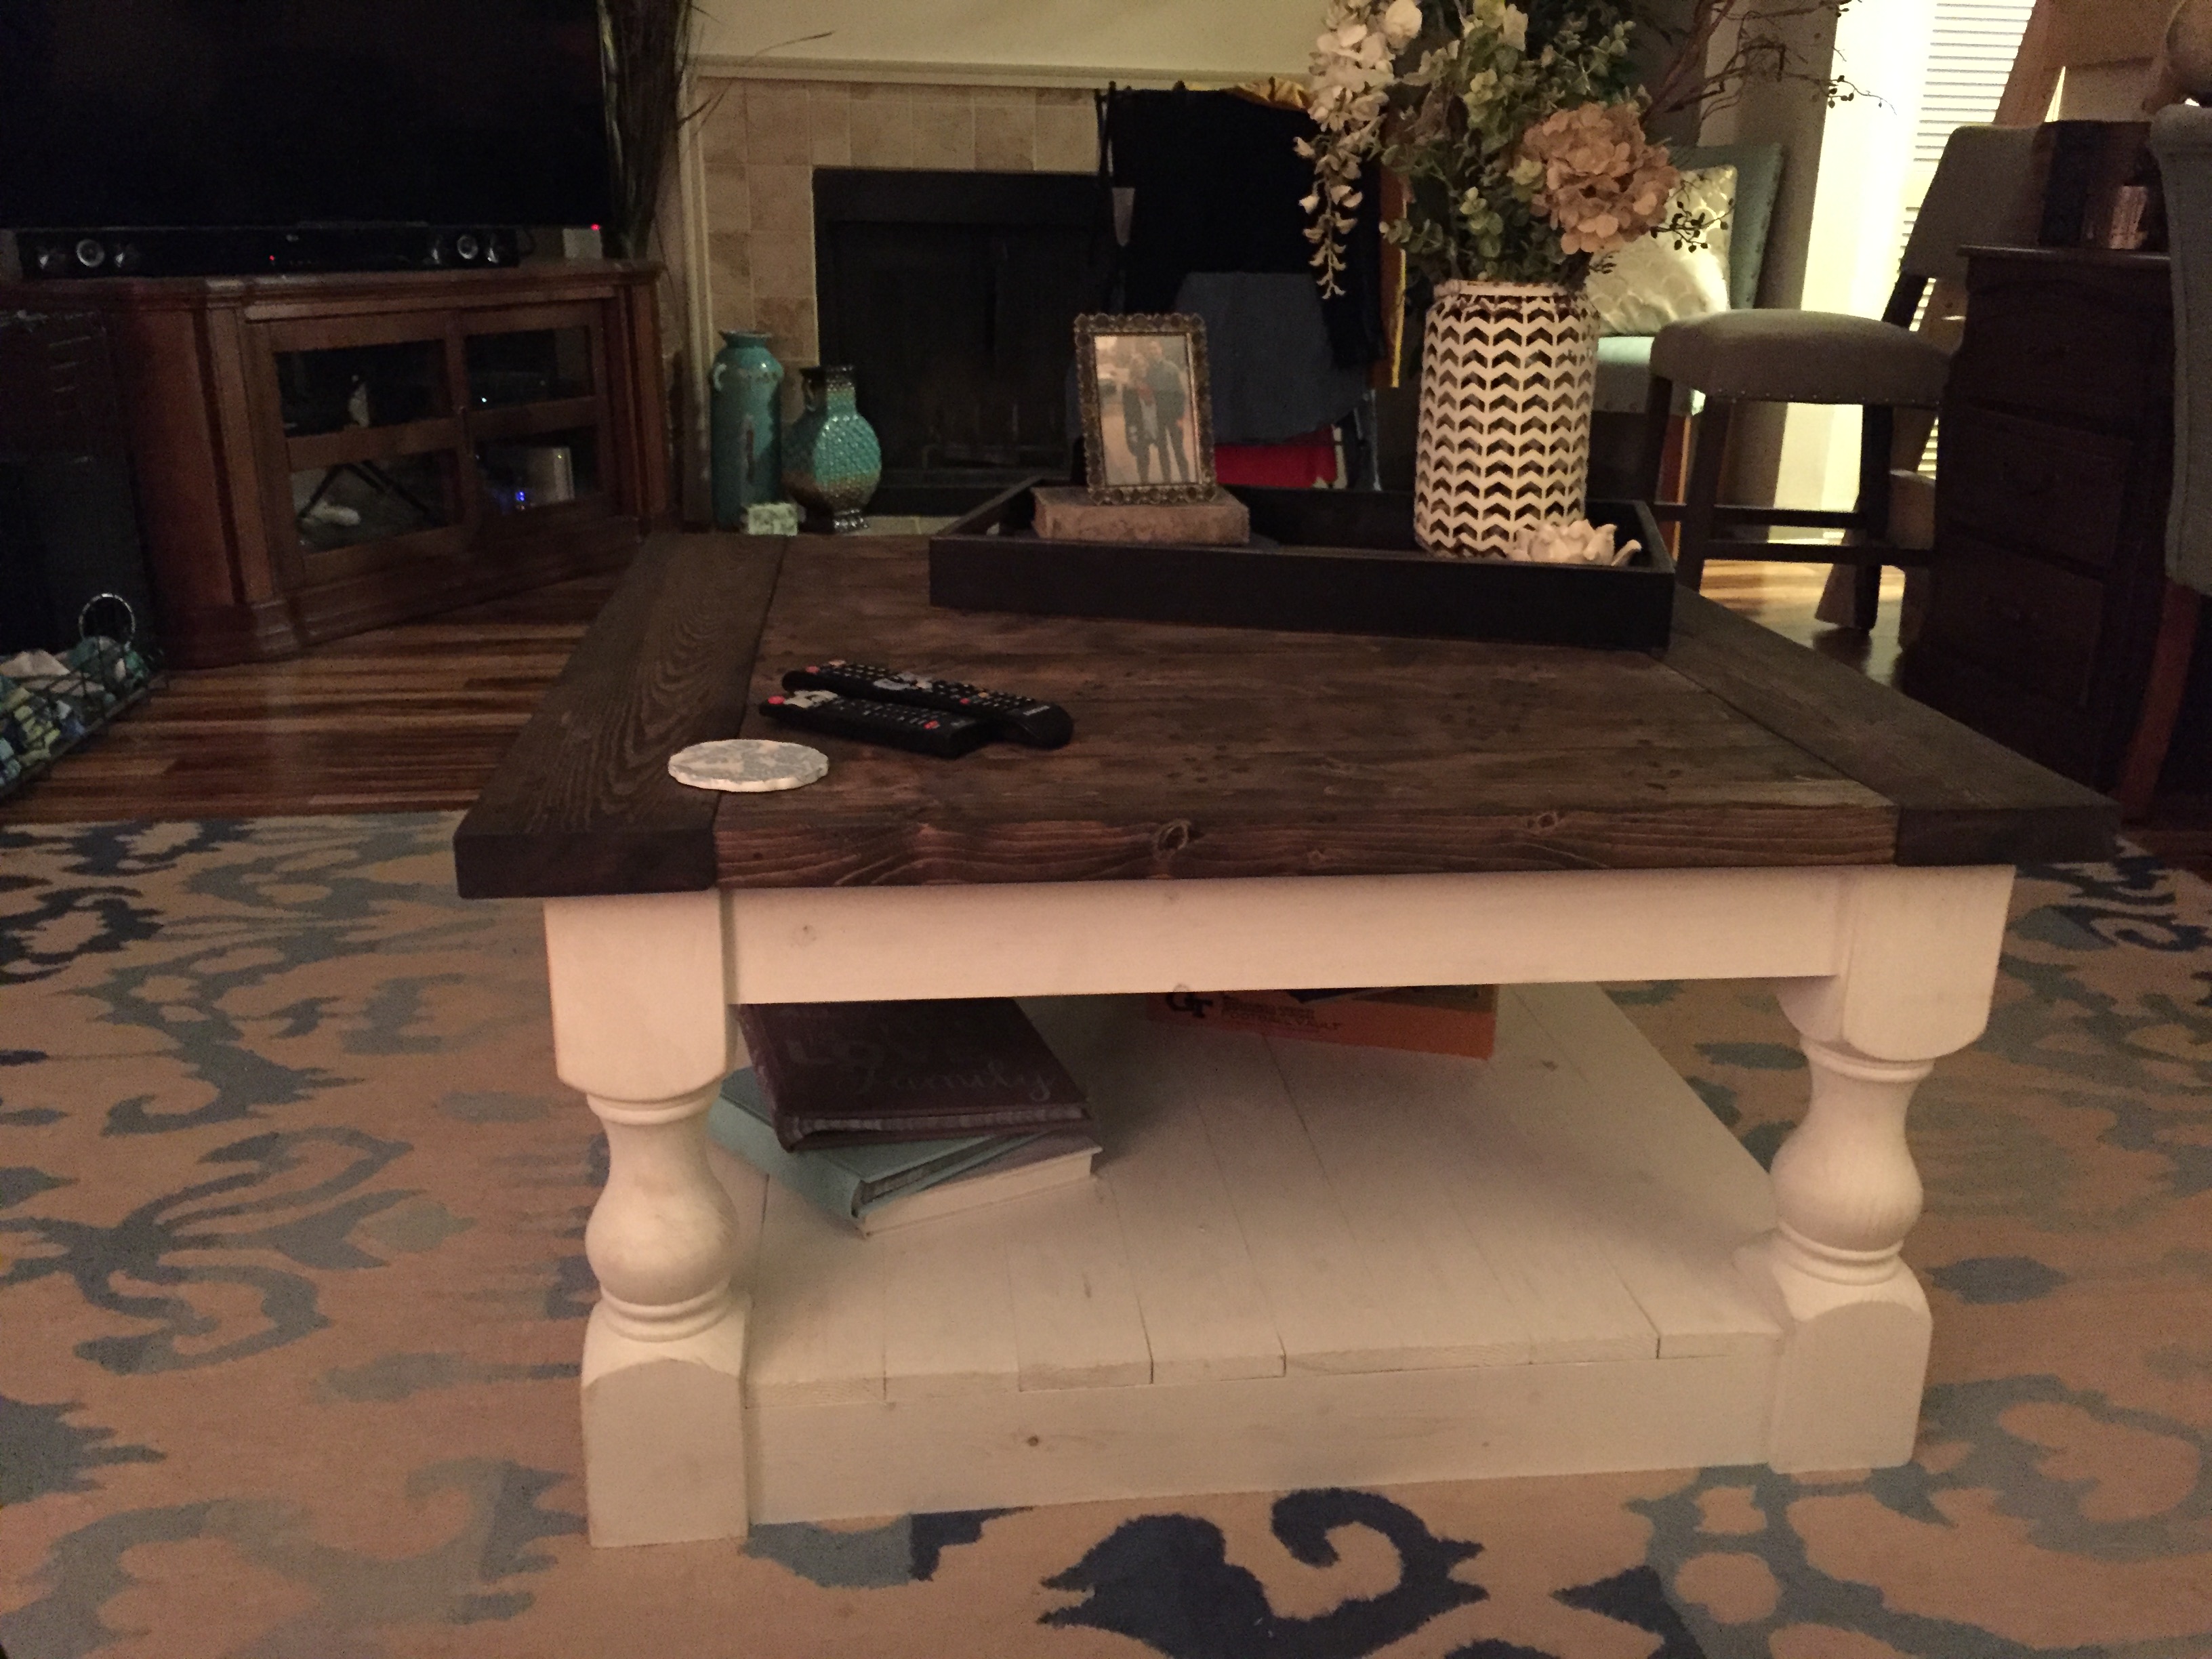
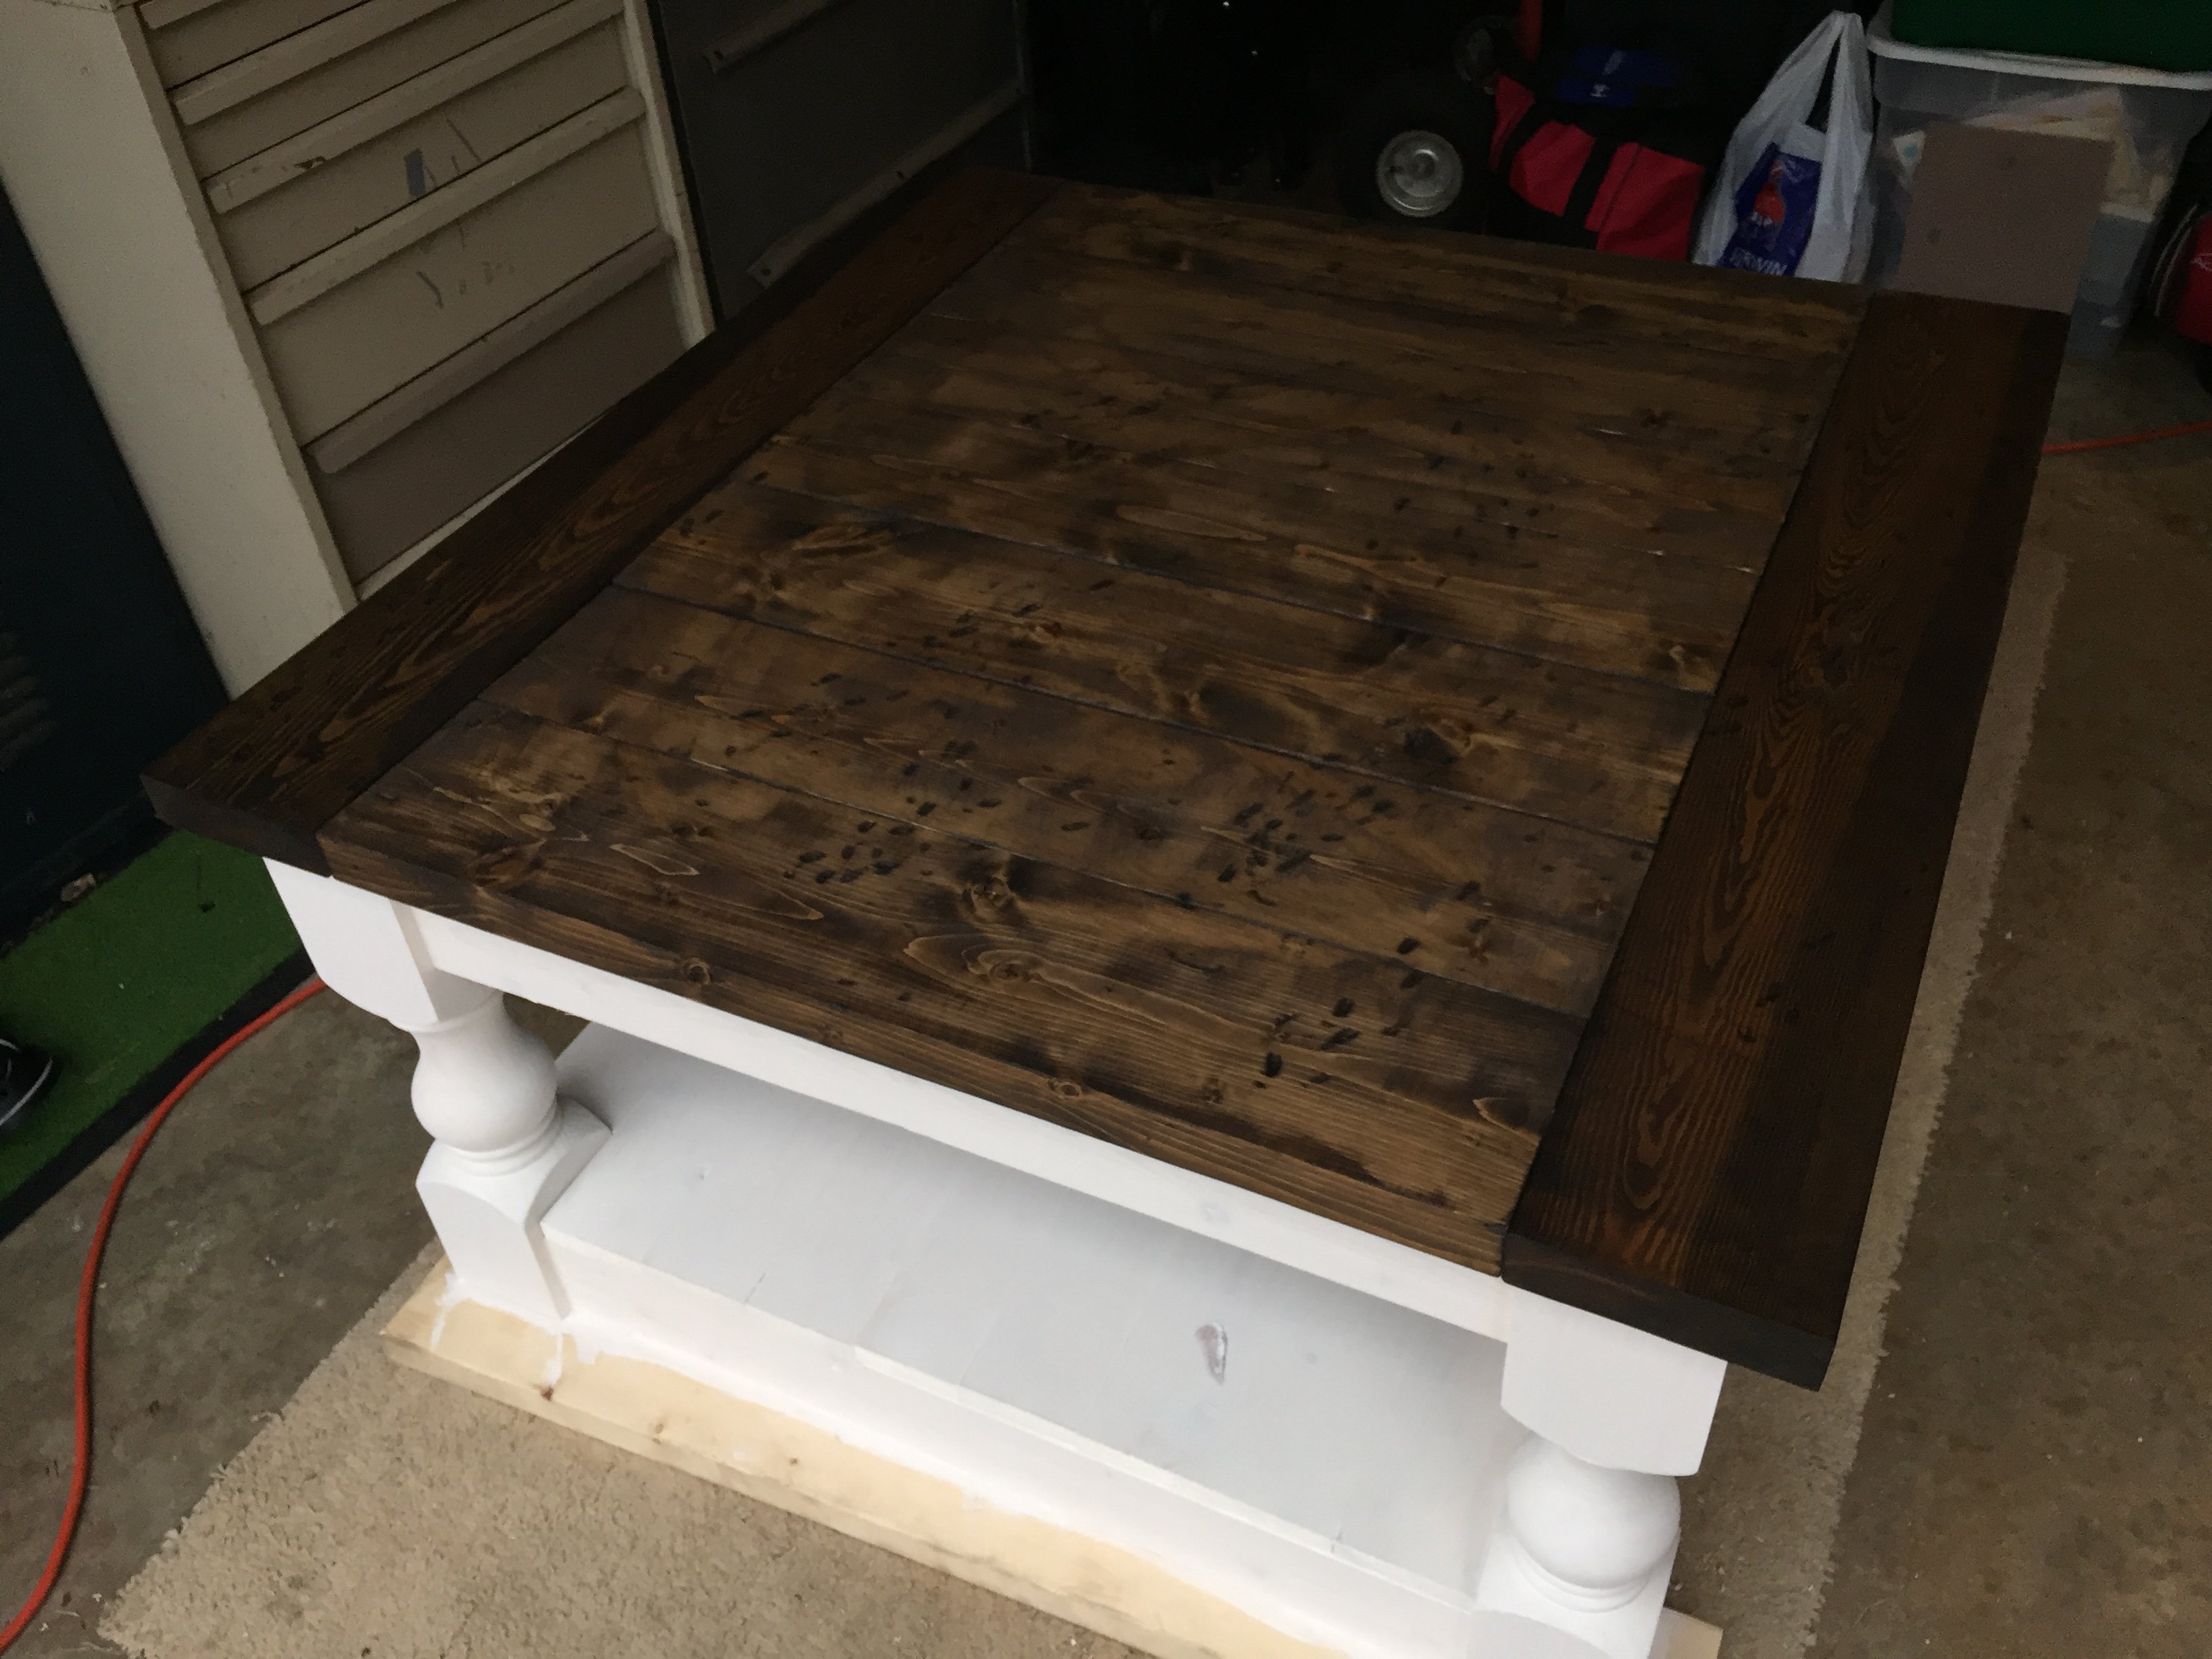
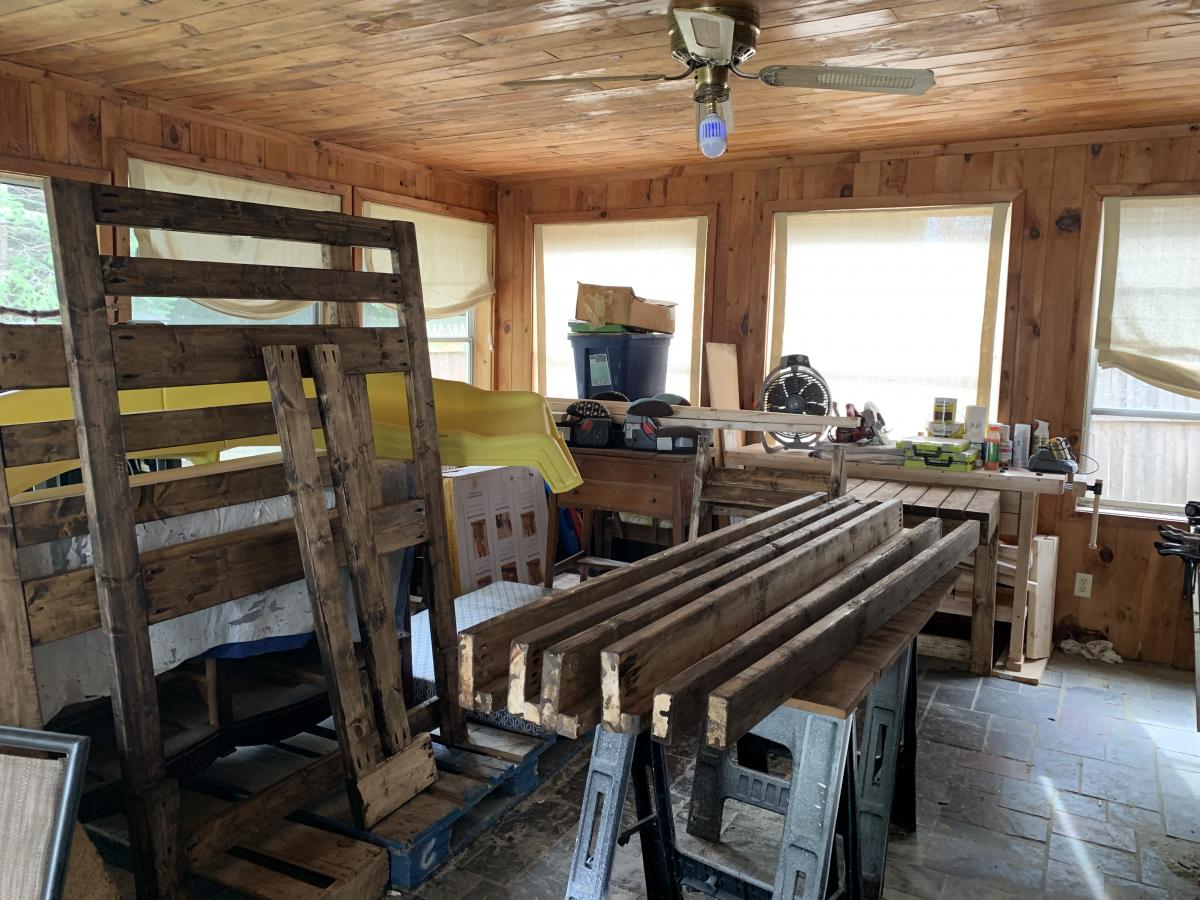
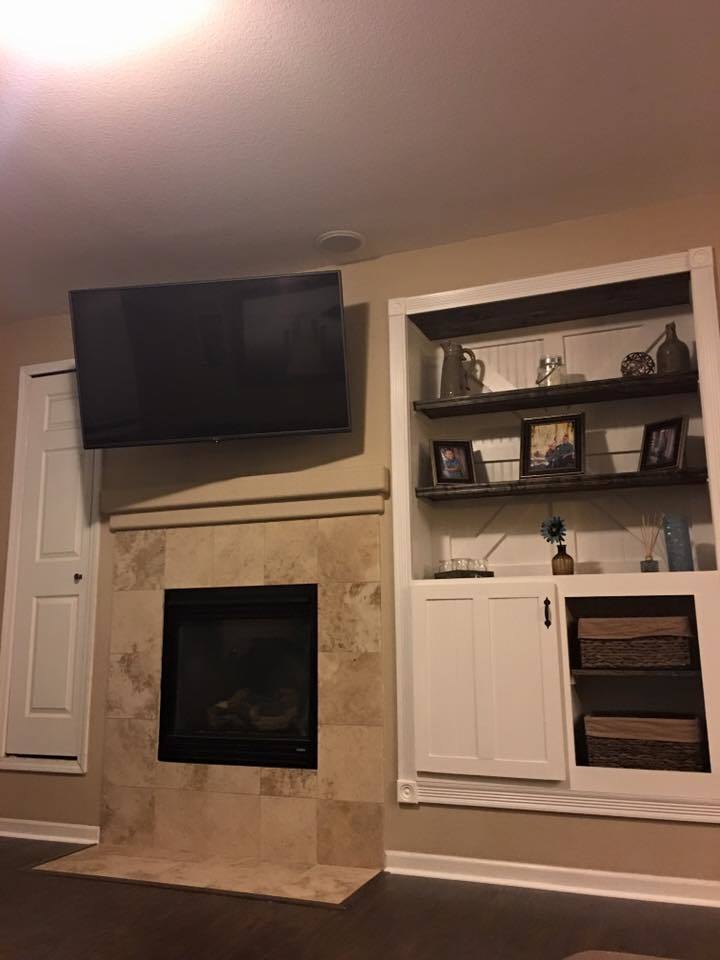
Media Center - Built-in
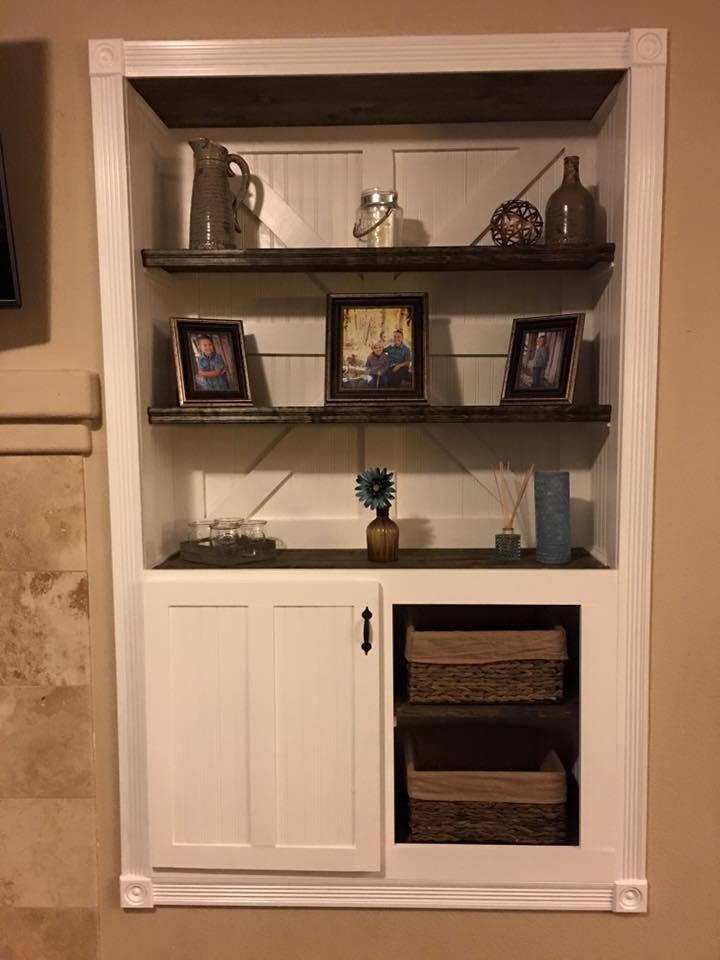
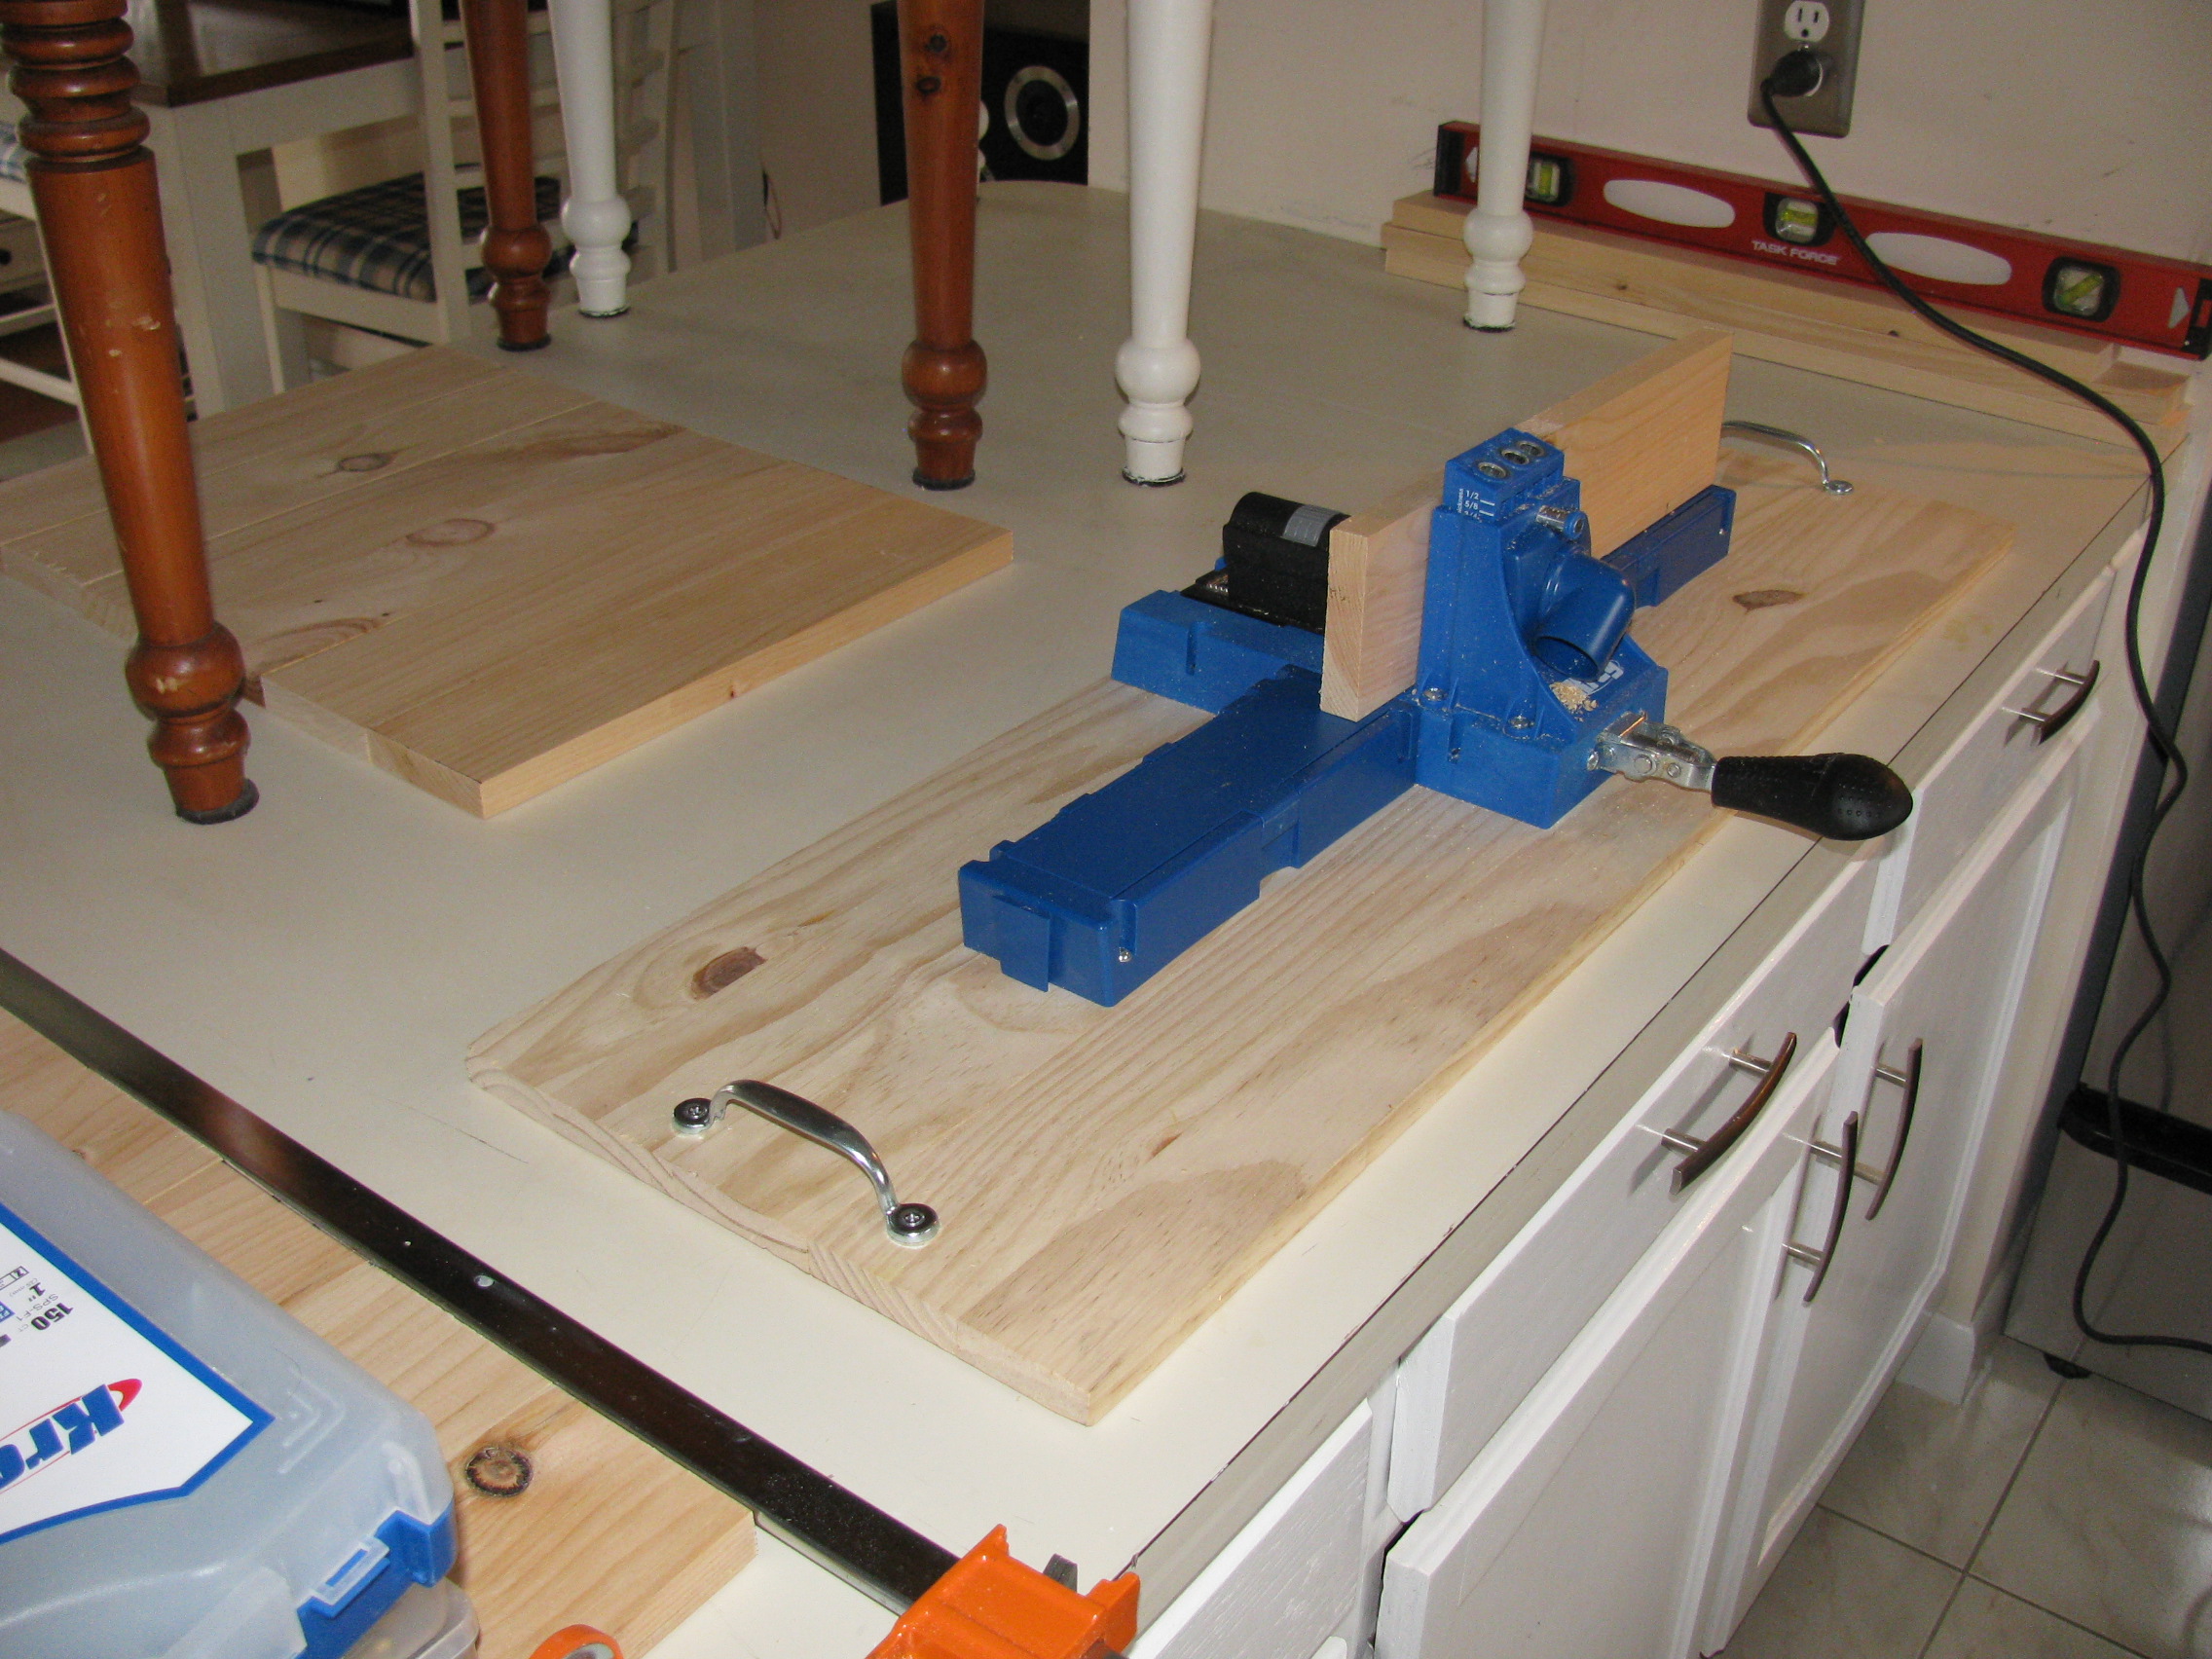
We built and designed this as we went. All the wires are concealed behind the back of the center and all the media equipment is in the cabinet. Everything was custom built for roughly $400 and it took about 2 days.
I originally built this potting bench in 2014. It was the very first project I built completely on my own! After 5 years of being outside it needed a little makeover. I sanded and refinished it, and made a couple modifications.
The last picture is the before :)
You can read about the whole building process here: https://mamaneedsaproject.com/2x4-potting-bench-makeover/
Love how these turned out and LOVE that I had almost everything in my garage already! Here's a tutorial for those of you who would like to make it!
Thu, 12/29/2011 - 12:59
LOVE these shelves, and your wall colors are to die for! great job!
Sun, 03/11/2018 - 12:48
Was hoping to see these plans, but the website is parked. No luck finding the plans anywhere.
My wife and I wanted a rustic looking table for our cabin and didn't want to pay a fortune for it! This was my first project and I found it pretty easy to make. The finish is Briwax Rustic Pine and I was so happy with how it turned out I had to build some chairs to go with it! The chairs were made from a plan I found for making chairs using 2x4s
Sun, 11/17/2013 - 06:05
Great Job! I am braving my first table myself ...
Sun, 11/17/2013 - 07:30
These look awesome! Love the finish - how many coats of Briwax did you need to achieve that sheen? It's just the perfect amount of shine. And those chairs! Can you post some close-ups of those designs on the backs? Those look sooo cool, how did you do them?
We combined the plans for the Turned Leg Coffee Table and the Corona Coffee Table to add the storage shelf for toys. Visit my blog for more details and pictures:
I used a modified version of the narrow drawer unit as the foundation for this desk build. I decided to make wooden drawer guides rather than using manufacturer metal guides. I liked the idea of it having a more traditional wood-on-wood feel and saving a few dollars. I love the simplicity of the base cabinet design and the contrast between the painted base and stained top. Thanks yo all who shared their projects for the inspiration!
I needed to find a way to conserve space for 3 children to sleep in a very small home. I used an adapted pattern from Ana White. It turned out perfectly!
Sat, 04/29/2023 - 09:22
WOW, this is great, you fit a lot of sleeping in a small space!
After a not so subtle hint, my husband embarked on his first furniture build to give me my dream coffee table! (He is in construction by trade- this is not a beginner project!). It came out beautifully and we LOVE all the drawers and storage! He found a few errors on the plan, first of all in the price- ours cost us a bit over $200 with some of the wood given to us by my dad- slides alone cost about $40. He also had to add shims so that the drawers fit with the slides. You may be able to change the dimensions of the drawers slightly so they fit without the shims. We are happy with it, and excited to move on to the next project in our home!
Tue, 02/28/2012 - 17:48
i love this, i intend this to be my next project after i am done with this job... i think i will only do the 2 bottom drawers tho.
Thu, 03/01/2012 - 08:59
Nice job! It looks great! I'm actually going to be build this for my wife and was wondering what kind of plywood you used for the top to go along with the poplar? Did you use 3/4 Birch plywood? I think I'm going to use the General finishes Java Gel stain for the finish too. Thanks!
Fri, 10/05/2012 - 17:59
ACK! sorry, thought I would get notified if someone posted... IDK if you already finished yours or not, but my husband thinks it is maple plywood, but we aren't sure. after seeing some other projects with the gel stain you mentioned I will definitely have to get some of it for future projects, cause i love the look of it! Good luck, i hope you post photos of yours! If you have any other questions, post them on my blog post here http://monkeyshiners.blogspot.com/2012/01/my-christmas-gift-storage-cof… and i will get an email about it to respond asap. :)
We needed a TV stand and I wasn't able to find anything from store... as usually. I found a plan here and decided to modify it a bit to fit our needs.
It was very simple and took me total maybe two hours plus painting
Rebuilt the tops of a coffee table and two end tables using 1x3 and 1x4 common pine boards. Boards were joined together using glue and then Kreg Jig pocket holes and Kreg screws. Tops were finished with Minwax dark walnut stain and bases were painted a light cream color.
My husband made this beautiful kitchen table using redwood 4x4s left over from another project, and poplar for the top. With some help with the planing, it came out beautifully and matches our existing chairs. Thank you for the plans.
I woke up one morning and decided this space couldn’t go on without a day bed. One week later I am standing tall. This is my first intermediate build. Excited to jump into the next project!
Wow, there are some really ugly headboards out there. I was intending to re-do one from craigslist but saw this plan and knew it had to be built! This was our first major woodworking project, and I think it turned out pretty good! And especially for only $45! It was a very easy build with accurate instructions/measurements! Great for beginners!
Wed, 01/04/2012 - 23:49
Just love your bed and nightstand! Really inspiring and I love how you decorate too! Thank you for taking your time to share.
Sun, 01/08/2012 - 07:00
That's a wonderfully polished piece for something with the word "reclaimed" in the title, especially since it's your first. Looking forward to what you'll be doing a year from now if the first effort is this good.
Sun, 06/03/2012 - 15:53
I am new to Pinterest and Ana White, so is there any chance I could get plans for this emailed to me or sent to me at Pinterest?
Fri, 07/13/2012 - 16:29
To get the plans, all you have to do is click on the link next to spot up above that says "from plans" and they will pop up.
This project was quick and painless. I recommend for a beginners project (but expect to get frustrated over building the x's into the side though). I stained our table with the Minwax Classic Gray stain and used the Minwax water-based polyurethane to seal it. I realize that the stain is difficult to see but it is a beautiful stain that has turned into my go-to stain. The stain is not too gray and you can see the natural color of the wood through it. The photo gives the impression a glossy finish. In reality, it is more matte.
I replaced my gas stove, and could not find a 36" wide stove that was affordable, and had the features I wanted. I bought standard 30' stove, but had a gap to fill. Found this site; adapted the filler cabinet to 7 3/4 inches and found the pullout shelving unit. Added a drawer front with a pull, and it is great!
Mon, 02/08/2016 - 11:39
This is awesome! What a great use of space and amazing customization to your kitchen!
My 6 and 8 year old boys helped me build this bench because I couldn't stomach paying $200 for one with 3 little boys. It cost about $40 and it was so easy to do. We are all so proud of the end result.
Table was made from curly maple that was glued into 12" widths to match the panel widths of 12". Client loved the look.
Dress up tower for my 4 yr old daughter to hang her pretty play costumes and princess outfits.
We needed a dining table. We saw this plan and fell in love. It didn't look like it would be impossible for two people who have never made furniture, so we gave it a shot! We finished it over three weekends and couldn't be happier with how it came out. Thank you for the plans!!!
Tips: we were initially skeptical about using regular old lumber, but it came out amazing.
Rustoleum stain and polyurethane...use it!
Sun, 11/24/2013 - 17:15
You did a great job, I love the color and that table top is awesome!
Sat, 11/12/2016 - 09:38
I want to make this table for my son's dining room. Home Depot Yellow pine has curved edges so my question is. How did you get the tabletop so flush without the curves showing on all the wood piece edges? This flat no edge appearence is what I want to make it look less like a pic-nic table.
Handmade coffee table base on Corona plans. Bottom shelf was chagned to wooden slats instead of solid plywood.
This build was super fun and easy. I modified it slightly with a bottom bunk and outdoor grade slide for my two grandsons. The room is only 10x10 so it pretty much takes up all the space, but I left a good amount of space under the bed (11”) for storage or for the dog to hide.
I attached hinges to the stairs for easy access to underneath, maybe for a hidden fort or more storage. To gain extra support for the beds, I added angle irons to the top bunk legs and 11" 2x4s to the bottom bunks legs for the cross bars to sit on. Both my husband and I tested, and they're not going anywhere, pretty solid.
Thanks Ana & Jared for sharing your talents with the rest of us!! I wish I had room in my home to make every single one of your projects!
🥰,
Alexis