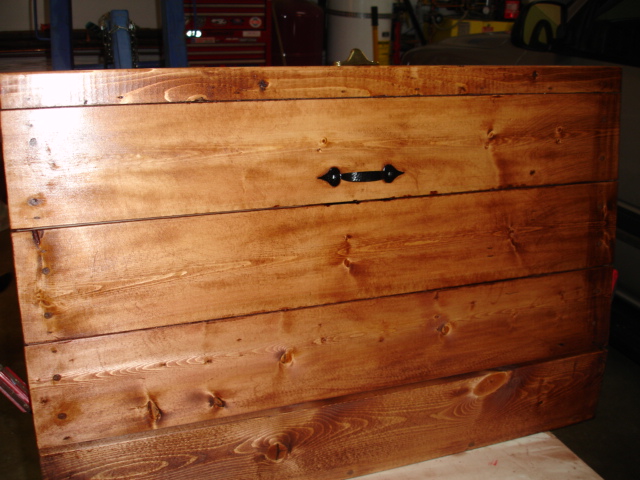
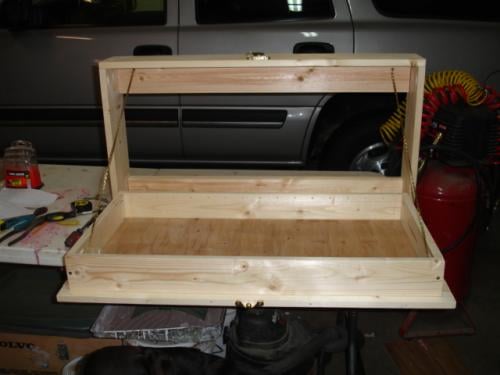
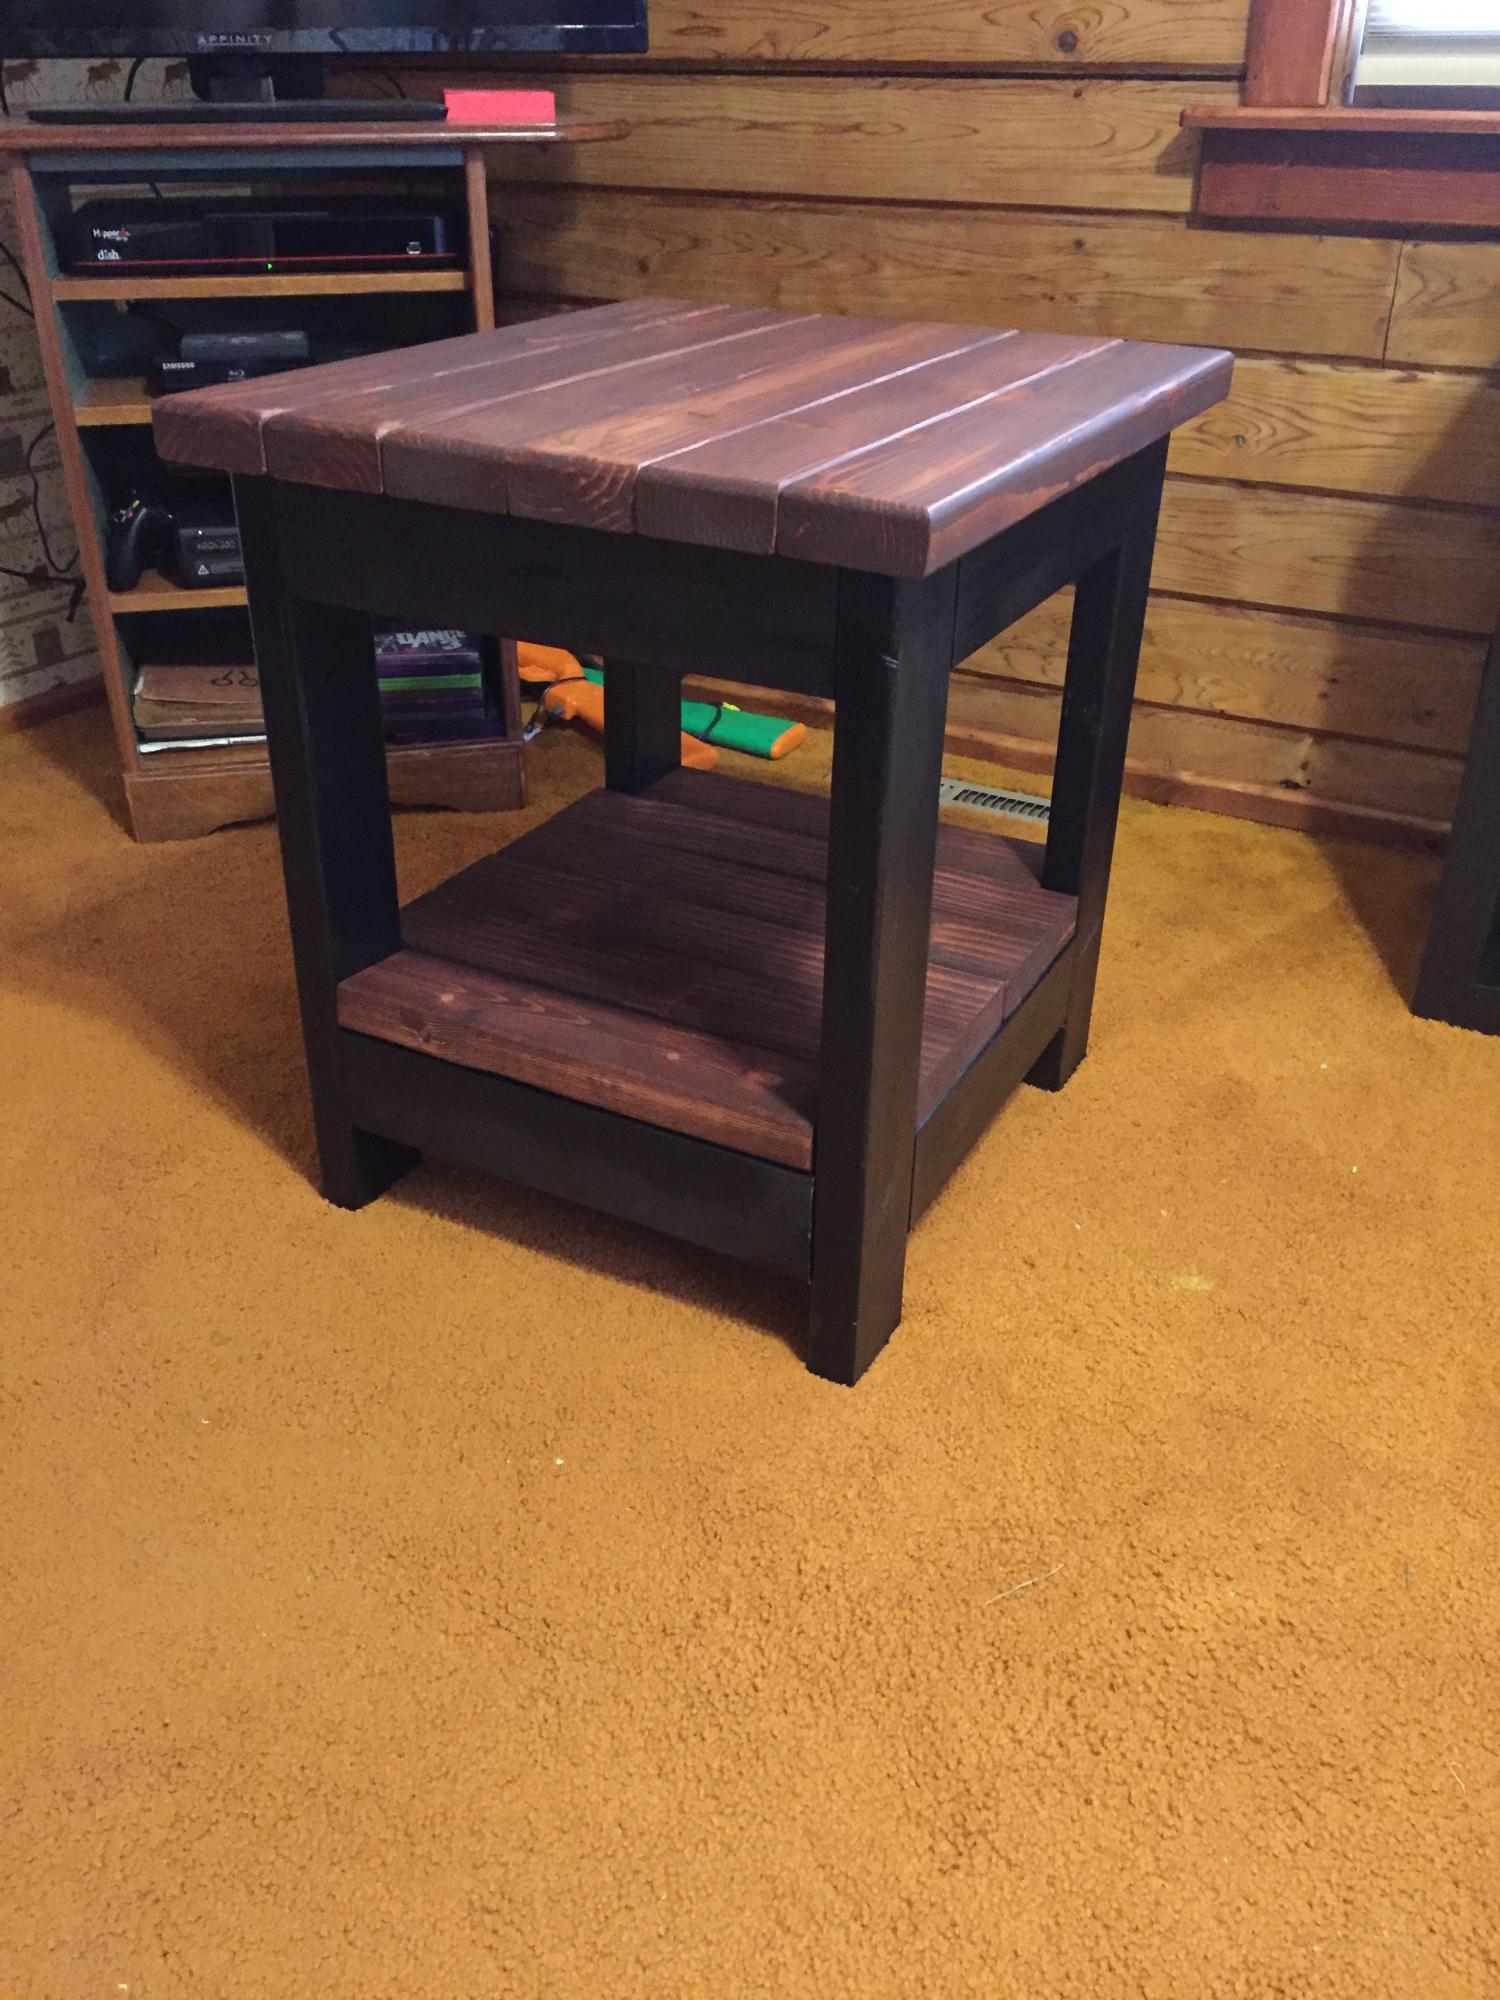
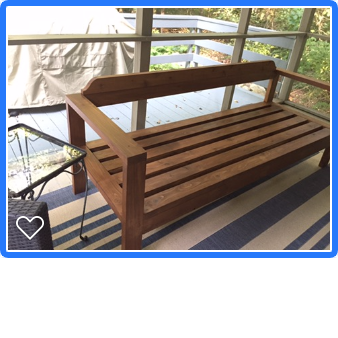
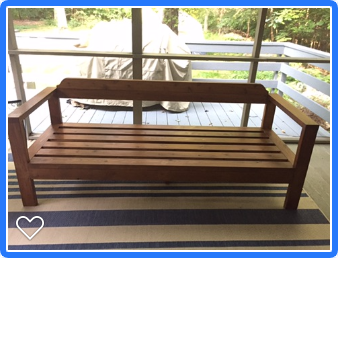
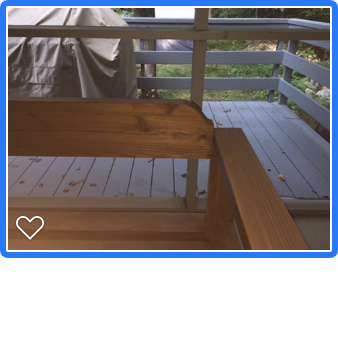
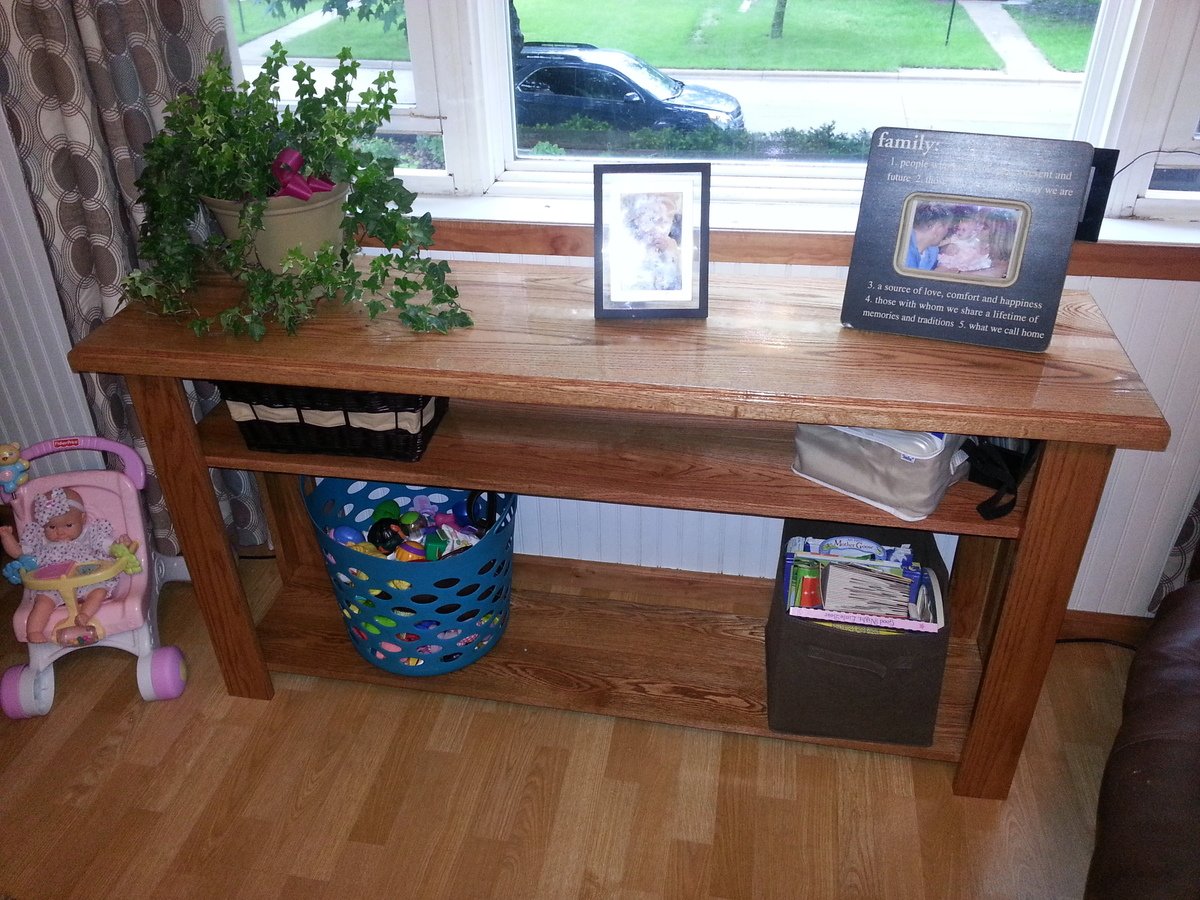
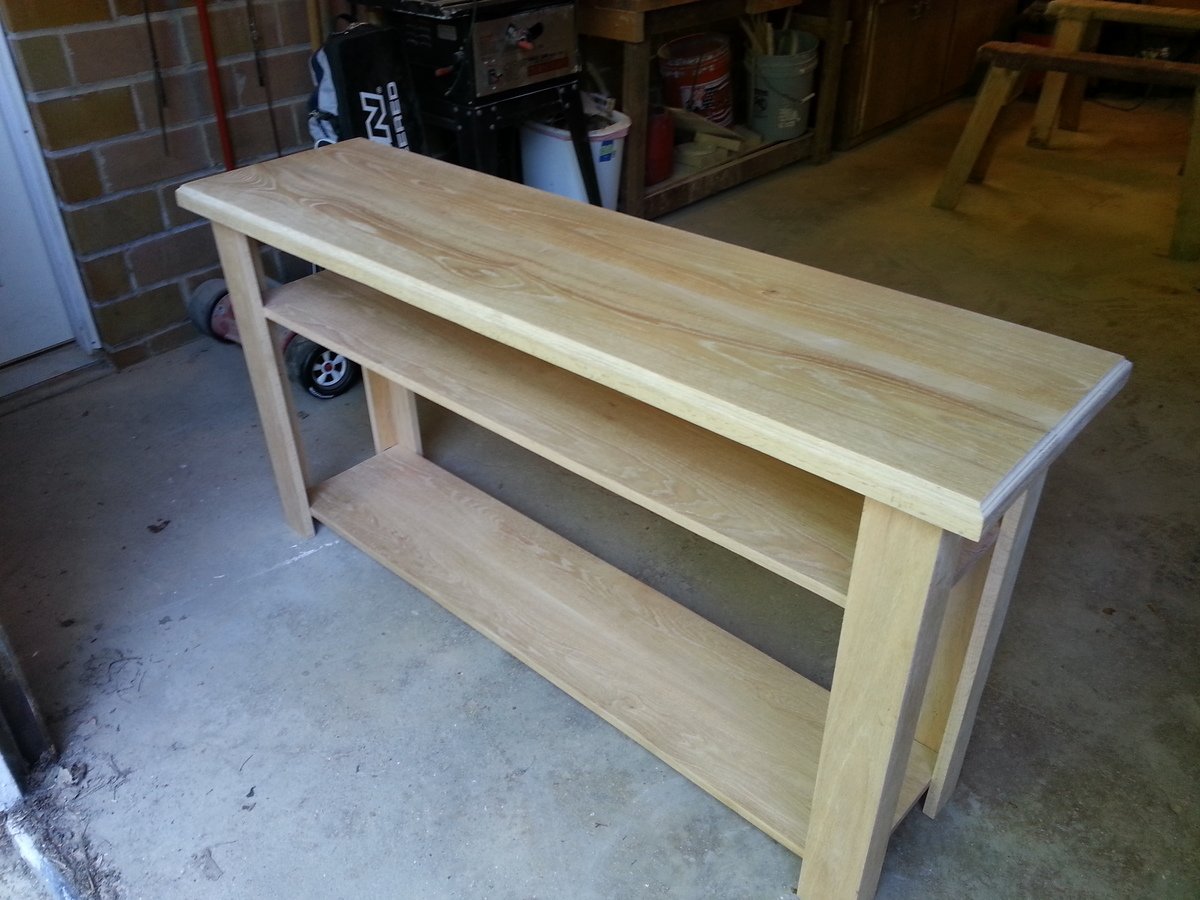
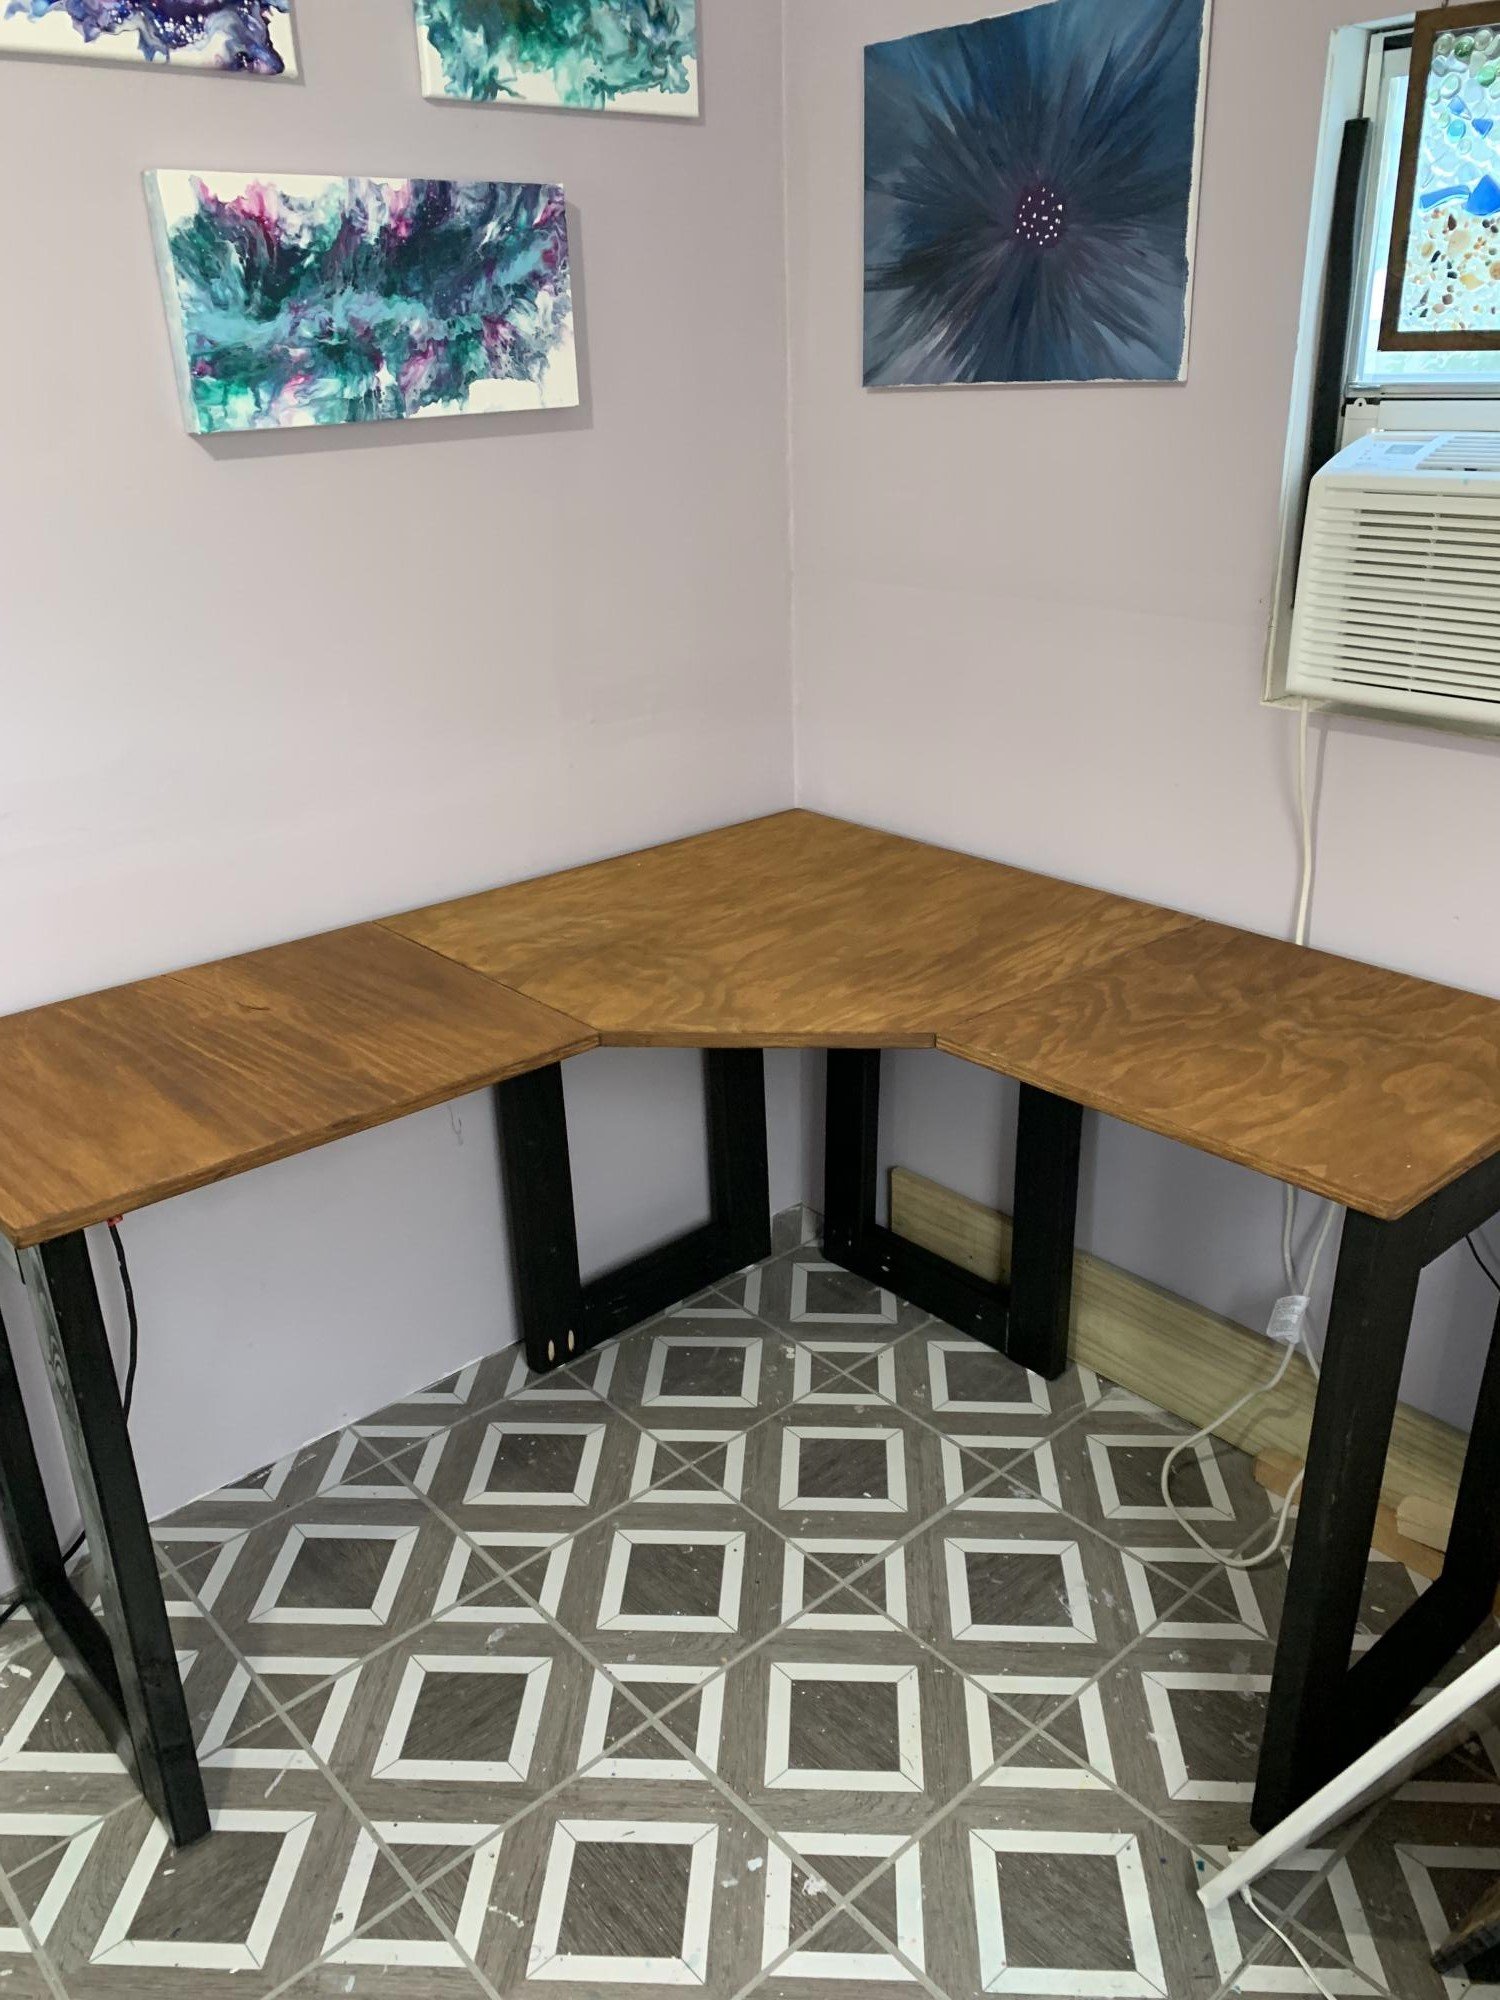
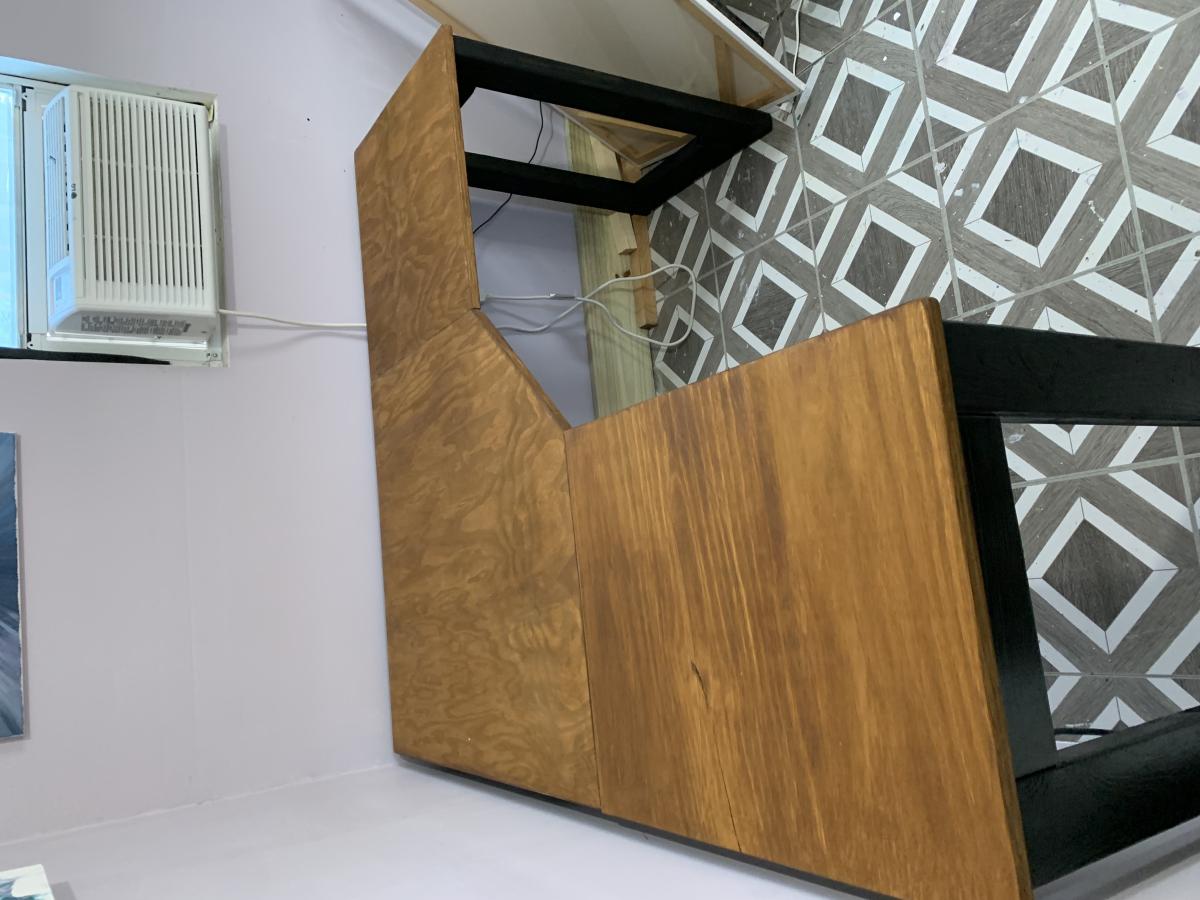
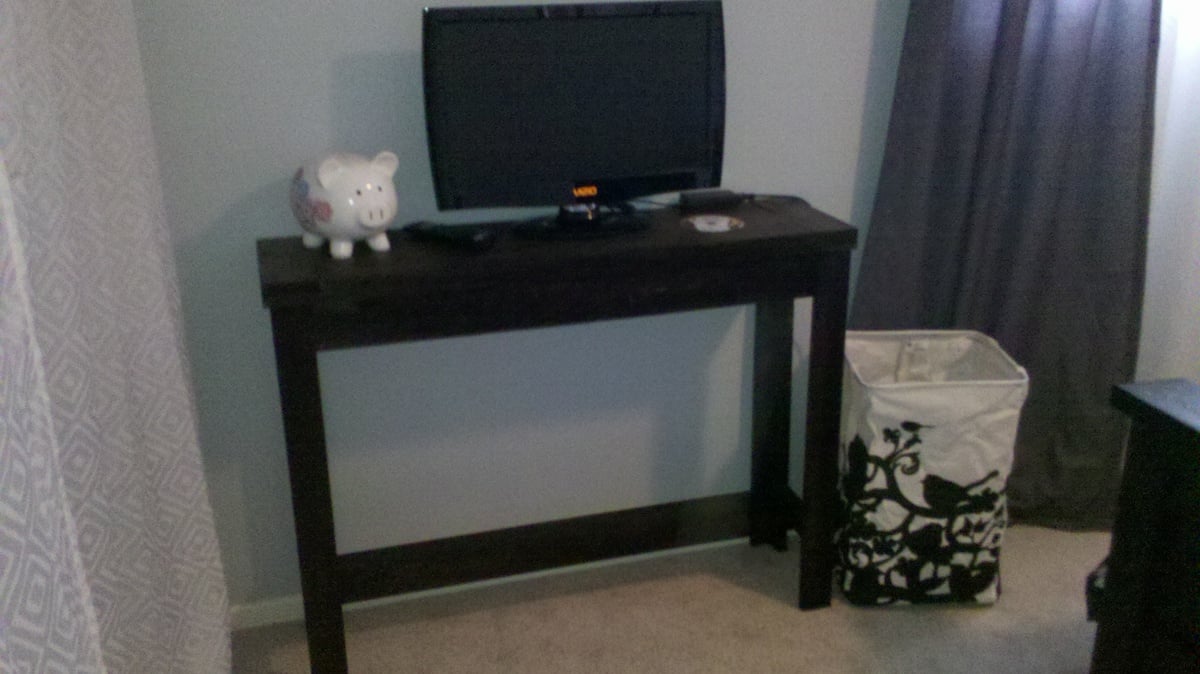
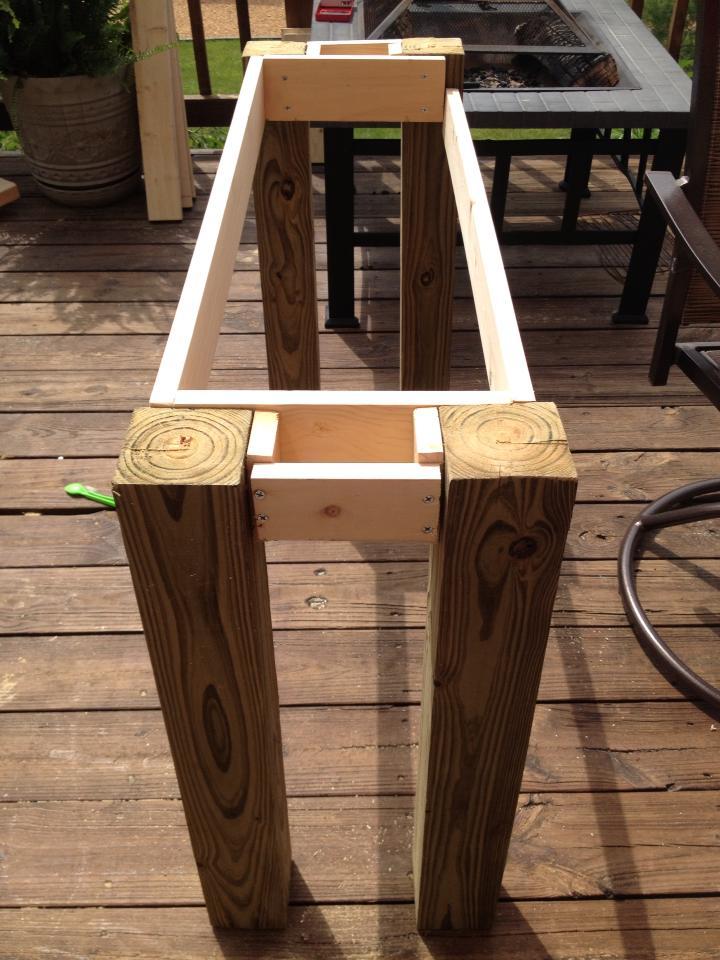
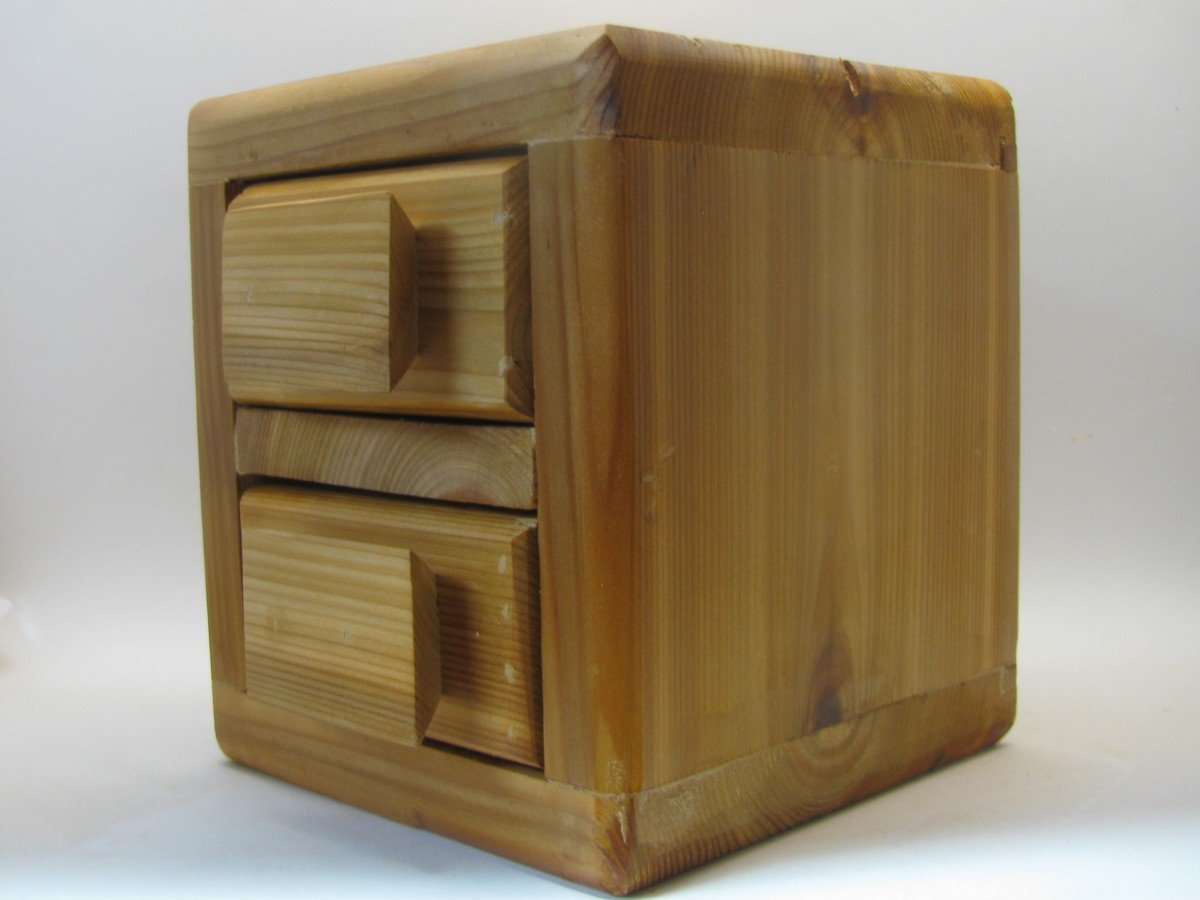
Bedside Table
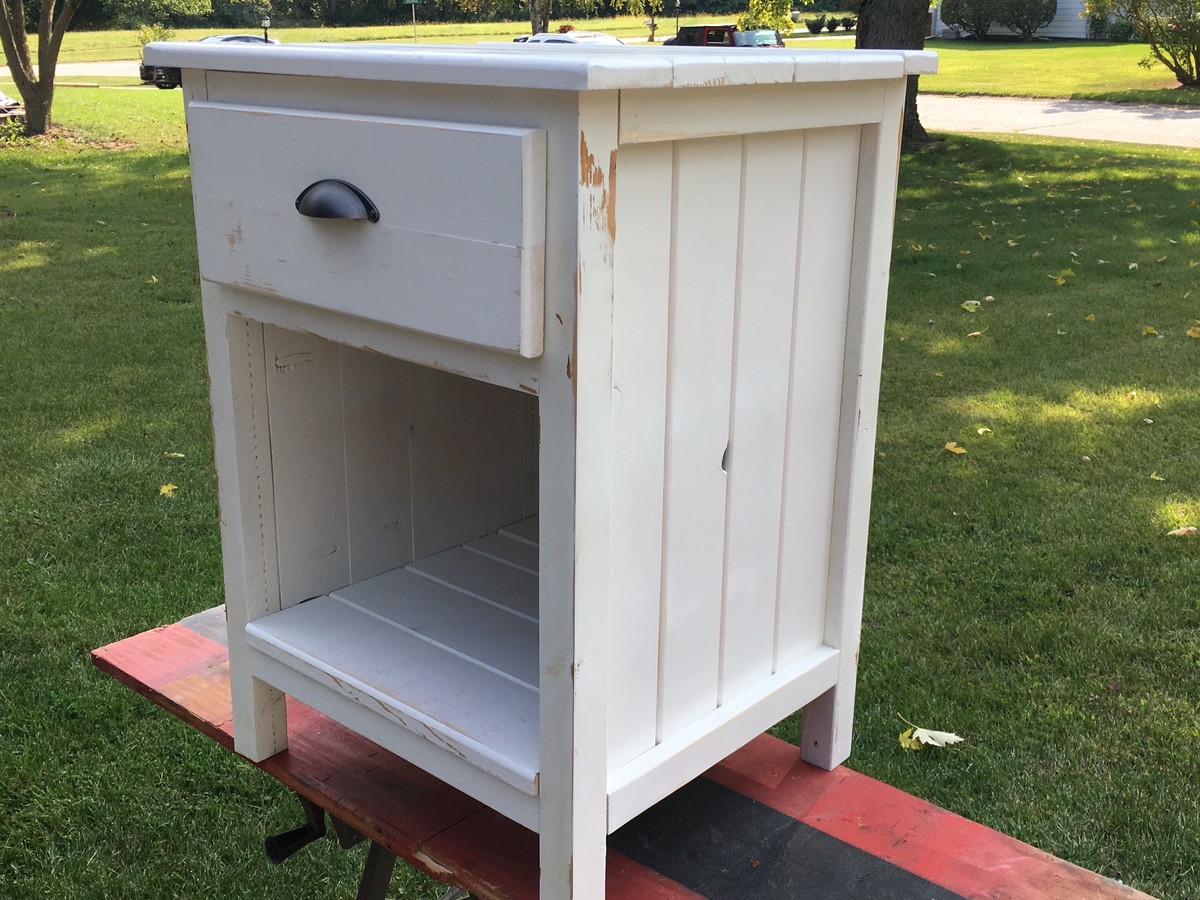
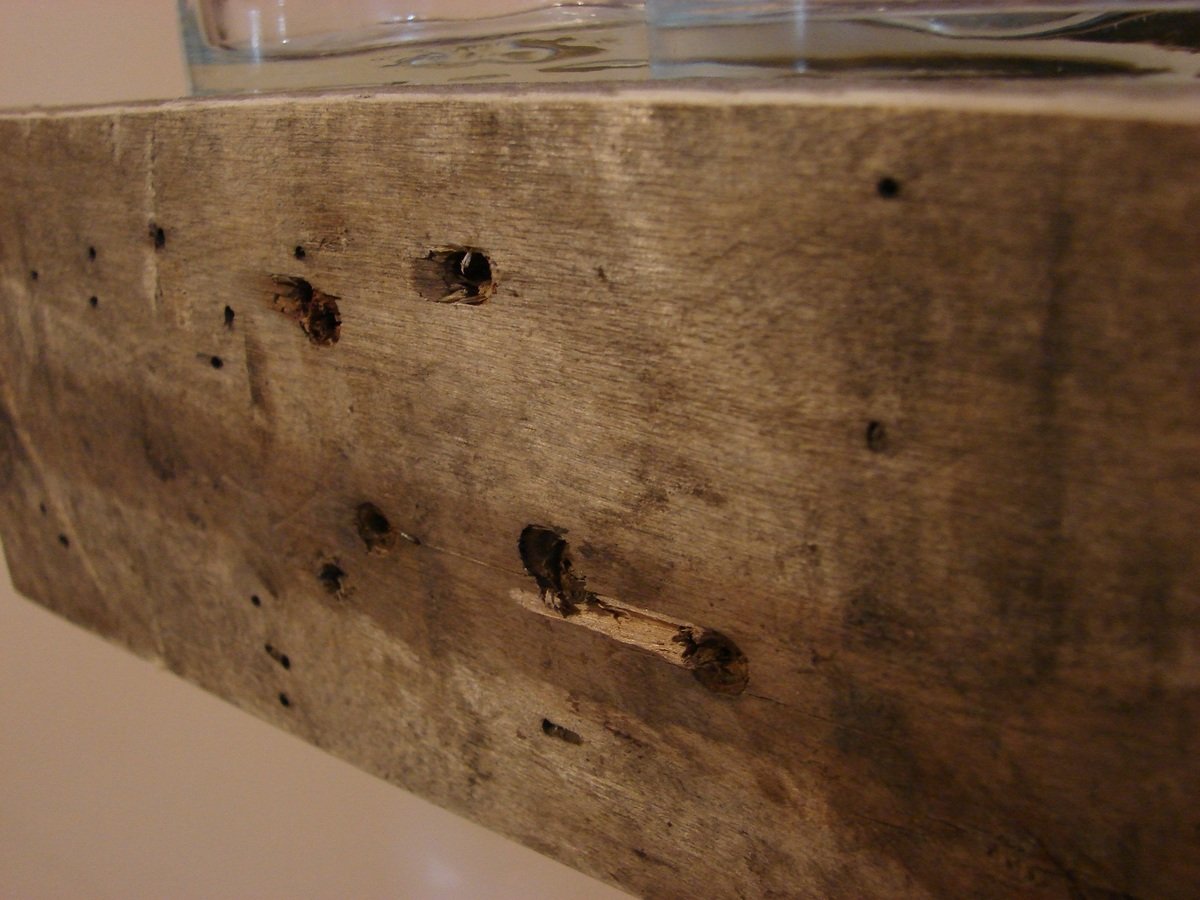
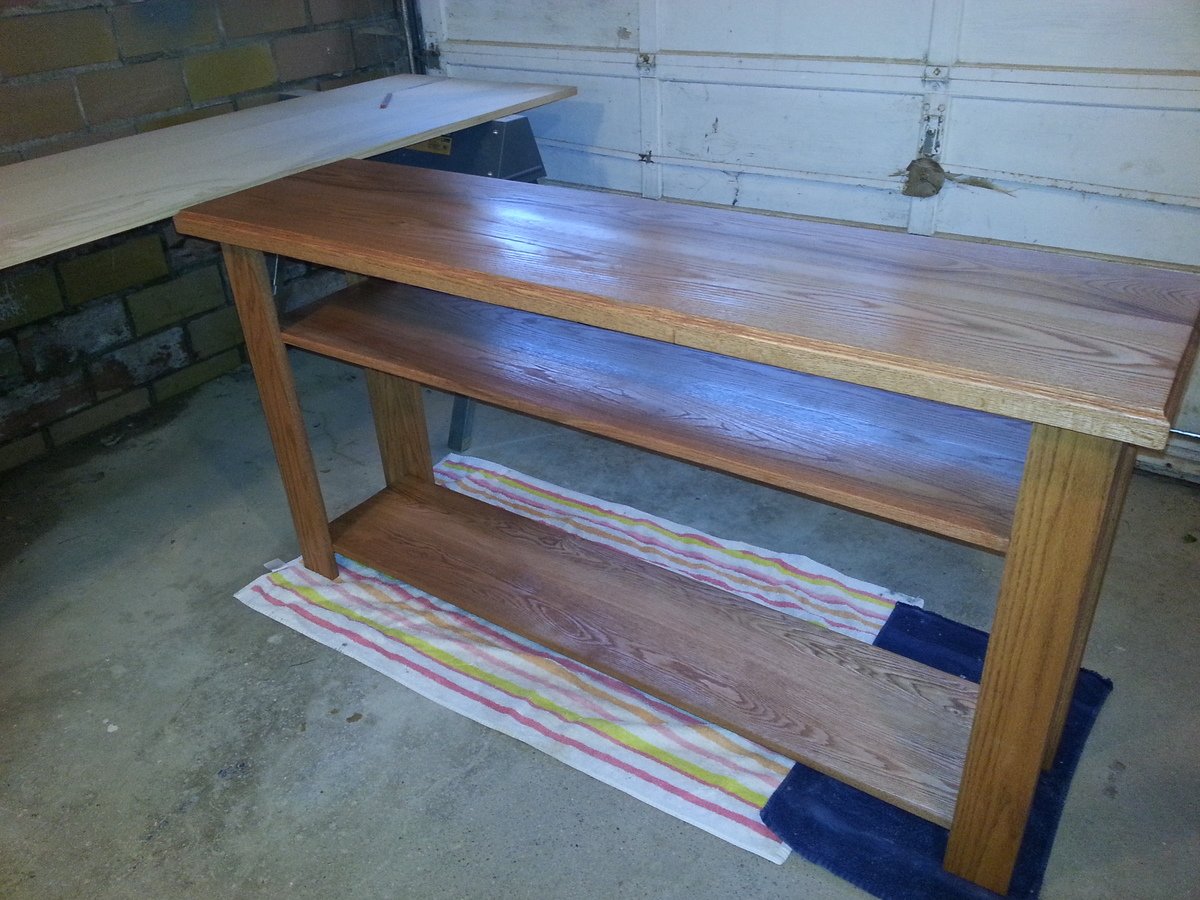
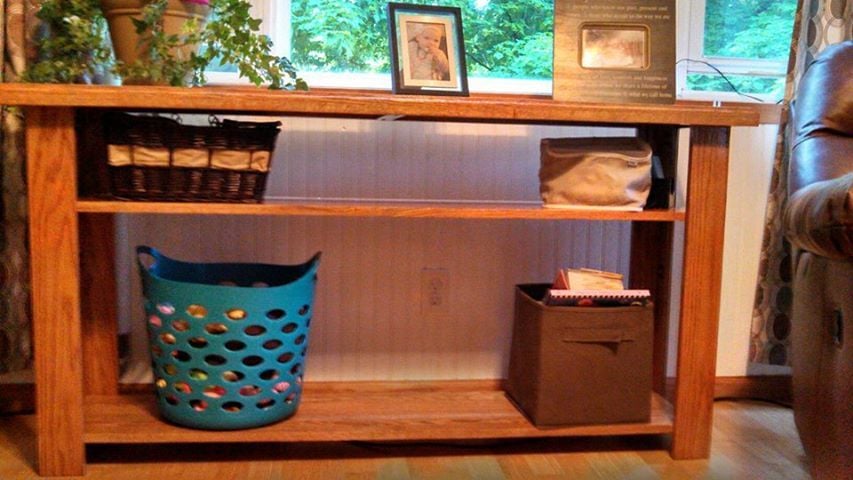
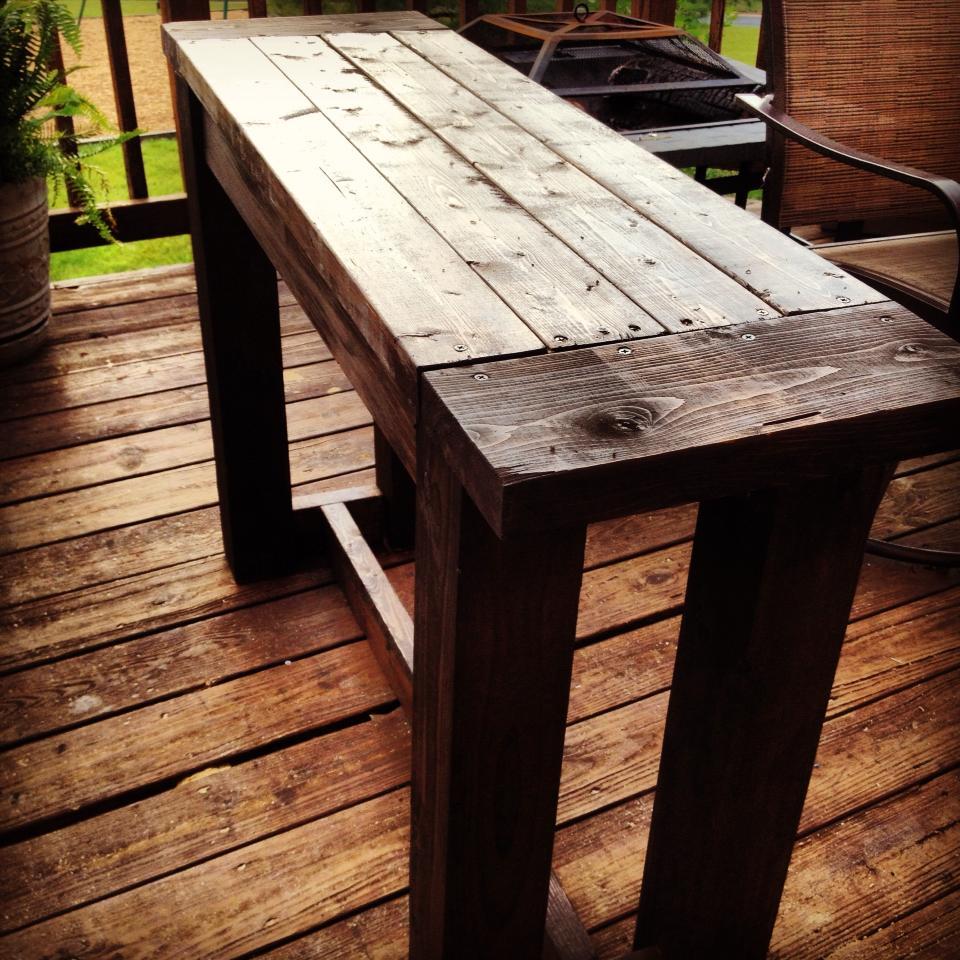
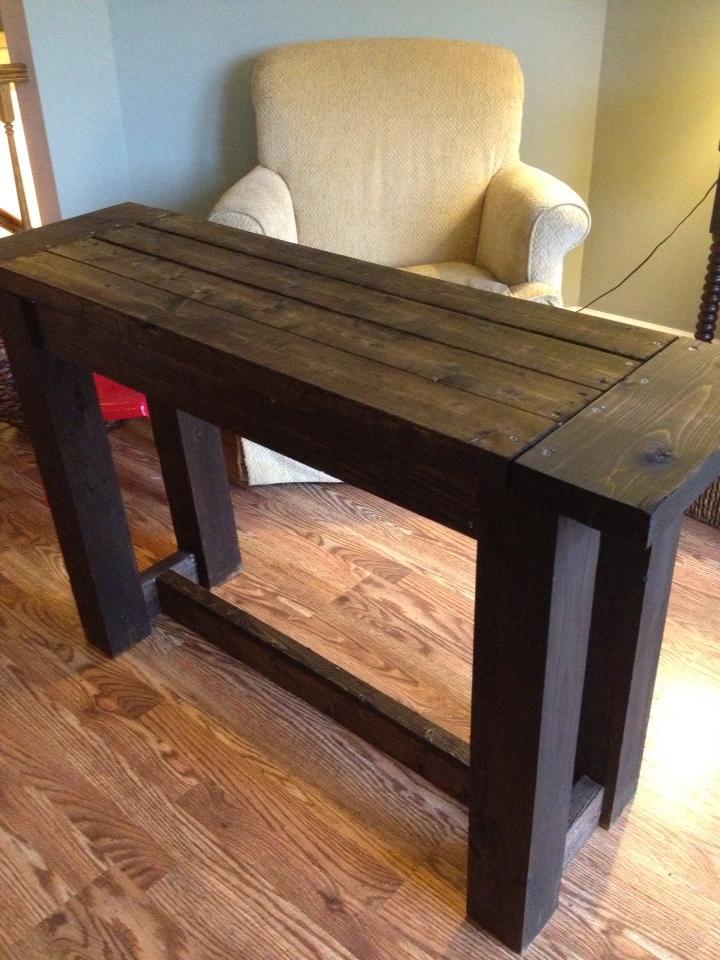
This is my interputation of the Reclaimed Wood Look Bedside Table. I beveled the edges of the of the 1x material and a top drawer with a large cubby beneath. I used a sprayed latex paint then a light sanding to give it the distressed look and the two coats of clear poly.
Built from Plan(s)
Estimated Cost
$35
Estimated Time Investment
Day Project (6-9 Hours)
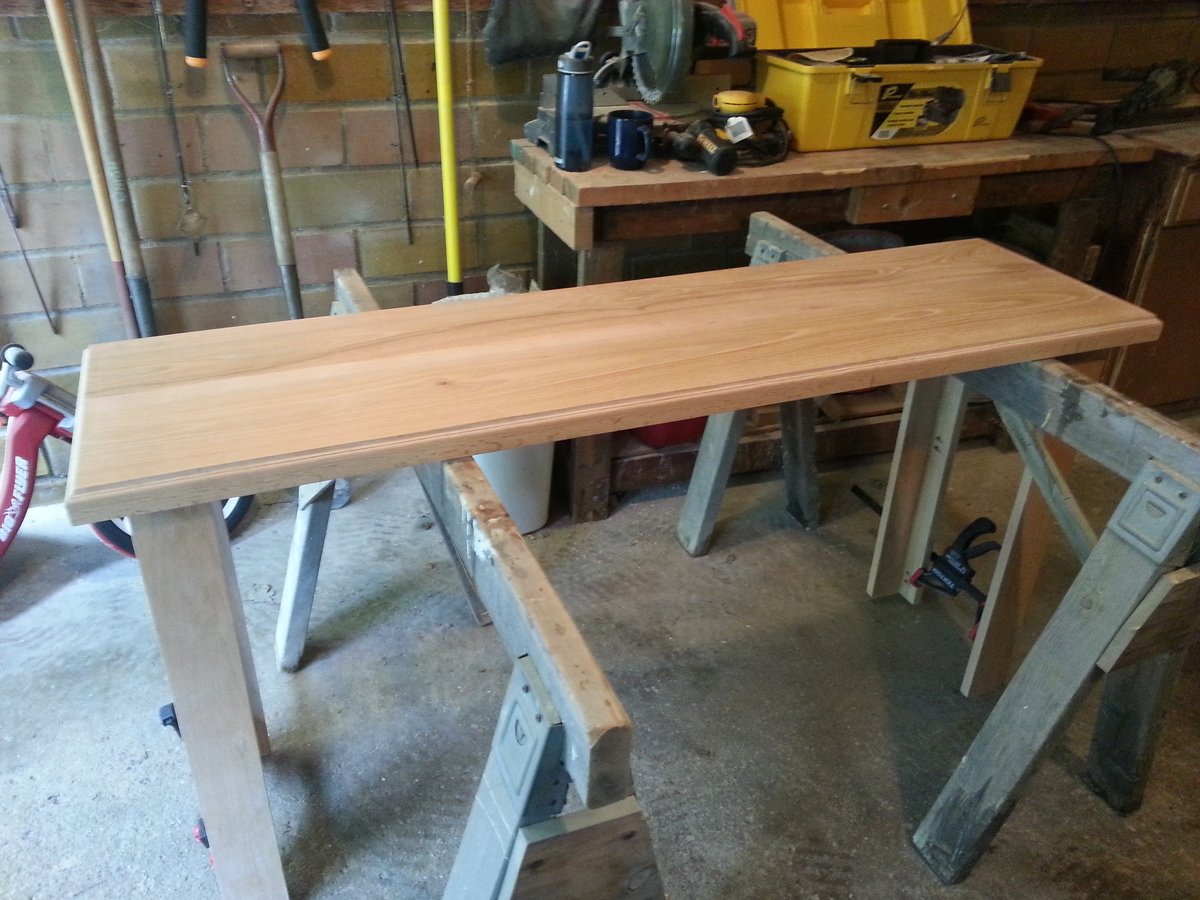
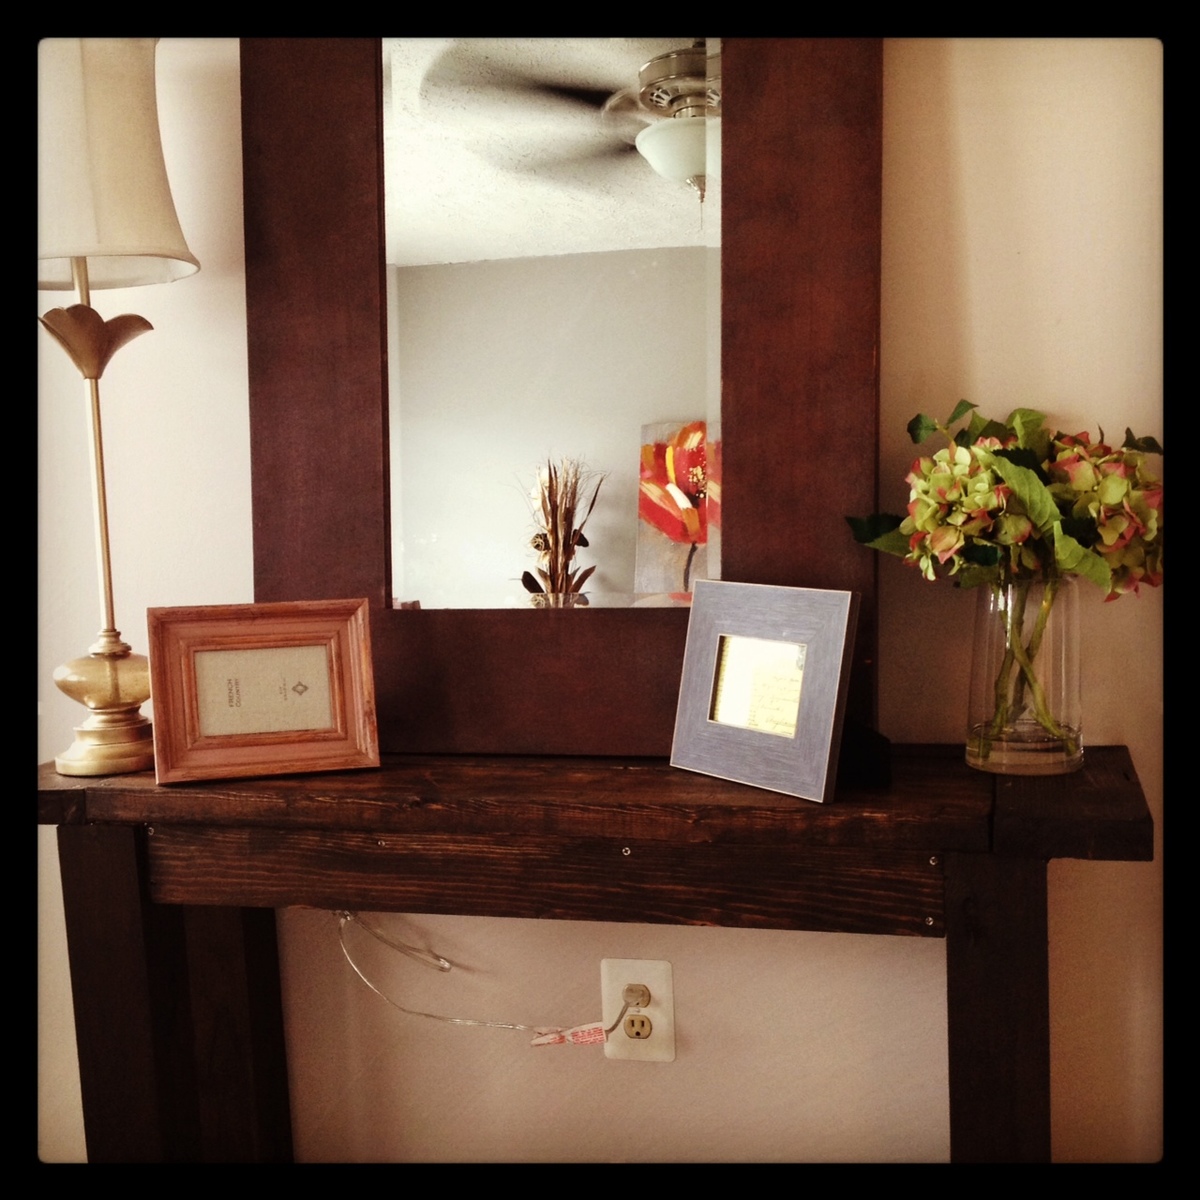
Finish Used
Sprayed on latex paint followed by two coats of water base poly. After the paint dried I lightly sanded using 150 grit exposing the raw wood underneath. I didn't want too much wear showing and I left some of the machining marks to give it more of the rustic feel.
Recommended Skill Level
Beginner