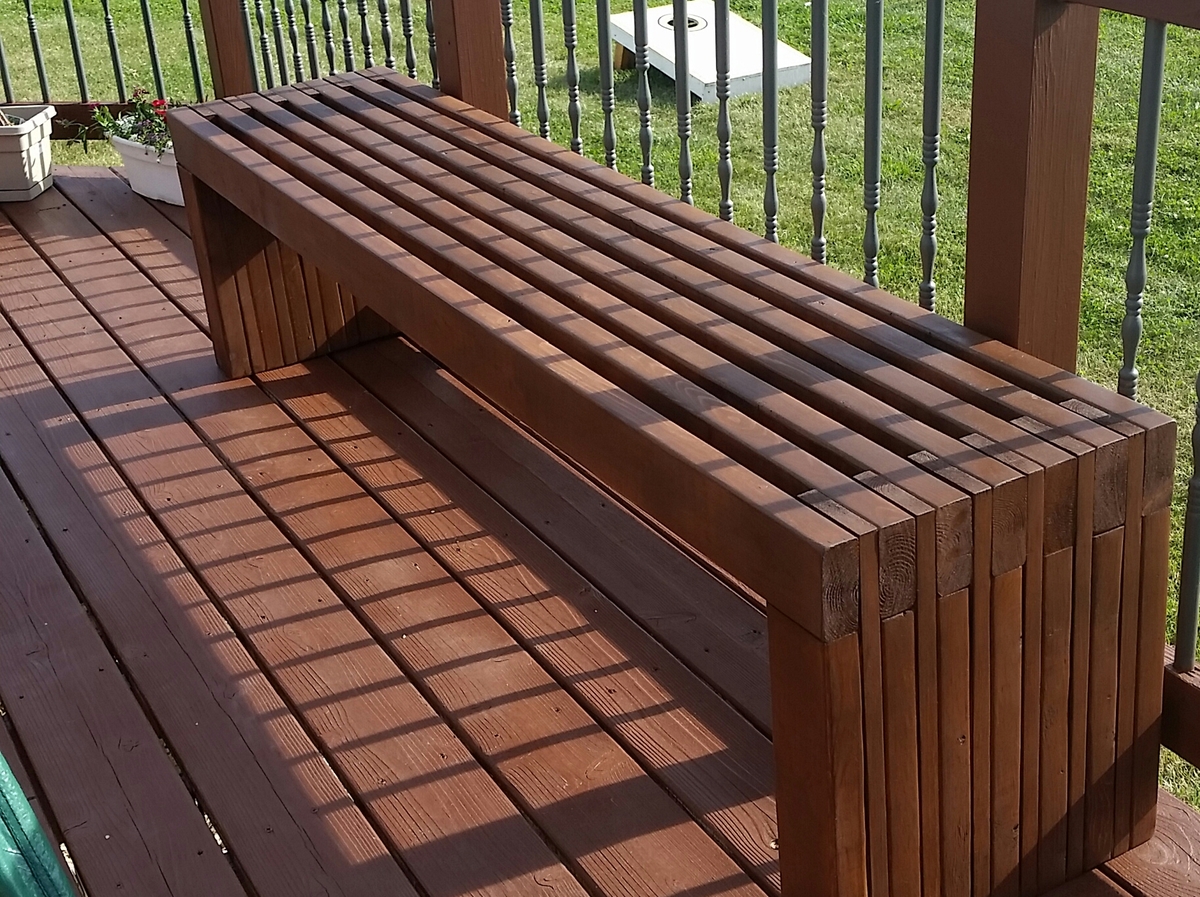
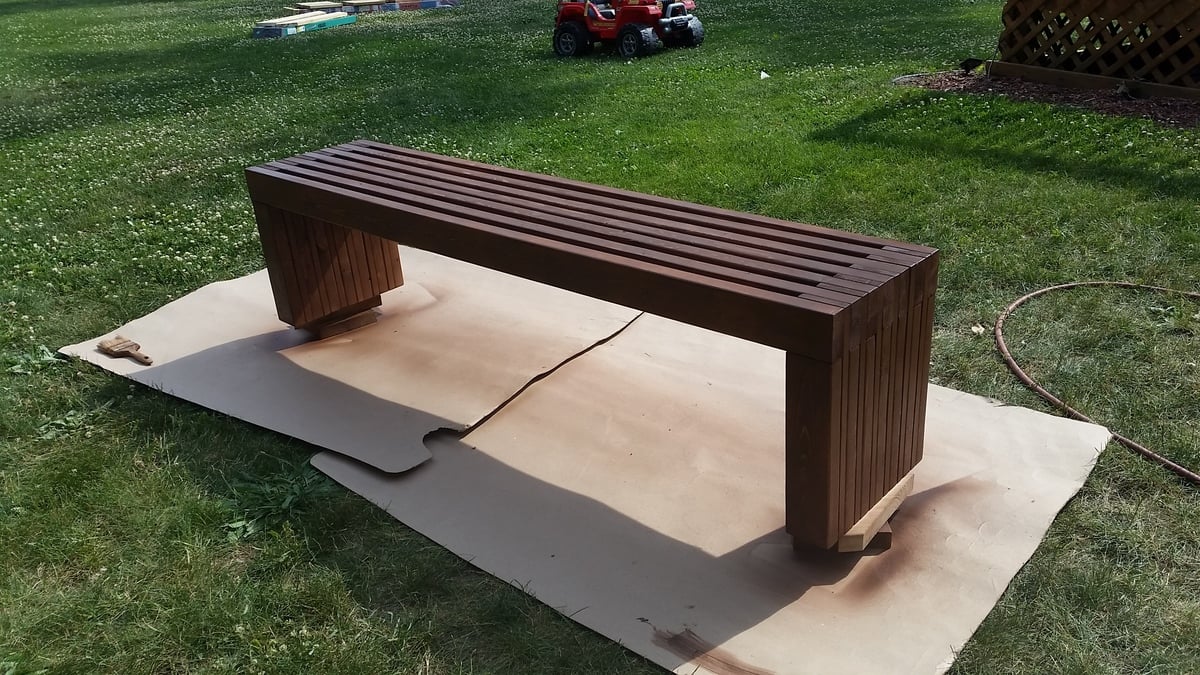
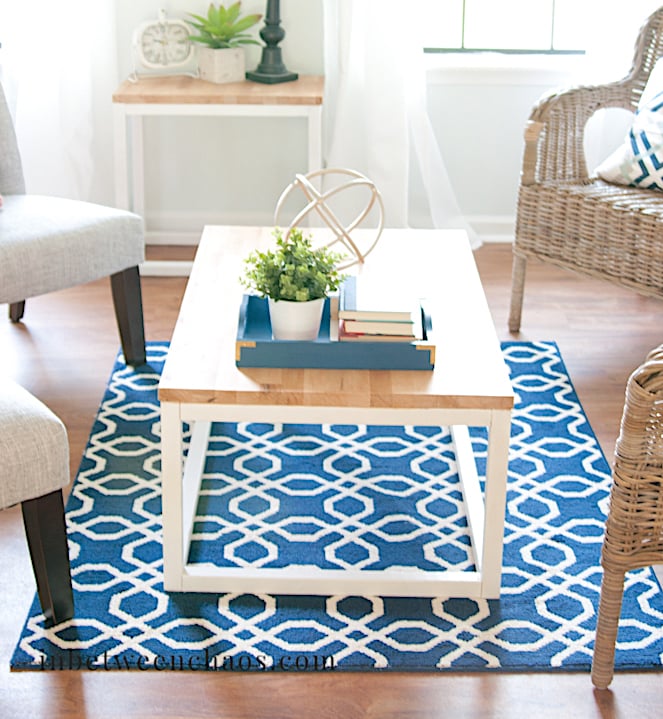
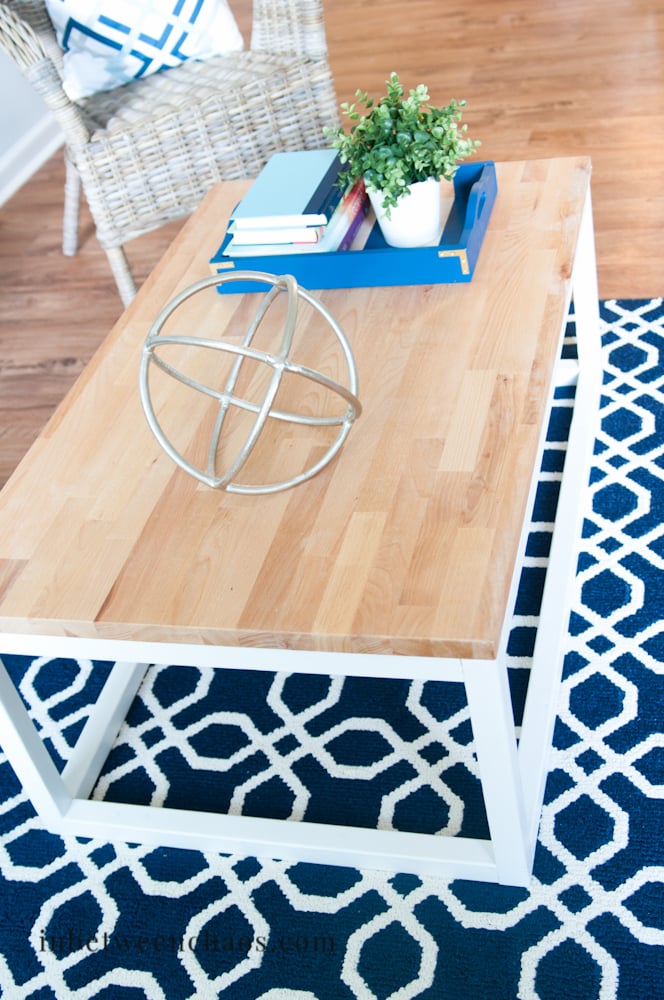
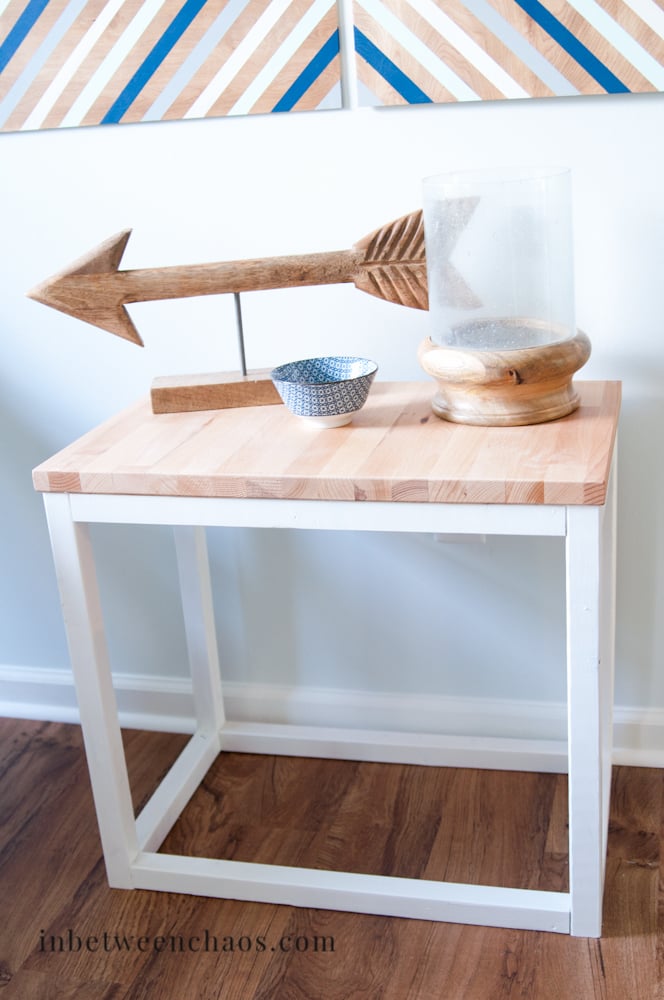
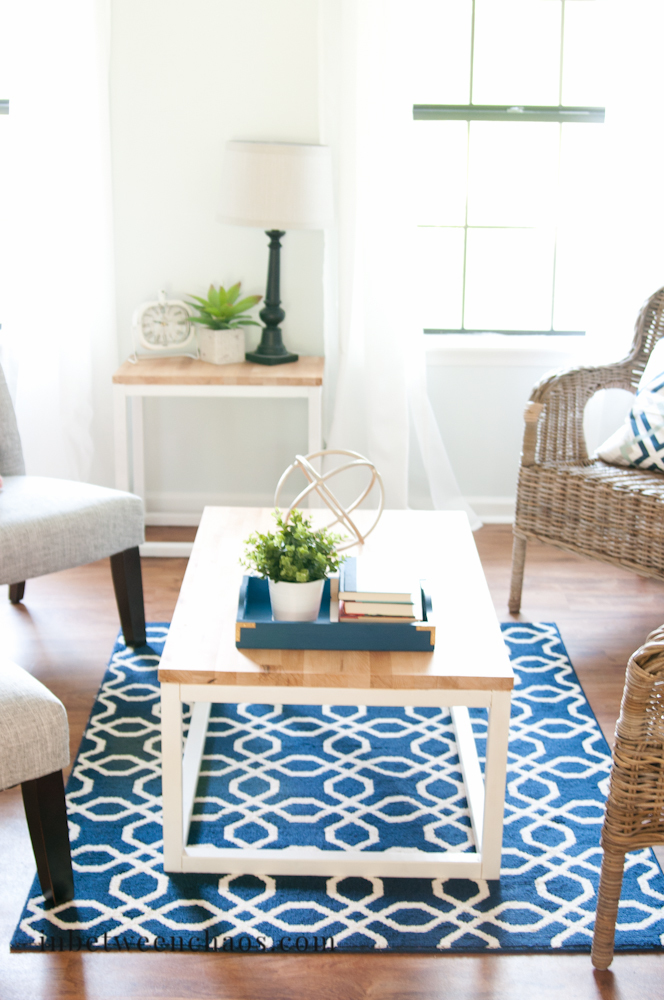
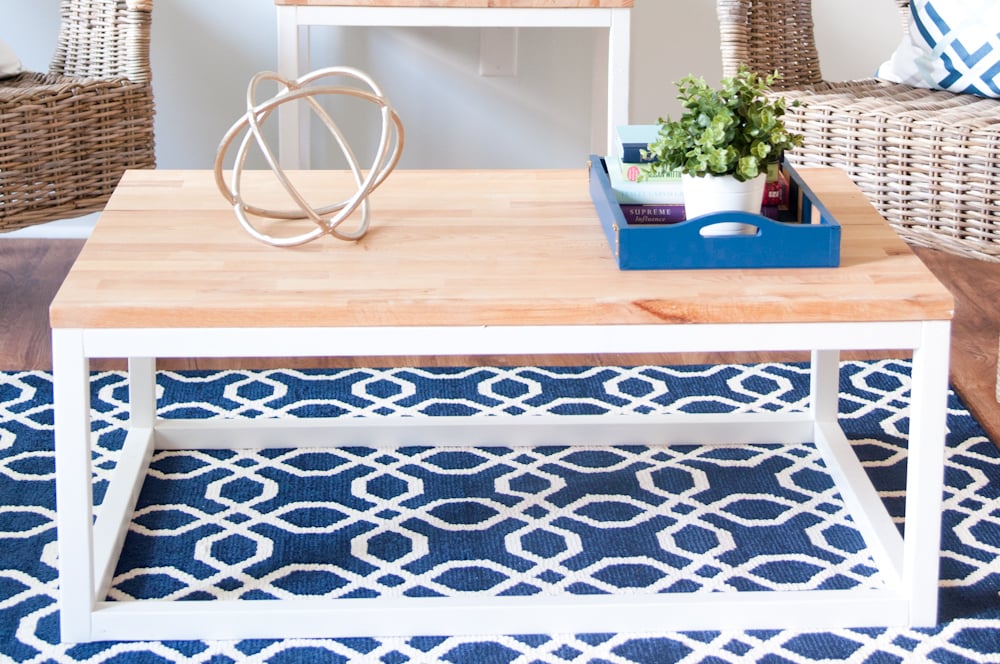
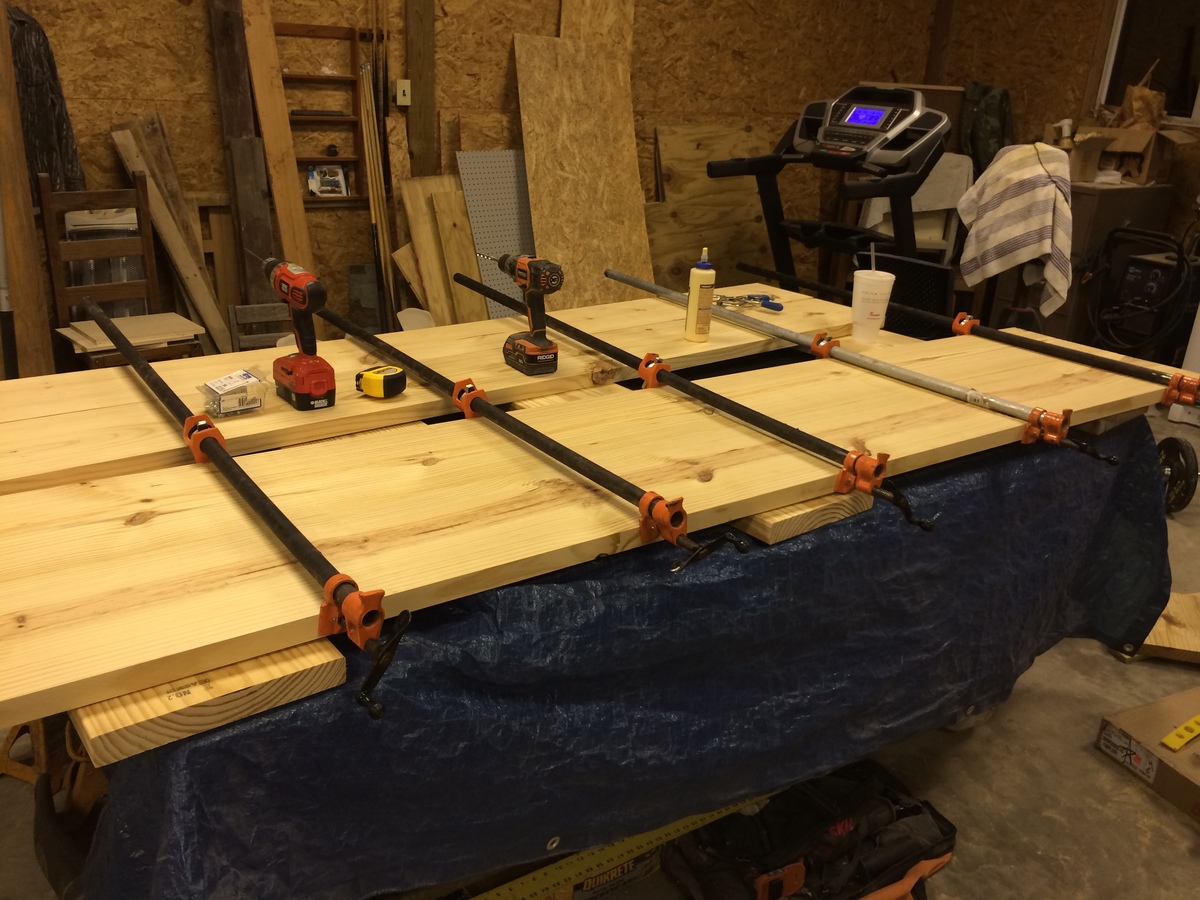
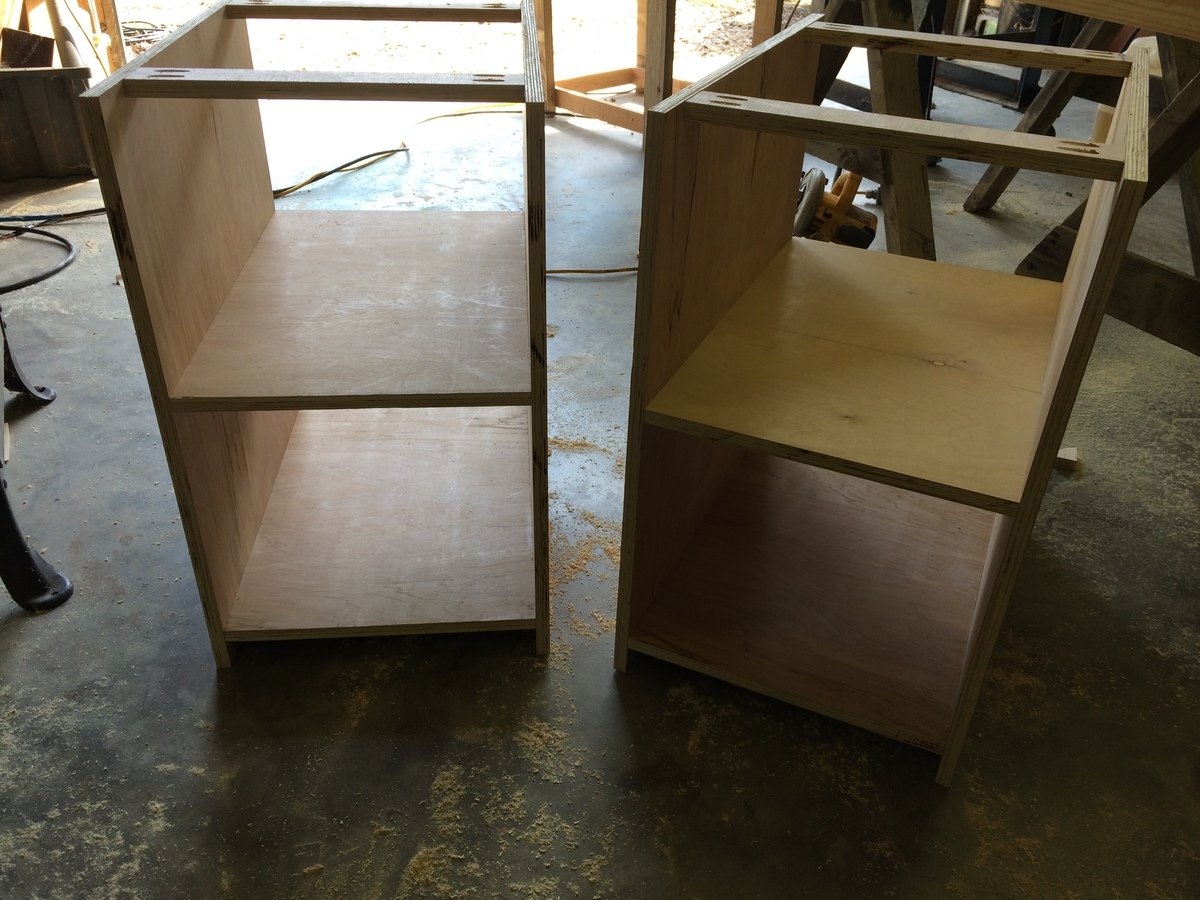
Kitchen Console Table
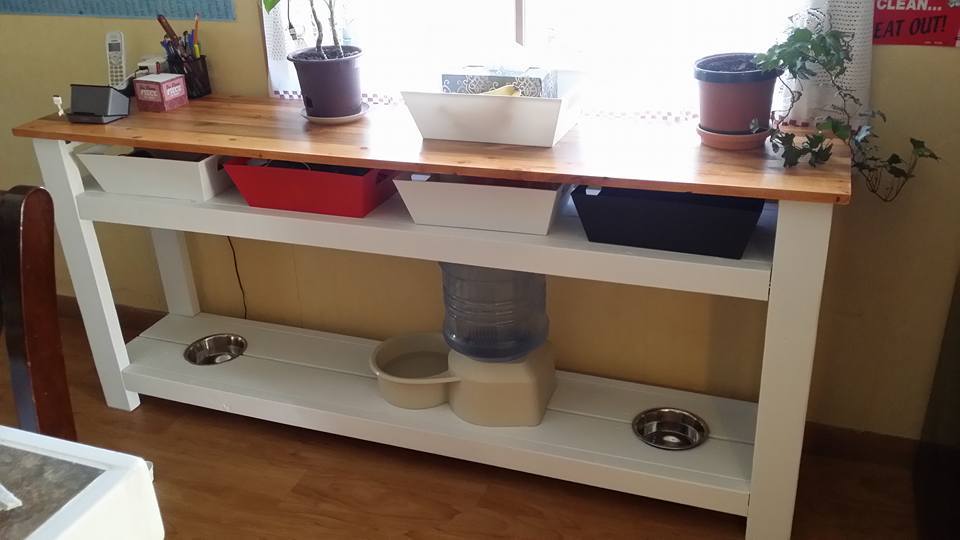
I needed a skinny table for the kitchen. I build this with dog dishes built in to make life easier. It's an all purpose table that looks nice too. Custom plans made from ideas from other plans.
Built from Plan(s)
Estimated Cost
$75
Estimated Time Investment
Afternoon Project (3-6 Hours)
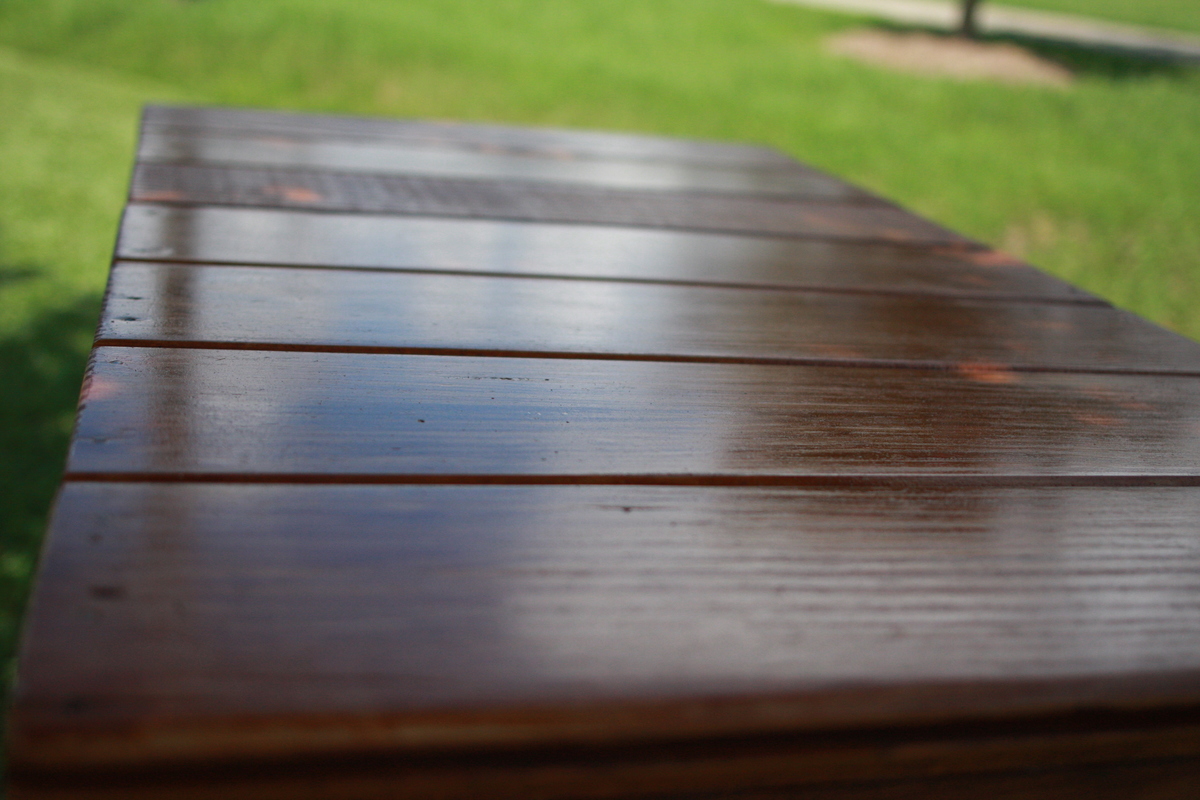
Finish Used
White paint for bottom, stain for top
Recommended Skill Level
Beginner