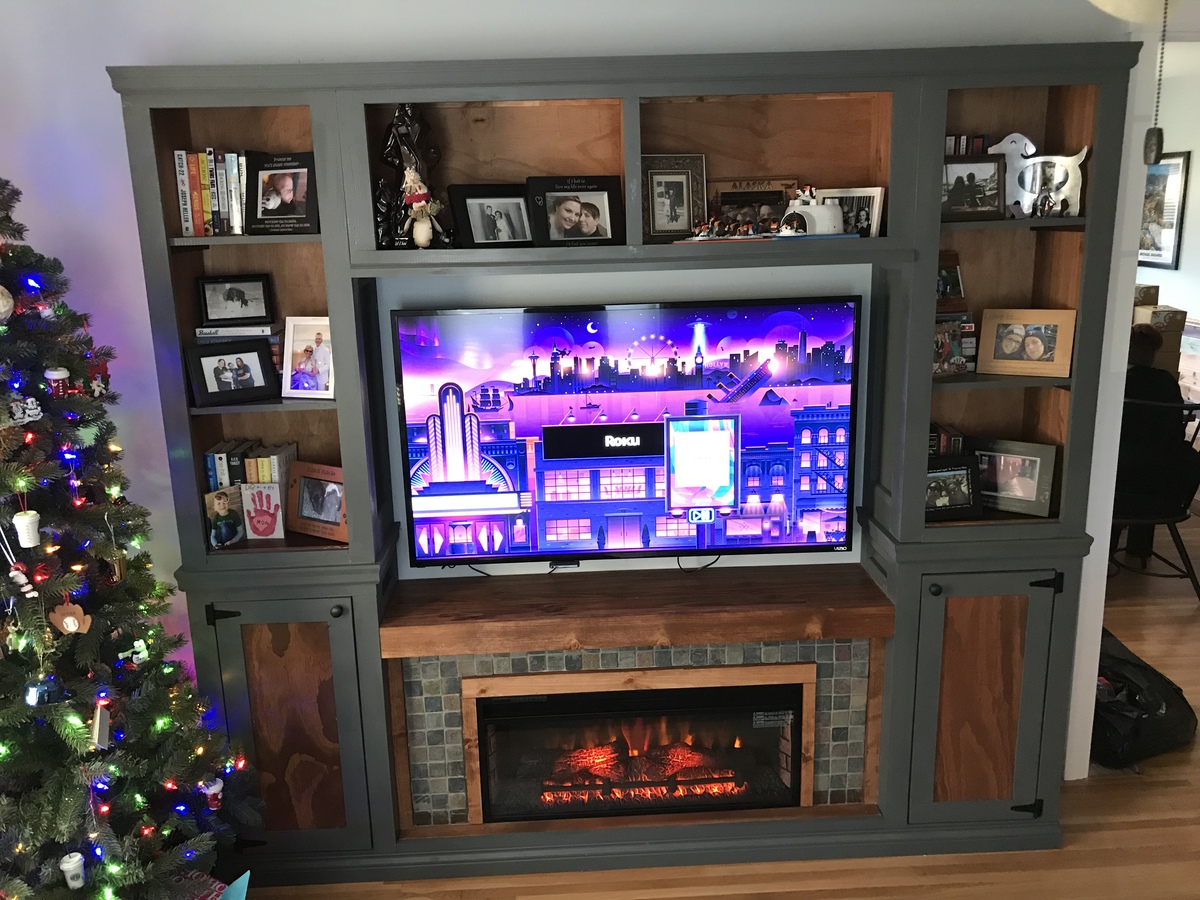
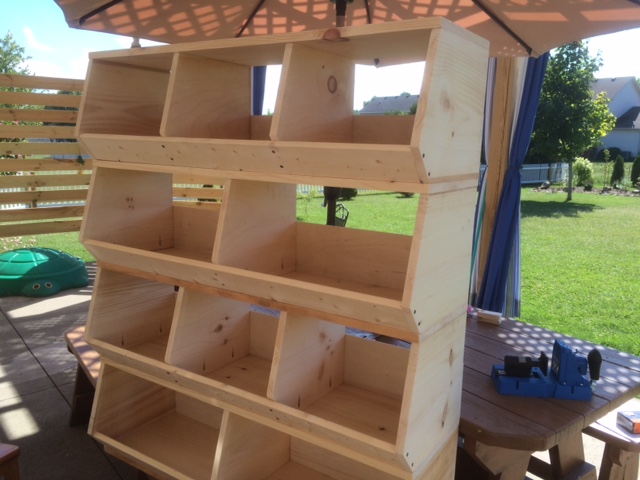
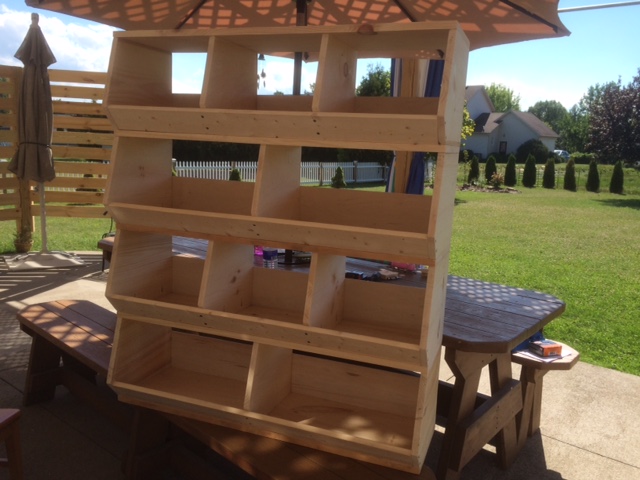
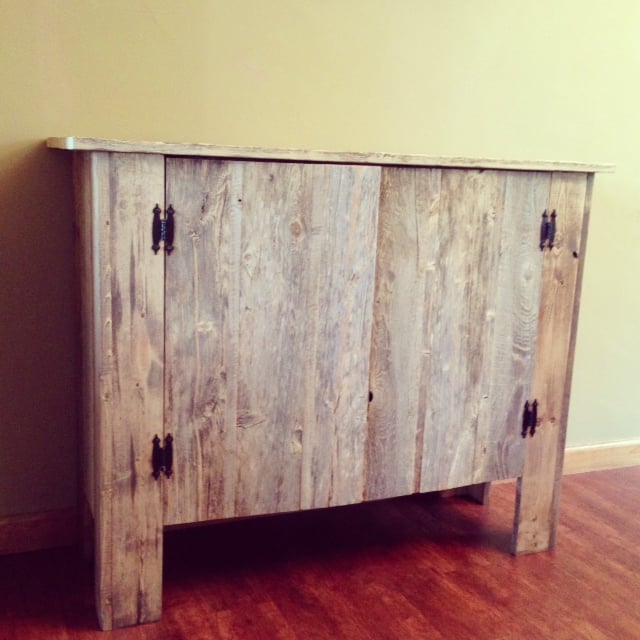
Fire Place and TV Surround
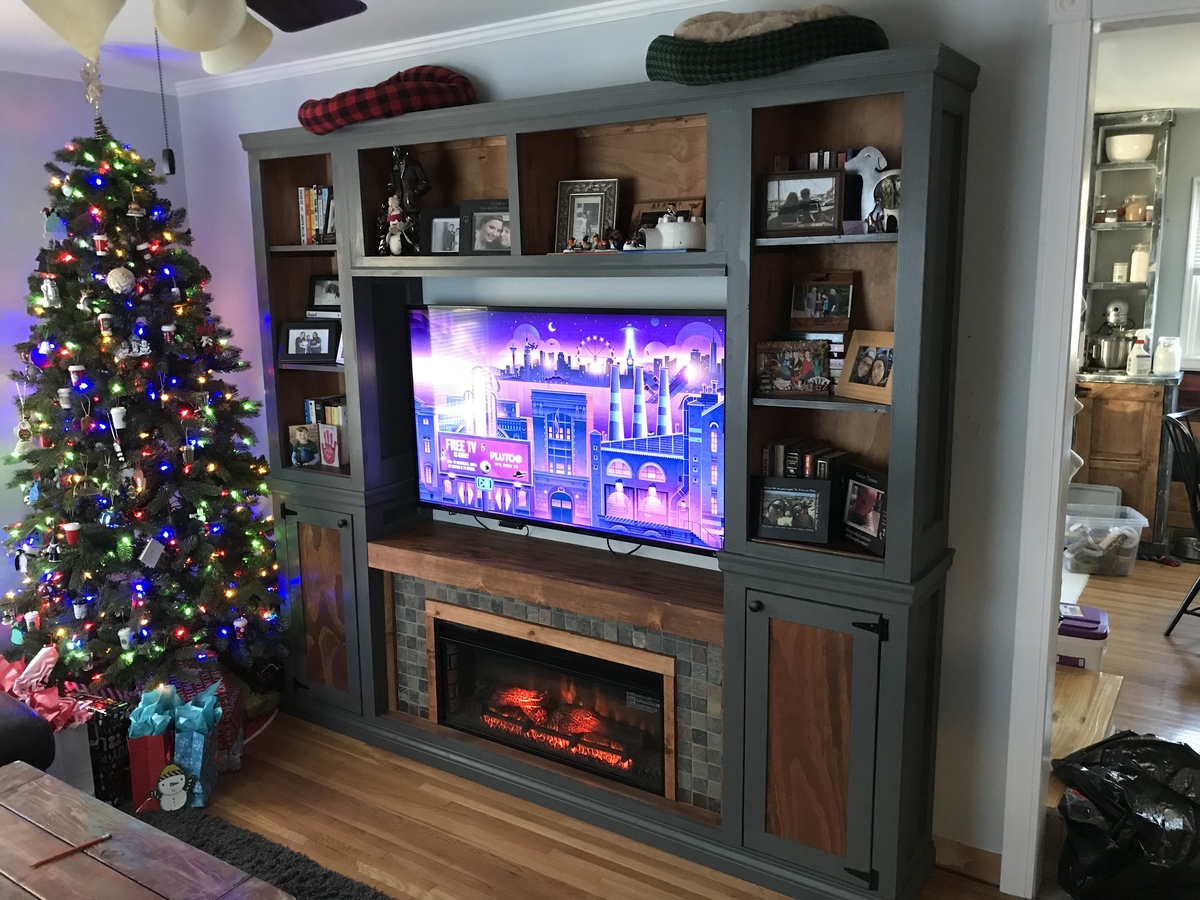
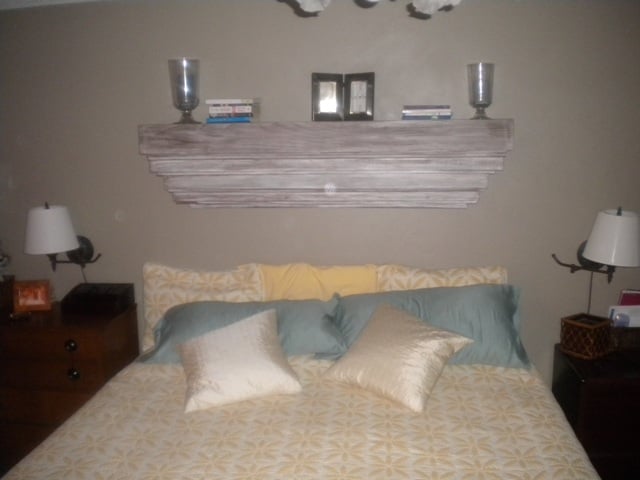
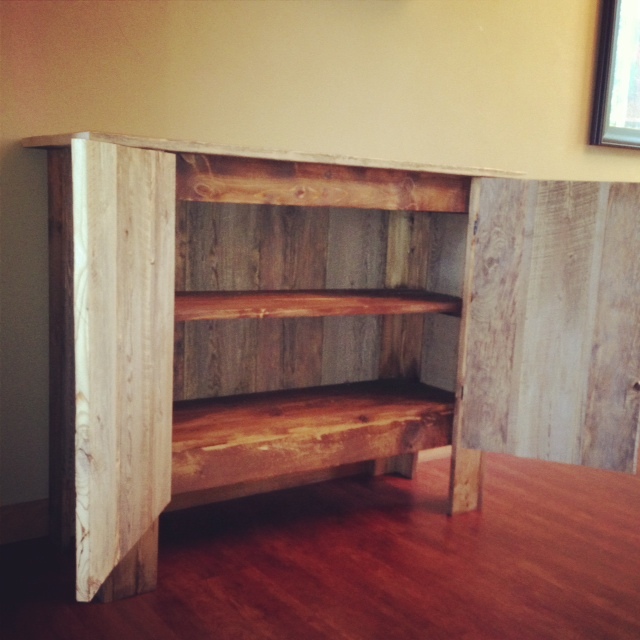
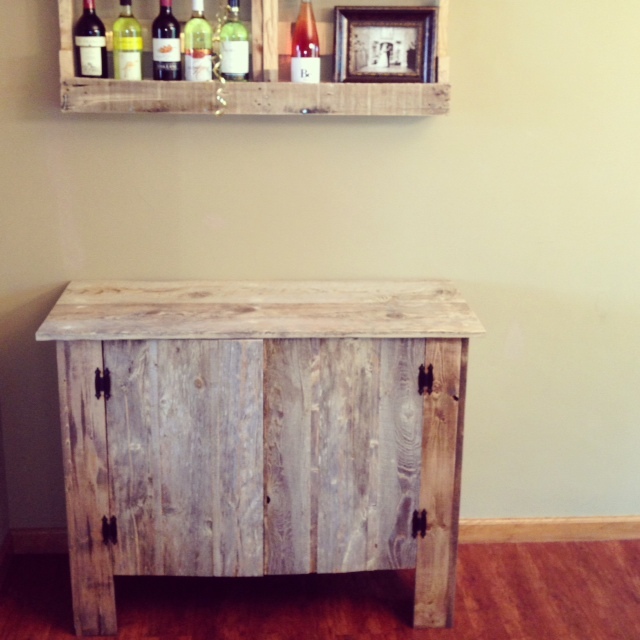
We needed a surround for the TV and really wanted to have a fireplace underneath. I took the Shanty Hutch/Sideboard plans and made some modifications. Took about 2 weeks to complete.
Built from Plan(s)
Estimated Cost
We bought the fireplace for the project, so with all included about $600
Estimated Time Investment
Week Long Project (20 Hours or More)
Finish Used
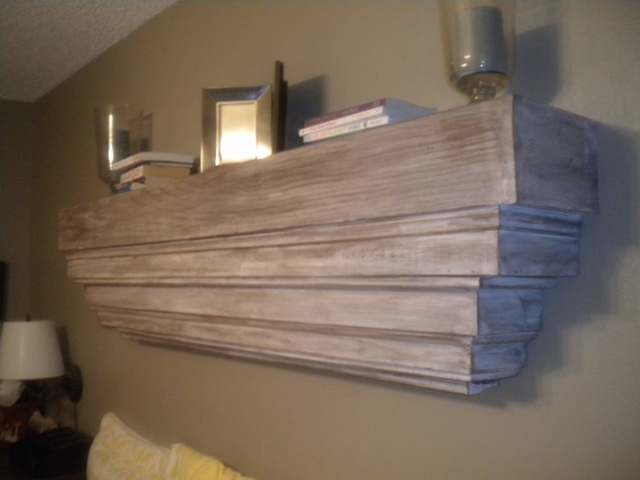
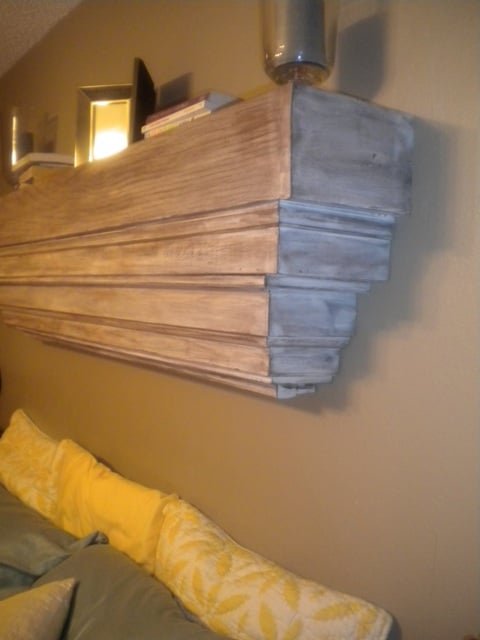
I used Varathane American Walnut on the interior surfaces. I used a paint/stain blend for the exterior. It is a color match tint for my house.
Recommended Skill Level
Intermediate


Comments
Ana White Admin
Sat, 12/19/2020 - 10:49
WOW!
This is amazing!