Community Brag Posts

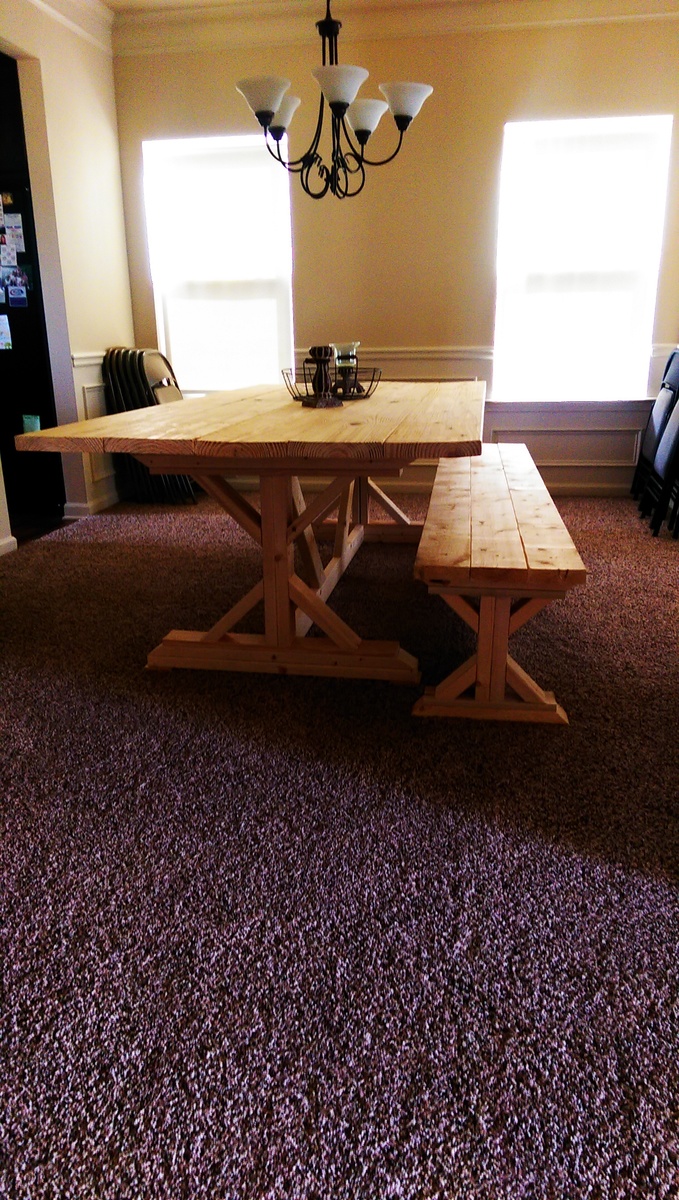
Triple Pedestal Farmhouse Bench - Modified to 2 pedestals

Needed a two seat bench for an existing table.  Used biscuits instead of pocket screws to manufacture the seating surface.  Cut 1/4" from each edge of the 2x4  (original 1.5" x 3.5" => now 1.5" x 3.0") so the premilled humps would not be evident on the seating surface.  The surface now has 6 layers of boards for 6x3=18" width instead of the plans 5x3.5 = 17.5"  Great plans, easy to modify!

Built from Plan(s)
Estimated Time Investment
Weekend Project (10-20 Hours)
Finish Used
Will be stained to match rest of table later
Recommended Skill Level
Intermediate

Craft Table

Submitted by KlumziMom on Tue, 06/25/2013 - 09:05

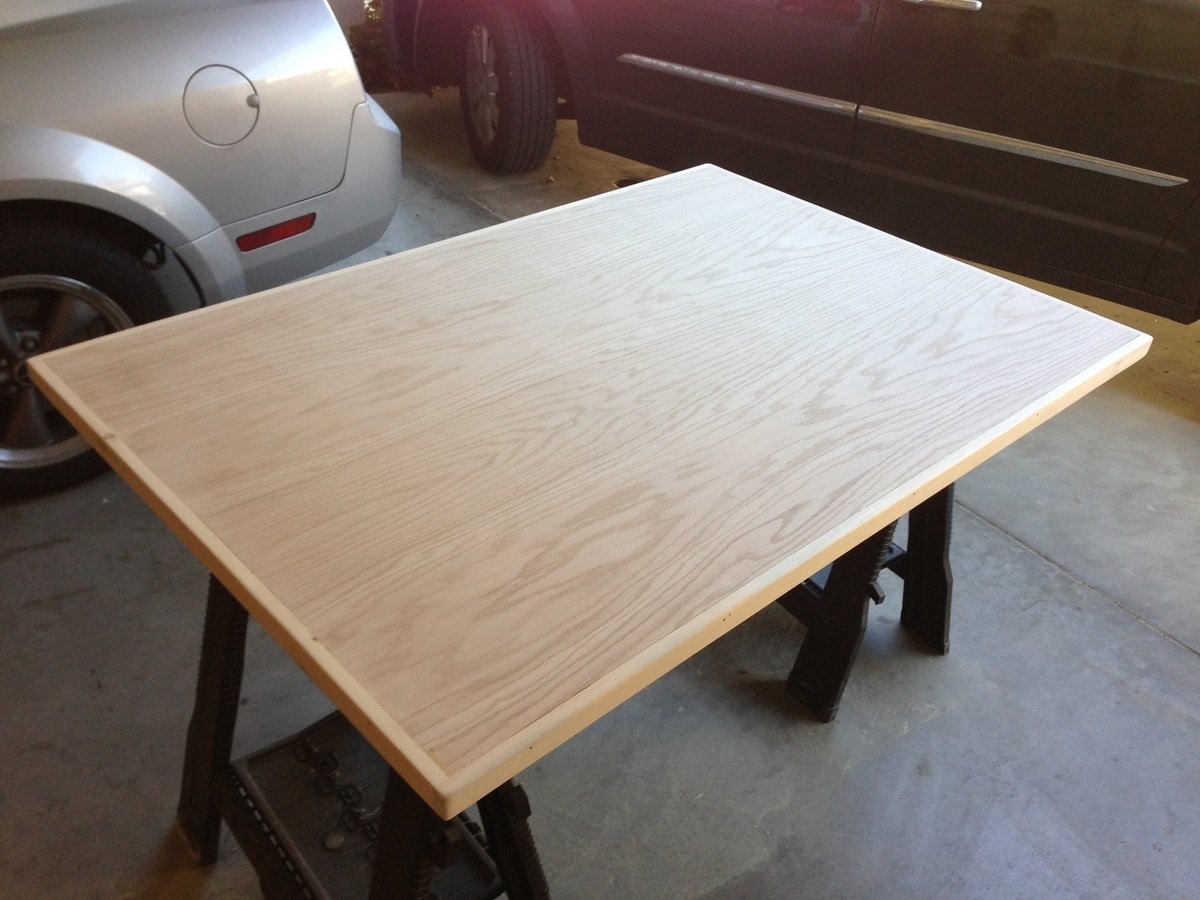
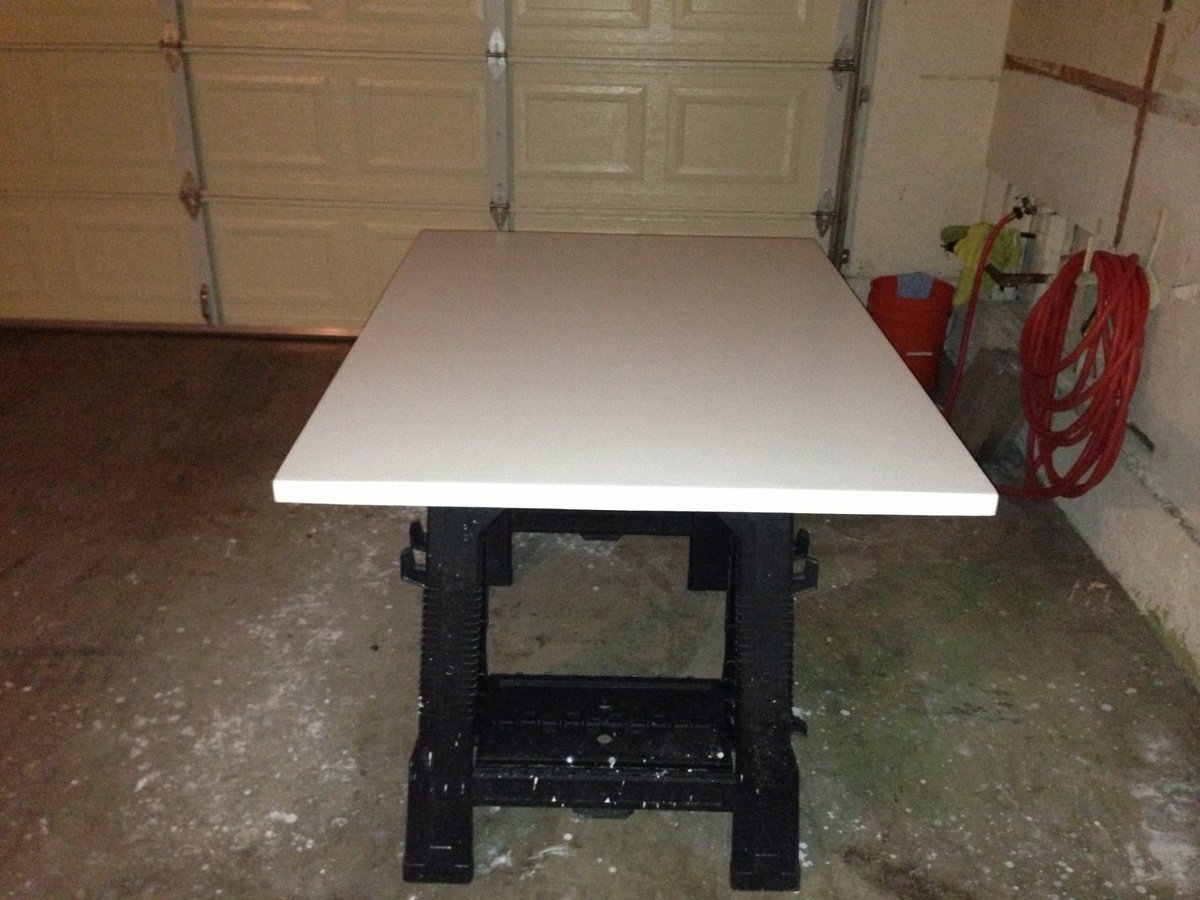
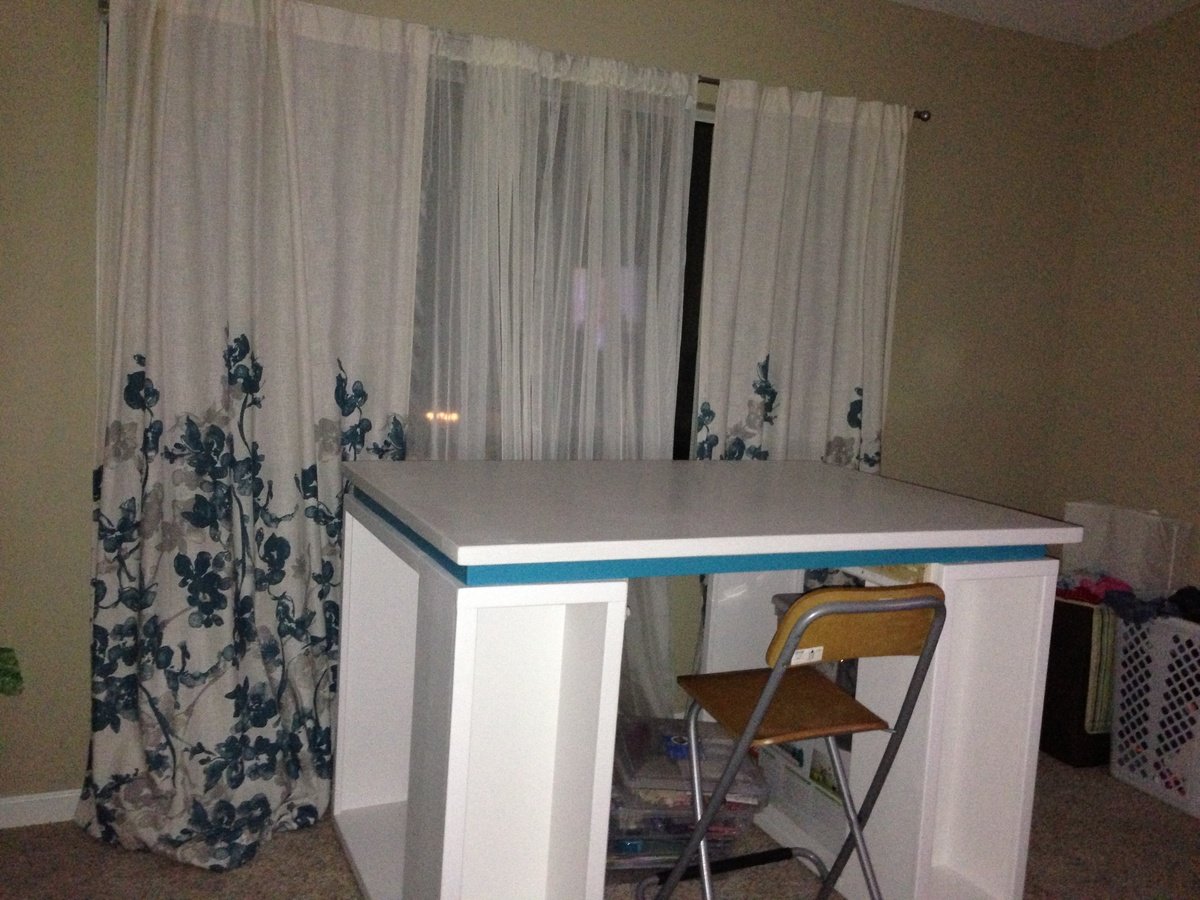
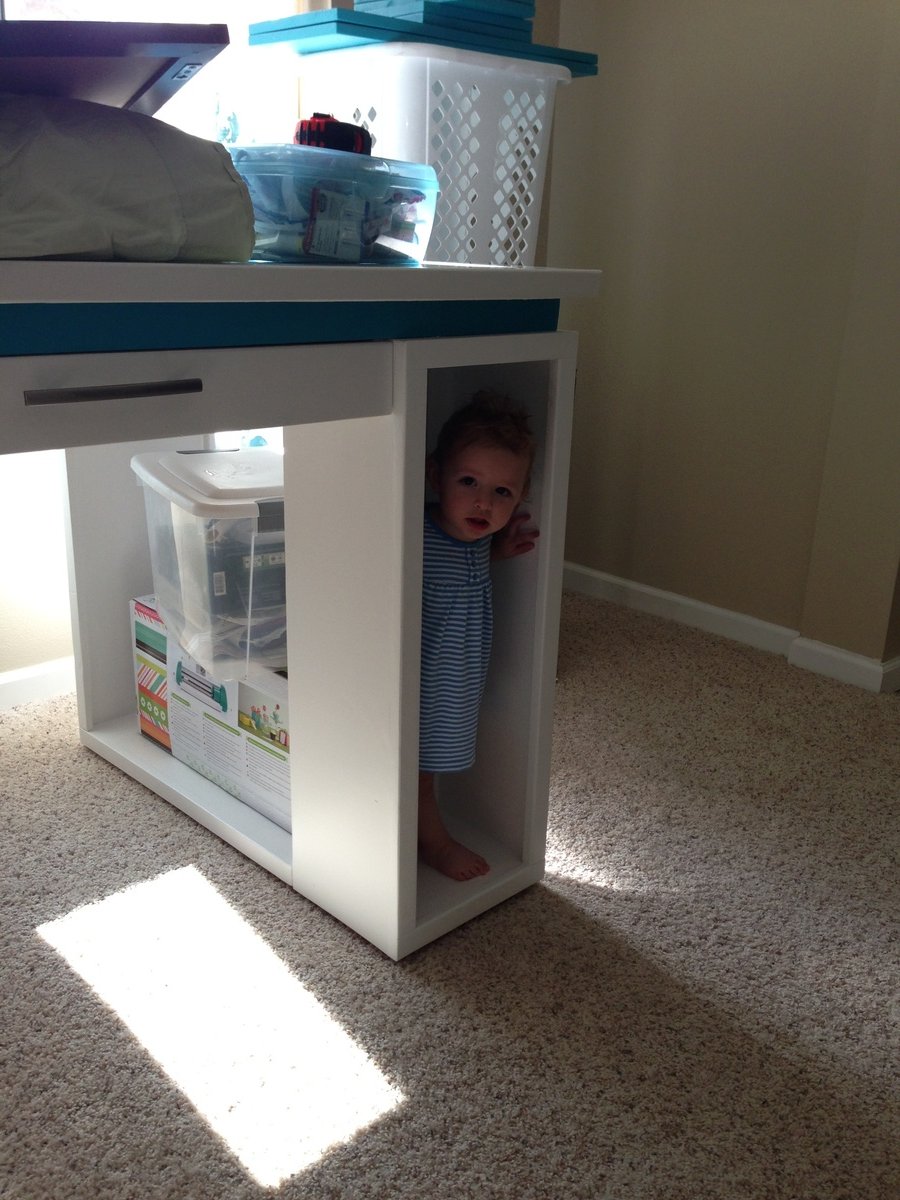
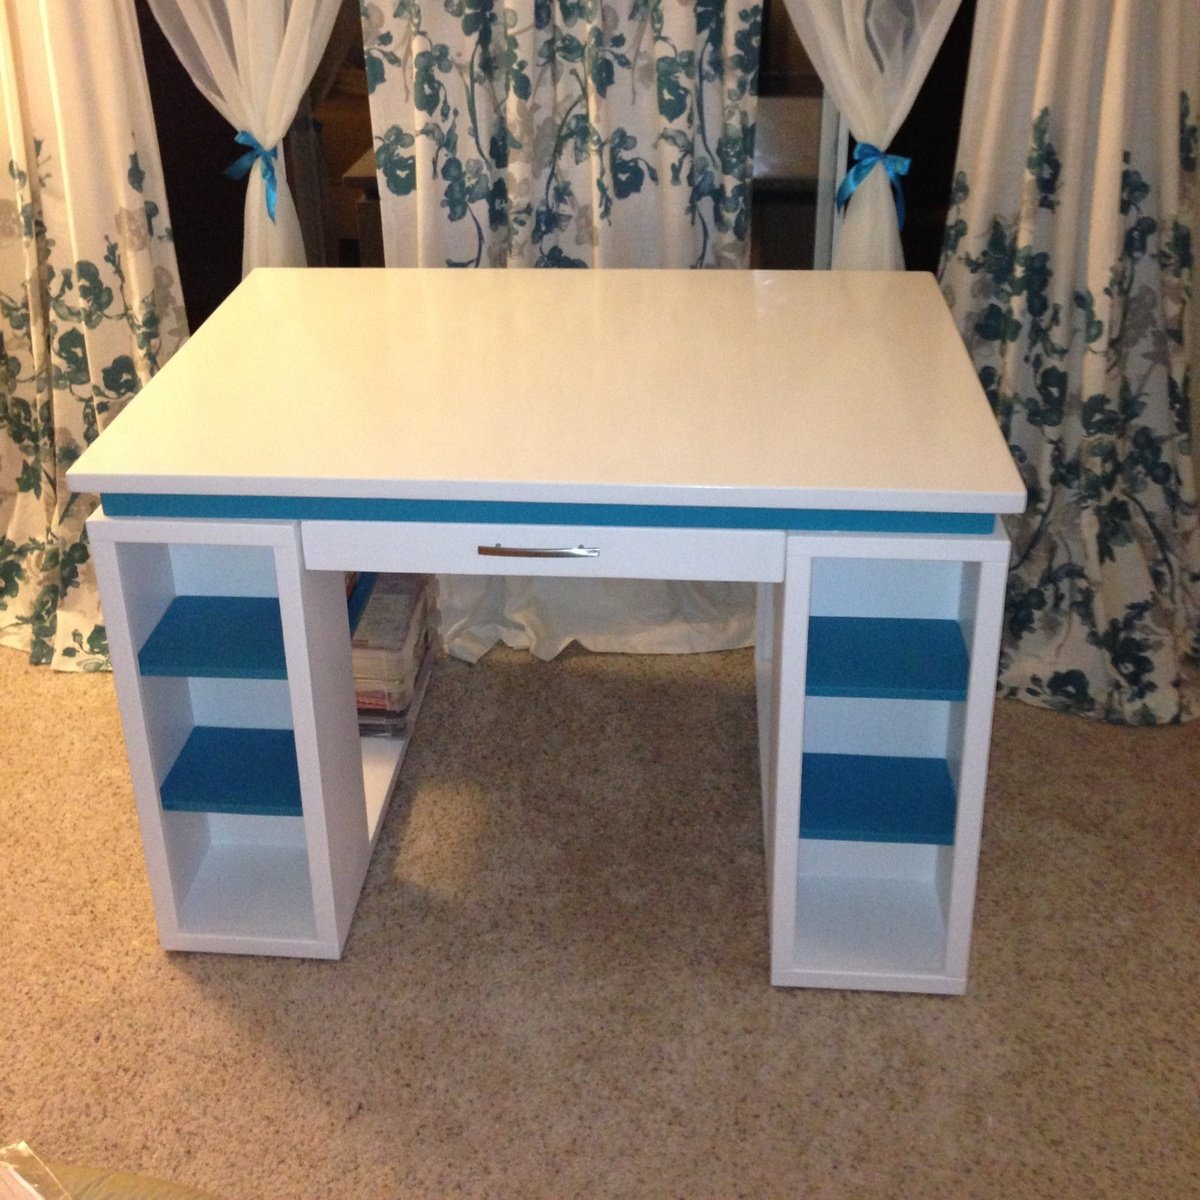
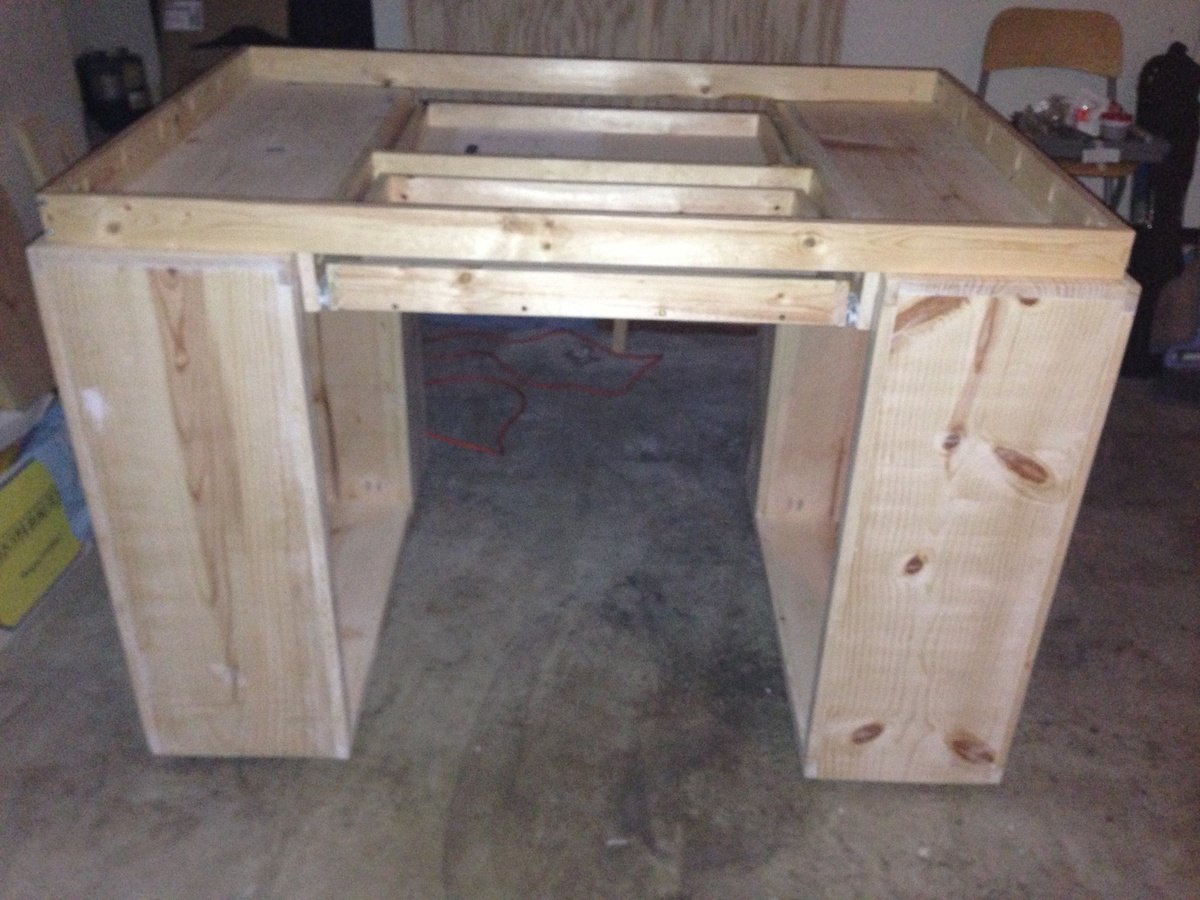
My new Craft Table I built from Ana White's plans. I combined her plans from her Modern Craft Table (http://ana-white.com/2010/09/modern-craft-table) and the desk drawer from her Craft Tabletop for the Modular Collection (http://ana-white.com/2010/02/plans-bedford-project-table-top-with.html). I modified the plans slightly, I added 1x2's aroung the tabletop instead of edge banding or nosing to give it a nice decorative finish. I also used 1 x 3's instead of using 1 x 2's for the floating base for the tabletop so you could see more of the floating base since the 1 x 2's around the tabletop covered up the majority of the floating base from view. I also created a frame for the table top to sit on which also helped stabilized the 2 bookshelves in place, as well as adding support to the frame of the drawers.

Estimated Cost
$200
Estimated Time Investment
Weekend Project (10-20 Hours)
Finish Used
I used wood filler to fill the holes in the wood and the Kiltz primer as a base. I used Valspar's Swiss Coffee for the white and Valspar's Cool Rain for the accents. On the top of the table I made my own Chalk Paint with 1 cup of paint and 2 tbsp of unsanded grout and a little bit of water recipe from Diane Henkler @ Momtastic (http://www.momtastic.com/home-and-living/home/172917-diy-chalk-qstyleq-paint). Followed by 4 coats of Polycrylic matte finish (making sure to sand each layer eith a 320 grit sand paper. I finished with a small layer of wax buffed on to make it shine.
Recommended Skill Level
Beginner

Comments

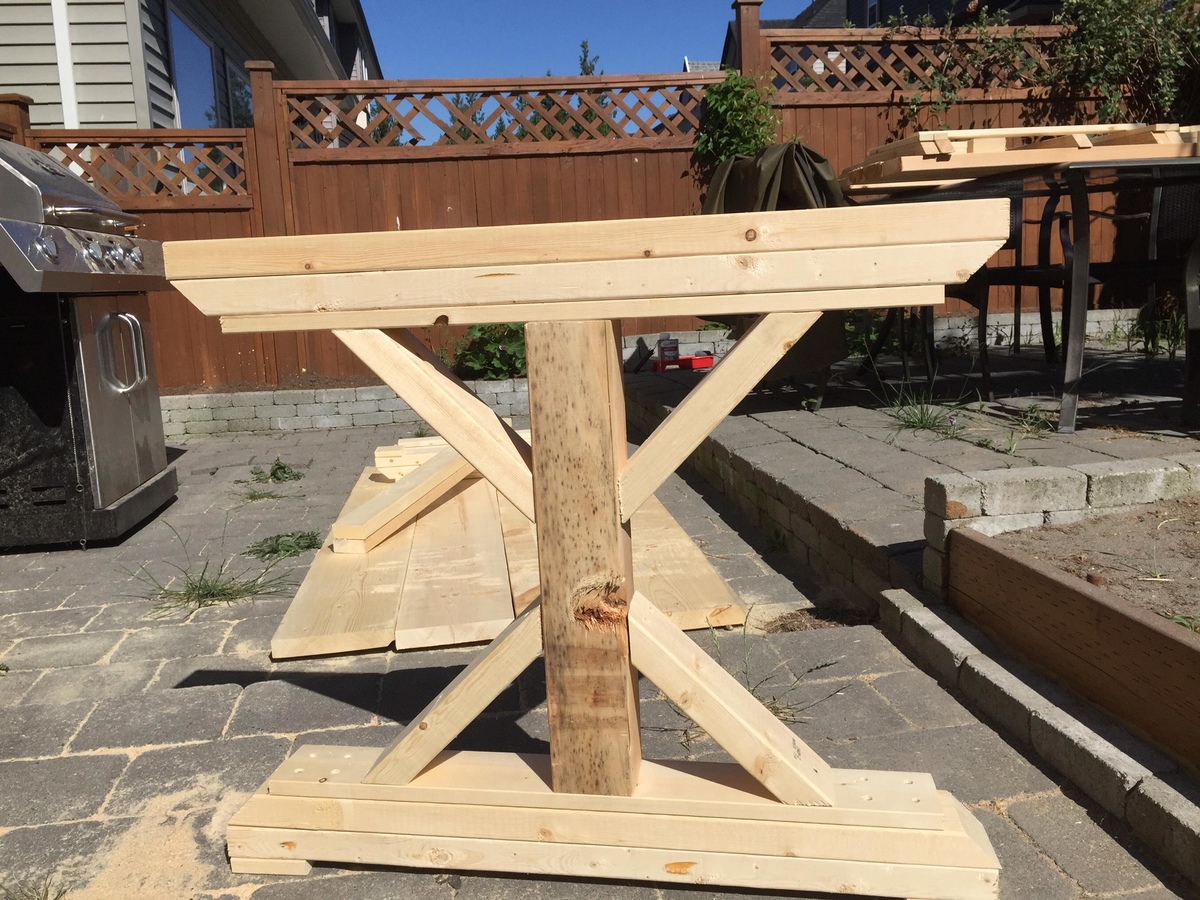
Farm house table and bench

Table and bench before we finished it

Recommended Skill Level
Beginner

Comments

Our 6' Farmhouse X Table (Slightly Modified)

Submitted by TJDL on Sun, 06/21/2015 - 00:42

We had been saving up for a table like this one from Restoration Hardware or Urban Barn or West Elm but needless to say it was taking a while (just for the table)... then we stumbled upon @Shanty2Chic on Pinterest and loved the idea.

As far as woodworking/furniture making goes, I have taken a turn at it here and there but this was our first major project and it worked out great. We decided to go with two benches and we're currently hunting for chairs, maybe a DIY as the ones we want are also pretty expensive for what they are!

We bought all the wood, subbing the 96" 2x10s for 72" 2x10s and subbed the 2x4s in the X legs for 4x4s. I like the one piece better than the 2x4s and we attached the X pieces to the 4x4 using 2-1/2" pocket screws. After cutting and sanding, we assembled the table and set out staining it with a brush and a clean rag using the "brush on - wipe off" method which gave us a nice look at the grain pattern. The stain we chose was Varathane Weathered Grey and did one coat which gave us the look we were after. After staining we applied three coats of Varathane Matte Finish clear to allow for that "natural wood feel".

Estimated Cost
Pocket Kreg - $23, Stain and Clear Coat - $30, All Wood - $270 (Over Bought a few pieces and spent a good amount on the 4x4s otherwise it would be closer to $200). Total = $325
Estimated Time Investment
Week Long Project (20 Hours or More)
Finish Used
Varathane Wethered Grey and Varathane Matte Finish Clear
Recommended Skill Level
Intermediate

A-Frame Chicken Tractor

Submitted by Tonya P on Tue, 07/09/2013 - 19:46

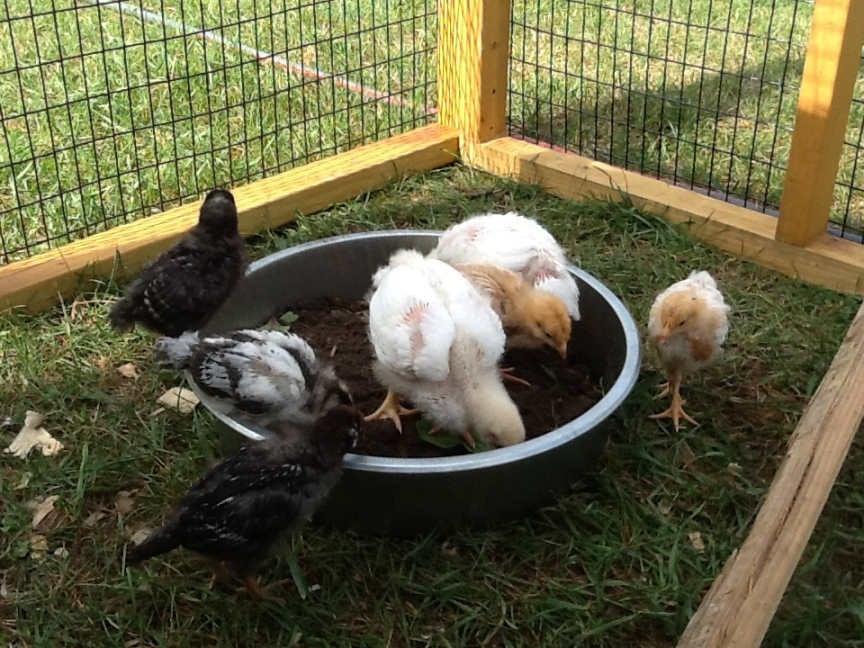
New to raising chickens, but eager to jump right in to it.
We bought a pre-made coop for the main home for our new chicks and it's very nice, not something I could do myself since I'm not yet at that level, but I saw this chicken tractor and thought it would come in handy for what I have in mind so I made up my mind to build it.
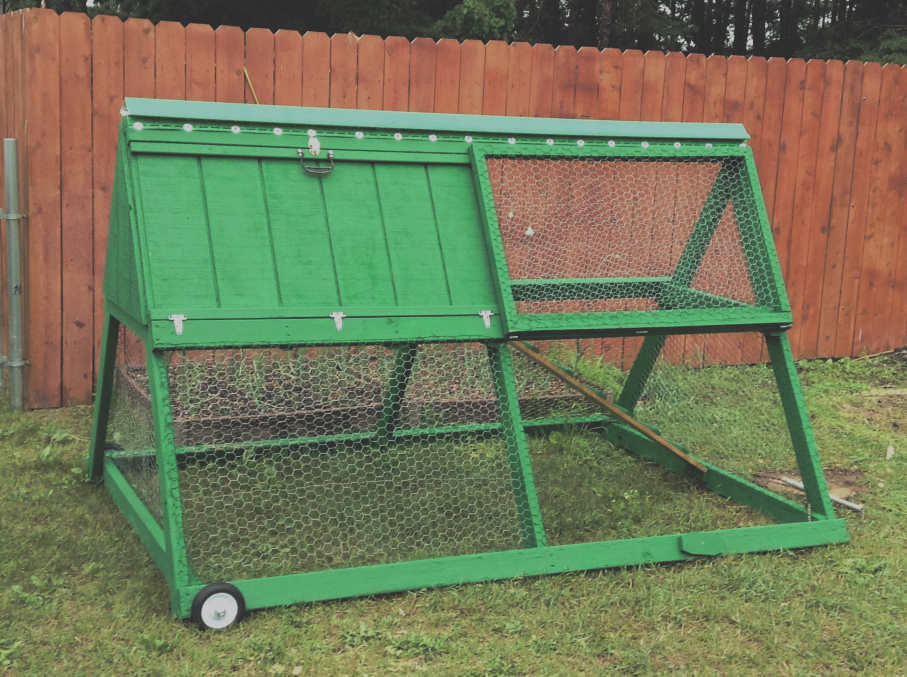
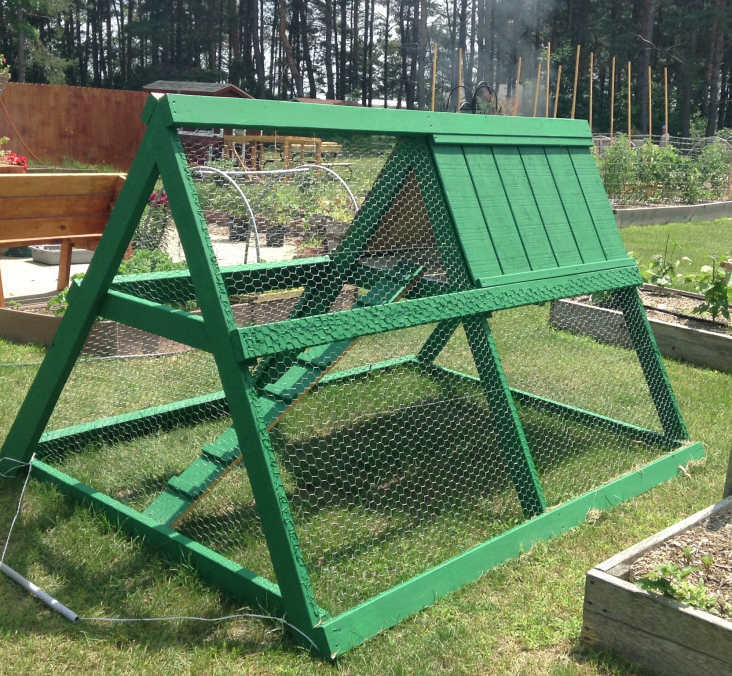
The lumber, chicken wire, staples, and wheels are all store bought new and came to about $75. The materials we had on hand were the screws, hinges, plastic coated metal shelving (used in the nesting area, I thought that would make it easy to clean), paint, and the corner piece of vinyl siding for the roof cap (hubby's brilliant idea, and I painted it green with spray paint for vinyl).
I did not try to build it quickly, I don't really know how much time it took me, but if I had to guess I'd guess total time would amount to about 3 afternoons, by myself.
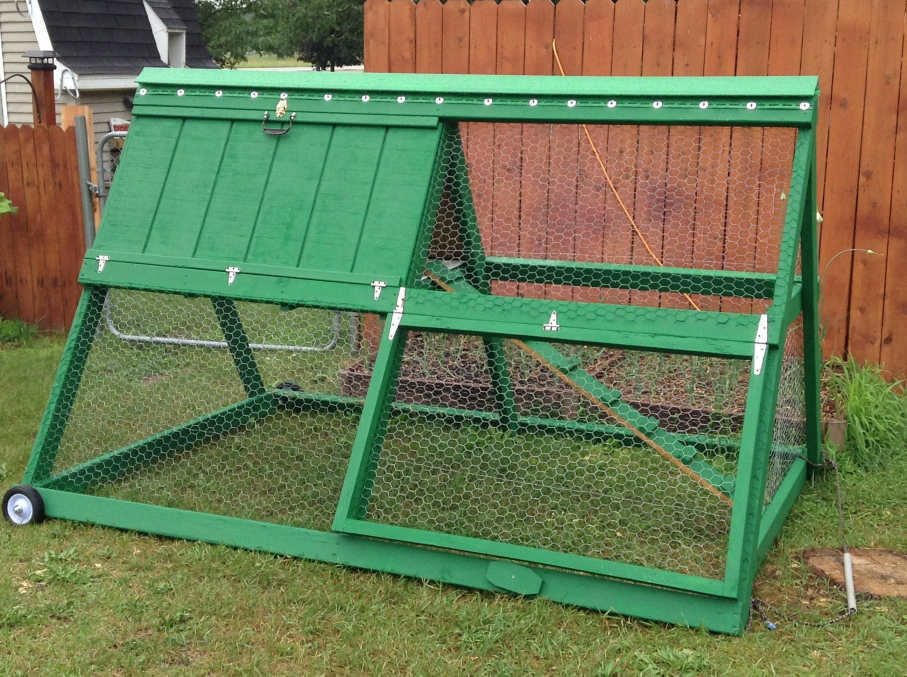
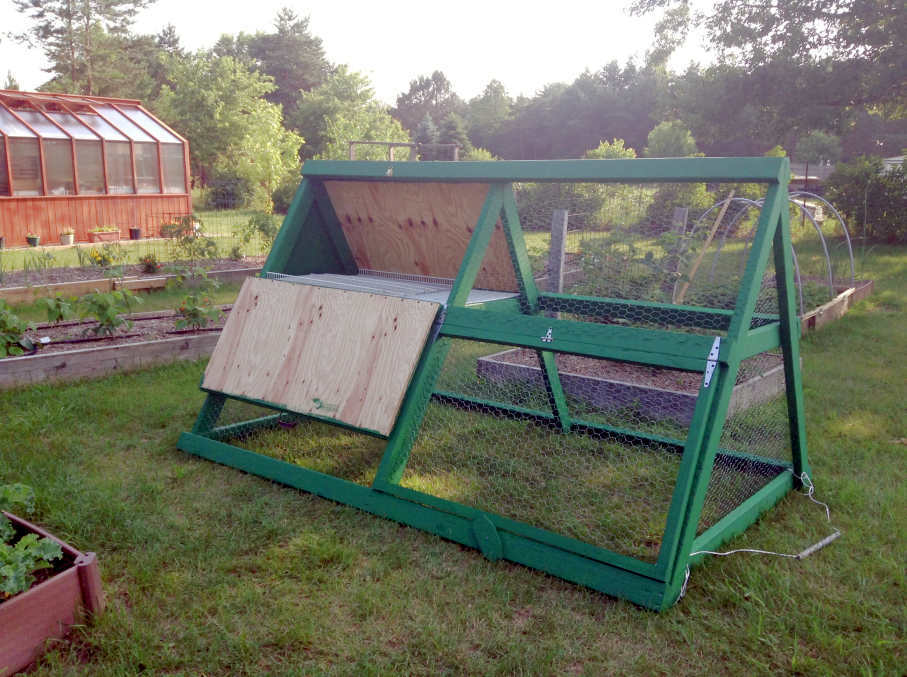
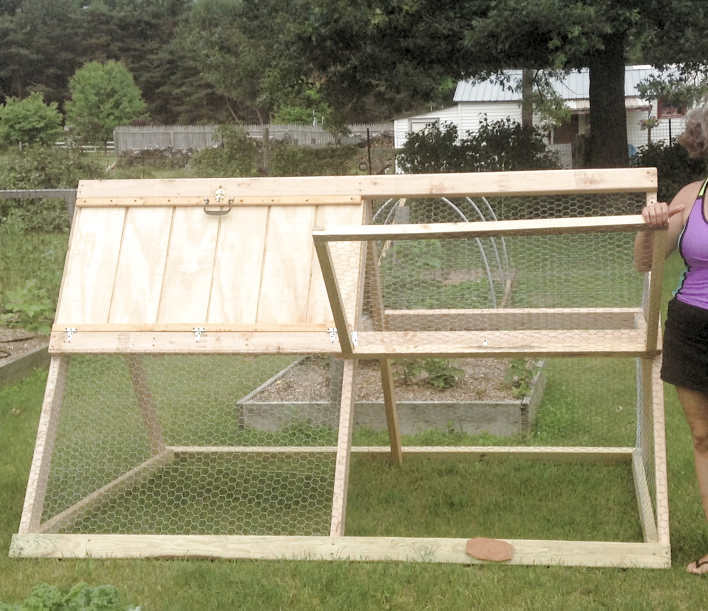
I wanted to leave the top on the one side open with the option to slap on the other boards if/when the need arises. I have the other t1-11 panels that can sit right in those areas because I stapled the chicken wire in a way that would allow it.
I also added a flip up panel as seen in the pictures for access. I didn't want a small door that I would have a hard time getting to things in there. I'm so glad I added this feature, it sure gives plenty of room for me to maintain the food and water dispensers as well as get in there and catch the little chickies :)
I wanted it green to blend into the wooded background in our backyard. I didn't want to take any beauty away from the cedar greenhouse and fencing we added last year, and this tractor would be moved from time to time and I felt this green that we had on hand was perfect to help it blend in rather than stand out.
This thing is heavy! I have a hard time moving it around and usually need my husband to move it so I won't hurt myself. I am considering some options... I don't like the rope I have on it to pull it, any suggestions would be appreciated.
As with the other items I've made with Ana's plans, this was fun and pretty easy to make. I love this site! Soon I will take on my next project, I've bought and gathered the materials, I'm anxious to get started :)
Thank you for looking :)
Built from Plan(s)
Estimated Cost
$75 - $85 for the new materials listed
Estimated Time Investment
Weekend Project (10-20 Hours)
Finish Used
Green exterior paint we had on hand.
Recommended Skill Level
Intermediate

Sturdy Workbench Modified

Submitted by Seth on Sat, 07/13/2013 - 21:55

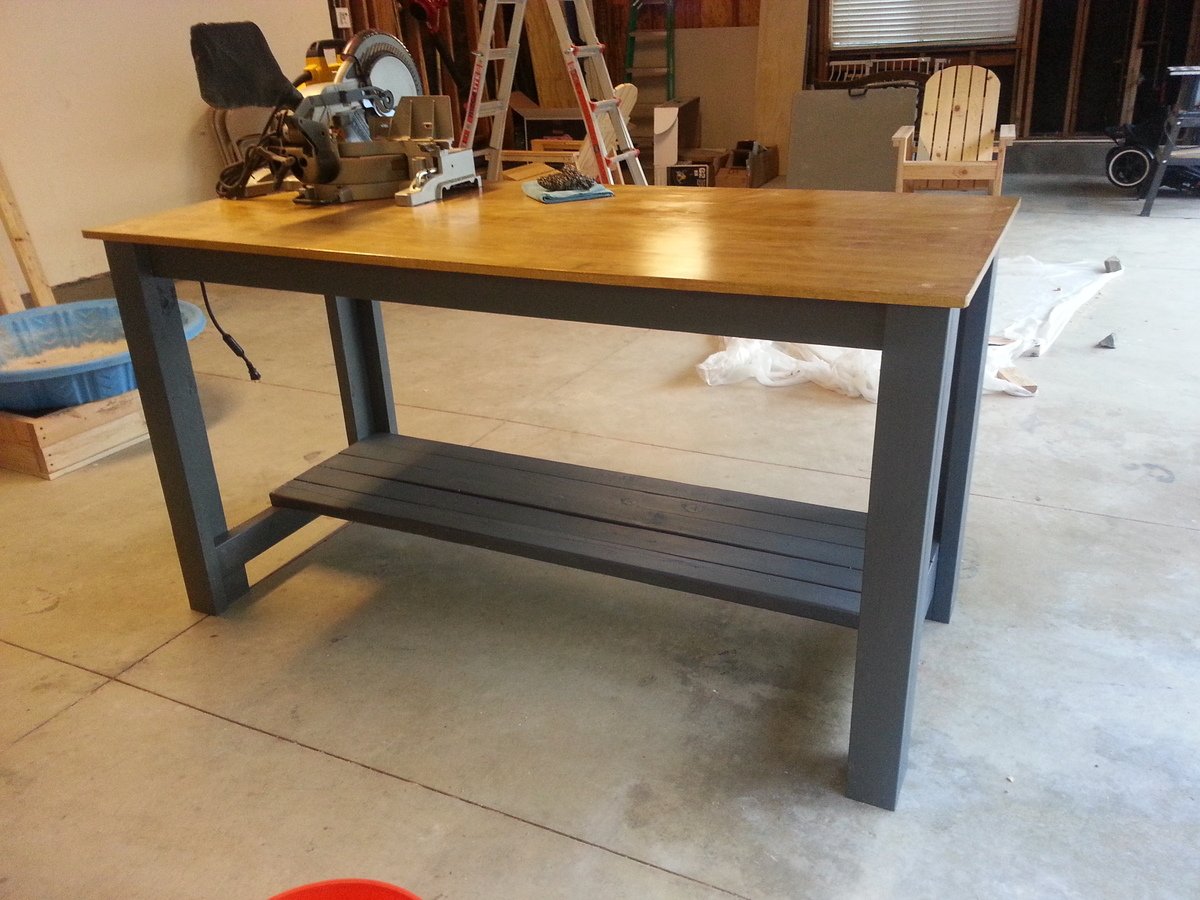
This is a modified version of the sturdy workbench. I made it six feet long, about three feet wide (I can't remember exactly), and 36'' high. Since I'm 6'2'', I needed a bench that didn't keep me constantly bending over.

I used Douglas Fir framing lumber and 3/4'' plywood for the surface. The plywood was a cheap replaceable option since hardwood is extremely expensive in my area. The wood warped a bit after I built it, so its clearly not perfect. But who cares, its a workbench after all...

I used left over paint / stain I had laying around in the garage. The gray is a custom mix interior paint, and the stain is Minwax Golden Oak. I used 1 coat of stain, and three coats of Poly.

Built from Plan(s)
Estimated Cost
$100
Estimated Time Investment
Afternoon Project (3-6 Hours)
Finish Used
Minwax golden oak 1x, conditioner 1x, and poly 3x.
Recommended Skill Level
Starter Project

Comments

Easy and Fast DIY Garage Workshop

I used these plans and modified the height to create functional countertop and shelving in my garage. I added a little face framing too. Thank you for the inspiration Ana!

Estimated Time Investment
Weekend Project (10-20 Hours)
Finish Used
Mineral Oil
Recommended Skill Level
Beginner

Comments

tarah

Thu, 03/26/2020 - 15:58

How do I access the plans used for this project? Thanks!

My laundry basket dresser with doors

Submitted by jensimmons on Sun, 07/03/2011 - 20:19

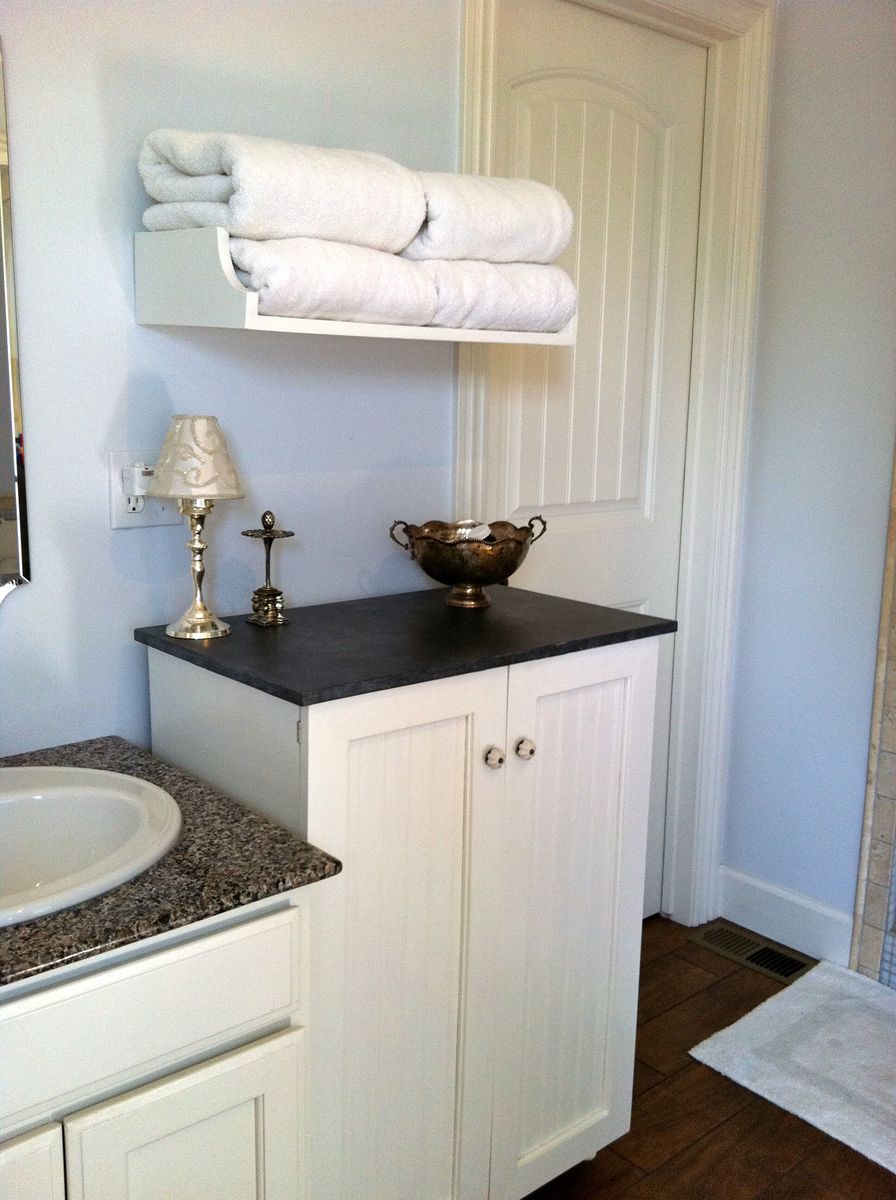
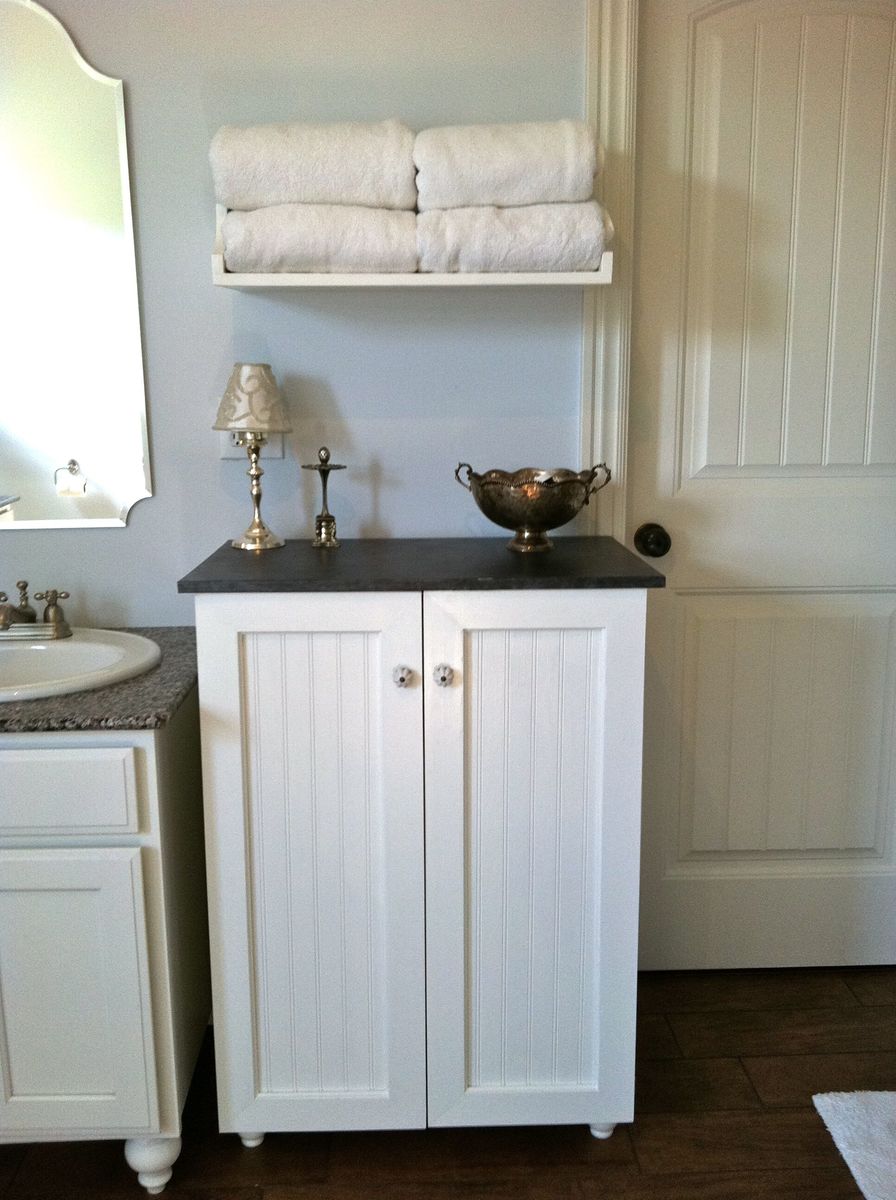
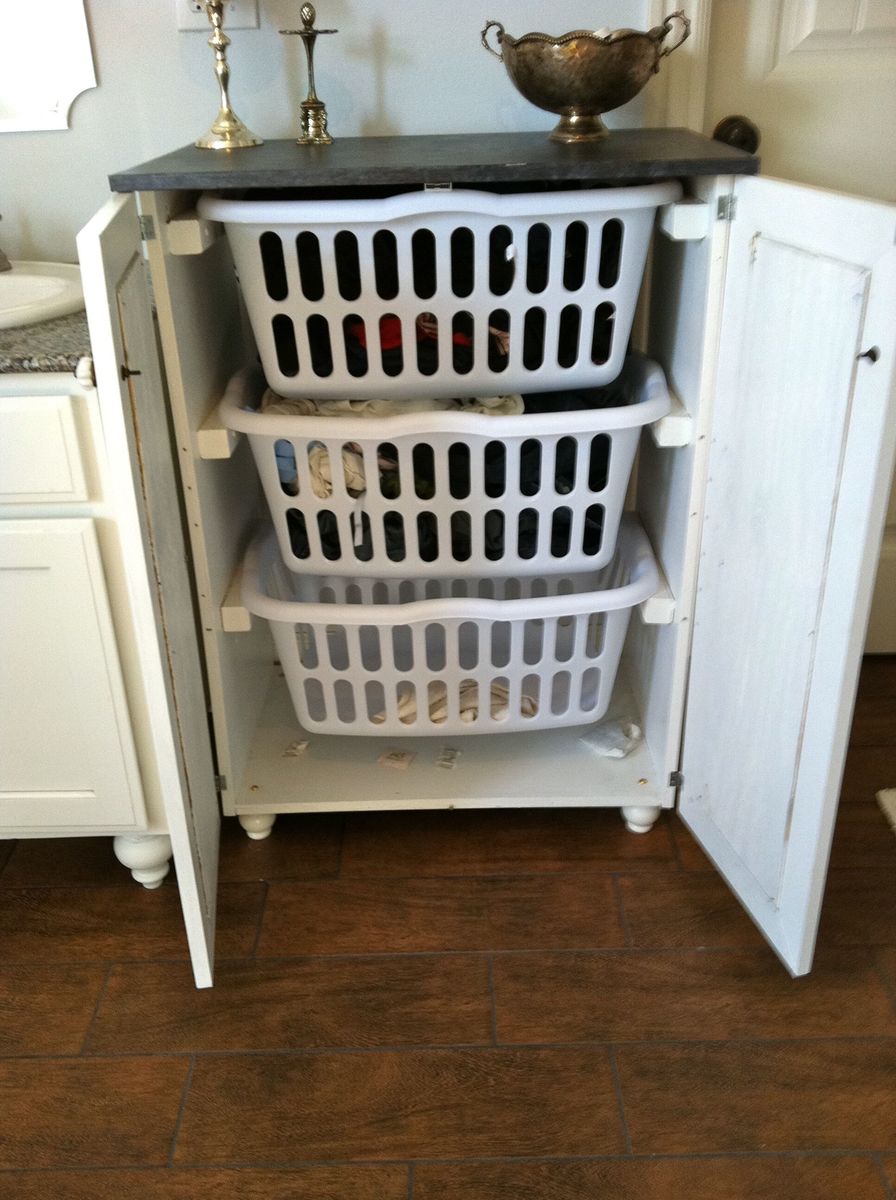
I wanted to use our laundry basket dresser as a collector for dirty laundry in our bathroom, and wanted it to have doors so it would blend in better. I also made the shelf above for our towels. It is painted white with a faux-zinc finish on the top. I made the top slightly larger so it would overhang and added cute little bun feet. My talented friend Carli helped me build the doors (and by helped I mean I handed her things while she impressed me with all her tools and skills!) and frame.

Built from Plan(s)
Estimated Cost
$75-100 (can't remember exactly)
Estimated Time Investment
Weekend Project (10-20 Hours)
Finish Used
white semi-gloss paint, zinc faux finish: layer 1 dark charcoal paint, layer 2 dark pewter metallic glaze, layer 3 white paint thinned with water & rubbed on/off.
Recommended Skill Level
Intermediate

Comments

Guest (not verified)

Fri, 07/29/2011 - 23:37

this is perfect! i totally need a bunch just like this! I love the added doors!

Pam in Colorado (not verified)

Sat, 09/17/2011 - 12:48

This is the look I'd like, fit the baskets and hide them behind doors until you are ready to do the laundry. These could be made for bedrooms, bathrooms, toy rooms (okay, toys instead of dirty laundry)...

Guest (not verified)

Fri, 11/11/2011 - 08:05

I absolutely love this! Could you please add instructions on how to make/paint and install the doors? I am a newbie to making my own furniture. Thanks!

Guest (not verified)

Wed, 01/11/2012 - 08:29

I love this idea! I will have a new bathroom soon and I think this will get used! What are the dimensions, or what style cabinet would you suggest to look for? TIA!

Jennifer Simmons (not verified)

Fri, 02/17/2012 - 05:57

The dimensions are the same as Ana's plan: http://ana-white.com/2010/11/laundry-basket-dresser except that the top is slightly bigger (3/4" overhang on front/sides) to look more like a countertop. On the doors we just made a frame w/ angled pieces, routed a notched line on the back & glued/nailed some beadboard in from the back. Sorry I can't be much more detailed on that, a friend did most of the doors for me!

Guest (not verified)

Sun, 02/19/2012 - 07:42

I actually got the plywood to do this project and I was going to add doors. I looked at the baskets suggested but it seems they would stick out the front. I was just curious, did you use different baskets that would fit inside the cabinet or did you make the cabinet slightly deeper?

Jennifer Simmons (not verified)

Sat, 02/25/2012 - 05:36

Actually I discovered the same problem after it was built. I just didn't put a back on and they stick out a tiny bit in the back. I actually kind of like it that way because it lets some air in (being in the bathroom and putting towels in I could see it getting mildewy without much circulation). But if I had gotten the baskets first I probably would have made it about 2" deeper, then leave some open space, but not all, on the back.

Kitchen Ledge Shelves

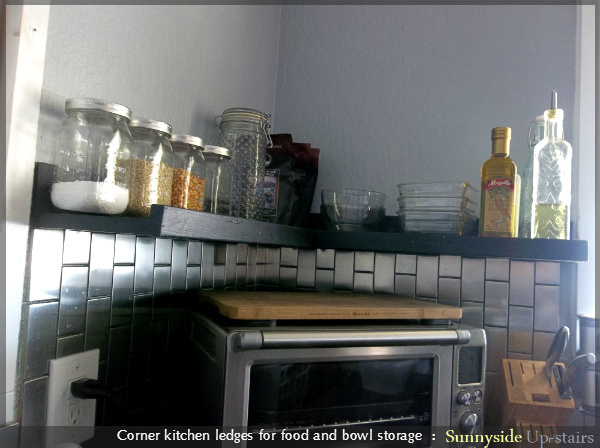
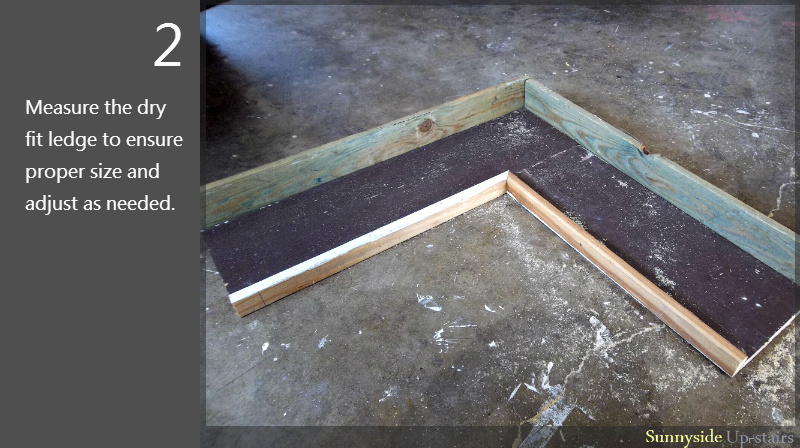
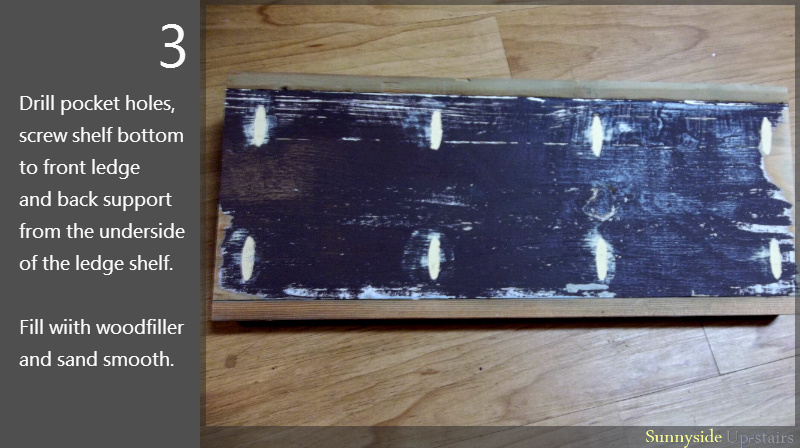
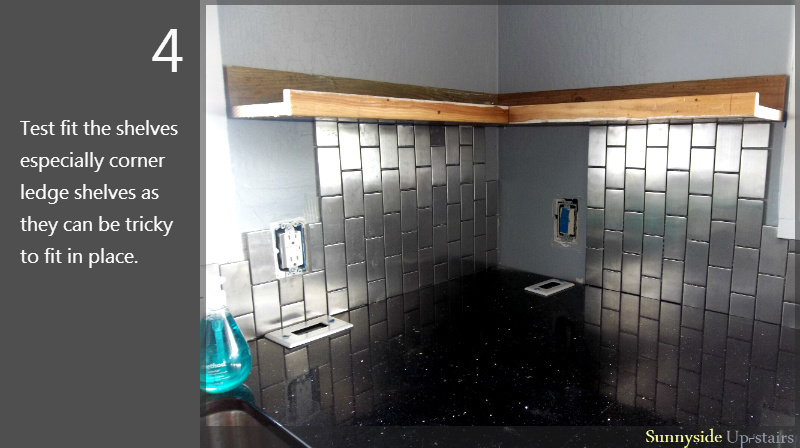
I built ledge shelves for our kitchen using reclaimed wood I painted teal, then silver, then flat black (Napoleon).

Love having them. :)

Built from Plan(s)
Estimated Cost
$5.40
Estimated Time Investment
Afternoon Project (3-6 Hours)
Finish Used
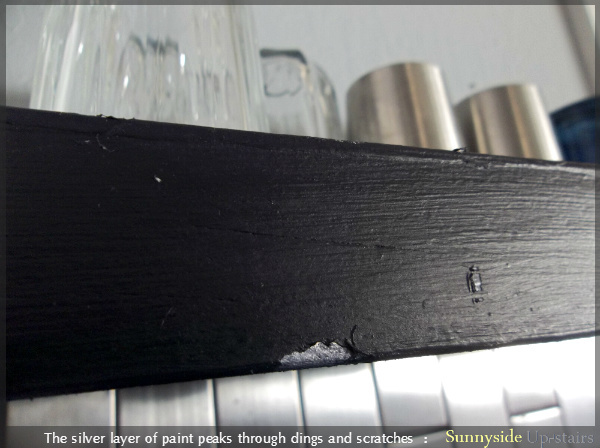
Teal semi-gloss latex undercoat, silver spray paint, matte black (Napoleon) latex paint top coat.

I wasn't sure what color I wanted. I didn't seal the shelves, just in case I changed my mind again, but I love how knicking it brings out the teal or the silver under the black!
Recommended Skill Level
Starter Project

Comments

JoanneS

Sat, 08/10/2013 - 19:19

Great looking shelves, and it's neat how you got these in the corner shape. It adds so much storage! The color looks perfect with the tile and counter. Love the little flecks of the other colors peeking through too! Great job!

In reply to by JoanneS

yurra-bazain

Sun, 08/11/2013 - 10:15

These ledge shelves really are my favorite shelves right now. I plan to add a few more to my daughter's room, but I'll wait to make those until after I build her dresser. :)
babysteps

Tue, 01/14/2014 - 11:42

I love your adaptation of the original design. I have been looking for an example of someone who made this plan into a wider shelf. Has it held up well? I was worried about the stress on the joints when you make it deeper. Has yours handled the weight? How wide is the bottom piece?

In reply to by babysteps

yurra-bazain

Mon, 04/21/2014 - 11:14

I've had the shelves up for about a year now and it's still in the same spot. The corner shelves are the most sturdy, most likely because it is supported by screws in two perpendicular walls. Its filled with mason jars (re-used, cleaned pickle jars) of pantry items, and there is no visible stress on the joints that I can see.
The smaller shelf is not as sturdy because I could not locate a stud (that didn't have electrical wiring close to it). I used wall anchors and it sags ever so slightly forward (about a millimeter). We only keep our drinkware on it, however.

The base of the shelf is made from a 1x8 (7-1/4" wide). The full width of the shelf with the 1x4 back and 1x2 front lip is about 8-3/4" wide.

I hope this comment reaches you and that it helpful!

Grid mirror

Submitted by Jtlarson12 on Tue, 09/11/2018 - 10:20

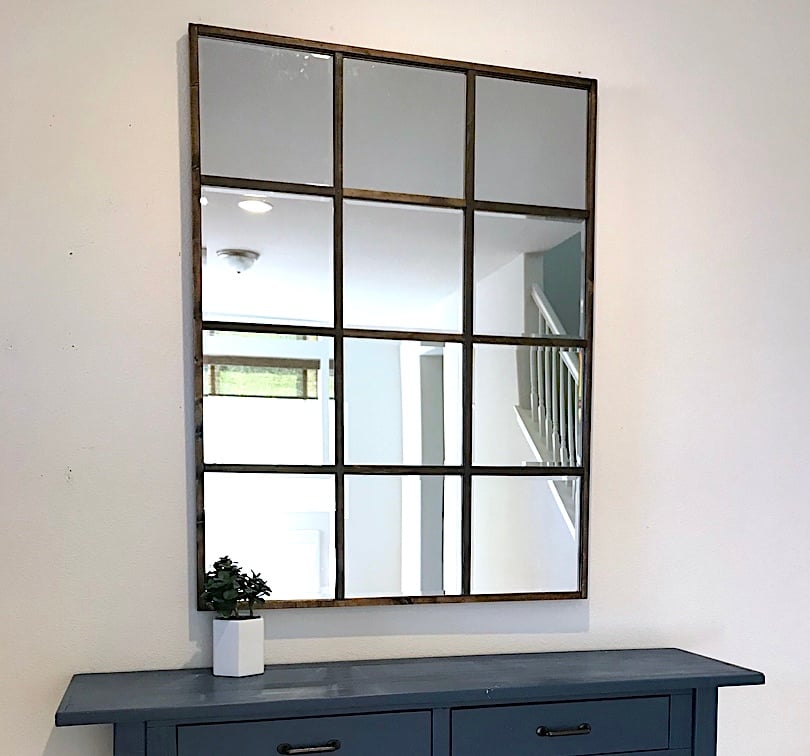
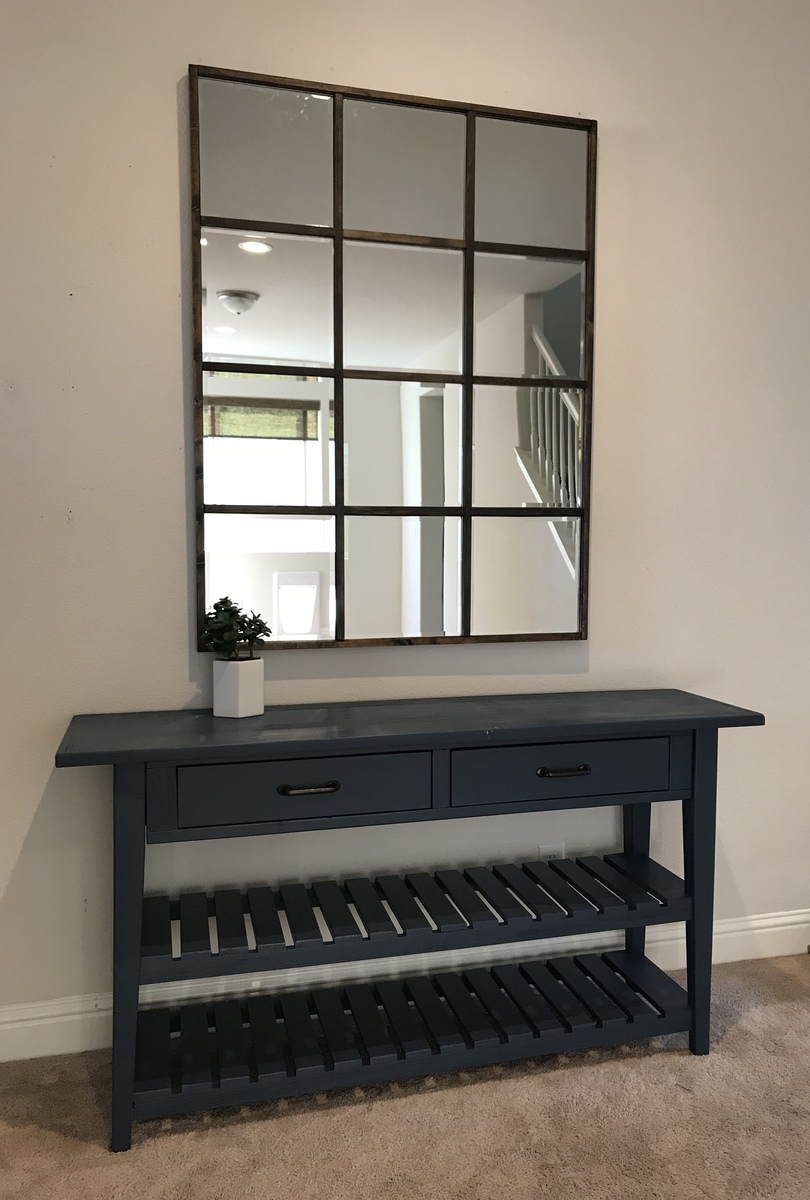
DIY grid mirror. Used exact plan. 

Estimated Cost
$60
Estimated Time Investment
Afternoon Project (3-6 Hours)
Finish Used
Minwax Dark Walnut 2716
Recommended Skill Level
Beginner

Comments

Bathroom Storage Cabinet

I built this cabinet to store magazines and diapers (towels when the time comes) in the small 1/2 bath.

The top was made with left over oak pieces from when I ripped out the carpet and 2x12 stairs and replaced with oak treads.

Estimated Cost
$20 (already had the treads)
Estimated Time Investment
An Hour or Two (0-2 Hours)
Finish Used
jacobean stain on top, pale sandy beige paint with jacobean stain used as glaze on body.
Recommended Skill Level
Beginner

Comments

Debi G

Wed, 07/27/2011 - 11:15

I just created something similar. The way the top and body coordinate, and how the top cubbies are sized make this a stand-out.
Something similar would work for my classroom, too.

Rustic X-Console Table

Submitted by LN2014 on Wed, 10/14/2015 - 14:19

Rustic X-Console Table made from just 2x6s striped in half to make the legs instead of using 2x4s and cutting down a 2x6 to 1 1/2in cuts to make 1x1 stripes.  I used 3/4in sanded plywood for the shelves. Everything was put together with Kreg jig screws and wood glue. Stain was applied using an air compressor and spray gun to spray a even coat of stain in sections at a time, while the stain is still wet, I wipe off the excess stain with a clean rag leaving an even wood stain finish results. This cuts the staining from what would normally take hours of painful hand staining to just minutes with a spray gun. After the stain drys, I go over the table with either fine wool pad or 1000 grit sand paper to remove any rough spots. I then apply the polyurethane with the spray gun as well. Once that dries, I go over the table again with 2000 grit wet/dry sand paper leaving a ultra smooth even finish. I use a total of 6 (2x6 white pine boards) striped to needed sizes and half of (4x8 sanded 3/4in plywood) for this project. I had to modify the demensions for the different sizes of cuts, but overall saving money instead of buying the individual 2x4s,1x1s, and solid pine boards. It takes a bit longer but well worth it.

Built from Plan(s)
Estimated Cost
$60
Estimated Time Investment
Day Project (6-9 Hours)
Finish Used
Varathane Ash Stain
Varathane Satin polyurethane water based
Recommended Skill Level
Beginner

Dining Room Buffet Cabinet

Submitted by kdins31 on Sat, 08/13/2011 - 11:26

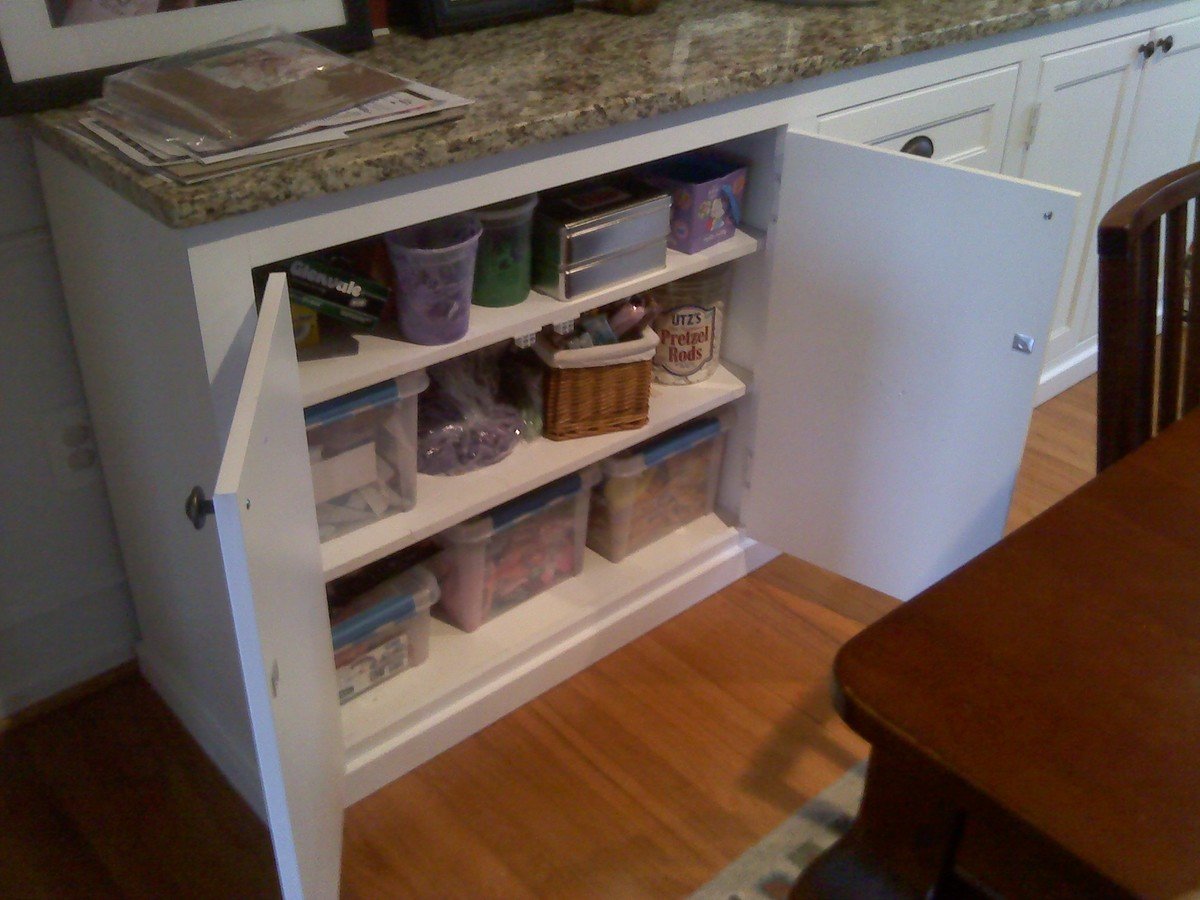
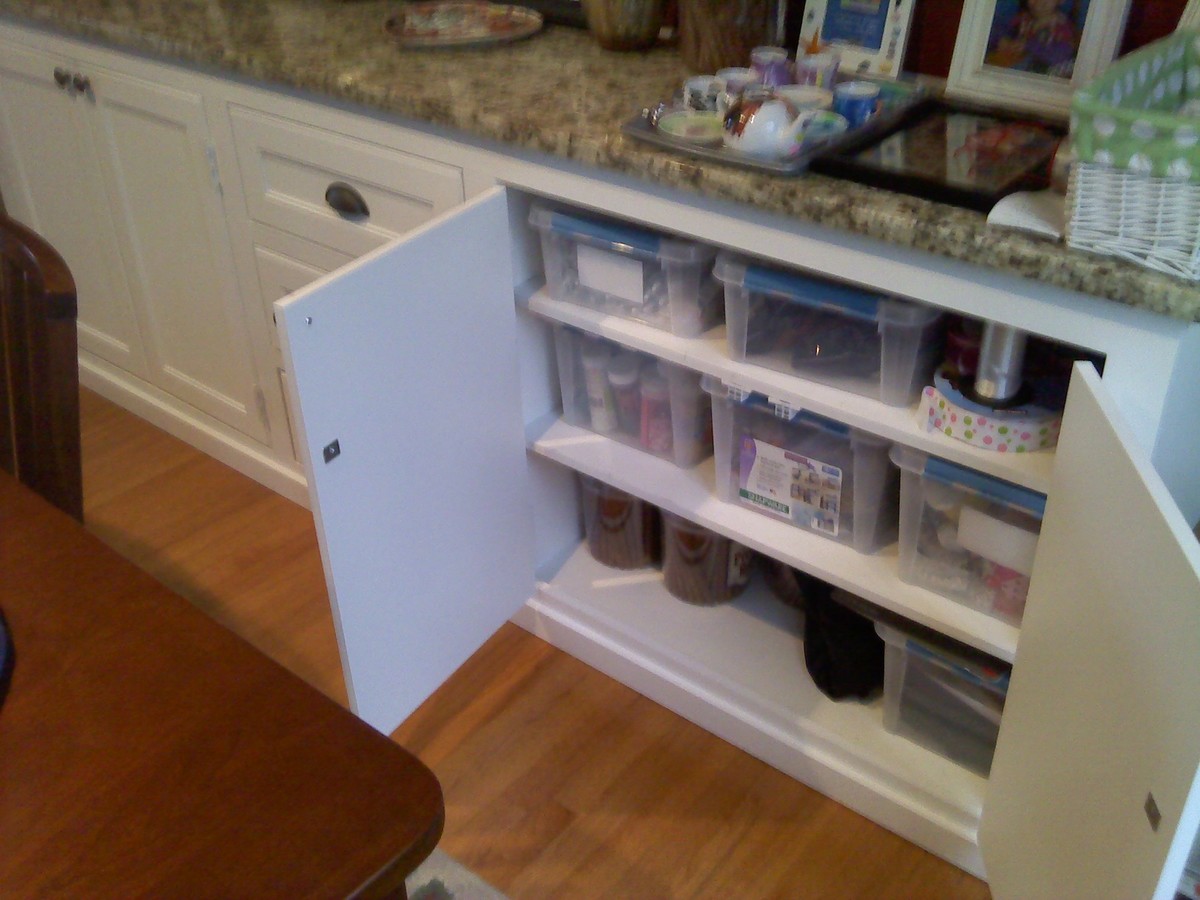
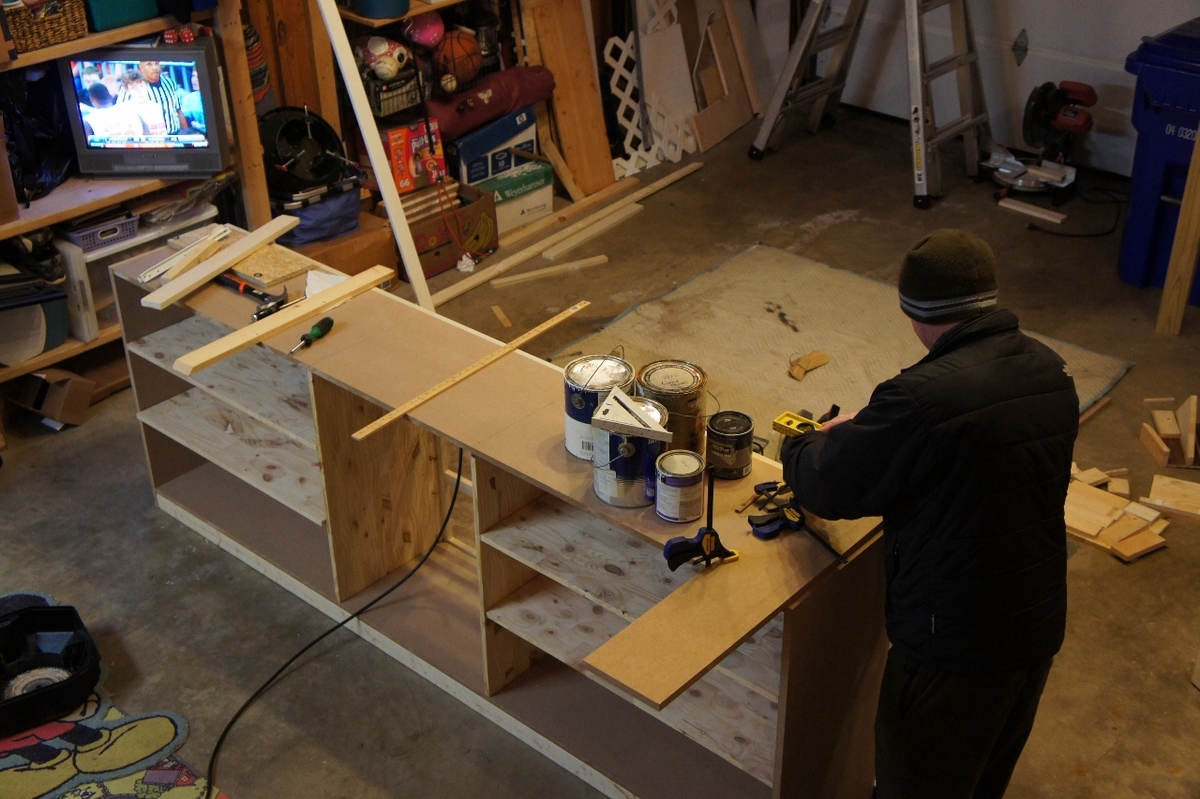
I scoured the web unsuccessfully for months trying to find a cabinet big enough to store everything we needed to store. I wanted something huge and bright and simple, and so I decided to just build away. It's 8'4" long, 18" deep and 36" tall. Topped with a slab of Giallo Napoleon granite and painted a nice plain white. Took me only a few nights to build and paint, thanks to my power nailer and power paint sprayer. Thanks to a great deal on a remnant granite slab, this was just about $400 total start to finish. I winged the entire plan and didn't really use any plans in particular, though I have gathered many great ideas and tips from this site.

Built from Plan(s)
Estimated Cost
$450-500
Estimated Time Investment
Weekend Project (10-20 Hours)
Finish Used
Satin white, nothing special!
Recommended Skill Level
Intermediate

Comments

shanestric

Sat, 08/13/2011 - 14:51

Wow - looks great! You would think it was done by a pro! You should be very proud of your finished product.

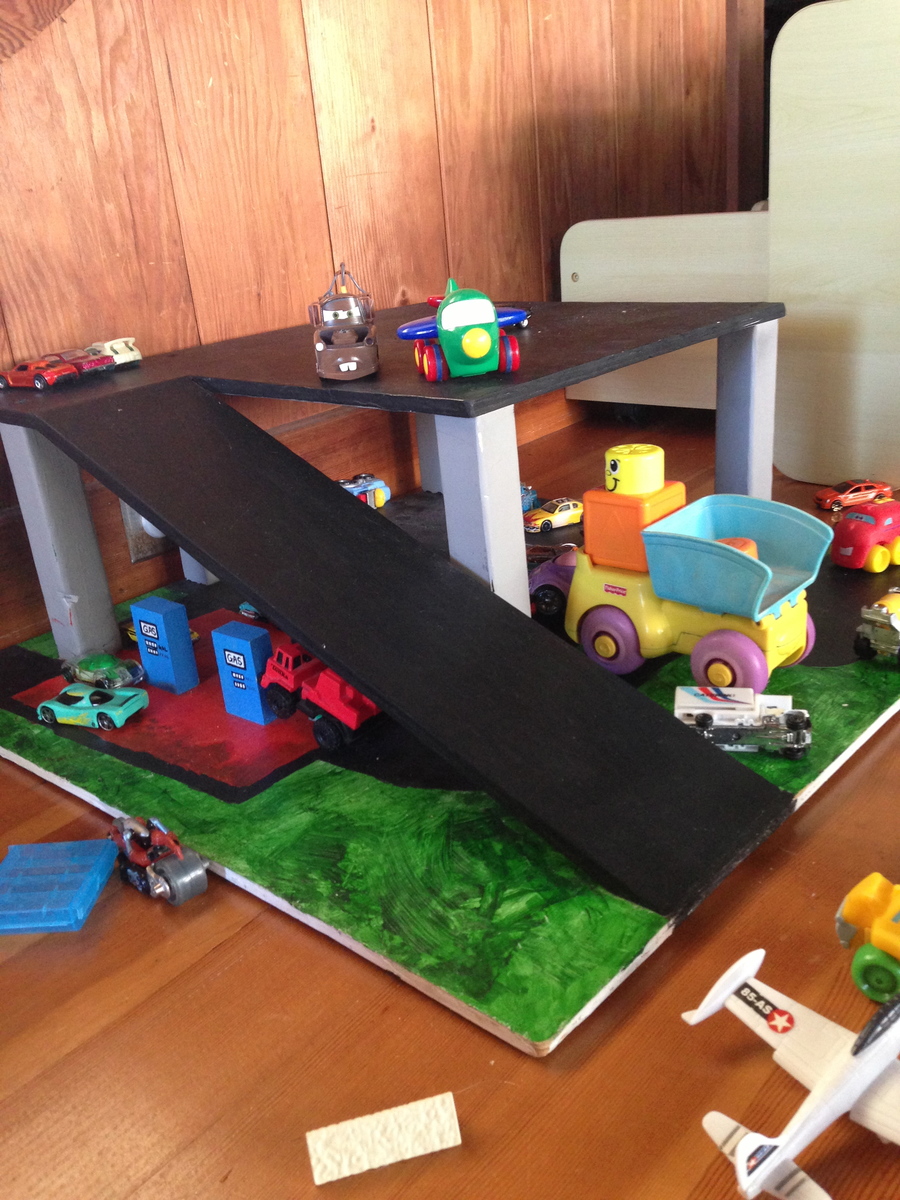
Toy garage

I got inspired by Ana to design my own toy garage - so that there would be somewhere to store all the hot wheels that kept piling up! I have no idea what the angle is for the driveway ramp - it was trial and error with help from my husband, but it's pretty sturdy. Between the mitered cut and the copious amounts of glue, it holds the weight of a 25 lb toddler walking up it (though I try to discourage it!).
I used chalkboard paint and acrylics - so that we can draw parking stalls, lanes, or arrows as desired - my son helped with the painting. So far, the favorite activities are sending the cars down the ramp, one after another...

Estimated Time Investment
Weekend Project (10-20 Hours)
Recommended Skill Level
Beginner

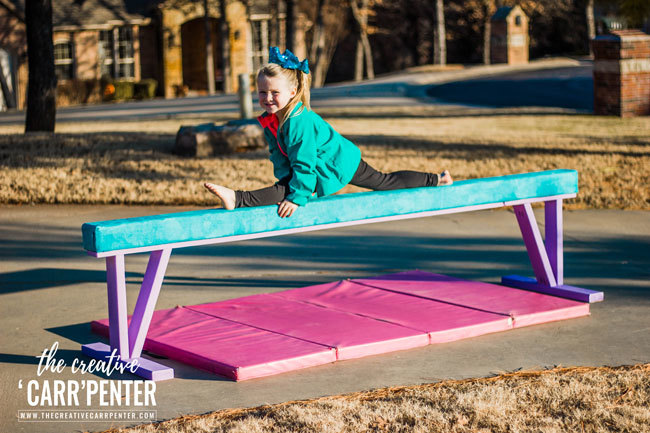
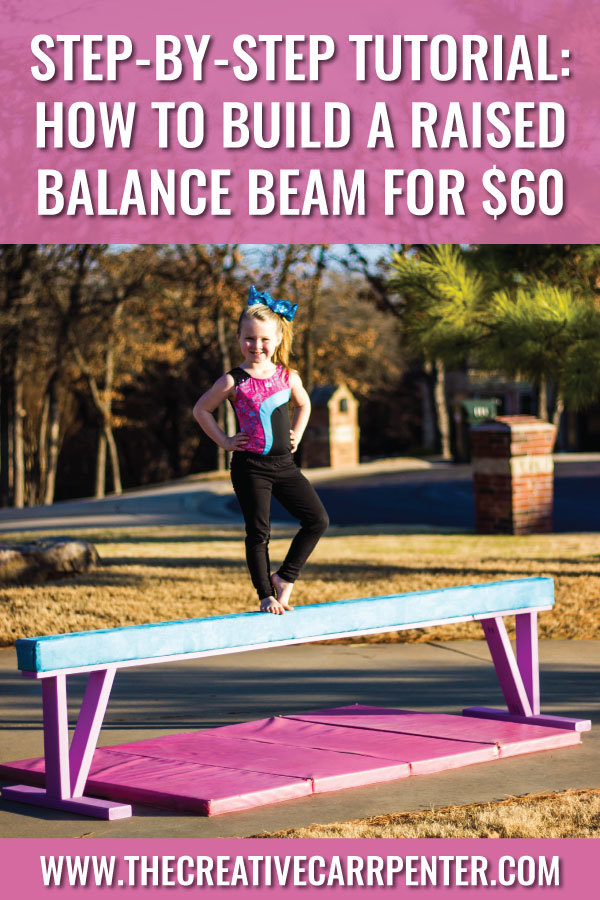
How to Build a Raised Balance Beam for $60

Submitted by Anonymous (not verified) on Thu, 01/31/2019 - 14:49

From watching Olympic gymnast Simone Biles on the television to running, flipping and twirling all around our living room — my girls LOVE everything gymnastics. Both girls began competing with a local gymnastics club. Now that my oldest has moved up and is pretty serious about practicing her beam handstands and dismounts, she begged me to build a raised balance beam with suede covering so it would have a similar feel to her beam at the gym.

If you can relate to this, or even if you have a new gymnast (like my youngest in the pic above) wanting to improve their skills at home, then this comprehensive tutorial on how to build a raised balance beam is for you.

Full plans available on my blog The Creative 'Carr'penter. You can also find and pin this tutorial on Pinterest here.

Estimated Cost
Cost of materials were about $60. Could vary depending on materials used.
Estimated Time Investment
Afternoon Project (3-6 Hours)
Finish Used
I used an outdoor flat paint to finish the exposed pieces of wood. The remainder was covered in padding and suede fabric.
Recommended Skill Level
Beginner

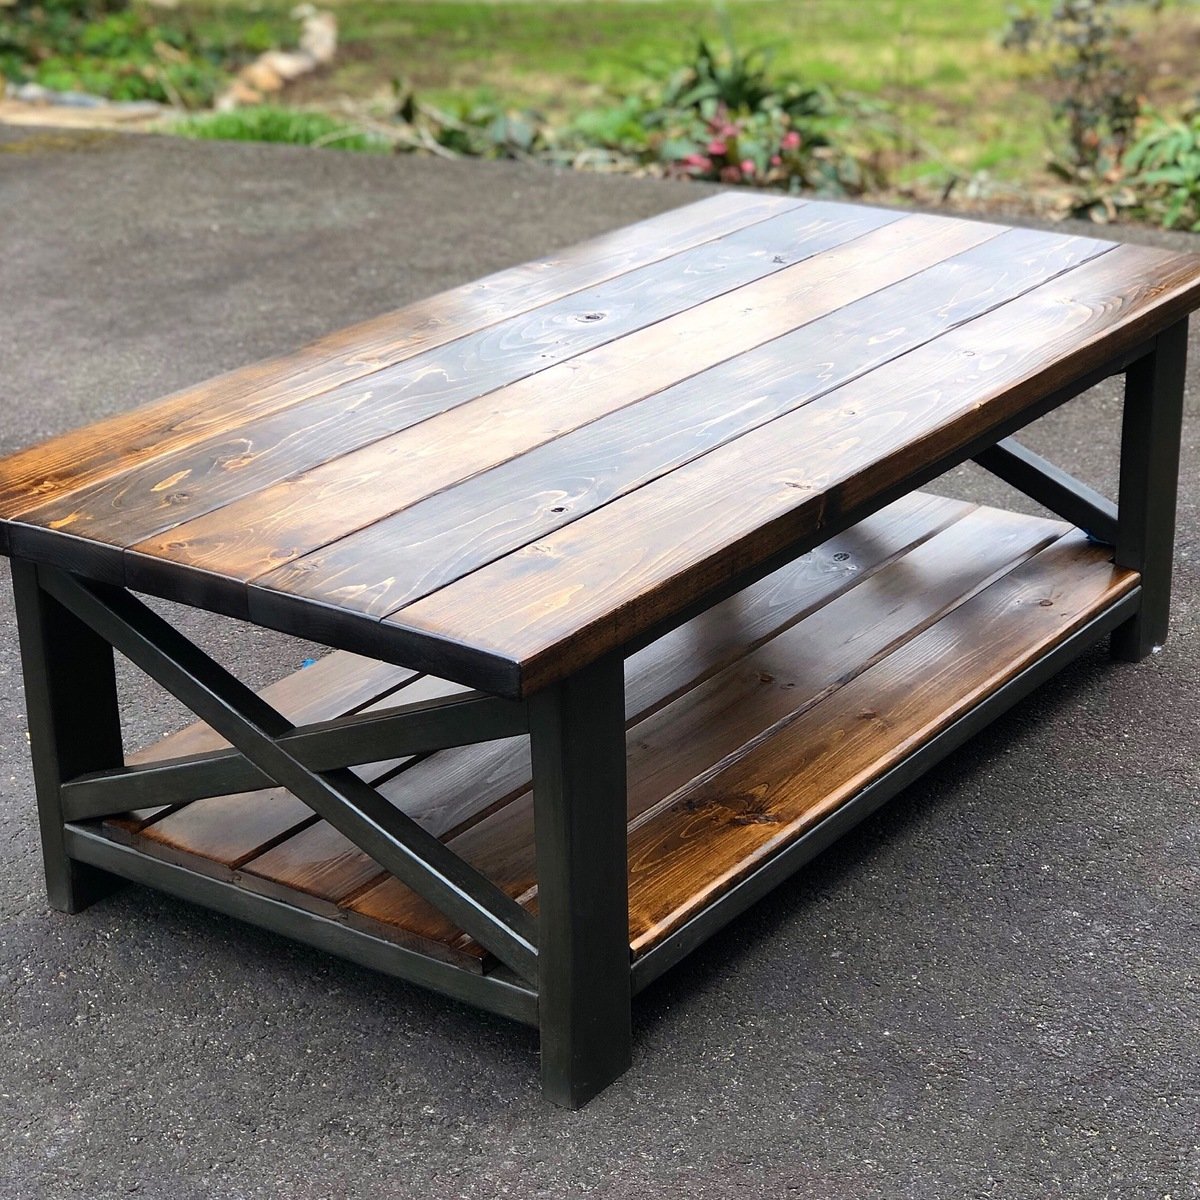
Rustic X Coffee Table

Submitted by Anonymous (not verified) on Sun, 03/03/2019 - 07:01

Ana White inspired Rustic X Coffee Table finished with dark walnut stain and Annie Sloan graphite chalk paint.

Built from Plan(s)
Estimated Time Investment
Weekend Project (10-20 Hours)
Finish Used
Dark Walnut
Annie Sloan Graphite
Annie Sloan Dark Wax
Recommended Skill Level
Intermediate

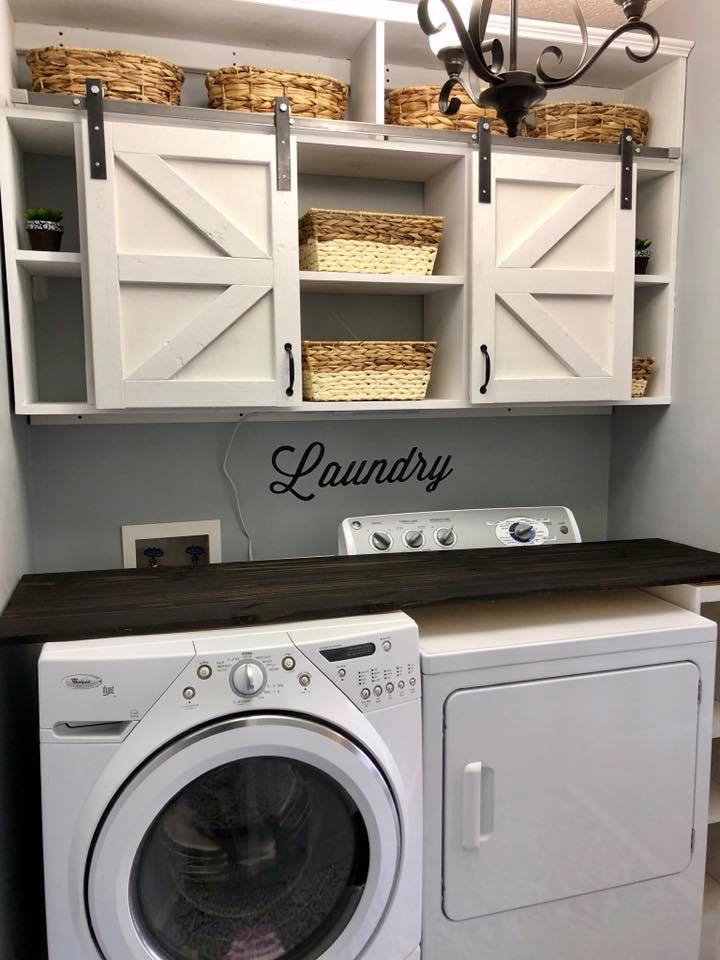
Barn Door Laundry Room Cabinets

Submitted by Ana White on Sat, 03/09/2019 - 19:58

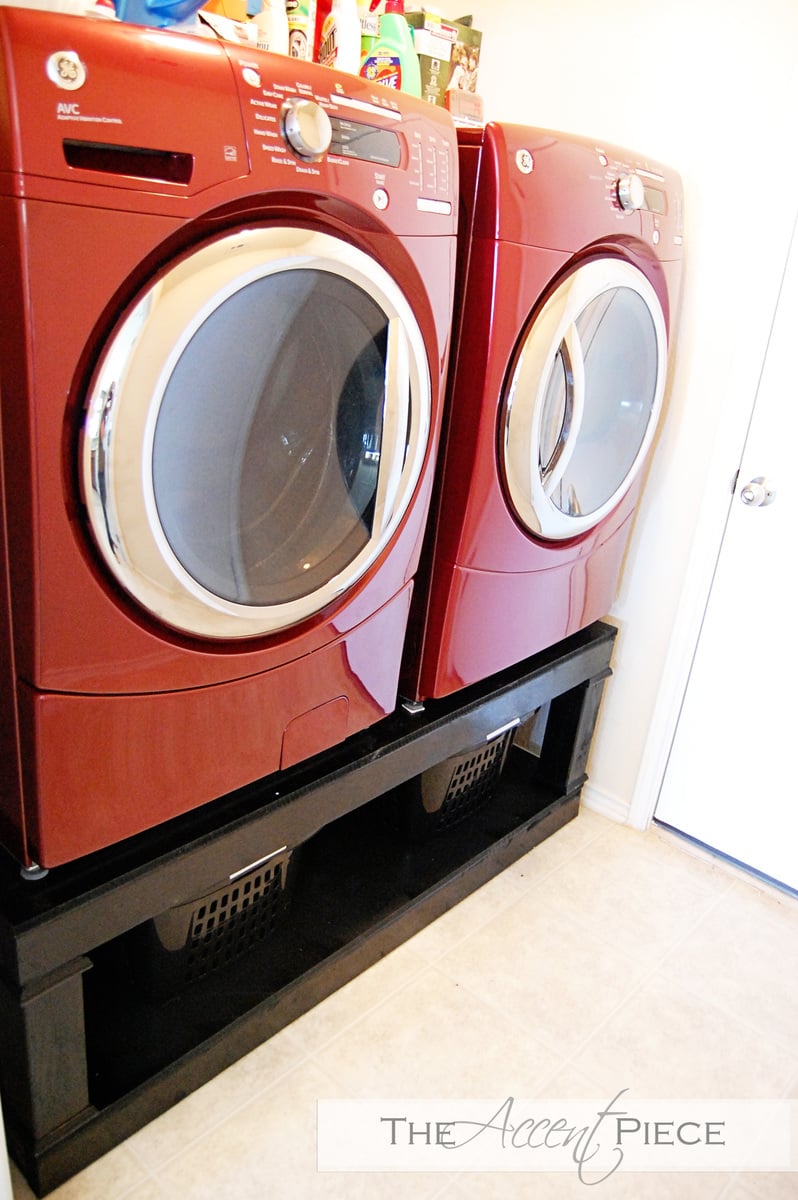
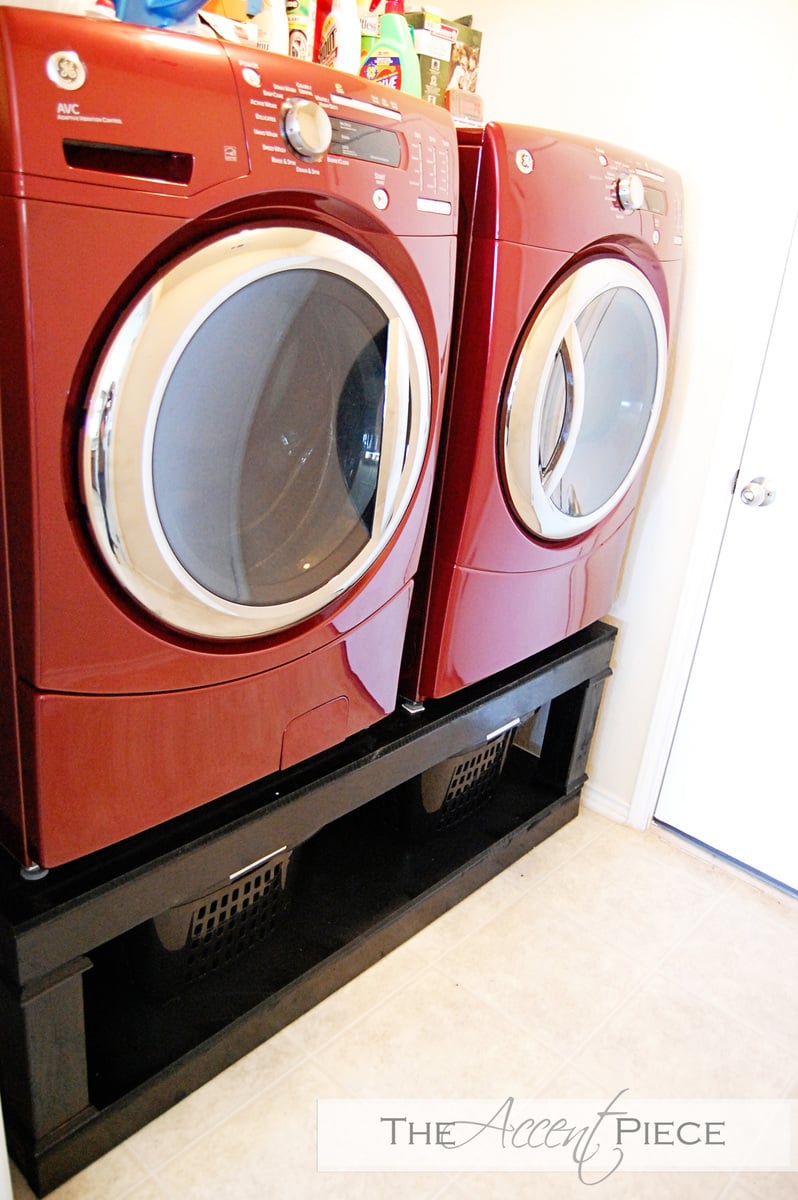
Built by Kelly Flood Gugliemoni, shared on Facebook.

Sliding barn door hardware is DIY, cabinets are DIY - tutorials linked below.


Comments

Livb528

Fri, 03/06/2020 - 16:52

This looks like the exact width of my laundry room. (Tiny!) Is there a way I can find out the dimensions?? And possibly the plans? This is so beautiful and my laundry room needs some help! 

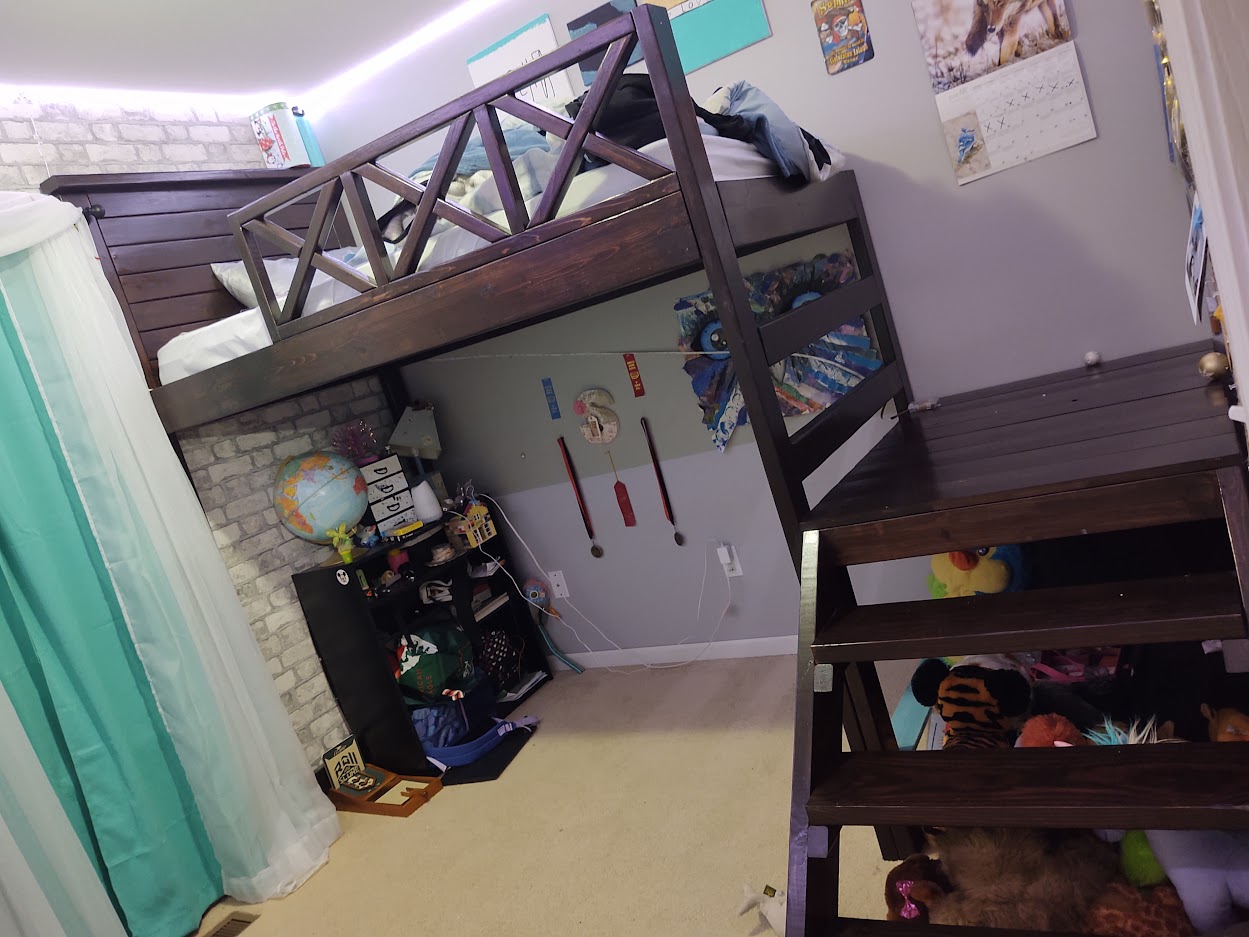
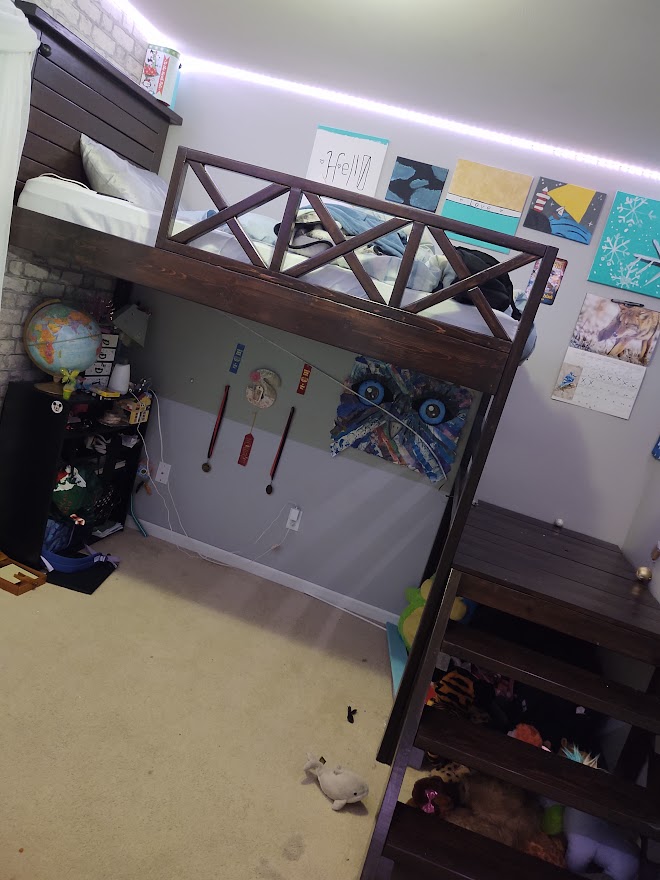
Camp loft bed with a farm house twist

Submitted by Anonymous (not verified) on Tue, 02/14/2023 - 07:58

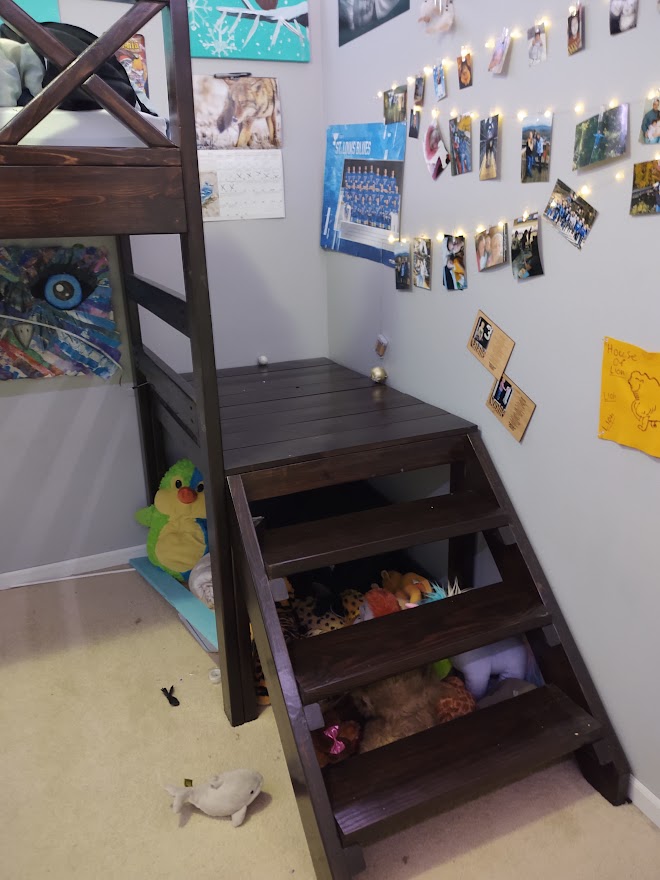
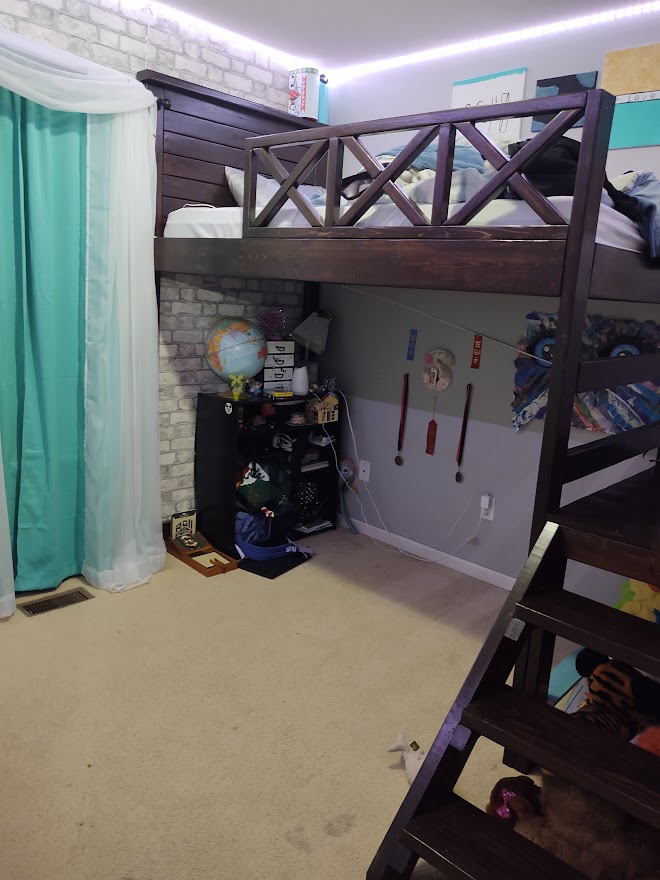
As soon as I saw the plans for the camp loft bed with stairs, I knew it would be perfect for my daughters room. It was my first furniture build. While it is not perfect, I absolutely love it. The plans were easy to read and customize to fit her room. Don't mind the messy room, she's 13 and this is about as good as it gets lol.

Comments