Barnwood Electric Fireplace Surround
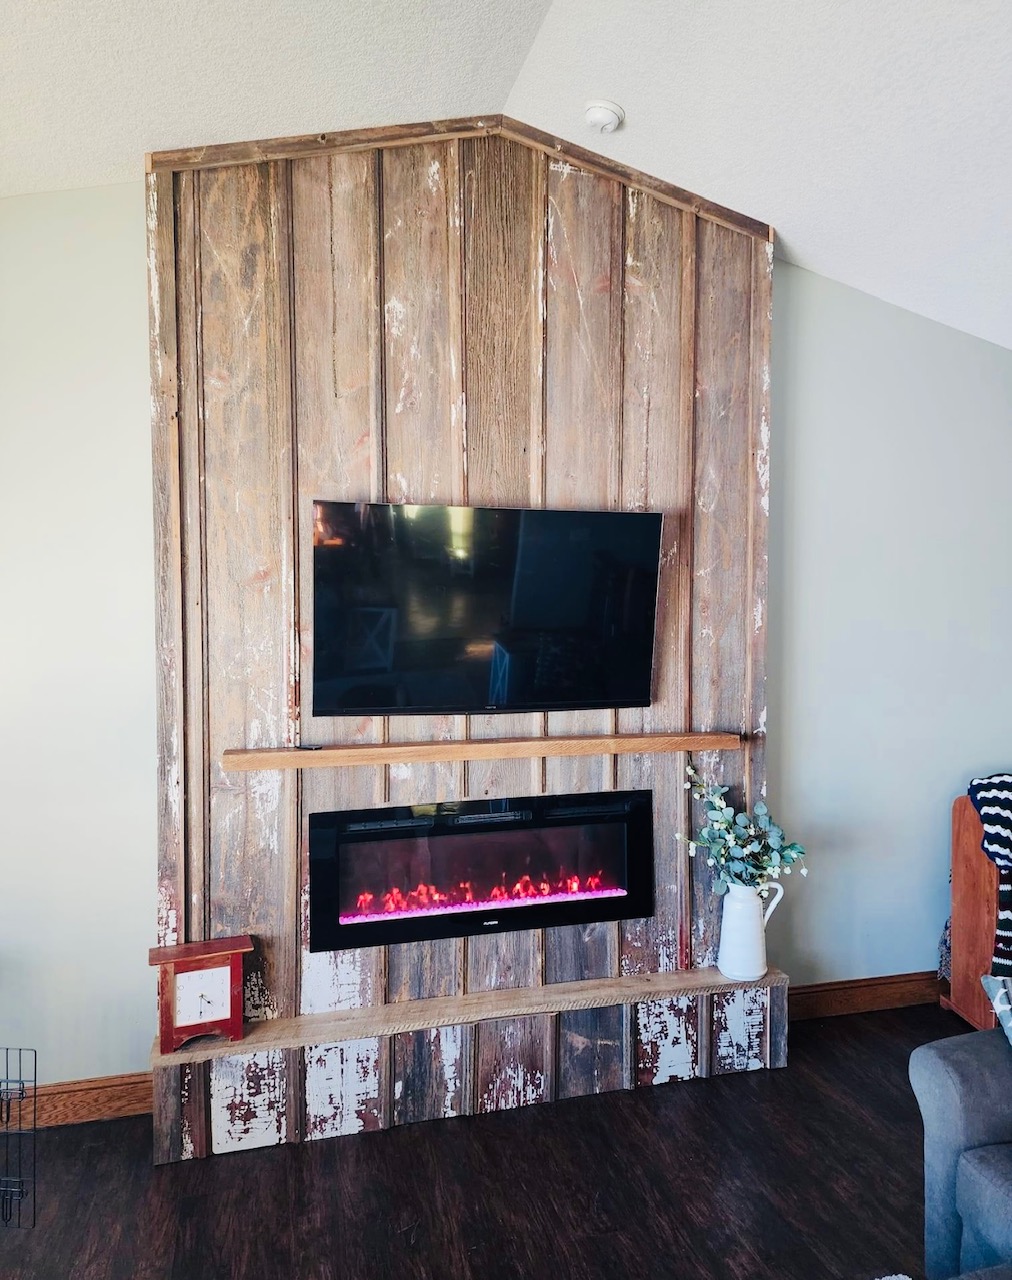
Gorgeous Barnwood Fireplace Surround by Scott Snyder
Built from Plan(s)
Gorgeous Barnwood Fireplace Surround by Scott Snyder
We are redoing our almost 3 year old girls room to a big girl room and we started with this! The Bed is almost finished and I can't wait to share it! I think adding the moulding to the top makes it look very pretty and professional. Our other two rooms have real PBK furniture in it but I honestly think this is going to look better!
Tue, 02/07/2012 - 06:15
This will look just perfect in my kid's room. I can't wait to try it out. Going to my local Lowe's in 30 minutes.
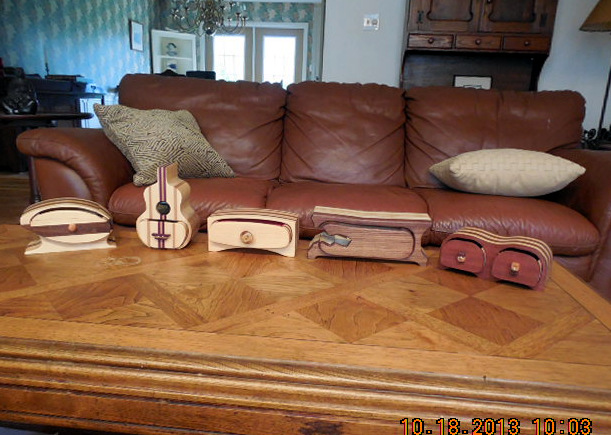
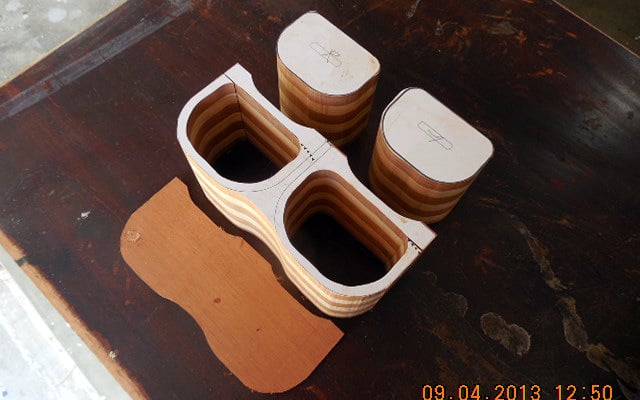
I just wish to point new bandsaw users toward trying to make bandsaw boxes as a way to really learn blade differences, tensioning, cutting curves, setting up the bandsaw and generally getting comfortable with your new tool.
The fun thing about bandsaw boxes is you can just almost cut free form and still have a great result. From start to finish it takes about two days some of which is just waiting and sanding.
Fri, 10/18/2013 - 16:31
I love the boxes, Jake. I did have an inexpensive band saw and I tried using it to make small boxes similar to yours. The saw scared me to death - when the blade came flying off I put everything back in the box and returned it! I'd like to, someday, try again.
Fri, 10/18/2013 - 18:14
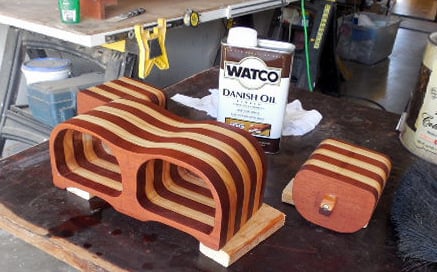
I have only had my bandsaw about 6 months and in that time I have had two blades break and occasionally slip off the wheels. Bandsaws are considered to be one of the safest power saws you can use so don't be afraid but know where the off switch is if something happens. You just need to experiment with proper setup including the placement of guiding blocks or bearings, blade tension, and blade choice. Also a 3/16" blade can make a very tight turn where it would be foolish to try it with a 1/4" blade. I like a 3/16", 4 teeth per inch skip tooth. Youtube has many tutorials on how to make a bandsaw box.
Fri, 10/18/2013 - 16:31
I love the boxes, Jake. I did have an inexpensive band saw and I tried using it to make small boxes similar to yours. The saw scared me to death - when the blade came flying off I put everything back in the box and returned it! I'd like to, someday, try again.

Fri, 10/18/2013 - 17:04
These are awesome! My son was looking over my shoulder at these and said, "Mom, you have to comment and tell this guy your son says these things are awesome!" And I agree with him! How did you cut them to fit the drawers? These are so cool, do you have any in-work pictures?
In reply to Awesome project! by JoanneS
Fri, 10/18/2013 - 18:24
Many thanks to your son for recognizing genius. Ha Ha Sure!
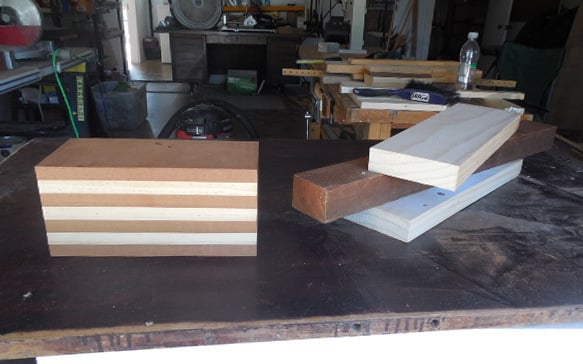
Everything fits because every piece is cut from the same block of wood. I want you to go to this link http://www.woodworkingformeremortals.com/2010/05/how-to-make-bandsaw-bo…
I was inspired to try it by Steve Ramsey of Woodworking for Mere Mortals and slowly progressed to what you see in my pics. Search Youtube and you will find a ton of bandsaw box videos.
I am limited to the size because of my small bandsaw but they are really fun to design and build, especially when you mix a variety of wood (including plywood) in your product. For your first box just take a 4x4 of any wood and cut into a 8 or 10 inch length and go from there. If you screw up it hasn't cost too much.
In reply to Awesome project! by JoanneS
Fri, 10/18/2013 - 18:28
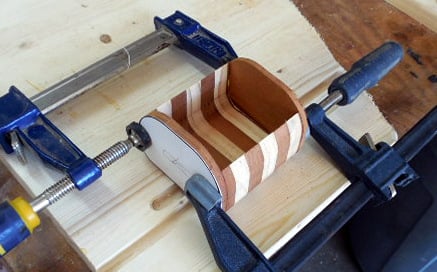
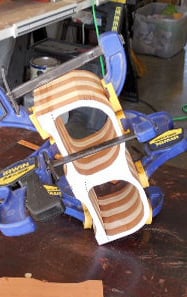
Yes I did document the building process of one box and I will try to add the pics in the Brag post within a day. I may be limited on the number of pics however.

Fri, 10/18/2013 - 20:37
Thank you, Jake, for introducing us to bandsaw boxes! I've seen these for sale at craft shows and always wondered how they were made. They always look so complicatedly intricate. After watching that tutorial I now know that I CAN make them, too!!!! I've had a bandsaw sitting in my barn/workshop for several years and have only used it once. Now I think I'll be using it quite a bit more!
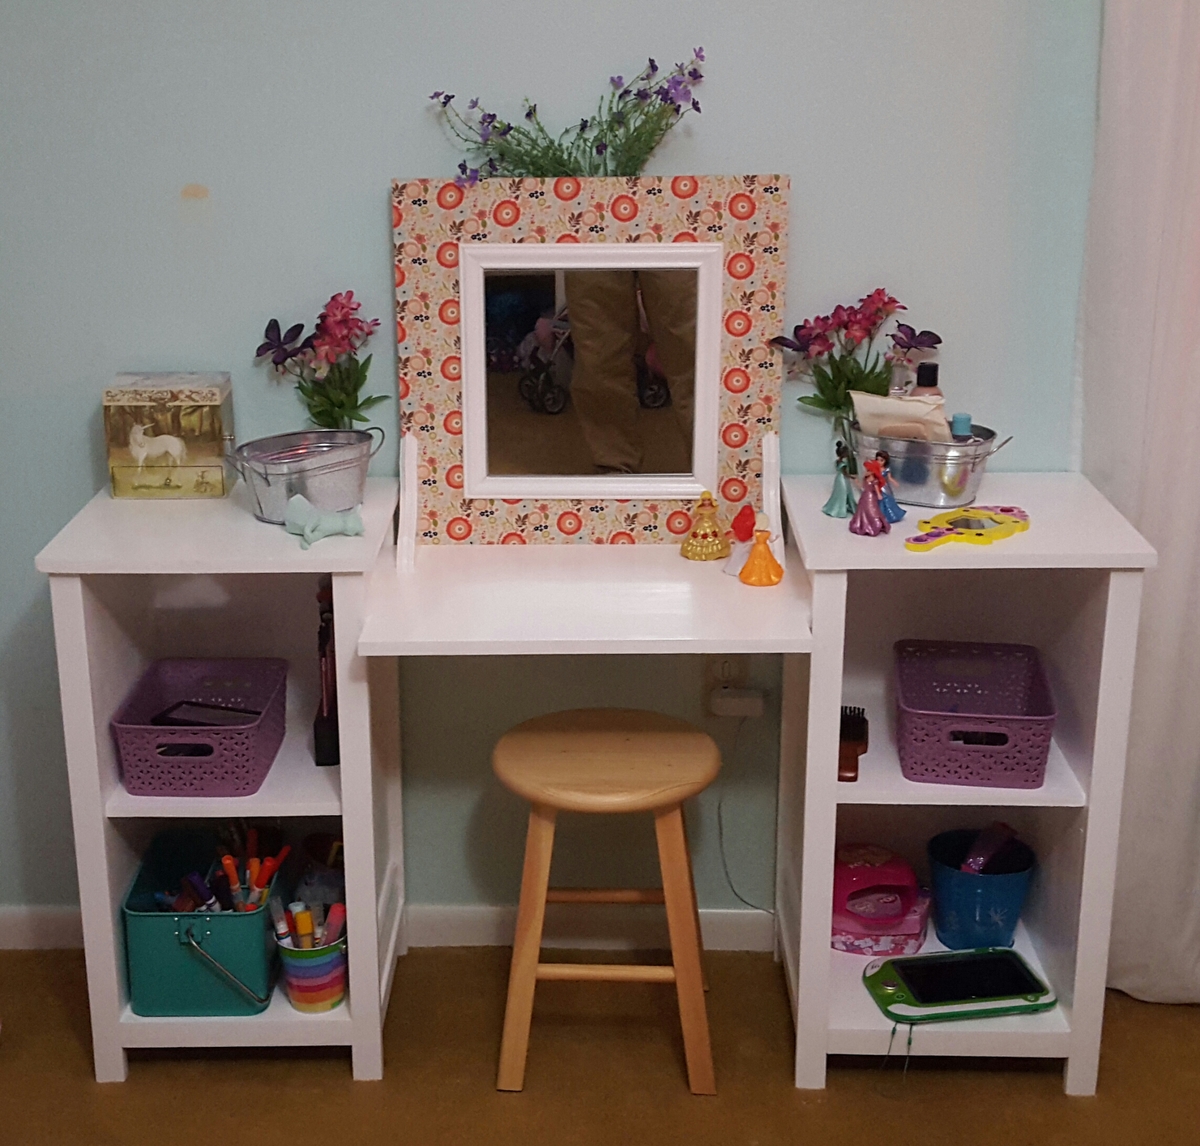
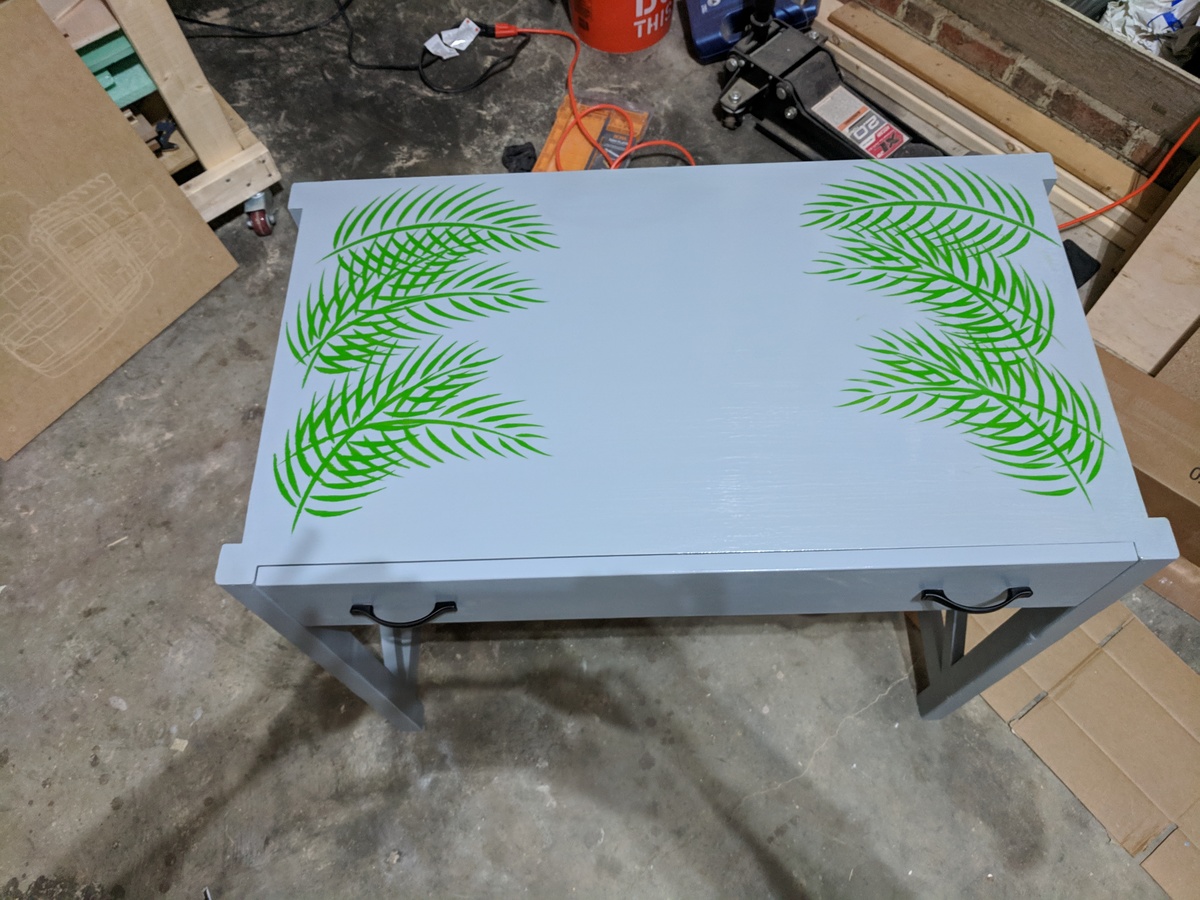
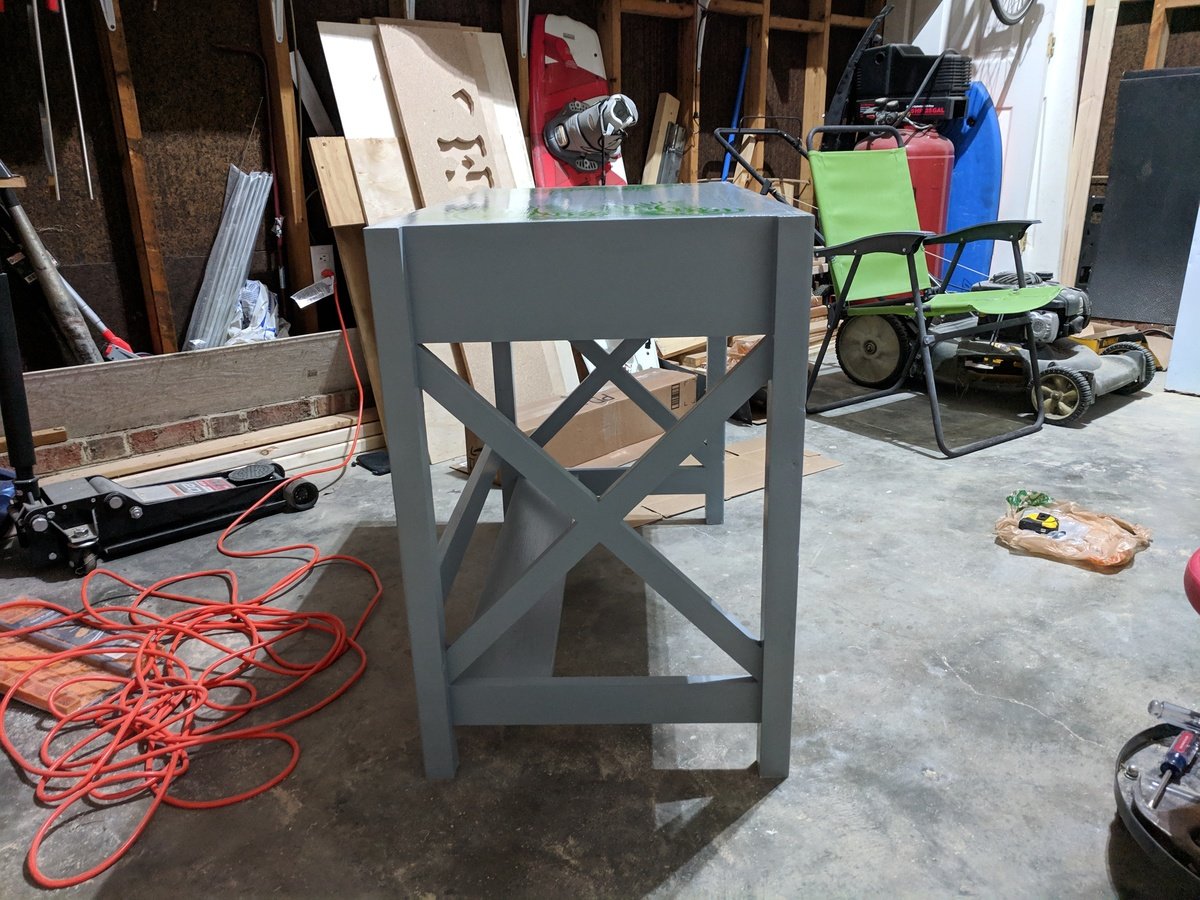
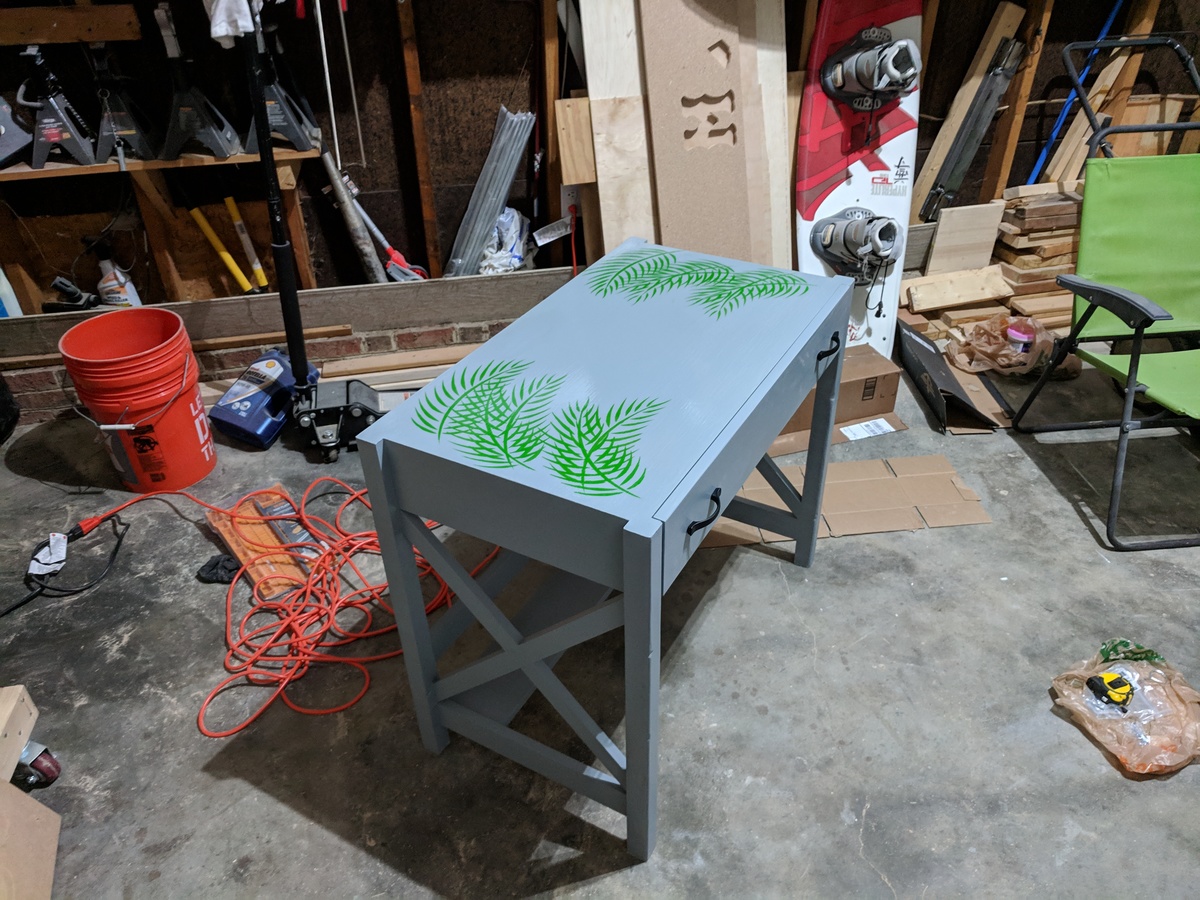
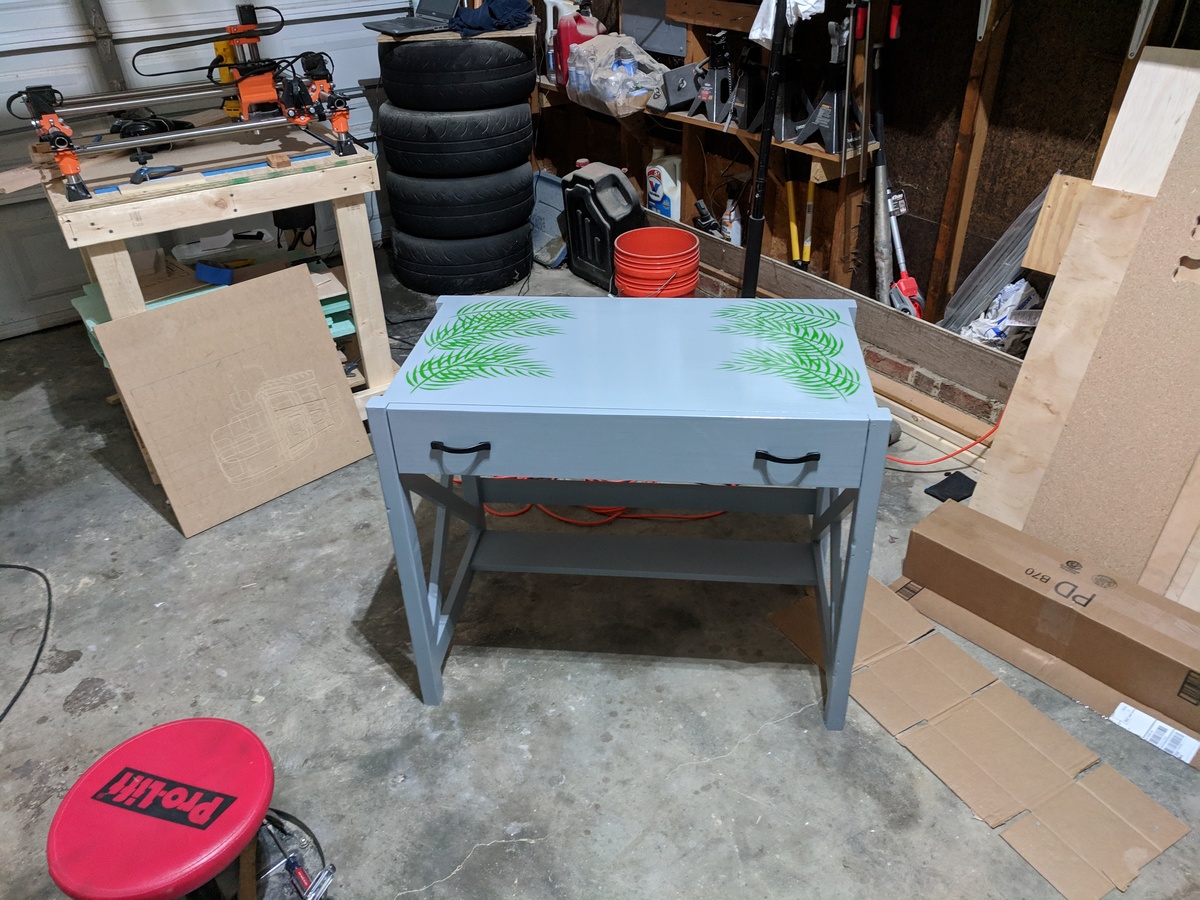
Made this with an oversized removable center top. Wanted this to double as a vanity and art table, so I made this with a 20" deep center top. By being removable (set into slots) the two end pieces can later be used as separate storage shelves or night stands, as these are made from solid alder wood.
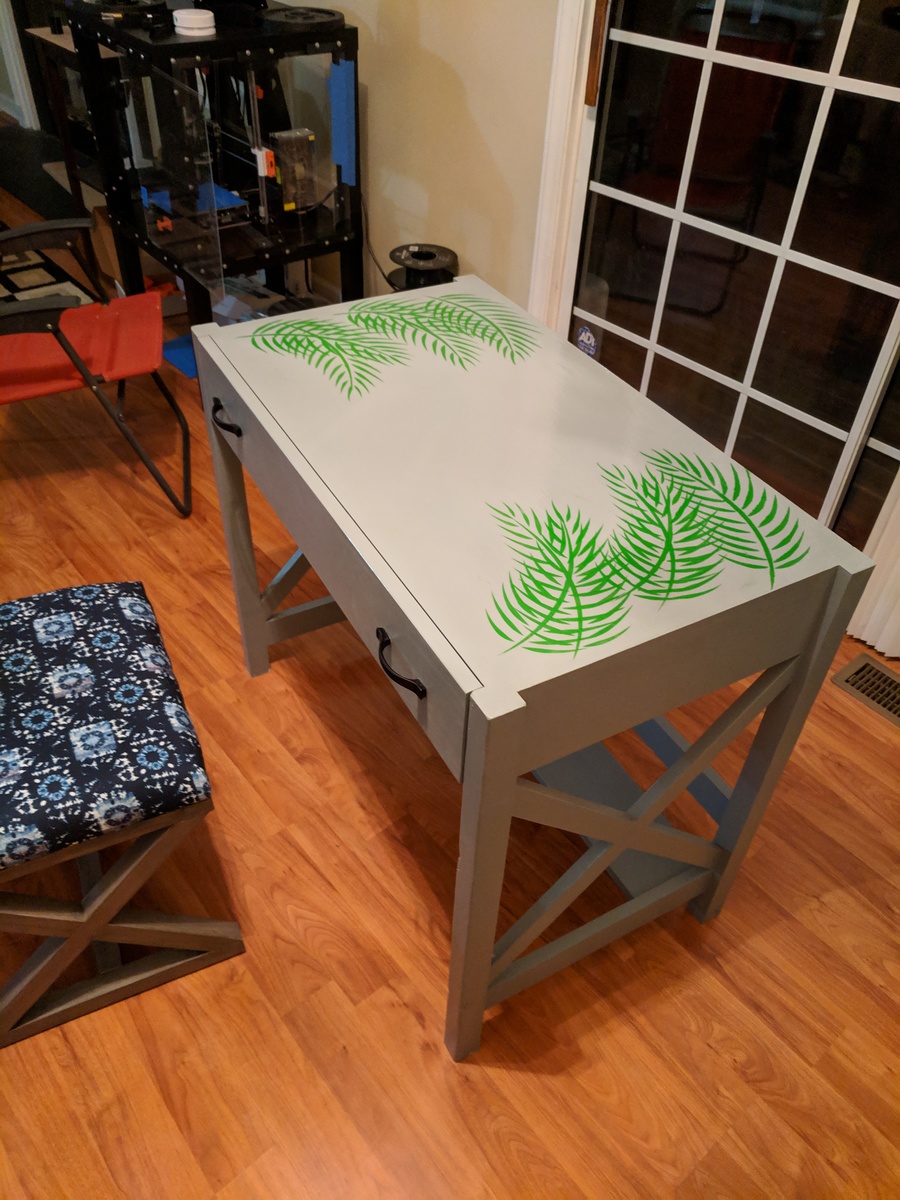
Full timelapse and thoughts in the imgur album.
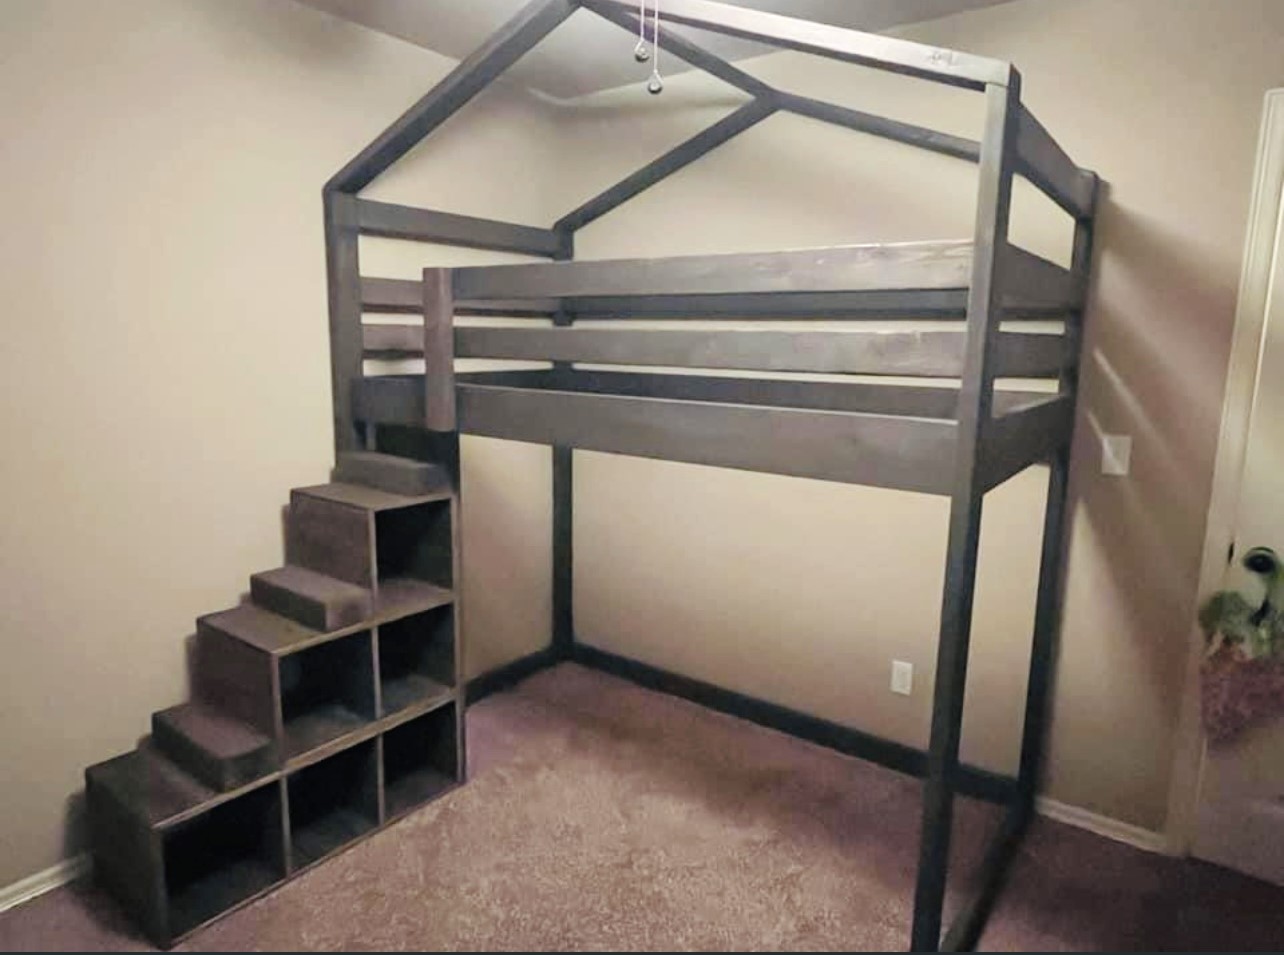
Modified the junior loft plan to add a house design element and storage stairs, by Amy Mott

This is one of my favorite things i've built yet. Its cute, small, and sturdy!
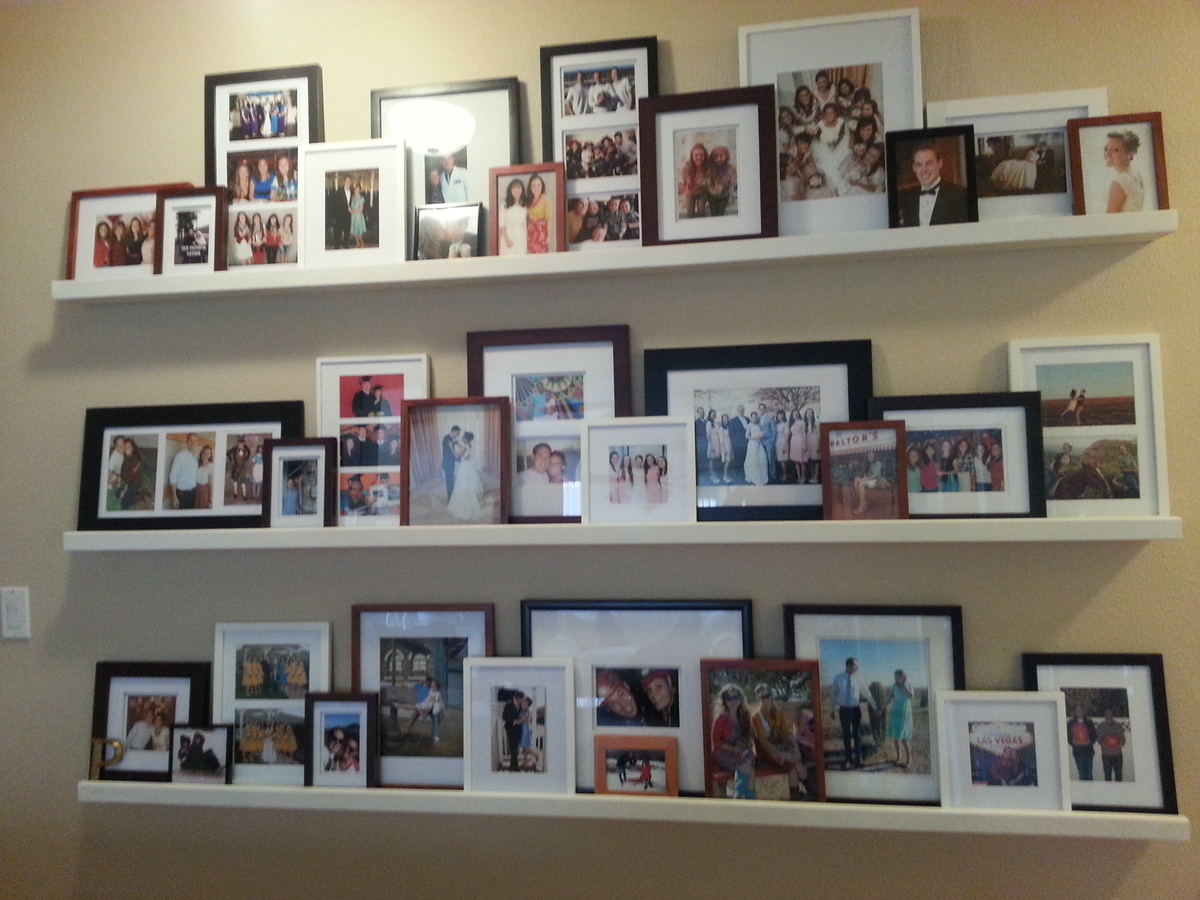
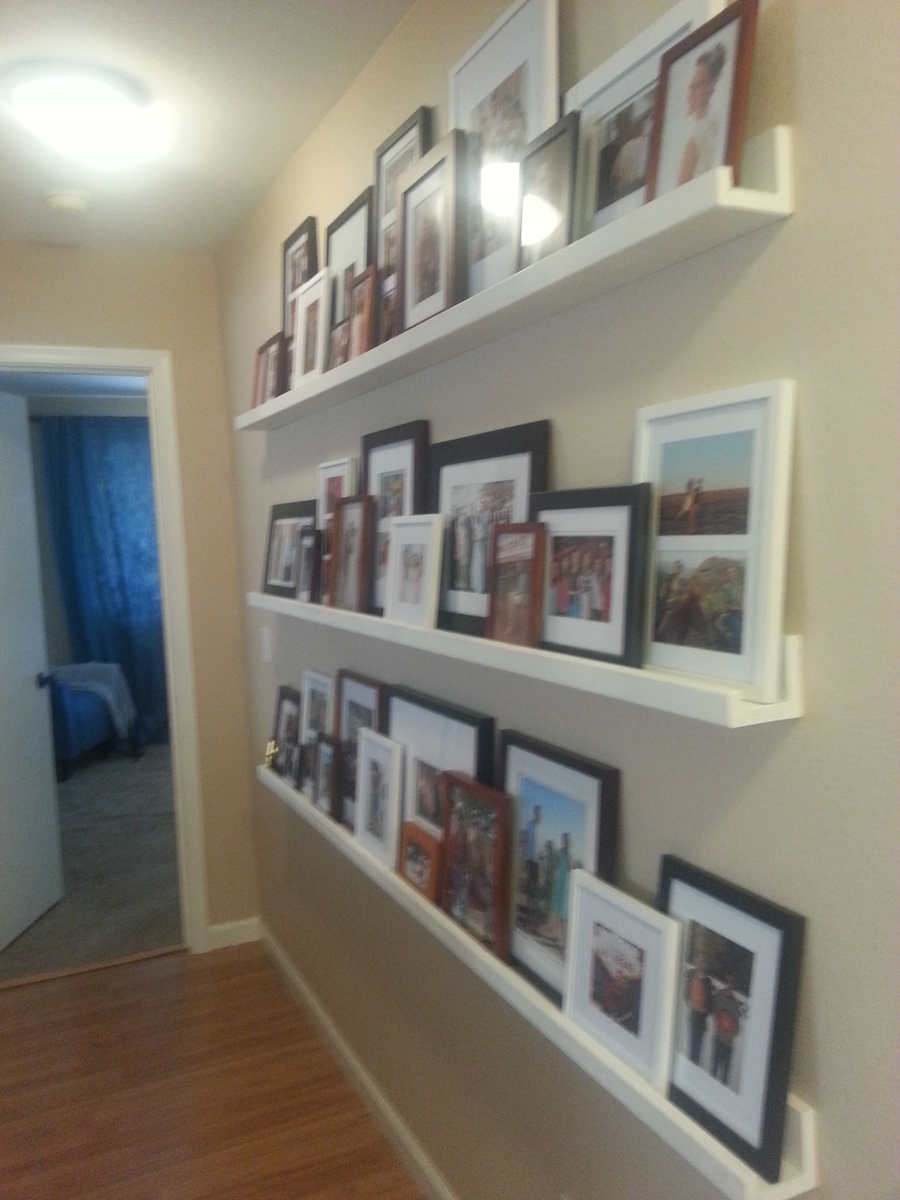
I love my new photo ledges. I had a huge space on my wall and these ledges are perfect. The ledges were so easy to make. I got a kreg jig for my birthday (I never thought I would ask for a tool for a birthday present) and I have gotten so much use out of it. I saw similar ledges at pottery barn for 10 times the cost of this DIY project. I saved so much with these ledges. The kreg jig has already paid for itself. The ledges make it super easy to switch out photos and I love being able to display so many fun photos. Everyone who sees these ledges loves them!! This was my first project. Thanks Ana for the great plans!
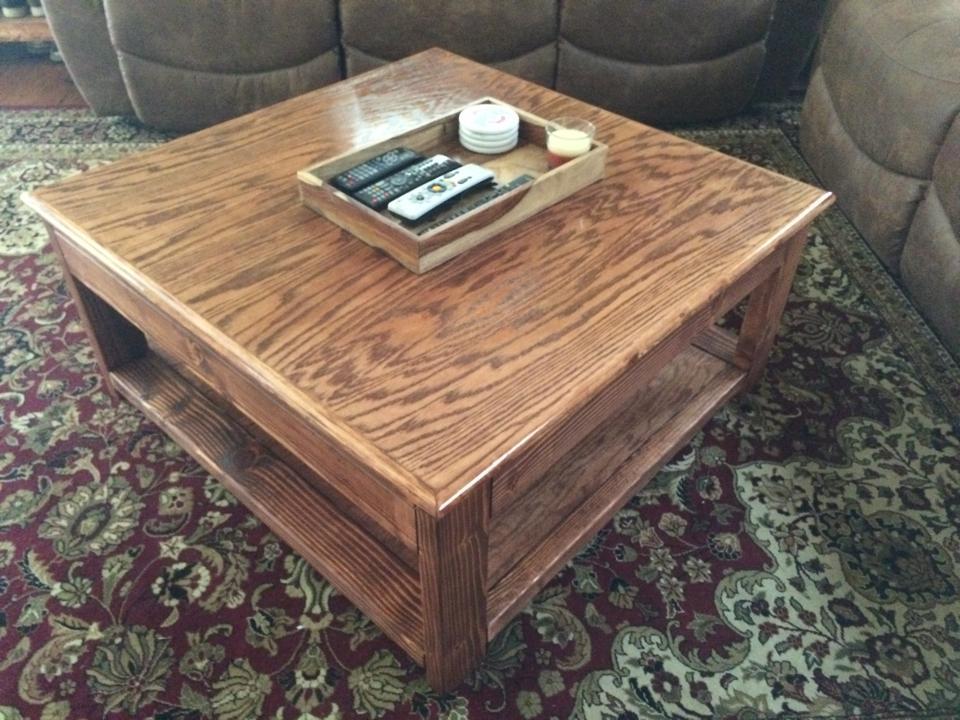
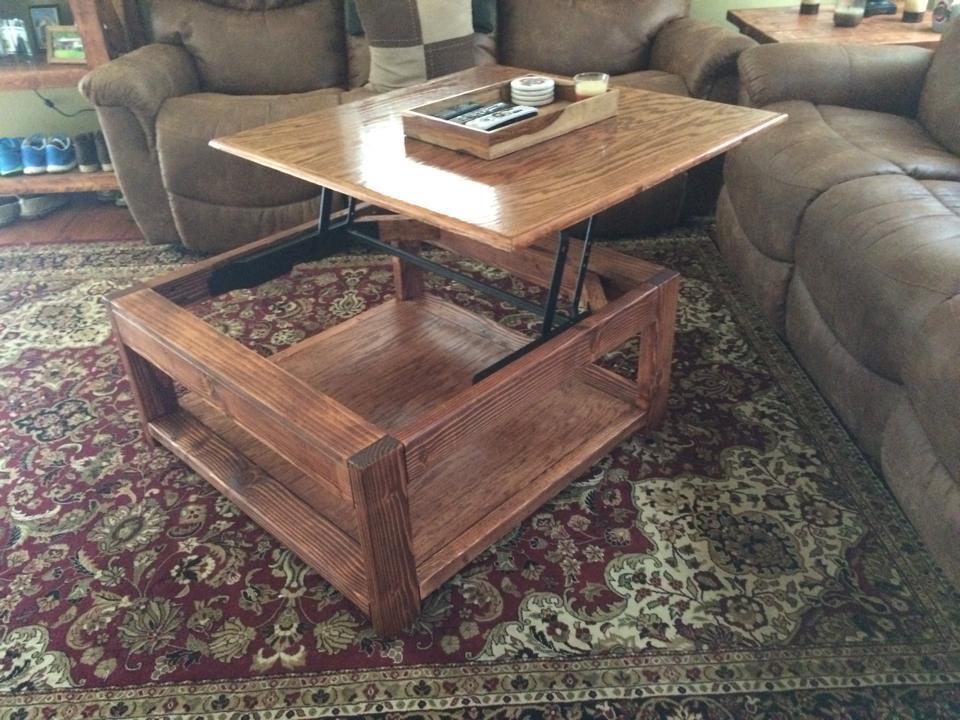
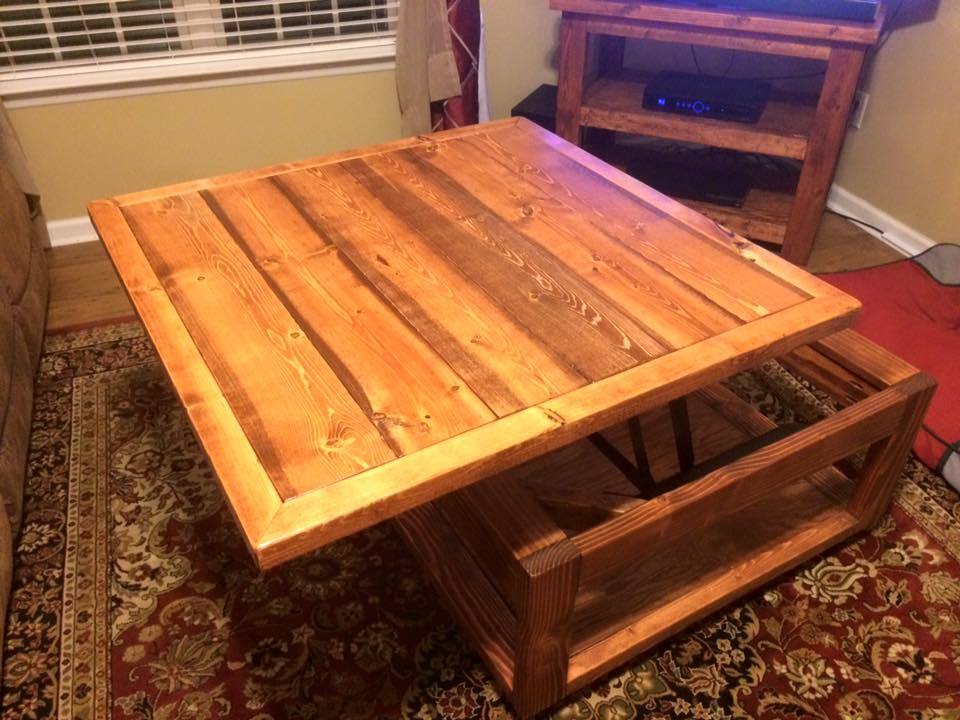
I used the rustic x coffee table for my inspiration for this project. I found the mechanism for the lift top table on the web and was able to work it into my design. I used oak plywood for the top instead of the 2x6's and trimmed out the rough edge, however, I have thought about redoing the top with the 2x6's to match my tv stand and end table. I am still really happy with the way it turned out though. After posting this I decided to upgrade the top as I had described and I am way happier with the look of it!!

Tue, 01/19/2016 - 13:19
Great job with this project, it looks amazing. Thanks for sharing!

Wed, 04/13/2016 - 10:43
Where did you find the mechanism for the lift top table on the web & how much was it I would like to try this project.

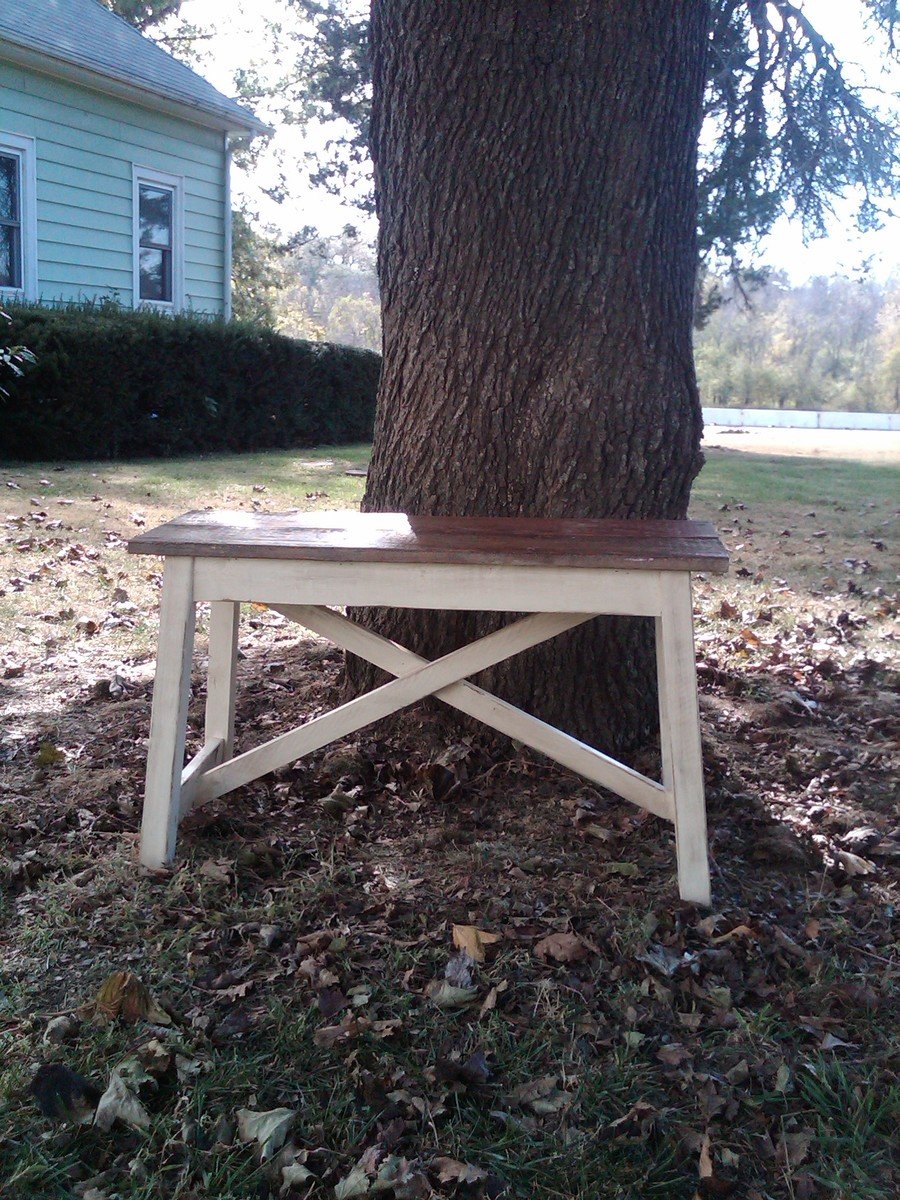
This is the 5-board bench and project #2 mirror from Ana's "The Handbuilt Home" book. The bench was shortened to fit the space that I wanted it for.
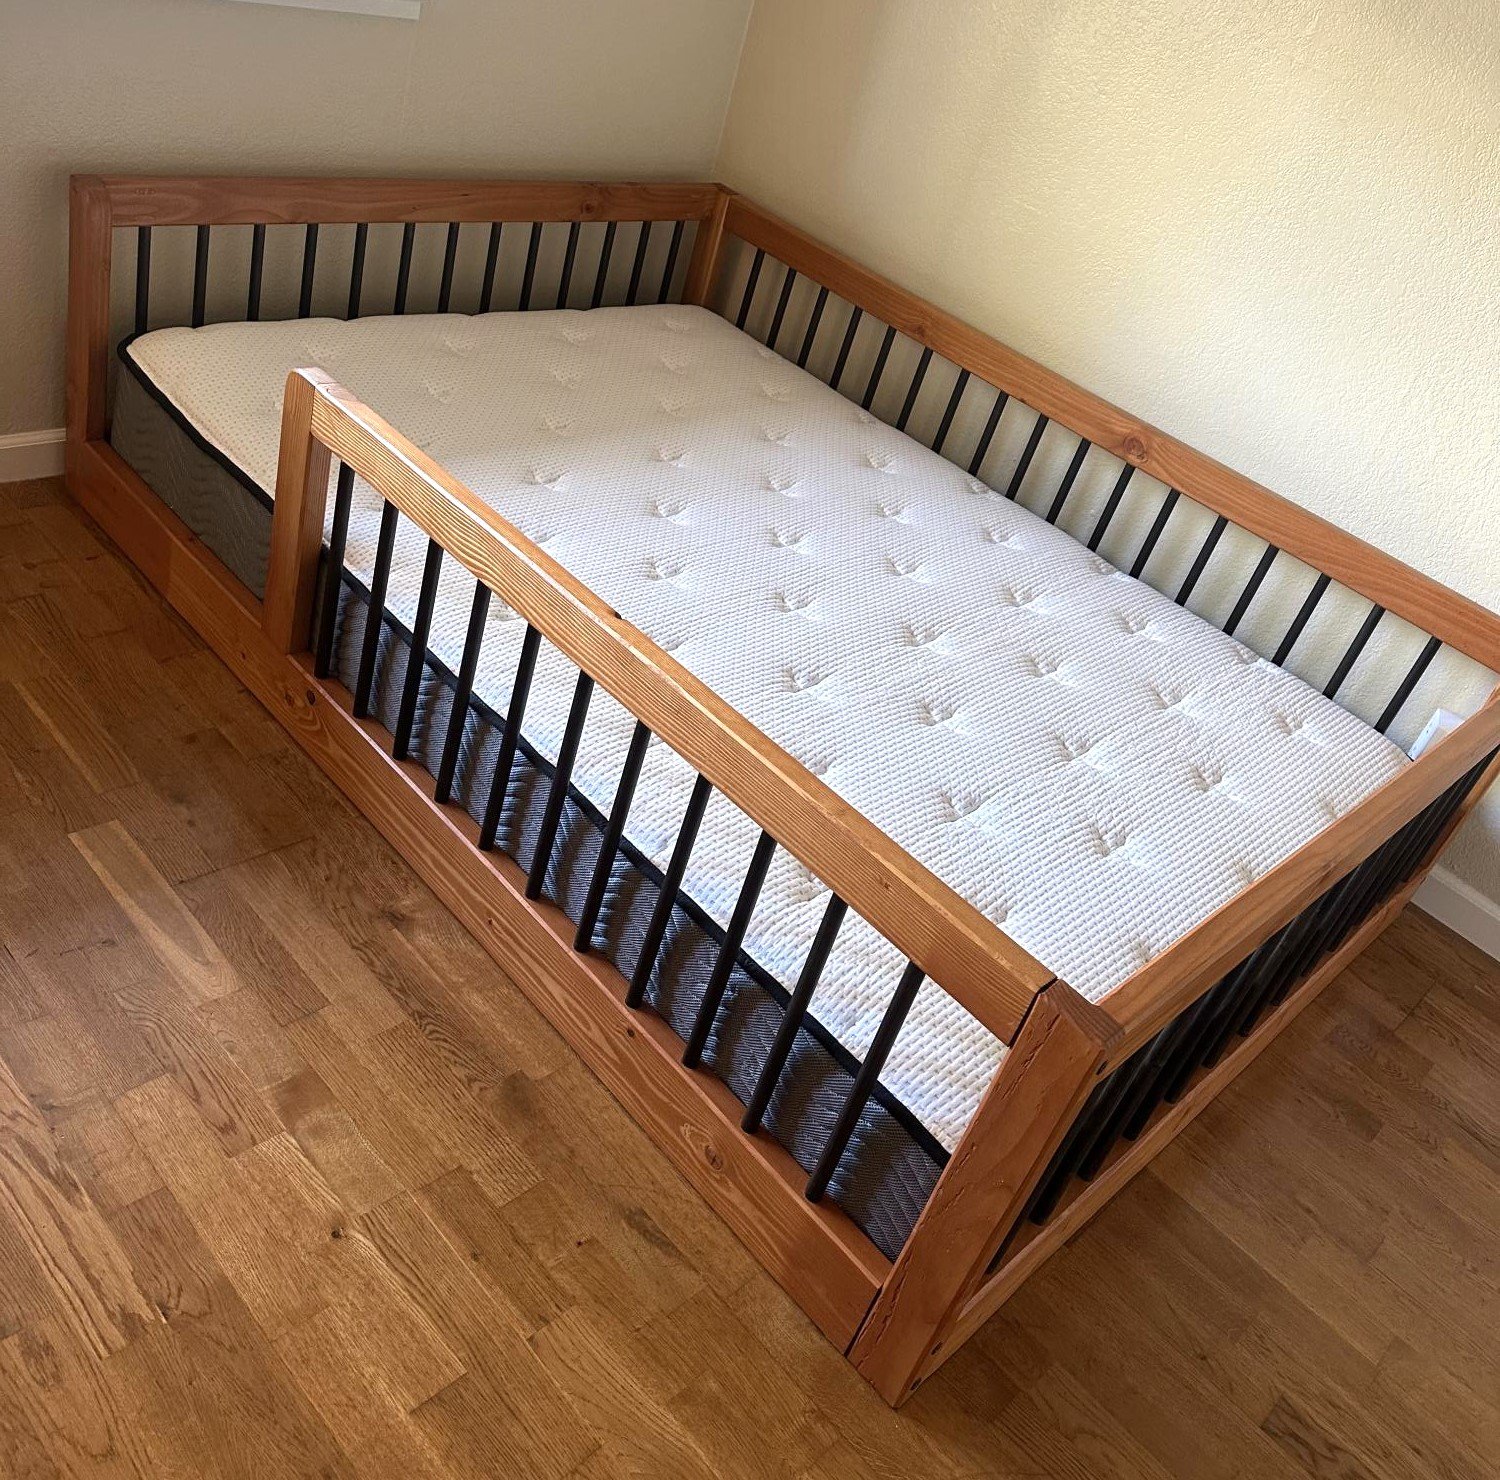
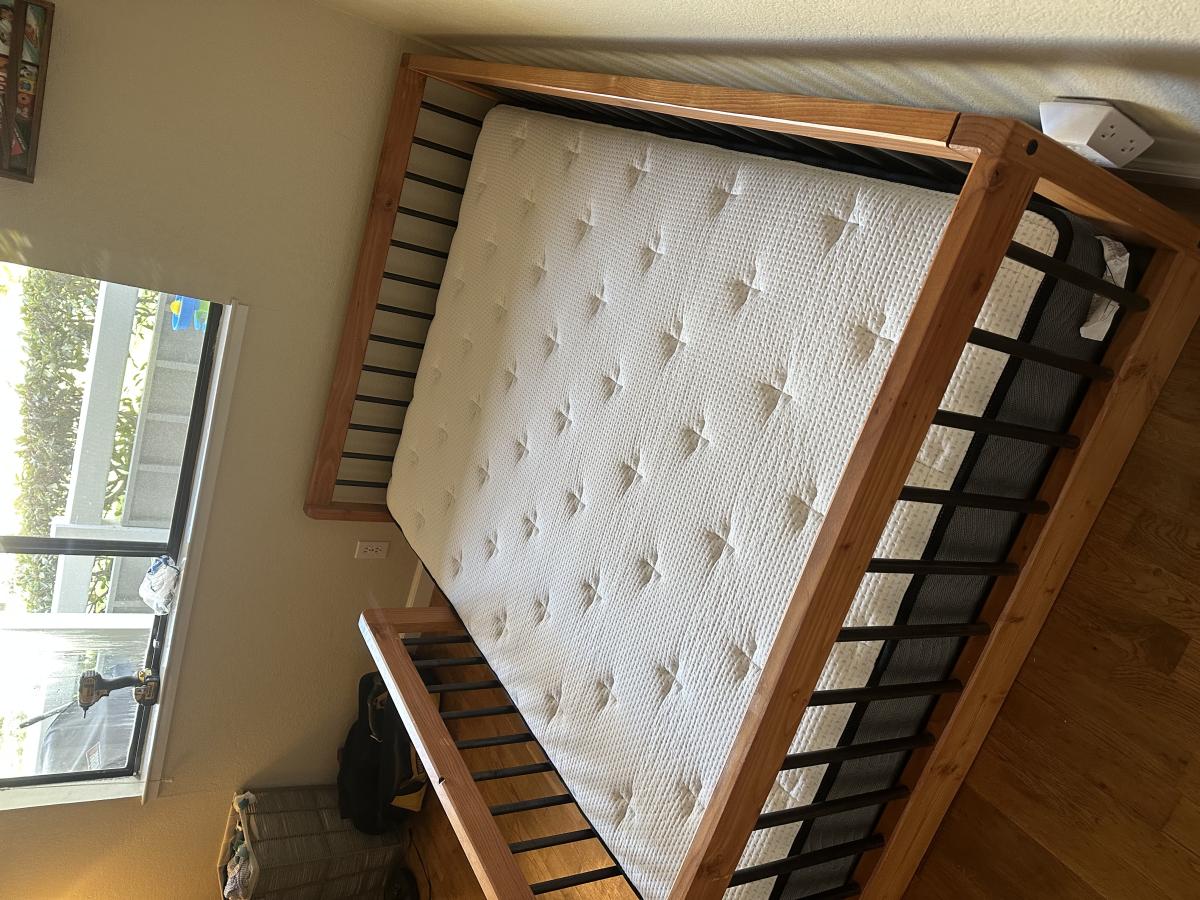
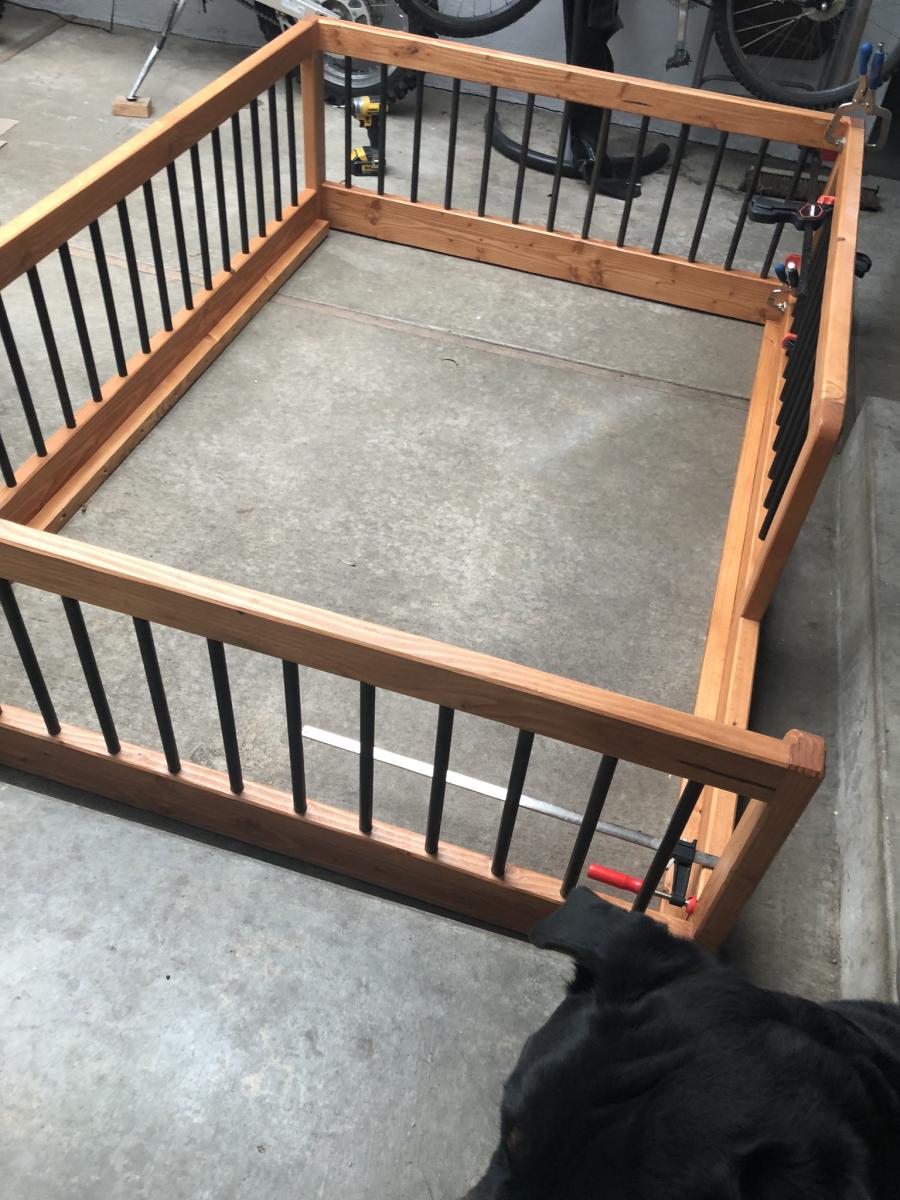
A Montessori (full size) bed made for my grandson Jack’s 1st Birthday.
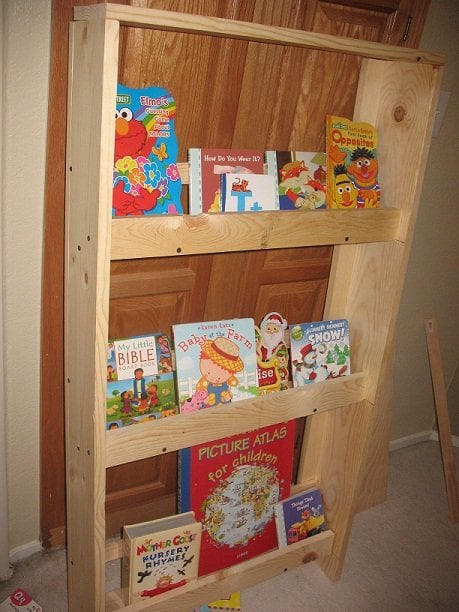
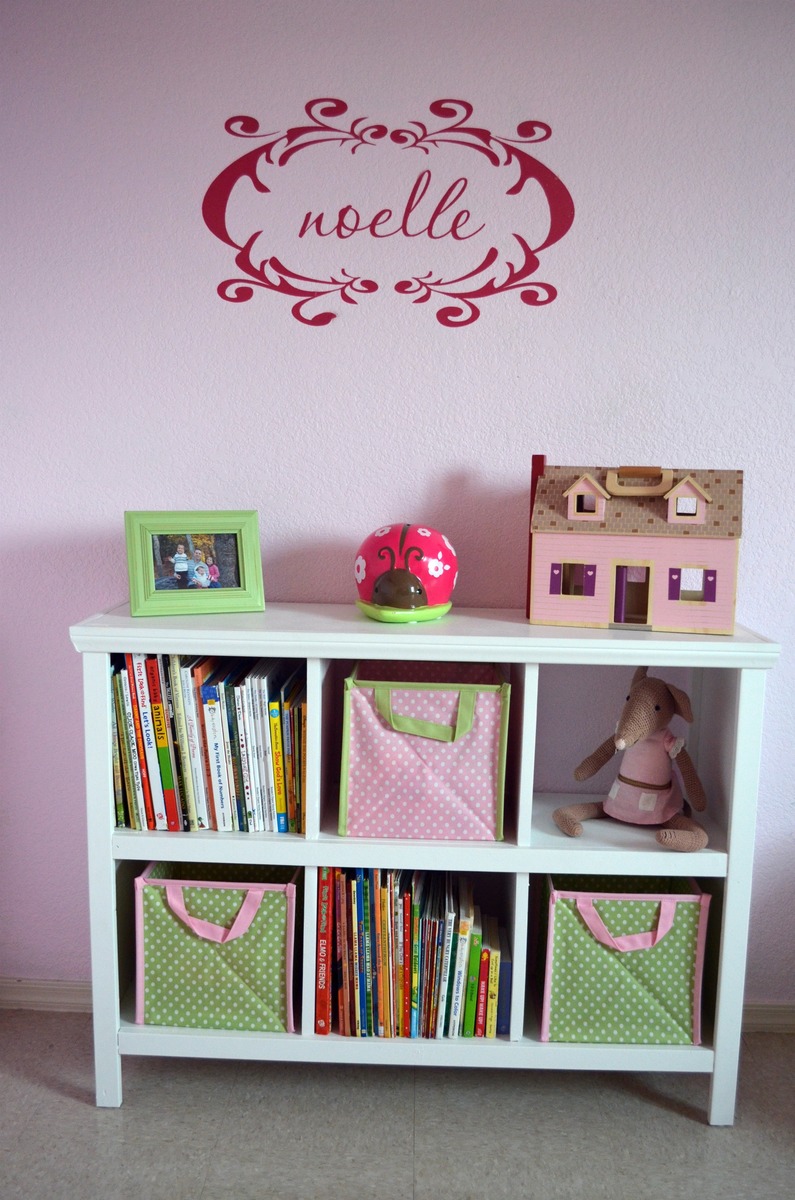
Bookshelf for my son.
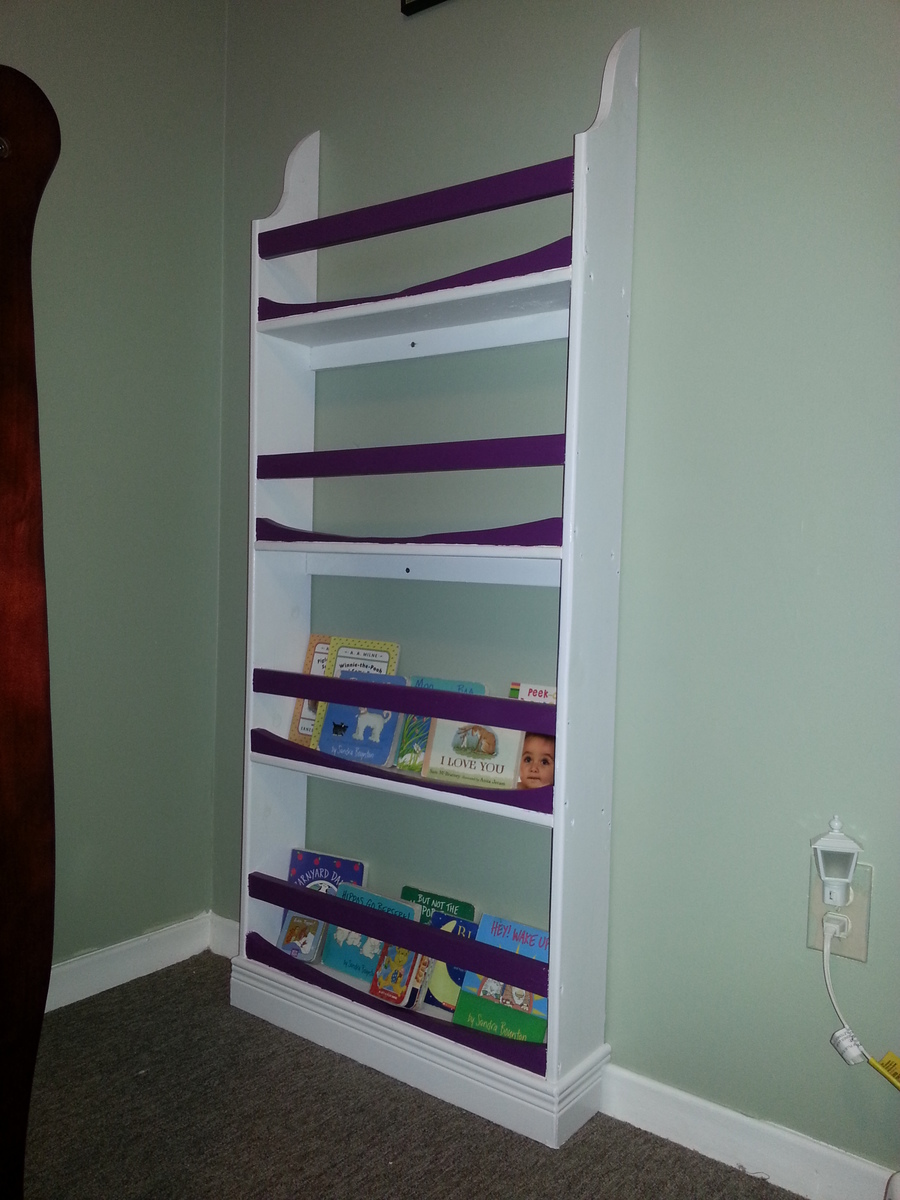
This was my first build and I think it turned out pretty nice. I had been considering a new bookshelf for my daughter's room for some time because the one we had was large and clunky. This takes up significantly less floor space which makes her room seem so much larger.
The hardest part of this I found was cutting the arches out of the 1x2s. I noticed a lot of other people omitted that part, but I thought it was a neat way to add some interest so I really wanted to keep it. Unfortunately, they aren't exactly symmetrical and the cuts were very jagged. But I knew I was going for a dark paint in those spots so with a little bit of sanding you can barely tell.
Speaking of paint, I didn't realize how much even a small quart was going to cost me, and I bought two colours! But it was definitely worth it I think. The white with plum purple accents is really sharp, and my daughter loves it. In fact, I'm already planning on building a complete bedroom set for her in the same colour scheme. Hopefully it works out.
Thanks for taking a look! :)
Sat, 04/19/2014 - 06:19
Love the accent colour!!
I've been trying to figure out how to throw in a pop colour, this is it! Thanks!
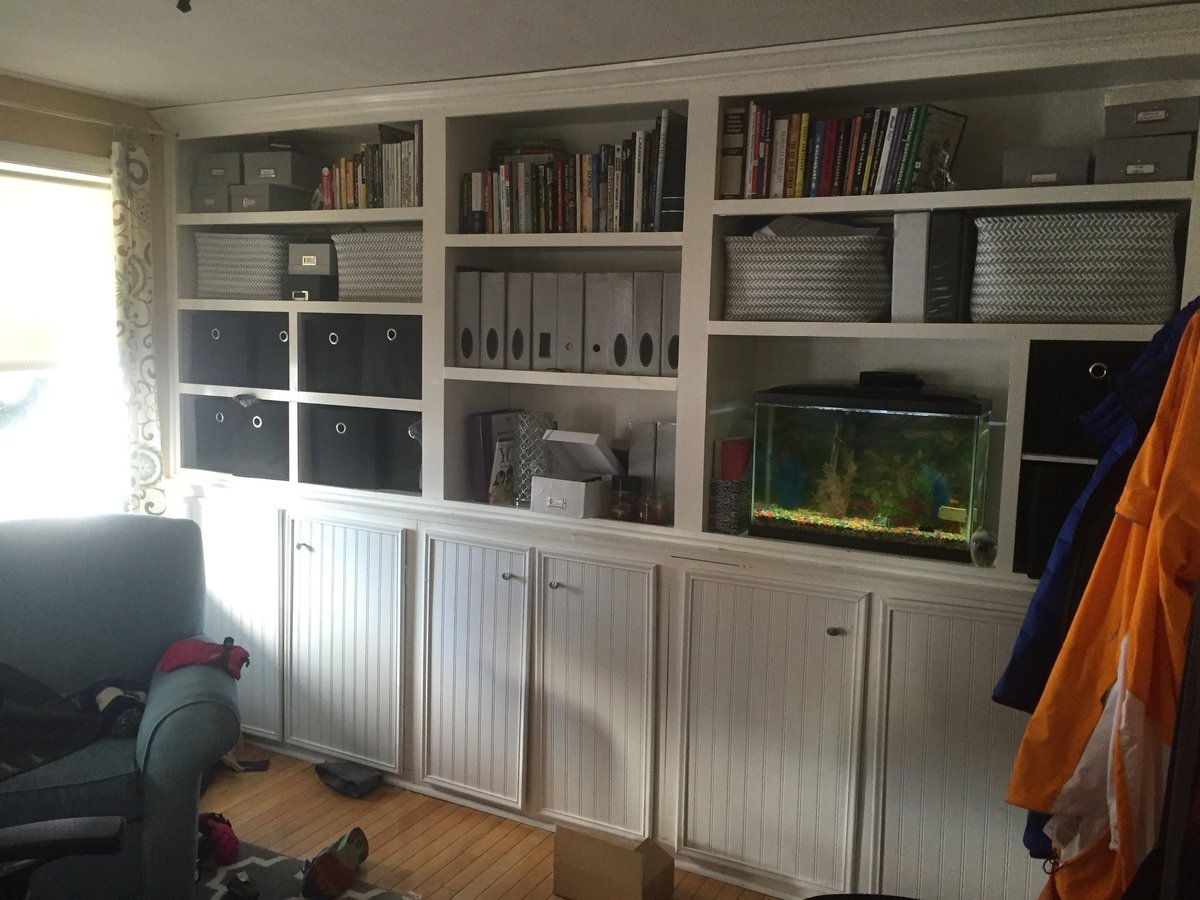
built ins for my office-based on basic bookcase plans, and pieces from rustic bookcase plans. I got a kreg pocket hole jig for this one- best money ever spent!!! My husband didn't think I could do it but I did! ❤️❤️❤️
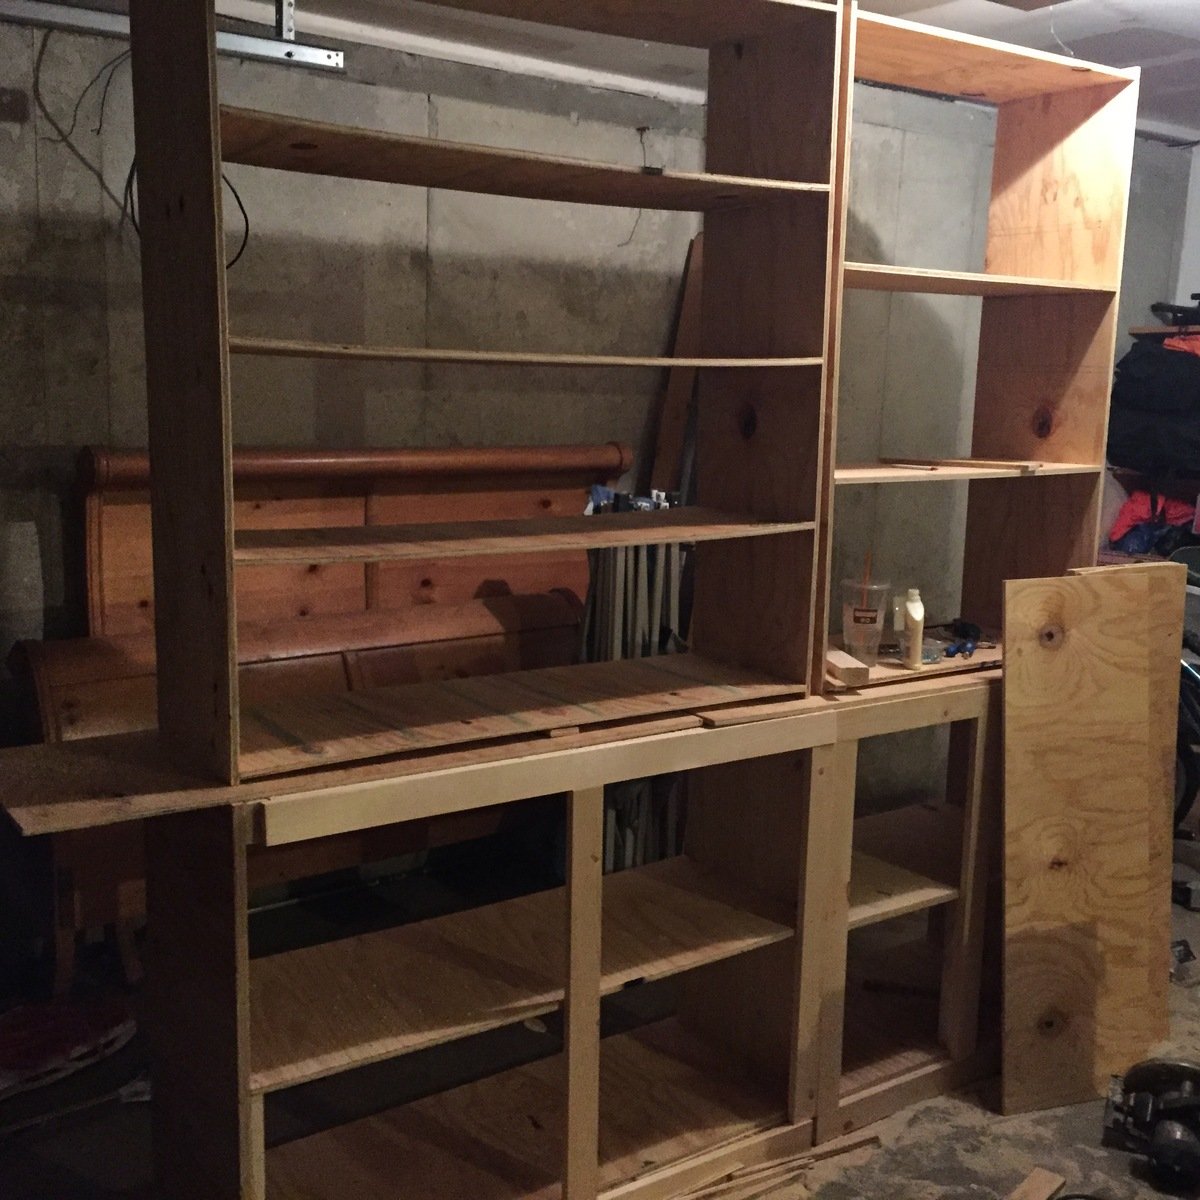
This was my first attempt at making anything out of wood. I was thankful for guidance from my husband but I did it myself!!!

Sat, 05/04/2019 - 13:30
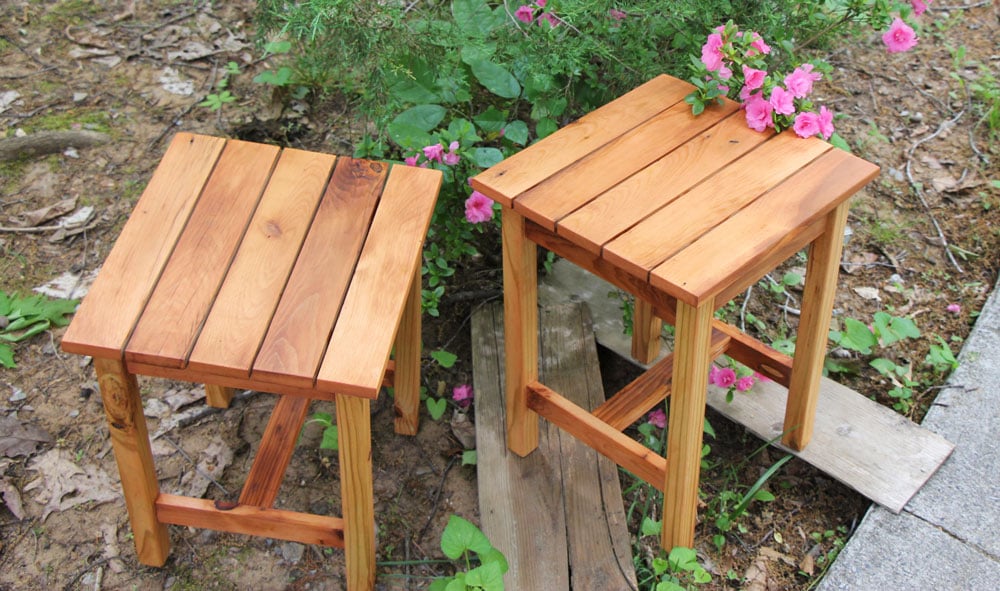
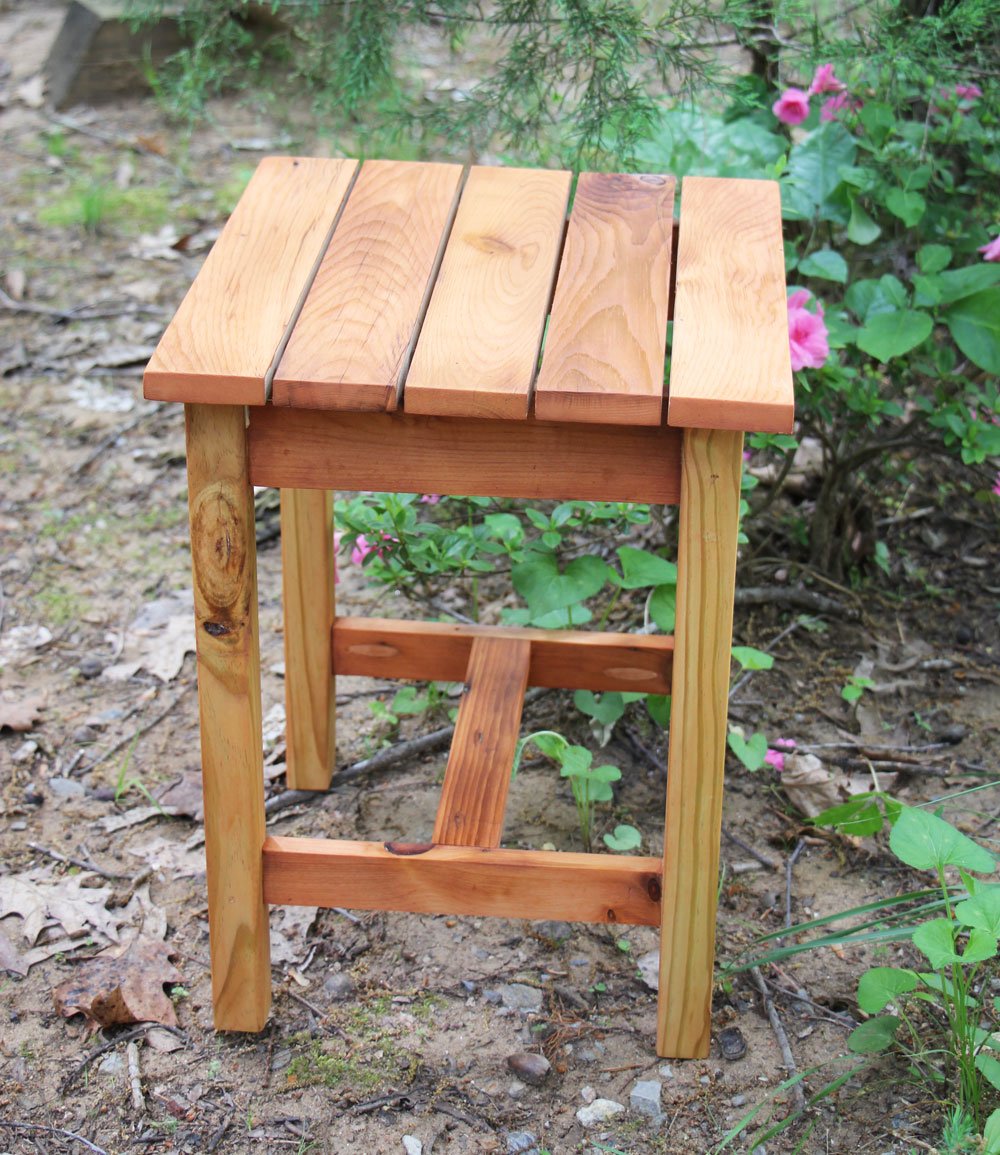
Great job! These little side tables are perfect! LOVE!
Thank you so much for sharing a brag post!
Great project . Easy plan to read .
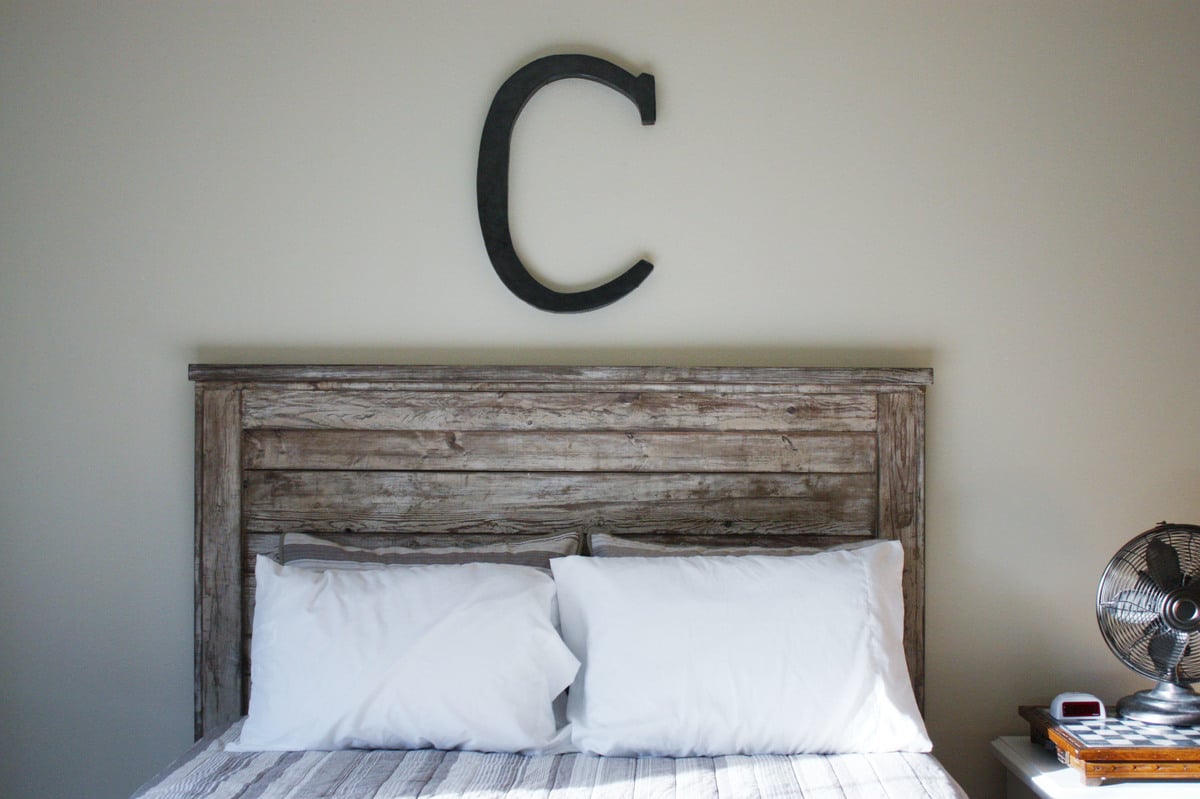
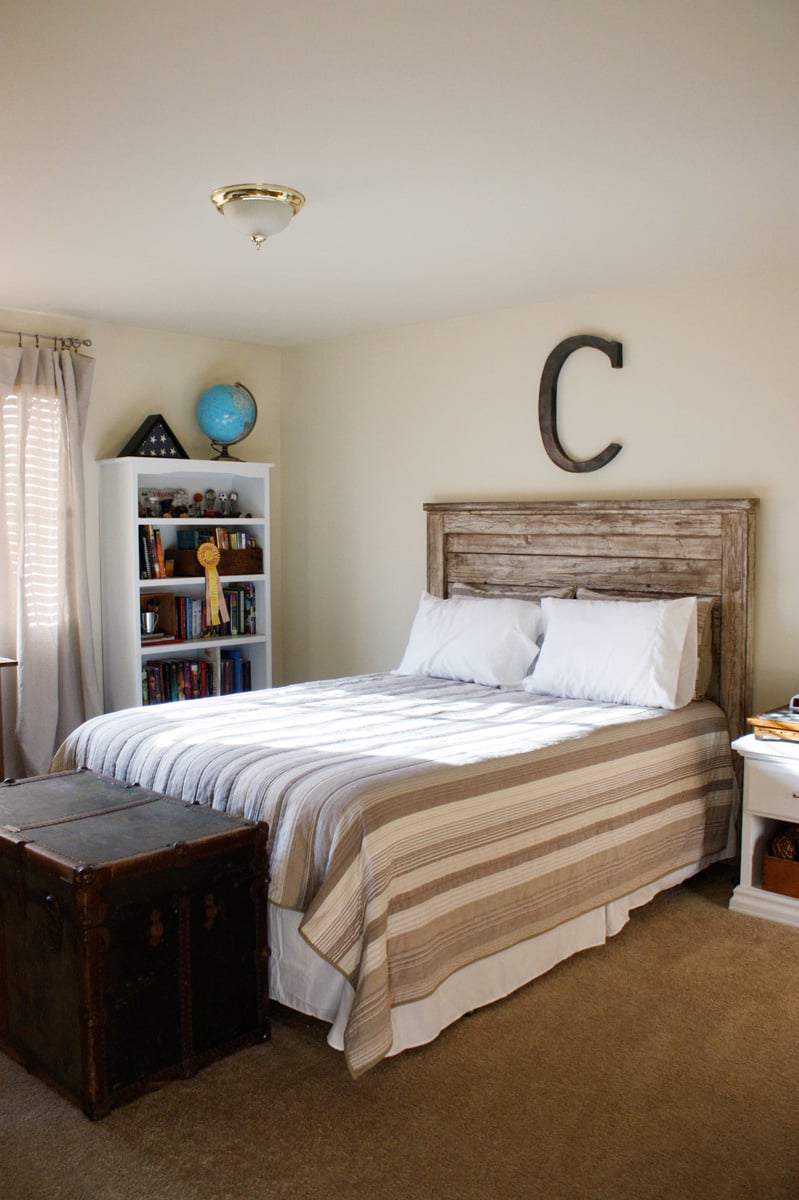
Rustic headboard built in an afternoon. Total cost was only $35!
Wed, 11/09/2011 - 12:46
I thought the 56 in headboard was a little excessive. So I cut it down a foot. If you decide to do this take 6 inches off the top and the bottom so it looks portionally correct. Another thing I did that was not mentioned in the what I have read so far was use kregs joints to connect the inner panel. If you build it from the back you will not see any joints except the top ones on the foot board. I patched them with that elmers patch stuff and are no longer visible. Minus all the sanding I built two beds in a half day.
Wed, 11/09/2011 - 15:52
I was thinking of doing this headboard for the farmhouse storage bed. Did you use 4x4s or build the legs the way they are in the plan? I have several 3x3s for legs that I was planing on using with the kreg. How easy was it to get the boards lined up with the kreg?
Wed, 11/09/2011 - 19:56
The legs are the same as the plan. I don't have a kreg jig so the bed is nailed and screwed together instead. Hope that helps! -Brook

Thu, 11/10/2011 - 06:48
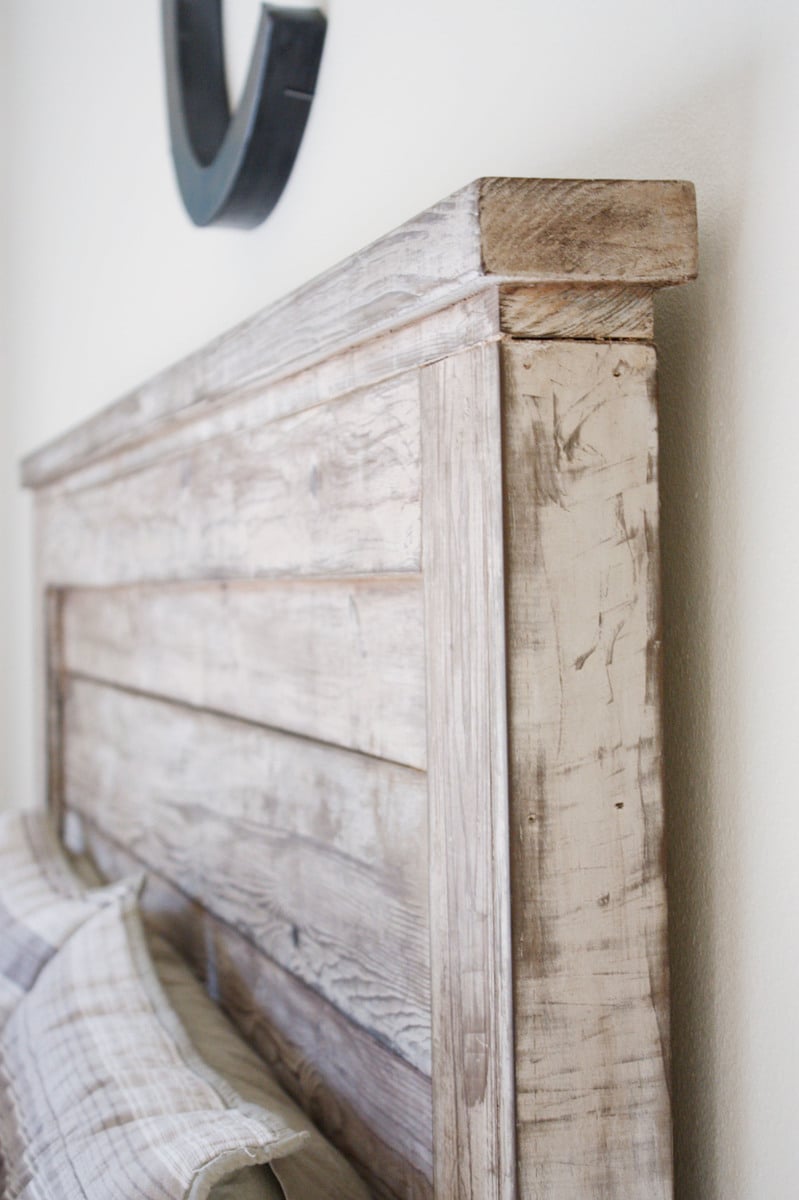
Your finish is to die for. I could just look at it all day long. I'm weird like that. Fab job!
Tue, 11/15/2011 - 11:40
ok.thanks for your reply. But did you sand like 80-120-220 grit . thanks
Wed, 06/06/2012 - 12:37
Congratulations !!! and thanks for inspiring us by posting these photos of a terrific job!
I was just wondering..how did you manage to get the perfect light brown - chocolate tint shown on these photos??
I've followed the process described (oxidized the wood using tea followed by steel wool/vinegar mix) to the point. However, the result is grey tinted. even tried applying the process to different types of wood and applying less mix..even sanding it after the project dried and applying the clear wax..Same GREY result..
Please help!!
Wed, 06/06/2012 - 13:26
Different woods will give a different finish. This project turned out a little browner than the other times I've used the tea/vinegar treatment. Probably because it was previously painted and then stripped. You can also buy dark wax that will help change the color. You might try finding a stain that is the color that you want and staining your project. Good luck!
Thu, 08/23/2012 - 06:39
I just made the rustic headboard with new pine boards. Can I get this look with the tea and vinegar? How was it done? Thanks.
Wed, 07/10/2013 - 12:53
where does the white come from in your wood. did you strip pre primed pine then tea and oxidation? thanks,ante
Thu, 03/01/2018 - 16:39
Wow, I love the finish you gave this piece! Absolutely beautiful! Well done.
Mon, 12/07/2020 - 10:14
Anyone have plans for the sides and footboard for a queen?? Please and thanks! :)
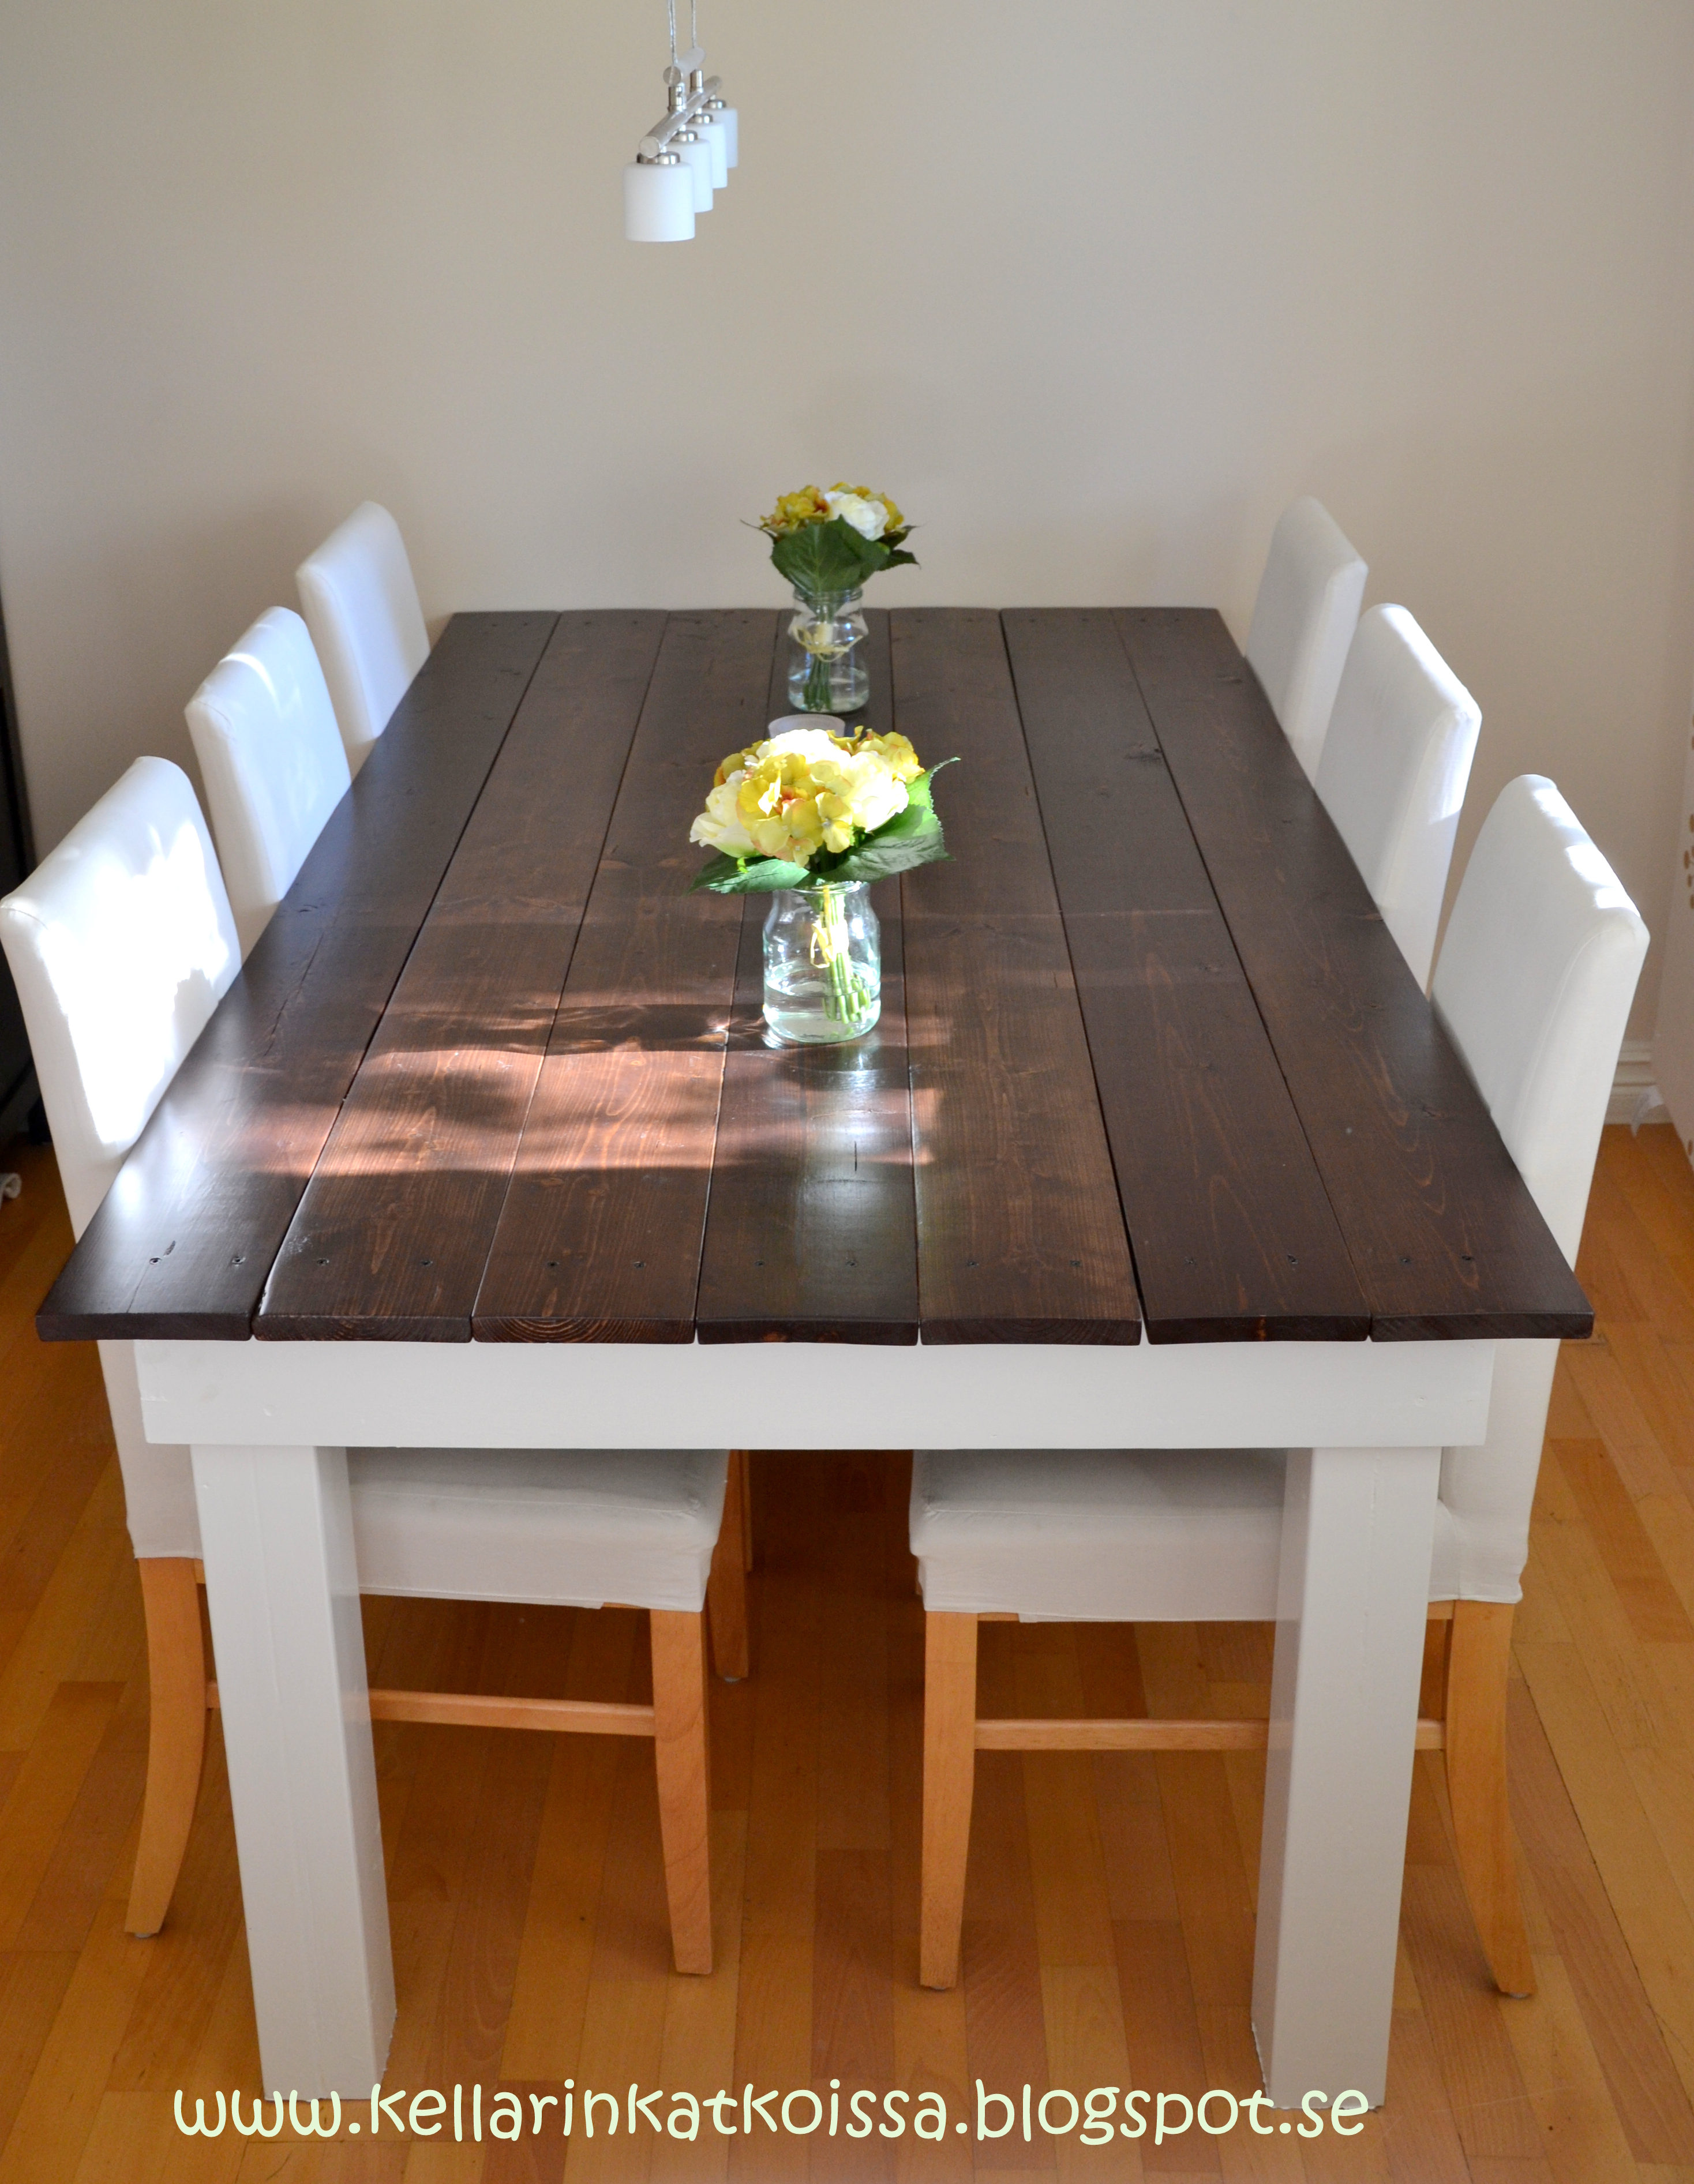
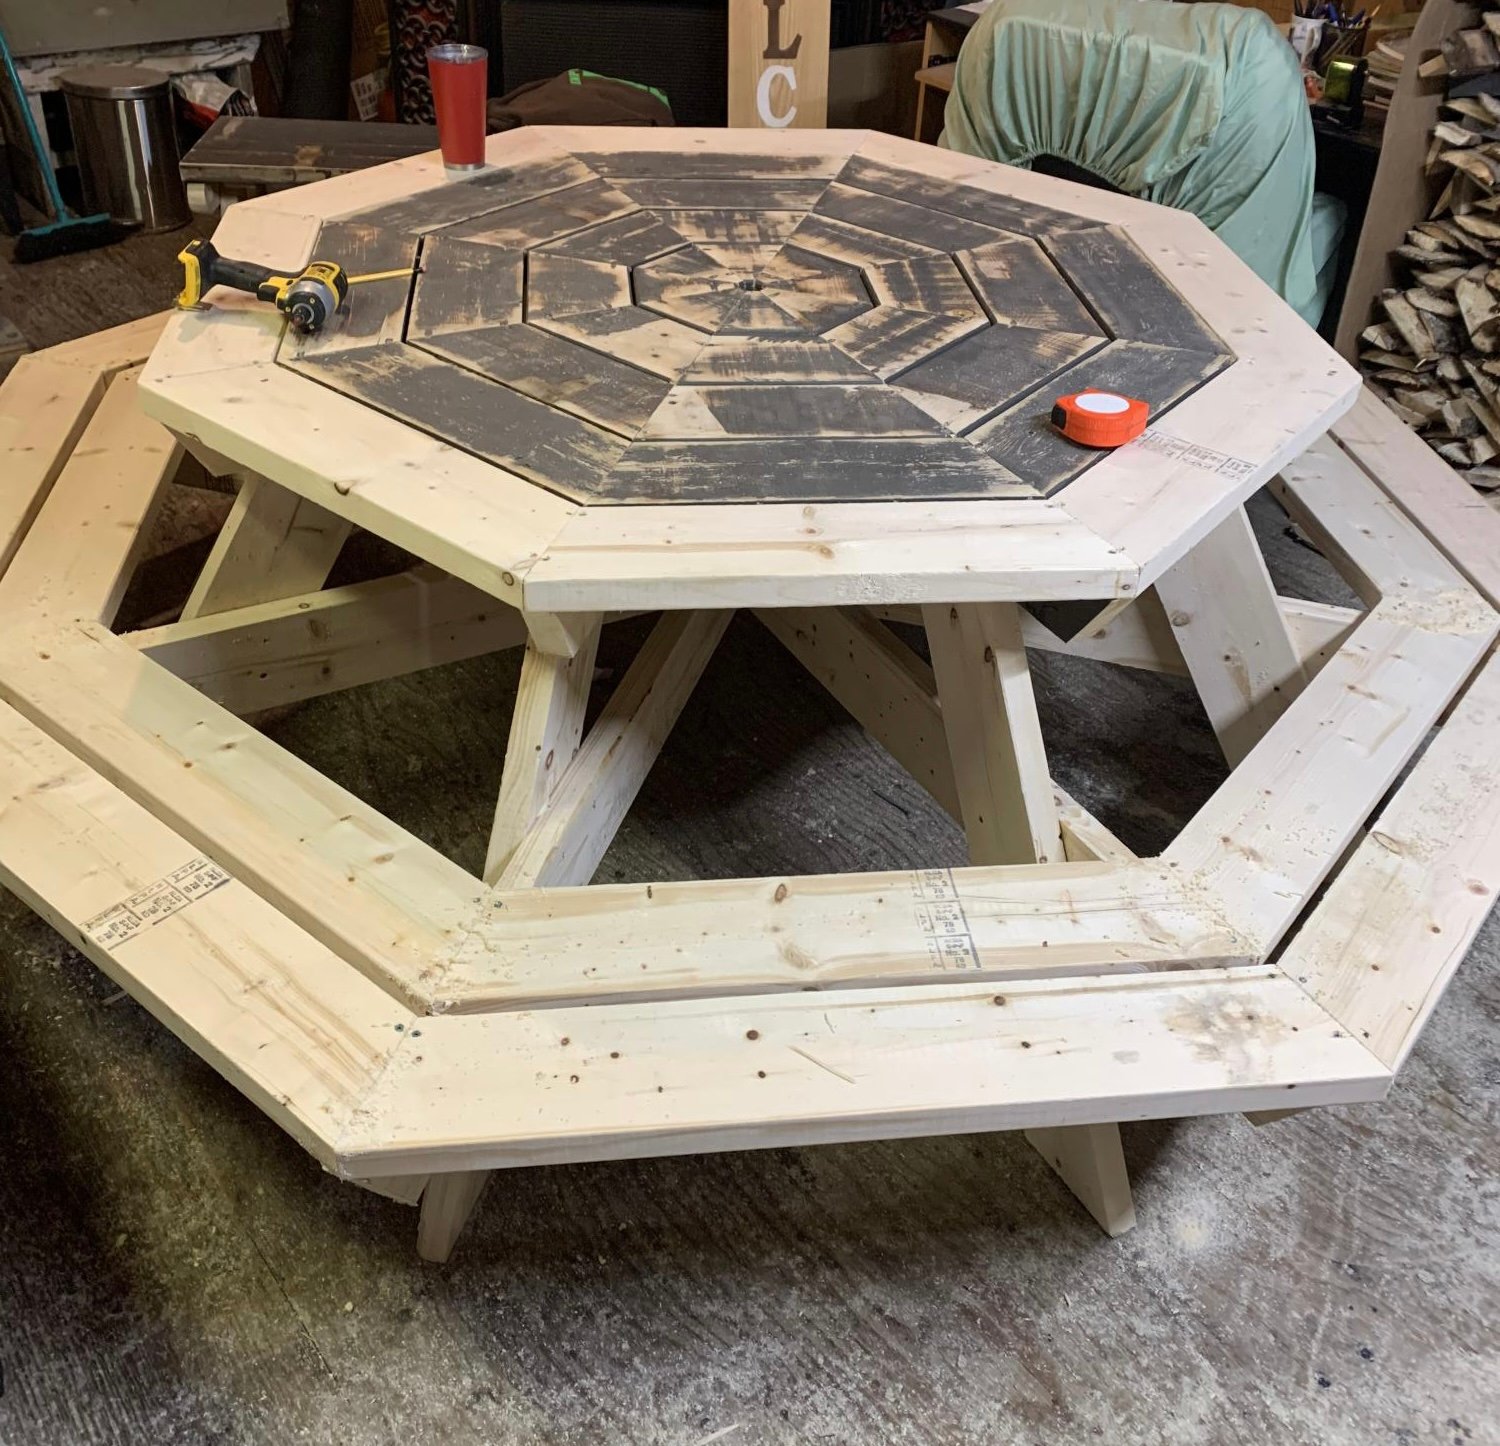
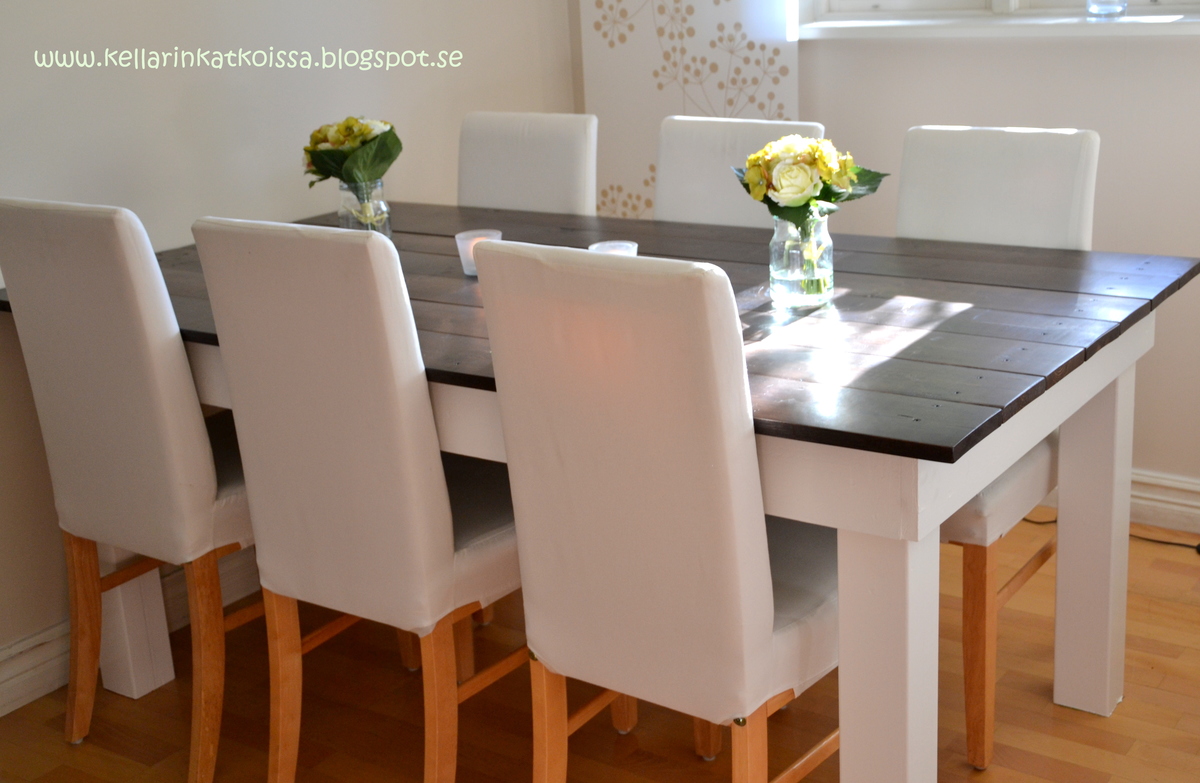
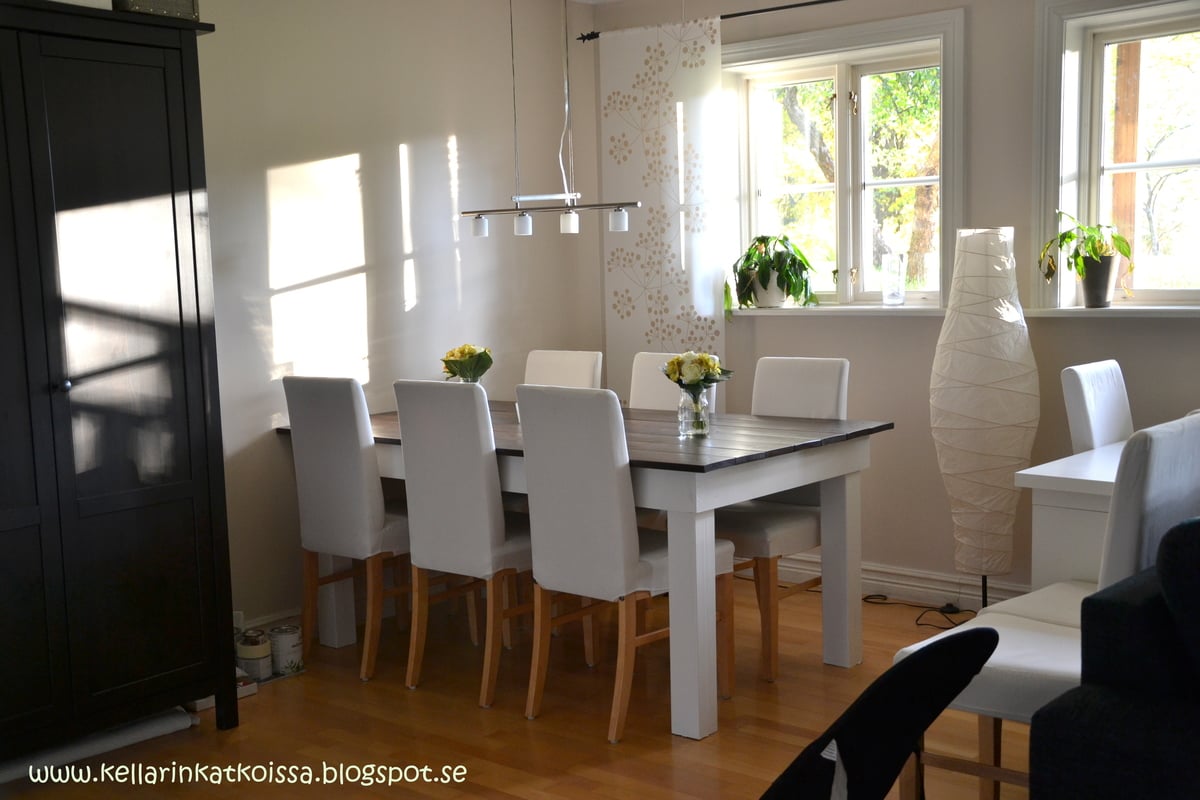
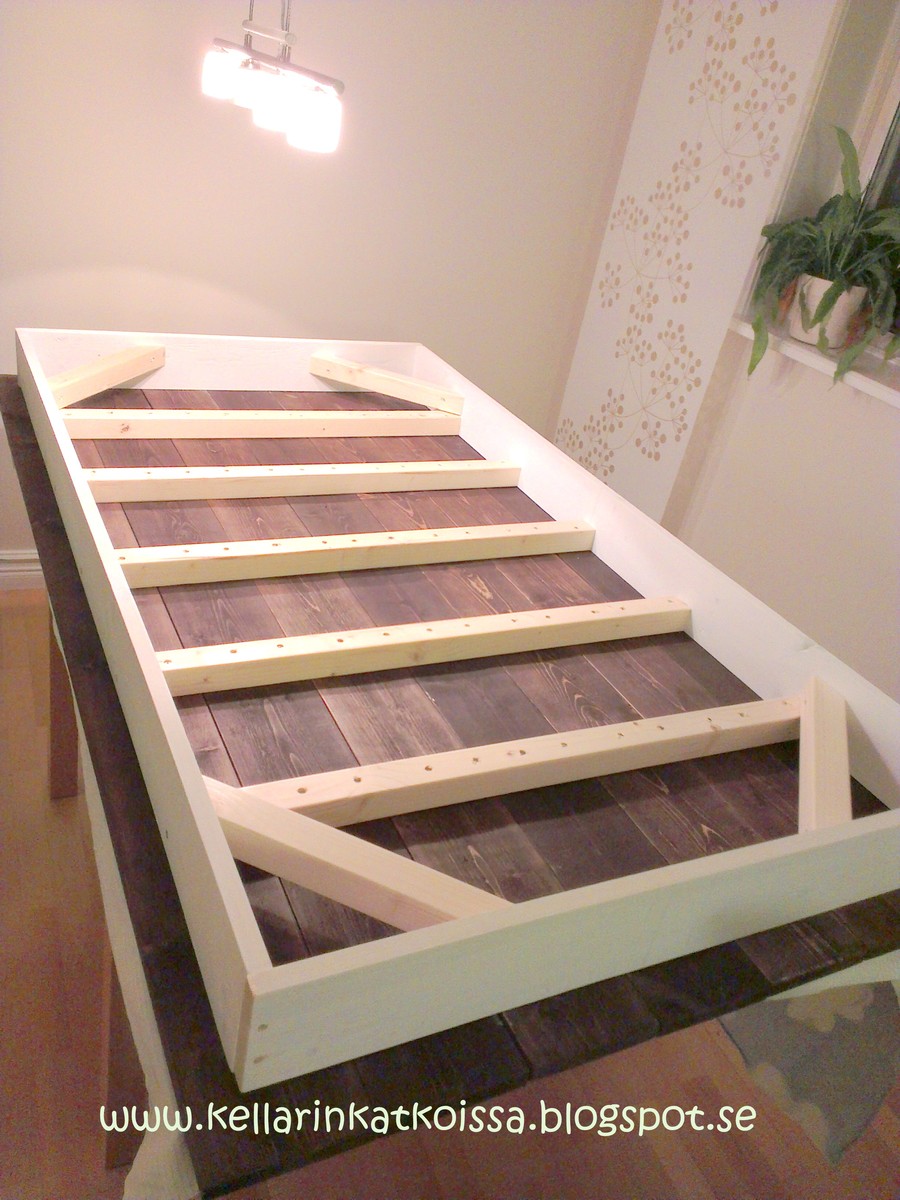
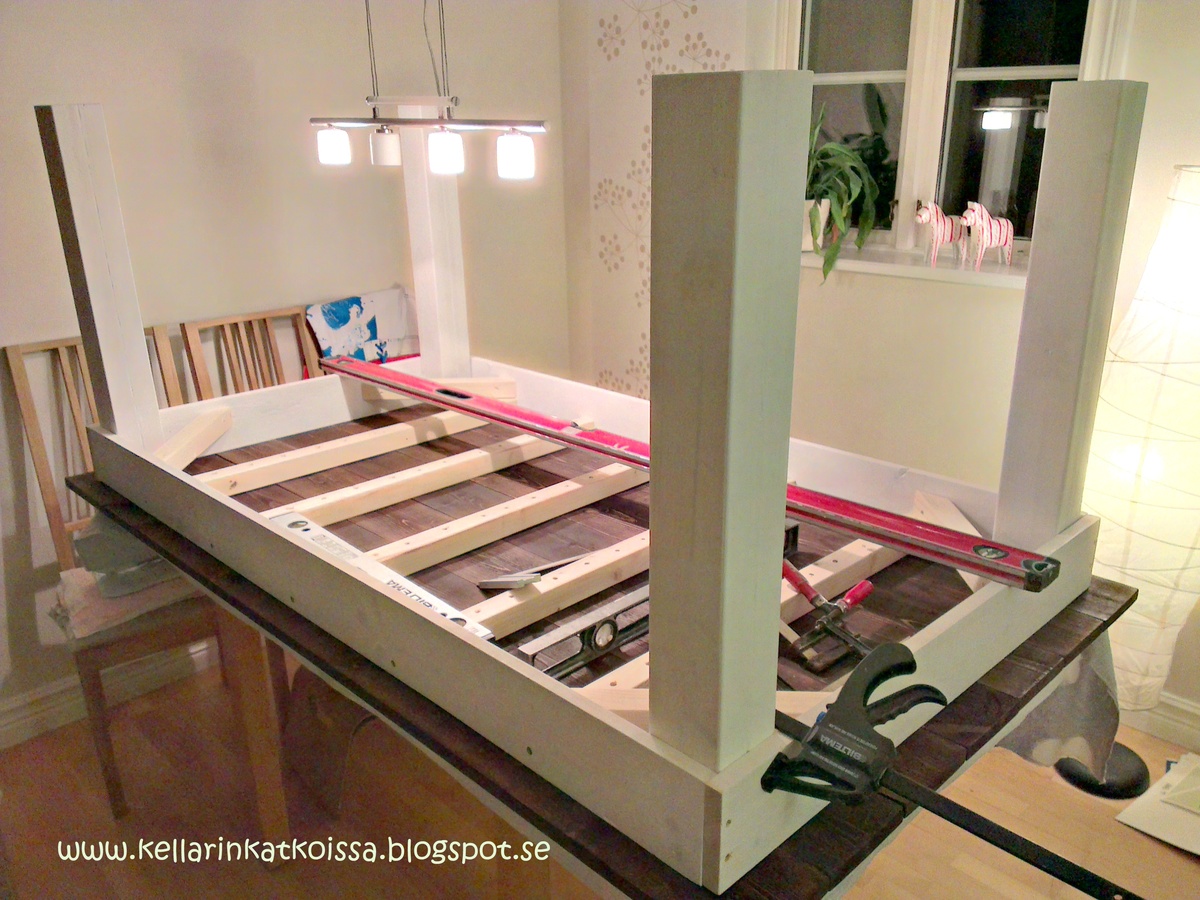
We got idea from here, but we had to make our own plan for table to make it fit in to our home.. and we just love it :)
more in my blog http://kellarinkatkoissa.blogspot.se/2013/10/tee-se-itse.html
Sat, 06/20/2015 - 11:18
about how long did you make your table so that you could fit 3 chairs on each side?
you table is stunning
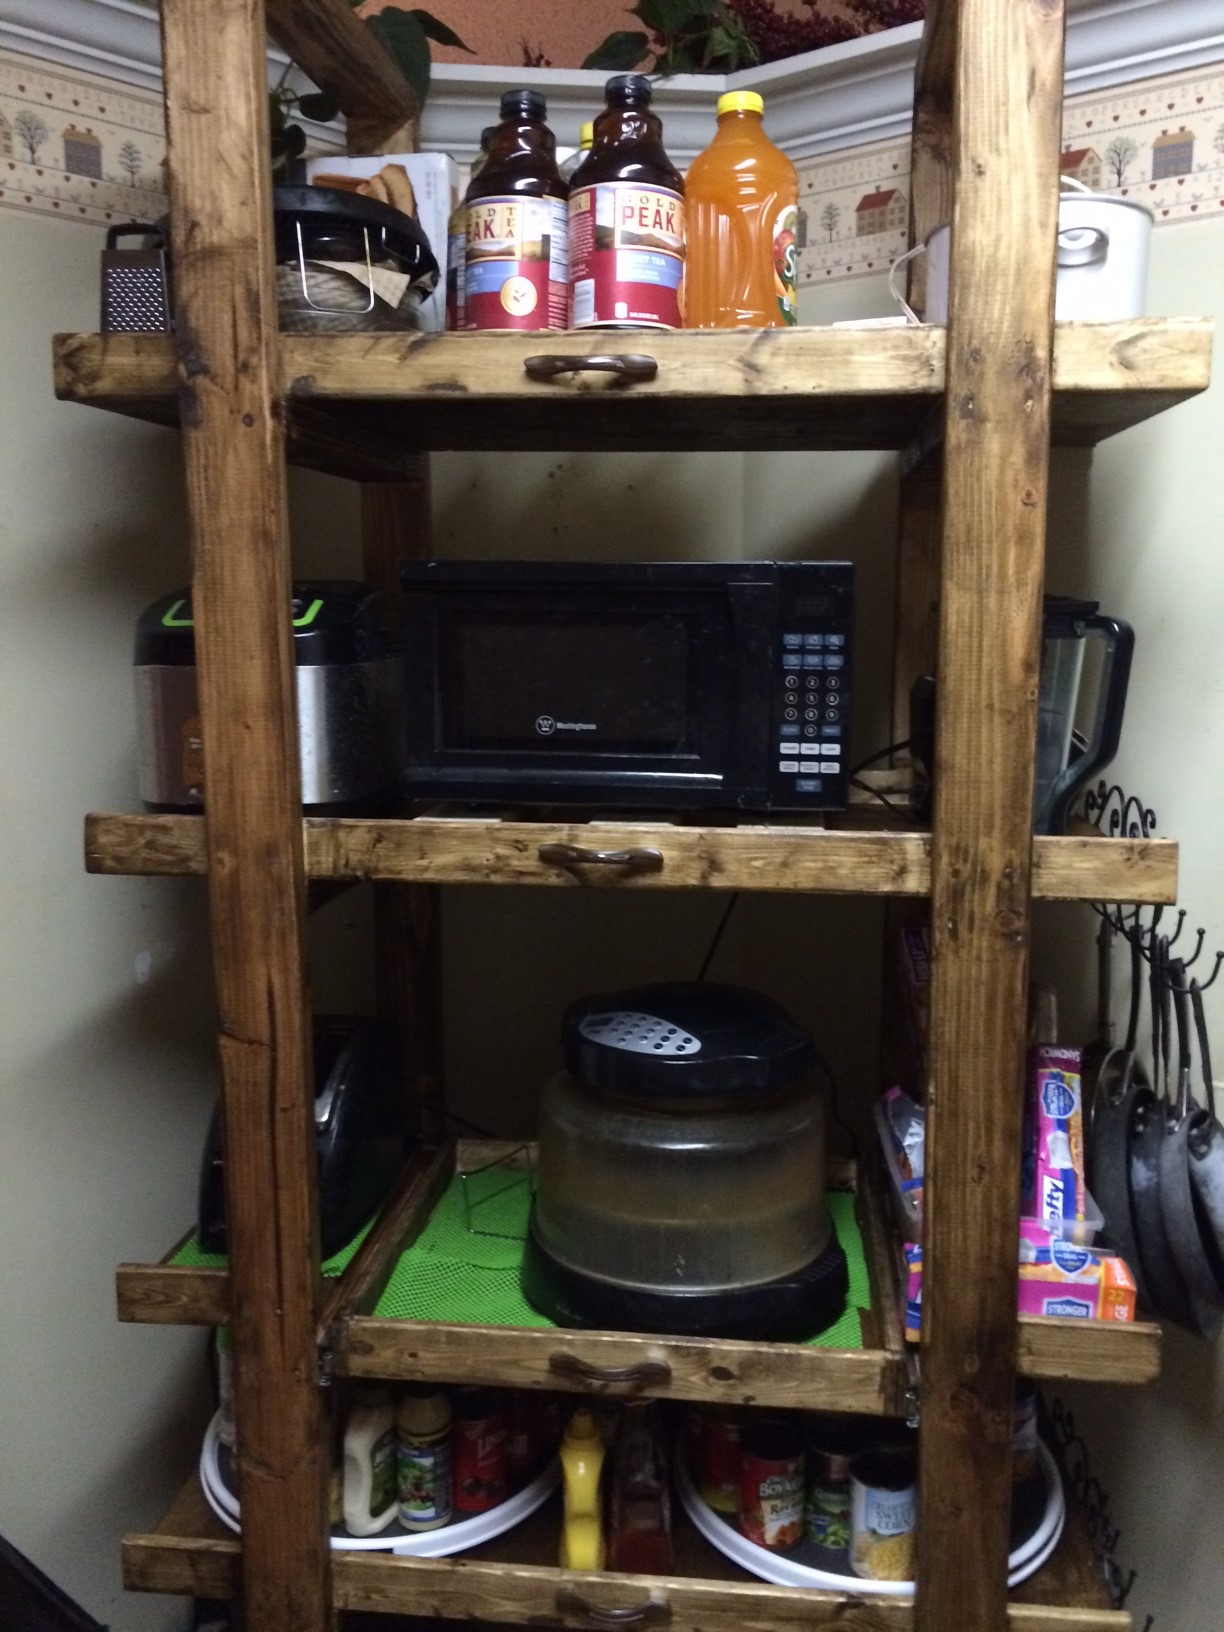
I needed more storage in my small kitchen so I modified this cart to 42 x 20 x 96. One shelf has a sliding drawer. I am very new to all of this so I mistakenly overlooked accounting for the side ends of the shelves in my calculations. I left them off, but may go back and insert 1 x 2 to complete them. Not sure yet.
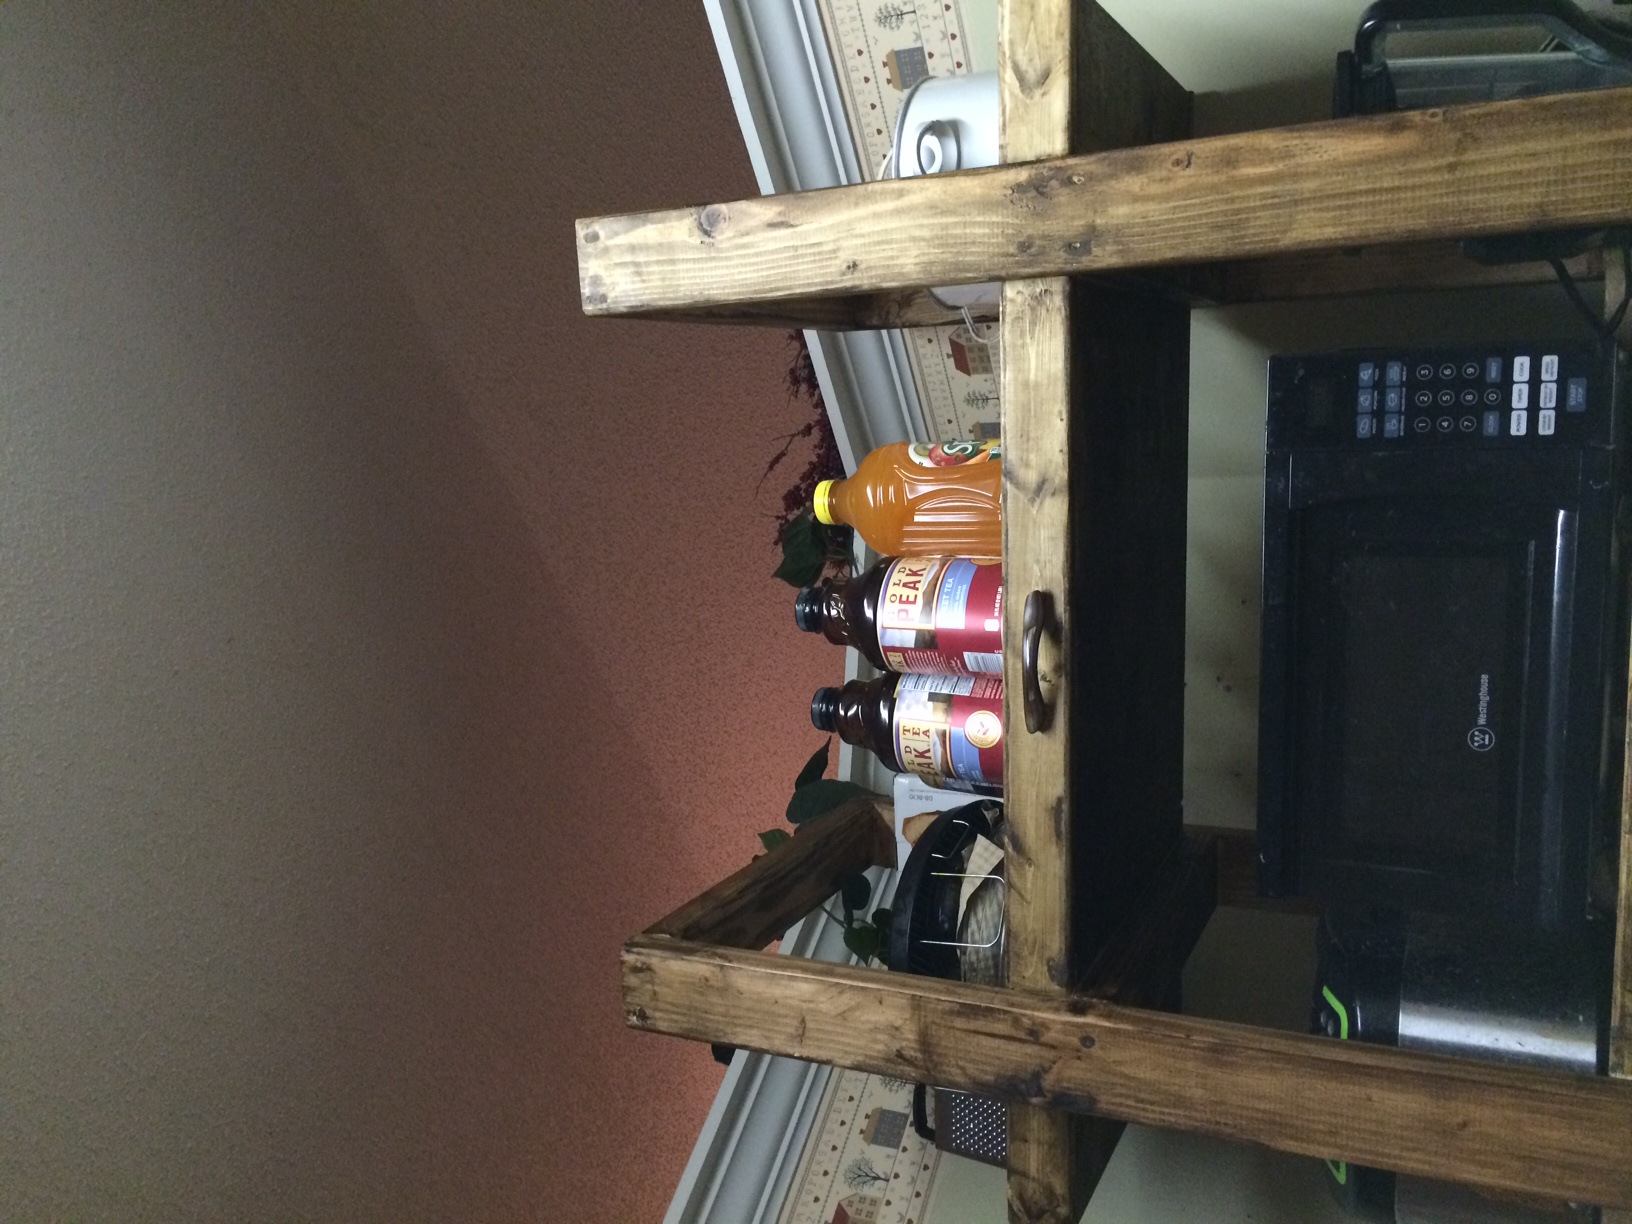
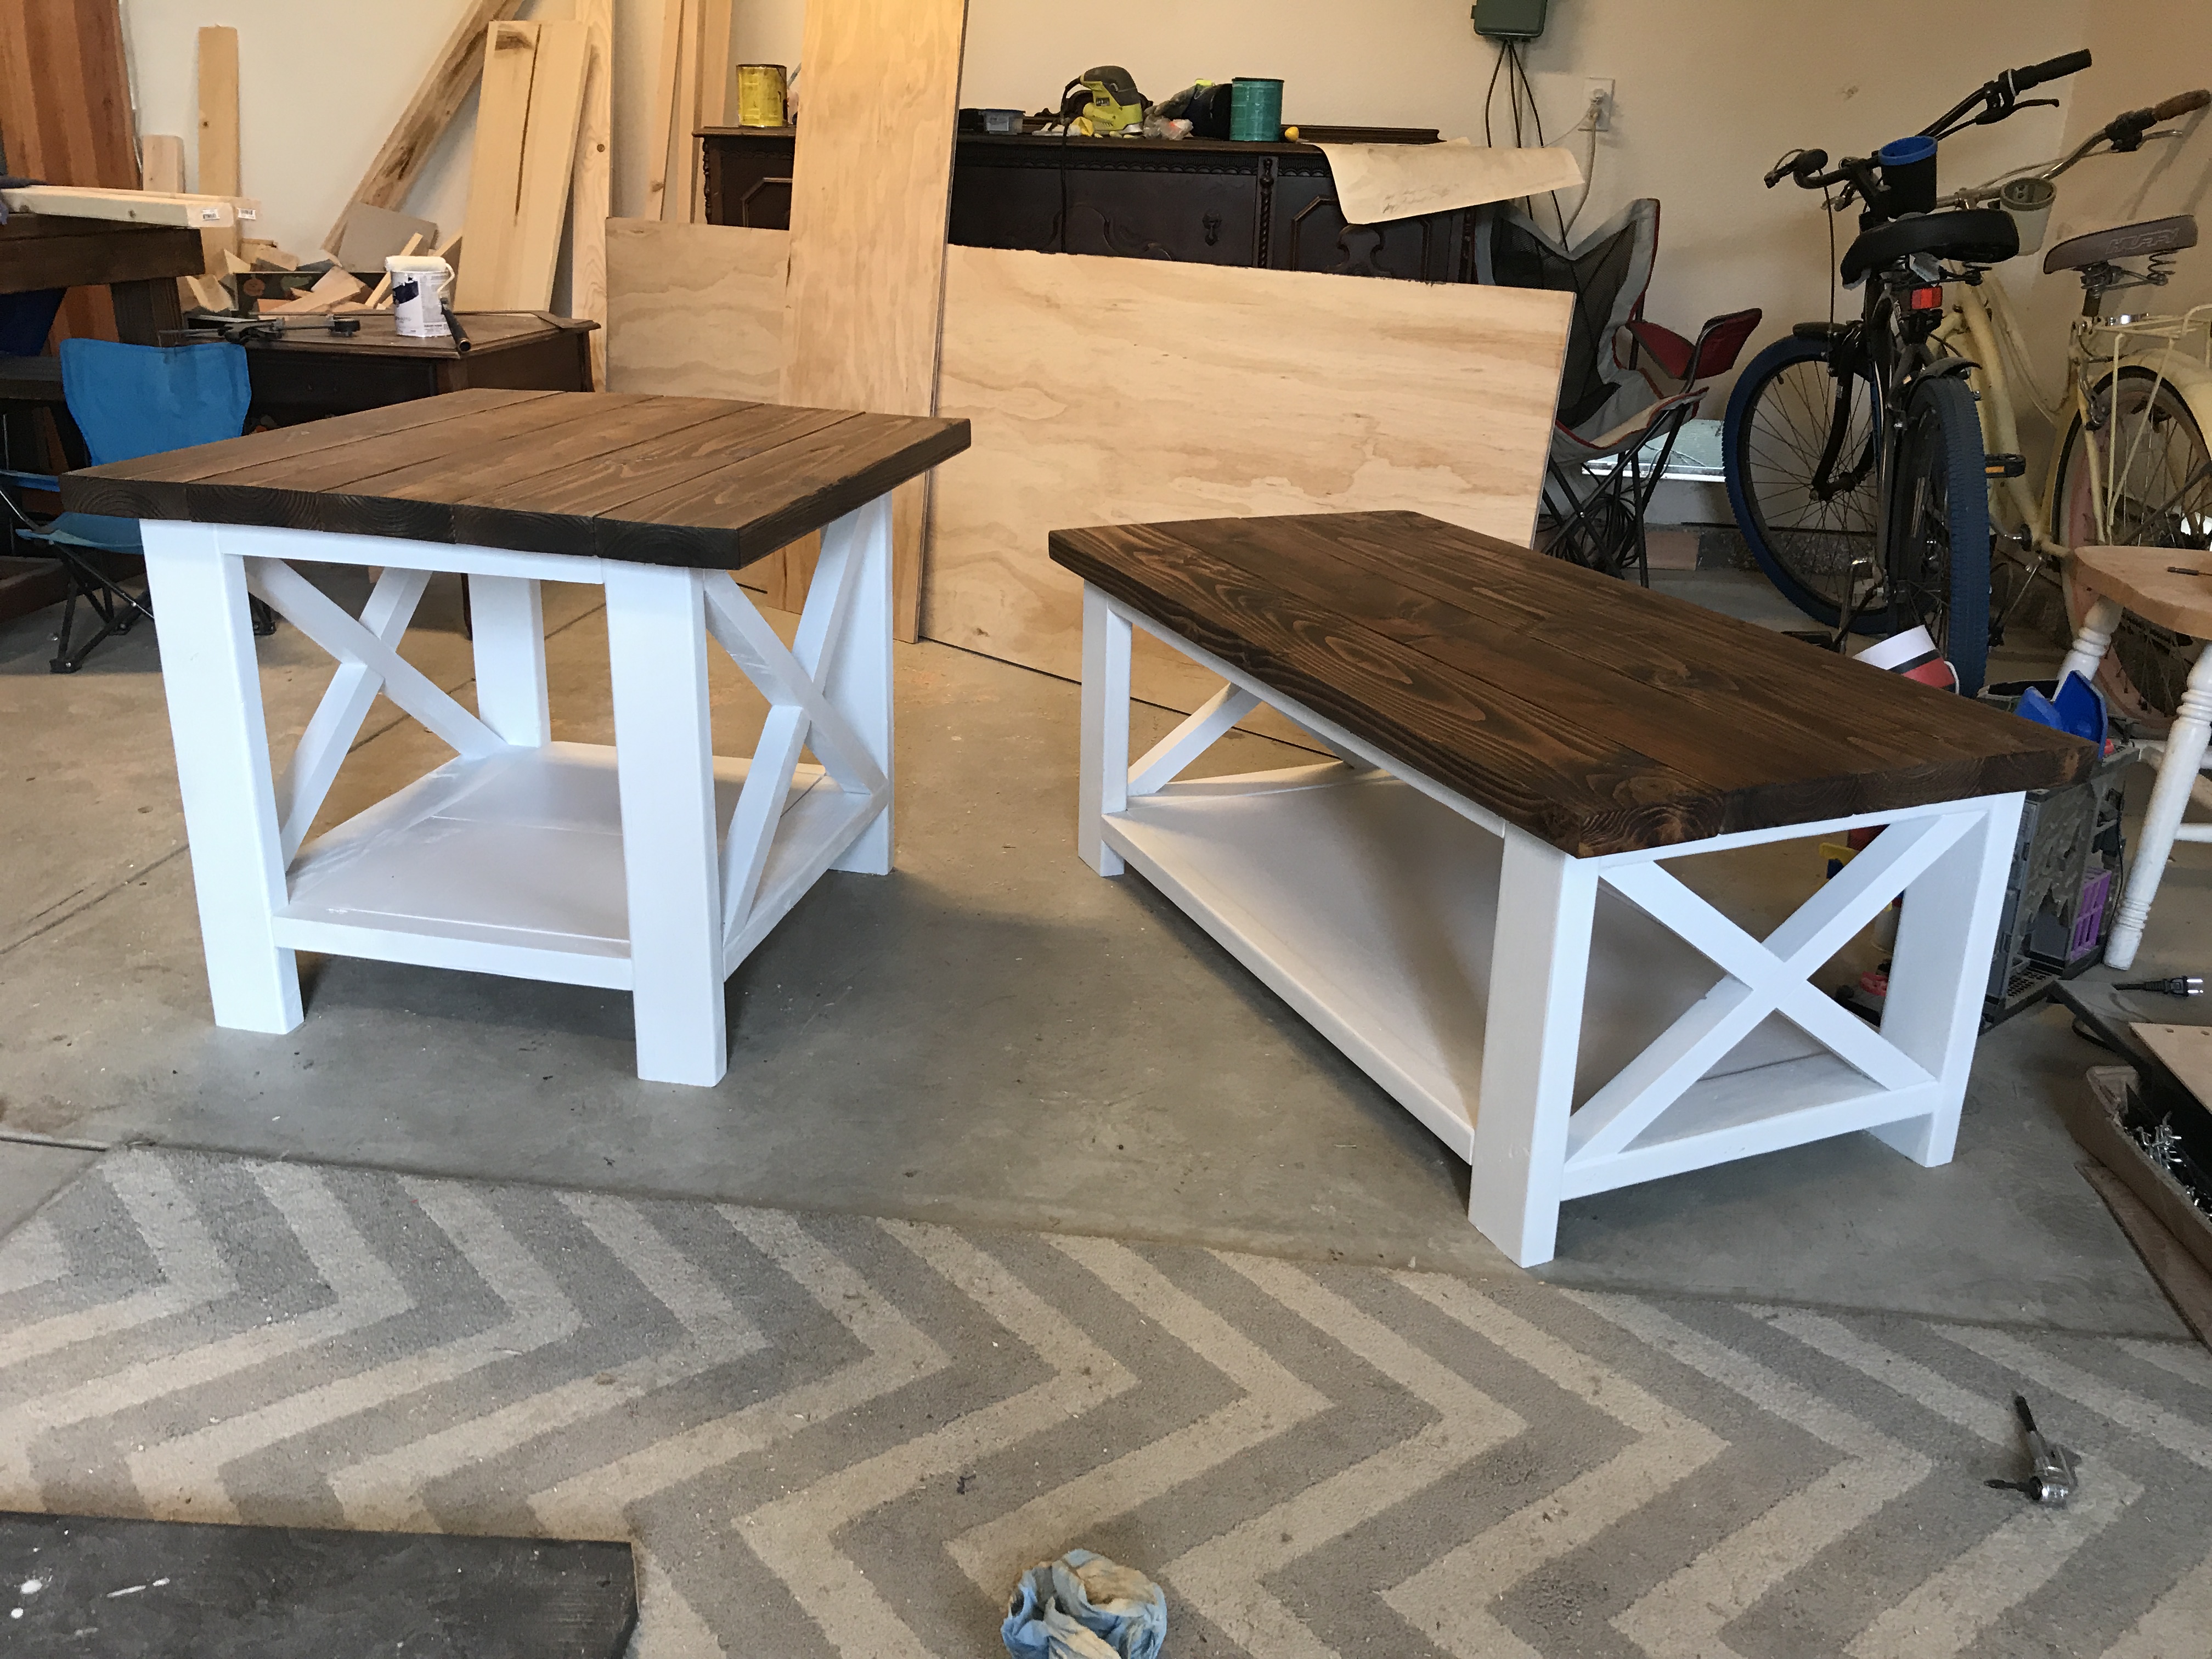
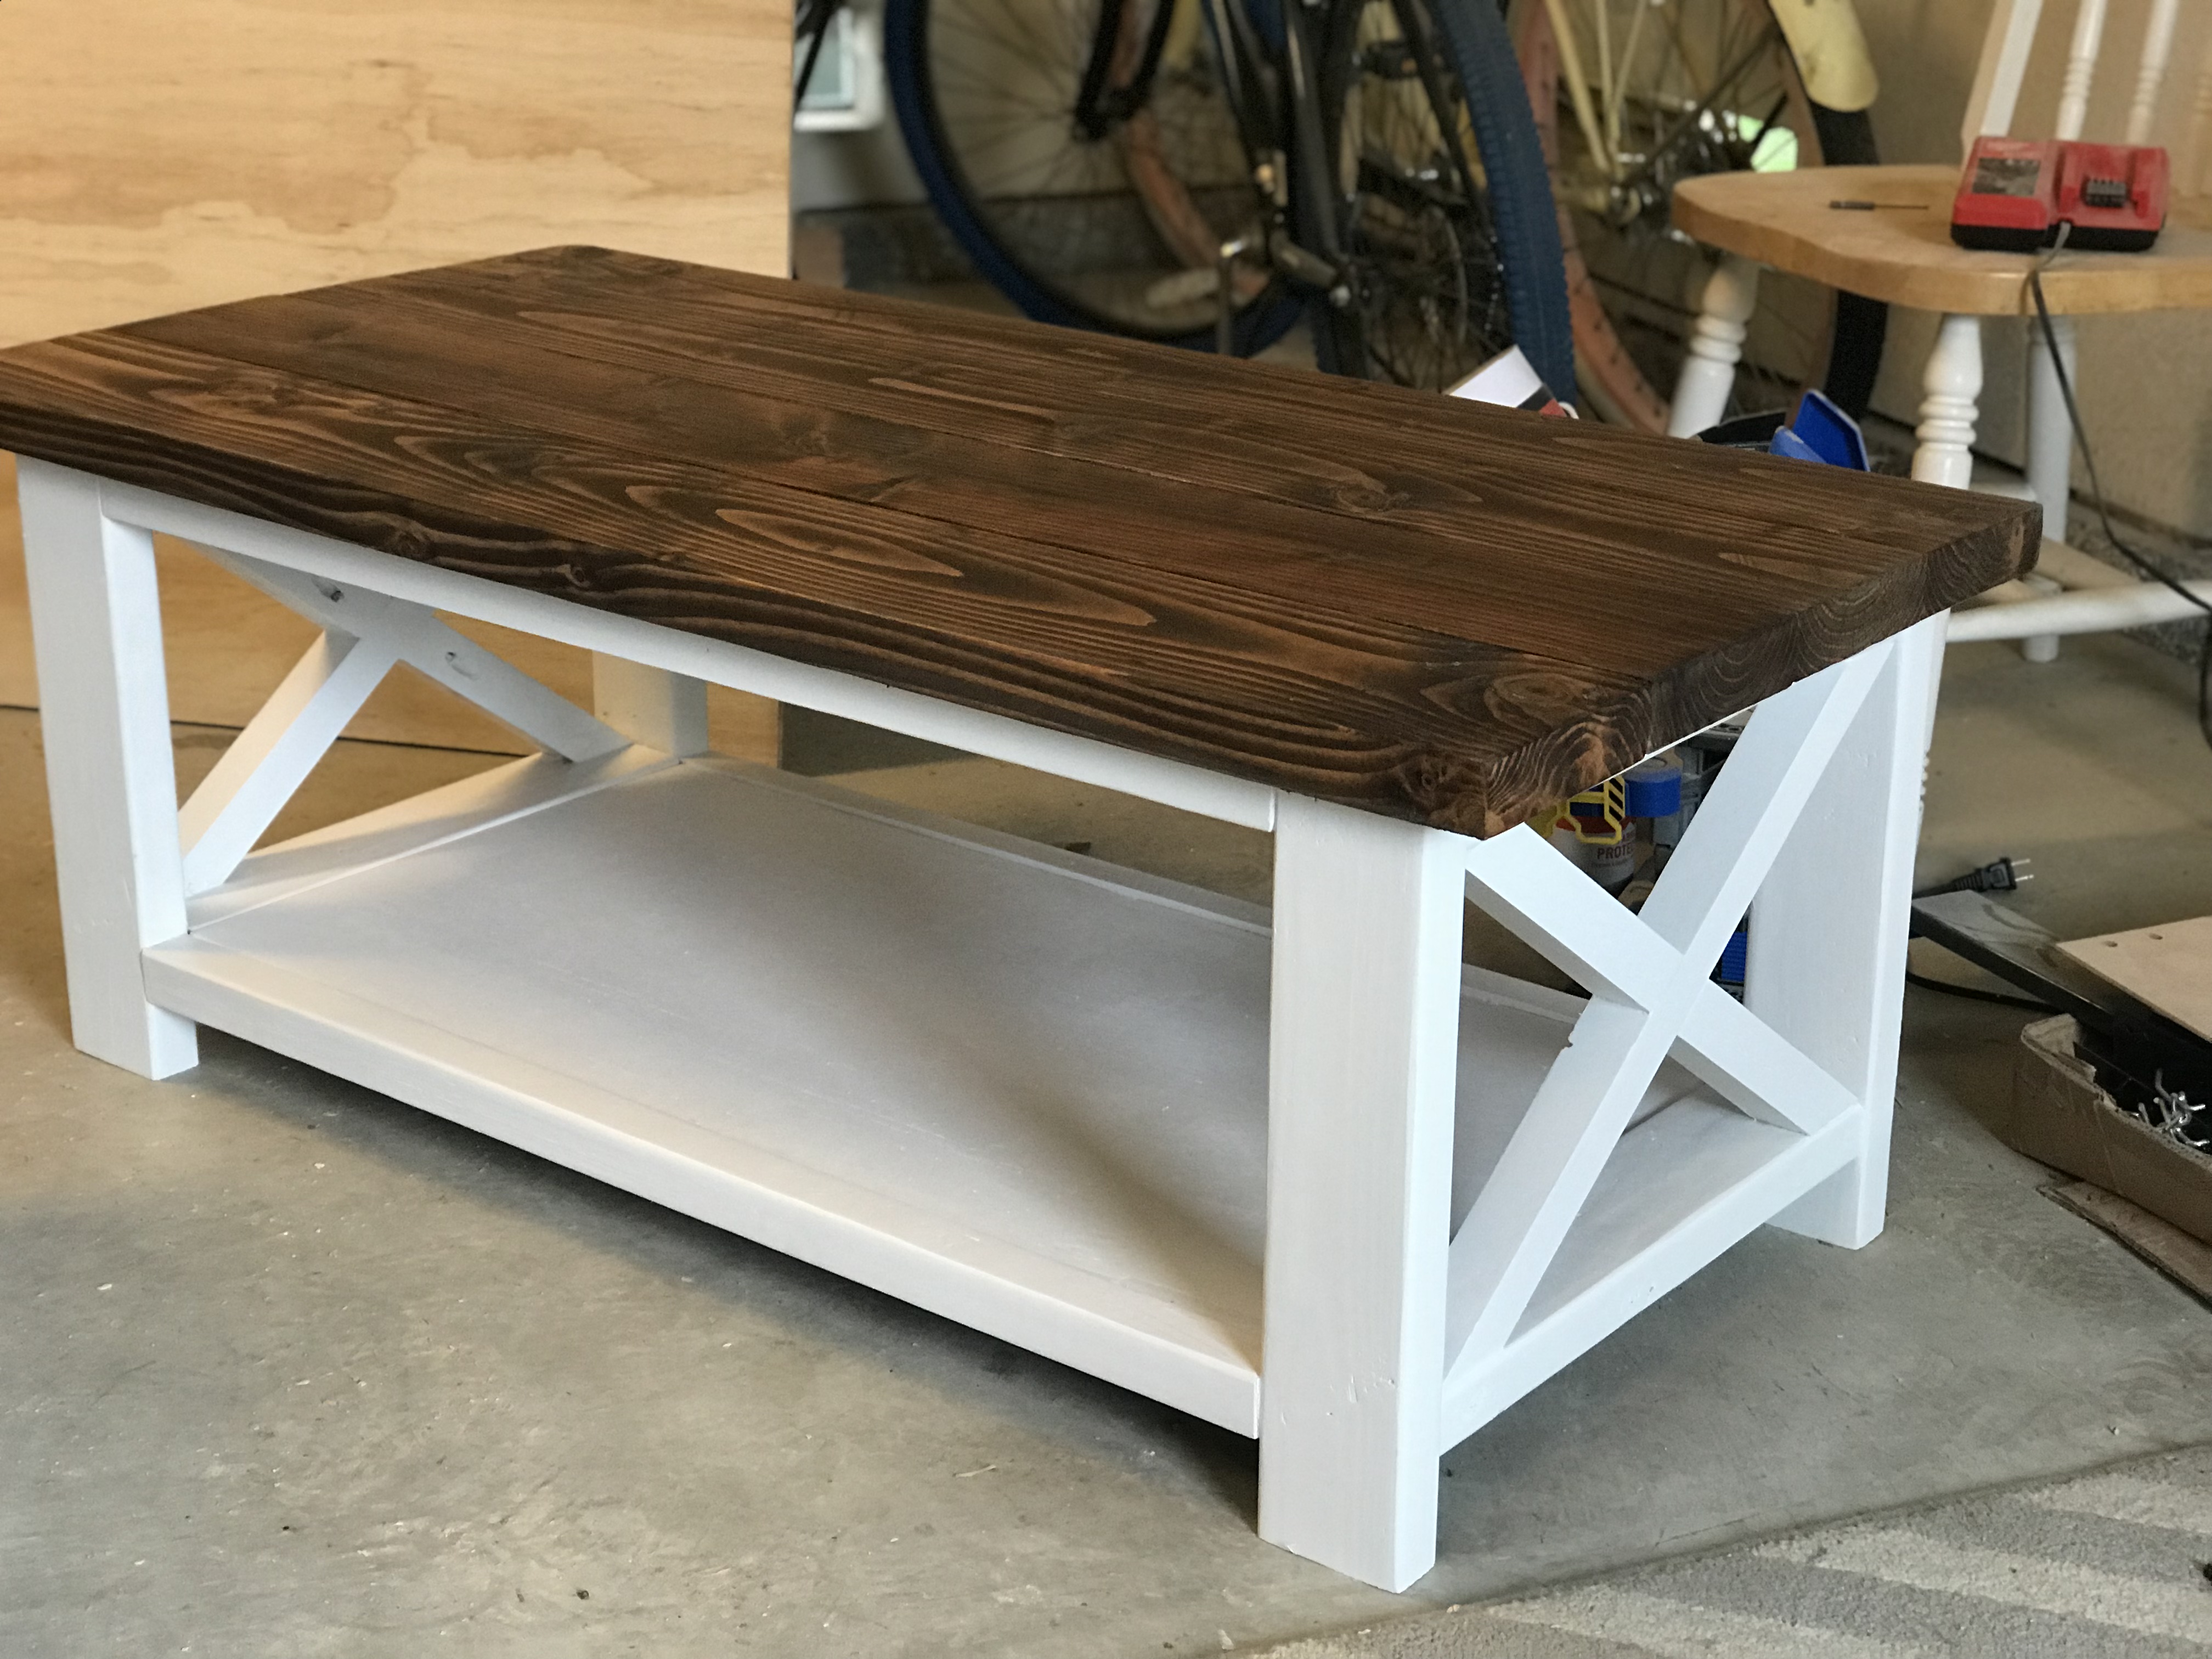
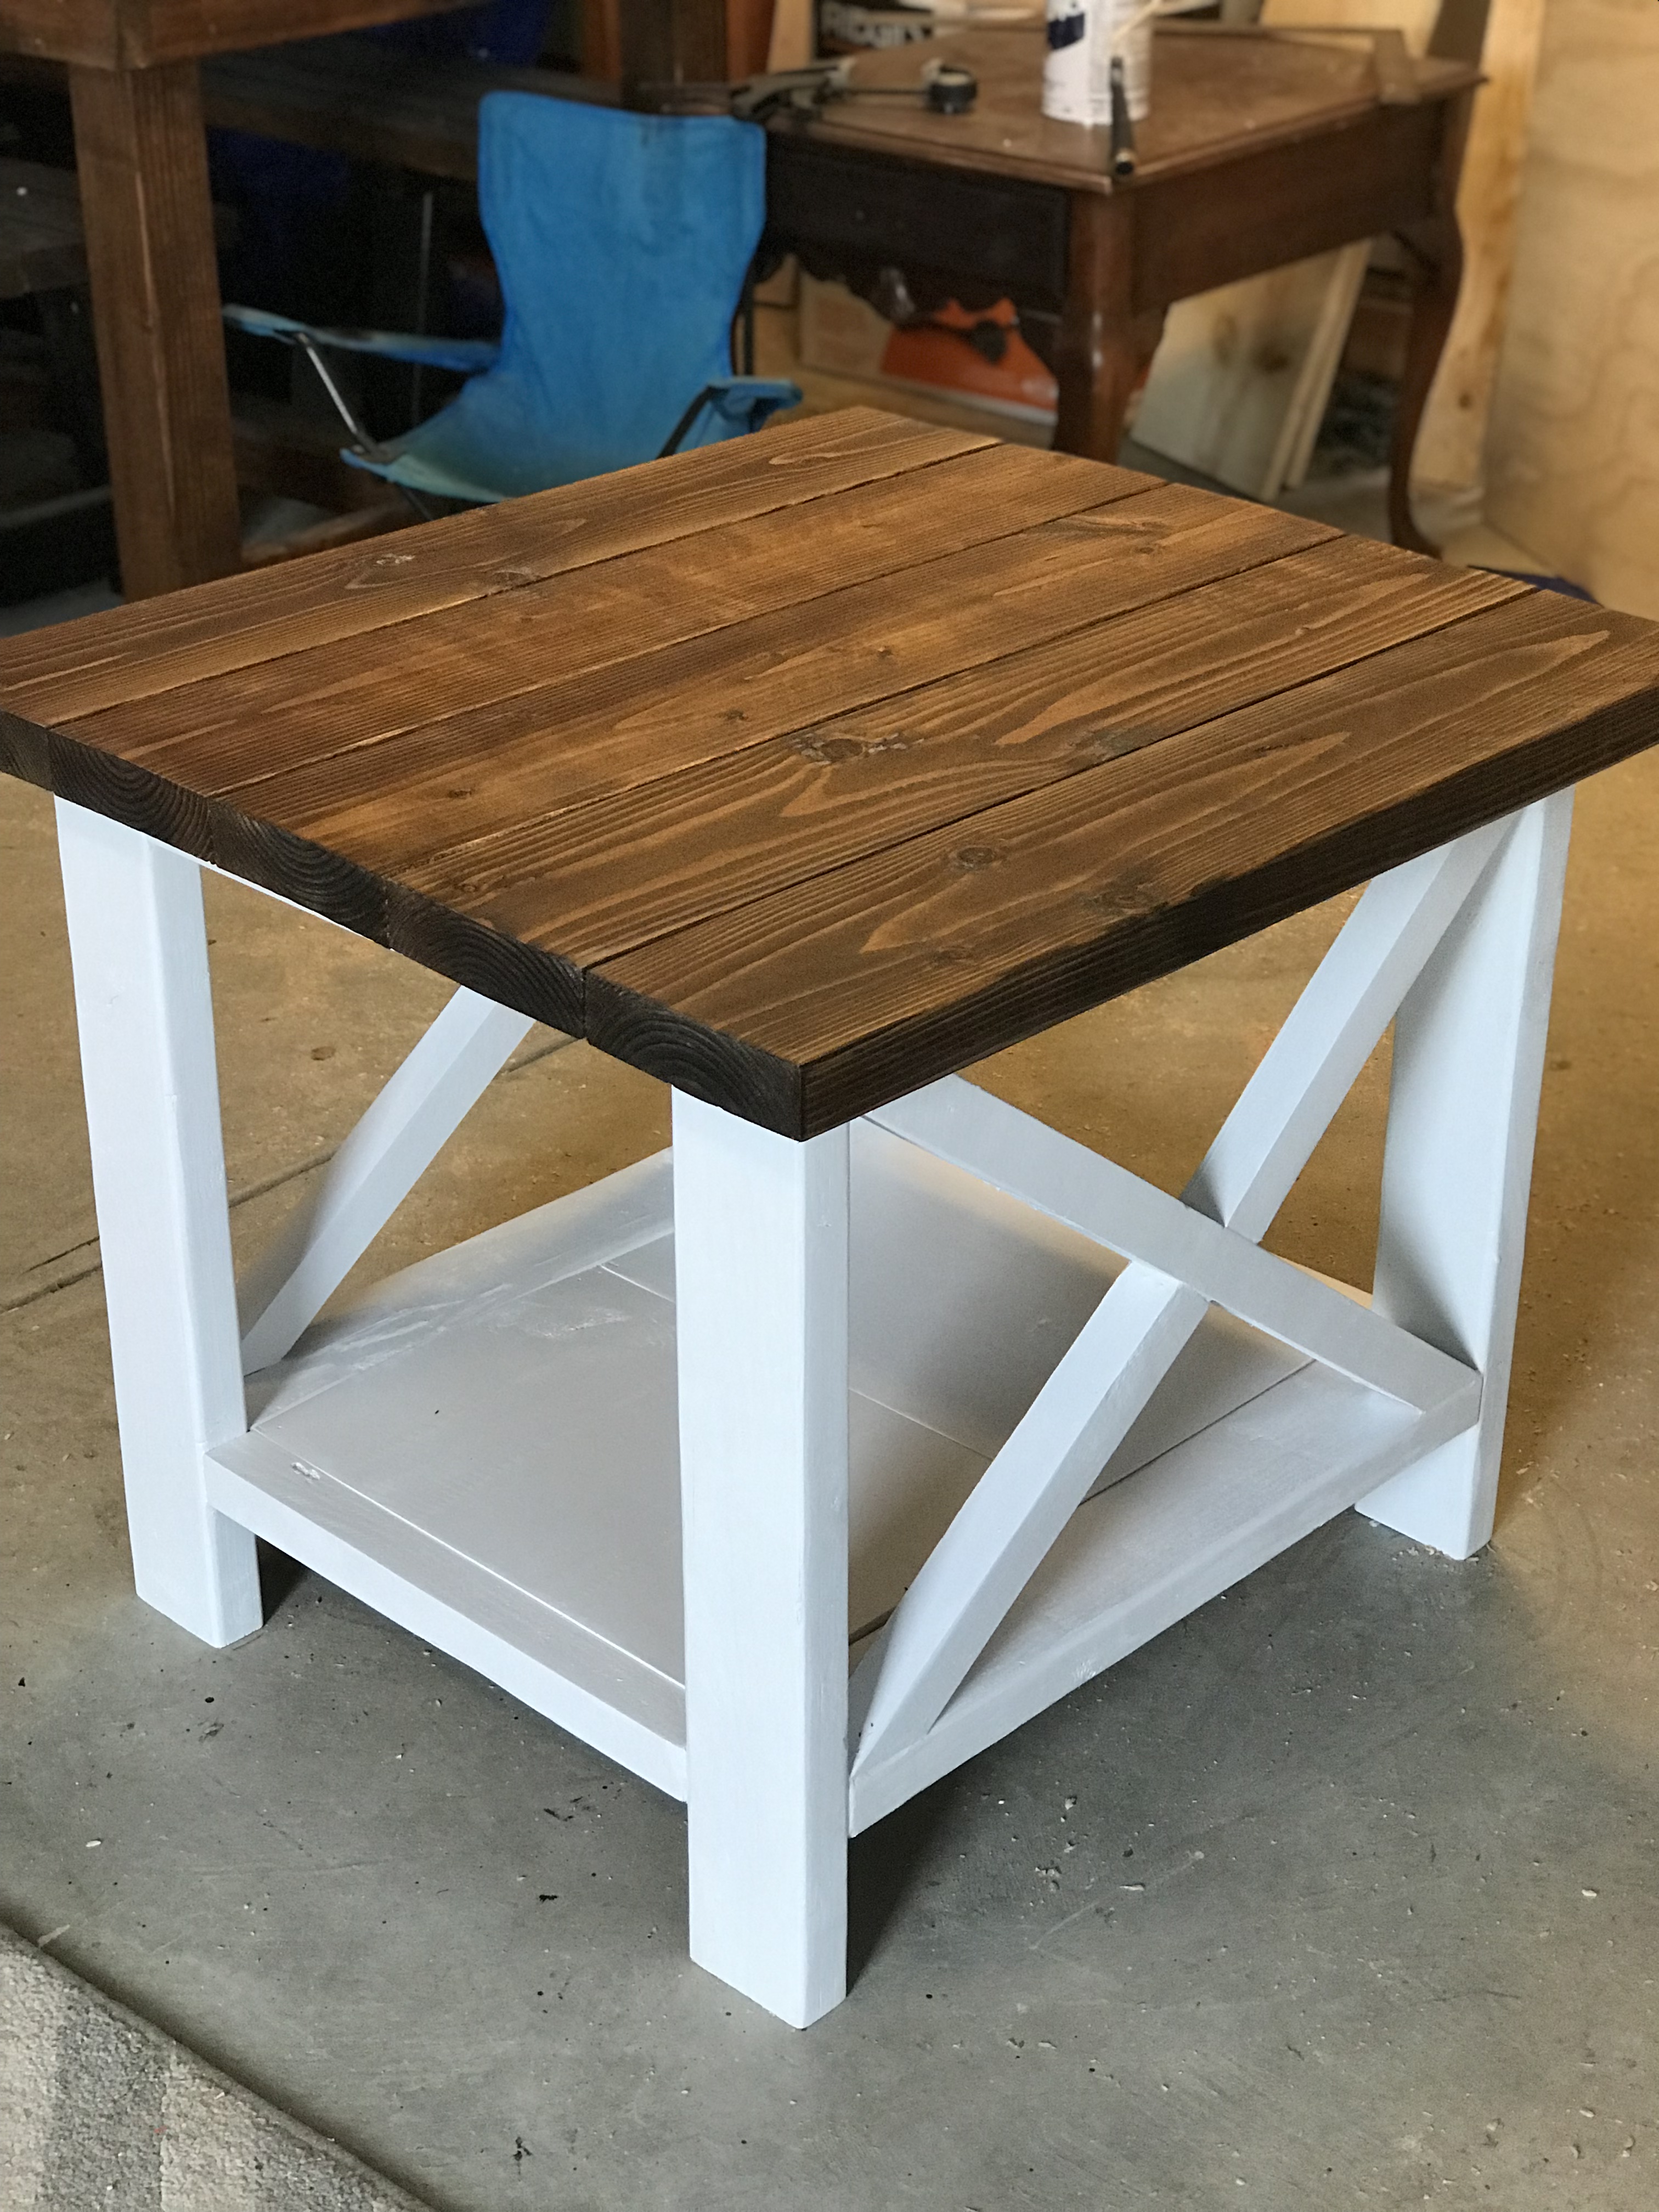
I made these tables from the Ana White plans but for the side table I made it a bit larger to fit the space it was going to be going in. Stained the top varathane Dark Walnut and the bottom I painted white.
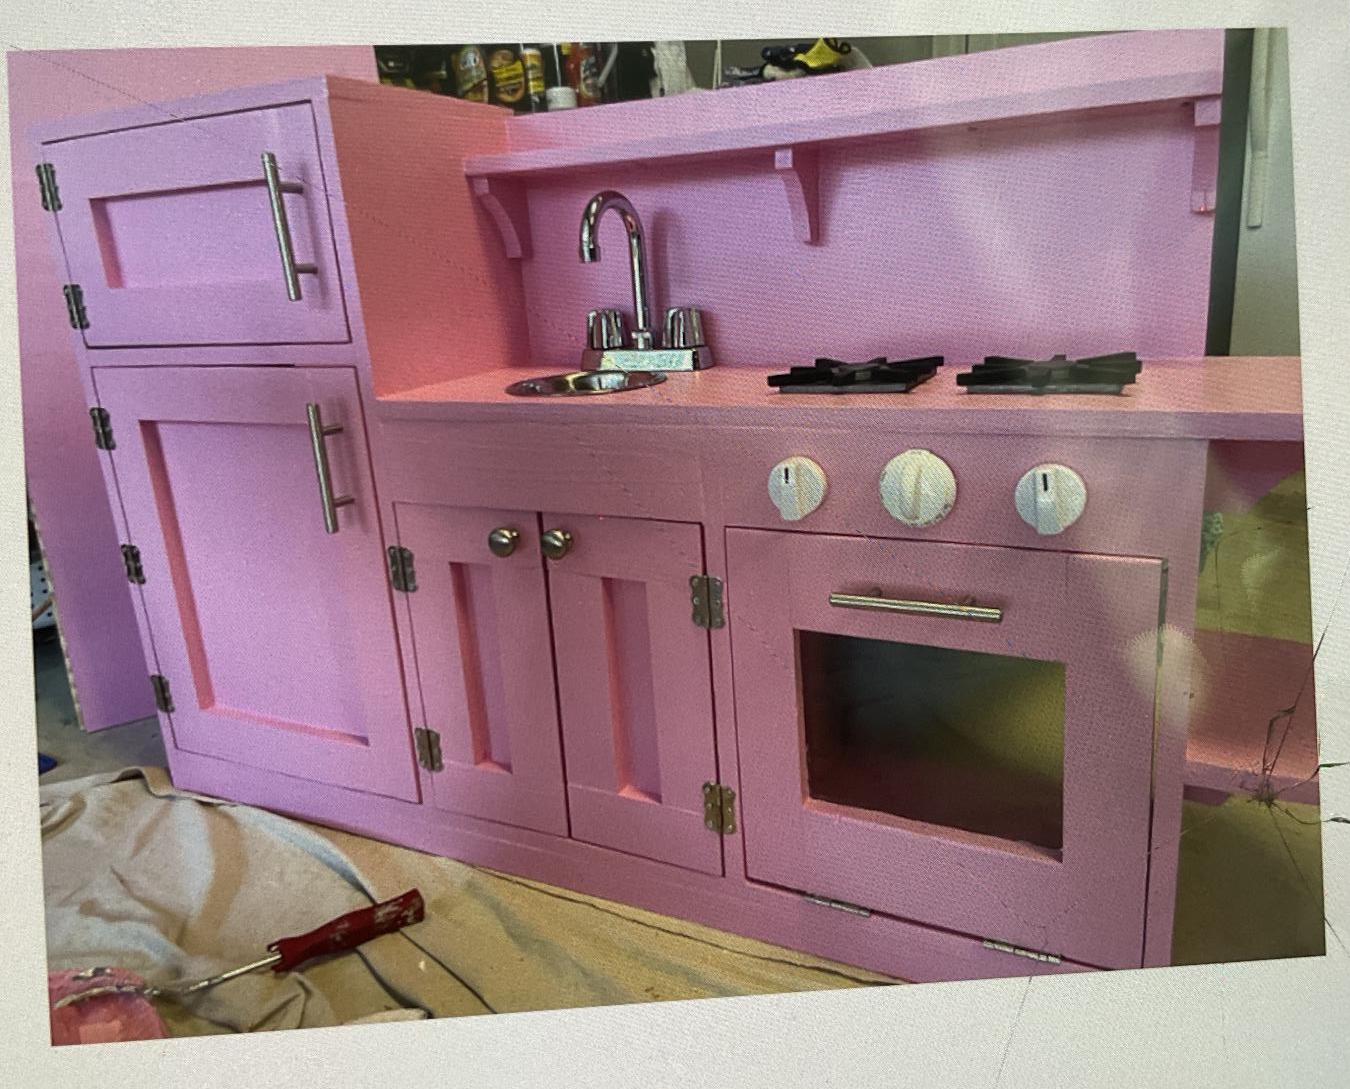
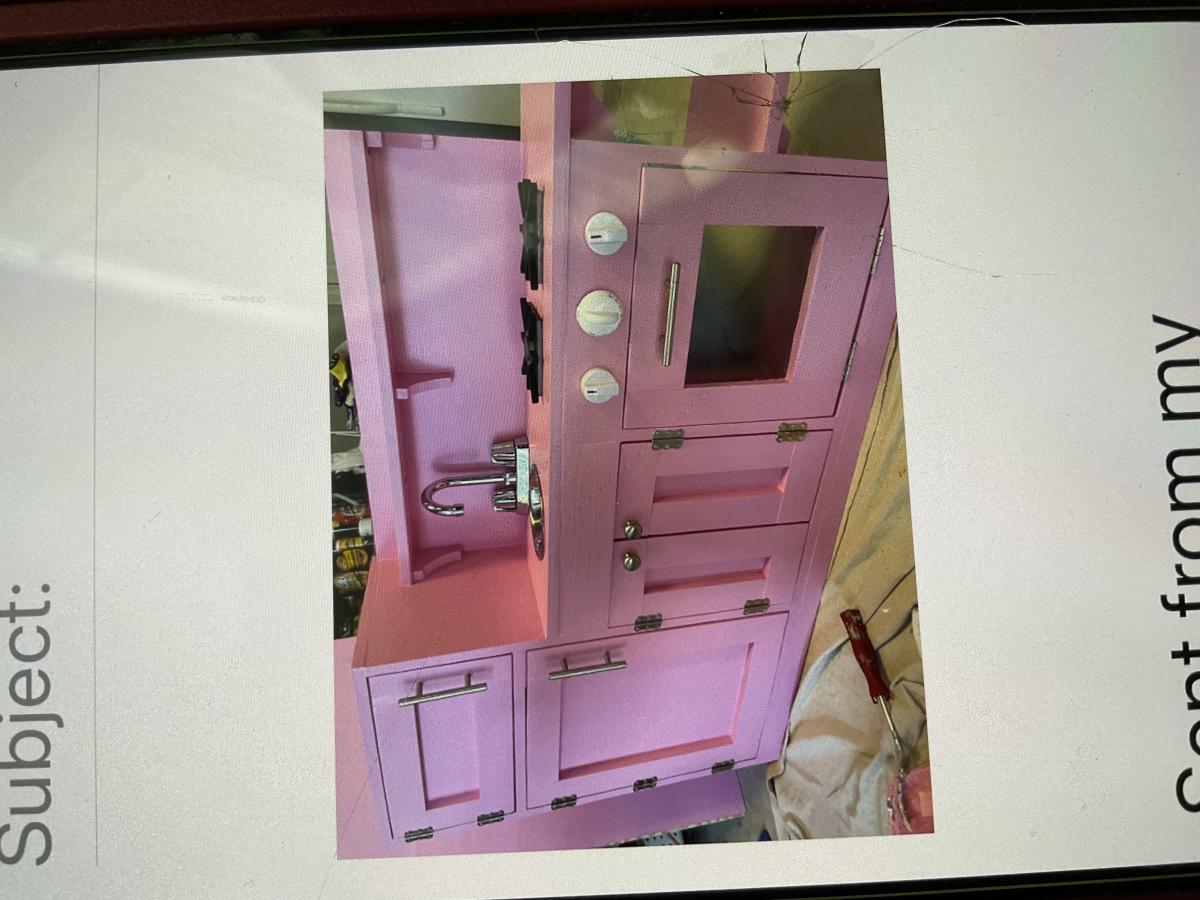
Granddaughter wanted a Pink kitchen for Christmas, so what does Meemaw do ?? She goes to your website and does her research. I completed this kitchen in probably less than 2 weeks.
She abstained loved it, and no one in the family could believe Meemaw built this…
Many thanks..
Fri, 03/10/2023 - 13:27
This is adorable, you are an amazing Meemaw, thank you for sharing!

