Adjustable height side table.
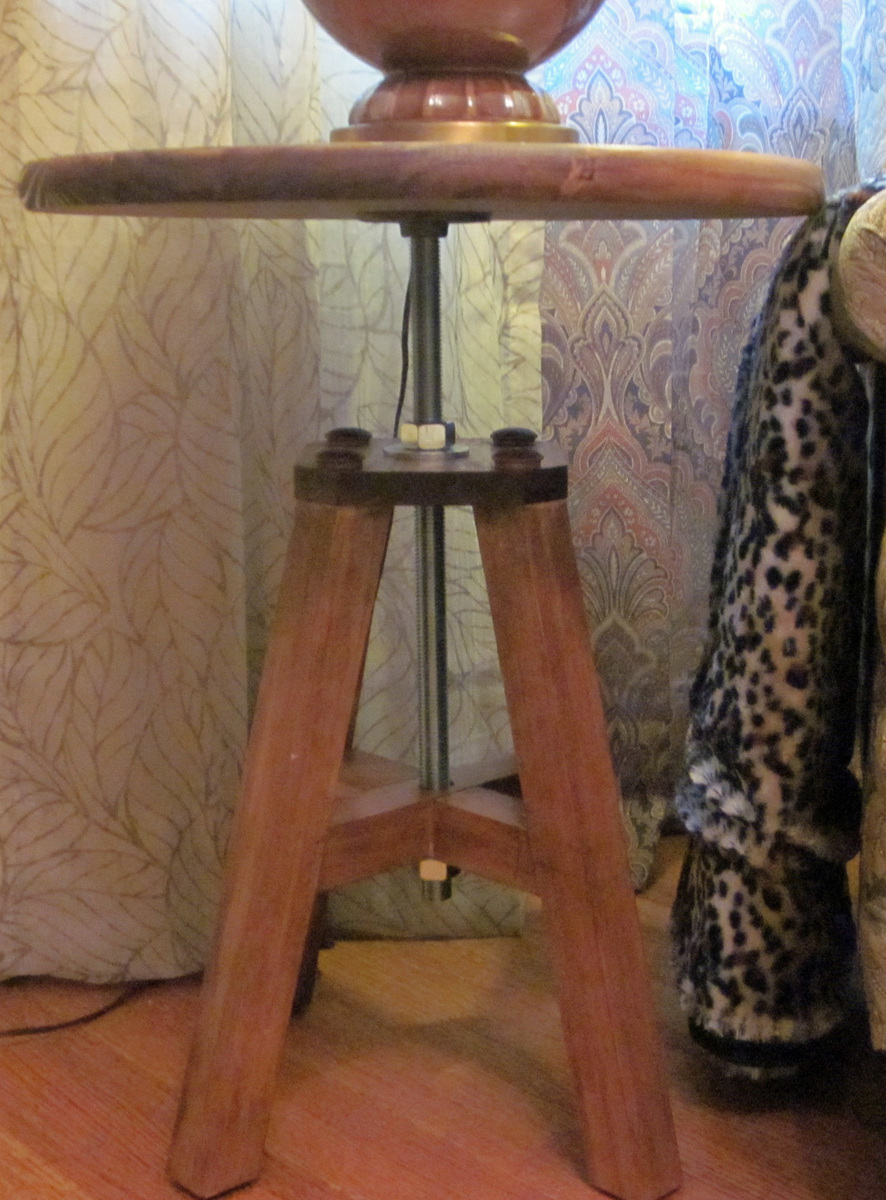
I used a larger, premade top from Home Depot to turn the stool into a side table.
Built from Plan(s)
Recommended Skill Level
Intermediate
I used a larger, premade top from Home Depot to turn the stool into a side table.
Thanks for the plans
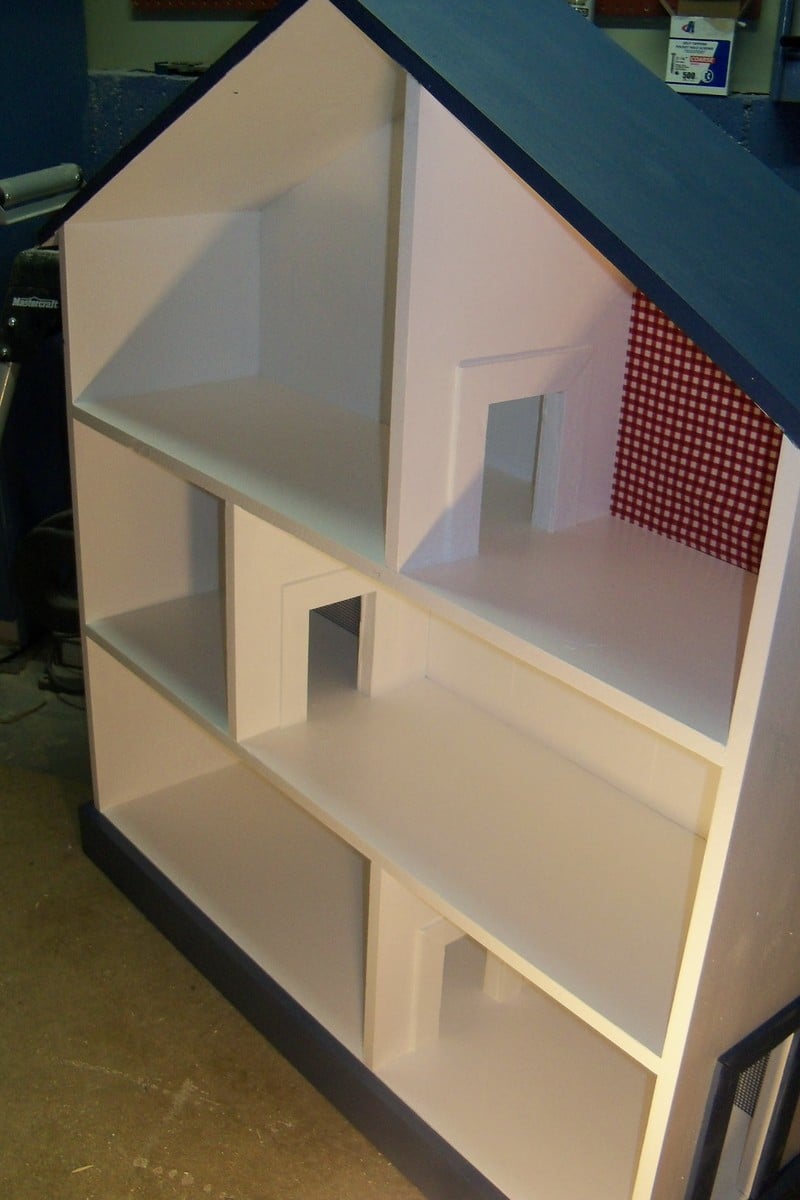
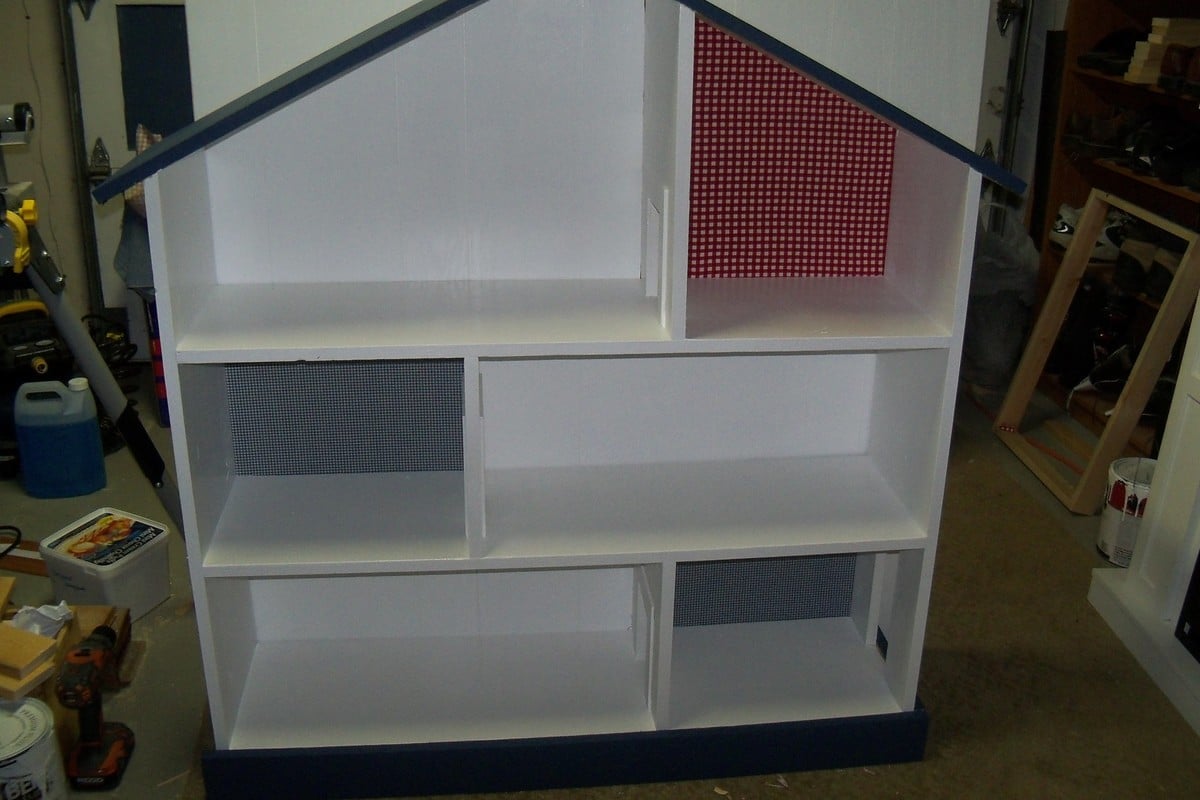
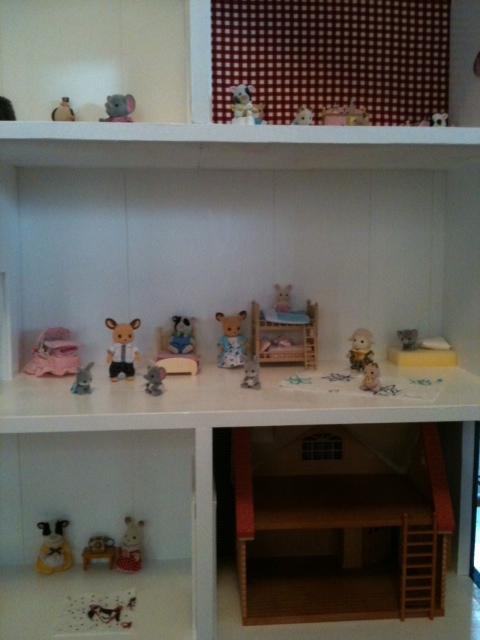
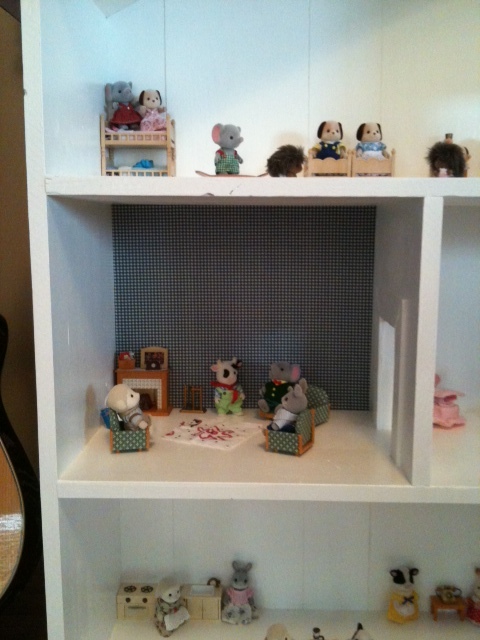
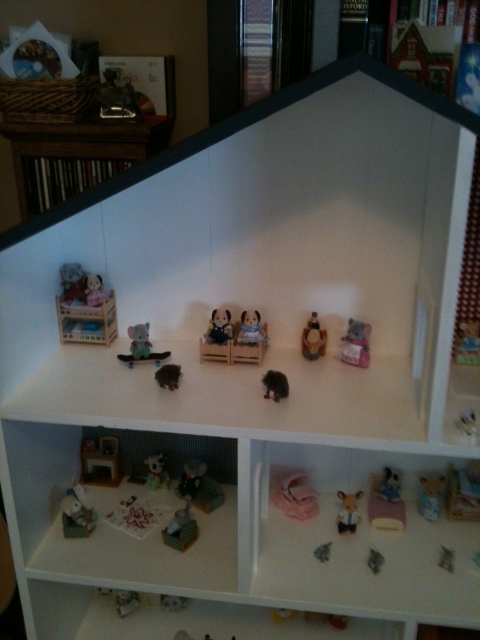
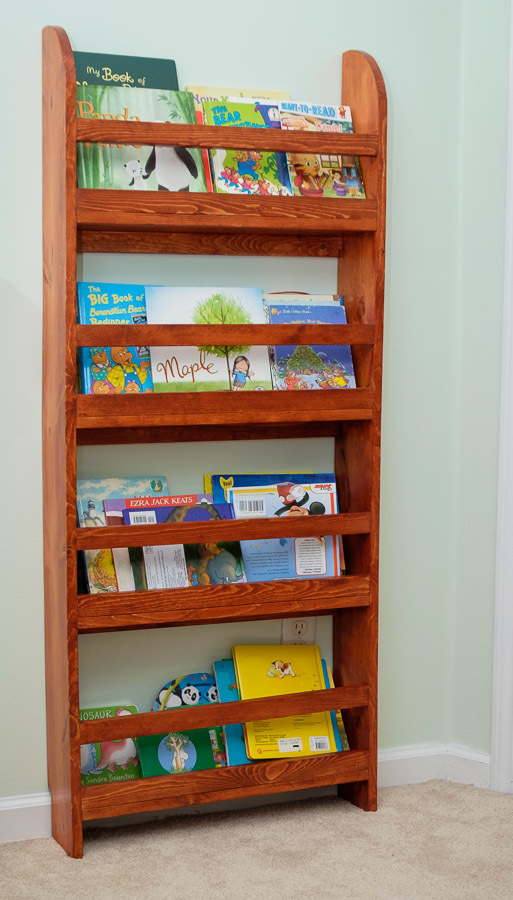
Doll house book shelf: made this for a friend and her daughters. At first I didn't realize my chop saw could not cut the 12 inch wood, had to use my circular with clamps. I think if I build again I might try mdf as it is cheaper or pocket drill some wood together.
This was a bit harder to build than I thought it would be had help from hubby!
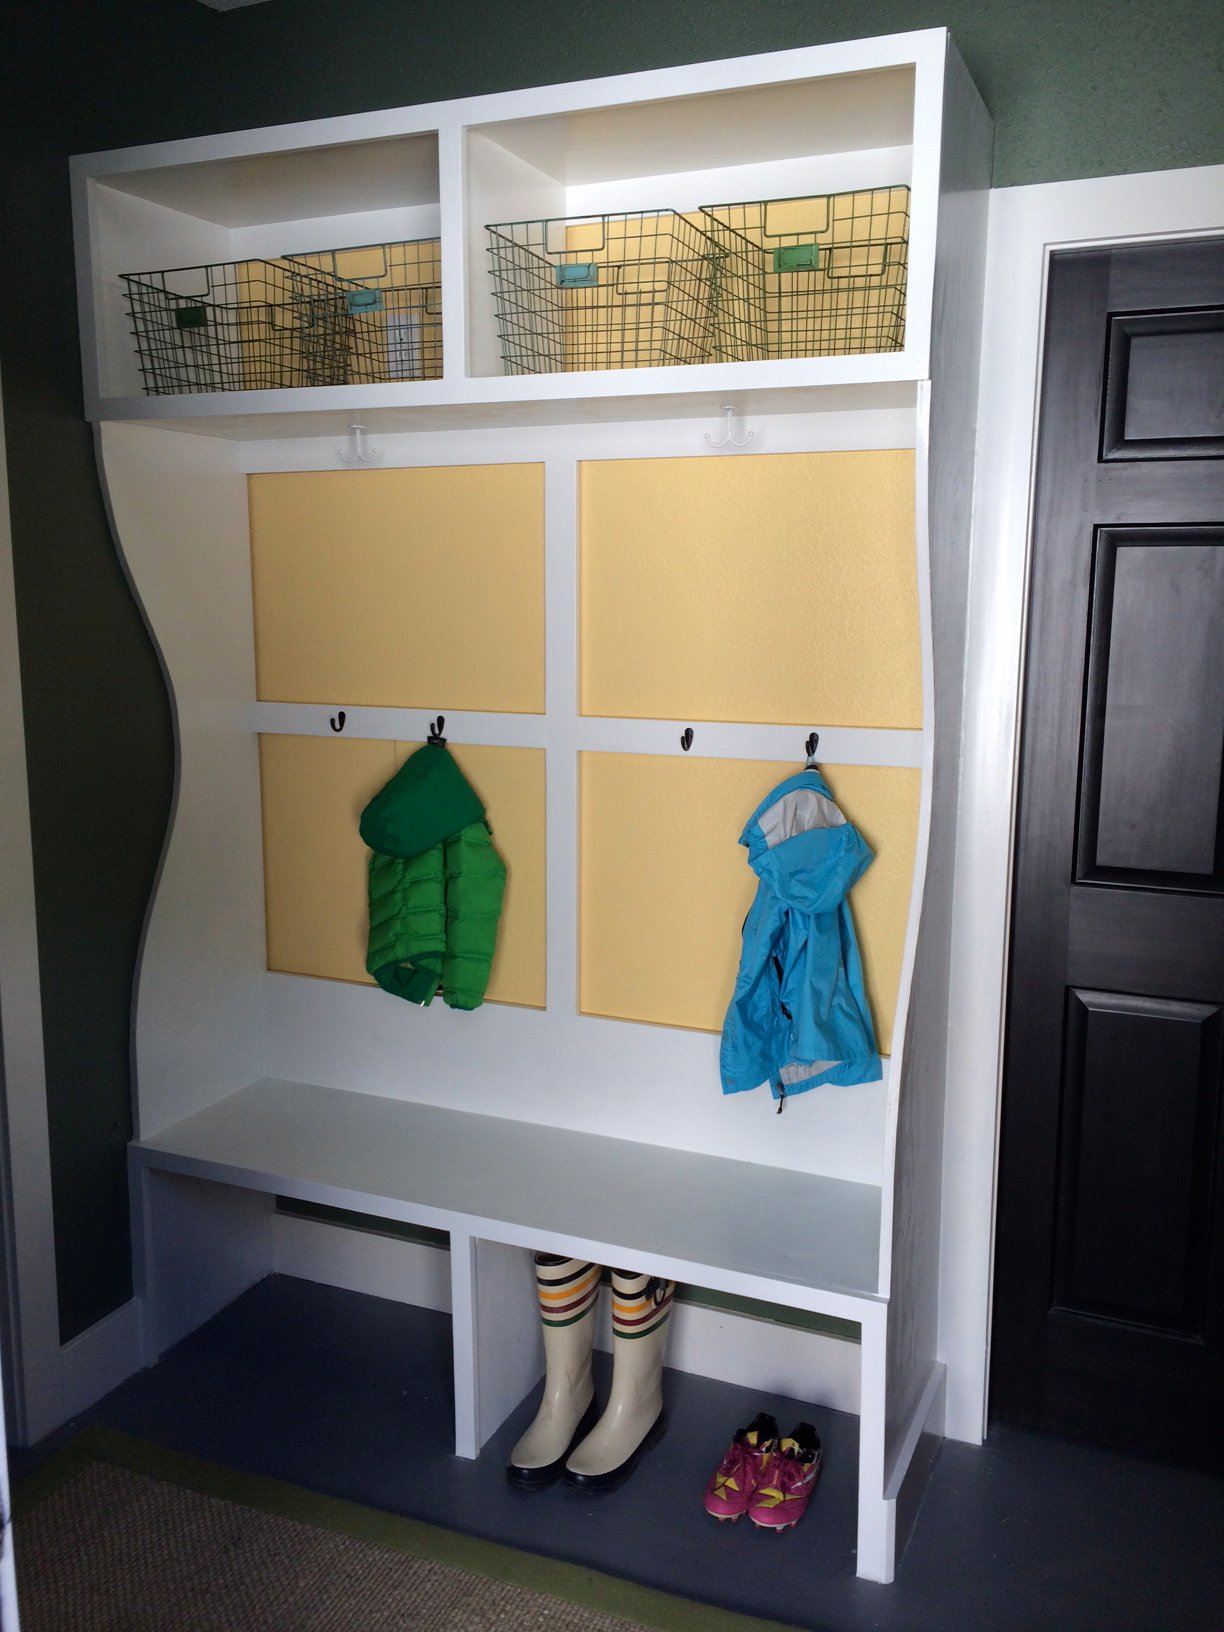
I used the Smiling Mudroom as a starting point, but had to make some modifications for size and to accomodate the fact that I couldn't secure much to the wall behind the bench because there is a pocket door in that wall.
The main difference in my plans is that the sides of the cubby/bench are continuous instead of broken into Cubby, Divider, and Bench. I think it would have been easier to keep things square (which I didn't, really) and certainly could have moved it all by myself without any husband help (but he needed to feel useful, right?) if I had built it as separate pieces. But, it was worth a shot.
Up close it's a bit rough looking here and there because I got the plywood that is only sanded on one side (Home Depot guy was less than helpful when I asked to find the furniture plywood). So I had to do a lot of extra sanding and filling myself and at some point I just threw up my hands and said "RUSTIC! It's done."
Minor errors aside, I am really happy with this. It was my first big project, and first one with the Kreg jig, and I had fun.
Wed, 10/08/2014 - 20:40
If there are any "minor errors" on your build, they're not visible in the picture! It looks gorgeous to me! :)
please sample my other work at the adress provided below.
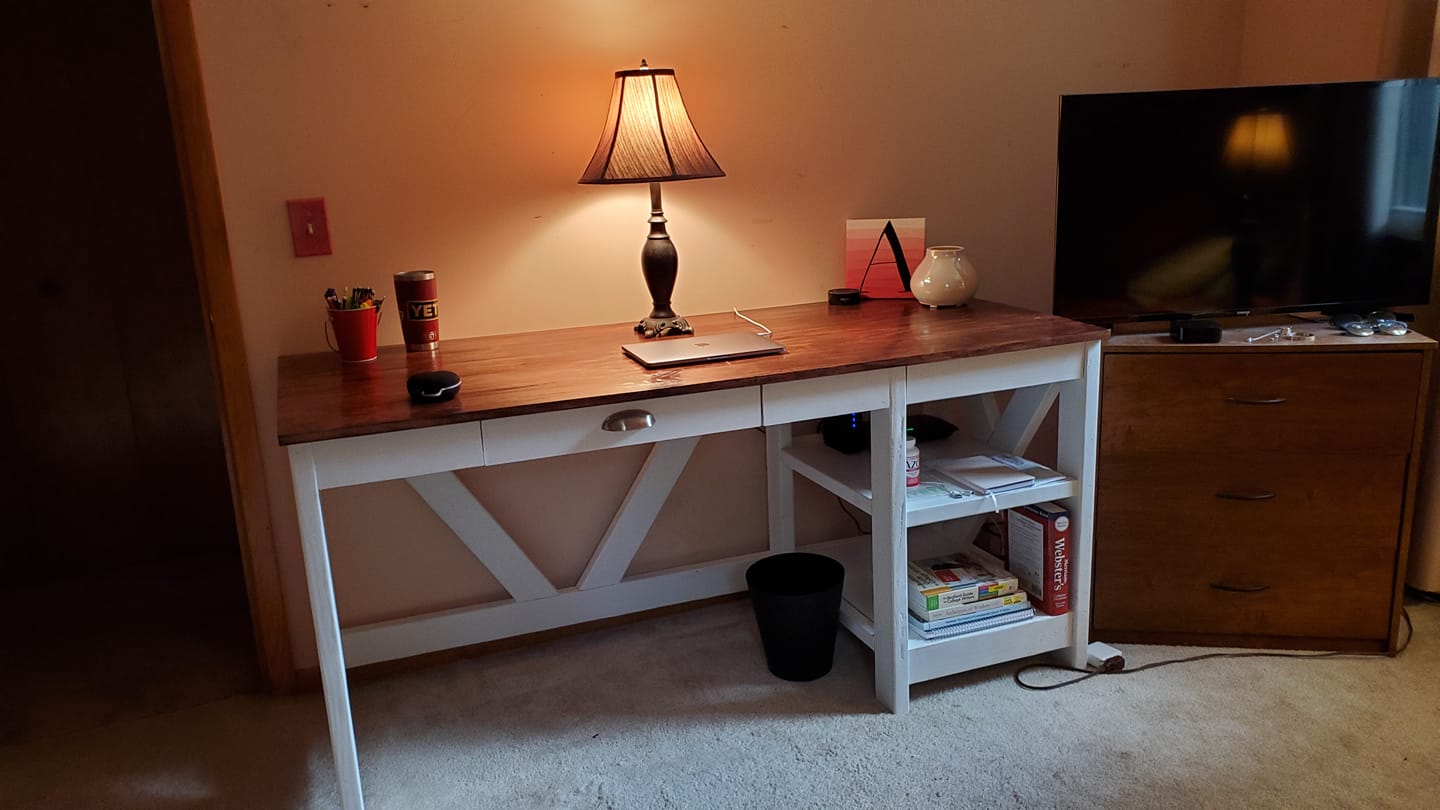
I used the plans from Handmade Haven and added a pencil drawer with dovetails
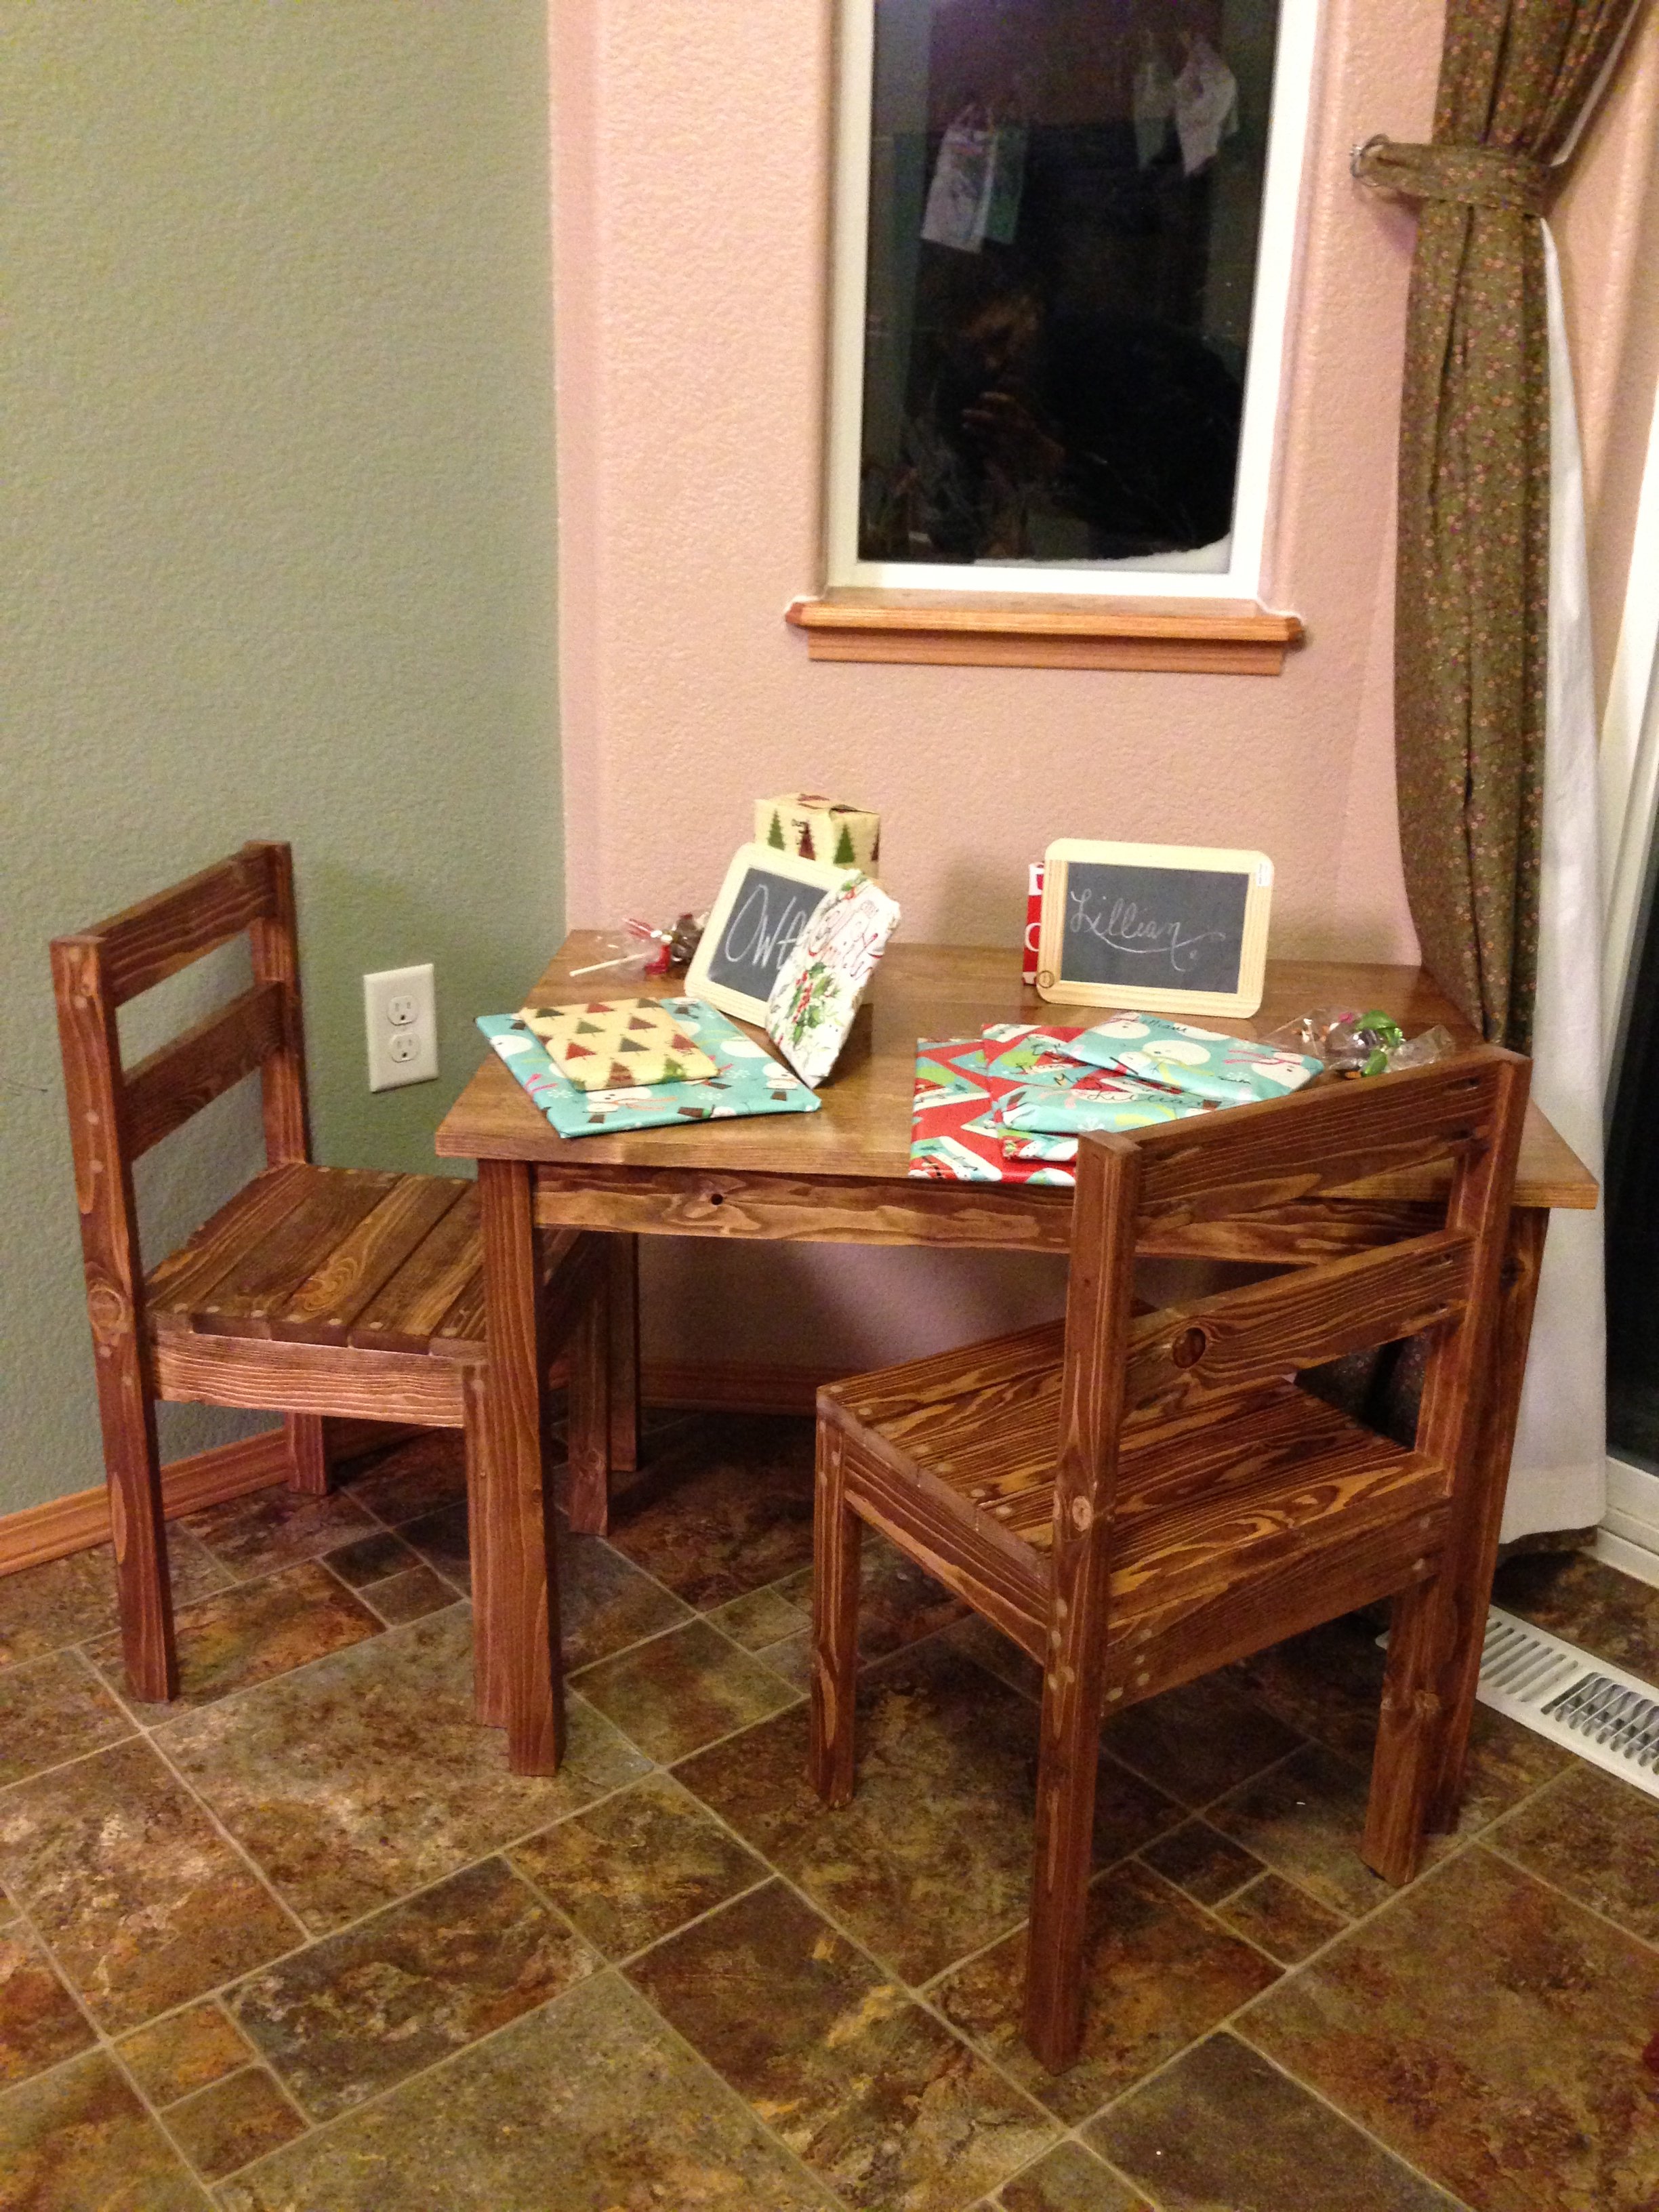
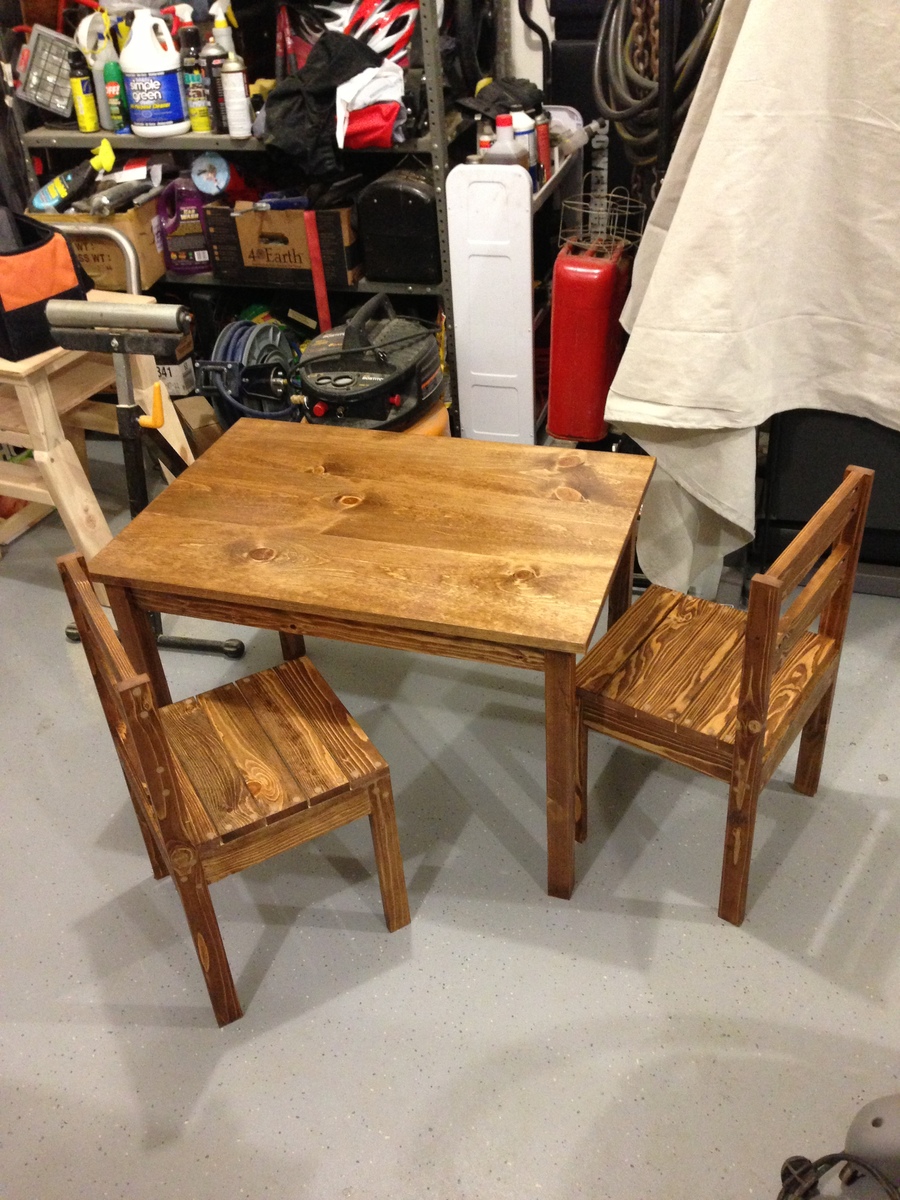
I recently built the Clara table and the four dollar stack-able chairs for my two kids as a Christmas present. Like most plans on this site, they were easy to follow and the materials were easy to find. I own a Kreg pocket hole jig, so putting the pieces together was really easy. It took me about two hours a chair and around three to assemble the table. I used glue along with the pocket holes, so the joints are nice and strong.
I sanded and finished the table and chairs with a stain called "Early American" and I thought it turned out nicely. I also coated the table top with a polyurethane, to give it a nice, durable finish. Not only did it add some shine to the top, but also made the #2 pine I used much more kid resistant!
Thanks again for the great plans, I look forward to building more.
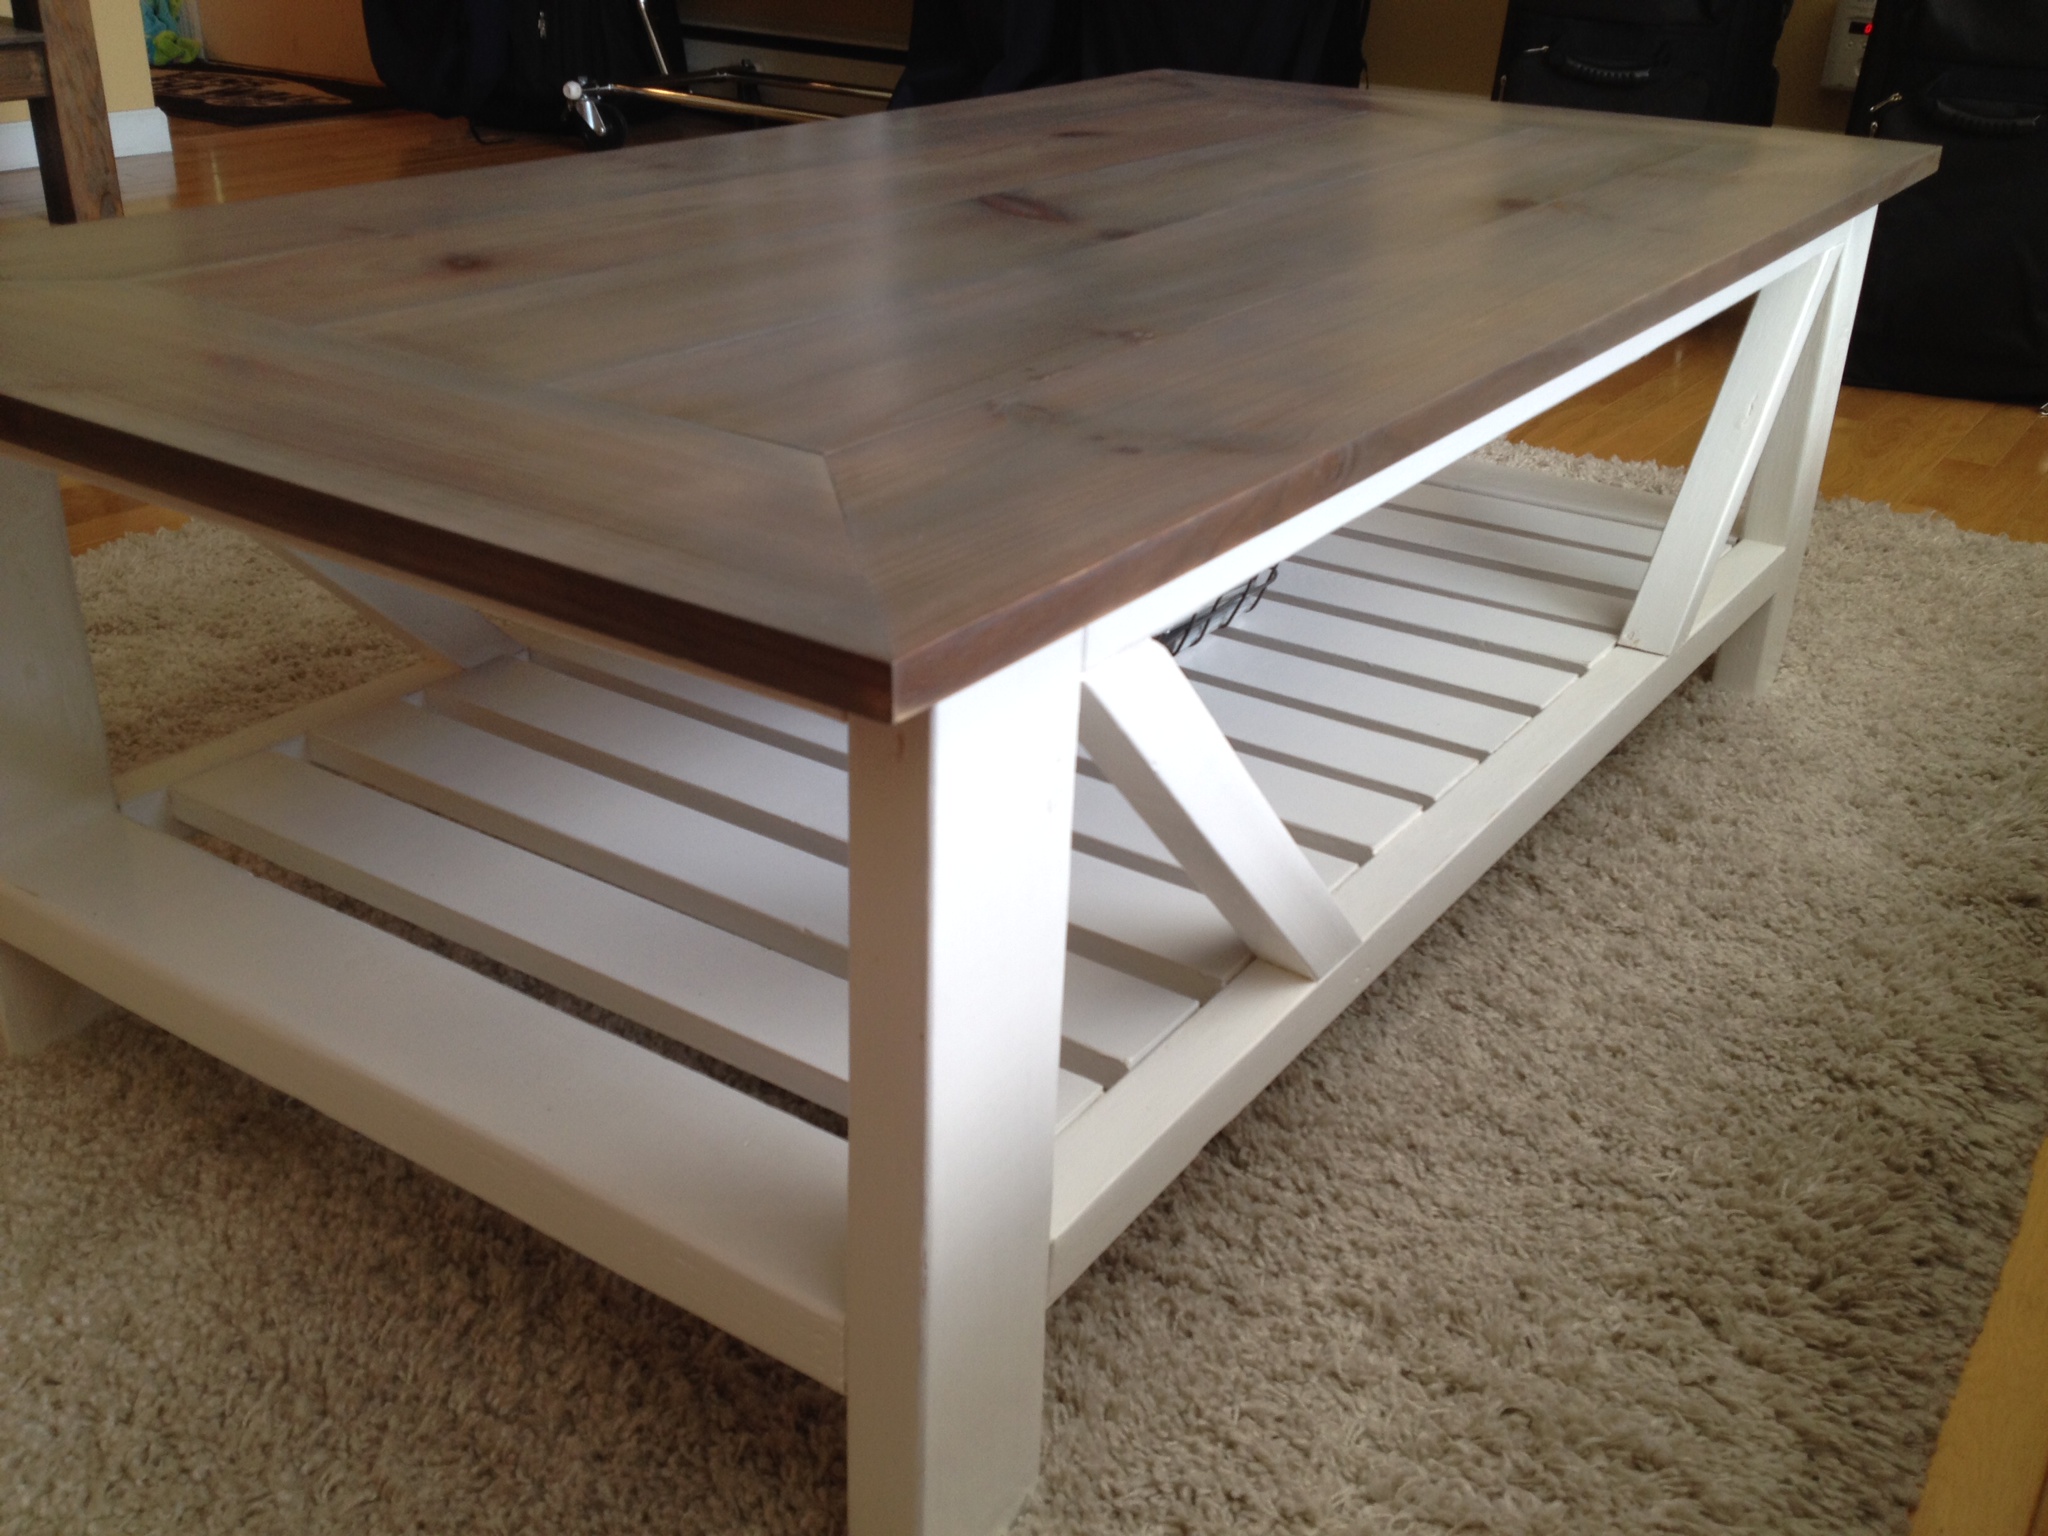
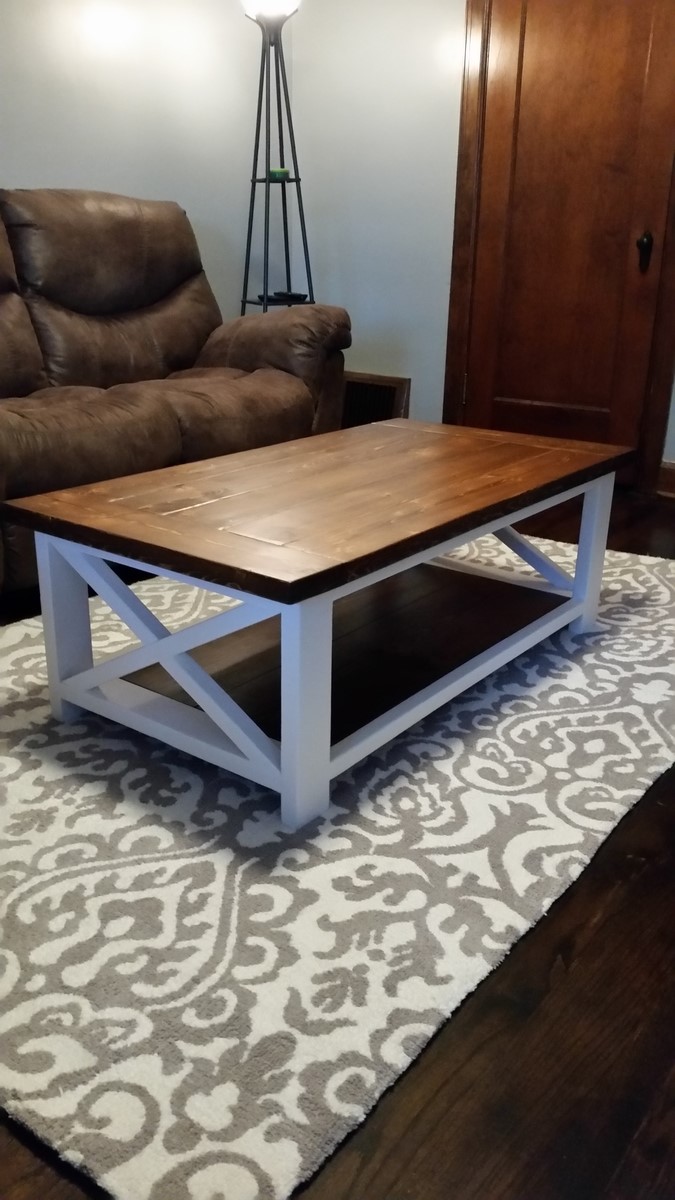
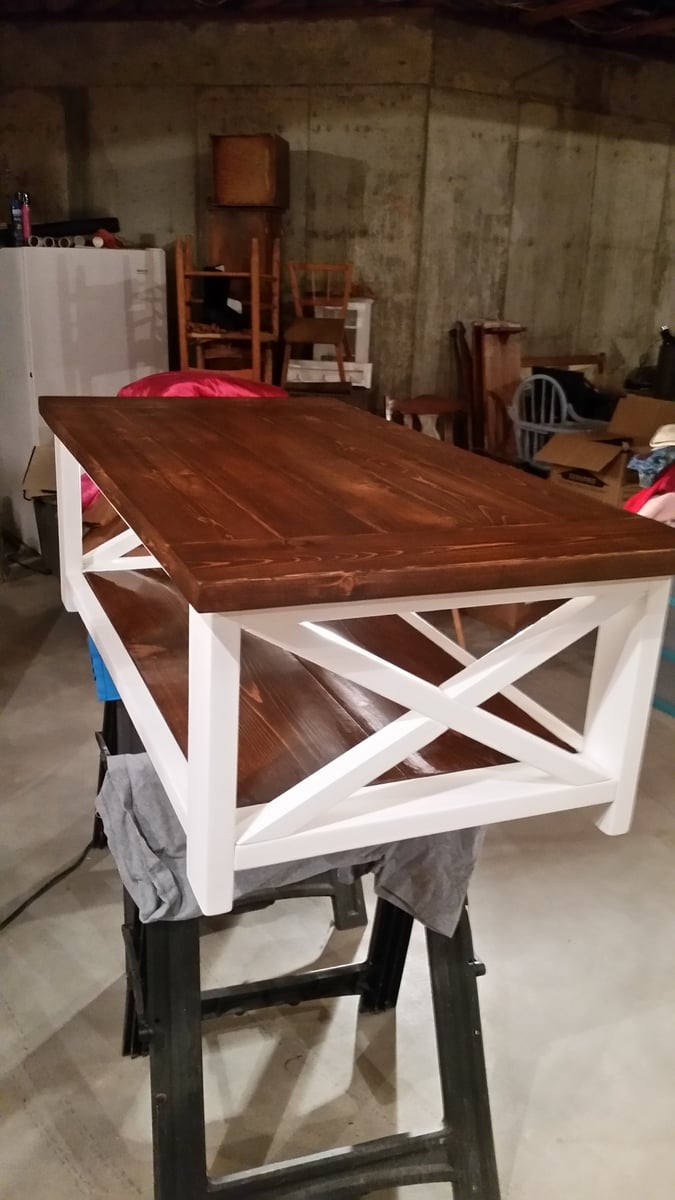
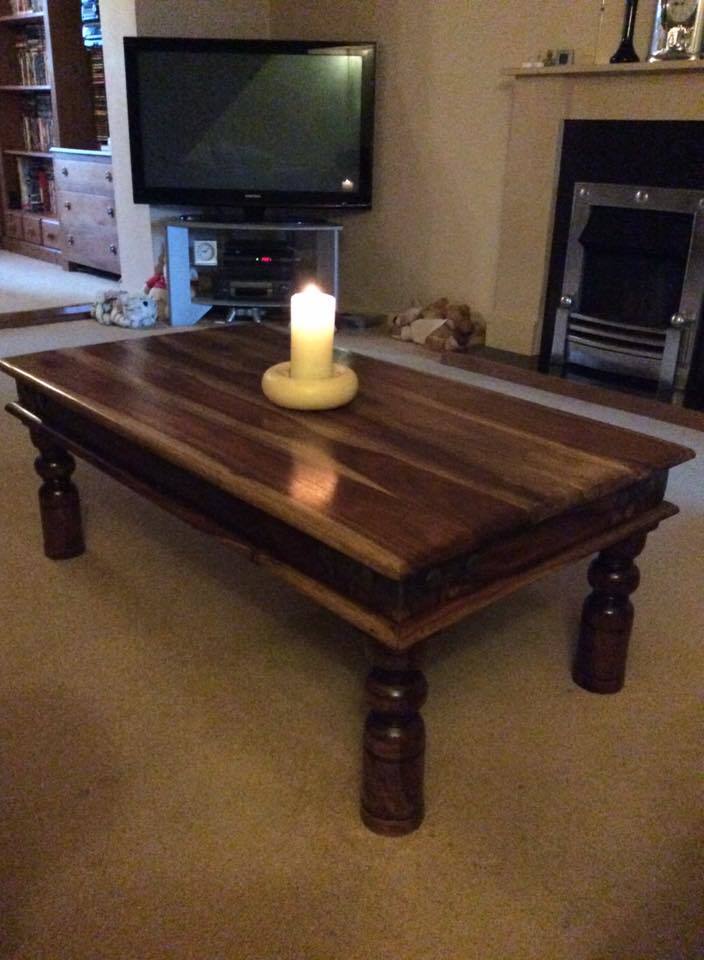
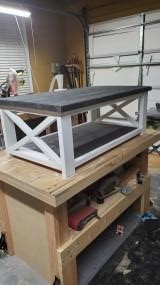
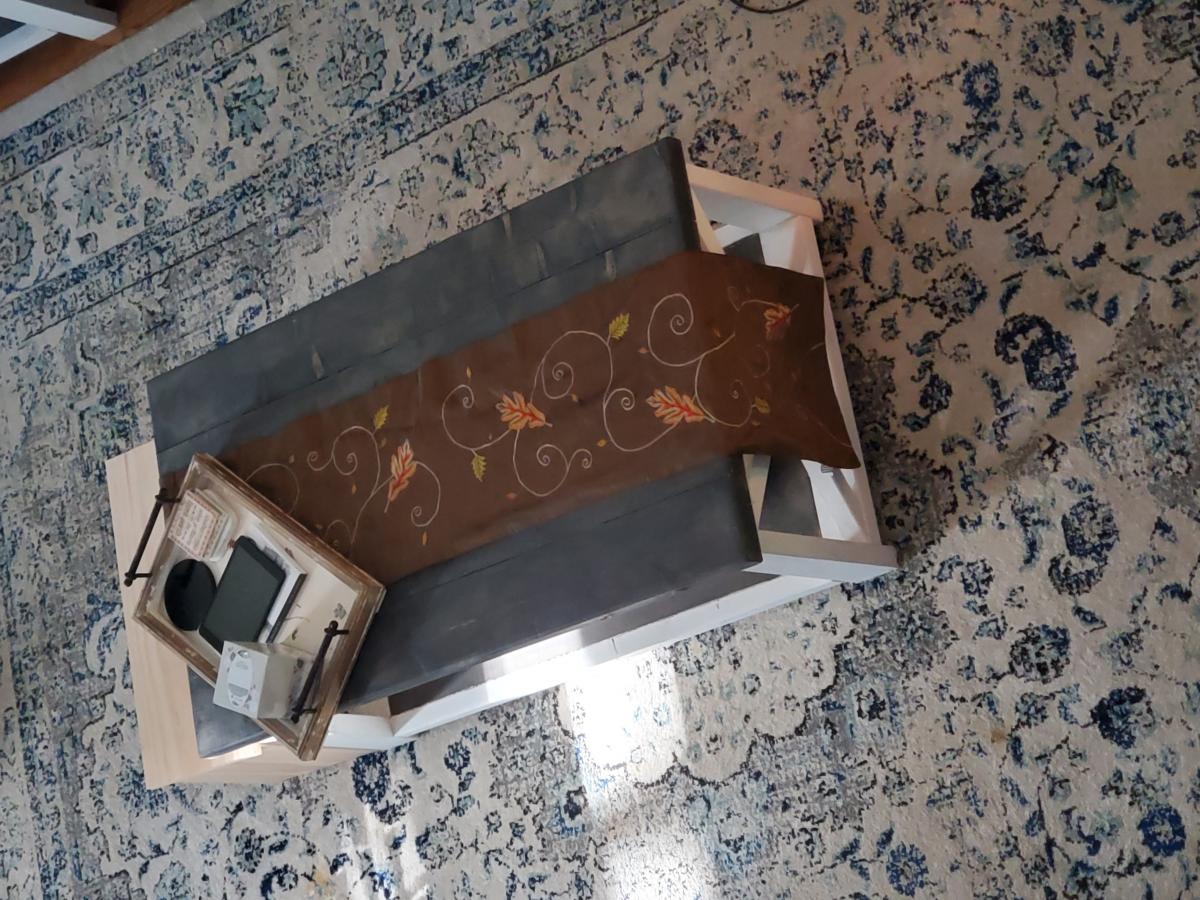
I was really looking forward to building this coffee table for a while. I followed the base plans for the Rustic X Coffee table and added my own twist. I planked 1x3's for the bottom instead of using a solid bottom shelf to give it a "beachy" feel. I also used 1x6's for the top instead of 2x's to give it a lighter feel. I framed out the top so there were no exposed edges. Instead of the X's, I took 2x2's and angled them in the front and back. I know it's very different than the original plans but I had this design in my head and I absolutely love it! Thanks for the plans!


Sun, 10/26/2014 - 14:08
Hi! Sorry it took so long to respond! I did the dimensions the same, so I kept the top 52" x 27.5". I did a 45 degree cut for the outside boards, making the longest sides 52" and 27.5". Then I calculated the distance for the middle boards. Since I used 1x6's, which are actually 5.5" wide, I did 52" minus 5.5" minus 5.5", since there are two end pieces to the frame, which gave me 41" for the inside boards. But measuring the inside boards when the outside frame is attached is a better way because then you know exactly what to cut them at. Just make sure the top's frame angle's are cut precise and you should have no problem! Hope that makes sense and if you have any other questions let me know!
Fri, 07/03/2015 - 09:24
This is my favourite take on the X table. Great idea! It looks fantastic.
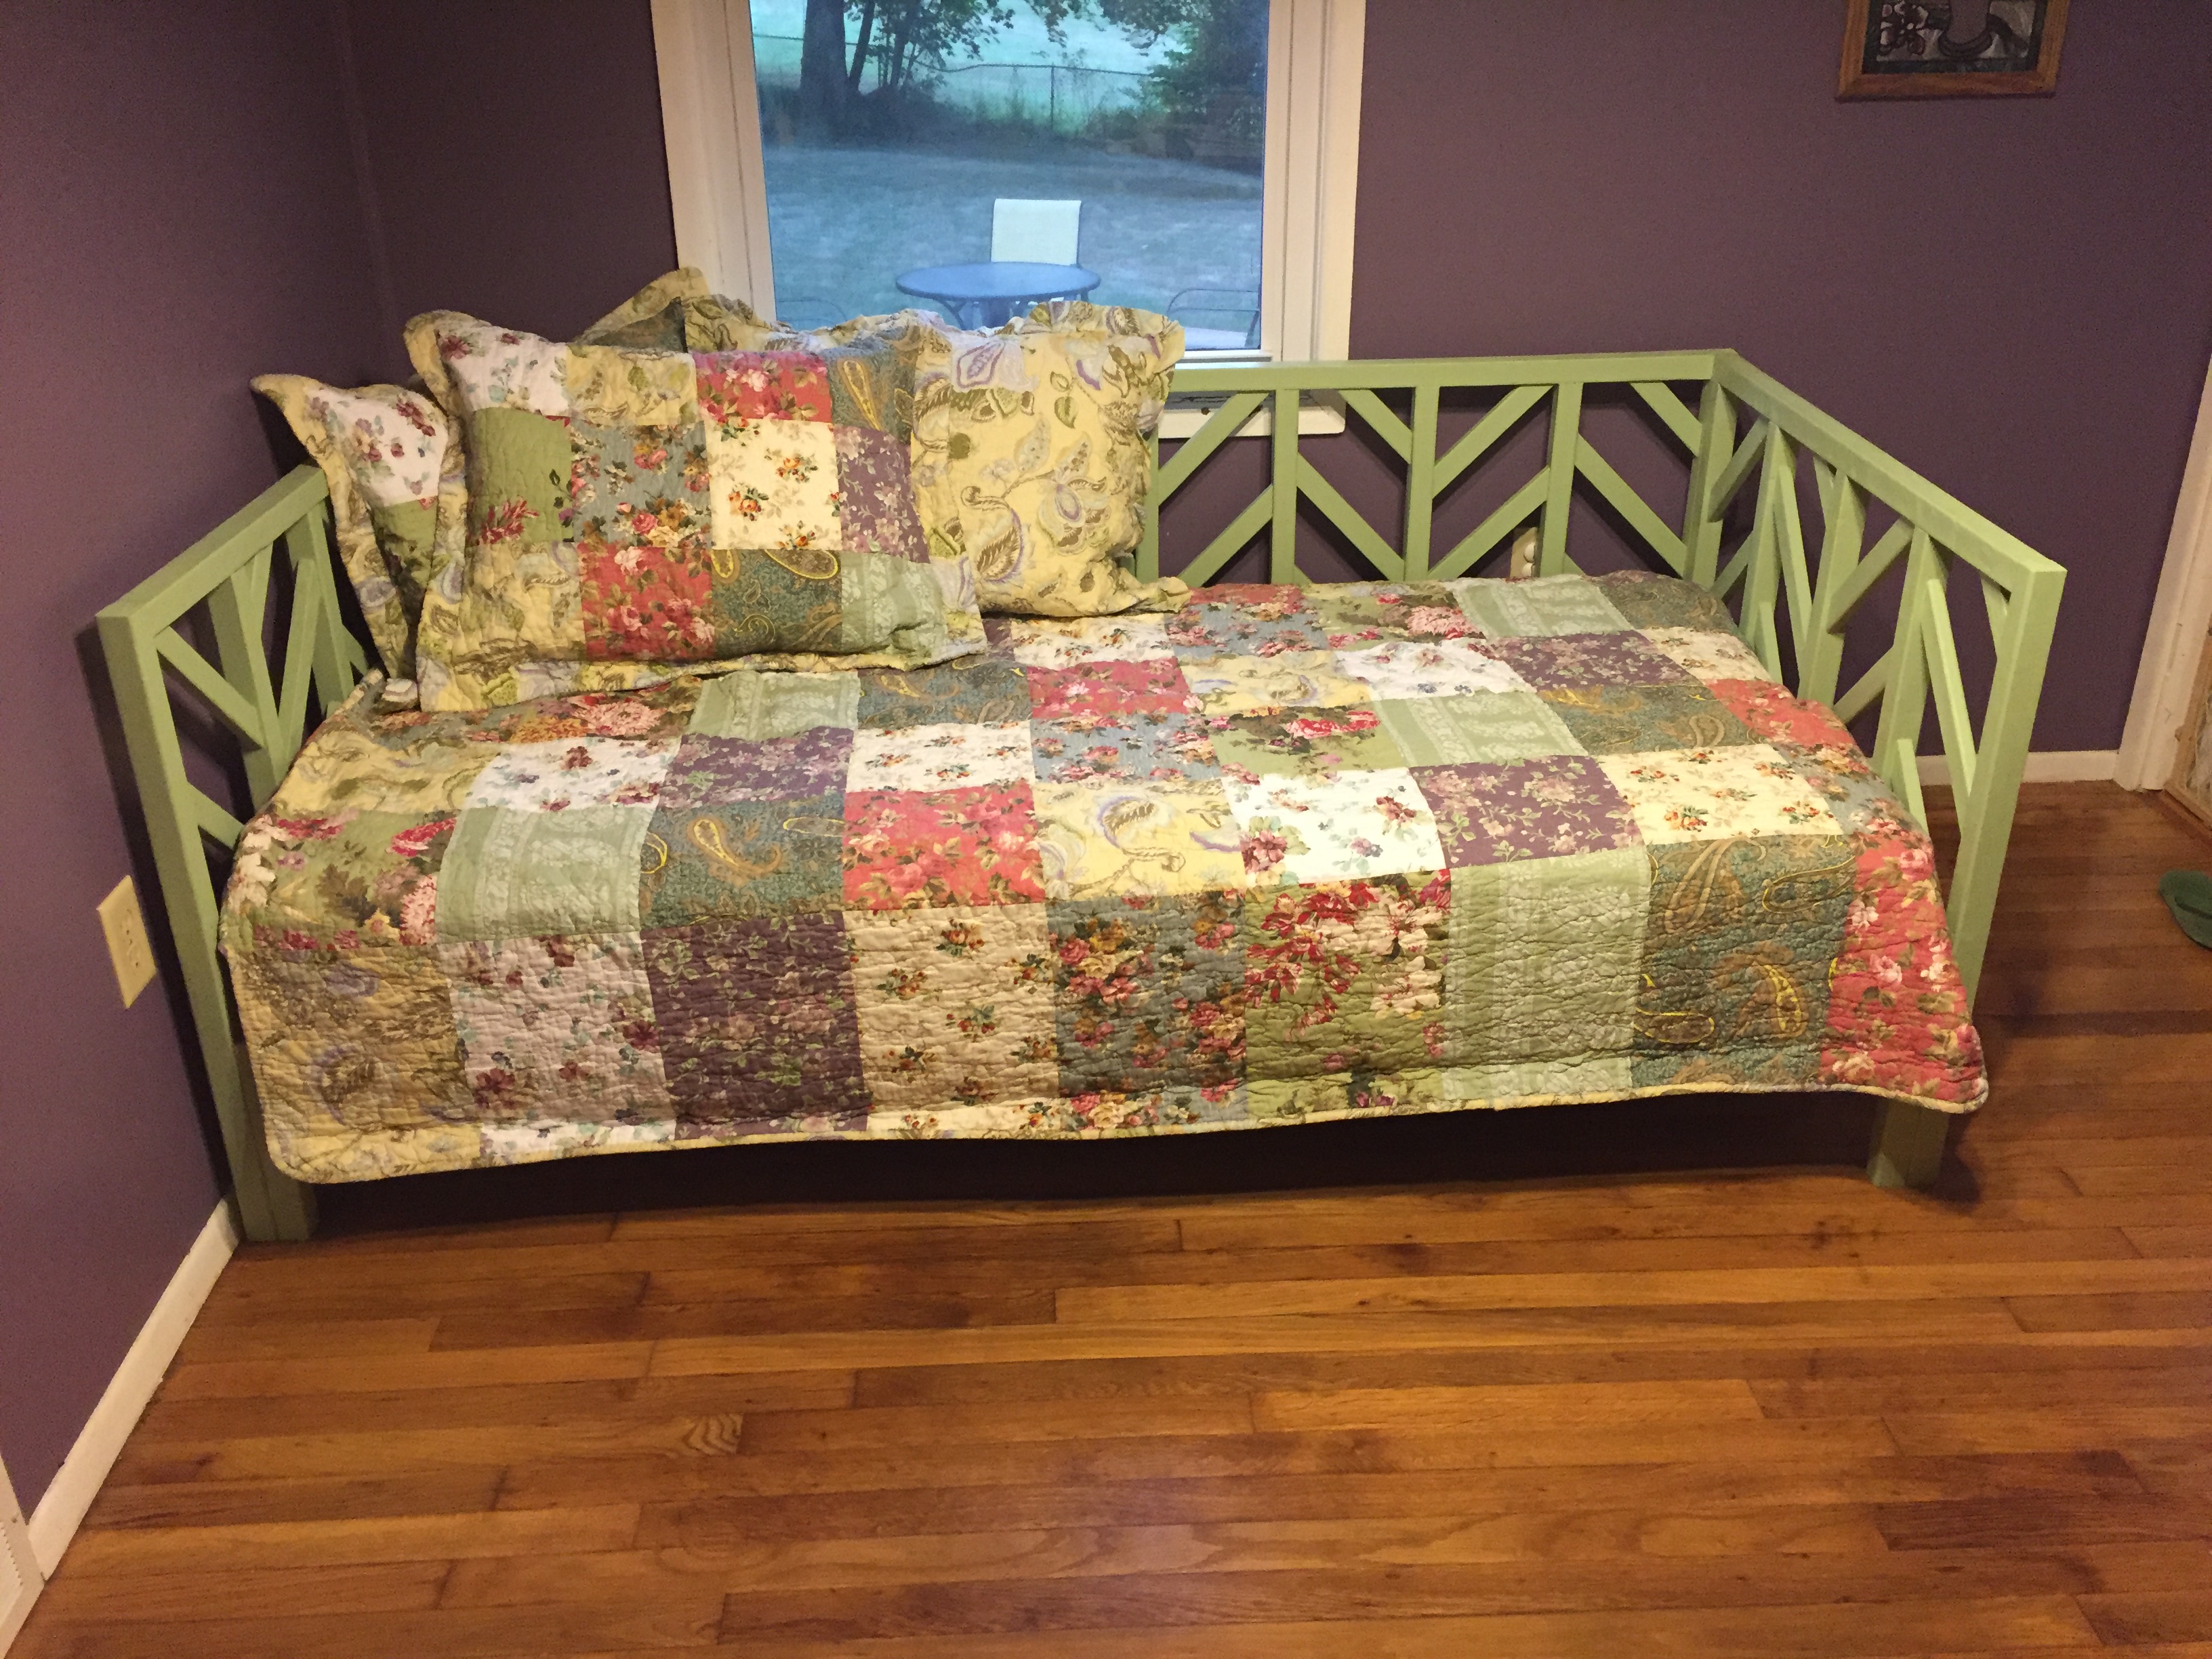
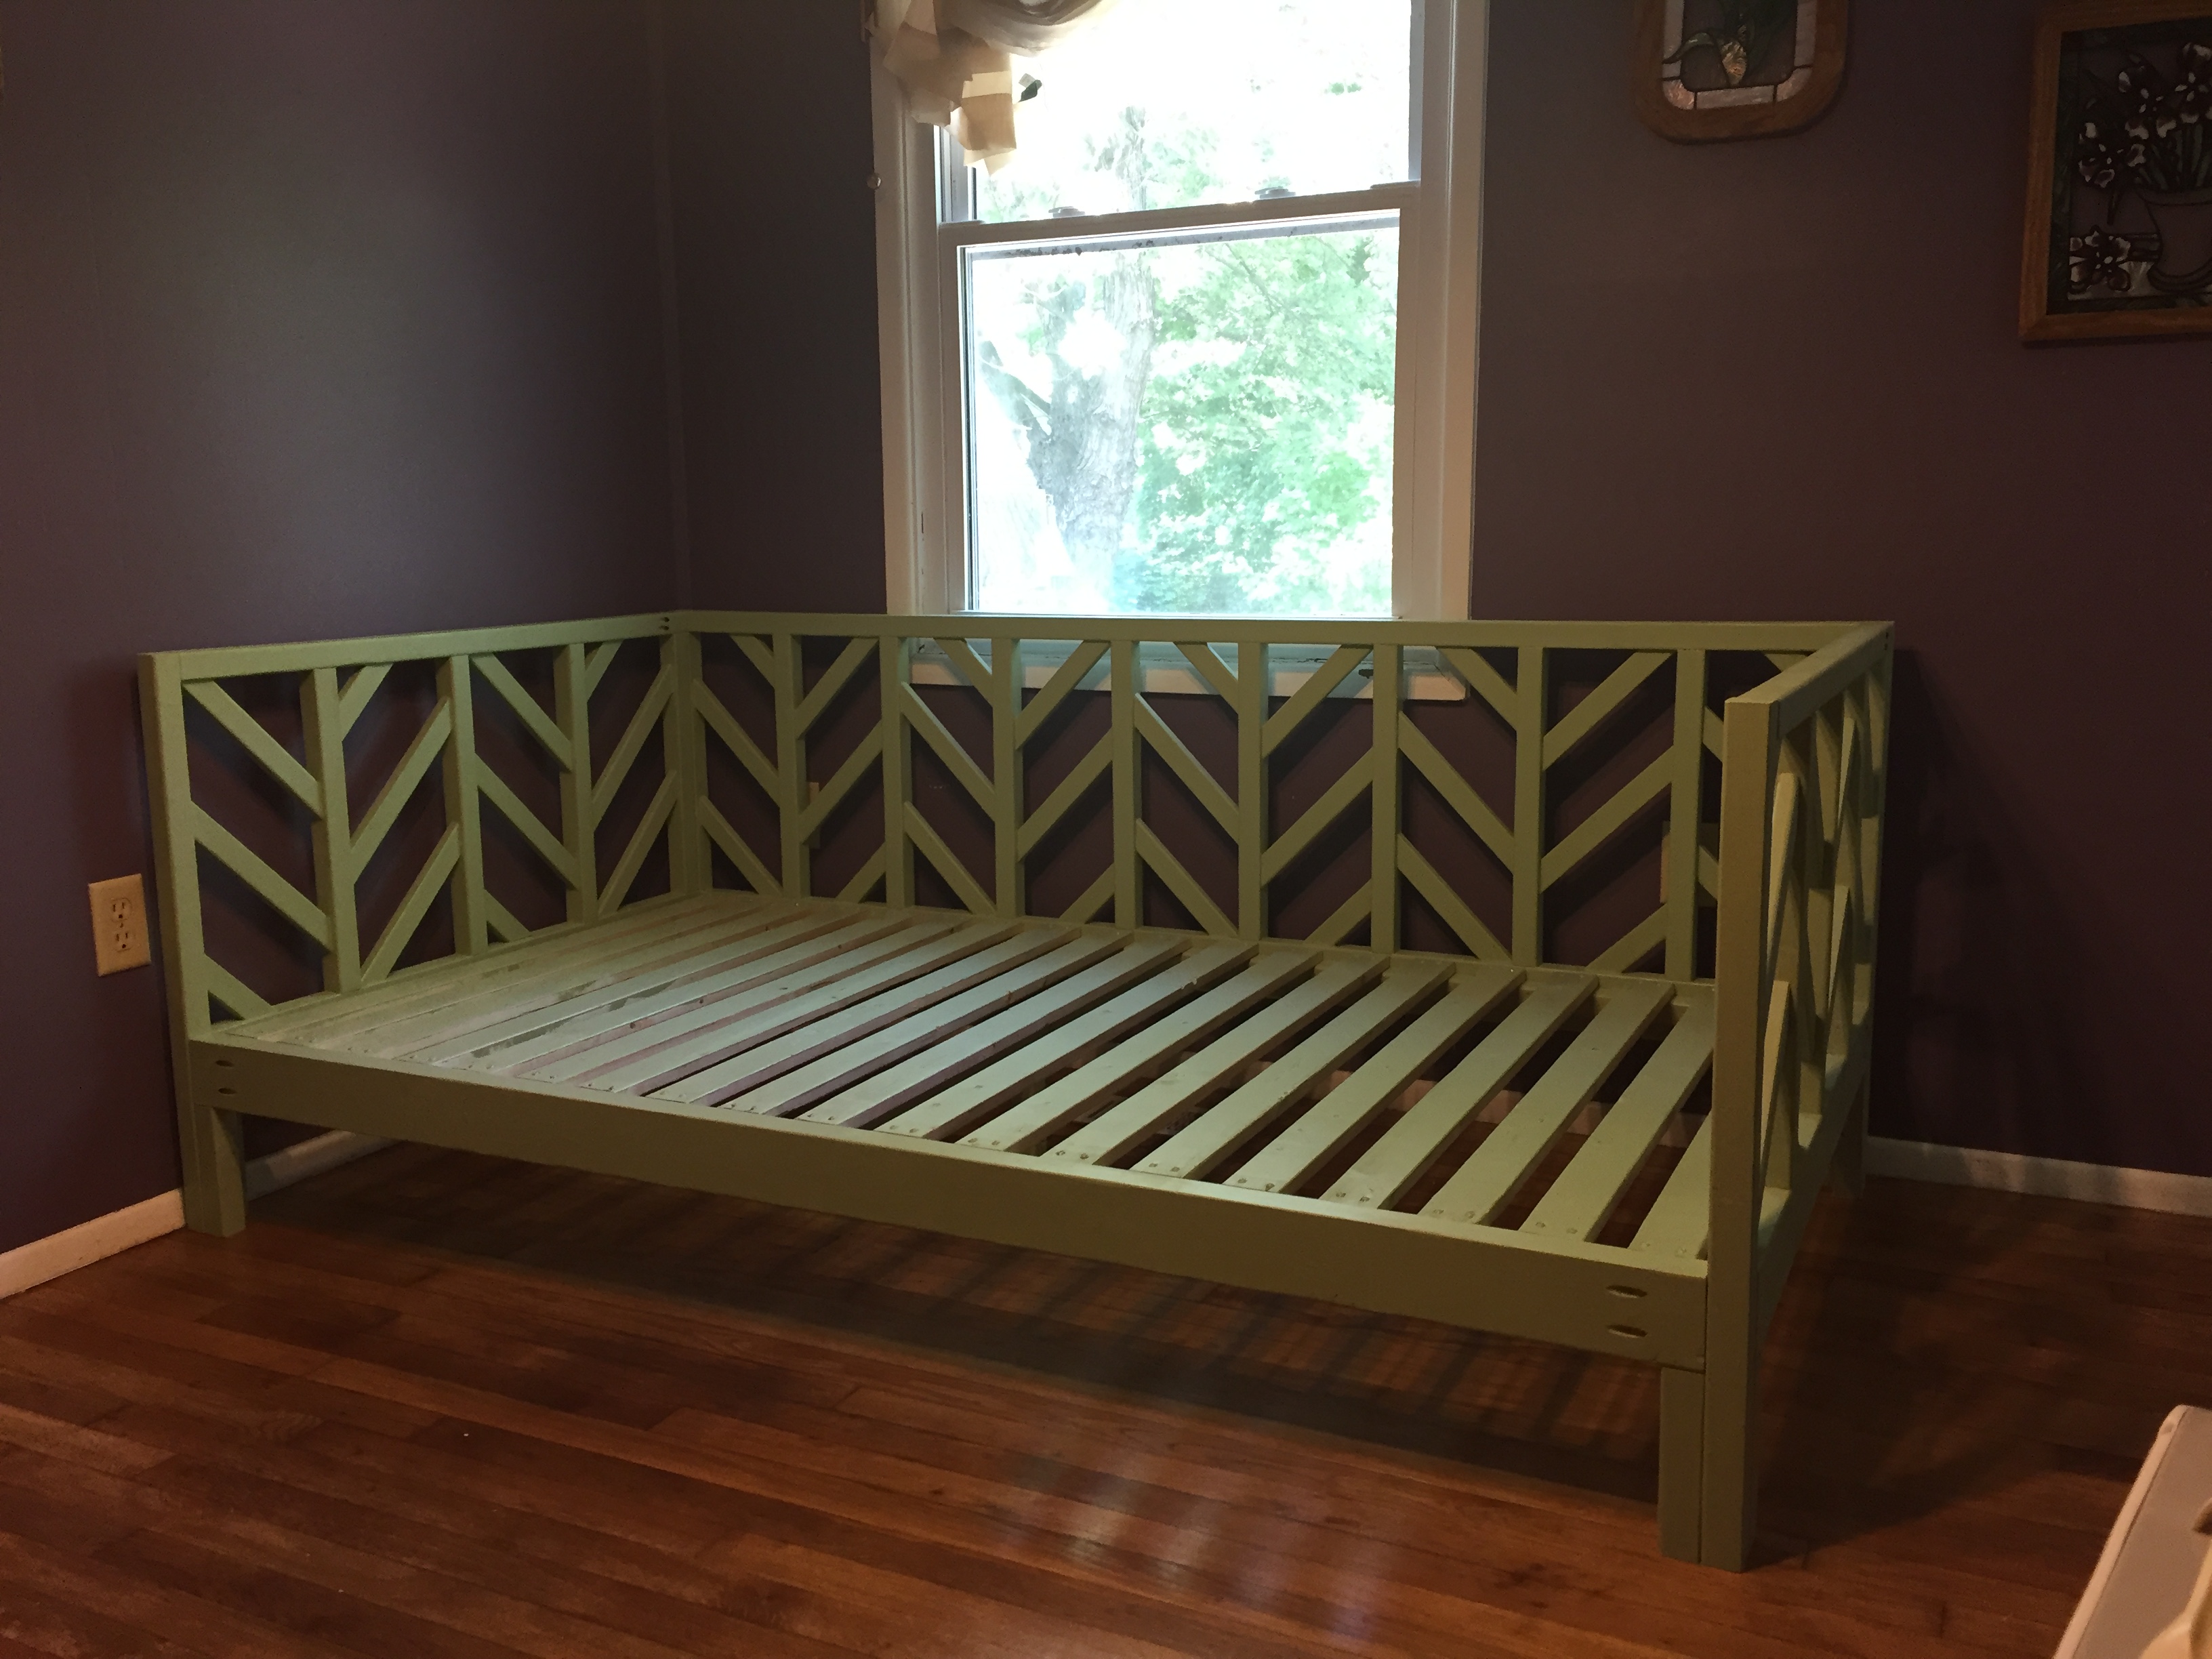
My wife wanted a daybed for our guest room and this one was perfect. Thank you Ana and Stacy for the plans. My wife loves it!
This project took regular pine, pocket whole screws. This took a weekend to build


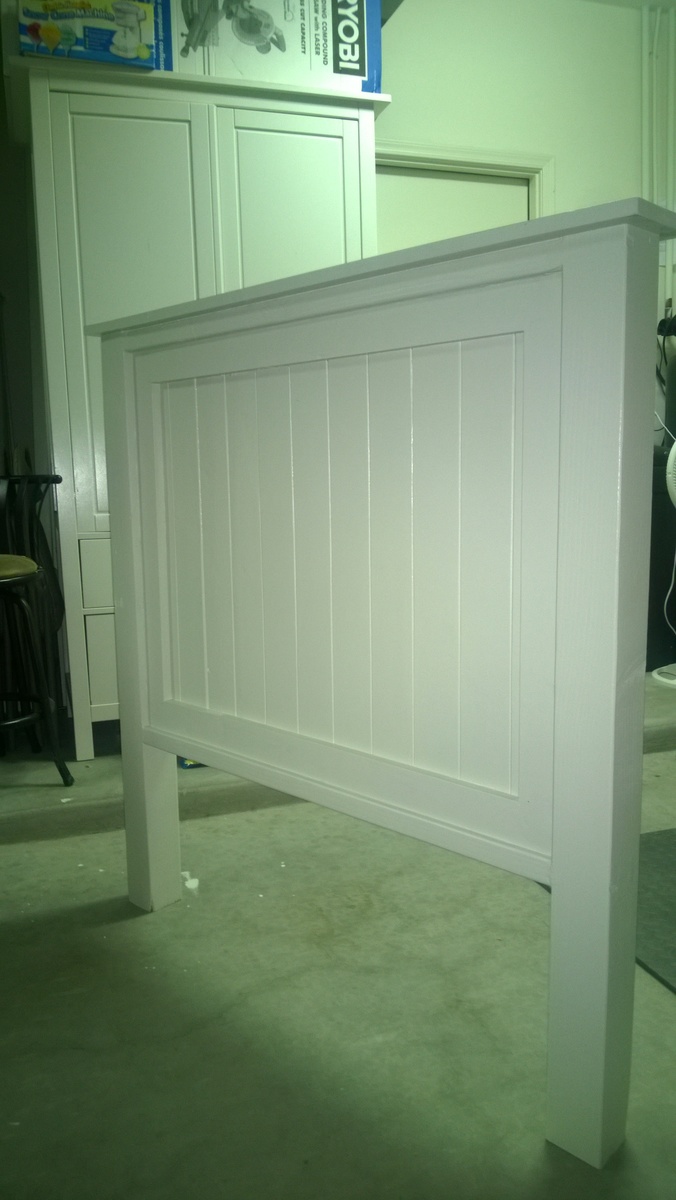
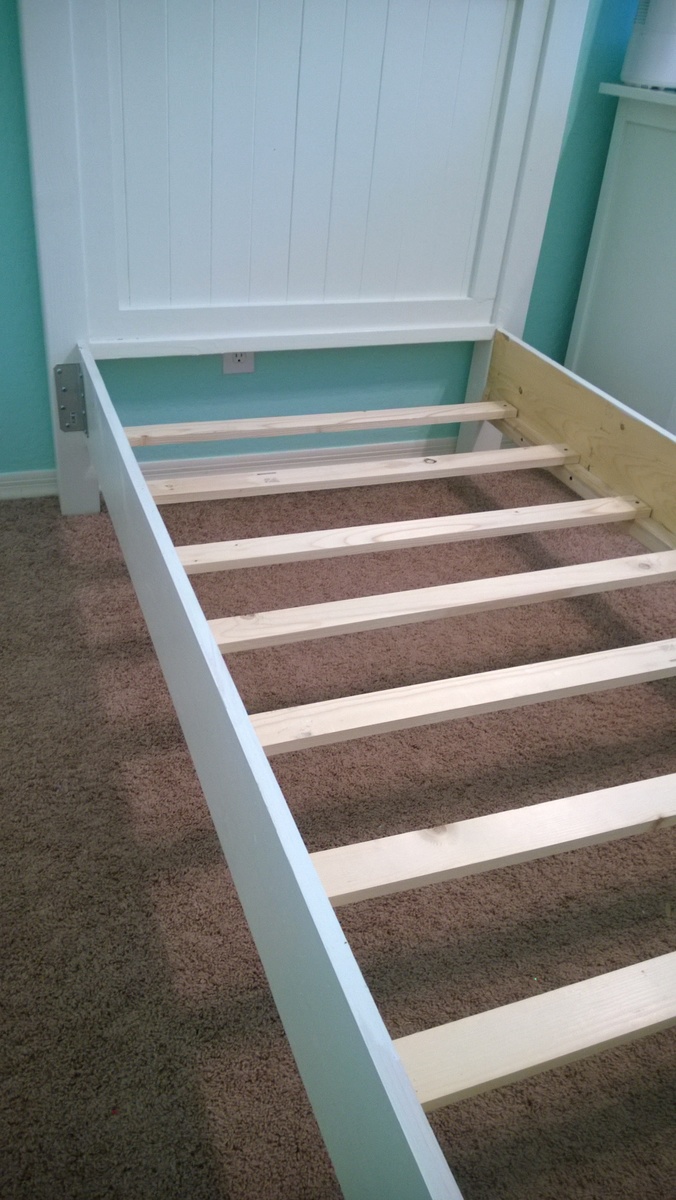
This is a variation from a brag photo I saw on the Modified Twin Farmhouse Bed. I built two for my girls and also created plans of the variation. We love these beds! They are so beautiful!

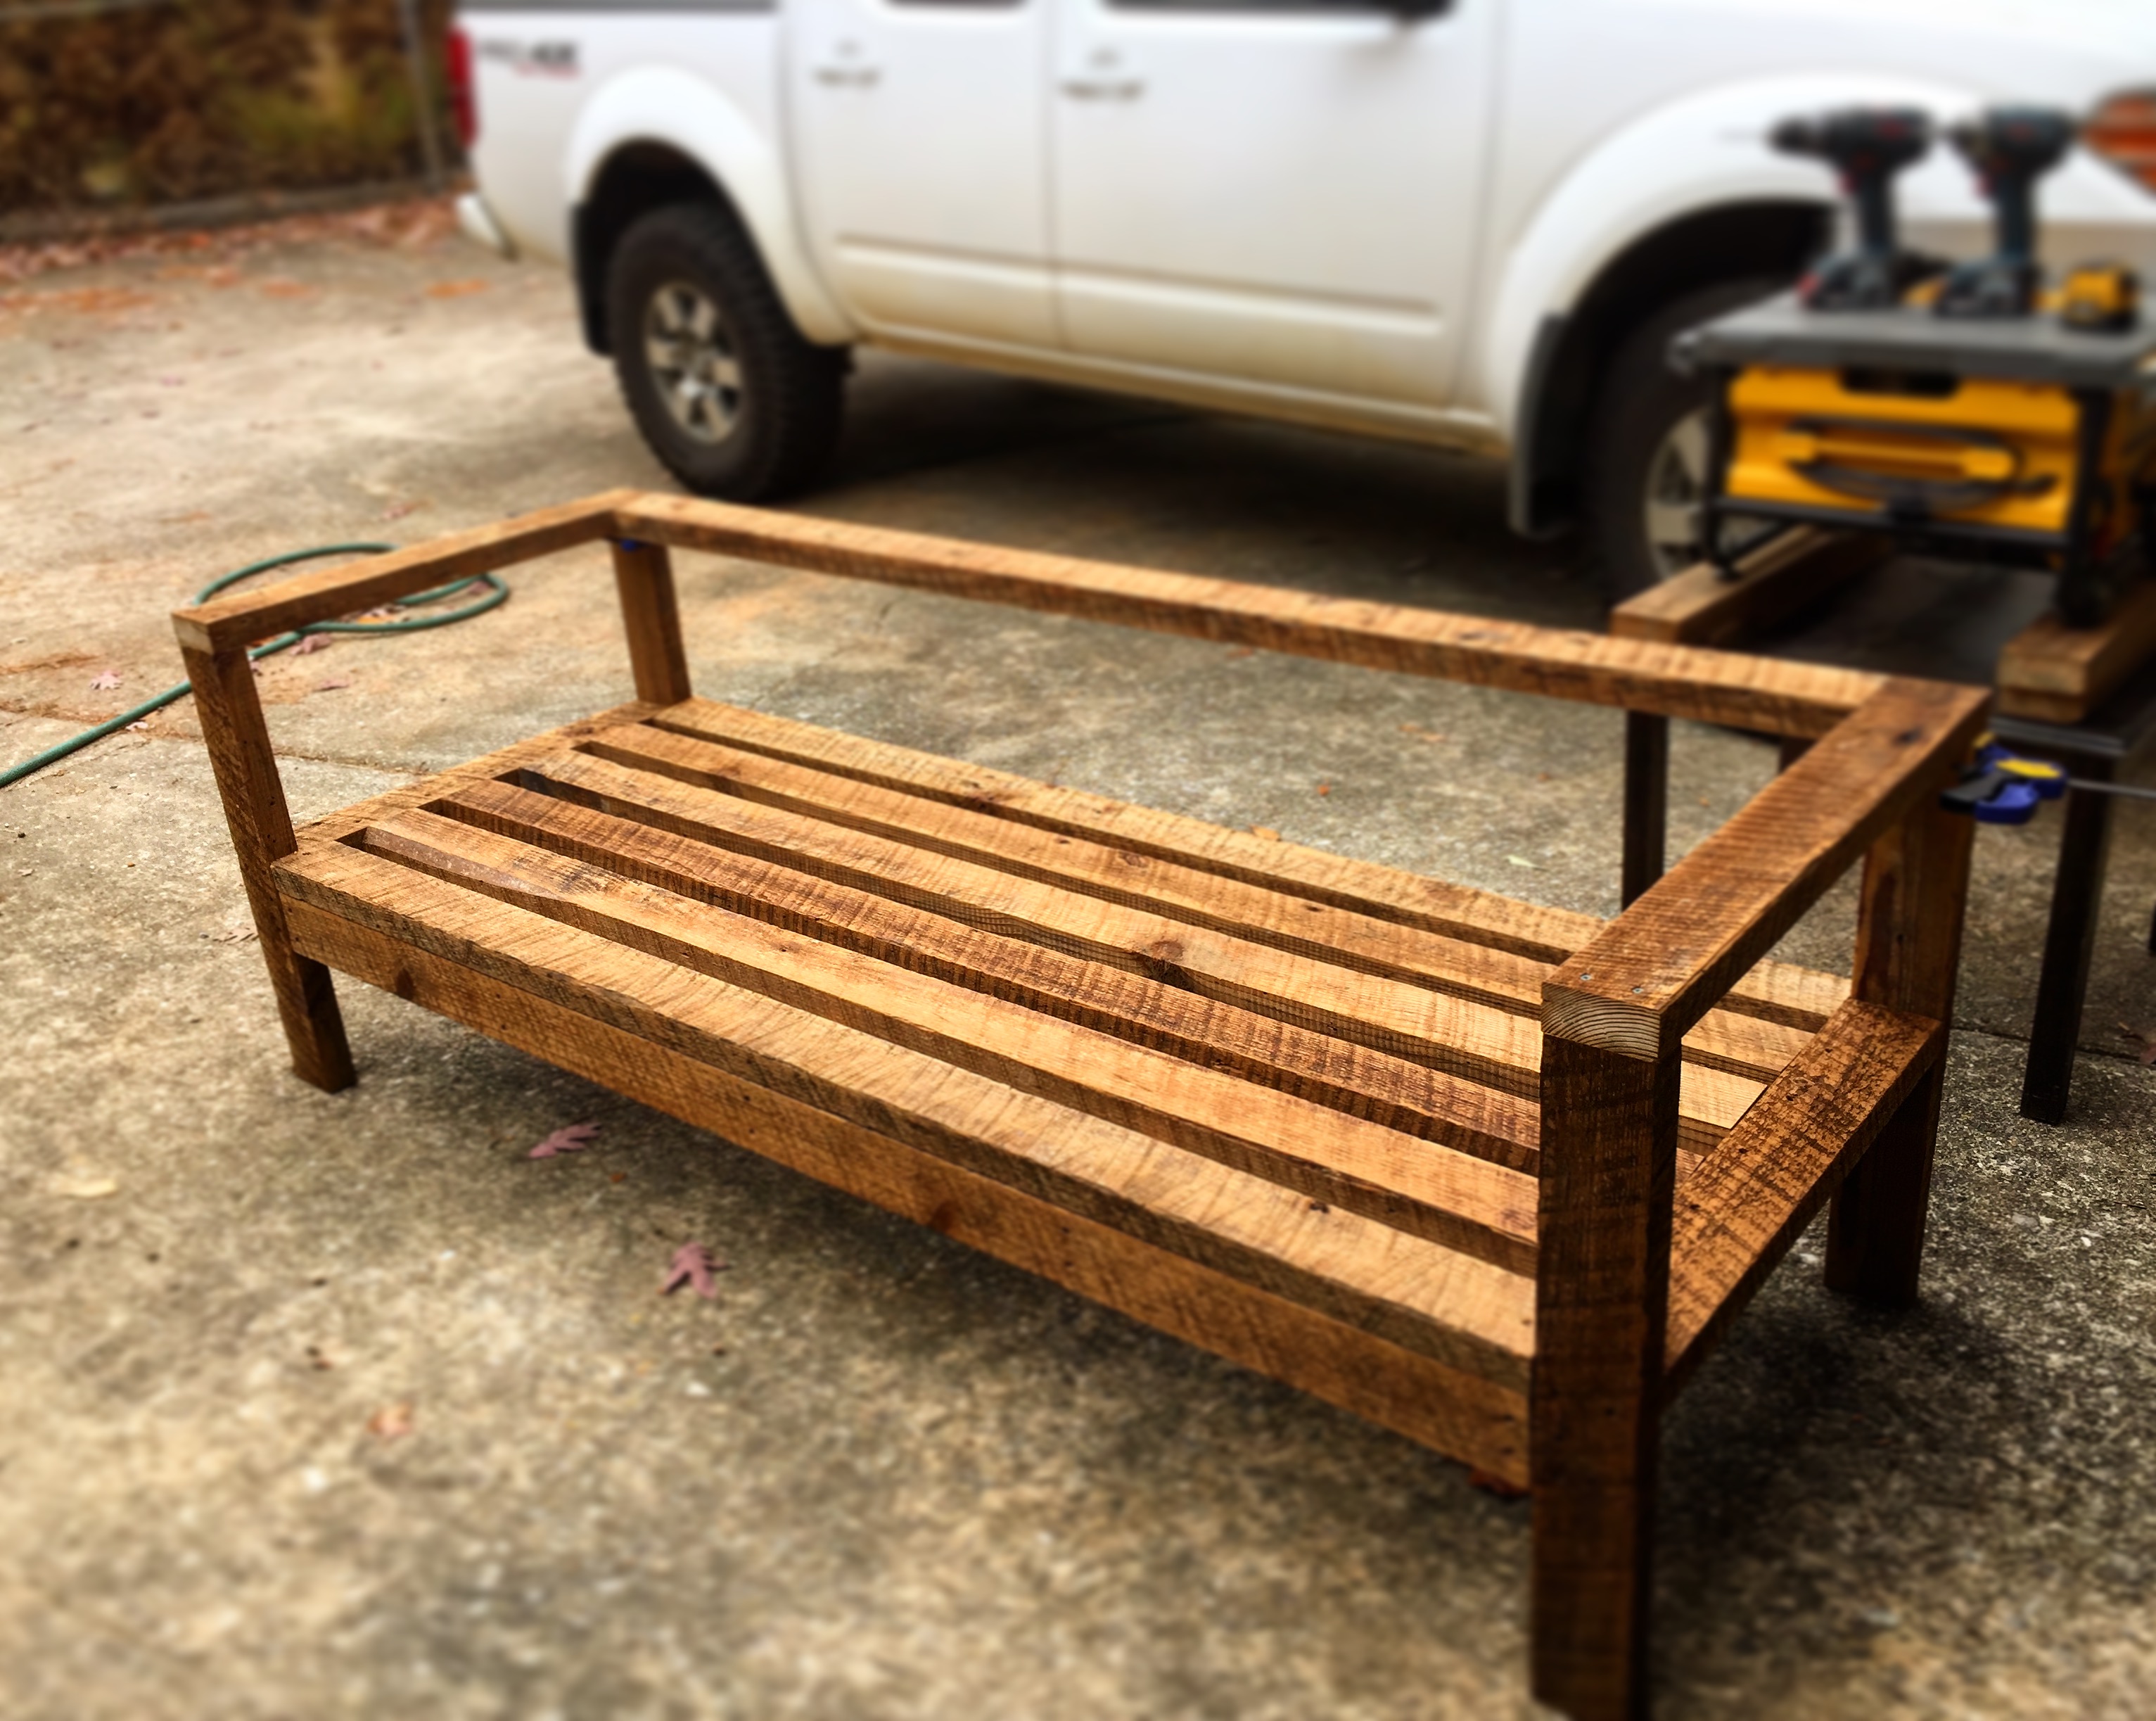
Reclaimed this wood from a >100 year old home that was being renovated. This is just the couch portion, I also built the sectional part. I really like how it came out.
based on the loft plans. like other mods, I made the step a bit different. more vertical.
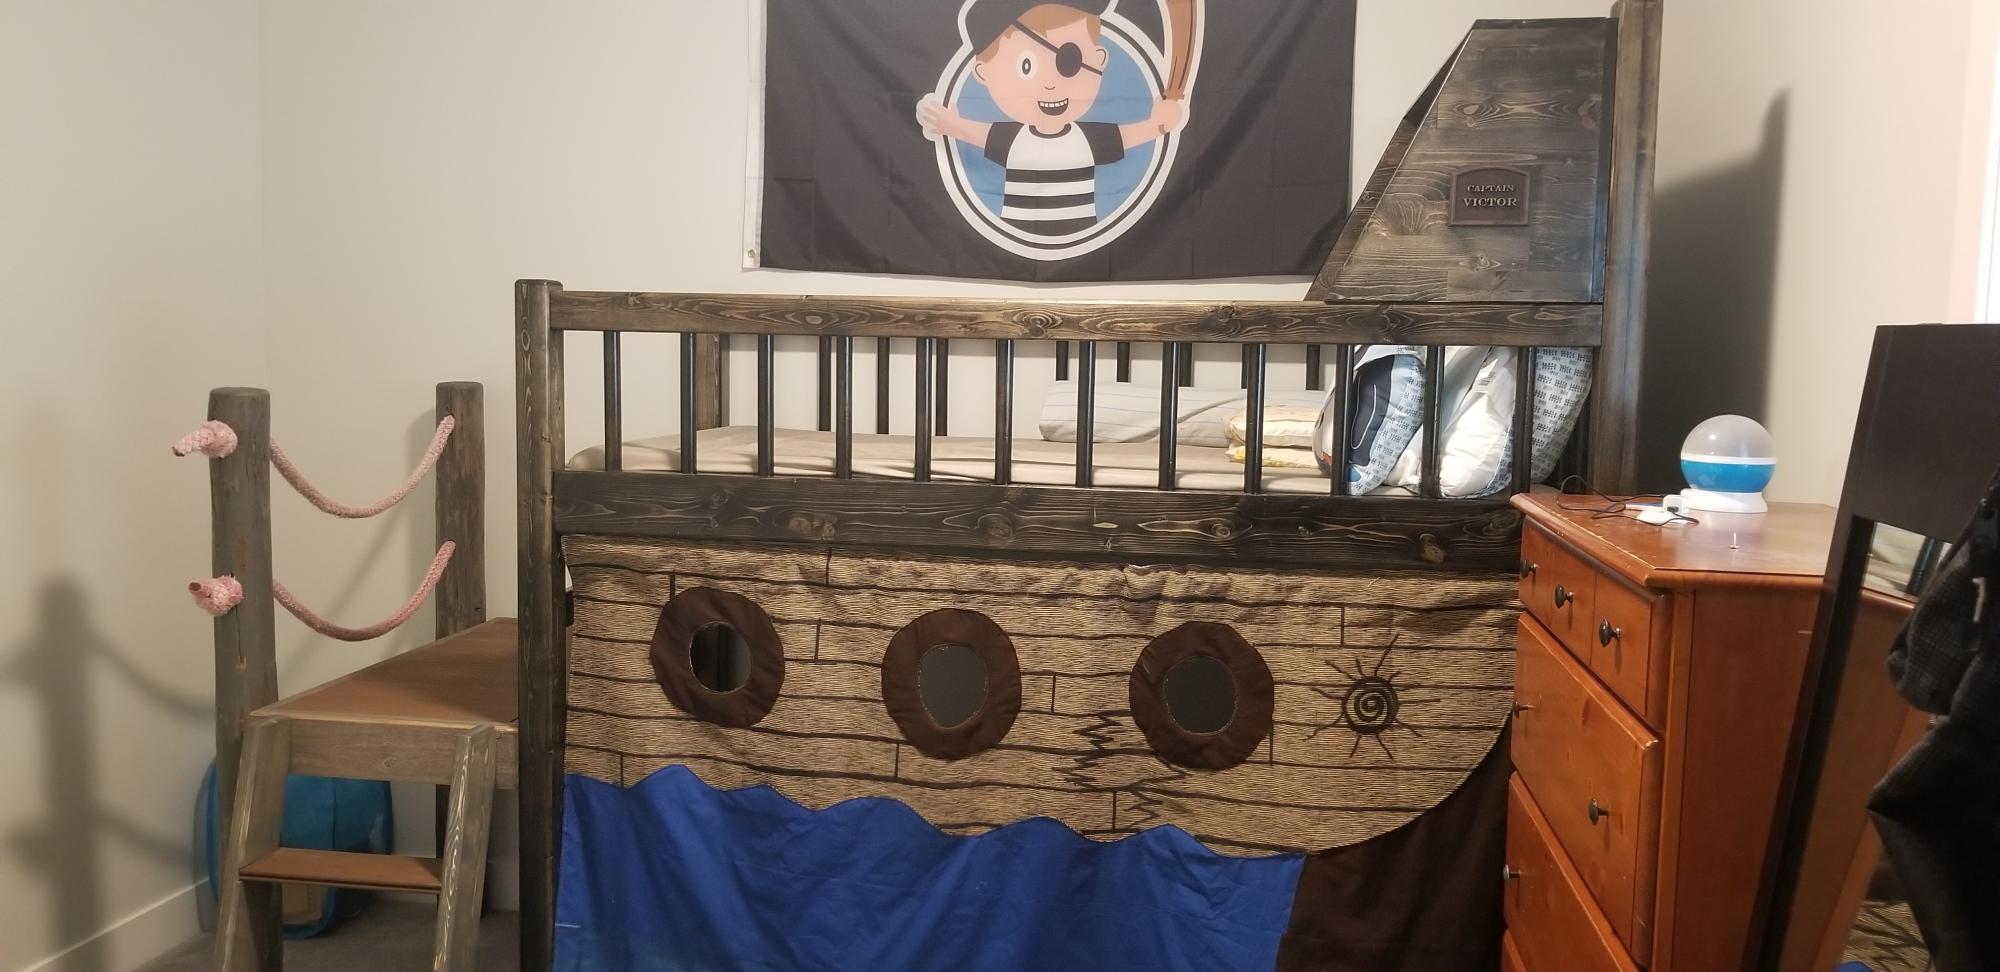
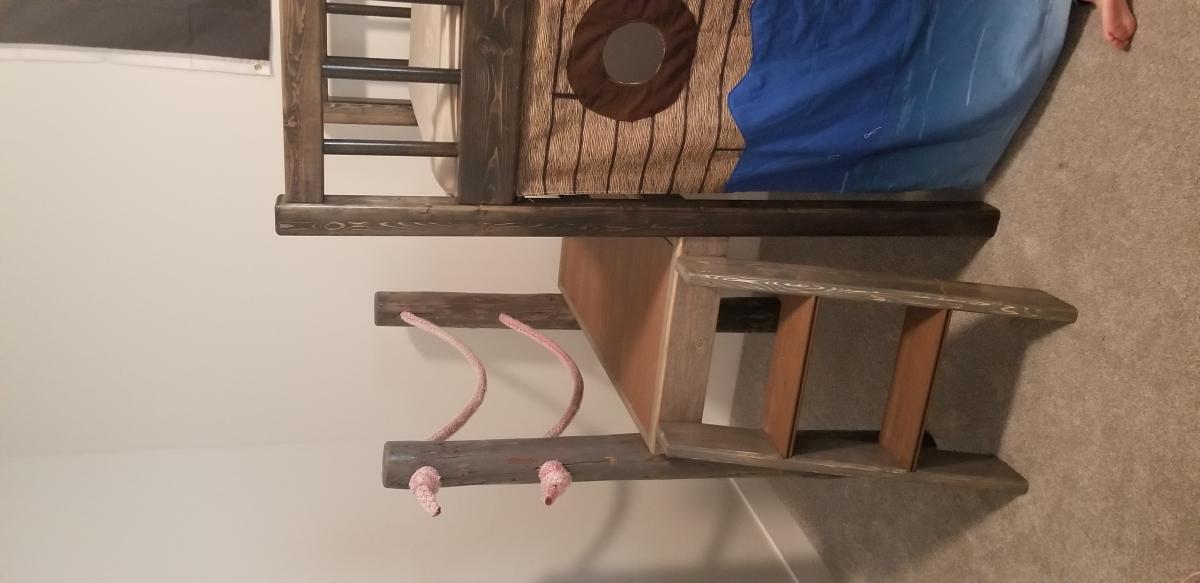
no screws. all bolted together. 3/8" bolts. the posts for docks were made from cut trees. neighbor did the sewing from my design. posts are 2 2x4s glued and dowel and cut down in size to be different. Everything overdone. vertical dowels are supposed to make it ship like. the galley is a bookcase. the nephew and my in-laws love it. way too much time went into it.
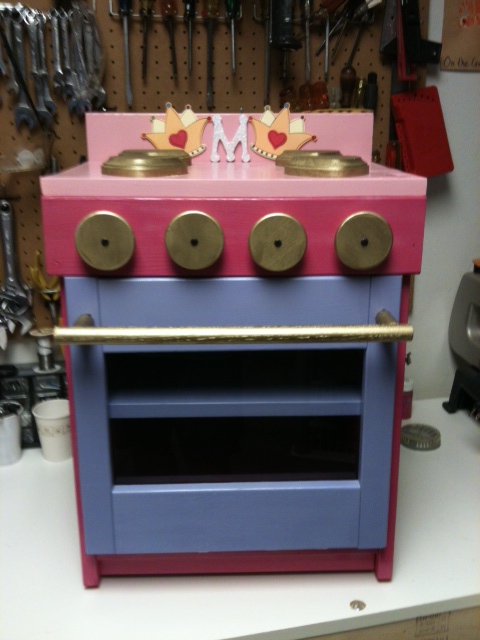
I built this stove for a close family friend for her 3rd birthday. For the burners I used heart shaped wooden cutouts. I also added her first name initial to the backboard as well.
This was my first table, great directions from Ana White and other postings. Turned out great, the main addition I had was to add some supports for the ends as it felt like it needed it.
It was a long and brutal process, but so is child birth and I did that twice so... I was definitely a beginner at the start. I learned A LOT from this process and it paid off in the end! Couldn't be happier with the outcome!

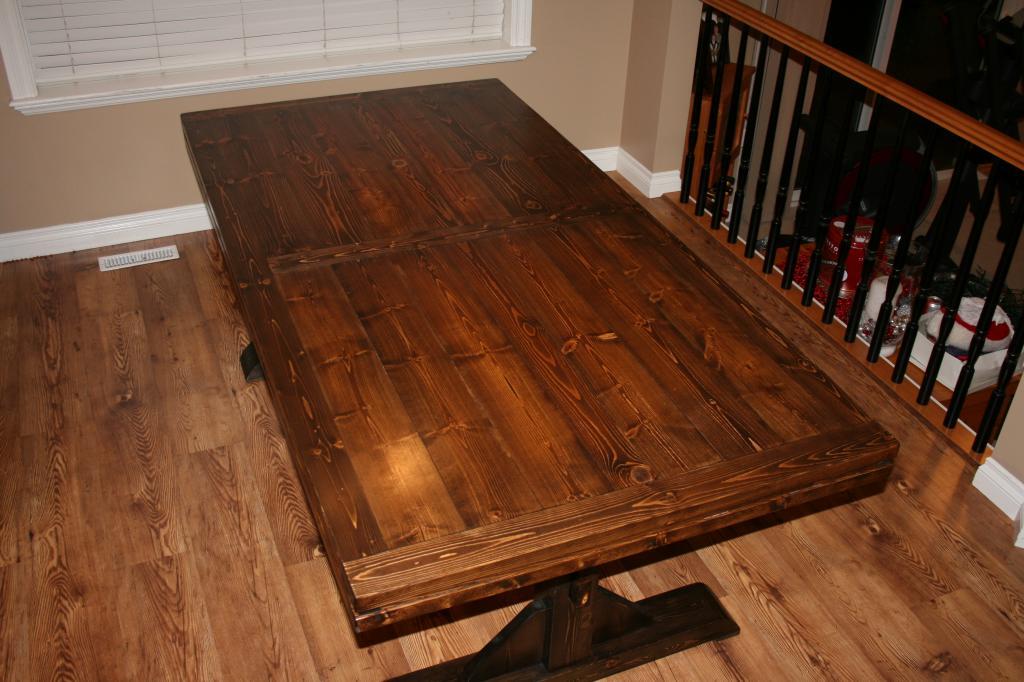
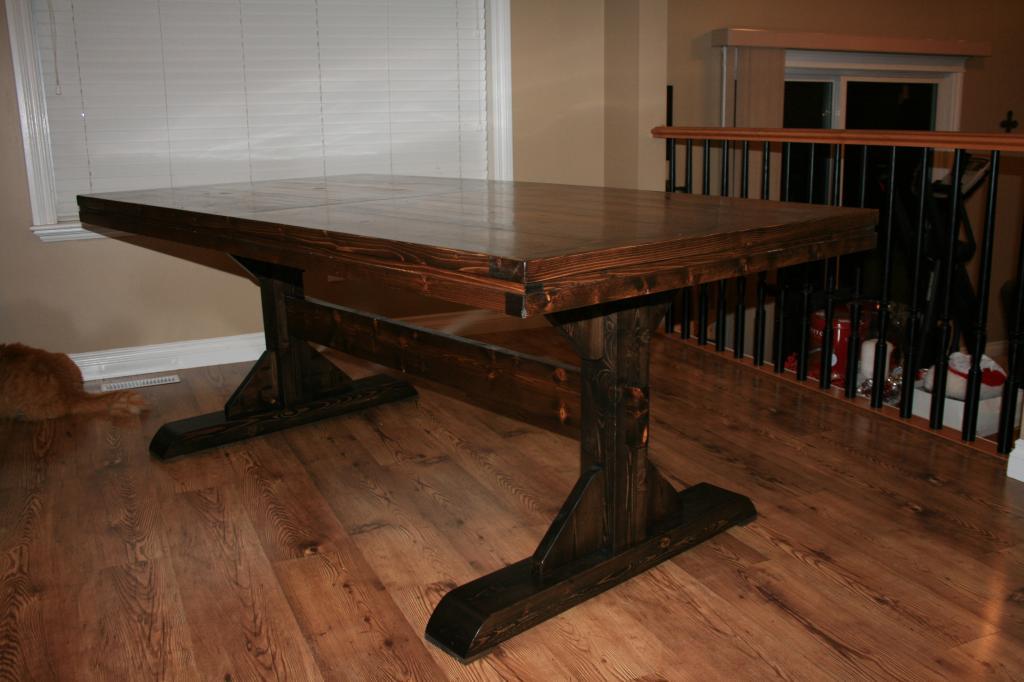
After my wife pinned the triple pedestal table, I took a look at the plans and redid them for a double pedestal table 78"x40". This is the first wood project that I have done in close to 12 years, it was good to get back to wood and I look forward to builing some more.
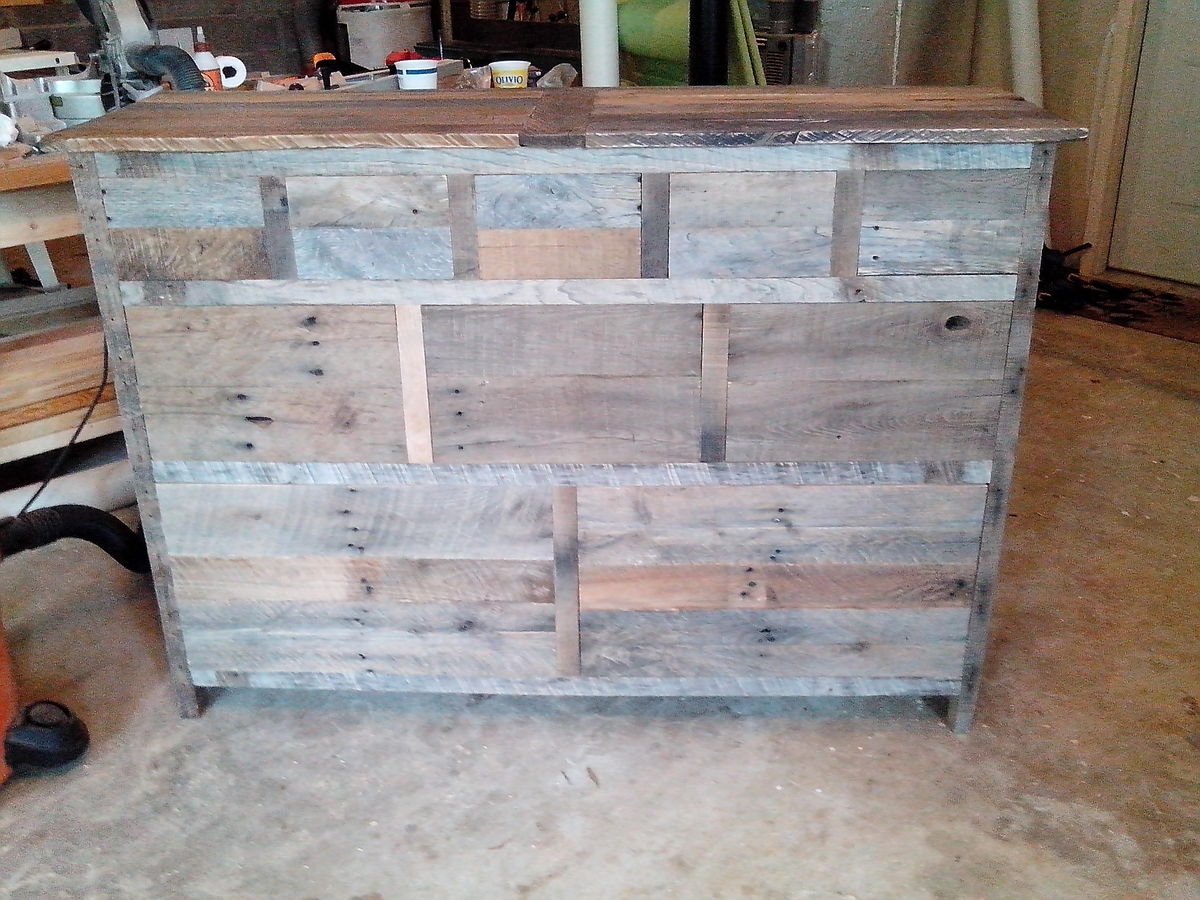
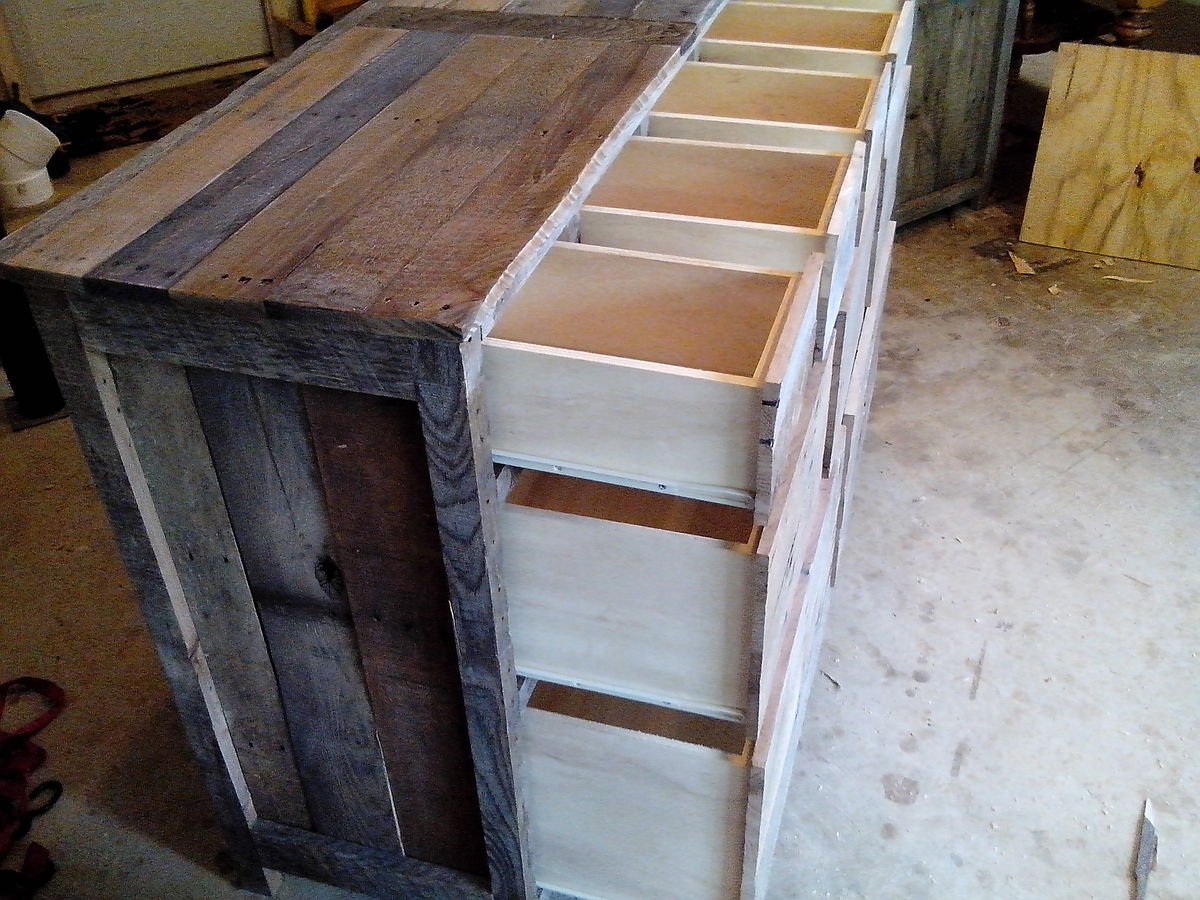
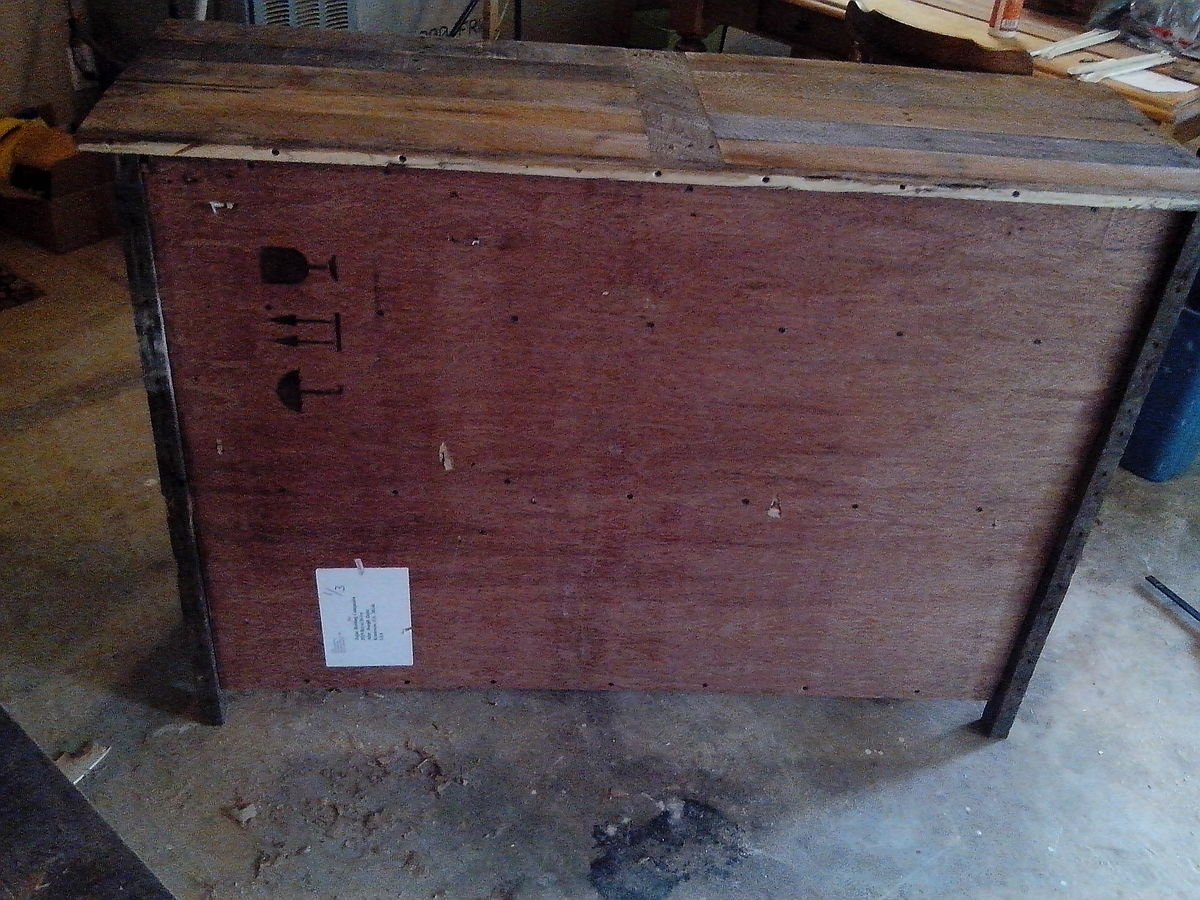
To build I used mostly all pallet wood. This made things interesting because not one drawer was the same and had to custom fit each drawer.
Turned out great! Instructions were very easy to follow. My first attempt at building a piece of "furniture".
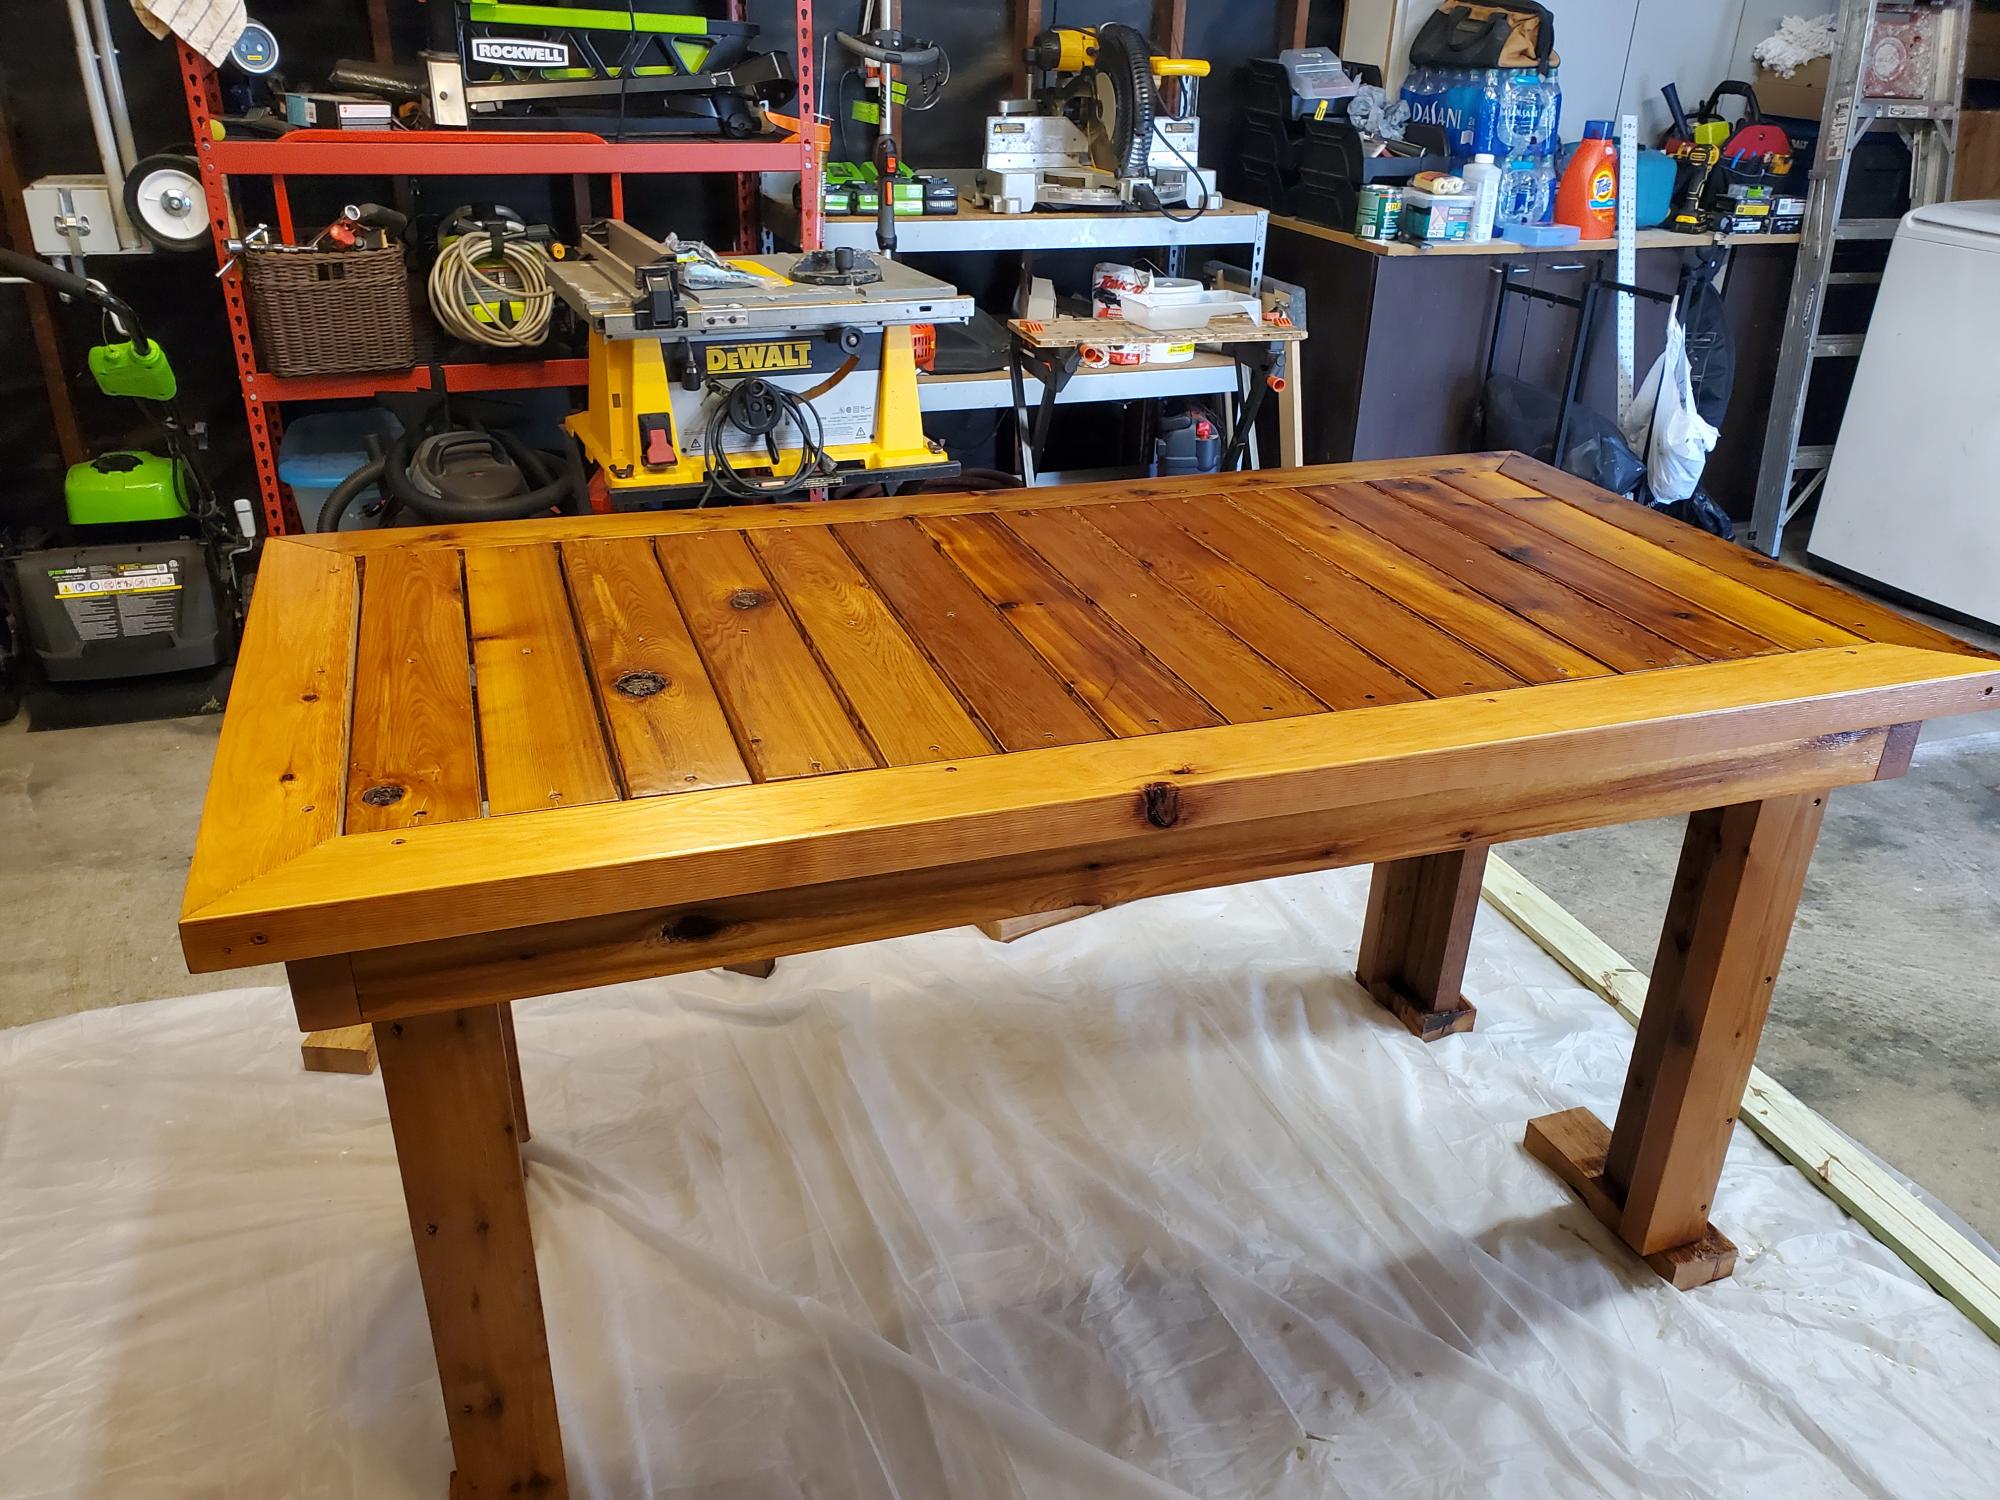
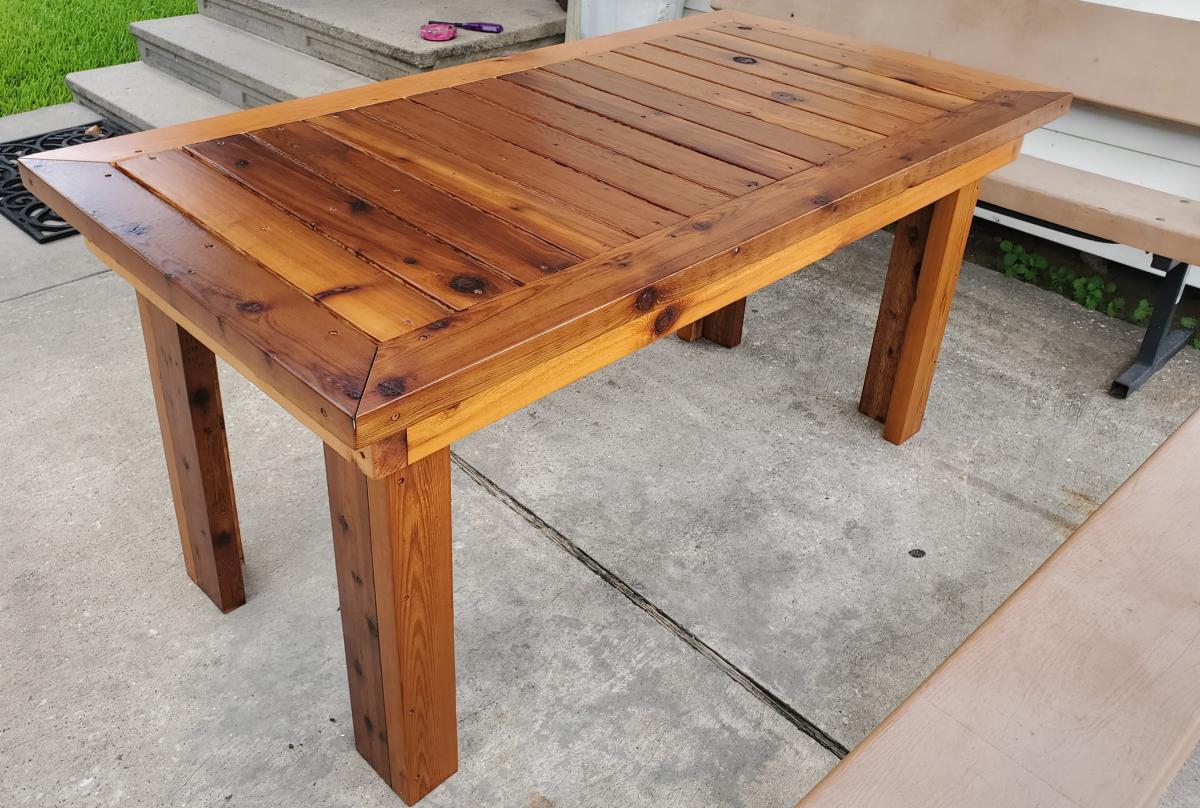
All cedar 2x4 version of the Simple Outdoor Dining Table with a satin urethane finish.
https://www.ana-white.com/woodworking-projects/simple-outdoor-dining-ta…
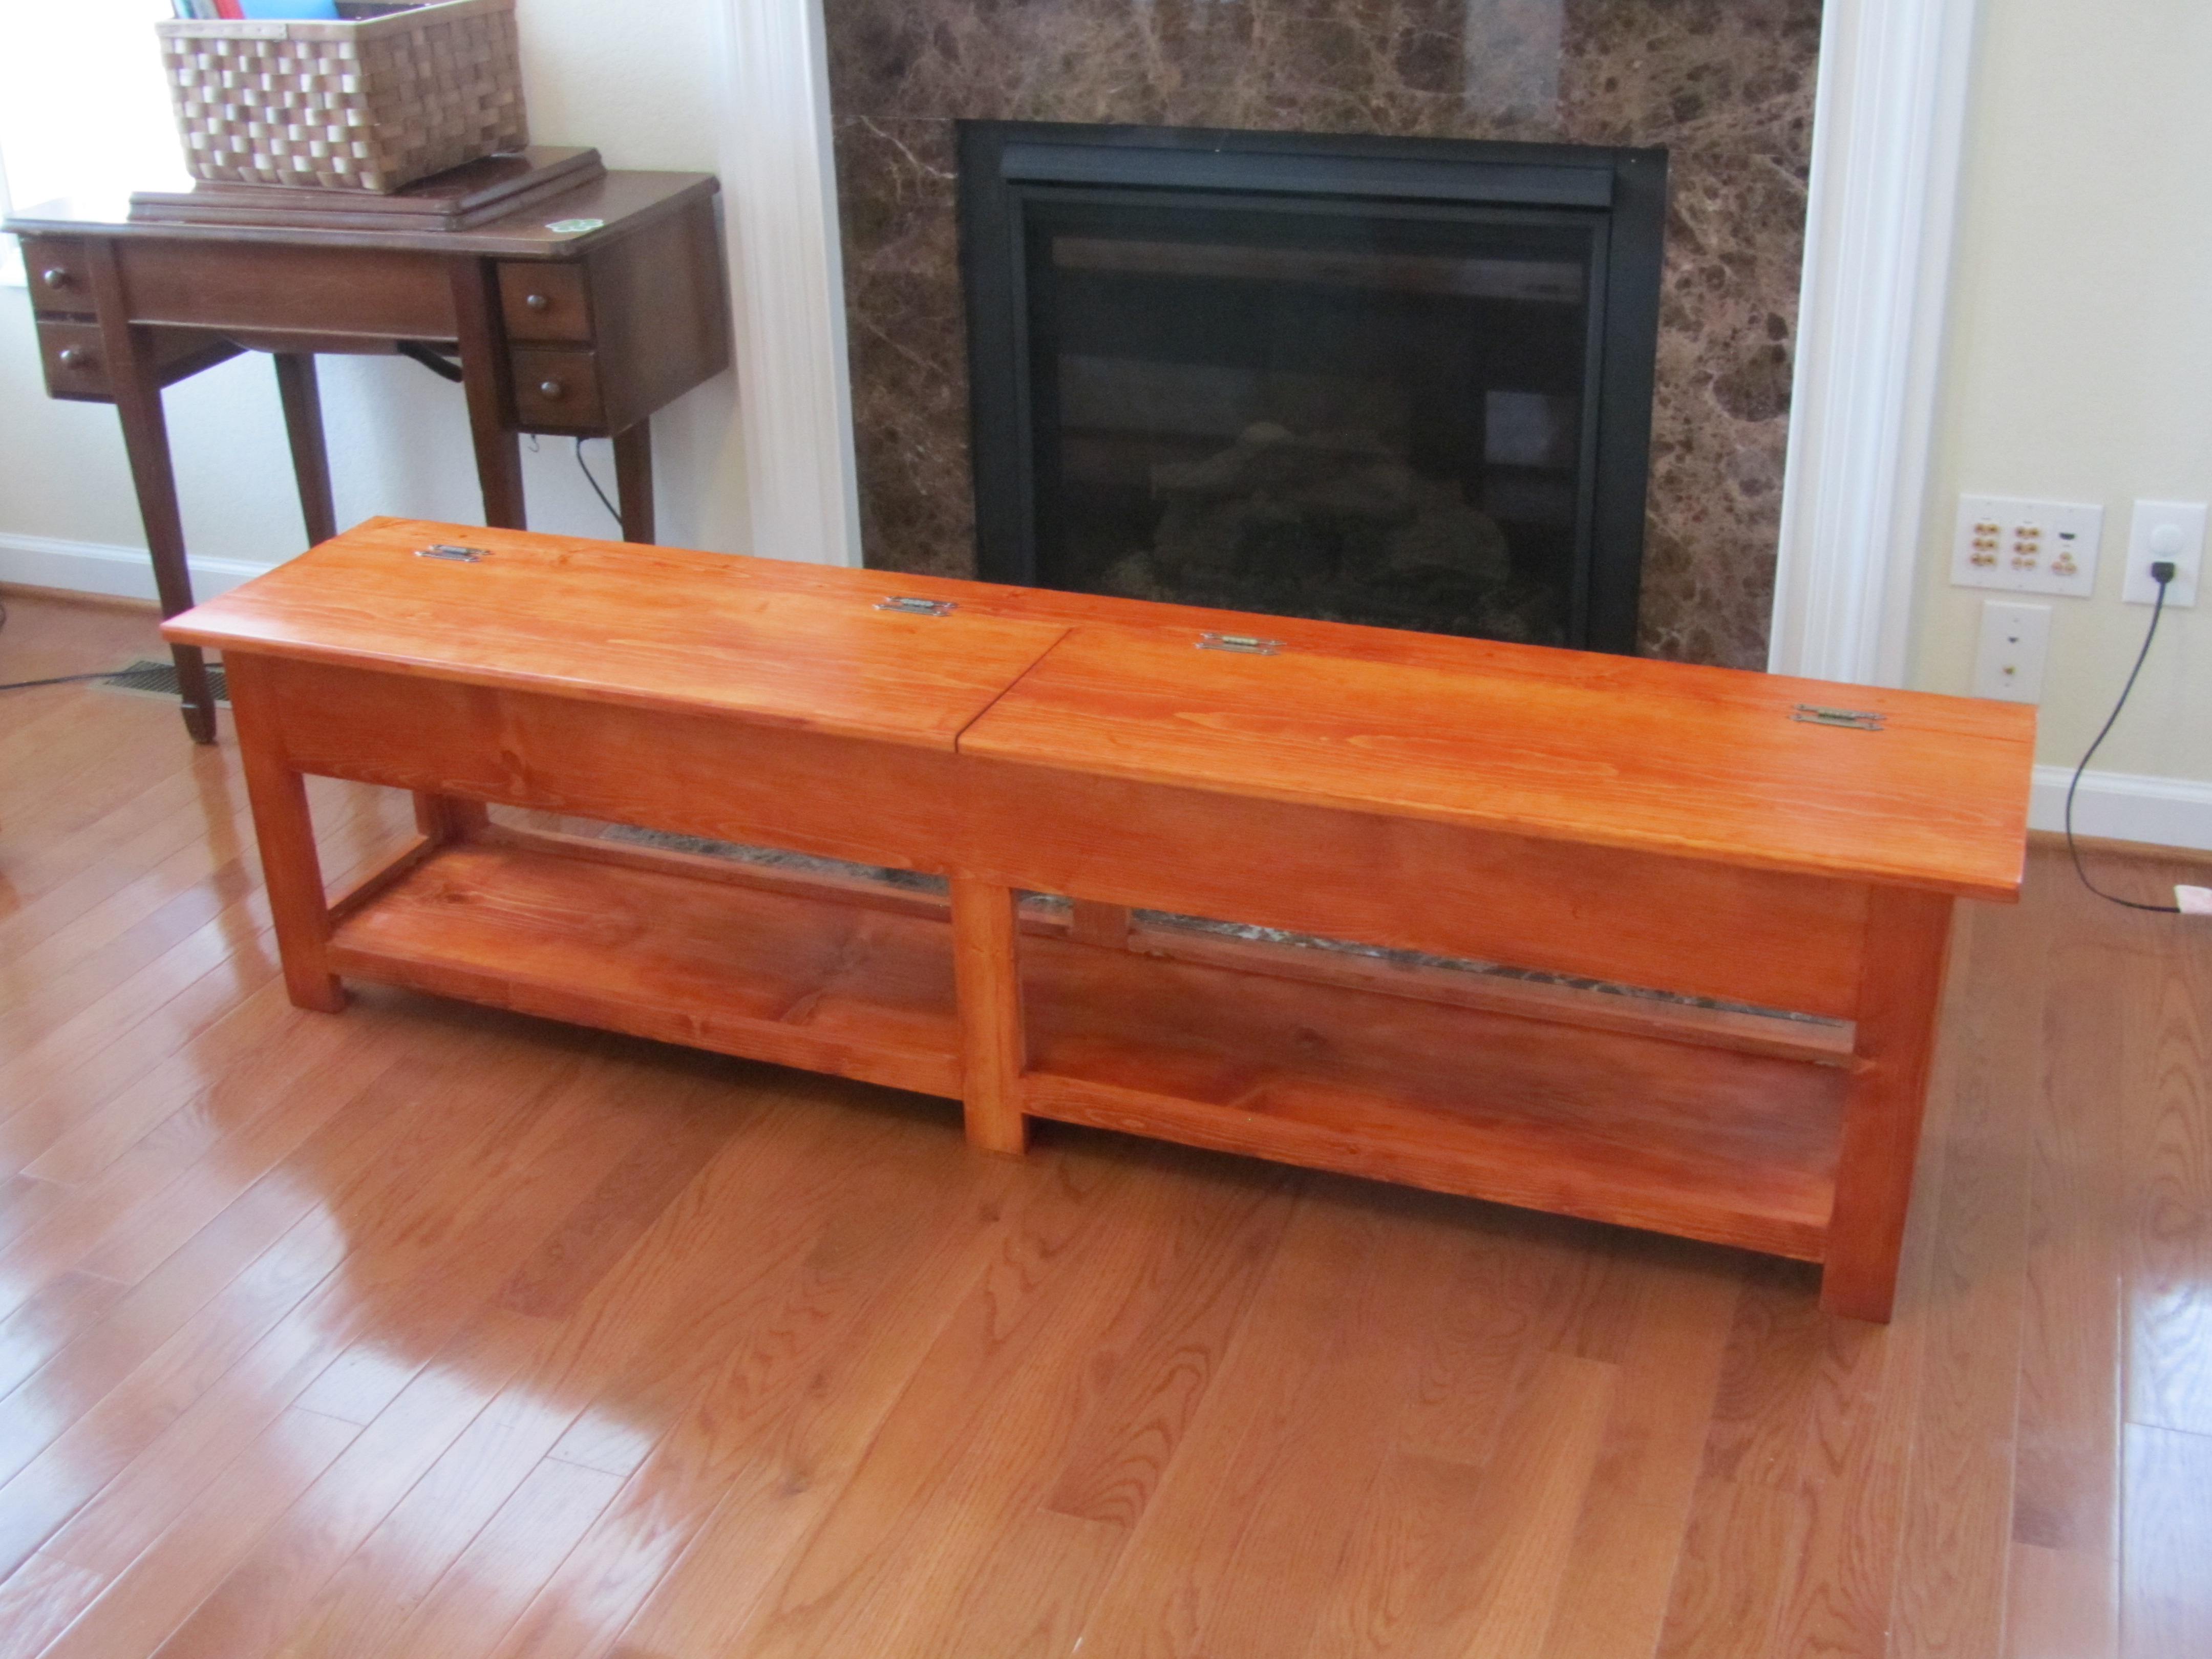
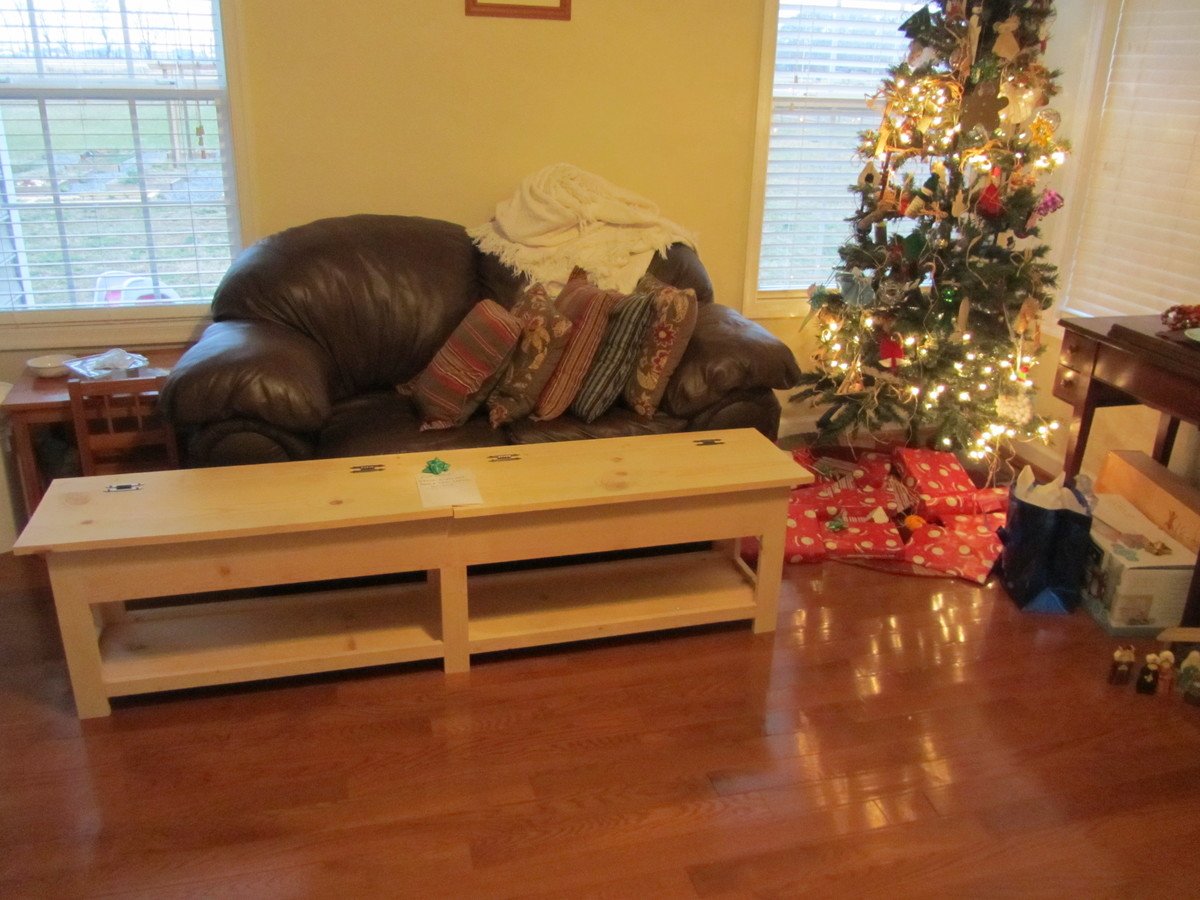
We needed somewhere to store shoes and sit while changing shoes, so I built this based on the flip top storage bench plans at http://ana-white.com/2012/10/plans/flip-top-storage-bench-new-plans
Total length of the project was 6 feet, so I added a 1x3 support at the middle. I made the storage top deeper so that it would hold adult shoes by using 1x6s instead of 1x4s.
I made the top into two "doors" so that they would be smaller and easier for our children to handle. I also rounded off the front edge with my router to make it easier on bottoms and shins.
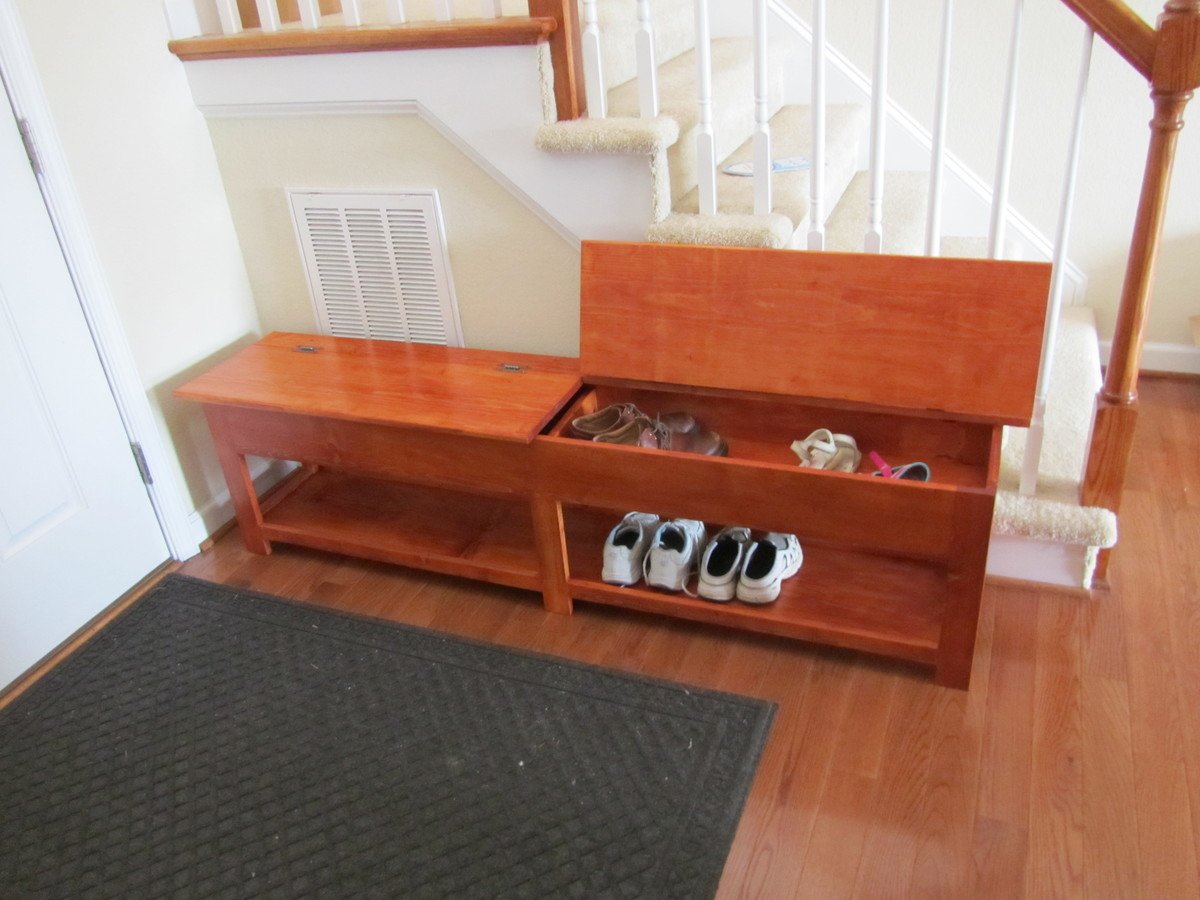
Fri, 02/08/2013 - 11:14
You've done a beautiful job. I like the extra length and how you divided the top so it's not so unwieldy.
