Community Brag Posts

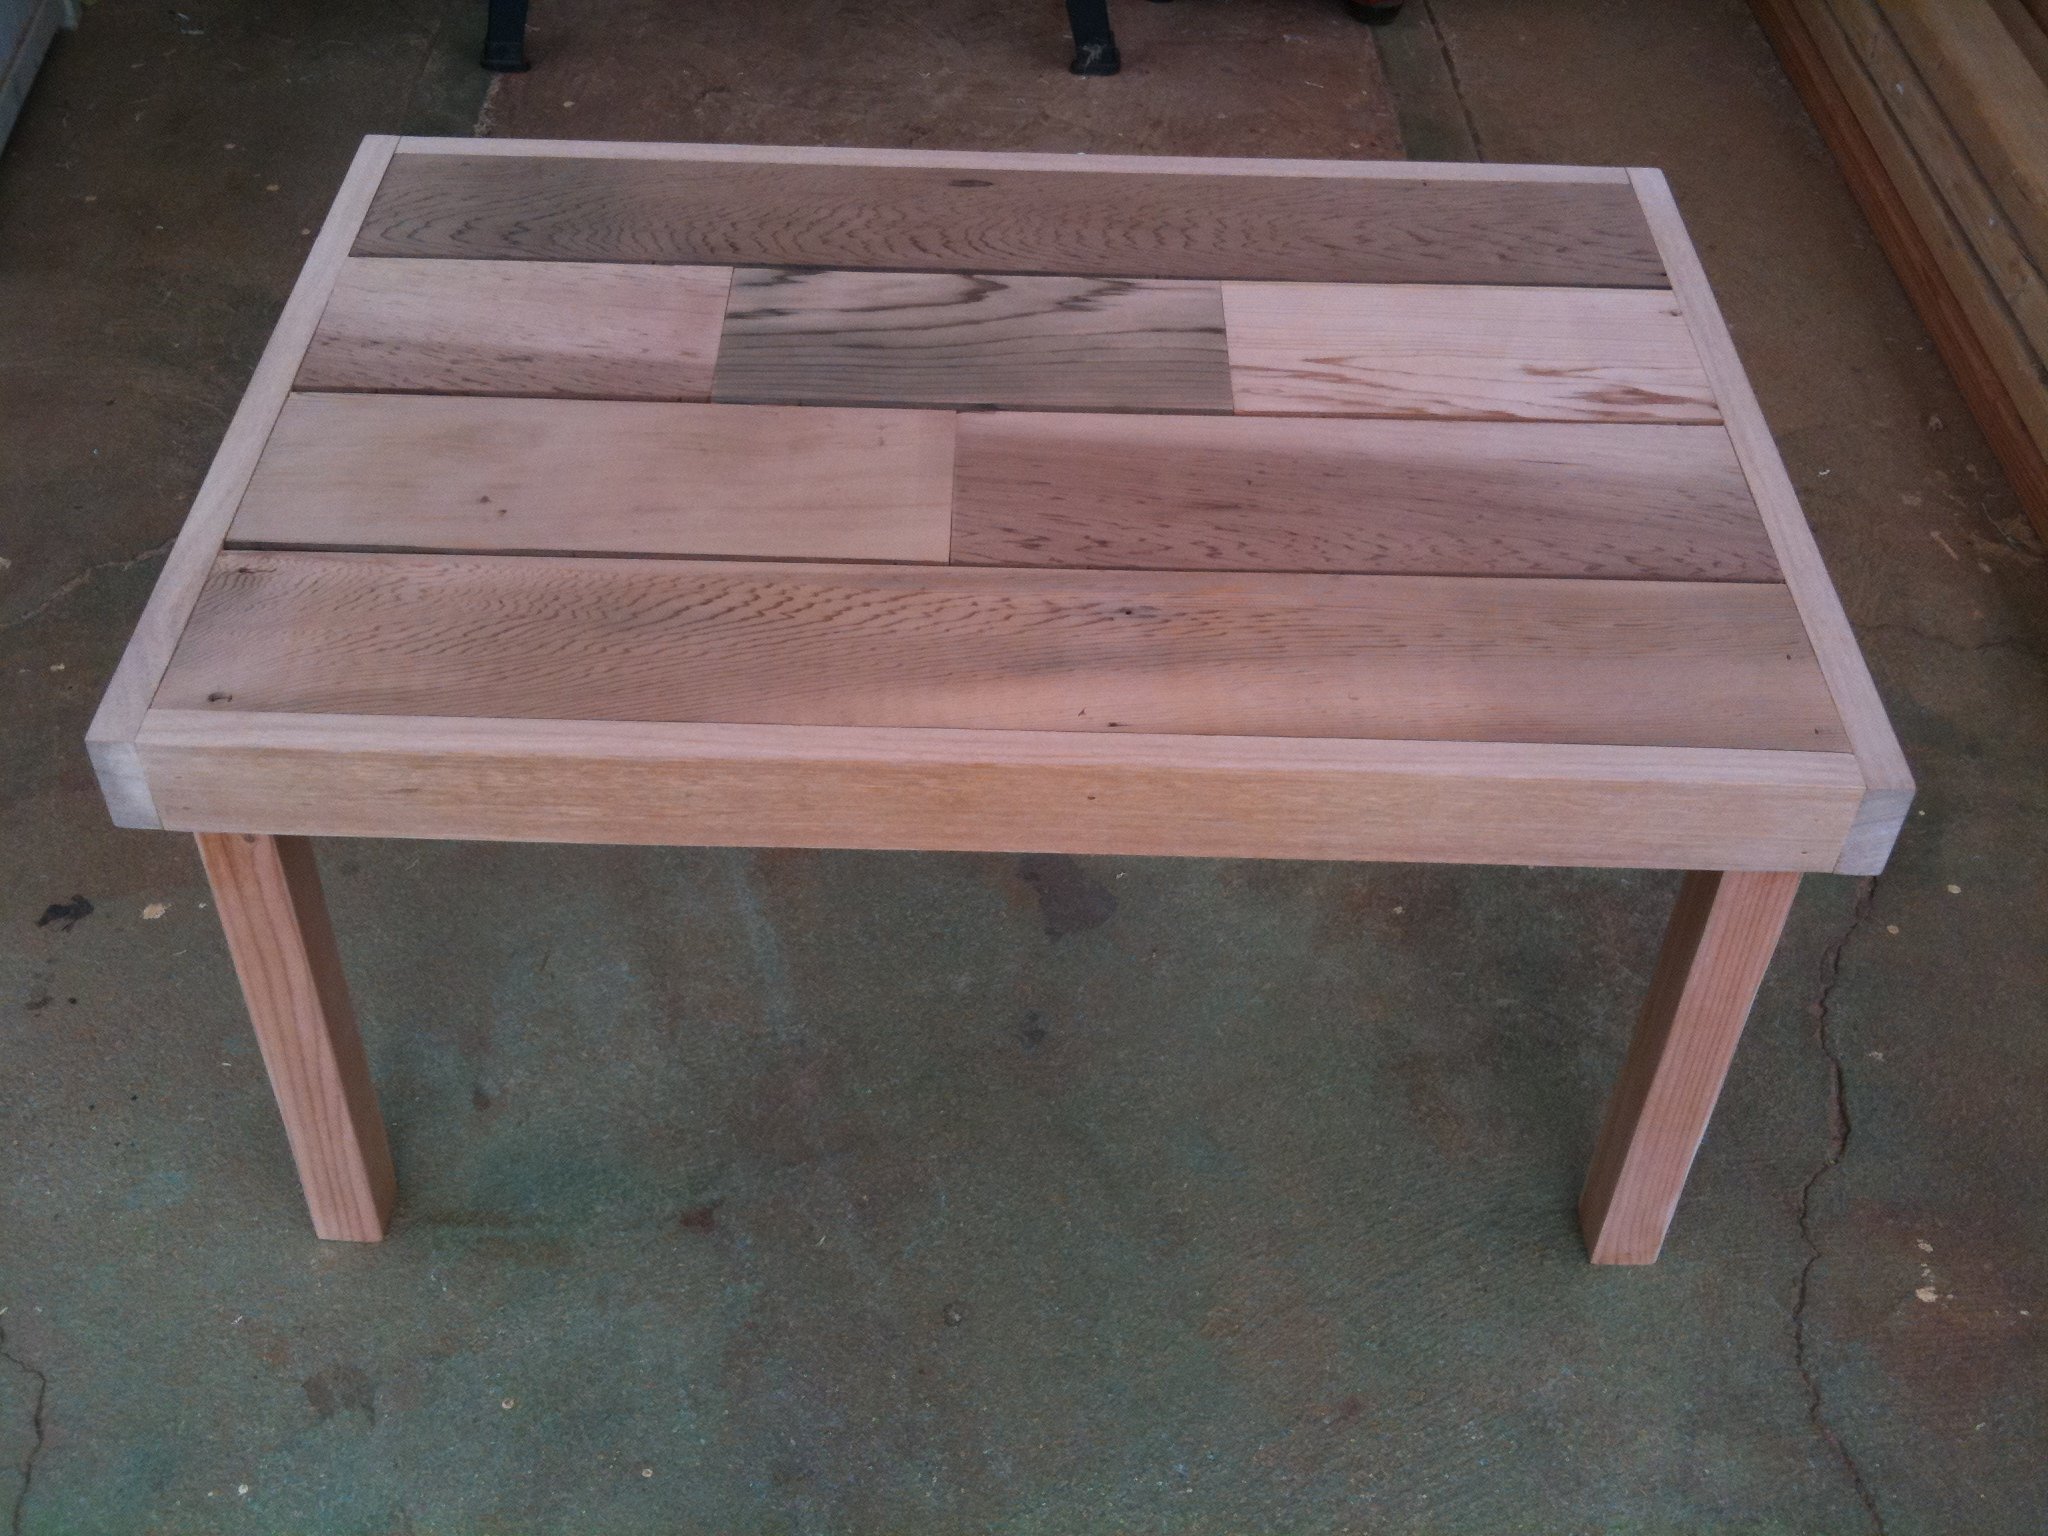
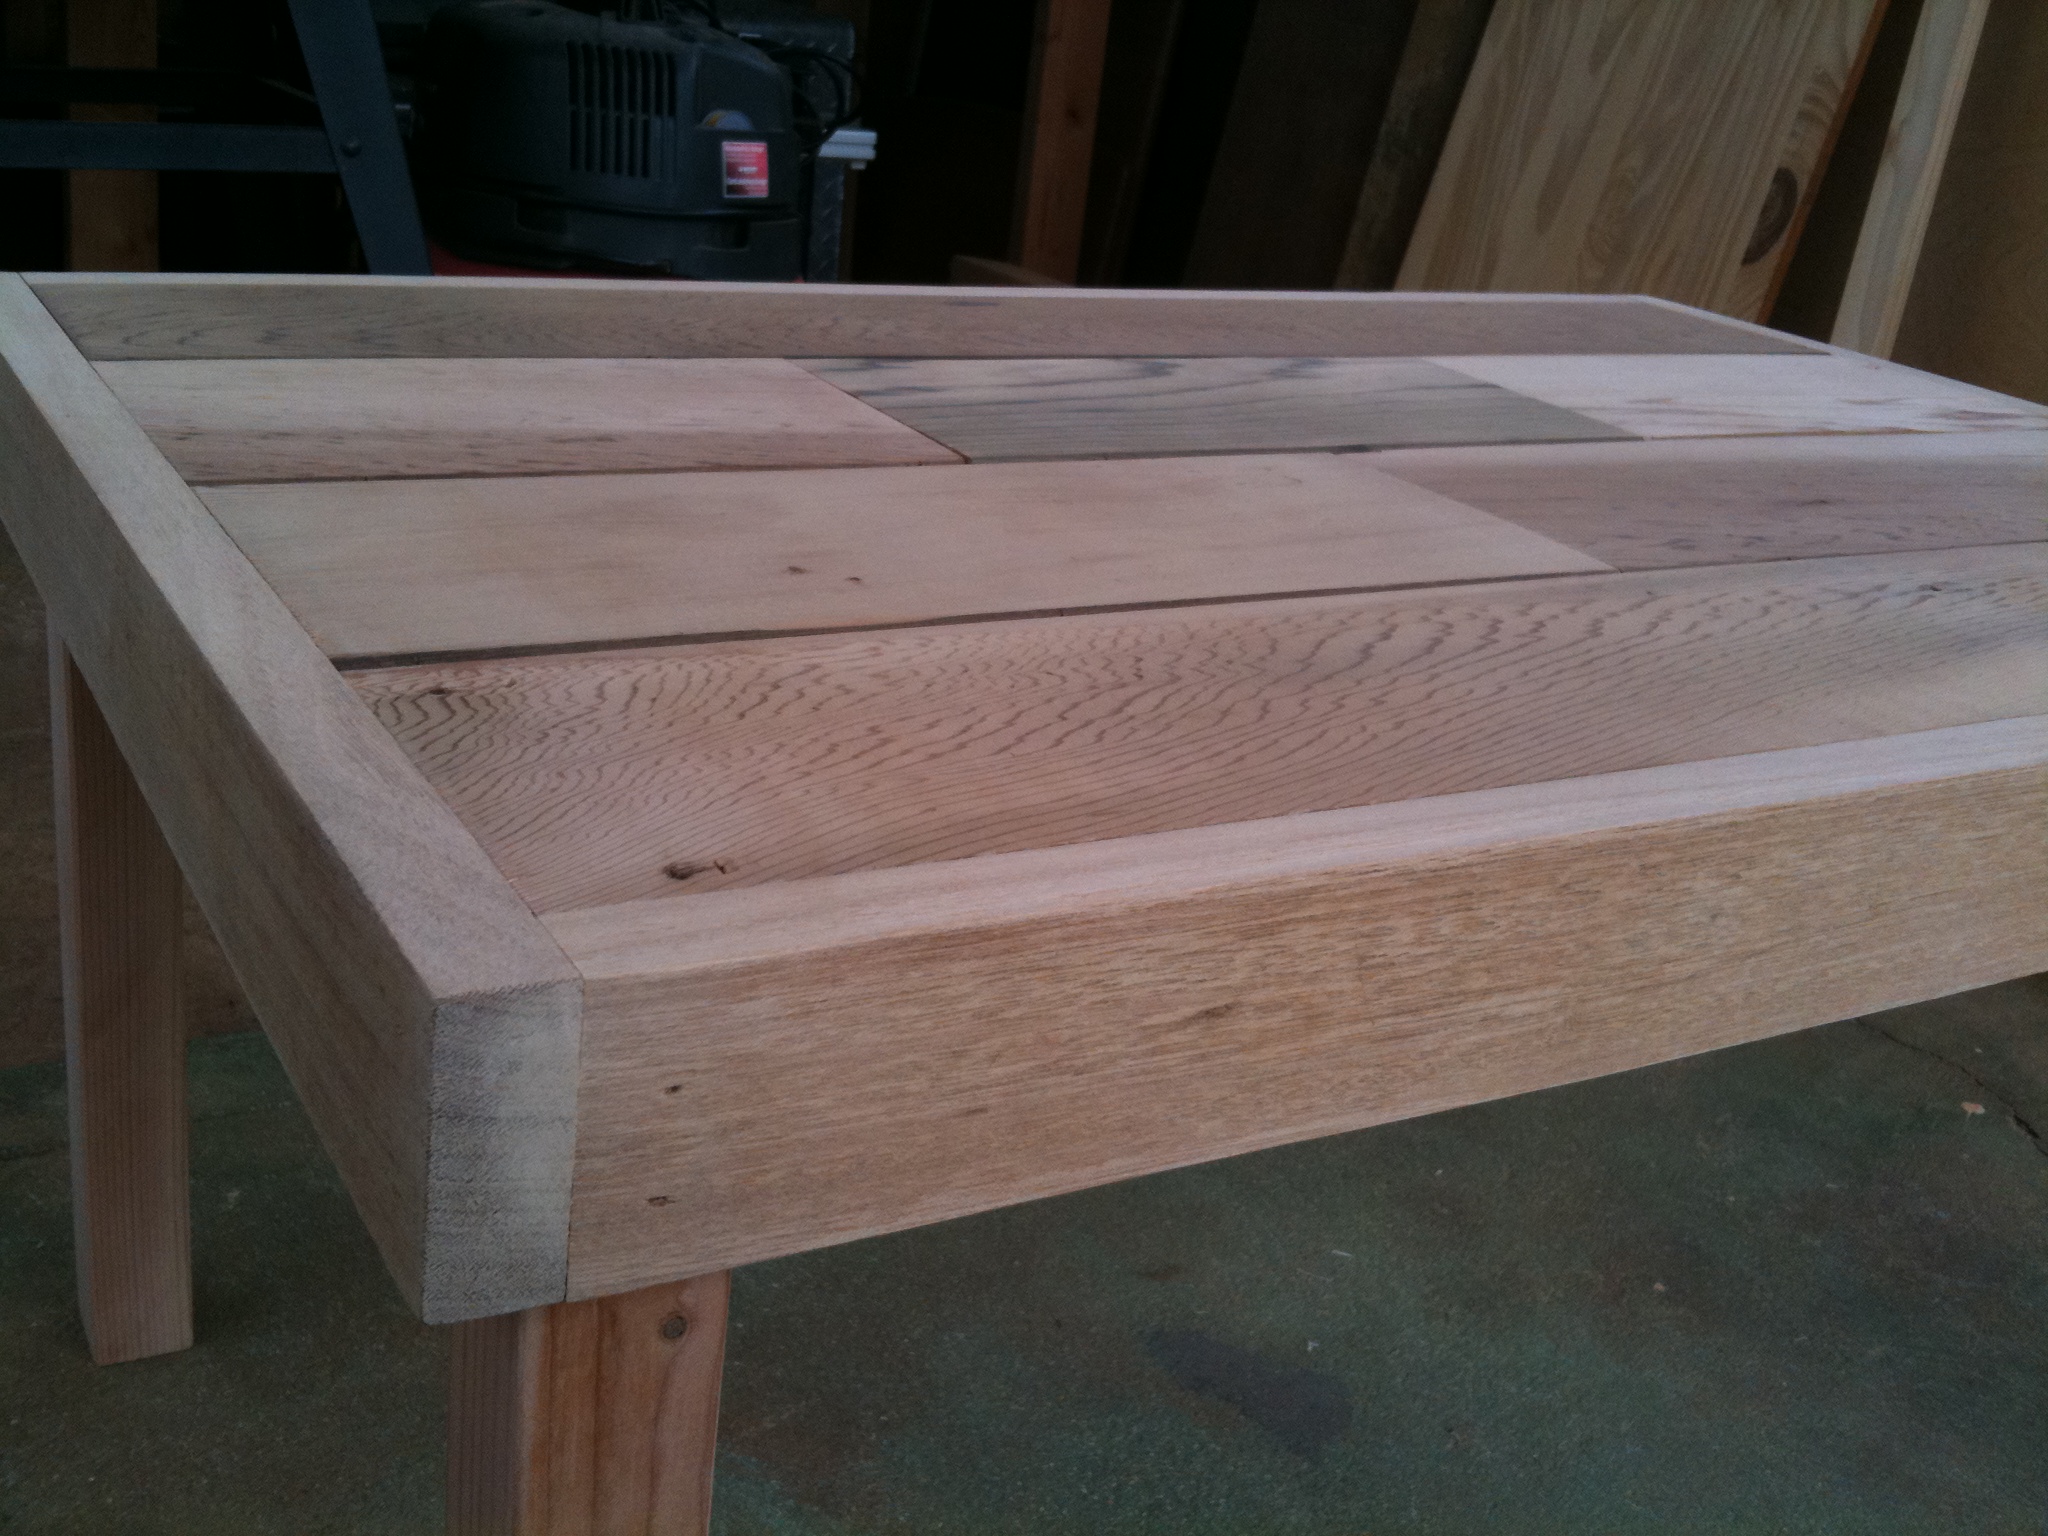
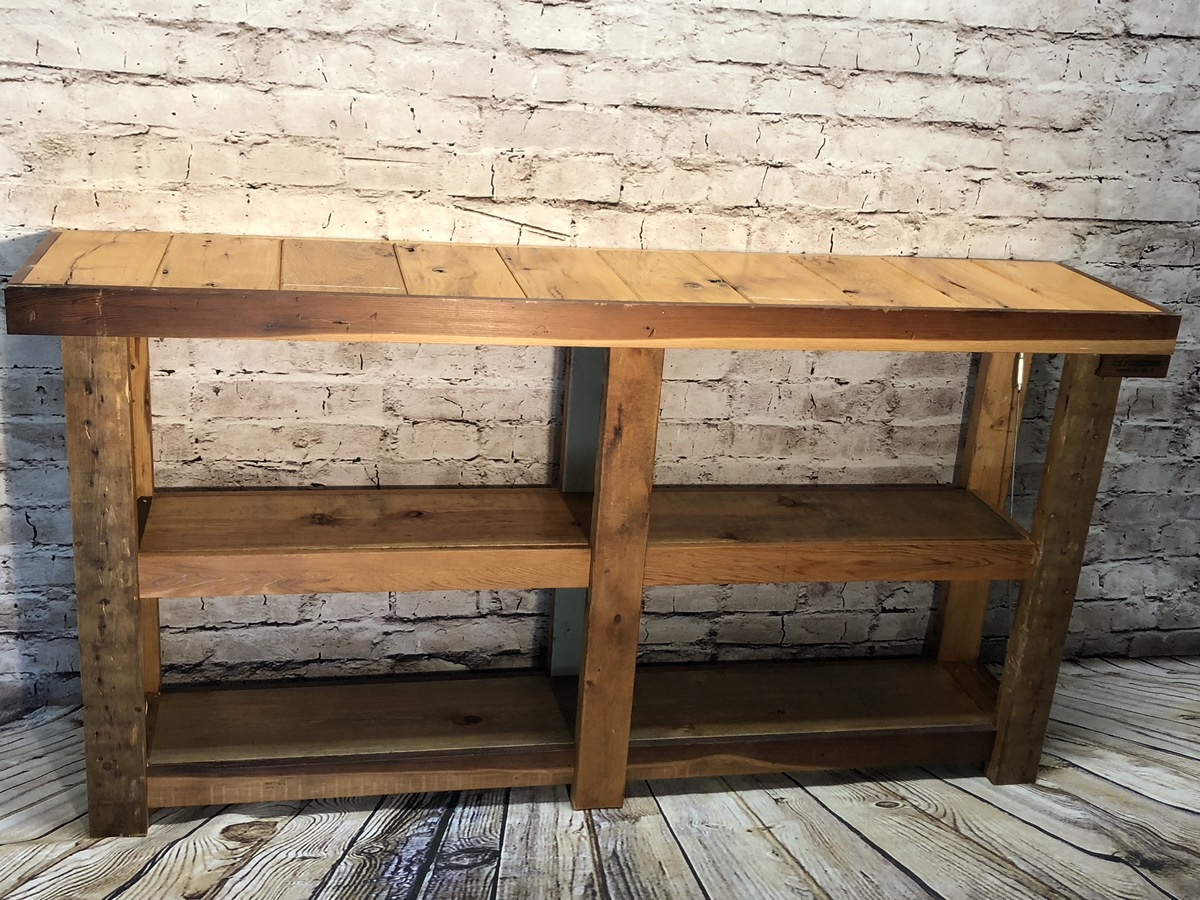
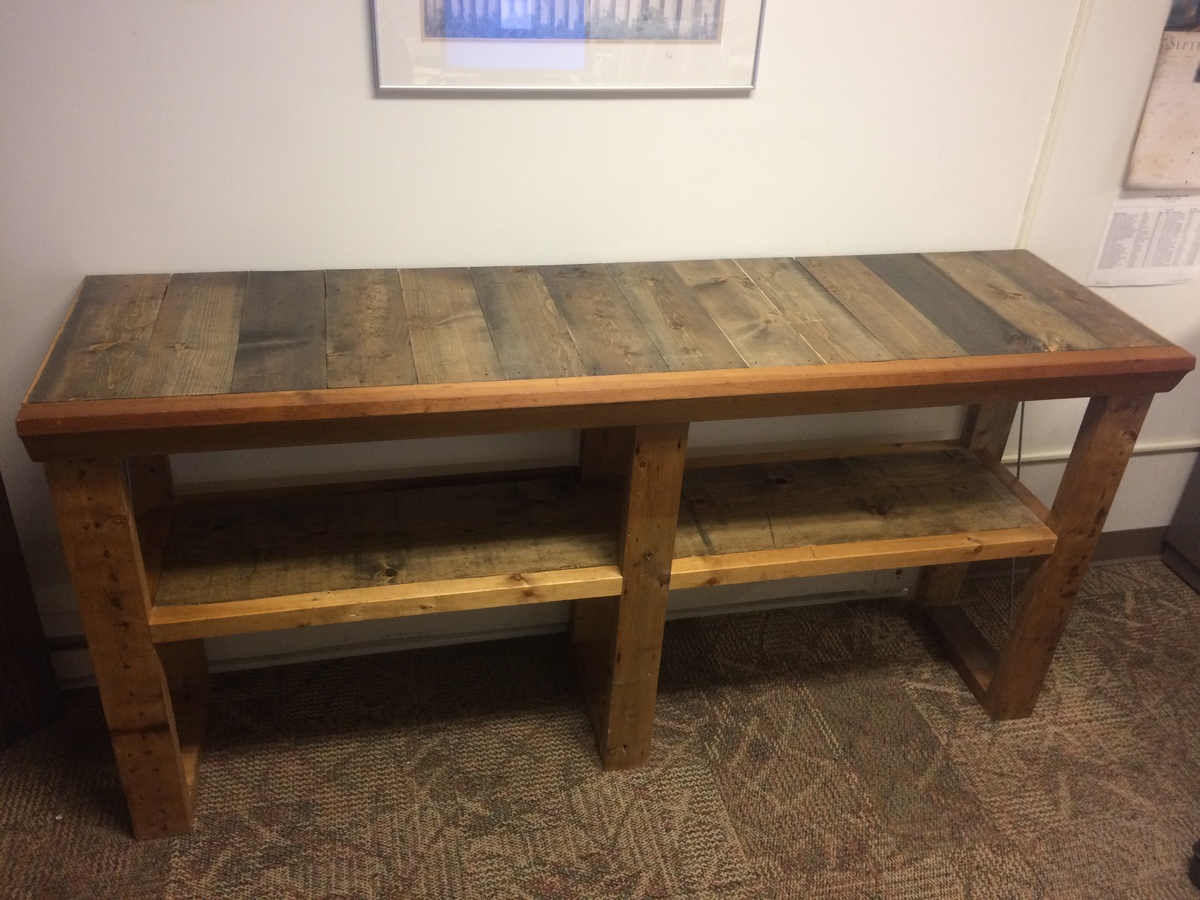
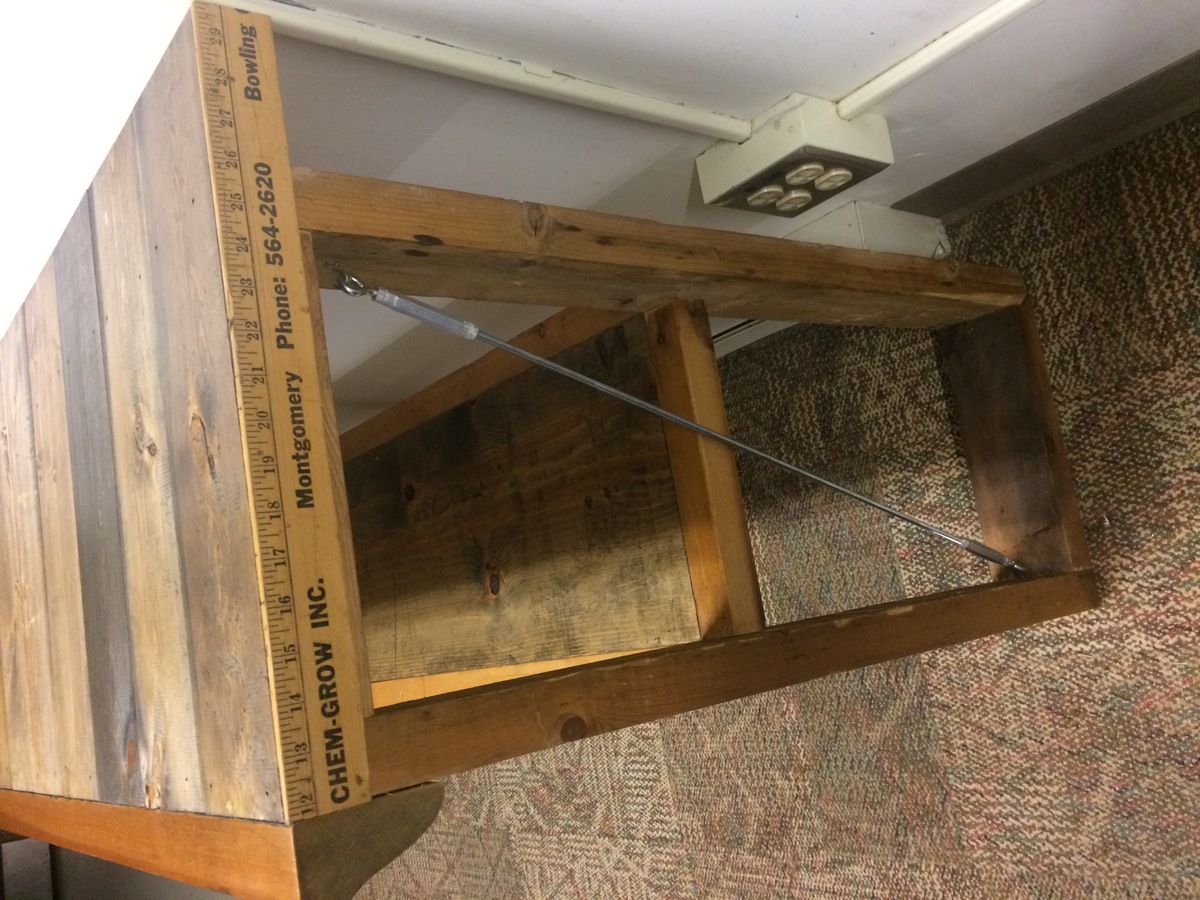
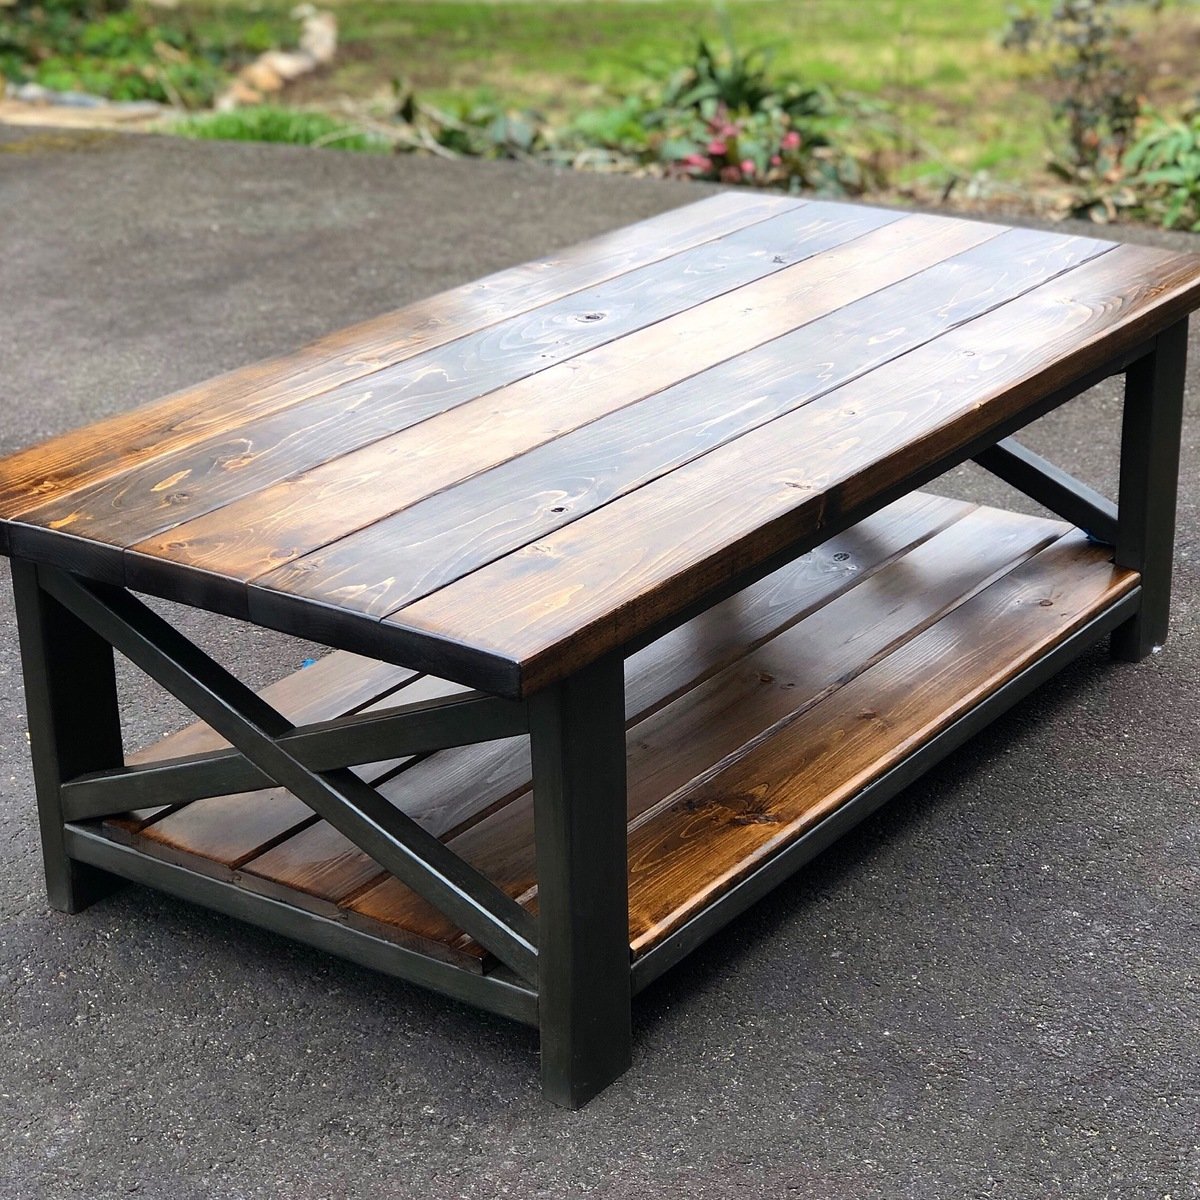
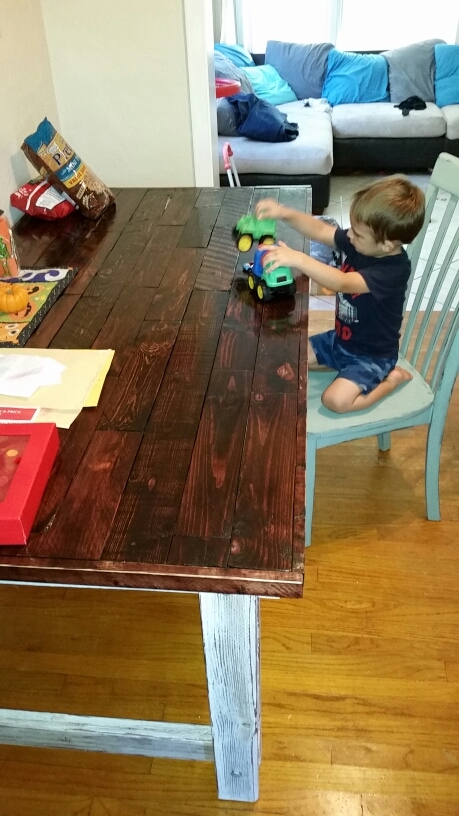
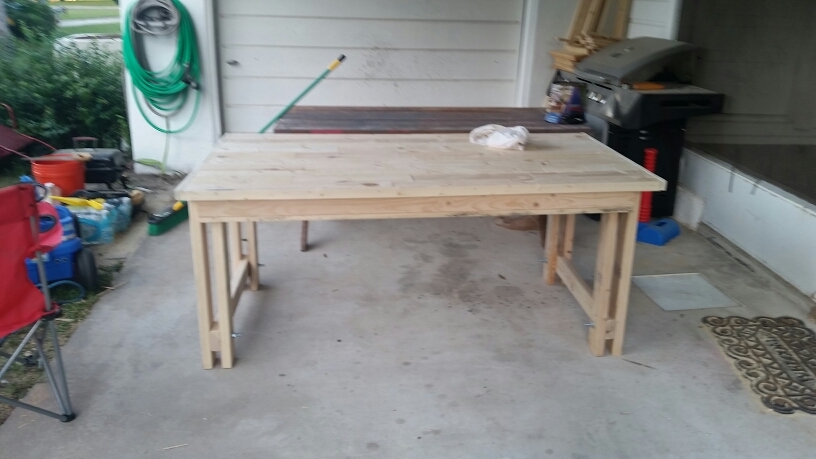
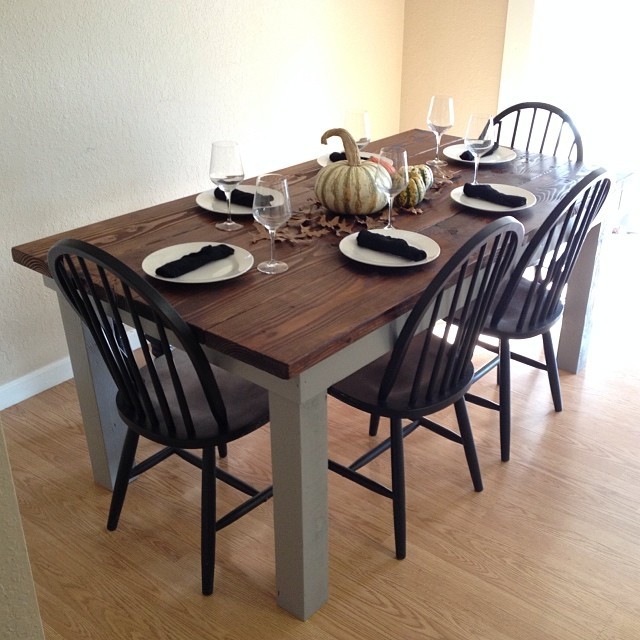
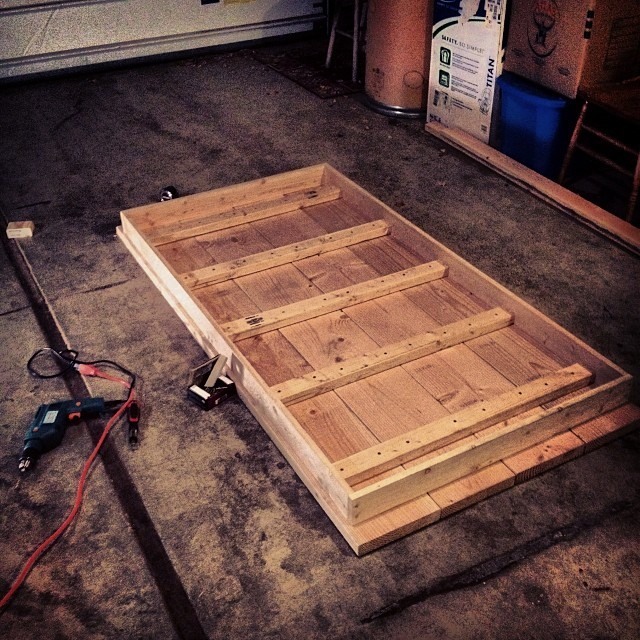
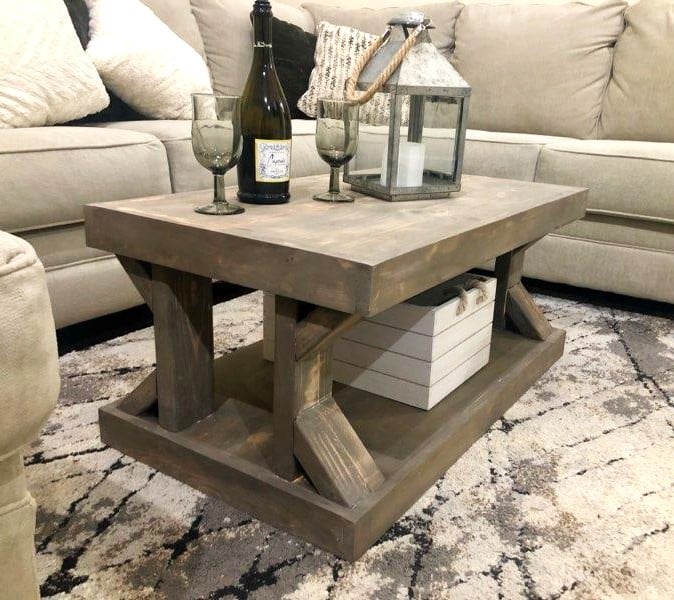
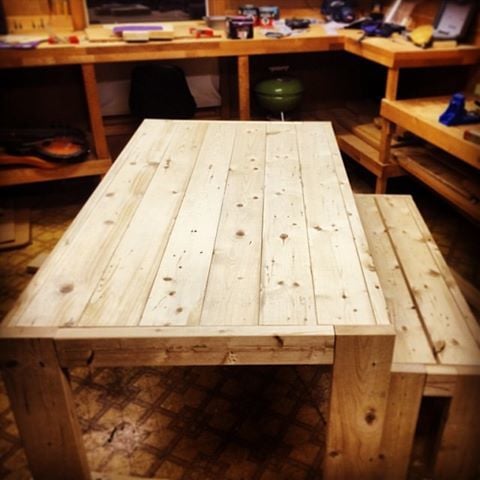
Reclaimed Wood Coffee Table

Submitted by Me-go-Eco on Fri, 08/19/2011 - 10:42

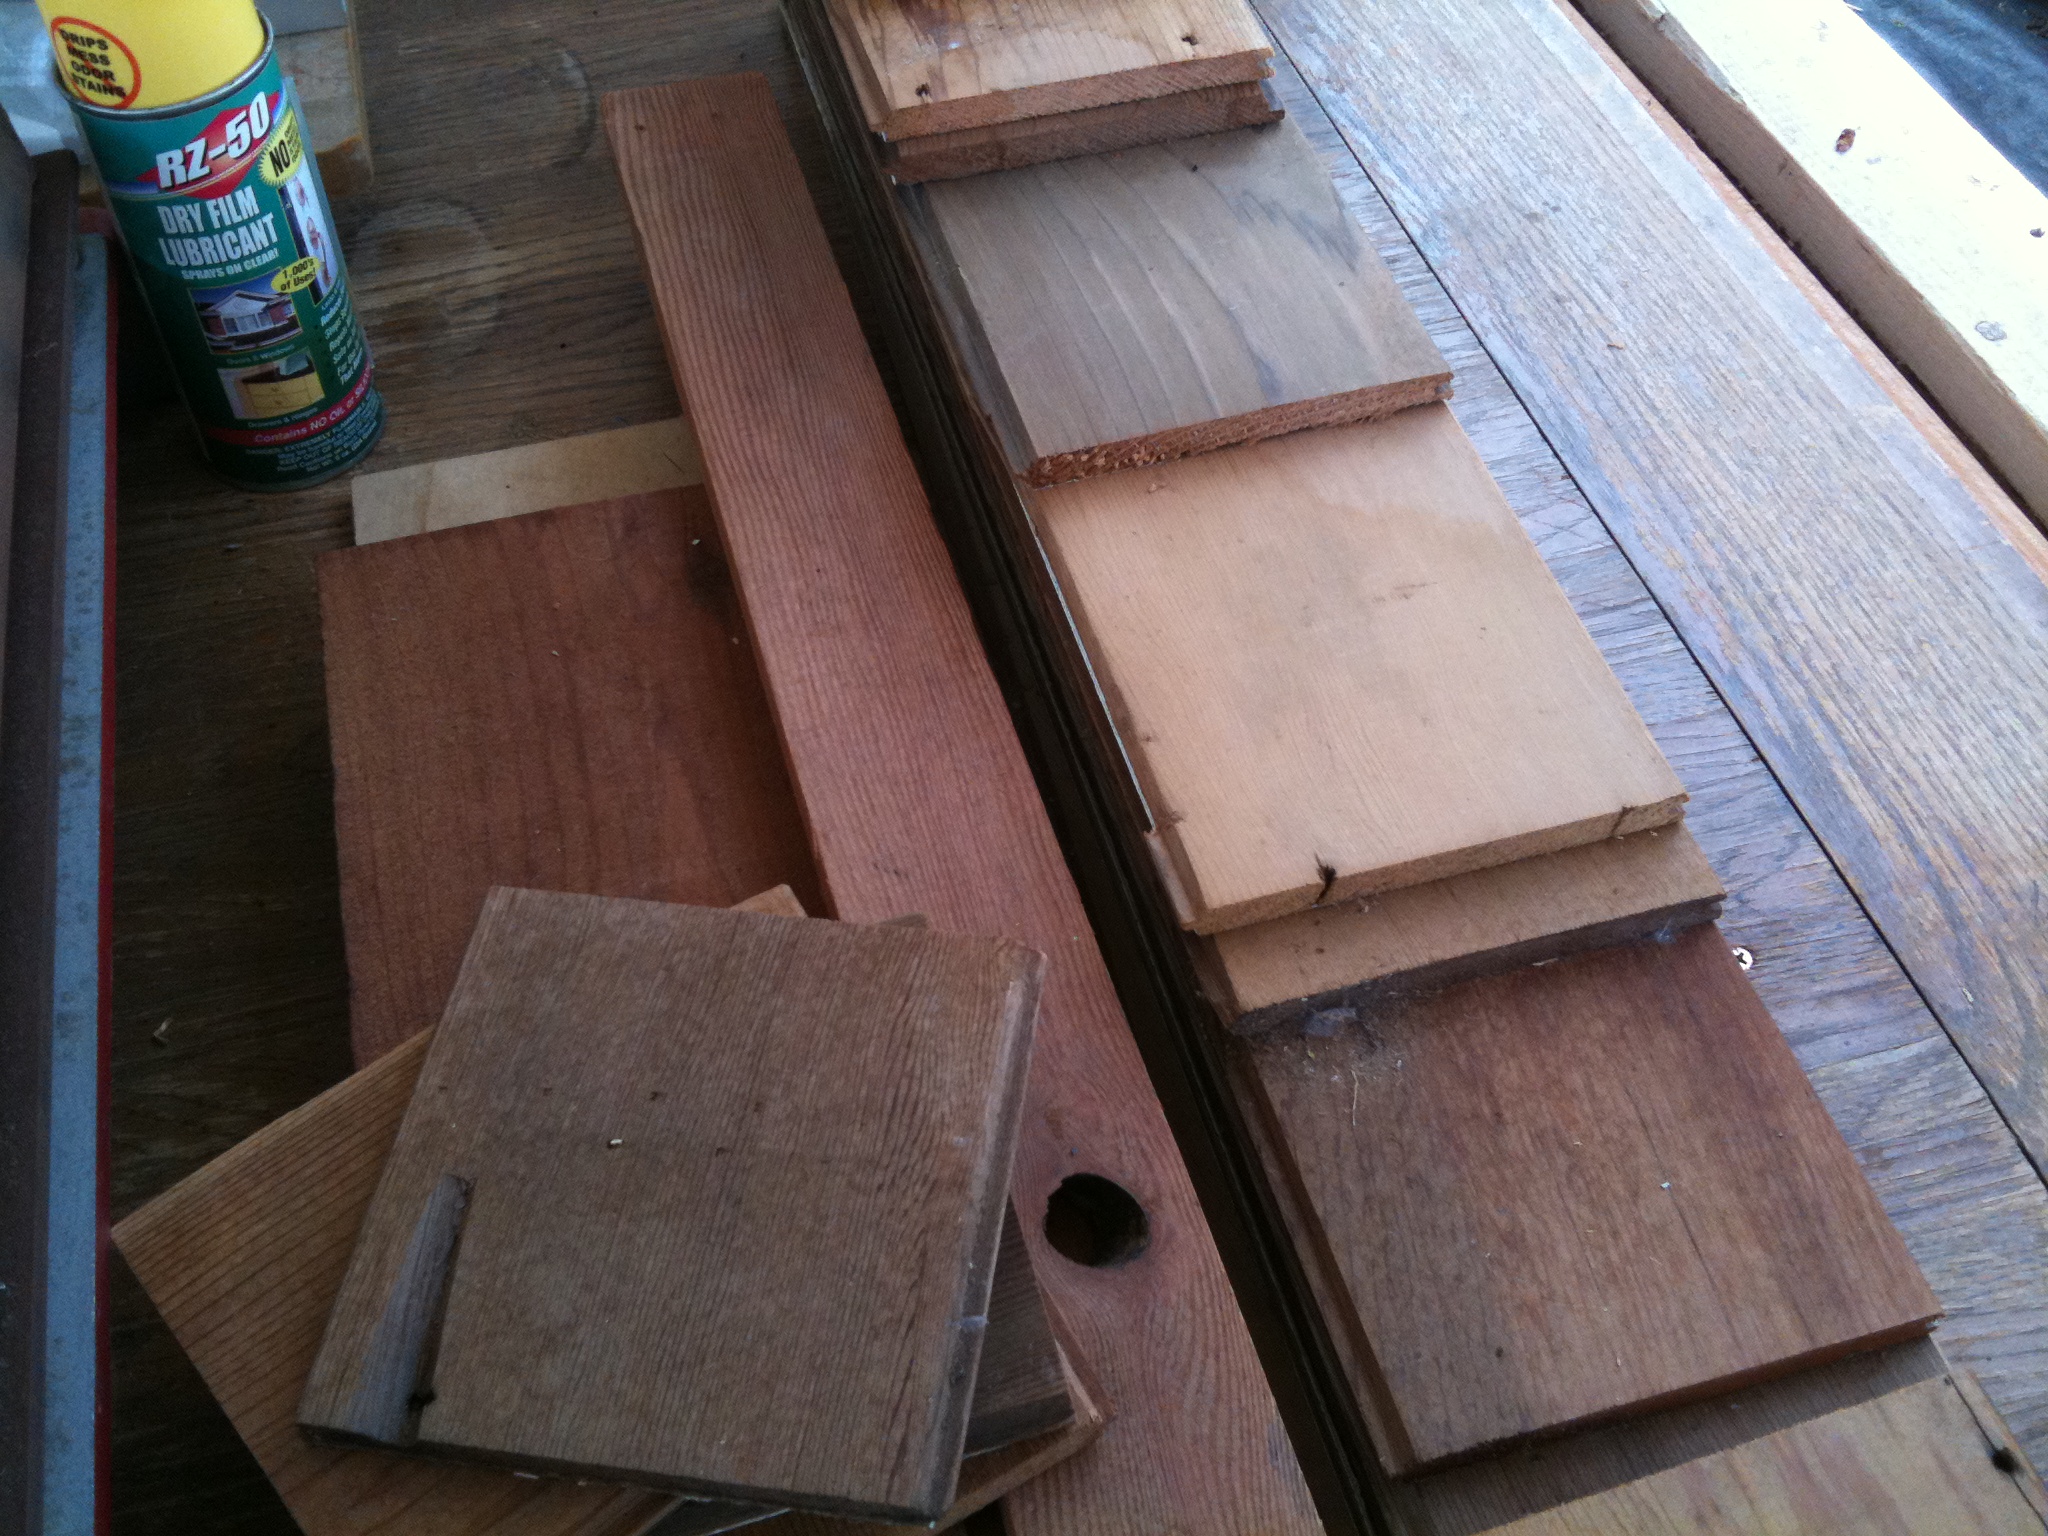
Built this coffee table as a housewarming present for my buddy who got me hooked on woodworking as a hobby! Made from reclaimed wood.

You want to see more? Check out my blog and follow me.

http://me-go-eco.blogspot.com

my twitter is: me_go_eco

Reduce, Reuse, Recycle, RECLAIM! Thanks!

Estimated Cost
$10 thrownout wood and leftovers from old projects from Re-use Hawaii.
Estimated Time Investment
Afternoon Project (3-6 Hours)
Finish Used
None
Recommended Skill Level
Beginner

Comments

Reclaimed wood rustic X console

Submitted by Anonymous (not verified) on Mon, 01/21/2019 - 10:59

Modified to fit dimensions of some reclaimed lumber. Substituted some threaded steel rods instead of the wooden X.

Built from Plan(s)
Estimated Time Investment
Weekend Project (10-20 Hours)
Recommended Skill Level
Intermediate

Built-in bench with drawers, side cabinets and floating shelves

Submitted by Anonymous (not verified) on Sat, 11/26/2022 - 05:37

I have wanted a built-in window seat on this wall for a very long time. My hubby and I finally tackled this project. Definitely not perfect and lotsa challenges and mistakes made but we are happy with outcome.

Comments

How to Build a Raised Balance Beam for $60

Submitted by Anonymous (not verified) on Thu, 01/31/2019 - 14:49

From watching Olympic gymnast Simone Biles on the television to running, flipping and twirling all around our living room — my girls LOVE everything gymnastics. Both girls began competing with a local gymnastics club. Now that my oldest has moved up and is pretty serious about practicing her beam handstands and dismounts, she begged me to build a raised balance beam with suede covering so it would have a similar feel to her beam at the gym.

If you can relate to this, or even if you have a new gymnast (like my youngest in the pic above) wanting to improve their skills at home, then this comprehensive tutorial on how to build a raised balance beam is for you.

Full plans available on my blog The Creative 'Carr'penter. You can also find and pin this tutorial on Pinterest here.

Estimated Cost
Cost of materials were about $60. Could vary depending on materials used.
Estimated Time Investment
Afternoon Project (3-6 Hours)
Finish Used
I used an outdoor flat paint to finish the exposed pieces of wood. The remainder was covered in padding and suede fabric.
Recommended Skill Level
Beginner

Rustic X Coffee Table

Submitted by Anonymous (not verified) on Sun, 03/03/2019 - 07:01

Ana White inspired Rustic X Coffee Table finished with dark walnut stain and Annie Sloan graphite chalk paint.

Built from Plan(s)
Estimated Time Investment
Weekend Project (10-20 Hours)
Finish Used
Dark Walnut
Annie Sloan Graphite
Annie Sloan Dark Wax
Recommended Skill Level
Intermediate

Barn Door Laundry Room Cabinets

Submitted by Ana White on Sat, 03/09/2019 - 19:58

Built by Kelly Flood Gugliemoni, shared on Facebook.

Sliding barn door hardware is DIY, cabinets are DIY - tutorials linked below.


Comments

Livb528

Fri, 03/06/2020 - 16:52

This looks like the exact width of my laundry room. (Tiny!) Is there a way I can find out the dimensions?? And possibly the plans? This is so beautiful and my laundry room needs some help! 

Camp loft bed with a farm house twist

Submitted by Anonymous (not verified) on Tue, 02/14/2023 - 07:58

As soon as I saw the plans for the camp loft bed with stairs, I knew it would be perfect for my daughters room. It was my first furniture build. While it is not perfect, I absolutely love it. The plans were easy to read and customize to fit her room. Don't mind the messy room, she's 13 and this is about as good as it gets lol.

Comments

I can’t believe I did this! Thanks Ana!

Submitted by Anonymous (not verified) on Fri, 03/17/2023 - 11:21

My first “real” build! I’m thrilled with how it turned out! Thanks Anna for giving me the confidence to give it a try.

Comments

Outdoor Sectional with Slanted Back

Submitted by Anonymous (not verified) on Sun, 04/16/2023 - 11:28

Fun project! Started with rough western red cedar which I ran through a jointer and planer to get good lumber.

I made a few changes to the design. I used thinner seat boards and cut a leaning tilt in the backrests. I also added 2 boards on the back rests.

I used all pocket holes to hide the screws. Once they dry out I will seal the sectionals.

Got a full set of cushions on Amazon for $300. Total for this project was around $700. Not too bad!

Superhero Loft Bed

This was my first Ana White project and we had a blast putting it together. The plans were clearly explained and the end result is a sturdy loft bed for my son.

There were only a few modifications to this build from the suggested plans. First, I traded out the 2X6's for the bed supports and replaced them with 2X8's. I also replaced the cleats with 2X3's and used the same for the bed slats. Between the slats and the mattress is 1/2" OSB. We also did not use the steps as it took too much floor space for our needs. We added some 2X4's for a ladder step up to the landing.

The theme is Superhero so I designed a custom hero logo in Adobe Illustrator, printed it out and carved it into 3/4" birch plywood with a rotary tool and router.

We're pretty much done with the bed. We now just have to arrange the room and add some lights underneath and maybe some extra storage under the landing.

My boy loves his new bed and I loved building it with him and my dad. It was a blast and will be one of the most memorable weekends of our lives! There's nothing like building with family.

Estimated Cost
$200 (including new mattress)
Estimated Time Investment
Weekend Project (10-20 Hours)
Finish Used
The finish is two coats of Clark-Kensignton paint + primer availabled at Ace Hardware. The red accents are from the "oops" pile of paints I rummaged through while they mixed my gray paint.
Recommended Skill Level
Intermediate

My Queen Farmhouse Bed

Submitted by redhead_61 on Fri, 01/06/2012 - 07:34

My little two year old is sleeping on this right now, hehe, which is so funny to see his little body take up only 1 square foot of it.

We got a queen mattress from a family member and I had been wanting to build this bed for a while so what better excuse. I had a TON of 1x3's from other projects so used those as slats instead of 1x6's as in the plan. I also used some other scraps up so my headboard part is shorter than in the plan which I also was fine with. It barely fits in his little 10 x 10 starter home room, but I am still pretty proud of it.

Built from Plan(s)
Estimated Cost
$70
Estimated Time Investment
Weekend Project (10-20 Hours)
Finish Used
Primer Plus Glossy White Paint
Recommended Skill Level
Beginner

Comments

candyc327

Sun, 01/07/2018 - 11:13

I am a beginner and I understand what to do until this point. I am confused by this. Can it be explained in another way: Thanks.


Construct the frame as shown, leaving a 3 1/2' overhand on the headboard end to secure the frame to the headboard. Predrill to at least 4 holes to in this overhang to ease attatching to the headboard.

Pallet Scraps Table

Submitted by BERobinson on Tue, 02/09/2016 - 07:28

Had a bunch of scrap wood laying around from deconstructed and unused pallets. Great idea for a table top. NOTE: Table top will be uneven because of different widths and thicknesses of pallet scraps. Use a planer if you have access.

Estimated Cost
FREE
Estimated Time Investment
Day Project (6-9 Hours)
Finish Used
deep redwood stain on the top with a poly finish. Same stain on legs, then painted with white chalk paint, sanded down, and waxed with a dirty black paint rag.
Recommended Skill Level
Beginner

Farm house table based on "Rustic Table" plans

Submitted by timmoore2 on Fri, 11/29/2013 - 20:47

This was my first big project, so I opted to use these simple plans. I ended up making some changes on the fly at the lumber yard by switching the 2x4 legs out with 4x4s and the 1x10 top slats with 2x10s for added solidity. I also had to adjust the length of the table from 8' to 6' in order to fit into our dining nook. We painted the legs and skirts with Behr Anonymous Gray and the table top with Minwax Mission Oak Polyshades. We decided to use the 2 in 1 stain in the interest of time (needed to be done by Thanksgiving). The 2 in 1 didn't come out as well as I would've liked, but all in all it adds to the rustic feel of the table.... not to mention the process was an absolute breeze. The simplicity of the plans allowed me to make numerous easy adjustments to customize the table to our needs/wants.

Built from Plan(s)
Estimated Cost
$105
Estimated Time Investment
Weekend Project (10-20 Hours)
Finish Used
Two coats Behr Anonymous Grey paint on legs and skirts. One coat Minwax Mission Oak PolyShades 2 in 1 stain on tabletop.
Recommended Skill Level
Beginner

Comments

Shoe storage bench and coat rack

Submitted by SeanLC on Mon, 02/22/2016 - 10:07

Very easy project, just have to put stain and coat hangers on and all done. 

Estimated Cost
150.00
Estimated Time Investment
Afternoon Project (3-6 Hours)
Finish Used
Min wax
Recommended Skill Level
Beginner

Farmhouse coffe table

Submitted by vmederos on Fri, 10/04/2019 - 14:22

This was great easy project I could do for my wife while she was at work and surprise her before she came home. I use the same color recommended stain but added the valspar white glaze to makenit more gray and weathered look. Sealed with a matte finish.

Estimated Time Investment
Afternoon Project (3-6 Hours)
Recommended Skill Level
Intermediate

Comments

Modern Farm Table

Submitted by wade.k on Sat, 12/28/2013 - 15:36

First project! Modern Farm Table using a mix of the original and the updated pocket hole plans. Stained with vintage gray/brown on pine. Used Minwax® Fast-Drying Polyurethane in satin to finish. Table - 33" X 69"

Estimated Cost
$150
Estimated Time Investment
Weekend Project (10-20 Hours)
Finish Used
Vintage Gray/Brown
-Minwax® Pre-Stain Wood Conditioner
-Minwax® Weathered Oak
-Minwax® Special Walnut
-Minwax® Fast-Drying Polyurethane

One* coat of each.

*Be careful of air bubbles when applying polyurethane. Had to redo the top of the table! (Use less/thinner coat with long even strokes)
Recommended Skill Level
Beginner

Comments

Jystadtler

Tue, 06/30/2015 - 19:07

I've been looking for a DIY table plan like this for a while! My only question is I have a long kitchen and was thinking of makig the table a little longer, so I can seat one more person on each side. With the extra length, will I need any additional support towards the middle?

Small End Table from 2X4's

Submitted by jbknakal on Sun, 04/10/2016 - 11:55

I made a smaller version of the Tryde End Table with Shelf. I made 2 of them from 6 2X4's

Estimated Cost
$30
Estimated Time Investment
Afternoon Project (3-6 Hours)
Finish Used
Black Paint
Recommended Skill Level
Beginner

Comments

Farmhouse Dining Table

Fish made the tabletop from white oak and the base is pine. We still need to build a bench for one side and purchase new chairs, but we are IN LOVE with this table...and it somehow has allowed us to dine as a family more.

Estimated Cost
$300
Estimated Time Investment
Week Long Project (20 Hours or More)
Finish Used
Minwax Special Walnut, two coats
Recommended Skill Level
Intermediate

Comments

Playhouse with swingset

Submitted by GreenEnvy on Tue, 02/25/2014 - 21:58

I combined a few different plans here, mostly the Playhouse deck, swingset.

I haven't finished it yet, this spring I want to finish the exterior as it's just primed plywood right now. Still going to add a window above the balcony (there is a loft up there).

I insulated the roof/ceiling and will insulate the walls when we finish it. In the bottom we'll be putting in a sandbox with a cover that folds up into benches.

It was a fun project and should give our girls many years of fun.

Estimated Cost
$1000
Estimated Time Investment
Week Long Project (20 Hours or More)
Finish Used
Right now the plywood is just primed, we'll be putting some sort of siding or other exterior sheets to finish it.
Recommended Skill Level
Advanced